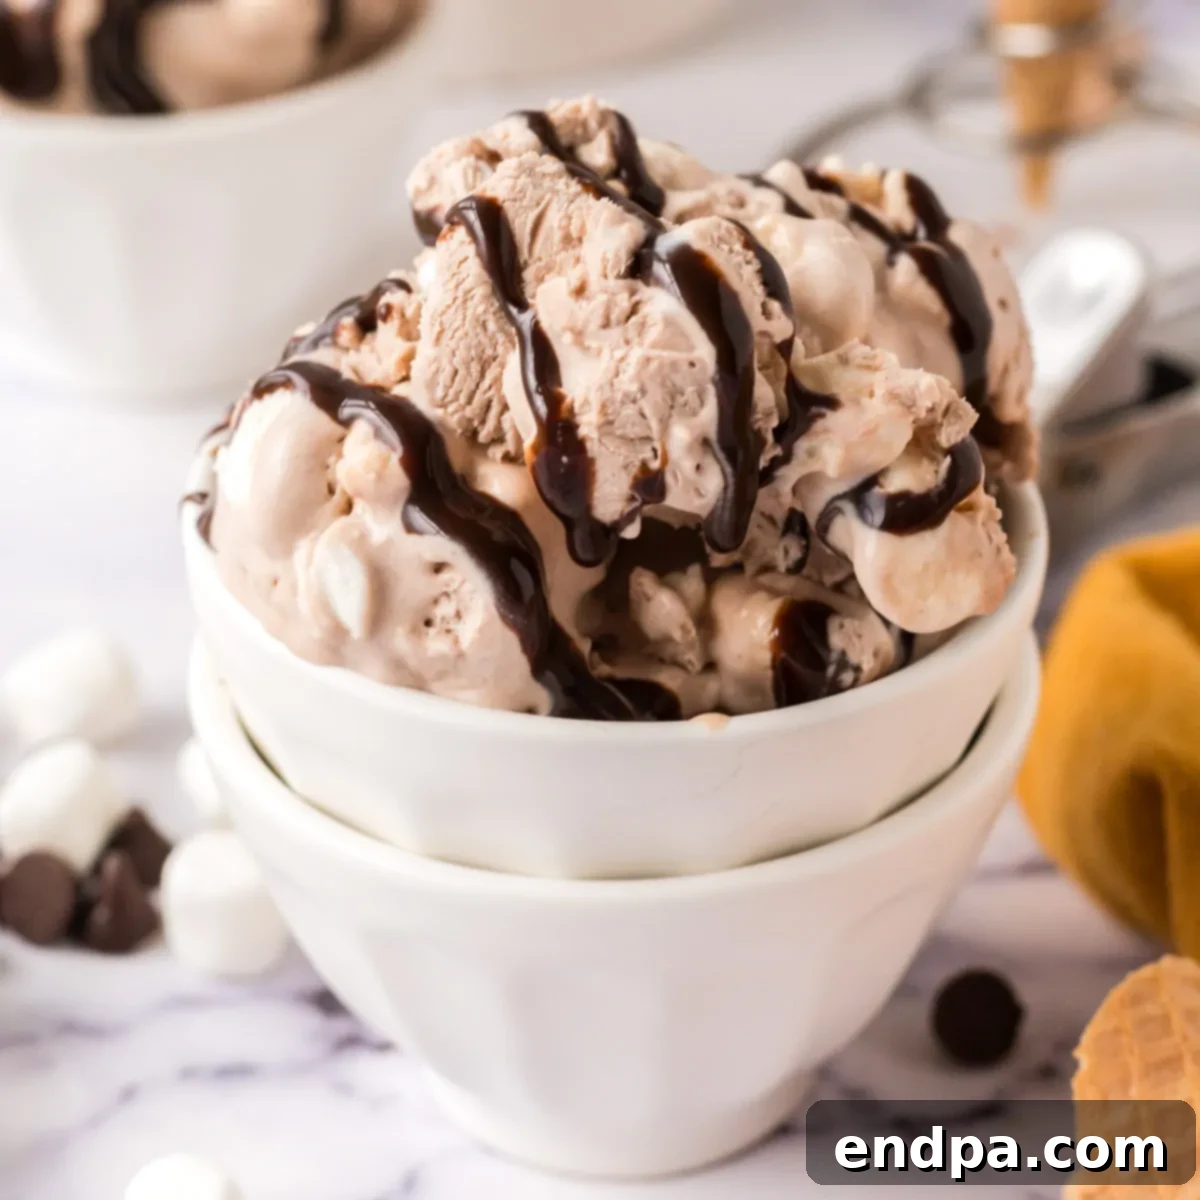
Indulge in a frosty, chocolatey dream with this incredibly simple Hot Chocolate Ice Cream recipe! Imagine the comforting warmth of a classic hot chocolate, transformed into a cool, creamy, and irresistible frozen dessert. This isn’t just any ice cream; it’s a no-churn masterpiece requiring only five basic ingredients and absolutely no fancy ice cream maker. Prepare yourself for a decadent milk chocolate blend, generously studded with miniature marshmallows, that promises to satisfy your sweet cravings any time of year.
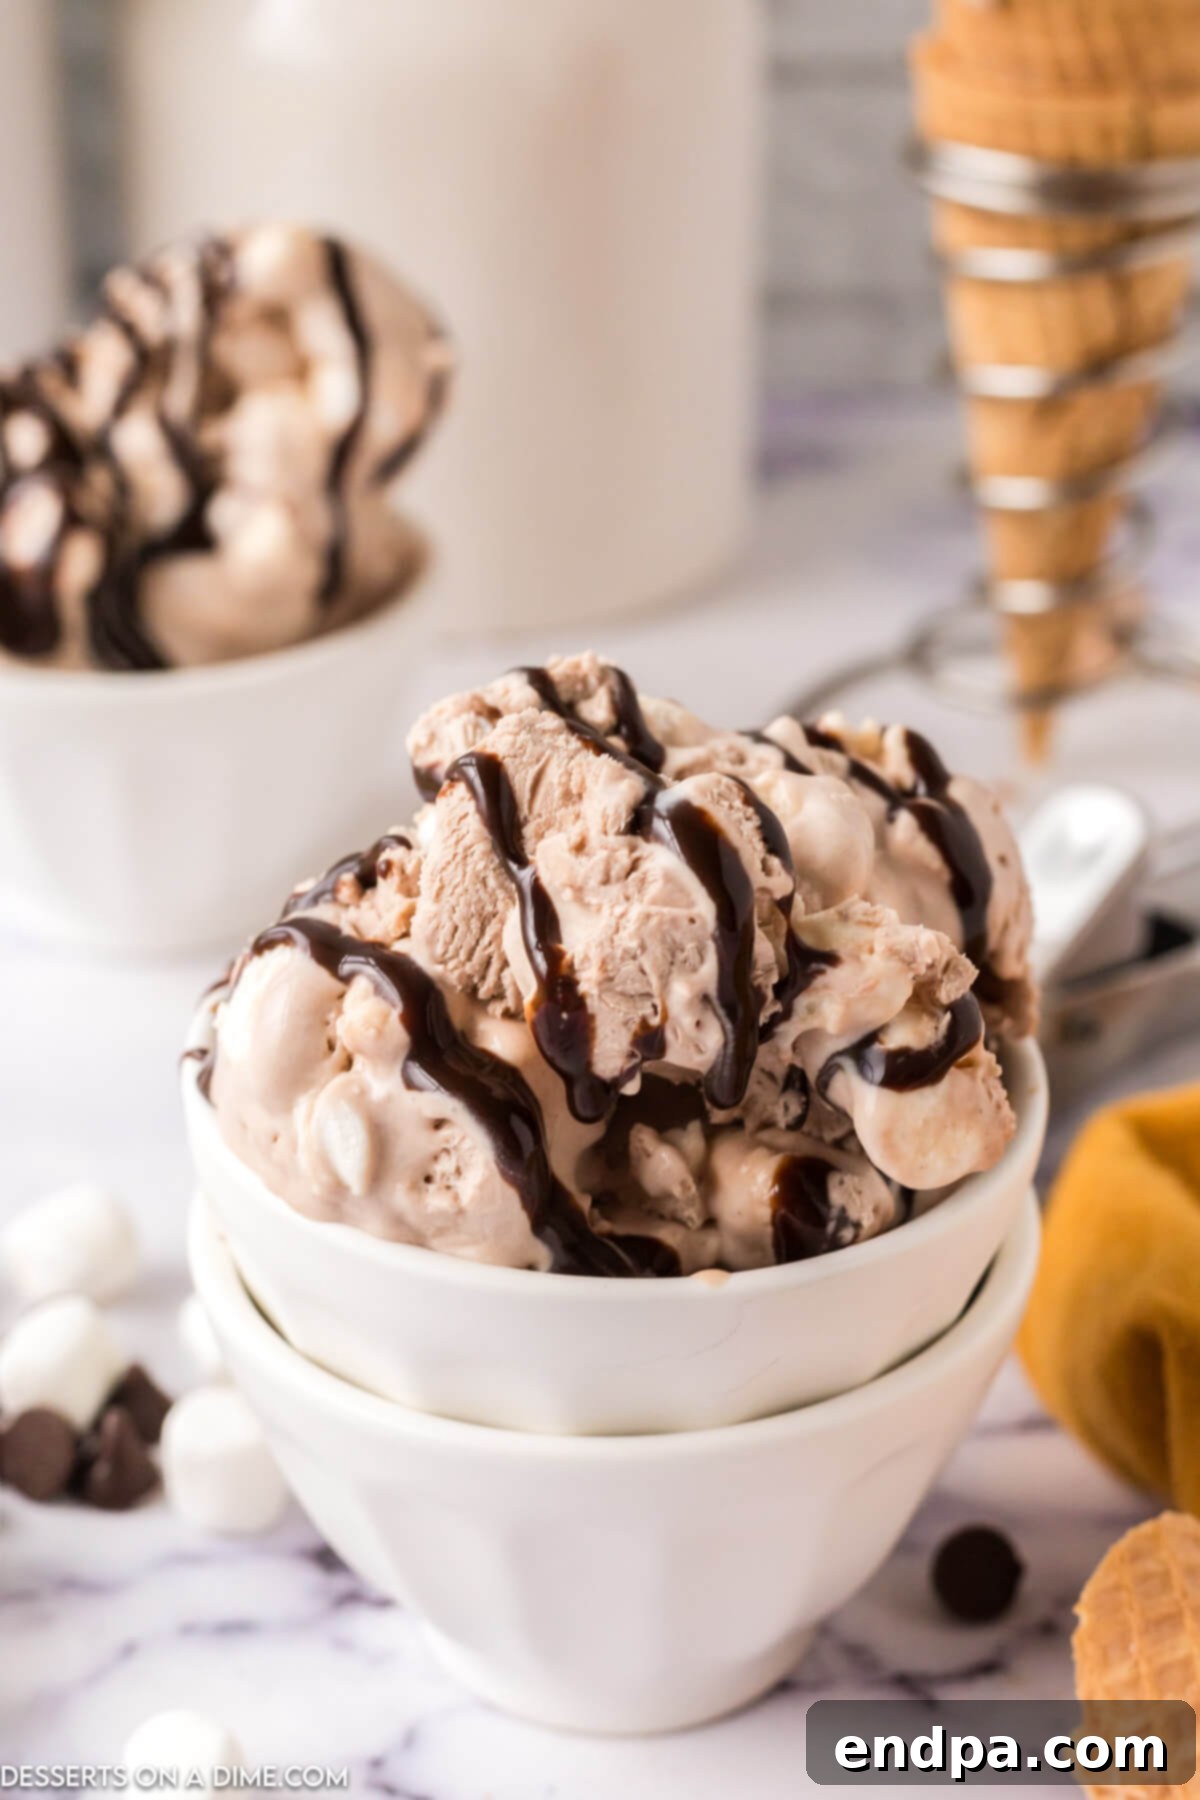
When the sun is blazing and a steaming mug of hot chocolate feels out of place, this frozen hot chocolate ice cream comes to the rescue. It’s the perfect solution for satisfying that deep, rich chocolate craving in a refreshing way. This delightful frozen treat is a harmonious blend of light, airy whipped cream and rich chocolate, elevated by just a few additional components. The texture is smooth, luscious, and wonderfully scoopable, reminiscent of premium artisanal ice cream, yet made right in your own kitchen with minimal effort.
While it delivers a flavor profile strikingly similar to a frozen hot chocolate drink, this recipe offers the distinct, delightful texture of actual ice cream. It’s thick, creamy, and holds its shape beautifully. For an extra touch of elegance and indulgence, you can easily top each serving with a dollop of homemade whipped cream, a sprinkle of chocolate shavings, or even more mini marshmallows. If you find yourself captivated by this heavenly flavor combination, be sure to explore other related treats like Hot Chocolate Popcorn for another delightful experience.
Table of Contents
- Why You Will Love This Recipe
- The Magic of No-Churn Ice Cream
- Key Ingredients for Decadent Flavor
- Essential Equipment
- Creative Variations & Serving Suggestions
- How to Make Frozen Hot Chocolate Ice Cream
- Storage Tips for Maximum Freshness
- Pro Tips for the Perfect Scoop
- Troubleshooting Common Ice Cream Issues
- Frequently Asked Questions (FAQs)
- More Irresistible Chocolate Ice Cream Recipes
Why You Will Love This Recipe
This Hot Chocolate Ice Cream isn’t just a dessert; it’s an experience waiting to happen, offering a plethora of reasons to become your new go-to sweet treat.
- Effortless No-Churn Method: Forget about bulky, expensive ice cream makers and complicated processes. This recipe liberates you from the need for any special equipment, making delicious homemade ice cream accessible to everyone. The simple technique ensures a smooth, creamy texture every single time, without the fuss of churning.
- Only 5 Simple Ingredients: Prepare to be amazed by how much flavor and richness can be achieved with such a minimal list of ingredients. Chances are, you already have most of these staples in your pantry, making impromptu ice cream sessions a delightful reality. Fewer ingredients also mean less shopping and quicker prep time.
- Explosive Chocolate Flavor: If you’re a true chocolate connoisseur, this recipe will hit all the right notes. It boasts a deep, satisfying chocolate taste that truly captures the essence of a comforting mug of hot chocolate, but in a perfectly chilled form. Each spoonful is a celebration of rich, velvety chocolate.
- Quick Preparation Time: With only about 15 minutes of active preparation, you can whip up this mixture in no time. The longest part is the freezing, which happens passively while you go about your day. It’s perfect for busy schedules or when a sudden craving strikes.
- Versatile for Any Season: While hot chocolate is typically a winter staple, this ice cream version is ideal for cooling down in summer, yet comforting enough to be enjoyed year-round. It’s the ultimate bridge between cozy winter nights and refreshing summer days.
- Crowd-Pleasing Decadence: This rich and creamy dessert is guaranteed to be a hit at gatherings, parties, or as a special treat for your family. Its unique hot chocolate twist and inclusion of marshmallows make it a standout dessert that will have everyone asking for the recipe.
The Magic of No-Churn Ice Cream
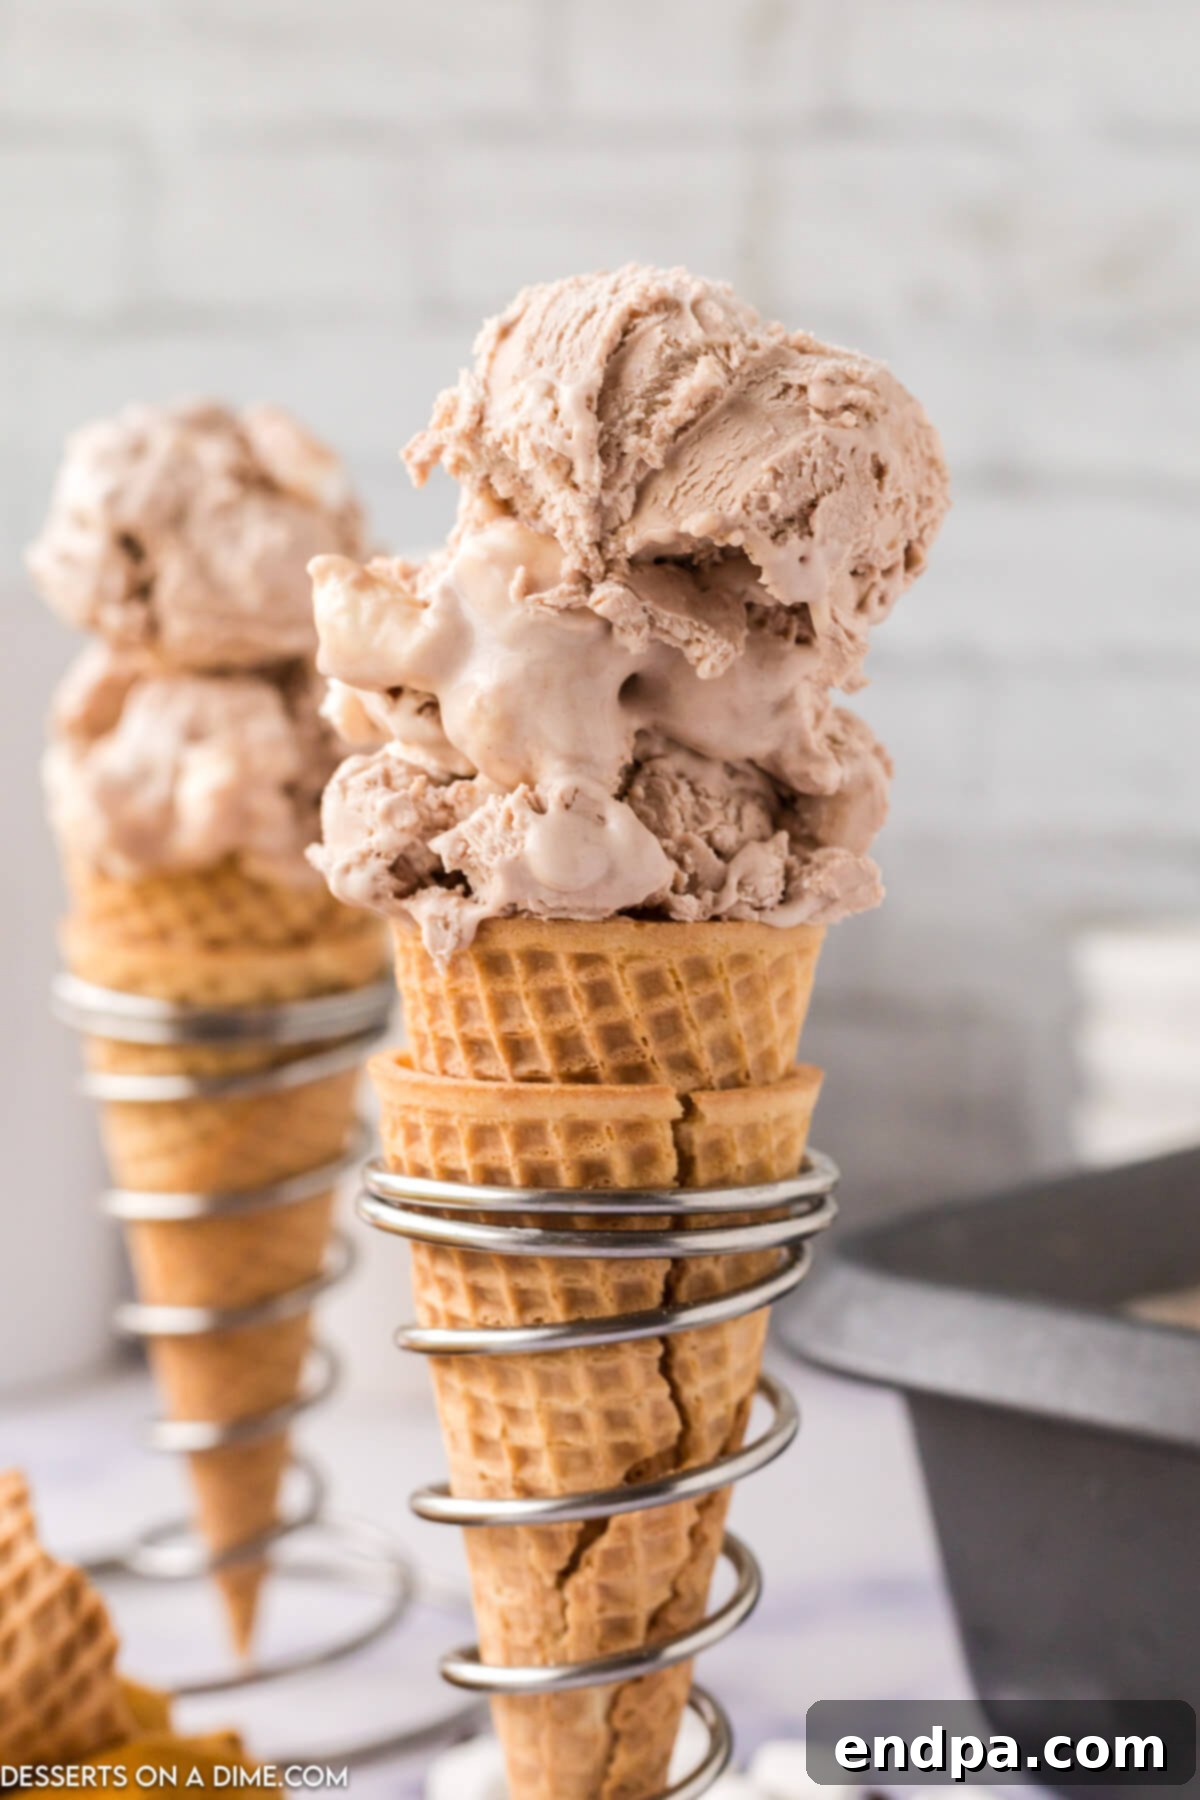
For many home cooks, the idea of making homemade ice cream can seem daunting, often conjuring images of expensive machinery and complicated processes. This is where the beauty of no-churn ice cream truly shines! The secret lies in a brilliant combination of whipped heavy cream and sweetened condensed milk. When these two key ingredients are carefully folded together, the whipped cream incorporates air, creating a light and fluffy base. The sweetened condensed milk, with its high sugar content and thick consistency, prevents large ice crystals from forming, which is the common pitfall of homemade ice cream without an ice cream maker.
This innovative method allows you to achieve a remarkably smooth, creamy, and delightful texture that rivals traditional churned ice cream. It eliminates the need for any special freezing bowls or paddles, simplifying the entire process down to a few basic mixing steps and a freezer. This makes no-churn ice cream incredibly accessible, even for beginner bakers or those with limited kitchen space. The resulting dessert is not only delicious but also wonderfully satisfying, proving that you don’t need fancy equipment to create culinary magic.
Key Ingredients for Decadent Flavor
The simplicity of this Hot Chocolate Ice Cream recipe is truly remarkable, relying on just five essential ingredients to deliver a rich, creamy, and unforgettable dessert. Each component plays a crucial role in achieving the perfect flavor and texture.
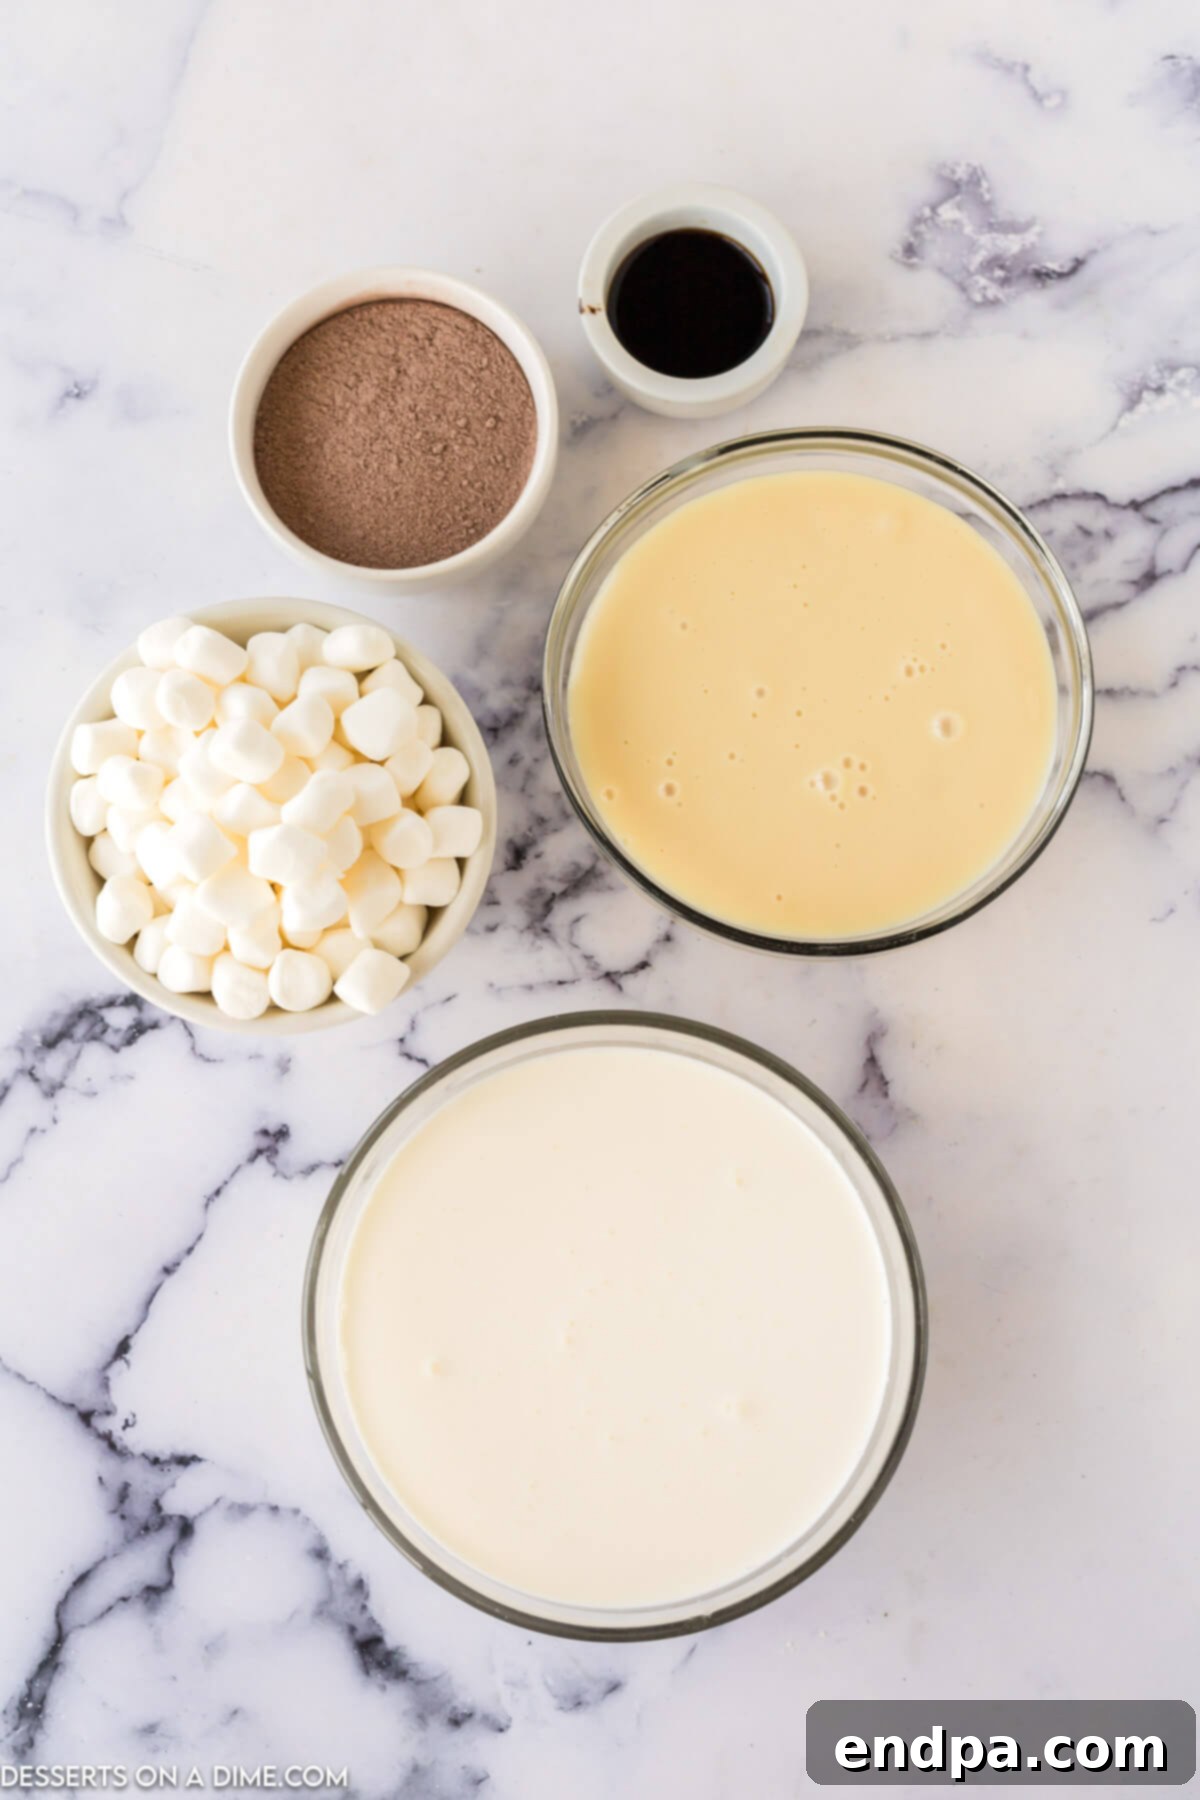
- Heavy Whipping Cream: This is the backbone of our no-churn ice cream, providing the essential fat content and airy volume needed for a rich, creamy texture. It’s imperative that the heavy whipping cream is *very cold* before you begin whipping it. Cold cream whips up faster and holds its stiff peaks much better, which translates directly into lighter, fluffier ice cream. Avoid using light cream or half-and-half, as they lack the necessary fat for proper whipping and texture.
- Vanilla Extract: A touch of pure vanilla extract is a game-changer, even in a chocolate-focused dessert. It doesn’t just add its own delightful aroma; it deepens and enhances the chocolate notes, adding a layer of complexity and warmth to the overall flavor profile. Always opt for pure vanilla extract over imitation for the best results.
- Hot Chocolate Mix: This is where the signature hot chocolate flavor truly shines. You have the freedom to choose any brand of hot chocolate mix you love – whether it’s a classic milk chocolate, a richer dark chocolate blend, or even a specialty flavor. The quality and type of mix you select will directly influence the final taste of your ice cream, so pick your favorite to ensure maximum enjoyment.
- Sweetened Condensed Milk: This magical ingredient is the key to our no-churn success. Sweetened condensed milk not only provides the perfect amount of sweetness but also contributes significantly to the ice cream’s incredibly creamy, smooth base. Its thick consistency and high sugar content prevent the formation of large ice crystals, ensuring that your homemade ice cream remains velvety and scoopable, without the need for an ice cream maker.
- Mini Marshmallows: No hot chocolate is complete without marshmallows, and this ice cream is no exception! Miniature marshmallows are ideal for this recipe as their small size ensures even distribution throughout the ice cream, providing delightful bursts of soft, chewy sweetness in every bite. They don’t freeze solid, offering a pleasant textural contrast to the creamy base.
You’ll find the complete list of precise measurements and quantities for these essential ingredients in the detailed recipe card at the bottom of this page.
Essential Equipment
One of the many joys of this no-churn hot chocolate ice cream is that you don’t need a lot of specialized kitchen tools. Here’s what you’ll need to make this delicious treat:
- Large Mixing Bowl: You’ll need a spacious bowl, preferably chilled, to whip the heavy cream. A cold bowl helps the cream whip faster and achieve stiffer peaks.
- Electric Hand Mixer (or Stand Mixer): This is crucial for whipping the heavy cream to stiff peaks. While you can technically do it by hand with a whisk, an electric mixer will save you a lot of time and arm strength!
- Large Spoon or Spatula: Essential for gently folding in the sweetened condensed milk and marshmallows without deflating the whipped cream.
- 9×5 Inch Loaf Pan or Glass Dish: This will be the container for freezing your ice cream. Any freezer-safe dish of a similar size will work.
- Plastic Wrap: To cover the ice cream during freezing and prevent ice crystals from forming on the surface.
That’s it! With these basic items, you’re ready to create a truly incredible homemade hot chocolate ice cream.
Creative Variations & Serving Suggestions
While the classic Hot Chocolate Ice Cream is perfectly delicious on its own, it also serves as a fantastic canvas for culinary creativity. Here are some exciting variations to customize your frozen treat, along with delightful serving suggestions to make it extra special.
- Mexican Hot Chocolate: For a delightful kick, infuse your ice cream with the vibrant flavors of Mexican hot chocolate. Simply add a dash of chili powder (about ¼ to ½ teaspoon) and a ½ teaspoon of ground cinnamon to the hot chocolate mixture before whipping. This combination creates a warming, spicy-sweet profile that is incredibly addictive and a unique take on a classic.
- Espresso Flavor: Elevate the chocolate intensity with a touch of coffee. Stir in 2 to 3 teaspoons of instant espresso powder or very strong brewed coffee (cooled) into your hot chocolate mixture. Coffee is a natural enhancer for chocolate, bringing out its richness and adding a sophisticated depth of flavor.
- Dark Chocolate Delight: If you crave a more intense, less sweet chocolate experience, opt for a dark chocolate hot cocoa mix. Alternatively, you can fold in ½ to 1 cup of mini dark chocolate chips or finely chopped dark chocolate into your ice cream mixture along with the marshmallows. This will add both richness and a delightful textural contrast.
- Peppermint Wonderland: Perfect for the holiday season or whenever you fancy a refreshing twist, add 1 teaspoon of pure peppermint extract to the mixture. For an extra festive touch and crunchy texture, swirl in crushed candy canes or finely chopped peppermint candies.
- White Chocolate Swirl: For a different kind of chocolate experience, melt ½ cup of white chocolate chips and swirl it gently into the finished ice cream mixture just before freezing. This creates beautiful white chocolate ribbons and adds a creamy sweetness.
- Nutty Crunch: Add some texture and nutty flavor by folding in ½ cup of chopped toasted pecans, walnuts, or almonds. The crunch of the nuts provides a lovely contrast to the smooth ice cream.
Serving Suggestions:
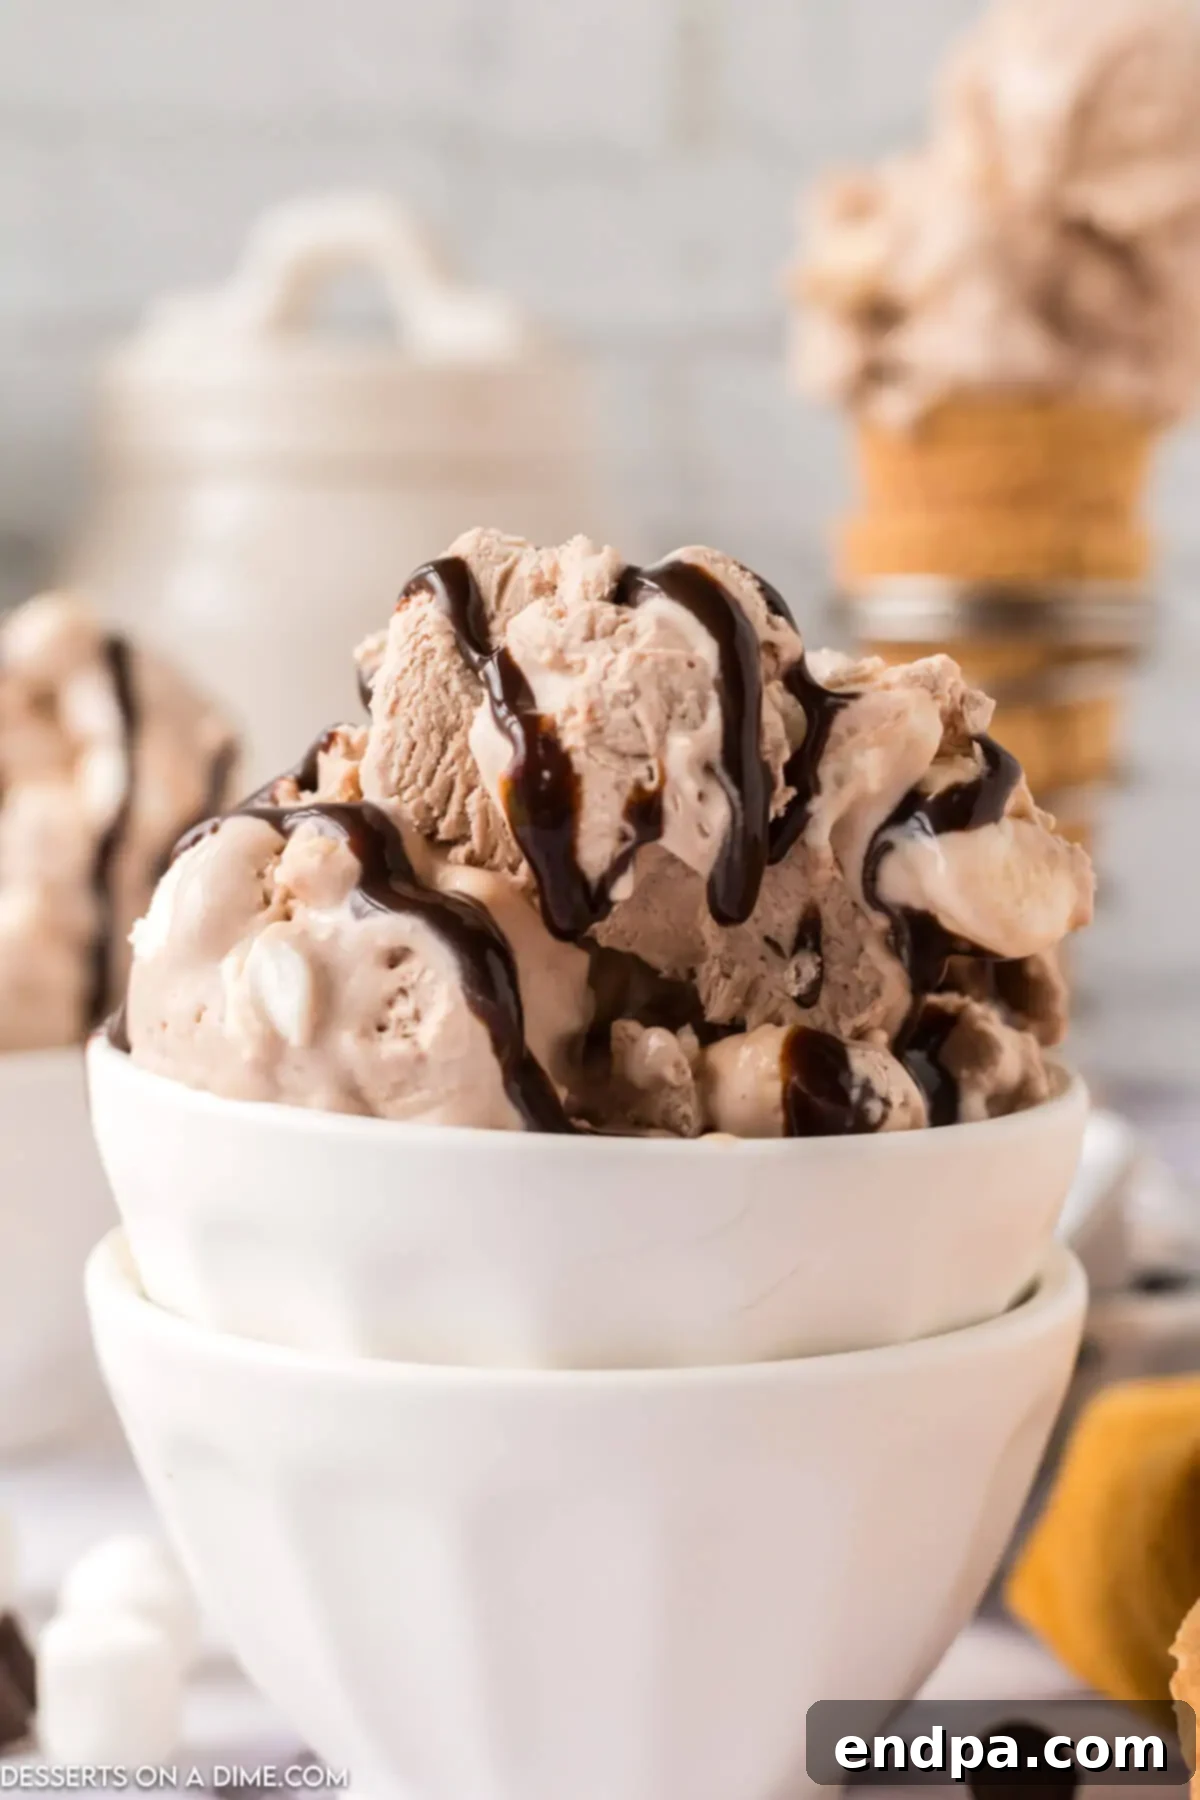
- Classic Toppings: A generous dollop of homemade whipped cream is almost mandatory. A drizzle of chocolate syrup, a sprinkle of chocolate shavings, or even more mini marshmallows or mini chocolate chips make for a picture-perfect and delicious treat.
- Affogato Style: For an adult twist, place a scoop of hot chocolate ice cream in a mug and pour a shot of hot espresso over it. The melting ice cream creates a luscious, creamy coffee experience.
- Ice Cream Sandwiches: Sandwich a scoop between two soft chocolate chip cookies for an ultimate dessert mashup.
- Hot Fudge Sundae: Create a decadent sundae by layering hot fudge, your hot chocolate ice cream, whipped cream, and a cherry on top.
How to Make Frozen Hot Chocolate Ice Cream
Creating this delightful hot chocolate ice cream is a breeze. Follow these simple steps for a perfect, no-churn dessert every time.
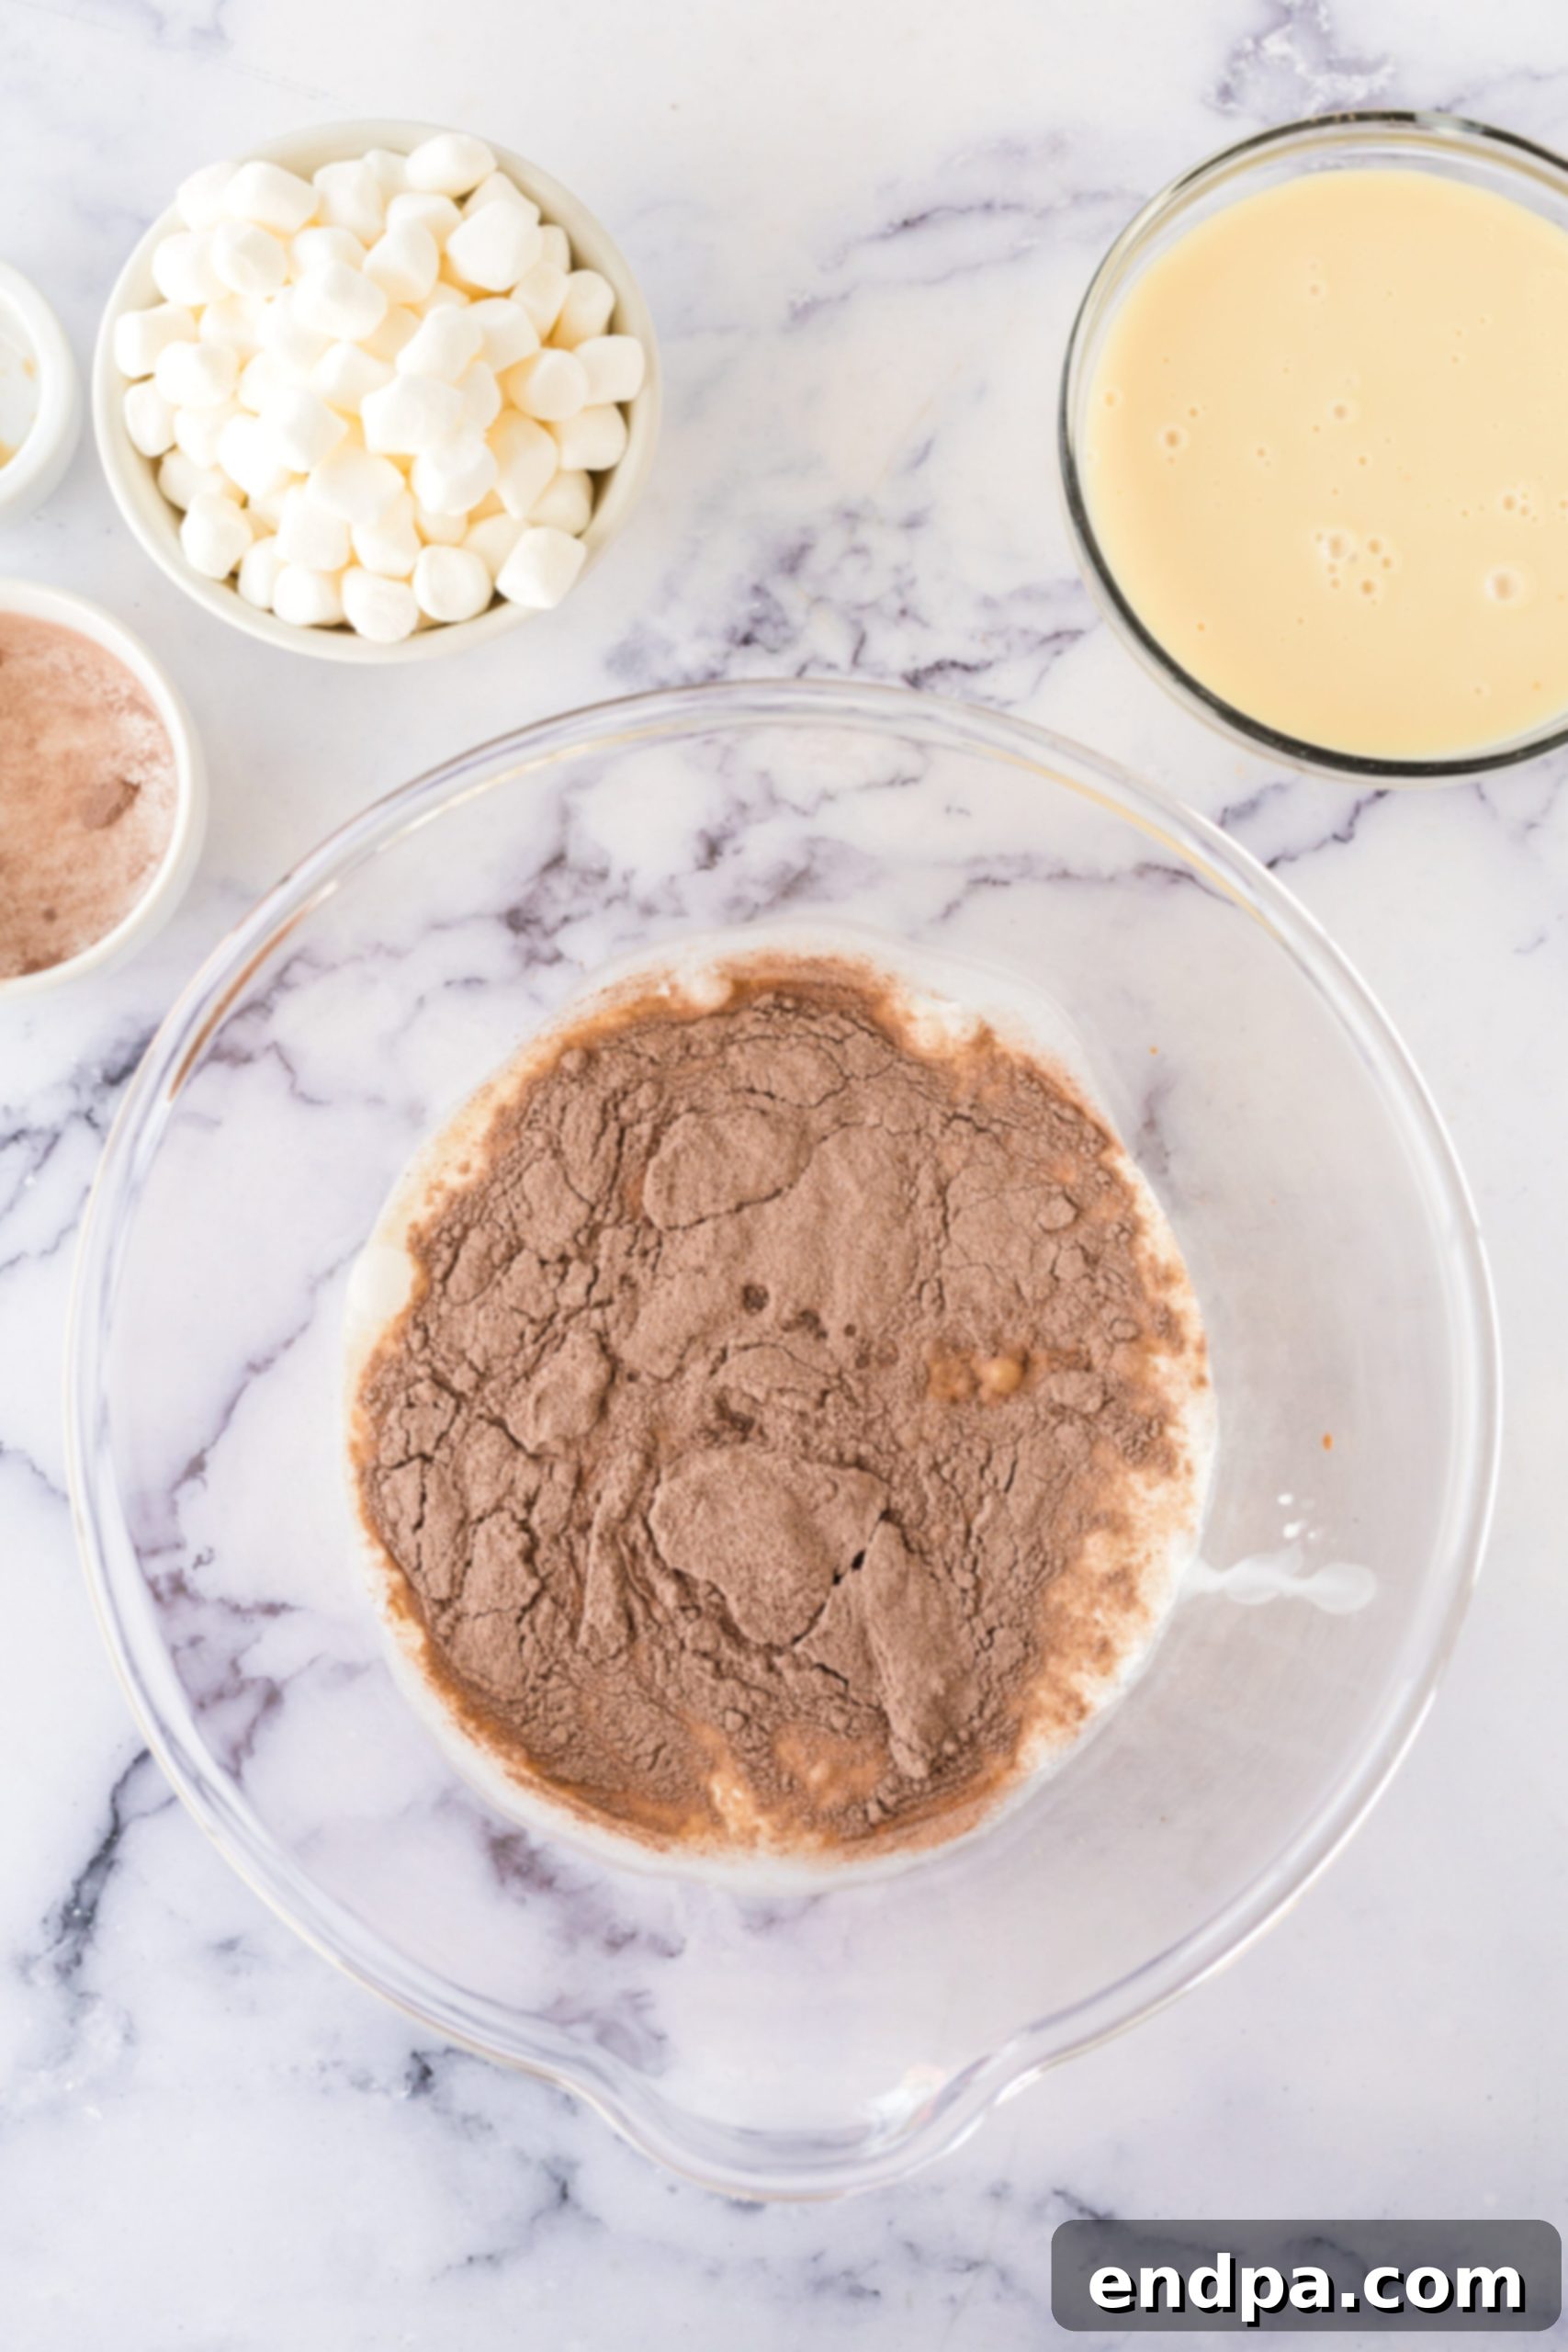
Step 1: Whip the Cream Base. In a large, preferably chilled, mixing bowl, combine the cold heavy whipping cream, vanilla extract, and your chosen hot chocolate mix. Using an electric hand mixer (or a stand mixer with the whisk attachment), beat the mixture on medium-high speed. Continue to beat until stiff peaks form. This means when you lift the beaters, the cream should hold its shape firmly and not droop. Be careful not to overbeat, or it could turn grainy.
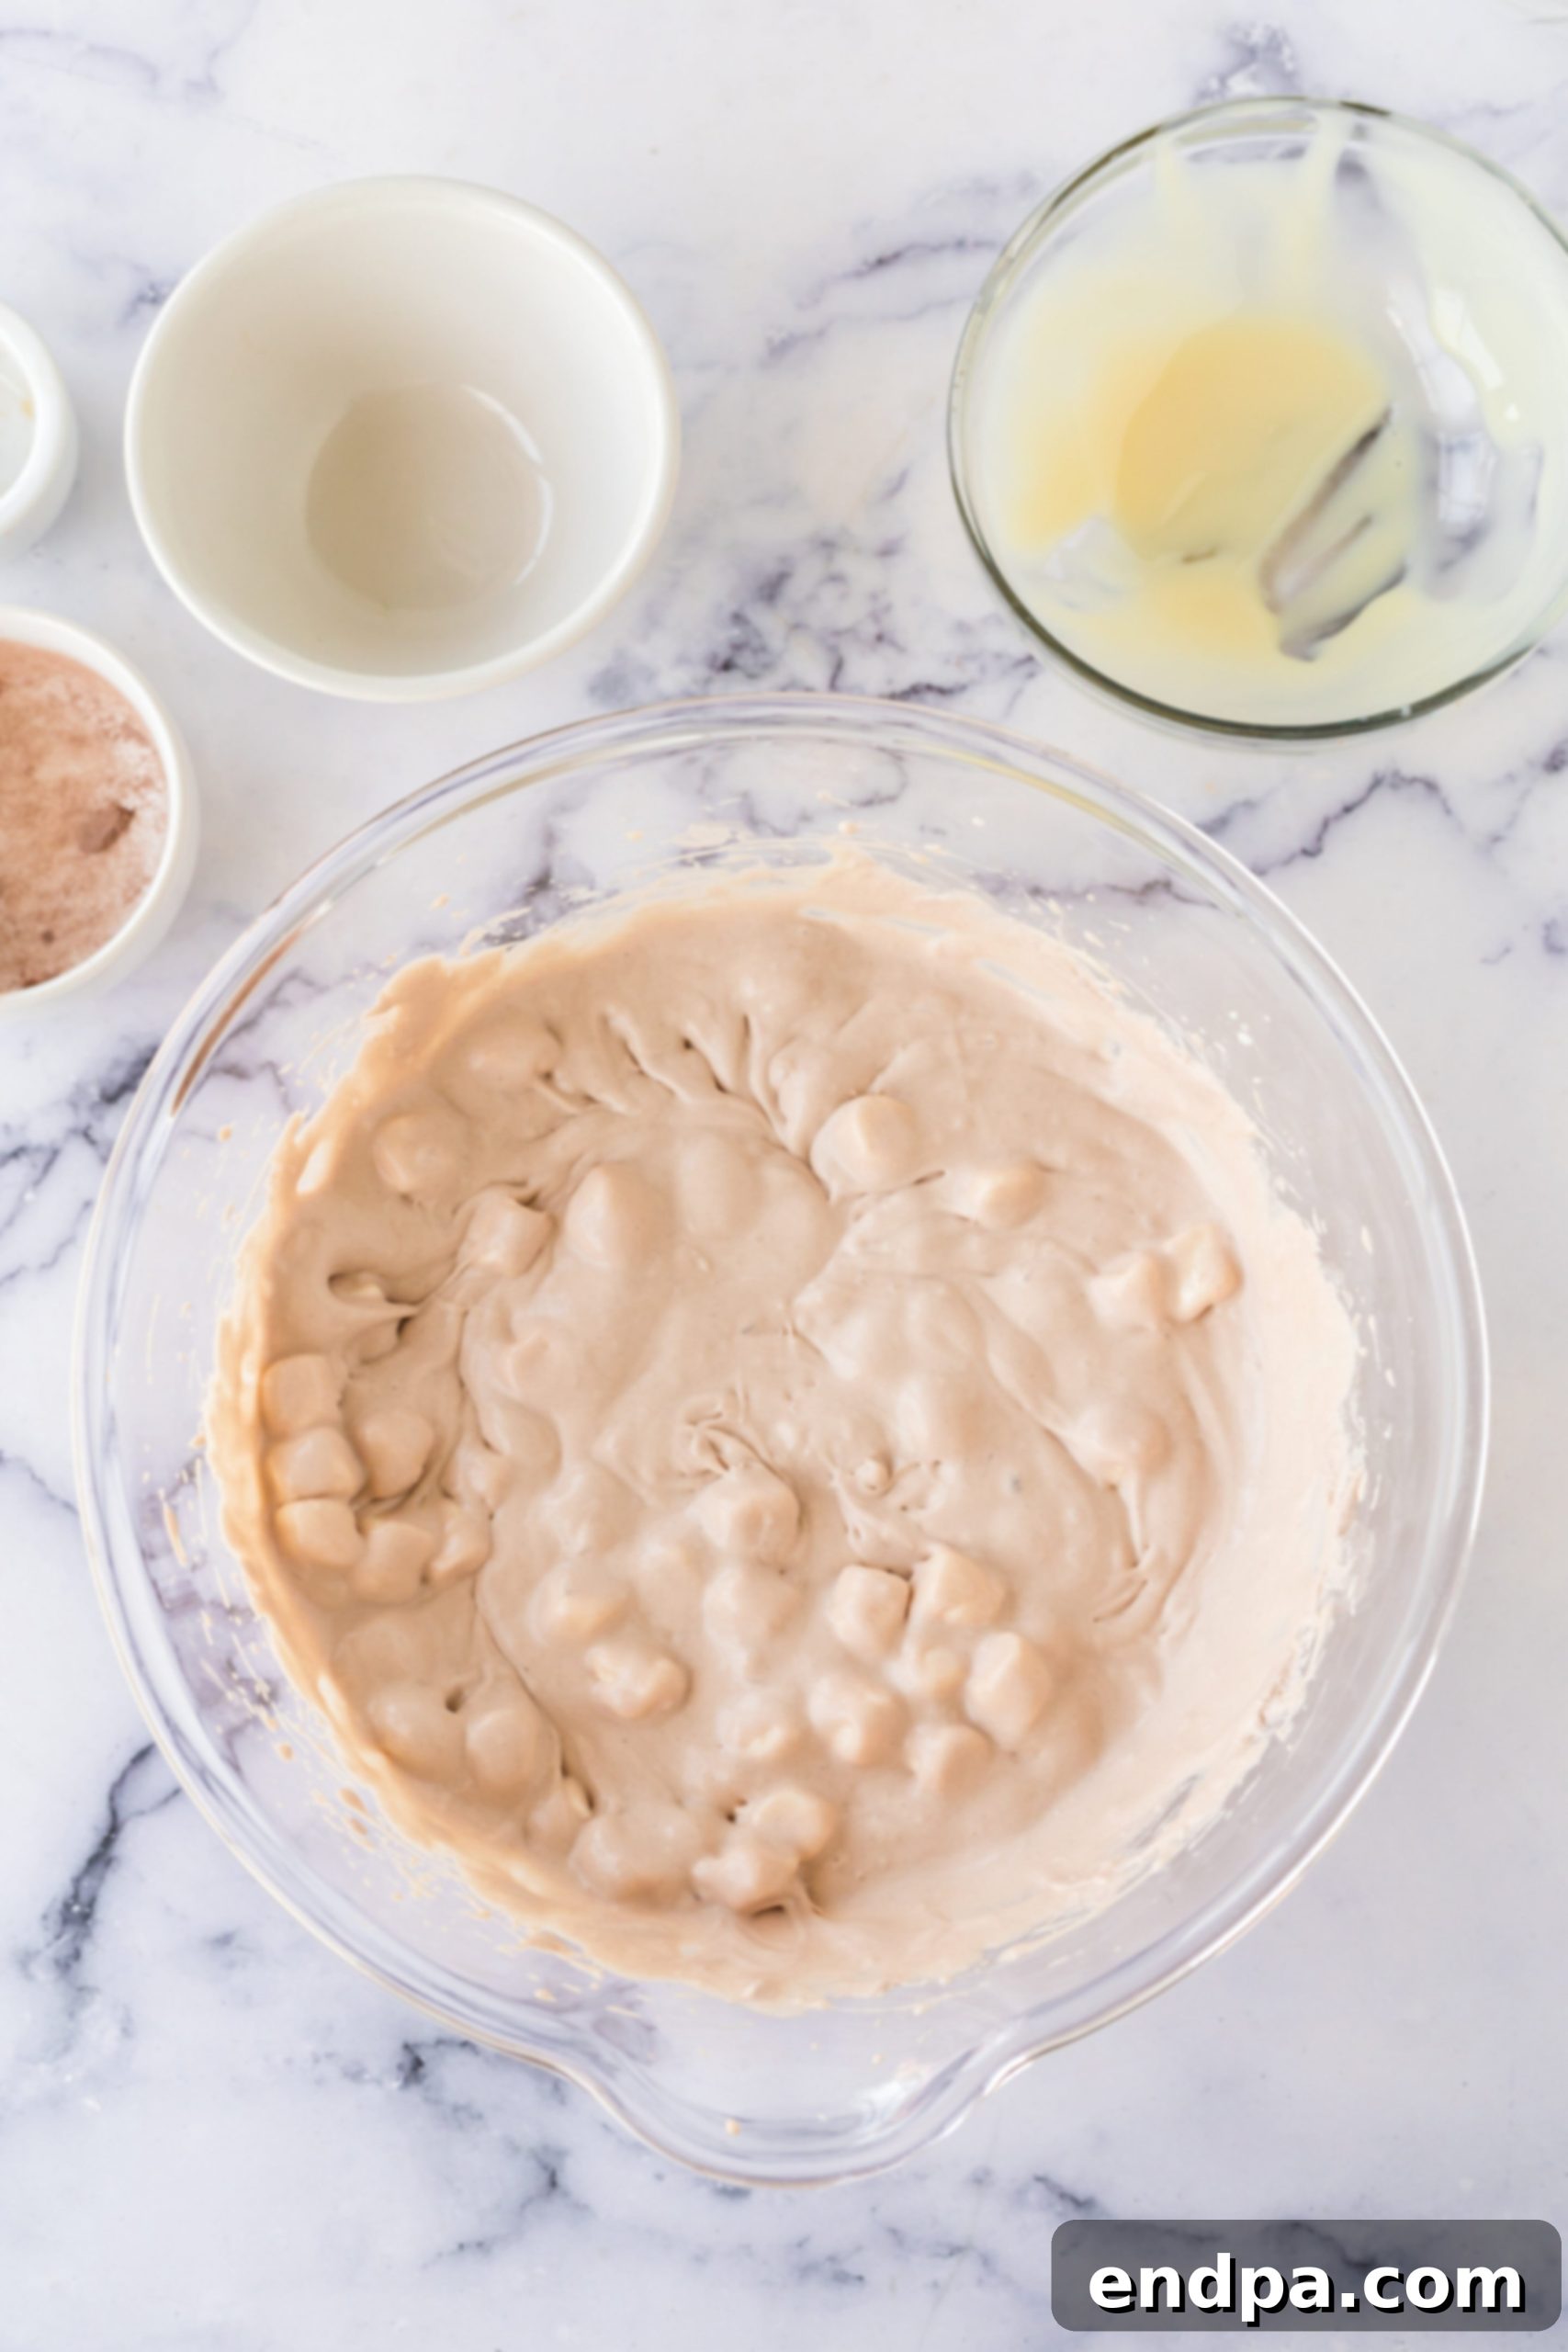
Step 2: Gently Fold in Sweetness and Texture. Once your cream mixture has achieved stiff peaks, carefully add the sweetened condensed milk and the mini marshmallows to the bowl. Switch to a large spoon or a rubber spatula. Gently fold all the ingredients together using an upward motion, being careful not to deflate the whipped cream. Continue folding until the mixture is smoothly combined and no streaks of condensed milk are visible. The goal is a light, homogenous blend.
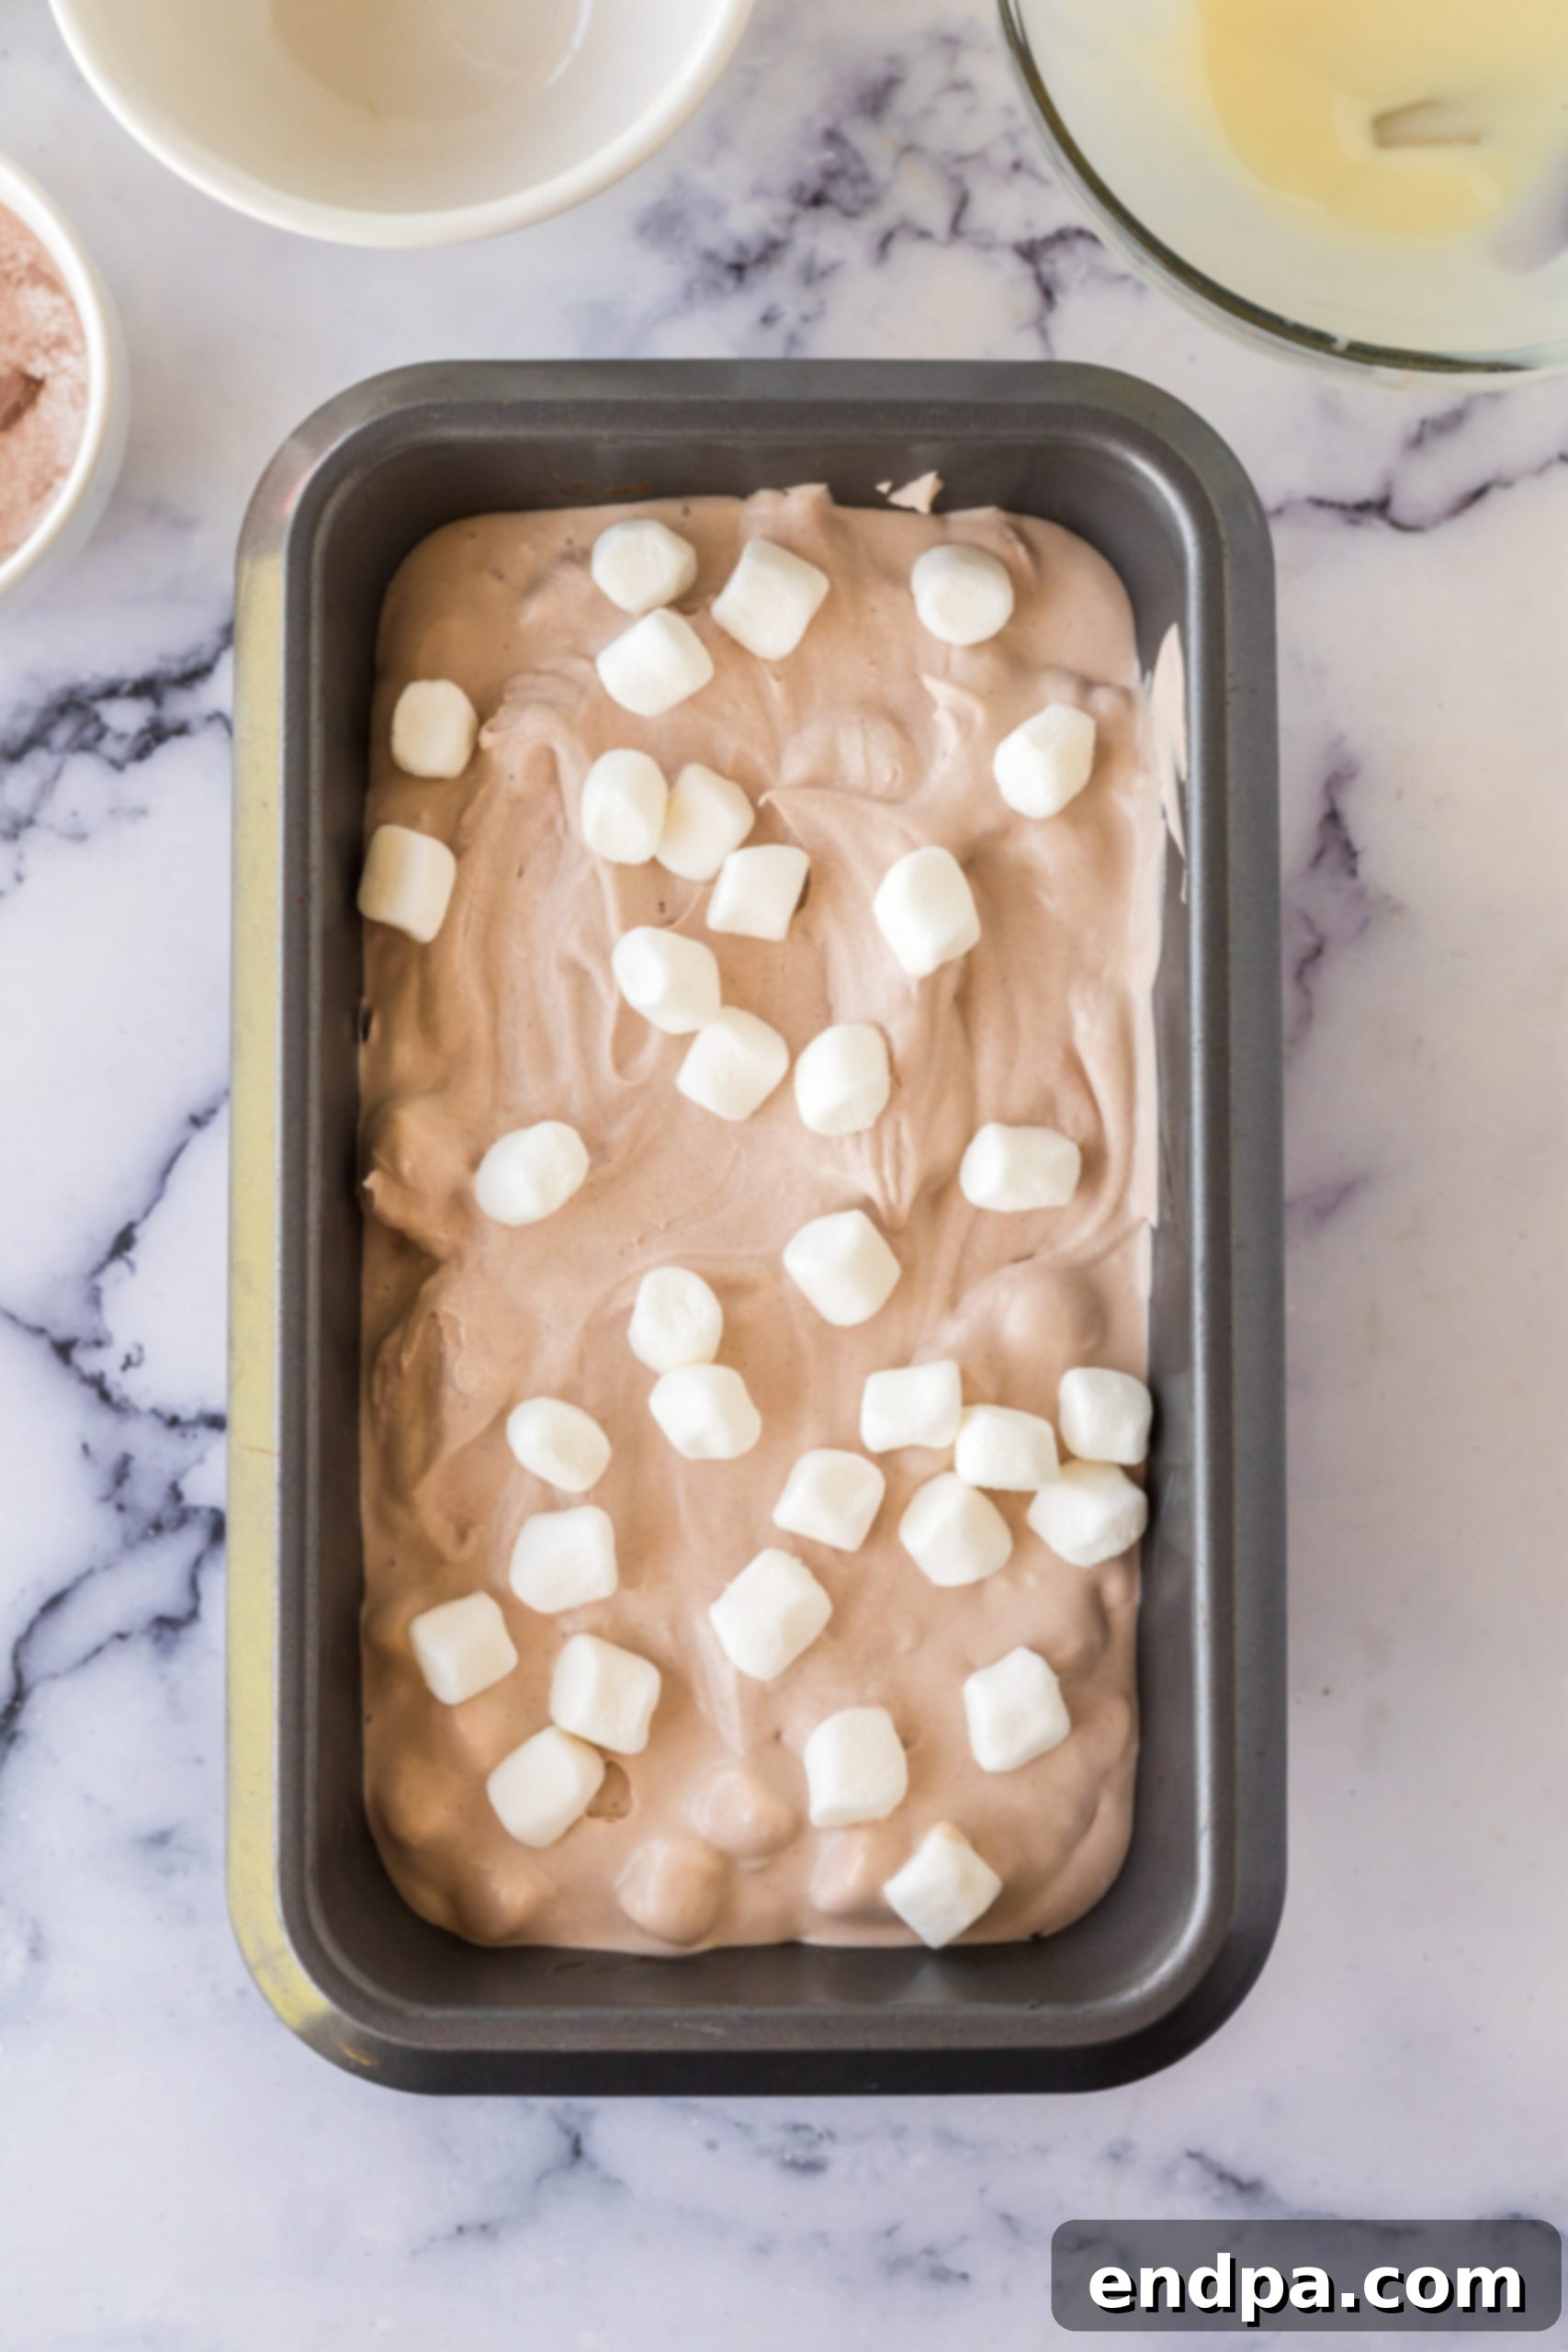
Step 3: Freeze to Perfection. Carefully pour the ice cream mixture into a 9×5 inch loaf pan or another freezer-safe glass dish. Smooth the top with your spatula. Cover the pan tightly with plastic wrap, ensuring the wrap touches the surface of the ice cream to prevent ice crystals from forming. Place the pan in the freezer for a minimum of 6 hours, or ideally, overnight, to allow the ice cream to firm up completely.
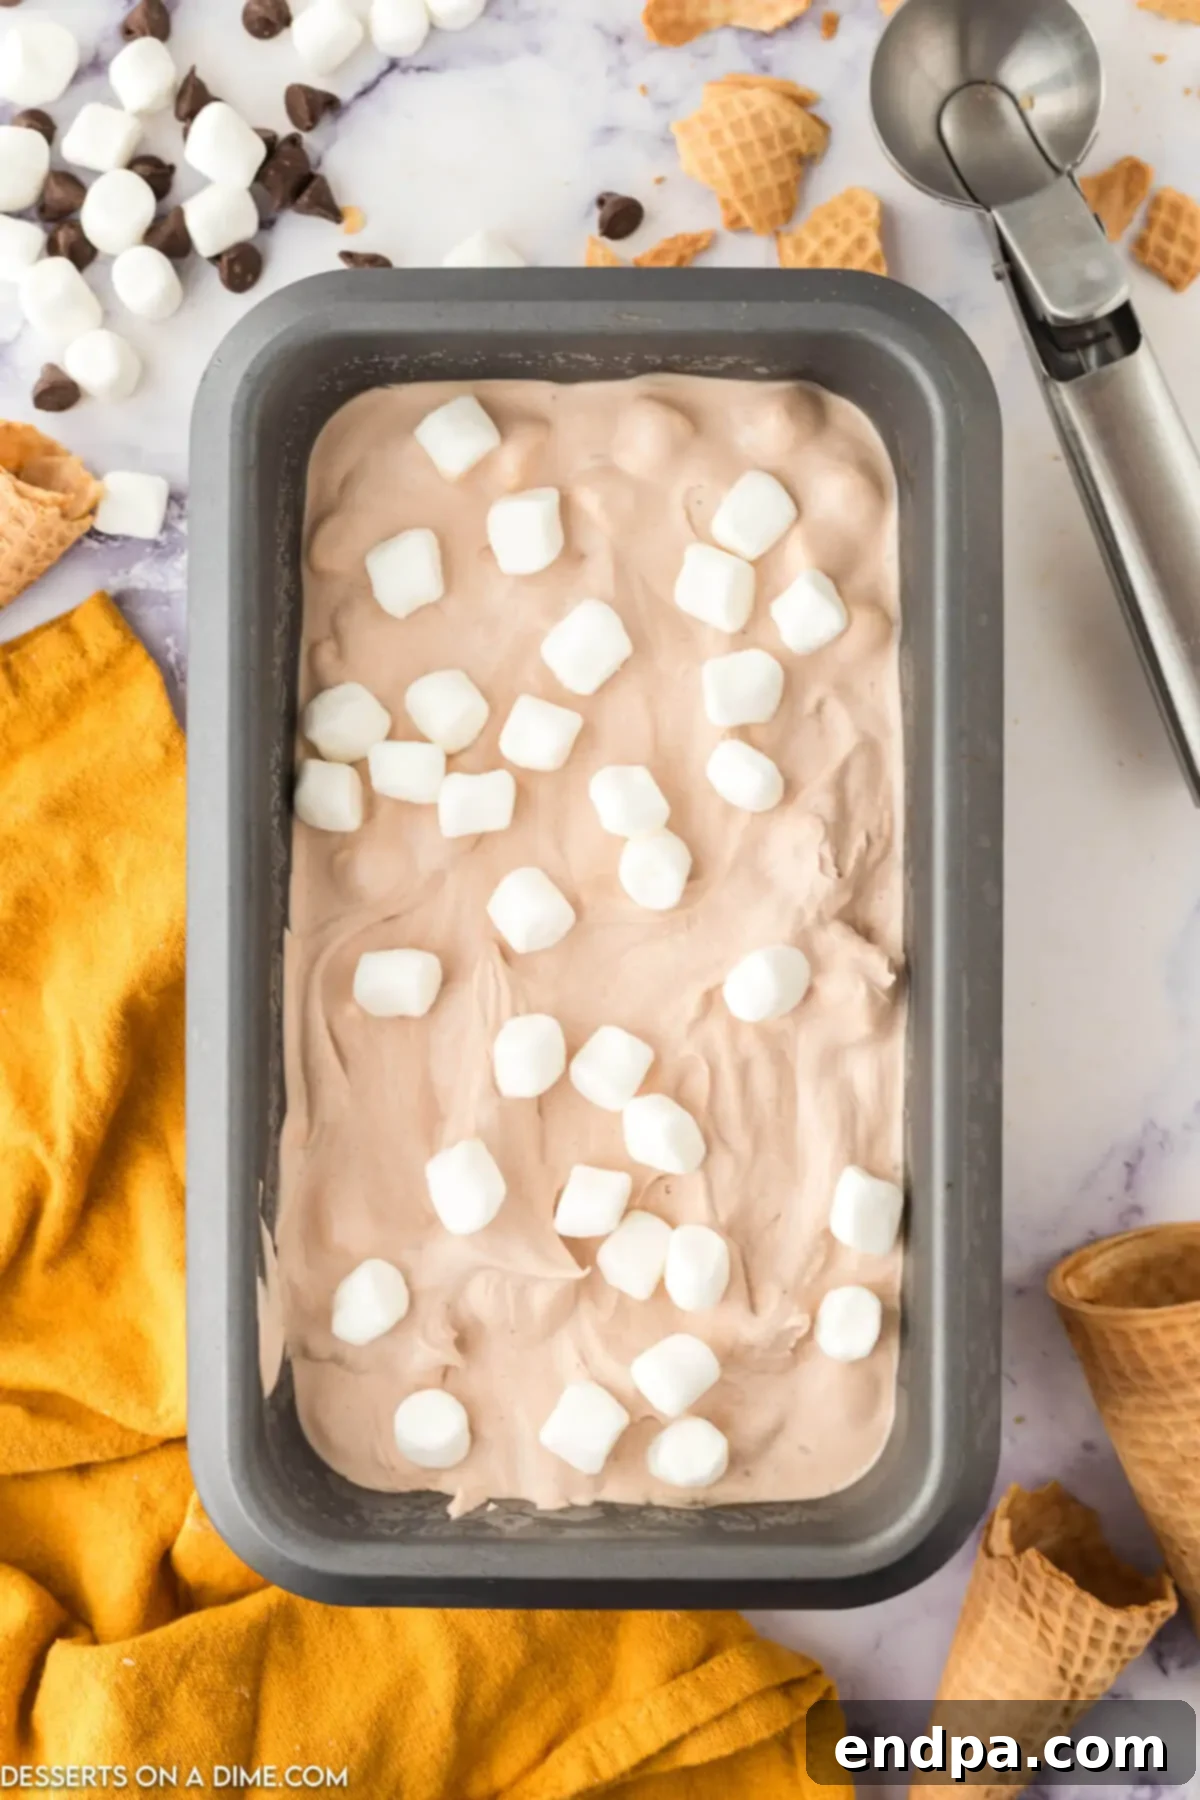
Step 4: Scoop and Enjoy! Once the ice cream is thoroughly frozen and firm, it’s ready to be served. Remove it from the freezer a few minutes before serving to allow it to soften slightly for easier scooping. Scoop generous portions into bowls or cones, add your favorite toppings, and savor every creamy, chocolatey bite!
Storage Tips for Maximum Freshness
Proper storage is key to maintaining the delightful texture and flavor of your homemade Hot Chocolate Ice Cream. With a little care, you can enjoy this creamy treat for weeks.
- Airtight Container is Crucial: After the initial freezing, you can keep the ice cream in the loaf pan it froze in, or transfer it to any other airtight freezer-safe container. This barrier is essential to prevent freezer burn and keep the ice cream tasting fresh. Glass or heavy-duty plastic containers with tight-fitting lids work best.
- Prevent Ice Crystals with Wax Paper: To avoid the formation of pesky ice crystals on the surface, place a layer of wax paper or parchment paper directly onto the surface of the ice cream before securing the lid. This creates an extra protective barrier against air, which is the main cause of ice crystal development and freezer burn.
- Optimal Freezing Time: Your homemade hot chocolate ice cream will maintain its best creamy texture and consistency for about 2 months in the freezer. While it might still be edible beyond this period, its quality, especially its creaminess, will gradually diminish. In our experience, this delicious ice cream rarely lasts that long in the freezer anyway!
- Label and Date: For best practice, especially if you make various batches or flavors, label your container with the date it was made. This helps you keep track of its freshness.
- Avoid Temperature Fluctuations: Try to store your ice cream in the coldest part of your freezer, usually at the back, rather than near the door. Frequent temperature changes (from opening and closing the freezer) can negatively impact the ice cream’s texture and encourage ice crystal formation.
Pro Tips for the Perfect Scoop
Achieving truly exceptional hot chocolate ice cream, even with a simple no-churn recipe, often comes down to a few expert tricks. These pro tips will help you elevate your homemade dessert to professional levels.
- Chill Everything: For the best whipped cream, ensure your heavy cream, mixing bowl, and even the beaters of your electric mixer are thoroughly chilled. Pop the bowl and beaters in the freezer for 10-15 minutes before you start. Cold equipment helps the cream whip up faster and achieve stiffer, more stable peaks, which translates to a lighter, airier ice cream.
- Boost Chocolate Flavor: While three hot chocolate packets (approximately ⅓ cup) provide a lovely flavor, don’t hesitate to adjust to your taste. For an intensely rich chocolate experience, consider adding an extra packet, or use about ½ cup of your favorite hot cocoa mix. You can also opt for a high-quality dark chocolate hot cocoa mix or melt in a few squares of good quality chocolate to the condensed milk for added depth.
- Marshmallow Matters: Mini marshmallows are truly the best choice for this recipe. Their small size ensures they are evenly distributed throughout every scoop. It’s important to remember that marshmallows won’t freeze solid, which contributes to a wonderful, soft, chewy texture that contrasts beautifully with the creamy ice cream. If you have access to small jet puff marshmallow bits, they make an excellent topping when serving.
- Don’t Overmix When Folding: Once you add the sweetened condensed milk and marshmallows, switch from the electric mixer to a spatula. Fold the ingredients gently until just combined. Overmixing at this stage can deflate the whipped cream, leading to a denser, less airy ice cream texture.
- Patience is a Virtue (for Freezing): While 6 hours is the minimum, freezing the ice cream overnight (8-12 hours) ensures it reaches the perfect firm, scoopable consistency. Resist the urge to check on it too often, as opening the freezer door can cause temperature fluctuations.
- Scooping Perfection: For perfectly round scoops, dip your ice cream scoop in hot water for a few seconds before each scoop. This will help glide through the frozen dessert with ease.
Troubleshooting Common Ice Cream Issues
Even with a simple recipe like this no-churn hot chocolate ice cream, you might encounter a few common hiccups. Here are some solutions to ensure your homemade ice cream is always a success:
-
My Ice Cream is Too Hard/Icy:
- Not enough sweetened condensed milk: This ingredient is crucial for preventing large ice crystals. Ensure you’re using the correct amount.
- Over-whipped cream: If the cream is whipped too stiff, it can become grainy and lead to a harder texture. Aim for stiff, but still smooth, peaks.
- Improper storage: If not covered tightly with plastic wrap directly on the surface, air can cause ice crystals. Refer to the storage tips above.
- Freezer temperature too low: While a cold freezer is good, extremely low temperatures can make any ice cream rock hard. Allow it to sit on the counter for 5-10 minutes before scooping.
-
My Ice Cream is Too Soft/Doesn’t Freeze Properly:
- Under-whipped cream: The heavy cream needs to reach stiff peaks to provide the structure for the ice cream. If it’s too soft, the final product will be too runny.
- Too much liquid added (variations): If you’ve added liquid flavorings (like brewed coffee) as a variation, ensure it’s a minimal amount and accounted for in the overall liquid balance.
- Not enough freezing time: This recipe requires a minimum of 6 hours, but overnight is always best for full firmness.
-
My Ingredients Won’t Combine Smoothly:
- Cream not cold enough: Cold cream whips best. Warm cream will struggle to form stiff peaks.
- Folding technique: Be gentle but thorough. Ensure you scrape the bottom and sides of the bowl to incorporate all ingredients without deflating the cream.
Frequently Asked Questions (FAQs)
Here are some common questions about making and enjoying Hot Chocolate Ice Cream:
Can I use homemade hot cocoa mix?
Yes, you absolutely can substitute homemade hot chocolate mix in this recipe! Feel free to use your favorite recipe, whether it’s one with cocoa powder, sugar, and a pinch of salt, or a more elaborate blend. Homemade mixes often offer a richer, more customizable flavor, and they work wonderfully here. We especially love using an easy homemade Hot Chocolate Mix made with cocoa powder for a truly authentic taste.
What’s the difference between Hot Chocolate Ice Cream and Frozen Hot Chocolate?
The flavor profiles of Hot Chocolate Ice Cream and Frozen Hot Chocolate are indeed very similar, as both aim to capture the essence of a classic hot chocolate. However, their textures and forms are distinctly different. Frozen Hot Chocolate, often popularized by establishments like Serendipity in NYC, is primarily a thick, slushy, and intensely flavored drink. This recipe, on the other hand, is actual ice cream – a firm, scoopable, creamy frozen dessert that you eat with a spoon or in a cone. They offer different experiences but deliver similar beloved chocolatey notes.
Can I make this recipe ahead of time for a party?
Absolutely! This no-churn hot chocolate ice cream is an excellent make-ahead dessert. Since it requires a minimum of 6 hours to freeze (and ideally overnight), it’s perfect for preparing a day or two in advance of your event. Just ensure it’s stored properly in an airtight container to maintain its freshness and prevent ice crystals.
Can I use a different type of milk?
For this specific no-churn recipe, heavy whipping cream and sweetened condensed milk are essential. Heavy whipping cream provides the necessary fat content and volume when whipped, creating the airy base without churning. Sweetened condensed milk provides sweetness and prevents ice crystals. Regular milk, plant-based milks, or evaporated milk will not yield the same creamy, scoopable ice cream texture.
Why is my whipped cream not forming stiff peaks?
The most common reasons are that the heavy cream isn’t cold enough, or your mixing bowl and beaters aren’t cold. Ensure all these components are thoroughly chilled before you begin. Also, make sure you’re using heavy whipping cream (at least 36% milk fat) and not a lighter cream, as lighter creams won’t whip properly.
More Irresistible Chocolate Ice Cream Recipes
If you’re a devoted fan of chocolate and can’t get enough of its rich, decadent flavor in frozen form, you’re in for a treat! Explore these other fantastic chocolate-inspired ice cream recipes to expand your dessert repertoire:
- No-Churn Chocolate Ice Cream
- Chocolate Caramel Ice Cream
- Mint Chocolate Chip Ice Cream
- Pumpkin Chocolate Chip Ice Cream
- Chocolate Milkshake Recipe
We genuinely hope you enjoy making and savoring this delightful Hot Chocolate Ice Cream. It’s a simple recipe that delivers extraordinary results, perfect for any occasion. Go ahead and try this delicious recipe today! Then, please share your thoughts and leave a comment below. We love to hear from you and see your creations!
Hot Chocolate Ice Cream
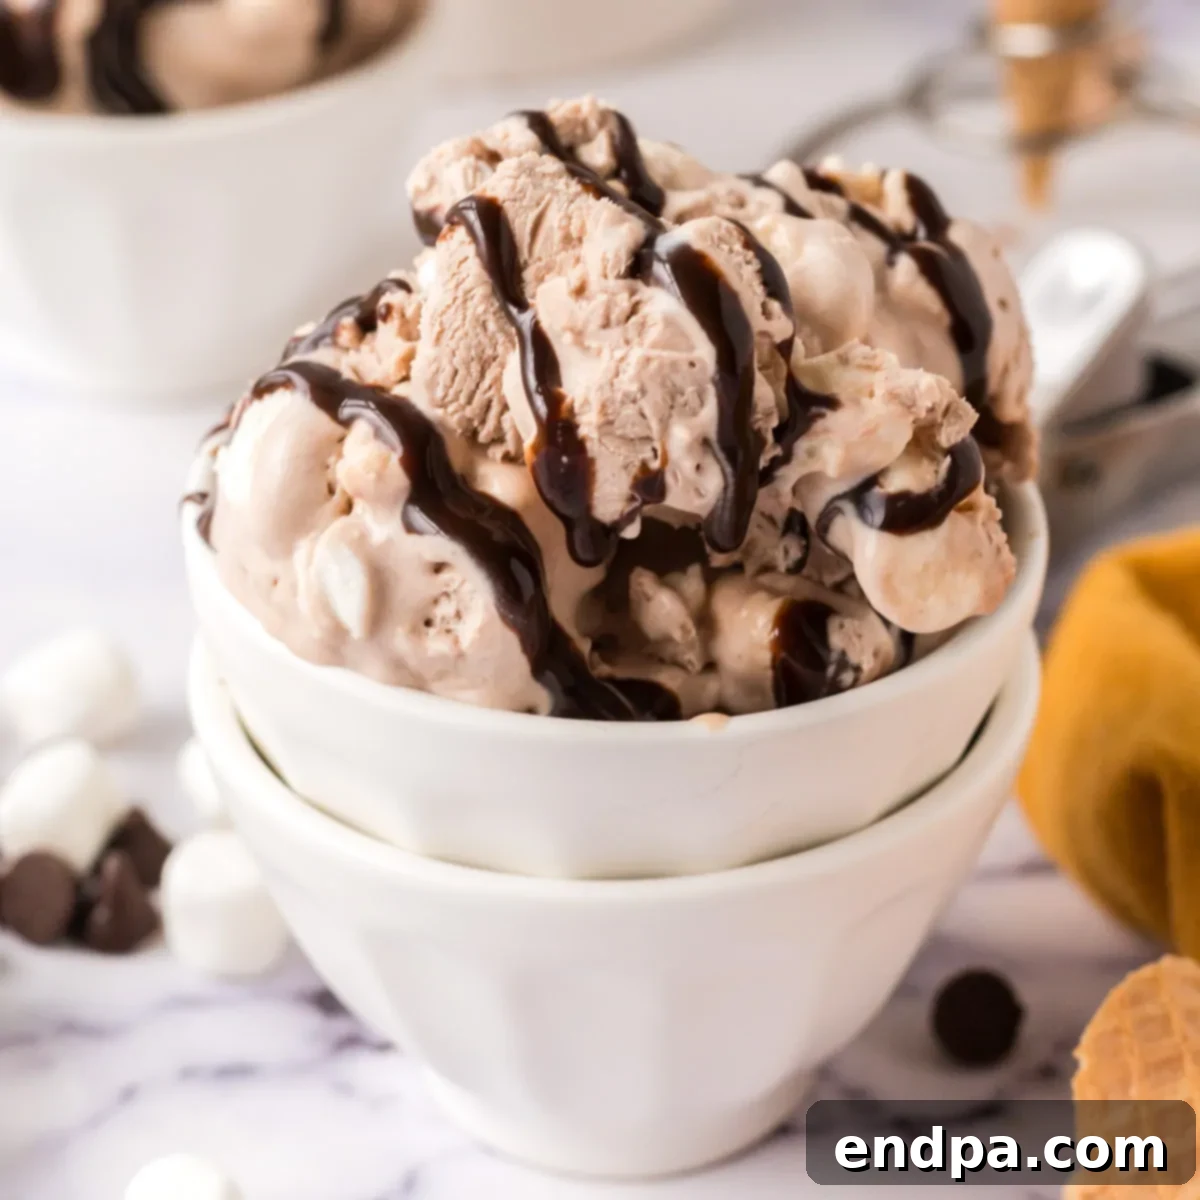
Hot Chocolate Ice Cream only has 5 ingredients and no ice cream maker needed. It is a decadent milk chocolate mixture and even has marshmallows.
Prep Time: 15 mins
Freeze Time: 6 hrs
Total Time: 6 hrs 15 mins
Servings: 6
Cuisine: American
Course: Dessert
Calories: 519
Author: Carrie Barnard
Ingredients
- 2 cups heavy whipping cream (cold)
- 1 teaspoon vanilla extract (pure)
- 3 packages of hot chocolate mix (about ⅓ cup)
- 14 oz sweetened condensed milk
- 1 ¼ cup mini marshmallows
Instructions
- In a large, chilled mixing bowl, combine the cold heavy cream, pure vanilla extract, and your chosen hot chocolate mix. Use an electric hand mixer to whip the cream on medium-high speed until stiff, free-standing peaks form.
- Once the cream has formed stiff peaks, gently add the sweetened condensed milk and the mini marshmallows. Use a large spoon or spatula to fold these ingredients together carefully until the mixture is smooth and homogenous, being careful not to deflate the whipped cream.
- Transfer the entire ice cream mixture into a 9×5 inch loaf pan or an equivalent glass dish. Cover the pan tightly with plastic wrap, ensuring the wrap directly touches the surface of the ice cream to prevent ice crystals. Allow the ice cream to freeze for at least 6 hours, or ideally, overnight, until it is firm.
- Serve generous scoops and enjoy your homemade Hot Chocolate Ice Cream!
Recipe Notes
- If you have access to small jet puff marshmallow bits, they make an excellent topping for this ice cream.
- For a richer chocolate flavor, you can use an extra hot chocolate packet or about ½ cup of hot cocoa mix. You can also use a dark hot chocolate mix or add a cup of mini chocolate chips.
- Mini marshmallows are preferred for even distribution and a pleasant chewy texture, as they will not freeze solid.
- Proper storage in an airtight container with wax paper on top can keep this ice cream fresh for about 2 months in the freezer.
- Ensure all ingredients, especially the heavy cream, and your mixing bowl/beaters are thoroughly chilled before starting for the best whipping results.
Nutrition Facts
Calories: 519kcal, Carbohydrates: 47g, Protein: 8g, Fat: 34g, Saturated Fat: 22g, Polyunsaturated Fat: 1g, Monounsaturated Fat: 9g, Trans Fat: 0.002g, Cholesterol: 112mg, Sodium: 118mg, Potassium: 322mg, Fiber: 0.03g, Sugar: 45g, Vitamin A: 1343IU, Vitamin C: 2mg, Calcium: 241mg, Iron: 0.2mg
