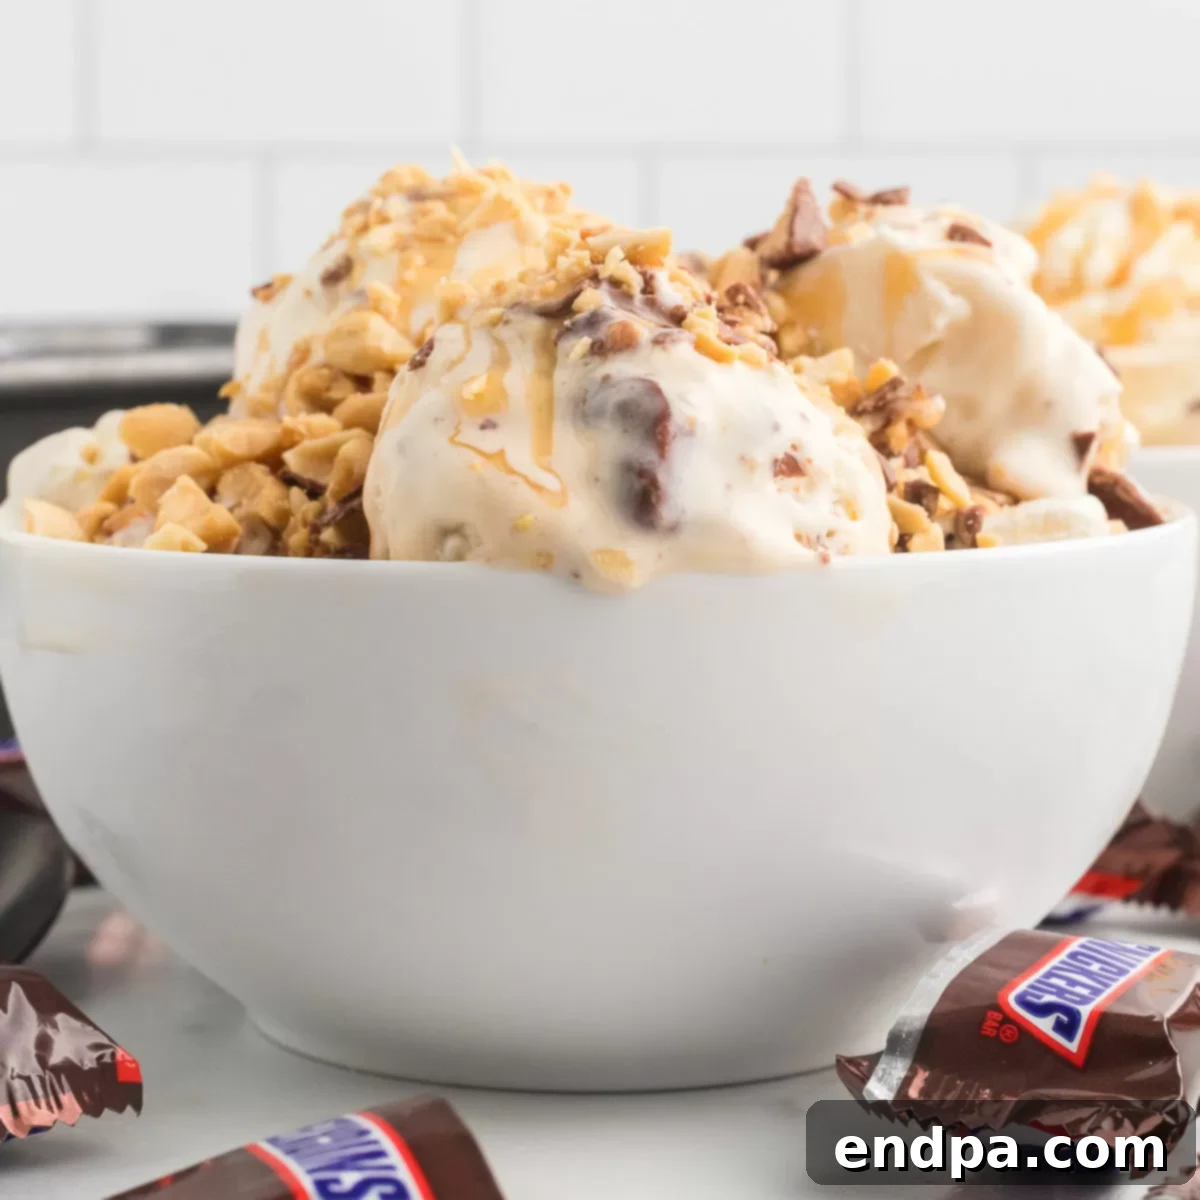
Craving a delightful frozen treat that combines the irresistible flavors of caramel, peanuts, and rich chocolate? Look no further than this incredible Snickers Ice Cream Recipe. This decadent, no-churn recipe delivers all the classic taste of your favorite Snickers candy bar, swirled into a luxuriously creamy ice cream base, without the need for an expensive ice cream maker. It’s the ultimate homemade dessert that promises to satisfy any sweet tooth, offering a perfect balance of sweet, salty, and crunchy in every spoonful.
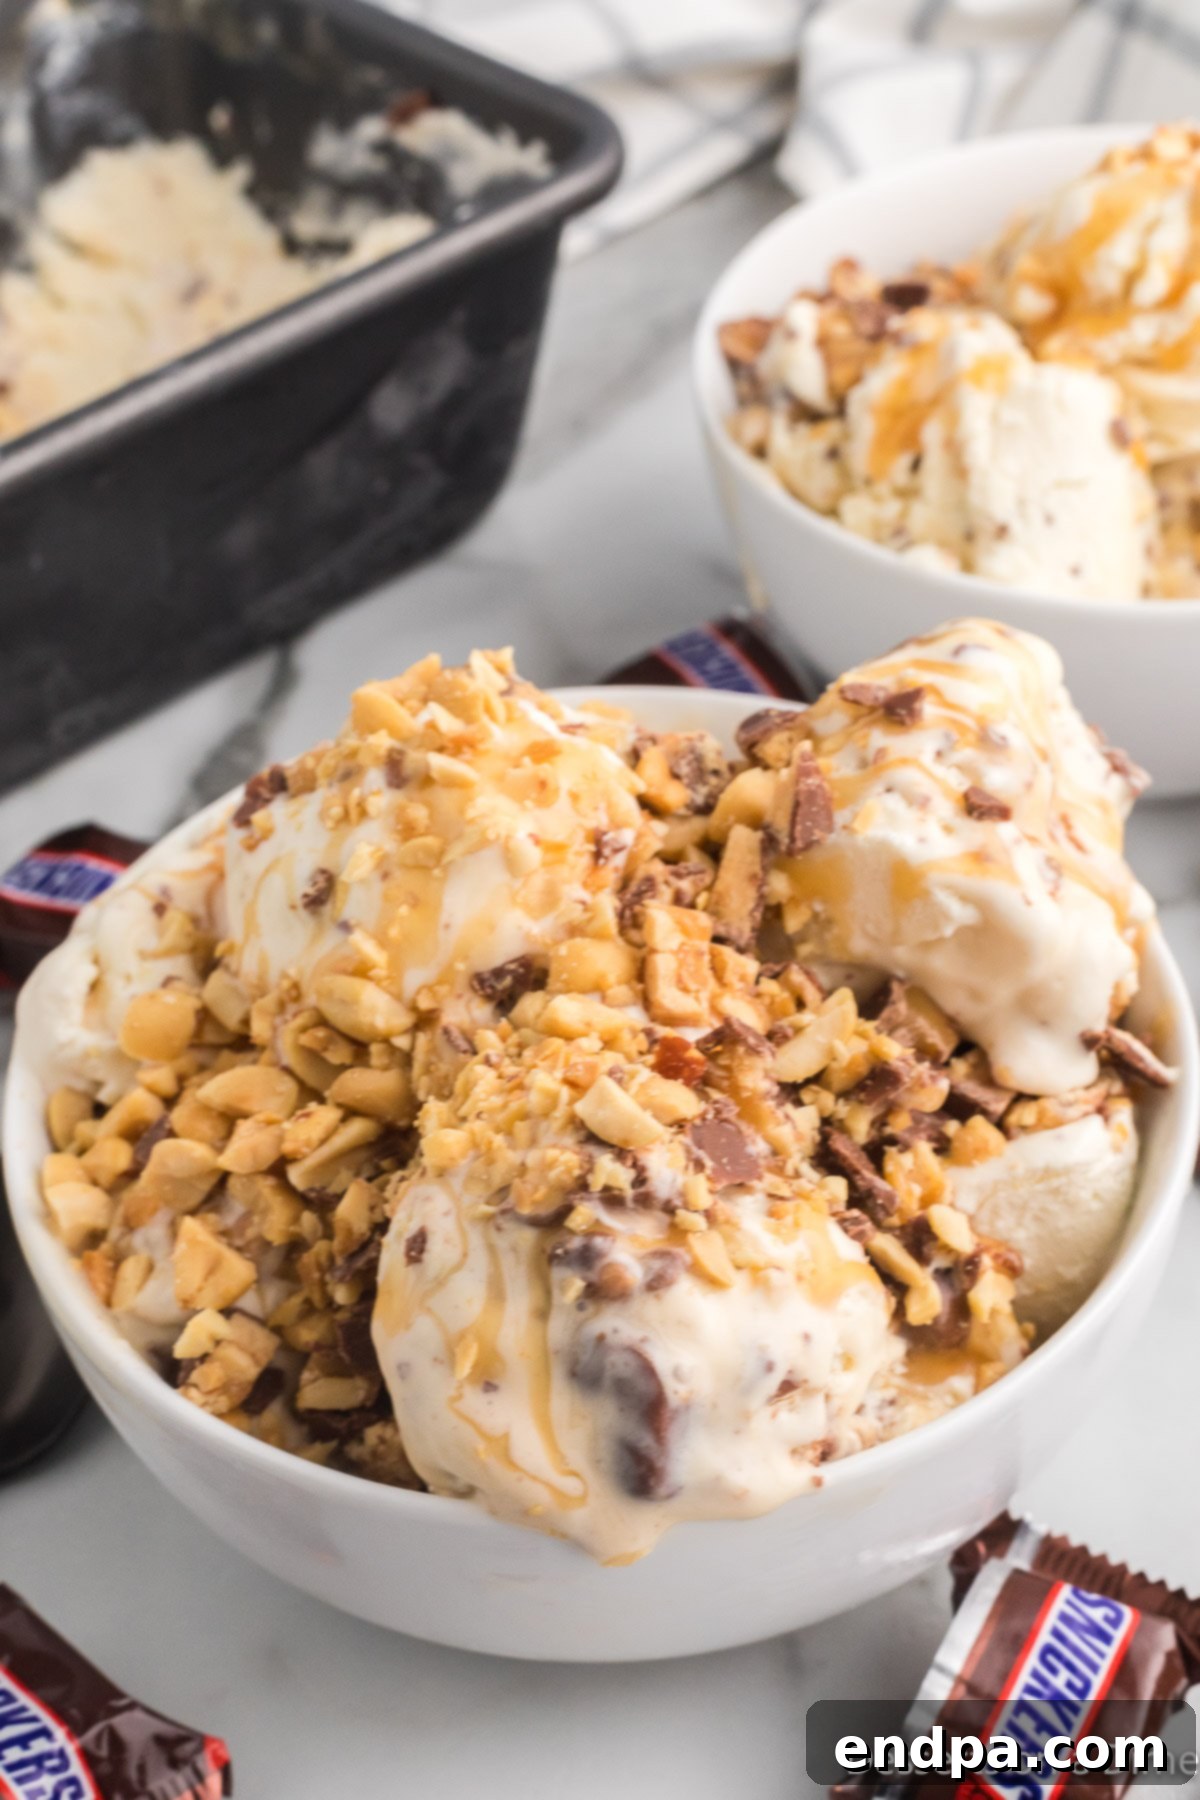
Imagine the delightful crunch of roasted peanuts, the gooey sweetness of caramel, and chunks of nougat and milk chocolate, all suspended in a velvety smooth ice cream. This recipe makes that dream a reality, creating an exceptional dessert that’s surprisingly simple to prepare. Whether you’re a long-time Snickers enthusiast or just a lover of rich, homemade ice cream, this no-churn method will quickly become a cherished favorite. You’ll be amazed at how effortlessly you can create such a gourmet-quality treat right in your own kitchen.
For those who adore the iconic Snickers bar, this ice cream version takes the beloved candy to an entirely new level. It captures the essence of what makes Snickers so popular – the harmonious blend of textures and tastes – and transforms it into a refreshing, frozen delight. Beyond ice cream, Snickers candy bars are incredibly versatile in desserts. If you’re a true Snickers aficionado, you might also enjoy exploring other creative ways to use them, such as making Deep Fried Snickers for a warm, melty indulgence, or a show-stopping Snickers Cake for your next celebration.
Table of Contents
- Why Choose No-Churn Ice Cream?
- Why You’ll Love This Snickers Ice Cream Recipe
- Essential Ingredients for Snickers Ice Cream
- How to Make Snickers Ice Cream: A Detailed Guide
- Storage Tips for Homemade Ice Cream
- How Long Does Homemade Ice Cream Last?
- Pro Tips and Delicious Variations
- Serving Suggestions
- More Irresistible No-Churn Recipes
Why Choose No-Churn Ice Cream?
The concept of “no-churn” ice cream has revolutionized homemade dessert making, making it accessible to everyone, regardless of their kitchen equipment. The primary advantage of a no-churn recipe is the elimination of the need for an ice cream maker. Traditional ice cream machines churn the mixture to incorporate air and prevent large ice crystals from forming, resulting in a smooth texture. No-churn recipes achieve a similar velvety consistency by relying on whipped heavy cream, which provides the necessary lightness and aeration when folded into a sweetened condensed milk base.
This method offers several benefits: it’s incredibly fast to prepare, requiring minimal active cooking time; it uses simple, readily available ingredients; and it consistently produces a rich, creamy, and undeniably satisfying ice cream. For busy individuals or those with limited kitchen space, no-churn ice cream is a game-changer, proving that you don’t need fancy gadgets to create truly spectacular desserts. It’s a testament to the fact that sometimes, the simplest methods yield the most delicious results.
Why You’ll Love This Snickers Ice Cream Recipe
There are countless reasons to fall in love with this homemade Snickers ice cream. First and foremost, it allows you to bypass the freezer aisle and create a truly personalized, gourmet-quality dessert from scratch. The process is remarkably straightforward, calling for only six main ingredients, making it an ideal project for even novice bakers or those short on time. In just a few simple steps, you’ll be well on your way to a profoundly satisfying frozen treat.
This recipe transforms the classic Snickers bar into a luxurious ice cream experience, featuring luscious chocolate, chewy nougat, crunchy peanuts, and a decadent caramel swirl, all embedded in a smooth, creamy base. It’s an instant crowd-pleaser and a fantastic way to impress guests or simply treat yourself and your family. Enjoy it scooped into a bowl, nestled in a crispy waffle cone, or even as a delightful accompaniment to other desserts. Its versatility extends beyond just serving; the base recipe is also adaptable, allowing for creative modifications to suit various preferences or available ingredients.
If you’ve ever enjoyed a store-bought Snickers ice cream bar, prepare to be amazed by the elevated flavor and texture of this homemade rendition. It’s richer, creamier, and bursting with fresh, vibrant flavors that store-bought versions often lack. Beyond Snickers, the world of homemade ice cream is vast and exciting. If you enjoy creating your own frozen desserts, consider trying other delightful recipes like a comforting Pecan Pie Ice Cream Recipe, perfect for holidays or a cozy evening, or a sophisticated Caramel Pecan Praline Ice Cream Recipe for a truly indulgent experience.
Essential Ingredients for Snickers Ice Cream
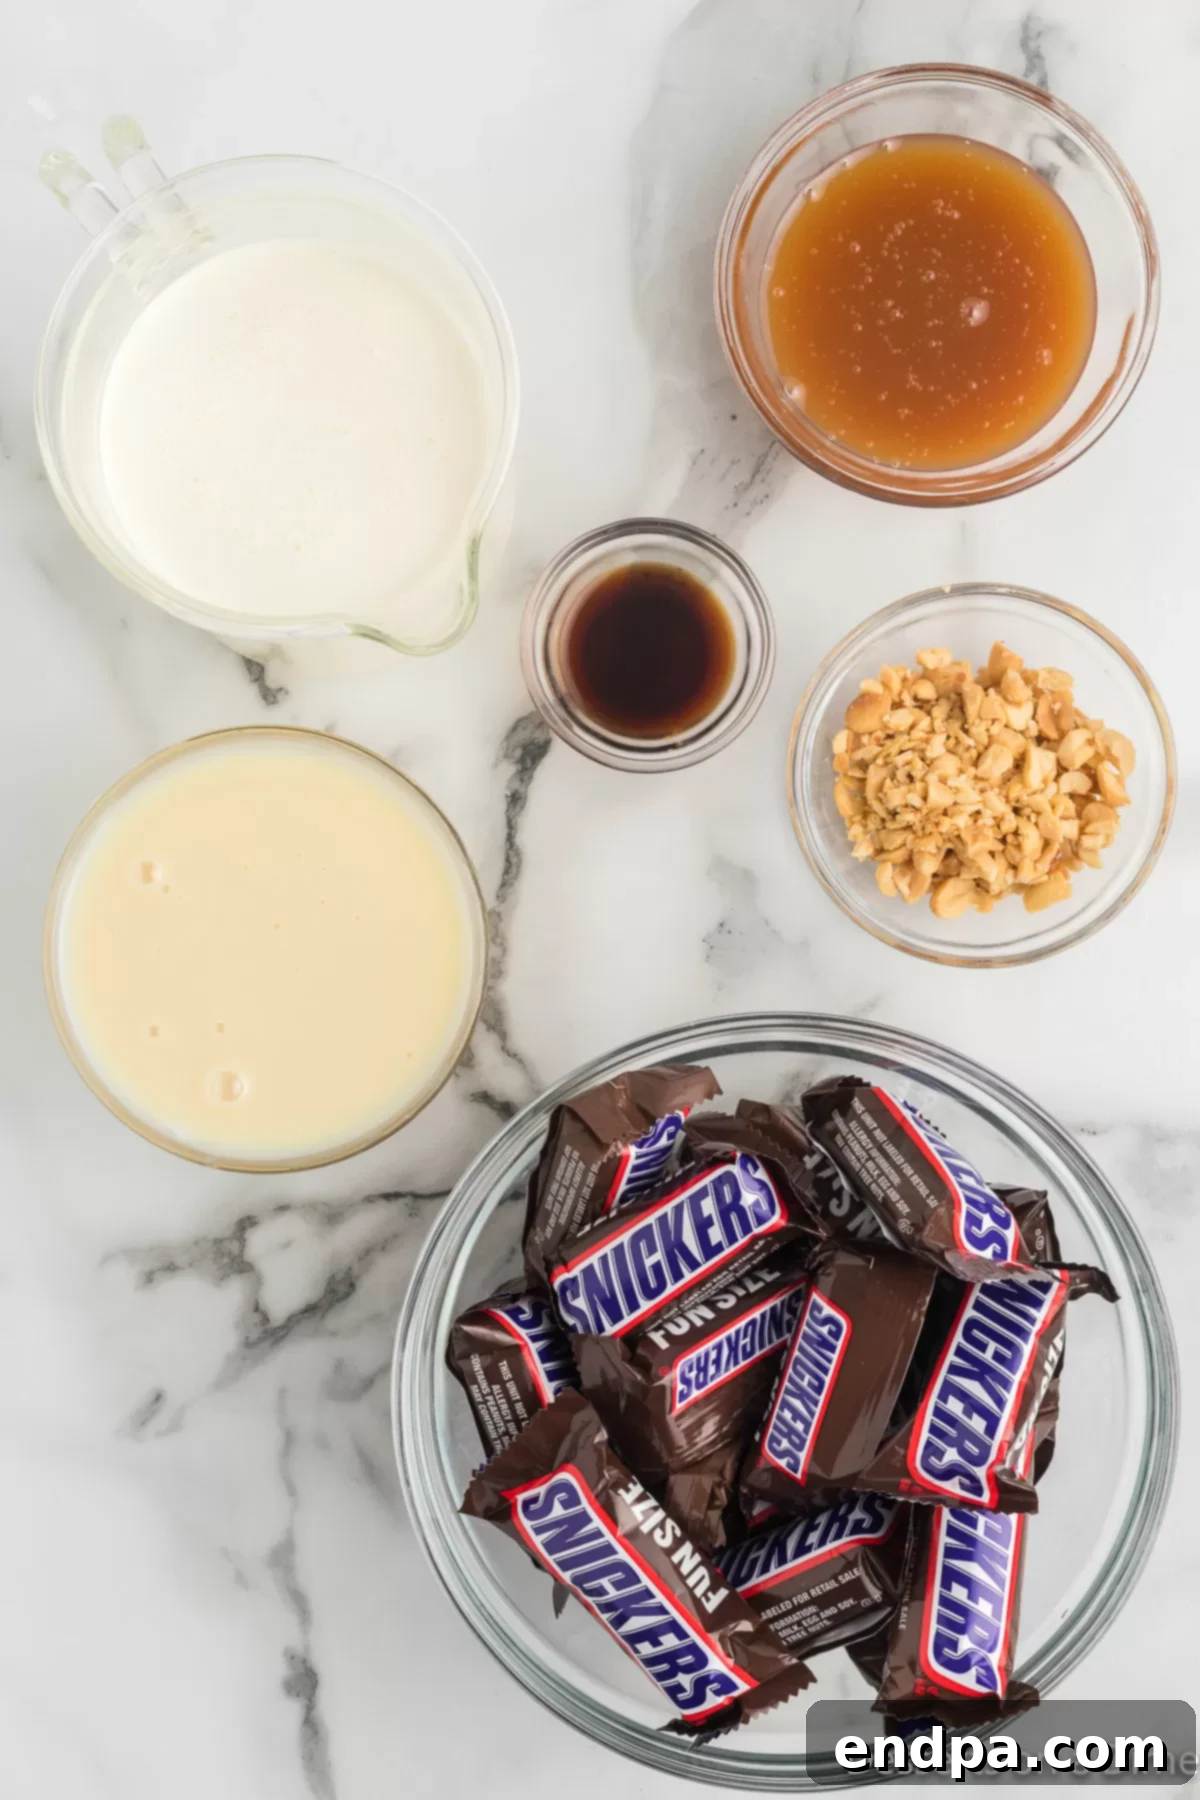
Creating this irresistible Snickers ice cream requires just a few key ingredients, each playing a crucial role in achieving the perfect flavor and texture:
- Sweetened Condensed Milk: This is the foundation of our no-churn base, providing both sweetness and a thick, creamy texture. Its low water content helps prevent ice crystal formation, ensuring a smooth result. While store-bought works perfectly, you can elevate your ice cream even further by making a batch of Homemade Sweetened Condensed Milk for an even richer flavor.
- Vanilla Extract: A touch of pure vanilla extract enhances all the other flavors, adding a warm, aromatic depth to the ice cream base. Always opt for good quality pure vanilla extract for the best taste.
- Heavy Whipping Cream: This ingredient is vital for creating the light, airy, and voluminous texture of no-churn ice cream. It needs to be very cold before whipping to achieve stiff peaks, which will then lend its structure and richness to the final product.
- Caramel Sauce: The signature gooey caramel swirl is a must-have for Snickers ice cream. You can use your favorite store-bought caramel sauce for convenience, or for an extra special touch, whip up a batch of Homemade Caramel Sauce. The homemade version often offers a deeper, more complex flavor.
- Fun Size Snickers Candy Bars: These are the star of the show! Chopping them into small pieces ensures that every bite of ice cream is packed with chocolate, nougat, caramel, and peanut goodness. Using fun-size bars makes chopping easier and provides consistent candy distribution.
- Peanuts: Extra chopped peanuts amplify the classic Snickers crunch and nutty flavor. They add a delightful textural contrast to the creamy ice cream and chewy candy pieces.
The exact measurements for these ingredients can be found in the comprehensive recipe card located further down the page.
How to Make Snickers Ice Cream: A Detailed Guide
Making this homemade Snickers ice cream is a straightforward process that yields incredibly delicious results. Follow these detailed steps to create your perfect frozen treat:
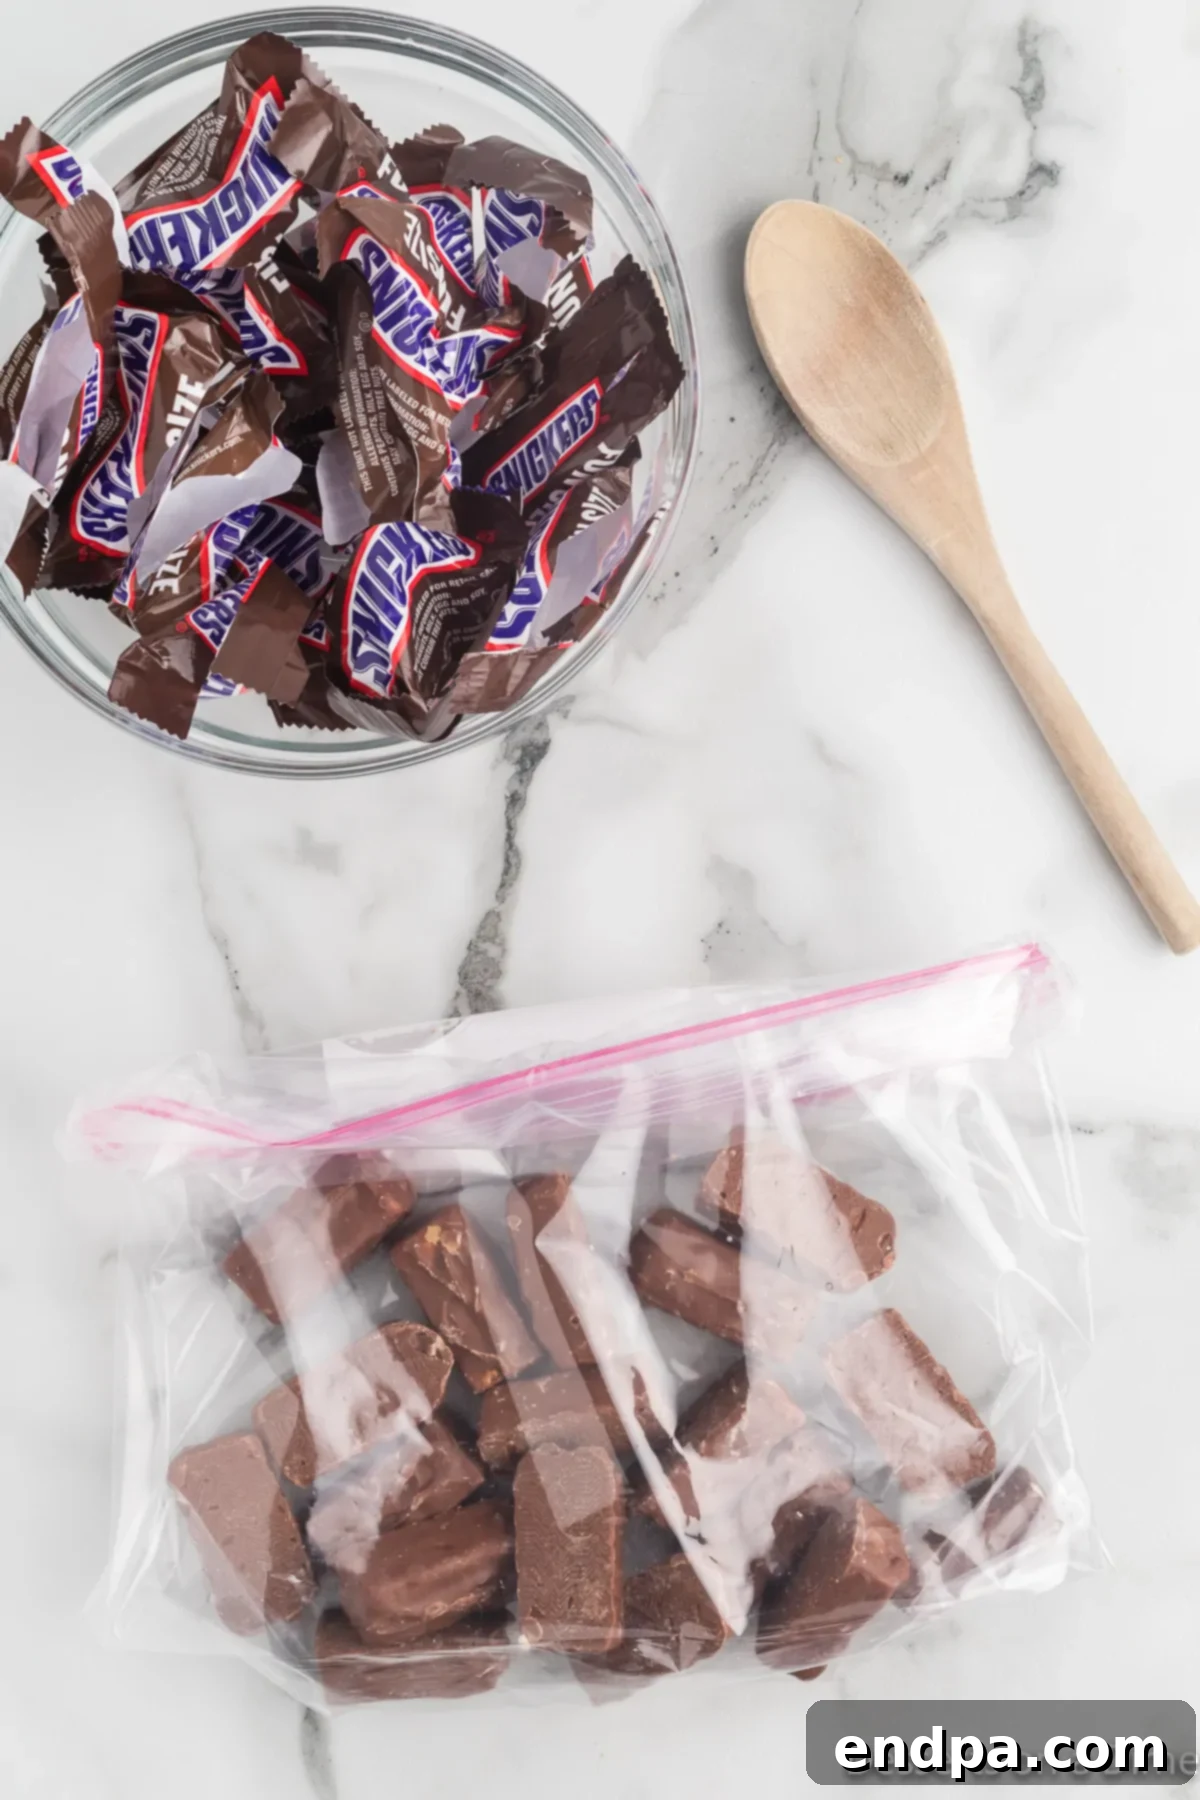
Step 1: Prepare the Snickers Candy Bars. Begin by unwrapping all the fun-size Snickers candy bars. Place them into a large, sturdy ziplock bag. Seal the bag tightly, removing as much air as possible. Using a wooden spoon, rolling pin, or even the flat side of a meat tenderizer, gently but firmly crush the candy bars into small, bite-sized pieces. You want a mix of textures, from fine crumbs to small chunks, to ensure an exciting candy experience throughout the ice cream. Set aside a small portion of the crushed Snickers for garnishing later.
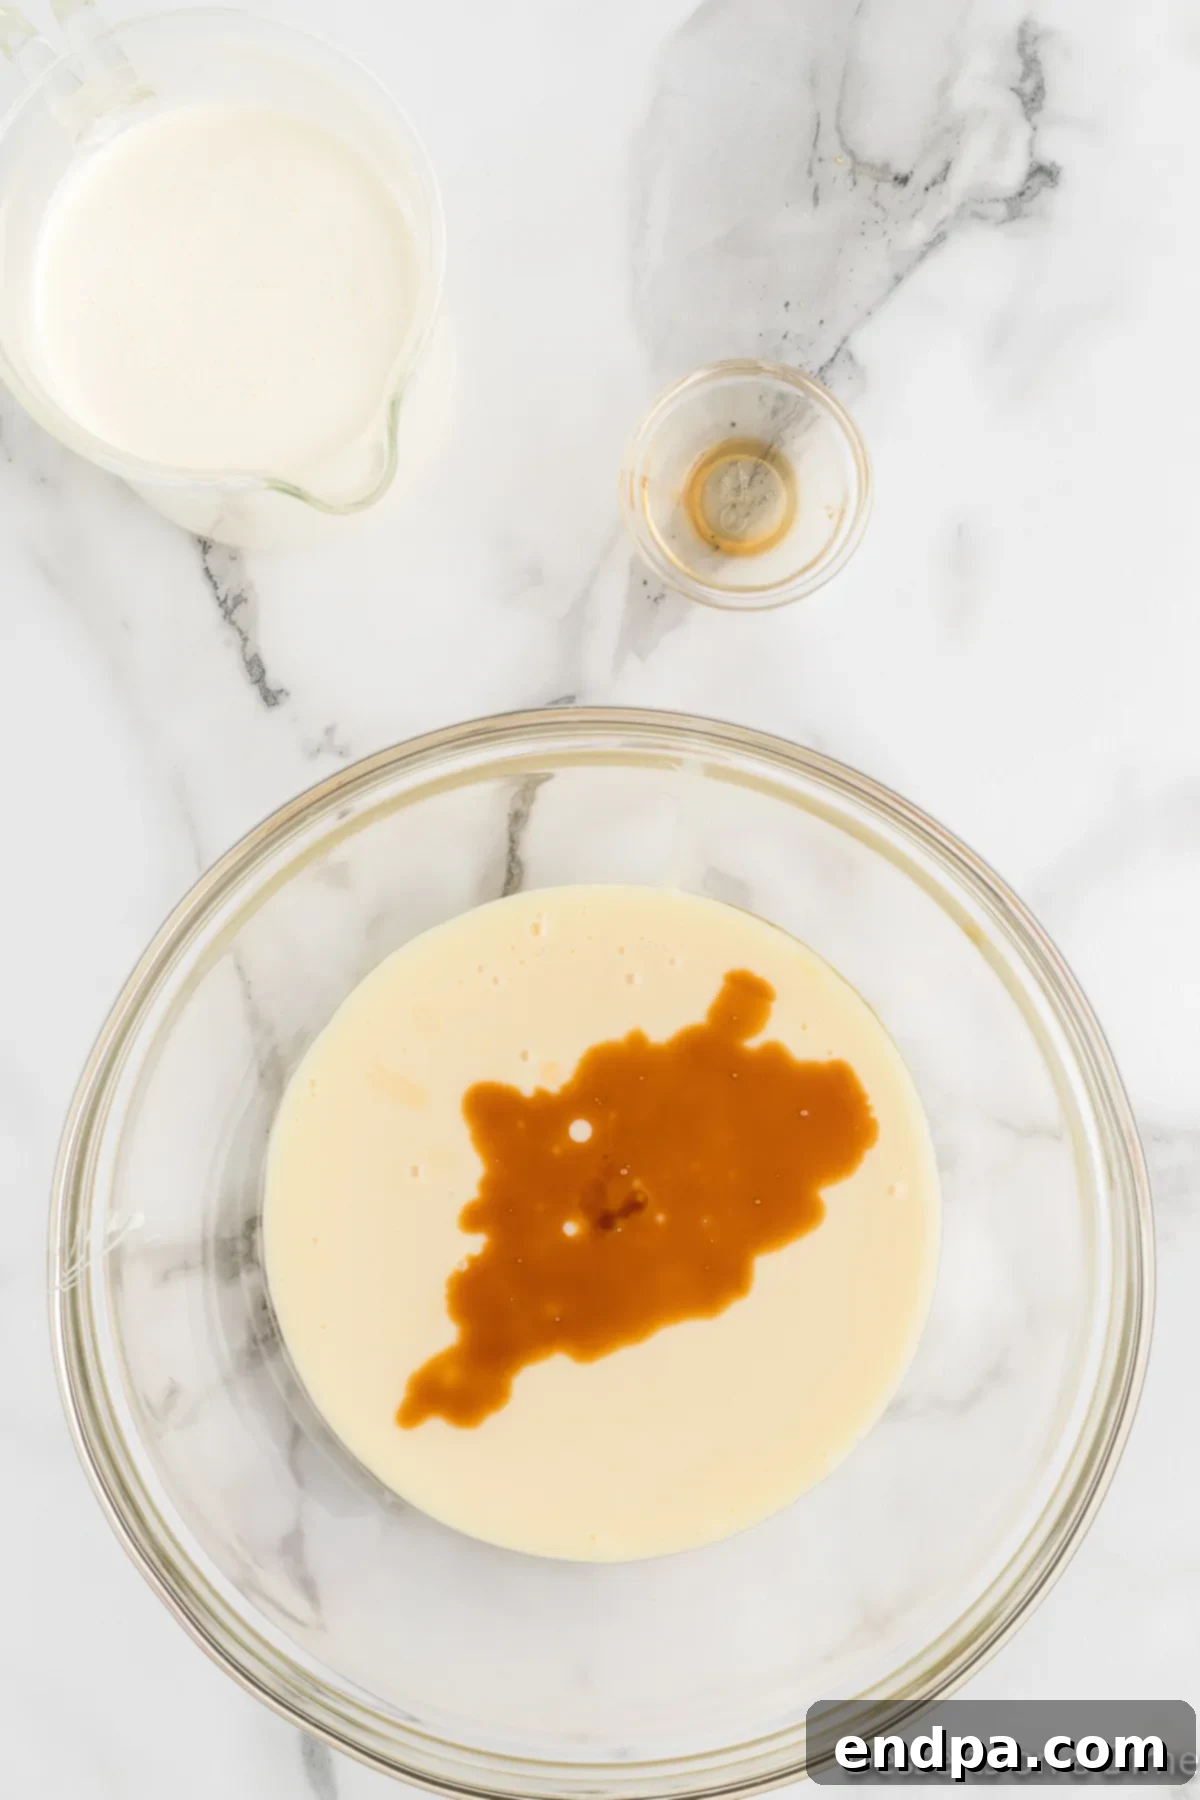
Step 2: Combine Condensed Milk and Vanilla. In a large mixing bowl, pour the sweetened condensed milk. Add the vanilla extract to the condensed milk. Stir these two ingredients together thoroughly until they are well combined and smooth. This forms the rich, sweet base of your ice cream. Ensure the vanilla is fully incorporated to infuse its aromatic flavor throughout the mixture.
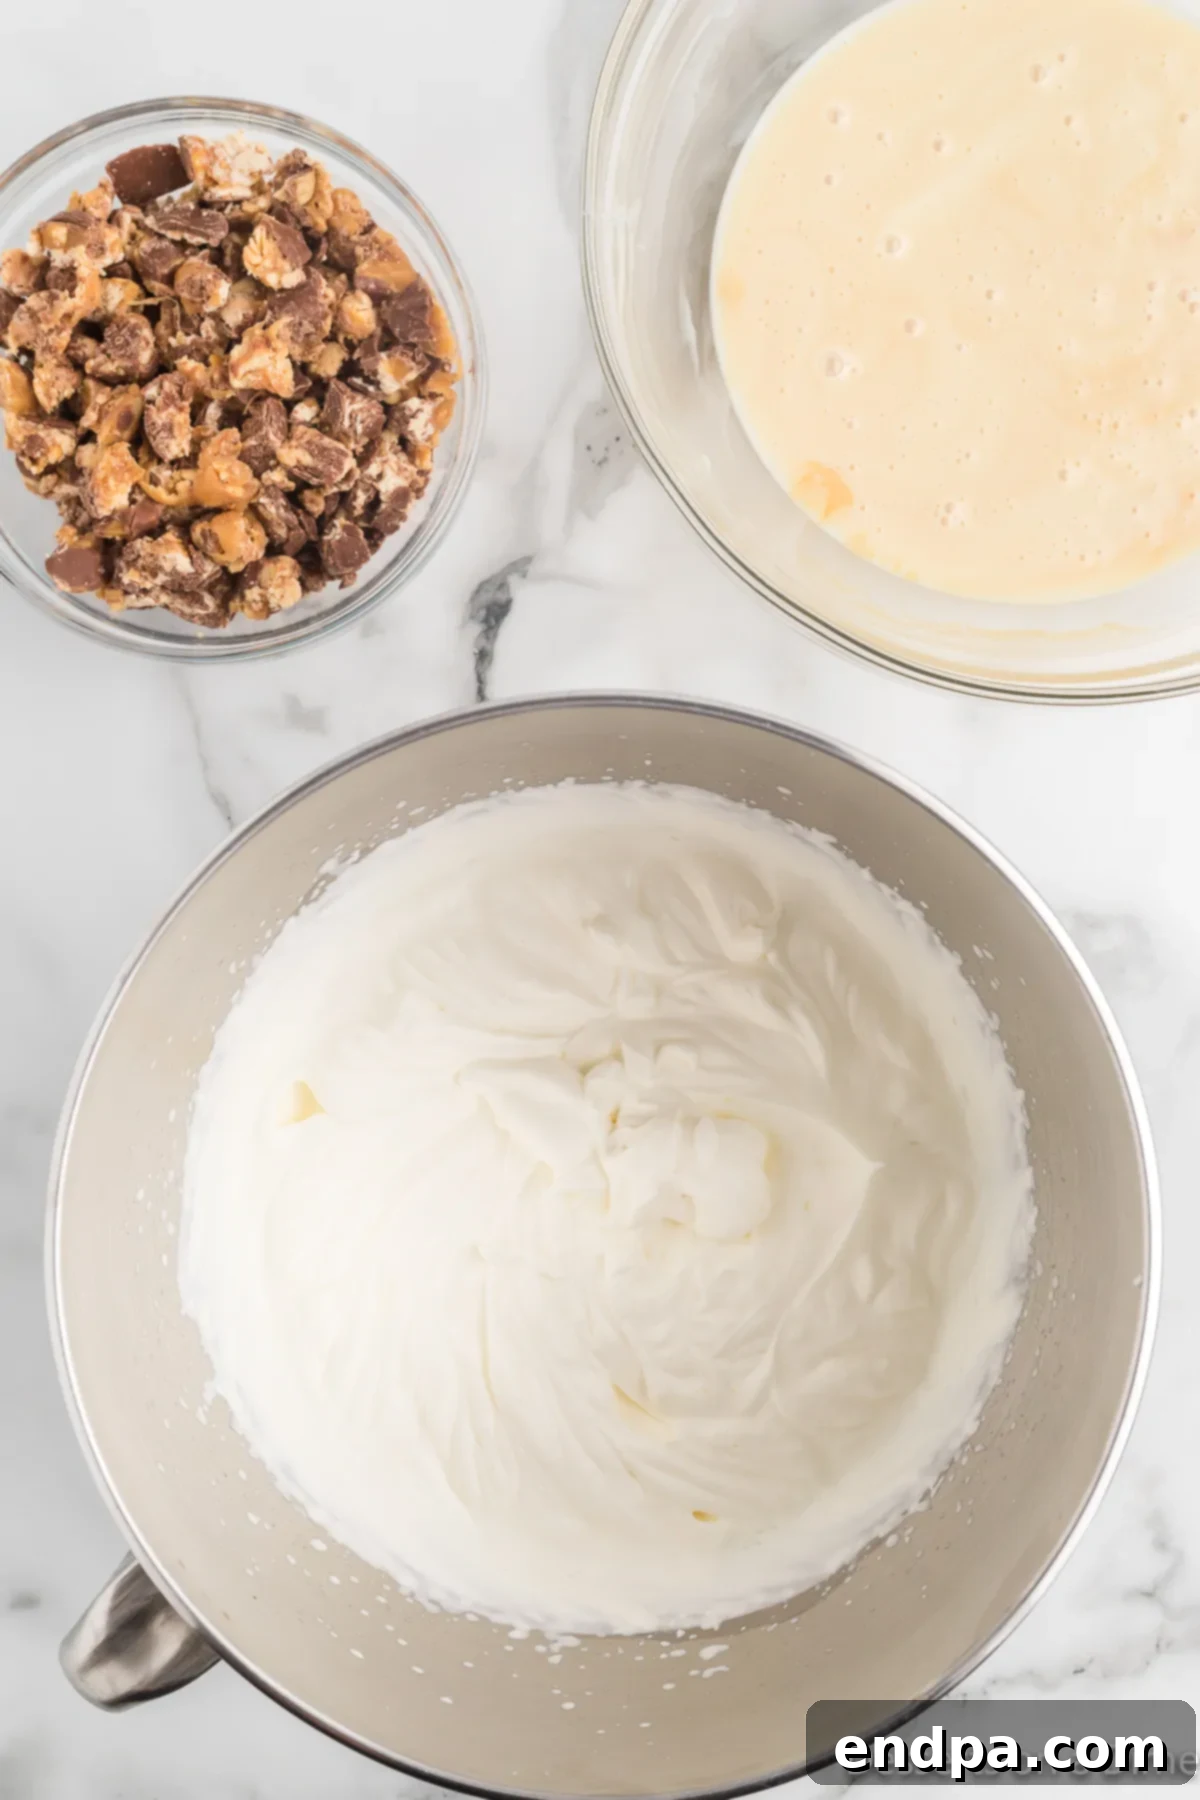
Step 3: Whip the Heavy Cream. In a separate, chilled large bowl, add the cold heavy whipping cream. Using an electric hand mixer or a stand mixer fitted with the whisk attachment, beat the cream on high speed for approximately 2 to 3 minutes. Continue beating until the cream becomes thick, airy, and holds stiff peaks. This means that when you lift the beaters, the cream stands up in firm, defined points without collapsing. Be careful not to over-whip, or it may start to become grainy.
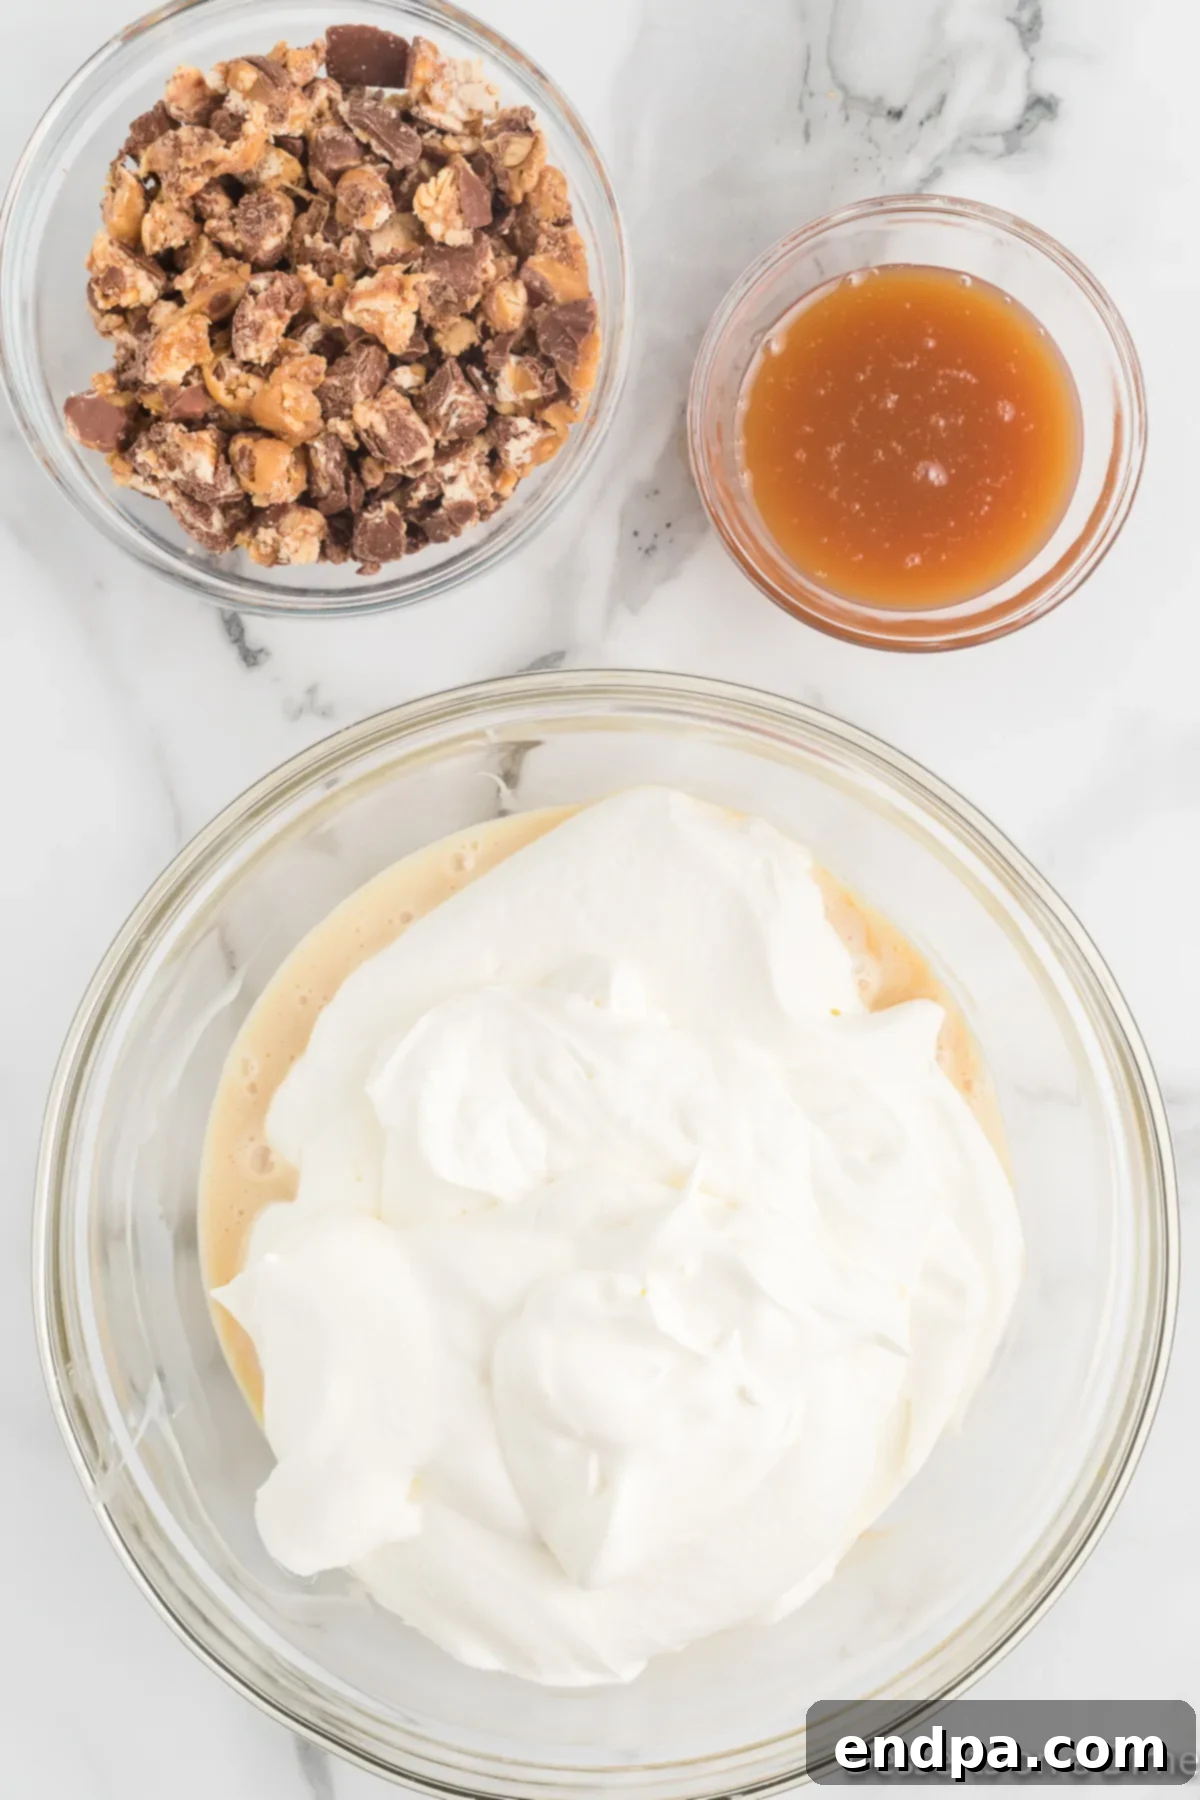
Step 4: Gently Fold the Whipped Cream into the Base. Now, carefully and gently fold the whipped cream into the sweetened condensed milk and vanilla mixture. Use a spatula and a gentle, upward motion to combine the two. The goal is to incorporate the whipped cream without deflating it, preserving its airy volume. Avoid overmixing, as this can lead to a less airy and icy ice cream. Continue folding until no streaks of condensed milk remain and the mixture is uniformly light and fluffy.
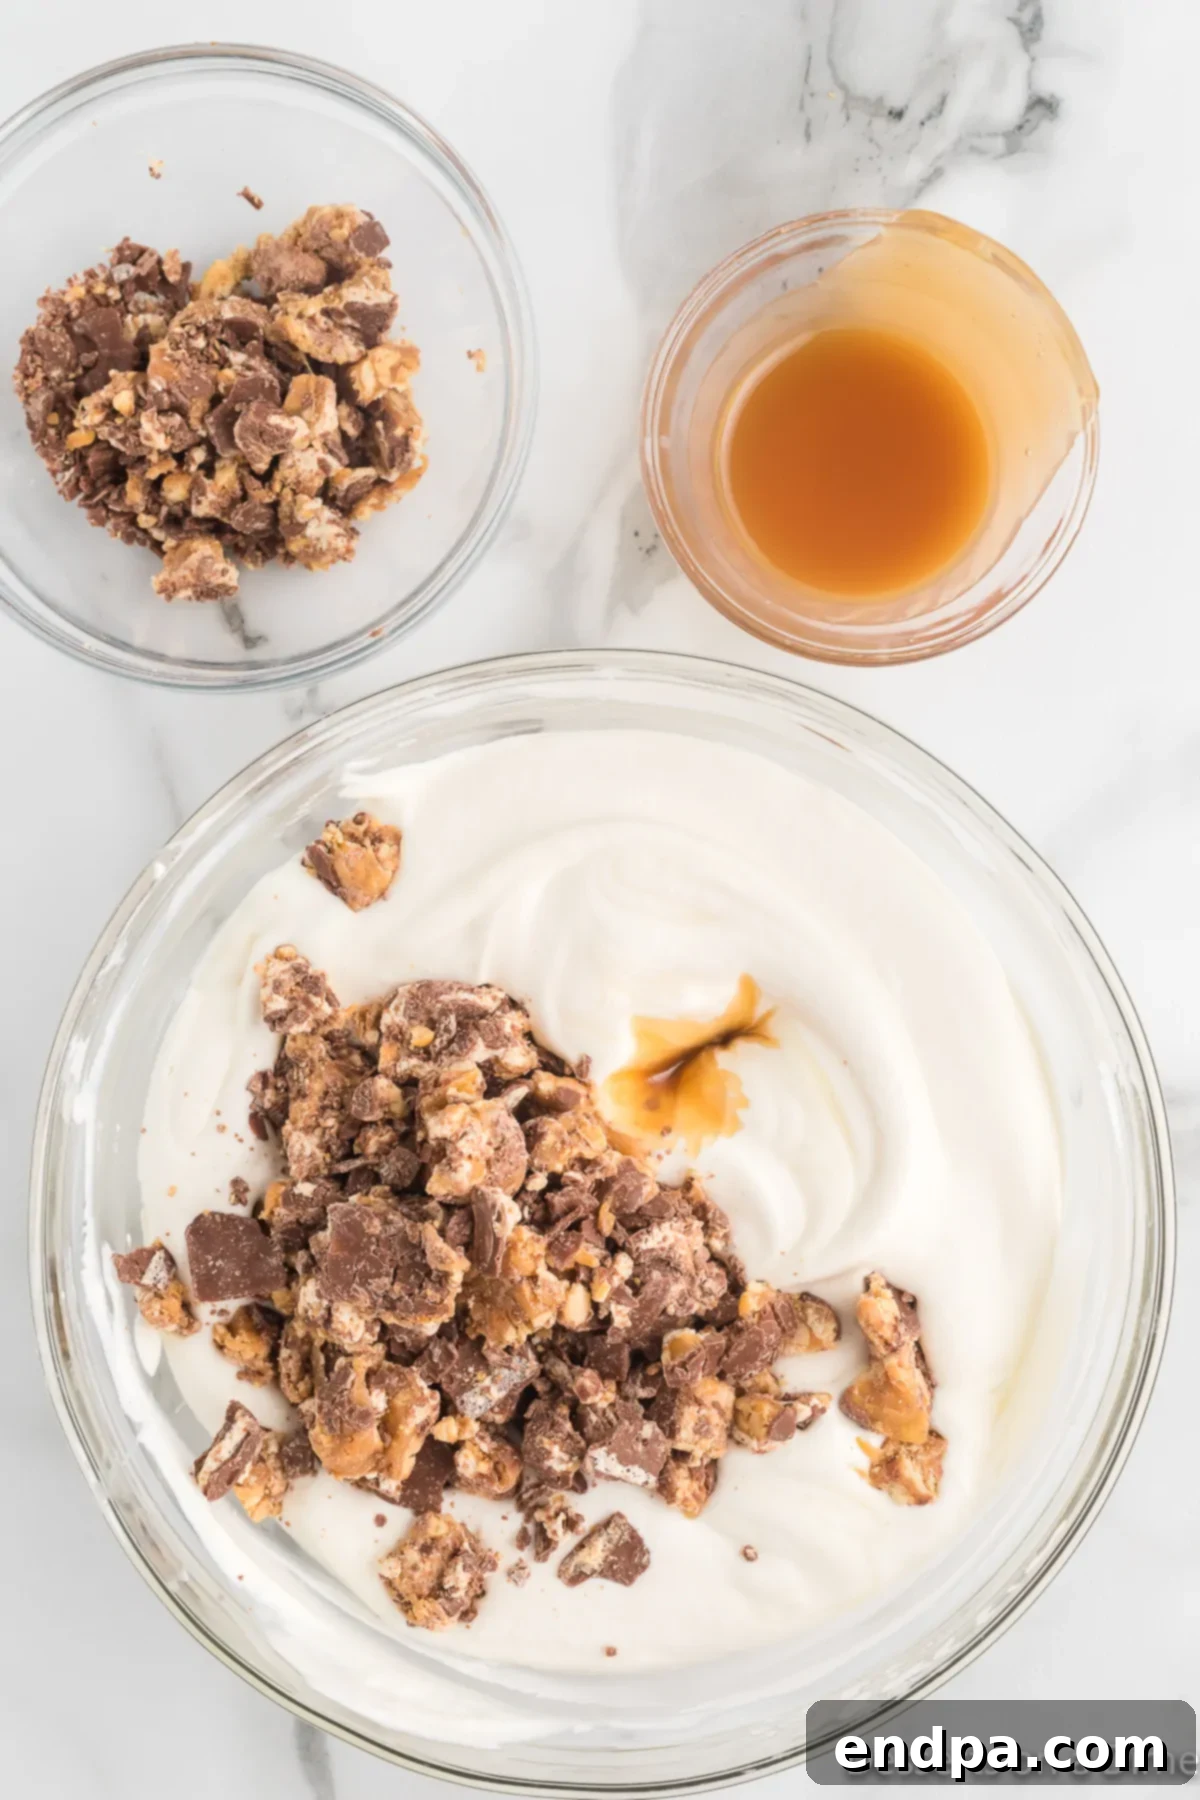
Step 5: Incorporate Snickers and Caramel. Gently fold in the crushed Snickers candy bars (reserving a small handful for topping) and about ½ to ¾ cup of the caramel sauce into the ice cream mixture. Use the same gentle folding technique to distribute the candy pieces and caramel swirls evenly throughout the base. This ensures that every scoop offers a delightful combination of all the Snickers components. Don’t worry if the caramel doesn’t fully blend; distinct swirls are part of the charm.
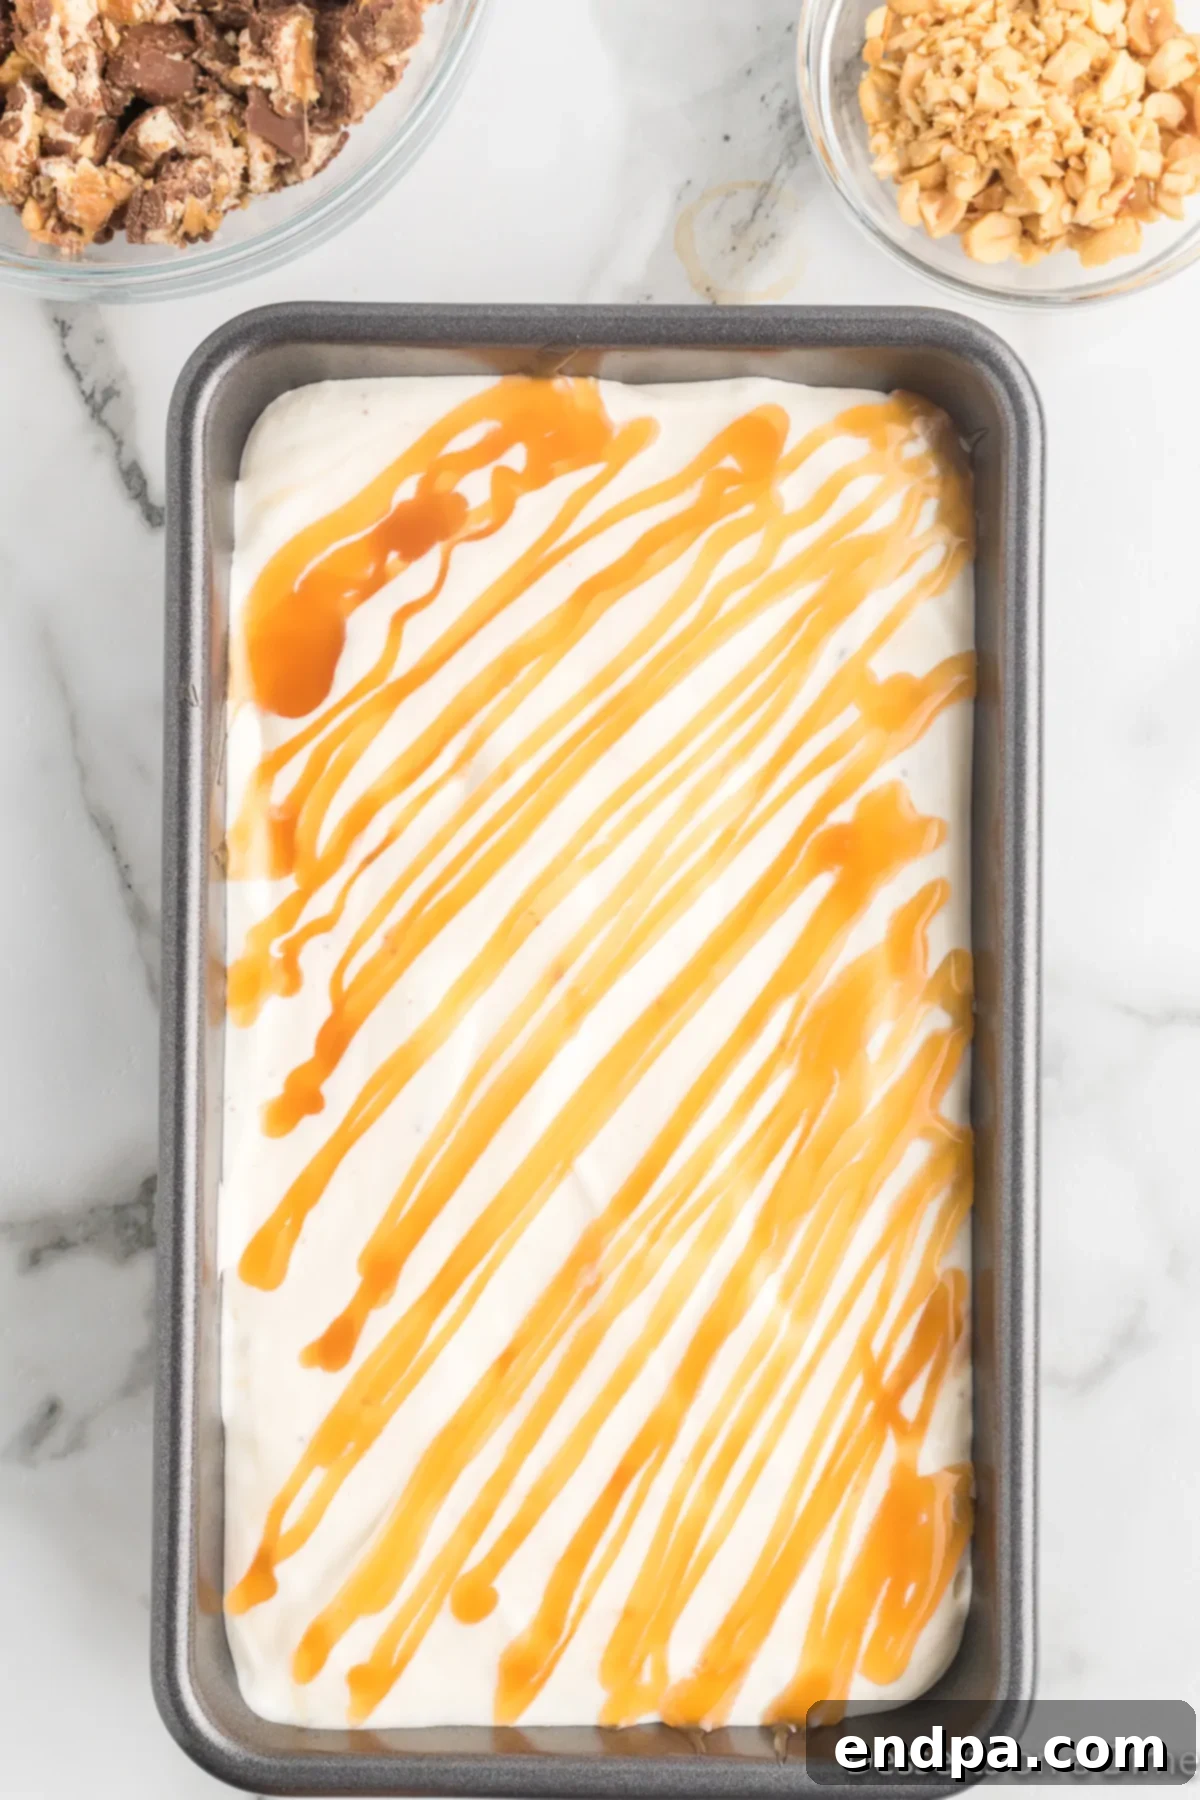
Step 6: Freeze the Ice Cream. Pour the entire ice cream mixture into a 9×5-inch loaf pan or a similar freezer-safe container, spreading it evenly with a spatula. Drizzle the remaining caramel sauce generously over the top of the mixture, creating beautiful swirls. Sprinkle the reserved crushed Snickers pieces and chopped peanuts over the caramel. Cover the pan tightly with aluminum foil or plastic wrap. Place the covered pan in the freezer for at least 6 hours, or preferably overnight, to allow the ice cream to fully set and firm up. Once frozen, scoop and serve this incredible homemade Snickers ice cream!
Following these steps meticulously will ensure a perfectly creamy, flavorful, and irresistible Snickers ice cream that everyone will adore.
Storage Tips for Homemade Ice Cream
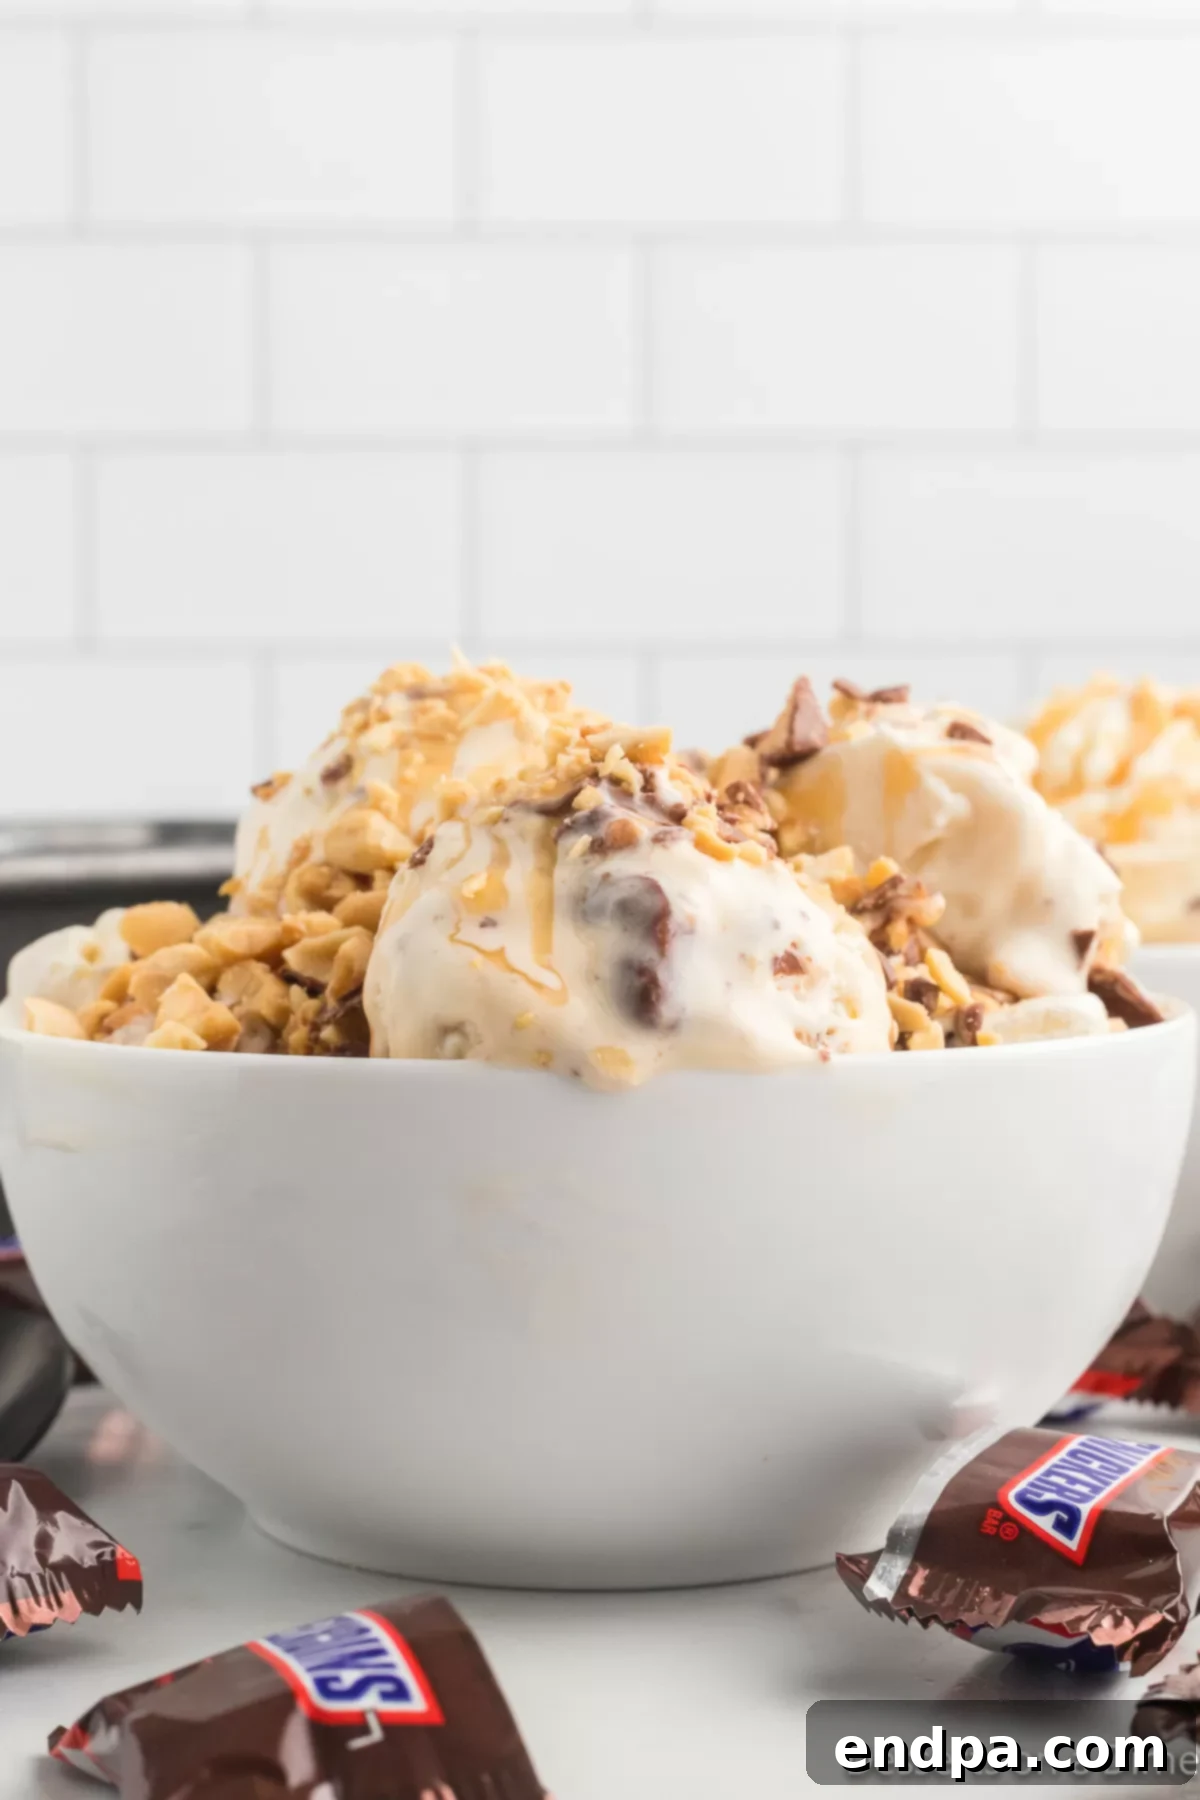
Proper storage is key to maintaining the creamy texture and delicious flavor of your homemade Snickers ice cream. Once the ice cream is frozen and firm, transfer it to an airtight freezer-safe container. A loaf pan works well for freezing, but for longer-term storage, a container with a tight-fitting lid is ideal. The goal is to minimize exposure to air, which can cause ice crystals to form and lead to a less desirable texture.
For an extra layer of protection against freezer burn and ice crystal formation, we highly recommend placing a piece of parchment paper or plastic wrap directly on the surface of the ice cream before securing the lid. This creates an additional barrier that traps moisture and helps keep your ice cream fresh and perfectly creamy for an extended period.
How Long Does Homemade Ice Cream Last?
While homemade ice cream is often best enjoyed fresh, this Snickers ice cream recipe is quite resilient when stored correctly. Typically, if stored in an airtight container with the added protection of parchment paper or plastic wrap directly on its surface, your homemade no-churn Snickers ice cream will maintain its quality for up to 3 months in the freezer. However, for optimal flavor and texture, it’s often best consumed within 1-2 months. The longer it sits, the more likely it is to develop some ice crystals, even with careful storage. We often find ourselves making this recipe the night before we plan to indulge, ensuring peak freshness and enjoyment.
Pro Tips and Delicious Variations
Elevate your Snickers ice cream experience with these expert tips and creative variations:
- Caramel Sauce Quality: The choice of caramel sauce can significantly impact the final flavor. Feel free to use your favorite high-quality store-bought caramel for convenience. Alternatively, if you have a bit more time, preparing a homemade caramel sauce will add a depth of rich, buttery flavor that is simply unparalleled.
- Peanut Butter Snickers Twist: For an exciting flavor variation, consider substituting classic Snickers bars with Snickers Peanut Butter Squared candy bars. This simple swap will infuse your ice cream with an even creamier, more intense peanut butter flavor, creating a delightful peanut butter ice cream twist that Snickers fans will adore.
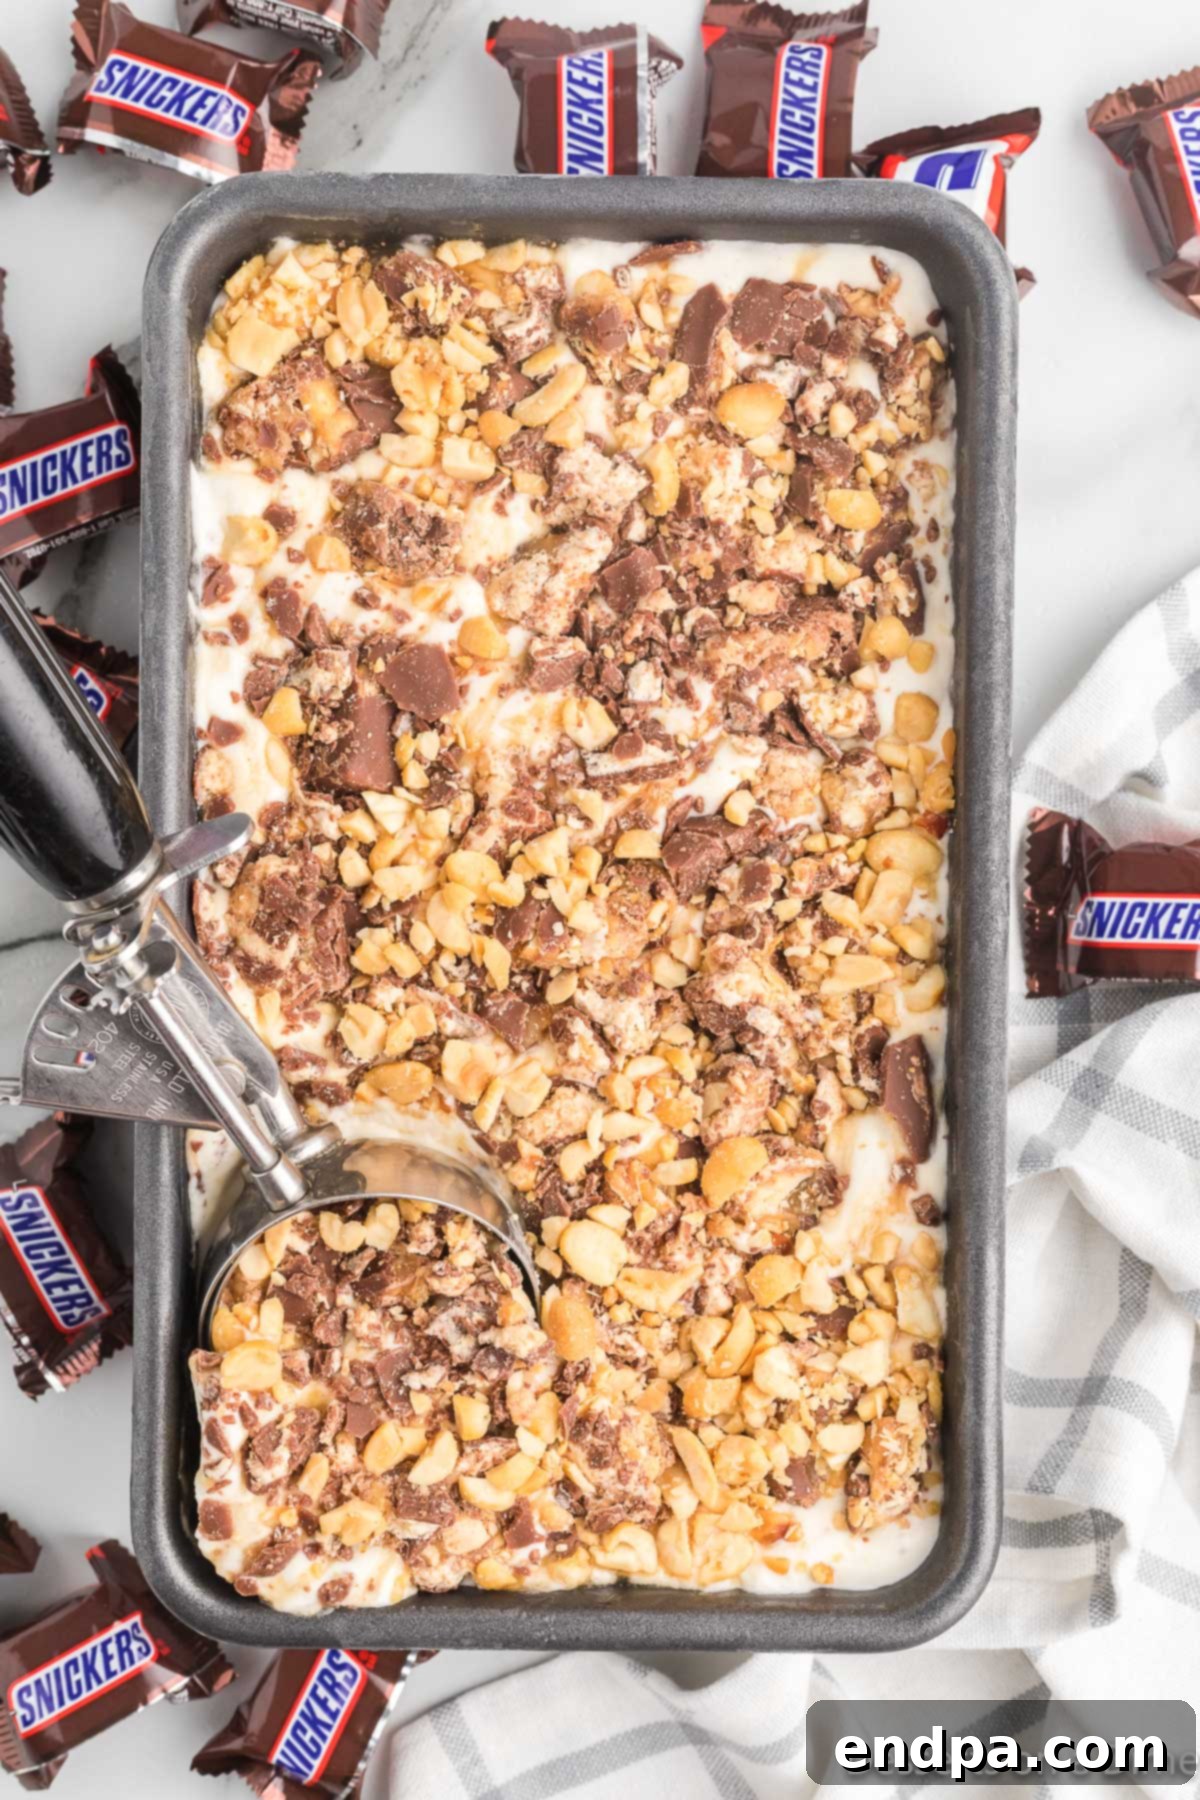
- Creative Toppings Galore: While the ice cream itself is a masterpiece, adding extra toppings before serving can make it even more decadent. Drizzle generously with additional caramel sauce and rich chocolate sauce. For an extra crunch, sprinkle more chopped peanuts or even some extra crushed Snickers pieces on top. Chocolate chips, mini marshmallows, or a dollop of whipped cream also make fantastic additions.
- The Art of Gentle Folding: When combining the whipped cream with the condensed milk mixture and then adding the Snickers and caramel, the technique of “folding” is crucial. Use a spatula to gently scoop from the bottom of the bowl and fold it over the top. This method carefully incorporates ingredients without deflating the airy whipped cream, which is essential for achieving a light and fluffy ice cream texture. Avoid vigorous stirring or using an electric mixer at this stage, as over-beating the cream can compromise the delicate structure and result in an icier, less creamy consistency.
- Pre-Chilled Bowls: For whipping cream, always use a very cold bowl and beaters. You can place your mixing bowl and whisk attachment in the freezer for 10-15 minutes before whipping. This helps the cream whip up faster and achieve stiffer peaks, contributing to a lighter ice cream base.
- Candy Bar Choices: Don’t limit yourself to just Snickers! This no-churn base is incredibly versatile. Experiment with other favorite chocolate bars like Reese’s, Twix, or even M&M’s for different flavor profiles and textures.
Serving Suggestions
This homemade Snickers ice cream is a star on its own, but you can make it an even more memorable dessert with a few simple serving ideas. Serve generous scoops in classic ice cream bowls or crunchy waffle cones. For a party, create an ice cream bar with various toppings like extra caramel and chocolate drizzles, whipped cream, chopped nuts, and more candy bar pieces. It also makes a fantastic accompaniment to warm brownies, apple pie, or a slice of chocolate cake, adding a cold, creamy, and crunchy contrast.
More Irresistible No-Churn Recipes
If you’ve fallen in love with the simplicity and deliciousness of this no-churn Snickers ice cream, you’re in luck! There’s a whole world of easy, homemade frozen treats waiting to be discovered, all without the need for an ice cream maker. Expand your dessert repertoire with these other fantastic no-churn recipes:
- No-Churn Chocolate Ice Cream: A classic favorite, this rich and creamy chocolate ice cream is a must-try for any chocolate lover.
- Homemade Cookies and Cream Ice Cream: Crushed chocolate sandwich cookies swirled into a sweet vanilla base create an iconic and universally loved flavor.
- Lemon Shortbread Ice Cream Recipe: For something refreshingly different, the bright tang of lemon combined with buttery shortbread cookies offers a delightful contrast.
- Snickers Ice Cream Cake: If you’re looking for a dessert that truly makes a statement, this ice cream cake takes the Snickers theme to an epic level.
We encourage you to experiment with your favorite candies and mix-ins to create your own unique no-churn ice cream flavors. The possibilities are truly endless! We would love to hear about your creations and experiences with this Snickers ice cream recipe. Please come back and leave a comment to share your thoughts and any delicious variations you discover!
Snickers Ice Cream Recipe
Snicker Ice Cream Recipe is a delicious blend of caramel, peanuts and Snickers candy. Everything is combined with a rich and creamy base for an irresistible treat. This no churn recipe does not require an ice cream maker making it even easier.
Ingredients
- 14 oz. sweetened condensed milk
- 2 tsp Vanilla Extract
- 2 cups heavy whipping cream cold
- 3/4 cup Caramel Sauce
- 1 package Fun Size Snicker Candy Bars 11 oz, chopped
- 2 Tablespoons Peanuts chopped
Instructions
- Unwrap the snicker candy bars and place them in a large ziplock bag. Seal it tightly. Use a wooden spoon to crush the candy bars into small pieces.
- Then mix together the sweetened condensed milk and vanilla extract in a large bowl.
- Pour the heavy whipping cream into a separate bowl and mix with a stand up mixer or hand held mixer for 2-3 minutes until it holds stiff peaks.
- Gently stir the whipped cream into the sweetened milk mixture until well combined and be careful not to over mix.
- Then fold in the crushed snickers (reserve some for topping) and ½ cup of the caramel sauce.
- Spread the mixture in a 9 in loaf pan. Drizzle the top with the remaining caramel sauce. Sprinkle the remaining snickers and the chopped peanuts on top.
- Cover with foil and freeze for at least 6 hours.
- Then scoop out with an ice cream scoop and enjoy!
Recipe Notes
I usually make this recipe the night before we’re going to enjoy it. This ice cream will last up to 3 months stored in the freezer.
You can use store bought or homemade caramel sauce for this recipe.
Nutrition Facts
Pin This Now to Remember It Later
Pin Recipe
