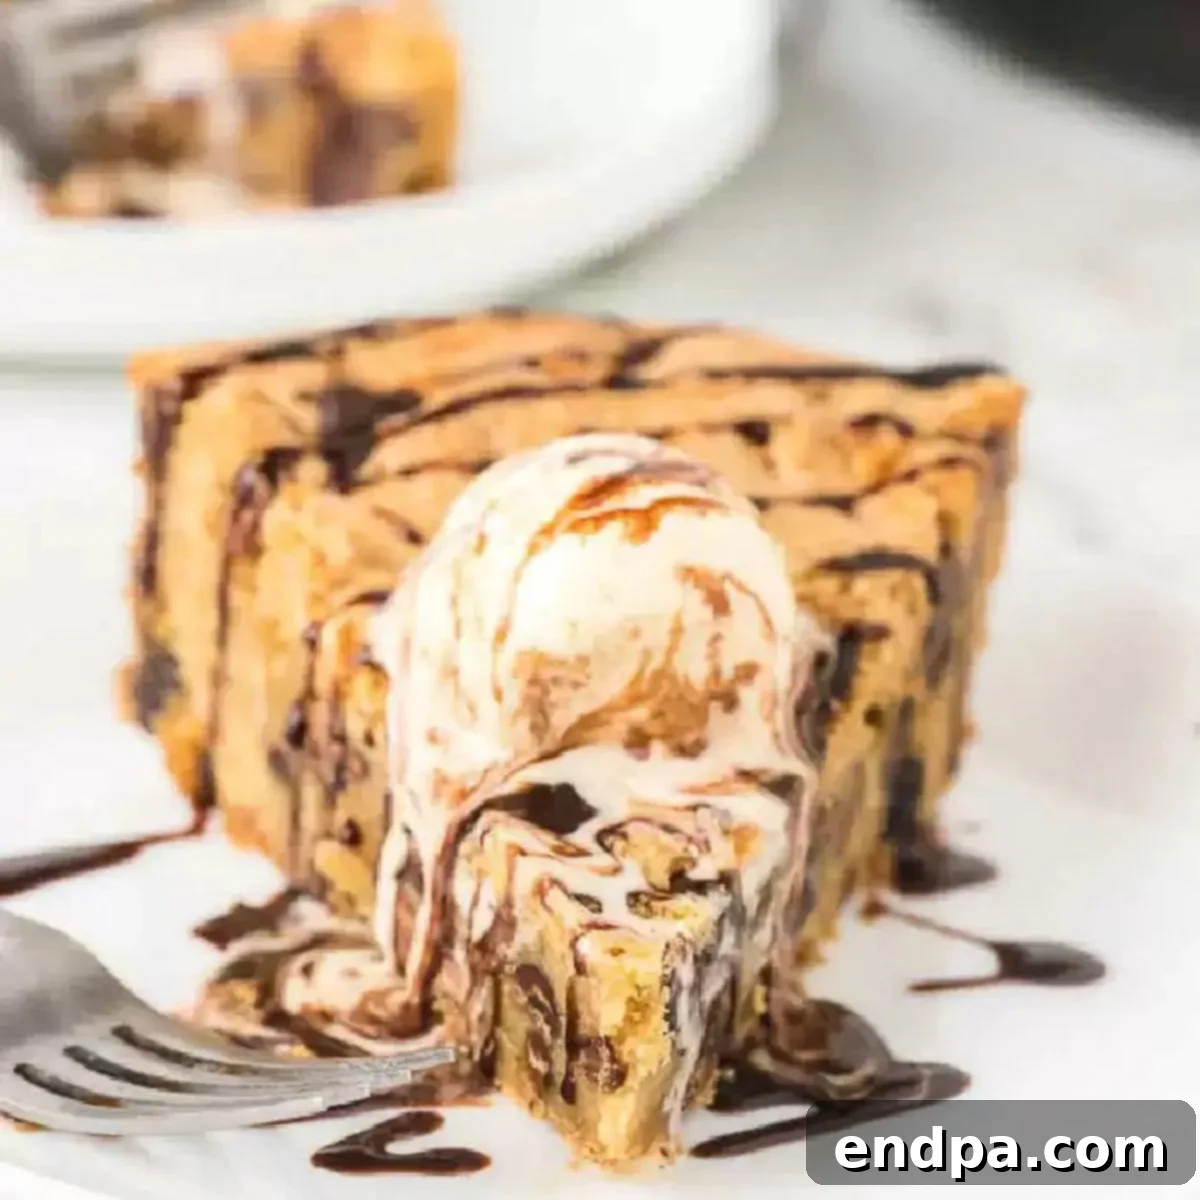
Prepare for an unparalleled dessert experience with this unbelievably gooey and decadent Chocolate Chip Pizookie Recipe. In just a few simple steps, you can create a warm, soft, and chewy giant cookie, generously loaded with melting chocolate chips. Crown it with a generous scoop of vanilla ice cream, and you’ve got a treat that’s impossible to resist, perfect for any occasion – from cozy family nights to impressive dinner parties.
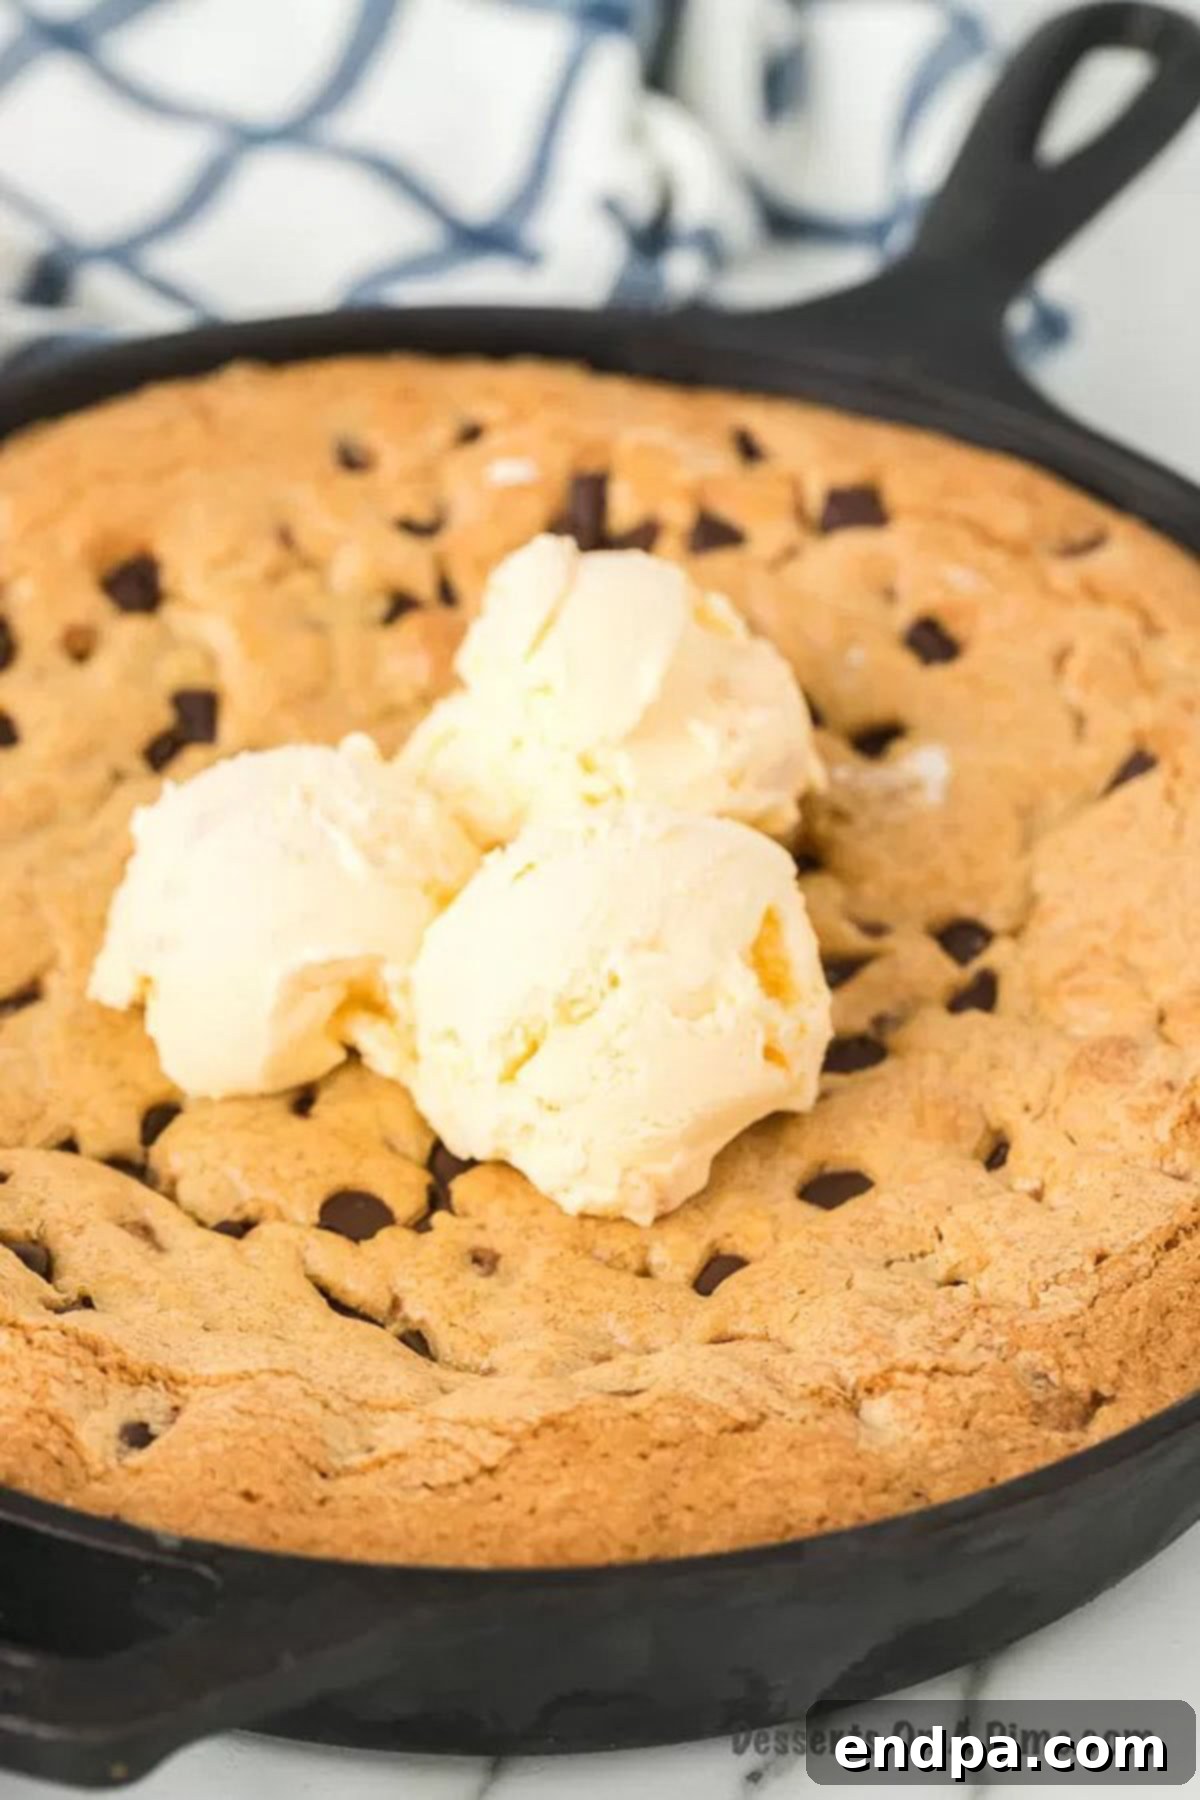
There’s something truly magical about a Chocolate Chip Pizookie – a magnificent, warm cookie baked to perfection in a cast iron skillet. It’s not just a dessert; it’s an experience, transforming your favorite classic Chocolate Chip Cookies into a shareable masterpiece that consistently earns rave reviews. While it feels special enough for company, the simplicity of this recipe makes it an ideal spontaneous weeknight indulgence.
This recipe consistently ranks among the Best Chocolate Chip Desserts for its ease and incredible flavor. If you’re a fan of alternative cooking methods, you might also enjoy making an Air Fryer Pizookie for a quick single-serving delight. For those who appreciate other timeless chocolate chip treats, explore recipes like Mrs. Fields Chocolate Chip Cookies, Air Fryer Chocolate Chip Cookies, or our delightful Toll House Chocolate Chip Cookie Bars. If you happen to have extra chocolate chips on hand, why not whip up some Chocolate Chip Rice Krispie Treats?
Table of Contents
- What is a Pizookie?
- Why You’ll Love This Homemade Pizookie Recipe
- Key Ingredients for the Perfect Pizookie
- Exciting Variations and Delicious Additions
- Step-by-Step Guide: How to Make Your Own Chocolate Chip Pizookie
- Irresistible Pizookie Topping Ideas
- Storing Your Pizookie for Freshness
- Frequently Asked Questions (FAQs)
- Chocolate Chip Pizookie Recipe Card
What is a Pizookie?
The whimsical name “Pizookie” perfectly captures the essence of this ultimate dessert. It’s a playful fusion of “pizza” and “cookie,” referring to a large, round cookie baked in a skillet – much like a pizza. The result is a magnificent, shareable dessert that brings together the best of both worlds. Imagine a giant chocolate chip cookie, but taken to the next level.
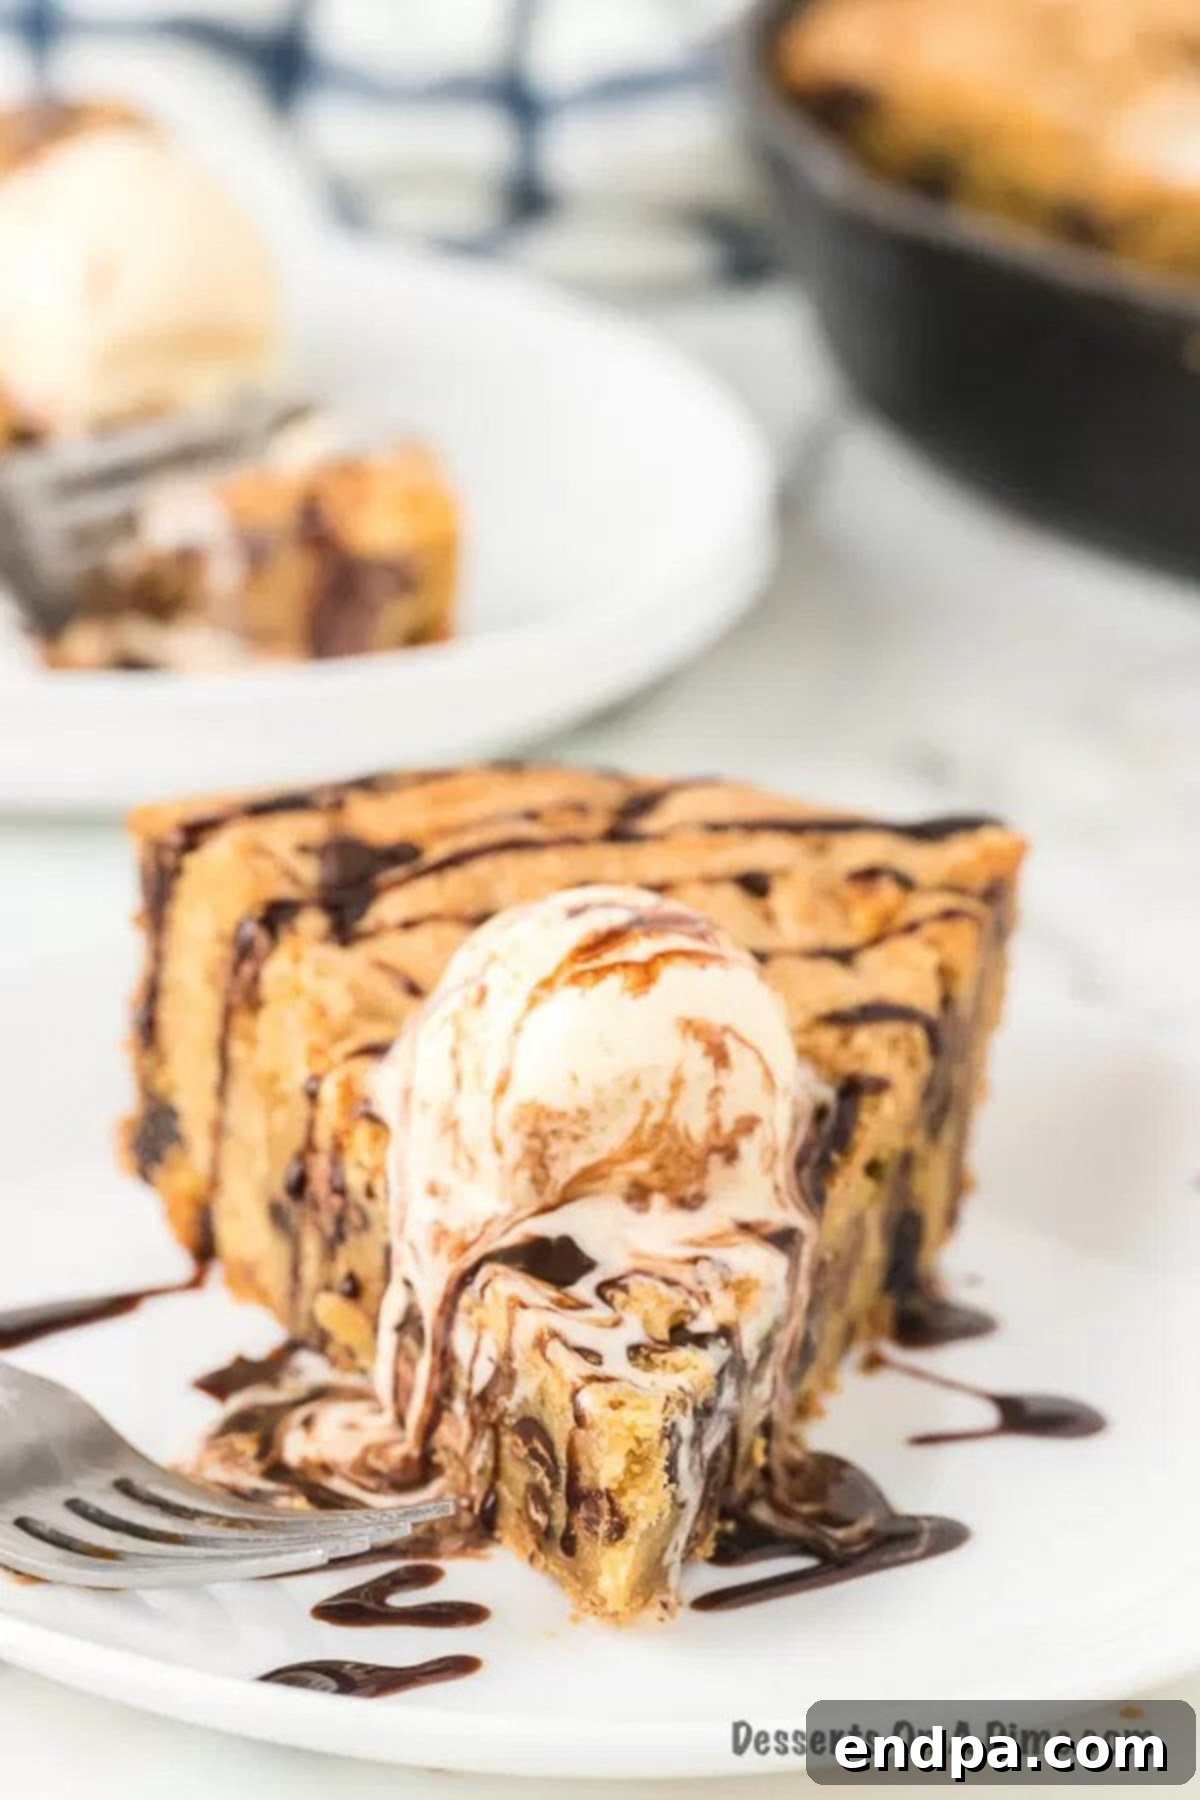
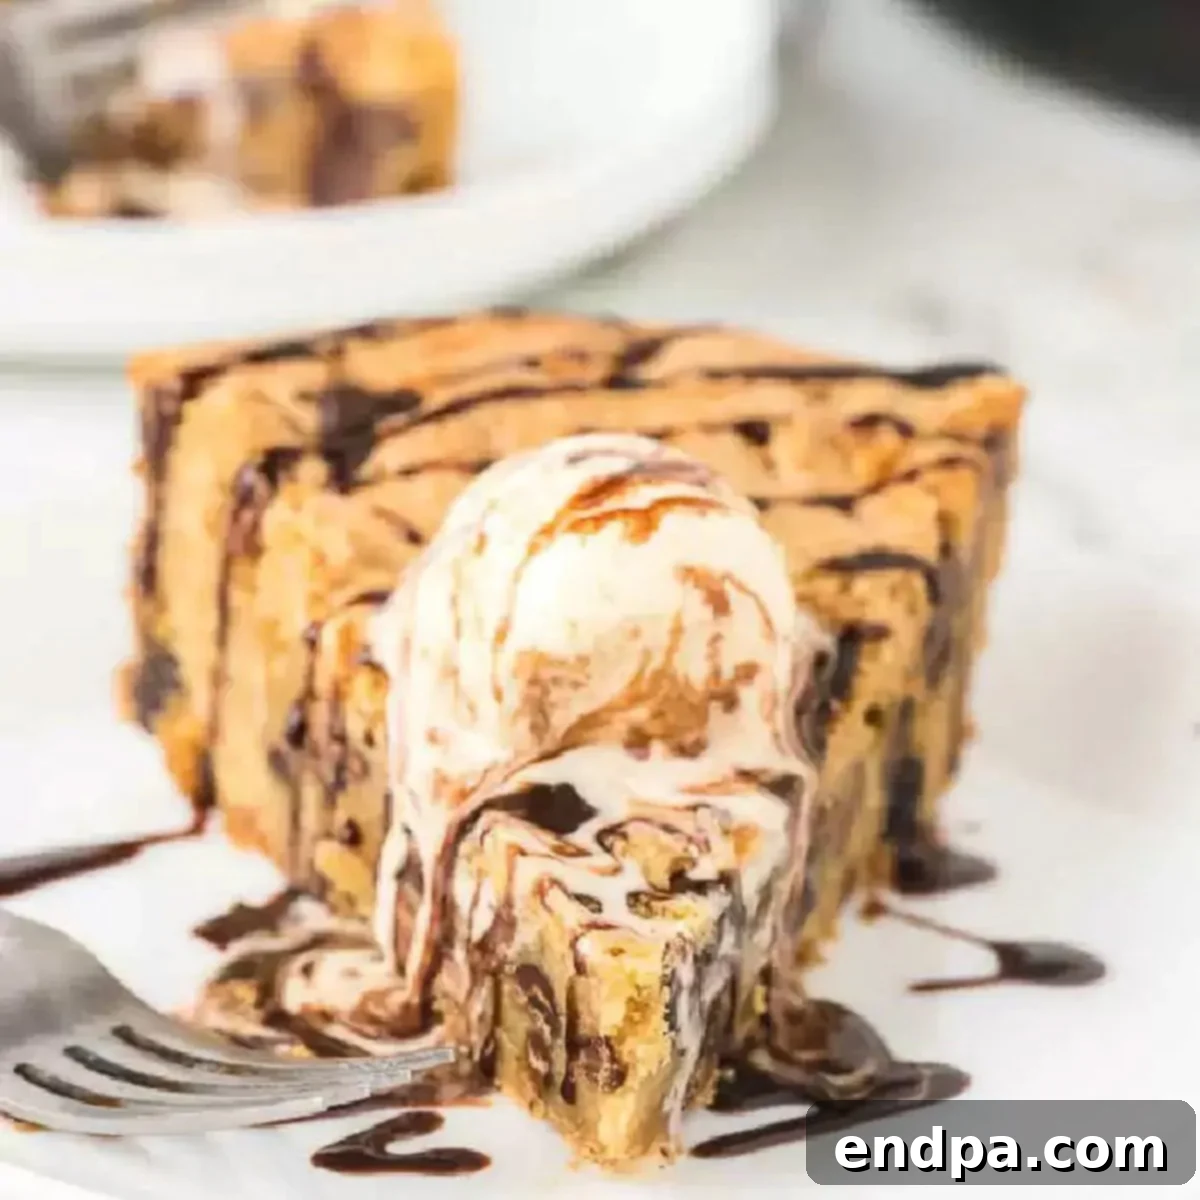
The hallmark of a truly great pizookie lies in its texture: a beautifully golden-brown, slightly crispy edge that gives way to an impossibly soft, warm, and gooey center bursting with melted chocolate. This isn’t a dessert meant for individual plates; it’s designed to be eaten straight out of the pan, preferably with spoons passed around, sharing the warm, chocolatey joy. While delicious on its own, we highly recommend topping yours with a scoop (or two!) of cold vanilla ice cream, creating a delightful contrast of temperatures and textures as the ice cream slowly melts into the warm cookie.
Beyond ice cream, the possibilities are endless for customizing your pizookie. You can enhance it with an extra sprinkle of chocolate chips, a scattering of chopped candy bars, or a handful of toasted nuts. For those seeking a low-carb alternative that still delivers on flavor, consider trying our Keto Chocolate Chip Mug Cake.
Why You’ll Love This Homemade Pizookie Recipe
This Chocolate Chip Pizookie recipe isn’t just another dessert; it’s a guaranteed crowd-pleaser and a personal favorite for many reasons:
- Easy Ingredients: Forget specialty store runs. This recipe relies on readily available, common pantry staples that you likely already have in your kitchen. This means you can whip up this delightful dessert on a whim, without any last-minute grocery trips. Simple ingredients lead to delicious results every time.
- Simple to Make: Despite its impressive appearance, this pizookie is surprisingly straightforward to prepare. The hands-on time is minimal, and the process is forgiving, making it perfect for novice bakers and seasoned pros alike. Crafting this dessert at home not only brings immense satisfaction but also offers significant savings compared to ordering out. It’s a fancy-looking treat without the fancy effort.
- Amazing Texture: The textural contrast is what truly elevates this pizookie. You get perfectly crispy, golden-brown edges that provide a satisfying crunch, while the center remains wonderfully soft, warm, and slightly gooey. When you add a scoop of cold vanilla ice cream, the warm cookie subtly melts the ice cream, creating an irresistible blend of creamy, chewy, and crunchy in every single bite. It’s the ultimate dessert experience, any day of the week.
Key Ingredients for the Perfect Pizookie
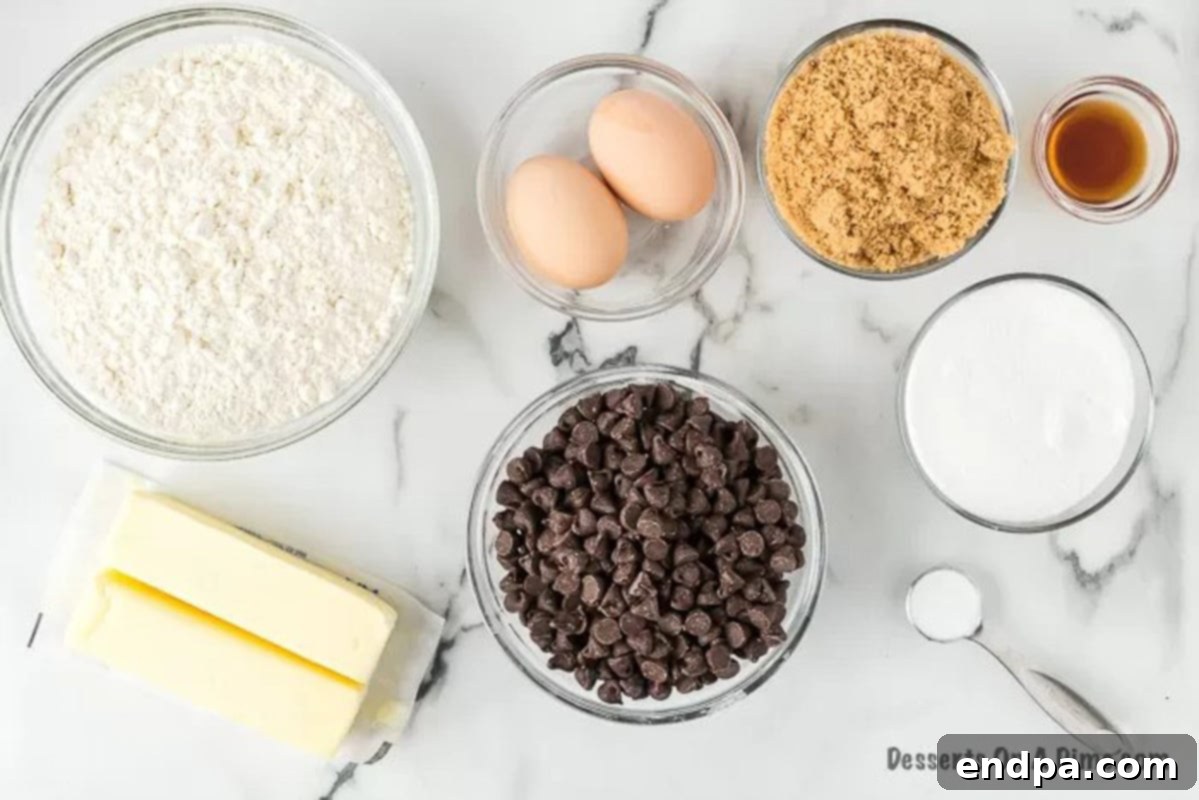
Crafting the perfect chocolate chip pizookie starts with a handful of quality, everyday ingredients. Each plays a vital role in achieving that signature gooey center and crisp edge:
- Butter: For the richest flavor and best texture, always opt for real unsalted butter. It contributes significantly to the tenderness and flavor of your cookie. Ensure it’s softened, but not melted, for ideal creaming with the sugars.
- Flour: All-purpose flour is the base of our cookie. When measuring, remember the golden rule: spoon the flour into your measuring cup and then level it off with a straight edge. Scooping directly can pack too much flour, leading to a dry, dense cookie.
- Brown Sugar: This is a crucial ingredient for chewiness and moisture. The molasses in brown sugar gives the pizookie its characteristic soft, bendy texture and adds a deeper, caramelized flavor. If you’re feeling adventurous, our Homemade Brown Sugar Recipe is surprisingly easy to make.
- White Granulated Sugar: Alongside brown sugar, white sugar contributes to the crispness of the edges and helps with proper spreading. The combination of both sugars creates the ideal balance of textures.
- Baking Soda: This leavening agent reacts with the acidic brown sugar to create carbon dioxide bubbles, which helps the cookie rise slightly and spread to achieve that perfect pizookie shape. If you ever find yourself without it, explore our guide to the Best Baking Soda Substitutes.
- Chocolate Chips: The star of the show! We recommend milk chocolate chips for classic sweetness and meltability, but feel free to experiment with your favorite kind.
- Vanilla Extract: A splash of pure vanilla extract enhances all the other flavors, adding warmth and depth to the cookie dough.
- Eggs: Eggs act as a binder, holding the dough together, and contribute to the rich texture and slight rise of the pizookie.
For the complete, precise list of measurements, please refer to the comprehensive recipe card located at the bottom of this post.
Exciting Variations and Delicious Additions
While the classic chocolate chip pizookie is a masterpiece in itself, it’s also a fantastic canvas for creativity. Feel free to customize your skillet cookie with these delightful variations and additions:
- Change Chocolate Chips: Don’t limit yourself to just milk chocolate. Elevate your pizookie by using a mix of dark chocolate chips for a richer, more intense flavor, or semi-sweet chocolate chips for a balanced taste. White chocolate chips offer a creamy, sweet contrast, while butterscotch morsels can introduce a lovely caramel note. For an even more indulgent experience, try using a combination of different chocolate types!
- M&M’s: For a burst of color and a delightful candy shell crunch, mix in M&M’s with your chocolate cookie dough. The vibrant colors are especially fun for parties or holidays, and the added candy flavor is a treat for all ages.
- Nuts: Adding chopped nuts not only introduces a pleasant crunch but also a depth of nutty flavor. Walnuts and pecans are classic choices that pair beautifully with chocolate. For an extra layer of flavor, consider lightly toasting the nuts before adding them to the dough. Almonds or even macadamia nuts would also make fantastic additions.
- Salty Pretzels: For an irresistible salty-sweet combination, crush some pretzels and fold them into the dough. The saltiness cuts through the sweetness of the cookie and chocolate, creating a wonderfully balanced flavor profile.
- Shredded Coconut: If you love coconut, fold in some sweetened shredded coconut for added texture and a tropical twist.
- Dried Fruit: For a hint of chewiness and tang, consider adding dried cranberries or cherries to your cookie dough.
- Spices: A pinch of cinnamon or a touch of nutmeg can add a warm, cozy dimension to your chocolate chip pizookie, especially during colder months.
- Peanut Butter Chips: For all peanut butter lovers, swapping half of the chocolate chips for peanut butter chips (or adding them in alongside!) creates a delicious peanut butter chocolate skillet cookie.
Step-by-Step Guide: How to Make Your Own Chocolate Chip Pizookie
Creating this warm, gooey chocolate chip pizookie is simpler than you might think. Follow these easy steps to bake your perfect skillet cookie:
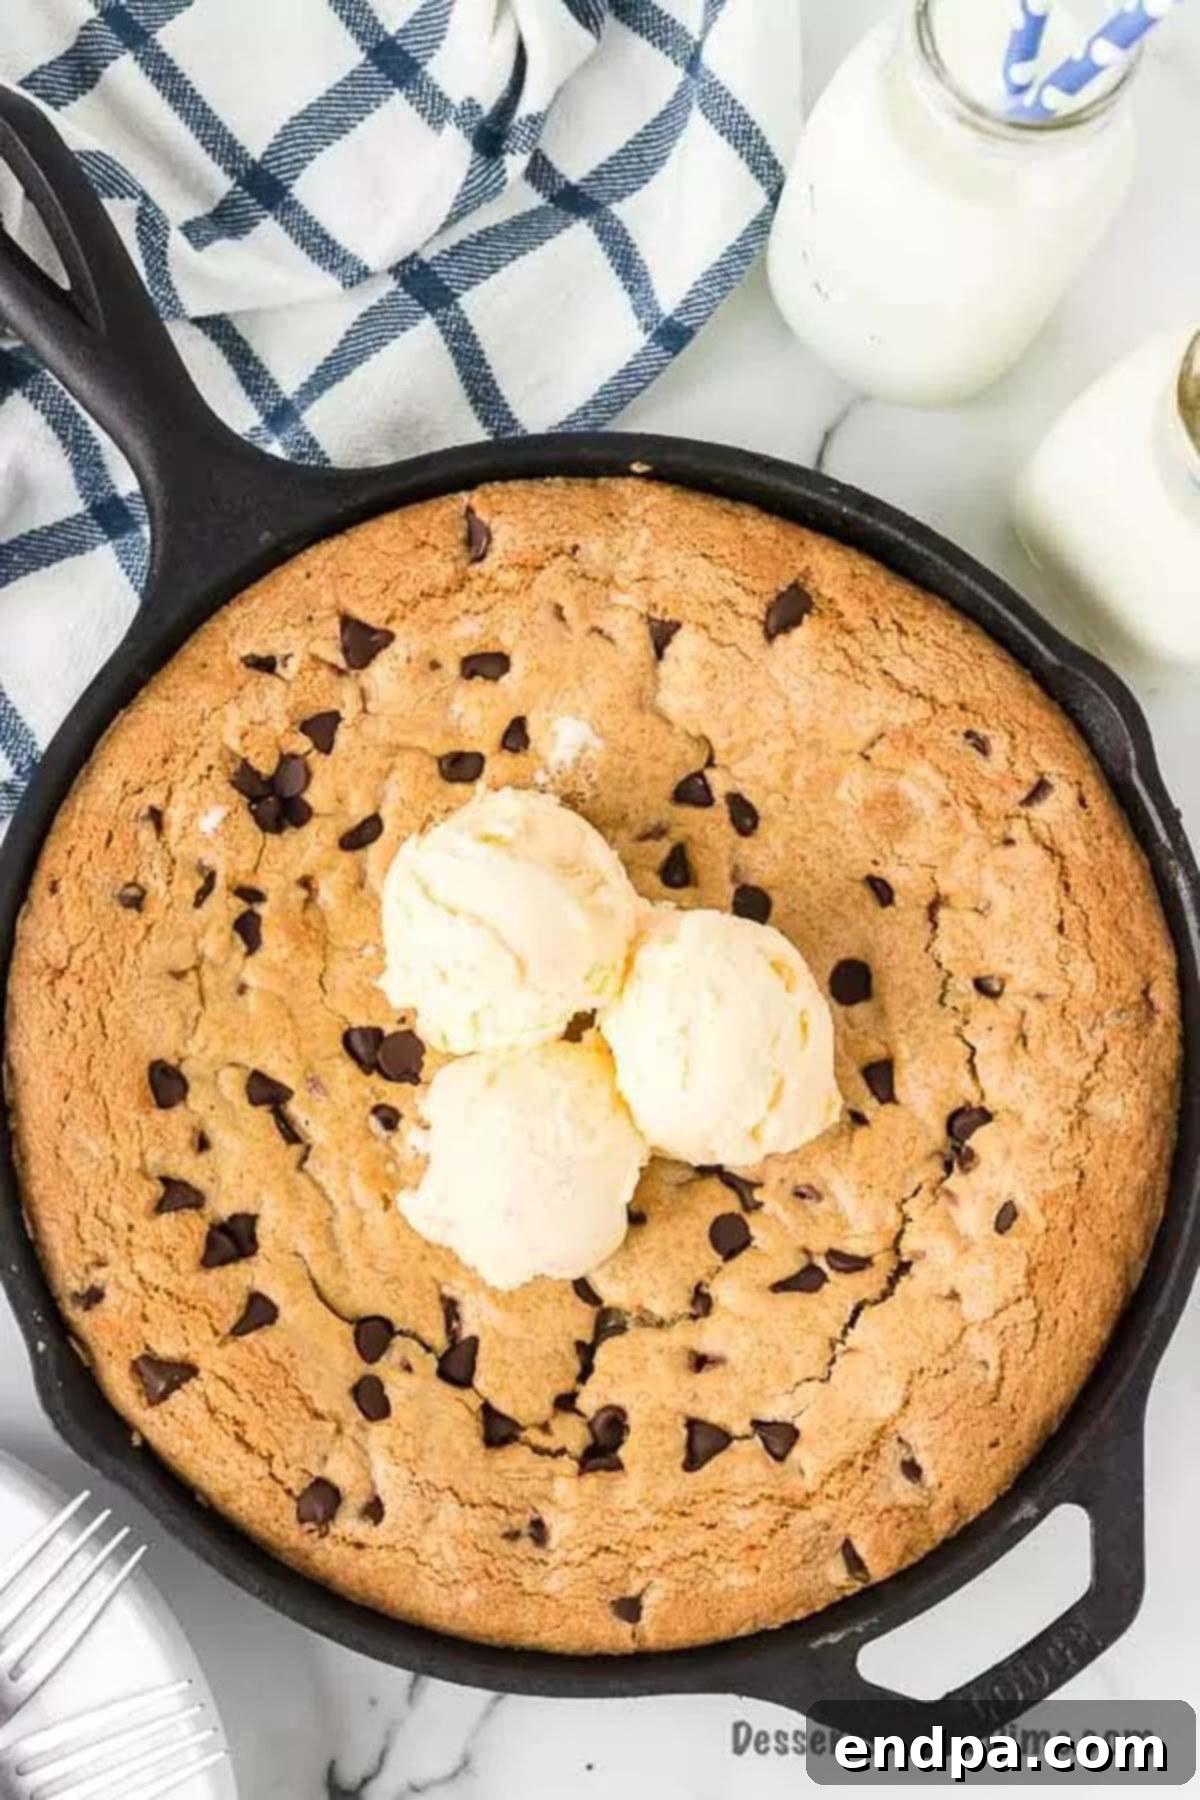
- Step 1: Prepare Your Oven and Skillet. Begin by preheating your oven to 350 degrees Fahrenheit (175 degrees Celsius). While the oven heats, ensure your 10-inch cast iron skillet is clean and ready. A well-seasoned cast iron skillet will help create those wonderfully crispy edges and ensure easy serving.
- Step 2: Cream Butter and Sugars. In a large mixing bowl, melt the butter in the microwave for approximately 15-30 seconds until just softened, not fully liquid. Then, using an electric mixer, cream together the melted butter, white granulated sugar, and brown sugar until the mixture is light, fluffy, and well combined. This step incorporates air, contributing to the cookie’s texture.
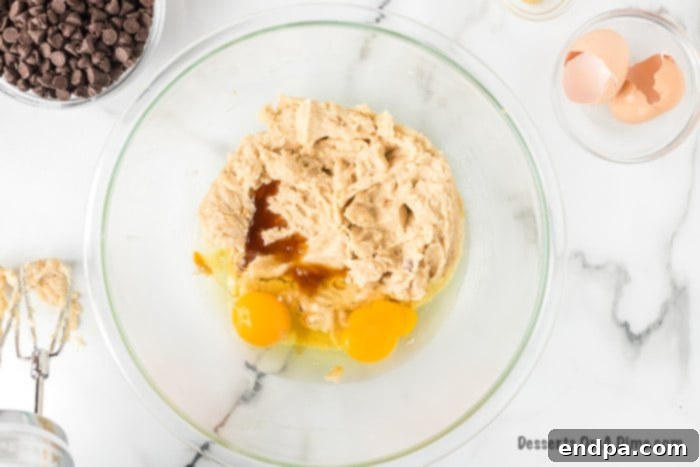
Step 3: Add Wet Ingredients. Crack in the eggs one at a time, mixing well after each addition to ensure they are fully incorporated. Stir in the vanilla extract until just combined. Be careful not to overmix at this stage.
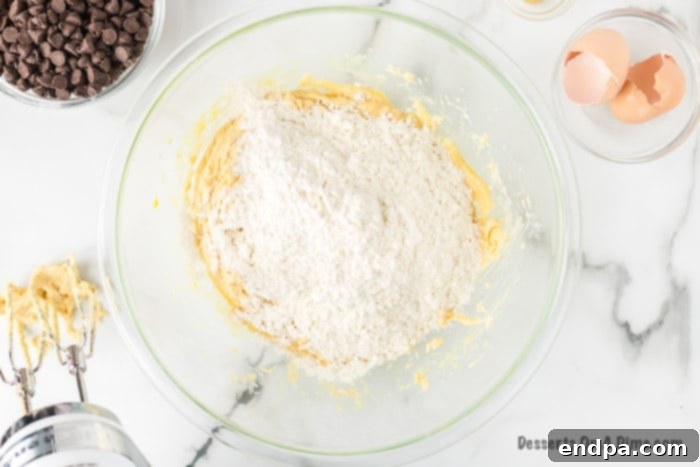
Step 4: Incorporate Dry Ingredients. In a separate bowl, whisk together the flour, salt, and baking soda. Gradually add these dry ingredients to the wet mixture, mixing on low speed for 2-3 minutes until just combined. The key here is not to overmix; stop as soon as no dry streaks of flour remain to ensure a tender cookie.
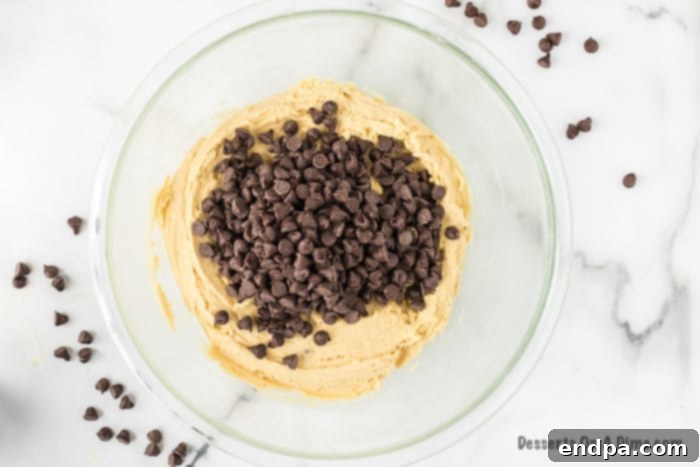
Step 5: Fold in Chocolate Chips and Transfer to Skillet. Gently fold in the chocolate chips by hand using a spatula. This prevents them from breaking up too much and ensures an even distribution. Once mixed, spread the cookie dough evenly into your prepared 10-inch cast iron skillet. You can use your hands or a spatula to press it lightly into place.
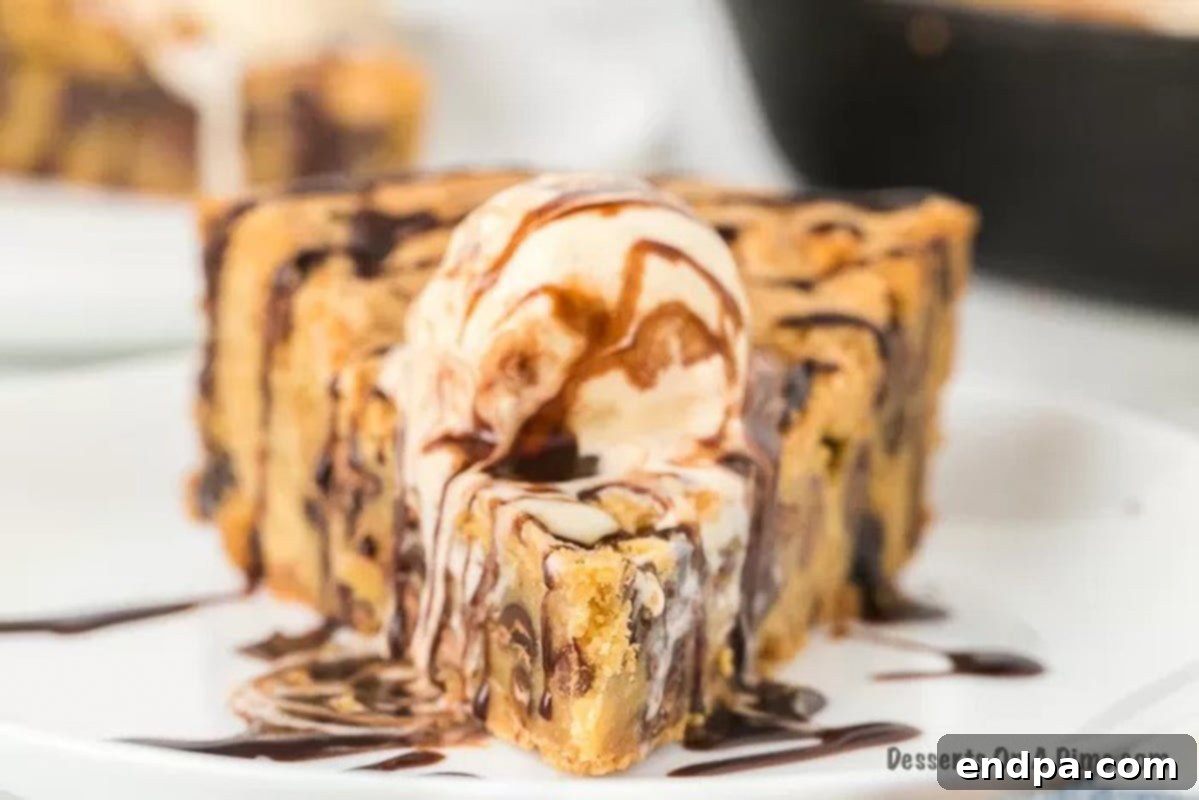
Step 6: Bake and Serve. Bake for approximately 30 minutes. Baking time may vary depending on your oven, so keep an eye on it. The edges should be golden brown, and the center should appear set but still slightly soft and gooey. Remove from the oven and let it cool in the skillet for at least 30 minutes. This cooling period is crucial for the pizookie to set properly, ensuring that gooey texture without falling apart. Then, serve warm and top with your favorite additions!
Irresistible Pizookie Topping Ideas
The true magic of a pizookie comes alive with the right toppings. Here are some fantastic ideas to elevate your warm chocolate chip skillet cookie into an unforgettable dessert experience:
- Vanilla Ice Cream: This is the quintessential pizookie topping for a reason! A generous scoop of cold homemade vanilla ice cream, or your favorite store-bought brand, creates an exquisite contrast with the warm, gooey cookie. As the ice cream slowly melts into the hot chocolate, it forms a creamy, dreamy sauce that perfectly complements the chewy cookie. Don’t be shy – a second scoop is always a good idea!
- Hot Fudge and Caramel Sauce: Drizzle your warm pizookie with a luscious Homemade Hot Fudge Sauce or a rich Homemade Caramel Sauce before serving. The warmth of the cookie will make these sauces even more decadent and flow beautifully. You can even combine both for a tantalizing turtle pizookie effect!
- Crushed Candy Bars: Transform your pizookie into a candy bar dream! This is an excellent way to use up leftover Halloween candy or your favorite chocolate bars. Simply chop up Snickers, Reese’s, Twix, or Butterfingers and sprinkle them over the warm cookie and ice cream for added crunch and flavor.
- Whipped Cream: A dollop of freshly made or canned whipped cream adds a light, airy sweetness that balances the richness of the cookie.
- Sprinkles: For a festive touch, especially if serving to kids (or adults who are kids at heart!), colorful sprinkles add a pop of color and fun.
- Fresh Berries: Brighten up your pizookie with a handful of fresh strawberries, raspberries, or blueberries. Their slight tartness offers a refreshing counterpoint to the sweet cookie.
- Chopped Nuts: Beyond mixing them into the dough, a sprinkle of toasted chopped walnuts, pecans, or almonds on top adds extra texture and a gourmet touch.
- Peanut Butter Drizzle: Melt a little creamy peanut butter and drizzle it over the warm pizookie for an irresistible nutty flavor, especially if you’re a fan of peanut butter and chocolate combinations.
Storing Your Pizookie for Freshness
While a pizookie is best enjoyed warm and fresh from the oven, you might find yourself with leftovers (though it’s a rare occurrence!). Here’s how to store it properly to maintain its deliciousness:
First, it’s crucial to allow the pizookie to cool completely within its cast iron skillet. Attempting to store it while still warm can lead to condensation, making the cookie soggy. Once fully cooled, you have a couple of options:
- Refrigeration: For short-term storage, transfer the cooled pizookie (still in the skillet, or carefully removed and placed in an airtight container) to the refrigerator. It will stay fresh for up to 3-4 days. When you’re ready to enjoy it again, you can reheat individual slices in the microwave for a few seconds until warm and gooey, or place the entire skillet (or slices on an oven-safe plate) in a preheated oven (around 300°F/150°C) for 5-10 minutes until warmed through.
- Freezing: Yes, you can freeze leftover pizookie for a delightful treat later! For best results, we recommend cutting the cooled pizookie into individual slices. Wrap each slice tightly in plastic wrap, then place them in a freezer-safe container or a heavy-duty freezer bag. This method prevents freezer burn and allows for convenient portion control. Frozen pizookie will keep for up to 4 months. To thaw and serve, simply transfer a slice to the refrigerator overnight, then reheat it in the microwave or oven until warm and soft.
Enjoying your pizookie leftovers is almost as good as the first bite, especially when reheated to bring back that warm, gooey center!
Frequently Asked Questions (FAQs)
Absolutely! While a cast iron skillet is ideal for its even heat distribution and ability to create beautifully crispy edges, it’s not strictly necessary. You can successfully bake a pizookie in an 8-inch or 9-inch pie plate. We’ve tried both methods, and the results are consistently delicious. A regular cake pan is not recommended as it might not give the desired crispy edges. For a fun, personalized touch, you can even use mini cast iron skillets so everyone gets their own individual pizookie, which is perfect for special occasions or entertaining!
Yes, for an even quicker and easier dessert, premade cookie dough is a fantastic shortcut! Simply press the store-bought chocolate chip cookie dough evenly into your cast iron skillet. Then, bake it according to the package directions, or until the edges are golden brown and the center is set but still gooey. This is a wonderfully convenient option for those days when you’re short on time but still craving a warm, homemade-tasting treat. You can also use a pre-packaged chocolate chip cookie mix, just follow the instructions on the package, usually just adding softened butter and an egg, and then bake as directed for the pizookie.
Yes, you can absolutely freeze leftover pizookie to enjoy later! To ensure the best quality, allow the pizookie to cool completely. Then, cut it into individual slices. Wrap each slice thoroughly with plastic wrap, then place the wrapped slices in a freezer-safe airtight container or a heavy-duty freezer bag. This method helps prevent freezer burn and makes thawing and reheating individual portions incredibly convenient. Frozen pizookie will keep well for up to 4 months. When you’re ready for a treat, simply thaw the desired number of slices in the refrigerator overnight, then warm them in the microwave or oven until soft and gooey.
A 10-inch cast iron skillet is generally considered the best size for a standard pizookie recipe, yielding a substantial, shareable dessert. It allows for a good balance of crispy edges and a thick, gooey center. However, an 8-inch or 9-inch pie plate or skillet can also work if you prefer a slightly thicker cookie or are making a smaller batch. For individual servings, 6-inch mini cast iron skillets are perfect.
The key to a perfect pizookie is not to overbake it. You’ll know it’s done when the edges are visibly golden brown and slightly firm, but the center still looks a bit soft and perhaps even a little underdone. It will continue to cook slightly and set as it cools in the hot skillet. A truly gooey center is the goal, so resist the urge to bake until fully firm throughout.
Chocolate Chip Pizookie Recipe Card
Ultimate Chocolate Chip Pizookie
10 mins
30 mins
30 mins
1 hr
10 mins
6
American
Dessert
915
Carrie Barnard
Ingredients
- 1 cup unsalted butter
- 2 ½ cups all-purpose flour
- ¾ cup granulated white sugar
- ¾ cup packed brown sugar
- 1 teaspoon baking soda
- 1.5 cups milk chocolate chips
- 1 tablespoon pure vanilla extract
- 2 large eggs
Instructions
- Preheat oven to 350 degrees F (175 C). Ensure your 10-inch cast iron skillet is clean and ready.
- Melt the butter in the microwave for 15-30 seconds until just softened (not fully liquid). In a large mixing bowl with an electric mixer, cream together the softened butter, white sugar, and brown sugar until light and fluffy.
- Add the eggs one at a time, mixing well after each addition. Stir in the vanilla extract until just combined.
- In a separate bowl, whisk together the flour, salt, and baking soda. Gradually add the dry ingredients to the wet ingredients, mixing on low speed for 2-3 minutes until just combined and no streaks of flour remain. Be careful not to overmix.
- Gently fold in the chocolate chips by hand using a spatula to ensure even distribution without overworking the dough.
- Press the cookie dough evenly into the prepared 10-inch cast iron skillet. Ensure it covers the bottom of the pan evenly.
- Bake for approximately 30 minutes, or until the edges are golden brown and the center appears set but still slightly soft and gooey. Baking time may vary depending on your oven.
- Remove from the oven and let the pizookie sit in the skillet for at least 30 minutes to cool slightly and allow the center to set. This resting period is crucial for that perfect gooey texture. Serve warm with your favorite toppings!
Nutrition Facts
Calories
915
kcal
,
Carbohydrates
123
g
,
Protein
10
g
,
Fat
43
g
,
Saturated Fat
26
g
,
Cholesterol
143
mg
,
Sodium
513
mg
,
Potassium
122
mg
,
Fiber
3
g
,
Sugar
80
g
,
Vitamin A
1125
IU
,
Vitamin C
1
mg
,
Calcium
100
mg
,
Iron
3
mg
More Cookie Recipes You’ll Love
Cookies
Salted Caramel Chocolate Chip Cookie Recipe
Cookies
Easy Chocolate Chip Cookies
Cookies
Potato Chip Cookies Recipe
Ready to create a dessert masterpiece that will impress everyone? Go ahead and make this incredible Chocolate Chip Skillet Cookie Recipe. We’re confident it will become a new favorite in your home. Don’t forget to come back and leave a comment after you try it – we love hearing about your delicious results!
