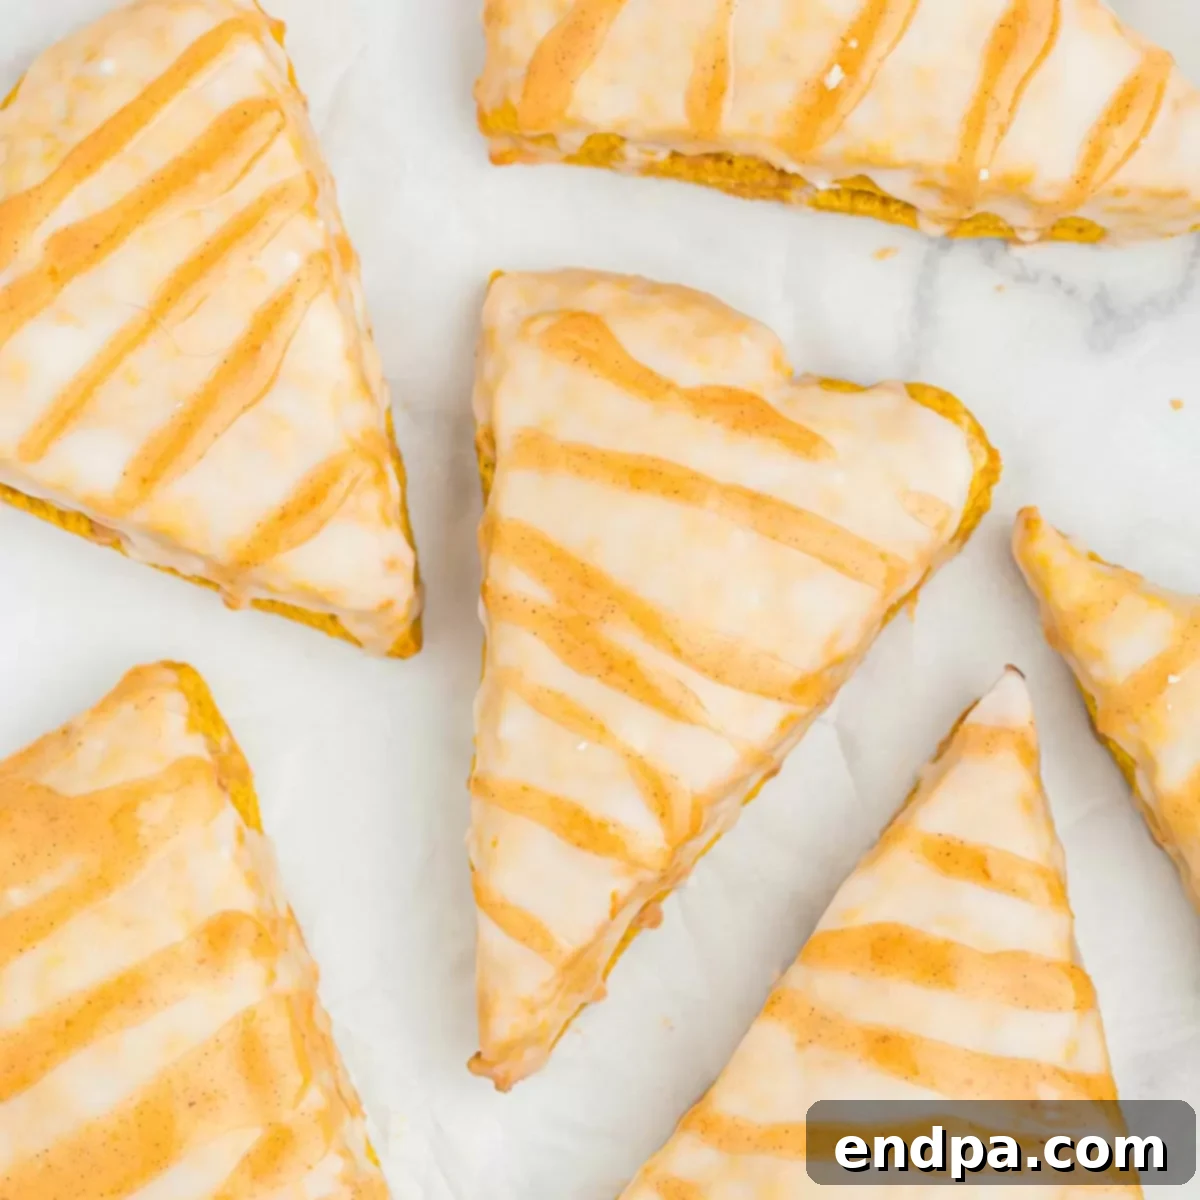
Craving the warm, spiced flavors of fall that only a Starbucks Pumpkin Scone can deliver? Imagine sinking your teeth into a perfectly soft, deliciously spiced scone, generously topped with not one, but two decadent glazes, all from the comfort of your own kitchen. This incredible Copycat Starbucks Pumpkin Scones Recipe brings that bakery magic right to your home, offering a delightful treat that’s not only incredibly flavorful but also surprisingly simple and budget-friendly to make. Forget the long lines and high prices; your new favorite autumn indulgence is just a few steps away. These scones are exquisitely soft, rich with authentic pumpkin flavor, and crowned with a luscious pumpkin-infused glaze that elevates every bite. It’s the ultimate way to enjoy the beloved Starbucks experience without ever leaving your house.
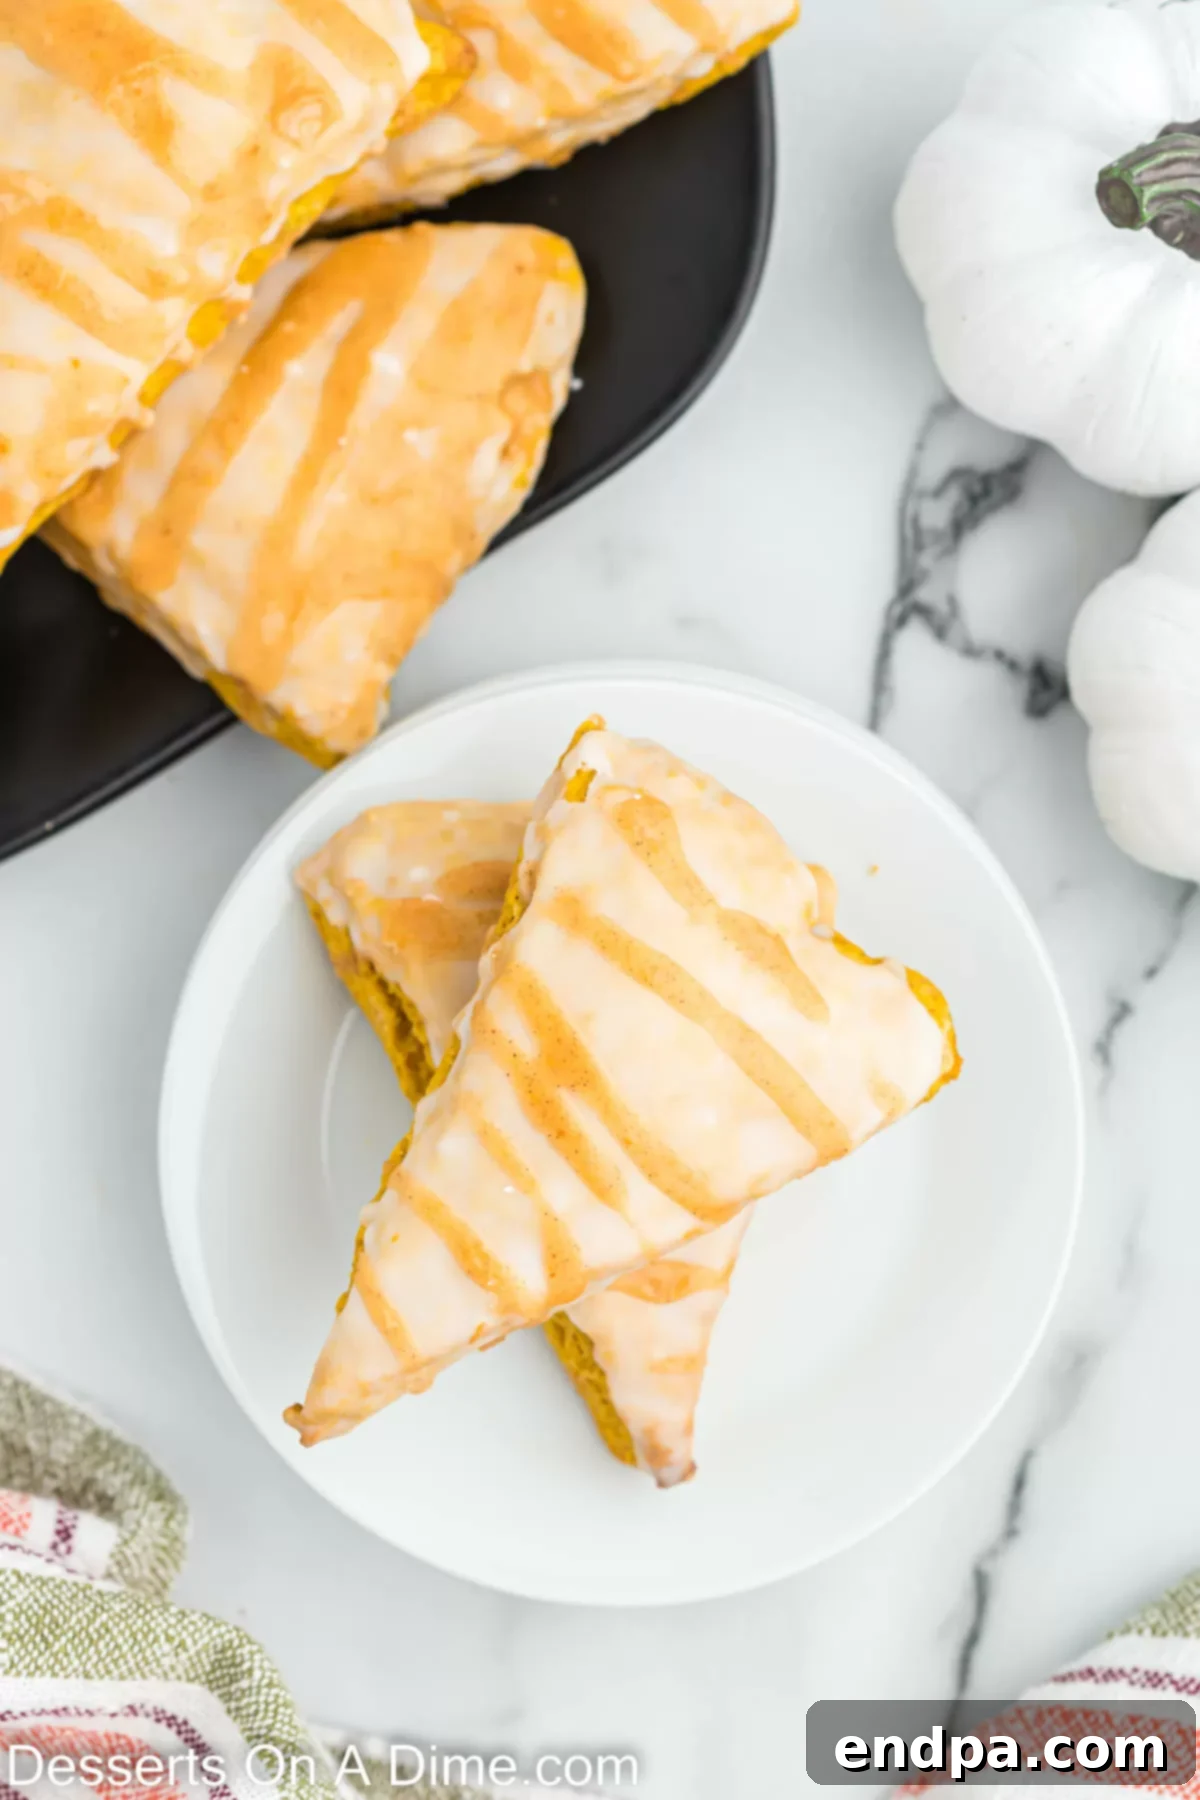
This easy-to-follow scone recipe is a true game-changer for any pumpkin lover. Not only does it capture the authentic taste and texture of its famous counterpart, but it also allows you to enjoy these seasonal delights at a fraction of the cost. Why rush to the nearest Starbucks bakery when you can whip up a batch of these glorious homemade pumpkin scones whenever the craving strikes? This recipe isn’t just about saving money; it’s about the joy of baking, the aroma filling your home, and the satisfaction of creating something truly special. It stands out as one of the very best Pumpkin Dessert Recipes you can make, right alongside other fan favorites like Starbucks Pumpkin Cream Cheese Muffins. Whether you’re a seasoned baker or new to the kitchen, these scones are designed for success.
If you’re a devoted Starbucks fan constantly searching for ways to recreate their iconic treats, then you’re in for a double delight! After mastering these delectable Starbucks Pumpkin Scones, you might also want to explore making a Starbucks Marshmallow Dream Bar for a chewy, sweet indulgence, or try your hand at the vibrant and zesty Starbucks Lemon Cake Pop Recipe. Each of these copycat recipes offers a unique taste of the Starbucks experience, bringing that familiar comfort and quality directly into your home kitchen. Get ready to impress your family and friends with an array of bakery-quality treats!
Table of Contents
- Why This Recipe Works
- Essential Ingredients for Perfect Scones
- Scone Dough
- Double Glaze
- Step-by-Step Instructions: Crafting Your Scones
- Pro Baking Tips for Scone Success
- Storage and Freshness
- Can You Freeze Scones?
- More Copycat Starbucks Recipes to Love
Why This Recipe Works: Unlocking Starbucks-Quality Scones at Home
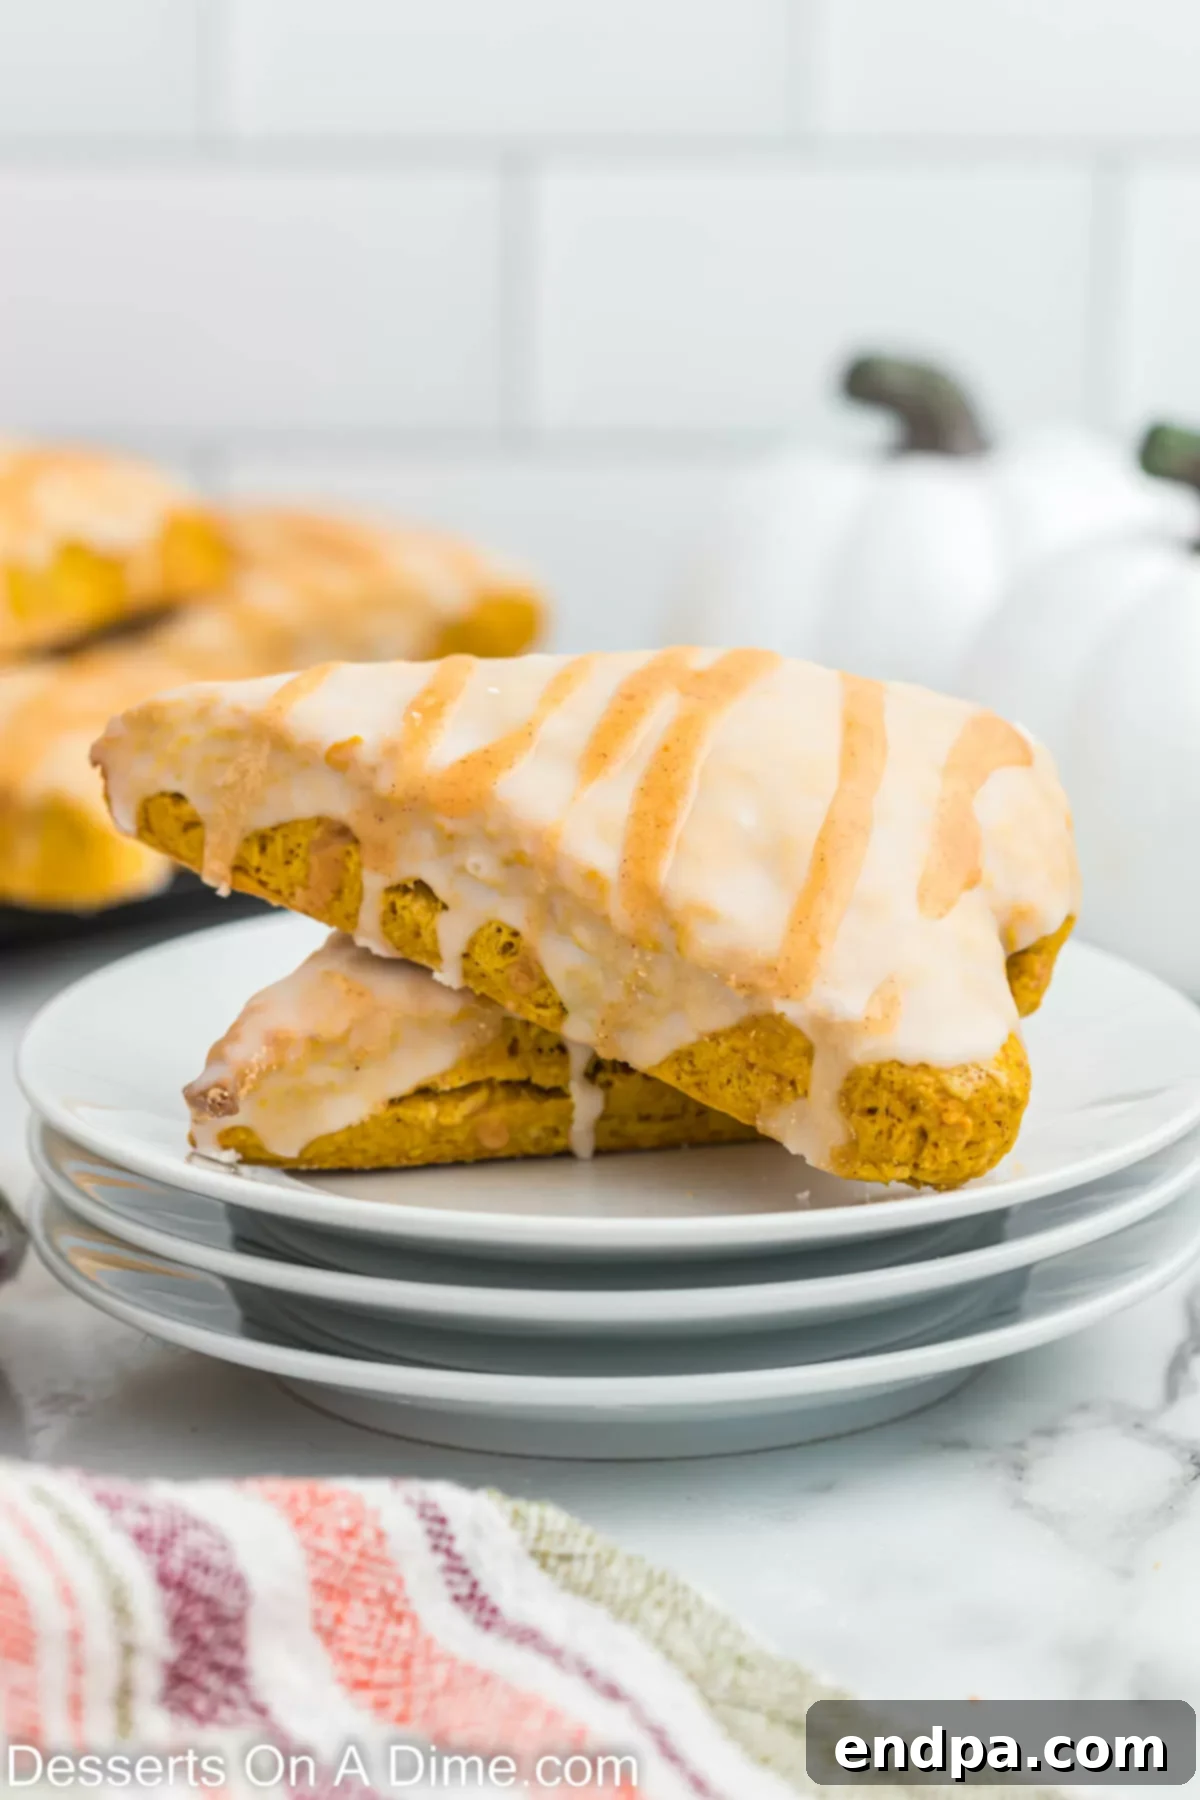
This Starbucks Pumpkin Scones Recipe isn’t just another baking project; it’s a guaranteed success because it masterfully blends simplicity with incredible flavor, making it a favorite for bakers of all skill levels. Each bite of these pumpkin scones is a delightful explosion of autumn, infused with the rich, aromatic essence of pumpkin purée and perfectly balanced pumpkin pie spice. It’s a flavor profile that evokes the cozy comfort of a pumpkin spice latte, but in a tender, crumbly scone form. The magic truly lies in the double glaze system – a rich, creamy white glaze forms the base, while a spiced pumpkin glaze is artfully drizzled on top, adding layers of flavor and that distinctive bakery aesthetic. This combination ensures that every element, from the soft interior of the scone to the sweet, spiced exterior, contributes to an unforgettable experience.
Don’t let the thought of baking scones deter you. Many people find baking intimidating, but this recipe is designed to be straightforward and rewarding. We’ve meticulously crafted the instructions to guide you through each step, ensuring that even novice bakers can achieve perfectly golden, flaky, and moist scones. The technique of cutting cold butter into the dry ingredients, for instance, is key to developing that desirable tender crumb texture that sets a great scone apart. The results are consistently amazing: scones that are light, airy, and bursting with genuine pumpkin goodness. This recipe proves that you don’t need professional training to create bakery-quality treats right in your own kitchen. It’s an accessible way to bring gourmet flavors into your home, perfect for a cozy morning, an afternoon tea, or a special fall gathering.
The dedication to flavor extends to every component of these homemade pumpkin scones. The scone itself is moist and tender, a testament to the precise balance of wet and dry ingredients. But what truly sets these scones apart is the decadent glaze. Unlike many recipes that feature a simple sugar glaze, ours incorporates additional pumpkin purée and pumpkin pie spice into the second drizzle, intensifying the autumnal flavors and providing an extra layer of sweetness and spice. This thoughtful detail ensures that the pumpkin essence is celebrated in every single mouthful. It’s this attention to detail that transforms a simple scone into an extraordinary dessert, making it undeniably one of the best pumpkin treats you’ll ever bake. Prepare to be amazed by the depth of flavor and delightful texture in every single bite!
Essential Ingredients for Perfect Scones
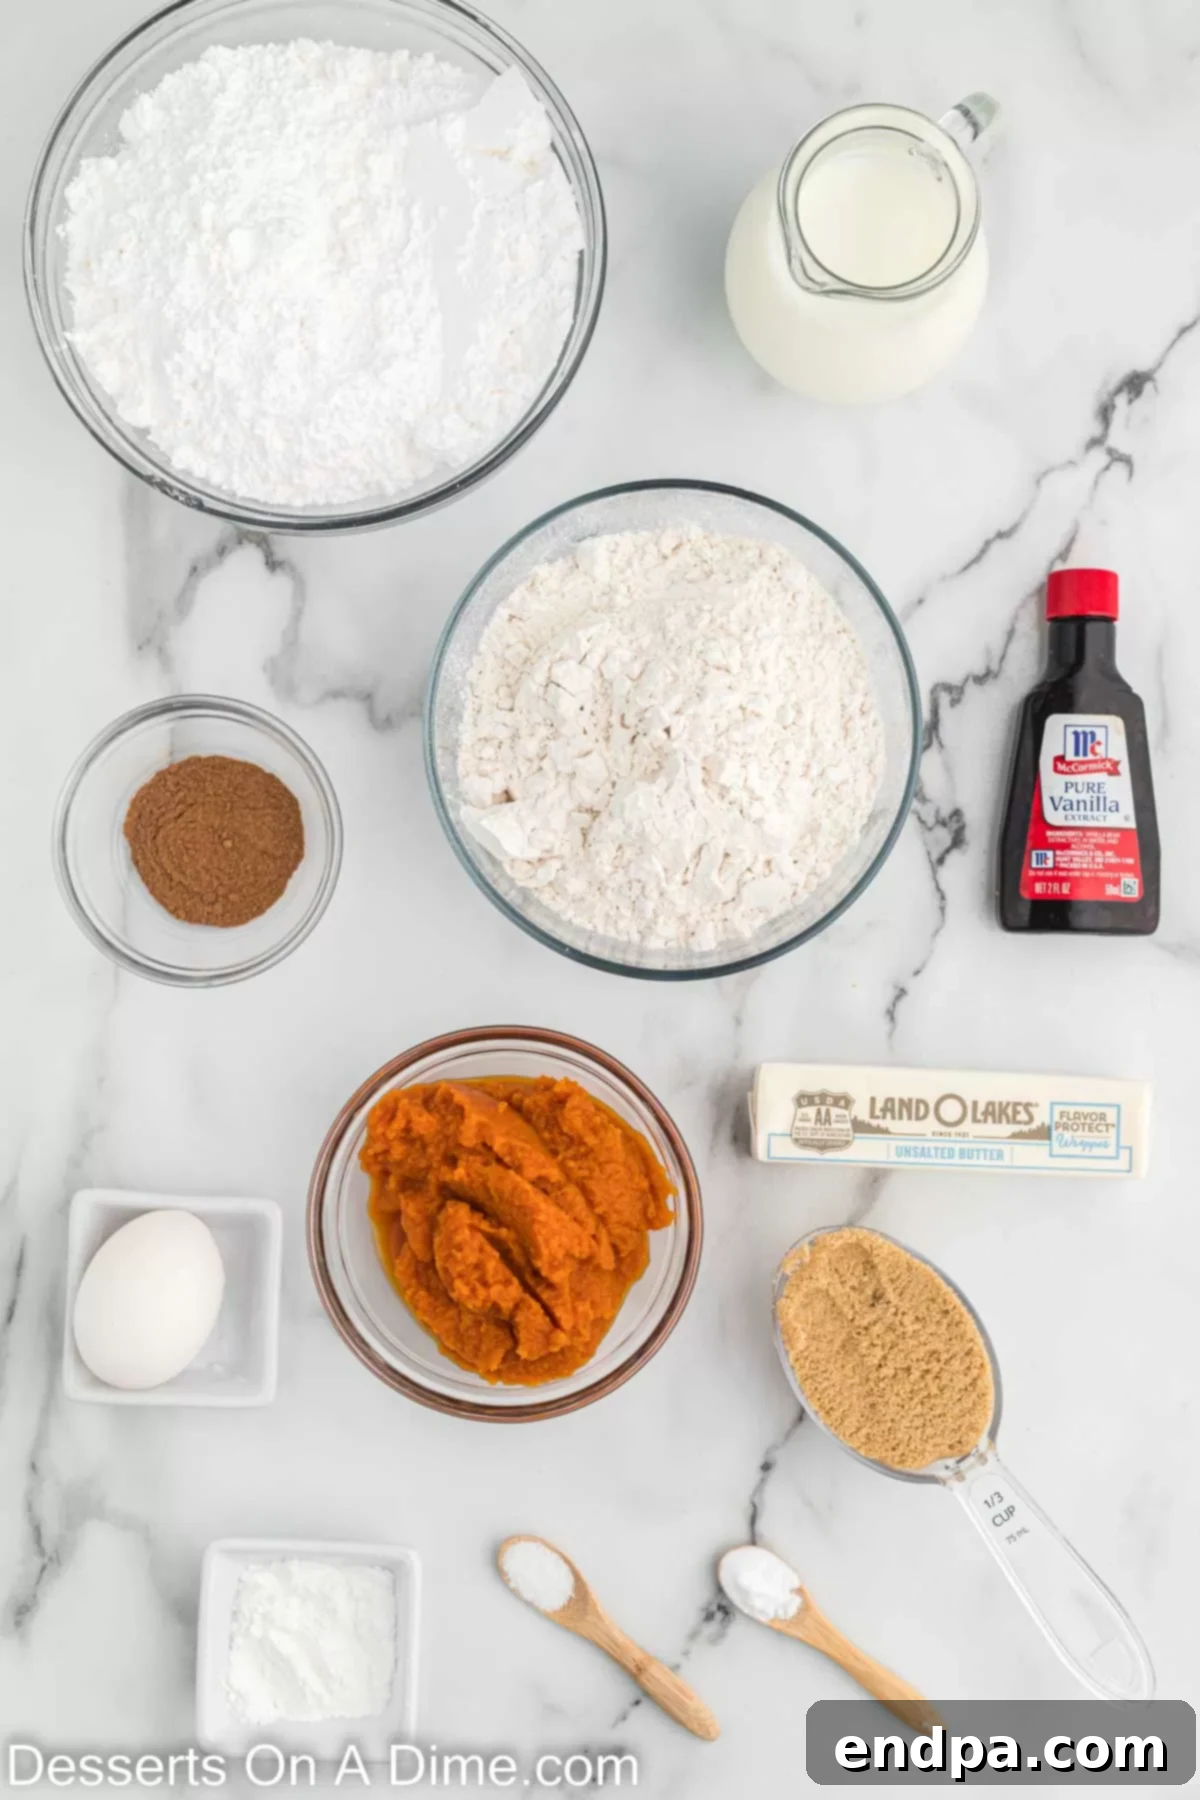
Crafting these delectable Starbucks-inspired Pumpkin Scones requires a careful selection of fresh, quality ingredients. Each component plays a crucial role in achieving the perfect texture and the authentic, rich pumpkin spice flavor. Let’s delve into what you’ll need to create your exceptional homemade scones and their irresistible glazes. Having all your ingredients prepped and ready will streamline the baking process and ensure the best possible outcome.
Scone Dough
- All-Purpose Flour: The foundation of our scones. For the most accurate measurement and best texture, always spoon the flour into your measuring cup and then level it off with a straight edge. This prevents overpacking, which can lead to dense scones.
- Baking Powder: A key leavening agent that gives the scones their lift and airy texture. It reacts twice, once when wet and again with heat, ensuring a beautifully risen scone.
- Baking Soda: Works in conjunction with the brown sugar and pumpkin purée to add another layer of lift and contribute to the scone’s tender crumb. For substitution options, check out our guide on Best Baking Soda Substitutes.
- Pumpkin Pie Spice: This essential spice blend infuses the scones with that unmistakable autumnal warmth and flavor, making them truly taste like fall. If you don’t have a pre-made blend, you can easily create your own with cinnamon, nutmeg, ginger, and cloves.
- Salt: A pinch of salt is crucial for balancing the sweetness and enhancing all the other wonderful flavors in the scone dough.
- Brown Sugar: Provides moisture and a deep, molasses-rich sweetness that complements the pumpkin perfectly. Be sure to pack it firmly when measuring. If you’re out, here are The Best Brown Sugar Substitutes.
- Unsalted Butter: This is perhaps the most critical ingredient for scone texture. It must be very cold and cut into small cubes. Cold butter creates pockets of steam as it bakes, resulting in flaky, tender scones. Avoid using softened butter.
- Pumpkin Purée: The star of the show! Ensure you use plain pumpkin purée, not pumpkin pie filling. Pie filling contains added spices and sweeteners that will alter the flavor profile of this recipe. Chill it before using for best results, as cold ingredients are vital for scones.
- Milk: We recommend whole milk for its richness, which contributes to a more tender and flavorful scone. However, you can use other milk alternatives if preferred; keep in mind it might slightly alter the richness.
- Large Egg: Acts as a binding agent, adds richness to the dough, and helps achieve a golden-brown crust. Ensure it’s large for consistent results.
- Vanilla Extract: Pure vanilla extract provides a subtle aromatic depth that enhances the overall sweetness and warmth of the pumpkin and spices.
Double Glaze
- Powdered Sugar: The base for both glazes, providing smooth sweetness. Sift it thoroughly to remove any lumps, ensuring a silky-smooth glaze texture.
- Milk: Used to thin the powdered sugar into a pourable glaze. You’ll add this gradually, adjusting to achieve the desired consistency.
- Pumpkin Purée: Incorporated into the second glaze, this adds another layer of authentic pumpkin flavor and a lovely orange hue, mirroring the classic Starbucks look. Again, use plain pumpkin purée, not pie filling.
- Pumpkin Pie Spice: A touch of this spice blend in the second glaze enhances the autumnal flavor profile and visually distinguishes it from the plain white glaze, creating that iconic drizzle.
You can find the complete, precise list of measurements and additional tips for these ingredients in the recipe card at the bottom of the page, ensuring you have everything you need for baking success.
Step-by-Step Instructions: Crafting Your Perfect Pumpkin Scones
Baking these copycat Starbucks Pumpkin Scones is a rewarding process, and following these detailed steps will ensure you achieve deliciously tender and perfectly glazed results every time. Take your time, enjoy the process, and soon you’ll be savoring your homemade masterpiece!
- Step 1: Prepare Your Baking Environment. Begin by preheating your oven to 400 degrees Fahrenheit (200°C). This ensures the oven is at the correct temperature for even baking as soon as your scones are ready. While the oven heats, line a large baking sheet with parchment paper. Parchment paper is essential to prevent sticking and allows for easy cleanup, ensuring your beautiful scones can be easily removed once baked.
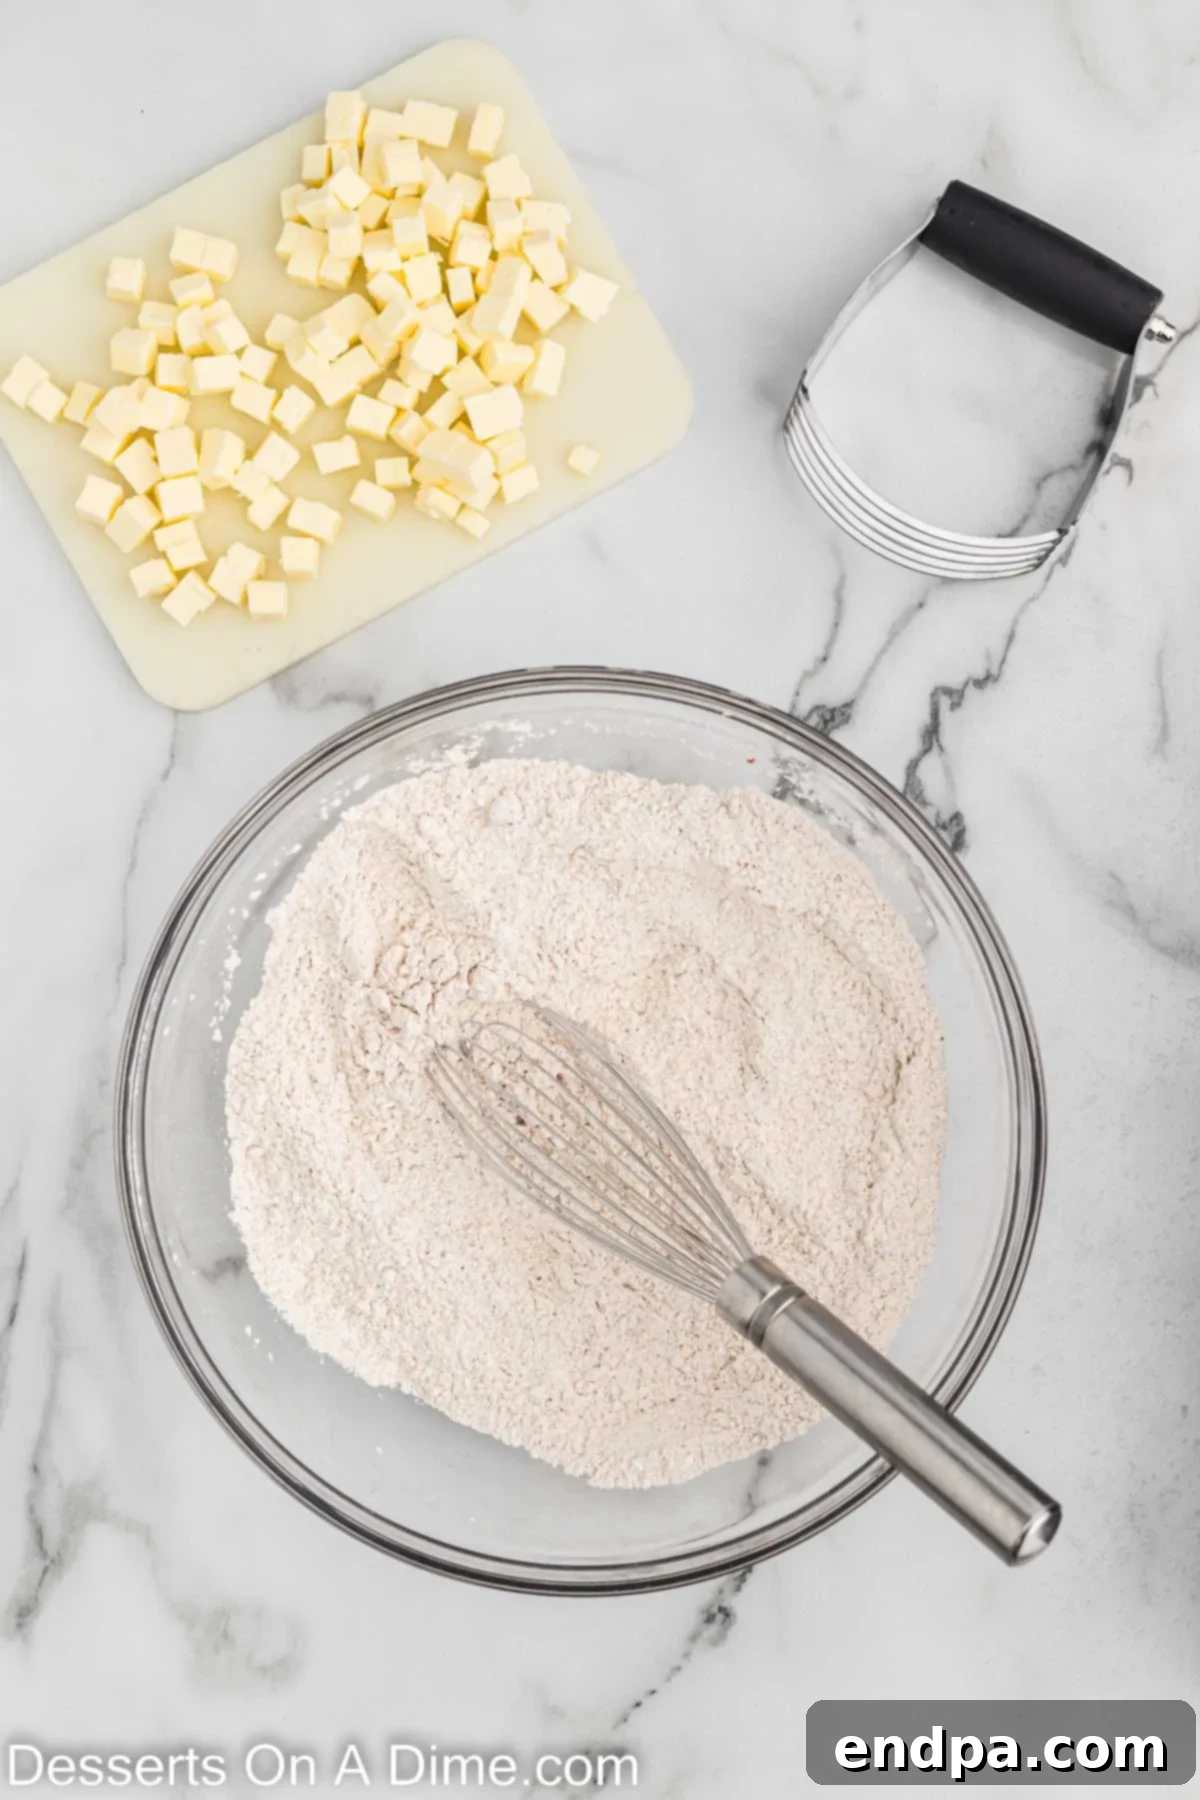
Step 2: Combine the Dry Ingredients. In a spacious mixing bowl, combine all your dry scone ingredients: the measured all-purpose flour, baking powder, baking soda, aromatic pumpkin pie spice, a pinch of salt, and the packed brown sugar. Use a whisk to thoroughly blend these ingredients until they are evenly distributed. This step is crucial for ensuring that the leavening agents and flavors are spread throughout the dough, promoting uniform rising and taste.
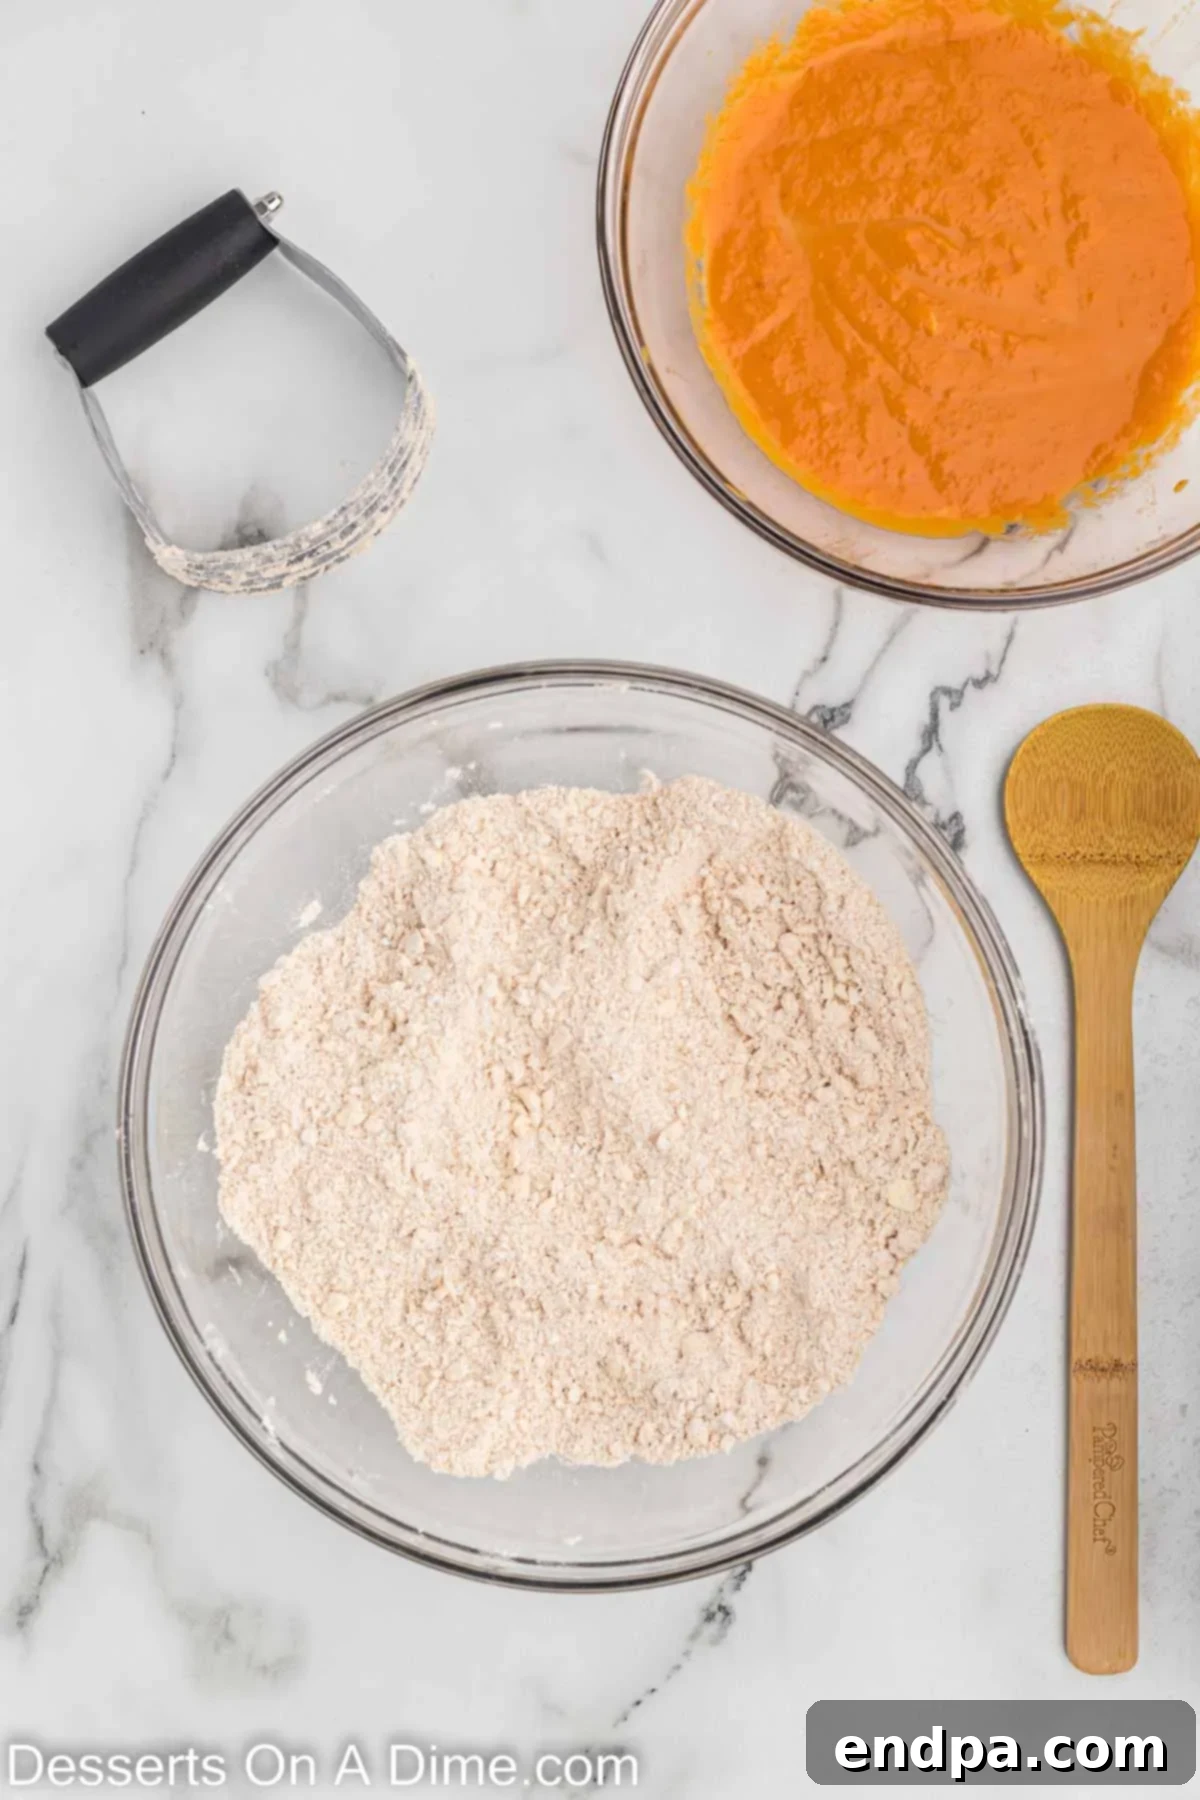
Step 3: Incorporate the Cold Butter. Next, introduce the chilled, cubed unsalted butter into the dry mixture. Using a pastry cutter, two knives, or even your fingertips (working quickly to prevent the butter from warming), cut the butter into the flour mixture. Continue this process until the butter pieces are about the size of small peas or coarse crumbs. This technique is vital for achieving the characteristic flaky texture of scones. The cold butter melts slowly in the oven, creating steam pockets that result in tender, layered pastries.
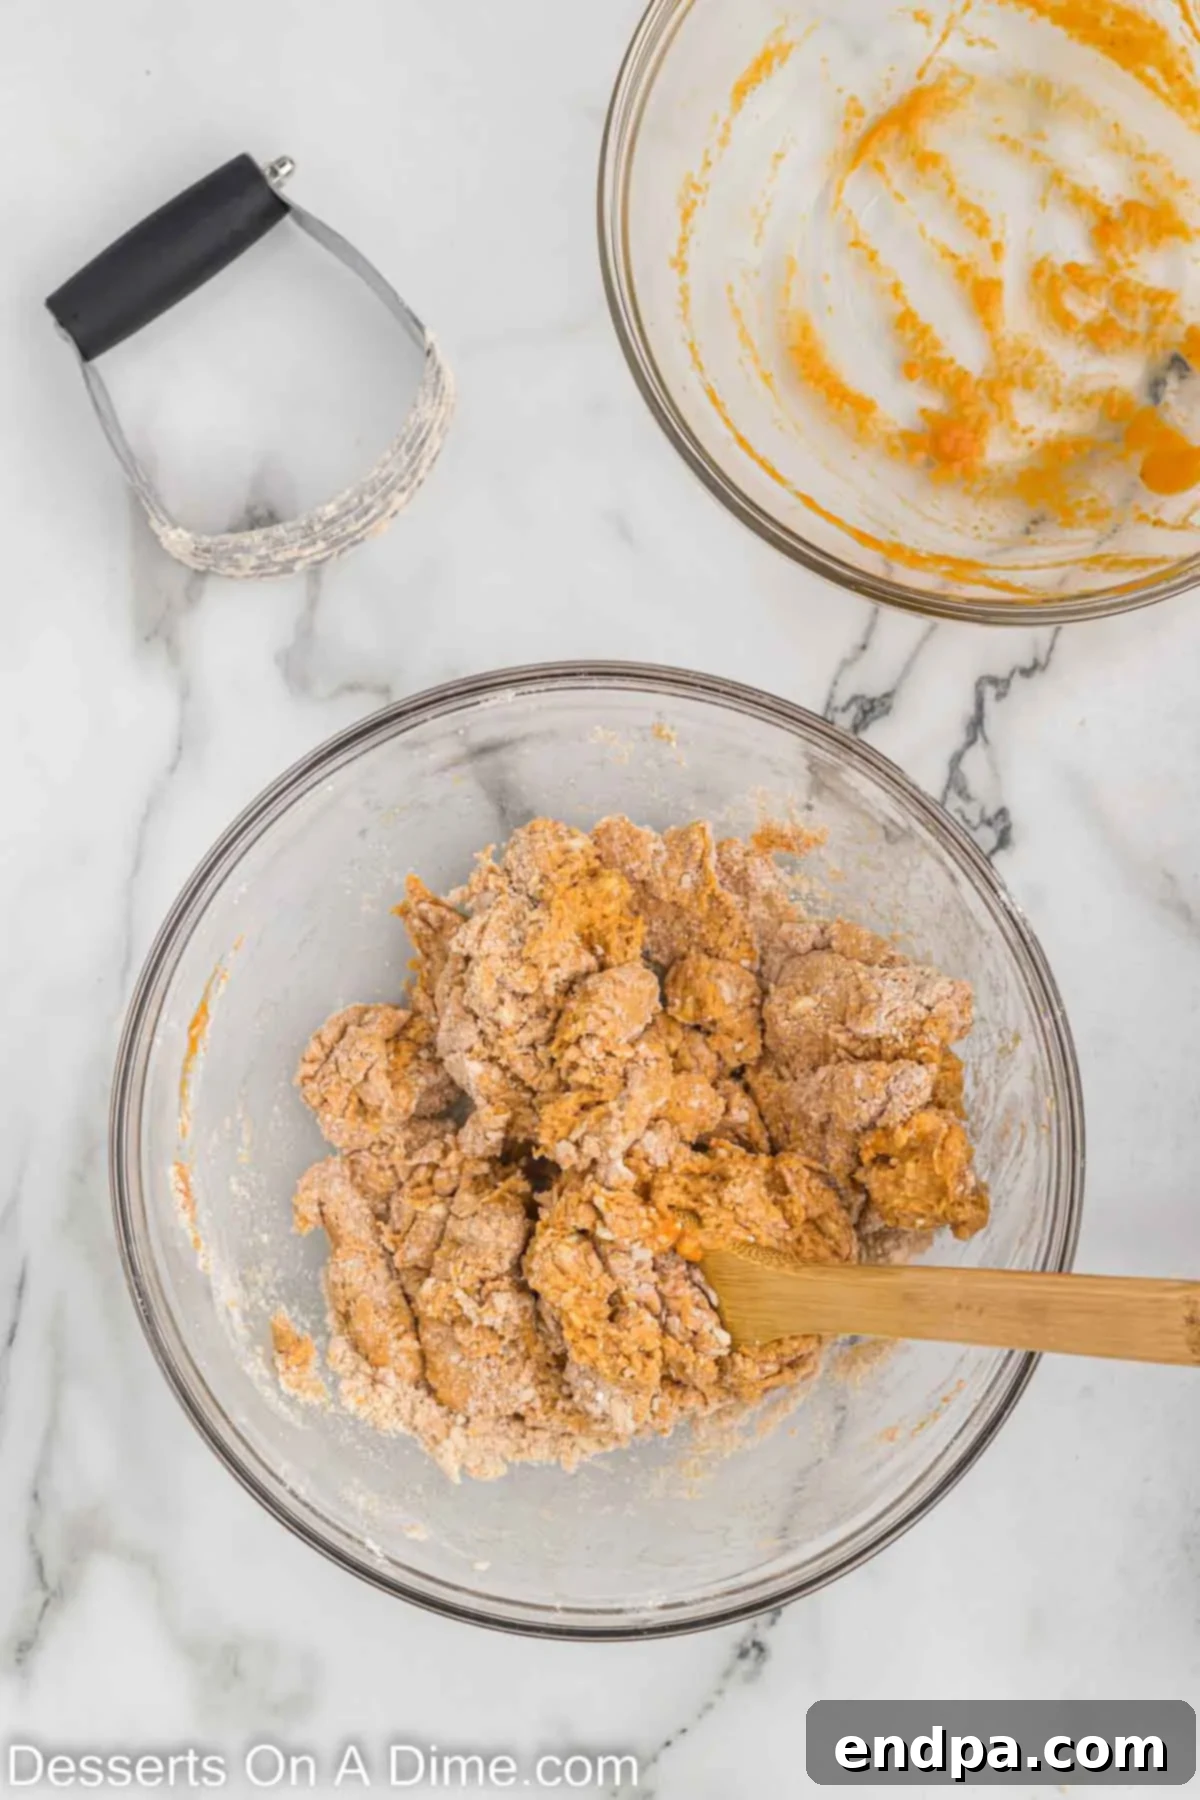
Step 4: Combine Wet and Dry Ingredients. In a separate, medium-sized bowl, whisk together your wet ingredients: the chilled pumpkin purée, milk, large egg, and vanilla extract until well combined. Once ready, pour this wet mixture into the large bowl containing your dry and butter-infused ingredients. Gently stir everything together with a wooden spoon or spatula, mixing just until the ingredients are combined and a soft dough forms. Be careful not to overmix, as this can lead to tough scones.
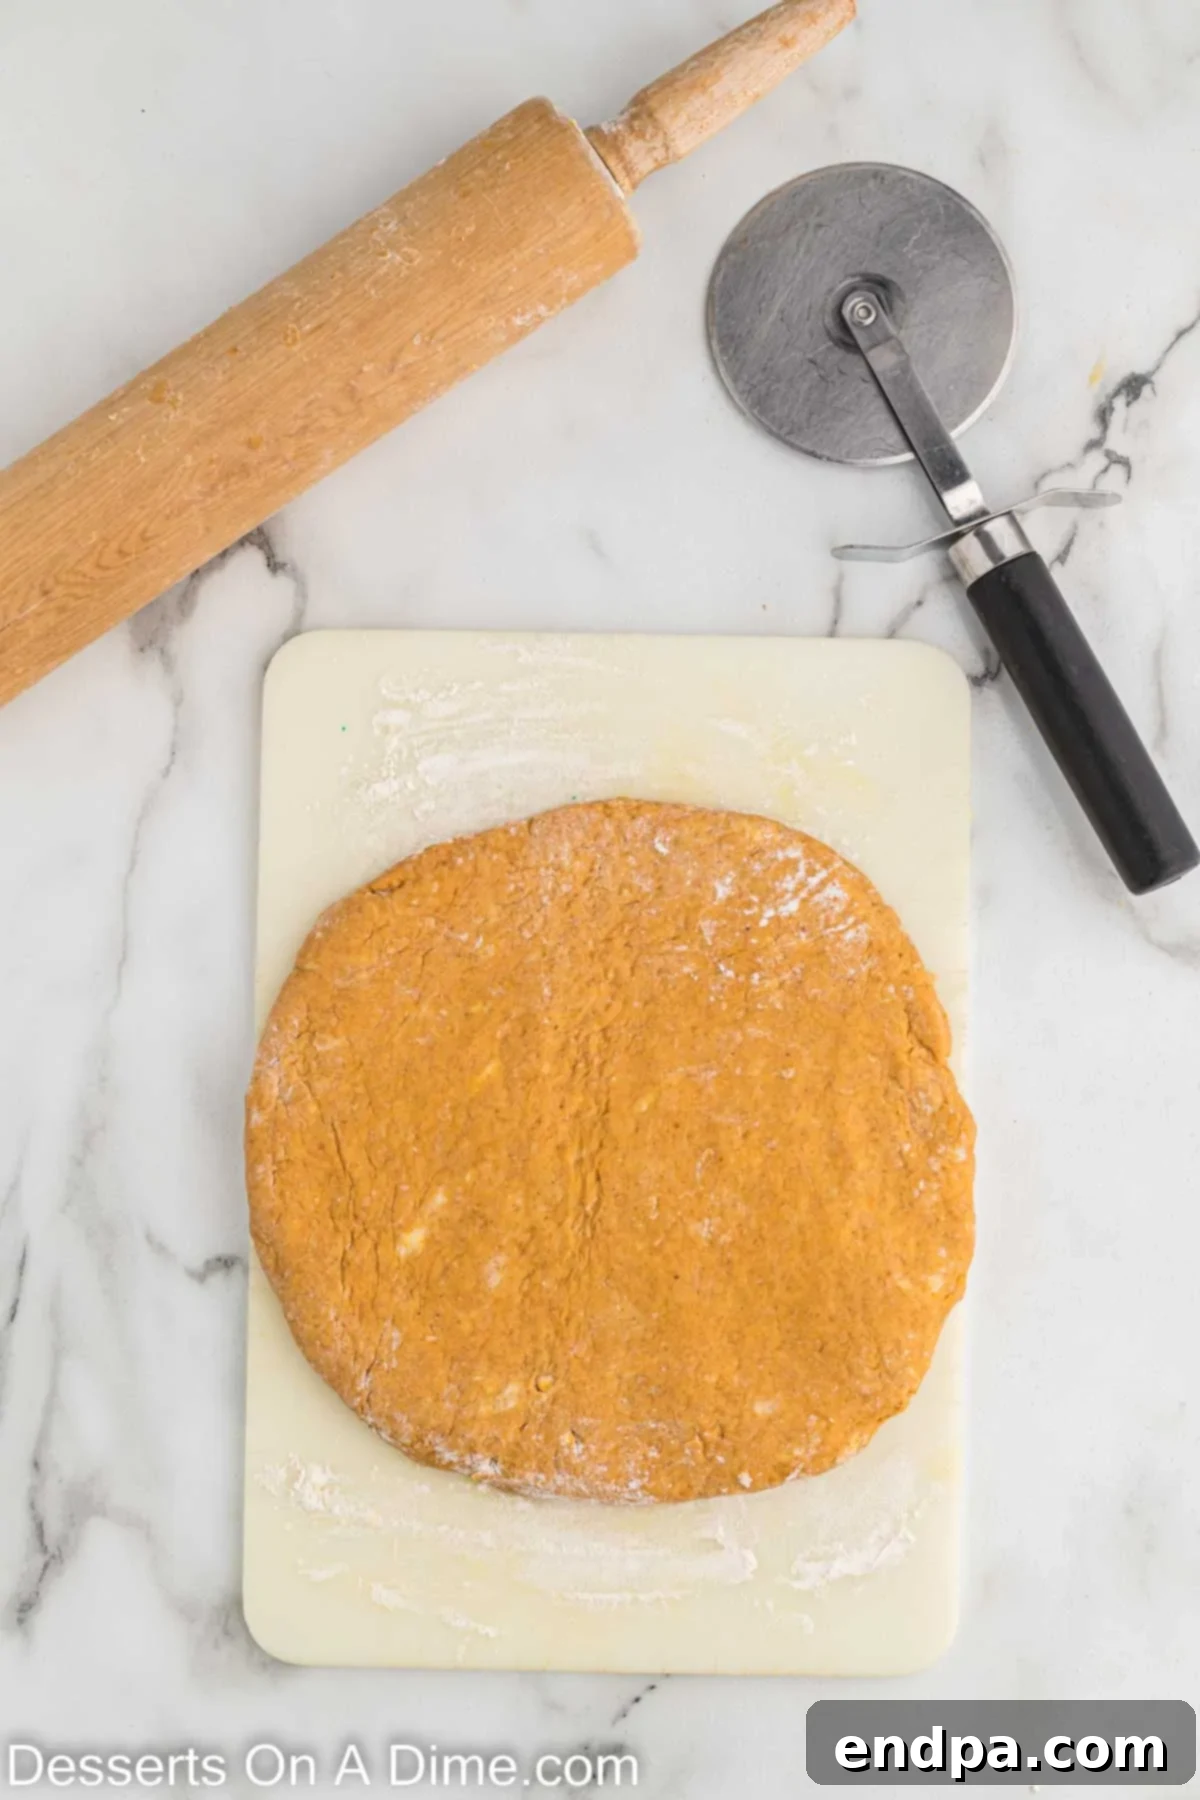
Step 5: Shape and Cut the Scones. Lightly flour a clean working surface, then transfer your dough onto it. Knead the dough gently 3-4 times, just enough to bring it fully together into a cohesive ball. Over-kneading develops gluten and will make your scones tough. Next, use a rolling pin to roll the dough out into an approximately 8-inch circle, about 1 inch thick. Then, with a sharp knife or a pizza cutter, slice the circle into 8 even triangles. This traditional wedge shape is characteristic of Starbucks scones.
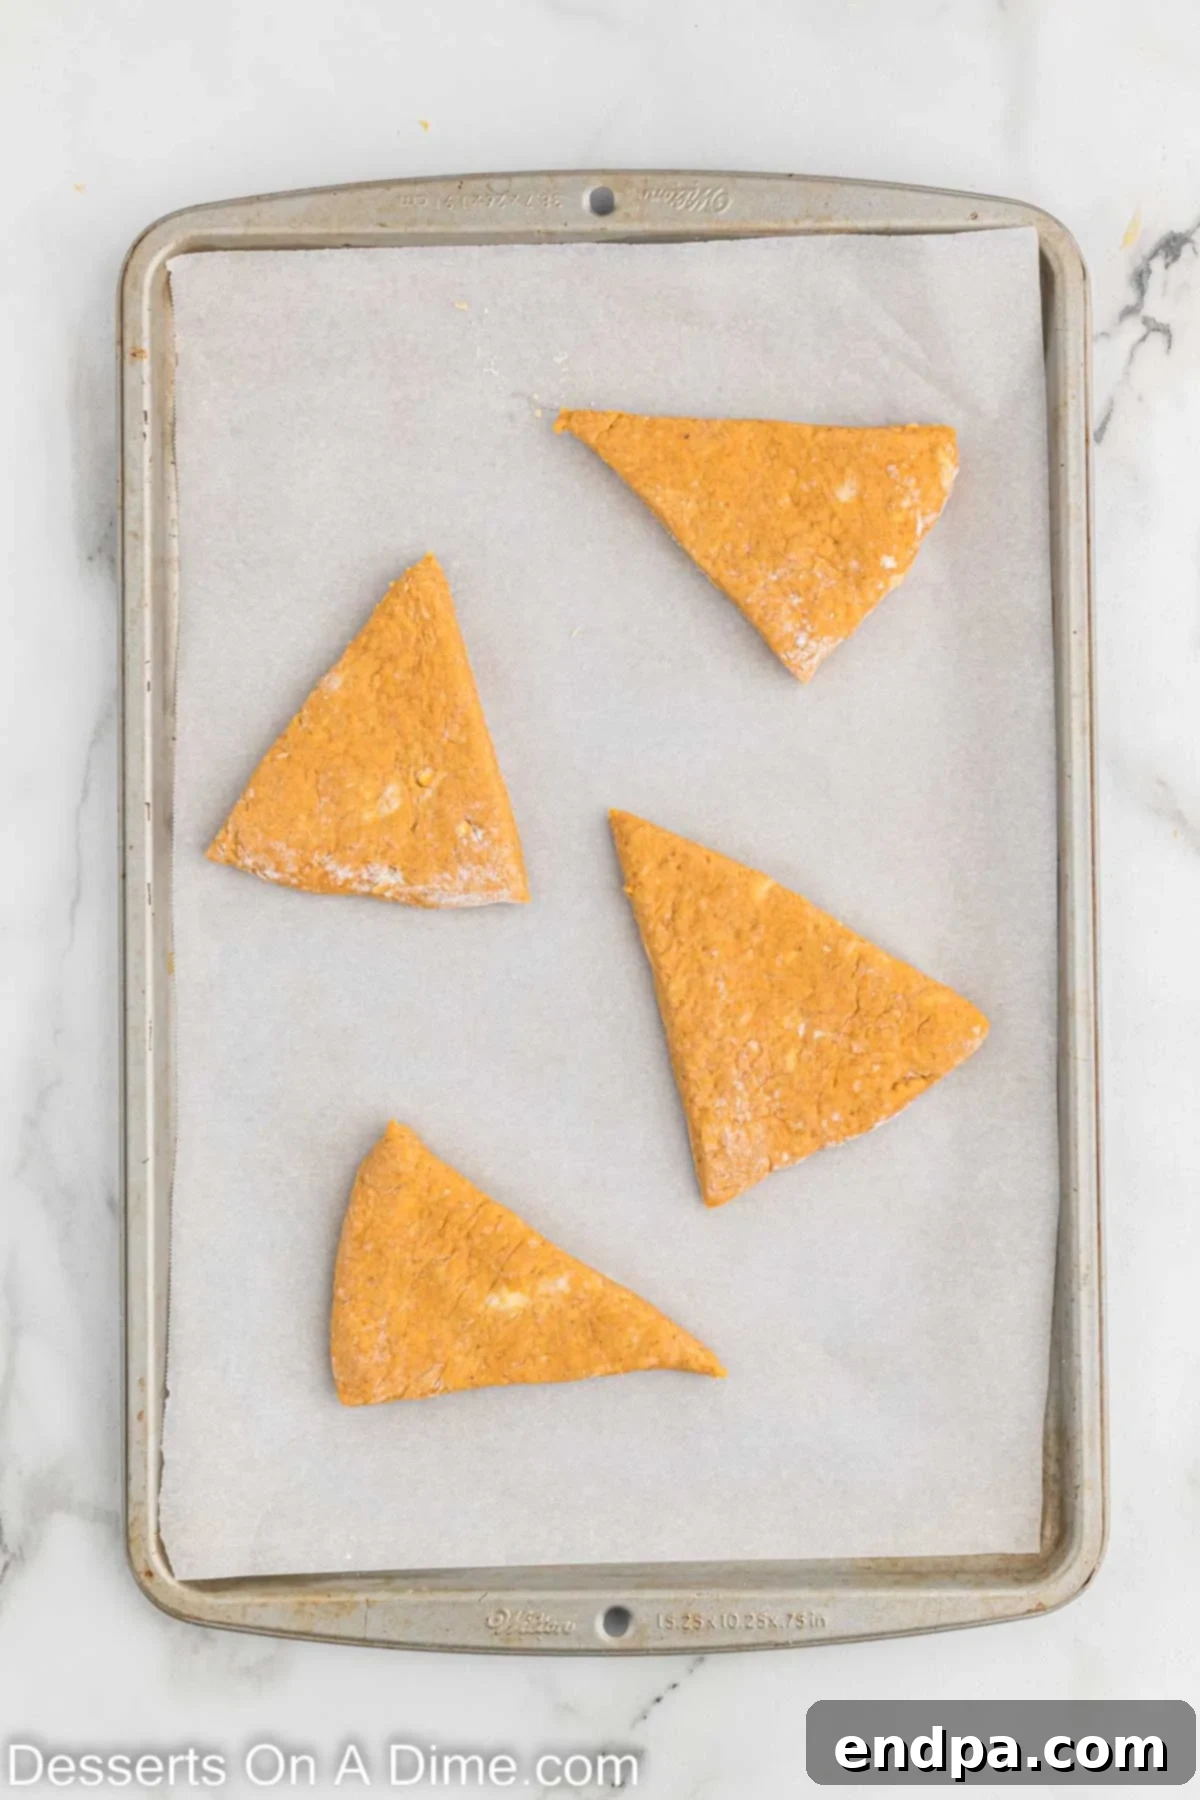
Step 6: Bake to Golden Perfection. Carefully transfer the cut scone wedges onto your prepared parchment-lined baking sheet, spacing them out slightly. Place the baking sheet into your preheated oven and bake for 10-13 minutes. Baking time can vary slightly depending on your oven, so keep an eye on them. The scones are ready when they are golden brown on the edges and a toothpick inserted into the center comes out clean. This indicates they are cooked through and have achieved their perfect tender texture.
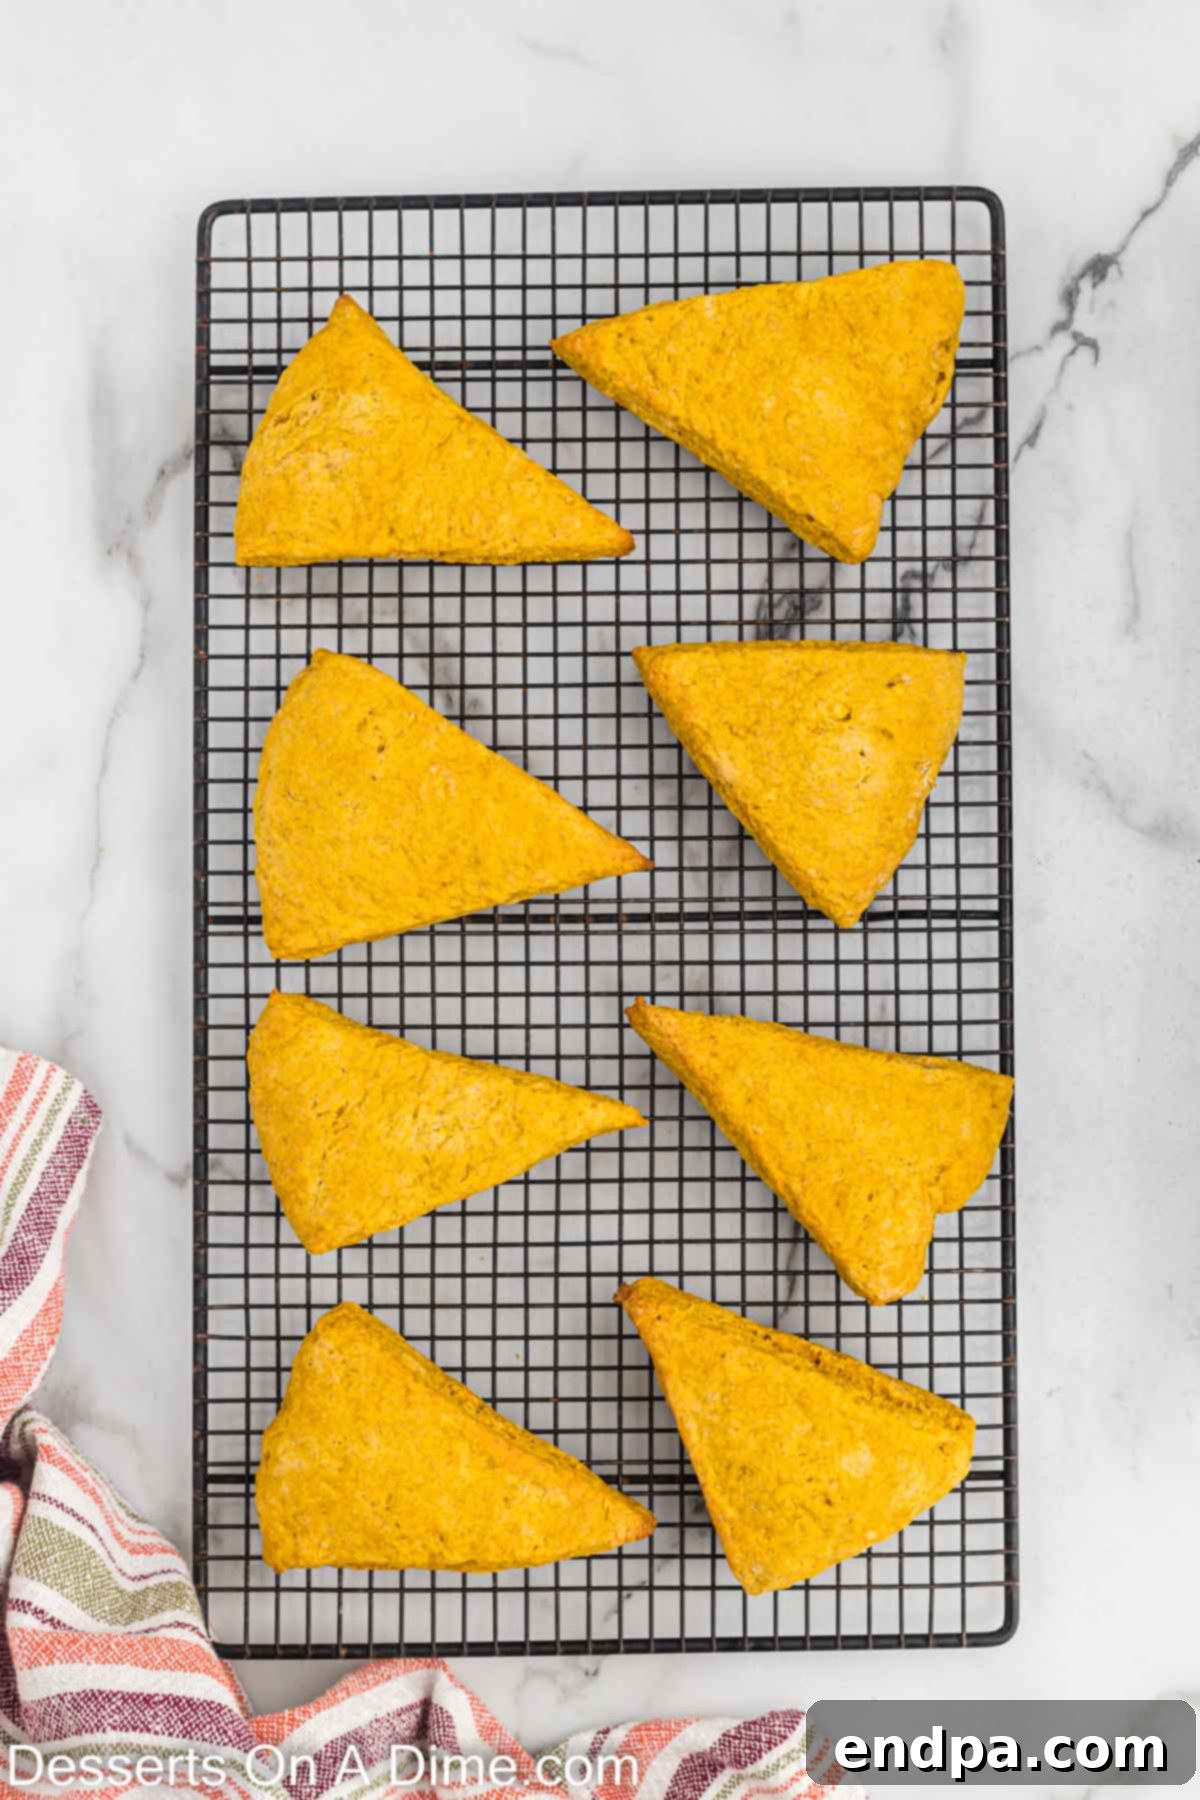
Step 7: Cool the Scones. Once baked, remove the scones from the oven and allow them to cool on the baking sheet for a few minutes before transferring them to a wire rack. Let them cool at room temperature for at least 10-15 minutes, or until they are completely cool to the touch. This cooling period is essential because applying glaze to warm scones will cause it to melt and run off, resulting in a messy and less appealing finish. Patience here will be rewarded with beautifully glazed scones.
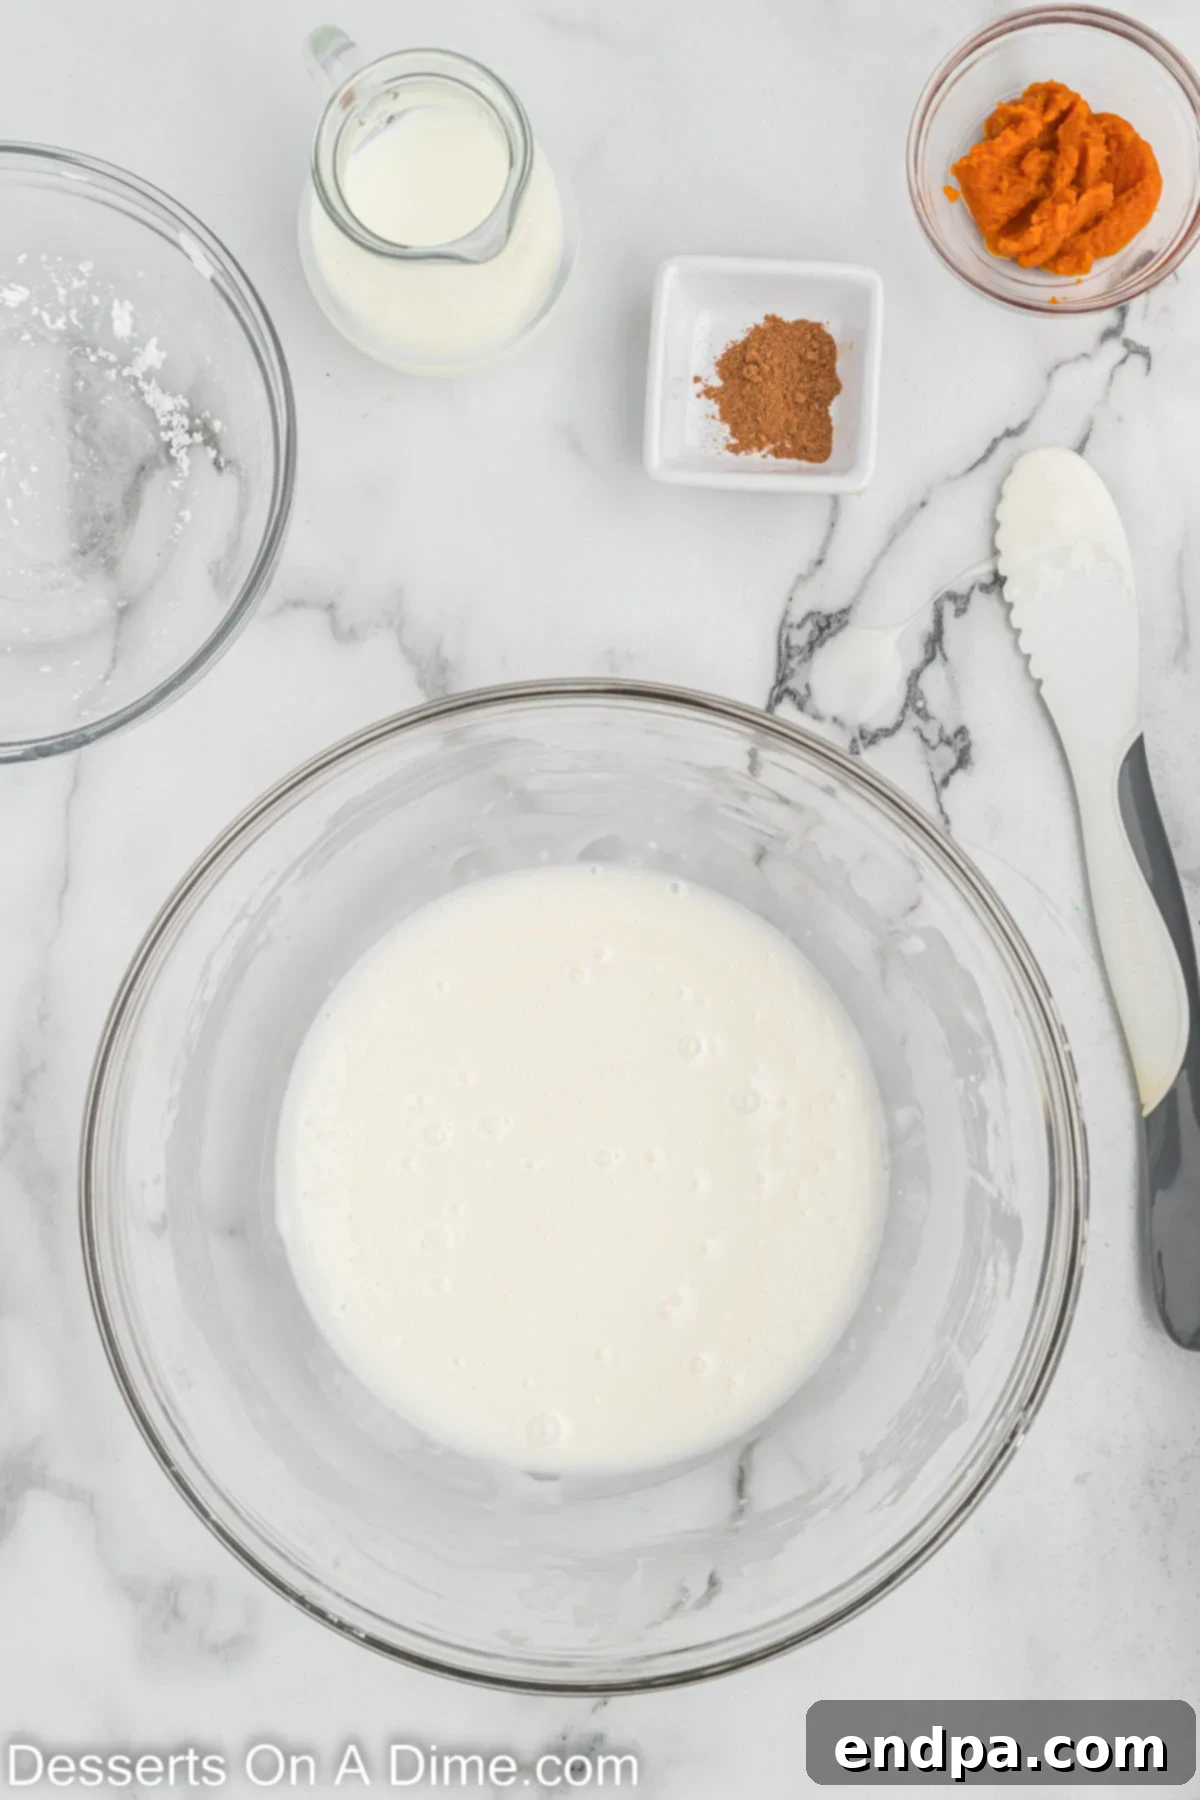
Step 8: Prepare the Glazes. While your scones are cooling, it’s the perfect time to prepare the signature double glaze. In a medium bowl, place the sifted powdered sugar. Gradually stir in the milk, adding it one tablespoon at a time, until a thick, smooth glaze forms. The consistency should be pourable but not watery. You may not need all the milk, so add sparingly. Once you have a perfect white glaze, divide it evenly into two separate bowls.
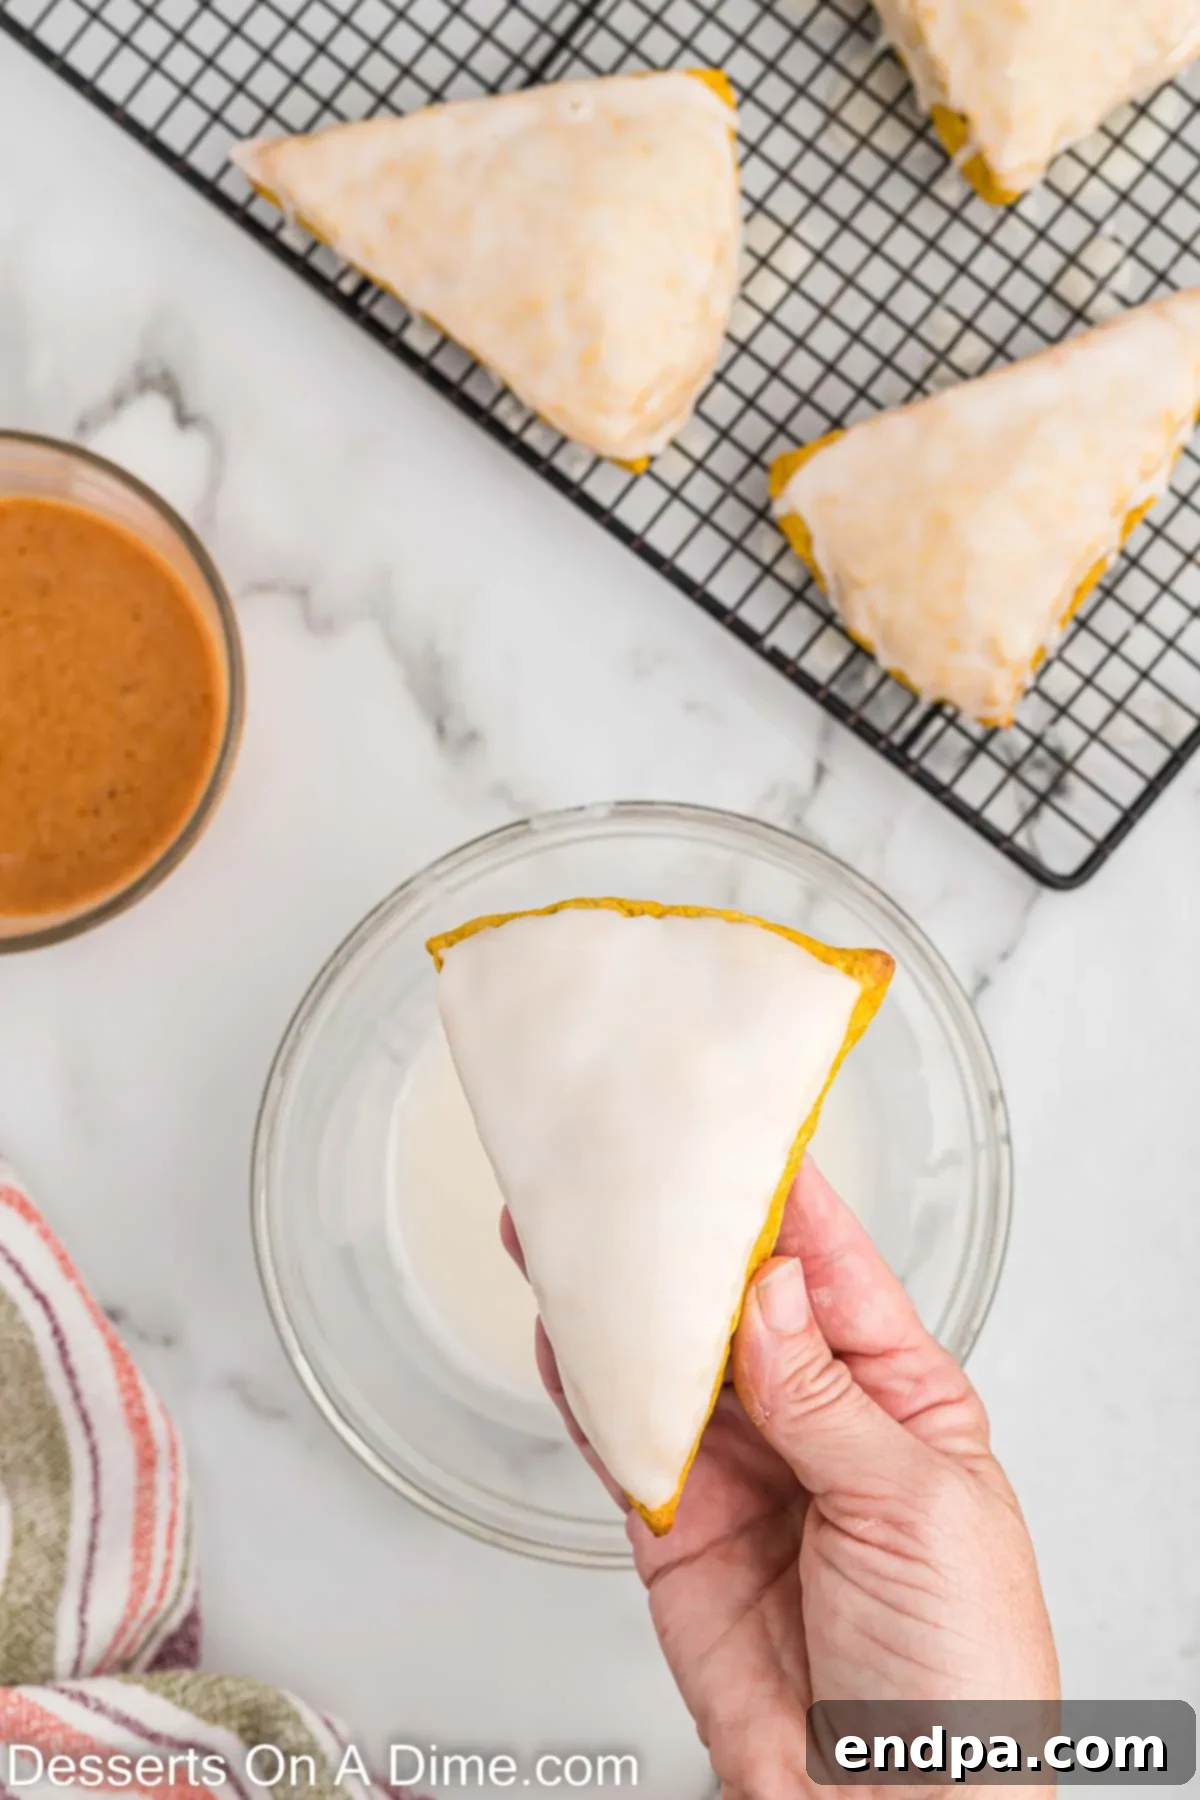
Step 9: Apply the First Glaze. Set one bowl of plain white glaze aside. To the second bowl, stir in the pumpkin purée and additional pumpkin pie spice to create the spiced pumpkin glaze. Now, for the first layer: once the scones are completely cool, dip each one upside down into the bowl of plain white glaze. Ensure the top of the scone is fully coated. Allow any excess glaze to drip off before carefully placing the glazed scones onto a cooling rack set over parchment paper to catch drips. Allow this first layer to set for 15-20 minutes.
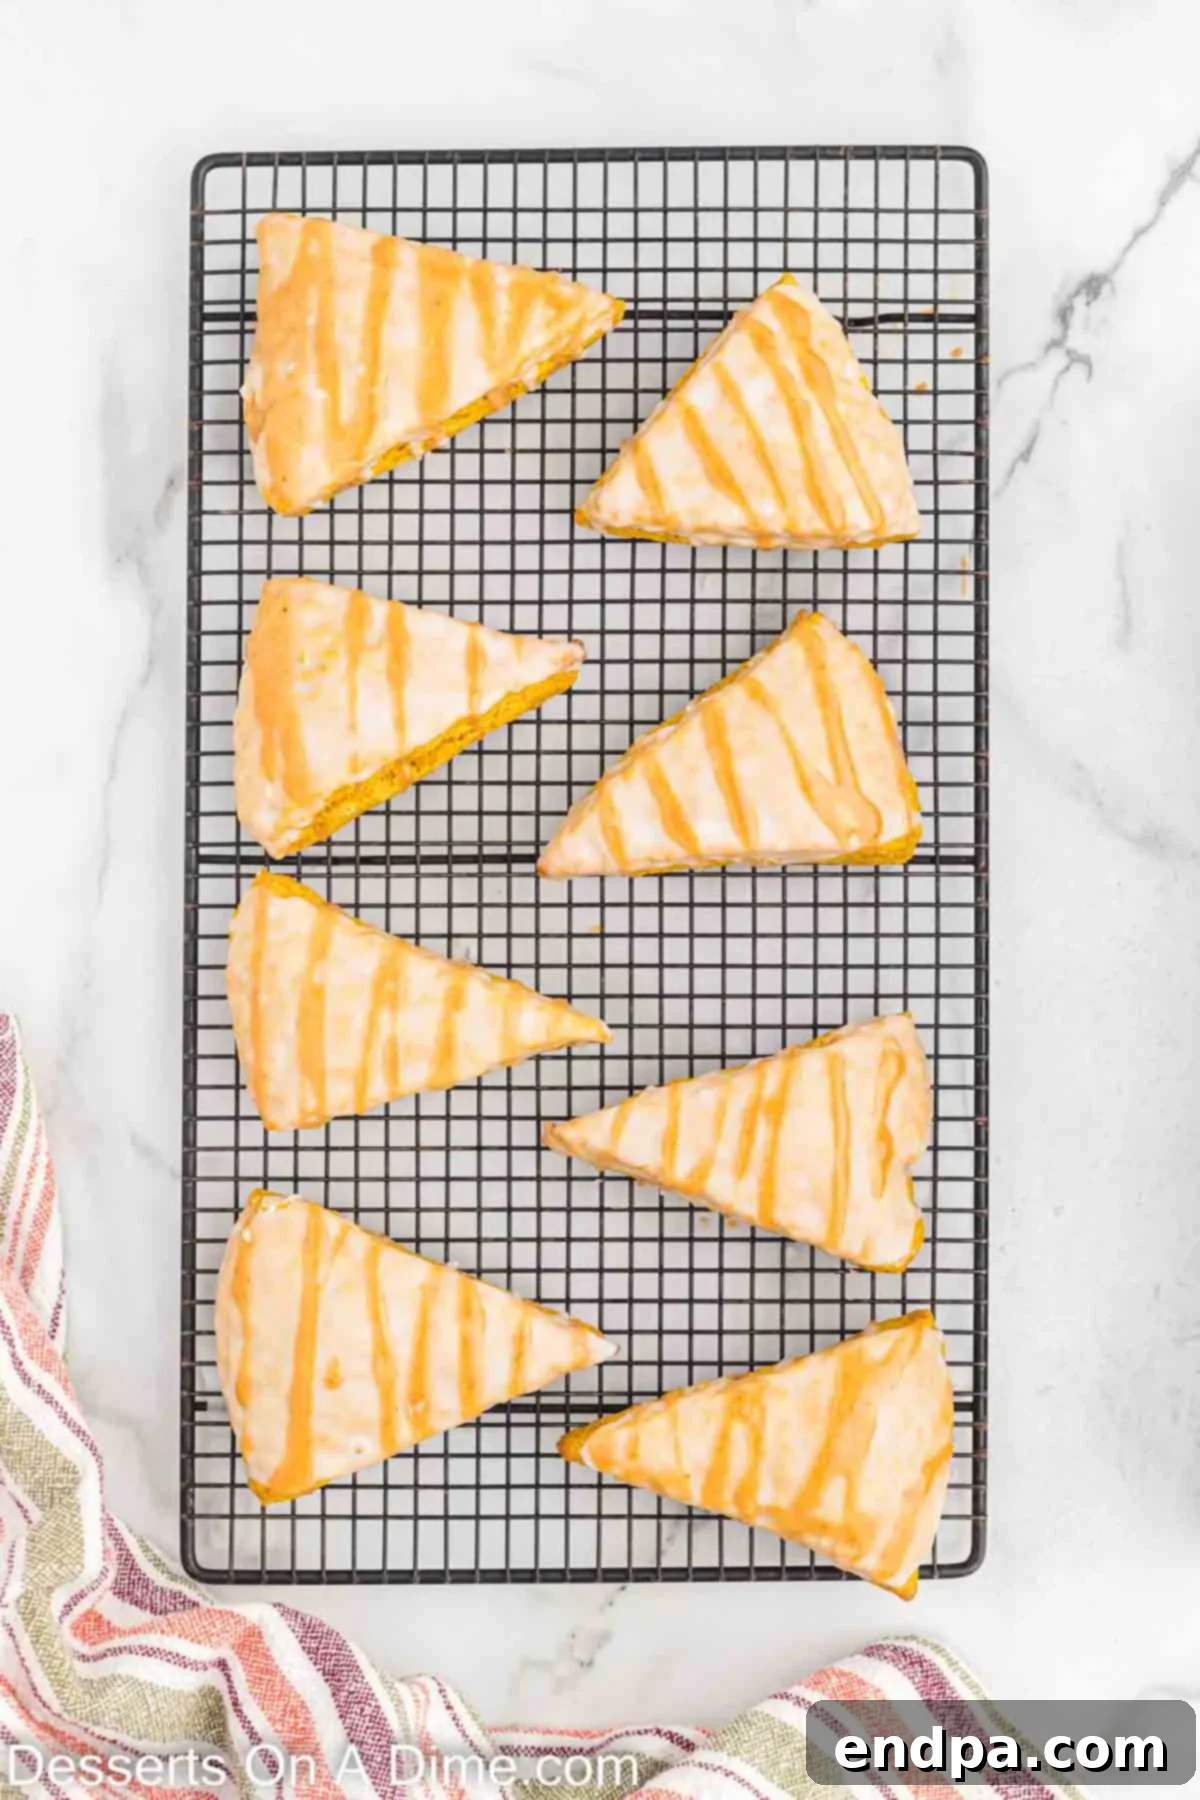
Step 10: Drizzle the Spiced Glaze. Once the first white glaze layer has set, it’s time for the signature spiced pumpkin drizzle. Transfer the spiced pumpkin glaze into a piping bag fitted with a small round tip, or simply use a ziplock bag with a tiny corner snipped off. Drizzle the spiced glaze back and forth over the top of each scone, creating the iconic pattern. Allow this second layer of glaze to set completely for another 15-20 minutes, or until firm.
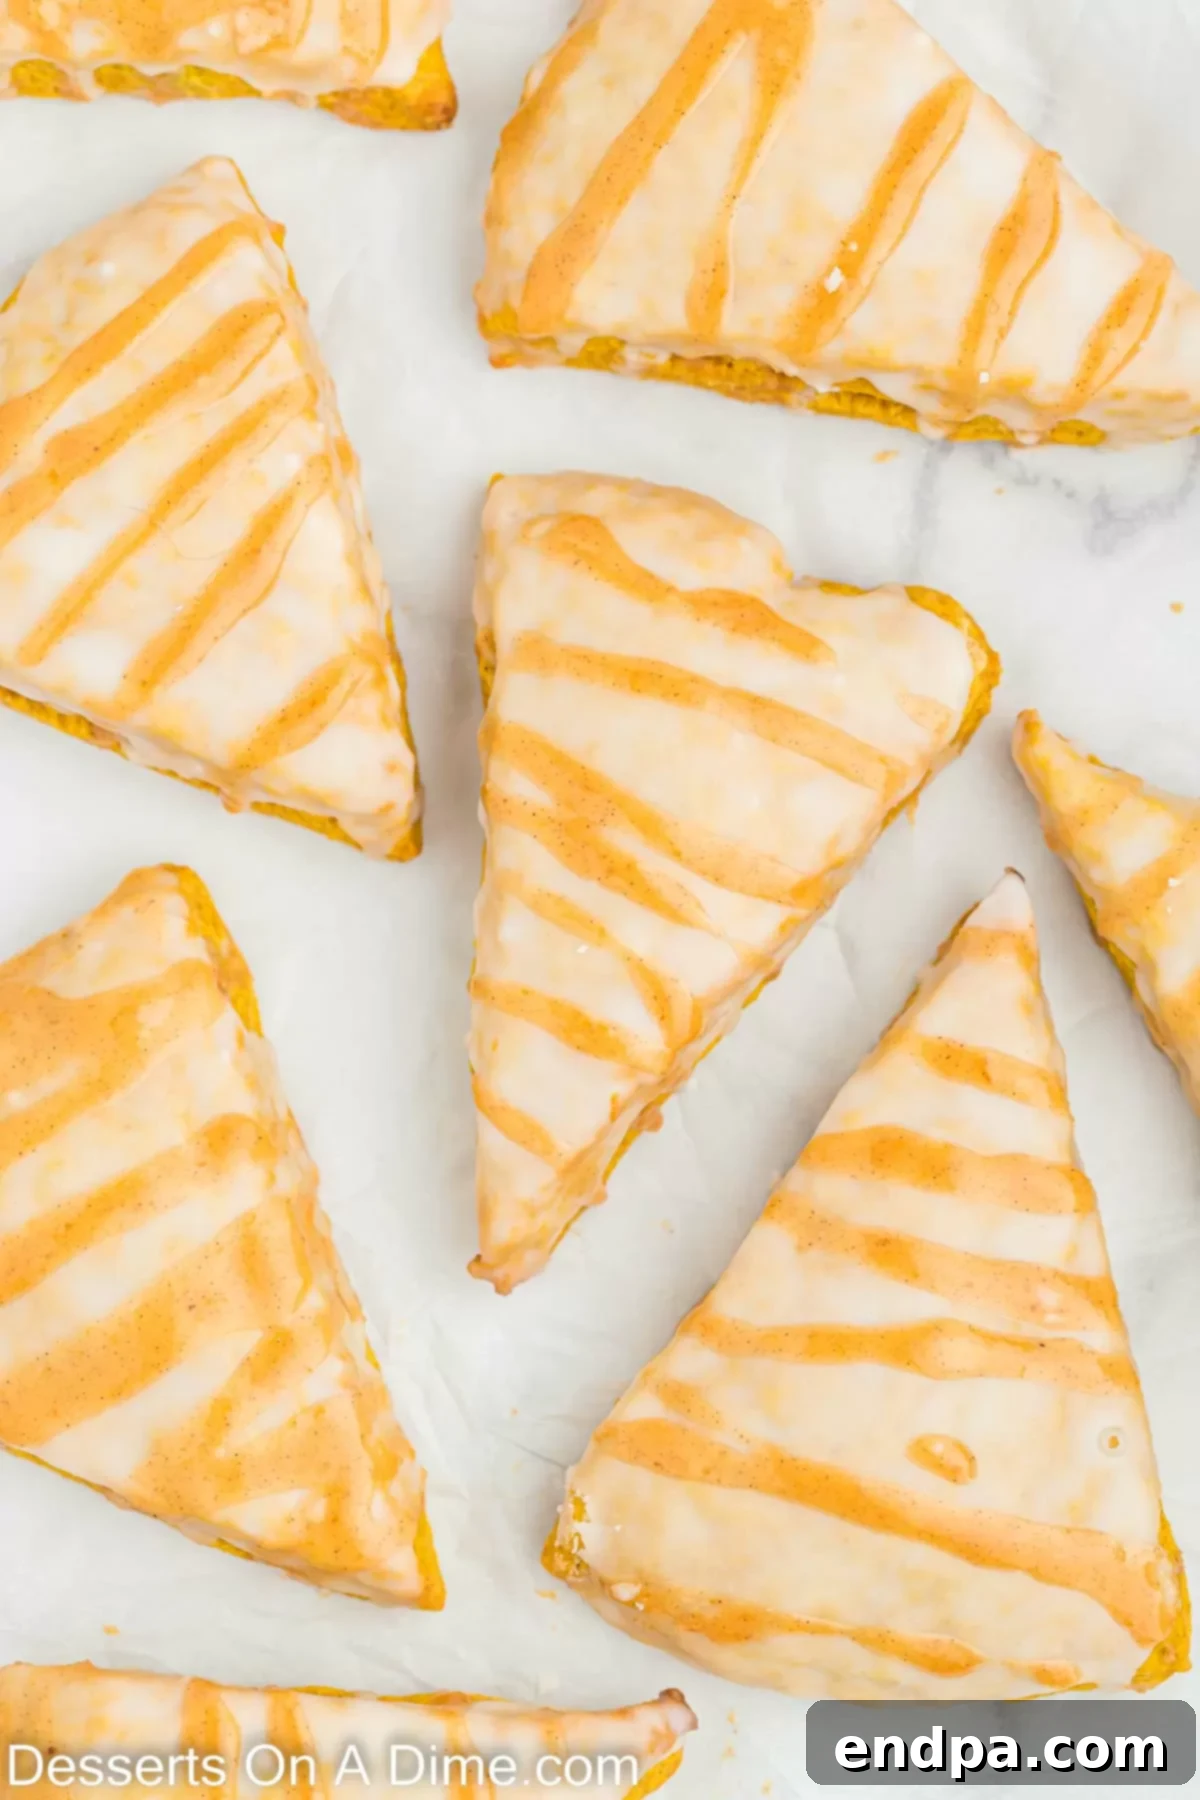
Step 11: Serve and Enjoy. With both glaze layers set and looking absolutely stunning, your homemade Starbucks Pumpkin Scones are now ready to be enjoyed! Serve them fresh with a cup of coffee or tea, or share them with loved ones. The effort will be well worth it when you witness the delight of everyone tasting these incredible fall treats.
Pro Baking Tips for Scone Success: Elevate Your Homemade Pumpkin Scones
Achieving bakery-quality scones at home is easier than you think, especially with a few expert tips. These insights will help you master the art of making perfect, flaky, and flavorful Starbucks Pumpkin Scones every time. Pay close attention to these details, and your homemade treats will impress even the most discerning scone connoisseur.
- Pumpkin Purée vs. Pumpkin Pie Filling: This is a critical distinction for your Starbucks Pumpkin Scones Recipe. Always use plain canned pumpkin purée. Pumpkin pie filling is pre-sweetened and spiced, and using it will drastically alter the intended flavor and texture of your scones. Read labels carefully to ensure you have the correct ingredient.
- The Magic of Cold Butter: Keeping your butter and other wet ingredients very cold is paramount for flaky scones. As cold butter melts in the hot oven, it releases steam, creating pockets of air that result in a light, layered texture. If your butter starts to warm up during the mixing process, consider popping the dough back into the refrigerator for 10-15 minutes before baking.
- Food Processor for Speed: If you’re looking to cut down on prep time, a food processor can be your best friend. Instead of manually cutting in the butter, pulse the dry ingredients with the cubed cold butter until the mixture resembles coarse crumbs. This method is incredibly quick and efficient, ensuring the butter stays cold throughout.
- Don’t Overmix the Dough: Overmixing develops gluten in the flour, leading to tough, dense scones rather than light and tender ones. Mix the wet and dry ingredients only until they are just combined and a cohesive dough forms. A few dry streaks are perfectly fine; they’ll disappear during baking.
- Choosing Your Liquid: While regular whole milk provides excellent richness and moisture, you can also opt for heavy cream for an even more decadent and tender scone. The higher fat content in heavy cream yields a particularly rich crumb.
- The Art of Glaze Consistency: The perfect glaze should be thick enough to coat the scones but still pourable. If your glaze is too thin, gradually add more sifted powdered sugar. If it’s too thick, add a tiny bit more milk (a quarter teaspoon at a time) until it reaches the desired consistency. Remember to sift your powdered sugar to avoid lumps!
- Piping Bag Alternatives for Glaze: Don’t have a piping bag? No problem! A regular ziplock bag can easily be transformed into a makeshift piping bag. Simply spoon your spiced glaze into one corner of the bag, push it down, and then snip a tiny bit off the very tip of that corner with scissors. You’ll achieve neat drizzles just like a professional.
- Allow Glaze Layers to Set: For that beautiful, distinct two-layer look reminiscent of Starbucks, it’s crucial to let the first white glaze layer fully set (about 15-20 minutes) before applying the spiced pumpkin drizzle. This prevents the colors from bleeding together and ensures a clean, attractive finish.
- Powdered Sugar is Non-Negotiable for Glaze: Resist the temptation to substitute granulated sugar for powdered sugar in the glaze. Powdered sugar (also known as confectioners’ sugar) dissolves easily, creating a smooth, velvety glaze. Granulated sugar will result in a grainy, unappetizing texture that won’t coat the scones properly.
- Chill the Dough Before Baking (Optional but Recommended): For extra-flaky scones, consider chilling the shaped dough triangles in the refrigerator for 15-30 minutes before baking. This helps the butter firm up again, promoting more steam and lift in the oven.
- Doubling the Recipe for a Crowd: This recipe is incredibly easy to double, making it perfect for entertaining, potlucks, or just ensuring you have plenty of treats on hand. The scones disappear quickly, so don’t hesitate to make a bigger batch!
Storage and Freshness: Keeping Your Scones Delicious
While these Starbucks Pumpkin Scones are undoubtedly best enjoyed fresh from the oven, they can certainly be stored to extend their deliciousness for a few days. Proper storage is key to maintaining their soft texture and rich flavor. Once completely cooled, any leftover scones should be placed in an airtight container. Stored at room temperature, they will remain wonderfully fresh for up to 3 days, making them a perfect grab-and-go breakfast or a delightful afternoon snack. For slightly longer enjoyment, you can keep them in the refrigerator for up to 5 days, though their texture might become a little firmer when cold.
To prevent the glazes from sticking together and to maintain the beautiful appearance of your scones, we highly recommend placing a small piece of wax paper or parchment paper between each layer of scones if you’re stacking them in the container. This simple trick ensures that each scone remains perfectly intact and ready to serve. Before serving refrigerated scones, you might want to warm them slightly in the microwave for 10-15 seconds or in a toaster oven for a few minutes to restore some of their fresh-baked warmth and tenderness. Following these storage tips will ensure you can savor the delightful taste of your homemade pumpkin scones for as long as possible!
Can You Freeze Scones? Extend the Life of Your Pumpkin Treats!
Absolutely! One of the fantastic advantages of this Starbucks Pumpkin Scones Recipe is how wonderfully they freeze, allowing you to enjoy these delightful treats long after baking. Freezing scones is an excellent way to prepare ahead for busy mornings, unexpected guests, or simply to ensure you always have a delicious autumn-inspired snack on hand. This method makes it incredibly convenient to enjoy homemade goodness year-round, not just during pumpkin season.
To freeze baked scones, first ensure they are completely cooled after glazing. Once cooled, place them on a baking sheet and pop them into the freezer for about 15-20 minutes. This quick freeze, known as flash freezing, helps the glaze to firm up entirely, preventing it from sticking to the wrapping. After flash freezing, individually wrap each scone tightly in plastic wrap. The individual wrapping is crucial as it protects the scone from freezer burn and makes it easy to grab just one or two at a time. Once wrapped, place the scones inside a large freezer-safe container or a heavy-duty freezer bag. They can be stored in the freezer for up to 2 months without any loss of quality or flavor.
When you’re ready to enjoy a frozen scone, simply remove it from the freezer. You can let it thaw at room temperature for about 30-60 minutes, or for a quicker and warmer treat, reheat it in a preheated oven at 300°F (150°C) for 10-15 minutes, or in a toaster oven until warmed through. The individual wrapping makes it incredibly handy for a quick breakfast or an impromptu treat. The texture will remain beautifully soft and the flavors just as vibrant.
Another excellent option is to freeze the scones without the glaze. This provides flexibility; you can then prepare a fresh batch of glaze and apply it right before serving. This is particularly useful if you prefer a very fresh glaze texture or if you want to vary the glaze flavors in the future. Both methods are suitable and will yield delicious results, so choose the one that best fits your preference and lifestyle. Having a stash of these frozen pumpkin scones means you’re always just minutes away from a taste of Starbucks-level comfort.
More Copycat Starbucks Recipes to Love
If you’ve enjoyed mastering these incredible Starbucks Pumpkin Scones, then you’re undoubtedly ready to dive into more delicious adventures recreating your favorite Starbucks treats at home. The satisfaction of baking these iconic items yourself is unparalleled, and we’ve got a selection of other fantastic copycat recipes that will bring the cafe experience right into your kitchen:
- Copycat Starbucks Brownie Recipe: Indulge in rich, fudgy brownies with this spot-on recreation.
- Delicious Starbucks Pumpkin Bread: Moist, spiced, and utterly comforting, just like the original.
- Copycat Starbucks Lemon Loaf Recipe: Bright, zesty, and topped with a sweet glaze, this loaf is perfect for a sunny treat.
- Starbucks Brownies Recipe: Another take on the classic brownie, offering that familiar chocolatey goodness.
Each of these recipes allows you to enjoy the flavors you love from Starbucks, made fresh and with care in your own home. They’re perfect for satisfying cravings, sharing with loved ones, or simply enjoying a moment of homemade indulgence.
Pin
Starbucks Pumpkin Scones Recipe
Ingredients
FOR THE SCONES:
- 2 cups All-Purpose Flour
- 2 tsp Baking Powder
- 1/4 tsp Baking Soda
- 2 tsp Pumpkin Pie Spice
- 1/4 tsp Salt
- 1/3 cup Brown Sugar packed
- 1/2 cup Unsalted Butter chilled and cut into cubes
- 1/2 cup Pumpkin Purée chilled
- 3 Tbsp Milk
- 1 Large Egg
- 2 tsp Vanilla Extract
FOR THE GLAZE:
- 2 cups Powdered Sugar
- 1/4 cup Milk
- 1 Tbsp Pumpkin Purée
- 1 tsp Pumpkin Pie Spice
Instructions
FOR THE SCONES:
- Preheat your oven to 400°F (200°C) and line a baking sheet with parchment paper to prevent sticking.
- In a large mixing bowl, whisk together the flour, baking powder, baking soda, pumpkin pie spice, salt, and brown sugar until thoroughly combined. Then, cut in the cold butter using a pastry cutter or two knives until the mixture resembles coarse crumbs.
- In a separate bowl, stir together the pumpkin purée, milk, egg, and vanilla extract. Pour the wet ingredients into the dry ingredients and gently mix with a wooden spoon or spatula until just combined. Be careful not to overmix the dough.
- Transfer the dough to a lightly floured surface. Gently knead the dough 3-4 times, just until it comes together. Roll the dough out with a rolling pin into an 8-inch circle, approximately 1 inch thick.
- Using a sharp knife or pizza cutter, cut the circular dough into 8 even triangular wedges. Carefully transfer these wedges to your parchment-lined baking sheet.
- Bake the scones for 10-13 minutes, or until the edges are golden brown and a toothpick inserted into the middle comes out clean.
- Remove from the oven and allow the scones to cool completely at room temperature on a wire rack for 10-15 minutes before glazing. This is crucial for the glaze to set properly.
FOR THE GLAZE:
- While the scones are cooling, prepare your glazes.
- In a large mixing bowl, place the sifted powdered sugar. Gradually stir in the milk, 1 tablespoon at a time, until a thick, pourable glaze forms. You may not need all the milk.
- Divide the plain glaze evenly into 2 separate bowls. To one bowl, stir in the pumpkin purée and pumpkin pie spice to create the spiced pumpkin glaze. Keep the other bowl as your white glaze.
- Once the scones have fully cooled, dip the top of each scone into the plain white glaze until evenly coated. Place them on a cooling rack set over parchment paper to dry and allow the white glaze to set for 15-20 minutes.
- Once the white glaze is set, add the spiced pumpkin glaze to a piping bag with a small round tip, or a ziplock bag with a tiny corner snipped off.
- Drizzle the spiced pumpkin glaze over the top of the white-glazed scones in a decorative pattern. Allow this second glaze layer to set completely for another 15-20 minutes.
- Serve your beautiful Starbucks Pumpkin Scones and enjoy!
Recipe Notes
For quicker preparation, you can use a food processor to blend the dry ingredients with the cold, cubed butter until coarse crumbs form. This keeps the butter colder.
For optimal freshness, these scones are best enjoyed within 3 days. Store any leftovers in an airtight container at room temperature for up to 5 days. For best results, place wax paper between layers to prevent sticking.
Nutrition Facts
Pin This Now to Remember It Later
Pin Recipe
There’s nothing quite like the comforting aroma of freshly baked goods filling your home, especially when it’s these delightful Starbucks Pumpkin Scones. Each bite offers a perfect blend of tender scone and rich, spiced pumpkin glaze, making them an irresistible treat for any occasion. Imagine pairing one of these soft, flavorful scones with your favorite hot cup of coffee or a comforting mug of tea – it’s a small luxury that transforms an ordinary moment into something truly special. Whether you’re enjoying them for breakfast, as an afternoon snack, or as a dessert, these homemade pumpkin scones are sure to become a beloved fall tradition. Don’t miss out on the joy of creating this bakery-quality treat in your own kitchen. Try our Starbucks Pumpkin Scones Recipe today, and prepare to be amazed by its simplicity and sensational flavor. We’d love to hear about your baking experience! Please feel free to leave a comment and a star rating on the recipe to let us know how much you enjoyed these perfect pumpkin treats!
