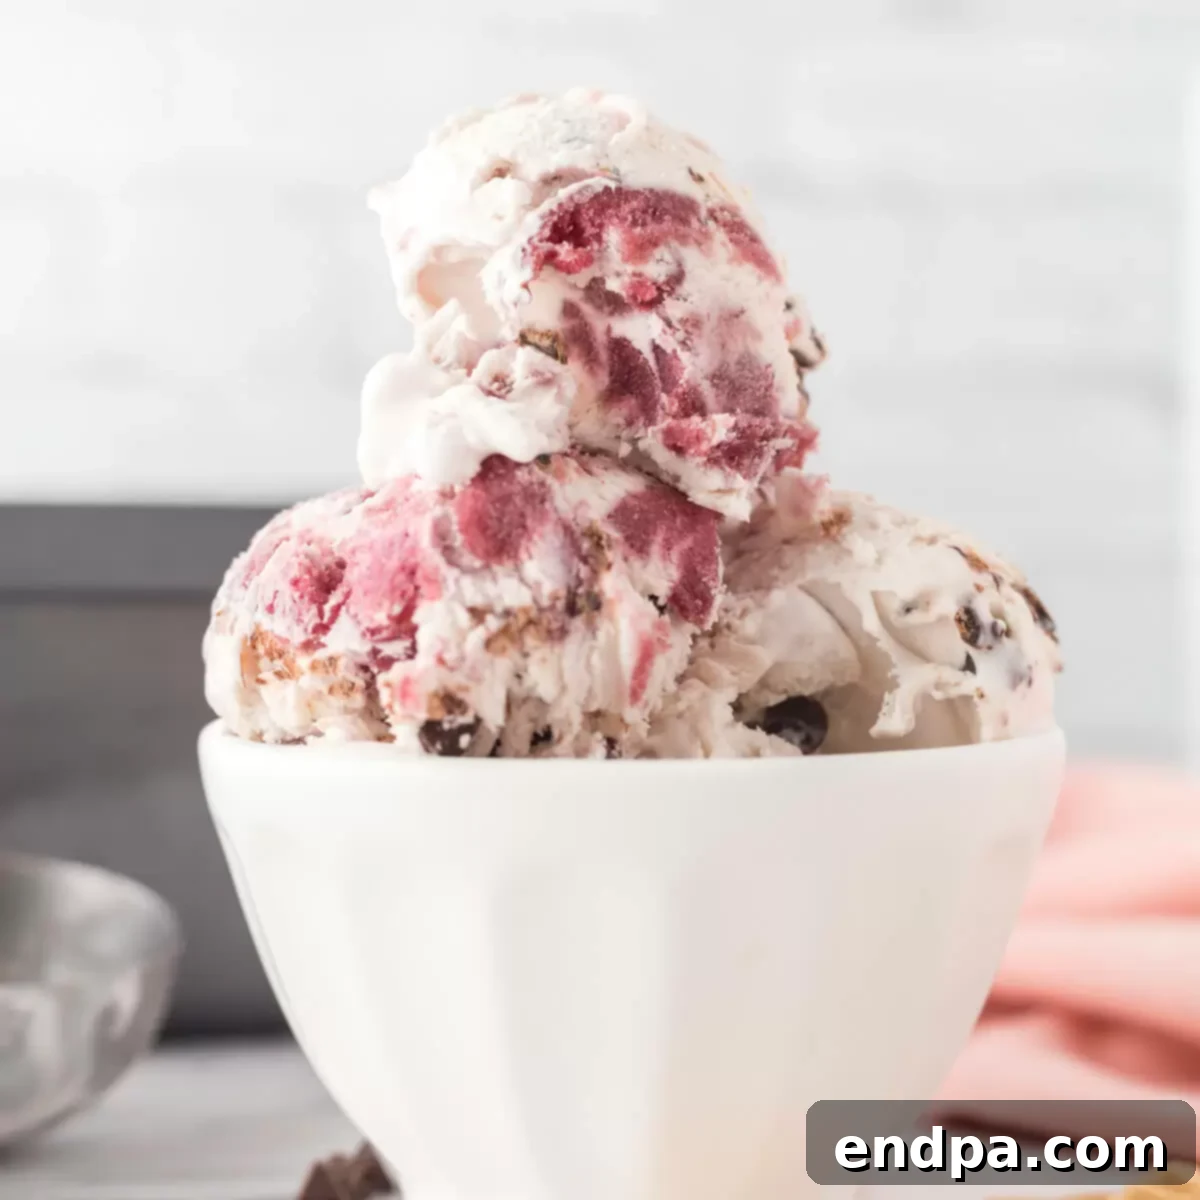
Experience the Ultimate Indulgence: Easy No-Churn Cherry Chocolate Chip Ice Cream
Prepare yourself for a delightful culinary adventure with our incredible Cherry Chocolate Chip Ice Cream recipe. This homemade treat is a symphony of sweet, juicy cherries and rich, decadent chocolate, all swirled into a perfectly creamy base. The best part? You won’t need an ice cream maker or any fancy equipment to whip up this sensational dessert. With just 5 simple ingredients and minimal effort, you can create an absolutely delicious, smooth, and vibrant ice cream that will impress everyone.
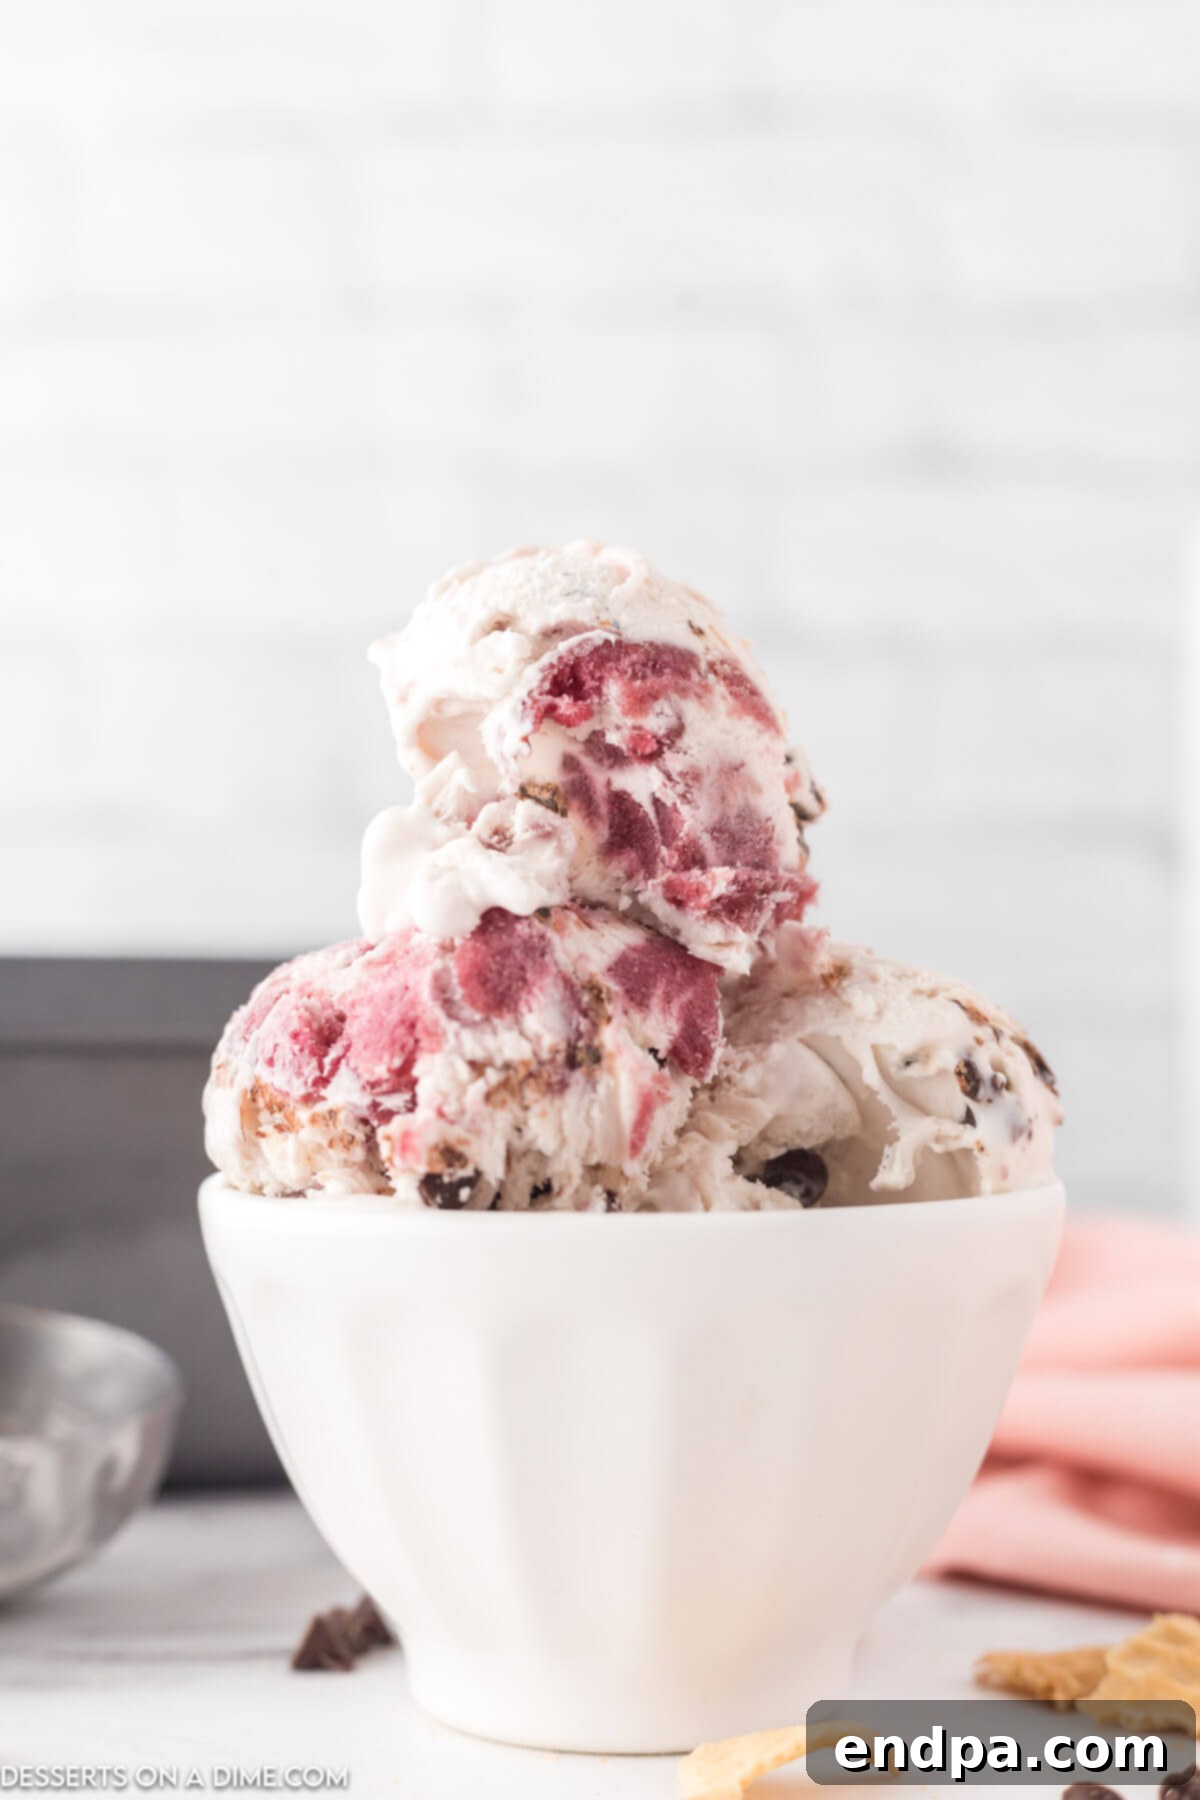
This decadent ice cream recipe stands out as a true crowd-pleaser, combining the tart-sweet burst of cherries with the bittersweet indulgence of chocolate, all nestled in a luscious, sweet, and unbelievably creamy ice cream base. It’s not just an easy Cherry Dessert; it’s a revelation for anyone seeking a gourmet-quality frozen treat without the fuss. Even the busiest of home cooks will find this recipe remarkably straightforward, making it an ideal choice for a special occasion or a simple weeknight delight.
For years, our family has enjoyed the magic of homemade ice cream, discovering that incredible flavors don’t require complex machinery. This recipe joins a beloved collection of simple frozen desserts, much like our popular Twix Ice Cream Recipe and the delightful Peanut Butter Banana Ice Cream Recipe. Each offers a unique taste experience, but this Cherry Chocolate Chip version holds a special place for its vibrant flavor and effortless preparation.
Table of Contents
- Why This Recipe Works
- The Magic of No-Churn Ice Cream
- Essential Ingredients for Cherry Chocolate Chip Ice Cream
- Creative Substitutions and Additions
- Easy Step-by-Step Instructions
- Storage and Longevity
- Pro Tips for Perfect Homemade Ice Cream
- Serving Suggestions
- Frequently Asked Questions (FAQs)
- More Cherry Desserts
- More No-Churn Ice Cream Recipes
Why This Recipe Works: The Simplicity of No-Churn Perfection
This recipe isn’t just easy; it’s a testament to how simple ingredients can create extraordinary results. It works because it eliminates common barriers to homemade ice cream: specialized equipment and complex cooking steps. You won’t need an expensive ice cream maker, a tedious ice bath, or the meticulous process of tempering egg yolks. This makes it incredibly accessible for anyone, regardless of their kitchen experience or available gadgets. The inherent sweetness and fat content of the key ingredients ensure a smooth, creamy texture without the need for churning.
The combination of sweet vanilla notes from the cream and extract, the bittersweet allure of chocolate, and the refreshing tang of cherries creates a balanced and irresistible flavor profile. This makes it the perfect treat to beat the heat on a scorching summer day, but honestly, its rich flavor makes it a welcome indulgence year-round. It’s a dessert that truly delivers maximum flavor with minimal effort.
The Magic of No-Churn Ice Cream
For those new to the world of homemade frozen desserts, “no-churn” ice cream might sound like a culinary oxymoron. However, the technique is brilliantly simple and relies on two main components: heavy whipping cream and sweetened condensed milk. When heavy cream is whipped to stiff peaks, it incorporates air, creating a light, airy base. Sweetened condensed milk, being thick, sweet, and rich, provides the necessary body and prevents ice crystals from forming, ensuring a remarkably smooth and creamy texture akin to traditional churned ice cream. This ingenious method means you bypass the need for an ice cream machine, making delicious, rich ice cream achievable with just a bowl, a mixer, and your freezer. It’s truly a game-changer for homemade dessert enthusiasts, offering a quick, convenient, and consistently delicious way to enjoy your favorite frozen treats.
Essential Ingredients for Cherry Chocolate Chip Ice Cream
The beauty of this easy homemade ice cream lies in its short, simple ingredient list. Each component plays a crucial role in achieving the perfect flavor and texture. Gathering these items is the first step towards your delightful frozen dessert:
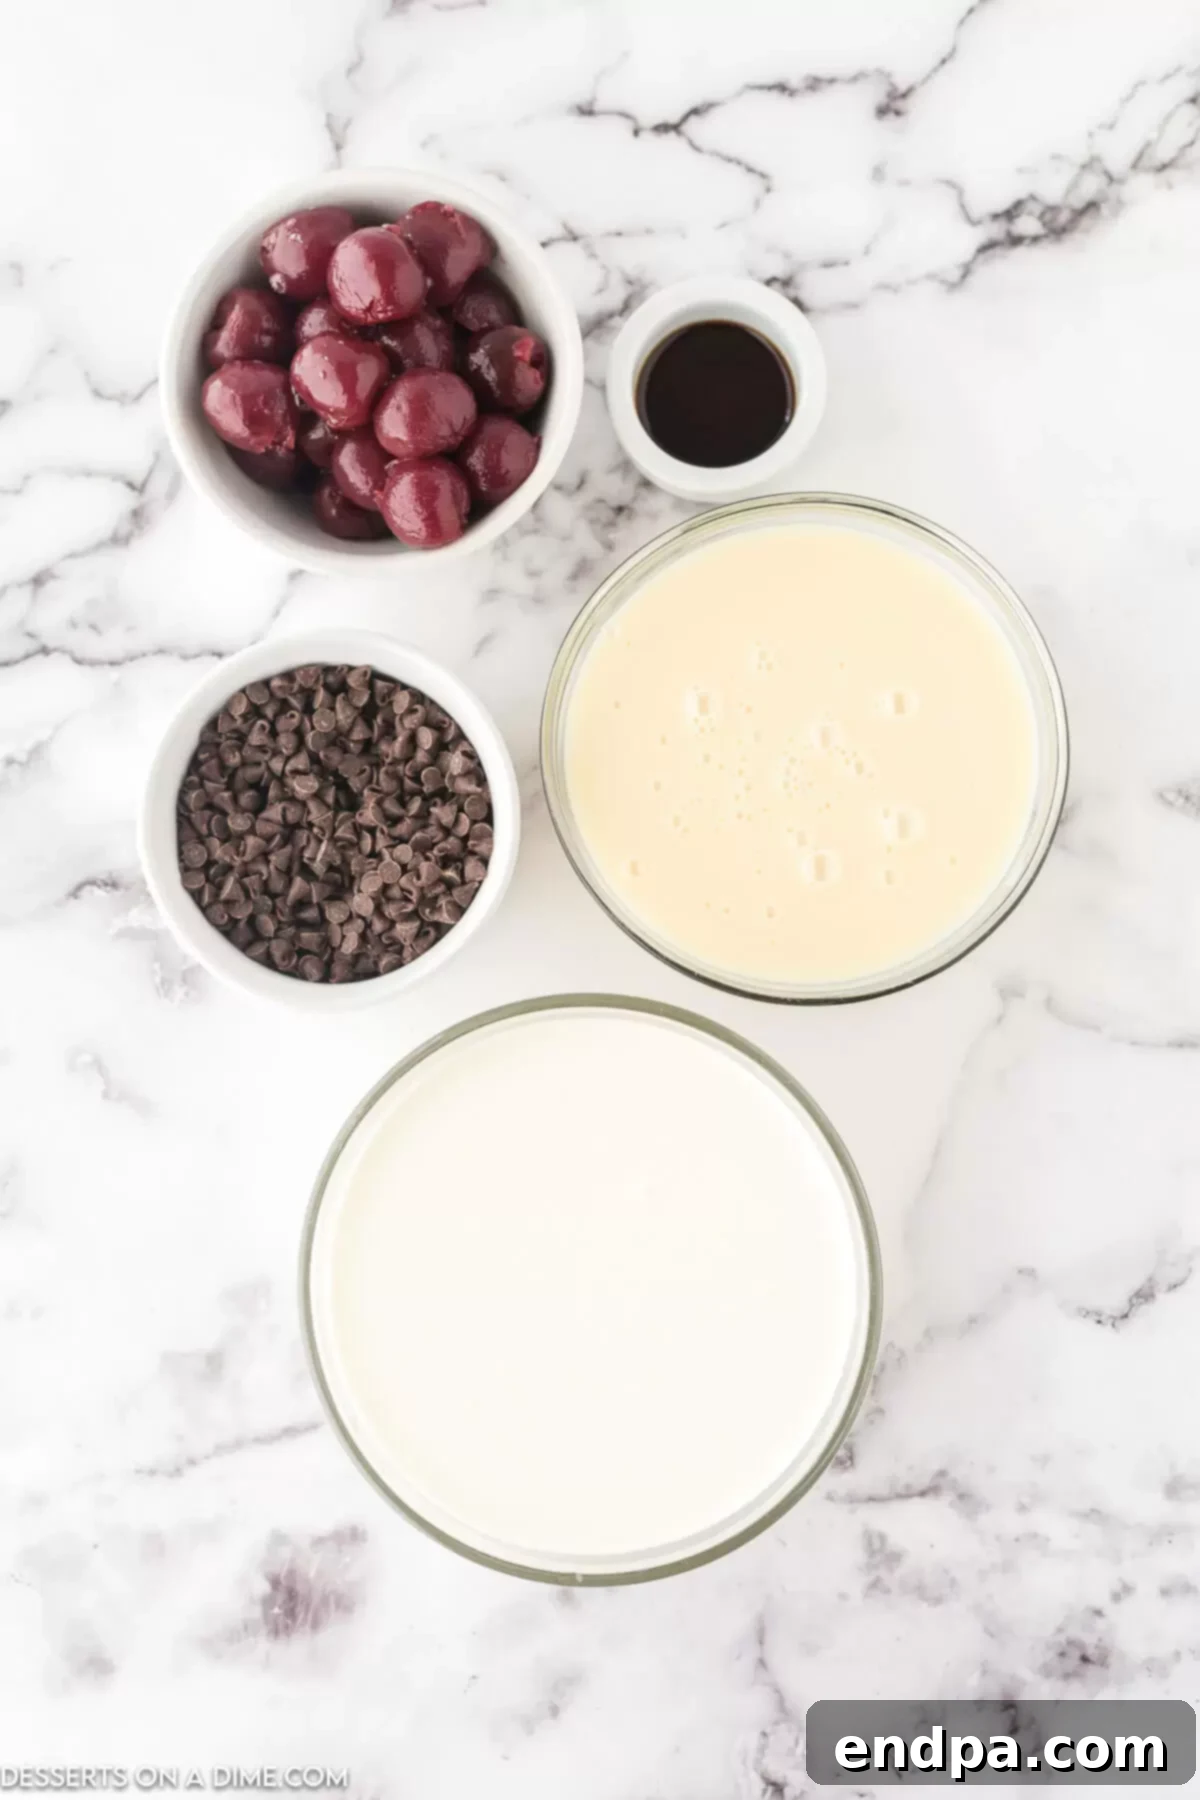
- Heavy Whipping Cream: This is the foundation of our no-churn ice cream. It’s essential for achieving that light, airy, and creamy texture. Ensure it is very well chilled before you begin whipping. Cold cream whips faster and holds its peaks better, which is key to incorporating enough air for a fluffy ice cream.
- Dark Red Cherries: The star fruit of this recipe! Whether you opt for canned, frozen, or fresh, cherries provide that irresistible sweet-tart flavor and beautiful color. If using canned cherries, make sure to drain them thoroughly to prevent excess moisture from making your ice cream icy. For frozen, thaw and drain well.
- Sweetened Condensed Milk: This magical ingredient is what gives the ice cream its perfect amount of sweetness and its incredibly smooth consistency. It’s thick, rich, and essential for preventing large ice crystals, ensuring a velvety mouthfeel without any churning.
- Vanilla Extract: A touch of vanilla extract enhances all the other flavors, adding a warm, classic sweetness that perfectly complements both the cherries and the chocolate. It deepens the overall aroma and taste of the ice cream base.
- Mini Chocolate Chips: The miniature size of these chocolate chips is not just for aesthetics; it’s practical. They are easy to fold into the delicate ice cream mixture and distribute evenly. Crucially, mini chips don’t freeze as rock-hard as larger chocolate chunks, providing just the right amount of chocolatey bite in every spoonful.
You can find the exact measurements and detailed instructions for each ingredient in the full recipe card below.
Creative Substitutions and Additions to Elevate Your Ice Cream
One of the joys of homemade ice cream is the ability to customize it to your liking. This recipe is wonderfully versatile, allowing for several easy substitutions and delightful additions to tailor the flavor and texture.
- Flavoring Variations: While vanilla extract offers a classic, comforting base that complements the fruity sweetness of cherries beautifully, don’t hesitate to experiment! For an intensified cherry flavor with a subtle nutty undertone, substitute the vanilla extract with 1 teaspoon of almond extract. The almond essence pairs wonderfully with cherries, mimicking a classic flavor combination often found in cherry desserts. You could also try a hint of cherry extract for an even bolder cherry profile.
- Fresh Cherries: If fresh, ripe sweet cherries are in season, they make an excellent substitute for canned ones. To prepare fresh cherries, first, wash them thoroughly. Then, use a cherry pitter to remove the pits. This step is crucial for safe and enjoyable eating. After pitting, you can either chop them coarsely or cut them in half, depending on your preferred texture. A squeeze of lemon juice tossed with fresh cherries can brighten their flavor even further and prevent browning if preparing in advance.
- Different Chocolate Types: While mini chocolate chips are recommended for their texture, feel free to experiment with other chocolate varieties. Dark chocolate chips will offer a more intense, bittersweet contrast to the sweet cherries, while milk chocolate chips will create a sweeter, creamier profile. You could also try finely chopped chocolate bars for a more artisanal feel. White chocolate chips would also be a lovely, sweet addition for a different flavor dynamic.
- Add-ins for Texture and Flavor: Consider folding in other exciting ingredients along with the chocolate chips. A sprinkle of chopped nuts like almonds, pecans, or walnuts can add a delightful crunch. A swirl of homemade fudge sauce or cherry compote just before freezing would create beautiful ribbons of flavor. For a touch of spice, a tiny pinch of cinnamon or cardamom can surprisingly enhance the cherry notes.
Easy Step-by-Step Instructions to Create Your Dream Ice Cream
Creating this delicious no-churn ice cream is a straightforward process that anyone can follow. Just a few simple steps stand between you and a truly remarkable frozen dessert.
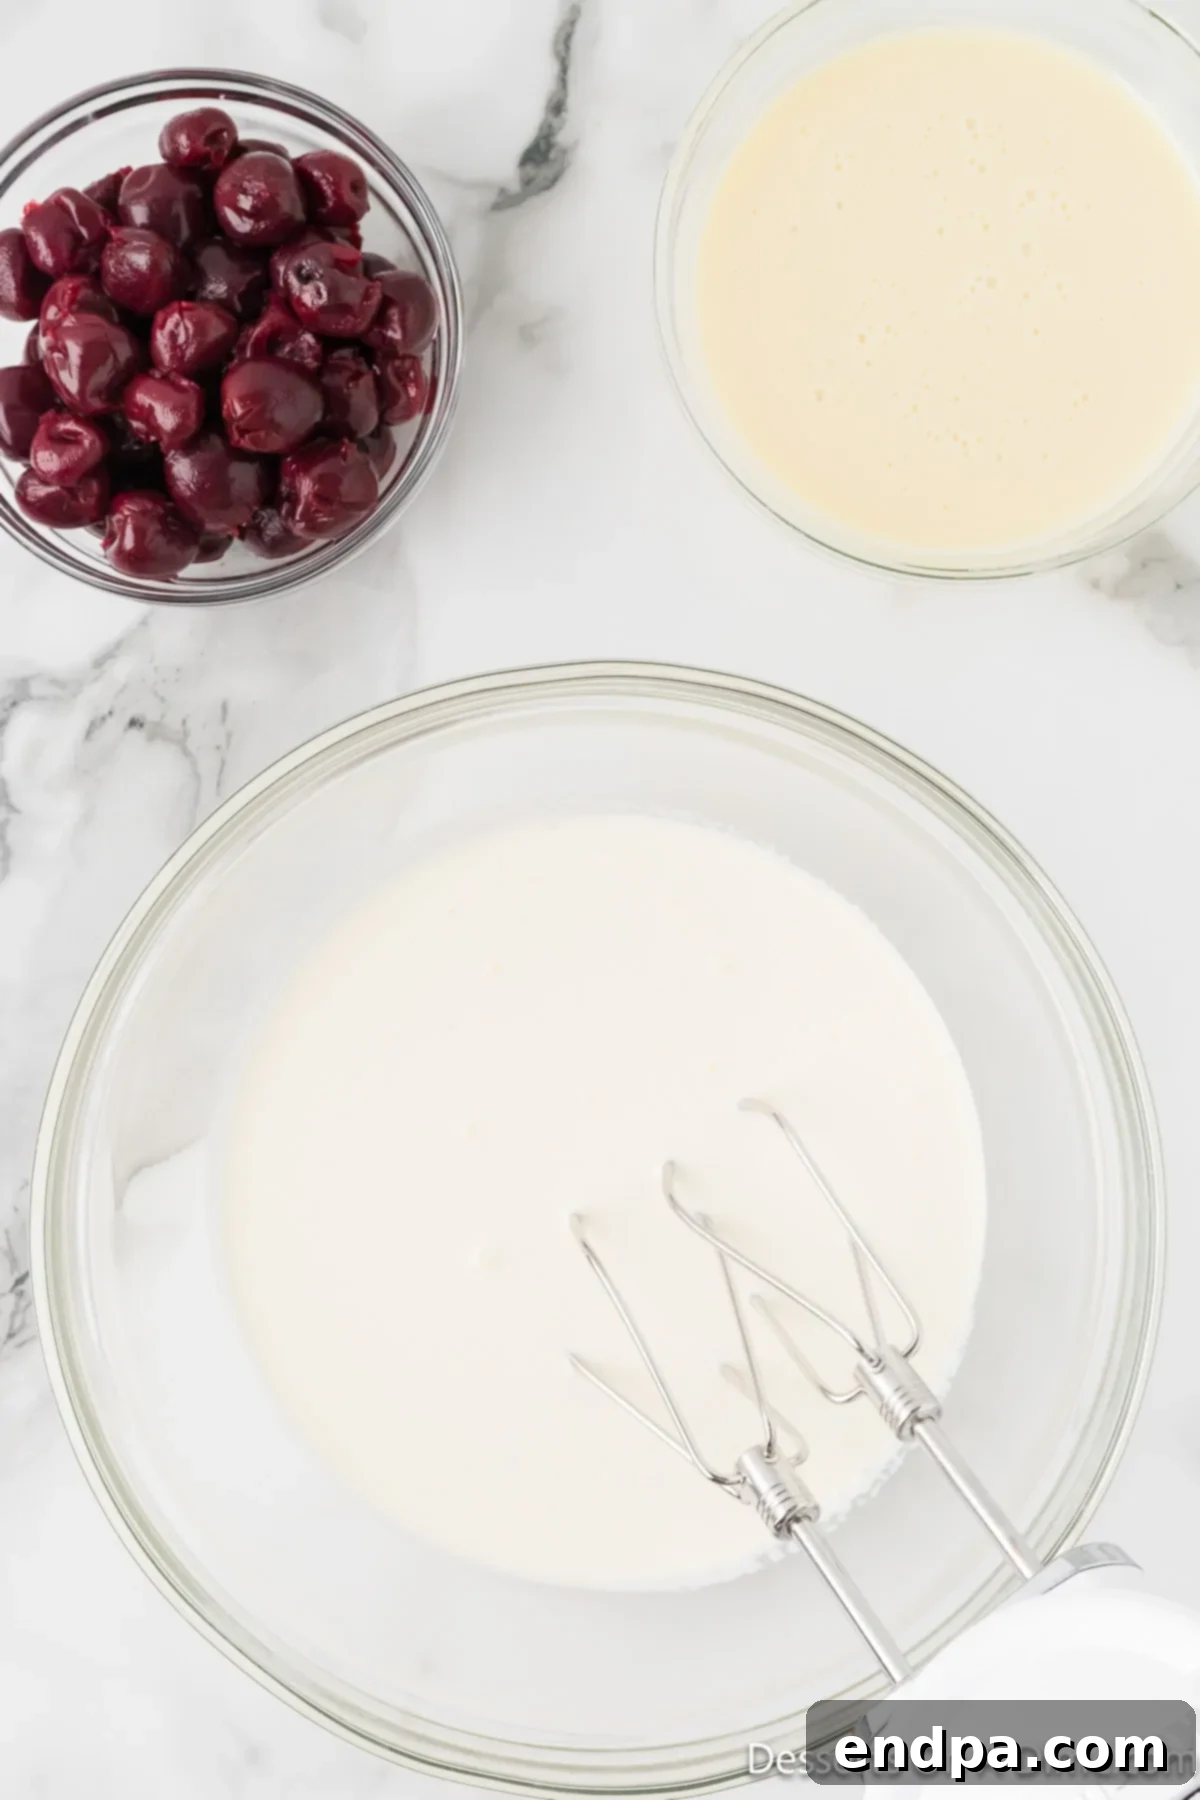
Step 1: Whip the Heavy Cream. Begin by pouring your well-chilled heavy whipping cream into a large mixing bowl. Using an electric hand mixer (or a stand mixer with a whisk attachment), start whipping the cream on a low speed to prevent splattering. Gradually increase the speed as the cream begins to thicken. Continue whipping until the cream forms soft peaks. This means when you lift the beaters, the cream will hold a peak that gently curls over at the tip. This step is crucial for incorporating air, which gives the ice cream its light and fluffy texture.
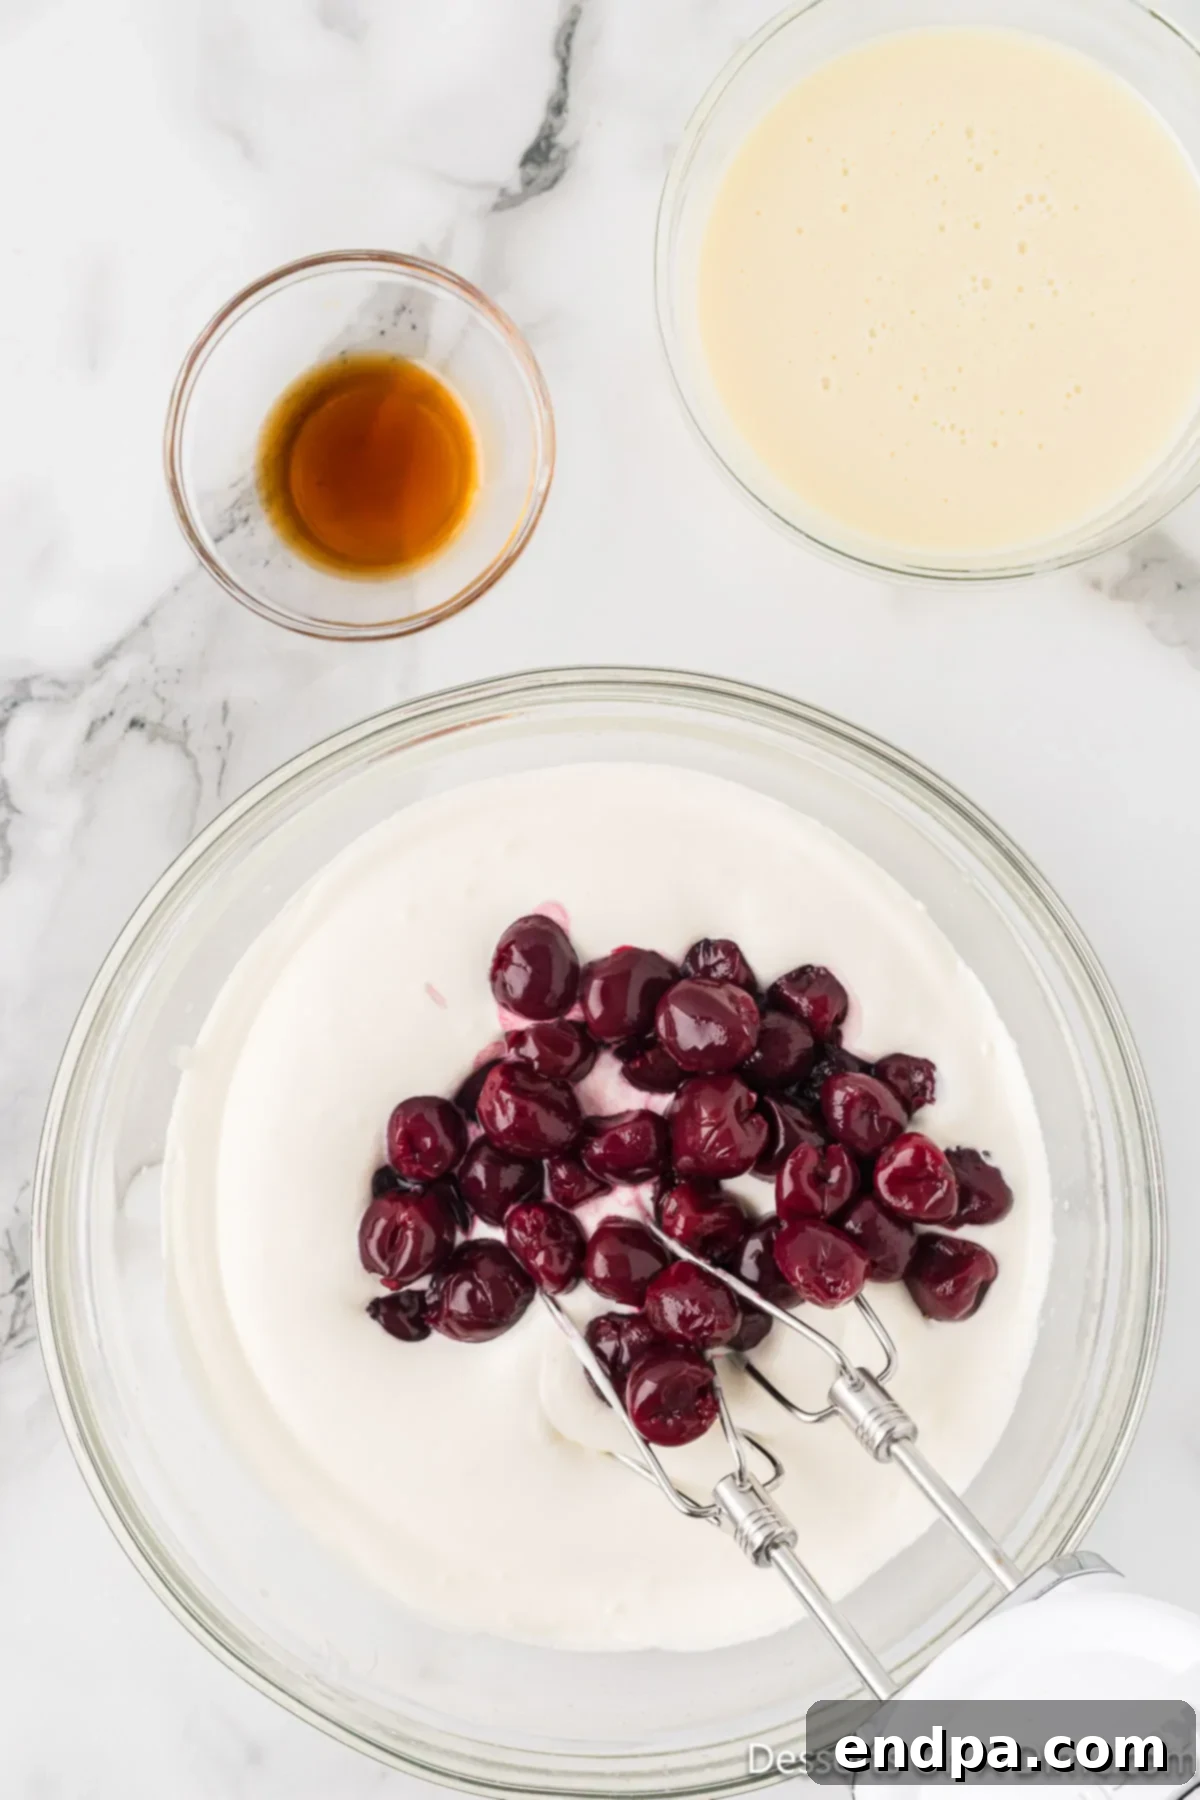
Step 2: Combine the Base Flavors. Once your heavy cream has reached the soft peak stage, it’s time to introduce the other foundational ingredients. Add the drained, prepared cherries, the sweetened condensed milk, and the vanilla extract (or almond extract for a twist) to the whipped cream. Gently stir these ingredients together using a spatula or spoon until they are just combined. You don’t want to overmix here and deflate the air from the cream. The goal is to distribute the flavors evenly while maintaining that airy texture.
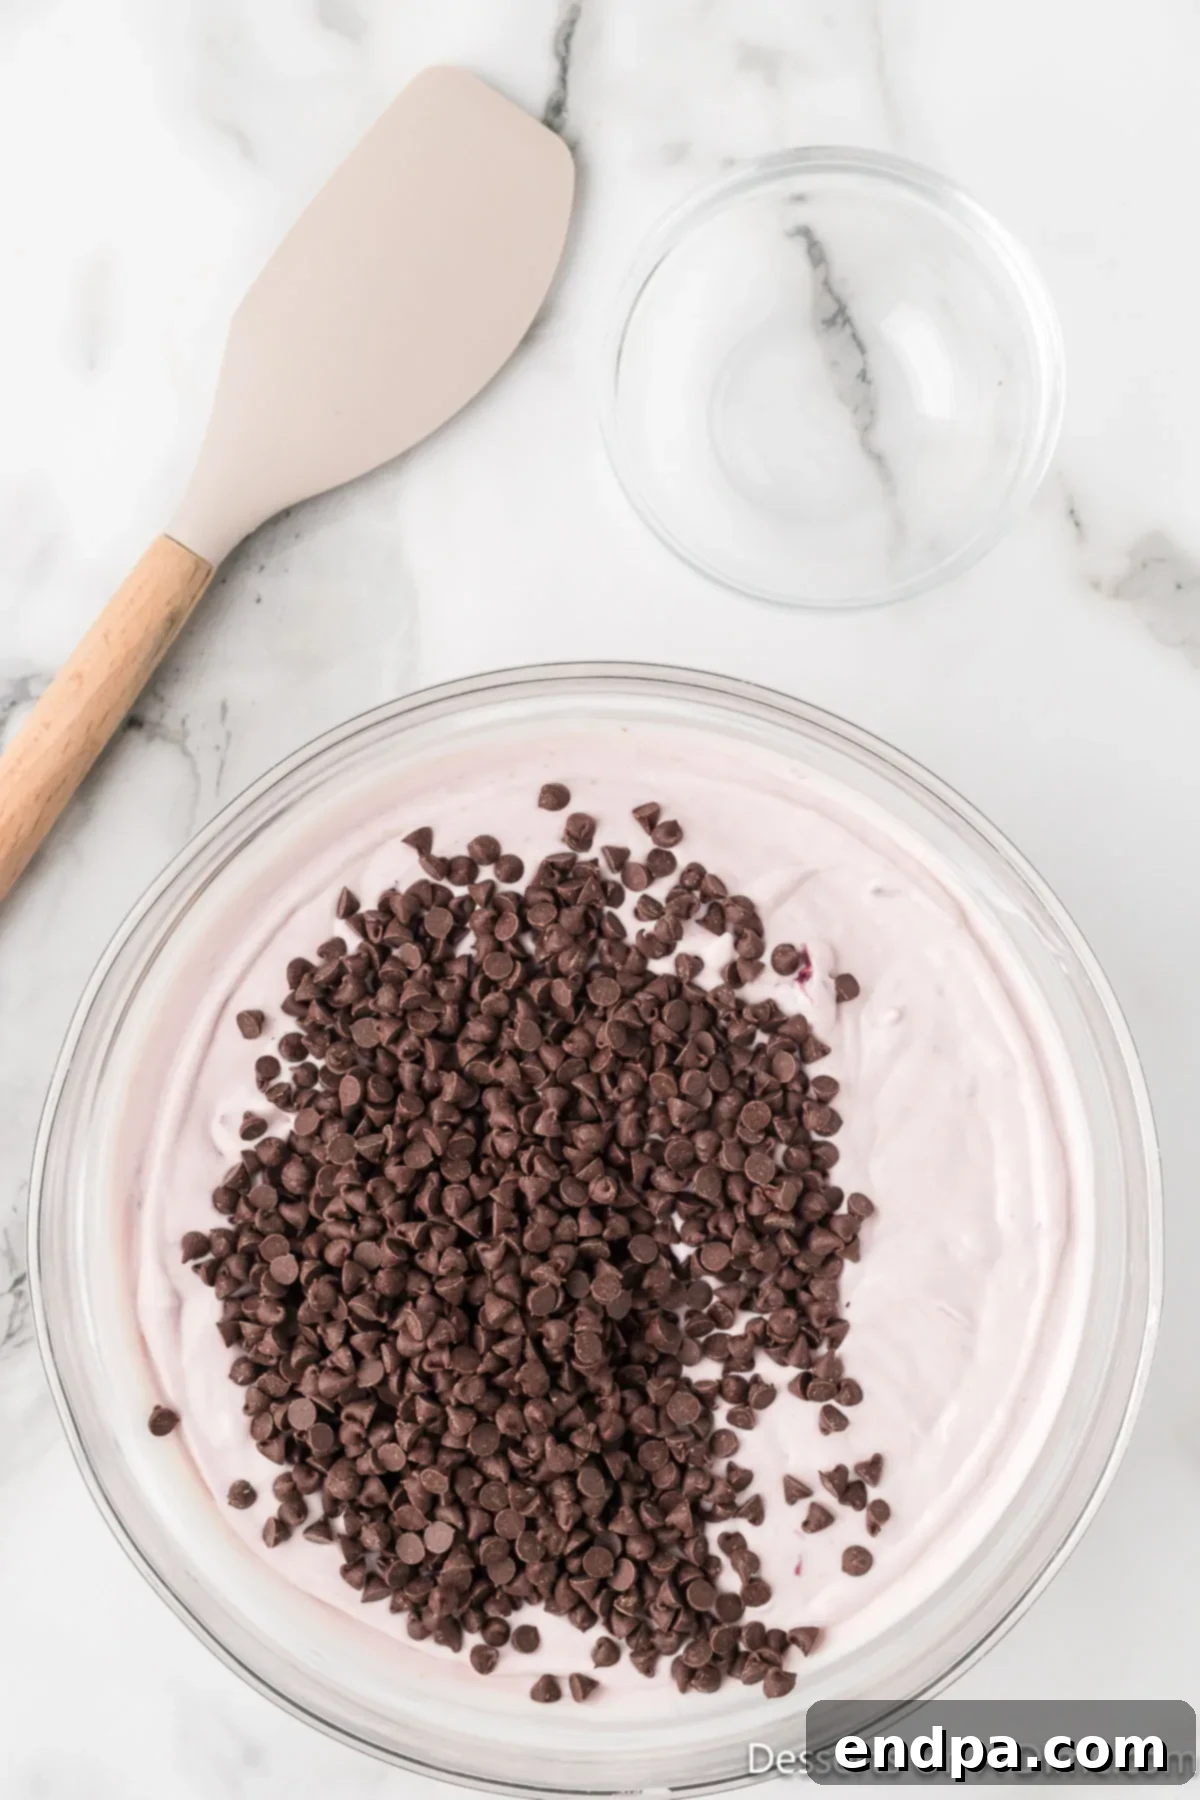
Step 3: Introduce the Chocolate Chips. Now, add your chosen mini chocolate chips to the vanilla bean and cherry custard base. The miniature size ensures an even spread and a pleasant texture in the final frozen product. While the recipe mentions “vanilla bean custard,” it refers to the rich, vanilla-flavored cream base we just created.
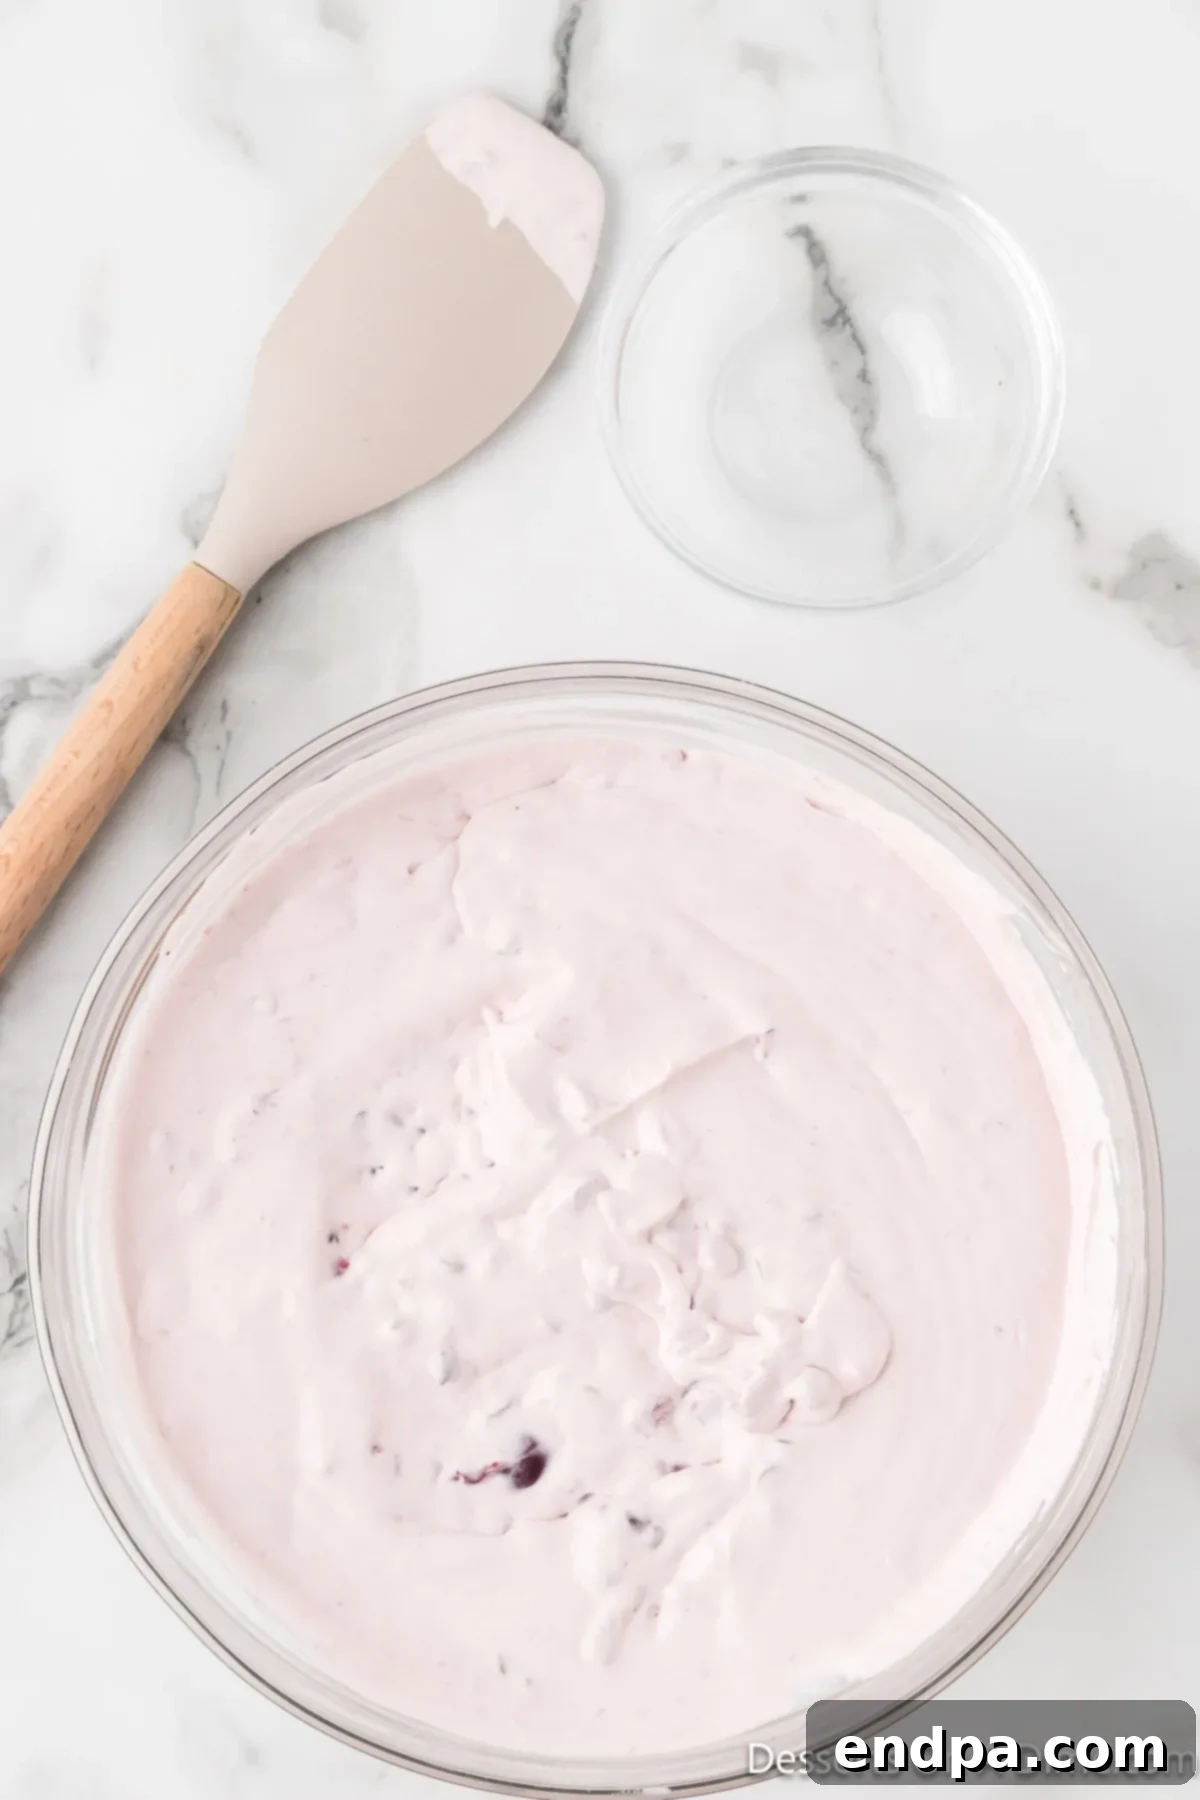
Step 4: Gently Fold for Even Distribution. This is where a gentle hand is key. Using a spatula, carefully fold the mini chocolate chips into the ice cream mixture. The term “fold” means to scoop from the bottom of the bowl and gently bring it over the top, rotating the bowl as you go. Do NOT use the electric mixer for this step, as it can overmix and cause the whipped cream to lose its airiness, resulting in a less fluffy ice cream. Ensure the chocolate chips are distributed evenly throughout the mixture.
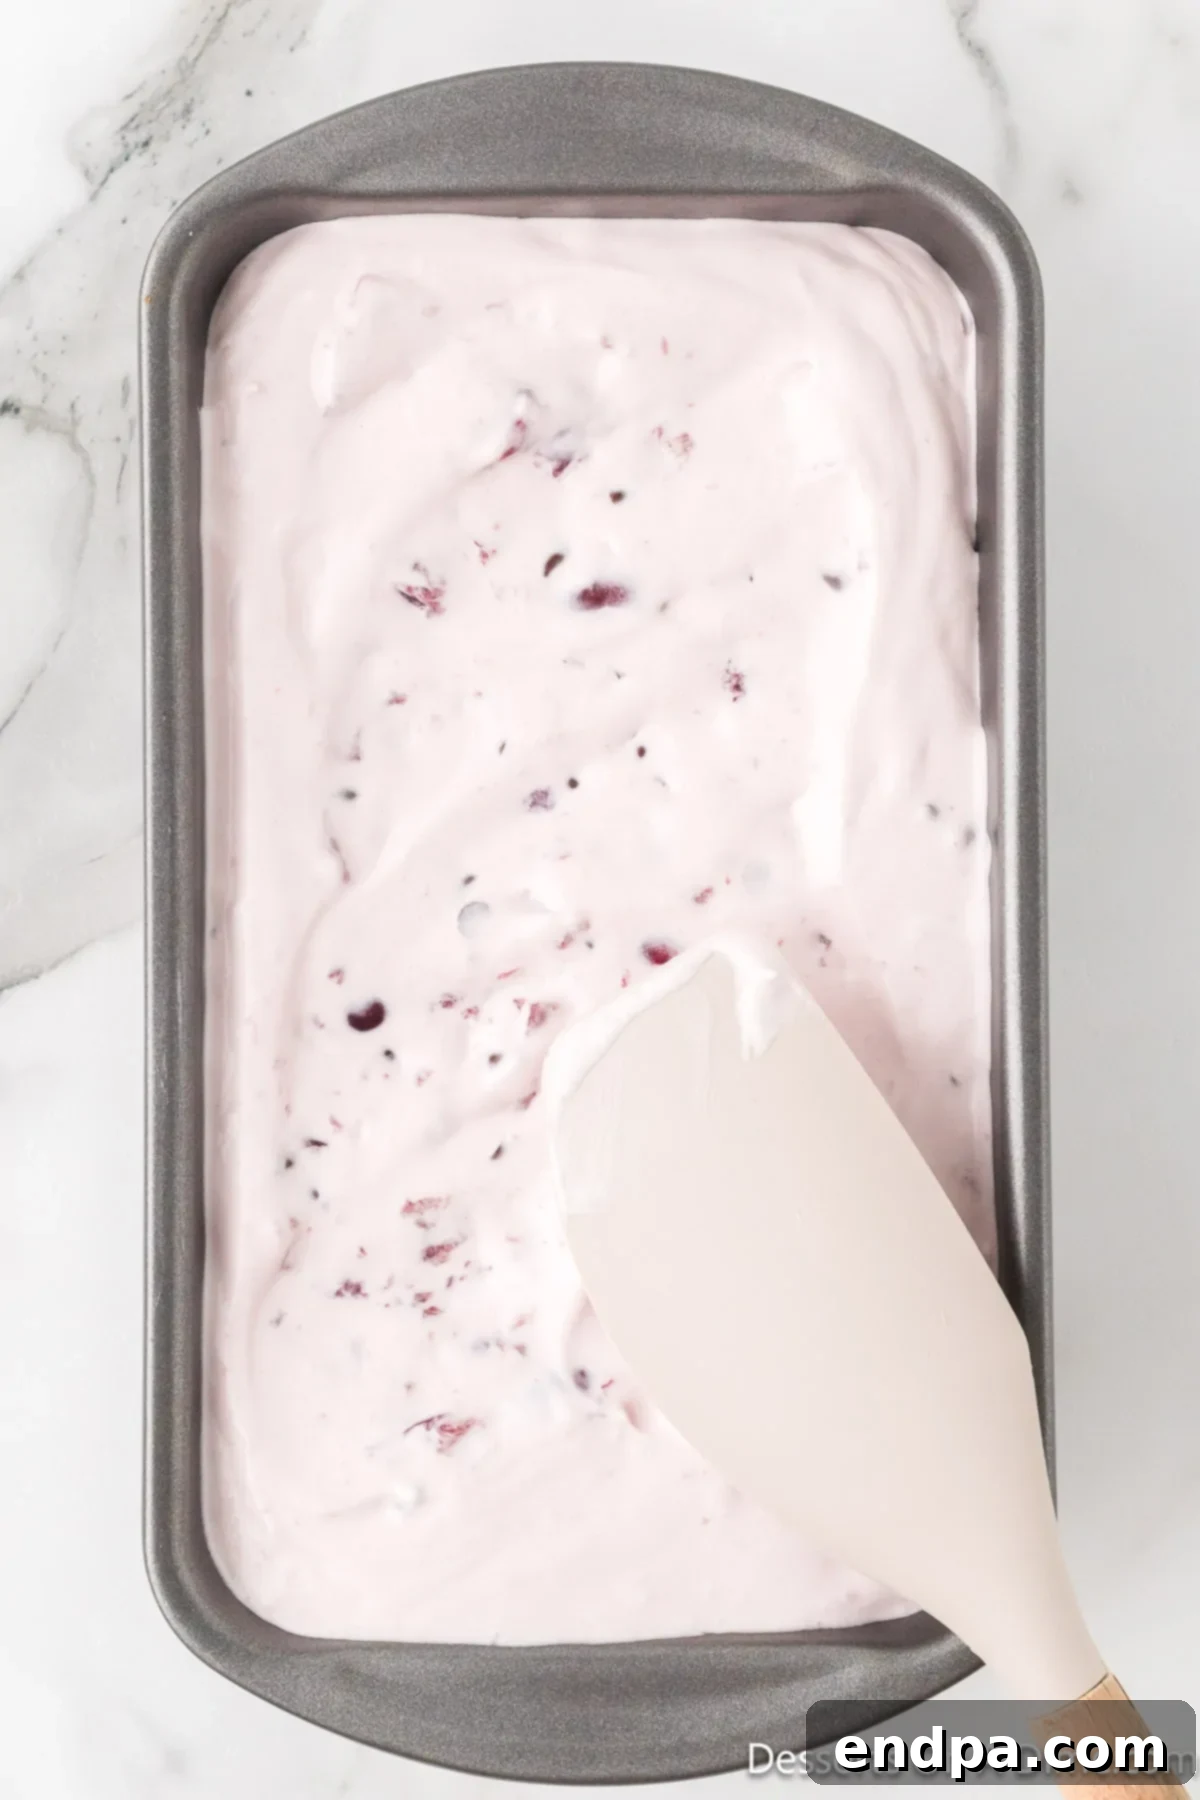
Step 5: Prepare for Freezing. Carefully pour the entire ice cream mixture into a large, freezer-safe plastic container or a 9×5 inch loaf pan. Use a spatula to spread the mixture evenly, ensuring a smooth top. This allows for consistent freezing and easier scooping later. If you want, you can gently tap the container on the counter a few times to release any trapped air bubbles.
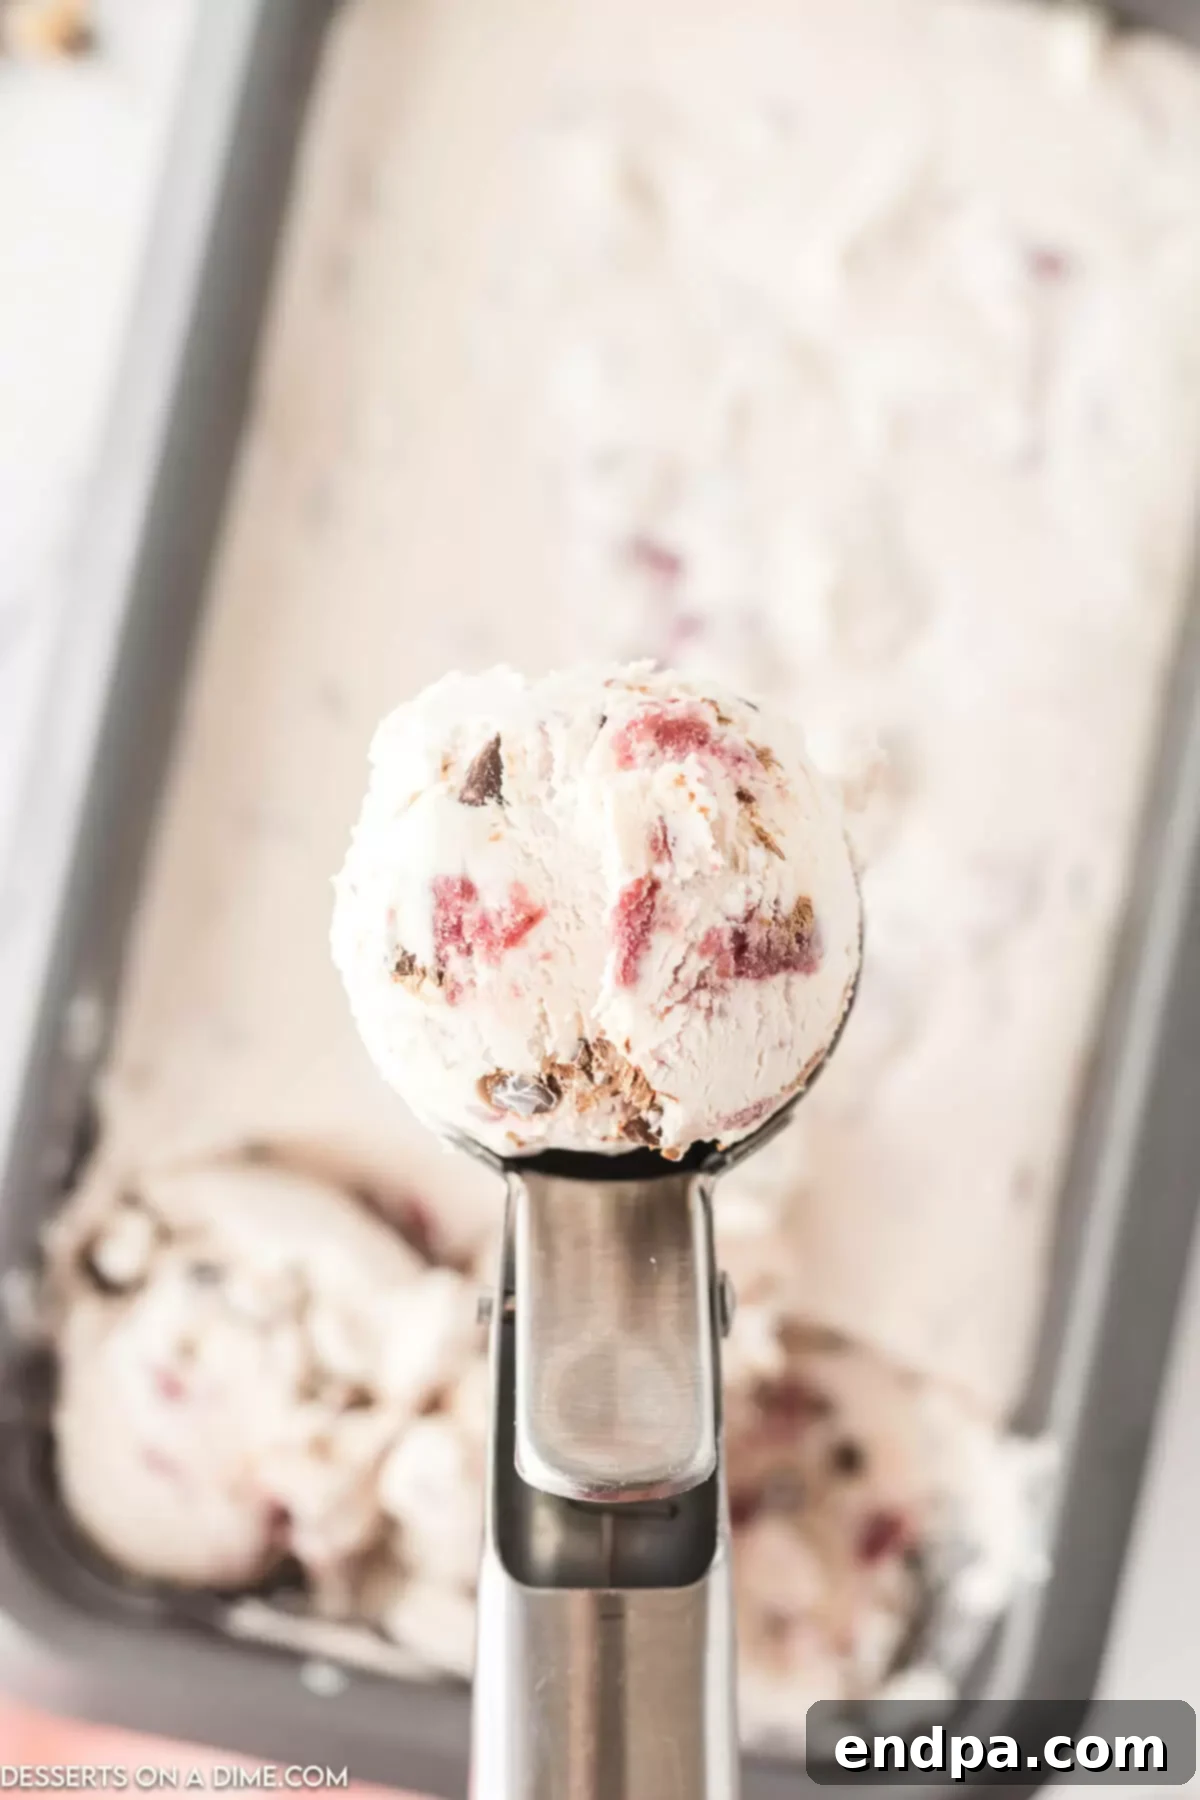
Step 6: Freeze and Enjoy! Cover the container or loaf pan tightly with plastic wrap, pressing it directly onto the surface of the ice cream to minimize air exposure. Place the covered container in the freezer and allow the cherry ice cream to set for a minimum of 24 hours. This extended freezing time ensures the ice cream is perfectly firm and scoopable, with all the flavors fully melded. Once fully frozen, grab a spoon and dig in! If you prefer a softer, more “soft-serve” style ice cream, allow it to sit out at room temperature for 5-10 minutes before scooping.
Storage and Longevity: Keeping Your Homemade Ice Cream Fresh
Proper storage is key to enjoying your homemade no-churn ice cream for as long as possible while maintaining its delightful texture and flavor. After the initial freezing period, you can store this ice cream in the freezer for up to one month.
To prevent the formation of ice crystals and freezer burn, which can compromise the creamy texture, we highly recommend taking a few extra steps. Once the ice cream is completely firm, place a layer of parchment paper or wax paper directly on top of the ice cream, pressing it down gently so it touches the surface. Then, securely cover the container with its lid or a double layer of plastic wrap. This dual barrier significantly reduces air exposure, which is the primary cause of freezer burn and large ice crystals. Stored this way, your delicious homemade treat will retain its quality and be ready to enjoy whenever a craving strikes.
Pro Tips for Perfect Homemade Ice Cream
Achieving truly exceptional homemade ice cream, even with a simple no-churn recipe, can be enhanced with a few expert tips:
- Optimal Cherry Integration: For the best flavor and texture, I suggest adding the drained cherries to the mixture along with the condensed milk and vanilla extract, rather than waiting to fold them in with the chocolate chips. Incorporating them earlier allows the electric mixer to gently break up the cherries a bit more. This process helps release their natural juices, ensuring that the delicious cherry flavor is dispersed throughout the entire ice cream base, creating a more cohesive and fruity experience in every bite.
- The Advantage of Mini Chocolate Chips: While any chocolate chips will work, mini chocolate chips are truly superior for this recipe. Their smaller size prevents them from freezing as hard as standard-sized chocolate chips or chunks. This means you get a lovely, melty chocolate texture that’s easy to bite into, without the unpleasant surprise of rock-hard frozen chocolate. You’ll still get all the rich chocolate flavor you desire, but with a much better mouthfeel.
- Timing is Everything for Add-ins: It is crucial to ensure that your heavy cream has reached distinct soft peaks before you incorporate any of the other ingredients, including the cherries, condensed milk, or chocolate chips. If the cream isn’t properly whipped and aerated, the heavier components like cherries and chocolate chips will tend to sink to the bottom of your container before the ice cream has a chance to fully set in the freezer. Waiting for soft peaks ensures a beautifully even distribution of all your delicious mix-ins.
- Invest in Quality Chocolate: The quality of your chocolate chips will significantly impact the overall taste of your ice cream. Since chocolate is a prominent flavor here, using a good quality brand will make a noticeable difference. I personally love brands like Ghirardelli or Guittard for their rich, nuanced flavors that truly elevate the dessert. High-quality chocolate melts more smoothly and has a more satisfying taste, contributing to a truly luxurious ice cream experience.
Serving Suggestions: Ways to Enjoy Your Cherry Chocolate Chip Ice Cream
Once your homemade Cherry Chocolate Chip Ice Cream is perfectly frozen, the fun of serving begins! While it’s utterly delicious straight from the tub, here are some creative ways to enjoy this delightful treat:
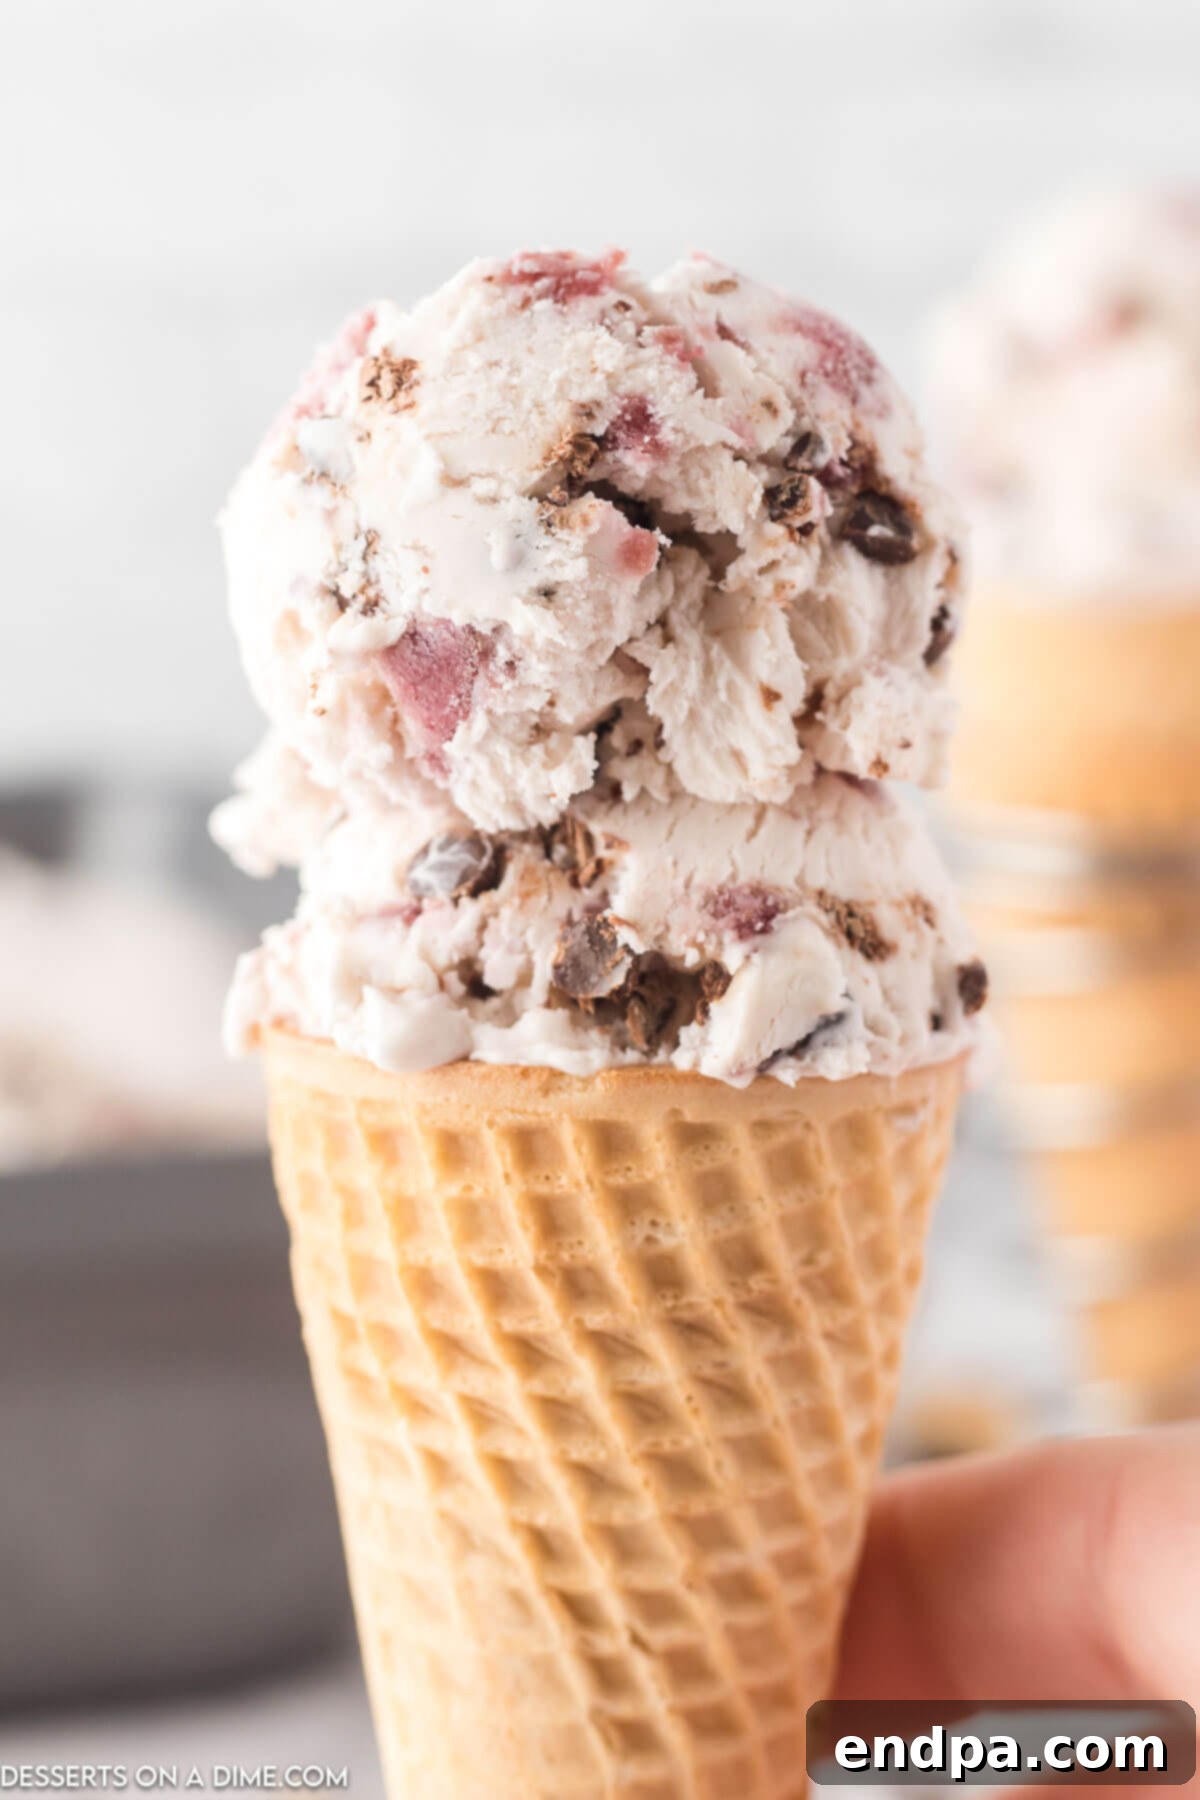
- Classic Scoops: Serve generous scoops in a bowl or a classic waffle cone. It’s perfect on its own, allowing the vibrant cherry and rich chocolate flavors to shine.
- Gourmet Sundaes: Elevate your ice cream into a decadent sundae. Top with extra fresh or preserved cherries, a drizzle of chocolate fudge sauce, whipped cream, and perhaps a sprinkle of chopped almonds for added crunch.
- With Cake or Brownies: Pair a scoop (or two!) of this ice cream with a warm slice of Chocolate Cherry Cake, a fudgy brownie, or a soft sugar cookie. The contrast of warm and cold, and the complementary flavors, are simply divine.
- In a Milkshake: Blend a few scoops with a splash of milk and perhaps a little extra vanilla extract for an unbelievably rich and thick milkshake.
- As a Parfait: Layer the ice cream with granola, fresh fruit, or crumbled cookies in a tall glass for an appealing parfait.
Frequently Asked Questions (FAQs)
Here are some common questions about making and enjoying homemade no-churn ice cream:
- Can I use frozen cherries? Absolutely! If using frozen cherries, allow them to thaw completely and drain any excess liquid before adding them to the mixture. This prevents the ice cream from becoming icy.
- How can I make it extra creamy? Ensuring your heavy cream is very cold before whipping is crucial. Also, avoid over-mixing once the condensed milk and cherries are added, as this can deflate the cream and reduce creaminess. The longer freezing time also helps to solidify the creamy texture.
- Why did my ice cream turn out icy? Icy ice cream is often due to too much water content or not enough fat/sugar. Make sure your cherries are thoroughly drained. Additionally, ensure your container is tightly sealed to prevent freezer burn and moisture from entering.
- Can I make this dairy-free? While this specific recipe relies on dairy, you can find many no-churn recipes online that use full-fat coconut cream (chilled overnight) and dairy-free condensed milk for a dairy-free alternative.
- What if I don’t have an electric mixer? While an electric mixer makes whipping cream much easier and faster, you can whip heavy cream by hand using a whisk. It will require more time and effort, but it’s definitely achievable. Ensure your bowl and whisk are chilled for best results.
More Irresistible Cherry Desserts
If you’re a fan of the vibrant flavor of cherries, you’re in luck! There are countless ways to incorporate this delightful fruit into your baking and dessert making. Here are some of our favorite cherry-inspired treats that you might enjoy:
- Chocolate Cherry Cake Recipe: A rich, moist chocolate cake infused with the sweetness of cherries.
- No-Bake Cherry Cheesecake Recipe: A light and creamy cheesecake topped with a luscious cherry filling, no oven required.
- Cherry Fluff Recipe: A delightful, airy, and fruity dessert salad that’s perfect for gatherings.
- Easy Cherry Cobbler: A classic comforting dessert with a sweet cherry filling and a tender biscuit topping.
More Delightful No-Churn Ice Cream Creations
The world of no-churn ice cream is vast and exciting! Once you master this Cherry Chocolate Chip version, you’ll be eager to explore more flavors that don’t require an ice cream machine. Here are some other fantastic no-churn recipes to satisfy your sweet tooth:
- Cherry Garcia Ice Cream: A copycat favorite featuring cherries and fudge flakes.
- No-Churn Strawberry Ice Cream: Fresh and fruity, perfect for strawberry lovers.
- Dulce de Leche Ice Cream: A rich, caramelized treat that’s incredibly indulgent.
- Puppy Chow Ice Cream: A playful and nostalgic flavor inspired by the classic snack mix.
- Salted Caramel Ice Cream Recipe: The perfect balance of sweet and salty in a creamy base.
Don’t wait to make this incredible Cherry Chocolate Chip Ice Cream today for a sensational dessert or a delightful snack. We’re confident you’ll love its effortless preparation and gourmet taste. After you’ve enjoyed your homemade creation, please come back and share your experience by leaving a comment and a star rating. Your feedback helps our community of dessert lovers!
Pin
Cherry Chocolate Chip Ice Cream
Ingredients
- 1 ¾ cups heavy whipping cream
- 15 oz can dark red cherries drained
- 1 ½ cups sweetened condensed milk
- 2 tsp vanilla extract
- 1 cup mini chocolate chips
Instructions
- Use an electric hand mixer to whip the chilled heavy cream in a large mixing bowl. Start on a low speed and gradually increase the speed as the cream thickens until it forms soft peaks.
- Once the heavy cream forms soft peaks, gently add the prepared cherries (thoroughly drained), sweetened condensed milk, and vanilla extract. Stir until just combined, being careful not to overmix.
- Add the mini chocolate chips to the mixture.
- Gently fold the chocolate chips into the ice cream mixture using a spatula. Do not use the electric mixer for this step.
- Pour the ice cream mixture into a large, freezer-safe plastic container or a 9×5 inch loaf pan. Cover tightly with plastic wrap, pressing it directly onto the surface of the ice cream.
- Allow the cherry chocolate chip ice cream to sit in the freezer for at least 24 hours to fully set. Serve and enjoy!
Recipe Notes
Store this ice cream in the freezer for up to one month. To prevent ice crystals and freezer burn, place a layer of parchment paper directly on top of the ice cream before covering the container tightly.
Using mini chocolate chips is recommended as they do not freeze as hard as larger chocolate chips, ensuring a pleasant texture in every bite without worrying about biting into a frozen chunk.
For a deeper cherry flavor, you can substitute the vanilla extract for 1 teaspoon of almond extract. The almond essence beautifully complements the cherries.
Always ensure the heavy cream has reached soft peaks before adding any other ingredients. This crucial step prevents the cherries and chocolate chips from sinking to the bottom of the container before the ice cream is fully set.
Nutrition Facts
Pin This Now to Remember It Later
Pin Recipe
