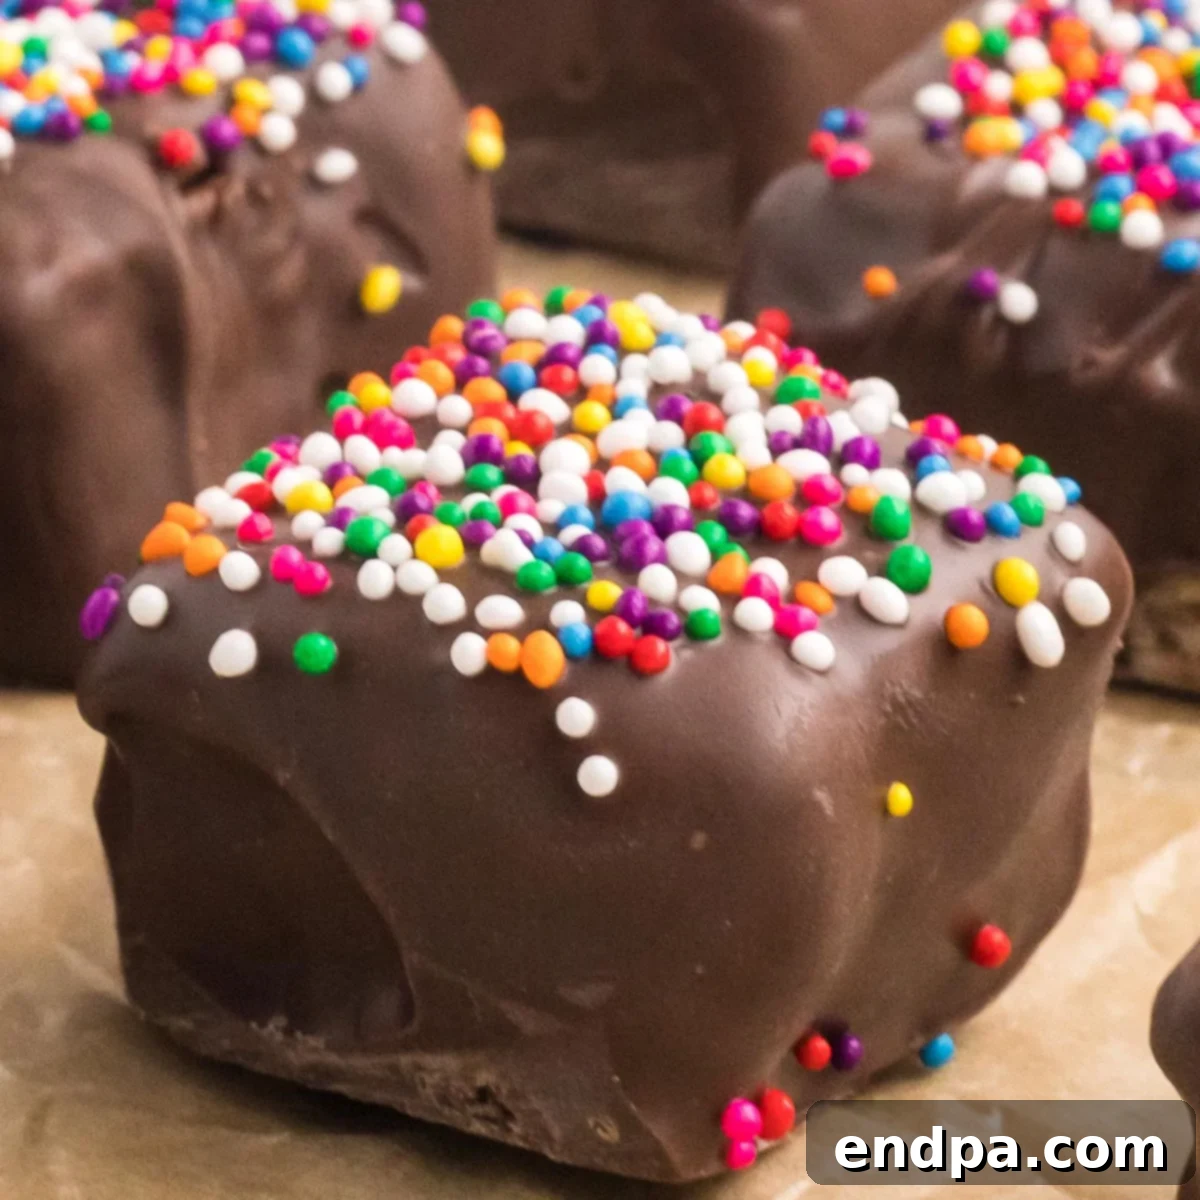
Irresistible Chocolate Covered Rice Krispie Treats: Your Ultimate No-Bake Dessert Guide
Dive into the delightful world of Chocolate Covered Rice Krispie Treats – a timeless, no-bake dessert that promises pure bliss with every bite. This incredibly easy recipe requires just a handful of ingredients, making it the perfect sweet treat for any occasion. Imagine crisp, chewy Rice Krispie squares generously coated in rich, melted chocolate and adorned with colorful sprinkles. It’s a decadent indulgence that’s surprisingly simple to create, perfect for busy bakers and sweet tooth enthusiasts alike.
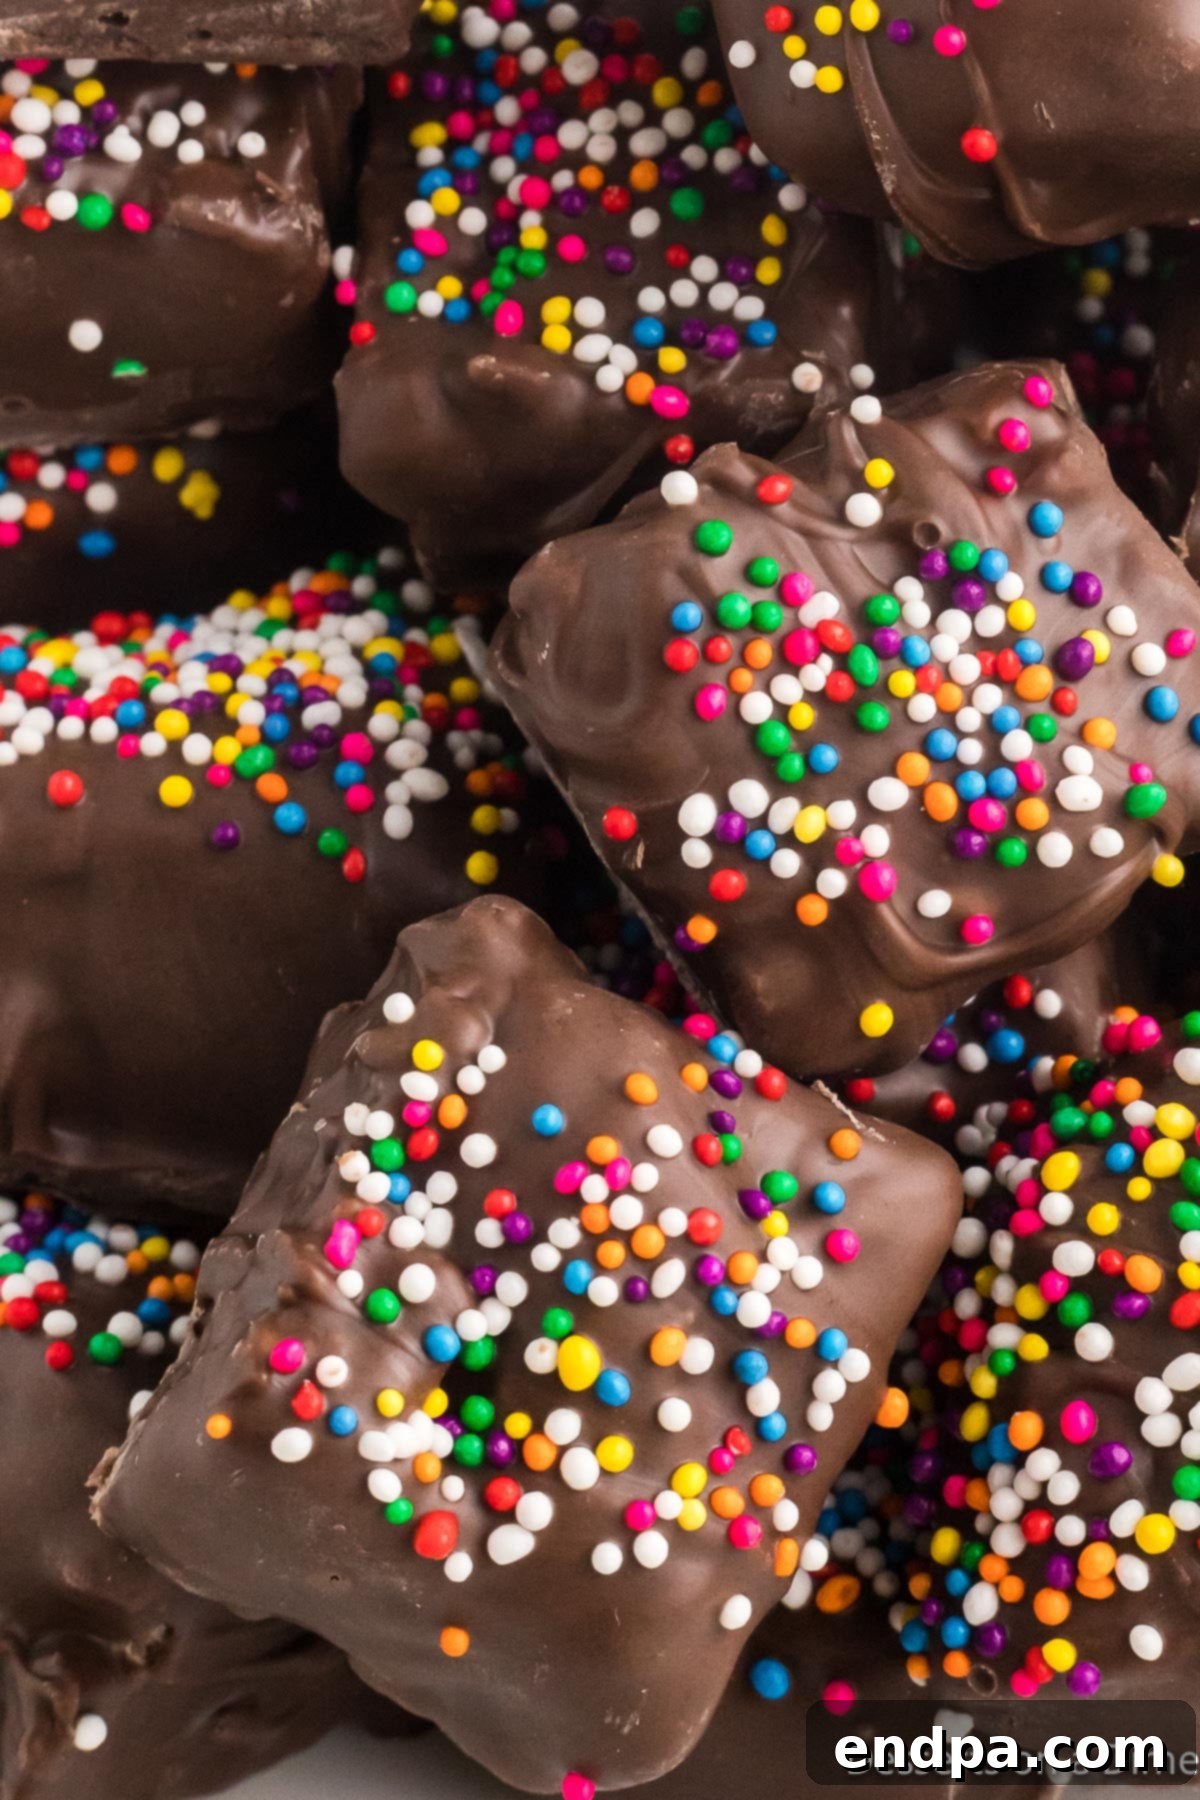
Whether you’re looking for a quick after-school snack, a party dessert that wows, or a simple pick-me-up, these chocolate-coated delights fit the bill. Their satisfying crunch combined with the smooth, sweet chocolate creates a texture and flavor profile that’s universally loved. Plus, the joy of customizing them with various chocolates and toppings means endless possibilities for creative fun in the kitchen!
If you prefer a partial chocolate coating, you might also enjoy our recipe for Chocolate Dipped Rice Krispy Treats, offering a slightly lighter touch of cocoa goodness. For years, our classic Rice Krispie Treat Recipe has been a family favorite, and adding chocolate truly elevates the experience!
Got extra chocolate after making these treats? Don’t let it go to waste! Use it to create another fantastic dessert like our Chocolate Covered Twinkies Recipe for an extra dose of sweetness.
Table of Contents
- Why You Will Love These Treats
- Essential Ingredients
- Creative Variations and Customizations
- Easy Step-by-Step Instructions
- Storage Tips for Freshness
- Expert Tips for Perfect Treats
- Frequently Asked Questions
- More No-Bake Rice Krispie Treat Recipes
Why You Will Love These Irresistible Chocolate Covered Rice Krispie Treats
These aren’t just any treats; they are a delightful combination of simplicity, speed, and deliciousness that makes them a crowd-pleaser for all ages. Here’s why this recipe will quickly become a staple in your dessert repertoire:
- Minimal Ingredients: With just 6 simple ingredients (or even 5 if you skip the sprinkles), this recipe is incredibly straightforward. Most of these items are probably already in your pantry, saving you a trip to the grocery store. This makes it an ideal last-minute dessert option when unexpected cravings strike or guests arrive.
- Decadent Chocolate Coating: What’s better than a classic Rice Krispie Treat? One enveloped in a generous layer of rich chocolate, of course! The chocolate coating adds an extra dimension of flavor and a luxurious texture that takes these simple squares from good to absolutely extraordinary. It’s the perfect balance of crisp cereal and smooth, melt-in-your-mouth chocolate.
- Effortless No-Bake Delight: Forget preheating ovens and tedious baking times. This is a truly no-bake recipe, meaning less time in the kitchen and more time enjoying your delicious creations. It’s perfect for hot summer days, beginner bakers, or anyone looking for a stress-free dessert solution.
- Quick to Prepare: From start to finish, you can have a batch of these glorious treats ready in under 30 minutes, including cooling time. This makes them ideal for spontaneous gatherings, children’s parties, or satisfying a sudden sweet craving without a long wait.
- Kid-Friendly Fun: Making these treats is a fantastic activity for kids. They can help with stirring, pressing the mixture into the pan, and especially with dipping and decorating the cooled squares. It’s a delicious way to create lasting memories and enjoy a homemade snack.
- Versatile and Customizable: While delicious as is, this recipe is a blank canvas for creativity. You can easily switch up the type of chocolate, add different toppings, or even incorporate other flavors into the Rice Krispie base, making each batch uniquely yours.
Essential Ingredients for Your Chocolate Covered Rice Krispie Treats
Crafting these delicious treats requires a simple yet effective lineup of ingredients, each playing a crucial role in achieving that perfect balance of crispy, chewy, and chocolatey goodness. Here’s a closer look at what you’ll need:
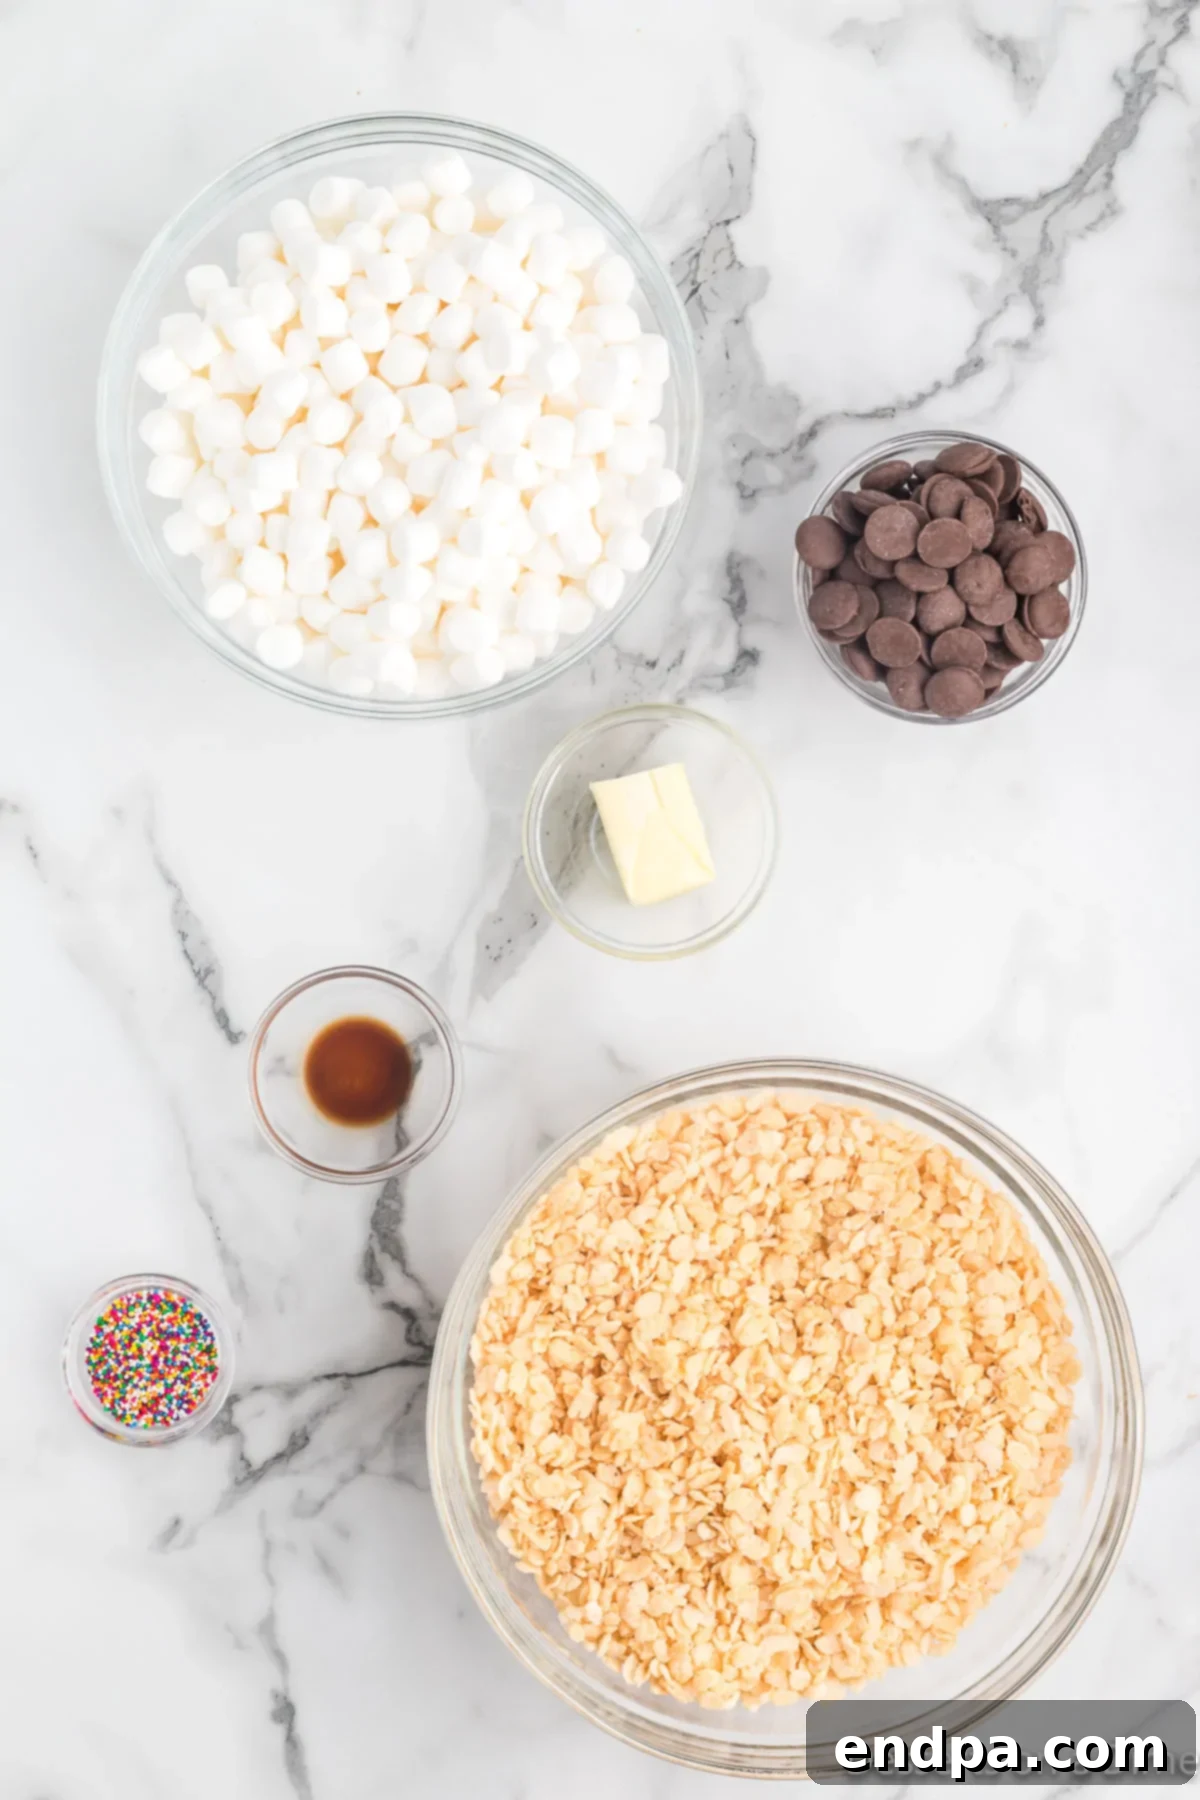
- Rice Krispies Cereal: The star of the show! For the best texture, always ensure your Rice Krispies cereal is fresh and not stale. Fresh cereal provides that signature crispy snap that makes these treats so enjoyable.
- Butter: Opt for real butter, as it imparts a superior, rich flavor that margarine or butter substitutes simply cannot replicate. It’s essential for both flavor and creating a smooth marshmallow mixture.
- Mini Marshmallows: Mini marshmallows are highly recommended because they melt much quicker and more evenly than larger marshmallows. This helps create a smooth, consistent base for your treats without overcooking the mixture. If you only have large marshmallows, simply cut them into smaller pieces to speed up the melting process.
- Vanilla Extract: Pure vanilla extract is key to enhancing the overall flavor profile of the treats, adding a warm, aromatic depth that complements the sweetness of the marshmallows and chocolate. Avoid imitation vanilla for the best taste.
- Chocolate Melting Chips: These are specifically designed to melt smoothly and evenly, providing a perfect coating without seizing. While chocolate bars can be used, melting chips (or candy melts) offer a more consistent and hassle-free dipping experience.
- Multi-Colored Sprinkles (Optional): While optional, sprinkles add a festive touch and a satisfying textural contrast. Choose your favorite colors or shapes to customize your treats for holidays or special occasions. They truly make the Chocolate Covered Rice Krispie Treats visually appealing.
A detailed list with precise measurements can be found in the full recipe card below.
Creative Variations and Customizations for Your Rice Krispie Treats
One of the best things about Chocolate Covered Rice Krispie Treats is how incredibly versatile they are! You can easily customize them to suit different tastes, holidays, or just to add a fun twist. Here are some fantastic ideas to get your creative juices flowing:
- Diverse Chocolate Options: Don’t limit yourself to one type of chocolate! These treats are delicious when dipped in a variety of chocolates. Experiment with:
- Semi-Sweet Chocolate: A classic choice that offers a balanced sweetness.
- Milk Chocolate: For a sweeter, creamier, and more traditional chocolate flavor.
- Dark Chocolate: Ideal for those who prefer a less sweet, more intense cocoa experience.
- White Chocolate: Adds a creamy, vanilla-infused sweetness and a striking visual contrast. You can even drizzle white chocolate over dark chocolate for an elegant look.
- Vibrant Colored Melting Chocolates: Unleash your inner artist by using different colors of melting chocolate (candy melts). This is a fantastic way to match your treats to various seasons, holidays, or party themes:
- Pink or Red: Perfect for Valentine’s Day or a romantic gesture.
- Orange and Purple: Spooky and fun for Halloween.
- Green and Red: Festive for Christmas celebrations.
- Pastel Hues: Great for Easter or spring parties.
- Team Colors: Show support for your favorite sports team!
- Exciting Sprinkles and Toppings: Sprinkles are just the beginning! Elevate your treats with a range of decorative toppings:
- Holiday-Themed Sprinkles: Use gingerbread men, snowflakes, hearts, or shamrocks.
- Edible Glitter or Pearls: For a touch of sparkle and elegance.
- Chopped Nuts: Almonds, peanuts, pecans, or walnuts add a delightful crunch and nutty flavor.
- Mini Candies: M&M’s, mini chocolate chips, or crushed candy bars can be pressed onto the wet chocolate.
- Crushed Cookies: Oreos or graham crackers add another layer of flavor and texture.
- Flaky Sea Salt: A sprinkle of sea salt on top of the chocolate enhances the flavor, creating a popular sweet and salty combination.
- Extra Chocolate Goodness: For true chocolate lovers, consider topping the treats with more chocolate! Before the first chocolate coating sets, drizzle a contrasting color of melted chocolate over the top or sprinkle with extra chocolate chips.
- Peanut Butter Infusion: For an irresistible flavor combination, swap out the plain Rice Krispie treat base for our Peanut Butter Rice Krispy Treats recipe. The rich, nutty flavor of peanut butter perfectly complements the sweet chocolate coating, creating a truly memorable dessert experience.
Easy Step-by-Step Instructions for Chocolate Covered Rice Krispie Treats
Creating these delightful treats is a straightforward process, perfect for bakers of all skill levels. Follow these simple steps for perfectly crispy, chocolate-coated Rice Krispie squares:
- Prepare the Pan: Start by greasing a 9×13 inch baking pan thoroughly with butter or cooking spray. Alternatively, line the pan with parchment paper, leaving an overhang on the sides. This parchment paper sling will make it incredibly easy to lift the treats out of the pan once they’ve cooled and set.
- Melt the Butter: In a medium to large saucepan, melt the butter over low heat. It’s crucial to use low heat to prevent the butter from burning, which can affect the taste of your treats.
- Melt the Marshmallows: Once the butter has melted, add the mini marshmallows to the saucepan. Continue to stir constantly over low heat until the marshmallows are completely smooth and melted. Patience is key here; avoid rushing this step with high heat, as it can result in hard treats.
- Remove from Heat and Combine with Cereal: As soon as the marshmallows are fully melted and combined with the butter, immediately remove the saucepan from the heat. Quickly add the Rice Krispies cereal to the marshmallow mixture. Stir vigorously with a spatula until all the cereal is evenly coated with the sticky marshmallow mixture. Work efficiently before the mixture cools too much.
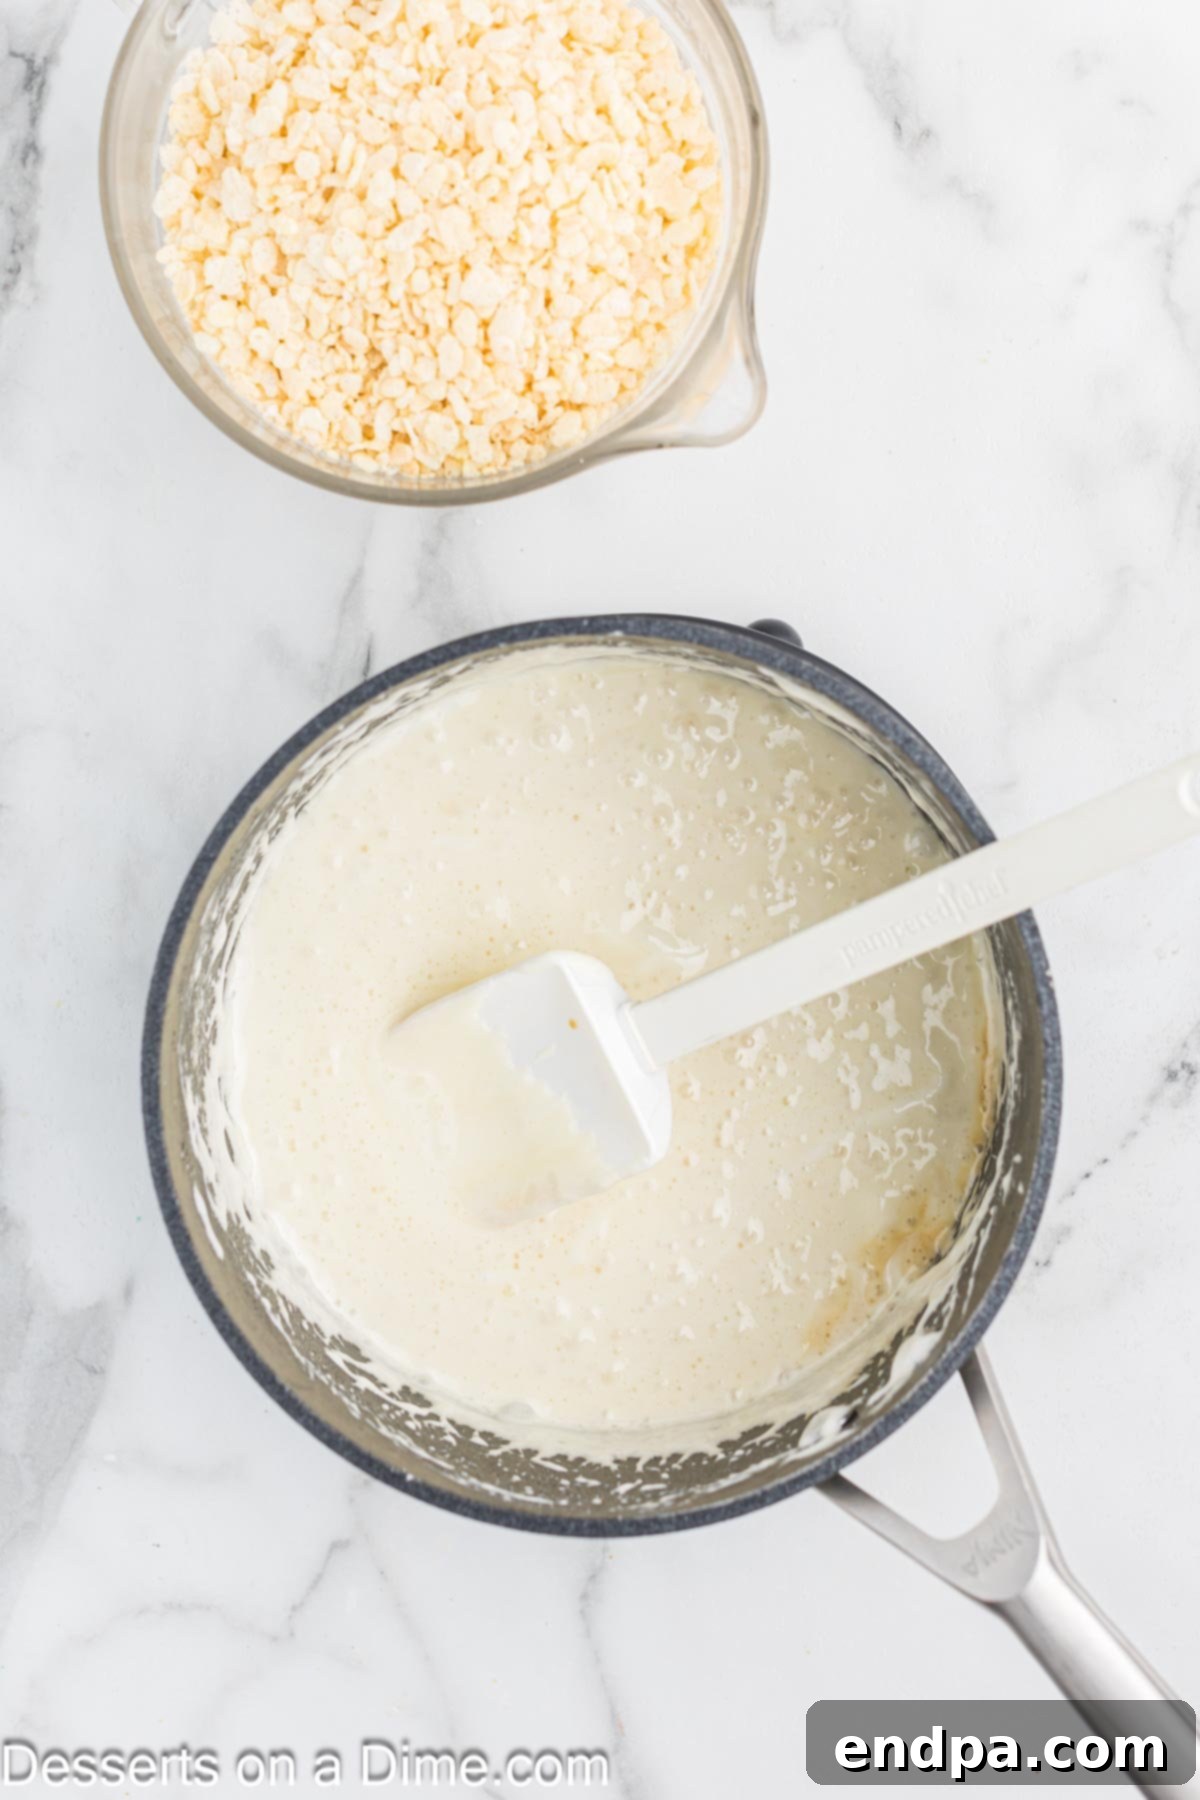
Step 3: Melt the marshmallows thoroughly, stirring until smooth.
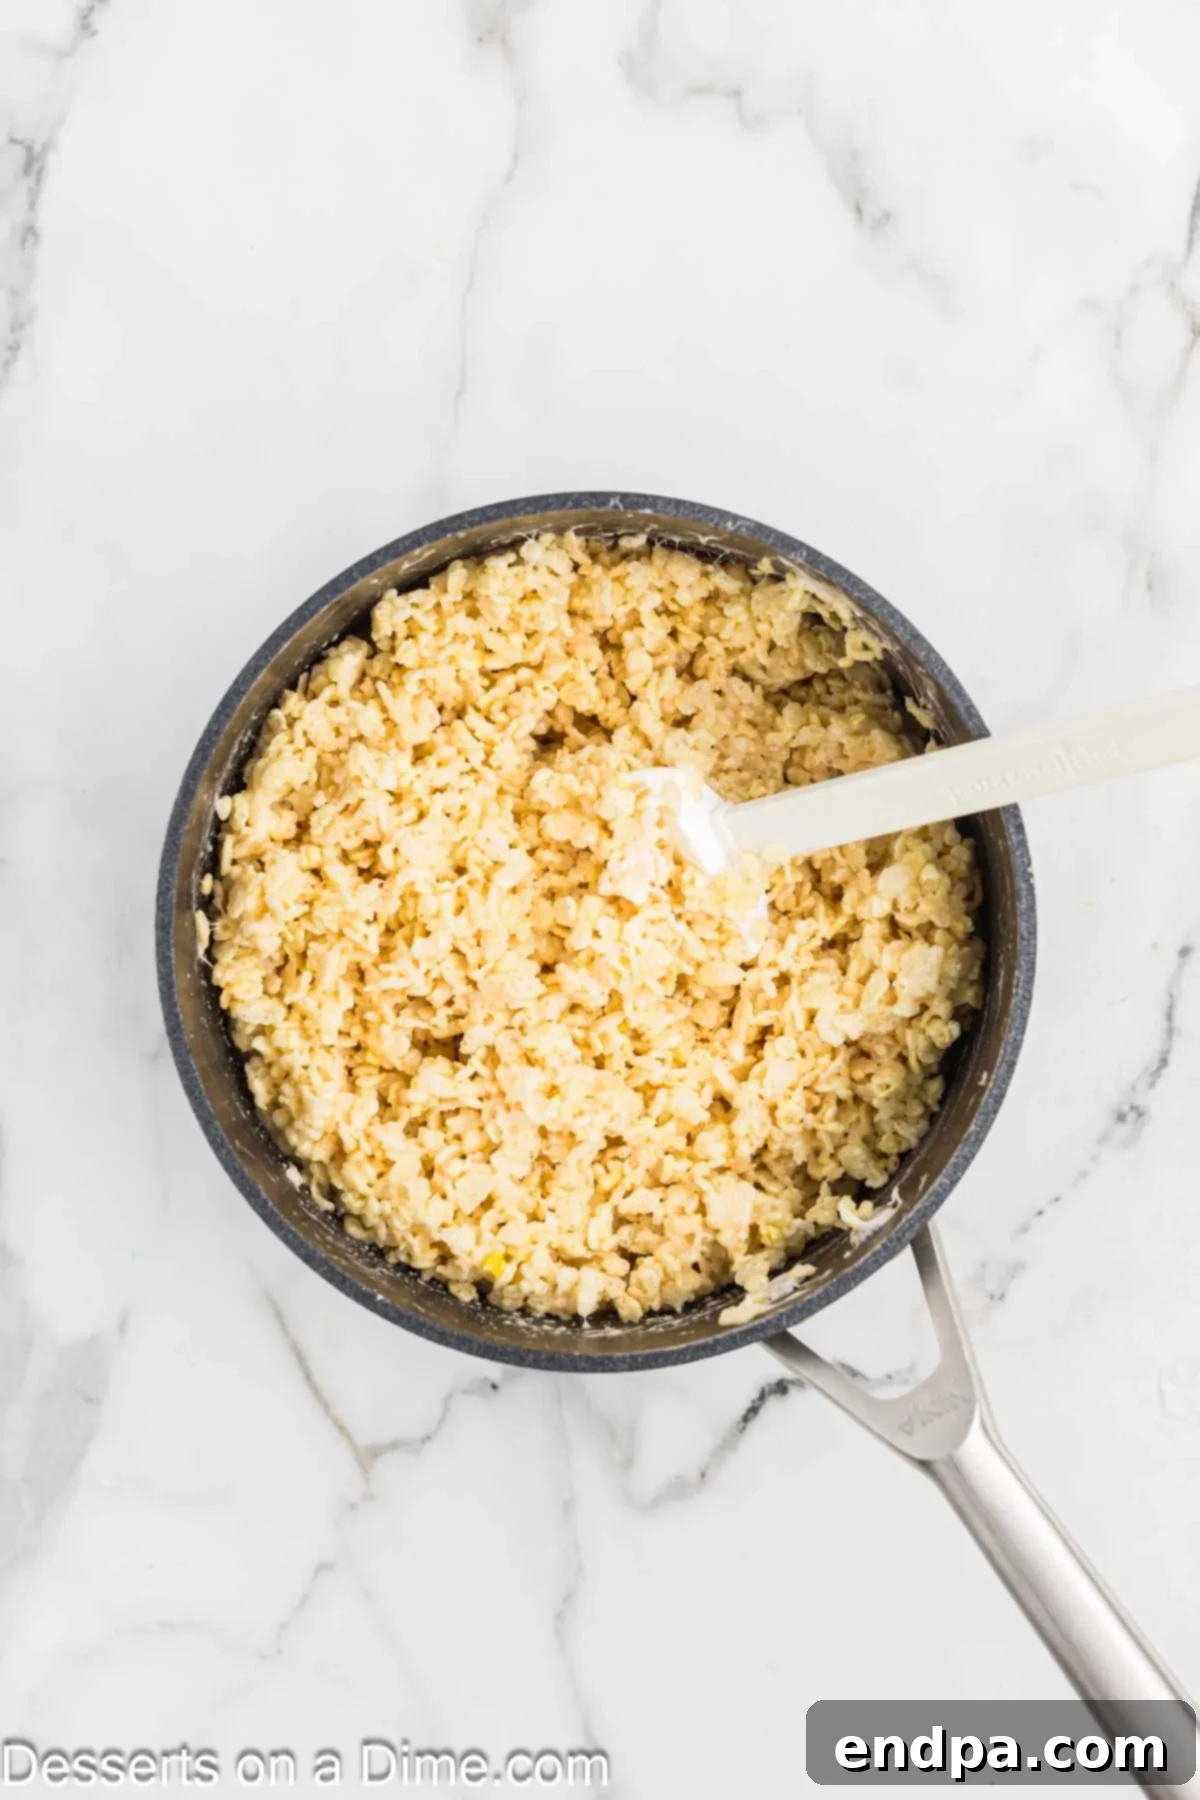
Step 4: Once removed from heat, quickly add Rice Krispies and stir until completely coated.
- Press into the Pan (Gently!): Transfer the cereal mixture into your prepared 9×13 inch pan. To prevent sticking, lightly butter your hands or use a piece of wax paper or parchment paper to gently press the mixture evenly into the pan. This is a critical step: do NOT pack the mixture down too firmly, as this will result in hard, dense Rice Krispie Treats. Aim for a light, even spread. Allow the treats to cool completely at room temperature. Resist the urge to place them in the refrigerator at this stage, as rapid cooling can also make them hard.
- Cut into Squares: Once the treats have cooled and set completely (which usually takes about 1-2 hours at room temperature), lift them out of the pan using the parchment paper overhang. Place the slab of treats on a cutting board. Using a sharp, buttered knife, cut the treats into small, bite-sized squares, approximately 1×1 inch or your preferred size.
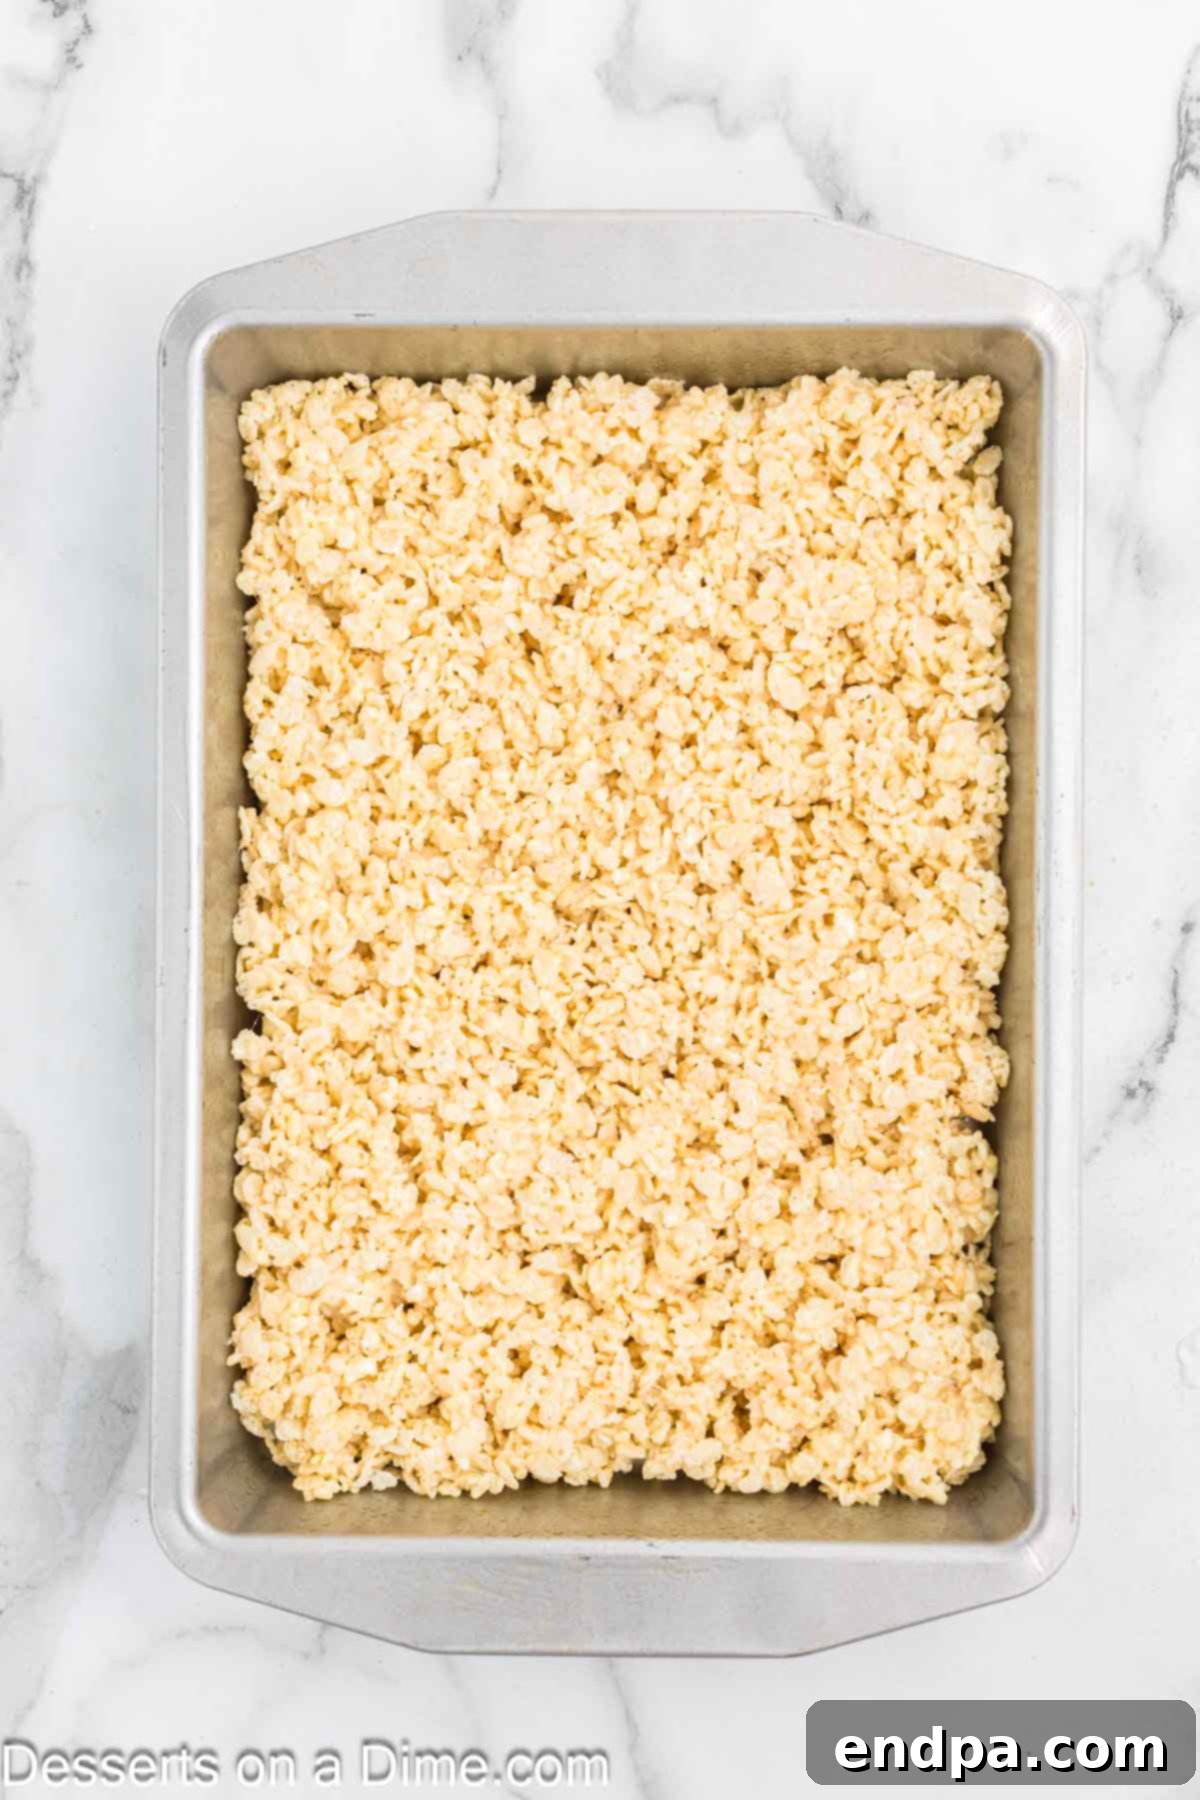
Step 5: Use buttered hands or wax paper to press the mixture lightly into the pan and let cool.
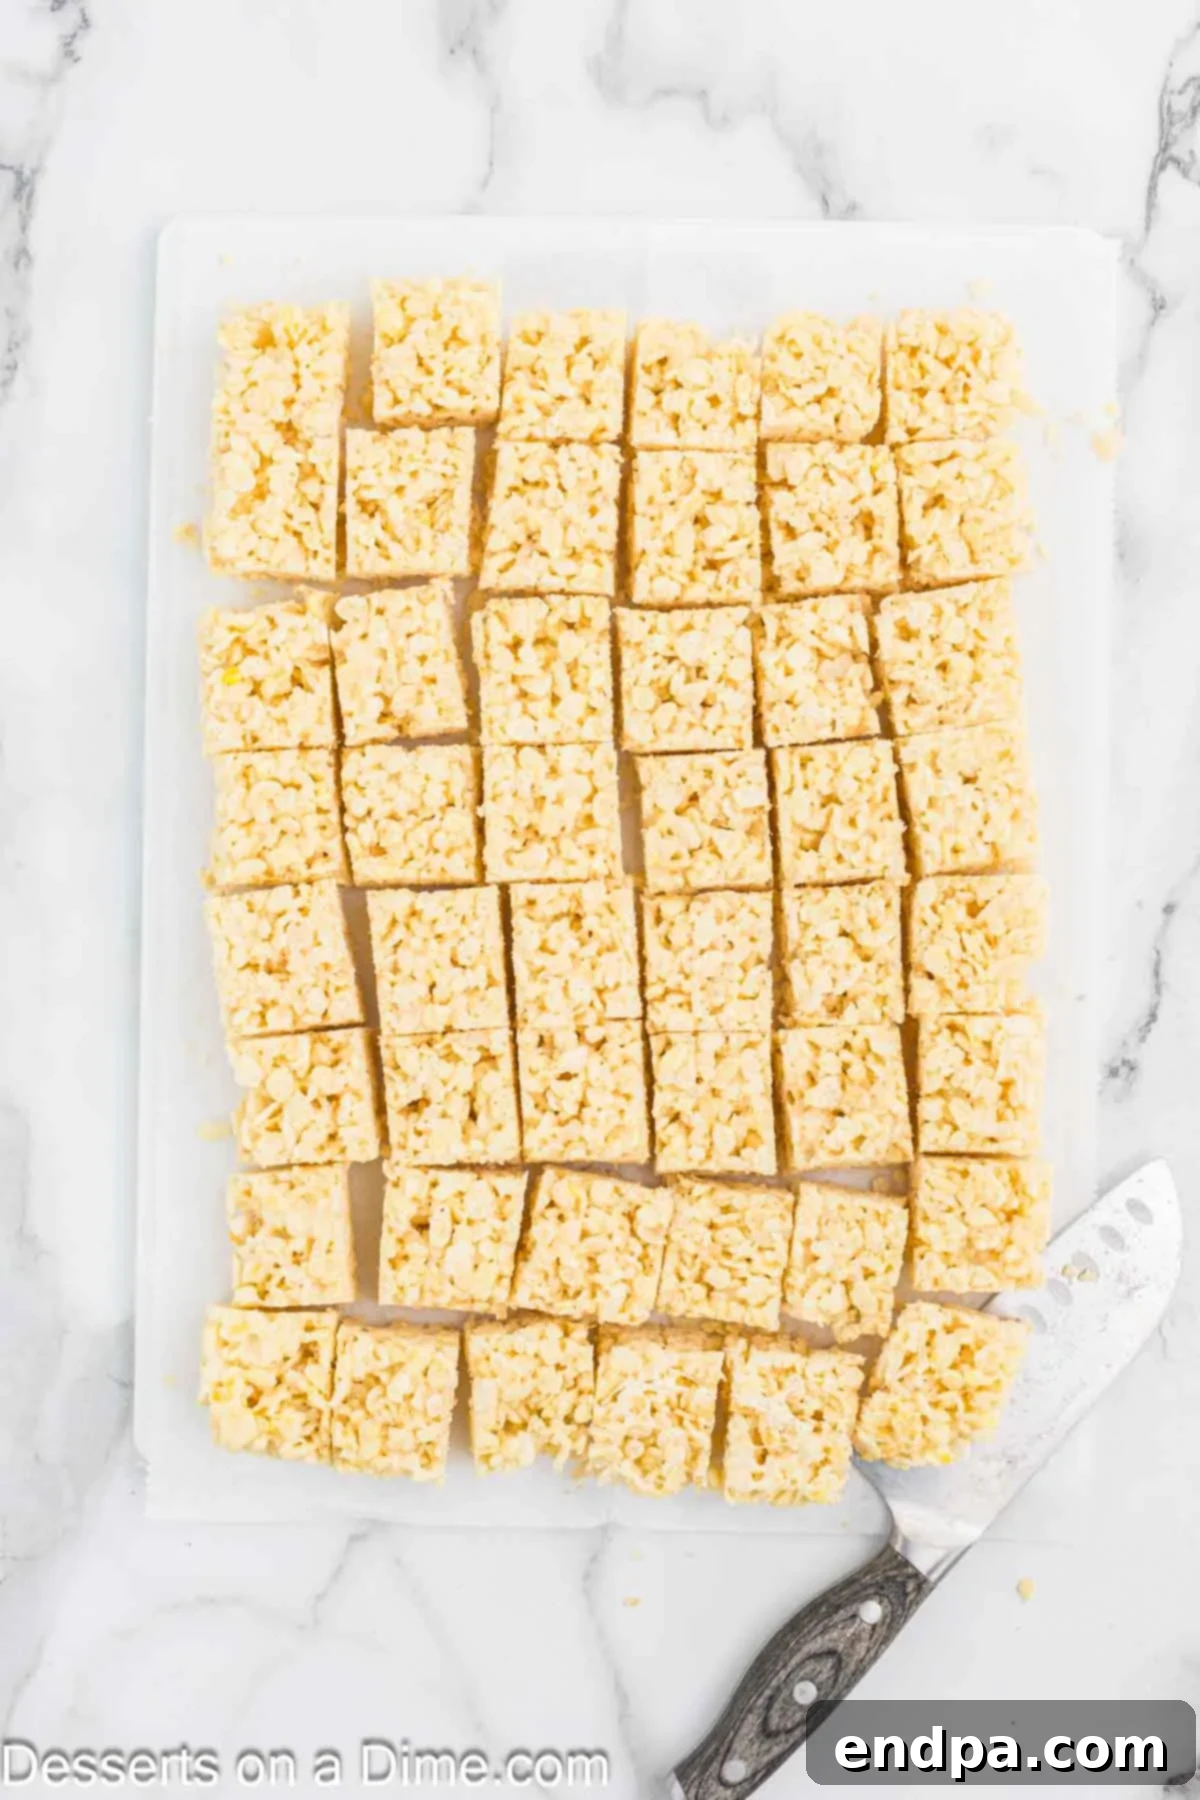
Step 6: Line a cutting board with parchment paper and cut the cooled treats into bite-sized squares.
- Melt the Chocolate for Dipping: Place your chocolate melting chips in a microwave-safe bowl. Heat them in 30-second intervals, stirring thoroughly after each interval. Continue this process until the chocolate is completely melted and smooth. Be careful not to overheat the chocolate, as it can seize or burn.
- Dip and Decorate: Carefully dip each Rice Krispie treat square into the melted chocolate, using a fork or a dipping tool to ensure it’s completely coated. Gently tap off any excess chocolate. Immediately place the chocolate-covered treats onto a clean piece of parchment paper or wax paper. While the chocolate is still wet, liberally sprinkle them with your chosen multi-colored sprinkles. Allow the chocolate to set completely at room temperature. This will help maintain their perfect texture.
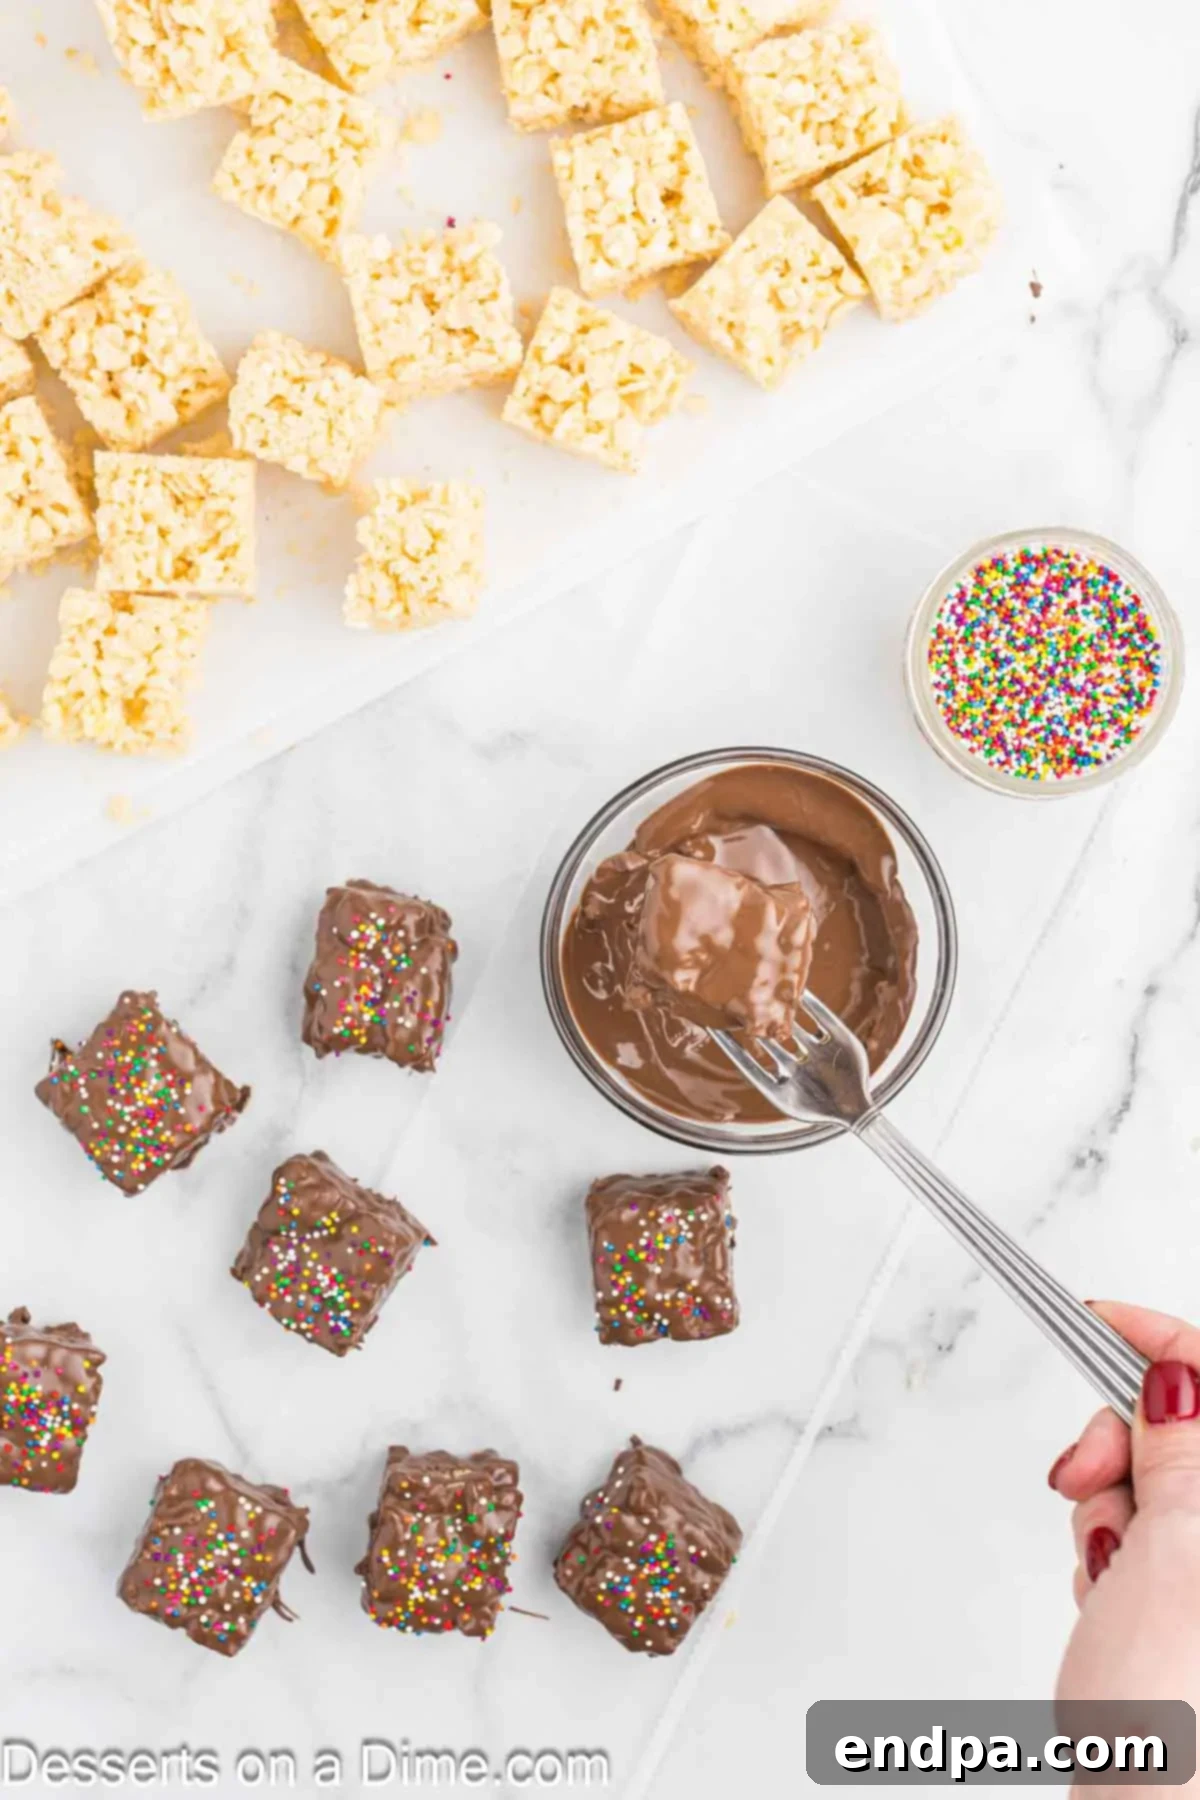
Step 7: Melt chocolate chips in intervals, stirring until smooth, then dip each treat.
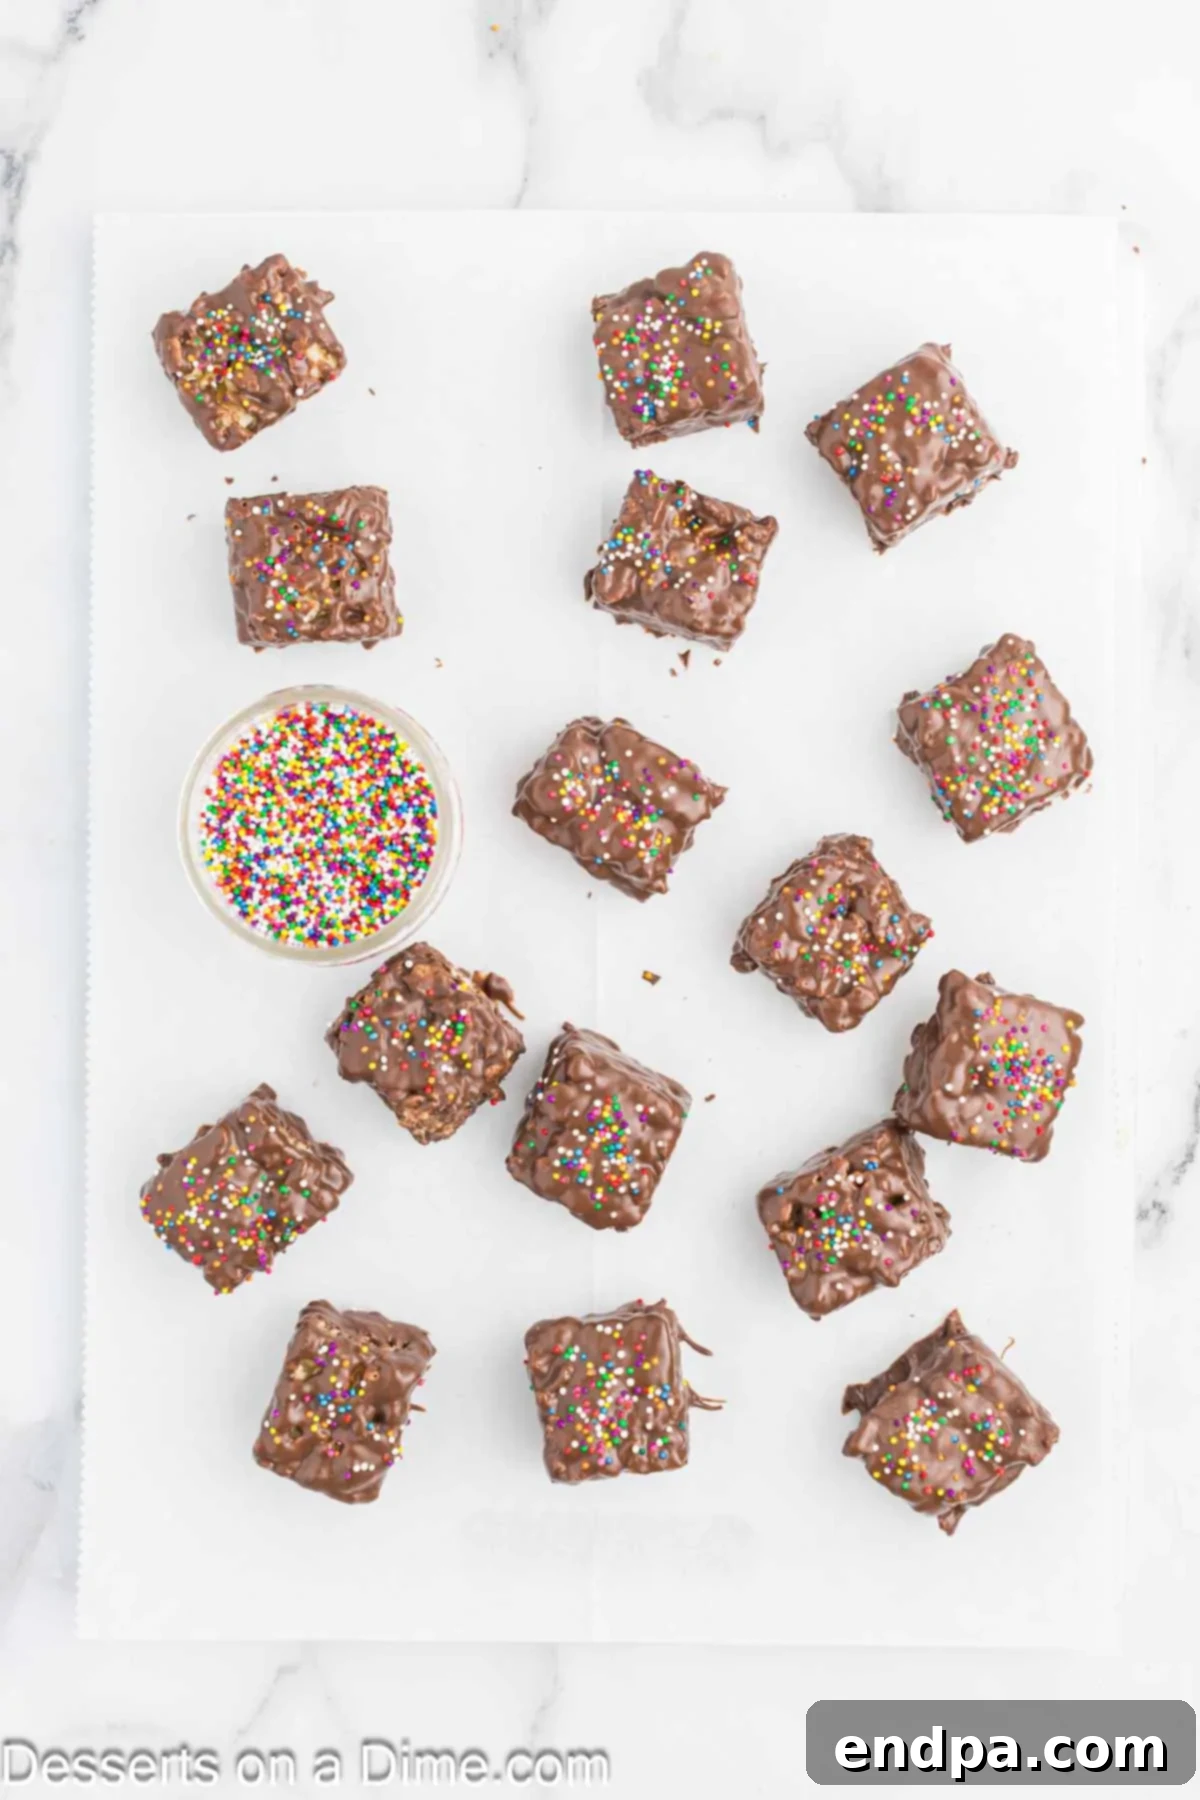
Step 8: Arrange on wax paper, add sprinkles, and let set at room temperature.
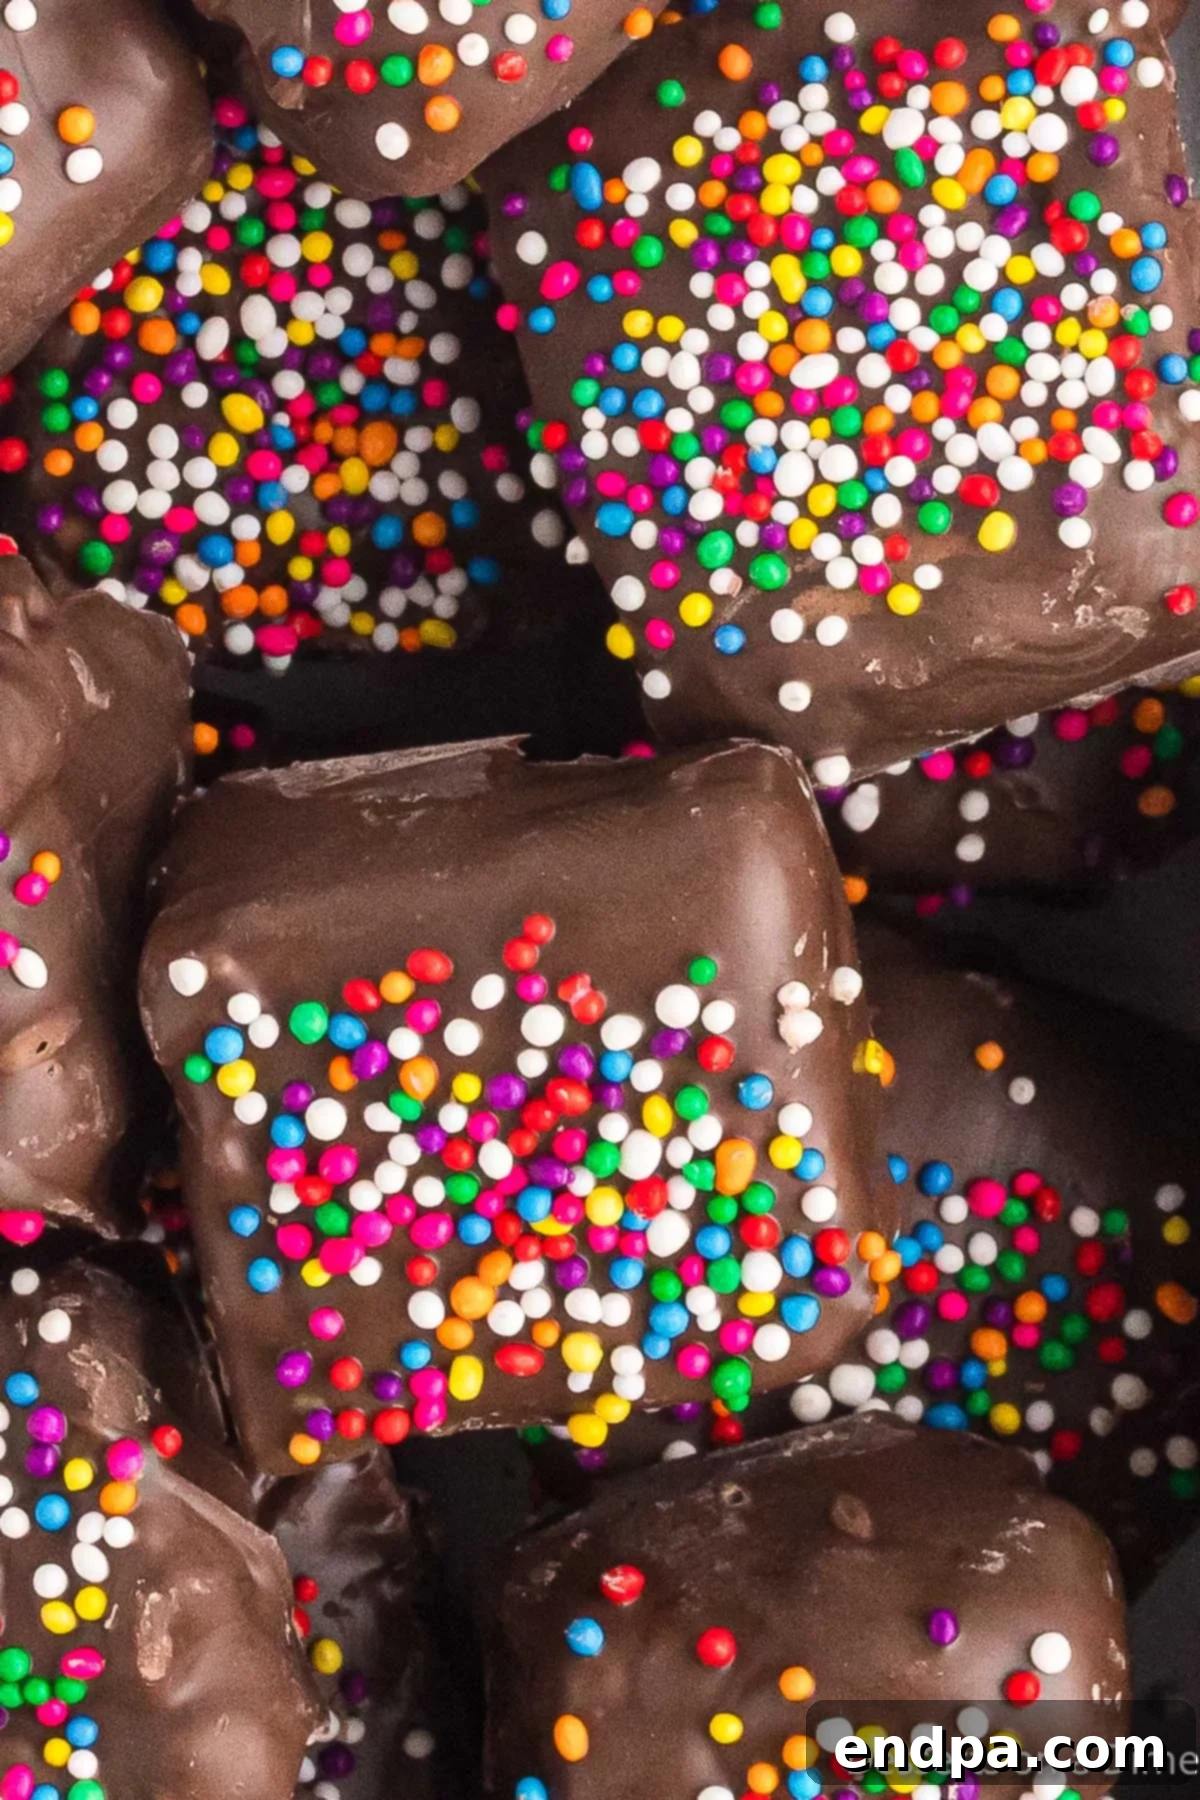
Storage Tips for Optimal Freshness
To keep your Chocolate Covered Rice Krispie Treats tasting their best and maintaining their ideal texture, proper storage is essential. Store them in an airtight container at room temperature for up to 3-4 days. Placing a piece of parchment paper between layers can prevent them from sticking together. Avoid refrigerating these treats unless absolutely necessary, as the cold can cause the cereal to harden and the chocolate to bloom (develop a white film), affecting their texture and appearance. If your kitchen is particularly warm and you need to speed up the chocolate setting process, a brief stint in the refrigerator (about 10-15 minutes) is acceptable, but always bring them back to room temperature before serving for the best experience.
Expert Tips for Perfect Chocolate Covered Rice Krispie Treats
Achieving perfectly gooey, chewy, and chocolatey Rice Krispie Treats is easier with a few insider tricks. Keep these pro tips in mind for consistently excellent results every time:
- Melt Butter and Marshmallows Slowly: Always use low heat when melting the butter and marshmallows together. High heat can cause the sugar in the marshmallows to crystallize or burn, leading to hard, brittle treats. A low and slow approach ensures a smooth, pliable marshmallow mixture that perfectly coats the cereal. Stir frequently to prevent sticking and burning.
- Prevent Sticking with Grease: The marshmallow mixture is incredibly sticky. To make pressing it into the pan a breeze, lightly butter your hands or spray them with cooking spray. Alternatively, use a piece of wax paper or parchment paper on top of the mixture as you press. This prevents the sticky mess and allows you to spread the treats evenly without frustration.
- Melt Chocolate in Short Intervals: Chocolate is delicate and can easily seize or burn if overheated. When melting chocolate chips in the microwave, do so in 30-second intervals. After each interval, remove the bowl and stir the chocolate thoroughly, even if it doesn’t look fully melted. The residual heat will continue to melt the chips. This gradual approach ensures a smooth, glossy, and perfectly melted chocolate coating. If using a double boiler, maintain a gentle simmer and avoid direct contact between the bowl and the water.
- Prepare Your Baking Sheet or Work Surface: Before you start dipping, line a baking sheet or a large cutting board with parchment paper or wax paper. This provides a non-stick surface for your chocolate-covered treats to set on and makes cleanup significantly easier once the chocolate has hardened. Having it ready beforehand streamlines the dipping and decorating process.
- Don’t Over-Pack the Treats: When pressing the cereal mixture into the pan, be gentle. Over-packing the mixture will compress the air out of the treats, resulting in a dense, hard texture instead of the desired light and chewy consistency. Just lightly press to form an even layer.
- Use Fresh Ingredients: The freshness of your Rice Krispies cereal and marshmallows can significantly impact the final texture. Stale cereal will taste bland and less crisp, while old marshmallows may not melt as smoothly, potentially leading to tougher treats.
Frequently Asked Questions About Chocolate Covered Rice Krispie Treats
We’ve gathered some common questions to help you master these delicious treats and troubleshoot any issues you might encounter.
How do you make these gluten-free?
Making gluten-free Chocolate Covered Rice Krispie Treats is simple with a few careful substitutions. The primary ingredients to check are the cereal and marshmallows. Ensure that you choose Rice Krispies cereal and marshmallows that are certified gluten-free. Brands like Kellogg’s Rice Krispies are often made with malt, which contains gluten, so look for dedicated gluten-free versions or other puffed rice cereals. Additionally, pay attention to the sprinkles you choose. Most sprinkles do not contain gluten as an ingredient, but they could come into contact with gluten during manufacturing. Always check the labels for “gluten-free” certification or warnings about cross-contamination to be safe.
Why did my Rice Krispy Treats turn out hard?
Several factors can contribute to hard Rice Krispie Treats, preventing that desirable soft and chewy texture. One common culprit is using stale marshmallows; fresh marshmallows are essential for a soft consistency. Another significant reason is pressing the mixture down too hard into the pan. This action compresses the ingredients too tightly, forcing out air and creating a dense, firm treat. Additionally, melting the marshmallows over too high heat for too long can overcook the sugar, leading to a brittle texture. Always use low heat and remove from heat as soon as the marshmallows are melted.
Why does the recipe call for mini marshmallows?
The recipe specifically calls for mini marshmallows because they melt much faster and more evenly than their larger counterparts. This reduces the cooking time and minimizes the risk of overcooking the marshmallow mixture, which can lead to hard treats. While you can certainly substitute larger marshmallows, be prepared for a longer melting process. To speed it up, you can cut the larger marshmallows into smaller pieces before adding them to the butter.
How do I make the chocolate set faster?
If you’re in a hurry or working in a warm environment, you can accelerate the chocolate setting process. After dipping and sprinkling your Rice Krispie Treats, place them on a parchment-lined baking sheet and transfer them to the refrigerator for about 10-15 minutes. This quick chill will help the chocolate harden more quickly. However, avoid leaving them in the refrigerator for too long, as this can make the Rice Krispie treats themselves hard. Once set, they are best stored at room temperature.
How do you melt chocolate?
For this recipe, we recommend melting chocolate chips in the microwave for convenience. Place the chocolate chips in a microwave-safe bowl and heat them in 30-second intervals. After each interval, remove the bowl and stir the chocolate thoroughly, even if it looks like it hasn’t fully melted. Continue this process until the chocolate is smooth and creamy. The residual heat will help melt any remaining chips. Alternatively, you can use a double boiler method: place a heat-proof bowl over a saucepan of simmering water, ensuring the bottom of the bowl does not touch the water. Stir the chocolate until melted and smooth.
More Delightful No-Bake Rice Krispie Treat Recipes
If you love the simplicity and deliciousness of no-bake Rice Krispie treats, you’ll be thrilled to discover these other fantastic variations:
- Classic Chocolate Rice Krispy Treats
- Easy Chocolate Caramel Rice Krispie Treats
- Fun M&M Rice Krispy Treats
- Irresistible Peanut Butter Balls with Rice Krispies
Chocolate Covered Rice Krispie Treats Recipe
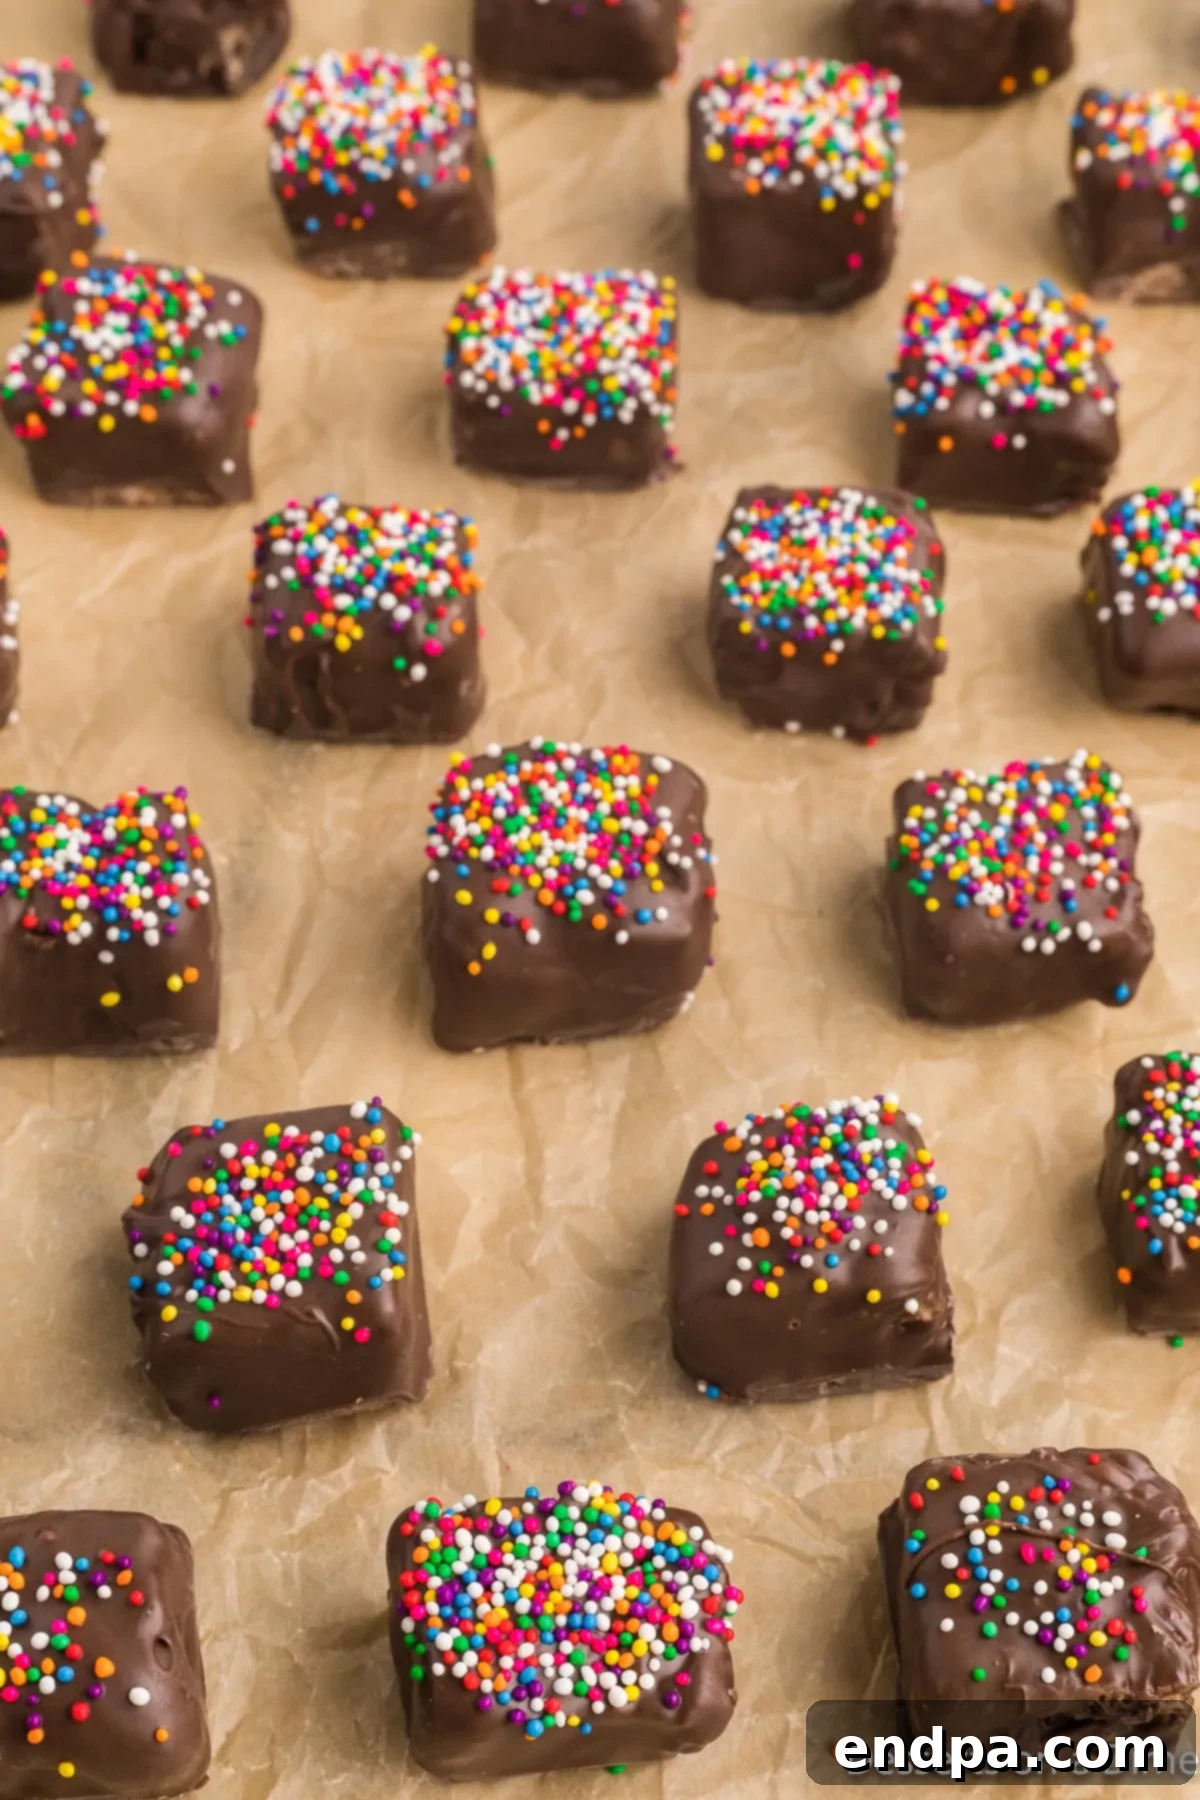
Recipe Overview
These homemade Chocolate Covered Rice Krispie Treats are an absolute dream for anyone craving a quick, easy, and incredibly delicious dessert. With only 6 simple ingredients and no baking required, you can whip up a batch of these decadent, chocolate-coated, sprinkle-topped squares in just minutes. They are perfect for parties, lunchboxes, or a delightful everyday snack.
- Prep Time: 10 mins
- Cook Time: 10 mins
- Total Time: 20 mins
- Yields: 24 servings
- Cuisine: American
- Course: Dessert
- Calories: 123 kcal per serving
- Author: Carrie Barnard
Ingredients
- 6 cups Rice Krispies Cereal (ensure fresh for best crispness)
- 3 tablespoons unsalted Butter (real butter for superior flavor)
- 10.5 ounces Mini Marshmallows (melt faster and more evenly)
- 1 teaspoon Pure Vanilla Extract (enhances overall flavor)
- 1 cup Chocolate Melting Chips (for a smooth, consistent coating)
- Multi-Colored Sprinkles (optional, for decoration and fun)
Instructions
- Prepare a 9×13 inch baking pan by greasing it with butter or cooking spray, or by lining it with parchment paper for easy removal.
- In a large saucepan, melt the butter over low heat, stirring occasionally to prevent burning.
- Add the mini marshmallows to the melted butter. Continue to stir constantly over low heat until the marshmallows are completely melted and smooth.
- Remove the saucepan from the heat immediately. Add the Rice Krispies cereal to the marshmallow mixture and stir quickly and thoroughly until all the cereal is well coated.
- Transfer the mixture to the prepared baking pan. Using lightly buttered hands or a piece of wax paper, gently press the mixture evenly into the pan. Avoid pressing too hard, as this can make the treats dense and hard.
- Allow the Rice Krispie treats to cool and set completely at room temperature for about 1-2 hours. Do not place them in the refrigerator at this stage.
- Once cooled, lift the slab of treats from the pan and place it on a cutting board. Cut the treats into small, bite-sized squares, approximately 1 inch by 1 inch.
- In a microwave-safe bowl, melt the chocolate chips. Heat in 30-second intervals, stirring well after each interval, until the chocolate is completely smooth.
- Dip each Rice Krispie treat square into the melted chocolate, ensuring it is fully coated. Allow any excess chocolate to drip off.
- Place the chocolate-covered treats onto a clean sheet of parchment paper. While the chocolate is still wet, top with multi-colored sprinkles. Allow the chocolate to set at room temperature until firm.
Recipe Notes
- Store these delicious Chocolate Covered Rice Krispie Treats in an airtight container at room temperature for up to 3-4 days to maintain freshness and prevent hardening.
- Feel free to customize your treats by using your favorite type of chocolate. Semi-sweet, milk chocolate, or white chocolate all work wonderfully as a coating.
Nutrition Facts (per serving)
These nutritional values are approximate:
- Calories: 123 kcal
- Carbohydrates: 20g
- Protein: 1g
- Fat: 4g
- Saturated Fat: 3g
- Polyunsaturated Fat: 0.2g
- Monounsaturated Fat: 1g
- Trans Fat: 0.1g
- Cholesterol: 4mg
- Sodium: 59mg
- Potassium: 53mg
- Fiber: 1g
- Sugar: 11g
- Vitamin A: 513IU
- Vitamin C: 4mg
- Calcium: 6mg
- Iron: 3mg
Go ahead and make this yummy recipe for Chocolate Covered Rice Krispie Treats! They are guaranteed to bring smiles and satisfy any sweet craving. We would love to hear your thoughts once you try it, so please feel free to leave a comment and a star rating below.
