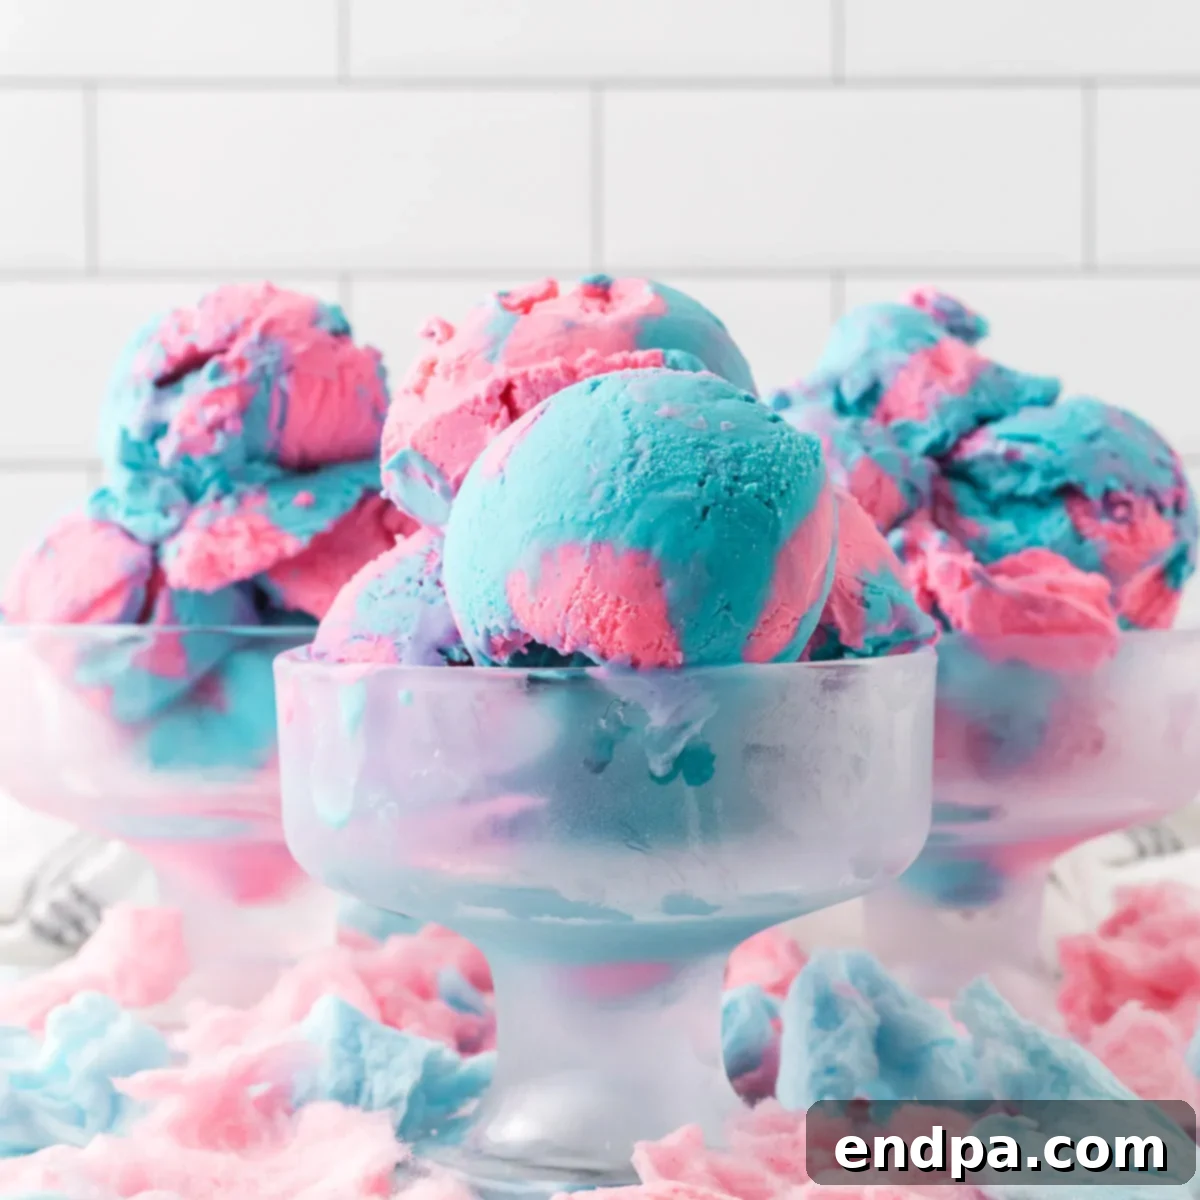
Step into a world of whimsical flavor and vibrant colors with this incredibly easy No-Churn Cotton Candy Ice Cream recipe. Imagine the sweet, nostalgic taste of a carnival favorite, transformed into a smooth, creamy frozen delight you can make right in your own kitchen – no fancy ice cream machine required! This delightful homemade cotton candy ice cream is the ultimate summertime treat, guaranteed to bring smiles and joy to everyone, from the youngest kids to the young at heart.
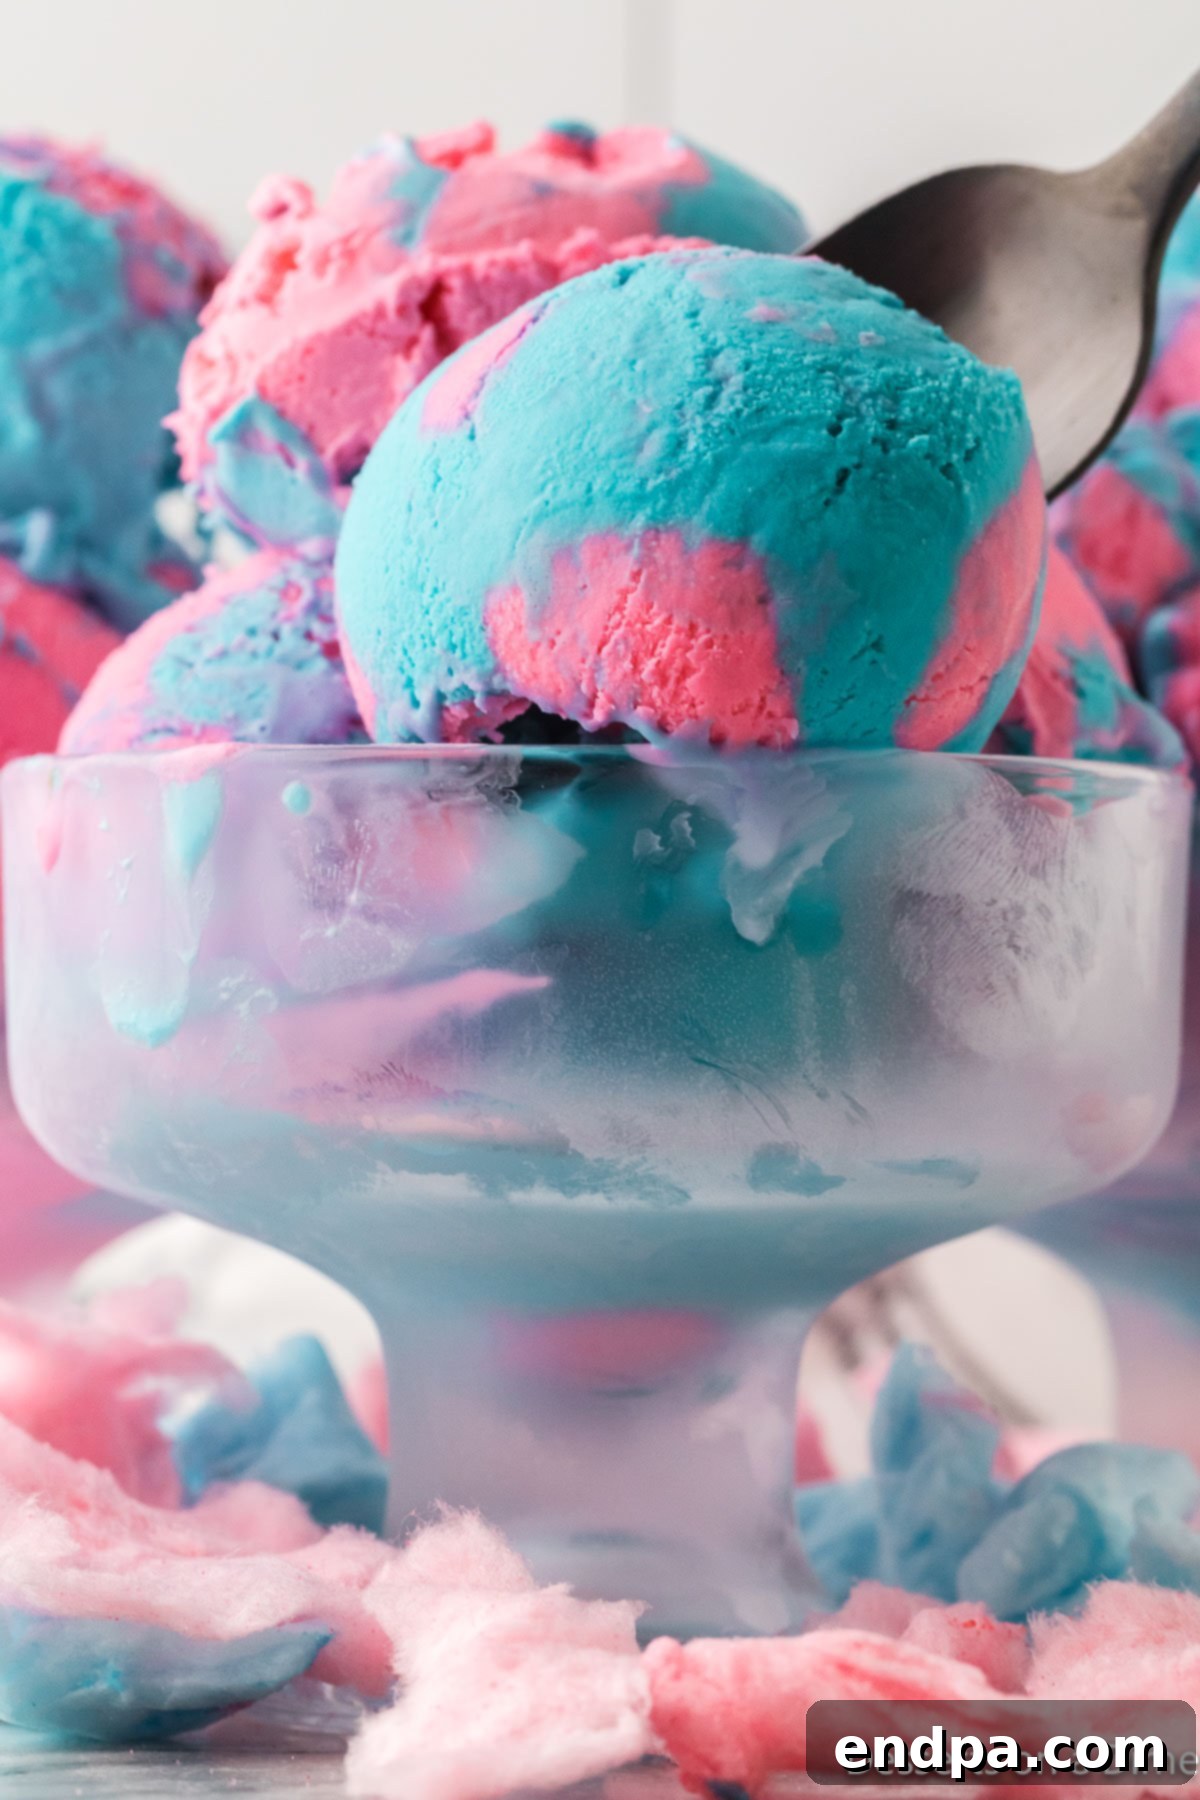
Cotton candy and ice cream are two iconic treats that capture the essence of childhood fun and summer days. It was only natural to bring these two beloved desserts together into one magical, easy-to-make ice cream recipe. This concoction delivers a burst of sugary-sweet flavor and a visually stunning presentation, making it perfect for parties, family gatherings, or simply a sweet indulgence on a warm evening.
Having made countless batches of homemade ice cream over the years, I can confidently say that the “no-churn” method is a game-changer for its simplicity and delicious results. Our family absolutely adores a variety of homemade ice creams, including creamy Nutter Butter Ice Cream, refreshing No-Churn Peach Ice Cream, and the decadent Homemade Salted Caramel Ice Cream. But when it comes to pure fun and flavor, this Cotton Candy Ice Cream, along with classics like Cherry Garcia Ice Cream, holds a special place in our hearts. It’s an adventure in every scoop!
Table of Contents
- Why You’ll Adore This No-Churn Cotton Candy Ice Cream
- Essential Ingredients for Cotton Candy Ice Cream
- How to Craft Your Homemade Cotton Candy Ice Cream
- Expert Tips for Perfect No-Churn Ice Cream
- Proper Storage for Homemade Ice Cream
- How Long Does Homemade Ice Cream Stay Fresh?
- Creative Serving Suggestions
- Frequently Asked Questions (FAQs)
- More Irresistible No-Churn Ice Cream Recipes
Why You’ll Adore This No-Churn Cotton Candy Ice Cream
This recipe isn’t just another dessert; it’s an experience that’s incredibly easy to achieve. Forget about investing in an expensive ice cream maker or grappling with complicated steps involving eggs and custards. This recipe simplifies the entire process, allowing you to create velvety smooth, homemade ice cream with just a few basic ingredients and no specialized equipment. The result is a truly delicious, naturally sweet treat without a hint of artificial flavor, offering a homemade quality that store-bought options simply can’t match.
Every spoonful of this cotton candy ice cream is a sweet explosion, built upon a rich, creamy vanilla base that perfectly complements the unique cotton candy essence. It’s a certified family favorite in our home, and children especially go wild for its playful colors and enchanting taste! Achieving this flavor-packed delight requires only a handful of ingredients, making it not only convenient but also a more economical choice than specialty ice cream from a grocery store or a popular chain like Baskin-Robbins.
The inherent sweetness of cotton candy flavoring and sweetened condensed milk means there’s absolutely no need to add granulated sugar, keeping the ingredient list short and sweet. If you’re captivated by the charm of cotton candy, you’ll definitely want to explore our other whimsical treats like Cotton Candy Popcorn, the show-stopping Cotton Candy Cake, or browse our entire collection of Cotton Candy Desserts for more inspiration.
Imagine the delight of serving this vibrant ice cream alongside Ice Cream Cone Cupcakes at a birthday party or a summer celebration. It’s a guaranteed crowd-pleaser that adds a touch of magic to any occasion!
Essential Ingredients for Cotton Candy Ice Cream
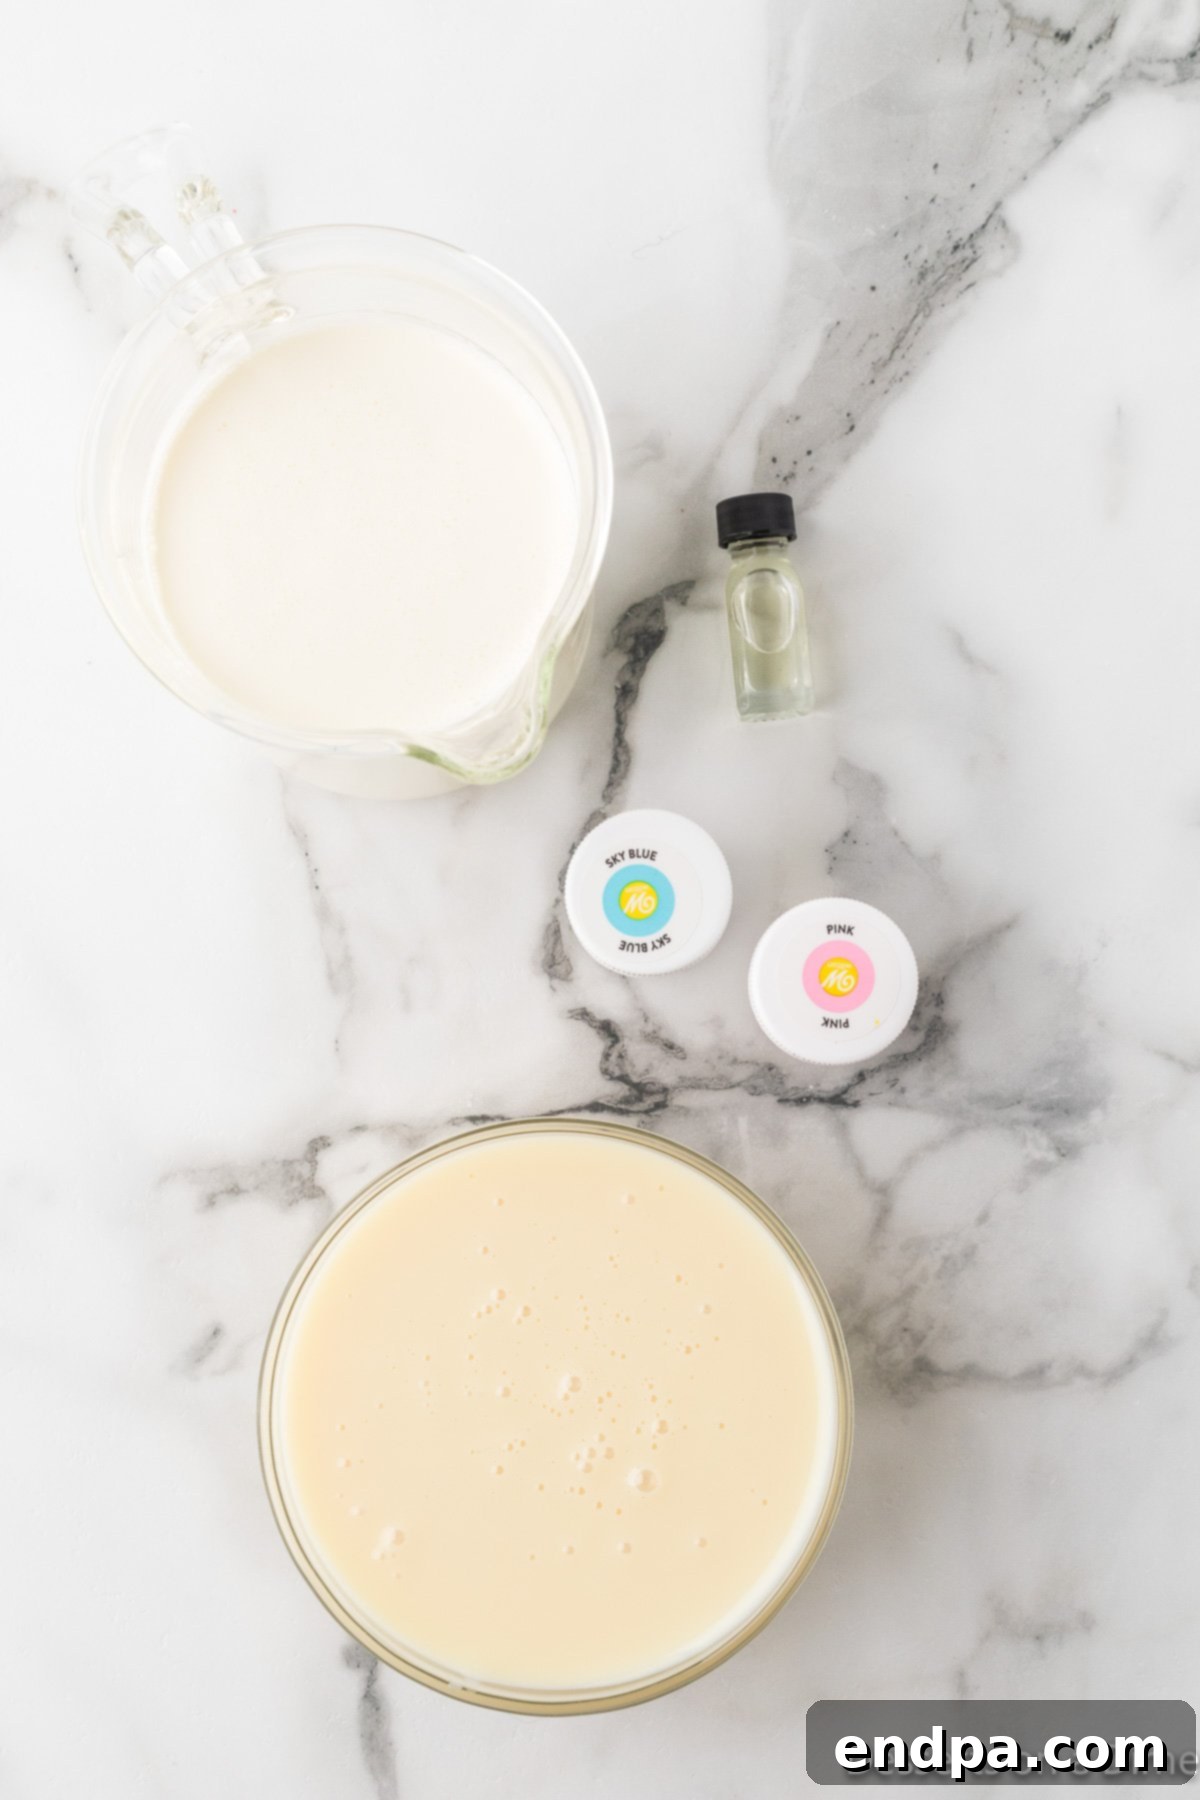
Crafting this fantastic no-churn ice cream relies on a few key ingredients, each playing a crucial role in achieving that perfect creamy texture and delightful flavor. Here’s what you’ll need:
- Heavy Whipping Cream: This is the backbone of our no-churn ice cream, providing the necessary fat content for a rich, creamy consistency. For the best results, ensure your heavy whipping cream is very cold. Keep it in the refrigerator until the very moment you’re ready to whip it. This cold temperature helps it whip up faster and hold its volume better.
- Sweetened Condensed Milk: This magical ingredient not only sweetens the ice cream but also contributes to its smooth, dense texture. It replaces the need for an egg custard base, common in traditional ice cream making. Like the heavy cream, it’s best to refrigerate it before using to maintain a consistent cold temperature throughout your mixture.
- Cotton Candy Flavoring: This is where the fun begins! A good quality cotton candy flavoring or extract is essential for capturing that authentic carnival taste. You can often find this in the baking aisle of larger grocery stores, specialty craft stores, or easily online (I buy Cotton Candy Extract on Amazon). For an extra layer of sweetness and aroma, you can also add a touch of vanilla extract alongside the cotton candy flavoring.
- Food Coloring: While entirely optional, food coloring is what gives this ice cream its signature whimsical look. I typically use pink and blue to mimic classic cotton candy colors, but feel free to get creative with any colors you prefer! Gel food coloring often provides a more vibrant hue without thinning the mixture.
For precise measurements and additional details, you’ll find the complete ingredient list in the recipe card at the bottom of this post.
How to Craft Your Homemade Cotton Candy Ice Cream
Making this no-churn cotton candy ice cream is surprisingly simple and yields impressive results. Follow these steps for a perfectly creamy, flavorful dessert:
- Step 1: Prepare Your Equipment. Before you even start mixing, ensure your freezing equipment is ready. Place your loaf pan or chosen freezer-safe container in the freezer for at least 30 minutes. Additionally, for optimal whipping results, place your large mixing bowl and whisk (or stand mixer bowl and whisk attachment) in the freezer for the same amount of time. This crucial step helps the heavy cream whip up faster and achieve stiffer peaks, leading to a lighter, airier ice cream texture.
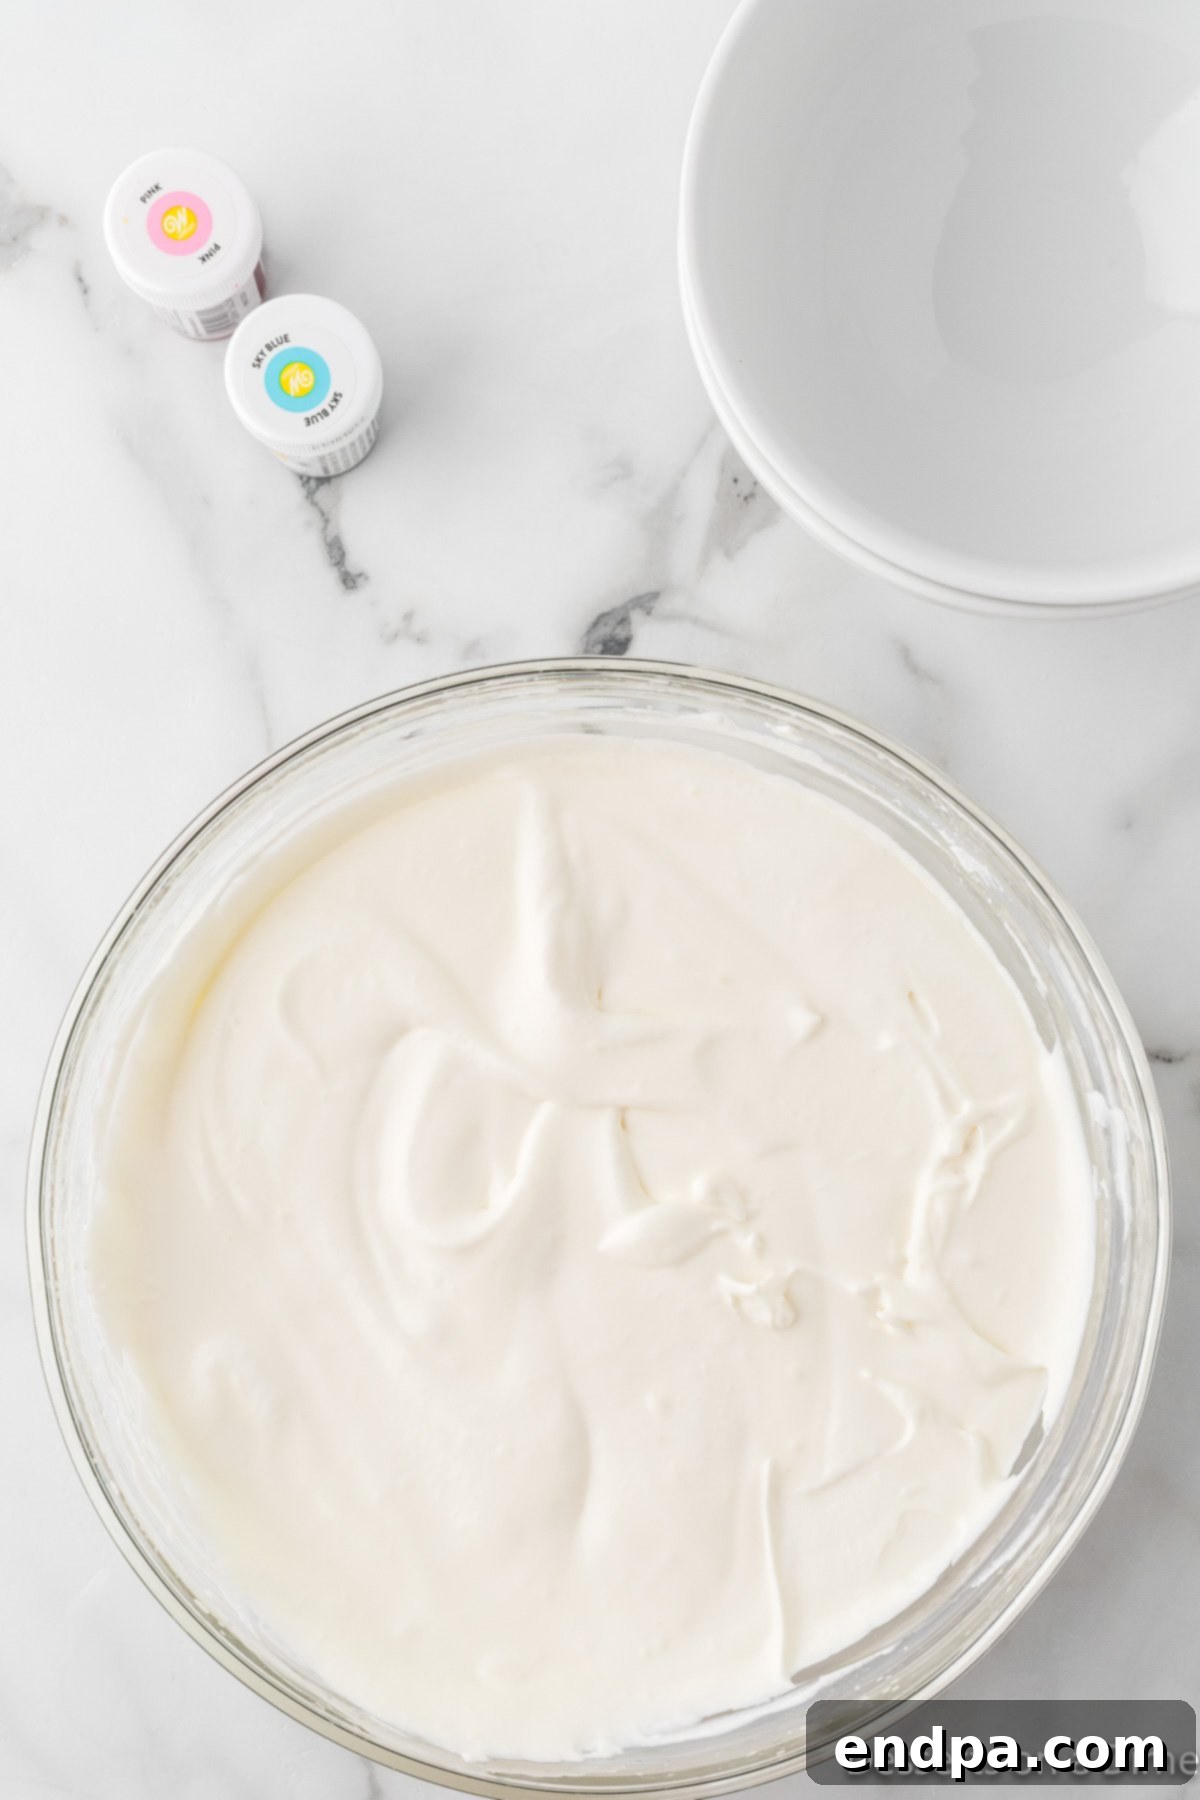
Step 2: Whip the Heavy Cream. Remove your chilled bowl and whisk from the freezer. Pour the very cold heavy whipping cream into the large bowl. Using a hand mixer or a stand mixer, beat the whipping cream on medium-high speed until stiff peaks form. Stiff peaks mean that when you lift the whisk, the cream holds its shape firmly. This incorporates essential air into the mixture, which is vital for the light and creamy texture of no-churn ice cream. Remember, both the whipping cream and condensed milk must be very cold for the best results!
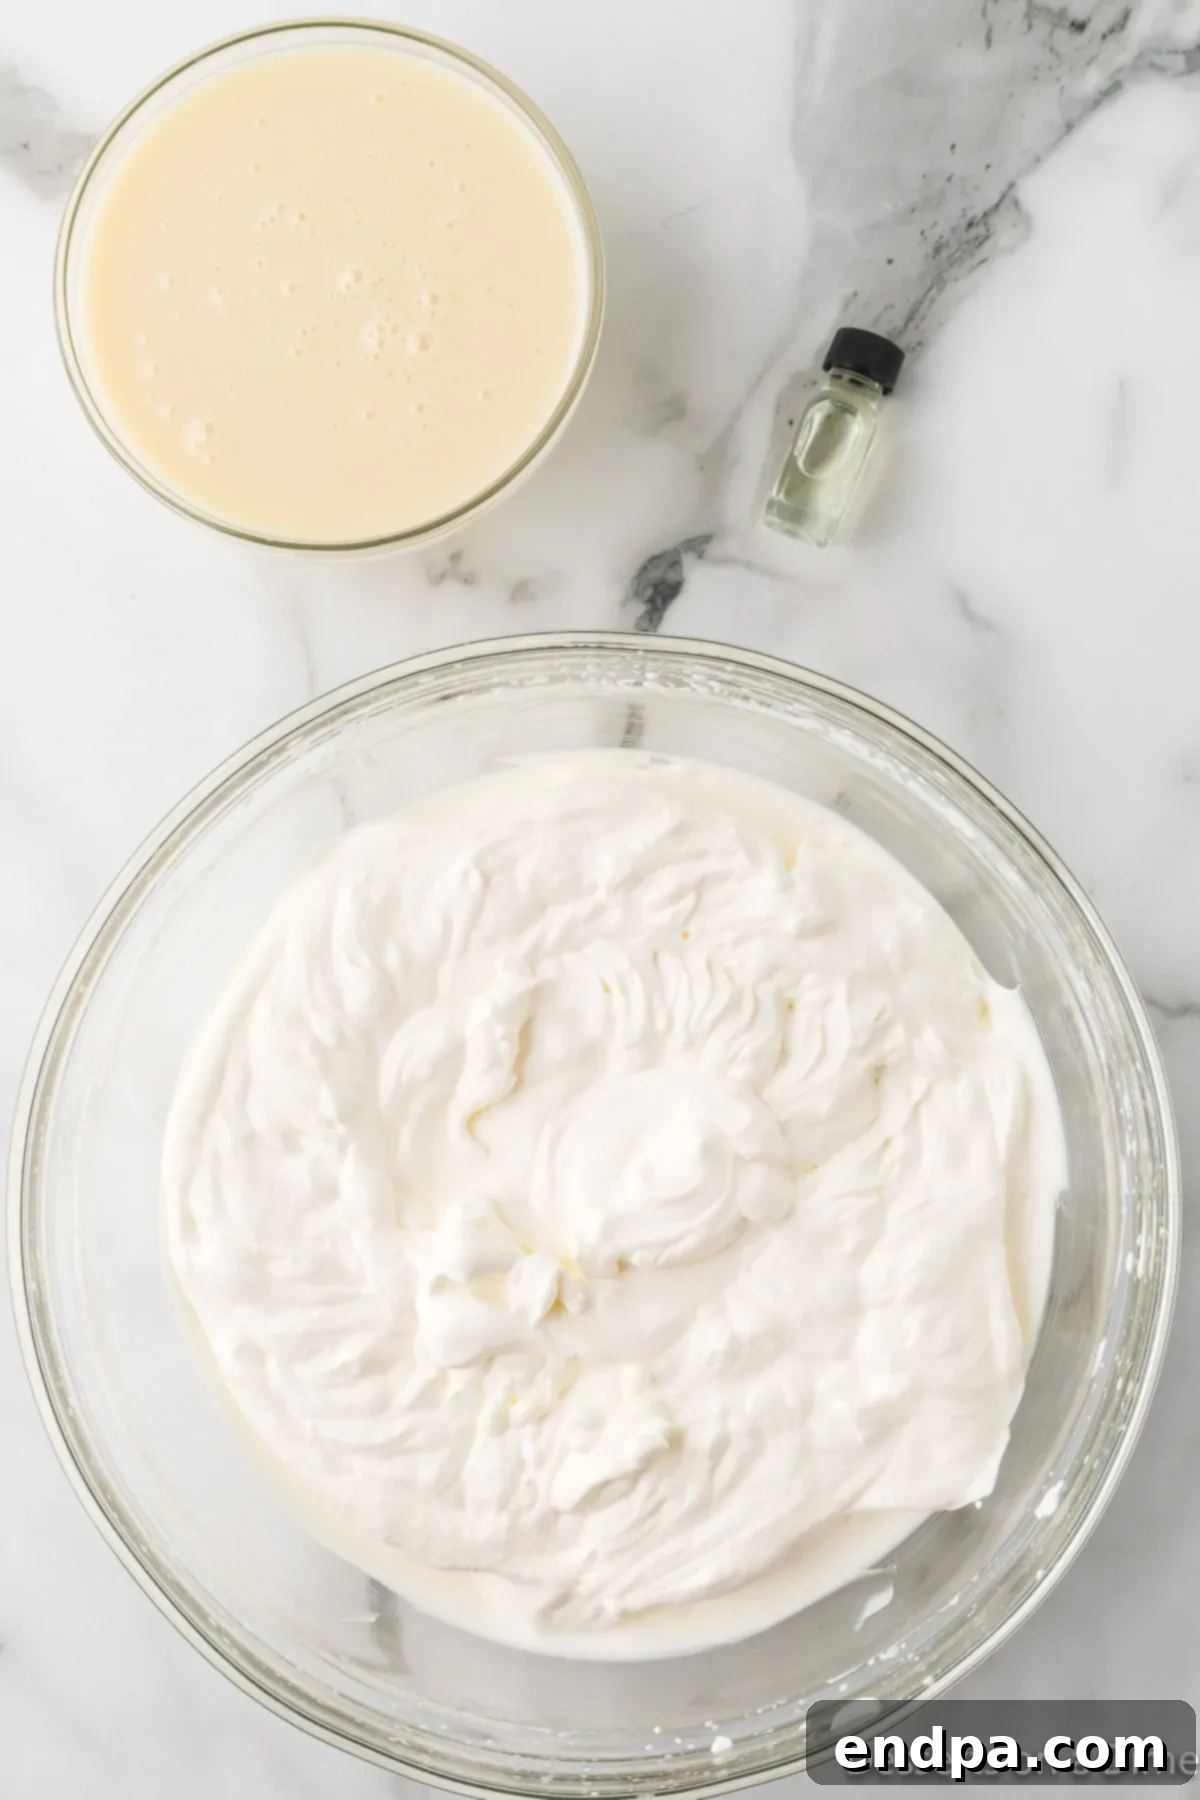
Step 3: Combine the Flavors. In a separate medium-sized bowl, stir together the cold sweetened condensed milk and the cotton candy flavoring until the mixture is smooth and well combined. Next, it’s time to marry the two mixtures. Gradually add the sweetened condensed milk mixture to the whipped cream, GENTLY folding it in with a spatula. The key here is to fold, not stir vigorously, to maintain as much of the air in the whipped cream as possible. This aeration is what gives no-churn ice cream its signature light and fluffy consistency.
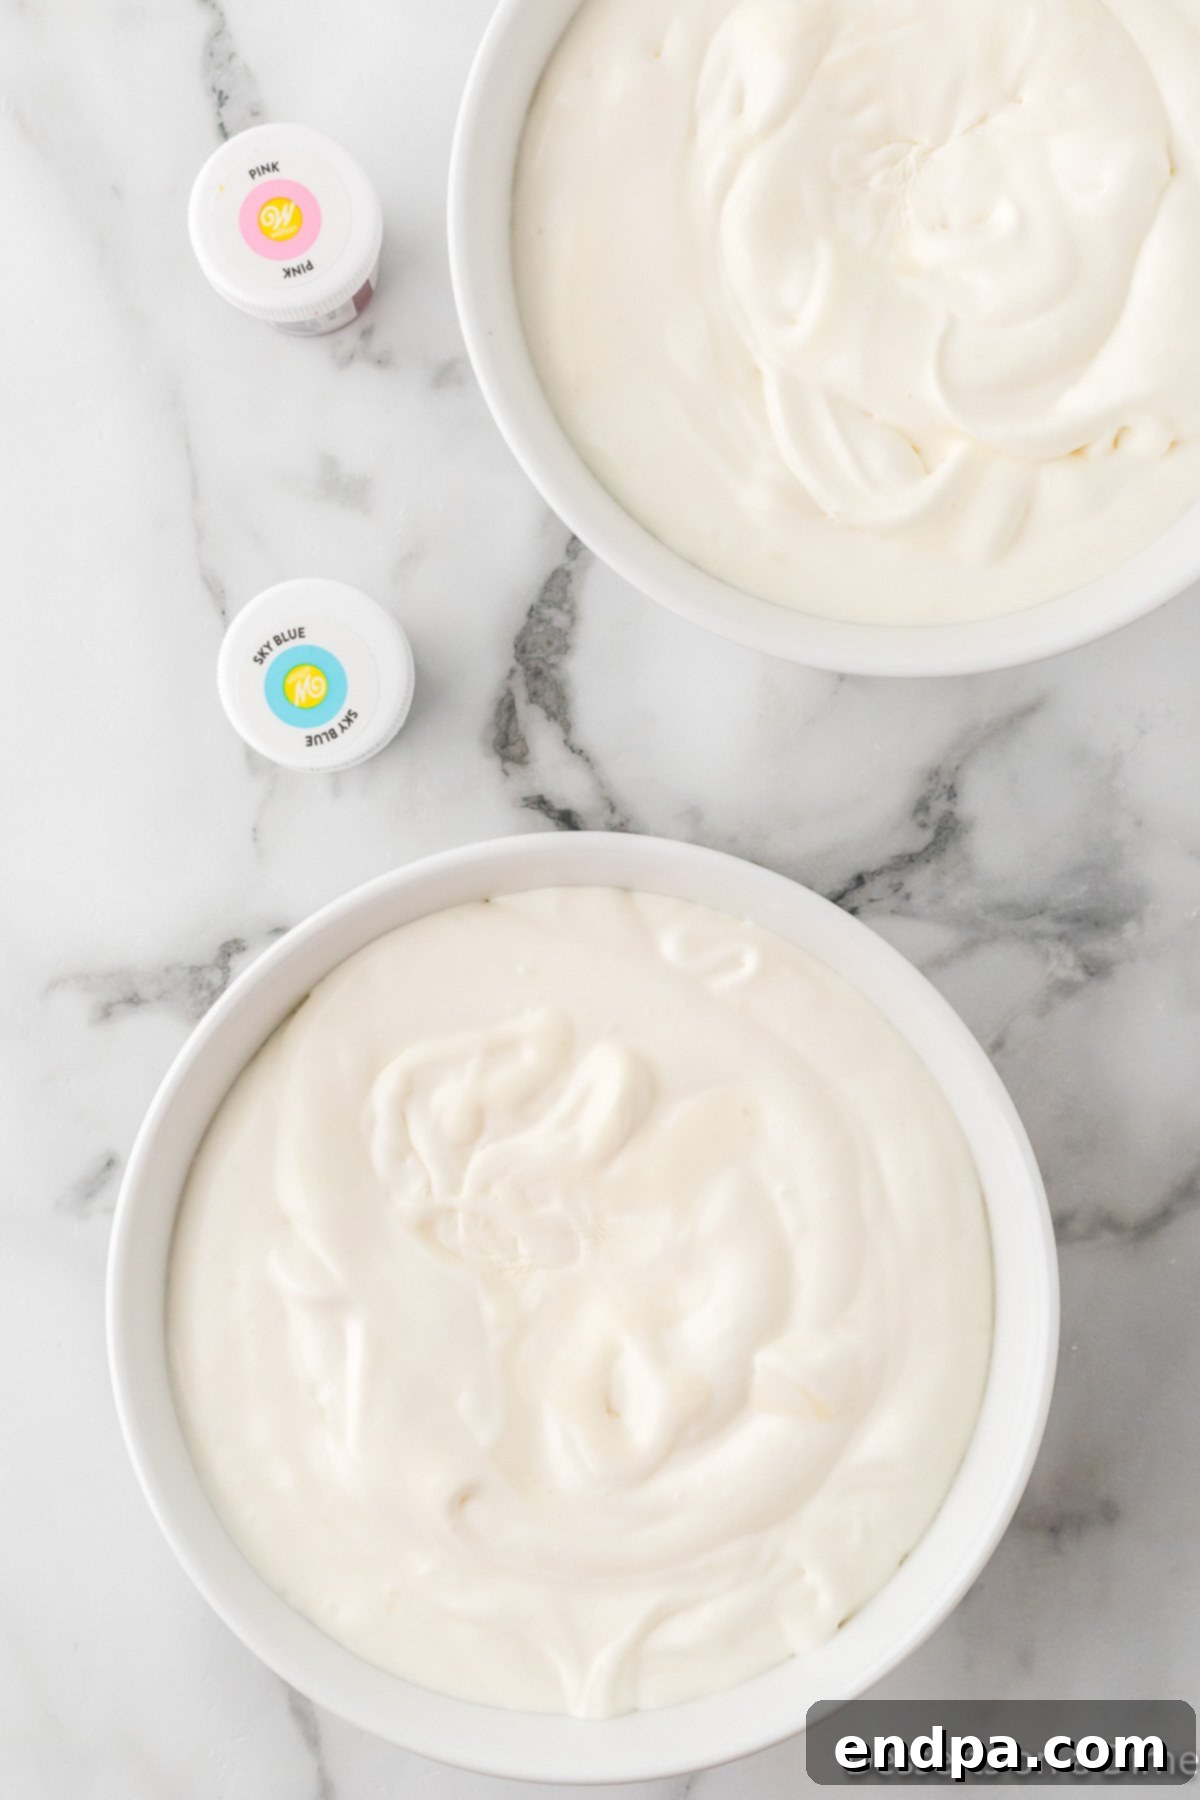
Step 4: Divide the Mixture. Once the condensed milk and whipped cream are gently folded together, divide the creamy mixture into two separate bowls. This step allows us to create the beautiful dual-color effect that makes cotton candy ice cream so visually appealing.
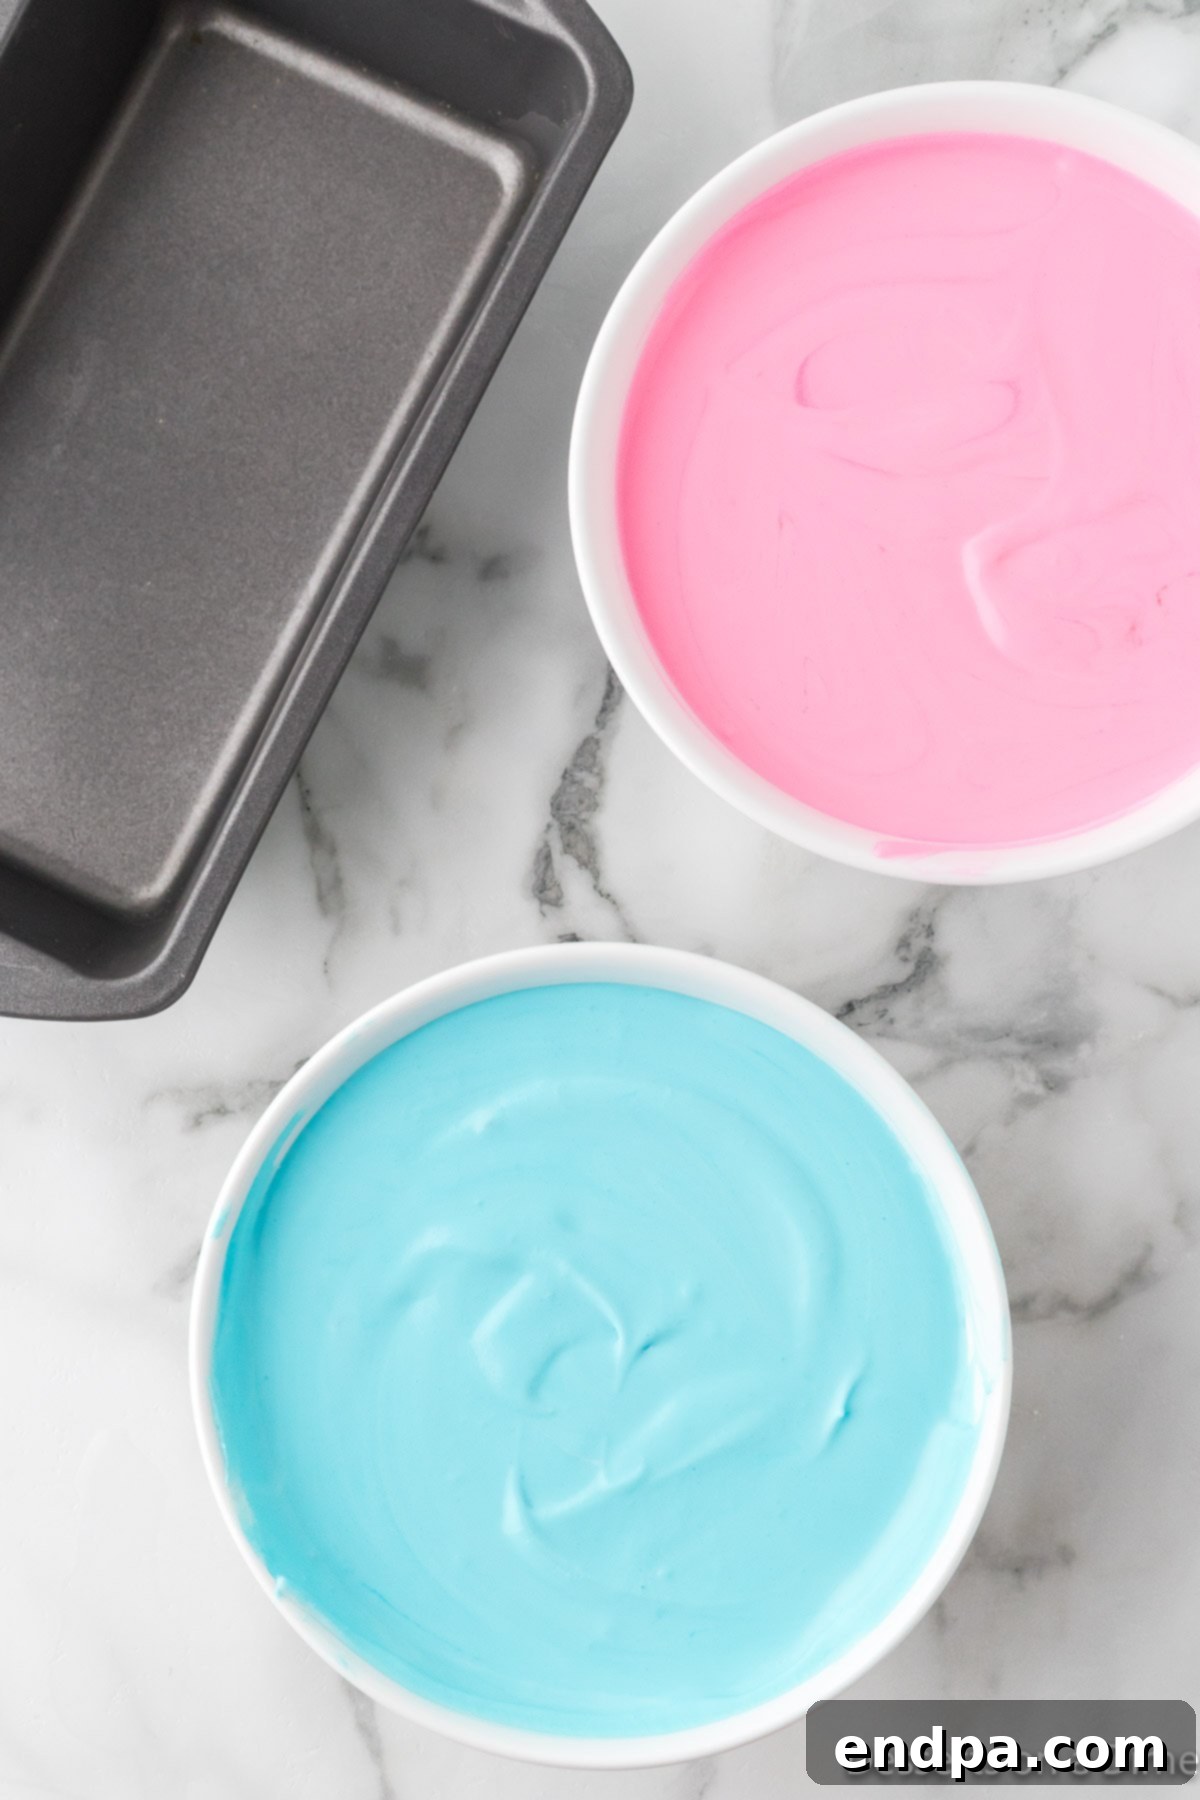
Step 5: Add Color. Now for the fun part! To one bowl of the mixture, add a few drops of pink food coloring and gently fold until evenly colored. To the second bowl, add blue food coloring and fold until vibrant blue. You can adjust the amount of food coloring to achieve your desired shade intensity. If you prefer, you can also leave the ice cream white or use a single color.
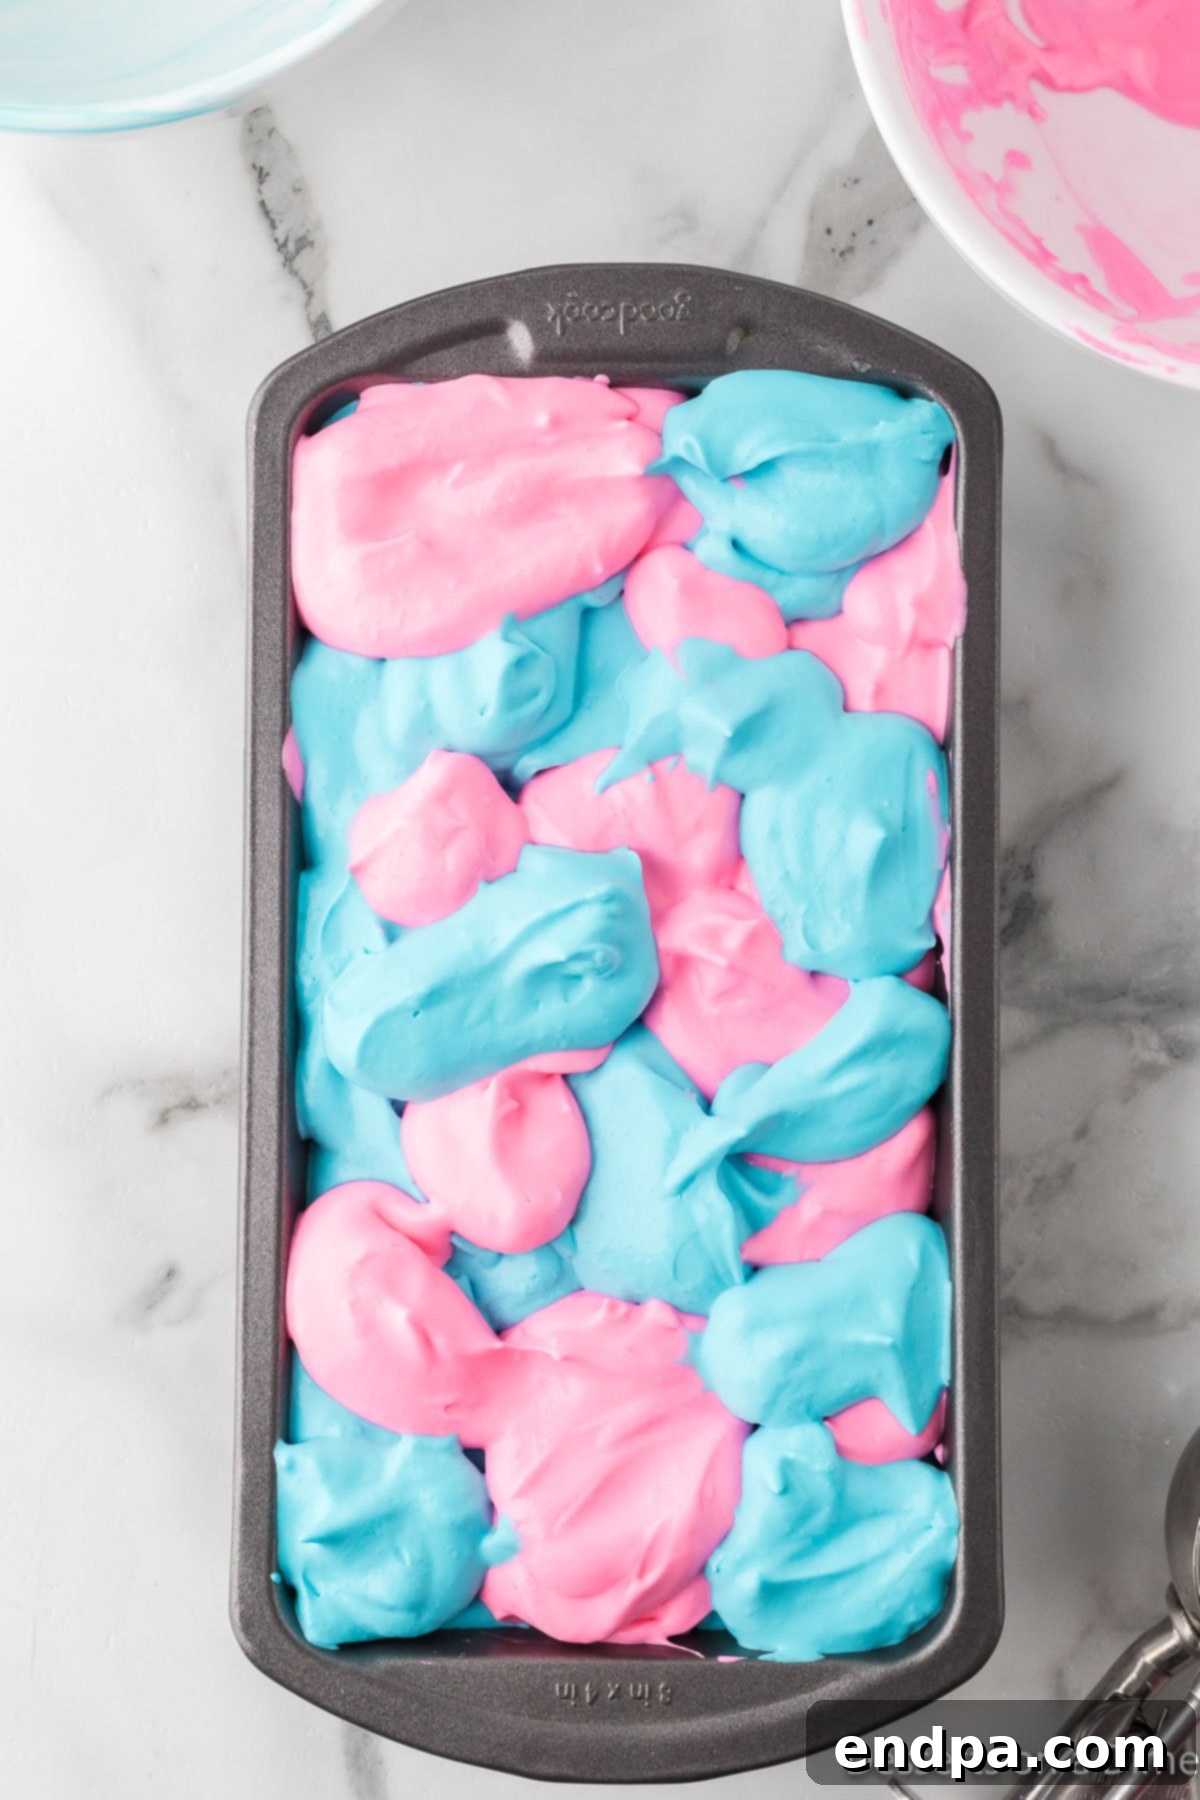
Step 6: Layer into the Pan. Retrieve your chilled container from the freezer. Alternately drop spoonfuls of the pink and blue ice cream mixtures into the container. You can layer them, swirl them gently with a knife for a marbled effect, or simply alternate scoops for a fun, patchy look. Don’t overmix at this stage; a gentle touch will preserve the distinct colors.
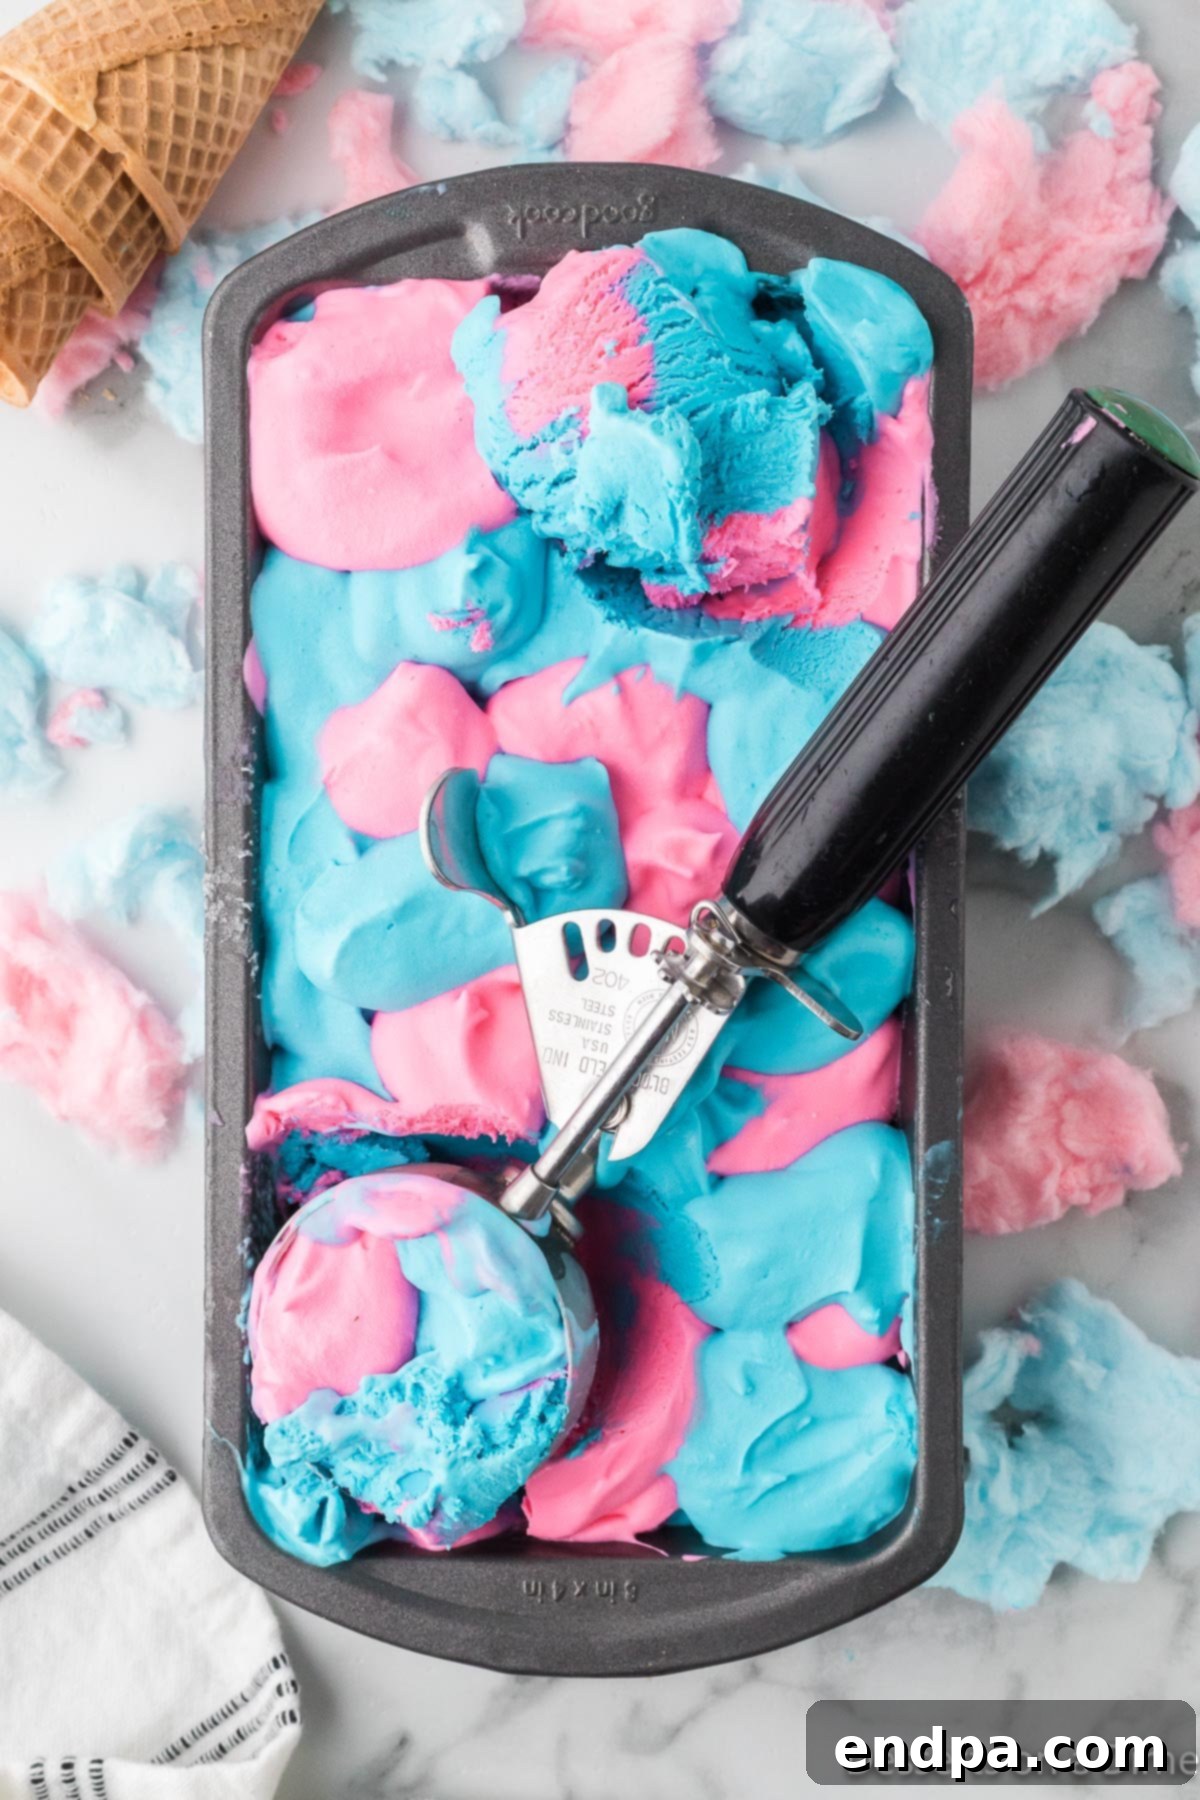
Step 7: Freeze and Serve. Once the ice cream mixture is in the loaf pan, cover it tightly with plastic wrap, pressing the plastic directly onto the surface of the ice cream to minimize air exposure. Freeze the cotton candy ice cream overnight (or for at least 8 hours) to allow it to firm up and reach the desired consistency. Once fully frozen, scoop generously and serve! For an extra touch of carnival magic, serve with fresh cotton candy on the side if you like. This optional garnish is a fun way to elevate each bowl and add to the overall experience.
Expert Tips for Perfect No-Churn Ice Cream
Achieving perfectly creamy, delightful no-churn ice cream is simple with these expert tips:
- Embrace the Soft Serve Texture: Remember, this homemade ice cream is naturally softer than most store-bought varieties and tends to melt quicker. This is because it lacks the stabilizers and high overrun (air incorporated during churning) of commercial ice creams. We recommend serving it promptly and not leaving it out for extended periods to maintain its ideal texture. If it becomes too soft, simply pop it back into the freezer for 15-30 minutes.
- Sourcing Cotton Candy Flavoring: Cotton Candy Flavoring can often be found in the baking or candy-making sections of most craft stores (like Michael’s or Hobby Lobby), specialty baking supply shops, or even larger supermarkets. If you have trouble finding it locally, online retailers like Amazon are an excellent resource. Look for high-quality extracts or flavorings for the best taste.
- Boost the Fun with Sprinkles: To make this already fun dessert even more exciting, consider adding sprinkles! You can add sprinkles to the mixture before freezing or as a topping when serving. Kids especially love adding colorful sprinkles, and they go absolutely crazy over this recipe! It’s a fantastic way to customize each serving and add extra texture and visual appeal.
- The Power of Cold Equipment: I cannot stress enough the importance of chilling your mixing bowl and beaters. Placing them in the freezer for 10-15 minutes before whipping the cream helps it whip up faster and achieve those crucial stiff peaks. A cold environment prevents the cream from warming up too quickly, ensuring maximum volume and stability.
- Sweetened Condensed Milk is Key: Sweetened condensed milk is not just a sweetener; it’s essential for the base of this no-churn ice cream, providing both sweetness and a dense, creamy texture without the need for an ice cream maker. Do not substitute it with regular milk, evaporated milk, or heavy cream, as these will drastically alter the texture and consistency of your final product.
- Play with Food Coloring: While we used classic pink and blue food coloring for that iconic cotton candy look, feel free to express your creativity! Use whatever food coloring you have on hand or experiment with new combinations. Green and purple, or even a rainbow swirl, could be incredibly fun, especially for themed parties. Gel food colorings offer more vibrant colors with less liquid, which is ideal for maintaining the ice cream’s consistency.
- Preventing Ice Crystals: For the smoothest possible ice cream, try to work quickly when mixing and transferring to the freezing container. Air exposure during freezing can lead to ice crystal formation. Tightly covering the ice cream (see storage tips below) helps mitigate this.
- Flavor Variations: Don’t limit yourself to just cotton candy! The no-churn base is incredibly versatile. Consider adding other extracts like mint, strawberry, or lemon, or folding in crushed cookies, chocolate chips, or fruit purees for different flavor experiences.

Proper Storage for Homemade Ice Cream
Proper storage is crucial for maintaining the quality and texture of your homemade cotton candy ice cream. Here’s how to do it right:
Always store your ice cream inside an airtight container in the freezer. This minimizes exposure to air, which is the primary cause of ice crystal formation and freezer burn. To take freshness a step further, you might also want to put a piece of wax paper or parchment paper directly on top of the ice cream surface before placing the lid on top. This creates an additional barrier against air and helps prevent those unwelcome ice crystals from forming on the surface.
If you don’t have an airtight container with a lid, you can certainly freeze the ice cream directly in the loaf pan in which it was prepared. Just be sure to cover it tightly with several layers of plastic wrap, pressing the wrap down onto the surface of the ice cream. For extra protection, you can then add a layer of aluminum foil over the plastic wrap.
How Long Does Homemade Ice Cream Stay Fresh?
As long as it’s stored properly in an airtight container with minimal air exposure, this homemade ice cream will last about 1 month in the freezer. Wrapping the loaf pan first with plastic wrap and then with foil provides excellent protection against freezer odors and ice crystals.
However, for the absolute best taste and texture, we do recommend serving this ice cream within about 2 weeks of making it. Beyond this timeframe, ice crystals could start to form on the ice cream, which can significantly change the texture from smooth and creamy to slightly grainy or icy. Enjoy it fresh for the ultimate experience!
Creative Serving Suggestions
While delicious on its own, your homemade Cotton Candy Ice Cream can be elevated with a few fun serving ideas:
- Classic Scoop: Simply scoop into a bowl or a sugar cone for a delightful treat.
- Cotton Candy Cloud: Garnish each serving with a small puff of actual cotton candy for an extra touch of whimsy and texture.
- Sprinkle Extravaganza: A generous sprinkle of colorful rainbow sprinkles or themed sprinkles (like stars or glitter) makes it even more festive.
- Whipped Cream Topping: A dollop of fresh whipped cream adds another layer of creamy indulgence.
- Mini Marshmallows: Small, fluffy marshmallows are a wonderful, soft addition.
- Fruity Drizzle: A light drizzle of strawberry, raspberry, or cherry syrup can add a complementary fruity note.
- In a Milkshake: Blend a few scoops with milk and a touch more flavoring for a thick, creamy cotton candy milkshake.
- Dessert Bar Addition: Serve it as part of an ice cream bar with various toppings, allowing guests to customize their own creations.
- Pair with Cake: A scoop pairs beautifully with a slice of vanilla cake, cupcakes, or even a simple sugar cookie.
Frequently Asked Questions (FAQs)
Here are some common questions about making and enjoying no-churn cotton candy ice cream:
- What does “no-churn” mean?
“No-churn” refers to ice cream recipes that do not require an ice cream maker. Instead, they typically rely on whipped heavy cream folded into a sweetened condensed milk base to create a creamy texture that freezes well. It’s a fantastic method for making homemade ice cream without specialized equipment. - Can I use regular milk instead of heavy cream?
No, heavy whipping cream is essential for this recipe. Its high fat content is what allows it to whip up into stiff peaks and create the rich, creamy texture characteristic of no-churn ice cream. Regular milk or half-and-half will not yield the same results. - Where can I find cotton candy flavoring?
Cotton candy flavoring can be found in the baking or candy-making sections of many craft stores, specialty food stores, or larger supermarkets. It’s also widely available online from retailers like Amazon or baking supply websites. - Can I make this ice cream without food coloring?
Absolutely! Food coloring is entirely optional and is primarily for visual appeal. The ice cream will taste just as delicious without it, with a creamy white color. - How do I prevent ice crystals in my homemade ice cream?
To minimize ice crystals, ensure your ingredients are very cold, whip the cream until stiff peaks form, and fold gently to retain air. Most importantly, store the finished ice cream in an airtight container with plastic wrap pressed directly onto the surface before sealing. Freezing quickly also helps. - Can I use an ice cream maker with this recipe?
While this recipe is designed for the no-churn method, you could technically put the mixture into an ice cream maker after combining. However, it’s unnecessary, as the no-churn method itself achieves a wonderfully creamy texture. If you do use an ice cream maker, follow its instructions for freezing soft-serve mixtures. - Is this recipe kid-friendly?
Yes, this recipe is incredibly kid-friendly! Children often love the vibrant colors and the fun flavor of cotton candy. Getting them involved in folding the colors or adding sprinkles can make it an even more enjoyable activity.
More Irresistible No-Churn Ice Cream Recipes
If you’ve fallen in love with the simplicity and deliciousness of no-churn ice cream, there’s a whole world of flavors to explore. Here are some more of our favorite easy no-churn ice cream recipes that you’re sure to enjoy:
- Dulce De Leche Ice Cream Recipe
- Red Velvet Ice Cream Recipe
- Homemade Rolled Ice Cream Recipe
- Reese’s Peanut Butter Ice Cream Recipe
- Fruit Ice Cream
- Chunky Monkey Ice Cream Recipe
We genuinely hope you enjoy creating and savoring this magical cotton candy ice cream recipe. Once you’ve whipped up a batch, please consider leaving a comment and a star rating for the recipe below. Your feedback helps us and other home cooks discover new favorites!
Pin
Cotton Candy Ice Cream Recipe
Ingredients
- 2 cups very cold heavy whipping cream
- 1 can 14 oz sweetened condensed milk, cold
- 2 teaspoons cotton candy flavoring
- Food coloring in pink and blue optional
Instructions
- Place loaf pan or container in freezer at least 30 minutes before you begin
- Place bowl and whisk in freezer at least 30 minutes before you begin
- Be sure whipping cream and condensed milk are very cold
- In a large bowl or stand mixer bowl, beat whipping cream until stiff peaks form
- In a medium bowl, stir together the sweetened condensed milk and cotton candy flavoring until smooth
- Gradually add milk mixture to whipping cream by GENTLY folding into whipped cream
- Divide mixture into 2 separate bowls (it will be about 3 cups each)
- Color one bowl of mixture with pink and one with blue
- Remove container from freezer and drop ice cream mixture by spoonfuls into the container
- Freeze overnight
- Serve with cotton candy on the side if you like
Recipe Notes
Cotton Candy Flavoring can be found in the baking section at most craft stores, or in the candy making area.
You can also add sprinkles if you like.
Nutrition Facts
Pin This Now to Remember It Later
Pin Recipe
