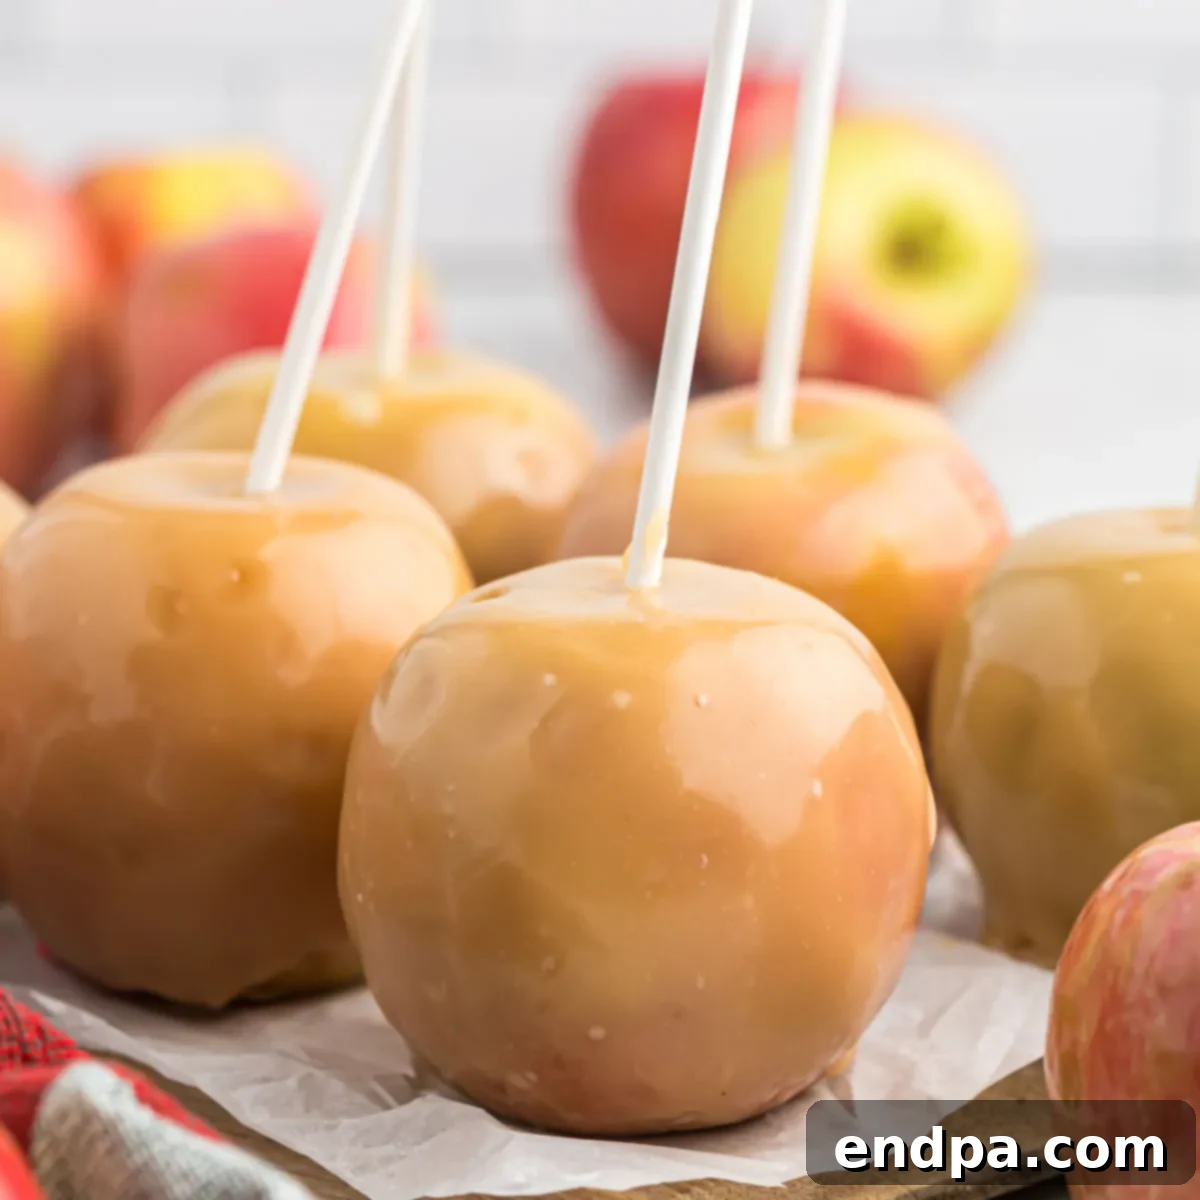
Indulge in the quintessential autumn delight with our exquisite recipe for Homemade Caramel Apples. Crafted with fresh, crisp apples and enveloped in a velvety, rich, and irresistibly gooey caramel, these classic treats are more than just a dessert – they’re an experience. Perfect for adding a touch of sweetness to fall festivities, becoming the star attraction at Halloween parties, or serving as charming, thoughtful gifts, our caramel apples promise a burst of flavor and a comforting taste of the season.
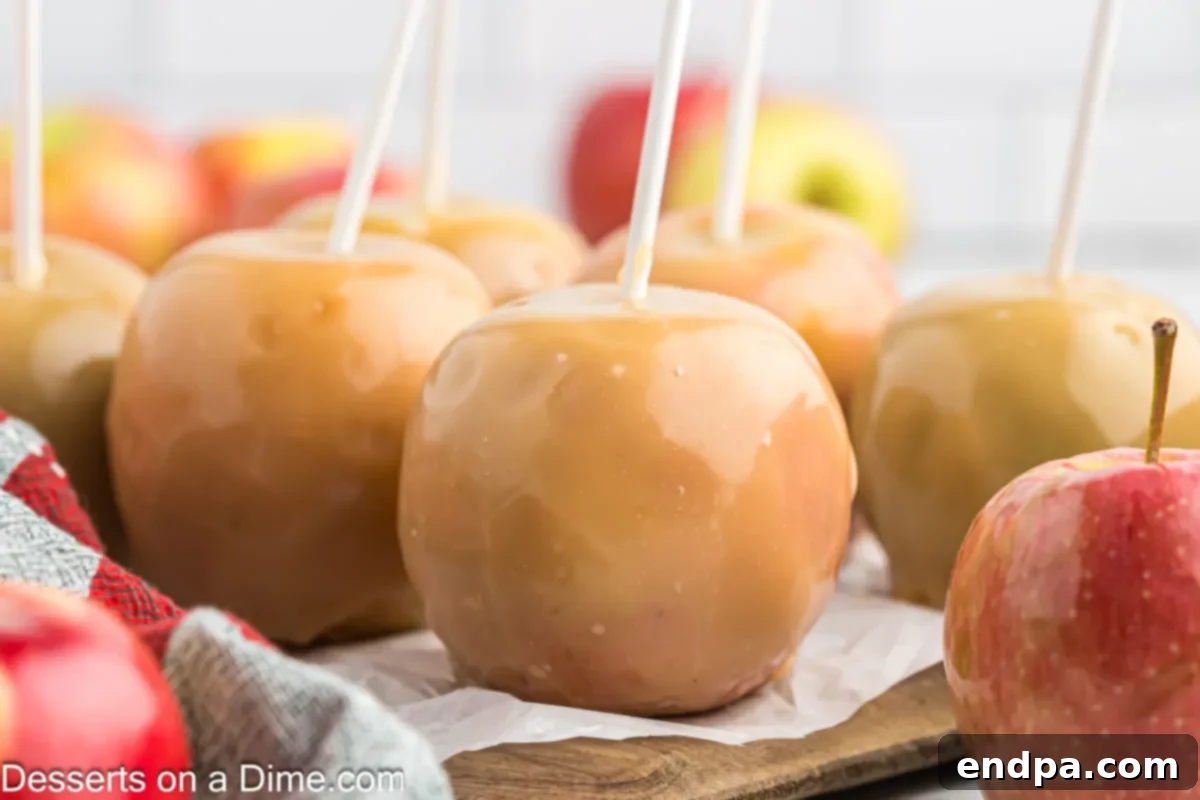
There’s something truly magical about homemade treats, and these caramel apples are no exception. They represent the heart of fall baking: simple ingredients transformed into something extraordinary. This recipe guides you through creating a lusciously smooth, buttery caramel that clings perfectly to the apples, offering a harmonious balance of sweet and tart with every bite. The joy of making them yourself only adds to their charm, making this a beloved tradition in many homes.
Beyond being a delightful indulgence, homemade caramel apples are incredibly versatile. They are an absolute must-have for Halloween celebrations, bringing a nostalgic flair to any spooky gathering. They also make a fantastic addition to Thanksgiving dessert tables, autumn potlucks, or simply as a cozy treat on a cool evening. When individually wrapped with a festive ribbon, they transform into thoughtful, edible gifts that friends, family, and neighbors will adore.
For those who love apple-based desserts, this recipe fits right in with other seasonal favorites. It’s an essential part of our annual fall baking tradition, alongside delightful recipes like Caramel Apple Slices, a comforting Crock Pot Apple Crisp, and the ever-popular Cracker Barrel Fried Apples. Each offers a unique way to savor the bounty of the apple harvest, but the caramel apple remains a timeless classic.
Table of Contents
- Why You’ll Adore This Recipe
- Essential Ingredients for Perfect Caramel Apples
- Exciting Variations to Elevate Your Caramel Apples
- Step-By-Step Guide to Crafting Caramel Apples
- Proper Storage for Lasting Freshness
- Expert Tips for Caramel Apple Success
- More Delightful Apple Recipes
- Homemade Caramel Apples Recipe Card
Why You’ll Adore This Recipe
Our Homemade Caramel Apples aren’t just a treat; they’re an experience waiting to happen. Here’s why this recipe stands out and quickly becomes a family favorite:
The Ultimate Fall Treat: There’s no denying that caramel apples perfectly encapsulate the essence of autumn. The satisfying crunch of a fresh apple combined with the warm, buttery sweetness of homemade caramel creates an iconic flavor profile that defines the season. It’s a nostalgic taste that brings back cherished memories and creates new ones.
A Fun and Engaging Activity: Making caramel apples is a wonderfully interactive process that’s enjoyable for all ages. From inserting the sticks into the apples to dipping them in the rich, melted caramel and then rolling them in an array of exciting toppings, it’s a hands-on activity that doubles as a delicious family bonding experience. Kids especially love customizing their own apples.
Endlessly Customizable: The beauty of homemade caramel apples lies in their adaptability. While delicious on their own, they serve as a perfect canvas for your culinary creativity. You can effortlessly roll them in chopped nuts, vibrant sprinkles, crushed cookies, or drizzle them with melted chocolate to add extra flavor, texture, and visual appeal. The possibilities are truly limitless.
The Perfect Party Centerpiece: Planning a gathering? Caramel apples make for an incredibly festive and appealing centerpiece. Arrange them artfully on a platter, and watch as they become a focal point, inviting guests to grab a sweet indulgence. They are ideal for Halloween parties, harvest festivals, school events, or any autumn get-together, offering a unique and memorable dessert option.
Charming and Thoughtful Gifts: When individually wrapped in cellophane bags and tied with a ribbon, homemade caramel apples transform into charming, personal gifts. They’re a wonderful way to show appreciation to teachers, neighbors, friends, or family during the fall season, delivering a taste of homemade goodness that speaks volumes.
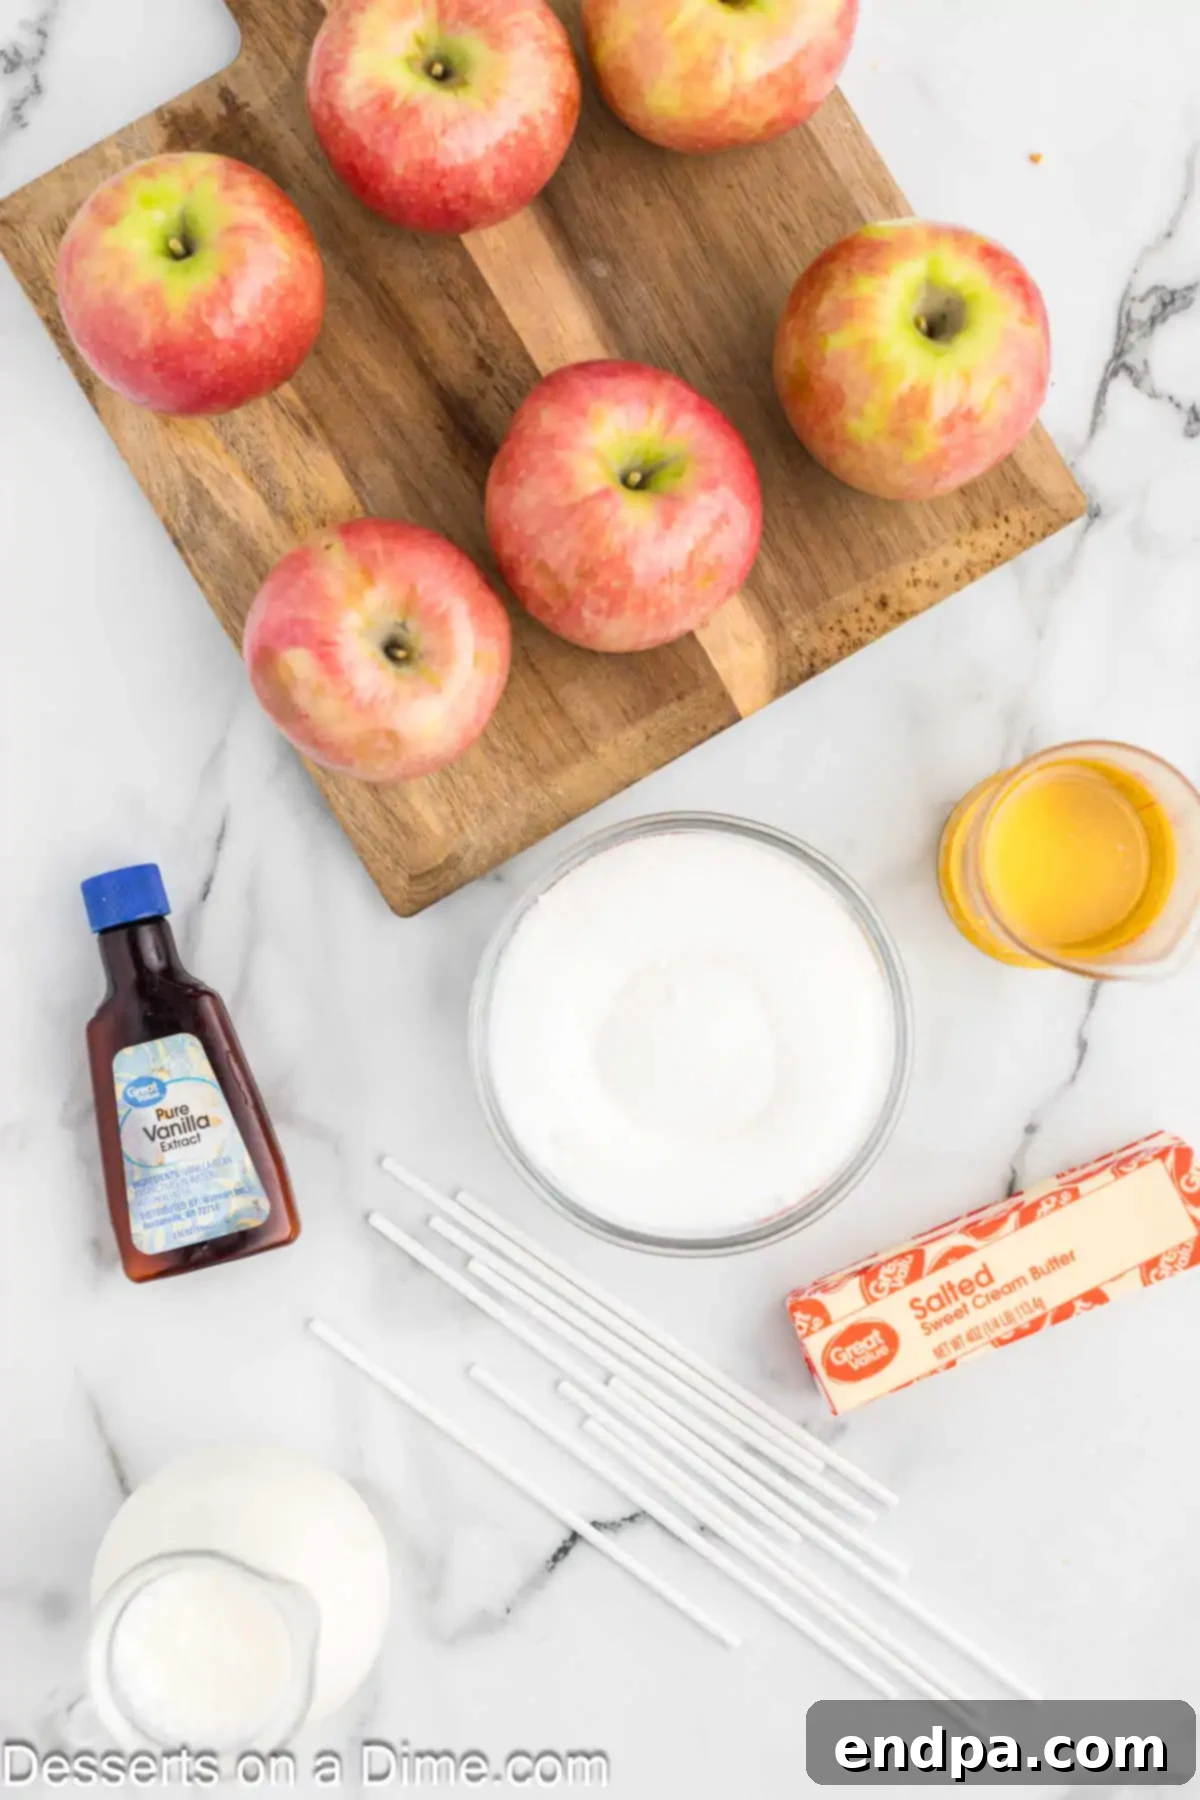
Essential Ingredients for Perfect Caramel Apples
Crafting the perfect caramel apple begins with selecting high-quality ingredients. Each component plays a crucial role in achieving that delightful balance of flavors and textures.
- Apples: The foundation of this treat! While many apple varieties work, tart apples like Granny Smith are highly recommended. Their crisp texture holds up well to the warm caramel, and their bright, tangy flavor provides a wonderful contrast to the rich sweetness of the caramel, creating a balanced taste sensation. Ensure your apples are firm and free of blemishes.
- Sticks: Essential for holding and eating your caramel apples. Opt for sturdy, food-grade wooden or plastic sticks that are long enough to provide a good grip and strong enough to support the weight of the apple and caramel coating. They ensure a mess-free and enjoyable eating experience.
- Heavy Cream: This is the secret to a rich, smooth, and incredibly luscious caramel. Heavy cream, with its high-fat content, contributes to the caramel’s decadent texture and creamy mouthfeel. Do not substitute with lighter creams or milk, as they will not achieve the desired consistency or richness.
- Corn Syrup: A non-negotiable ingredient for successful caramel apples. Light corn syrup prevents sugar crystallization, which is vital for a smooth, glossy caramel that doesn’t become grainy. More importantly, it helps the caramel adhere beautifully to the apples, preventing it from sliding off. Skipping it will likely result in a runny or separated caramel.
- Butter: Always use real, unsalted butter for the best flavor. Butter adds an unparalleled richness and a delightful, authentic caramel taste. It also contributes to the caramel’s smooth texture and helps prevent it from becoming too brittle once cooled.
- Granulated Sugar: The primary sweetening agent and the backbone of the caramel. When heated, the sugar caramelizes, developing those complex, deep flavors we associate with classic caramel. Use good quality granulated sugar for optimal results.
- Vanilla Extract: Pure vanilla extract is recommended to enhance the caramel’s flavor profile. Its warm, aromatic notes complement the sweetness of the caramel, adding depth and a gourmet touch. A little goes a long way in elevating the overall taste.
- Toppings of Your Choice: This is where you can truly personalize your caramel apples! We love a variety of options to add texture and extra flavor. Popular choices include finely chopped nuts (peanuts, pecans, walnuts, almonds), colorful sprinkles, crushed chocolate sandwich cookies (like Oreos), graham cracker crumbs, shredded coconut, or even mini candy pieces (such as Reese’s Cups, mini M&Ms, or crushed Butterfingers). Pretzels add a fantastic salty-sweet crunch!
Exciting Variations to Elevate Your Caramel Apples
While classic homemade caramel apples are irresistible on their own, adding creative twists can take them to the next level. Experiment with these variations to delight your taste buds and impress your guests:
- Nutty Delight: For an extra layer of crunch and flavor, roll your freshly caramel-coated apples in a generous amount of finely chopped pecans, walnuts, peanuts, or almonds. The nutty texture provides a delightful contrast to the smooth caramel.
- Decadent Chocolate Drizzle: Elevate the elegance by drizzling melted chocolate over the caramel-coated apples. Use milk chocolate, dark chocolate, or white chocolate for varying flavors. You can even create intricate patterns or a simple zigzag for a beautiful finish.
- Festive Candy Coating: Get creative with crushed candies! Roll your apples in crushed candy bars, colorful sprinkles, toffee bits, or even crushed peppermints for a festive touch, especially around holidays.
- Irresistible Salted Caramel: For a sophisticated sweet-and-salty combination, sprinkle a pinch of flaky sea salt (like Maldon) over the still-soft caramel. The salt crystals enhance the caramel’s sweetness and add a delightful savory note.
- Charming Mini Apples: Instead of full-sized apples, use smaller apple varieties or even crabapples for bite-sized treats. These mini caramel apples are perfect for parties, individual gift bags, or when you want a lighter indulgence.
- Flavor-Infused Caramel: Get adventurous by infusing your caramel with additional flavors. A dash of cinnamon or a hint of apple pie spice can enhance the autumnal theme. For an adult-friendly twist, try adding a tablespoon of bourbon or a splash of orange zest to the caramel mixture.
Step-By-Step Guide to Crafting Caramel Apples
Follow these detailed instructions to create perfect, glossy, and delicious homemade caramel apples:
- Step 1: Prepare the Apples for Coating. Begin by heating water in a medium-sized pot until it is hot but not boiling. The water should be steaming, but no bubbles. Carefully add the white vinegar to the hot water. This vinegar solution helps to remove any waxy coating from the apples, allowing the caramel to adhere properly.
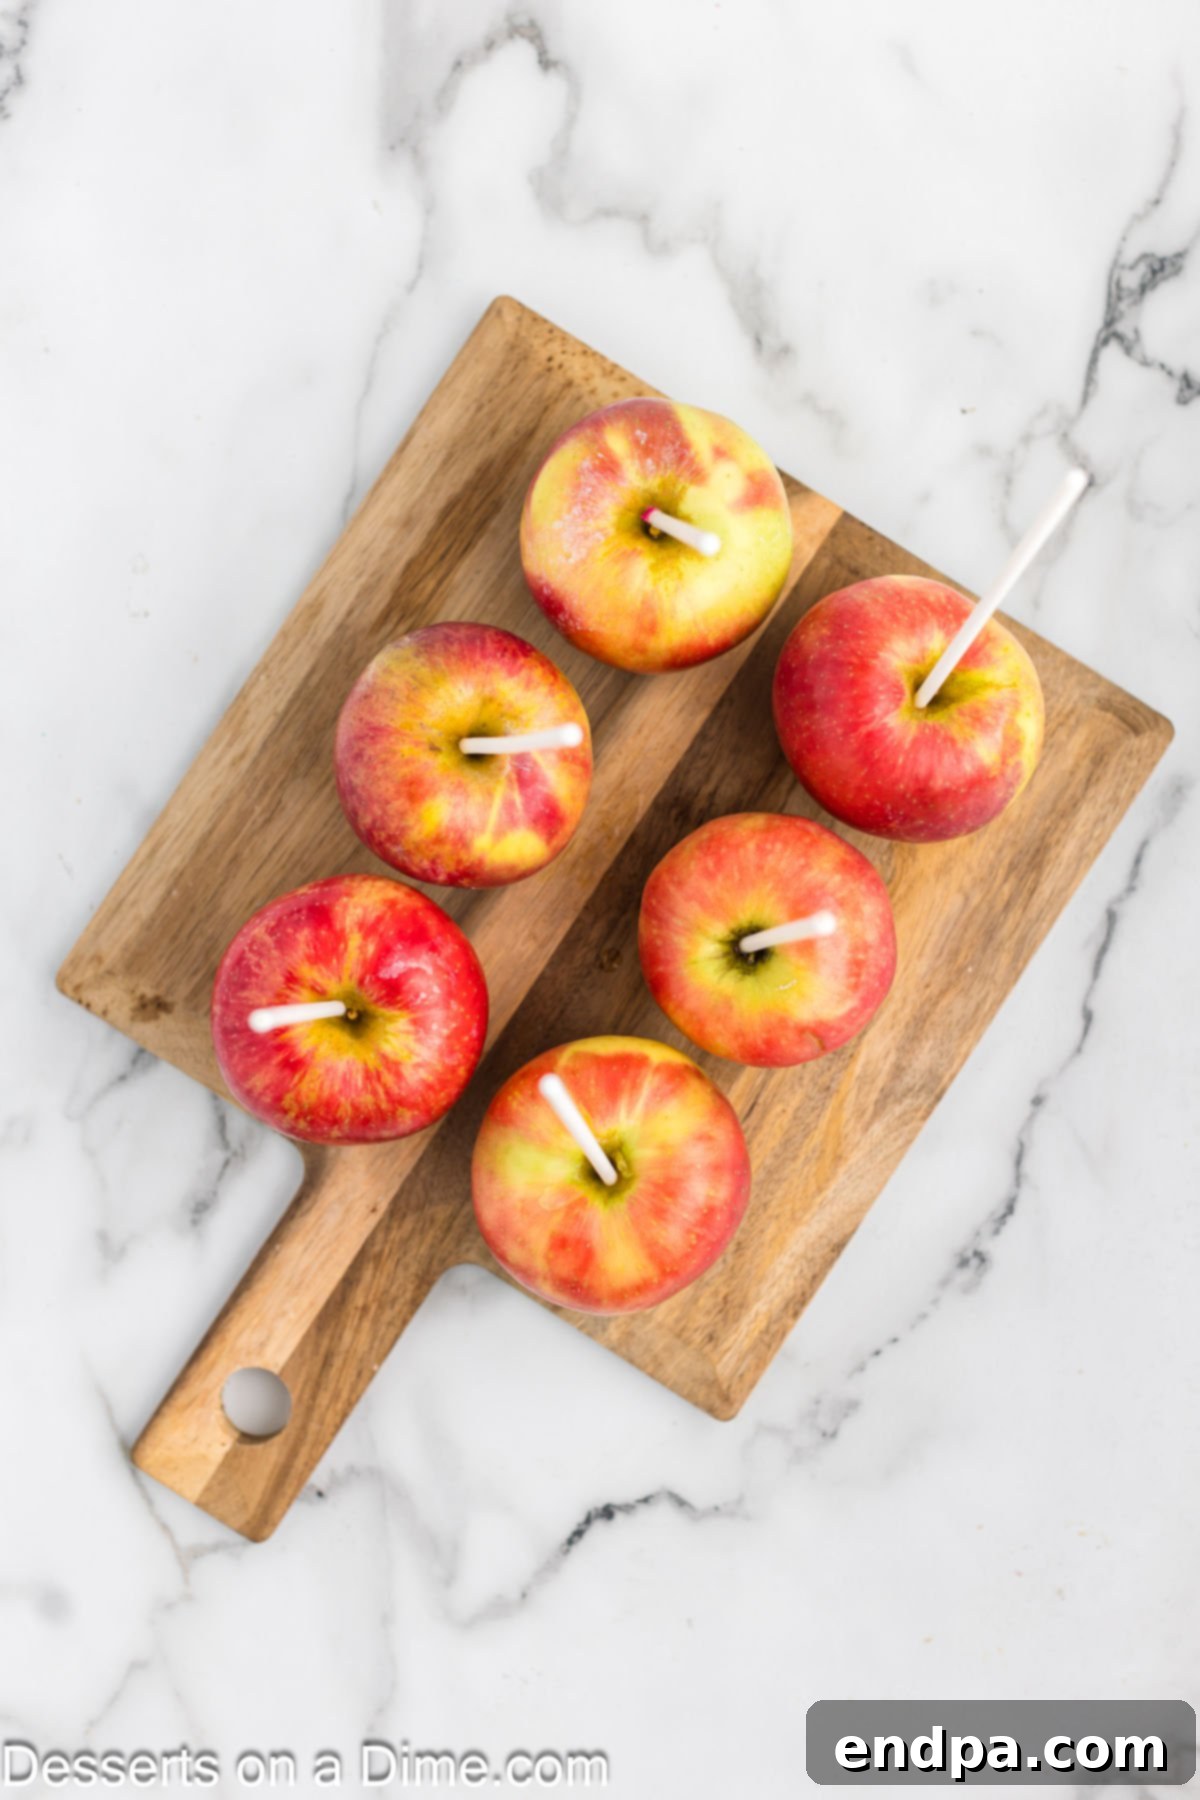
Step 2: Clean and Skewer the Apples. Firmly insert a sturdy wooden stick into the stem end of each apple, pushing it about halfway through the apple to ensure stability. Next, dip each apple into the warm vinegar water, swirling it gently for about 10-15 seconds to melt and remove any wax. Remove the apple, wipe it thoroughly with a clean towel to dry it completely and remove any remaining wax or moisture. Moisture on the apple will prevent the caramel from sticking. Line a baking sheet with parchment paper or a silicone baking mat and set it aside; this will be for setting the caramel apples.
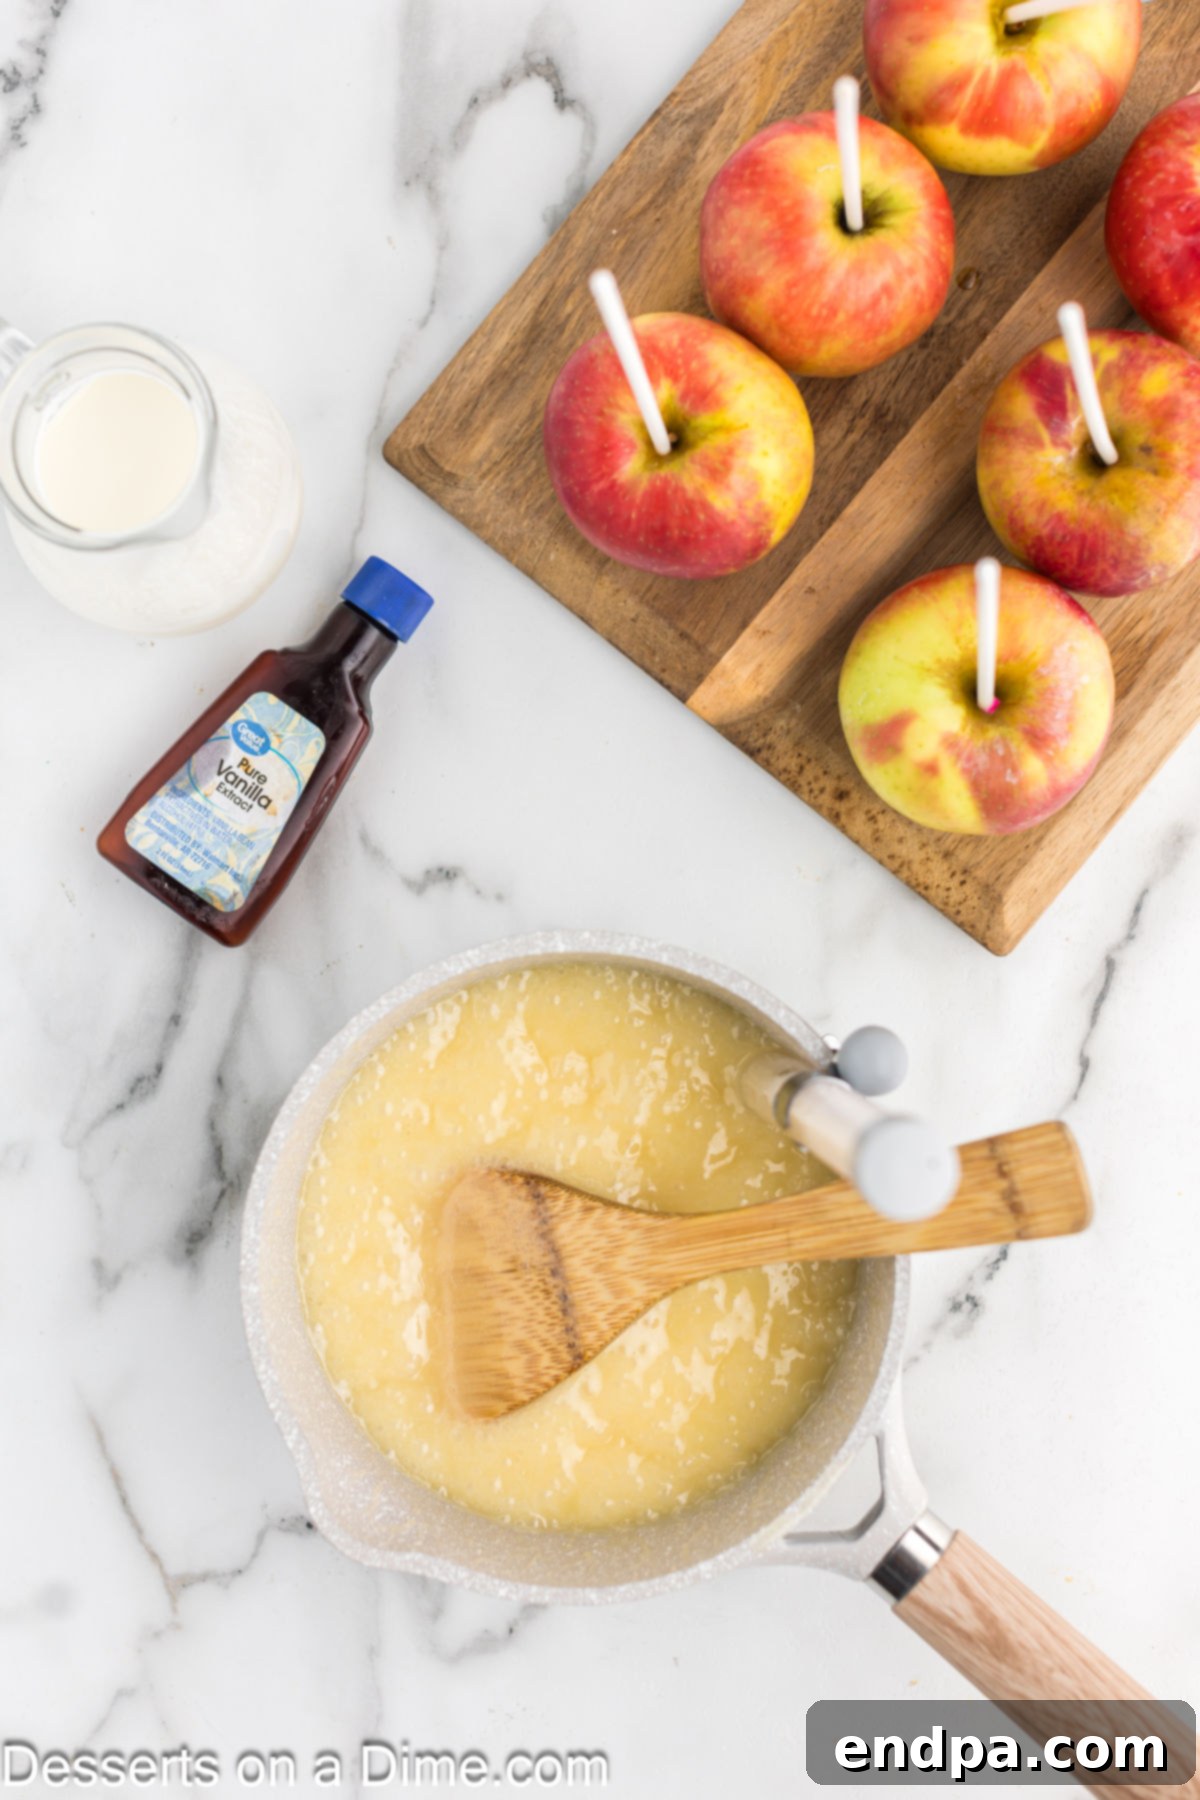
Step 3: Prepare the Caramel. In a heavy-bottomed saucepan, combine the heavy cream, corn syrup, unsalted butter, and granulated sugar. Stir these ingredients gently with a wooden spoon or heat-resistant spatula until well combined. Place the saucepan over medium heat and continue to stir occasionally as the mixture heats up. Attach a candy thermometer to the side of the pan, ensuring the bulb is immersed in the caramel but not touching the bottom. Heat the mixture, stirring as needed, until it reaches precisely 245 degrees Fahrenheit (118 degrees Celsius). This temperature signifies the “firm ball stage” crucial for caramel that is firm yet chewy. Immediately remove the saucepan from the heat. Carefully stir in the remaining cream (if not added initially) and the vanilla extract. Be cautious, as the hot caramel may splatter when the cooler liquids are added.
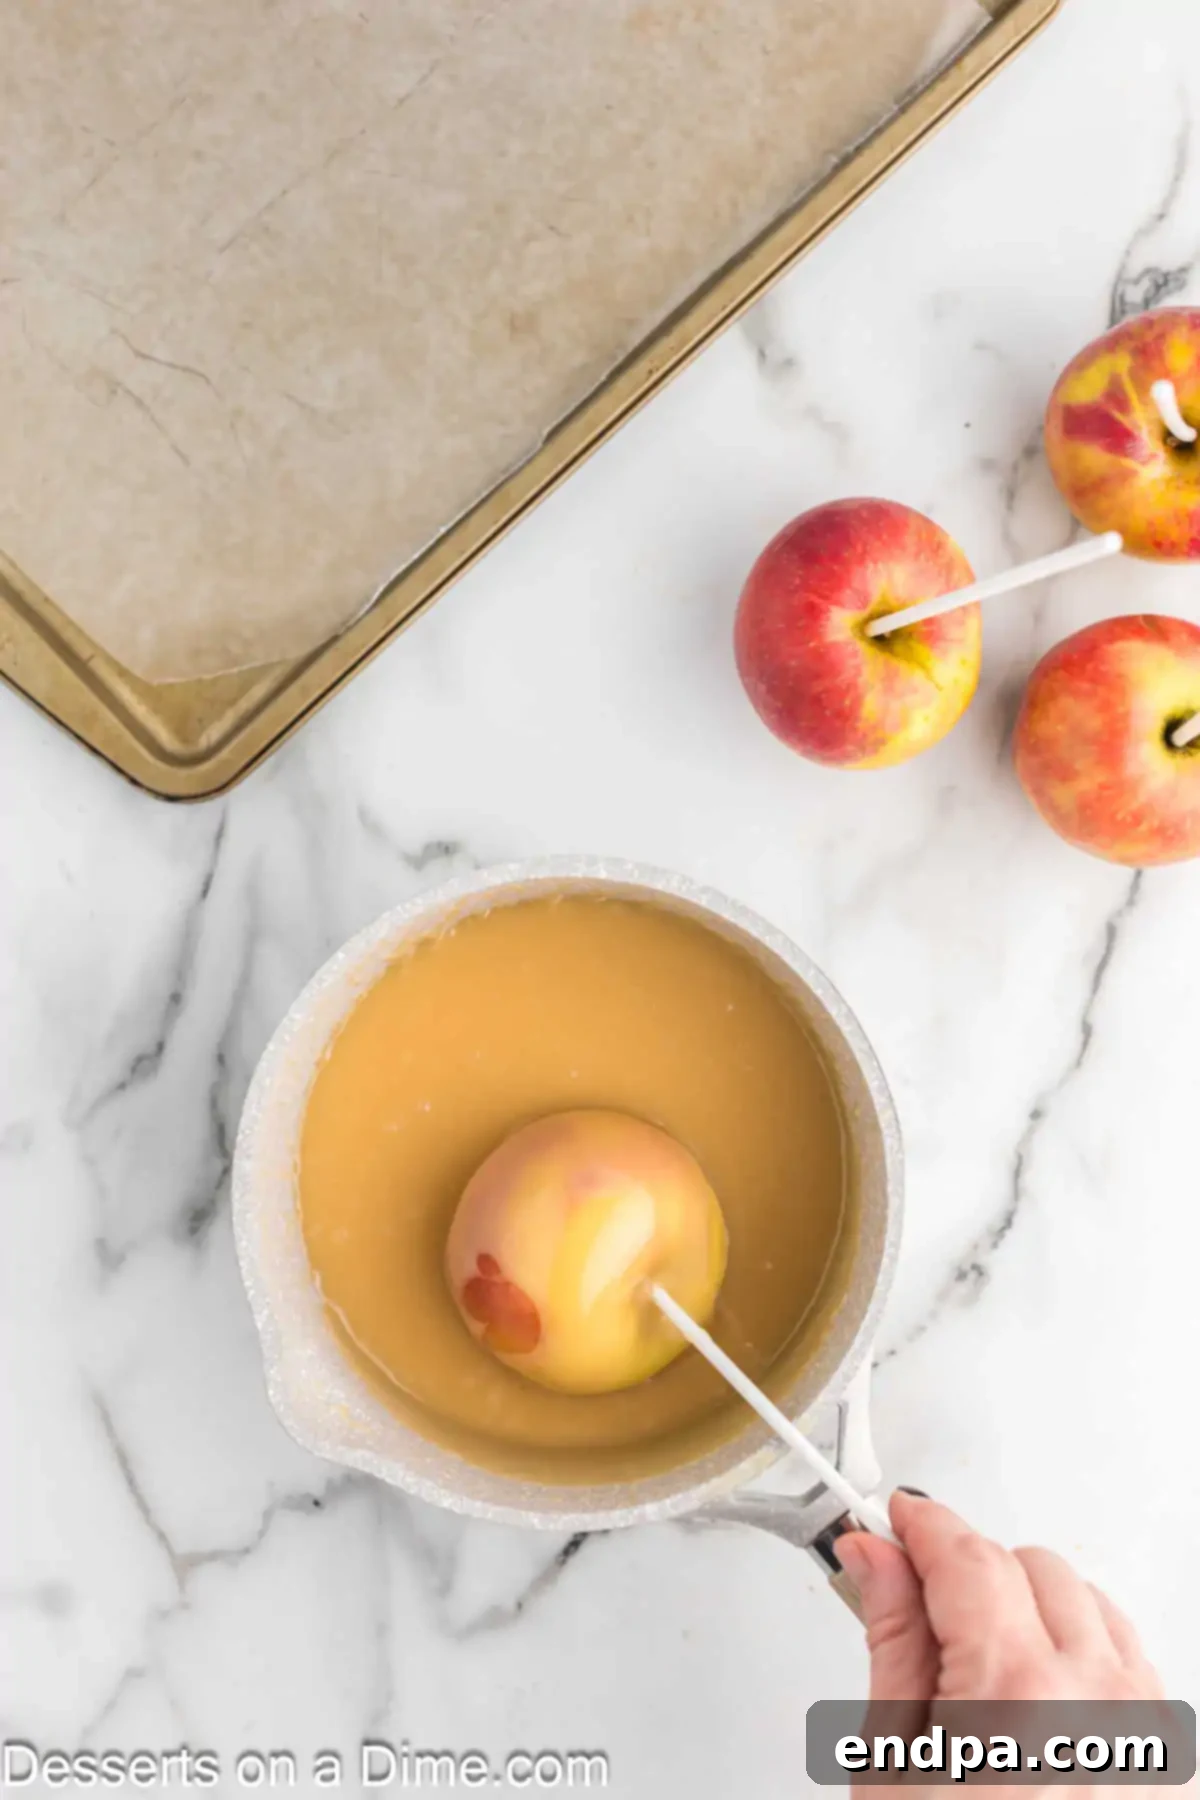
Step 4: Dip the Apples in Caramel. Once the caramel is ready, and while it’s still warm and pliable, carefully dip each apple, holding it by its stick, into the caramel. Tilt the saucepan slightly to create a deeper pool of caramel, and twirl the apple slowly to ensure it’s completely coated. Aim for an even, medium-thick layer of caramel around the entire apple, leaving a small gap at the top if desired.
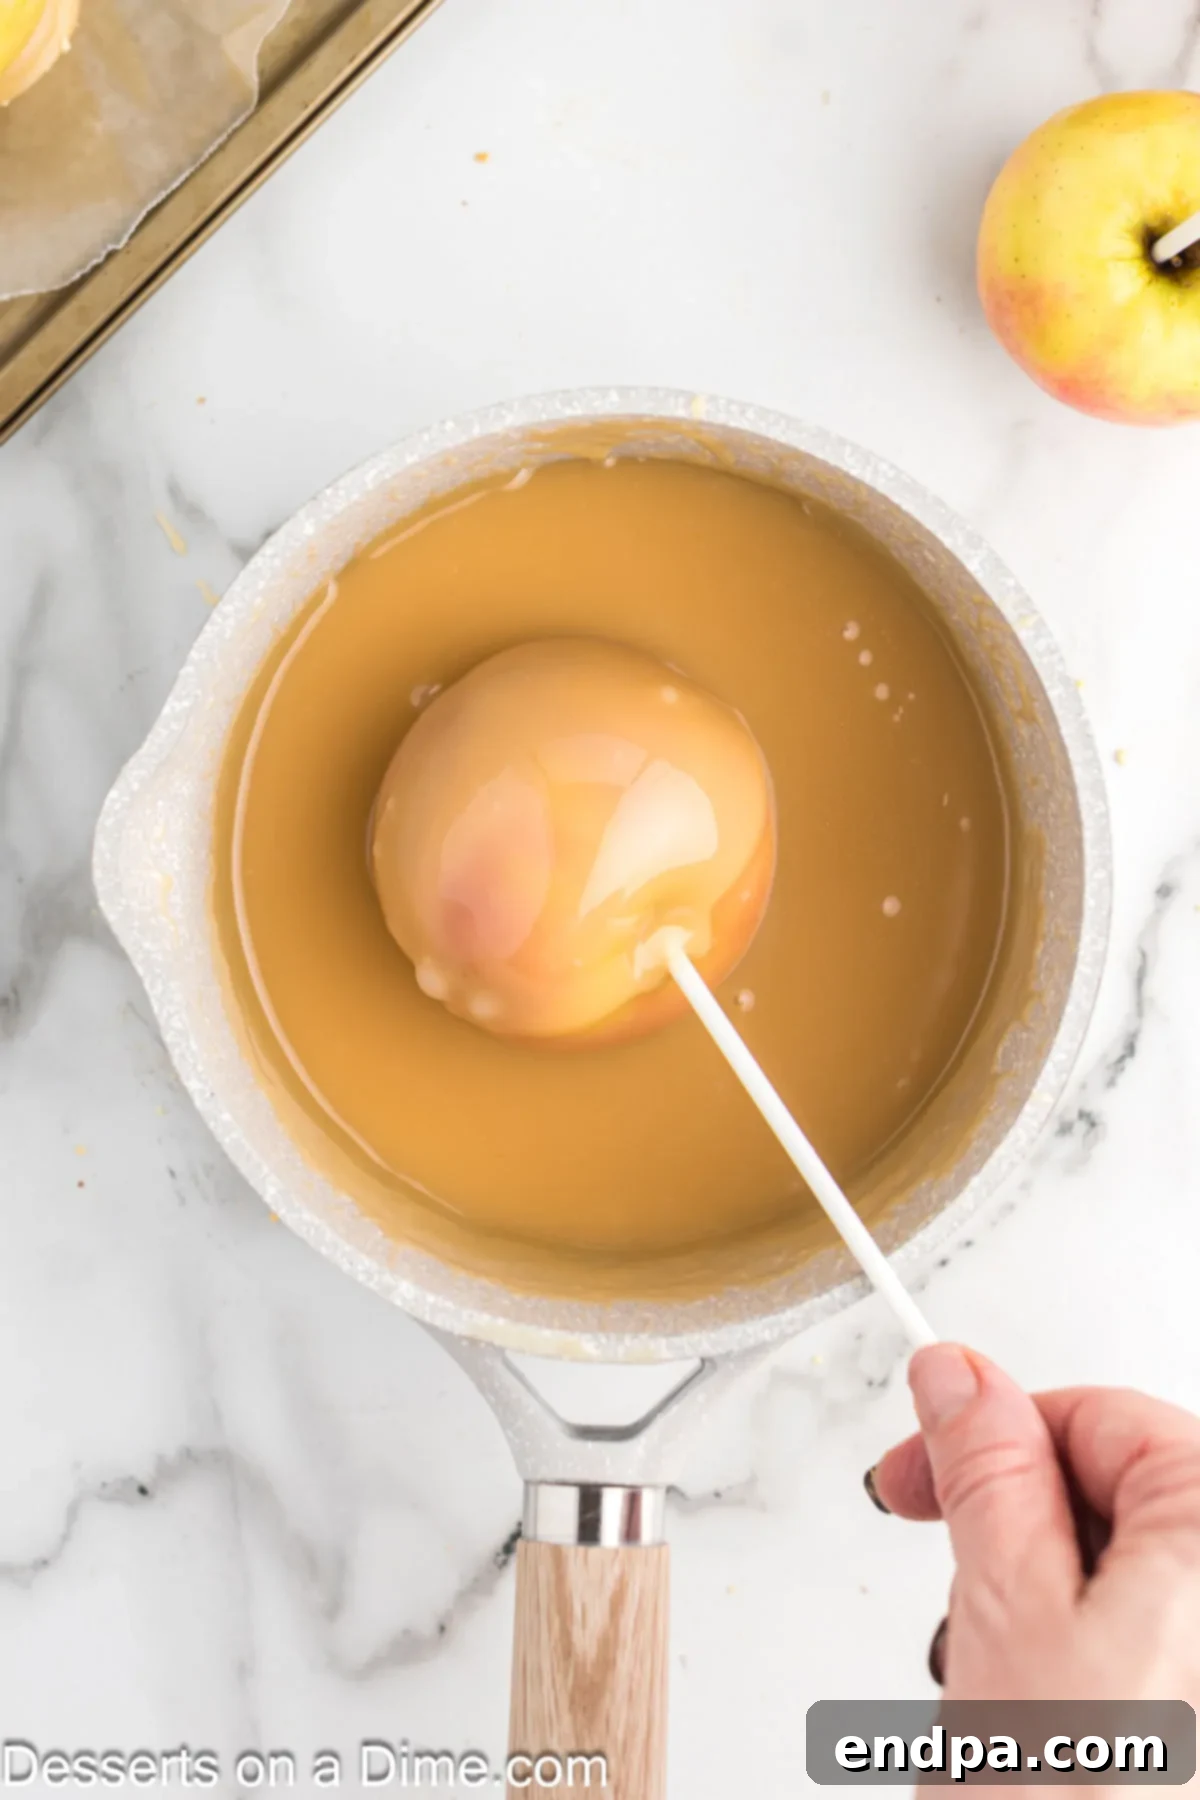
Step 5: Allow Excess Caramel to Drip. After coating, lift the apple out of the caramel and hold it over the saucepan, allowing any excess caramel to drip back into the pot. You can gently rotate the apple and lightly scrape the bottom against the edge of the pan to remove any large drips, creating a cleaner, more even coating. Work quickly, as the caramel will begin to set.
- Step 6: Add Your Favorite Toppings. If you plan to add toppings, now is the time! Immediately after dipping and allowing the excess to drip, roll the caramel-coated apple in your chosen toppings (chopped nuts, sprinkles, crushed cookies, etc.) before the caramel has a chance to fully set. Gently press the toppings onto the caramel to ensure they adhere well.
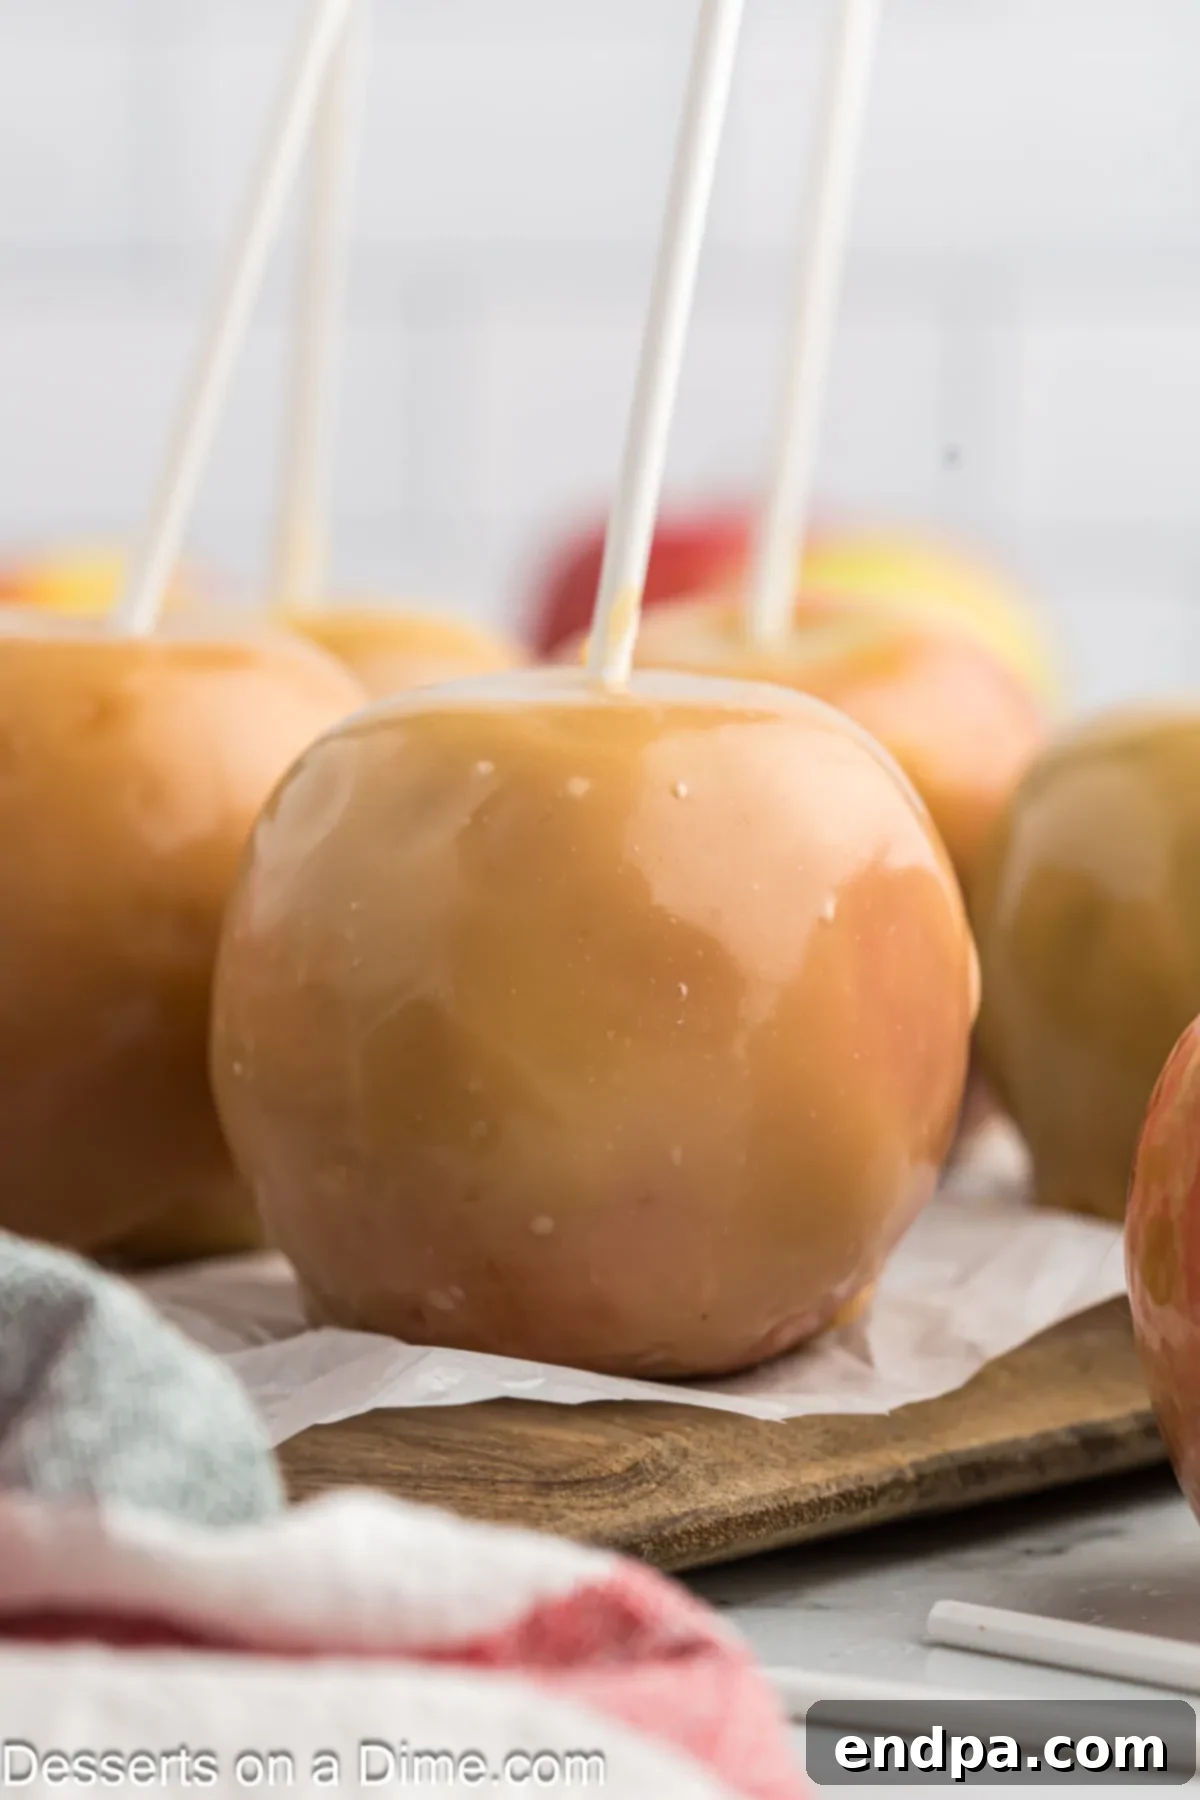
- Step 7: Chill and Serve. Finally, place the finished caramel apples onto the prepared parchment-lined baking sheet. Transfer the baking sheet to the refrigerator and chill for at least 15-20 minutes. This chilling time helps the caramel set firmly, ensuring it doesn’t run or become too sticky. Once set, your homemade caramel apples are ready to be served and enjoyed! For best texture, let them sit at room temperature for about 10 minutes before eating to slightly soften the caramel.
Proper Storage for Lasting Freshness
To ensure your delicious homemade caramel apples remain fresh and enjoyable for as long as possible, proper storage is key:
Room Temperature: If you plan to consume them within a few days, individually wrap each caramel apple tightly in cellophane or plastic wrap. Store them in a cool, dry place away from direct sunlight. They will maintain their quality for up to 3-4 days. Avoid storing them unwrapped, as the caramel can dry out or become sticky.
Refrigerator: For longer storage, caramel apples can be kept in the refrigerator for up to 1 week. Again, wrap each apple individually to prevent moisture loss and absorbency of other fridge odors. Before enjoying, allow them to sit at room temperature for about 15-20 minutes to allow the caramel to soften slightly, making it easier and more pleasant to eat.
Freezer: Freezing caramel apples is generally not recommended. The apple’s texture can become mealy and watery upon thawing, and the caramel may become excessively hard, brittle, or separate from the apple, leading to an unpleasant texture. It’s best to enjoy these fresh.
Expert Tips for Caramel Apple Success
Achieving perfect homemade caramel apples is simple with a few insider tricks. These pro tips will help ensure your caramel is smooth, your apples are perfectly coated, and your treats are absolutely irresistible:
- Allow the Caramel to Set First for Layered Toppings: If you’re planning to add a drizzle of melted chocolate or other delicate toppings that shouldn’t mix with the caramel, allow the initial caramel coating to firm up slightly (about 5-10 minutes in the fridge) before adding the next layer. This prevents colors from bleeding and ensures distinct textures.
- Prepare the Apples Properly for Optimal Adhesion: Thoroughly washing and de-waxing your apples is crucial. The vinegar-water bath helps remove the protective wax coating that is often applied to apples, creating a clean surface for the caramel to cling to. Any residue or moisture will act as a barrier, causing the caramel to slide off. Dry them meticulously after cleaning.
- A Candy Thermometer is Your Best Friend: Precision is paramount when making caramel. Using a reliable candy thermometer is essential to ensure your caramel reaches the exact “firm ball stage” (245°F or 118°C). If the caramel doesn’t reach this temperature, it will be too soft and runny. If it goes too high, it will be too hard and brittle.
- Heavy Cream is Non-Negotiable for Creaminess: The rich fat content of heavy cream is what gives homemade caramel its signature creamy, luscious texture. Do not substitute it with lighter dairy products like milk or half-and-half, as they lack the necessary fat and will result in a caramel that is thinner, less rich, and more prone to crystallization.
- Monitor the Caramel Closely – It Burns Quickly: Caramel can transition from perfect to burnt in a matter of seconds due to its high sugar content. Stay attentive throughout the cooking process, stirring consistently, and never leave it unattended. Have all your ingredients prepped and ready before you start cooking the caramel.
- Add Toppings While the Caramel is Still Soft: Timing is key when adding toppings. Once an apple is dipped in caramel, immediately roll it in your desired toppings. The warmth and stickiness of the fresh caramel will ensure that nuts, sprinkles, or crushed cookies adhere firmly and don’t fall off once the caramel cools and hardens.
- Chill Slightly for Quicker Setting: After dipping and adding toppings, placing your caramel apples in the refrigerator for 15-20 minutes will help the caramel set more quickly and firmly. This is especially helpful if you’re working in a warm environment or need to serve them sooner.
- Use Sticks Securely for Safety and Ease: Always ensure the wooden sticks are inserted deeply and securely into the apples before dipping. A wobbly stick can lead to accidents, messy drips, or the apple falling off into the hot caramel. Sturdy sticks make the dipping process much smoother and safer.
More Apple Recipes
If you’re an apple enthusiast, you’re in luck! Beyond our beloved caramel apples, there’s a world of delicious apple-based desserts to explore. Here are some more fantastic recipes to satisfy your cravings and make the most of apple season.
Quick Bread
Applesauce Bread
All Recipes Dessert
Fried Apples
All Recipes Dessert
Baked Apples Recipe
All Recipes Dessert
Deep Fried Apples
Now that you’re equipped with all the knowledge and tips, it’s time to create gourmet caramel apples right in your own kitchen! Once you try this incredible caramel apple recipe, we encourage you to leave a comment and share your star rating. We love hearing from you and seeing your delicious creations!
Homemade Caramel Apples
Ingredients
- 6 Apples
- 1 teaspoon White Vinegar
- 6 Sticks
- 1 cup Heavy Cream
- 1/2 cup Corn Syrup
- 1/2 cup Butter
- 1 cup Granulated Sugar
- 1 tsp Vanilla Extract
- 1 cup Toppings of Your Choice peanuts, sprinkles, candy, etc
Instructions
- Heat water in a pot until hot (but not boiling). Add the white vinegar to the water.
- Insert a stick into the stem end of each apple.
- Dip apples in water and swirl to melt and remove any wax. Wipe with towel to dry and remove any remaining wax.
- Line a cookie sheet with wax paper and set aside.
- In a saucepan, add ¾ cup of the heavy cream, corn syrup, butter and sugar.
- Heat until the mixture reaches 245 degrees Fahrenheit (this is firm ball stage).
- Remove from heat and carefully stir in the remaining cream and the vanilla. Be careful as it is very hot and it may splatter.
- Then dip and twirl the apples in the caramel to coat the apples with the caramel.
- Let any excess caramel drip off.
- Then roll the dipped apple in the toppings of your choice.
- Place apples on the prepared cookie sheet and refrigerate for 15 minutes to set caramel.
- Then the apples are ready to serve and enjoy!
Pin This Now to Remember It Later
Pin Recipe
