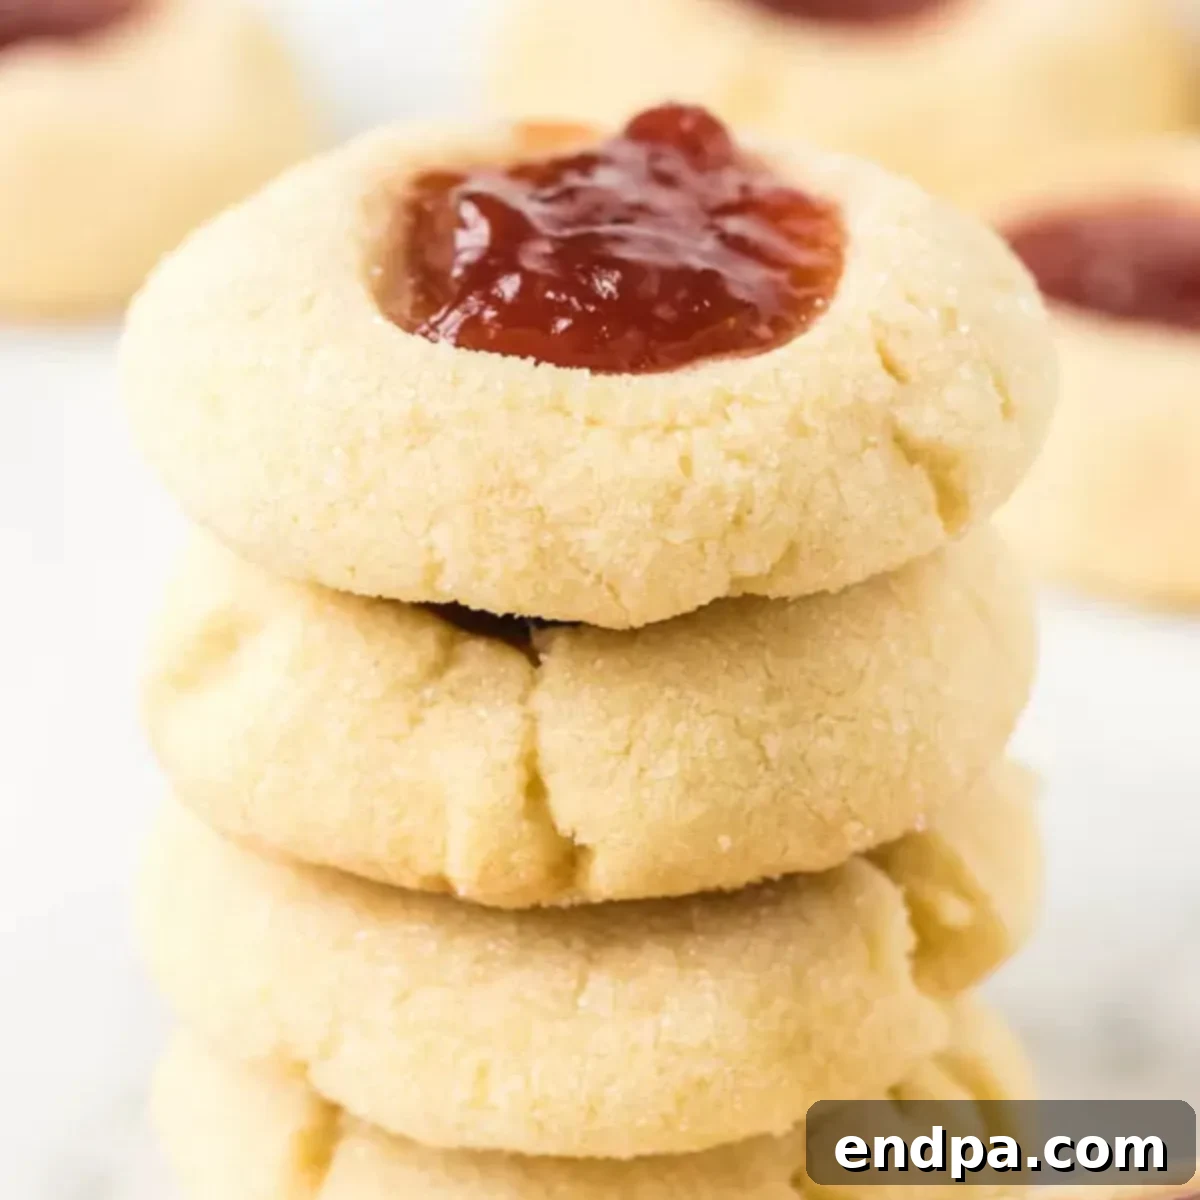
Easy & Delicious Jam Thumbprint Cookies: The Ultimate Homemade Recipe Guide
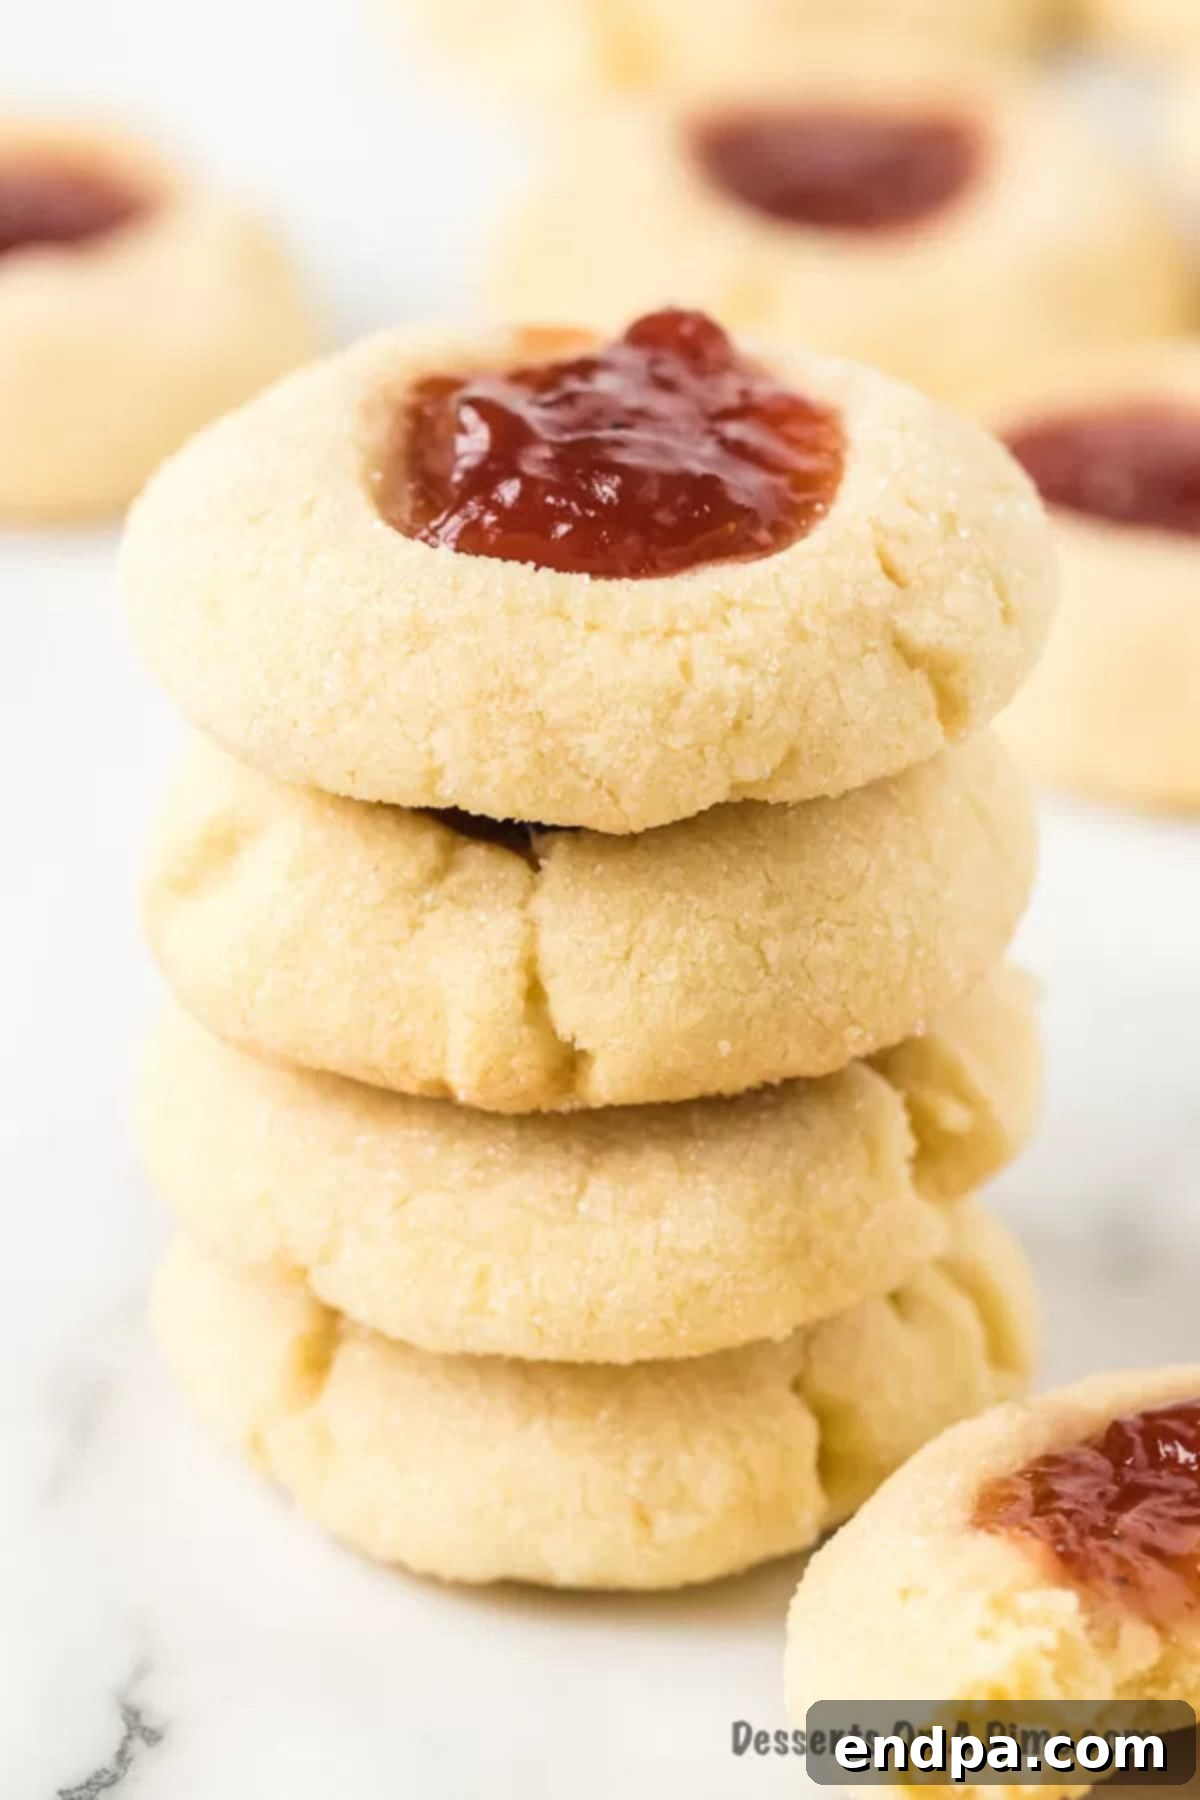
There’s something undeniably charming and comforting about a classic cookie, and Jam Thumbprint Cookies are a prime example. These delightful treats are incredibly easy to make, yet their delicate texture and sweet, fruity centers give them an elegant appeal. Each buttery, melt-in-your-mouth cookie is crowned with a dollop of your favorite jam, offering a burst of flavor with every bite. Whether you’re a seasoned baker or just starting your culinary journey, this recipe promises a rewarding experience and a batch of truly irresistible cookies.
While they might look sophisticated enough for a gourmet bakery, these shortbread-style cookies are surprisingly simple to prepare. The beauty of thumbprint cookies lies in their versatility and their ability to bring joy to any table. From festive holiday gatherings to casual afternoon tea parties, these jam-filled delights are always a welcome sight. We even enjoy experimenting with fun variations, like our Twix Thumbprint Cookies, proving just how adaptable this beloved classic can be. Get ready to bake a batch of these enchanting treats that are sure to become a cherished favorite in your home!
What You’ll Find in This Guide: Jam Thumbprint Cookies
- What Exactly Are Thumbprint Cookies?
- Why You’ll Love This Easy Recipe
- Essential Ingredients for Perfect Thumbprints
- Creative Variations & Flavor Ideas
- Step-by-Step: How to Make Jam Thumbprint Cookies
- Pro Tips for Flawless Thumbprint Cookies
- Storage and Freezing Tips
- Frequently Asked Questions
- Complete Jam Thumbprint Cookie Recipe Card
- More Irresistible Cookie Recipes
What Exactly Are Thumbprint Cookies?
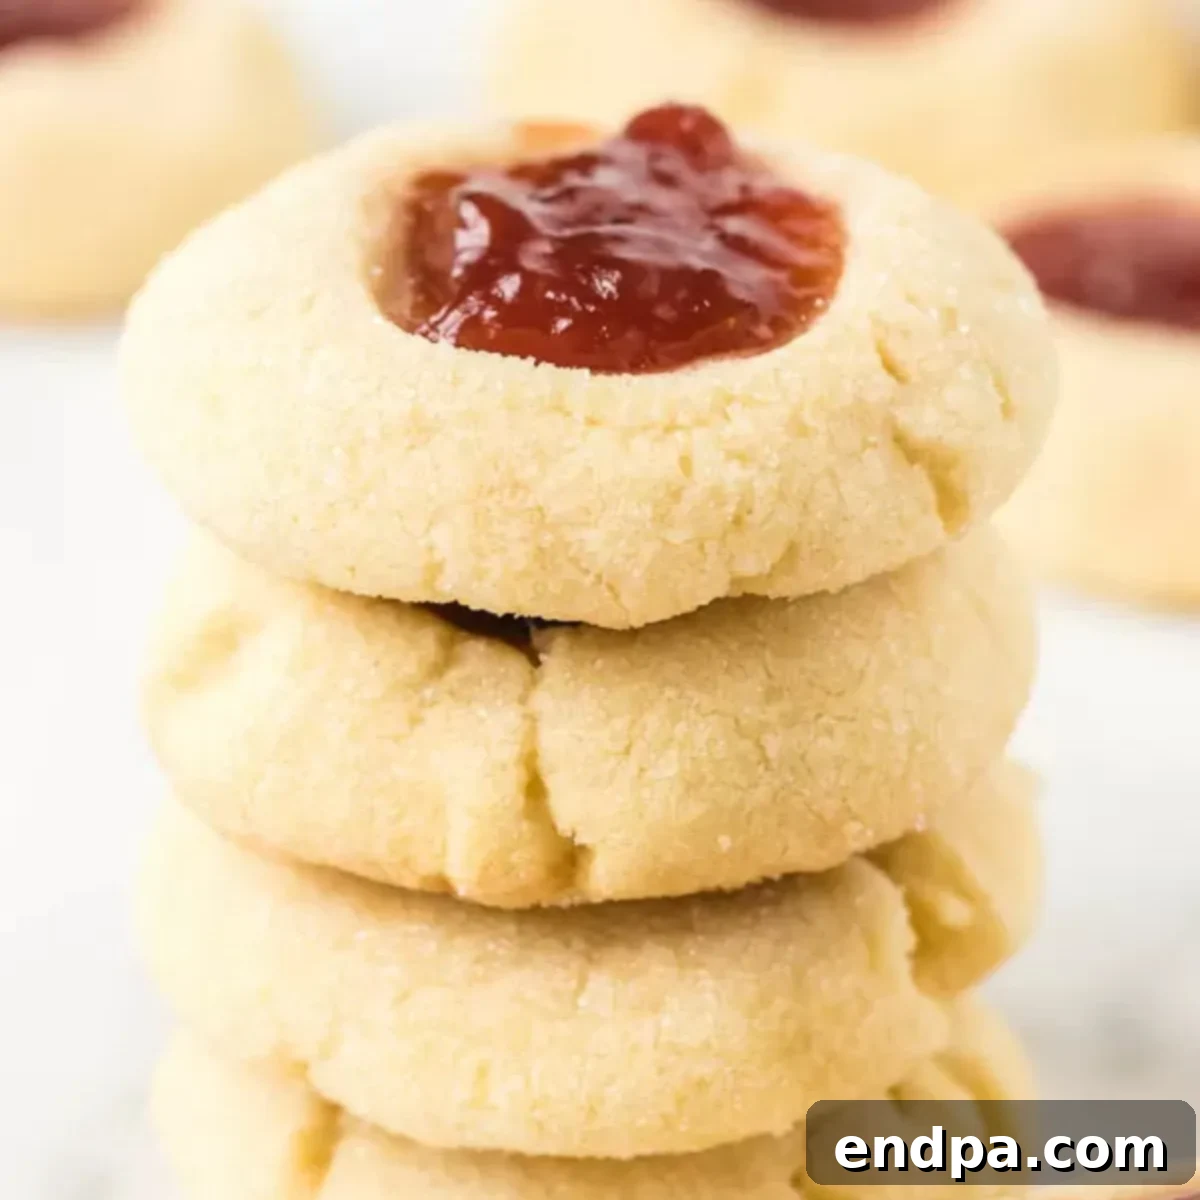
At their core, thumbprint cookies are a delightful and classic butter cookie known for the characteristic “thumbprint” indentation in their center, which is traditionally filled with vibrant fruit jam. These charming treats boast a tender, melt-in-your-mouth texture that makes them incredibly appealing. Originating from Scandinavian baking traditions, these cookies are often referred to as “Hallongrotta” (Swedish for “raspberry cave”) or “Syltkakor” (Swedish for “jam cookies”), highlighting their long-standing popularity in European kitchens.
The magic begins with a simple shortbread or rich butter cookie dough. This dough is meticulously rolled into small, uniform balls, which are then gently pressed with a thumb – or, for those seeking a more consistent indentation, the back of a small measuring spoon works wonders. This creates a perfectly sized hollow, a cozy cradle ready to be filled with a spoonful of your favorite fruit preserve, tangy lemon curd, or even melted chocolate once the cookies have been baked to golden perfection. The contrast between the crumbly, buttery cookie and the soft, often slightly tart jam is what elevates these cookies to such a beloved status.
Their simplicity and charming appearance make them a staple for a myriad of occasions. They’re an absolute must-have addition to any Christmas cookie platter, where their jewel-toned centers add a beautiful splash of color and fruity sweetness amidst richer holiday flavors. Beyond the festive season, they shine brightly at elegant tea parties, baby showers, bridal brunches, or simply as a thoughtful homemade gift for friends and family. The universal appeal of Jam Thumbprint Cookies lies in their comforting familiarity and their ability to evoke a sense of nostalgic warmth with every single bite.
Why You’ll Love This Easy Jam Thumbprint Cookie Recipe
This Jam Thumbprint Cookie recipe isn’t just easy; it’s meticulously crafted to give you perfect, bakery-quality results every single time. Here’s why this recipe is destined to become a cherished staple in your baking repertoire, offering both simplicity and spectacular flavor:
- Effortless Elegance: Don’t let their sophisticated appearance fool you. These cookies require minimal effort and embrace basic baking skills. The steps are incredibly straightforward, making them an ideal project for baking novices and a quick win for seasoned bakers. You’ll be amazed at how easily you can create such a beautiful dessert.
- Irresistible Flavor Profile: The harmonious combination of rich, tender buttery cookie dough and sweet, vibrant fruity jam is a match made in culinary heaven. The cookie base boasts a delightful shortbread-like texture that truly melts in your mouth, providing the perfect canvas for the soft, flavorful jam filling. Each bite is a symphony of contrasting yet complementary tastes and textures.
- Unleash Your Creativity with Customization: One of the greatest joys of this recipe is its incredible adaptability. With a boundless array of jam flavors and other imaginative fillings, you can effortlessly tailor each batch to perfectly suit your personal preferences, dietary needs, or the specific occasion. It’s a fantastic recipe for experimenting with different tastes, colors, and even festive themes.
- Perfect for Any Occasion: Whether you’re in need of a festive treat to grace your holiday table, a charming and inviting addition to a leisurely brunch spread, or simply a quick and comforting sweet indulgence to pair with your afternoon coffee or tea, these versatile cookies fit the bill perfectly. They bring a touch of homemade warmth to any event.
- A Delightful Baking Project for All Ages: The hands-on process of rolling the cookie dough into neat balls and then carefully making the “thumbprint” indentations is inherently fun and engaging. This makes it an absolutely wonderful recipe to bake with children, creating cherished memories in the kitchen while producing delicious results.
- Minimal Special Equipment Required: You likely already possess all the necessary tools in your well-stocked kitchen. A reliable stand mixer (or a hand mixer for a good arm workout!), standard baking sheets, and basic measuring utensils are all you’ll need. There’s no requirement for any fancy, specialized gadgets, making this recipe accessible to everyone.
- Freezer-Friendly Convenience: For those who love to plan ahead or always have homemade treats on hand, this recipe is incredibly freezer-friendly. You can freeze the unbaked dough balls, ready to be filled with jam and baked fresh whenever a craving strikes or unexpected guests arrive.
Essential Ingredients for Perfect Thumbprints
Crafting these delectable Jam Thumbprint Cookies requires just a handful of common pantry staples. However, the true secret to their exceptional taste and texture lies in the quality of these ingredients, particularly the butter and your chosen jam. Always aim for fresh, high-quality components to ensure the most outstanding and flavorful results.
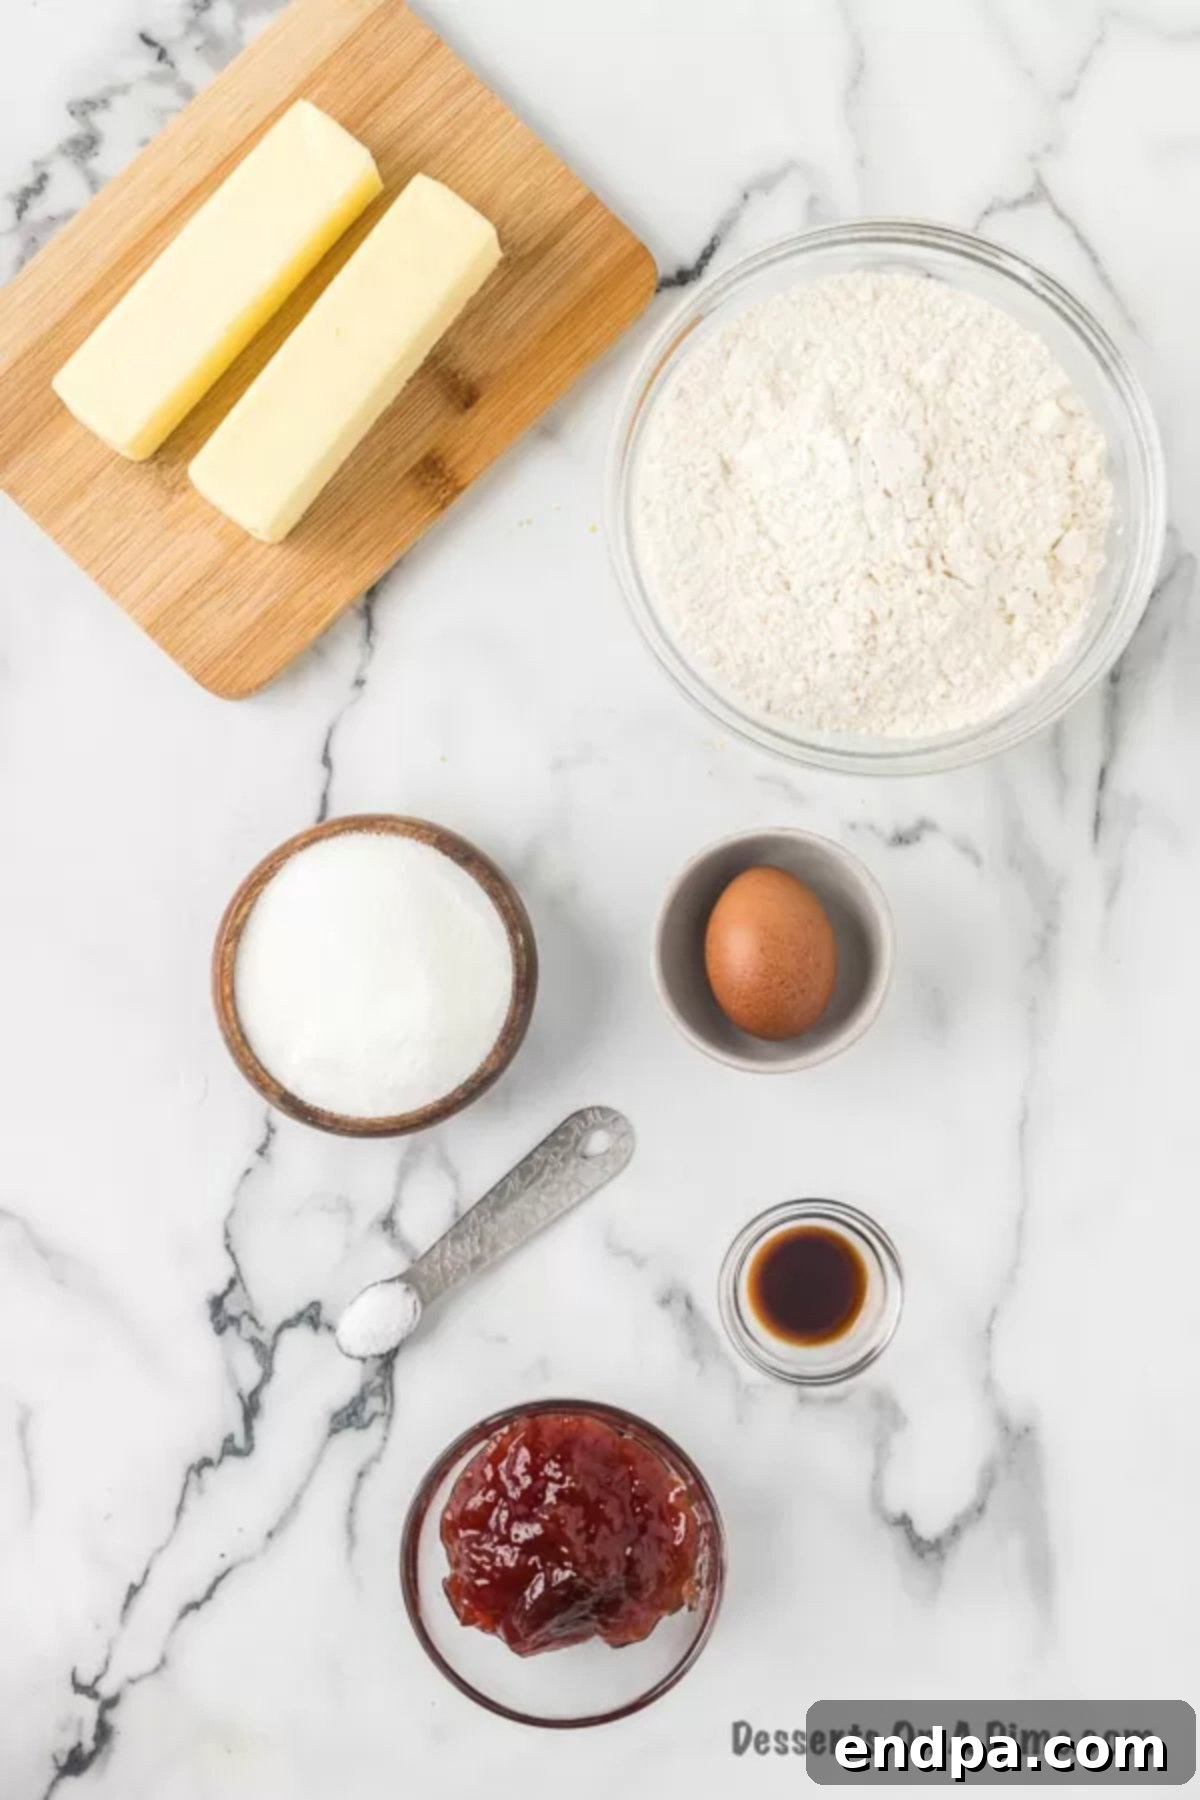
- Unsalted Butter (Softened): This is the backbone of our buttery cookie. Using unsalted butter grants you precise control over the overall salt content in your recipe. Critically, ensure your butter is genuinely softened to room temperature – it should be pliable enough to leave an indentation when gently pressed, but never greasy or melted. Properly softened butter is crucial for successful creaming with sugar, as it creates the light, airy, and tender base characteristic of a superior shortbread-style cookie.
- Granulated Sugar: Granulated sugar serves multiple vital roles in this recipe. Firstly, it provides the essential sweetness that makes these cookies a true dessert. Secondly, it contributes significantly to the crisp yet tender texture that defines a good shortbread. Finally, a small amount of extra granulated sugar is used for rolling the cookie dough balls, which adds a delightful sparkling crust and an extra layer of sweetness and texture.
- Large Egg Yolk: The inclusion of just a single large egg yolk is a secret weapon for achieving the perfect tender crumb. The egg yolk adds a luxurious richness and essential moisture to the cookie dough, helping to bind all the ingredients together seamlessly. By using only the yolk (and omitting the white), we prevent the cookie from developing an overly chewy texture, ensuring it remains delicate and crumbly.
- Vanilla Extract: A non-negotiable staple in nearly all classic cookie recipes, vanilla extract works wonders in enhancing and deepening all the other flavors present. It infuses the cookies with a warm, inviting aroma and a universally beloved taste. For the most authentic and robust flavor, always reach for pure vanilla extract rather than imitation.
- All-Purpose Flour: All-purpose flour forms the fundamental structure of our delightful cookie dough. Accurate measurement of your flour is paramount to avoid common baking pitfalls. Ideally, measure your flour by weight using a kitchen scale. If measuring by volume, spoon the flour gently into your measuring cup and then level it off with a straight edge; never scoop directly from the bag, as this compacts the flour and can result in a dense, dry, or tough cookie.
- Salt: Even in a sweet recipe, a mere pinch of salt plays an incredibly important role. It acts as a flavor enhancer, balancing the sweetness and expertly bringing out the nuanced depths of flavor in both the butter and the jam. Do not underestimate its importance, and never skip this small but mighty ingredient!
- Jam or Preserves (of your choice): This is truly where the magic of “thumbprint” cookies comes alive! The choice of jam offers endless possibilities for customization and flavor. Popular and highly recommended choices include vibrant raspberry, sweet strawberry, tangy apricot, or luscious blueberry preserves. When selecting your jam, opt for a good quality product with a rich, vibrant flavor and a consistency that is not too runny, to prevent it from bubbling over during baking.
For the complete list of precise quantities and comprehensive, step-by-step instructions, please refer to the detailed recipe card conveniently located further down on this page. Happy baking!
Creative Variations & Flavor Ideas
One of the most exciting aspects of baking Jam Thumbprint Cookies is their incredible versatility and how easily they can be customized to suit any palate, occasion, or seasonal theme. While classic fruit jams are always a surefire hit, don’t hesitate to unleash your culinary creativity with different fillings, dough flavorings, and decorative toppings. Here are some inspiring ideas to elevate your next batch of thumbprint cookies:
Jam & Fruit Filling Options:
- Berry Bliss: Raspberry jam stands as a timeless and highly popular choice, offering a perfect, delightful balance of sweetness and tartness that cuts through the buttery richness of the cookie. Sweet strawberry, succulent blueberry, and rich blackberry preserves are equally delicious alternatives, each providing beautifully vibrant, jewel-toned centers that are visually appealing and bursting with fruity flavor.
- Citrus Zest: For those who appreciate a bright and tangy contrast to the rich, tender cookie, consider filling your thumbprints with luscious lemon curd or zesty orange marmalade. These citrus-based fillings introduce a sophisticated and refreshing twist, perfect for a brighter flavor profile.
- Stone Fruit Delights: Indulge in the warm, comforting flavors of apricot, peach, or cherry preserves. These fruit fillings offer a lovely depth and are especially delightful during the cooler autumn and winter months, adding a cozy touch to your cookie selection.
- Tropical Twist: For an exotic escape, explore fillings like sweet guava jelly or vibrant pineapple jam. These tropical flavors can transport your taste buds to a sunny paradise, adding an unexpected and delightful dimension to your cookies.
- Assorted Jams: If you find yourself unable to choose just one flavor, why limit yourself? Prepare several small bowls of different jams and fill each cookie with a unique flavor. This “rainbow assortment” approach is particularly fun and visually stunning for holiday cookie platters, offering guests a delightful variety.
Dough Flavor & Texture Enhancements:
- Nutty Crunch: To introduce an added layer of texture and a delightful nutty flavor, consider rolling the cookie dough balls in finely chopped nuts (such as pecans, almonds, or walnuts) before creating the thumbprint indentation. Alternatively, you can mix a small amount of finely ground nuts directly into the cookie dough for a more integrated nutty essence.
- Almond Extract: For a distinct, delicate, and sophisticated almond flavor that beautifully complements many fruit jams, substitute half or even all of the vanilla extract with high-quality almond extract. This simple swap can completely transform the cookie’s character.
- Citrus Zest in Dough: Elevate the fragrance and taste of your cookie dough by adding a teaspoon of finely grated lemon, orange, or lime zest. This infuses the dough with a subtle, bright, and wonderfully aromatic lift that pairs exquisitely with fruit fillings.
- Spiced Cookies: For a cozy or festive touch, incorporate a pinch of warm spices like cinnamon, nutmeg, or cardamom into your dry ingredients. These spices add depth and a comforting aroma, making them perfect for autumn or holiday baking.
Additional Toppings & Finishing Touches:
- Powdered Sugar Dusting: Once your cookies have completely cooled, a light, elegant dusting of powdered sugar adds a beautiful snowy finish and a touch more delicate sweetness.
- Chocolate Drizzle: For the ultimate indulgence, melt some premium dark, milk, or white chocolate and artfully drizzle it over the cooled, jam-filled cookies. This adds a luxurious touch and a wonderful flavor combination.
- Simple Glazes: A basic lemon or vanilla glaze, easily made with powdered sugar and a liquid, can be piped artistically over the cookies for extra flair, shine, and an additional layer of complementary flavor.
- Coconut Flakes: For a tropical and delightfully chewy texture, try rolling the cookie dough balls in shredded coconut (either toasted or untoasted) before baking.
- Cream Cheese Filling: For a richer, creamier center that’s a departure from jam, you can fill some of your cooled cookies with a simple, sweetened cream cheese frosting instead of fruit preserves.
Remember, experimentation is the spice of life in baking! Feel completely free to mix and match any of these creative ideas to craft your truly unique and signature thumbprint cookie masterpiece. The possibilities are as endless as your imagination!
Step-by-Step: How to Make Jam Thumbprint Cookies
Baking these classic Jam Thumbprint Cookies is a straightforward and rewarding process that consistently yields impressive results. By following these detailed, easy-to-understand steps, you can ensure your cookies turn out perfectly golden, wonderfully tender, and utterly delicious every single time. Precision in baking, even with simple cookies, makes all the difference!
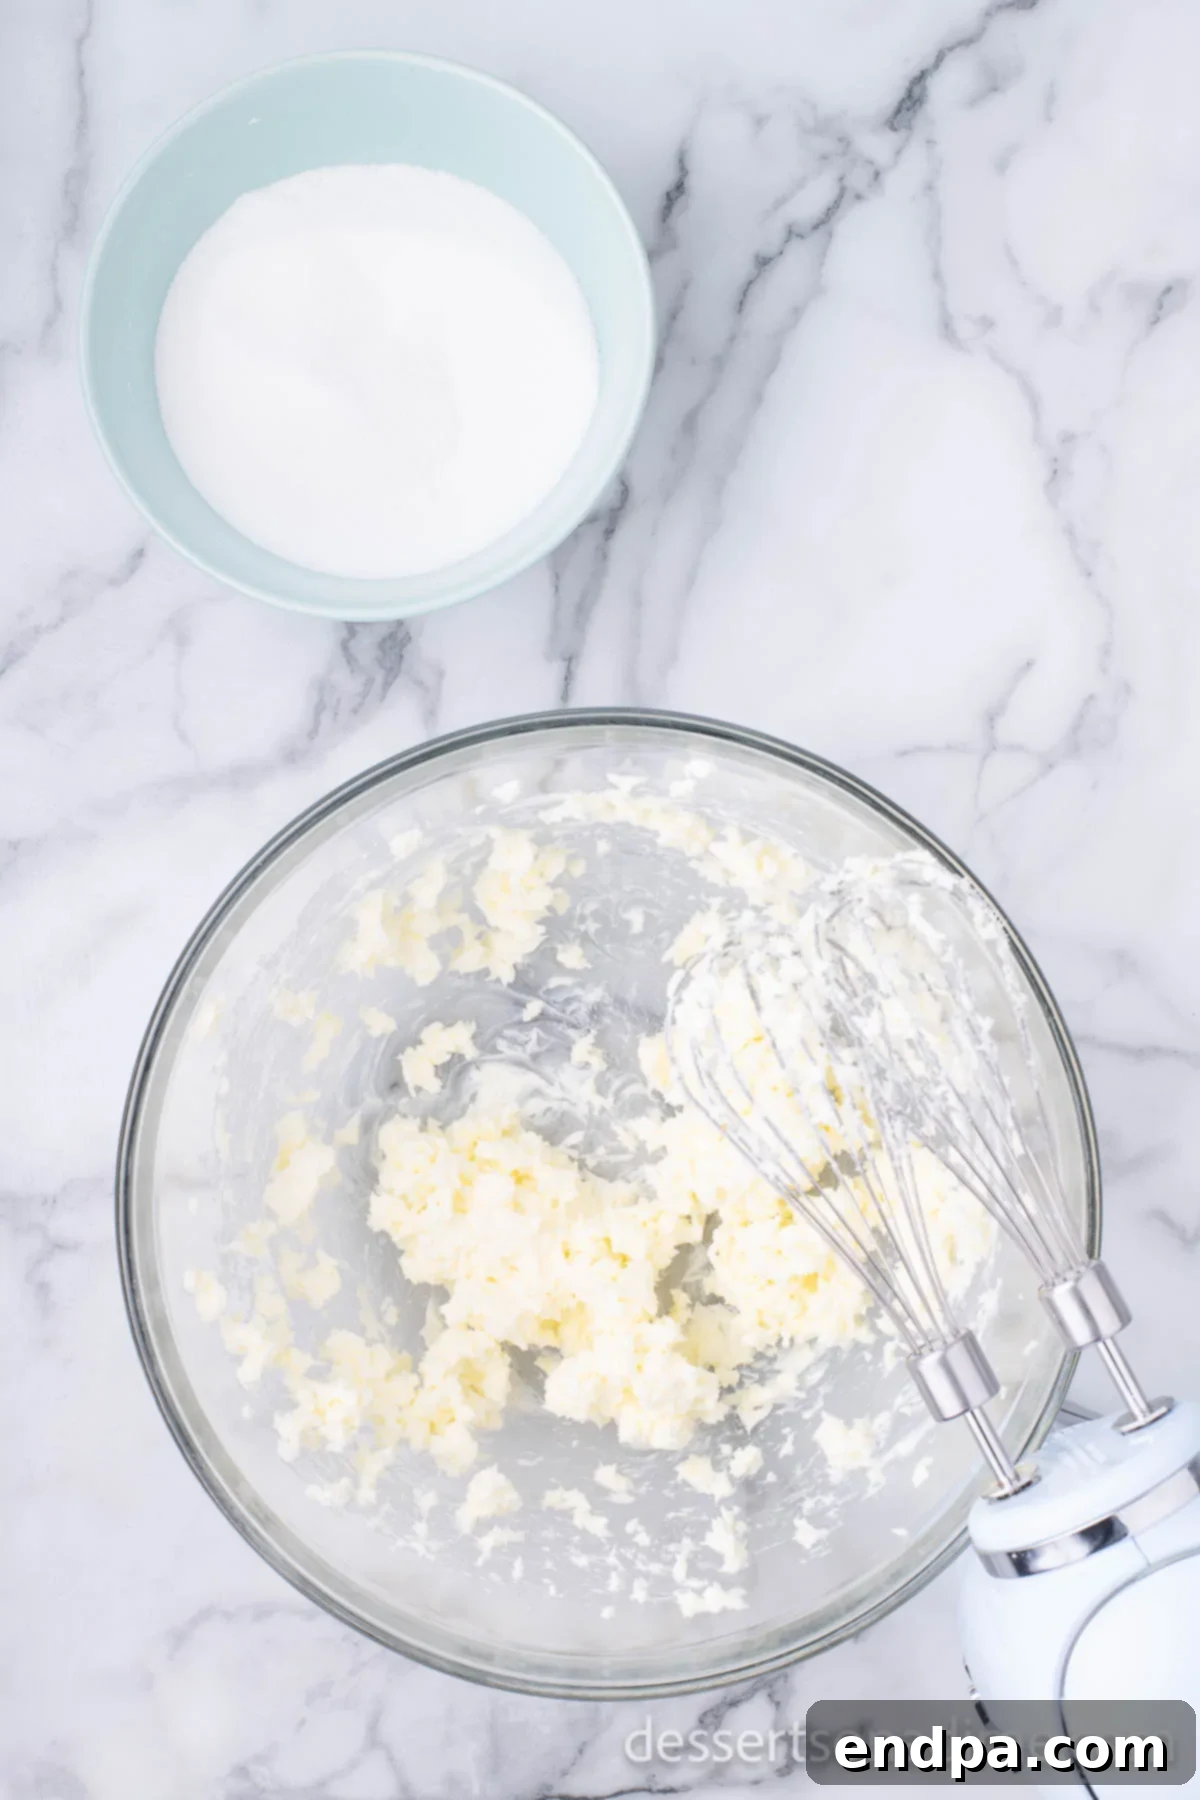
Step 1: Prepare Your Workspace & Cream Butter and Sugar. Your baking journey begins with preparation. First, preheat your oven accurately to 350°F (175°C). Then, meticulously line your baking sheets with either parchment paper or reusable silicone mats; this crucial step prevents sticking and ensures easy removal. In a spacious mixing bowl, combine the unsalted butter, which should be perfectly softened to room temperature, and the granulated sugar. Employing a stand mixer fitted with the paddle attachment, or a robust hand mixer, cream these two ingredients together on a medium speed. Continue mixing until the mixture transforms into a light, airy, and visibly pale consistency. This creaming process is essential as it incorporates air, which is vital for developing the tender, delicate texture of the finished cookie.
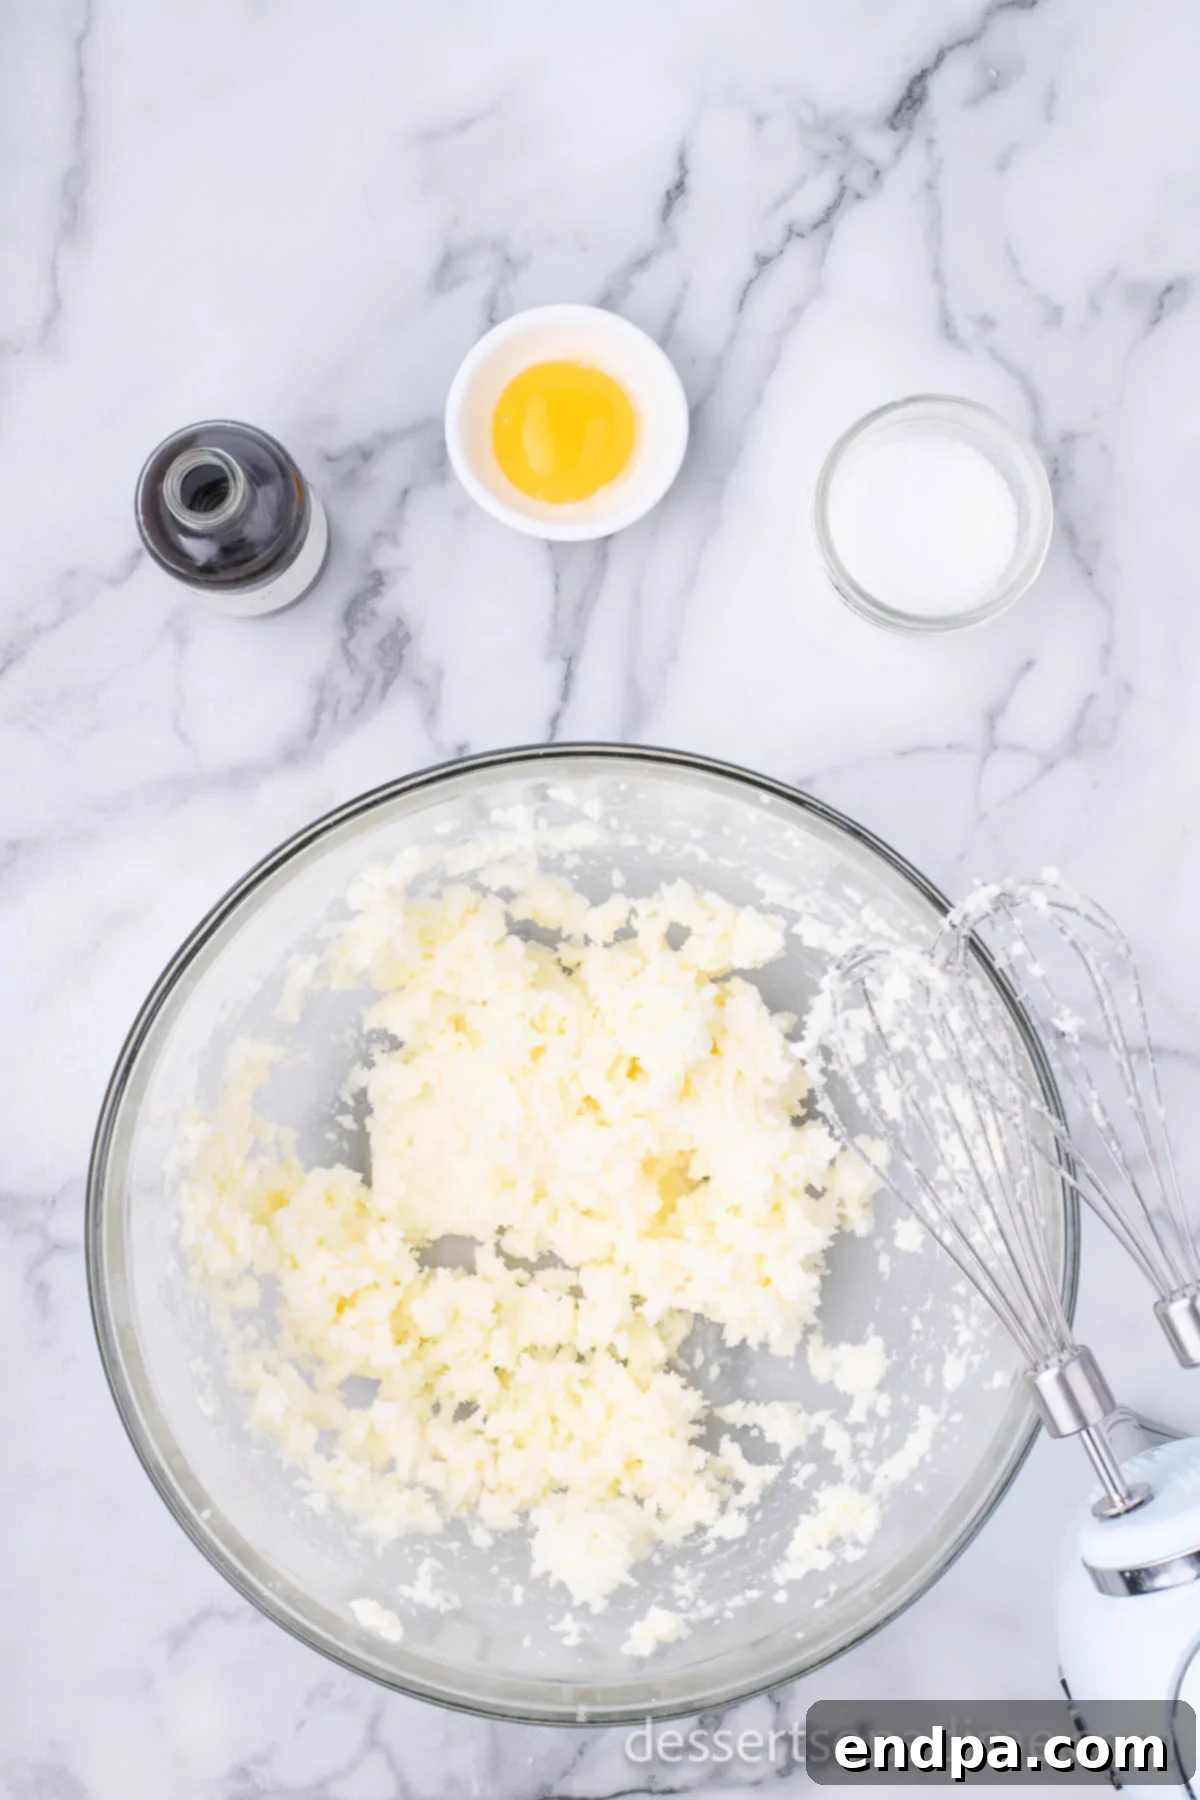
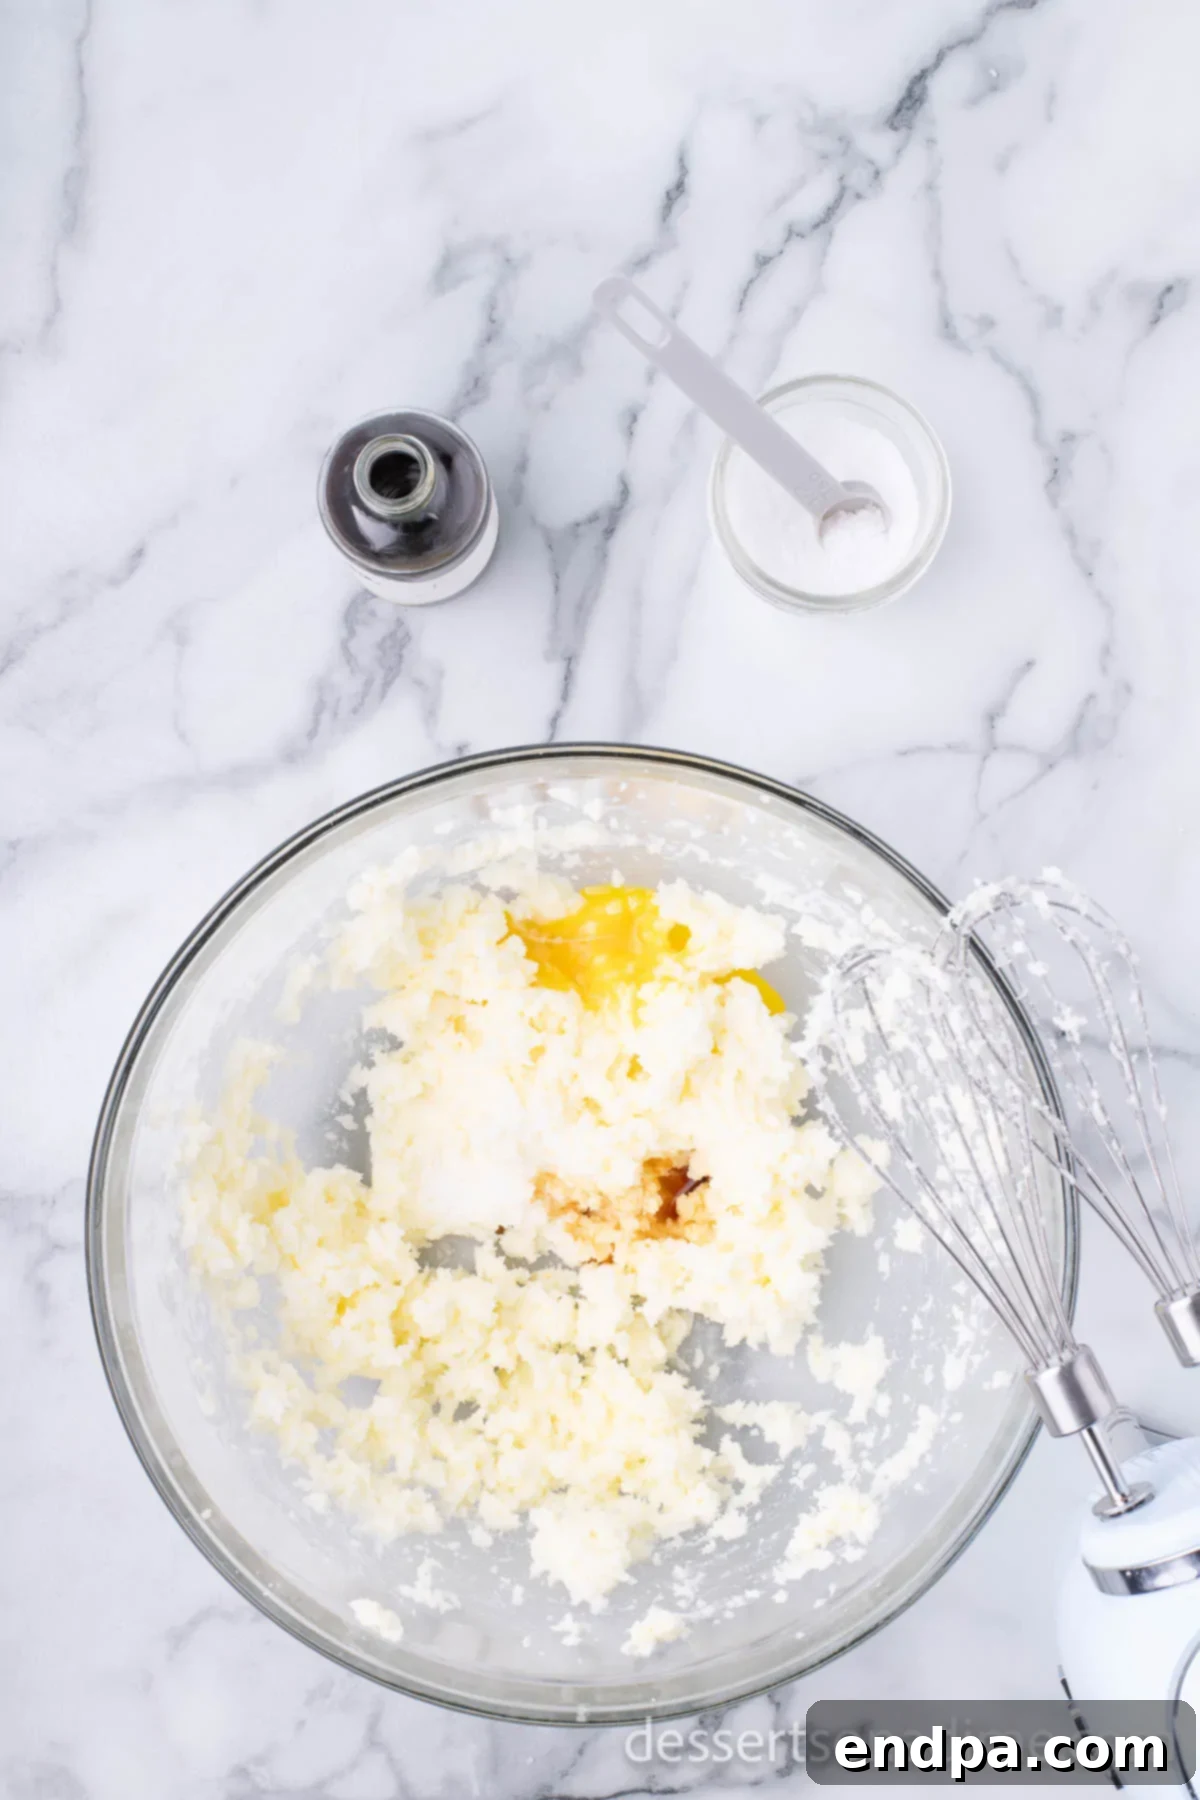
Step 2: Incorporate Wet Ingredients. Once your butter and sugar are beautifully creamed, it’s time to introduce the enriching wet ingredients. Carefully add the single large egg yolk and the vanilla extract to the mixture. Continue mixing on a medium-low speed. The goal here is to ensure all ingredients are thoroughly combined and seamlessly integrated, resulting in a smooth, uniform mixture. Throughout this step, remember to periodically stop the mixer and scrape down the sides of the bowl with a spatula. This guarantees that every bit of the mixture is evenly incorporated, preventing any unmixed pockets of ingredients.
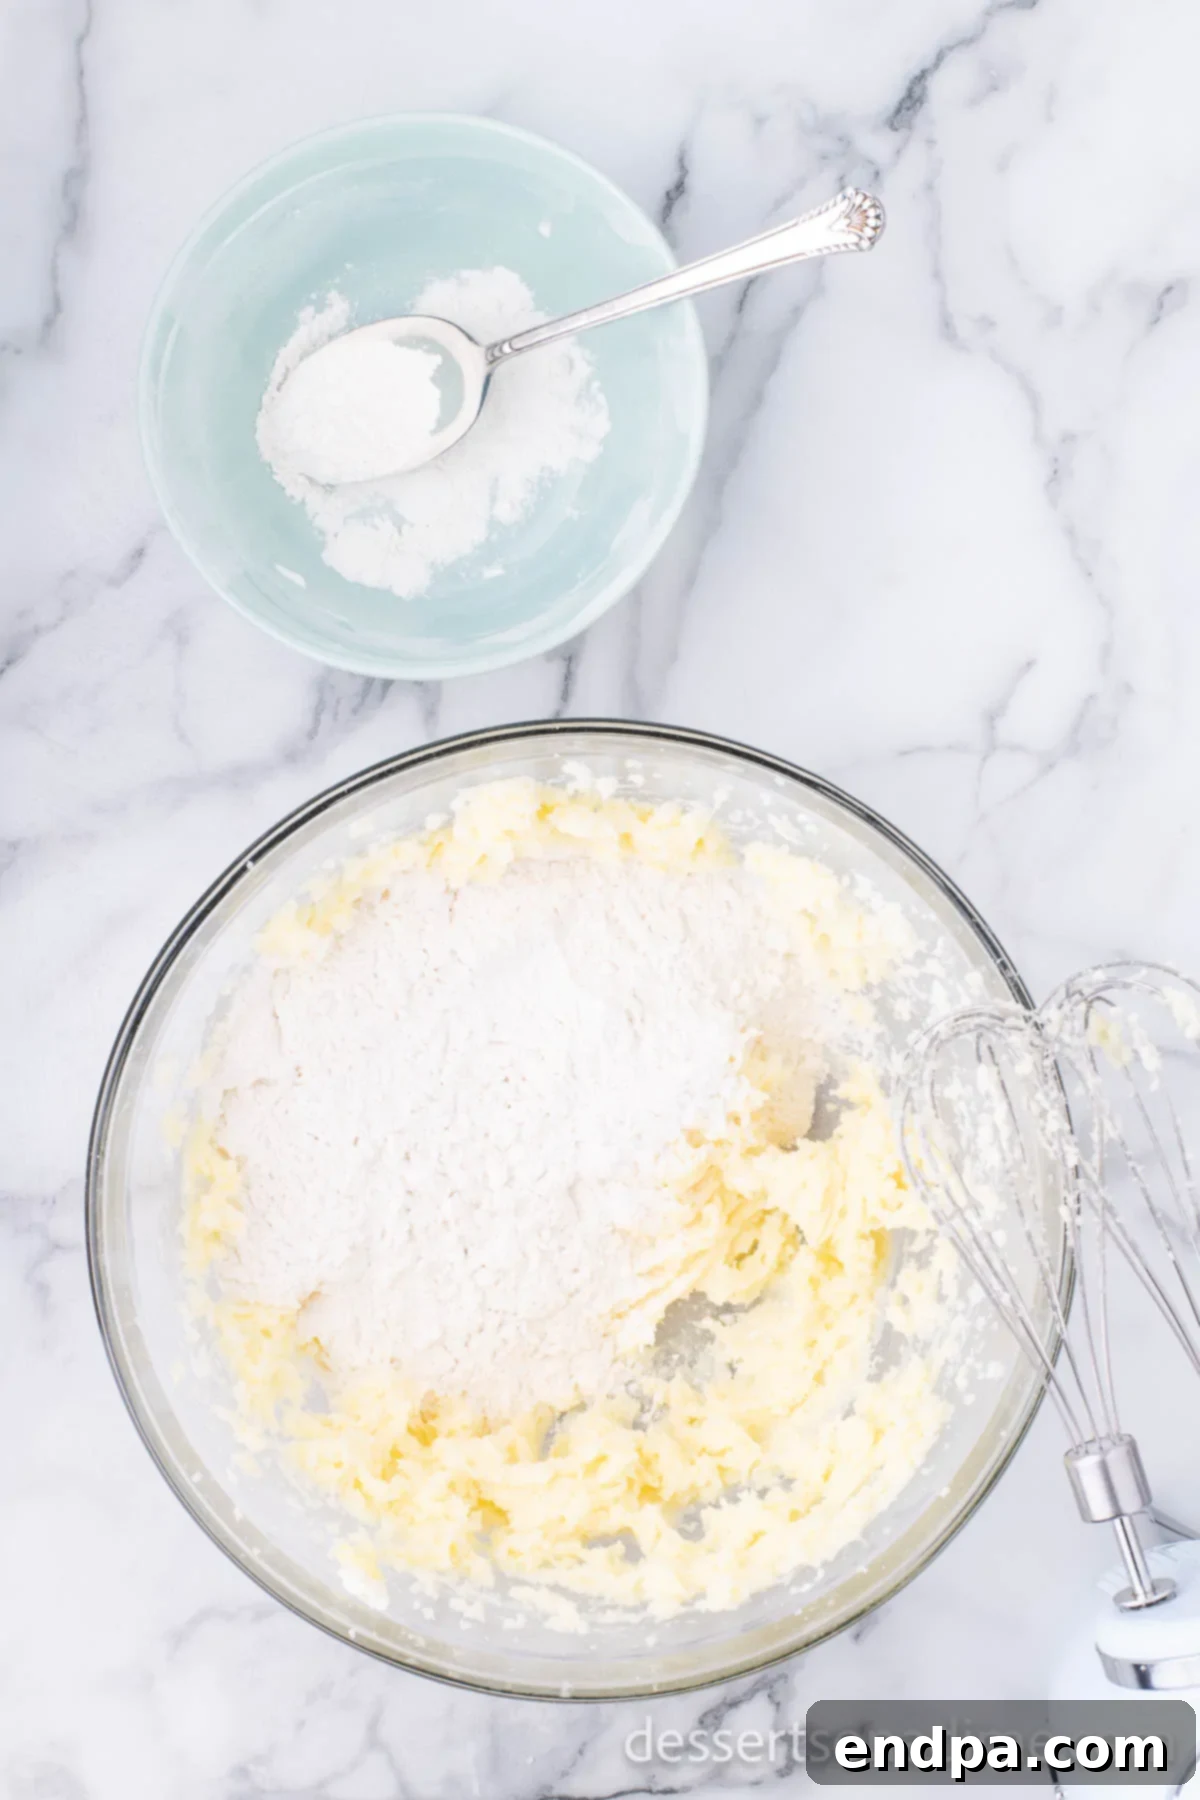
Step 3: Combine Dry and Wet Ingredients. Now, for the final stage of dough preparation. In a separate, smaller bowl, take a moment to whisk together the all-purpose flour and salt. This ensures these dry ingredients are well distributed before being added to the wet mixture. Gradually add the whisked dry ingredients to the wet mixture in the larger bowl. Mix on a low speed, just until the ingredients are combined. Be exceedingly careful not to overmix the dough at this stage; overmixing develops the gluten in the flour, which can lead to tough, rather than tender, cookies. Stop mixing as soon as no visible dry streaks of flour remain, and the dough just comes together.
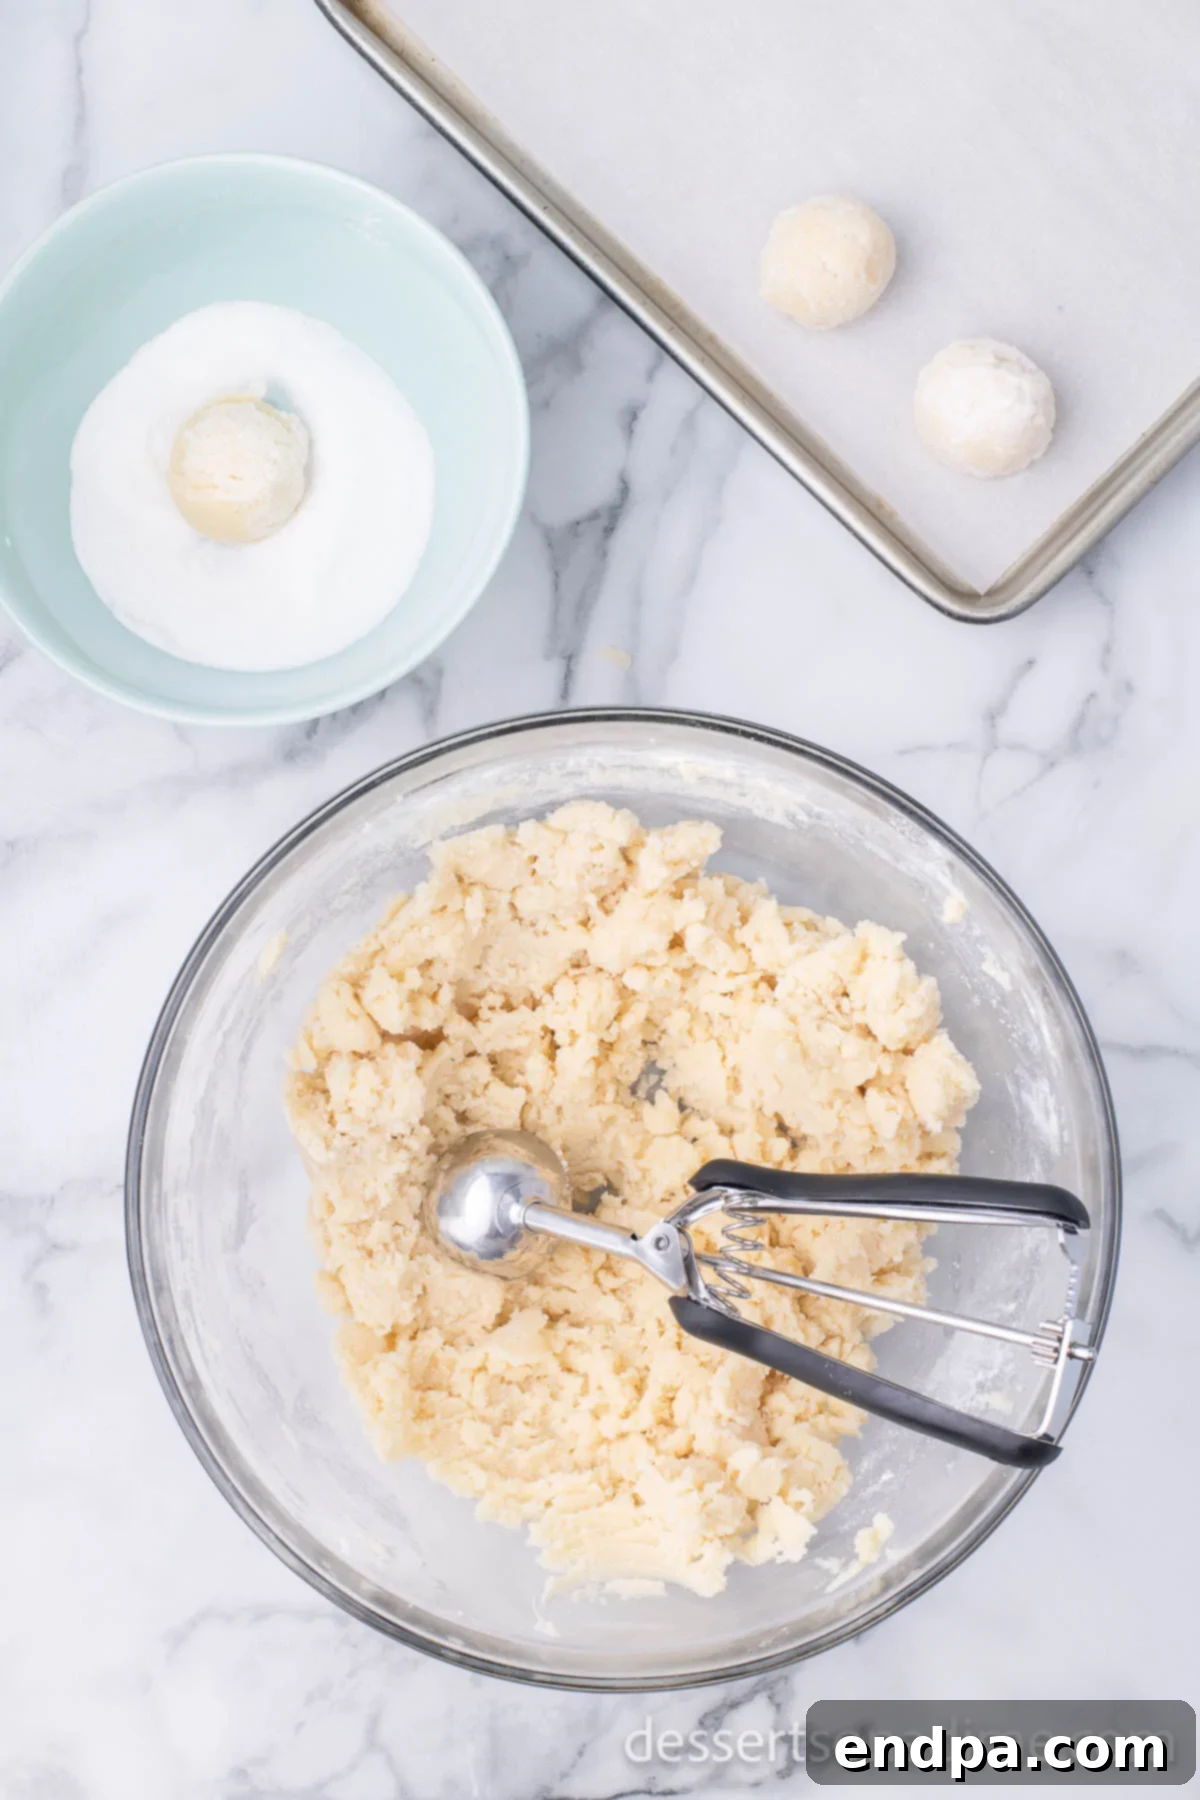
Step 4: Shape the Cookies. Achieving uniformly sized cookies is key for even baking and a beautiful presentation. Utilize a small cookie scoop (approximately 1.5 tablespoons capacity) or a standard tablespoon to portion out the cookie dough. Gently roll each portion of dough into a smooth, compact ball between your palms. In a shallow bowl, place the remaining 3 tablespoons of granulated sugar. Roll each dough ball thoroughly in this sugar, ensuring it’s evenly coated on all sides. Then, arrange the coated dough balls on your prepared baking sheets, leaving about 2 inches of space between each to allow for slight spreading. For optimal results and to further prevent excessive spreading during baking, consider a quick chill: place the shaped dough balls in the refrigerator for 15-20 minutes at this stage.
Step 5: Create the Thumbprints. This step gives the thumbprint cookie its iconic name! Once your sugared dough balls are neatly arranged on the baking sheet, it’s time to create the indentations. Gently but firmly press into the center of each cookie dough ball. You can use your actual thumb, but for a more uniform and perfectly rounded hollow, the back of a small measuring spoon (like a ½ teaspoon or a ¼ teaspoon) or even a clean, round handle of a kitchen utensil works beautifully. Ensure the indentation is sufficiently deep to hold a generous amount of jam, but not so deep that it penetrates all the way through the cookie. If the edges of the cookie crack slightly around the indent, don’t worry – simply and gently pinch them back together with your fingers to smooth them out.
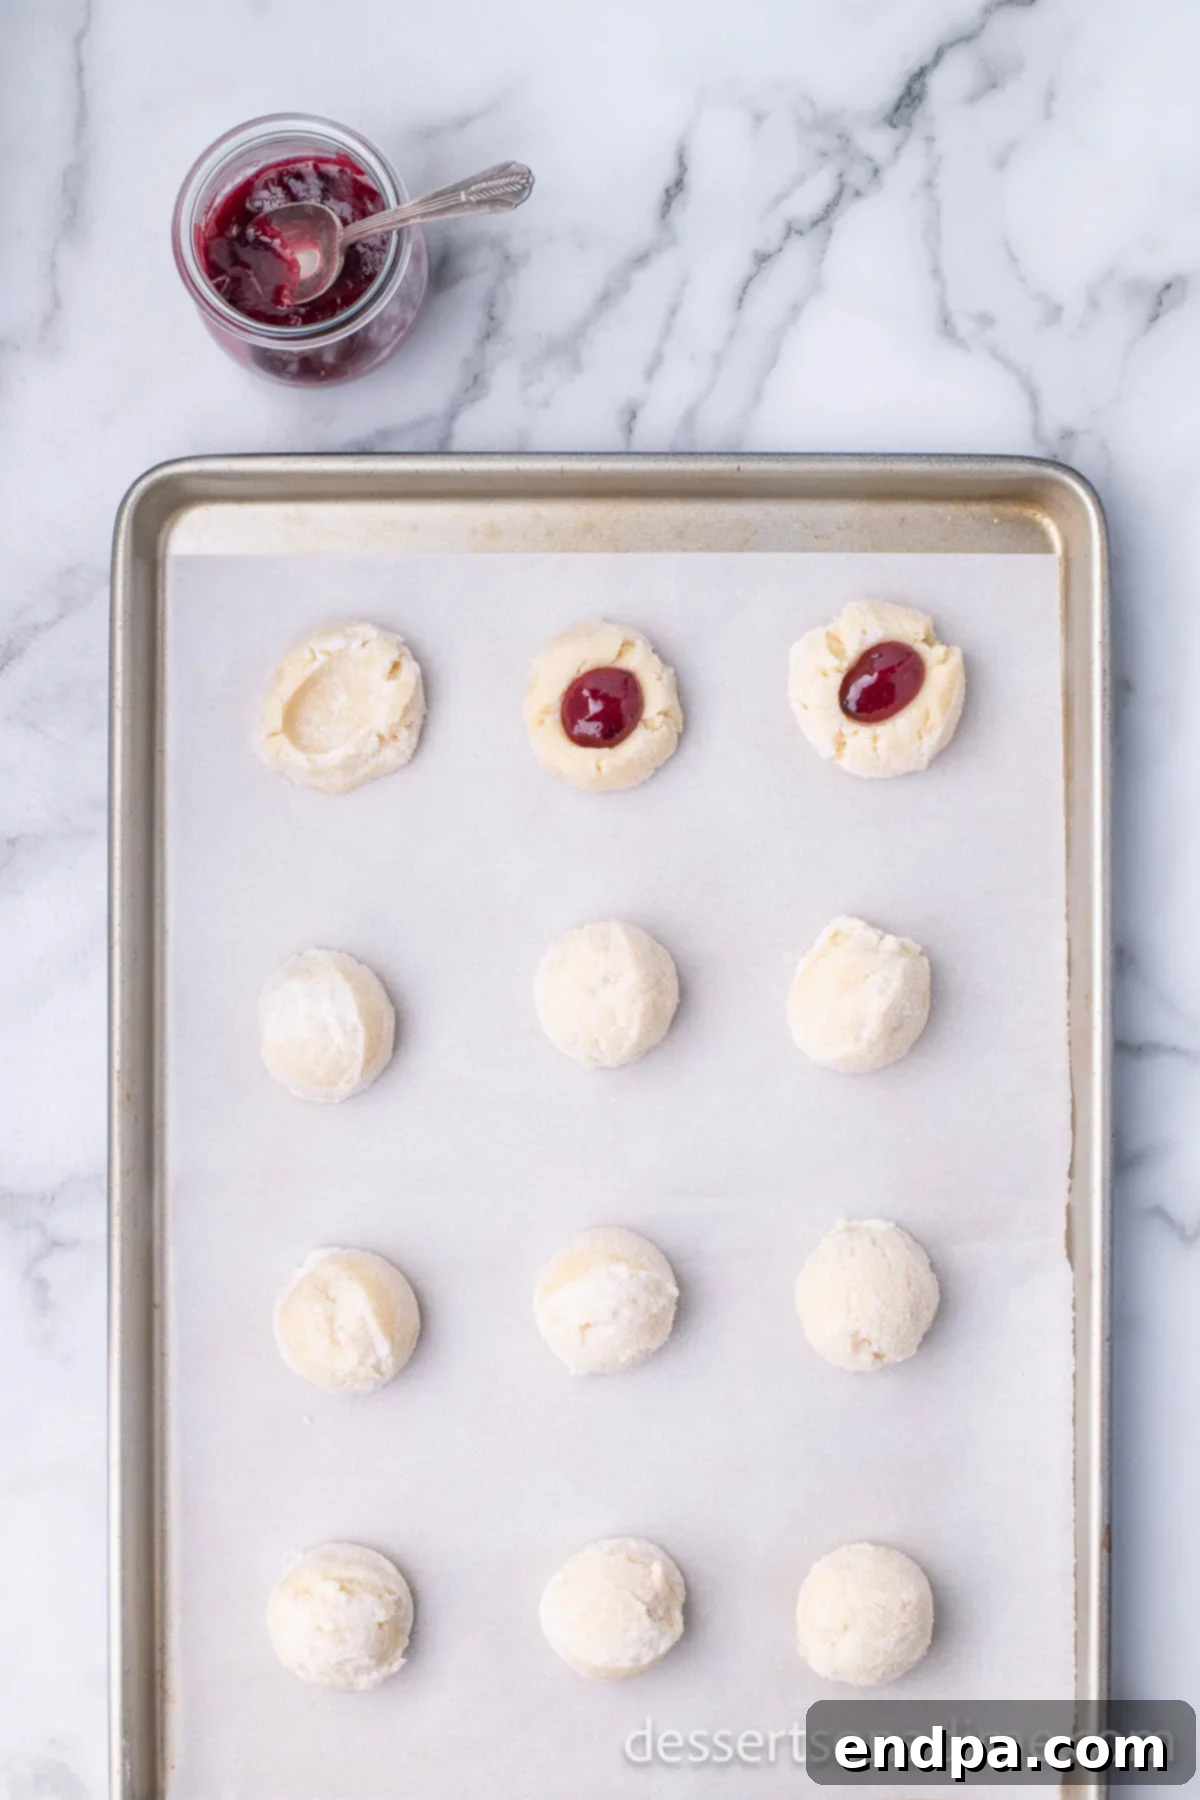
Step 6: Fill with Jam. Now for the vibrant heart of these cookies! Carefully spoon about ½ teaspoon of your chosen fruit jam or preserves into each indentation you’ve created. It’s crucial to be mindful of the quantity here; avoid the temptation to overfill, as too much jam can bubble over the sides during baking, leading to messy cookies and potentially burnt sugar on your baking sheet. A small measuring spoon is an excellent tool for precise filling, helping you maintain consistency. Gently spread the jam to fill the hollow evenly. If your jam is particularly thick, you might need to give it a quick stir to make it easier to spoon.
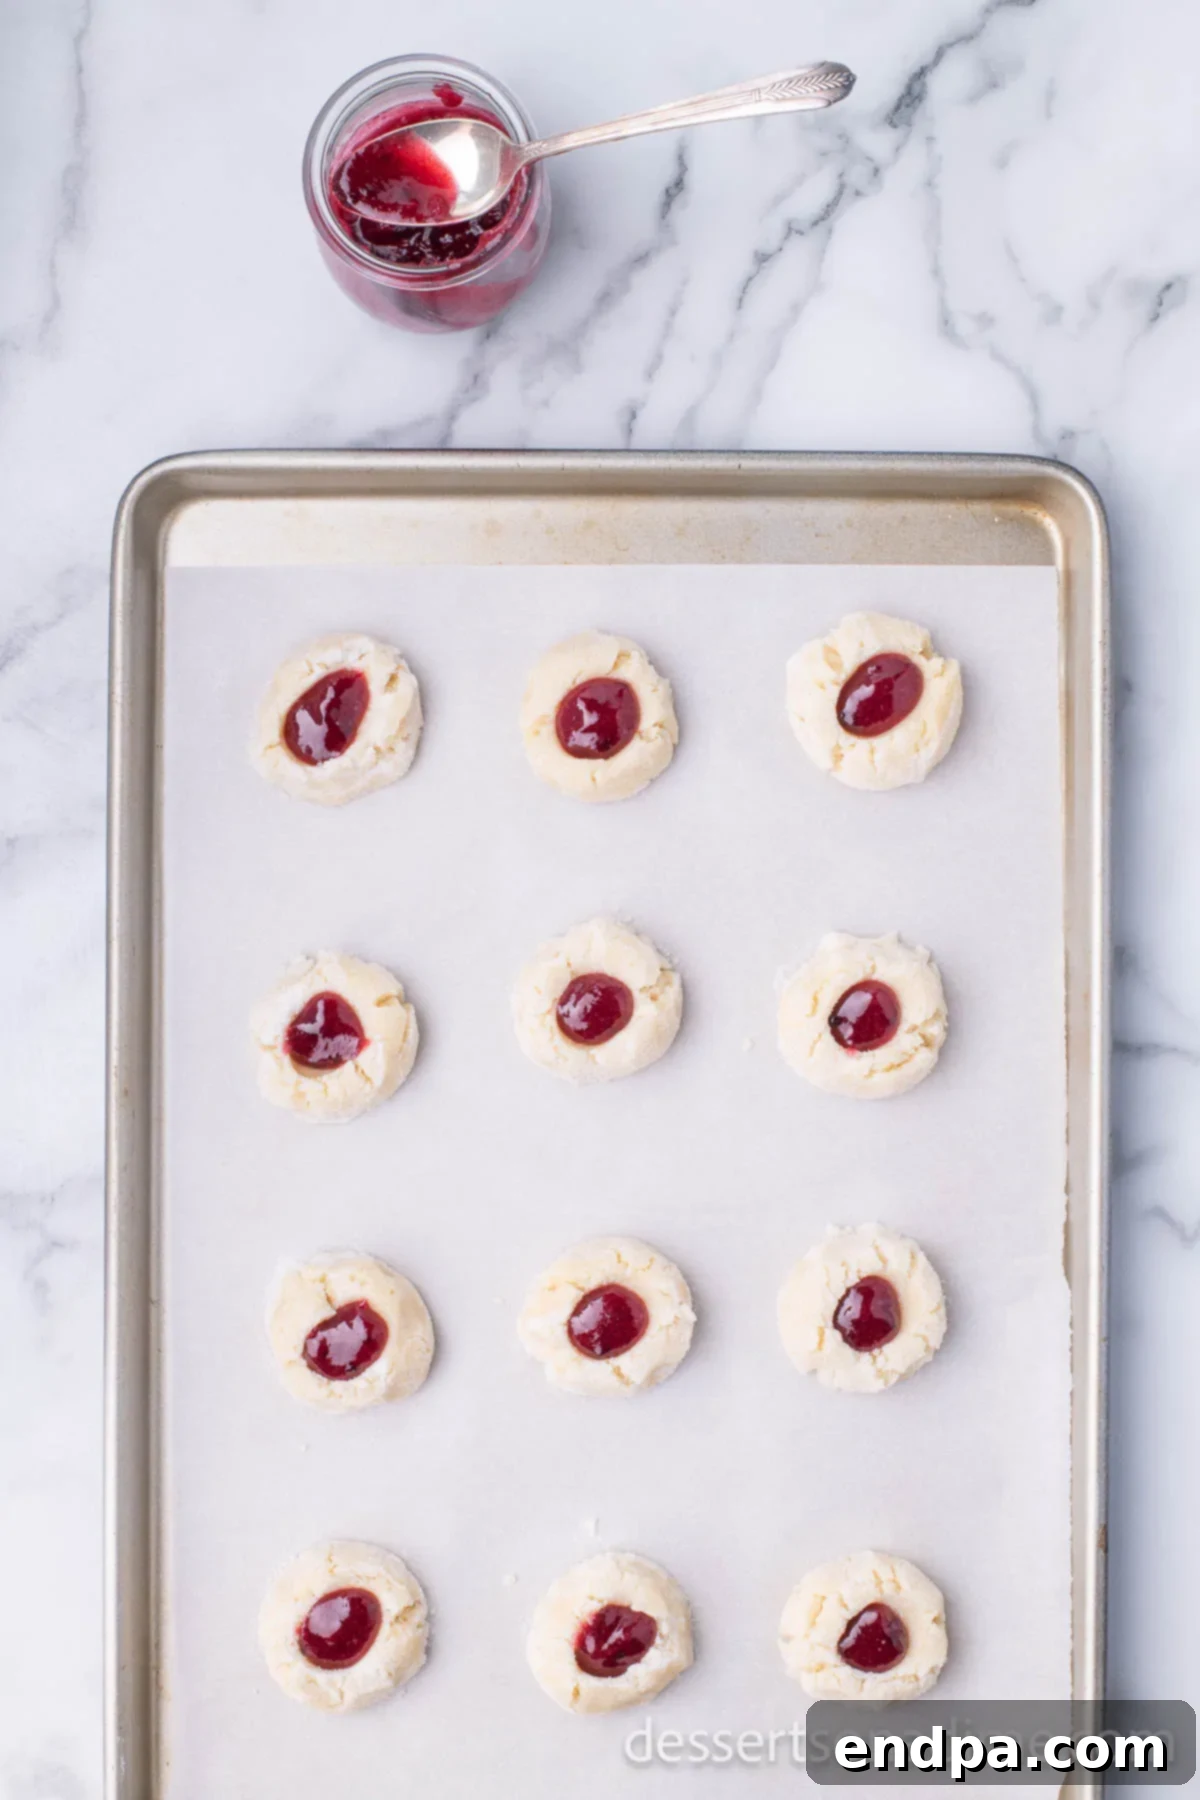
Step 7: Bake to Golden Perfection. With your cookies expertly shaped and filled, it’s time for the oven. Carefully place the baking sheets into your preheated 350°F (175°C) oven. Bake for approximately 12 to 14 minutes. It’s important to remember that baking times can fluctuate slightly depending on the nuances of your specific oven, so vigilant observation is key. The cookies are perfectly ready when their edges appear lightly golden brown and delicately set. The jam in the center should be visibly bubbly and appear somewhat set. Resist the urge to overbake, as this can cause the cookies to become dry and lose their signature tender, melt-in-your-mouth texture. A slightly underbaked center is better than an overbaked one for these cookies.
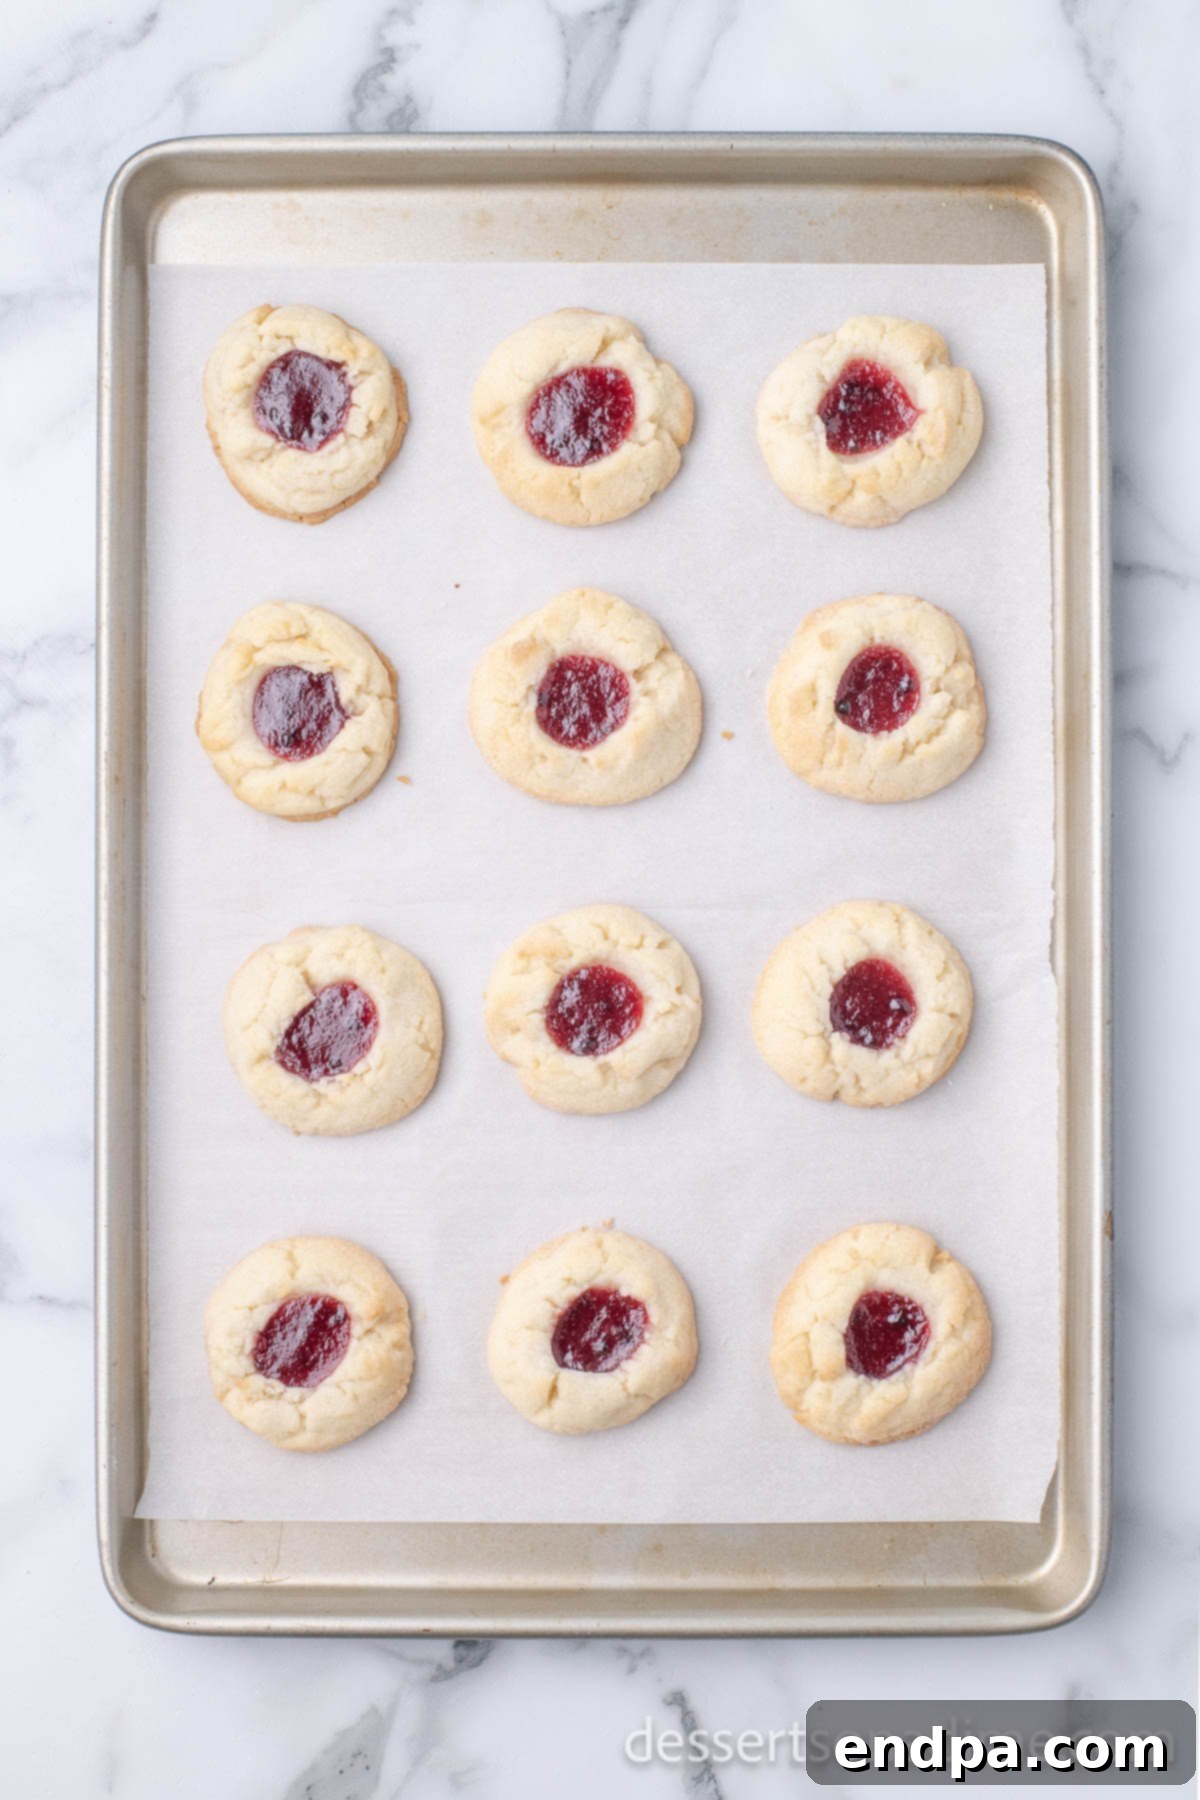
Step 8: Cool and Enjoy. The aroma of freshly baked cookies will be filling your kitchen! Once baked, carefully remove the baking sheets from the oven. Allow the cookies to rest and cool directly on the baking sheet for a crucial period of about 5 minutes. This vital step permits the delicate cookies to firm up and set, preventing them from crumbling or breaking apart when you attempt to move them. After this initial cooling period, carefully transfer the warm cookies from the baking sheet to a wire rack. Here, they should cool completely to room temperature. As they cool, the jam will continue to set and firm up further. Once fully cooled, your beautiful and delicious Jam Thumbprint Cookies are ready to be served and savored! Enjoy every delightful bite.
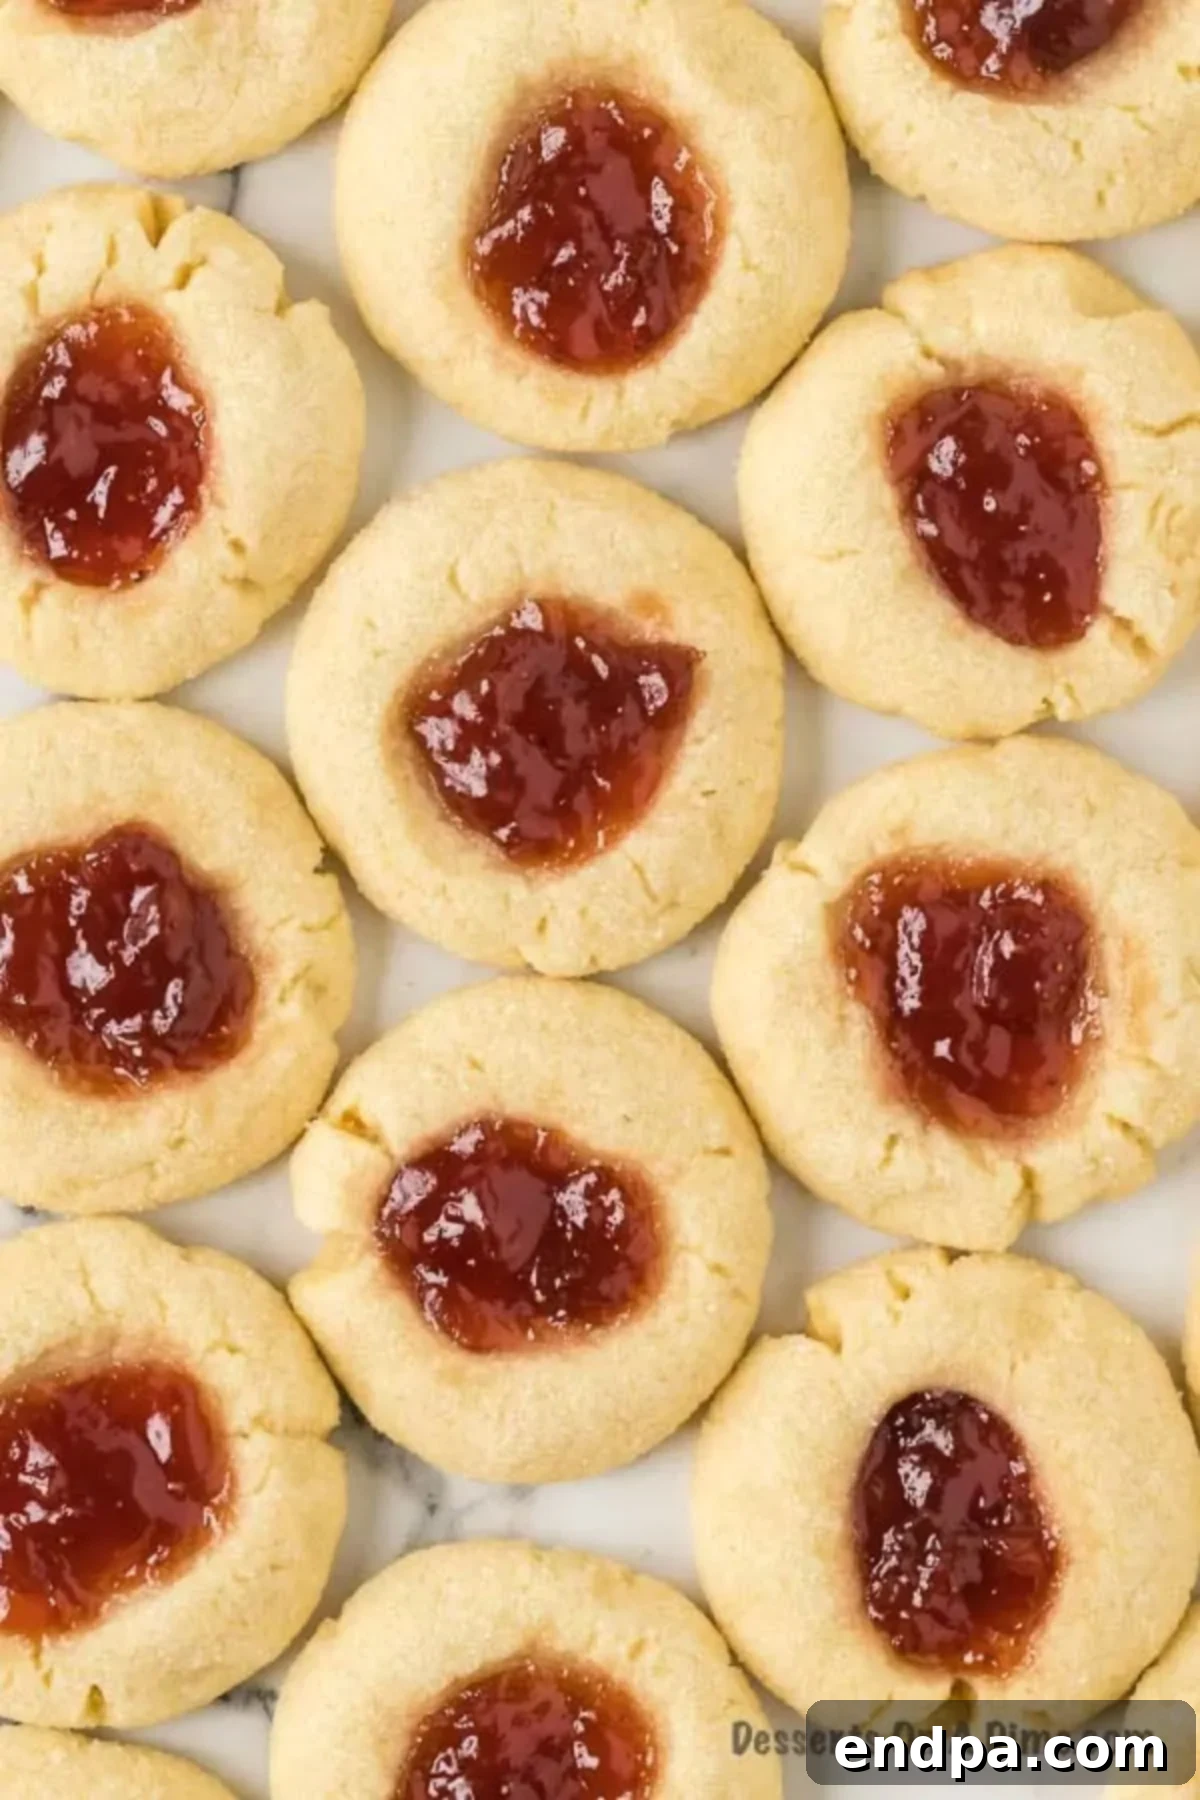
Pro Tips for Flawless Jam Thumbprint Cookies
Achieving the perfect Jam Thumbprint Cookie is much easier than you might think, especially when armed with a few expert baking tips. These small but significant adjustments can make an immense difference in the final outcome, consistently ensuring your cookies are tender, intensely flavorful, and beautifully presented every single time you bake a batch. Master these techniques for bakery-worthy results!
- Butter Temperature is Key: The most crucial element for a tender, non-spreading cookie is ensuring your unsalted butter is genuinely at room temperature. It should be perfectly pliable enough to leave a slight indentation when gently pressed, but critically, it should never be greasy, oily, or melted. Cold butter will not cream properly with sugar, leading to a dense dough, while overly soft or melted butter can result in cookies that spread excessively and become greasy.
- Measure Flour Accurately: Over-measuring flour is an incredibly common baking mistake that frequently leads to dry, crumbly, or tough cookies. For the utmost accuracy and best results, we highly recommend weighing your flour using a digital kitchen scale. If a scale isn’t available, employ the “spoon and level” method: gently spoon the flour into your measuring cup until it overflows, then level it off with the flat back of a knife or straight edge. Never scoop the measuring cup directly into the flour bag, as this compacts it and adds too much flour.
- Don’t Overmix the Dough: Once you’ve added the all-purpose flour to the wet ingredients, mix only until the flour is just combined and no dry streaks remain. Overmixing the dough aggressively or for too long develops the gluten in the flour, which will unfortunately make your cookies tough and chewy instead of delightfully tender and crumbly, which is the desired characteristic for thumbprint cookies.
- Uniform Cookie Size for Even Baking: To guarantee that all your cookies bake evenly and are ready at the same time, and for a visually appealing presentation, always use a cookie scoop. A 1.5-tablespoon scoop is ideal for this recipe. Uniform sizing ensures consistent results across your entire batch.
- Achieving Perfect Thumbprint Indentations: While using your actual thumb is traditional, for a perfectly neat, uniform, and consistently sized indentation, the back of a ½ teaspoon or a small rounded measuring spoon is often a superior tool. Apply gentle, even pressure. If you notice the dough cracking slightly around the edges as you press, simply and gently reshape the edges with your fingertips to smooth them out before adding the jam.
- Prevent Spreading with Chilling (Optional but Recommended): If your kitchen is particularly warm, or if you find your cookie dough to be unusually soft or sticky, an optional but highly recommended step is to chill the formed cookie balls (after rolling in sugar and before making indentations) for 15-20 minutes in the refrigerator. This brief chill helps to solidify the butter, which significantly aids in preventing the cookies from spreading excessively during baking, resulting in a more defined shape.
- Don’t Overfill with Jam: The sweet spot for jam filling is approximately ½ teaspoon per cookie. Resisting the urge to overfill is crucial. Too much jam can cause it to bubble over the sides of the cookie while baking, creating messy edges and potentially leading to burnt jam on your baking sheet. Opt for a thicker jam or preserve rather than a runny jelly, as thicker varieties are less likely to overflow.
- Invest in Silicone Baking Mats: If you frequently bake cookies, investing in silicone baking mats (such as Silpat) is a game-changer for thumbprint cookies. They provide an excellent non-stick surface, promote even browning across the bottom of the cookies, and are incredibly effective at helping prevent the cookies from spreading too much, ensuring a beautifully round and consistent shape. High-quality parchment paper is a very good alternative if you don’t have silicone mats.
- Avoid Overbaking at All Costs: It’s better to slightly underbake than to overbake these delicate cookies. Bake them just until the edges are lightly golden brown and visibly set. The centers might still appear a little soft or slightly underdone, but rest assured, they will firm up beautifully as the cookies cool completely. Overbaked cookies will be noticeably dry, hard, and will lose their signature tender, buttery texture.
- Cool on the Baking Sheet First: This step is non-negotiable for tender cookies. After removing the hot cookies from the oven, allow them to cool and set directly on the baking sheet for at least 5 minutes. This crucial period allows the cookies to firm up sufficiently, making them strong enough to handle without crumbling or breaking when you carefully transfer them to a wire rack for complete cooling. Rushing this step often leads to broken cookies.
Storage and Freezing Tips
Proper storage is paramount to maintaining the freshness and deliciousness of your homemade Jam Thumbprint Cookies for as long as possible. Furthermore, these cookies are excellent candidates for freezing, offering you the ultimate convenience of enjoying freshly baked treats even when your time is limited. Knowing how to store them correctly ensures every cookie tastes as good as the first.
How to Store Baked Cookies:
Once your delightful Jam Thumbprint Cookies have completely cooled down to room temperature, transfer them carefully into an airtight container. Arrange them in a single layer if possible, or separate layers with parchment paper to prevent them from sticking together. Store this container at room temperature on your kitchen countertop or in a cool, dry pantry. These cookies generally do not require refrigeration, as the butter content and jam filling are stable at room temperature. When stored properly in an airtight container, your homemade Jam Thumbprint Cookies will remain wonderfully fresh and flavorful for a generous period of up to 5-7 days. For an extra touch to maintain their tenderness, you can even place a half-slice of plain bread inside the container; the cookies will subtly absorb moisture from the bread, helping them to stay soft and fresh longer.
Can You Freeze Thumbprint Cookies?
Absolutely! Jam Thumbprint Cookies freeze beautifully, making them a fantastic make-ahead option. However, for the very best results in terms of both texture and flavor, we highly recommend freezing them unbaked, before adding the jam filling. This method ensures that the delicate texture of both the cookie dough and the vibrant jam is perfectly preserved upon baking.
Freezing Unbaked Cookie Dough:
- Prepare the Dough: Follow the recipe instructions to prepare the cookie dough balls as normal. Roll them in sugar and carefully create the thumbprint indentations.
- Flash Freeze: Arrange the unbaked, indented cookies in a single layer on a parchment-lined baking sheet. Place the entire baking sheet into the freezer and “flash freeze” for approximately 1-2 hours, or until the cookie dough balls are completely solid. This crucial step prevents them from sticking together once transferred to a storage container.
- Store: Once frozen solid, transfer the individual cookie dough balls to a freezer-safe airtight container or a heavy-duty freezer bag. Label the container with the date and contents. They can be stored in the freezer for an impressive duration of up to 2 months, giving you plenty of time to enjoy them.
Baking from Frozen:
When a craving for fresh thumbprint cookies strikes, or when unexpected guests arrive, simply retrieve the desired number of frozen cookie dough balls from the freezer. Place them directly onto a prepared baking sheet (no need to thaw!). Fill the indentations with your chosen jam. Then, bake them as directed in the recipe, but be aware that you may need to add an additional 1-2 minutes to the total baking time compared to baking fresh dough, as they are starting from a frozen state. This convenience is unmatched for fresh-baked goodness anytime!
Freezing Baked Cookies (with Jam):
If you find yourself with an abundance of leftover baked Jam Thumbprint Cookies and wish to extend their shelf life, you can certainly freeze them. First, ensure the baked cookies are entirely cooled to room temperature. Then, arrange them in a single layer on a baking sheet and flash freeze until they are solid (again, about 1-2 hours). Once frozen, transfer them to an airtight freezer container, placing sheets of parchment paper between layers to prevent them from sticking or damaging their delicate jam centers. Baked thumbprint cookies can be frozen for up to 1 month. To serve, simply thaw them at room temperature. It’s worth noting that the jam filling might soften slightly more after thawing compared to cookies baked directly from frozen dough, but they will still be utterly delicious.
Frequently Asked Questions About Jam Thumbprint Cookies
1. My cookies spread too much during baking. What went wrong, and how can I prevent it?
Excessive spreading is a common issue with cookies and can be attributed to several factors. Your butter might have been too soft (verging on melted rather than just softened), which causes the dough to lose its structure quickly in the oven. Over-measuring your flour can also contribute, as it can make the dough too dry. An inaccurate oven temperature (running too low) means the cookies bake slowly and spread before setting. To prevent this, ensure your butter is at a cool room temperature, measure flour accurately (preferably by weight), and consider chilling the formed cookie balls for 15-20 minutes before baking to firm up the butter. Using silicone baking mats also helps contain spread.
2. Can I use a different type of flour, like whole wheat or a gluten-free blend?
This recipe is meticulously developed and tested specifically for all-purpose flour, as its protein content and texture are ideal for these tender shortbread-style cookies. Substituting other flours, such as whole wheat flour, almond flour, or a gluten-free all-purpose blend, can significantly alter the cookie’s final texture, density, and even require substantial adjustments to the liquid content in the recipe. For the best and most consistent results with this particular recipe, it is highly recommended to stick to all-purpose flour. If you require a gluten-free option, it’s best to seek out a specific gluten-free thumbprint cookie recipe that is formulated with a balanced blend of gluten-free flours to ensure success.
3. How do I get a perfect, neat indentation without cracking the cookie dough?
The trick to achieving a flawless indentation without unsightly cracks is to apply gentle, consistent, and even pressure. While using your thumb is traditional, the back of a small, rounded measuring spoon (like a ½ teaspoon or a ¼ teaspoon) or even a clean, round handle of a wooden spoon often works much better than a thumb for creating a perfectly neat and uniformly shaped hollow. If the dough feels a bit firm and shows signs of cracking when you press, you can gently warm it in your hands for a few seconds to make it more pliable, or simply ensure your butter was properly softened to begin with. Any small cracks that do appear can usually be gently pinched back together with your fingers before you fill them with jam.
4. My jam ran over the edges of the cookies while baking. How can I prevent this from happening next time?
Jam overflowing during baking is a common issue, and it typically happens from overfilling the indentations. Aim for approximately ½ teaspoon of jam per cookie; this amount usually allows for some bubbling and expansion without spillage. Also, consider the consistency of your jam. Thicker jams or preserves are less prone to overflowing than very runny jellies. If your chosen jam is particularly watery, a helpful trick is to gently heat it in a small saucepan for a few minutes on the stovetop to reduce some of its liquid content before carefully spooning it into the cookies. Leaving a tiny border of cookie dough around the jam also provides a buffer for expansion.
5. Can I use egg whites instead of egg yolks in this recipe?
No, this recipe specifically calls for a single egg yolk, and it’s important not to substitute it with egg whites. Egg yolks are primarily composed of fat and emulsifiers, which contribute significantly to the richness, tenderness, and moist crumb of the cookie dough, creating that desirable shortbread-like texture. Egg whites, on the other hand, are mostly protein and water. Using egg whites would make the cookies chewier, drier, and potentially tougher, fundamentally changing the desired consistency and characteristic of these delicate thumbprint cookies.
6. What’s the best way to cool the cookies to prevent them from becoming soggy?
To ensure your Jam Thumbprint Cookies maintain their crisp edges and tender centers without becoming soggy, proper cooling is essential. Always transfer the freshly baked cookies to a wire rack to cool completely after the initial 5-minute resting period on the hot baking sheet. A wire rack is crucial because it allows air to circulate freely around all sides of each cookie, including the bottom. This circulation prevents condensation from forming underneath the cookies, which is the primary cause of soggy bottoms. Cooling them on a solid surface would trap steam and moisture, leading to a less desirable texture.
More Irresistible Cookie Recipes to Try:
If you’ve fallen in love with the comforting simplicity and delightful deliciousness of these Jam Thumbprint Cookies, you’ll surely enjoy exploring other easy and equally tempting cookie recipes from our collection. These treats are perfect for expanding your baking repertoire and are guaranteed to be a hit for any occasion, from casual snacking to festive celebrations:
- Cream Cheese Cookie Recipe: Indulge in these incredibly soft, wonderfully chewy, and delicately flavored cookies. The secret ingredient, cream cheese, lends them an extraordinary tenderness and a unique, subtle tang that sets them apart from typical butter cookies. They are truly melt-in-your-mouth delicious!
- Chocolate Crinkle Cookie Recipe: A festive and visually striking favorite, these rich, fudgy chocolate cookies are a delight. Before baking, each dough ball is rolled generously in powdered sugar, which creates a beautiful, cracked, “crinkled” effect as they bake. This not only makes them stunning to look at but also provides a delightful contrast of textures and flavors.
- Russian Tea Cakes: Also affectionately known as Mexican Wedding Cakes or Snowball Cookies, these delicate, buttery, and incredibly nutty cookies are a pure joy. They are generously coated in powdered sugar, giving them a pristine, snowy appearance. These cookies literally melt in your mouth with every bite, offering a light and crumbly texture that’s utterly addictive.
- Lemon Cool Whip Cookies: For an exceptionally easy, light, and wonderfully refreshing treat, look no further than these vibrant cookies. They are bursting with bright, zesty lemon flavor, achieving their incredibly light and airy texture thanks to the unexpected magic of Cool Whip. They are quick to prepare and perfect for a sunny day or anytime you crave a burst of citrus.
We sincerely hope you enjoy adding these fantastic and easy-to-make recipes to your personal baking collection! Happy baking, and may your kitchen always be filled with the sweet aroma of homemade cookies!
Complete Jam Thumbprint Cookie Recipe Card
Jam Thumbprint Cookies
Average Rating: 4.88 from 8 votes
These classic Jam Thumbprint Cookies are incredibly easy to make, offering a delightful shortbread-style base topped with your favorite fruit jam. Light, buttery, and utterly delicious!
Prep Time: 20 mins
Cook Time: 12 mins
Cool Time: 5 mins
Total Time: 37 mins
Servings: 24 cookies
Cuisine: American
Course: Dessert
Calories: 148 kcal
Author: Carrie Barnard
Ingredients
- 1 cup Unsalted Butter, softened at room temperature
- 2/3 cup Granulated Sugar, plus 3 Tbsp for rolling the cookies in
- 1 Large Egg Yolk
- 1 tsp Vanilla Extract
- 1/2 tsp Salt
- 2 1/4 cup All Purpose Flour
- 1/3 cup Jam or Preserves (flavor of your choice, Strawberry, Raspberry, or Apricot recommended)
Instructions
- Preheat the oven to 350°F (175°C). Line baking sheets with parchment paper.
- In a large bowl, cream together the softened butter and 2/3 cup granulated sugar using a stand mixer with a paddle attachment or a hand mixer until light and fluffy.
- Mix in the egg yolk, vanilla extract, and salt until well combined, scraping down the sides of the bowl as needed.
- Gradually add the all-purpose flour to the wet ingredients, mixing on low speed until just combined and no dry streaks remain. Do not overmix.
- Place the remaining 3 Tbsp of granulated sugar in a shallow bowl. Scoop out cookie dough with a cookie scoop or tablespoon and roll into smooth balls. Roll each ball in the sugar to coat. Place on prepared baking sheets, about 2 inches apart.
- Use your thumb or the back of a small rounded measuring spoon to press an indentation into the center of each cookie dough ball.
- Spoon approximately ½ teaspoon of your chosen jam into each indentation.
- Bake for 12-14 minutes, or until the edges are lightly golden brown and the jam is bubbly and set.
- Remove from the oven and let the cookies cool on the baking sheet for 5 minutes.
- Carefully transfer the cookies to a wire rack to cool completely.
- Serve and enjoy your delicious homemade Jam Thumbprint Cookies!
Nutrition Facts (per cookie)
Calories: 148 kcal, Carbohydrates: 18g, Protein: 1g, Fat: 8g, Saturated Fat: 5g, Trans Fat: 1g, Cholesterol: 28mg, Sodium: 52mg, Potassium: 20mg, Fiber: 1g, Sugar: 8g, Vitamin A: 247IU, Vitamin C: 1mg, Calcium: 6mg, Iron: 1mg
Pin This Now to Remember It Later
Pin Recipe
