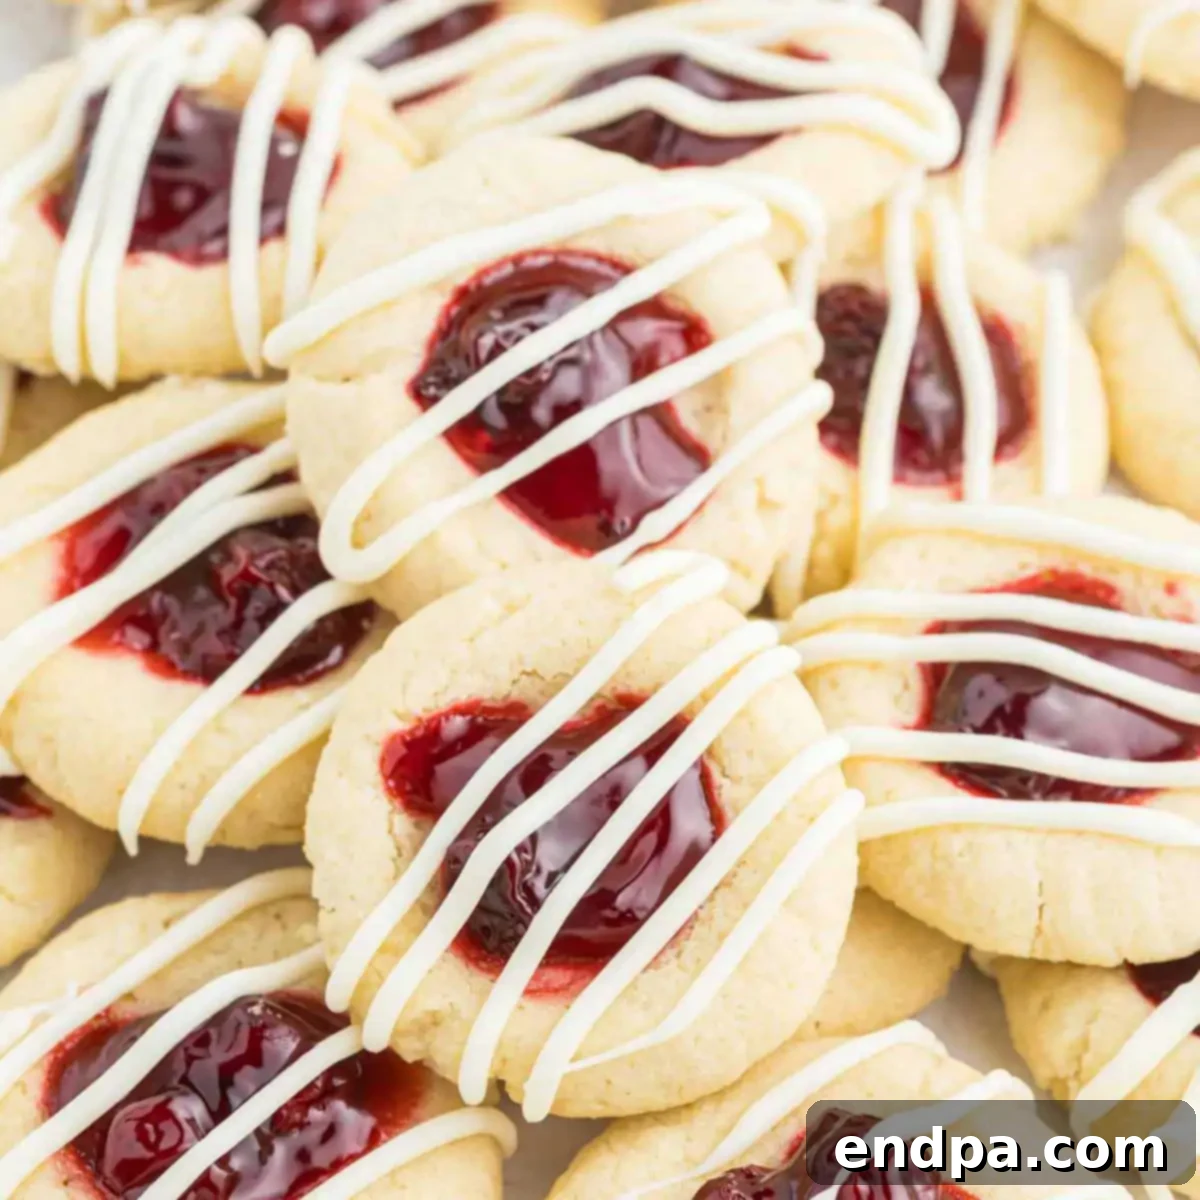
Cherry Thumbprint Cookies are a beloved classic, known for their irresistible combination of buttery, tender cookie dough and a vibrant, sweet cherry filling. These delightful treats are not just a feast for the taste buds but also a visual delight, making them a perfect addition to any celebration, from festive Christmas cookie trays to heartfelt Valentine’s Day gatherings, or simply as an elegant everyday indulgence. Their simple charm and exquisite flavor profile make them a favorite among bakers and dessert enthusiasts alike.

These beautiful cookies are celebrated for their melt-in-your-mouth texture, achieved through a rich, buttery shortbread-style base. The sweet and slightly tart cherry preserve nestled in the center provides a burst of fruity flavor, beautifully contrasting with the delicate cookie. Topped with an optional, elegant white chocolate drizzle, these cookies elevate any dessert spread. The recipe is surprisingly straightforward, allowing even novice bakers to create impressive results. They are not only easy to make and fun to decorate, but they also store exceptionally well and freeze beautifully, making them ideal for meal prep or thoughtful gifting during the holiday season.
Often considered one of the best cherry desserts, Cherry Thumbprint Cookies offer a nostalgic taste that appeals to all ages. Their vibrant red centers against a golden cookie make them visually striking, hinting at the delightful flavors within. This guide will walk you through creating these perfect cookies, from selecting the right ingredients to mastering the perfect thumbprint indentation and achieving that exquisite finish. Get ready to bake a batch of these classic cookies that are sure to become a cherished recipe in your home.
Table of Contents
- Why These Cherry Thumbprint Cookies Are a Must-Bake
- Essential Ingredients for Perfect Thumbprint Cookies
- Step-by-Step Guide to Baking Cherry Thumbprint Cookies
- Storage and Freshness Tips for Your Cookies
- Expert Baking Tips for Cherry Thumbprint Cookies
- Delicious Variations to Try
- More Irresistible Cherry Dessert Recipes
Why These Cherry Thumbprint Cookies Are a Must-Bake
- Unforgettably Buttery, Tender Texture: Each bite promises a melt-in-your-mouth experience, thanks to the rich butter-based dough that forms the cookie’s foundation. This tender crumb quality is what makes thumbprint cookies so uniquely satisfying, providing a delicate contrast to the fruity center.
- Harmonious Sweet and Tart Cherry Filling: The star of these cookies is undoubtedly the sweet and subtly tart cherry filling. This vibrant element provides a delightful flavor contrast to the rich cookie base, creating a perfectly balanced taste that is both refreshing and comforting. The bright red hue also adds a festive touch.
- Elegantly Simple to Prepare: Despite their sophisticated appearance, these thumbprint cookies are surprisingly easy to make. The straightforward steps and common ingredients mean that even beginners can achieve bakery-quality results, making them a stress-free option for entertaining or everyday baking.
- Endlessly Customizable for Every Palate: While cherry is a classic choice, these cookies offer fantastic versatility. You can easily swap the cherry preserves for your favorite jam—raspberry, apricot, strawberry, or even a citrus curd—to create a personalized flavor experience. A variety of glazes or chocolate drizzles can also add a unique twist.
- Perfect for Any Occasion: Their festive look and delicious taste make them suitable for a wide range of events. Whether you’re adding them to holiday cookie platters, gifting them to loved ones, serving them at a bridal shower, or simply enjoying them with a cup of tea, these cookies always impress.
- Excellent Shelf Life and Freezer-Friendly: These cookies are not just for immediate enjoyment. They store wonderfully at room temperature, remain fresh for days, and can be frozen for longer periods. This makes them an ideal make-ahead treat, allowing you to prepare them in advance for busy times or unexpected guests.
Essential Ingredients for Perfect Thumbprint Cookies
Crafting the perfect Cherry Thumbprint Cookie begins with a selection of quality ingredients. Each component plays a crucial role in achieving the desired taste and texture. Here’s a closer look at what you’ll need and why each ingredient is important:
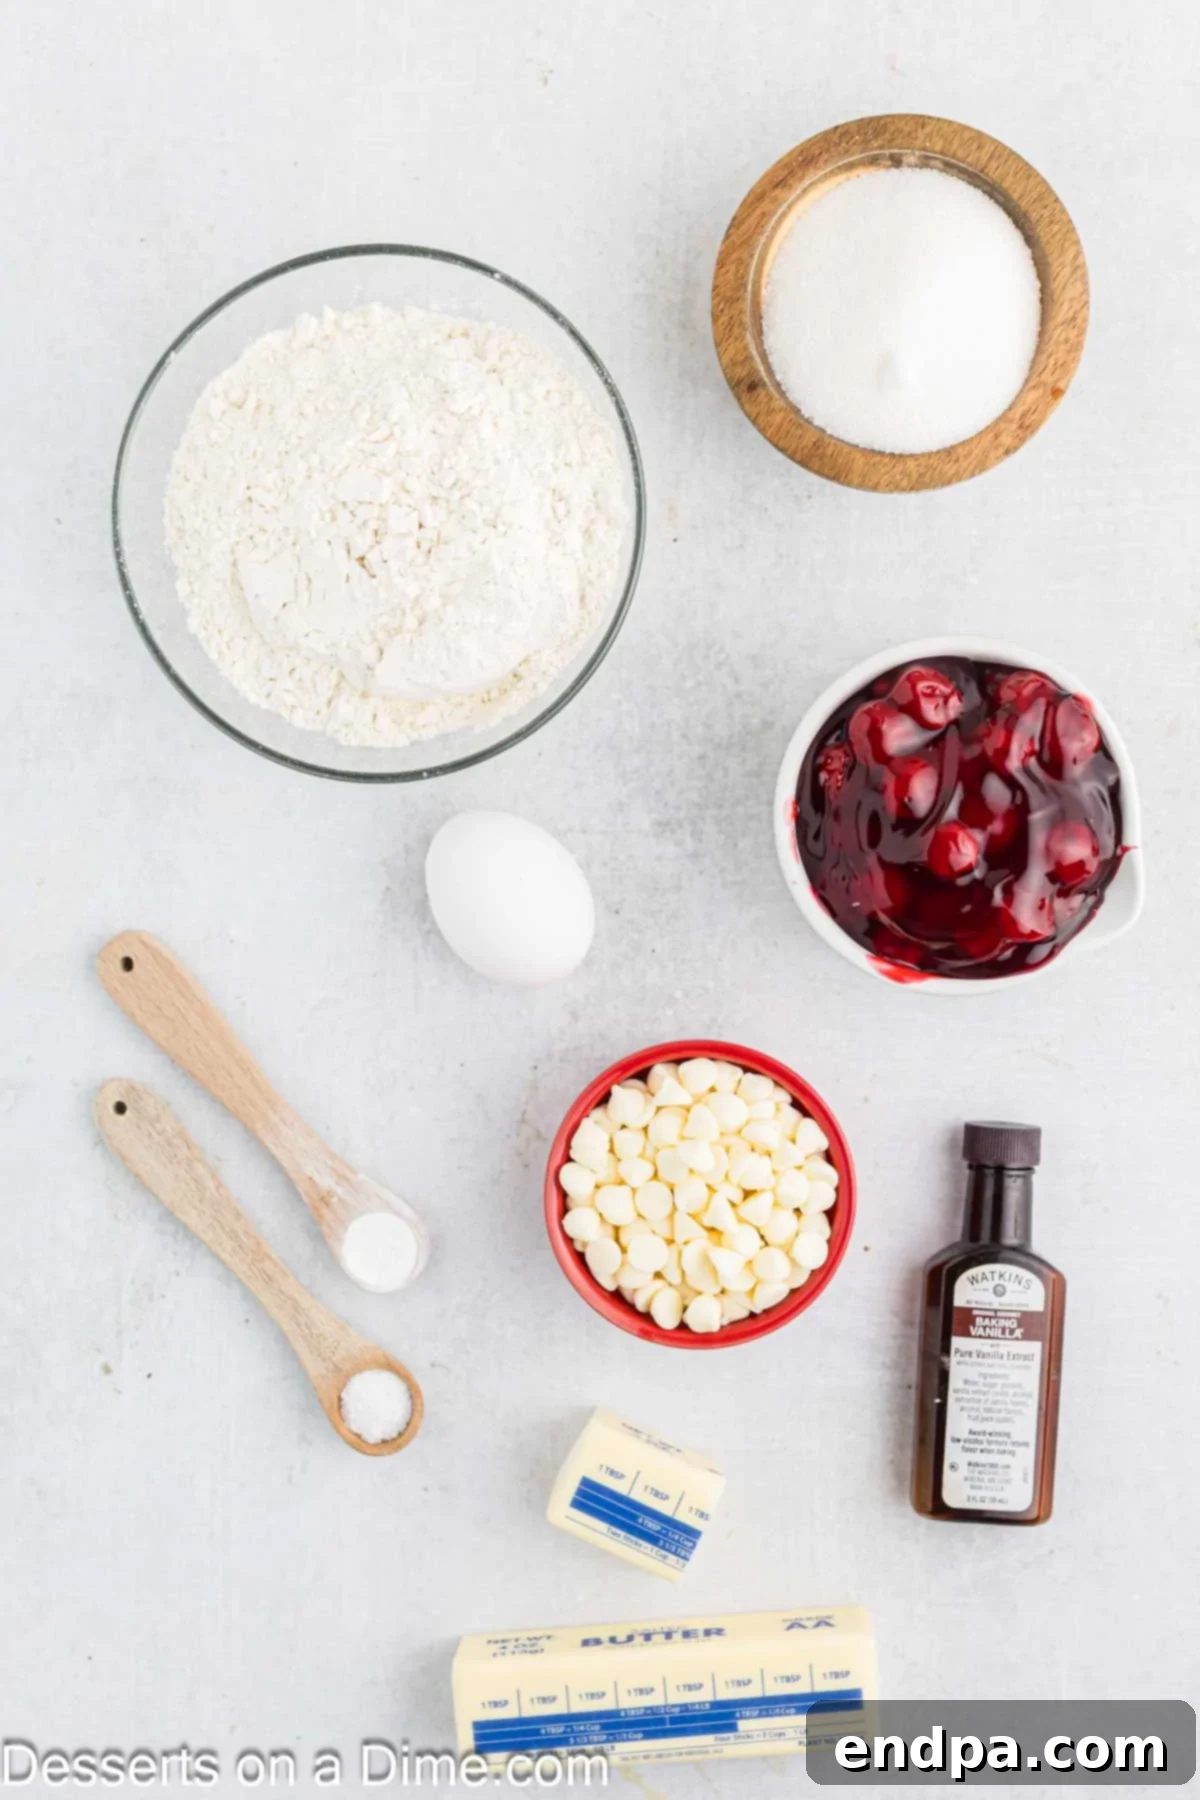
- All-Purpose Flour: This is the backbone of your cookie structure. It provides the necessary body and texture, ensuring your cookies hold their shape while remaining tender. Sifting your flour can help achieve a lighter, airier cookie.
- Baking Powder: A small amount of baking powder gives the cookies a slight lift, contributing to their tender, delicate crumb rather than a dense, crumbly texture. It helps prevent them from becoming too hard or flat.
- Salt: A pinch of salt is vital for balancing the sweetness and enhancing the overall flavor of the cookies. It subtly amplifies the buttery notes and makes the cherry filling taste even brighter.
- Unsalted Butter, Softened: High-quality unsalted butter is key to the rich, buttery flavor and tender texture of these cookies. Ensure it’s properly softened (at room temperature but not melted) for easy creaming with sugar, which incorporates air and creates a light dough. Using unsalted butter gives you control over the total salt content.
- Granulated Sugar: This provides sweetness and contributes to the slightly crisp edges of the cookies. When creamed with butter, it creates a fluffy base for the dough.
- Large Egg: The egg acts as a binder, holding all the ingredients together and adding essential moisture to the dough. It also contributes to the cookie’s rich flavor and helps achieve a golden-brown color during baking.
- Pure Vanilla Extract: Vanilla is a foundational flavor in many cookie recipes. It adds warmth, depth, and a comforting aroma that perfectly complements the cherry and buttery notes. Use good quality pure vanilla for the best results.
- Cherry Pie Filling (or Cherry Preserves): This provides the signature fruity center. While cherry pie filling offers a slightly thicker, more stable consistency, high-quality cherry preserves can also be used for a more intense fruit flavor and a slightly looser center. Choose a filling with good-sized cherry pieces for visual appeal.
- White Chocolate Chips (Optional for Drizzle): For an added touch of elegance and sweetness, a drizzle of melted white chocolate chips finishes these cookies beautifully. The creamy white chocolate offers a lovely contrast to the red cherry and golden cookie. You can also use dark chocolate or omit it entirely.
Step-by-Step Guide to Baking Cherry Thumbprint Cookies
Follow these detailed instructions to create a batch of perfect Cherry Thumbprint Cookies that are sure to impress.
- Step 1: Prepare Your Workspace and Oven. Begin by preheating your oven to 350°F (175°C). While the oven heats up, prepare your baking sheets by lining them with parchment paper. This prevents sticking and ensures easy cleanup. Having everything ready before you start mixing will make the process smoother.
- Step 2: Combine Dry Ingredients. In a medium mixing bowl, whisk together the all-purpose flour, baking powder, and salt. Whisking ensures these dry ingredients are thoroughly combined and evenly distributed, which is crucial for uniform cookie texture. Set this bowl aside.
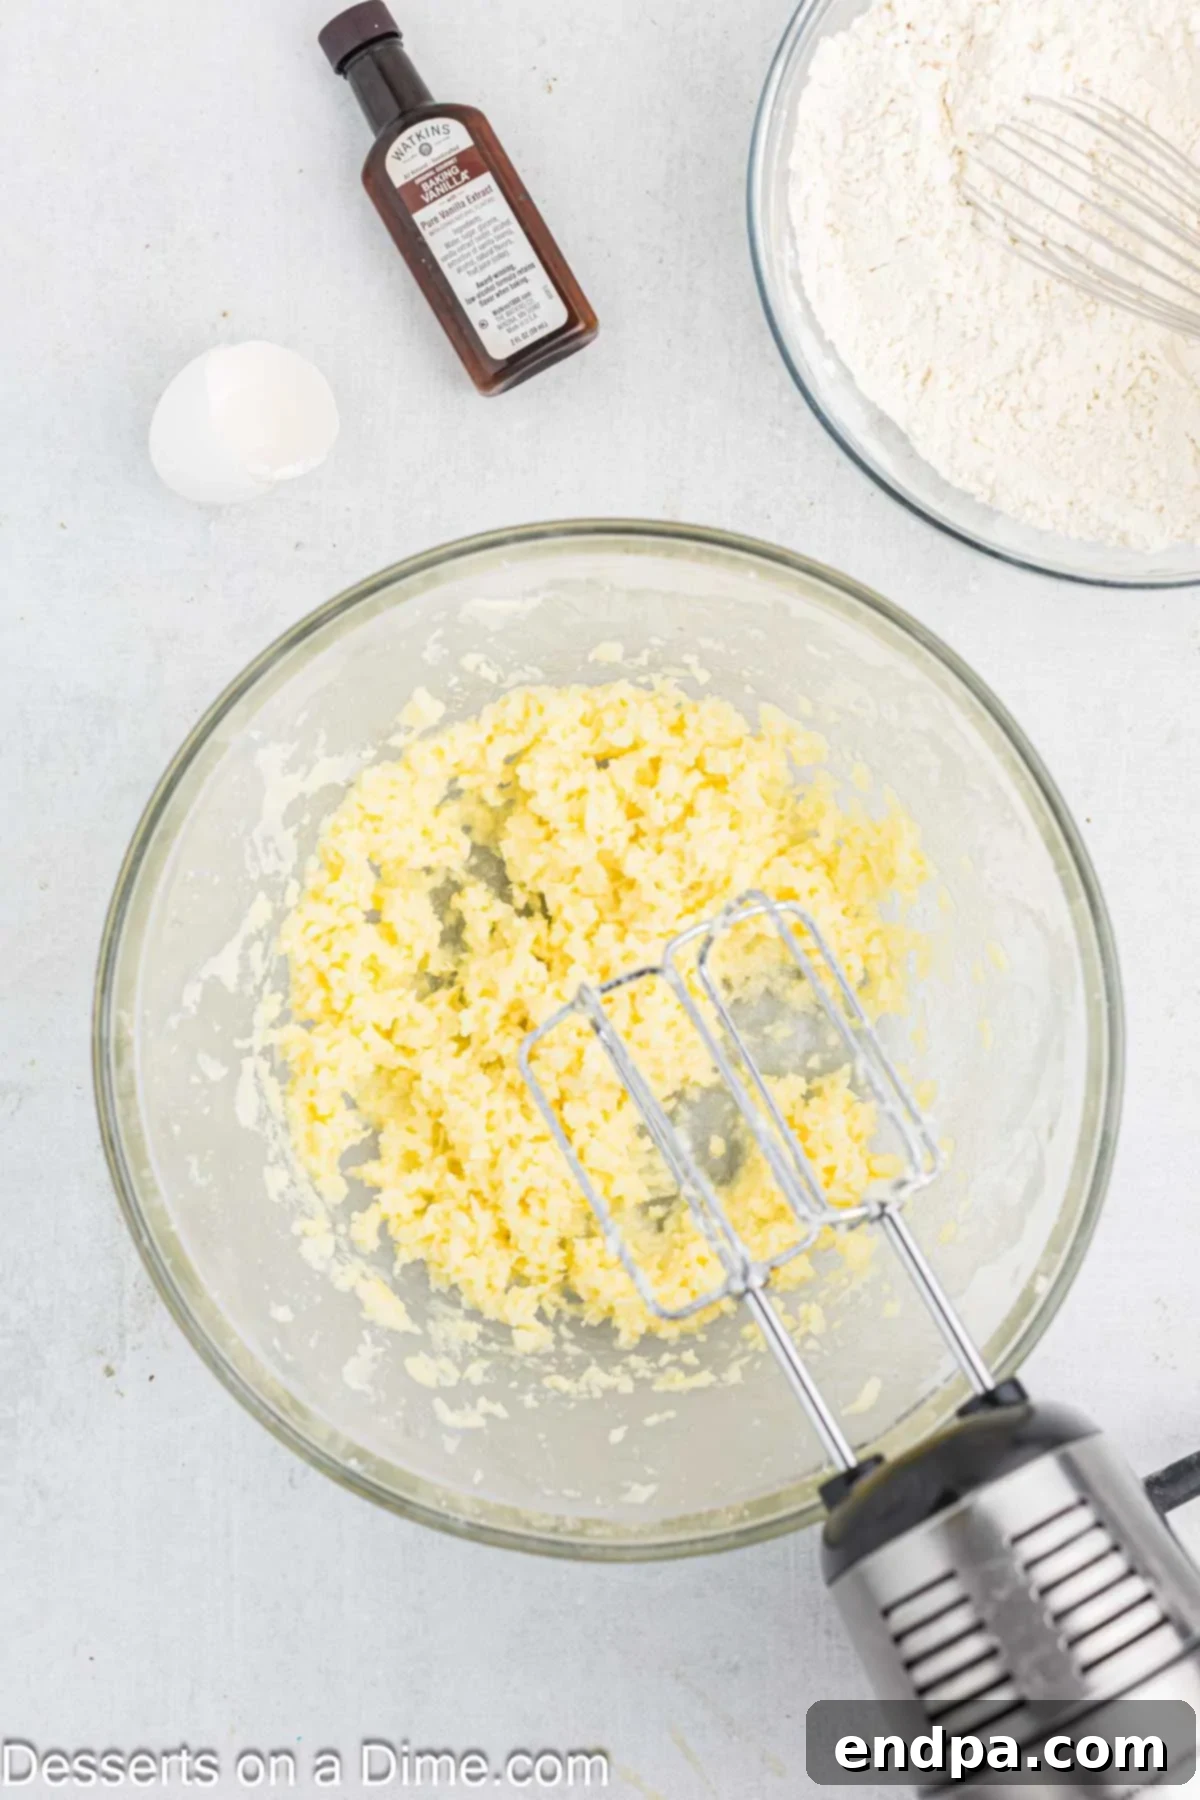
Step 3: Cream Wet Ingredients. In a separate, large mixing bowl, use an electric mixer to beat the softened butter and granulated sugar together. Beat on medium-high speed until the mixture is light, fluffy, and pale in color, typically 2-3 minutes. This step incorporates air, which is essential for a tender cookie. Once creamed, add the egg and vanilla extract, beating until just combined. Avoid overmixing once the egg is added.
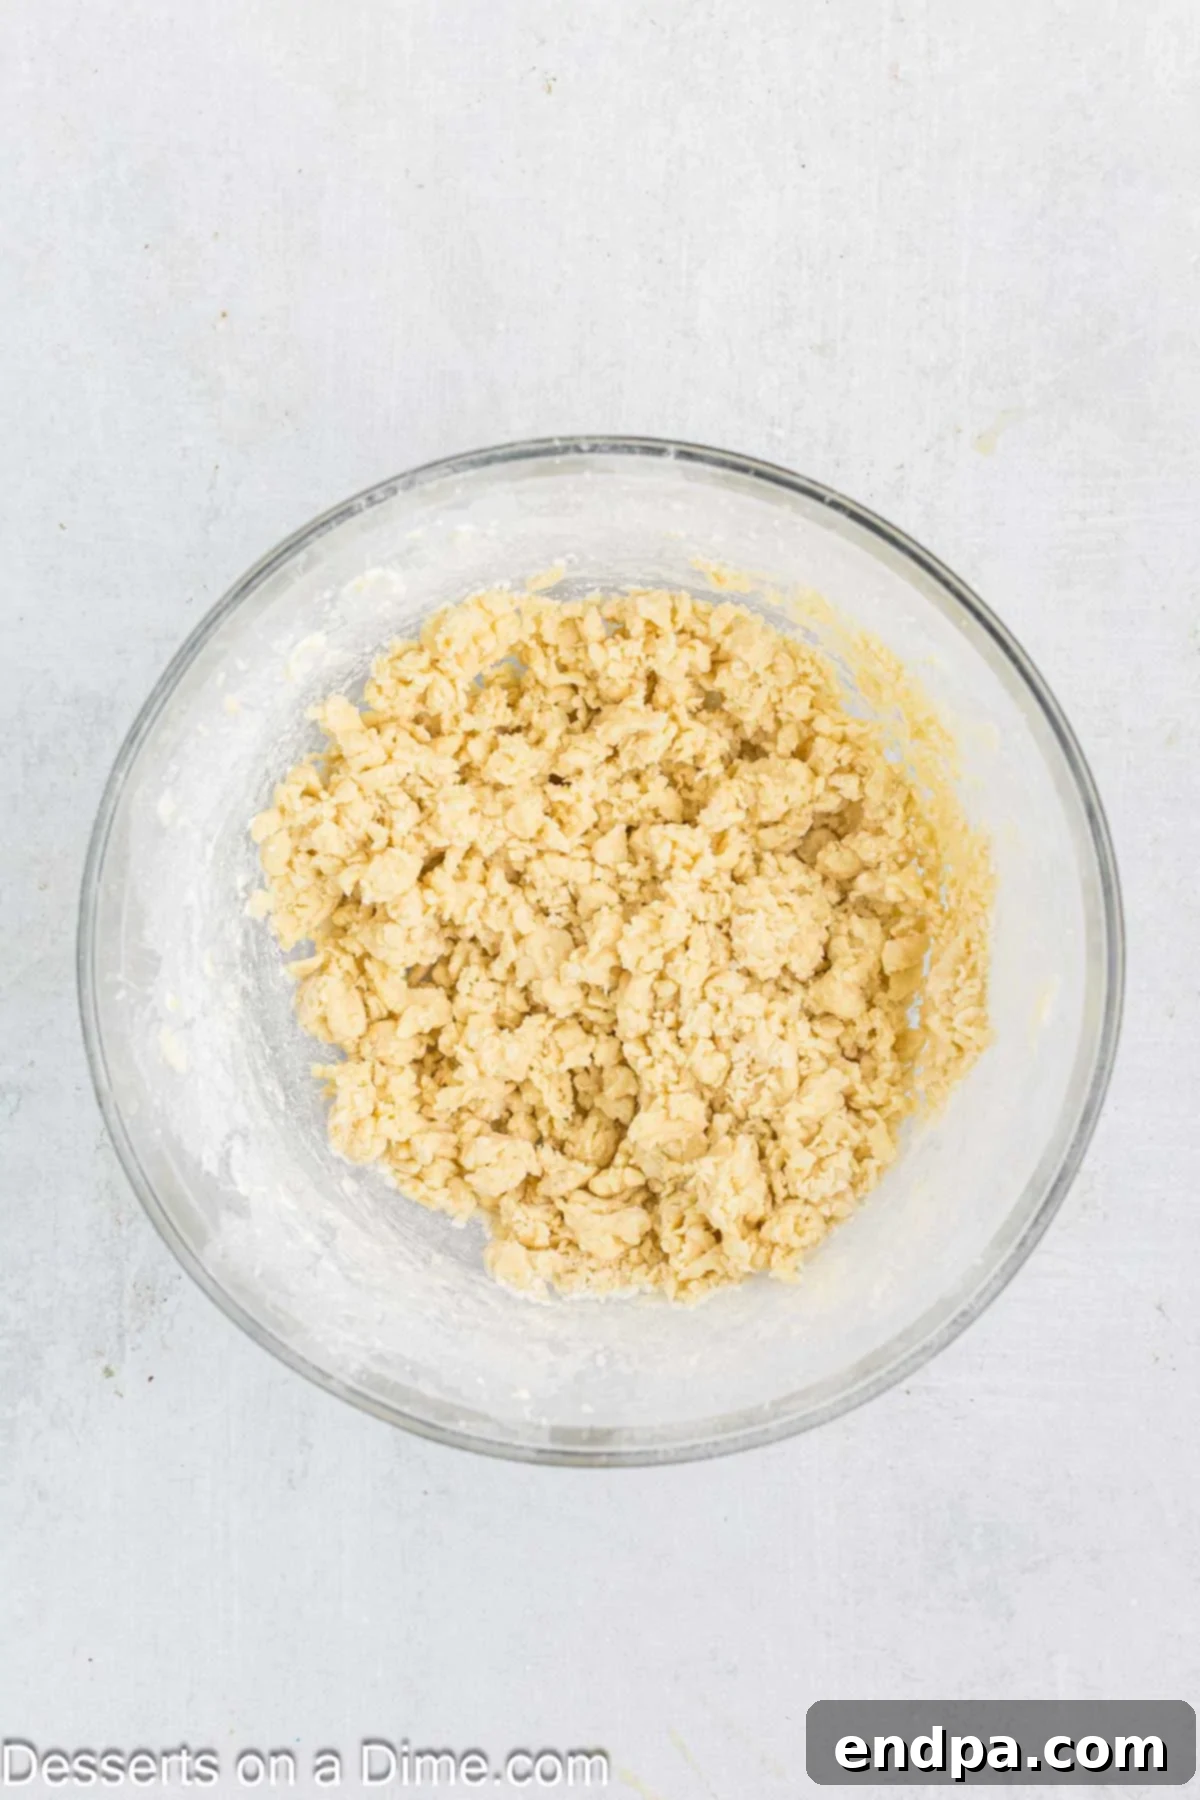
Step 4: Combine Wet and Dry Mixtures. Gradually add the dry ingredient mixture to the wet ingredients. Mix on low speed until just combined. Be careful not to overmix the dough, as this can lead to tough cookies. Stop mixing as soon as no streaks of flour remain.
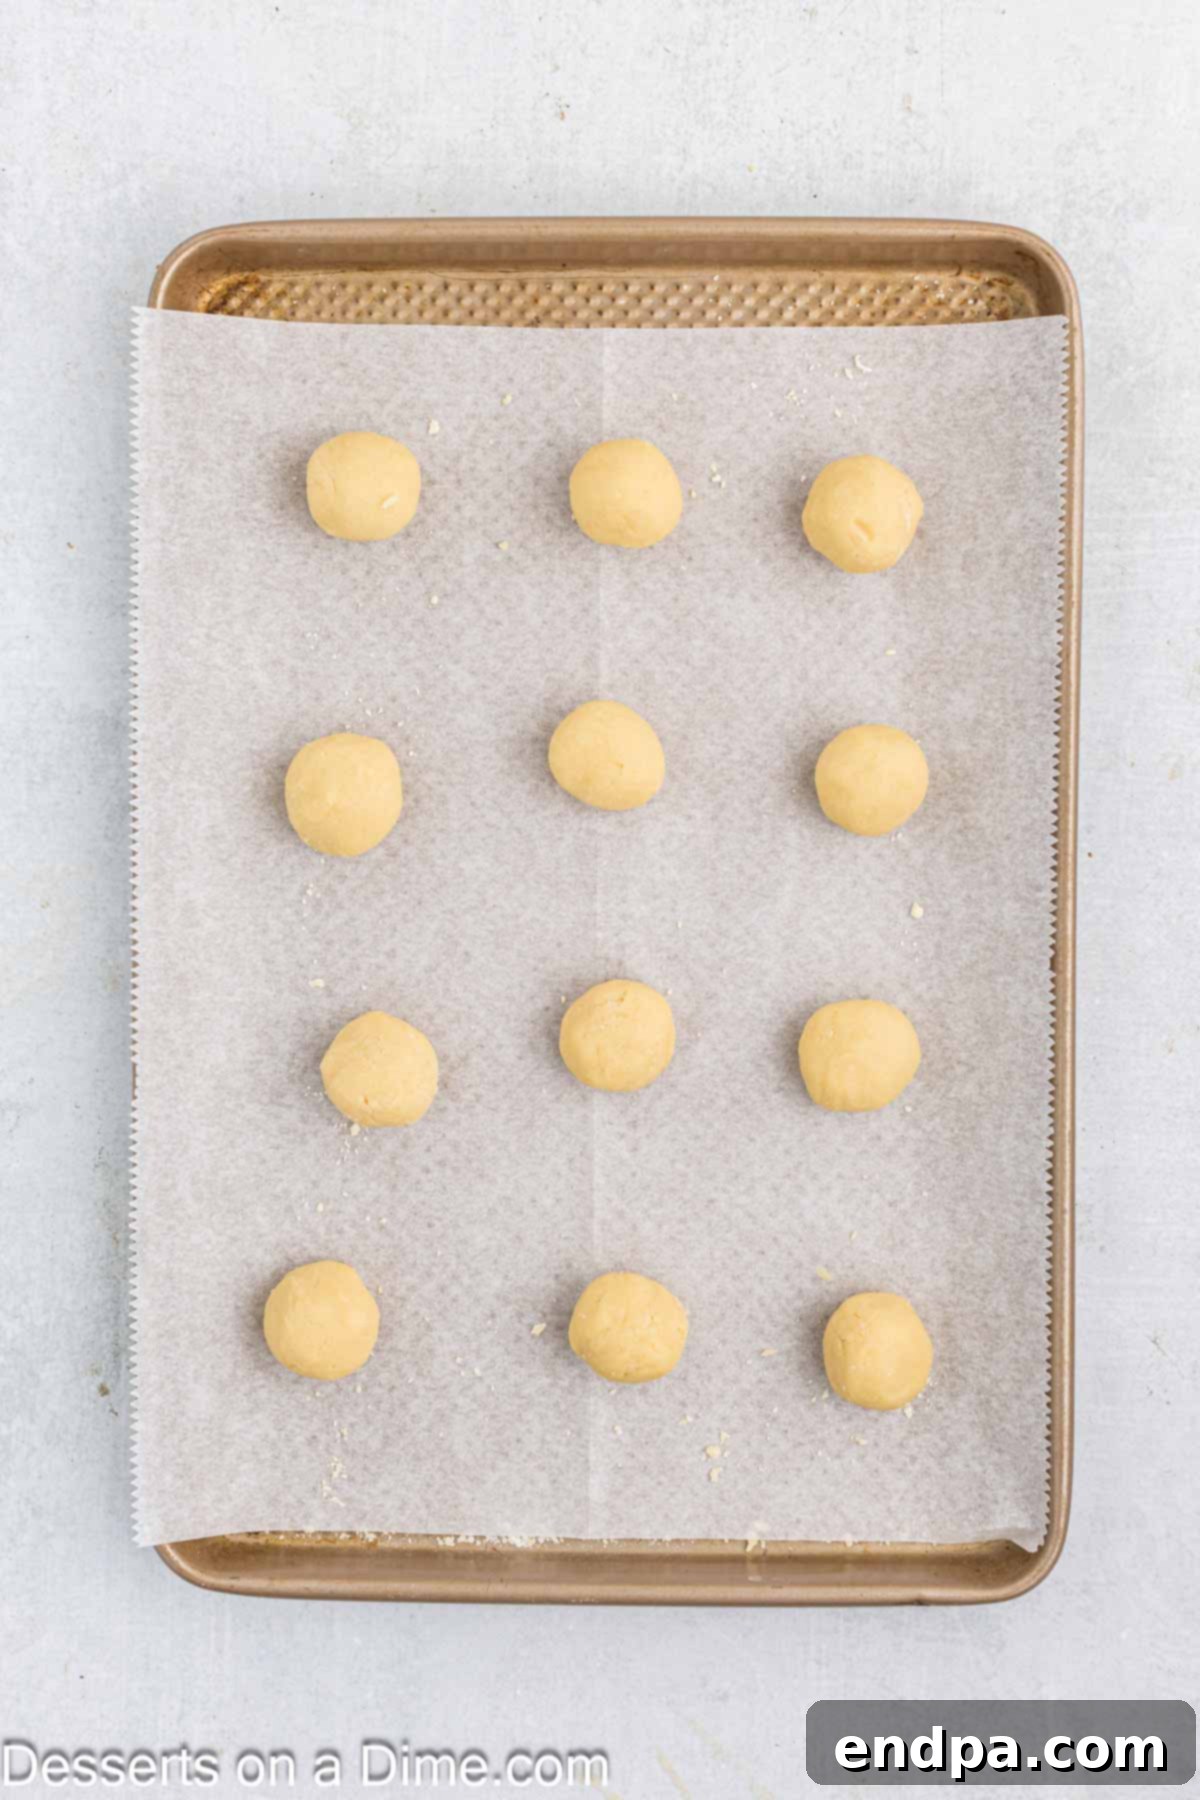
Step 5: Roll the Dough Balls. Once your dough is perfectly combined, roll it into 1-inch balls. Each ball should be approximately 1 tablespoon in size for uniform cookies. Place these dough balls about 2 inches apart on your prepared baking sheets to allow for slight spreading.
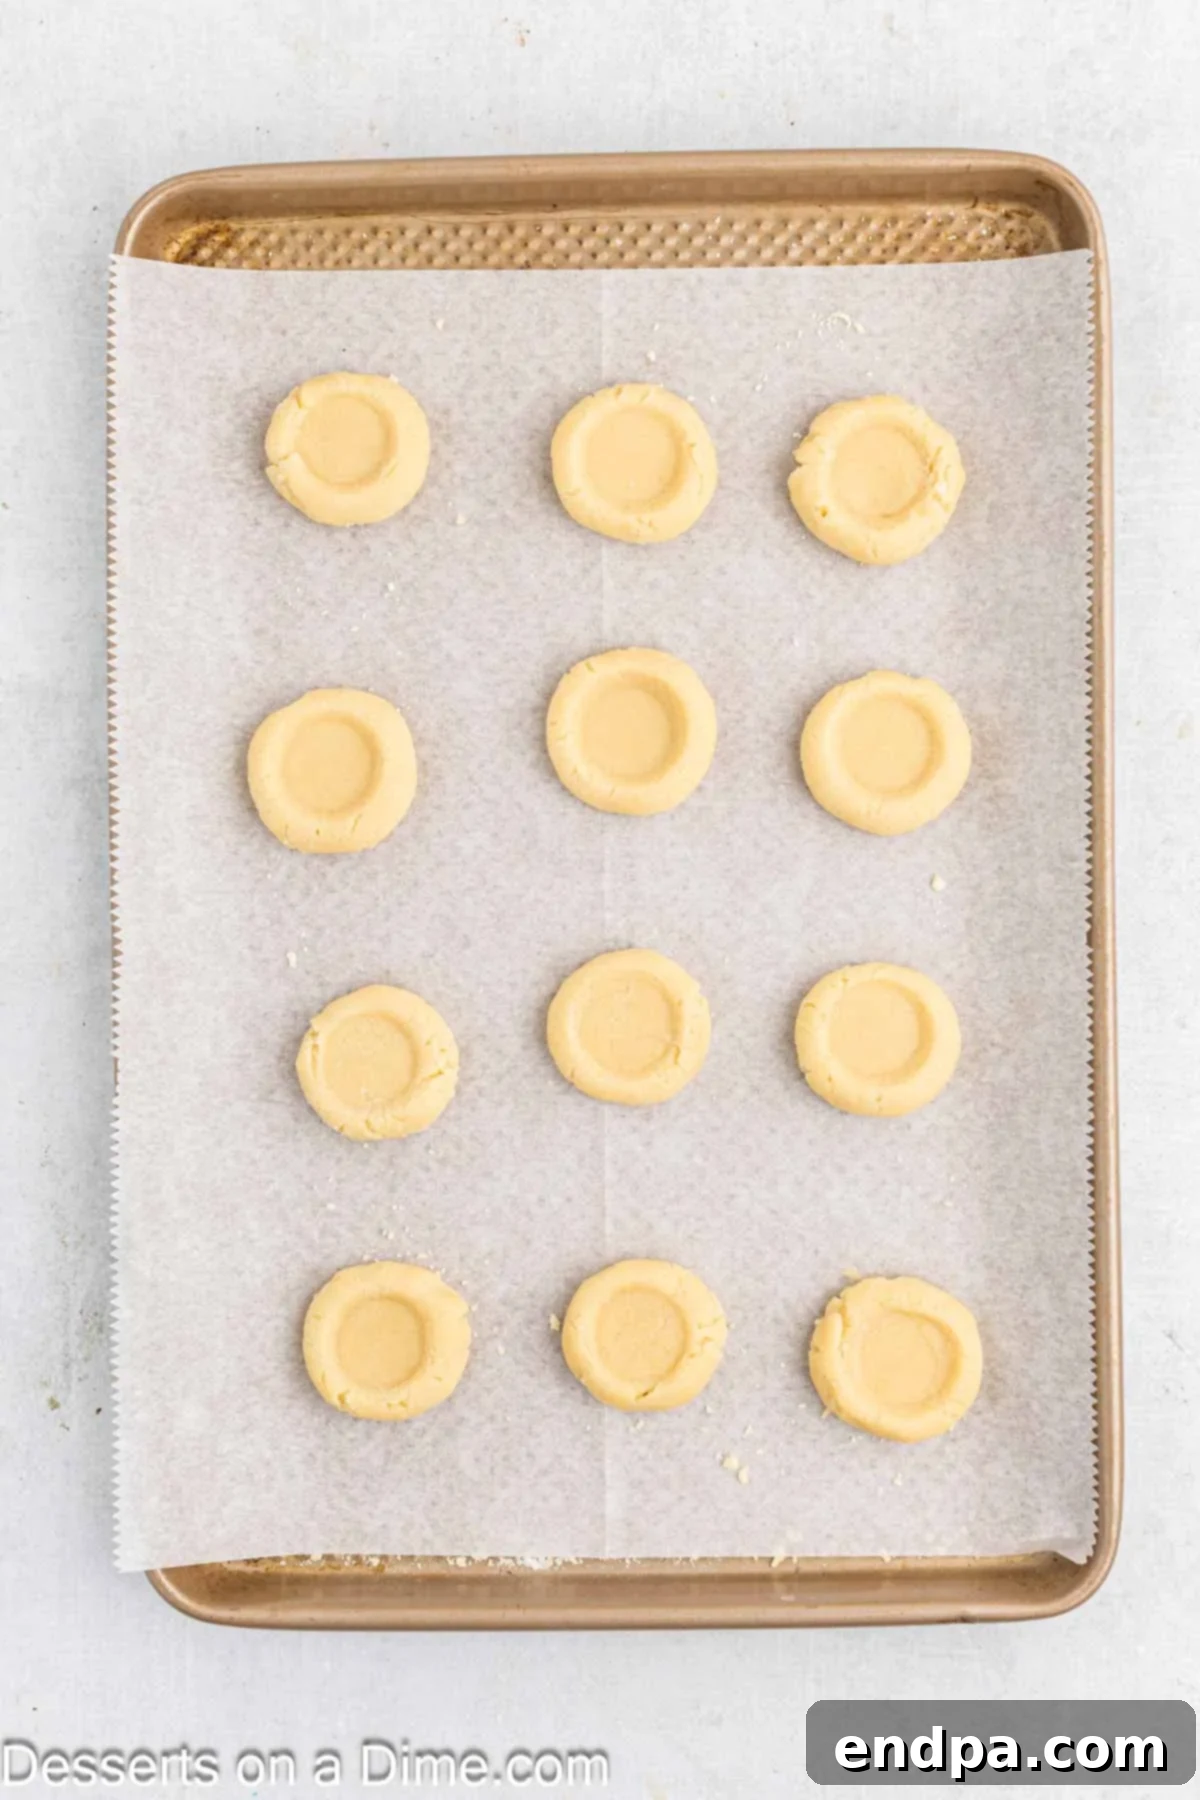
Step 6: Create the Indentations. Using your thumb or the back of a small measuring spoon, gently press into the center of each cookie dough ball to create an indentation. Make sure not to press all the way through the dough. If the edges crack slightly, gently smooth them with your fingers.
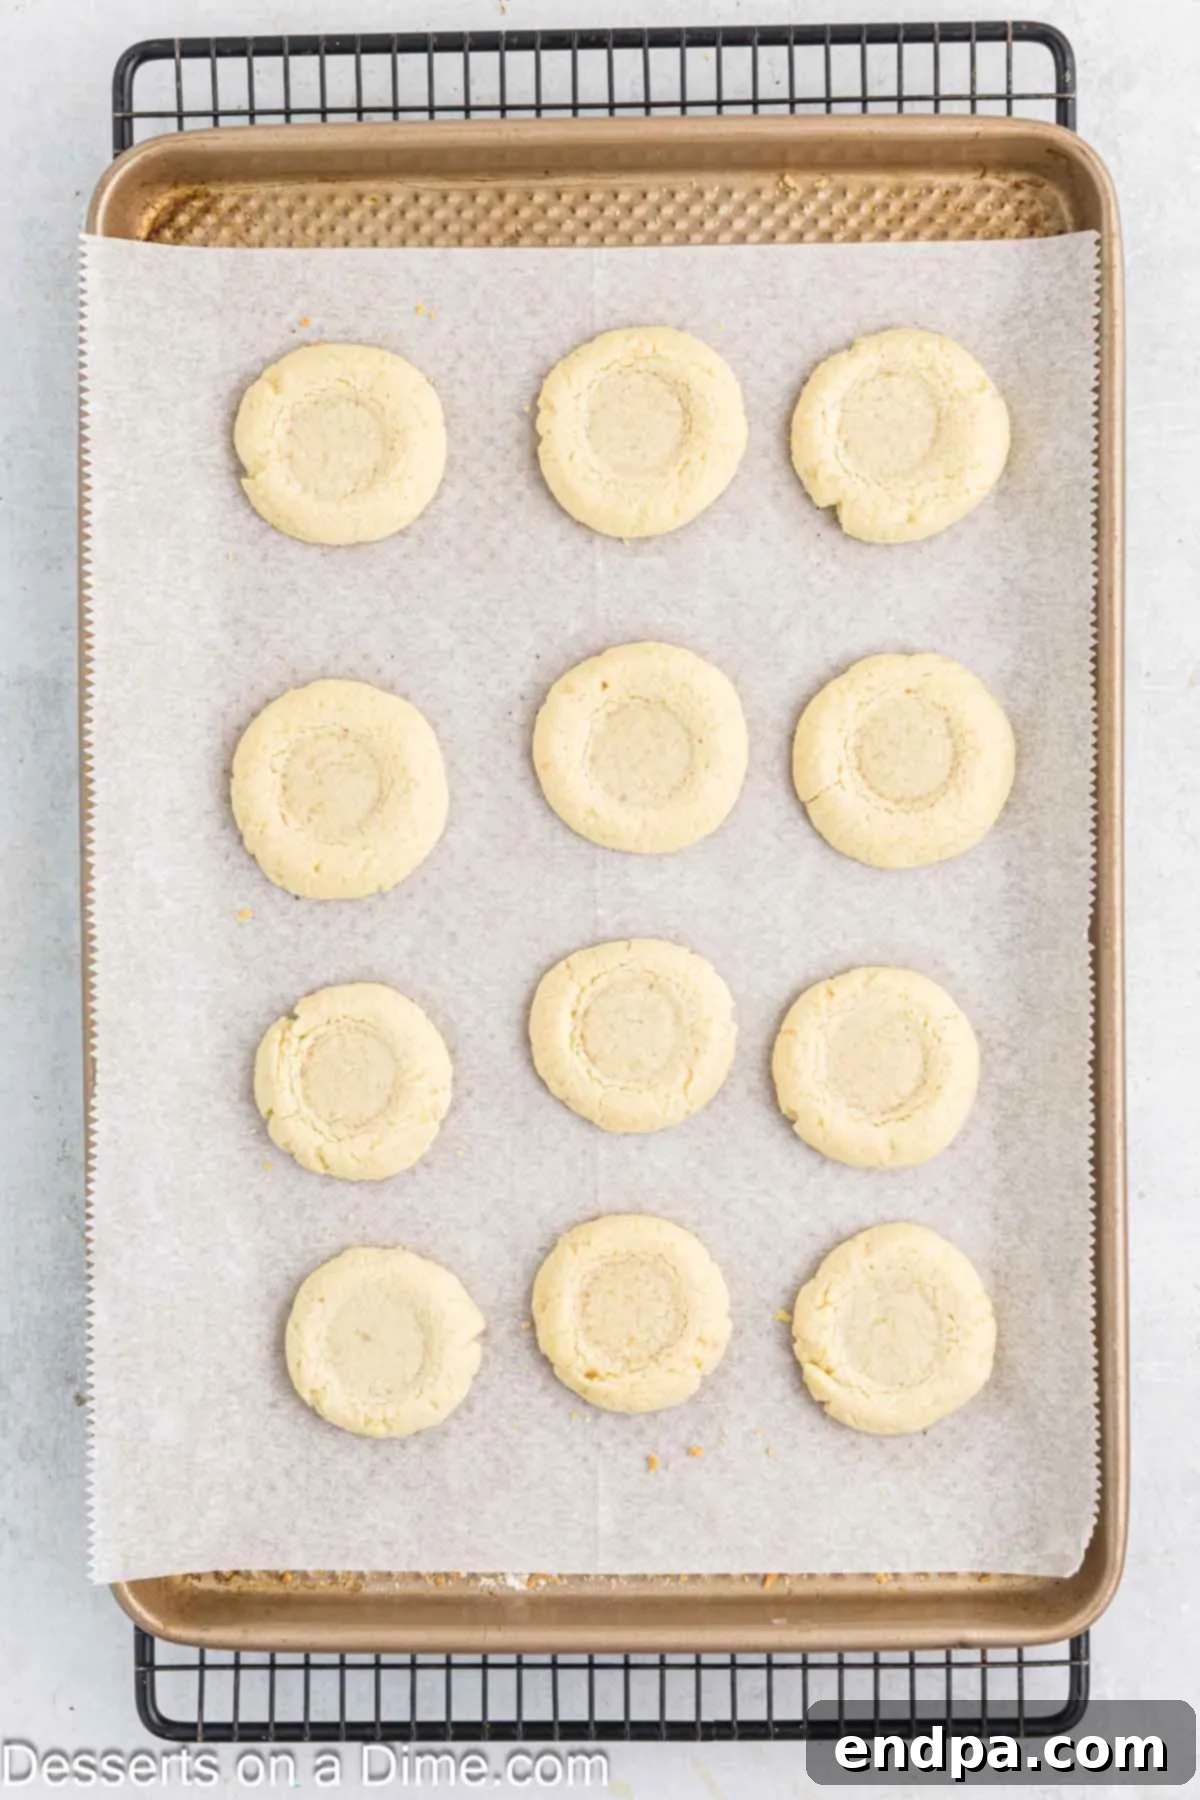
Step 7: First Bake and Re-Indentation. Bake the cookies for 12 minutes, or until their edges are lightly golden. Baking them without filling first helps maintain the shape of the indentation. Immediately after removing them from the oven, while they are still warm and pliable, use a spoon handle or your thumb to gently press the indentations again. This ensures a deep enough well for the filling.
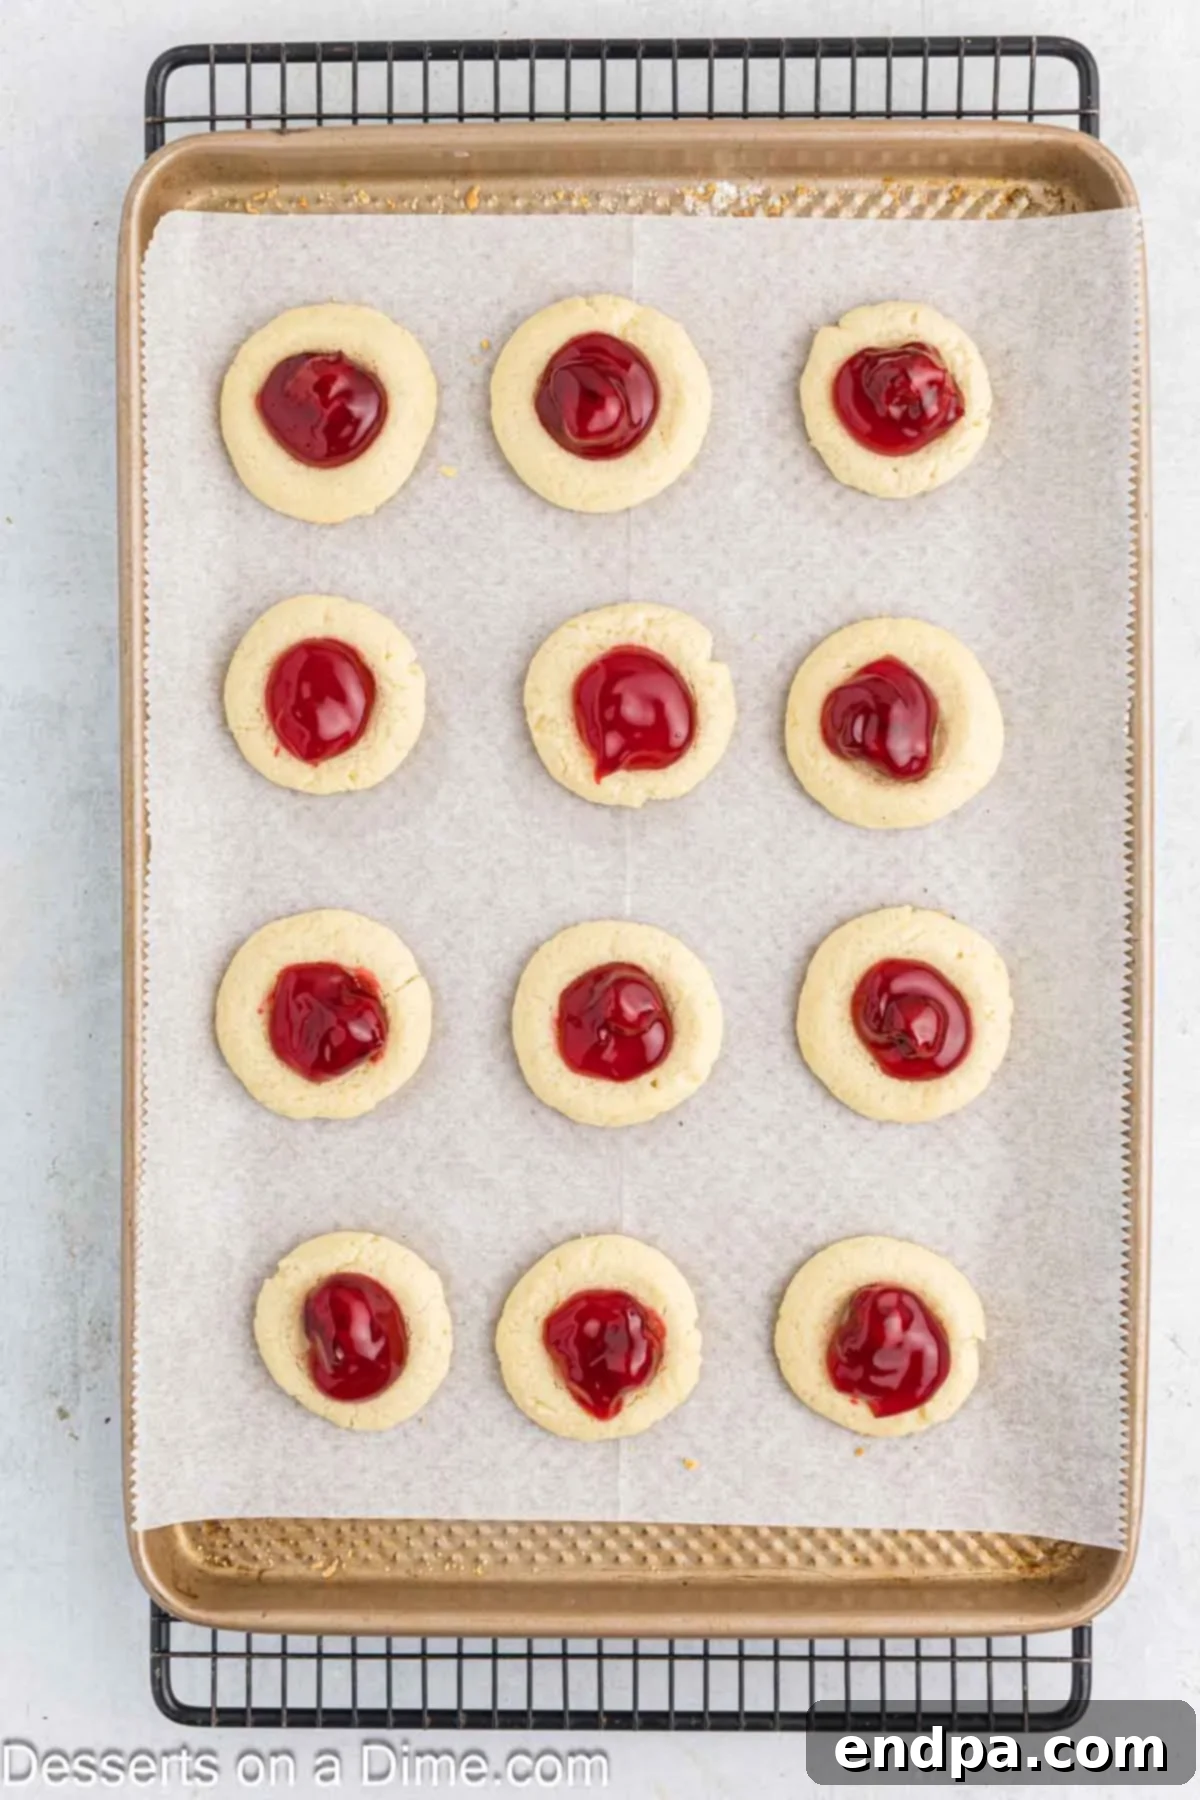
Step 8: Fill and Final Bake. Carefully spoon about ½ teaspoon of cherry pie filling into the center of each re-indented cookie. Return the baking sheets to the oven and bake for an additional 3 minutes. This short bake allows the cherry filling to warm through and set slightly, creating a beautiful, lightly glazed finish.
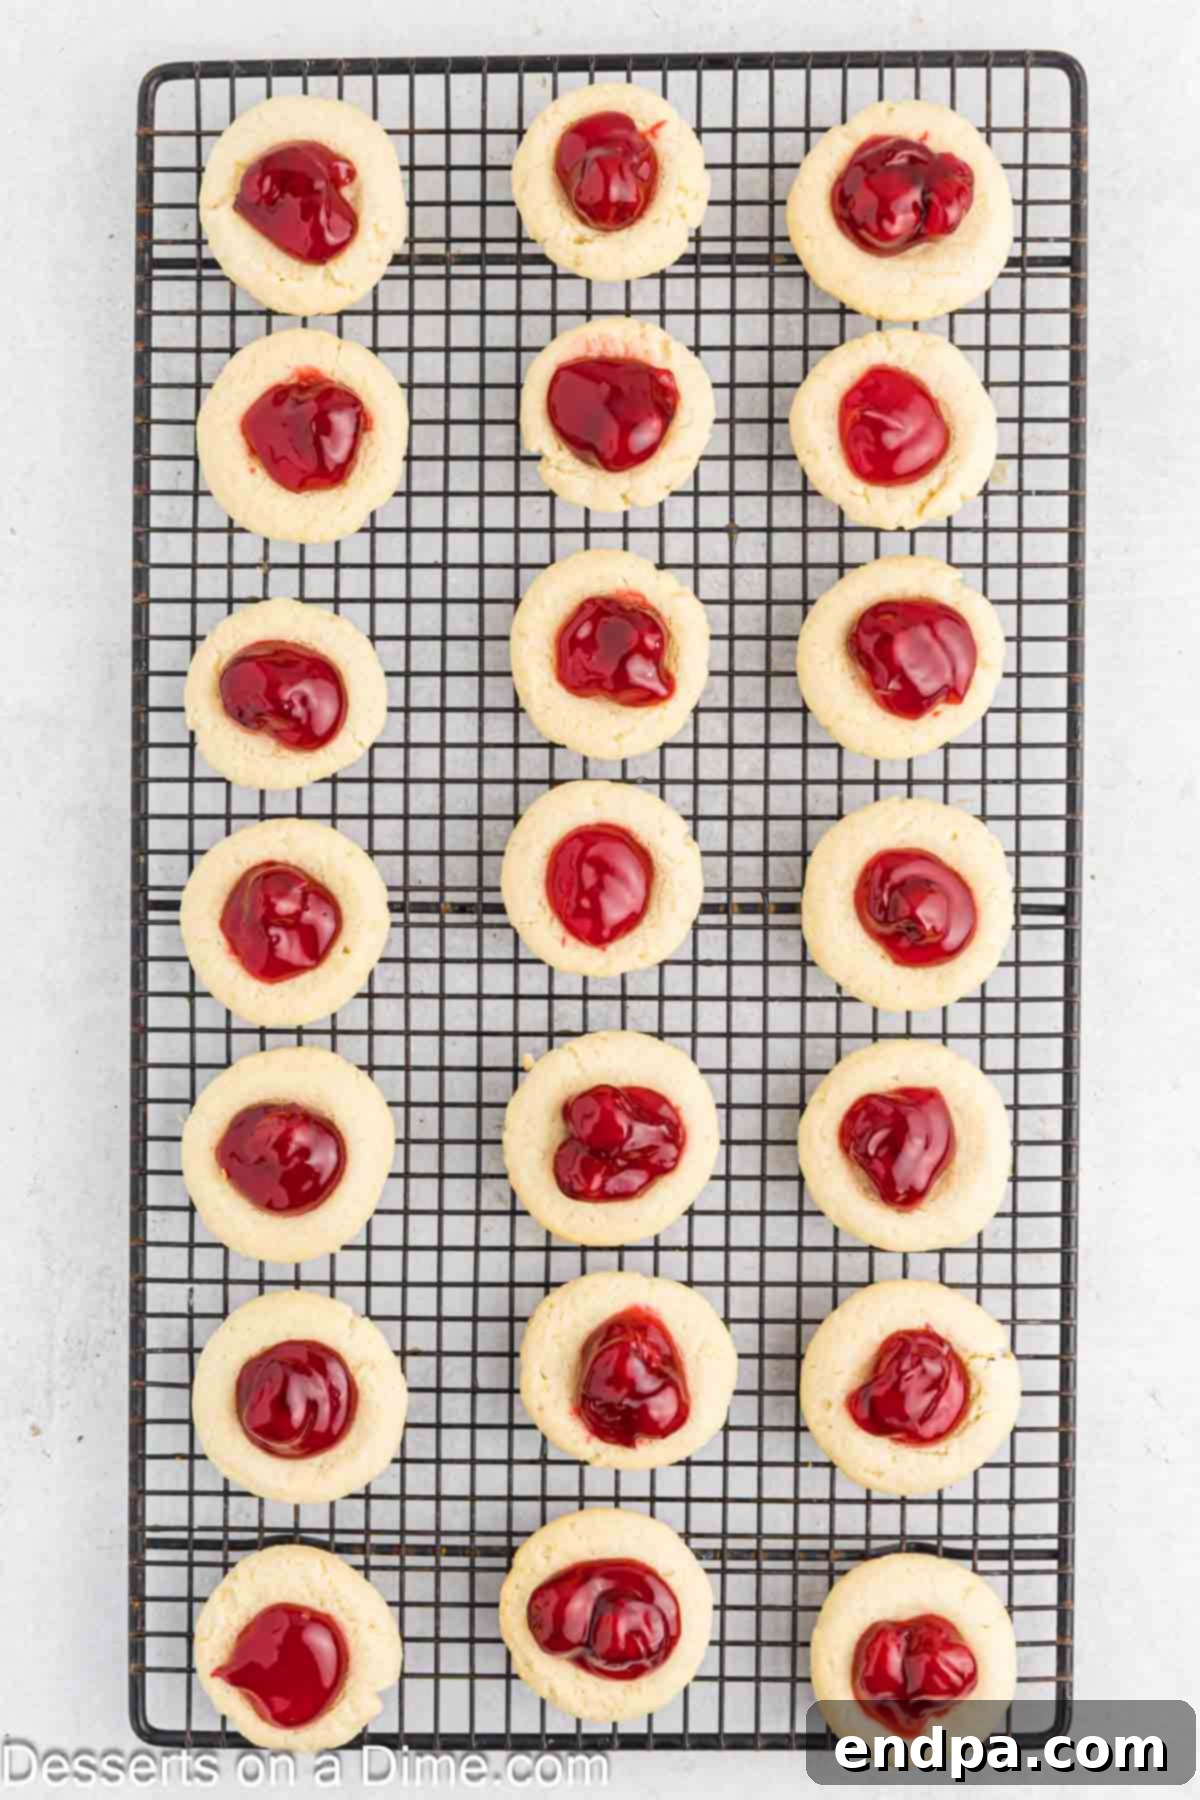
Step 9: Cool Completely. Once the cookies are out of the oven, allow them to cool on the baking sheets for a few minutes before carefully transferring them to a wire rack. It’s crucial to let the cookies cool completely on the wire rack before adding any drizzle, as this prevents the chocolate from melting or becoming messy.

Step 10: Drizzle with White Chocolate (Optional). If you opt for the white chocolate drizzle, place the white chocolate chips in a microwave-safe small bowl. Heat in 20-30 second intervals, stirring thoroughly after each interval, until the chocolate is smooth and melted. Use a spoon or a piping bag with a tiny corner snipped off to artistically drizzle the melted chocolate over the cooled cookies. Allow the chocolate to set completely before serving or storing. Arrange them beautifully on a tray and enjoy your homemade Cherry Thumbprint Cookies!
Storage and Freshness Tips for Your Cookies
Proper storage is essential to keep your Cherry Thumbprint Cookies tasting fresh and maintaining their delightful texture. Here’s how to ensure they remain delicious for as long as possible:
Room Temperature Storage: For immediate enjoyment, these cookies can be stored in an airtight container at room temperature for up to 3 days. Place them in a cool, dry place away from direct sunlight. Stacking them carefully, especially if they have a white chocolate drizzle, will prevent them from sticking together. If you anticipate stacking, ensure the chocolate drizzle is fully set.
Refrigerator Storage: If you wish to extend their shelf life, storing them in the refrigerator is a great option. Place the cookies in an airtight container and they will remain fresh for up to 5 days. Before serving, allow them to sit at room temperature for about 15-20 minutes. This brings them back to their optimal tender texture and enhances their flavors, as chilled cookies can sometimes taste a bit firmer.
Freezer Storage for Longer Enjoyment: Cherry Thumbprint Cookies freeze exceptionally well, making them perfect for preparing ahead of time or enjoying later. To freeze, first arrange the cooled cookies in a single layer on a baking sheet and place it in the freezer for about an hour, or until the cookies are firm. This step prevents them from sticking together. Once firm, transfer the cookies to a freezer-safe airtight container or a heavy-duty freezer bag, layering them with parchment paper between each layer to protect them. They can be frozen for up to 2 months. To thaw, simply transfer them to the refrigerator overnight or let them come to room temperature on your counter before serving. The texture and flavor will be nearly as good as freshly baked.
Pro Tip for Toppings: If you’ve decorated your cookies with a white chocolate drizzle or any other frosting, it is absolutely crucial to allow the topping to set completely before stacking or storing the cookies. This prevents the decorations from smudging, sticking to each other, or creating a messy appearance. Patience here will pay off in beautifully presented cookies.
Expert Baking Tips for Cherry Thumbprint Cookies
Achieving bakery-quality Cherry Thumbprint Cookies is easy with a few expert tips:
- Perfect Chocolate Drizzle: If your melted white chocolate begins to thicken while you’re drizzling, don’t worry! Simply reheat it in the microwave for an additional 10-15 seconds. Stir it until it becomes smooth and glossy again. This will ensure your drizzle is consistent and neat. For very fine lines, use a piping bag with a tiny hole, or even a small zip-top bag with a corner snipped off.
- Managing Sticky Dough: Cookie dough can sometimes be a bit sticky, making it challenging to roll into perfect balls. If you find your dough is too soft or sticky, refrigerate it for 20-30 minutes. This chilling time will firm up the butter, making the dough much easier to handle and shape without it sticking to your hands.
- Creating Even Thumbprints: For uniform indentations that won’t crack the dough, try dipping your thumb or the back of a small teaspoon lightly in flour before pressing into each cookie. The flour prevents sticking and helps create a clean, consistent well for your cherry filling.
- Controlling the Filling Amount: It’s tempting to load up the centers, but avoid overfilling the indentations. About ½ teaspoon of cherry pie filling per cookie is usually sufficient. Overfilling can cause the jam to bubble over and spread onto the cookie during baking, leading to a less neat appearance.
- Ensuring a Neat Drizzle: For those professional-looking, bakery-style drizzle lines, consider using a piping bag or a small zip-top bag with just a tiny corner snipped off. This allows for much greater control than a spoon, helping you create delicate, consistent lines across your cookies.
- Cooling Rack Best Practices: While it’s good to transfer cookies to a wire rack to cool completely, allow them to firm up on the baking sheet for a few minutes first (typically 5-10 minutes). This initial cooling period on the warm tray helps them set and prevents them from breaking or crumbling when moved to the wire rack.
- Make-Ahead Dough Advantage: These cookies are fantastic for planning ahead! You can prepare the cookie dough up to 2 days in advance and store it, tightly wrapped, in the refrigerator. Alternatively, you can roll the dough into balls (without the filling), freeze them on a baking sheet until solid, then transfer to a freezer-safe bag for up to 2 months. When ready to bake, thaw slightly before pressing indentations and filling.

Delicious Variations to Try
While the classic Cherry Thumbprint Cookie is undeniably delicious, there are many ways to customize this recipe to suit your taste or occasion. Experiment with these variations to create your unique spin on this beloved treat:
- Jam Swap: The most obvious and versatile variation is to switch out the cherry pie filling for other fruit preserves or jams. Try raspberry jam for a tart and sweet contrast, apricot preserves for a delicate fruity flavor, or strawberry jam for a universally loved option. Lemon curd also makes a bright and zesty filling.
- Nutty Edge: For added texture and flavor, roll the cookie dough balls in finely chopped nuts like pecans, walnuts, or almonds before making the indentation and baking. The nuts will toast slightly during baking, adding a delightful crunch and nutty aroma.
- Citrus Zest Infusion: Incorporate the zest of a lemon, orange, or lime into the cookie dough for a bright, aromatic twist. Citrus zest complements fruit fillings beautifully and adds a fresh dimension to the buttery cookie.
- Spiced Dough: For a warming, cozy cookie, add a pinch of ground cinnamon, nutmeg, or cardamom to the dry ingredients. These spices pair particularly well with fruit fillings, especially during colder months.
- Different Drizzles: Instead of white chocolate, consider a dark chocolate drizzle for a more intense cocoa flavor, or a milk chocolate drizzle for a sweeter, creamier finish. You could also make a simple glaze using powdered sugar and a touch of milk or lemon juice for a quick and easy topping.
- Coconut Coating: For a tropical twist, roll the cookie dough balls in shredded coconut before baking. The toasted coconut adds a lovely texture and flavor that pairs wonderfully with many fruit fillings.
- Almond Extract Boost: If you love the combination of cherry and almond, add an extra ¼ teaspoon of almond extract to the cookie dough along with the vanilla. This will enhance the overall flavor profile, especially if you’re using cherry filling.
More Irresistible Cherry Dessert Recipes
If you’ve fallen in love with the sweet and tart charm of cherry desserts, you’re in for a treat! Here are a few more delightful cherry recipes that are worth trying:
- Cherry Bread: A moist and flavorful bread studded with sweet cherries, perfect for breakfast or a snack.
- Easy Cherry Cobbler: A comforting, warm dessert featuring juicy cherries topped with a tender, biscuit-like crust.
- Cherry Almond Cupcakes: Delicate cupcakes with a hint of almond, often featuring a sweet cherry topping or filling.
- Cherry Pineapple Dump Cake: An incredibly simple and delicious cake that requires minimal effort, combining the flavors of cherry and pineapple.
Bring a touch of sweetness to any occasion with this irresistible Cherry Thumbprint Cookies recipe! If you make these cookies, leave a comment below and a star rating to let us know how they turned out. We love hearing from you!
Pin
Cherry Thumbprint Cookies
Ingredients
- 1⅔ cups all-purpose flour
- 1/2 tsp baking powder
- 1/4 tsp salt
- 2/3 cup butter softened
- 1/2 cup granulated sugar
- 1 egg
- 1/2 tsp vanilla extract
- 1/2 cup cherry pie filling
- 2 oz white chocolate chips
Instructions
- Preheat oven to 350°F (175°C). Line baking sheets with parchment paper.
- In a bowl, whisk together flour, baking powder, and salt.
- In a large bowl, beat softened butter and granulated sugar with an electric mixer until light and fluffy. Beat in egg and vanilla. Gradually mix in dry ingredients until just combined.
- Roll dough into 1-inch balls (about 1 Tbsp each) and place 2 inches apart on baking sheets. Press thumb into each to create an indentation.
- Bake for 12 minutes, or until lightly golden. While still warm, gently press indentations again with a spoon handle.
- Fill each center with cherry pie filling. Bake for 3 more minutes until filling is lightly glazed. Cool completely on a wire rack.
- Place white chocolate chips in a microwave-safe bowl. Heat in 20–30 second intervals, stirring between each, until smooth.
- Drizzle over cooled cookies. Serve and enjoy!
Recipe Notes
Achieving Desired Cookie Texture: For a slightly softer cookie, you can remove them from the oven at 11 minutes, even if they aren’t fully golden. If you prefer a firmer, crisper cookie, bake them for an additional minute.
Dough Handling Solution: If your cookie dough feels overly sticky or difficult to roll into neat balls, chill it in the refrigerator for 20–30 minutes. This will firm up the butter and make the dough much more manageable.
Optimal Storage: Store these delightful cookies in an airtight container at room temperature for up to 3 days to maintain their freshness. For extended storage, they can be refrigerated for up to 5 days.
Nutrition Facts
Pin This Now to Remember It Later
Pin Recipe
