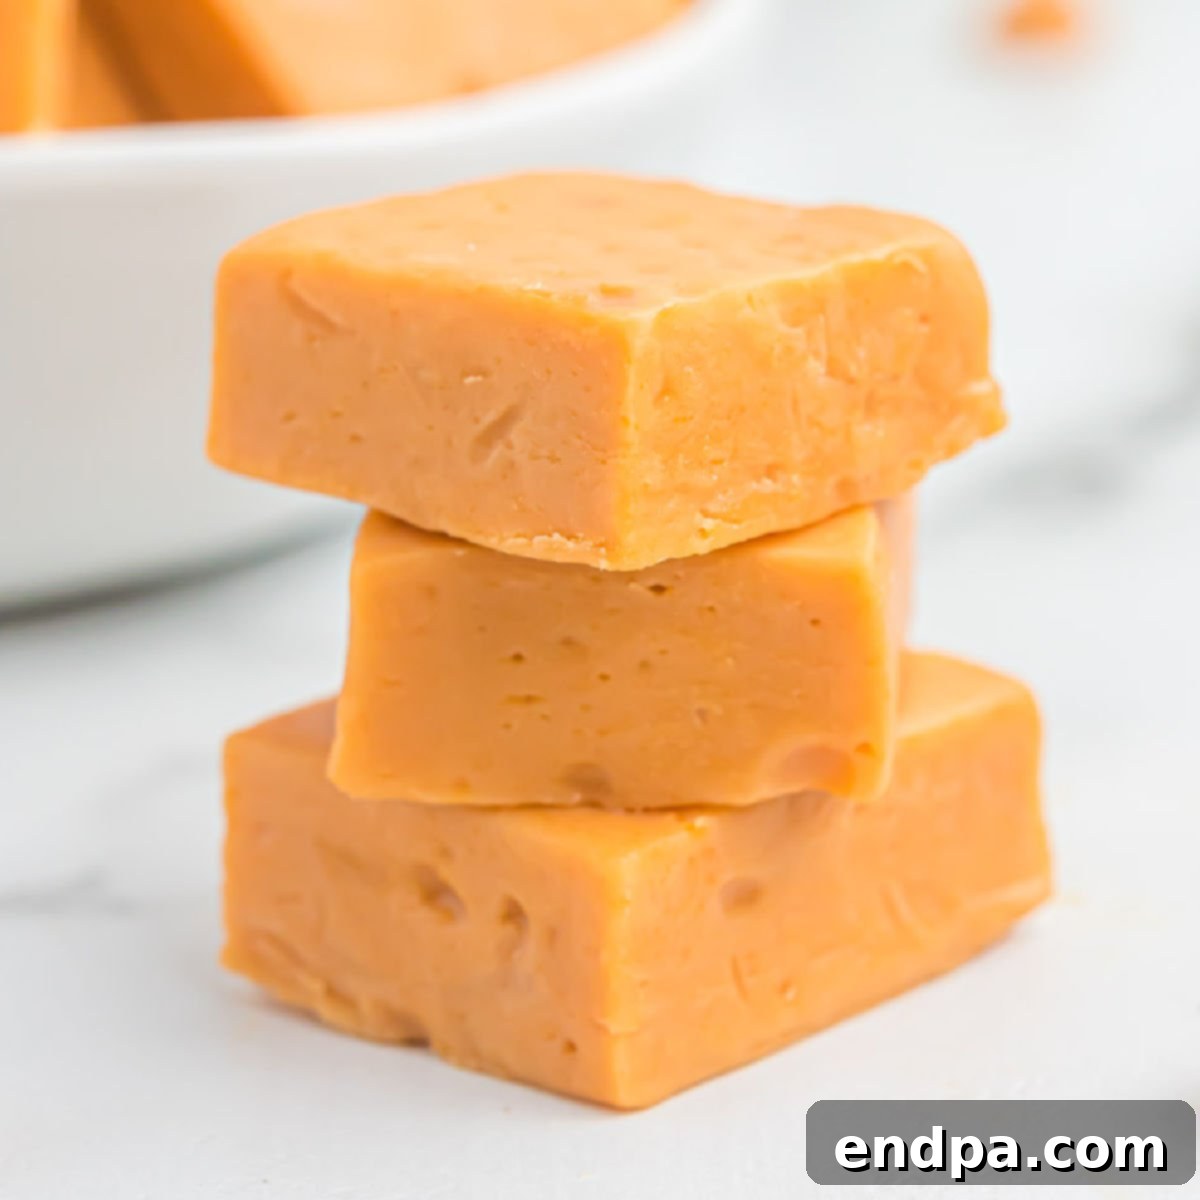
Irresistible 4-Ingredient Butterscotch Fudge: Your Easiest Microwave Recipe
Welcome to the world of effortlessly delicious homemade treats! Our Butterscotch Fudge recipe is renowned for its incredible creaminess and unbelievably simple preparation. Imagine a rich, melt-in-your-mouth confection that requires just four staple ingredients and minimal effort. This easy microwave fudge recipe is a dream come true for dessert lovers, promising a perfect batch every single time without the need for a candy thermometer or advanced culinary skills. Whether you’re a beginner in the kitchen or a seasoned baker looking for a quick and satisfying dessert, this butterscotch fudge will quickly become a cherished favorite.
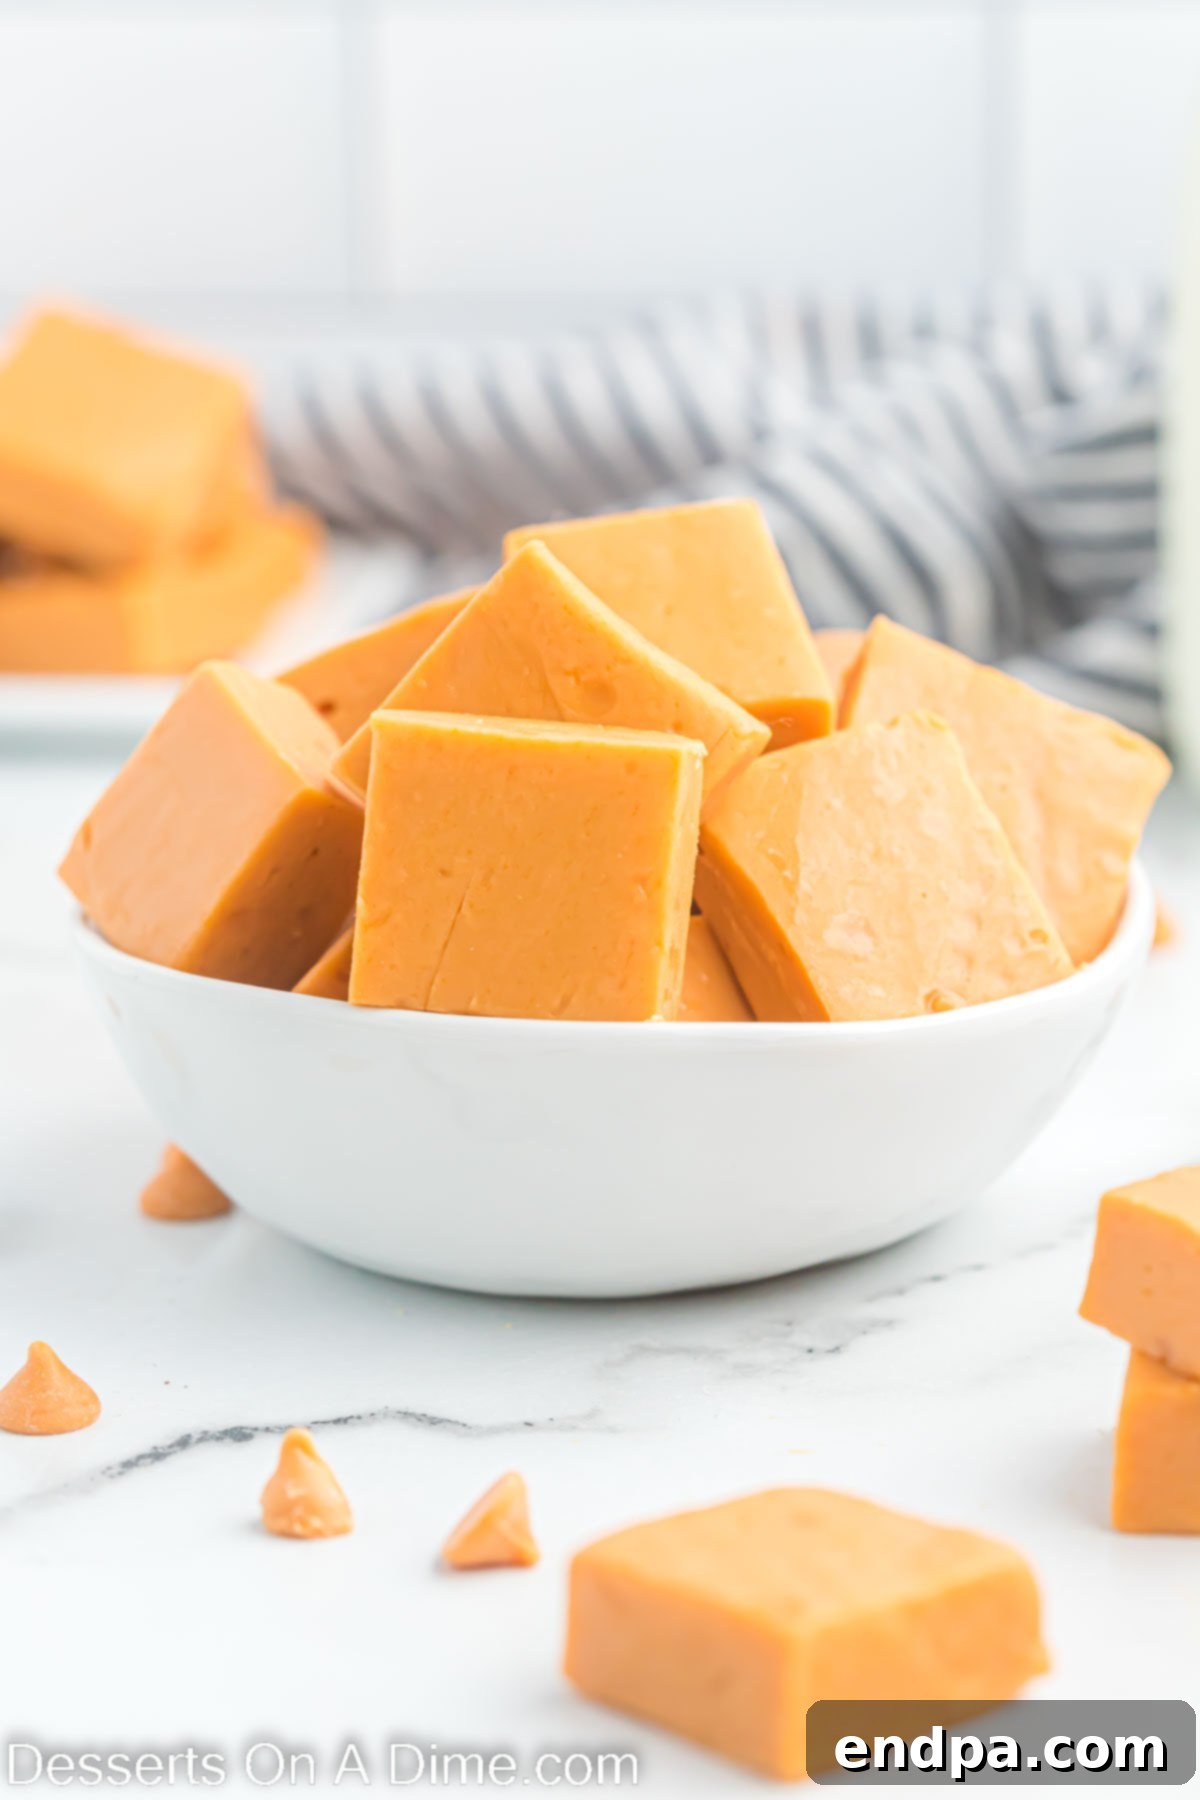
Forget complicated instructions and lengthy ingredient lists. This simple butterscotch fudge delivers exceptional flavor and a velvety smooth texture that truly sets it apart. The entire process, from mixing to chilling, is designed for convenience, making it the perfect sweet treat for busy weeknights, holiday gatherings, or thoughtful homemade gifts. Get ready to impress your family and friends with this decadent butterscotch delight, a staple recipe you’ll revisit again and again.
If the rich, caramel-like notes of butterscotch capture your heart as much as they do ours, you’ll be thrilled to explore more butterscotch-infused delights. Indulge in classics like Butterscotch Pie, bake a batch of comforting Butterscotch Cookies, enjoy the chewiness of Butterscotch Bars, savor the layered goodness of Butterscotch Delight, or bake up some fudgy Butterscotch Brownies. Each recipe celebrates the unique and beloved flavor profile of butterscotch.
And for those who simply can’t get enough of homemade fudge, we have a treasure trove of other easy recipes that are just as delightful. Discover the allure of Salted Caramel Fudge, the cozy comfort of Maple Fudge, the playful crunch of Butterfinger Fudge, and the classic appeal of Easy Rocky Road Fudge. There’s a perfect fudge for every craving and occasion!
Table of Contents
- Why You’ll Adore This Simple Butterscotch Fudge Recipe
- The Secret to Achieving Perfectly Creamy Fudge Every Time
- Essential Ingredients for Your Best Butterscotch Fudge
- Exciting Variations and Customization Ideas
- Step-by-Step Guide: How to Make Butterscotch Fudge in Minutes
- Frequently Asked Questions About Butterscotch Fudge
- Expert Tips for Foolproof Butterscotch Fudge
- Explore More Delicious Fudge Recipes
Why You’ll Adore This Simple Butterscotch Fudge Recipe
There are countless reasons why this butterscotch fudge stands out as a true crowd-pleaser. Its simplicity and phenomenal taste make it a go-to dessert for any occasion. Here’s why we, and soon you, will fall in love with this recipe:
- Minimal Ingredients: With just four basic ingredients, you likely already have everything you need in your pantry. This saves time and stress, especially when you need a last-minute dessert. The focus on quality butterscotch chips, sweetened condensed milk, vanilla, and a touch of salt creates a synergy of flavors that feels gourmet yet is incredibly accessible.
- No Candy Thermometer Required: Say goodbye to the guesswork and frustration of traditional fudge making. Our microwave method eliminates the need for precise temperature monitoring, making the process much more forgiving and enjoyable. This feature alone makes it perfect for novice cooks or anyone intimidated by candy making.
- Microwave Magic: The microwave is your best friend for this recipe. It allows for quick, controlled melting, ensuring a smooth and lump-free mixture without the constant stirring and potential for burning that can come with stovetop methods. It significantly cuts down on hands-on time, letting you enjoy your delicious creation sooner.
- Unbelievably Creamy Texture: The result is a fudge that is wonderfully rich, dense, and boasts an exquisitely creamy texture that melts in your mouth. The combination of butterscotch chips and sweetened condensed milk creates a luscious base that is both decadent and satisfying, delivering that classic fudge experience without any effort.
- Quick and Convenient: From start to finish, the active preparation time for this fudge is incredibly short. While chilling is essential, the hands-on work is so fast that you can whip up a batch whenever a craving strikes, or when you need a quick dessert for an unexpected guest.
- Versatile and Customizable: While perfect on its own, this butterscotch fudge is also a fantastic base for various additions and flavor enhancements, allowing you to tailor it to your preferences or the occasion.
The Secret to Achieving Perfectly Creamy Fudge Every Time
Achieving that coveted smooth, melt-in-your-mouth texture in fudge can sometimes seem like a mystery, but with our microwave method, it’s incredibly straightforward. The secret lies in a simple yet crucial technique: controlled heating and consistent stirring.
When melting the butterscotch chips and sweetened condensed milk in the microwave, resist the urge to heat the mixture all at once. Instead, adopt the method of heating in **20-second intervals**. After each interval, thoroughly stir the mixture until it becomes smooth. This gradual approach is vital for several reasons:
- Prevents Burning: Microwaves can heat unevenly and quickly. Short bursts prevent the butterscotch chips from scorching or seizing, which can lead to a gritty or burnt taste.
- Ensures Even Melting: Stirring between intervals helps distribute the heat more uniformly and breaks up any clumps of chips, ensuring a consistently smooth and homogeneous mixture.
- Controls Consistency: This method allows you to gauge the fudge’s consistency as it melts. You want the mixture to be completely smooth and glossy, not overly thick or hard. Overheating can cause the fudge to become too firm or crumbly once set.
Continue this process of microwaving for 20 seconds and stirring until the butterscotch chips are fully melted and the mixture is perfectly smooth and uniform. This diligent attention to melting will guarantee a luscious, creamy fudge that truly lives up to its name. While traditional stovetop fudge often relies on precise temperature control and specific cooling techniques to achieve creaminess, the microwave eliminates this complexity, offering a foolproof path to delicious results.
Essential Ingredients for Your Best Butterscotch Fudge
The beauty of this butterscotch fudge recipe lies in its simplicity, utilizing just a handful of ingredients that come together to create a truly magical treat. Each component plays a vital role in achieving the perfect flavor and texture:
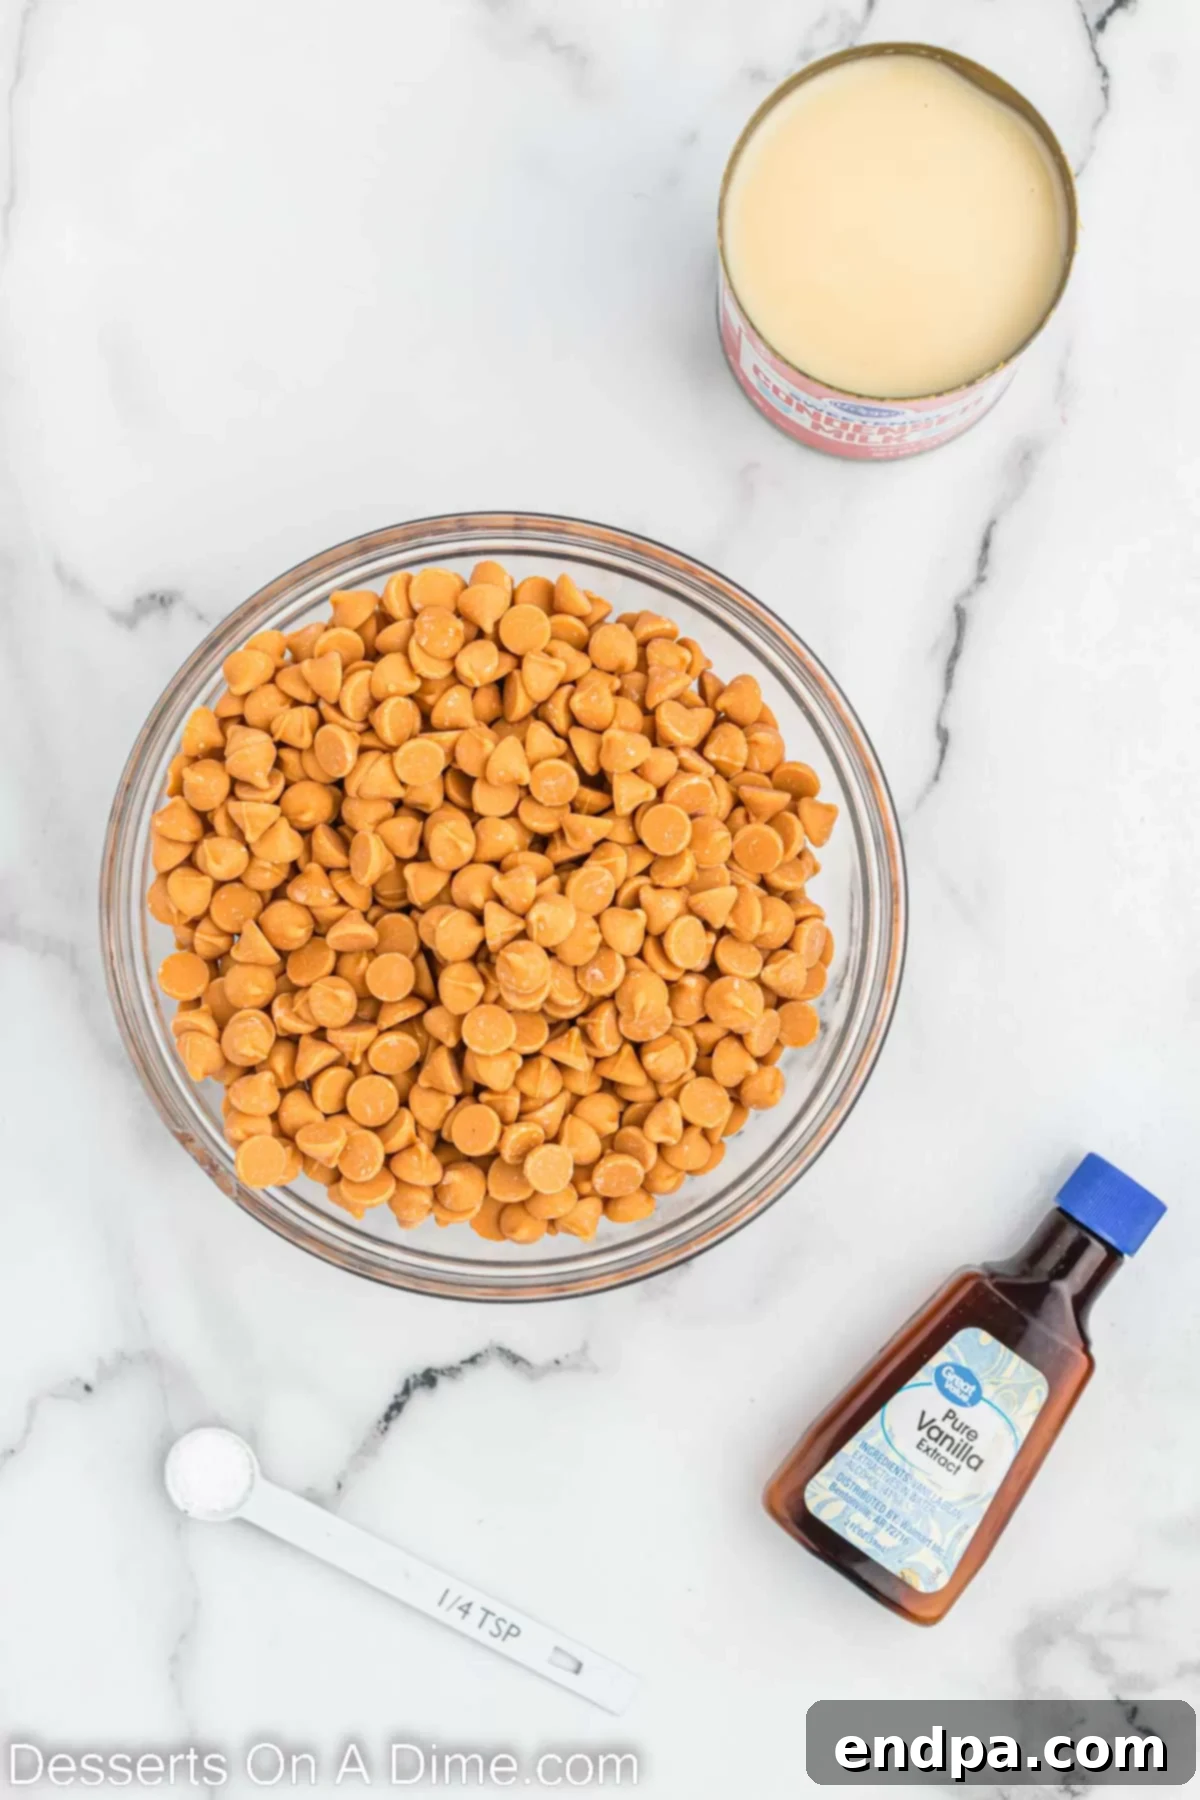
- Butterscotch Chips: These are, of course, the star of the show! For the most authentic and robust butterscotch flavor, invest in high-quality butterscotch chips. The better the chips, the richer and more defined your fudge will taste. Butterscotch is a confectionary flavor that originates from butter and brown sugar, often with vanilla and salt, giving it a distinctive caramel-like, slightly smoky, and buttery taste that is uniquely appealing.
- Sweetened Condensed Milk: This ingredient is absolutely crucial for the fudge’s signature creaminess and sweetness. It’s a thick, syrupy milk product that has been sweetened and had much of its water removed. Do not confuse it with evaporated milk, which is unsweetened. Sweetened condensed milk binds the ingredients, provides a rich dairy base, and contributes significantly to the fudge’s smooth, dense texture. It’s what makes this a “no-fail” fudge recipe, as it helps create the perfect consistency without the need for a candy thermometer.
- Vanilla Extract: A touch of pure vanilla extract enhances the overall flavor profile, adding warmth and depth to the butterscotch. It acts as a supporting actor, bringing out the best in the main butterscotch flavor without overpowering it. Always opt for pure vanilla extract for the best aromatic results.
- Pinch of Salt: Often overlooked, a small amount of salt is essential for balancing the sweetness of the fudge. It elevates the butterscotch flavor, preventing the fudge from being overly saccharine and adding a subtle complexity that makes each bite more satisfying.
You’ll find the complete, precise measurements for each of these ingredients in the detailed recipe card at the bottom of this page. Gather these simple items, and you’re well on your way to creating a truly delightful butterscotch fudge!
Exciting Variations and Customization Ideas
While our classic 4-ingredient butterscotch fudge is perfect on its own, it also serves as a fantastic canvas for creative additions and flavor variations. Don’t hesitate to experiment and make this recipe truly your own!
- White Chocolate Swirl: For a delightful twist and beautiful visual appeal, try using half butterscotch chips and half white chocolate chips. You can melt them together for a blended flavor or swirl them separately into the pan before chilling for a marbled effect. The creamy sweetness of white chocolate complements butterscotch wonderfully.
- Festive Sprinkles: Add a pop of color and celebratory flair by sprinkling your favorite sprinkles on top of the fudge before it sets. This is a fantastic idea for holidays like Christmas, Halloween, or birthdays, allowing you to match the sprinkles to your theme. Rainbow sprinkles are always a hit for parties!
- Nutty Perfection: Incorporate some crunch by stirring chopped nuts into the fudge mixture just before pouring it into the pan, or sprinkle them generously on top. Pecans and walnuts are classic choices that pair beautifully with butterscotch, offering a rich, earthy contrast. Almonds or even salted peanuts could also be delicious additions. For extra flavor, lightly toast the nuts before adding them.
- Sea Salt Flakes: Elevate your fudge to a gourmet level with a sprinkle of flaky sea salt on top before it sets. The coarse salt crystals provide a delightful textural contrast and a burst of salty flavor that perfectly balances the sweetness of the butterscotch, creating a sophisticated “salted butterscotch” experience.
- Toffee Bits: For an extra layer of caramel-like flavor and a satisfying chew, stir in some toffee bits (with or without chocolate coating) into the fudge mixture. These add a wonderful depth and texture that butterscotch lovers will adore.
- Mini Chocolate Chips: If you’re a fan of the classic butterscotch and chocolate combination, mini chocolate chips (milk, semi-sweet, or dark) can be folded into the mixture for a delightful blend of flavors.
- Dried Fruit Infusion: For a unique touch, consider adding finely chopped dried cranberries or apricots. Their tartness can provide a lovely counterpoint to the sweet butterscotch, especially appealing during the fall and winter months.
Remember, when adding mix-ins, ensure they are evenly distributed throughout the fudge so every piece offers a delightful surprise. Get creative and enjoy personalizing your butterscotch fudge!
Step-by-Step Guide: How to Make Butterscotch Fudge in Minutes
Making this incredibly easy butterscotch fudge is a straightforward process, requiring just a few simple steps. Follow these instructions for a perfect batch every time:
- Step 1 – Prepare Your Pan: First, select your baking pan. An 8×8-inch pan will yield thicker fudge pieces, while a 9×9-inch pan will result in slightly thinner squares. Line your chosen pan with either aluminum foil or parchment paper, ensuring there’s an overhang on the sides. This overhang will act as “handles” later, making it incredibly easy to lift the set fudge out of the pan. Once lined, lightly spray the foil or parchment paper with a non-stick cooking spray to prevent any sticking. This preparation step is crucial for a clean release and easy cutting.
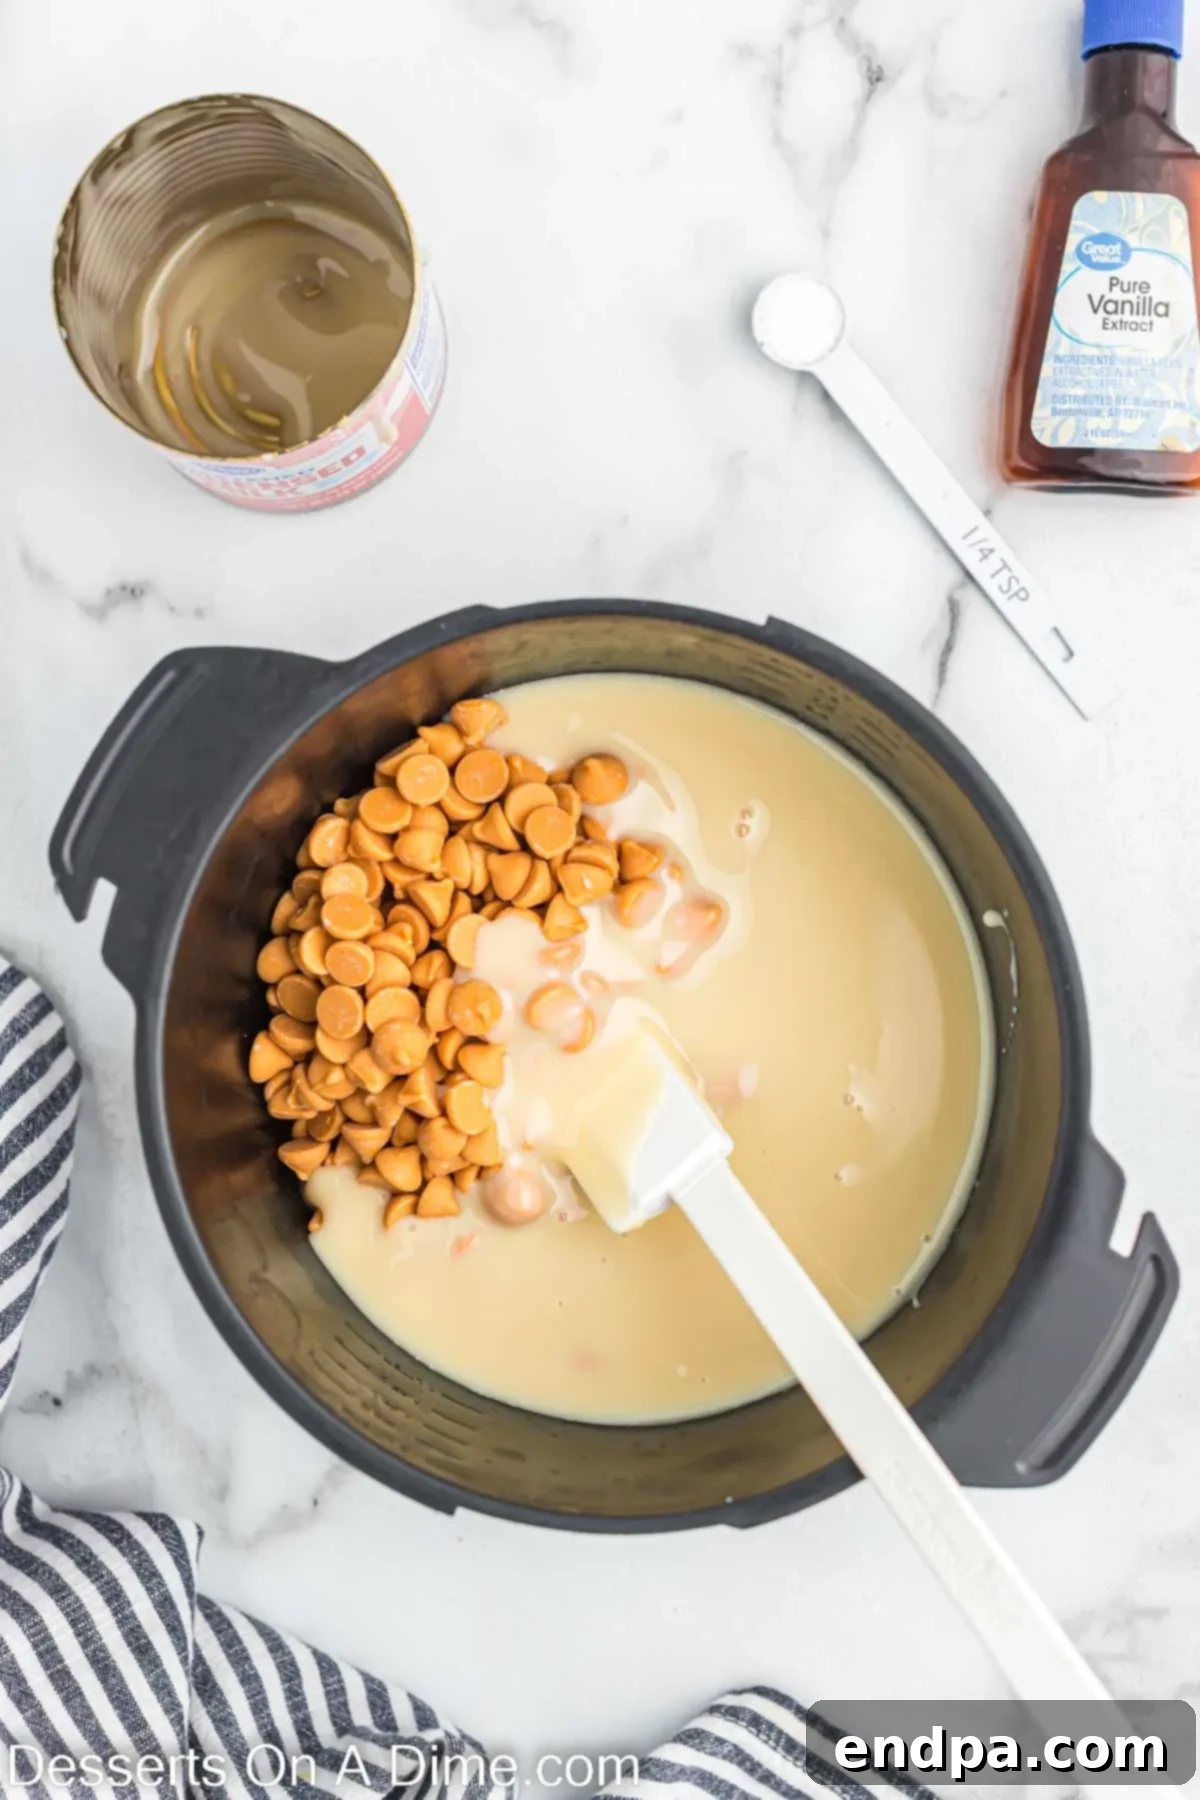
Step 2 – Gentle Melting in the Microwave: In a large, microwave-safe bowl, combine the butterscotch chips and the sweetened condensed milk. Place the bowl in the microwave and heat the mixture in 20-second intervals. After each interval, remove the bowl and stir the mixture thoroughly with a spatula or spoon. Continue this process, microwaving and stirring, until the butterscotch chips are completely melted and the mixture is smooth and well combined. This gradual melting prevents burning and ensures a uniform consistency.
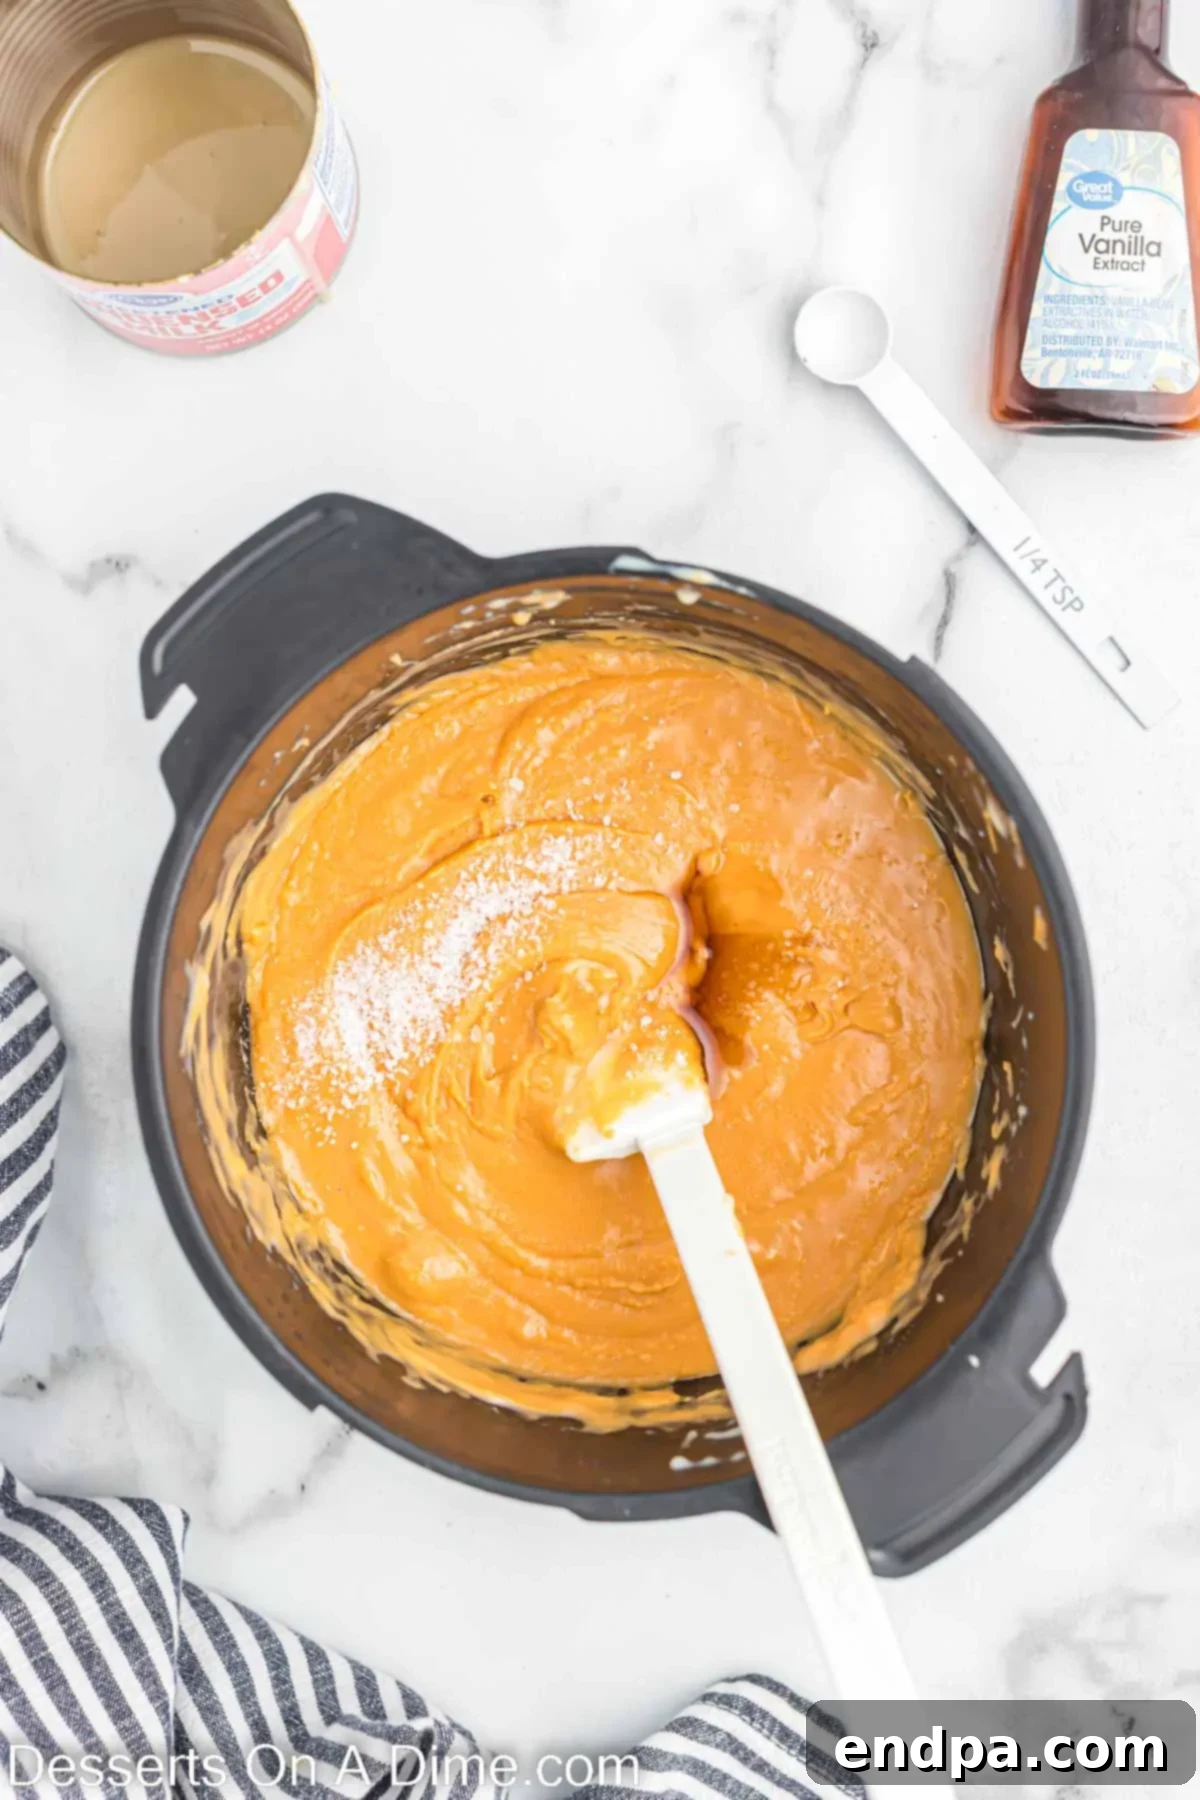
Step 3 – Infuse the Flavor: Once the butterscotch mixture is smooth and glossy, stir in the vanilla extract and the pinch of salt. Mix well until these ingredients are fully incorporated. The vanilla adds aromatic depth, and the salt helps to balance the sweetness, enhancing the overall butterscotch flavor. This step is where the final flavor notes are introduced.
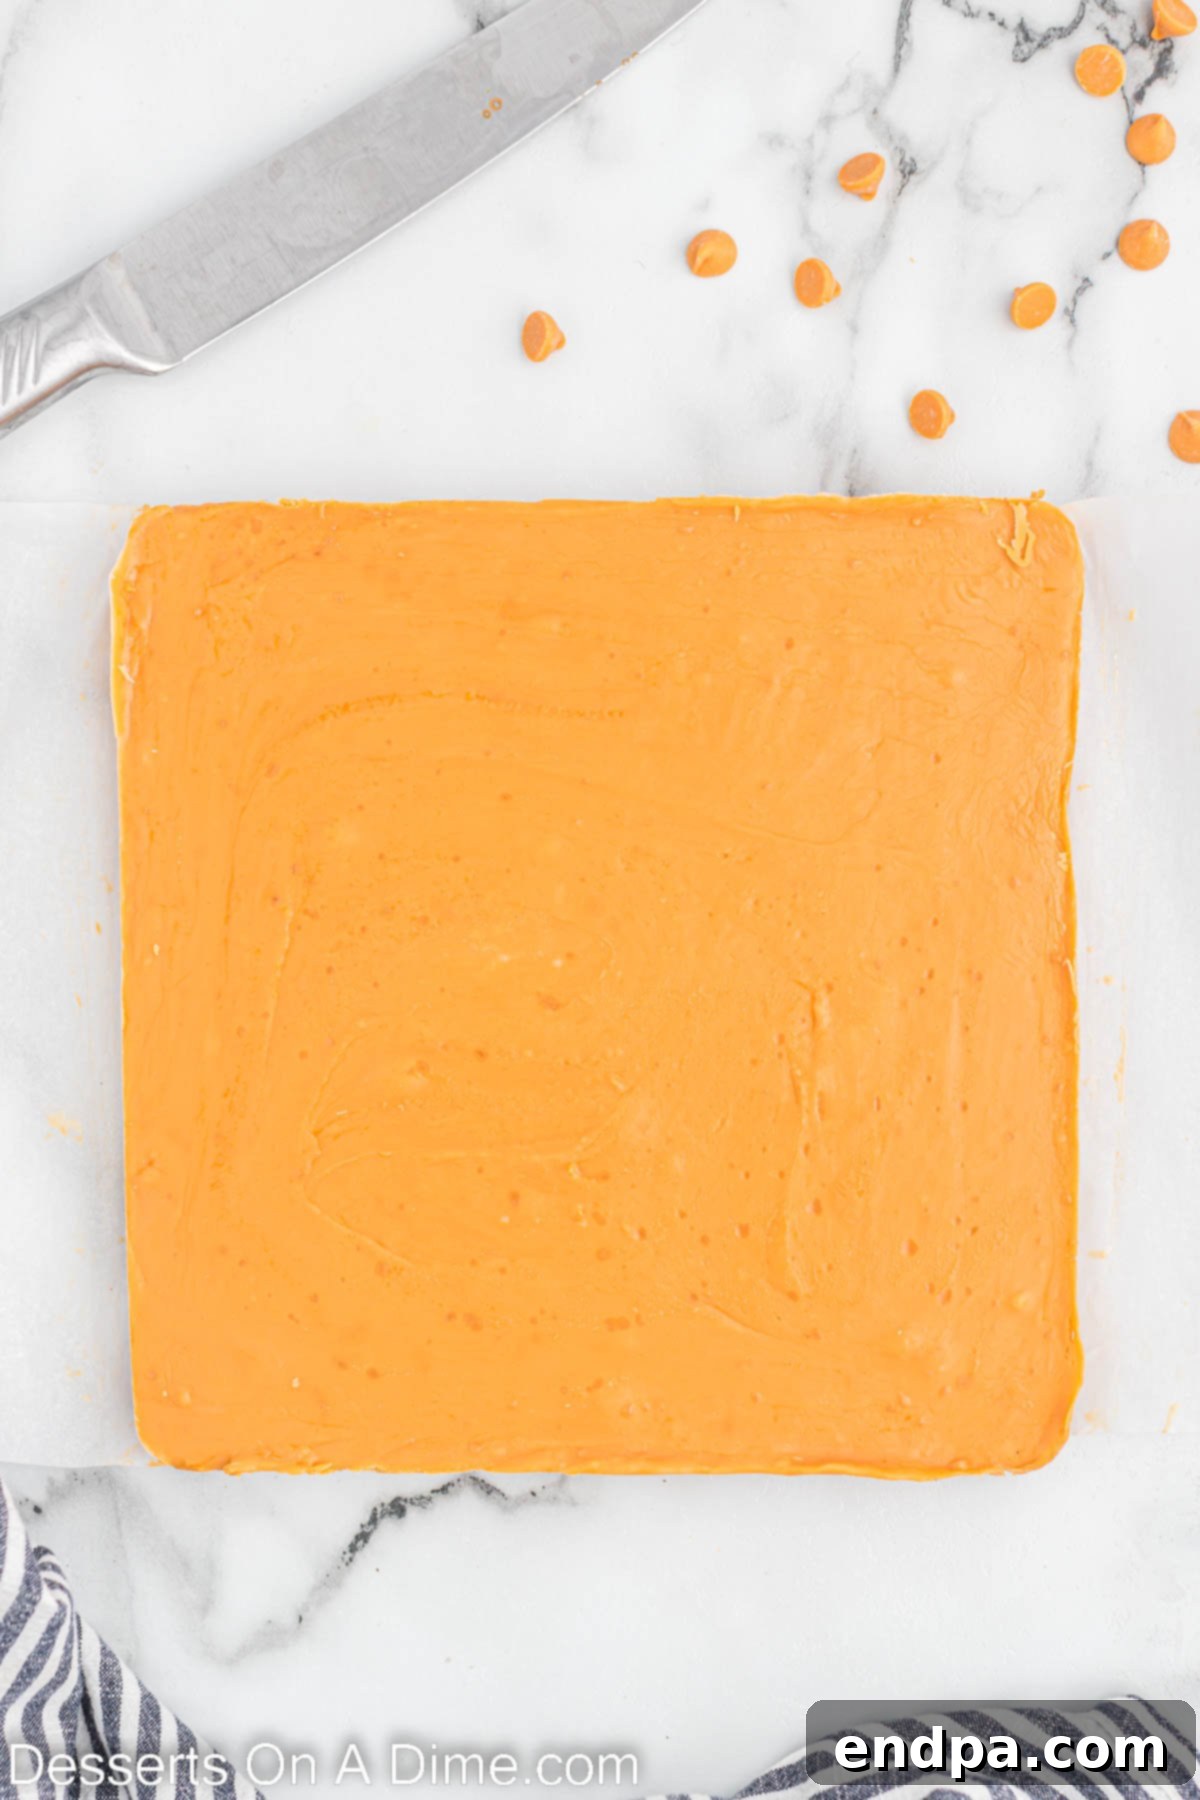
Step 4 – Set for Perfection: Promptly pour the warm fudge mixture into your prepared baking dish. Use your spatula to spread it evenly into the pan, creating a smooth, flat top. Once smoothed, cover the pan tightly with plastic wrap or foil. Transfer the covered pan to the refrigerator and chill for at least 2-3 hours, or until the fudge is completely firm and set. Adequate chilling time is essential for the fudge to harden properly and achieve its ideal texture for cutting.
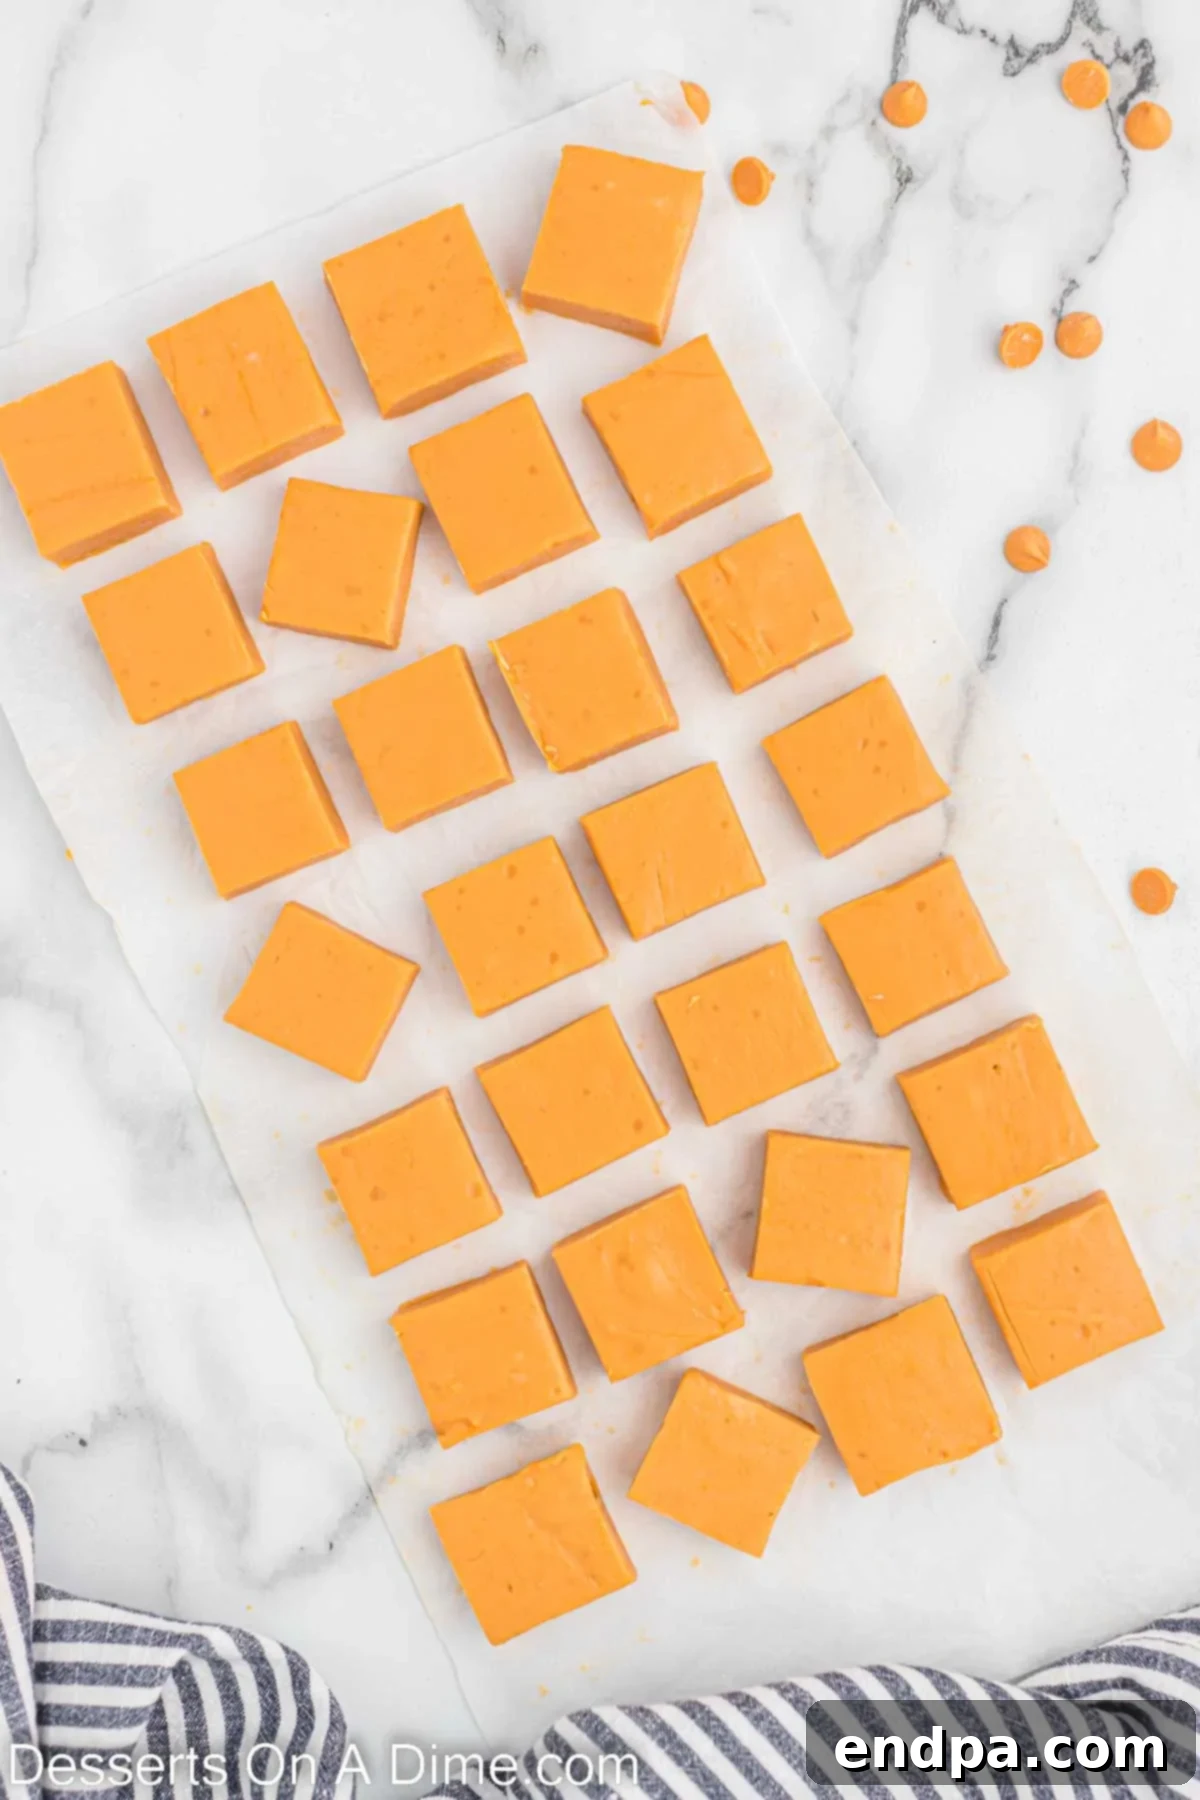
Step 5 – Slice and Serve: Once the fudge is thoroughly chilled and firm, carefully use the foil or parchment paper overhang to lift the entire block of fudge out of the pan. Peel away the lining. Place the fudge on a cutting board and use a sharp knife to cut it into squares. For extra clean cuts, you can warm your knife slightly by dipping it in hot water and wiping it dry between cuts. Arrange your delicious butterscotch fudge squares on a serving platter and enjoy this sweet, creamy treat!
Frequently Asked Questions About Butterscotch Fudge
Here are some common questions about making and storing butterscotch fudge, along with expert answers to help you achieve the best results:
Do you have to store fudge in the refrigerator?
Yes, for optimal freshness and texture, homemade fudge, especially recipes made with sweetened condensed milk like this one, should be refrigerated. Storing it at room temperature, particularly in warmer environments, can cause it to become too soft, sticky, or even melt, compromising its delightful creamy consistency. Refrigeration helps it maintain its firm yet chewy structure.
How to Store Fudge?
To store your butterscotch fudge effectively, cut it into individual squares first. Then, place the pieces in an airtight container. You can layer the fudge pieces, separating each layer with parchment paper to prevent them from sticking together. This method helps maintain the fudge’s freshness and prevents it from absorbing odors from other foods in the refrigerator.
How Long does Fudge Last?
When stored properly in an airtight container in the refrigerator, this butterscotch fudge will remain fresh and delicious for up to 2 to 3 weeks. Beyond this period, while still edible, its quality may start to diminish. If you need to store it for a longer duration, freezing is the best option.
How to Freeze Fudge?
Freezing fudge is an excellent way to extend its shelf life, making it perfect for preparing ahead of holidays or special occasions. Cut the fudge into individual squares. Place them in an airtight, freezer-safe container, separating layers with parchment paper to prevent sticking. The fudge can be frozen for up to 2-3 months. When you’re ready to serve, simply transfer the container to the refrigerator overnight or let the fudge come to room temperature on the counter for about an hour before enjoying. It thaws beautifully, retaining its creamy texture.
Can I make this fudge on the stovetop instead of the microwave?
While this specific recipe is designed for the microwave for ease and foolproof results, a similar 4-ingredient fudge can sometimes be made on the stovetop. If attempting the stovetop method, you would gently heat the butterscotch chips and sweetened condensed milk over low heat, stirring constantly, until the chips are fully melted and the mixture is smooth. Be very careful not to scorch the mixture, as the condensed milk can burn easily. Remove from heat immediately once smooth, then stir in vanilla and salt, and proceed with chilling. However, for guaranteed success and simplicity, the microwave method is highly recommended for this recipe.
Why is my fudge crumbly or too soft?
If your fudge is crumbly, it might have been slightly overcooked or overheated, causing too much moisture to evaporate. If it’s too soft, it might not have been cooked enough, or it wasn’t chilled for a sufficient amount of time. Ensure you follow the 20-second interval melting and chill for the full 2-3 hours.
Expert Tips for Foolproof Butterscotch Fudge
Creating the perfect batch of creamy butterscotch fudge is simple, but a few expert tips can elevate your results from good to absolutely fantastic. Keep these pointers in mind for a truly flawless confection:
- Embrace Interval Melting: As highlighted, melting the butterscotch chips and sweetened condensed milk in short, 20-second microwave intervals is key. This prevents burning and ensures a smooth, luscious mixture. Patience here will pay off with a superior texture.
- Stir Diligently: After each microwave interval, stir the fudge mixture thoroughly. This distributes the heat evenly and helps the chips melt consistently, preventing any lumpy bits and ensuring a perfectly uniform consistency.
- Refrigeration is Non-Negotiable: Do not leave the fudge out on the counter to set. It requires refrigeration to firm up properly and achieve its characteristic dense, yet creamy texture. Skipping this step will result in overly soft or even runny fudge.
- Cut into Modest Squares: This butterscotch fudge is incredibly rich and decadent. A little goes a long way! Cut the fudge into small, bite-sized squares (around 1-inch) so everyone can enjoy its intense flavor without feeling overwhelmed.
- Prioritize Quality Chips: Since butterscotch chips are one of the primary ingredients, their quality directly impacts the final flavor. Choose a reputable brand of butterscotch chips for the best, most authentic taste.
- Prepare Your Baking Dish Thoughtfully: Lining your pan with foil or parchment paper and leaving an overhang is a small step with a huge payoff. It makes lifting the entire block of fudge out of the pan effortless, leading to clean edges and easy cutting. Don’t skip this!
- Do Not Substitute Sweetened Condensed Milk: This ingredient is critical. Its unique sugar content and thick consistency are what create the distinct fudge texture when combined with the butterscotch chips. Evaporated milk or regular milk will not yield the same results.
- Clean Cuts with a Warm Knife: For perfectly neat squares, run your knife under hot water, wipe it dry, and then make your cuts. Repeat this process occasionally as you cut to keep the knife clean and prevent sticking.
- Consider Gifting: Homemade butterscotch fudge makes a wonderful gift! Once cut and chilled, arrange pieces in decorative tins or cellophane bags for a thoughtful present during holidays or special occasions.
Explore More Delicious Fudge Recipes
If you’ve fallen in love with the ease and deliciousness of our Butterscotch Fudge, you’re in for a treat! The world of easy fudge recipes is vast and wonderfully adaptable. Expand your dessert repertoire with these other fantastic and simple fudge creations:
- Vanilla Fudge Recipe: A classic, creamy, and versatile fudge that is perfect on its own or as a base for other flavors.
- 2-Ingredient Chocolate Peanut Butter Fudge: An unbelievably easy and incredibly addictive fudge that combines two beloved flavors with minimal effort.
- Sugar Cookie Fudge Recipe: A festive and fun fudge that captures the sweet, buttery essence of sugar cookies in a delightful bite.
- Marshmallow Fluff Fudge: A soft, fluffy, and sweet fudge recipe that uses marshmallow fluff for an extra light texture.
- Rocky Road Candy: While technically a candy, this classic treat shares many similarities with fudge, combining chocolate, marshmallows, and nuts for a delightful texture.
- Harry Potter Butterbeer Fudge Recipe: A magical and whimsical fudge inspired by the famous wizarding drink, perfect for fans of the series.
Each of these recipes offers a unique flavor experience, promising the same ease and homemade goodness you’ve come to expect. Dive in and find your next favorite fudge!
If you’ve never ventured into the delightful world of microwave fudge, this scrumptious Butterscotch Fudge recipe is the perfect place to start. Its unmatched creaminess, straightforward process, and rich flavor make it an absolute winner. We encourage you to give it a try and discover just how simple and satisfying homemade fudge can be. Don’t forget to leave a comment below once you’ve experienced this amazing treat – we love hearing your feedback!
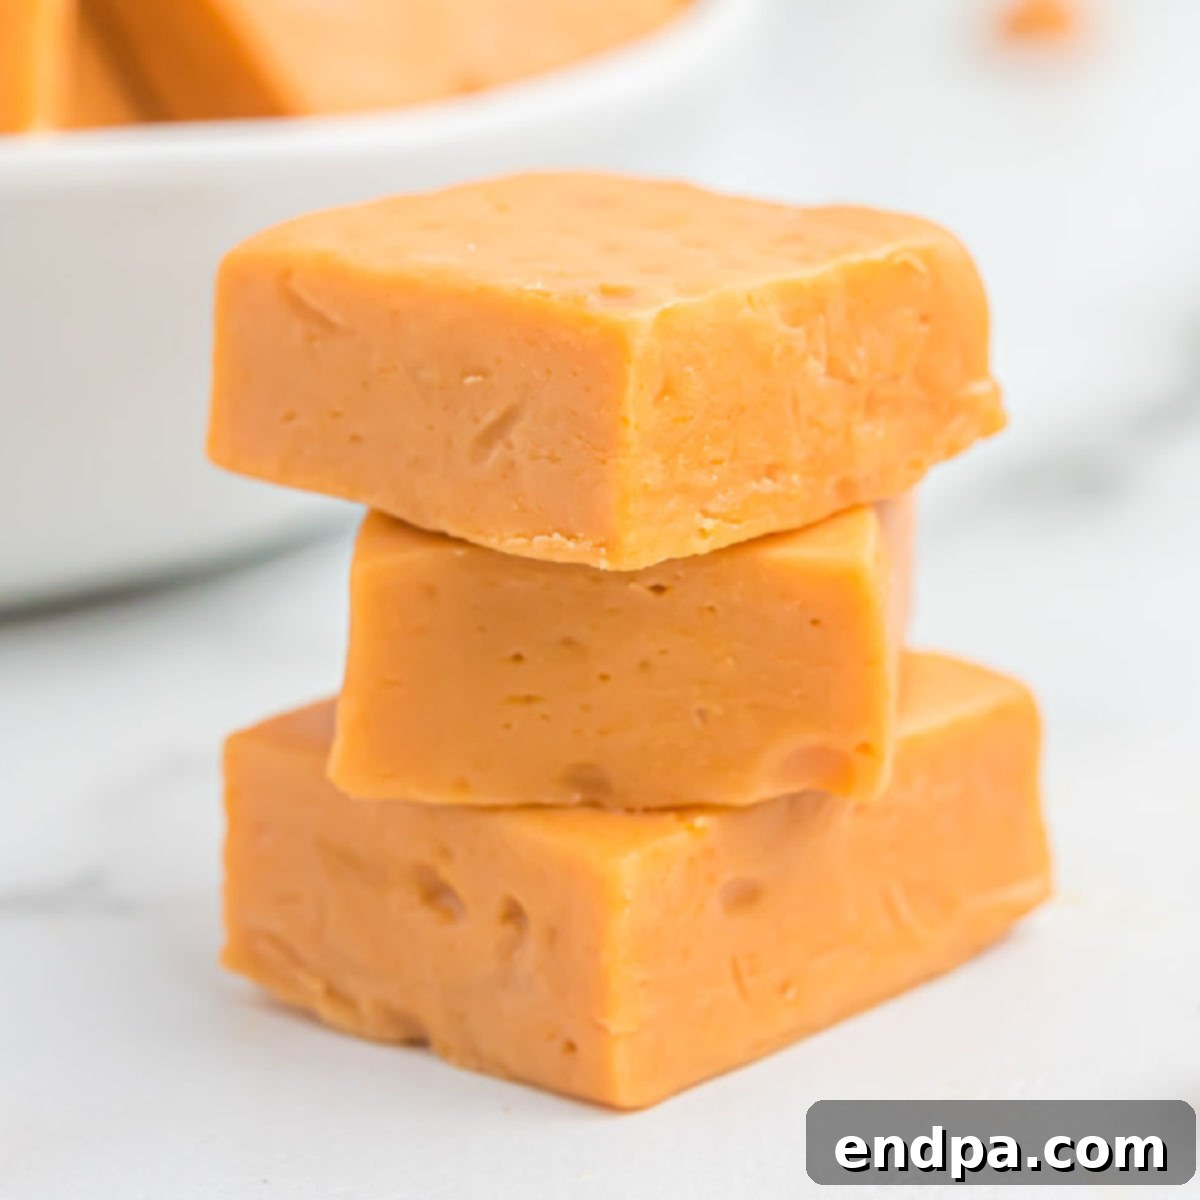
Butterscotch Fudge
This Butterscotch Fudge recipe creates the creamiest fudge using just 4 ingredients. It’s an easy, homemade dessert that anyone can master.
Ingredients
- 3 cups Butterscotch Chips
- 14 oz Sweetened Condensed Milk (14 oz can)
- 1 teaspoons Vanilla Extract
- 1/4 teaspoon Salt
Instructions
- Line either a 9×9 or an 8×8 pan with foil or parchment paper and then spray it with a non-stick cooking spray.
- Place the butterscotch chips and sweetened condensed milk in a microwave safe bowl. Microwave the mixture in 20-second intervals, stirring after each interval, until the chips are completely melted.
- Then stir in the vanilla extract and salt. Pour the mixture into the prepared pan.
- Cover the pan and refrigerate for 2-3 hours until the fudge is firm.
- Carefully remove the fudge from the pan, cut the fudge into squares and it’s ready to serve and enjoy!
Recipe Notes
Refrigerate in an airtight container for up to 2-3 weeks.
Nutrition Facts
Pin This Now to Remember It Later
Pin Recipe
