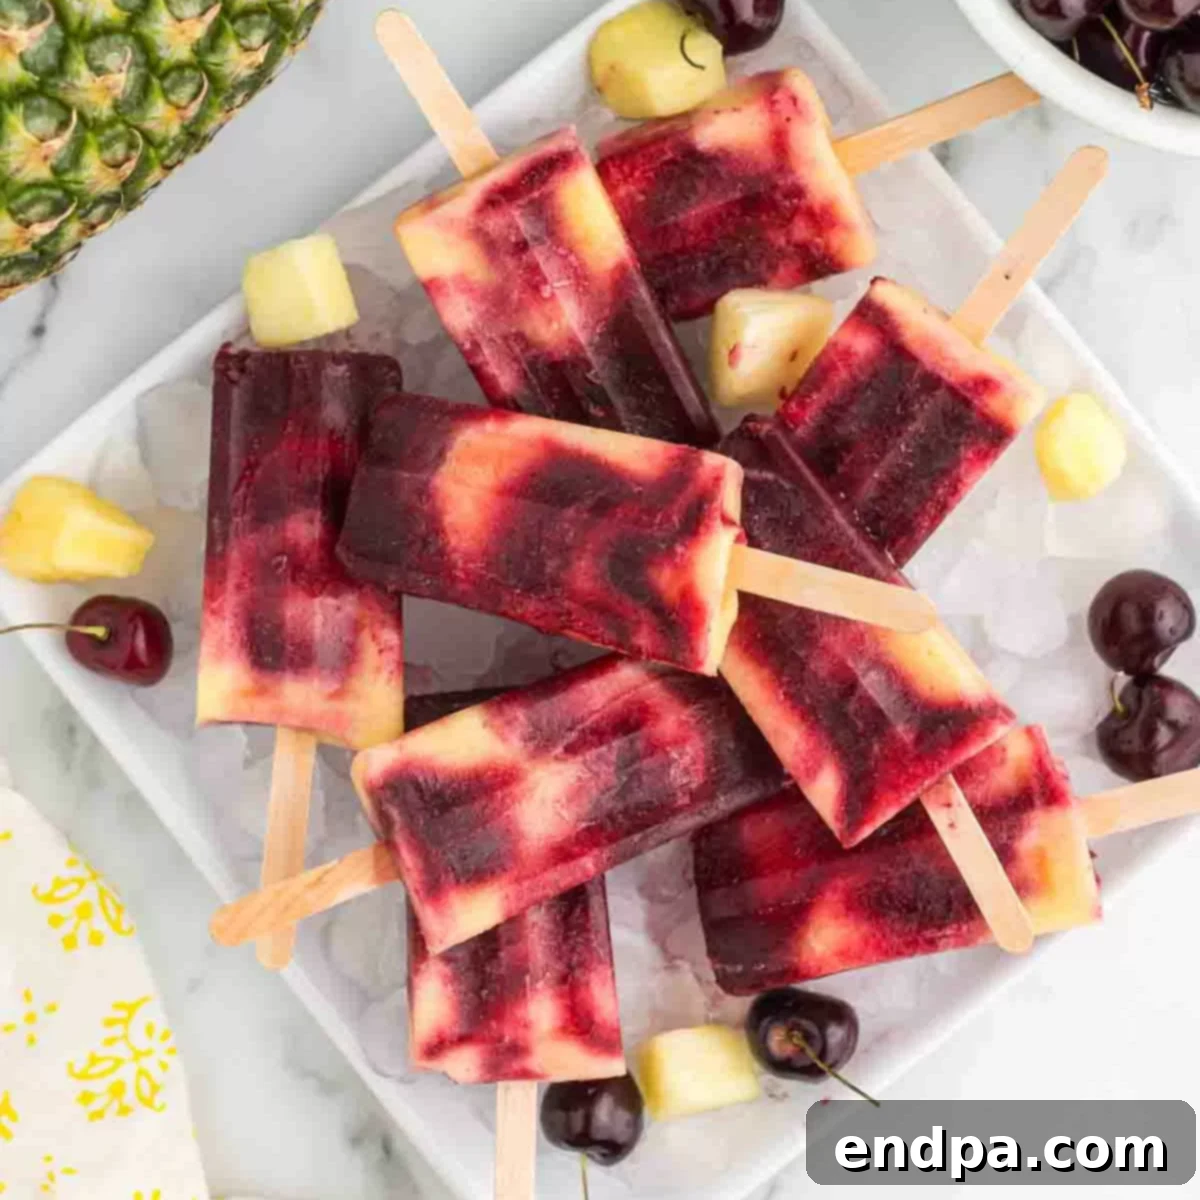
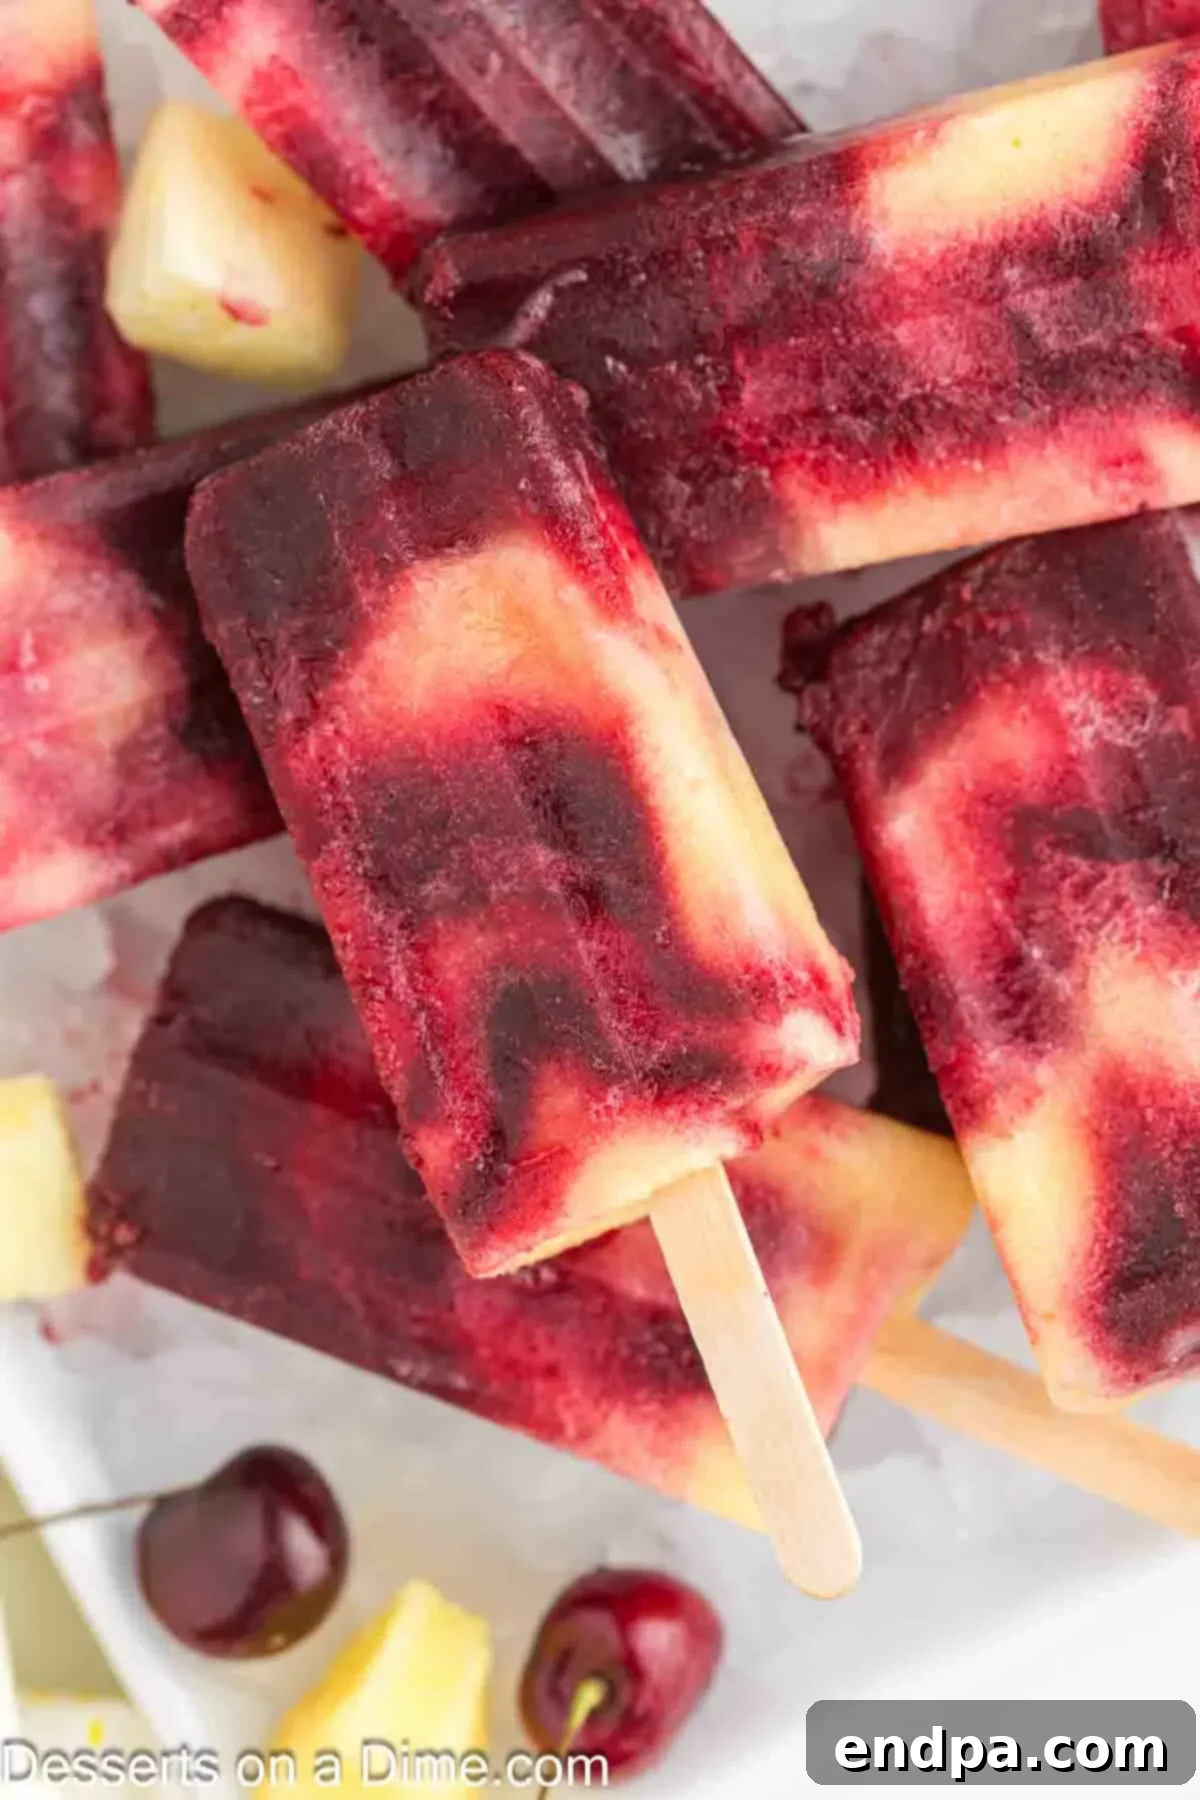
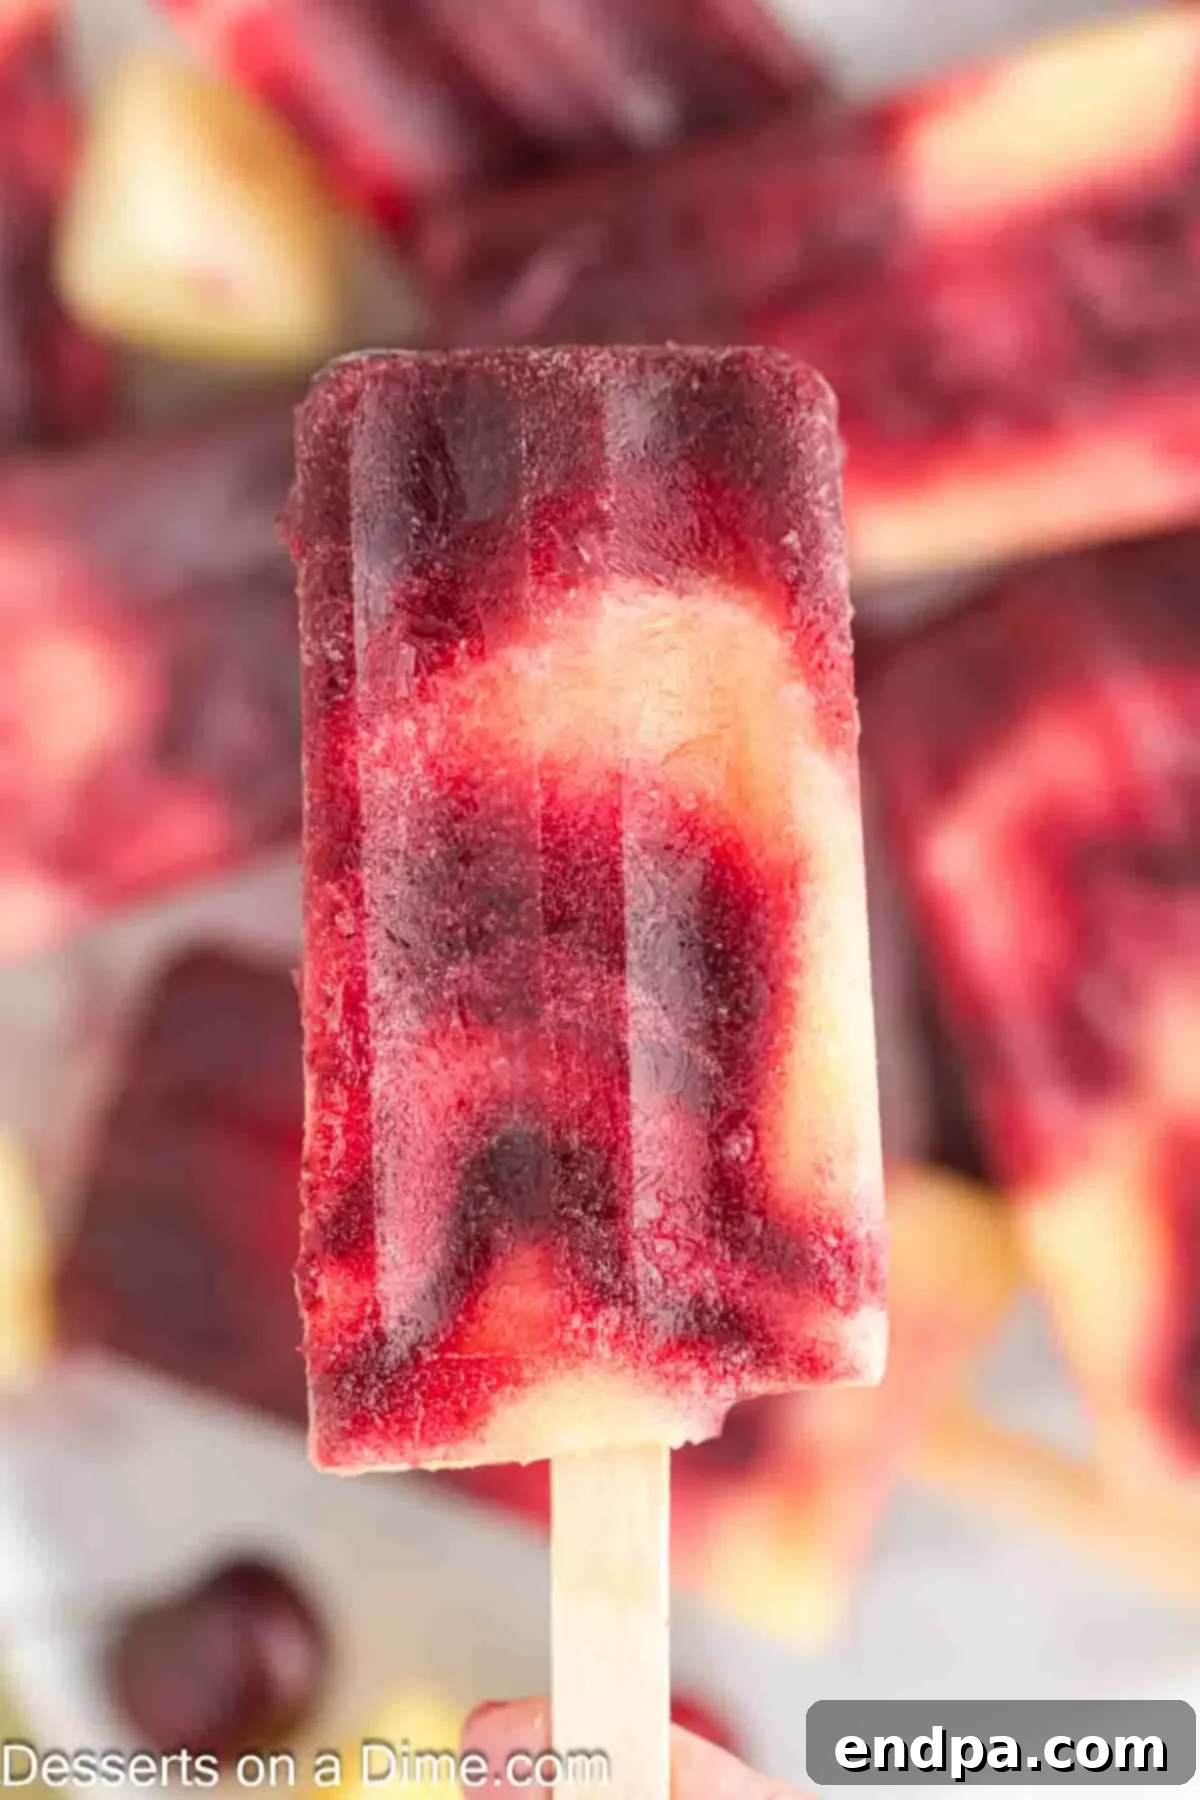
Cherry Pineapple Popsicles are the quintessential refreshing treat for any warm day. Bursting with the natural sweetness of ripe cherries and tropical pineapple, these homemade delights are not only incredibly delicious but also a healthier alternative to store-bought options. Crafted with simple, wholesome ingredients, they offer a low-sugar way to cool down and savor the vibrant flavors of summer. Forget artificial additives and excessive sweeteners; this recipe focuses on pure fruit goodness, making it a perfect snack for kids and adults alike.
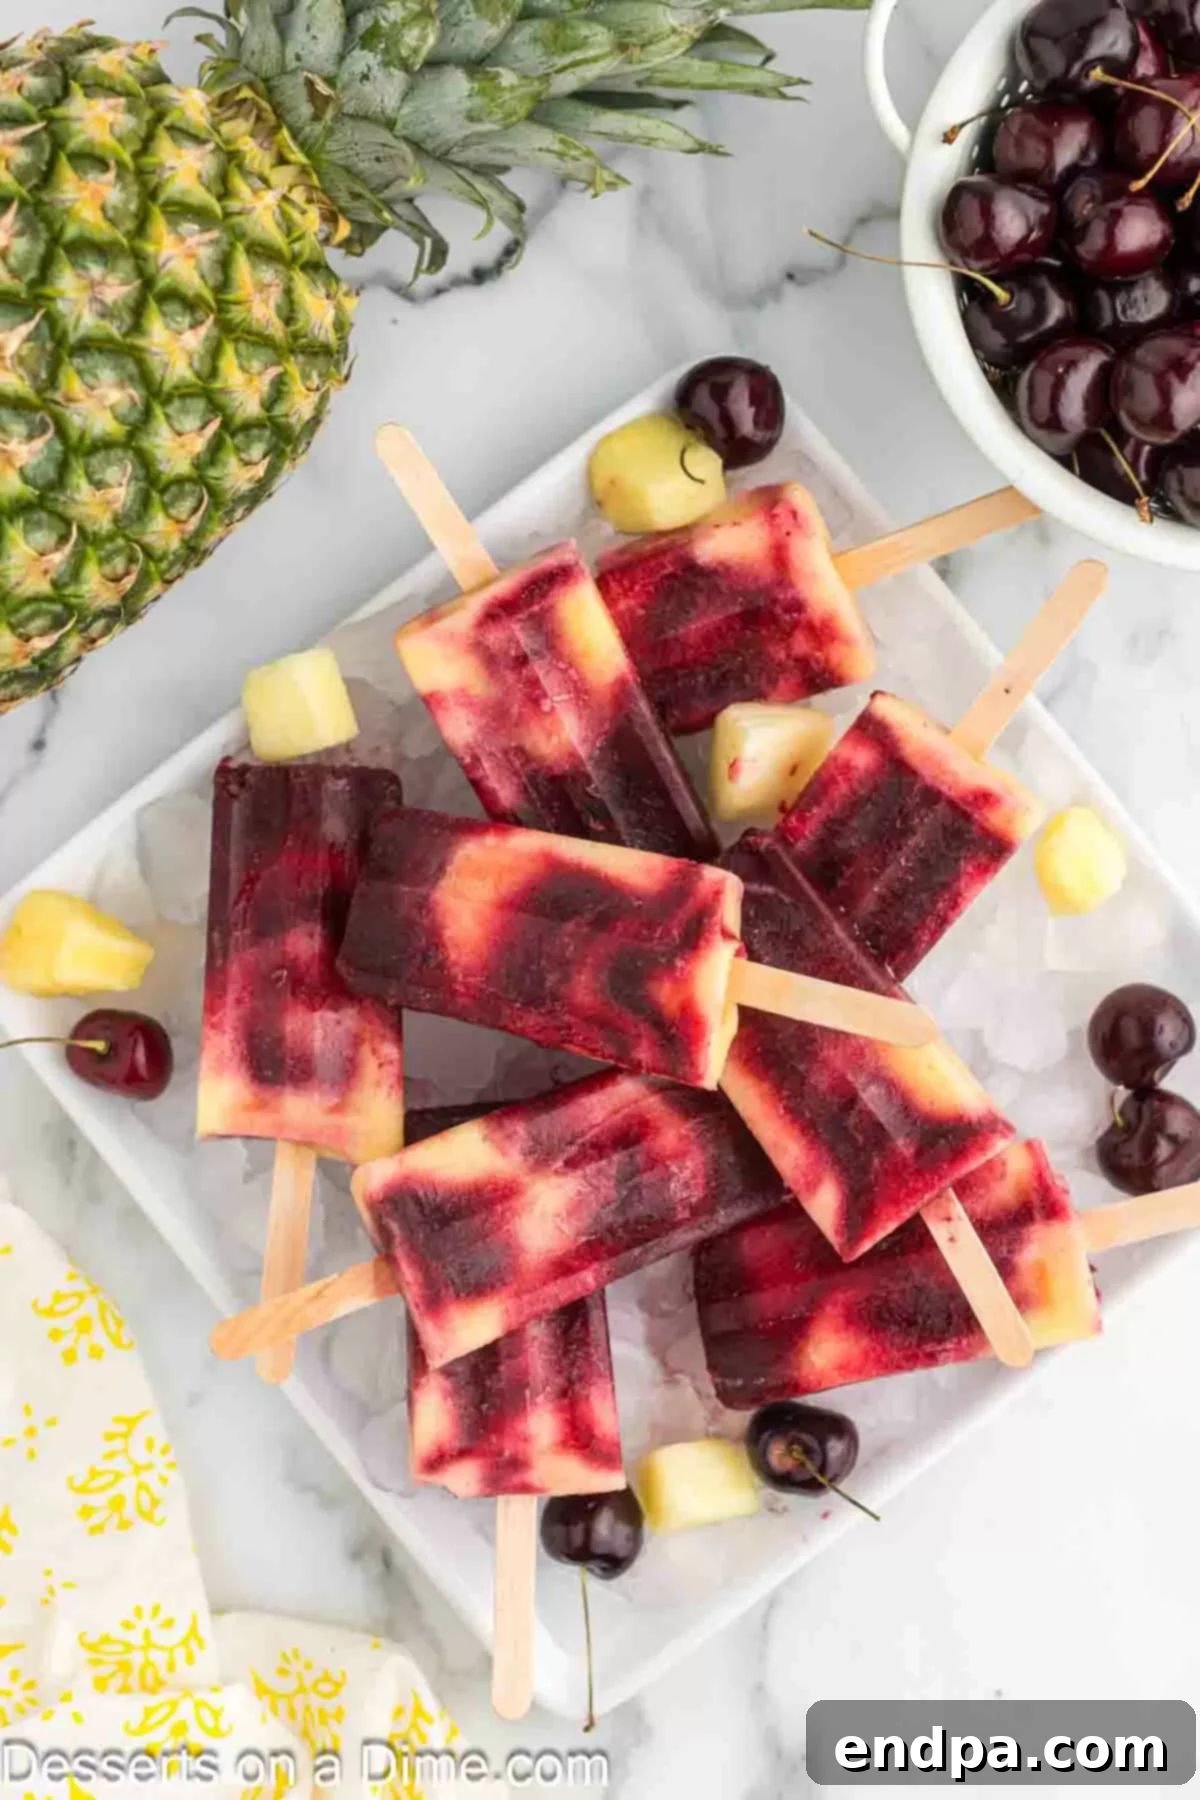
Making your own popsicles is a surprisingly quick and easy endeavor, and this cherry pineapple combination is an absolute winner. The balanced sweetness from the fruits, complemented by a hint of honey and a touch of lemon, creates a flavor profile that is both invigorating and satisfying. It’s an ideal easy pineapple dessert recipe that brings a taste of the tropics right to your freezer. Beyond just tasting great, these popsicles are a fantastic way to increase your fruit intake in a fun and enjoyable format.
For those who love creating a variety of frozen treats, these popsicles are a fantastic addition to your freezer stash. They pair wonderfully with other homemade options like Mango Popsicles or creamy Blueberry Yogurt Popsicles, offering a spectrum of flavors for every palate. If you’re a devoted pineapple enthusiast and looking for more ways to enjoy this juicy fruit, you might also want to explore our delightful Pineapple Dream Dessert.
Table of Contents
- Why We Love This Recipe
- Ingredients Deep Dive
- How to Make Cherry Pineapple Popsicles
- Expert Tips for Perfect Popsicles
- Frequently Asked Questions (FAQs)
- More Refreshing Homemade Popsicle Recipes
Why We Love This Recipe
There are countless reasons why these Cherry Pineapple Popsicles will become a staple in your home. Firstly, they are made with incredibly simple, wholesome ingredients, allowing you to control exactly what goes into your family’s treats. Using fresh or frozen fruit ensures that each popsicle is packed with natural vitamins and antioxidants, making them a guilt-free indulgence. They’re a fantastic way to use up surplus fruit or to simply have a healthy snack on hand.
The vibrant colors and tropical flavors make these cool treats an instant hit with children, often disappearing from the freezer almost as quickly as they’re made! But it’s not just the kids who adore them; adults will find themselves reaching for these refreshing popsicles, whether lounging by the pool on a scorching afternoon or simply craving a light, sweet pick-me-up. The process of making them is straightforward and rewarding, offering a fun kitchen activity that yields delicious results.
Ingredients Deep Dive
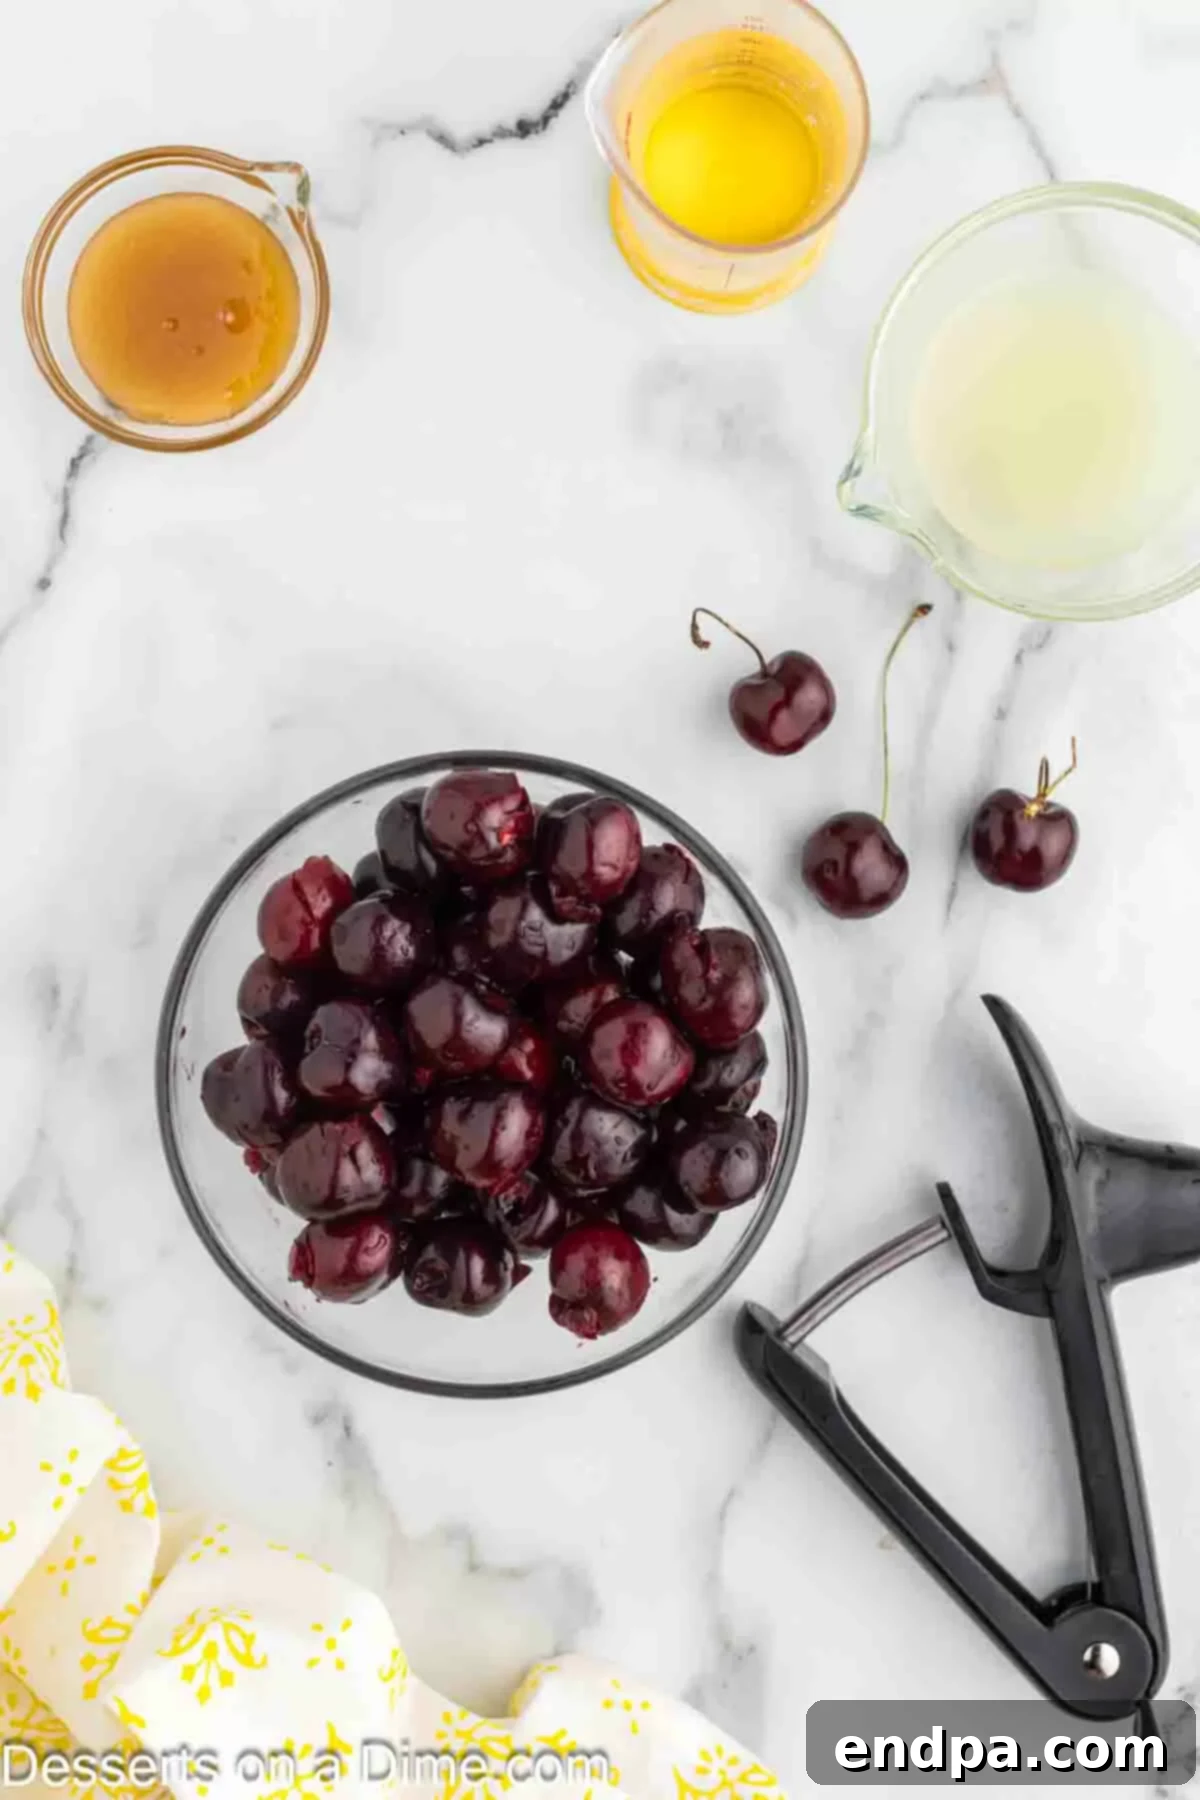
Crafting the perfect Cherry Pineapple Popsicles begins with understanding the role of each ingredient. Quality is key when working with natural flavors, as they are the heart of this delightful dessert.
- Dark Sweet Cherries: These provide a rich, deep sweetness and a beautiful ruby red color. You can use fresh cherries, which offer the best flavor and texture, but ensure they are pitted. Frozen dark sweet cherries (thawed) work equally well for convenience, especially if fresh ones are out of season or too expensive. Cherries are packed with antioxidants and offer a lovely tang that balances the sweetness of the pineapple.
- Frozen Pineapple Chunks (thawed): Pineapple is the tropical star, bringing a bright, juicy, and slightly tangy flavor. Using frozen chunks (about 10 ounces) that have been thawed slightly makes for easier blending and helps create that creamy popsicle consistency without adding dairy. Fresh pineapple can also be used; just make sure it’s ripe for maximum sweetness and juiciness.
- Honey (divided): Honey serves as a natural sweetener, enhancing the fruits’ inherent sugars without overpowering them. Its delicate floral notes complement both cherry and pineapple beautifully. You can adjust the amount of honey to your personal preference for sweetness. For a vegan option, maple syrup can be substituted.
- Lemon Juiced (divided): A squeeze of fresh lemon juice is crucial. It brightens the overall flavor profile, prevents the popsicles from being overly sweet, and adds a delightful zest. The acidity helps to bring out the best in both fruits, ensuring a well-rounded and refreshing taste.
The complete list of measurements for this ice pops recipe can be found in the recipe card at the bottom of the page, where you’ll find all the details to perfectly portion your ingredients.
How to Make Cherry Pineapple Popsicles
Creating these vibrant Cherry Pineapple Popsicles is a fun and straightforward process. Follow these simple steps for a truly delicious result.
Expert Tips for Perfect Popsicles
Achieving perfectly delicious and visually appealing popsicles is easy with a few insider tips:
- Prioritize Quality Ingredients: The flavor of your popsicles directly correlates with the quality of your ingredients. Opt for ripe, fresh cherries and pineapples when possible, or high-quality frozen fruit. Using excellent fruit, fresh lemon juice, and good honey will make a significant difference in the final taste and texture of your homemade popsicles.
- Customize Sweetness to Your Liking: The beauty of homemade popsicles is the ability to control the sweetness. Both cherries and pineapple have natural sugars, and the recipe includes honey for a touch more sweetness. Before freezing, taste your blended mixtures and adjust the honey if you prefer them sweeter. You can also substitute honey with maple syrup for a different flavor profile or use a sugar-free alternative for a diabetic-friendly version.
- Avoid Overfilling Popsicle Molds: As liquids freeze, they expand. To prevent your popsicles from overflowing and creating a mess in your freezer, be sure to leave a small amount of space (about 1/4 inch) at the top of each mold. This allows for expansion without compromising the shape of your popsicles.
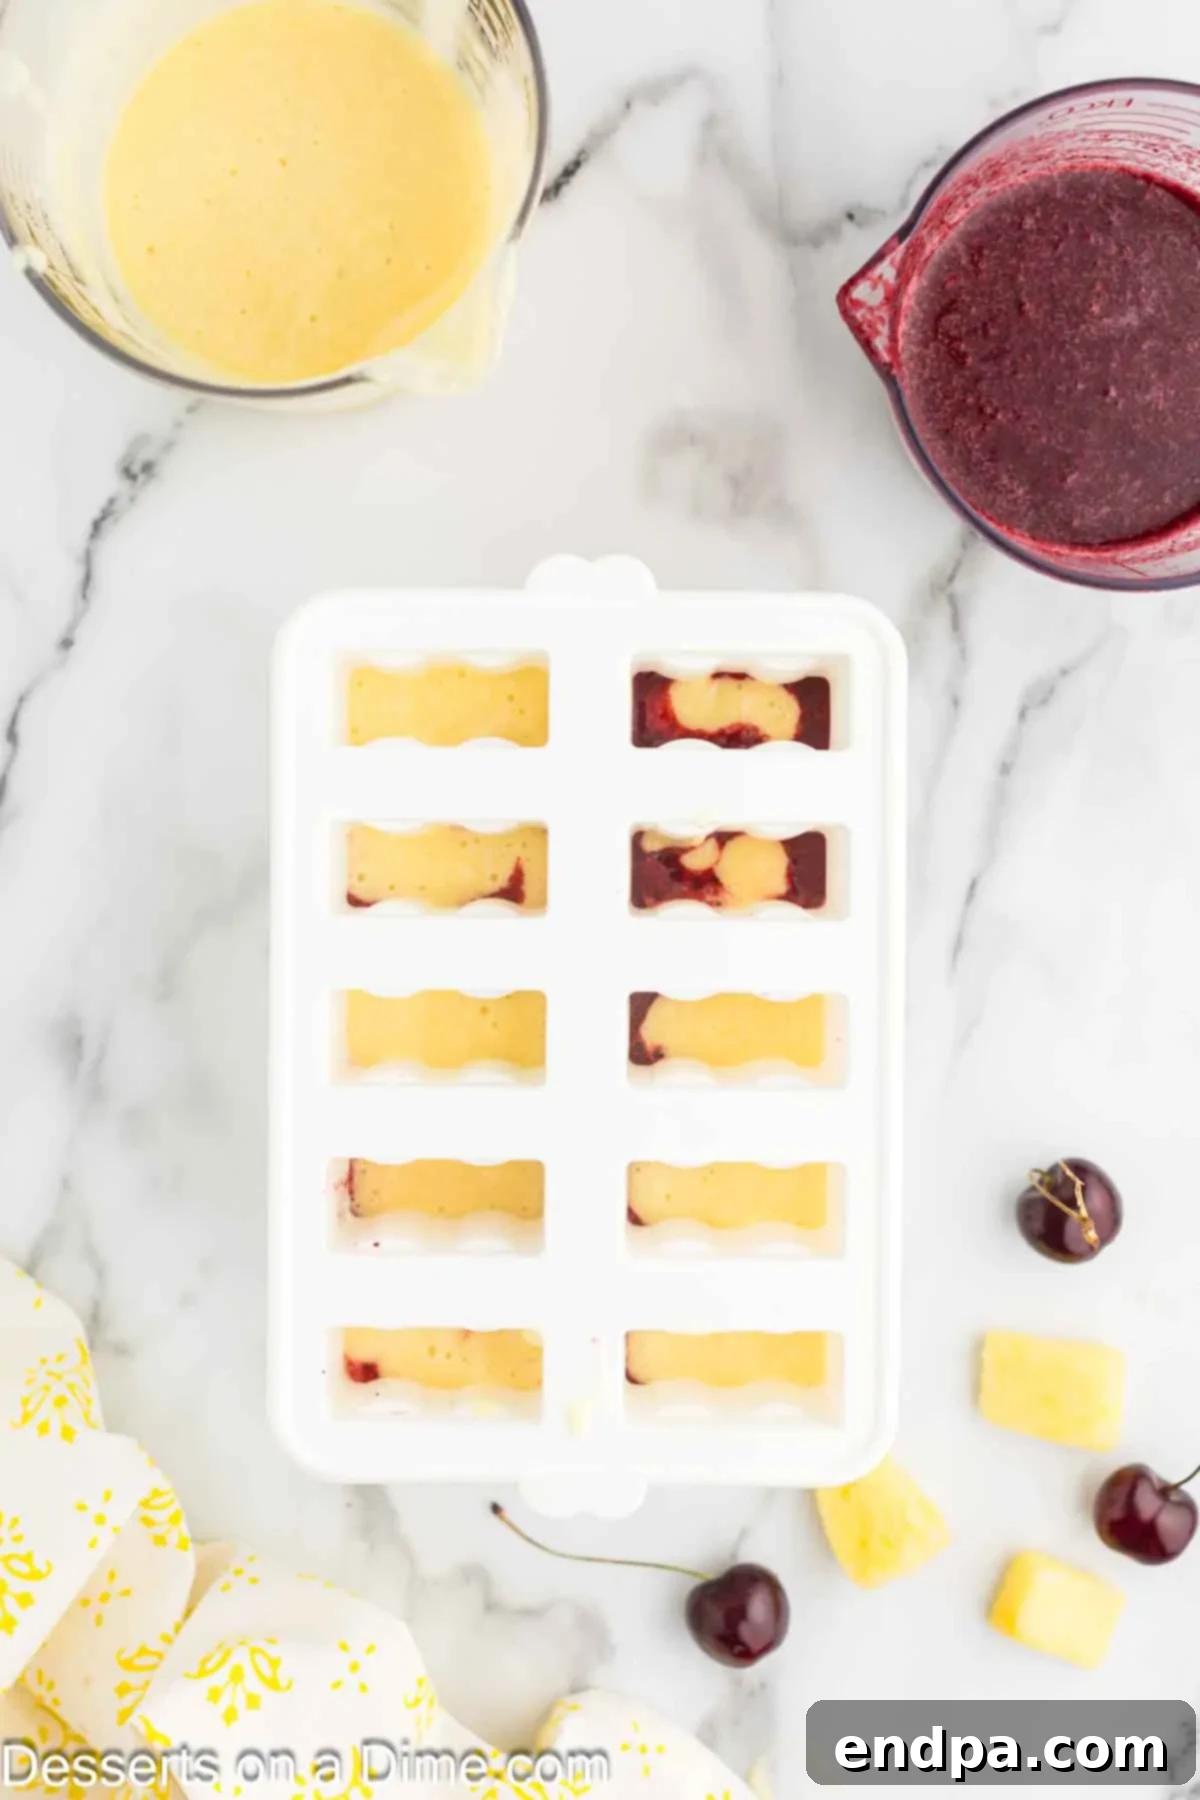
- Master the Alternating Pattern: For a stunning visual effect with distinct layers, carefully alternate pouring the cherry and pineapple mixtures. Instead of simply pouring one on top of the other, try adding small dollops of each, then gently swirling with a thin stick or knife. This technique prevents the colors from completely blending and creates beautiful, appetizing swirls.
- Allow Ample Freezing Time: Patience is key! While popsicles might seem solid after a few hours, allowing them to freeze overnight (6-8 hours minimum) ensures they are rock-solid throughout. This not only makes them easier to remove from the molds but also prevents them from melting too quickly on a hot day, providing a more enjoyable eating experience.
- Serve Immediately or Store Properly: Homemade fruit popsicles, especially those with minimal added sugars, tend to thaw more quickly than commercial varieties. Once removed from the freezer, serve them promptly. If you need to remove them from the molds ahead of time, immediately transfer them to an airtight freezer bag or container to maintain their frozen consistency and prevent freezer burn.
Frequently Asked Questions (FAQs)
How to Remove Popsicles from Molds?
Using dedicated popsicle molds makes crafting these pineapple cherry popsicles a breeze. If you don’t have molds, small paper or plastic cups can be used, with wooden sticks inserted once the mixture starts to firm up. To easily remove a frozen popsicle from its mold, briefly run the bottom of the mold under warm tap water for about 10-15 seconds. This slight warming will loosen the popsicle from the sides of the mold. Be careful not to run the water for too long, as it can start to melt the popsicle itself. Gently pull the stick, and your perfect popsicle should slide right out.
How to Store Leftovers?
For optimal freshness and to prevent freezer burn, it’s best to keep the popsicles in their molds in the freezer until you are ready to enjoy them. This provides the most protection. If you need to free up your molds or prefer to store them individually, once fully frozen, carefully remove each popsicle from its mold. Then, wrap each one tightly in plastic wrap or parchment paper and place them in an airtight freezer bag or container. Label the bag with the date to keep track of freshness. Stored properly, these homemade treats will last for a substantial period.
How Long Will Homemade Popsicles Last?
When stored correctly in an airtight container or freezer bag, these delicious cherry pineapple popsicles will maintain their quality in the freezer for up to 2-3 months. Ensuring they are tightly covered is crucial to prevent the formation of ice crystals and freezer burn, which can affect the texture and flavor. Storing them individually in bags or wrap is often preferred as it makes them easier to grab and go, eliminating the need to fuss with molds every time you crave a quick, refreshing treat.
More Refreshing Homemade Popsicle Recipes
If you’re looking to expand your repertoire of homemade frozen treats, consider these other delightful popsicle recipes:
- Blueberry Lemonade Popsicles
- Banana Popsicles
- Lemon Lime Popsicles
- Easy Homemade Lime Popsicles Recipe
- Cherry Popsicles
I genuinely hope you enjoy making and tasting this cherry pineapple popsicle recipe. They are a simple pleasure that brings so much joy on a hot day. Don’t forget to leave a comment once you give them a try!
Cherry Pineapple Popsicles
Rating: 5 out of 5 stars (based on 4 votes)
Cherry Pineapple Popsicles are a delicious and healthy treat that cools you off on a warm day. Start with fresh or frozen fruit to make these vibrant homemade popsicles.
Ingredients
- 1 pound Cherries (fresh, pitted, or thawed frozen)
- 2 1/2 cups Frozen Pineapple (thawed – approximately 10 ounces)
- 1/2 cup Water (divided)
- 2 Tbsp Honey (divided)
- 1 Lemon juiced (divided)
Instructions
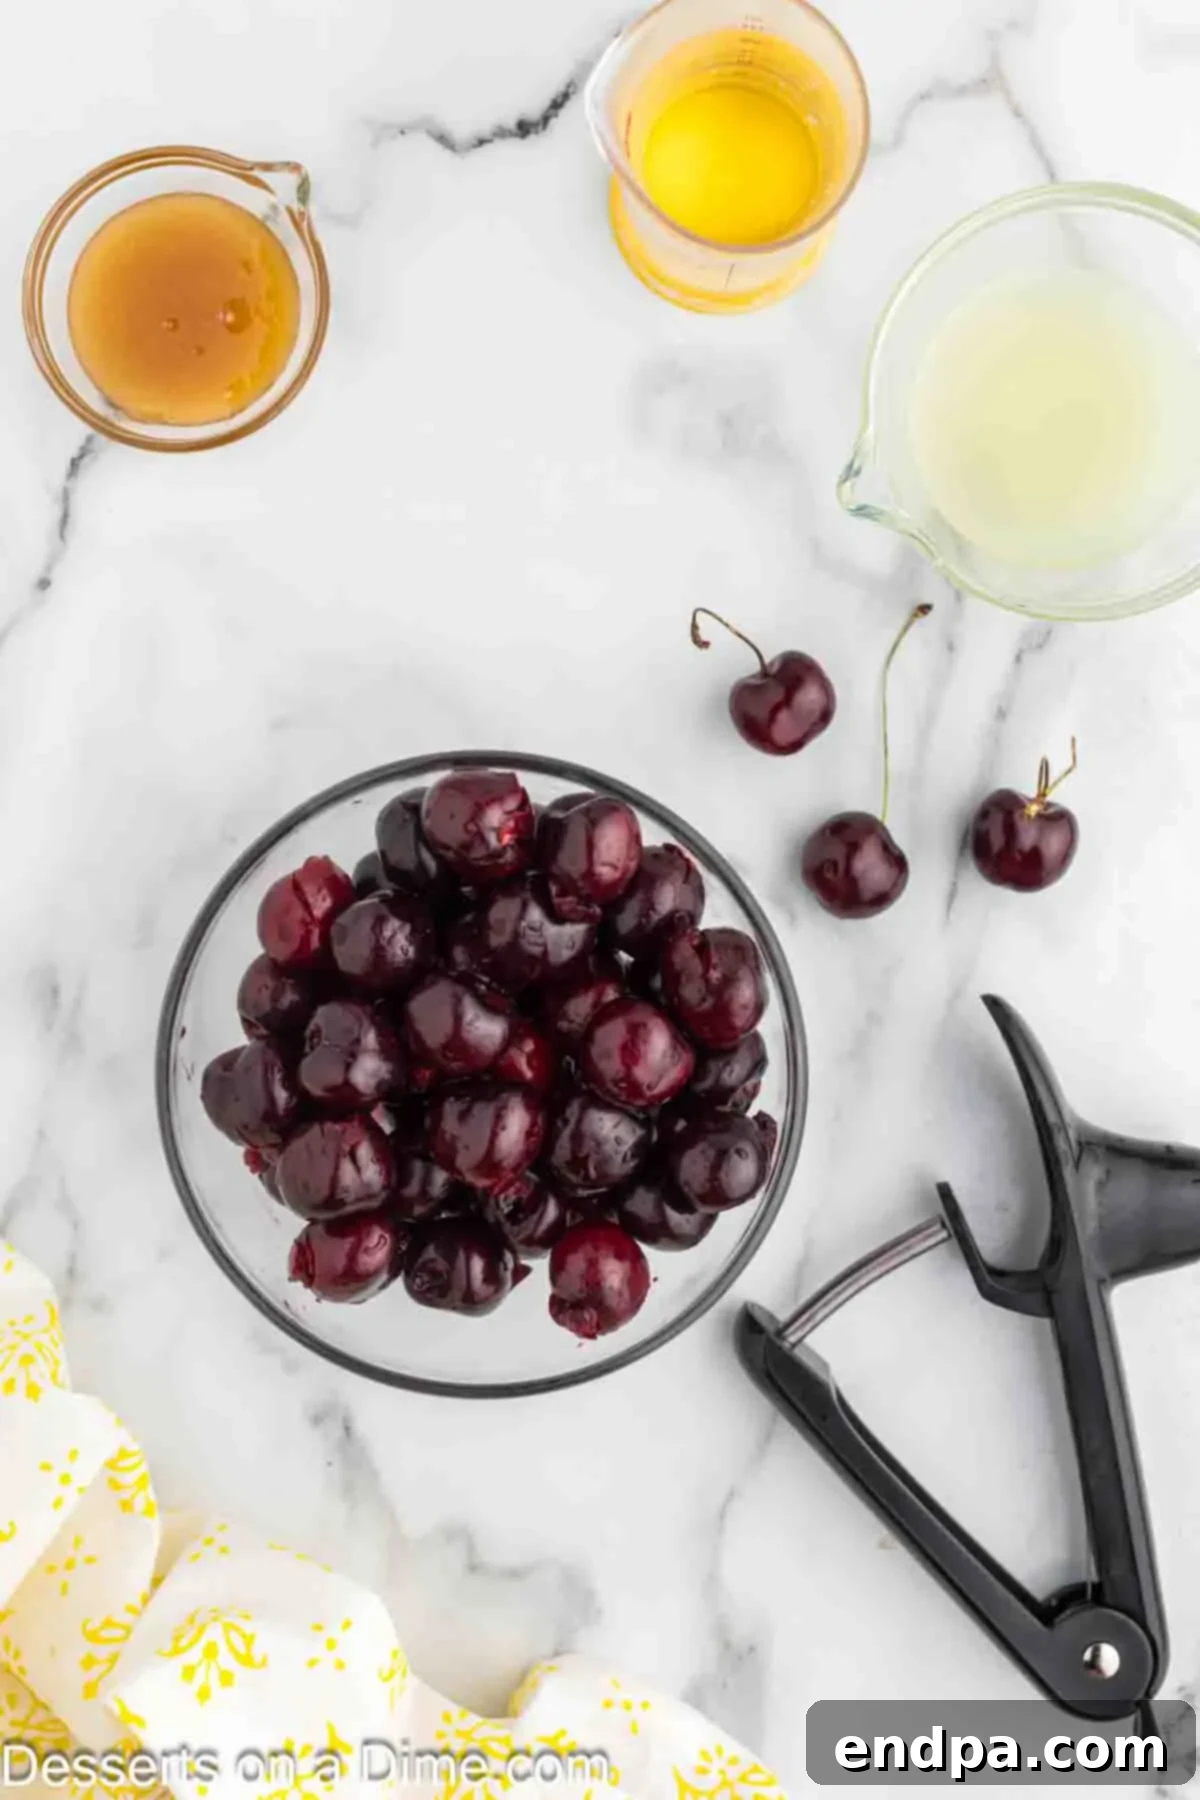
- Carefully remove all pits from the fresh cherries. If using frozen cherries, ensure they are thawed.
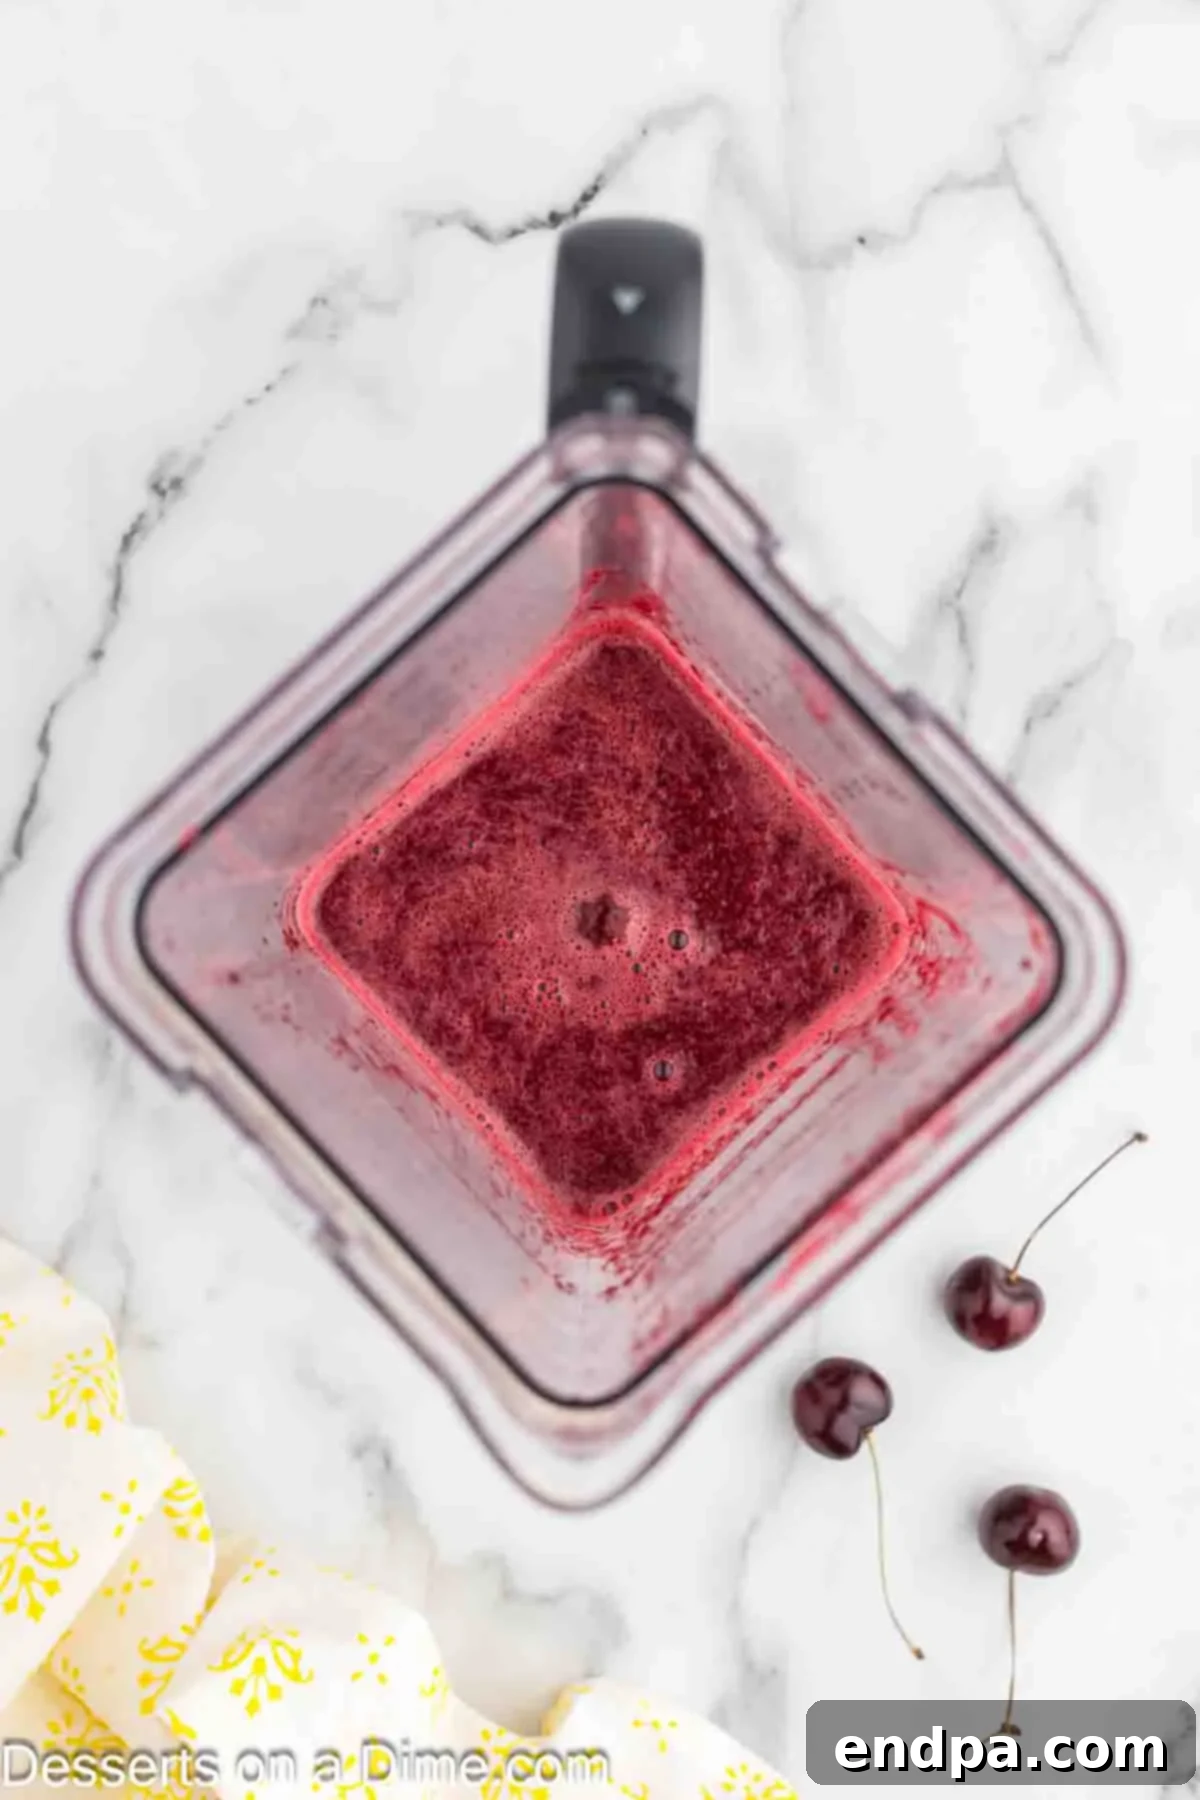
- Place the pitted cherries, half of the water (1/4 cup), 1 tablespoon of honey, and half of the lemon juice (from 1/2 lemon) into a blender. Blend until the mixture is perfectly combined and smooth.
- Pour the blended cherry mixture into a separate measuring cup or glass container and set it aside.
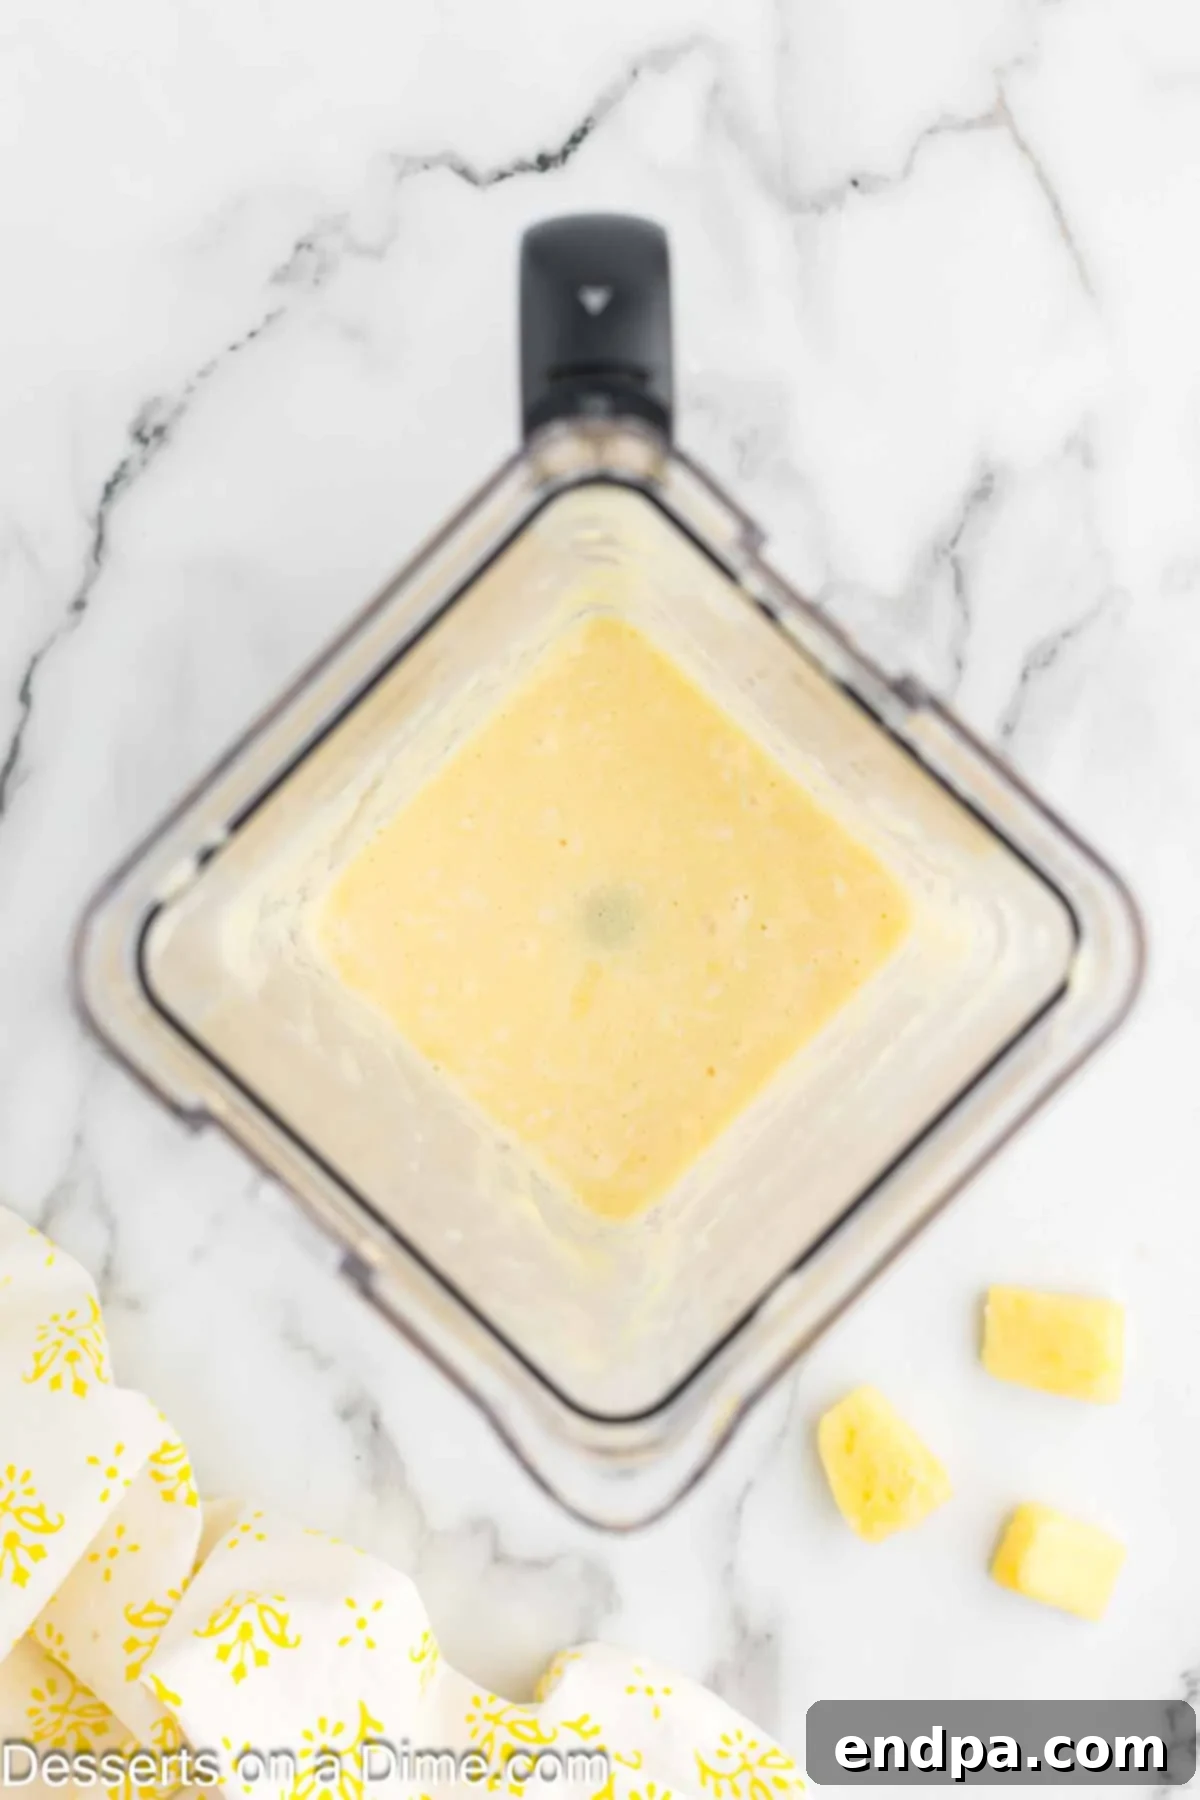
- Rinse the blender thoroughly. Add the thawed pineapple chunks, the remaining half of the water (1/4 cup), 1 tablespoon of honey, and the remaining half of the lemon juice to the blender. Blend until the pineapple mixture is also combined and smooth.
- To create an appealing alternating pattern, carefully spoon or pour the cherry mixture and pineapple mixture alternately into your popsicle molds. Insert popsicle sticks into each mold.
- Place the filled molds in the freezer and allow them to freeze for 4-6 hours, or preferably overnight, until the popsicles are completely solid.
- When you’re ready to serve, run warm water over the outside of the popsicle molds for about 10-15 seconds to gently loosen the popsicles.
- Carefully pull the popsicle sticks to remove them from the molds, and then they are ready to enjoy!
Recipe Notes
For best results and longevity, keep the popsicles in their molds in the freezer until you are ready to enjoy them. If you prefer to store them out of the molds, wrap each popsicle individually in plastic wrap and place them in an airtight freezer-safe bag or container. Stored properly, they will last for 2-3 months in the freezer.
