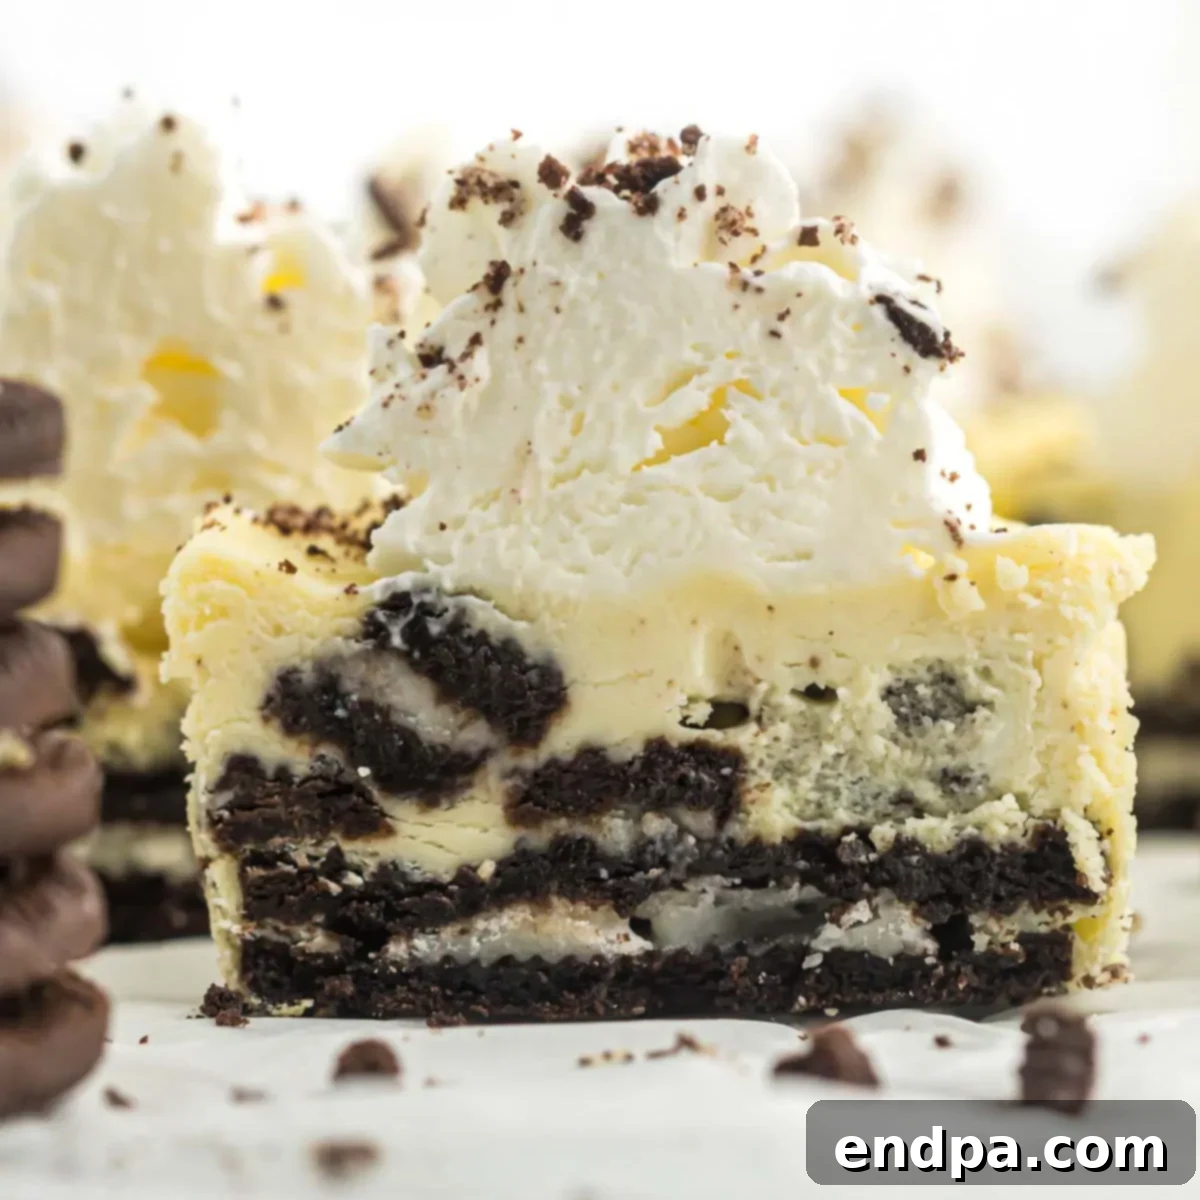
Easy Mini Oreo Cheesecake: Your Go-To Bite-Sized Dessert
Are you searching for a dessert that’s both incredibly simple to make and irresistibly delicious? Look no further than these **Mini Oreo Cheesecakes**! They are the quintessential bite-sized treat, offering a perfect blend of rich, creamy cheesecake and the iconic crunch of Oreo cookies. This recipe is not only amazingly tasty but also impressively easy, requiring just 5 core ingredients to bring these delightful confections to life.
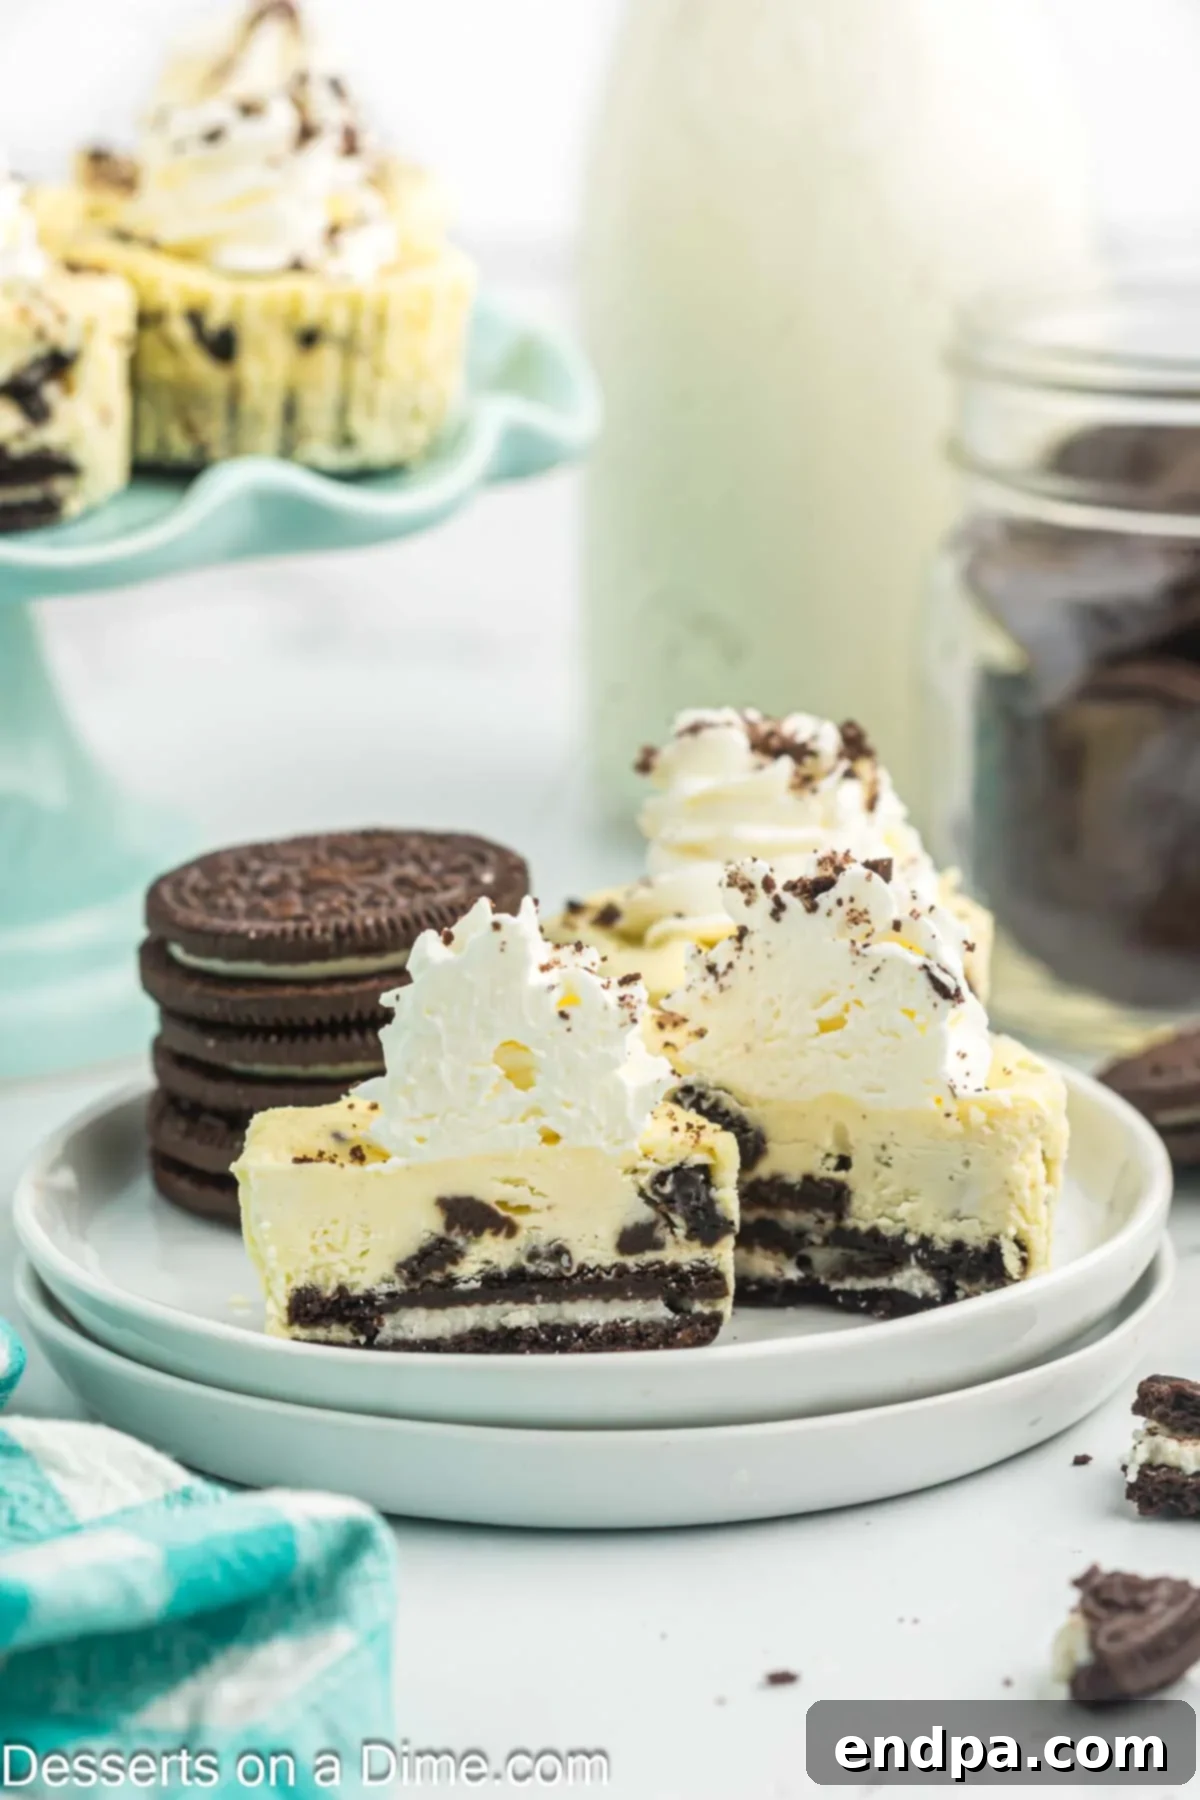
For years, cheesecake has held a special place in my heart, and combining it with the beloved Oreo cookie creates a truly magical dessert experience. This Mini Oreo Cheesecake recipe is a testament to how quick and simple decadent treats can be. If you adore cheesecake as much as I do, you might also enjoy other variations like Classic Cheesecake Bites, Snickerdoodle Cheesecake Bars, or even adventurous Strawberry Cheesecake Tacos.
These mini cheesecakes are fantastic for involving the whole family in the kitchen. Kids will love helping to place the Oreos and fill the cupcake liners, turning baking into a fun and memorable activity. Served in adorable cupcake holders, they’re always a hit at any gathering, from casual family dinners to festive holiday parties, offering an elegant yet easy solution for your dessert needs.
Table of Contents
- Why You’ll Adore This Recipe
- The Magic of Mini Desserts
- Essential Ingredients for Mini Oreo Cheesecakes
- Kitchen Tools You’ll Need
- How to Make Mini Oreo Cheesecakes: A Simple Guide
- Creative Ways to Serve and Top Your Cheesecakes
- Expert Tips for Perfect Mini Cheesecakes
- Storage and Make-Ahead Instructions
- Exciting Flavor Variations
- Frequently Asked Questions
- More Cheesecake Inspirations
- Delightful Oreo Desserts to Try
Why You’ll Adore This Easy Mini Oreo Cheesecake Recipe
There are countless reasons why this Mini Oreo Cheesecake recipe will quickly become a cherished favorite in your household:
- Incredibly Simple & Quick: With only 5 main ingredients, this recipe is a breeze, perfect for beginners and busy bakers alike. You won’t spend hours in the kitchen, making it an ideal choice for last-minute cravings or spontaneous gatherings.
- Rich & Decadent Flavor: Each bite delivers a luscious, creamy texture infused with the irresistible, classic taste of Oreo cookies. The combination of smooth cheesecake and crunchy cookie pieces creates a truly satisfying indulgence that’s hard to beat.
- Perfectly Portioned Individual Desserts: Say goodbye to messy slicing! These bite-sized treats are ideal for parties, potlucks, or even just portion control. Each guest gets their own personal cheesecake, making serving elegant, convenient, and completely hassle-free.
- Kid-Friendly & Fun: Get the little ones involved! This recipe is straightforward enough for children to help with, from placing the Oreo crusts to spooning in the batter. It turns baking into a delightful, hands-on family activity and creates cherished memories.
- Impressive Results with Minimal Effort: Despite their ease, these mini cheesecakes look and taste like they came from a gourmet bakery. They are sure to impress all your guests and are frequently requested, proving that you don’t need complex techniques for show-stopping desserts.
- Versatile for Any Occasion: Whether it’s a casual weeknight treat, a birthday celebration, a holiday gathering, or a summer barbecue, these mini cheesecakes fit seamlessly into any event, offering a universally loved dessert option.
The Magic of Mini Desserts: Why Bite-Sized is Best
There’s something inherently delightful and practical about mini desserts, and these Oreo cheesecake bites are no exception. Moving beyond the traditional large cheesecake, individual portions offer a host of benefits that make them a preferred choice for many bakers and hosts. Firstly, convenience is key. No more awkward slicing or struggling to get a clean piece; each guest simply picks up their perfectly formed dessert. This also means less mess during serving and consumption, a huge plus for parties.
Secondly, mini cheesecakes are excellent for portion control. Whether you’re mindful of caloric intake or simply want to offer a sweet bite without overwhelming guests, these individual treats hit the mark. They allow everyone to indulge in a rich dessert without feeling overly full. Visually, mini desserts are incredibly appealing. Arranged on a platter, their uniformity and adorable size create an elegant and inviting presentation that larger desserts often can’t achieve. They add a sophisticated touch to any dessert table.
Furthermore, the smaller size often translates to quicker baking and cooling times. This efficiency means you can enjoy your homemade treats sooner and streamline your baking schedule, especially when preparing for events. The combination of ease, elegance, and perfect portioning makes mini cheesecakes a truly magical dessert option.
Essential Ingredients for Your Mini Oreo Cheesecakes
The beauty of this recipe lies in its simplicity, utilizing just a handful of common, high-quality ingredients to create something extraordinary. Choosing the right ingredients and preparing them correctly is key to achieving that perfect creamy texture and rich flavor. Let’s take a closer look at what you’ll need for these delectable treats:
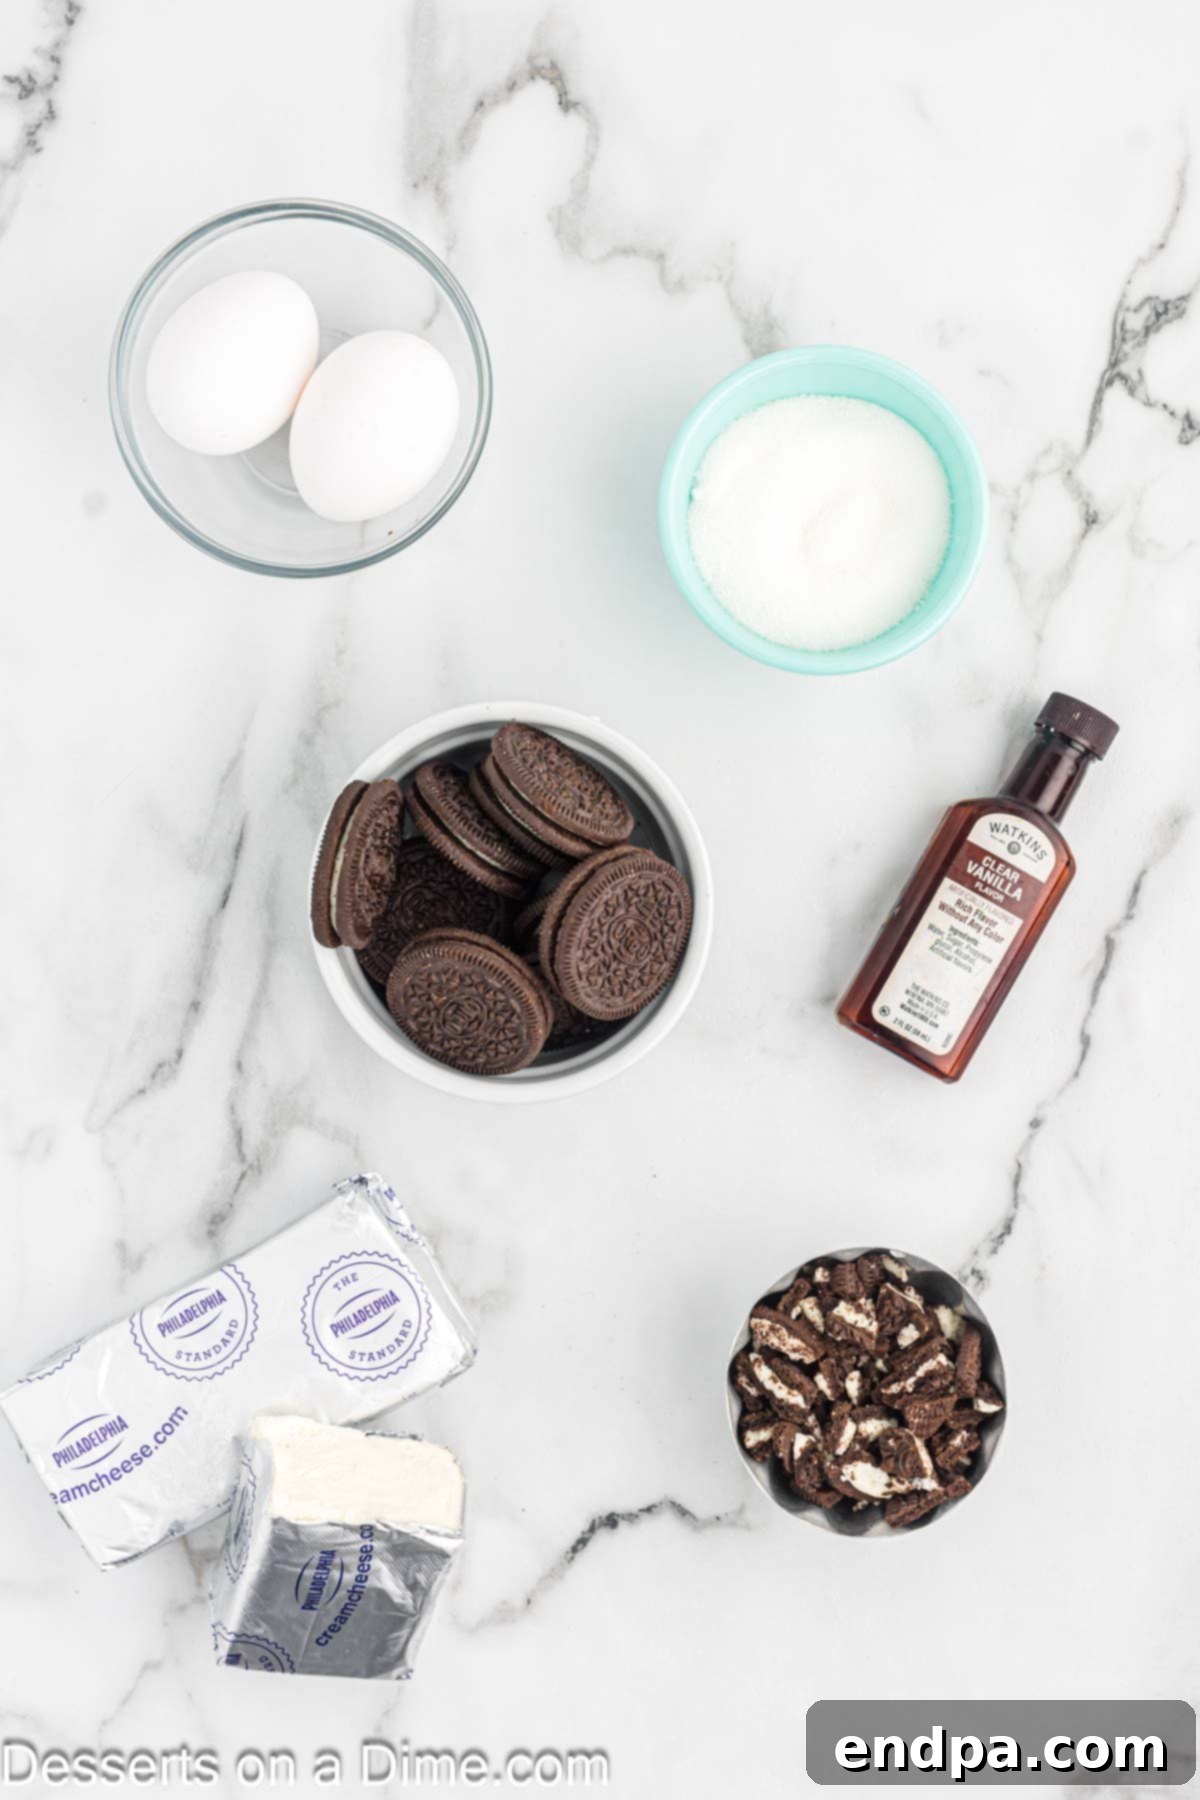
- Oreo Cookies (16-20 total): These iconic cookies are the heart of our mini cheesecakes. You’ll need 12 whole cookies to form the sturdy and delicious crusts for each cheesecake. An additional 4-8 cookies should be coarsely chopped or crushed to be folded into the creamy batter, adding wonderful texture and intense Oreo flavor. Both classic Original Oreos and Double Stuffed Oreos work beautifully; choose your favorite!
- Full-Fat Cream Cheese (12 ounces, about 1 ½ blocks): This is the undisputed star of any cheesecake, providing its characteristic tang and luxurious creaminess. It is absolutely crucial to use full-fat cream cheese for the richest, most decadent texture and best overall flavor. Ensure it is softened to room temperature before you begin; this is vital for achieving a smooth, lump-free batter. Avoid low-fat or whipped cream cheese, as they contain more water and will not set properly, leading to a watery or granular texture.
- Granulated Sugar (1/3 cup): This simple sweetener provides the perfect amount of balance to the slight tang of the cream cheese and complements the sweetness of the Oreos. It helps to create a harmonious flavor profile without being overly sweet.
- Vanilla Extract (1 teaspoon): A splash of pure vanilla extract is a powerful flavor enhancer. It adds warmth, depth, and a delightful aromatic note that complements both the cream cheese and the chocolatey goodness of the Oreos, bringing all the flavors together beautifully.
- Large Eggs (2): Eggs are essential binders in cheesecake, giving it its classic smooth, custardy structure and helping it set properly during baking. Adding them one at a time and mixing minimally ensures they are fully incorporated without introducing too much air, which can prevent cracks in your finished cheesecakes. Make sure they are also at room temperature for optimal mixing.
Kitchen Tools You’ll Need
Before you dive into baking, gather these simple kitchen tools. Having everything ready and accessible will make your mini cheesecake-making process smooth and enjoyable:
- Standard Muffin Pan (12-cup): Essential for baking these individual treats.
- Paper Cupcake Liners: Make for easy removal of the cheesecakes and simplify cleanup.
- Medium Mixing Bowl: For preparing the cheesecake batter.
- Electric Mixer (handheld or stand mixer): While a whisk can work, an electric mixer is highly recommended for achieving a perfectly smooth, lump-free cream cheese mixture.
- Spatula: For scraping down the sides of the bowl and gently folding in the crushed Oreos.
- Measuring Cups and Spoons: For accurate ingredient measurement.
How to Make Mini Oreo Cheesecakes: A Simple Guide
Creating these delightful mini cheesecakes is surprisingly straightforward. Follow these detailed steps for perfect results every time, ensuring a creamy, delicious dessert with an irresistible Oreo crunch!
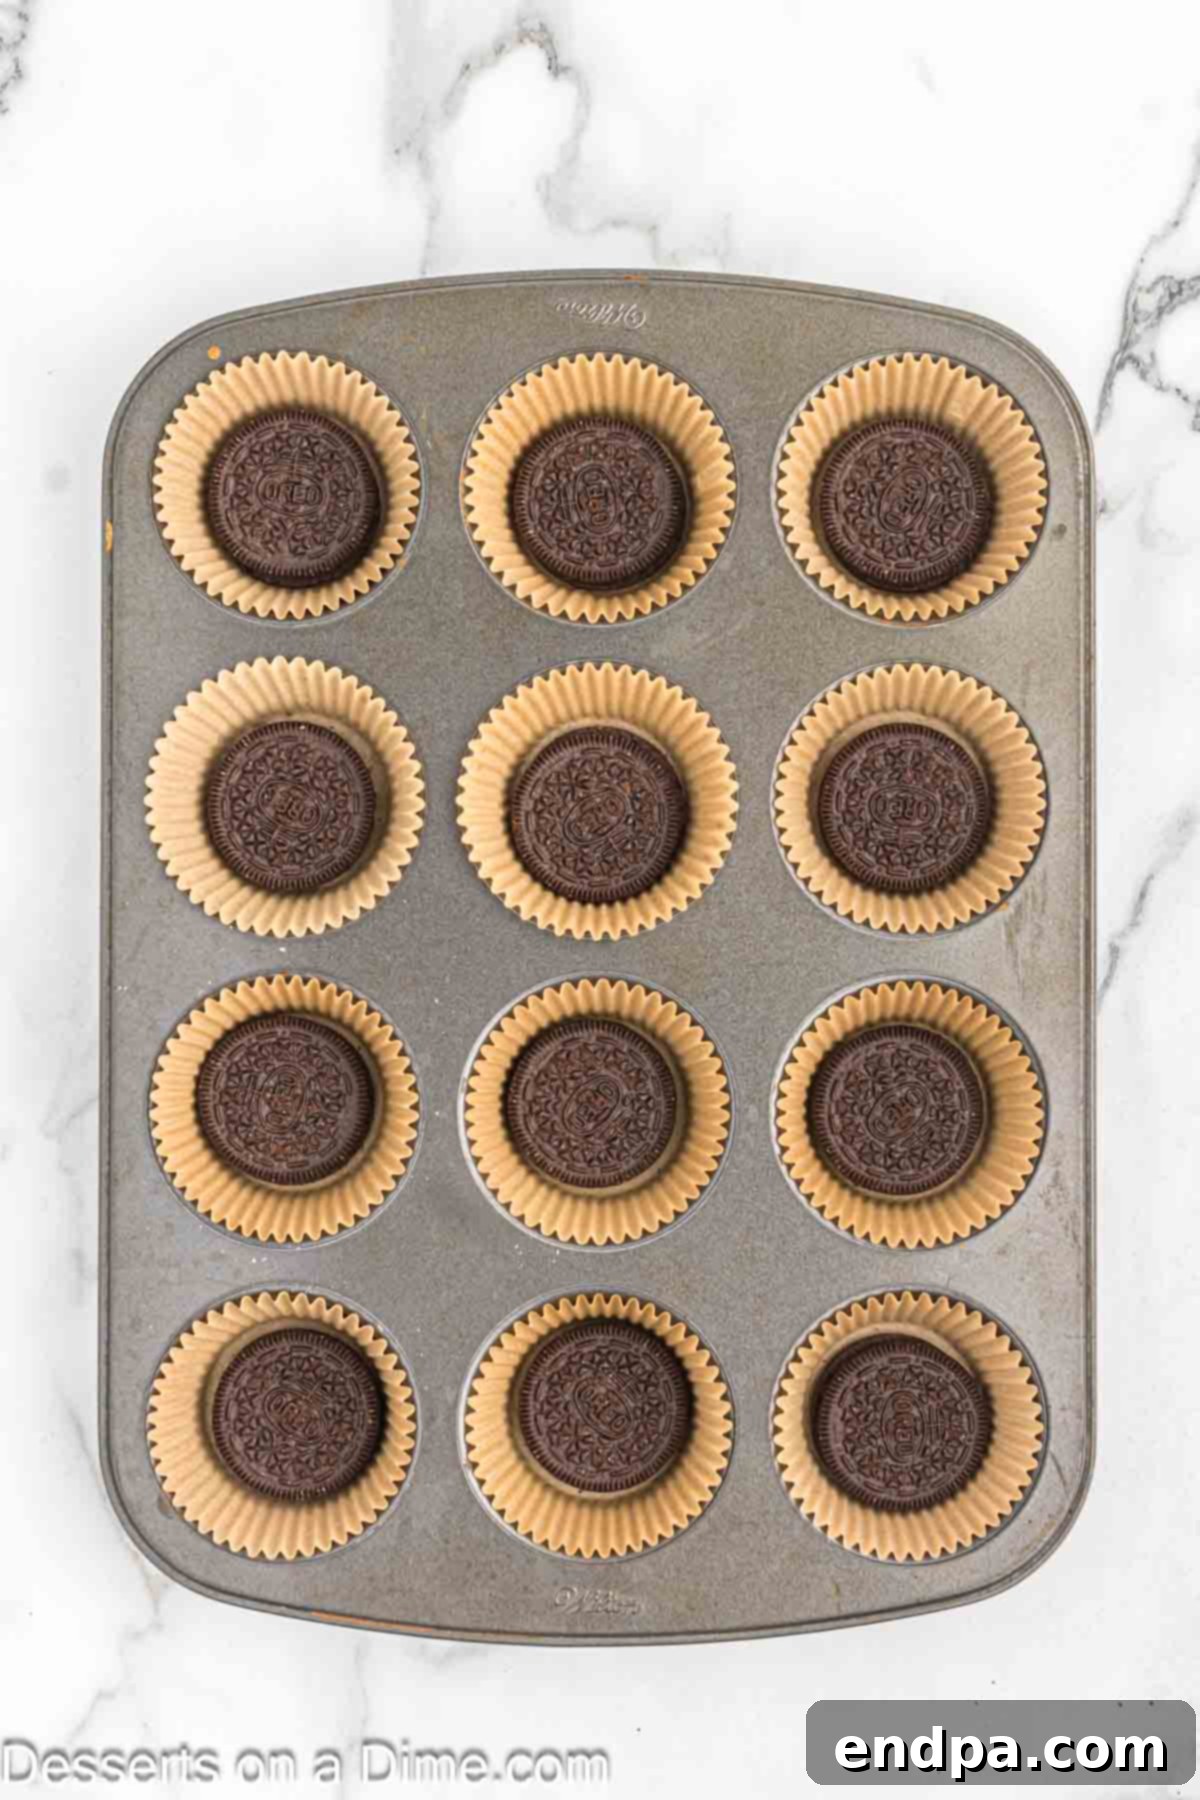
Step 1: Prepare Your Pan and Crusts
First, begin by preheating your oven to 350°F (175°C). This ensures your oven is at the correct temperature when your batter is ready. Next, carefully line a standard 12-cup muffin pan with paper cupcake liners. These liners are key for effortless removal and a beautiful, clean presentation. Once the liners are in place, take one whole Oreo cookie and place it flat into the bottom of each lined muffin cup. This creates the perfect, sturdy Oreo cookie crust for your mini cheesecakes, providing a delightful foundation that won’t crumble when you bite into it.
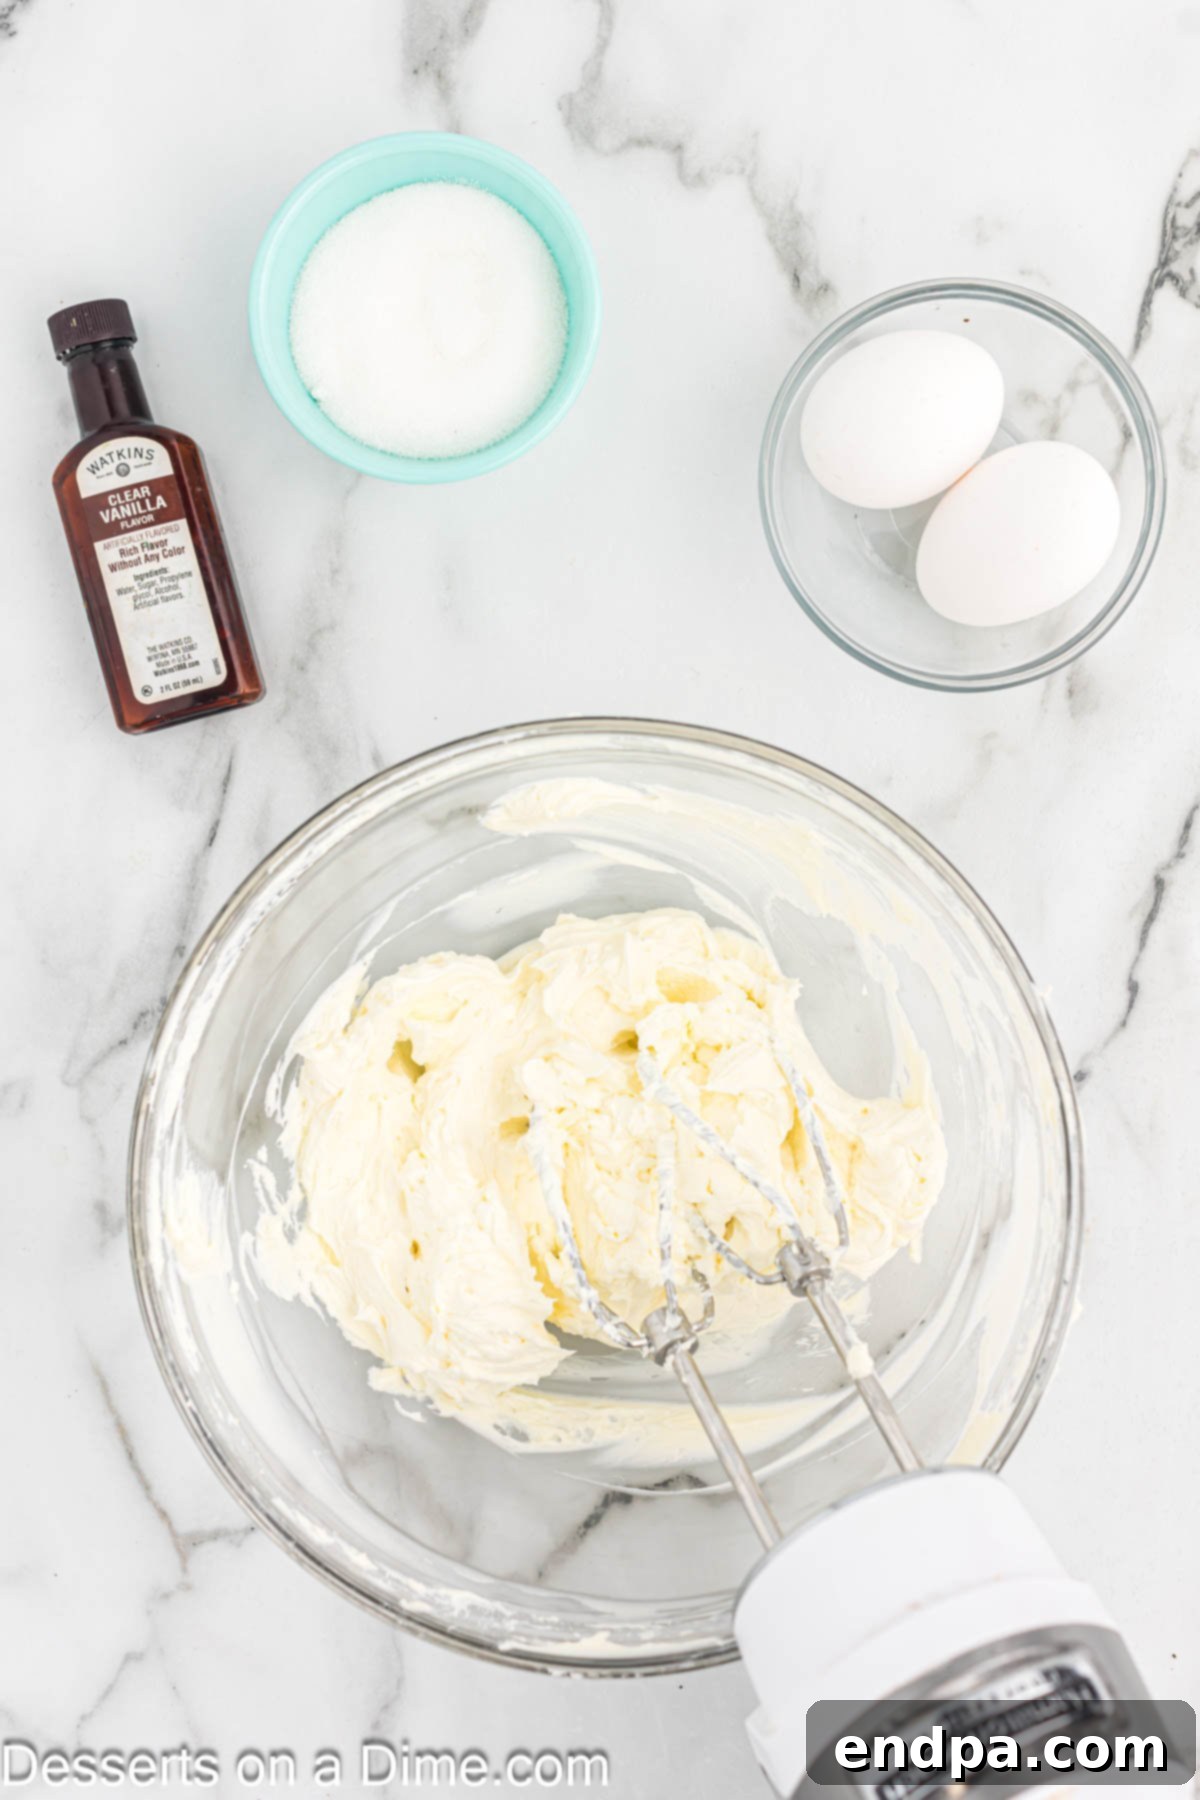
Step 2: Cream the Cream Cheese
Get out a medium mixing bowl and add your softened full-fat cream cheese. Using an electric mixer (either a handheld or stand mixer), beat the cream cheese on medium speed for 2-3 minutes until it becomes completely smooth, light, and creamy, with absolutely no lumps visible. This is a critical step for achieving that signature velvety-smooth cheesecake texture. Proper creaming ensures all ingredients blend seamlessly and contributes to a crack-free finish.
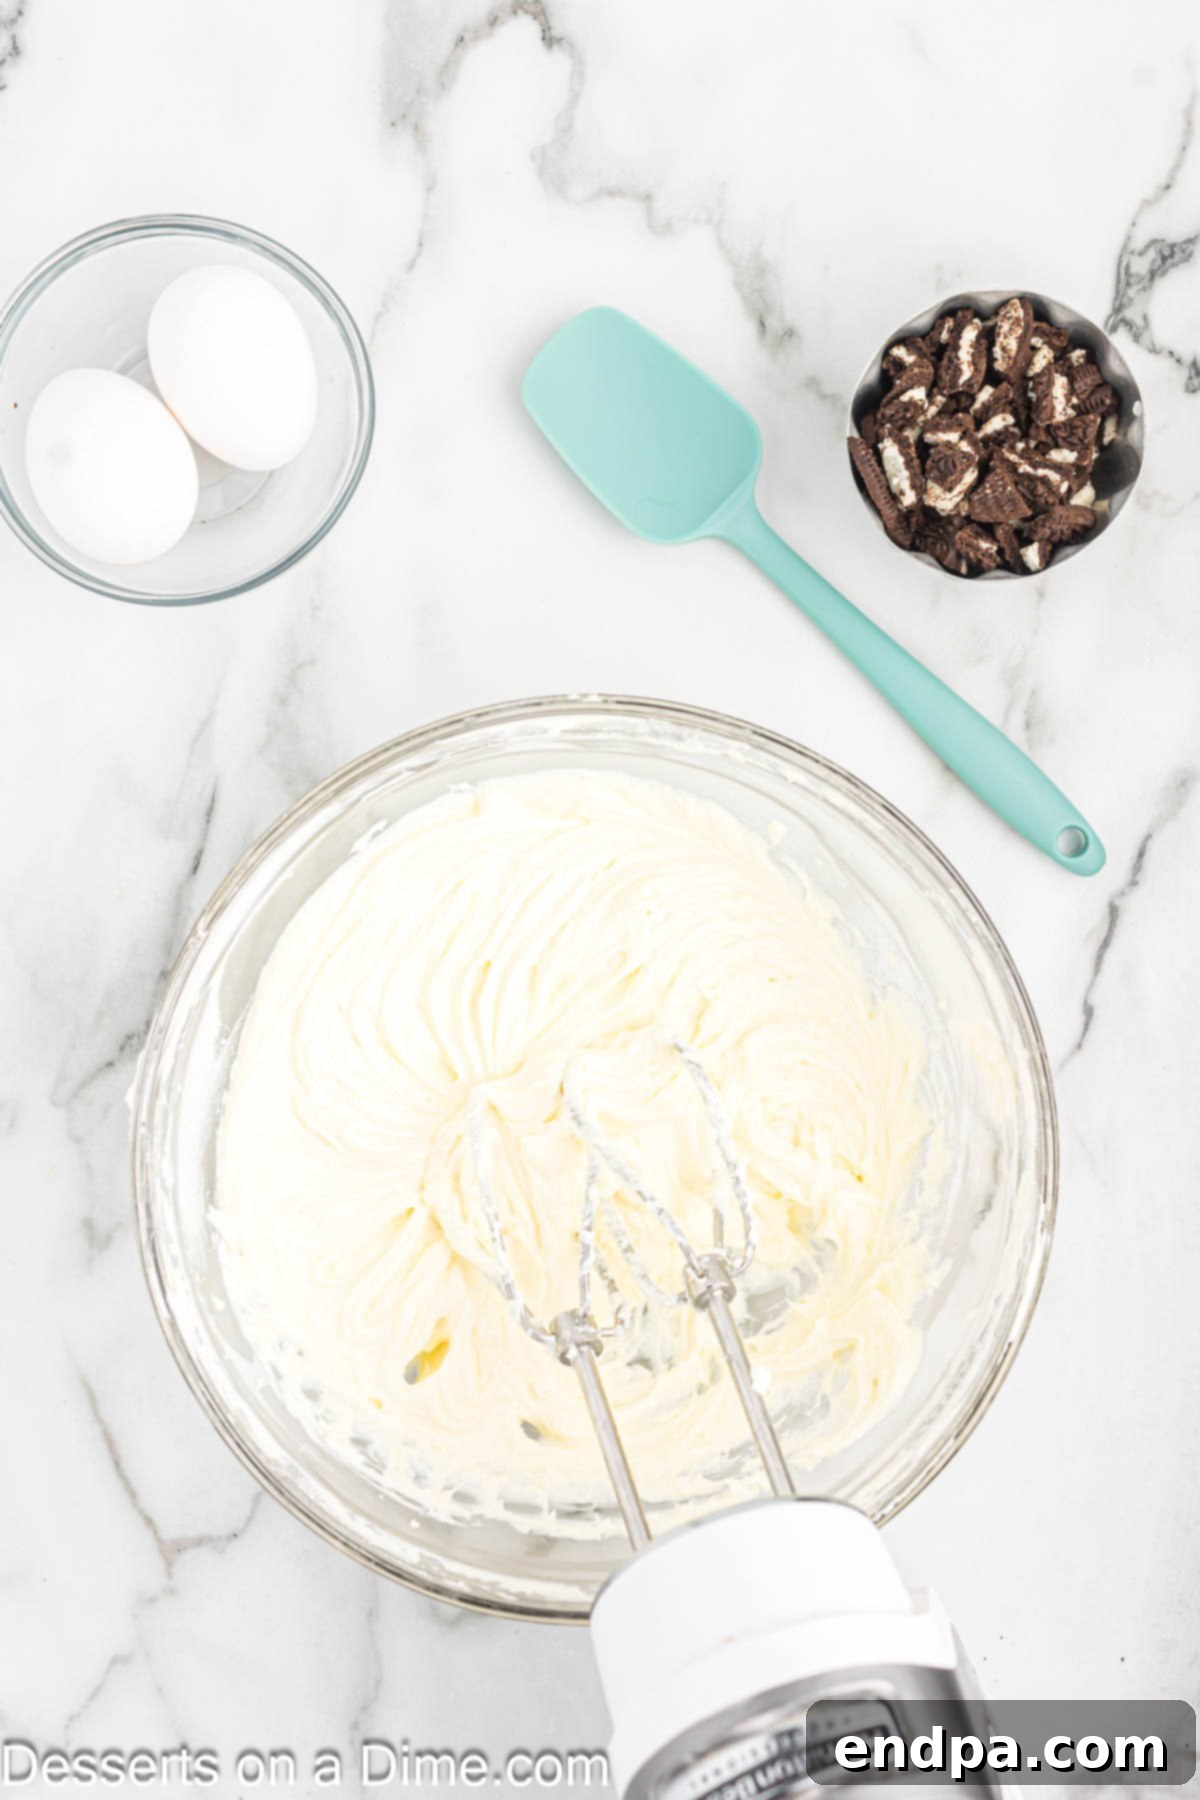
Step 3: Add Sugar and Vanilla
Once your cream cheese mixture is perfectly smooth and creamy, add the granulated sugar and pure vanilla extract to the bowl. Continue beating with your electric mixer, again on medium speed, until these new ingredients are fully combined and the mixture is silky smooth. Make sure to stop and scrape down the sides of the bowl with a spatula once or twice. This ensures that all the sugar is incorporated and prevents any unmixed pockets of ingredients, guaranteeing an evenly flavored batter.
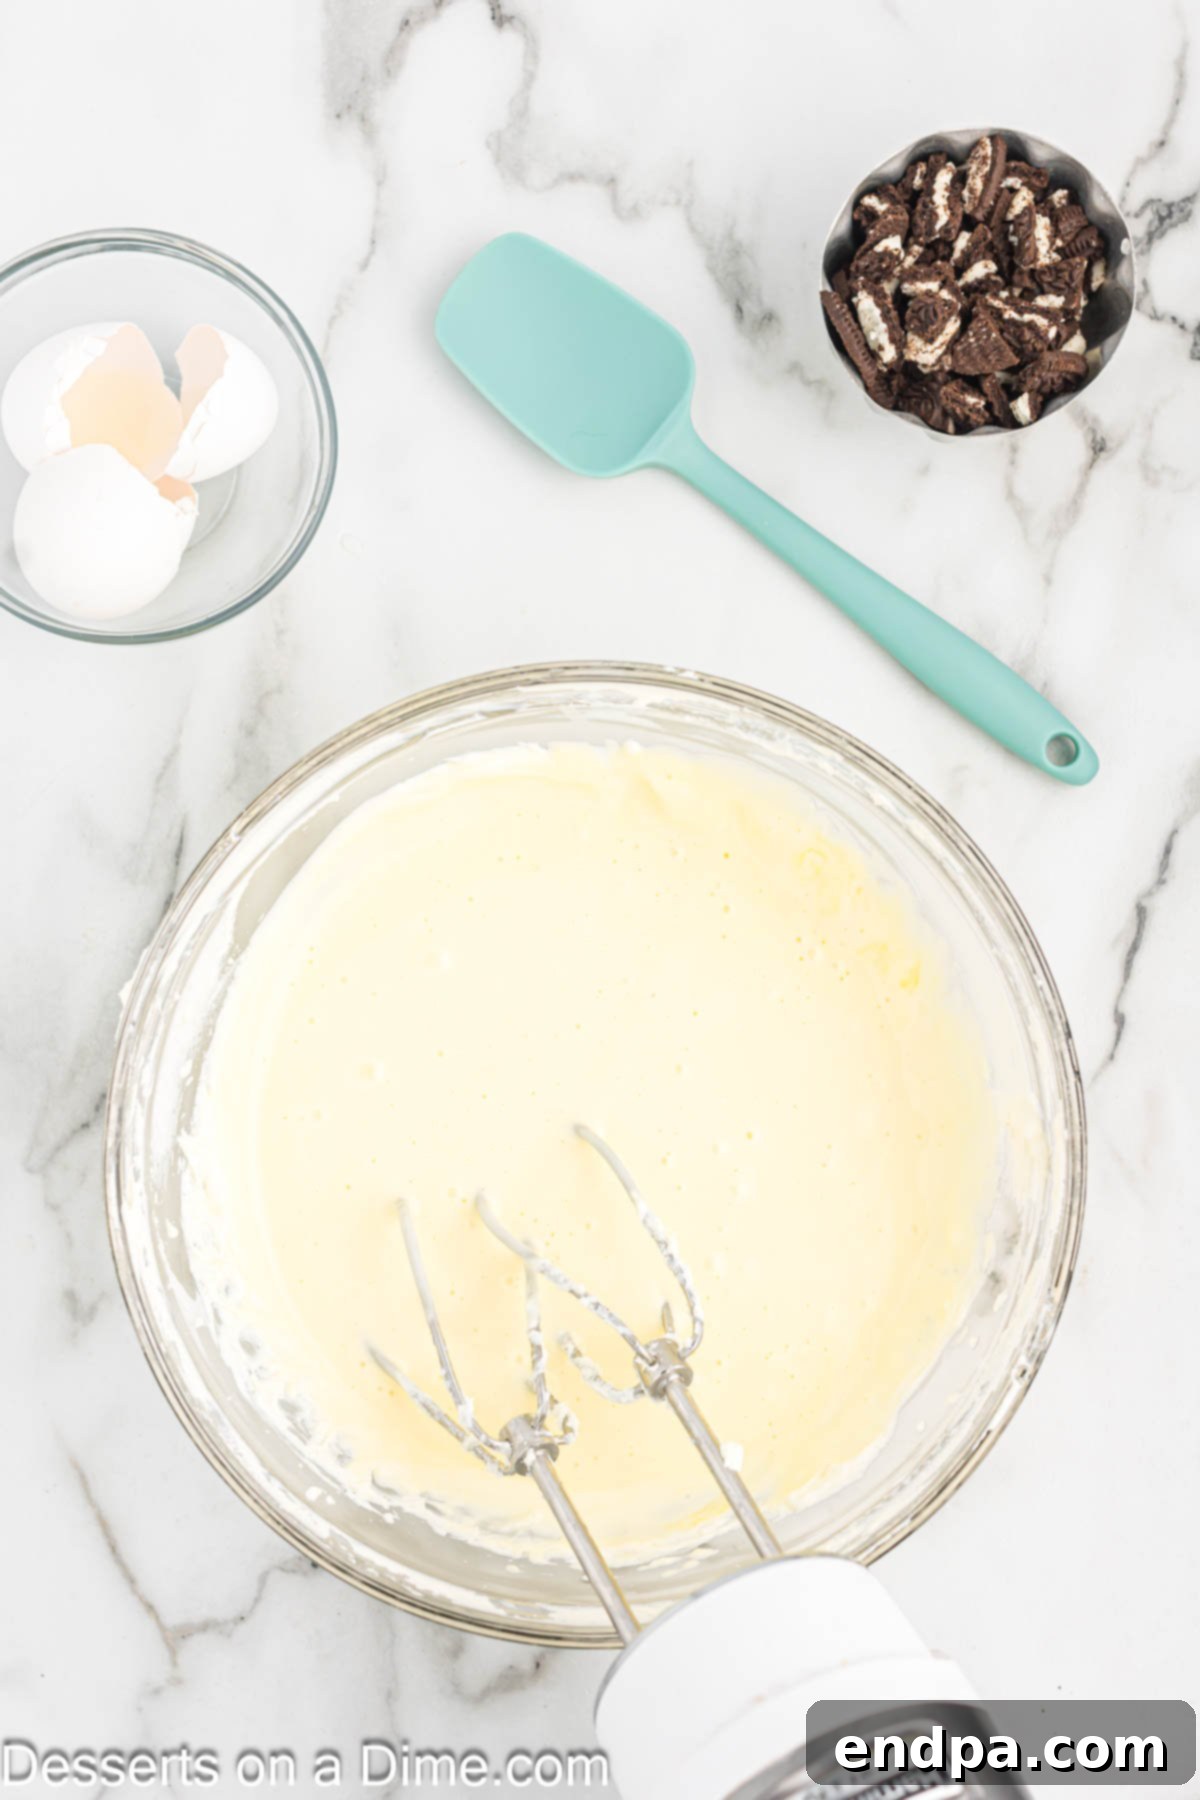
Step 4: Incorporate the Eggs and Crushed Oreos
Carefully add the eggs one at a time to the batter. Beat just until each egg is fully incorporated before adding the next one. The key here is to mix minimally; overmixing the eggs can introduce too much air into the batter, which can cause your finished cheesecakes to puff up excessively and then crack as they cool. After the eggs are just incorporated, gently sprinkle in your coarsely crushed Oreo pieces (from the additional 4-8 Oreos you prepared). *Crucial tip: do NOT use the electric mixer for this part!*
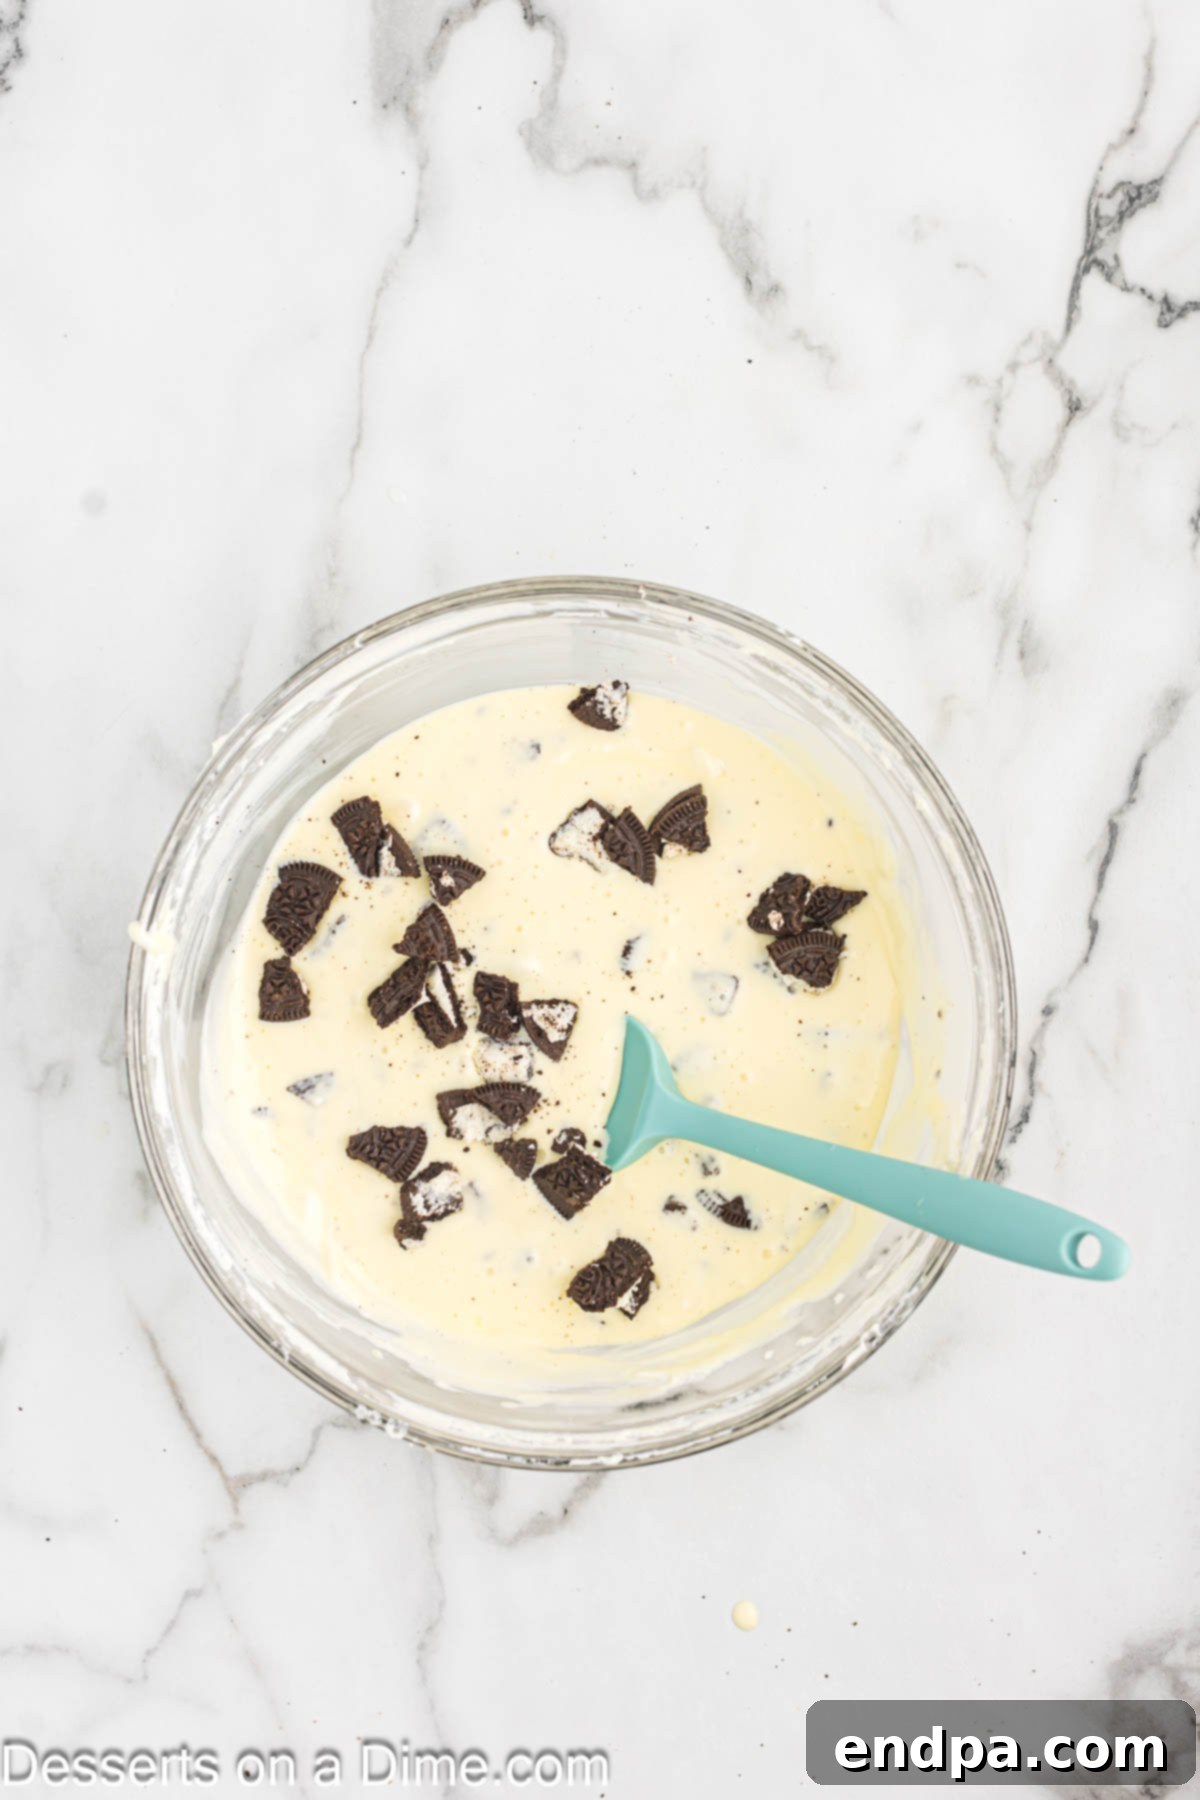
Step 5: Hand-Fold for Texture
Now, put away your electric mixer. Using a sturdy spatula, gently fold in the crushed Oreo pieces by hand. The goal here is to evenly distribute the cookie chunks throughout the batter while keeping them relatively intact. Using an electric mixer at this stage would pulverize the cookies, diminishing that delightful textural contrast in every bite. Hand-folding ensures you retain those wonderful pieces of cookie, which are essential to the “Oreo” experience.
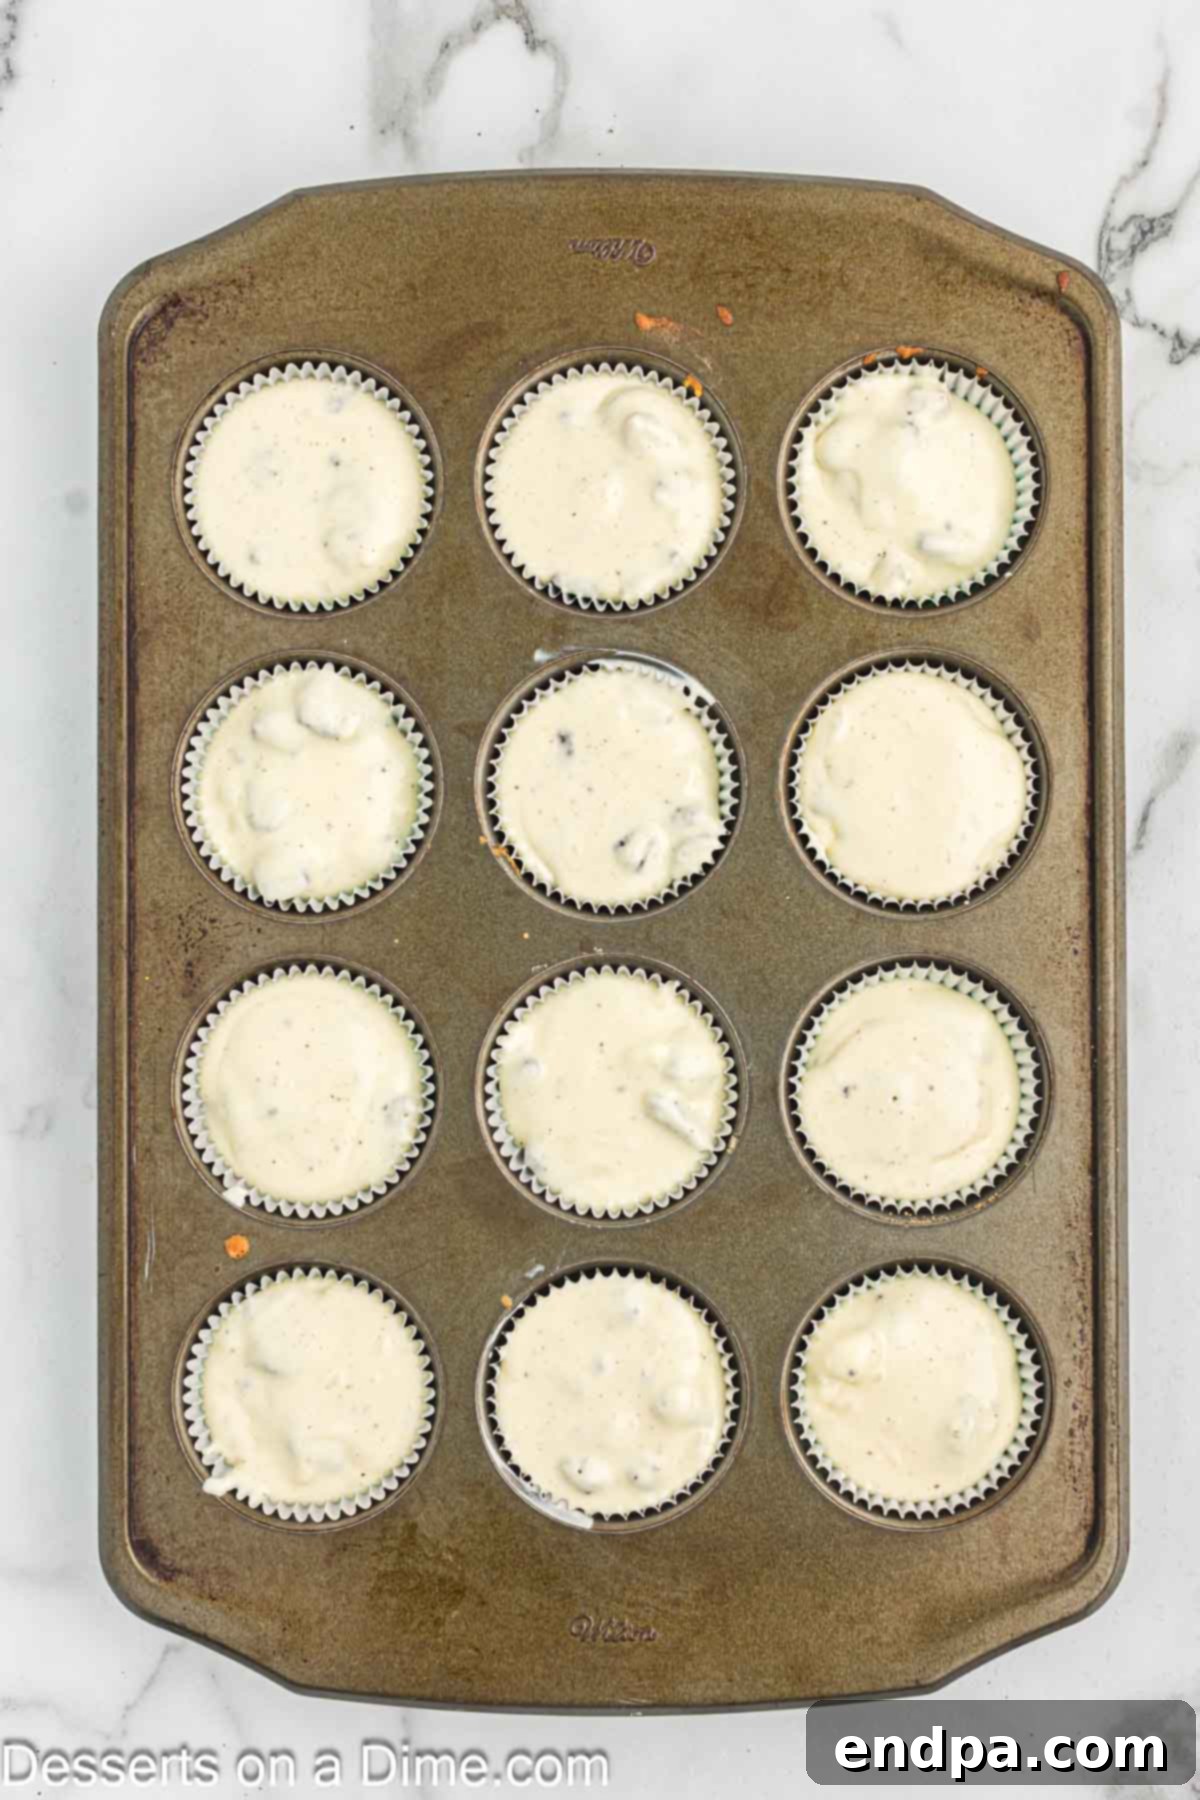
Step 6: Fill the Cupcake Cups
Carefully spoon approximately 2 to 2.5 tablespoons of the Oreo cheesecake batter into each cupcake cup, directly on top of the whole Oreo cookie crust you prepared earlier. Be mindful not to overfill the cups, as the cheesecakes will puff slightly during baking. Filling them to about three-quarters full is usually perfect to prevent overflowing and ensure even baking. A cookie scoop can be very helpful for consistent portions.
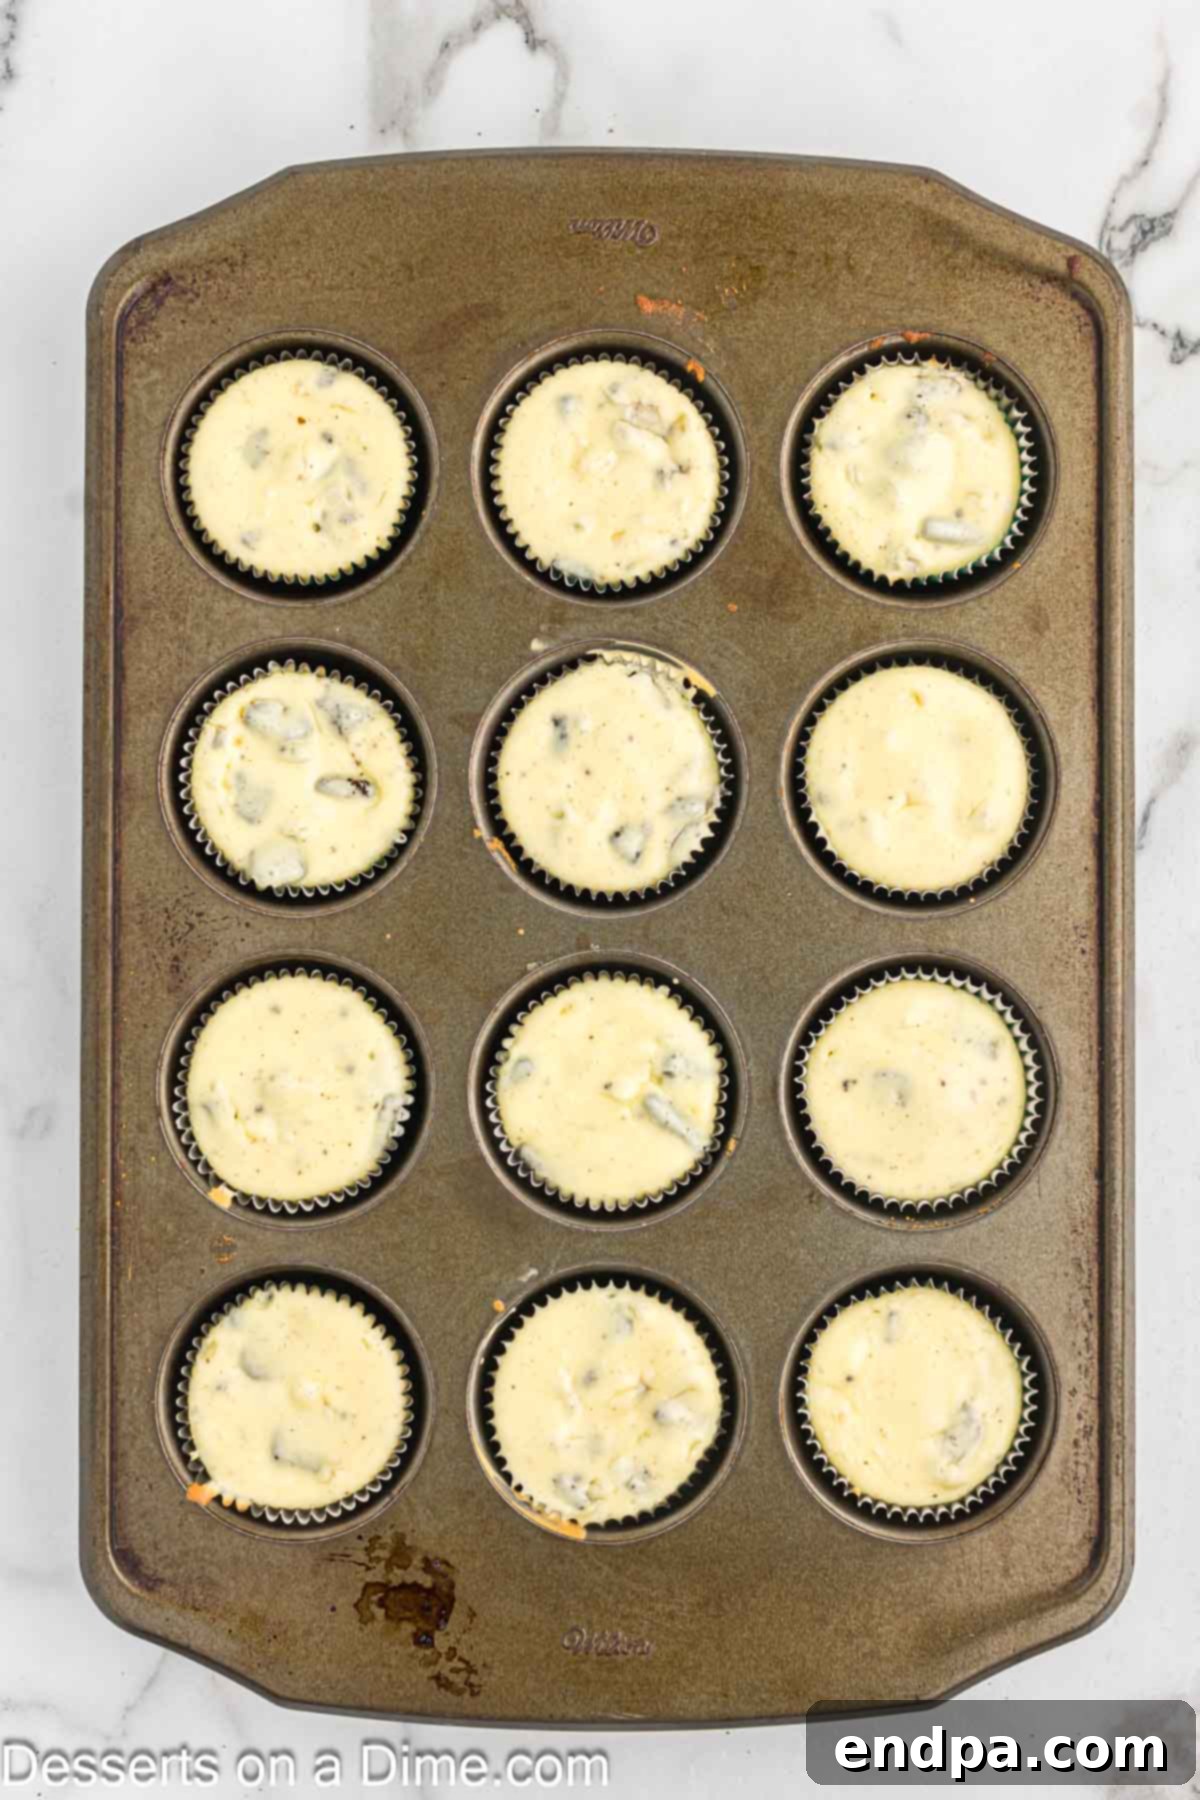
Step 7: Bake to Perfection
Place the muffin pan into your preheated oven and bake the mini cheesecakes for approximately 14-16 minutes. They are done when the edges are set and slightly firm, but the center of the creamy cheesecake filling still has only a slight jiggle when you gently shake the pan. It is very important not to overbake these mini cheesecakes, as this is the primary cause of dry, crumbly cheesecakes or surface cracks. Remember, they will continue to set as they cool.
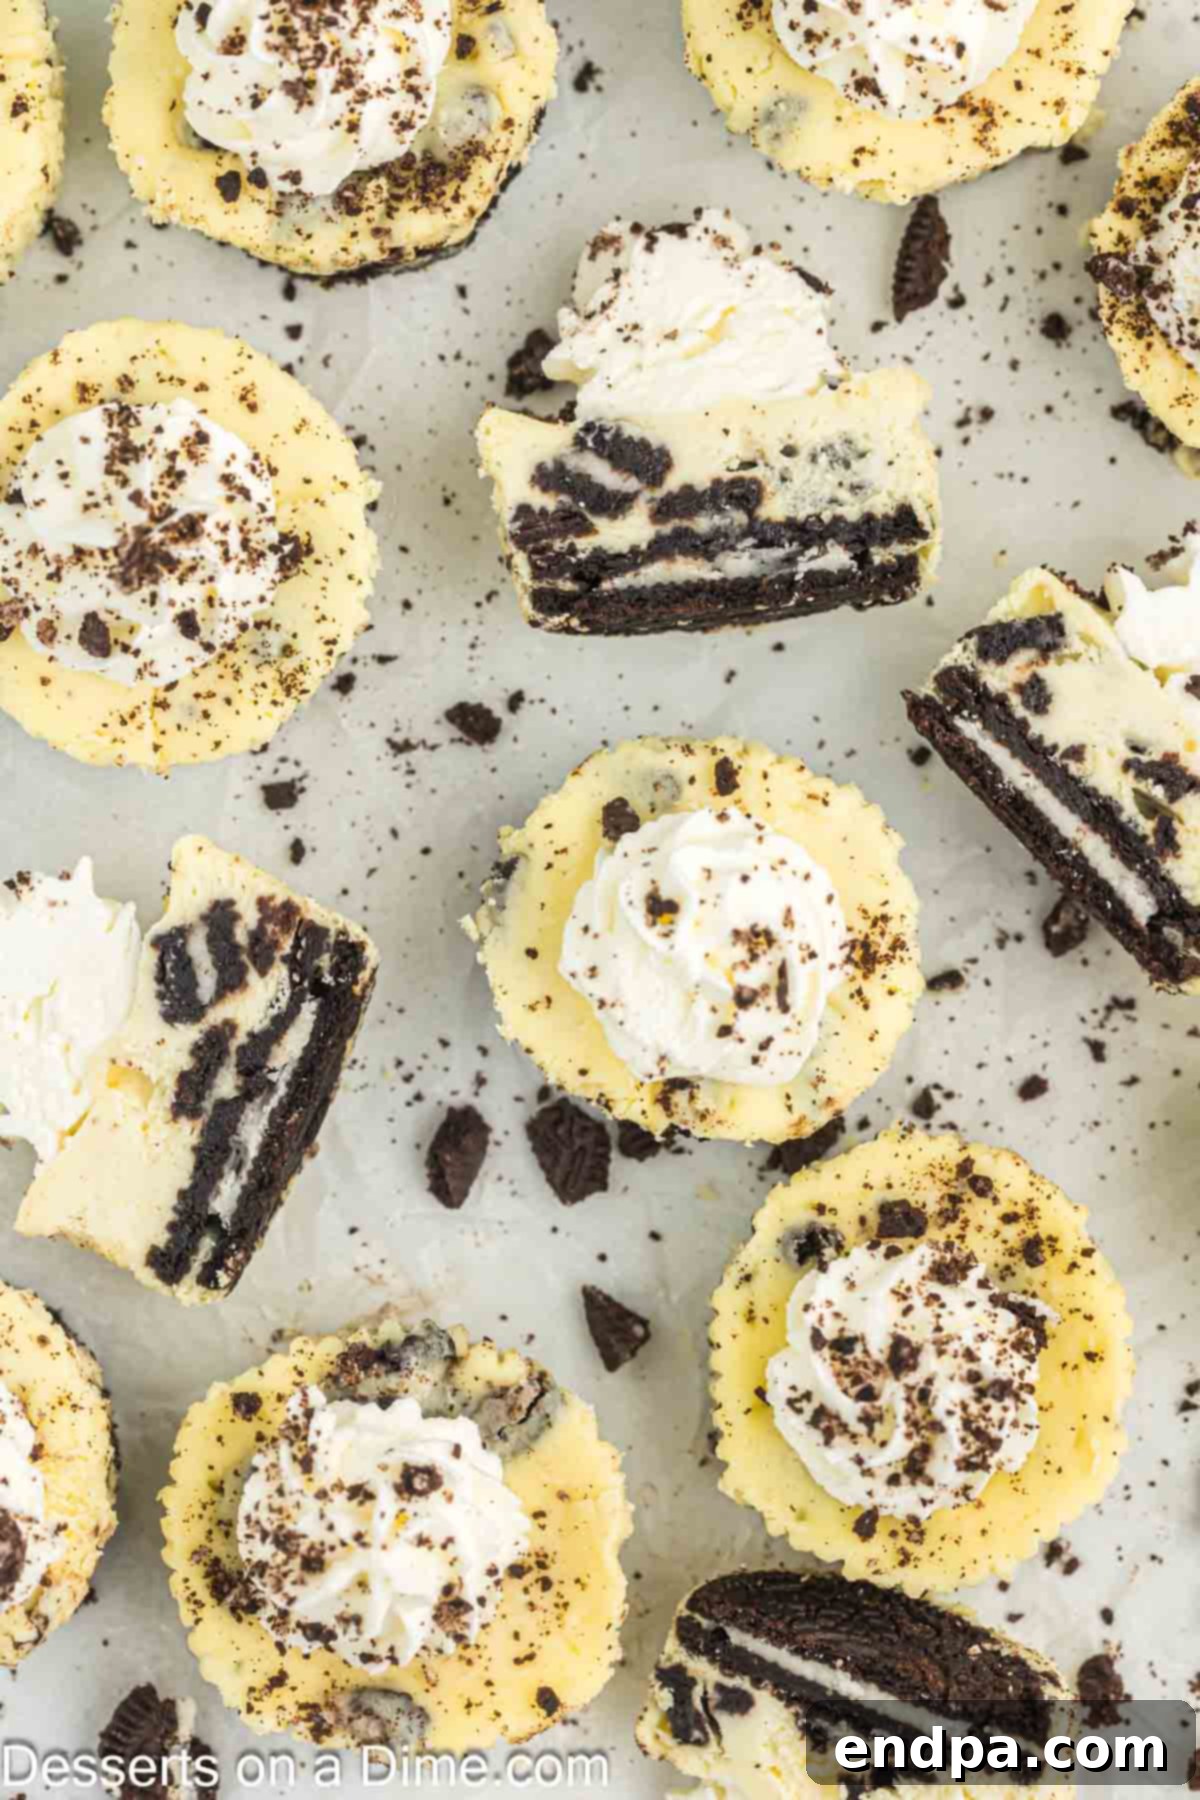
Step 8: Cool and Chill
Once baked, promptly remove the muffin pan from the oven. Allow the mini cheesecakes to cool completely to room temperature while still in the muffin pan. This usually takes about an hour. Resist the temptation to move them too soon or rush this process, as rapid temperature changes can cause cracking. After they’ve reached room temperature, transfer the muffin pan to the refrigerator and chill for at least 2 hours. Chilling is absolutely essential for the cheesecake to fully set, firm up, and achieve its optimal dense yet creamy consistency. For the best possible texture and flavor, chilling them for 4 hours or even overnight is highly recommended.
Creative Ways to Serve and Top Your Mini Oreo Cheesecakes
While these mini Oreo cheesecakes are undoubtedly delicious on their own, they can be elevated to new heights with a few simple, thoughtful garnishes. The key to maintaining freshness and texture is to add toppings just before serving.
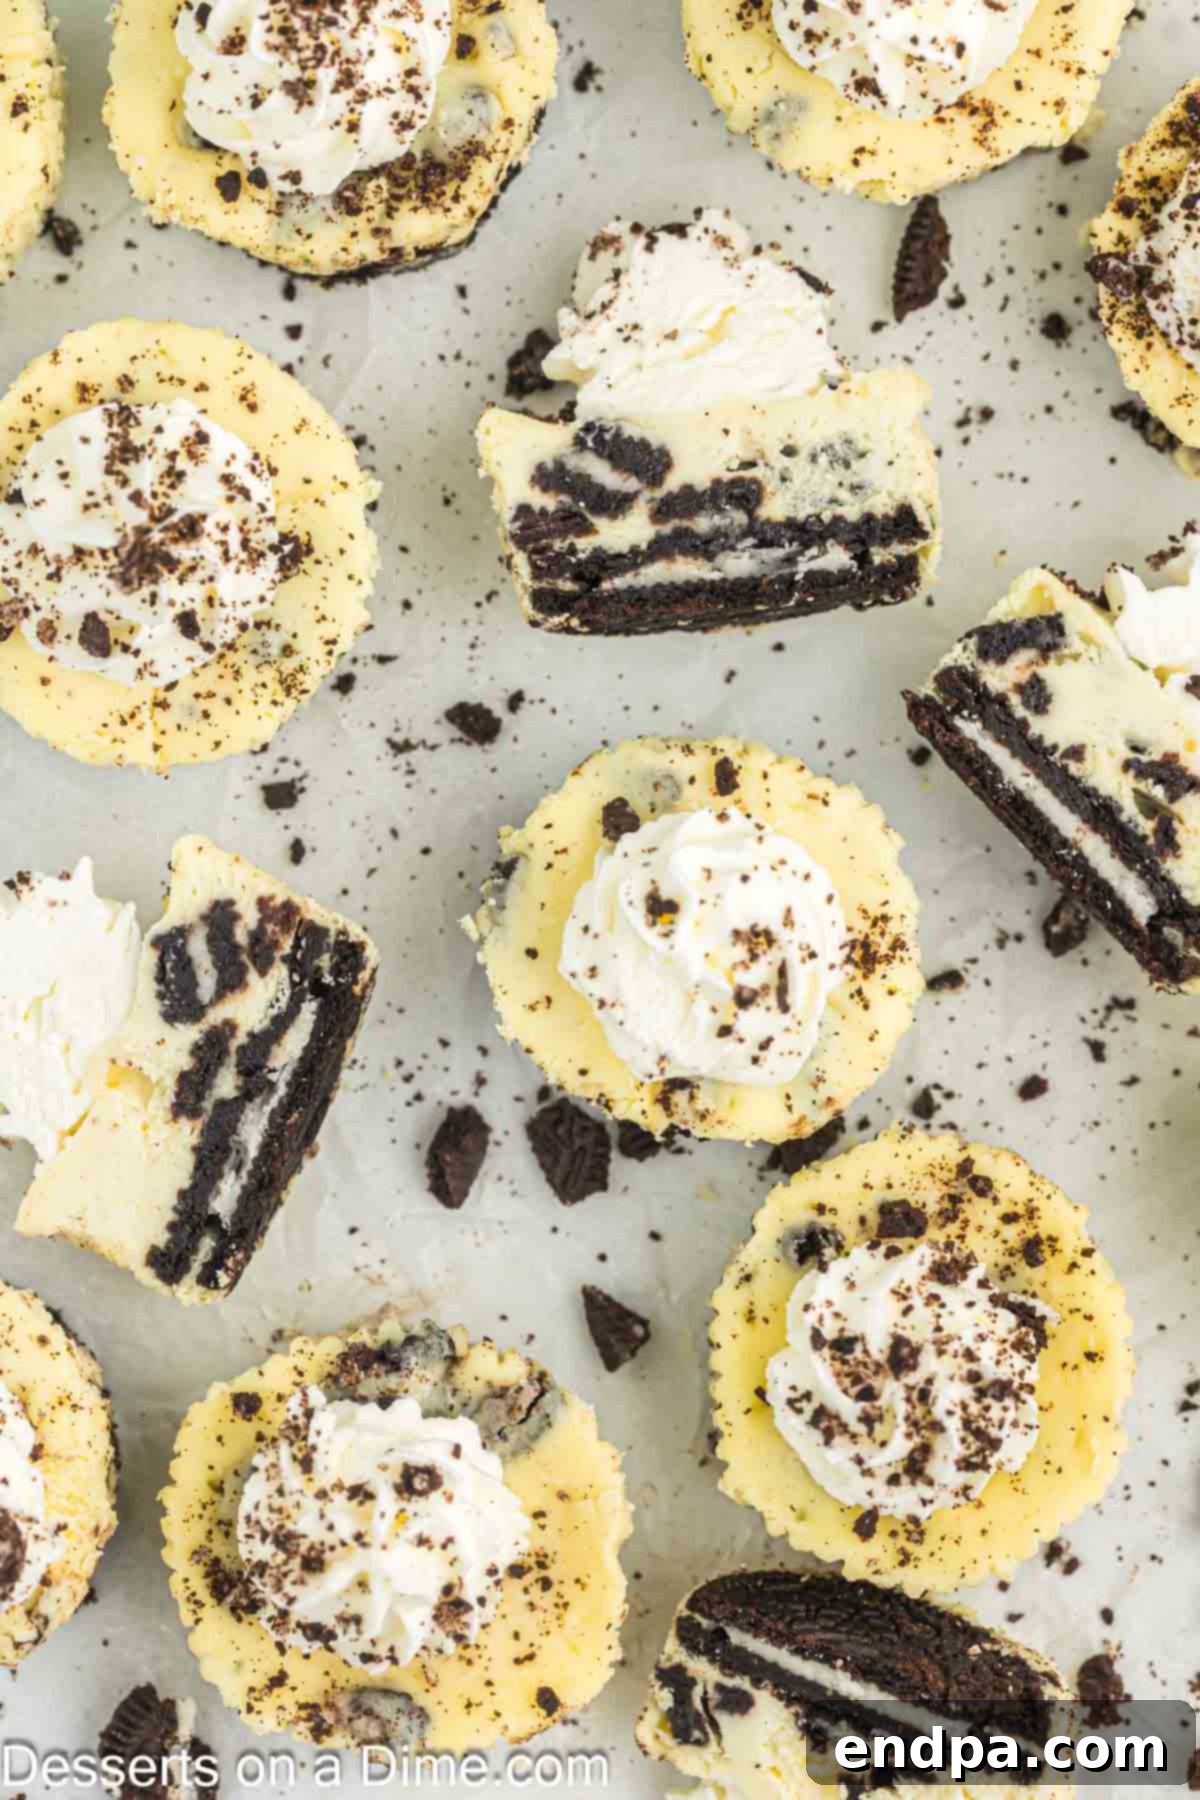
- Classic Oreo Crumbs & Whipped Cream: A timeless favorite! A generous dollop of Homemade Whipped Cream or a quick swirl of Reddi-Wip, topped with a sprinkle of additional finely crushed Oreo cookie crumbs, is always a crowd-pleaser. Remember to add the crumbs right before serving to prevent them from becoming soggy.
- Decadent Chocolate Drizzle: For an extra layer of indulgence, a drizzle of melted chocolate syrup, warm hot fudge sauce, or even a ganache can transform these treats.
- Sweet & Salty Caramel Sauce: A swirl of rich caramel sauce, especially a homemade salted caramel, provides a fantastic sweet and salty contrast that pairs beautifully with the chocolate and cream cheese.
- Fresh Berry Burst: The vibrant tartness of fresh berries like raspberries, sliced strawberries, or blueberries offers a lovely contrast to the richness of the cheesecake. A few fresh mint leaves can add a pop of color.
- Mini Chocolate Chips: A simple sprinkle of mini chocolate chips on top can add extra texture and even more chocolatey goodness, appealing especially to true chocoholics.
- Minty Fresh Twist: If you used Mint Oreos for the base, enhance the theme by topping with a dollop of mint-flavored whipped cream or a sprig of fresh mint for a festive touch.
Don’t be afraid to get creative with your garnishes! Explore more delightful ideas from our extensive collection of the Best Cheesecake Toppings to find your perfect combination and make each mini cheesecake a unique masterpiece!
Expert Tips for Perfect Mini Cheesecakes
Achieving bakery-quality mini cheesecakes is easier than you think when you follow these insider tips and tricks:
- Embrace Room Temperature Ingredients: This tip cannot be stressed enough! Always ensure your cream cheese and eggs are at room temperature. This is absolutely vital for creating a smooth, lump-free batter and ensuring proper emulsion, which in turn helps prevent those dreaded cracks in your finished cheesecakes. Plan ahead by taking them out of the refrigerator at least an hour before baking.
- Master the Art of Not Overmixing: Once your cream cheese is perfectly smooth, mix only until the subsequent ingredients are just combined. Overmixing, particularly after adding the eggs, can incorporate too much air into the batter. This excess air expands during baking, then collapses as the cheesecake cools, leading to unsightly cracks.
- Full-Fat Cream Cheese is Non-Negotiable: For the richest flavor, the creamiest texture, and a cheesecake that sets beautifully, full-fat cream cheese is the only way to go. Lower-fat options contain more water and will not set as well, often resulting in a less satisfying, potentially watery or granular dessert.
- The Whole Oreo Base Strategy: The simple act of placing a whole Oreo cookie at the bottom of each cupcake liner serves a dual purpose. It creates an ideal, sturdy crust, preventing the mini cheesecakes from crumbling when handled or eaten, and it adds an extra layer of delightful crunch and flavor.
- Hand-Fold Oreo Pieces for Texture: When it comes to incorporating crushed Oreo pieces into your batter, always fold them in gently by hand using a spatula. An electric mixer will break them down too much, turning them into crumbs rather than retaining those desirable chunks that provide a wonderful textural contrast.
- Look for the “Slight Jiggle” Doneness Cue: When baking, watch for that subtle jiggle in the center of the cheesecakes. The edges should appear set and slightly firm, but the very center will still have a slight wobble. This indicates they are perfectly cooked. Overbaking is the primary culprit behind dry cheesecakes and surface cracks.
- Gradual Cooling is Key to Preventing Cracks: Once baked, resist the urge to immediately move your cheesecakes. Allow them to cool completely at room temperature while still in the muffin pan. Rapid temperature changes can shock the delicate cheesecake structure and cause cracking.
- Chill Thoroughly for Optimal Setting: A minimum of 2 hours in the refrigerator is necessary for the cheesecakes to set fully and achieve their characteristic dense and creamy texture. However, for the absolute best firmness, flavor development, and overall stability, an overnight chill (4 hours or more) is highly recommended.
- Add a Tang with Sour Cream (Optional): If you desire a slight tangy note to your cheesecake mixture, or find the batter a bit too thick, you can add a tablespoon or two of full-fat sour cream to the cream cheese mixture before adding the sugar and vanilla. It also contributes to a wonderfully smooth consistency.
- Good Quality Cupcake Liners: Invest in reliable cupcake liners. They not only make for easy serving and a tidy presentation but also prevent the cheesecakes from sticking to the pan, ensuring effortless removal and minimal cleanup. I often recommend Wilton cupcake liners for their consistent performance.
Storage and Make-Ahead Instructions
These mini cheesecakes are not only easy to make but also excellent for preparing in advance, which is fantastic for entertaining or simply having a delicious treat ready whenever a craving strikes!
- Refrigeration: Store any leftover mini cheesecakes in an airtight container in the refrigerator for up to 3-4 days. For optimal freshness, it’s always best to add toppings such as whipped cream or fresh fruit just before serving.
- Freezing for Longer Storage: For extended storage, you can easily freeze cooled, undecorated mini cheesecakes. First, place them on a baking sheet and freeze until they are firm (this usually takes about 1-2 hours). Once firm, transfer them to an airtight freezer-safe container or a heavy-duty freezer bag, making sure to separate layers with parchment paper to prevent sticking. They can be frozen for up to 1 month. When you’re ready to enjoy them, simply thaw the cheesecakes in the refrigerator overnight before decorating and serving.
- Make-Ahead Prep: These mini cheesecakes are perfect for make-ahead convenience. You can prepare them completely, including baking and the crucial chilling step, up to 2 days in advance of when you plan to serve them. Simply keep them stored in an airtight container in the refrigerator. This allows you to focus on other aspects of your event or simply relax, knowing dessert is already taken care of.
Exciting Flavor Variations for Your Mini Cheesecakes
While the classic Oreo mini cheesecake is undeniably divine, don’t hesitate to unleash your creativity and experiment with other flavors and toppings to customize your mini cheesecakes for any occasion or preference:
- Mint Oreo Marvel: For a refreshing and festive twist, use Mint Oreo cookies for both the base crust and the crushed pieces folded into the batter. You can even add a tiny drop of mint extract to the cheesecake mixture for an intensified flavor.
- Golden Oreo Sunshine: Swap the regular Oreos for Golden Oreos to create a lighter-colored cheesecake. Consider adding a tablespoon of fresh lemon zest or a hint of lemon extract to the cheesecake batter for a brighter, citrusy flavor that pairs wonderfully with the vanilla cookies.
- Peanut Butter Swirl Dream: For peanut butter lovers, gently swirl a tablespoon of melted creamy peanut butter into the cheesecake batter just before you fill the cupcake cups. Top with a few chopped peanuts for extra crunch.
- Salted Caramel Indulgence: Drizzle your chilled mini cheesecakes generously with a high-quality homemade or store-bought salted caramel sauce before serving. A sprinkle of sea salt flakes on top can further enhance this delightful combination.
- Raspberry Ripple Delight: Gently swirl in a spoonful of raspberry jam or a fresh raspberry purée into the cheesecake batter just before dividing it among the liners. The tartness of the raspberry provides a beautiful contrast to the rich cheesecake.
- Classic Chocolate Chip Charm: If you love classic flavors, add a generous handful of mini chocolate chips to the cheesecake batter instead of (or in addition to, if you’re feeling adventurous!) the crushed Oreos.
Frequently Asked Questions About Mini Oreo Cheesecakes
- Can I use low-fat cream cheese in this recipe?
- While technically possible, I highly recommend against using low-fat cream cheese for this recipe. Full-fat cream cheese is crucial for achieving the rich, creamy texture and proper setting. Low-fat versions have a higher water content, which can make your cheesecakes less creamy, prone to cracking, and they may not set as firmly. For the best, most satisfying results, always stick with full-fat cream cheese.
- How do I prevent cracks in my mini cheesecakes?
- Preventing cracks involves a few key steps: ensure all ingredients (especially cream cheese and eggs) are at room temperature, avoid overmixing the batter after adding eggs, do not overbake (look for that slight jiggle!), and allow them to cool gradually at room temperature before transferring to the refrigerator. Rapid temperature changes and overbaking are the most common culprits.
- Do I have to use cupcake liners, or can I bake directly in the muffin tin?
- Cupcake liners are highly recommended for several reasons: they make for incredibly easy removal, prevent the cheesecakes from sticking, simplify cleanup, and contribute to a neat, attractive presentation. If you don’t have liners, you can bake directly in a very well-greased muffin tin, but liners are a much more convenient and reliable solution.
- Can I make these mini cheesecakes without an electric mixer?
- You can, but it will require significantly more effort and arm strength to achieve a perfectly smooth, lump-free cream cheese mixture. A sturdy whisk and plenty of vigorous mixing can work, but an electric mixer makes the process much quicker, easier, and ensures the silky-smooth consistency essential for cheesecake.
- How long do mini cheesecakes need to chill for?
- A minimum of 2 hours in the refrigerator is necessary for the mini cheesecakes to set properly and firm up. However, for optimal firmness, the best possible texture, and to allow the flavors to fully meld, chilling for 4 hours or even overnight is highly recommended. Patience here truly pays off!
Mini Oreo Cheesecake Recipe
This mini Oreo cheesecake recipe is the perfect dessert: easy to make with just 5 ingredients, combining luscious cheesecake with classic Oreo cookies for an irresistible bite-sized treat. Ideal for any occasion, these individual cheesecakes are quick to prepare and always a crowd-pleaser.
Recipe At A Glance
- Prep Time: 10 minutes
- Cook Time: 15 minutes
- Cool & Chill Time: 3 hours (1 hour cooling at room temperature + 2 hours chilling in refrigerator)
- Total Time: 3 hours 25 minutes
- Yields: 12 servings
- Cuisine: American
- Course: Dessert
- Calories: Approximately 206 per serving
- Author: Carrie Barnard
Ingredients
- 12 whole Oreo Cookies (for the crusts)
- 12 ounces (about 1 ½ blocks) full-fat cream cheese, softened
- 1/3 cup granulated sugar
- 1 teaspoon vanilla extract
- 2 large eggs
- 4-8 additional Oreo cookies, coarsely chopped (for mixing into batter and/or garnish)
Instructions
- Preheat your oven to 350°F (175°C). Line a standard 12-cup muffin pan with paper cupcake liners.
- Place one whole Oreo cookie flat into the bottom of each lined muffin cup. This will serve as your cheesecake crust.
- In a medium mixing bowl, beat the softened cream cheese with an electric mixer until it is completely smooth and creamy, about 2-3 minutes.
- Add the granulated sugar and vanilla extract to the cream cheese mixture. Continue to beat until well combined and smooth, scraping down the sides of the bowl as needed.
- Add the eggs one at a time, beating just until each is incorporated before adding the next. Do not overmix.
- Gently fold in the coarsely chopped Oreo pieces by hand using a spatula. Avoid using the electric mixer to keep the cookie chunks intact.
- Spoon approximately 2 to 2.5 tablespoons of the cheesecake batter into each cupcake liner, on top of the whole Oreo crust. Do not overfill.
- Bake for 14-16 minutes, or until the edges are set and the center of the cheesecake has only a slight jiggle. Do not overbake.
- Remove the muffin pan from the oven and allow the mini cheesecakes to cool completely to room temperature (this takes about 1 hour).
- Once cooled to room temperature, transfer the muffin pan to the refrigerator and chill the cheesecakes for at least 2 hours (preferably 4 hours or overnight) before serving. This ensures they are fully set and deliciously firm.
Nutrition Facts (per serving – approximate)
- Calories: 206 kcal
- Carbohydrates: 19g
- Protein: 4g
- Fat: 14g
- Saturated Fat: 7g
- Polyunsaturated Fat: 1g
- Monounsaturated Fat: 4g
- Trans Fat: 0.01g
- Cholesterol: 56mg
- Sodium: 162mg
- Potassium: 86mg
- Fiber: 0.5g
- Sugar: 13g
- Vitamin A: 421 IU
- Calcium: 35mg
- Iron: 2mg
More Delicious Cheesecake Inspirations
If you can’t get enough of rich, creamy cheesecake, be sure to explore these other fantastic recipes that offer a variety of flavors and styles:
- Pumpkin Cheesecake: A festive treat perfect for fall.
- Slutty Cheesecake Bars: A fun, multi-layered bar combining cookies, brownies, and cheesecake.
- Chocolate Chip Cookie Cheesecake Bars: The best of two worlds in an easy-to-share bar format.
- Easy Peanut Butter Cheesecake Bites Recipe: Another delicious bite-sized option for peanut butter lovers.
- Deep Fried Cheesecake: An adventurous and incredibly indulgent dessert.
- Air Fryer Cheesecake: A surprisingly easy way to make cheesecake in your air fryer.
Delightful Oreo Desserts to Try Next
If your love for Oreos knows no bounds, then you’re in for a treat! Here are more easy and utterly delicious recipes featuring your favorite cookie that are sure to satisfy any craving:
- Easy Oreo Dip: A simple, no-bake dip perfect for parties or snacking.
- Oreo Dump Cake Recipe: Minimal effort, maximum deliciousness with layers of Oreo and cake.
- Oreo Ice Cream Cake Recipe: A cool and creamy dessert, perfect for summer birthdays or any celebration.
- How to Make Emoji Chocolate Covered Oreos: A fun and creative project, especially great for kids’ parties.
- Easy Homemade Oreo Brownies Recipe: The ultimate combination of rich brownies and crunchy Oreos.
- Oreo Mug Cake: A super quick, single-serving treat for when you need a dessert fix in minutes.
I am so excited for you to try these incredibly delicious Mini Oreo Cheesecakes. They are truly a perfect combination of convenience and indulgence. Please leave a comment below and let us know how your homemade treats turn out, and share any favorite topping ideas you discover! Happy baking!
