Delight in the charm and sweetness of homemade Easter Egg Sugar Cookies, beautifully adorned with vibrant royal icing. These delectable treats are not just cookies; they are edible works of art, guaranteed to be the enchanting centerpiece of your Easter dessert table. Their delicate texture and rich flavor, combined with stunning pastel decorations, make them an unforgettable addition to any holiday celebration. Perfect for sharing with loved ones or a delightful activity for the whole family, these cookies capture the joyful spirit of spring and Easter in every bite.

As one of the most beloved Easter desserts, these pastel sugar cookies are a quintessential treat for spring festivities. This isn’t just any cookie recipe; it’s a timeless classic that has been cherished for over 15 years in countless homes, offering a simple yet rewarding baking experience. It’s a wonderful opportunity to create lasting memories, as children eagerly lend a hand in mixing, cutting, and especially decorating these festive delights. Embrace the tradition of baking these irresistible sugar cookies and watch them disappear as quickly as they appear on your Spring Dessert platter.
Our annual Easter baking tradition extends beyond these delightful sugar cookies. We also love crafting a variety of other festive treats that bring smiles to everyone’s faces. Favorites include creamy Mini Easter Cheesecakes, easy-to-make White Chocolate Easter Bark, and classic Easter Chocolate Chip Cookies. Children particularly enjoy making the colorful White Chocolate Easter Bark and the adorable Bunny Butt Cupcakes, which add a playful touch to our holiday spread. If you’re looking to explore other sugar cookie variations, be sure to try our comforting Brown Sugar Cookie Recipe for a different, yet equally delicious, experience.
Table of Contents
- Why You’ll Adore This Recipe
- Essential Ingredients for Perfect Cookies
- Royal Icing Essentials
- Creative Variations & Smart Substitutions
- Step-by-Step Cookie Baking Guide
- Crafting the Perfect Royal Icing
- Artful Decoration: Bringing Your Cookies to Life
- Optimal Storage for Freshness
- Baking & Decorating Success Tips
- More Festive Easter Desserts
Why You’ll Adore This Recipe
Imagine creating bakery-quality Easter cookies right in your own kitchen, even if you’re a beginner baker! This recipe is designed to be incredibly easy, with clear, step-by-step instructions that guide you through every stage. You’ll be amazed at how simple it is to achieve professional-looking results. Beyond their stunning appearance, these cookies are incredibly delicious, boasting a tender texture and sweet flavor that will have everyone reaching for more. They’re more than just a treat; they’re an experience, perfect for fostering family traditions and making beautiful memories together during the holiday season. Get ready to impress your guests and delight your family with these gorgeous and tasty Easter egg sugar cookies!
Essential Ingredients for Perfect Cookies
Crafting the perfect Easter egg sugar cookies begins with selecting quality ingredients. Each component plays a vital role in achieving that desirable melt-in-your-mouth texture and rich, balanced flavor. Here’s a detailed look at what you’ll need for the cookie dough:
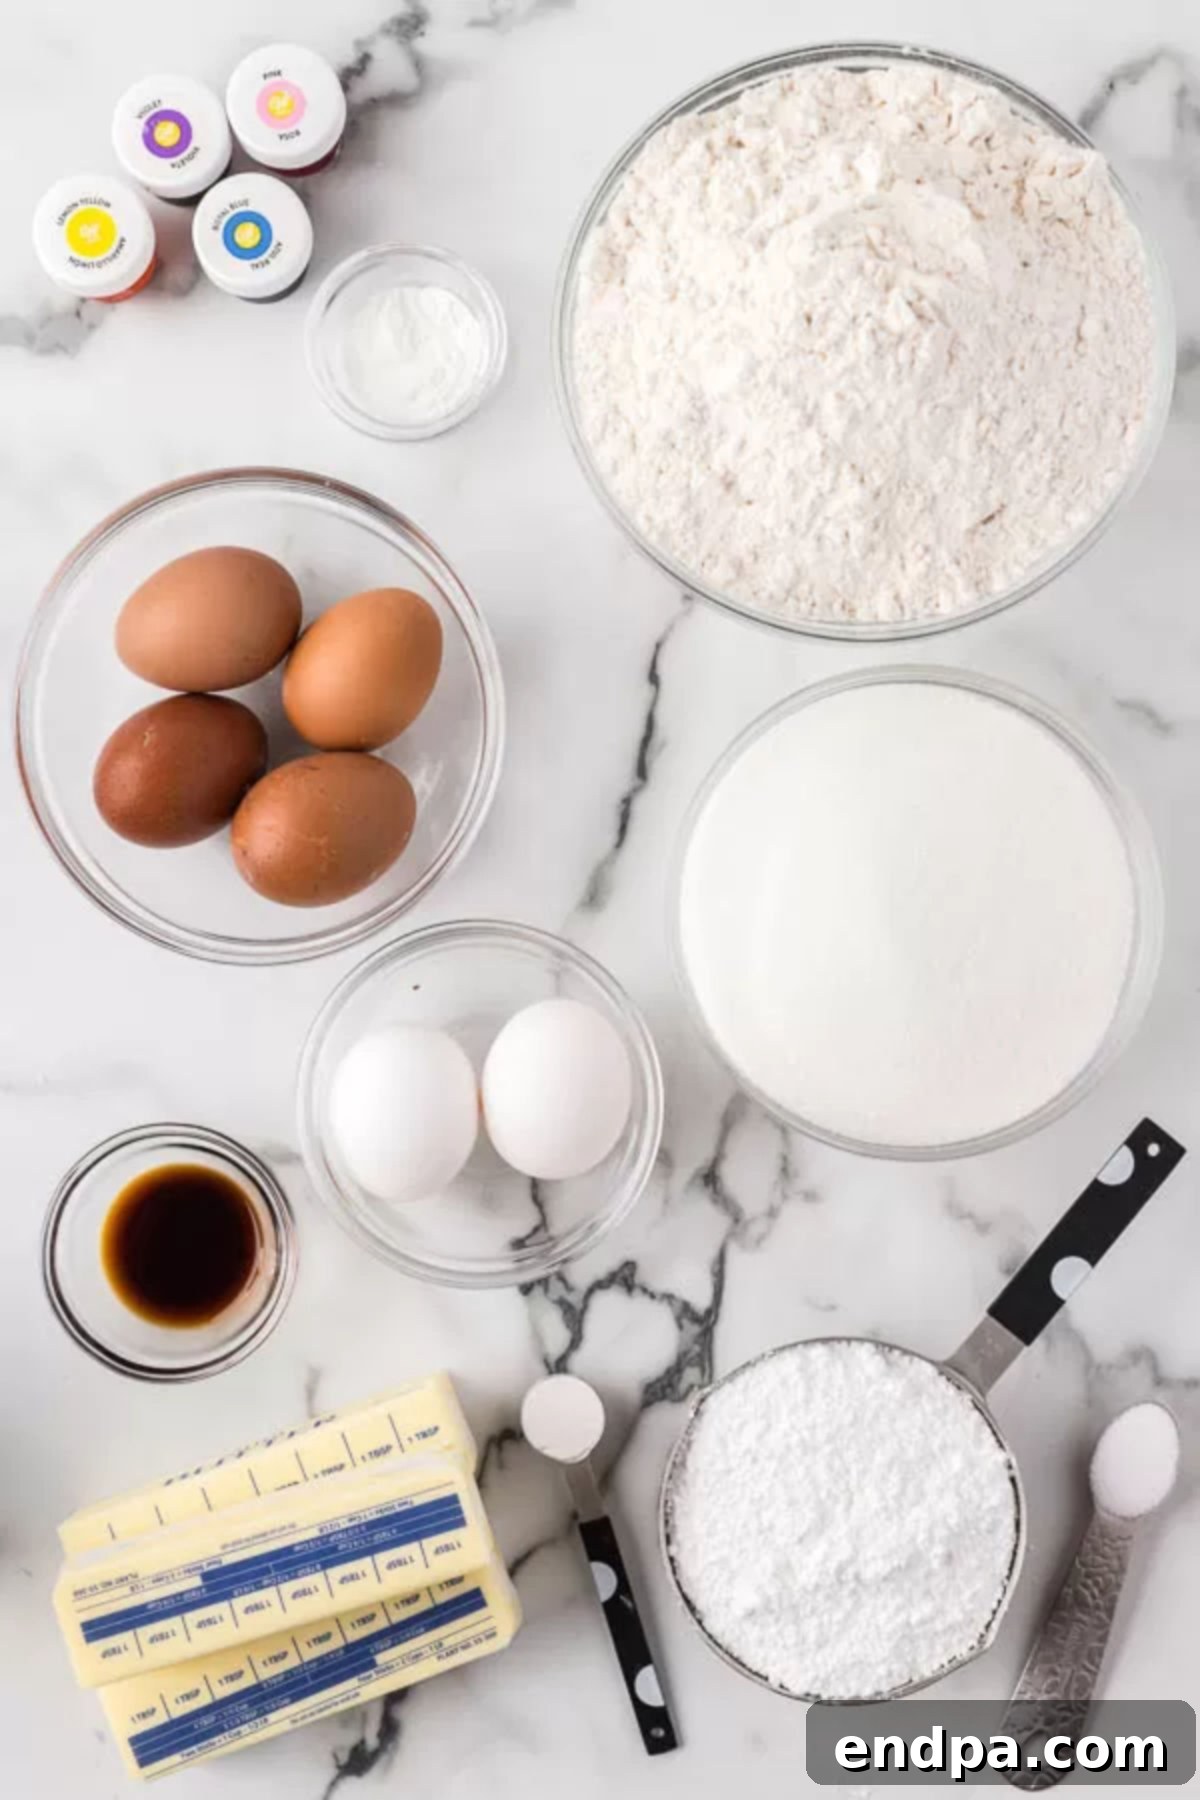
- All-Purpose Flour: The foundation of our cookies. For precise measurements and a light, airy texture, always spoon the flour into your measuring cup and level it off. Avoid scooping directly, as this can compact the flour and result in a dense cookie.
- Unsalted Butter: Ensure your butter is softened to room temperature. This is crucial for proper creaming with sugar, creating an emulsified, fluffy base for the dough that contributes to the cookies’ tenderness.
- Large Eggs: Like butter, eggs should be at room temperature. This allows them to incorporate more smoothly into the batter, preventing curdling and ensuring a uniform dough consistency.
- Pure Vanilla Extract: A high-quality pure vanilla extract will elevate the flavor of your sugar cookies. Its warm, aromatic notes are essential for that classic, comforting taste.
Royal Icing Essentials
The star of the decoration, royal icing, requires its own set of specific ingredients to achieve that perfect glossy finish and crisp lines:
- Egg Whites: Fresh egg whites are traditionally used to create stable and shiny royal icing. Be sure to carefully separate them from the yolks, as any trace of fat can prevent the icing from whipping properly. (You can save the yolks for another recipe!)
- Powdered Sugar: Also known as confectioners’ sugar. Sifting this ingredient is non-negotiable for royal icing. This removes any lumps, ensuring an incredibly smooth consistency that’s essential for elegant piping and flooding.
- Cream of Tartar: This acidic powder acts as a stabilizer for the egg whites, helping them whip to stiff peaks and creating a durable, perfectly textured icing that dries hard and glossy.
- Gel Food Coloring: For vibrant and beautiful Easter egg hues, opt for gel food coloring. Unlike liquid food coloring, gel colors are highly concentrated and won’t significantly alter the consistency of your delicate royal icing, allowing for brilliant, rich shades without adding excess moisture. Choose a variety of pastel colors for that classic Easter aesthetic.
You can find the complete list of ingredients with exact measurements at the bottom of this page in the detailed recipe card.
Creative Variations & Smart Substitutions
While the classic Easter egg sugar cookie is delightful, feel free to unleash your creativity with these variations and substitutions:
- Themed Cookie Cutters: Don’t limit yourself to just egg shapes! You can expand your Easter theme by using bunny cookie cutters, chick shapes, or even delightful carrot cookie cutters. Decorate them accordingly to match the holiday spirit.
- Meringue Powder Alternative: If you’re concerned about using raw egg whites or prefer a more convenient option, meringue powder is an excellent substitute. Follow the package instructions for the correct ratio to water, ensuring you achieve a stable and pipeable icing. Meringue powder also extends the shelf life of your royal icing.
- Creamy Frosting Option: While royal icing offers a classic crisp finish, sometimes a softer, creamier frosting is preferred. Consider using a delicious Strawberry Buttercream Frosting or a traditional vanilla buttercream. These offer a different texture and flavor profile, equally delightful on these sugar cookies.
- Citrus Zest Infusion: For a bright, fresh twist, add a teaspoon of lemon or orange zest to your cookie dough. The citrus notes will beautifully complement the sweetness of the cookies and add an extra layer of flavor.
- Sprinkles and Edible Glitter: Before the royal icing fully sets, sprinkle your cookies with festive Easter sprinkles, edible glitter, or sanding sugar for extra sparkle and texture. This is especially fun for kids to do!
Step-by-Step Cookie Baking Guide
Follow these detailed steps to bake perfect Easter egg sugar cookies every time. Precision and patience are key to achieving a tender crumb and beautifully shaped treats.
- Step 1: Prepare Your Oven. Begin by preheating your oven to 325 degrees F (160 degrees C). This ensures the oven is at the correct temperature for even baking as soon as your cookies are ready.
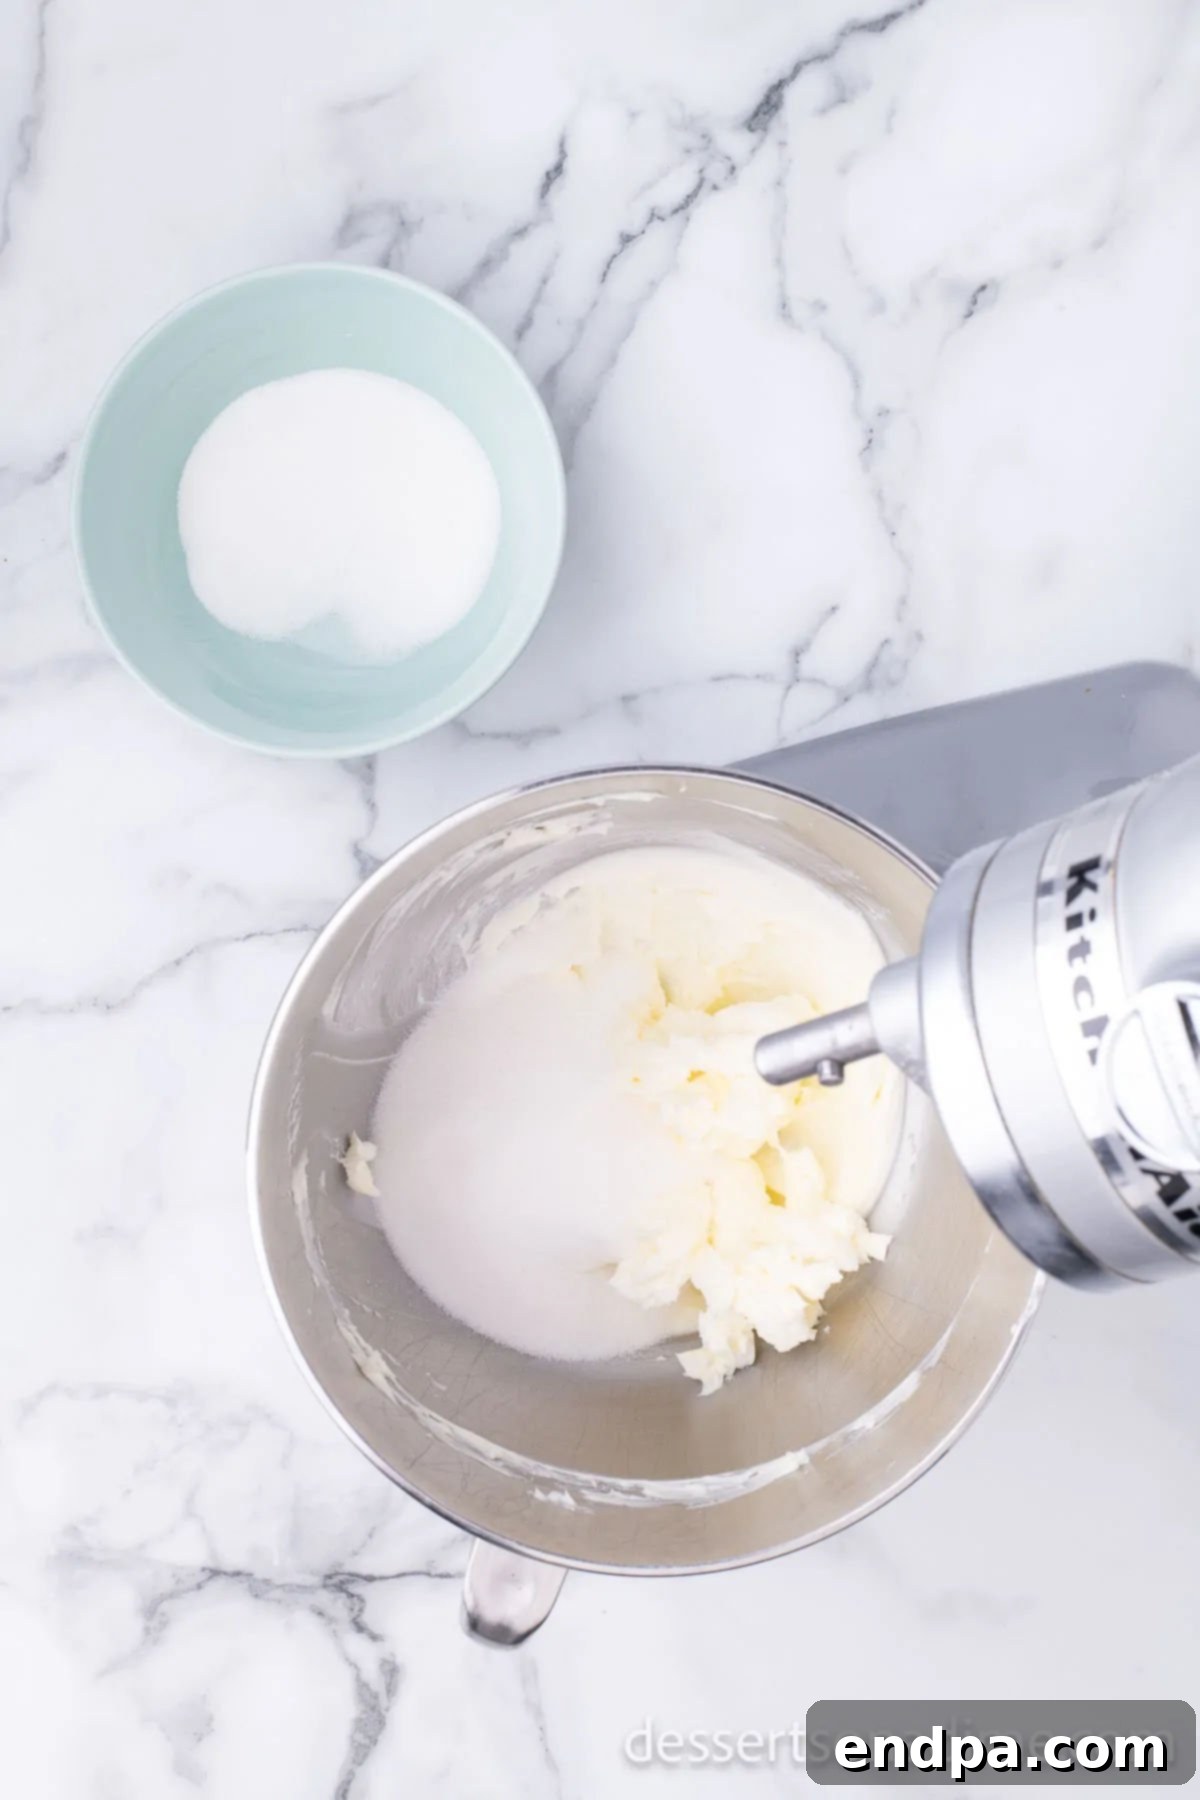
Step 2: Cream Butter and Sugar. In a large mixing bowl, combine 24 tablespoons (or 1 ½ cups) of softened unsalted butter with the granulated sugar. Using a stand mixer with a paddle attachment or a hand-held mixer, cream these ingredients together until the mixture is light, fluffy, and smooth. It should no longer feel grainy when rubbed between your fingers. This process incorporates air, essential for tender cookies.
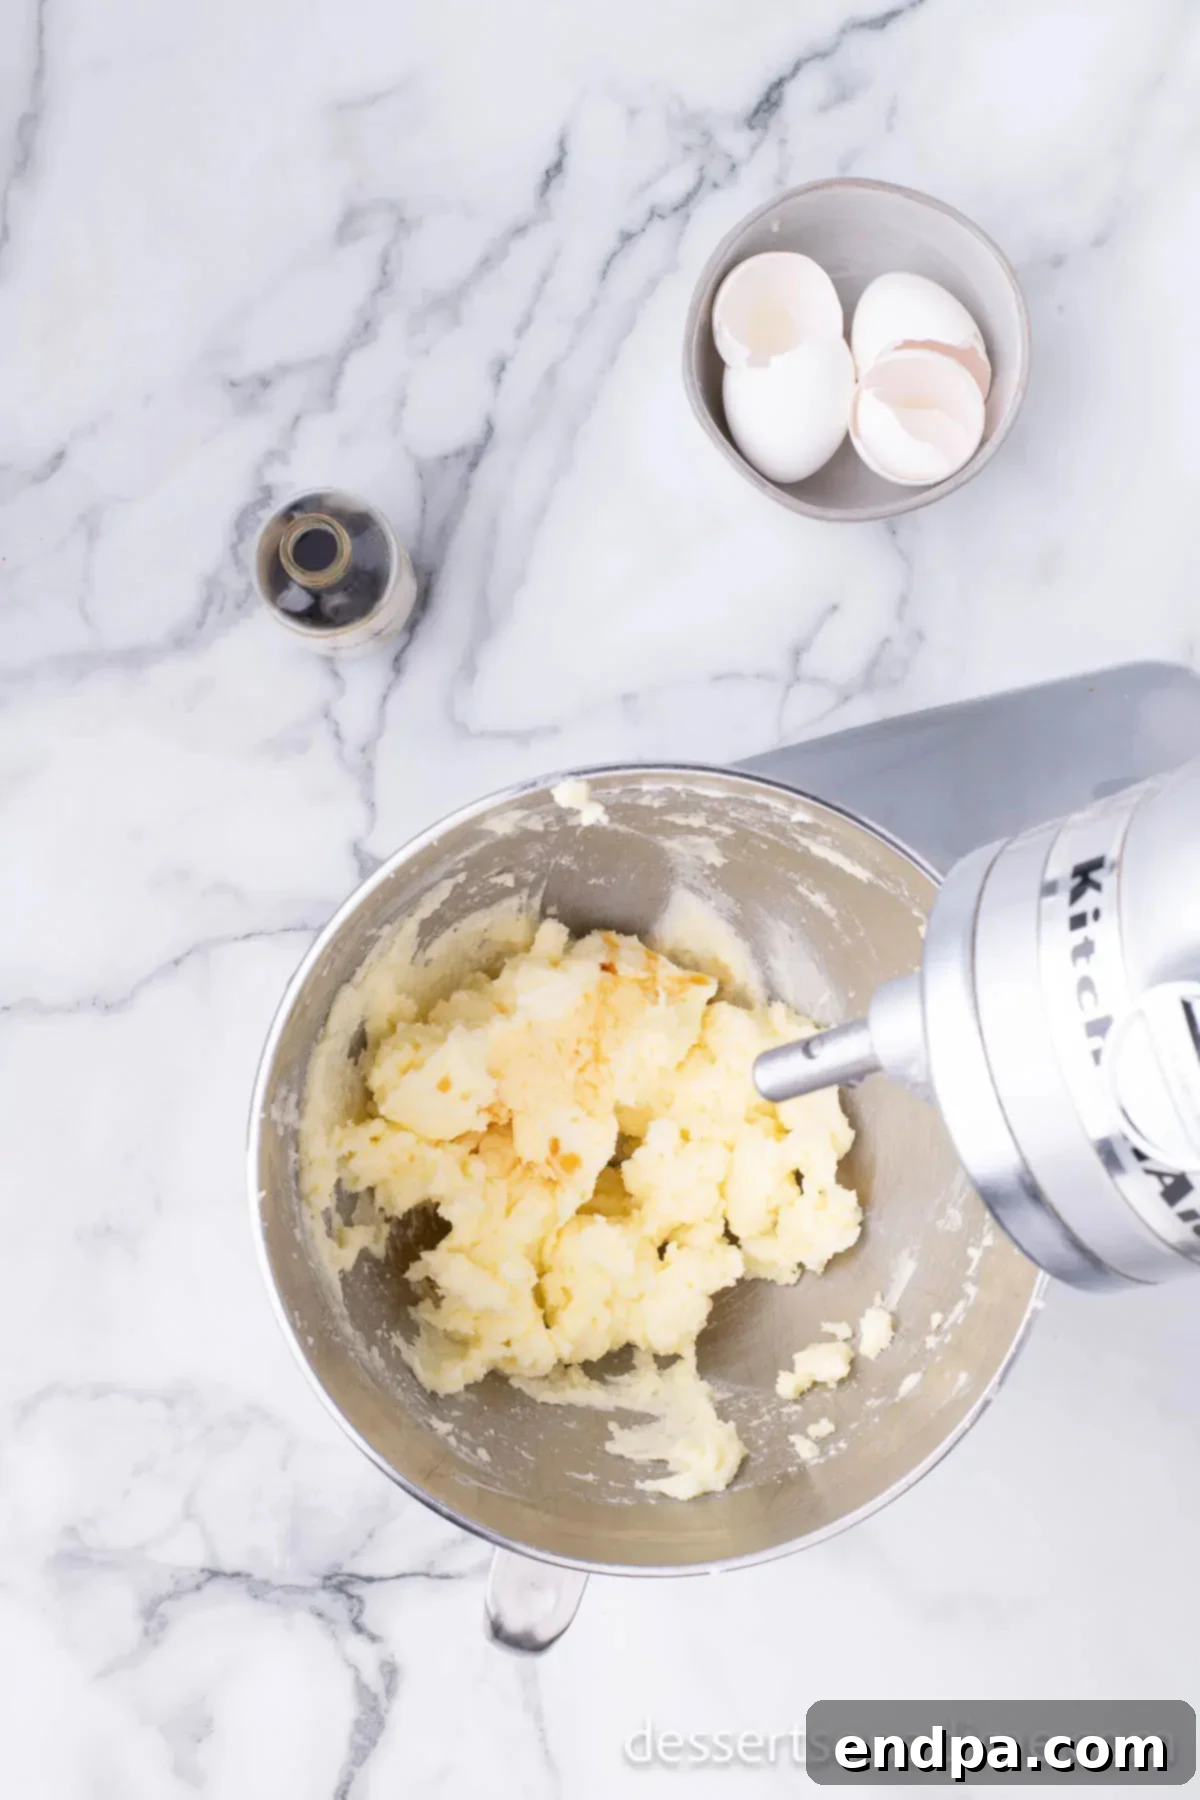
Step 3: Incorporate Eggs and Vanilla. Add all four large, room-temperature eggs into the creamed butter and sugar mixture at once. Mix until just combined. Next, pour in the pure vanilla extract. Continue mixing on low speed until all ingredients are well-integrated, scraping down the sides of the bowl as needed to ensure everything is evenly blended.
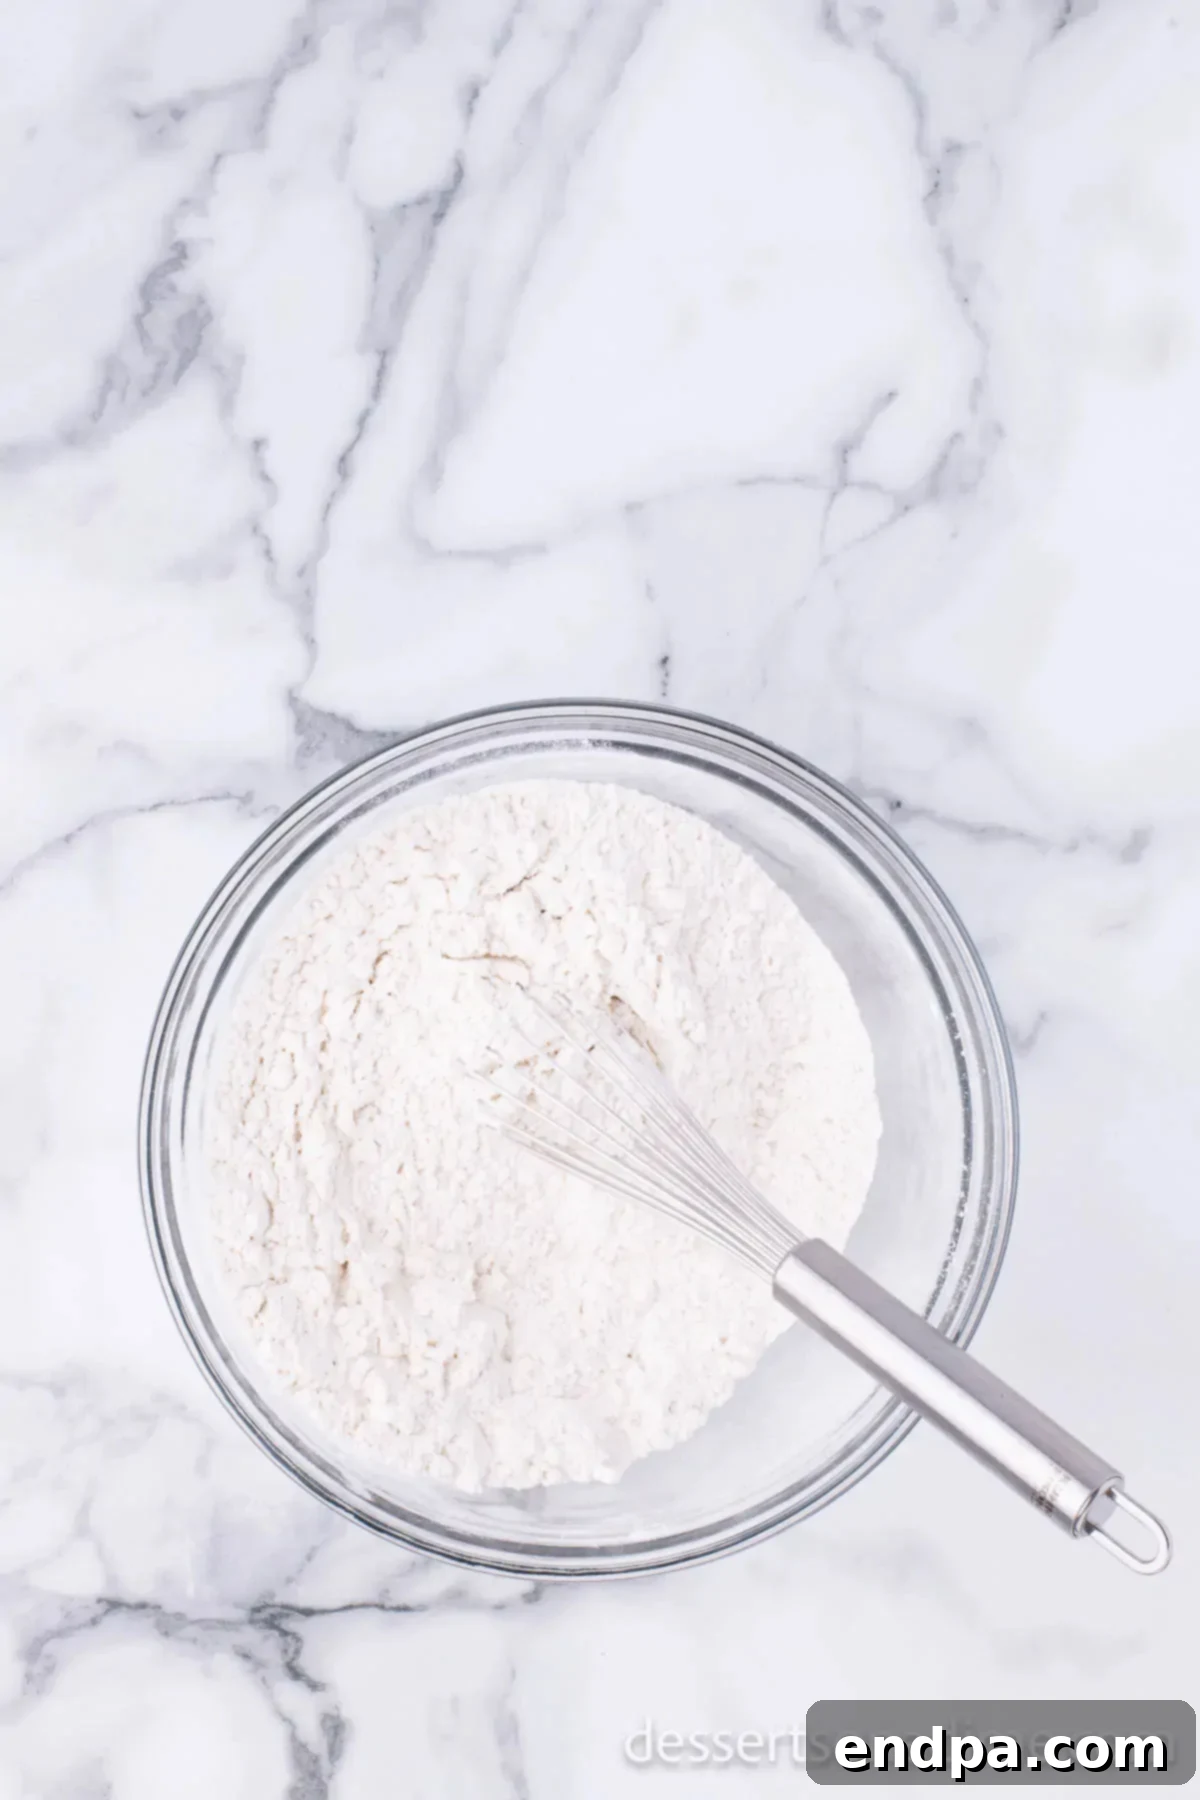
Step 4: Sift Dry Ingredients. In a separate bowl, whisk together the all-purpose flour, baking powder, and salt. Then, sift these dry ingredients to remove any lumps and ensure they are evenly distributed. Sifting is crucial for a smooth cookie dough and even baking.
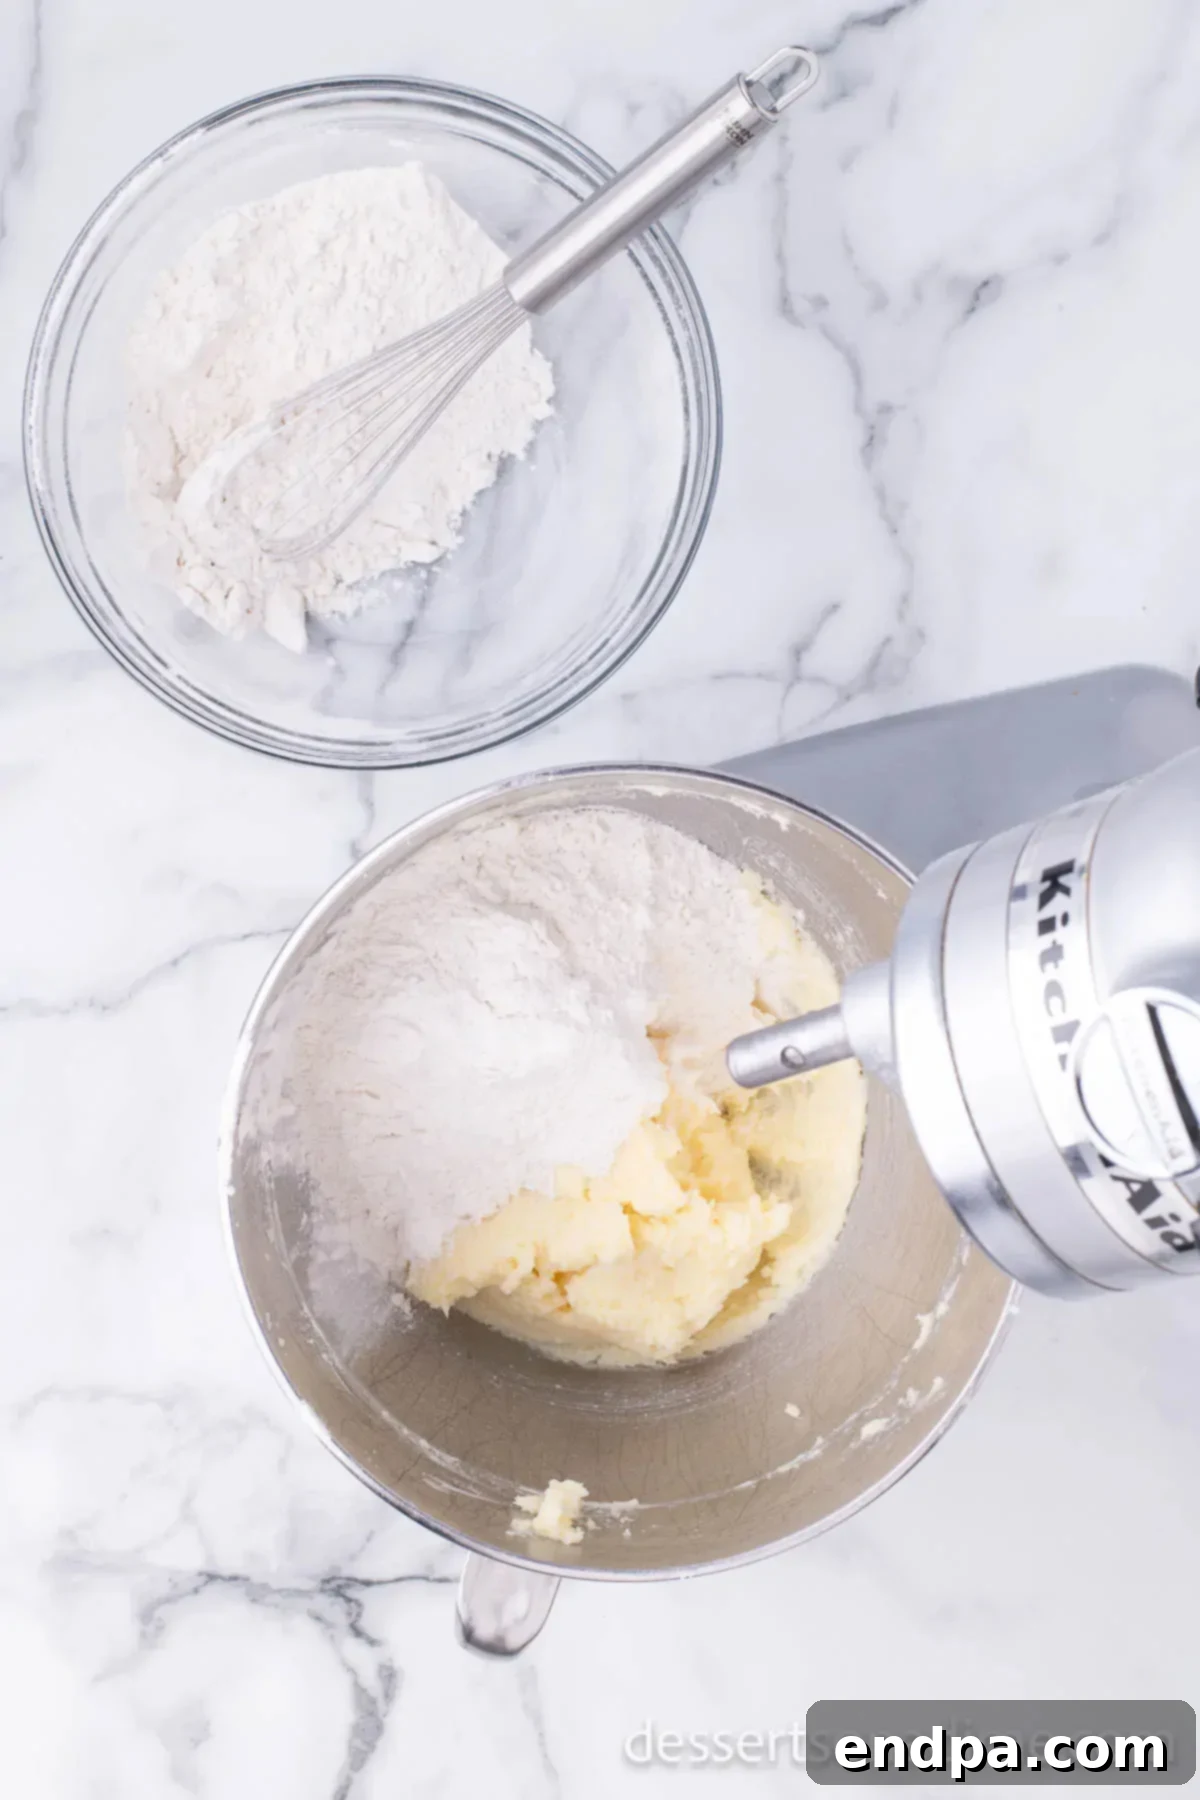
Step 5: Combine Wet and Dry Mixtures. Gradually add the sifted dry mixture to the wet butter and sugar mixture. Mix on low speed until all ingredients are just combined and no streaks of flour remain. Be careful not to overmix, as this can develop the gluten in the flour and result in tough cookies. Scrape down the sides of the bowl to ensure a homogeneous dough.
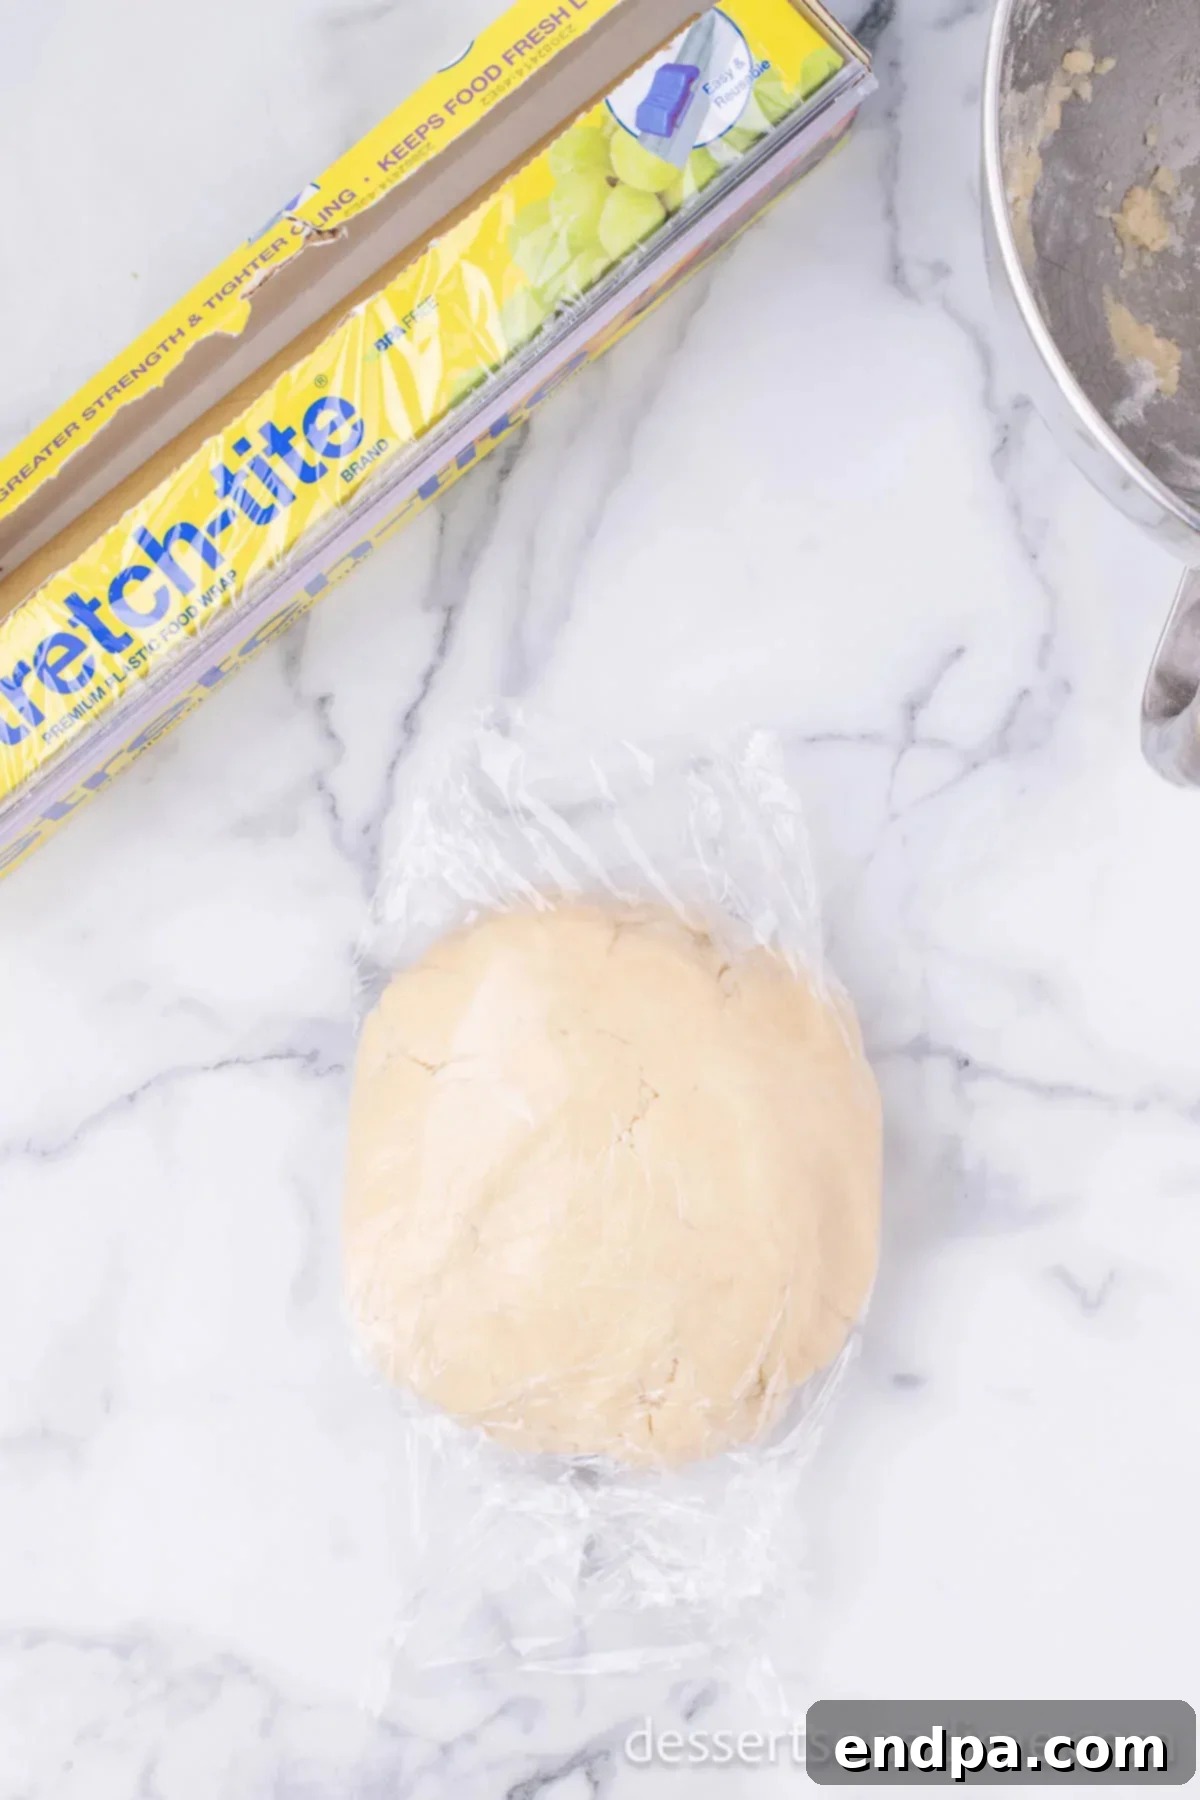
Step 6: Chill the Dough. Gently shape the sugar cookie dough into a cohesive ball. Wrap the dough tightly in plastic cling wrap, ensuring it’s completely covered to prevent it from drying out. Place the wrapped dough in the refrigerator to chill for at least 6 hours, or ideally, overnight. Chilling is essential as it firms up the butter, making the dough easier to roll and helping the cookies maintain their shape during baking.
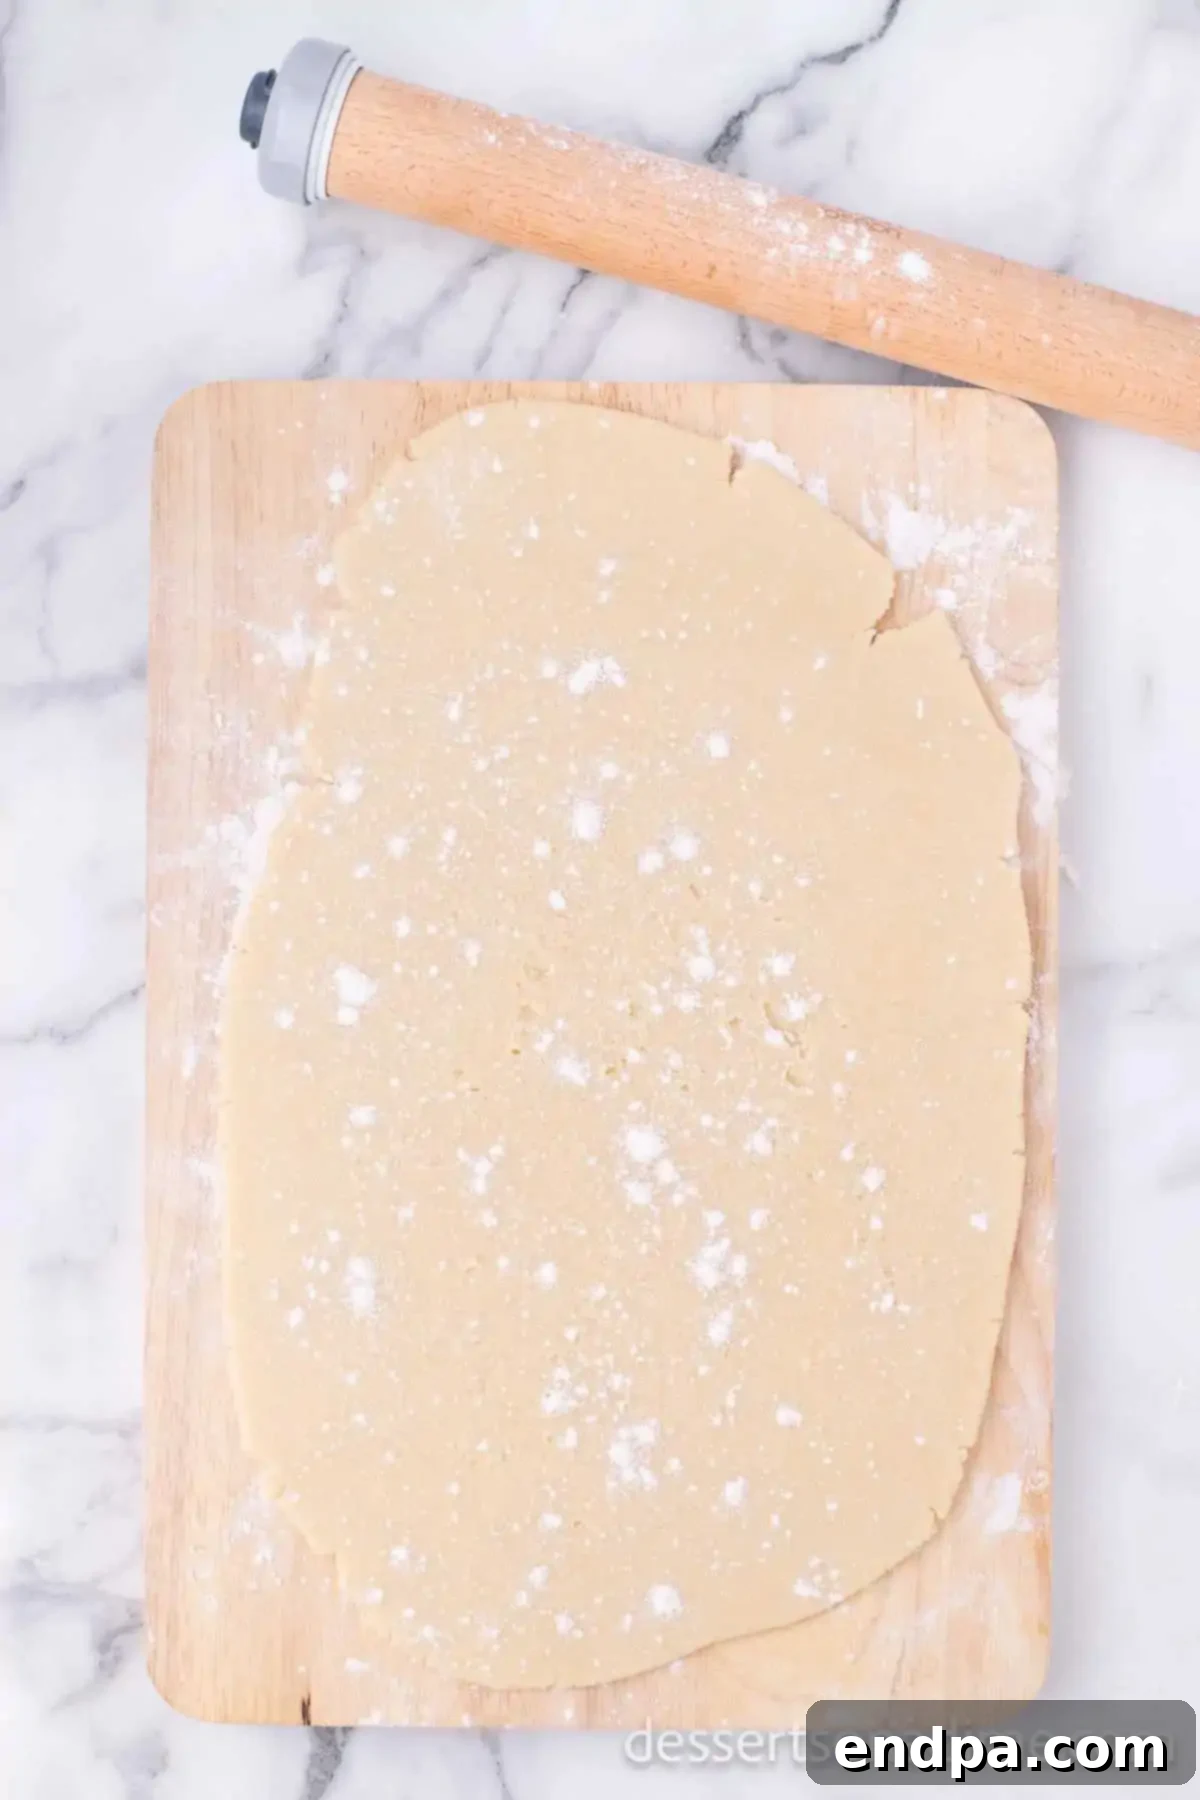
Step 7: Roll and Cut Cookies. Remove the chilled dough from the refrigerator and let it sit at room temperature for about 10-15 minutes to soften slightly, making it more workable. Lightly dust your clean cutting board or work surface with flour, and also dust your rolling pin. Roll out the dough to an even thickness (about ¼ inch). Use an Easter egg-shaped cookie cutter to cut out your festive cookie shapes, pressing firmly and cleanly.
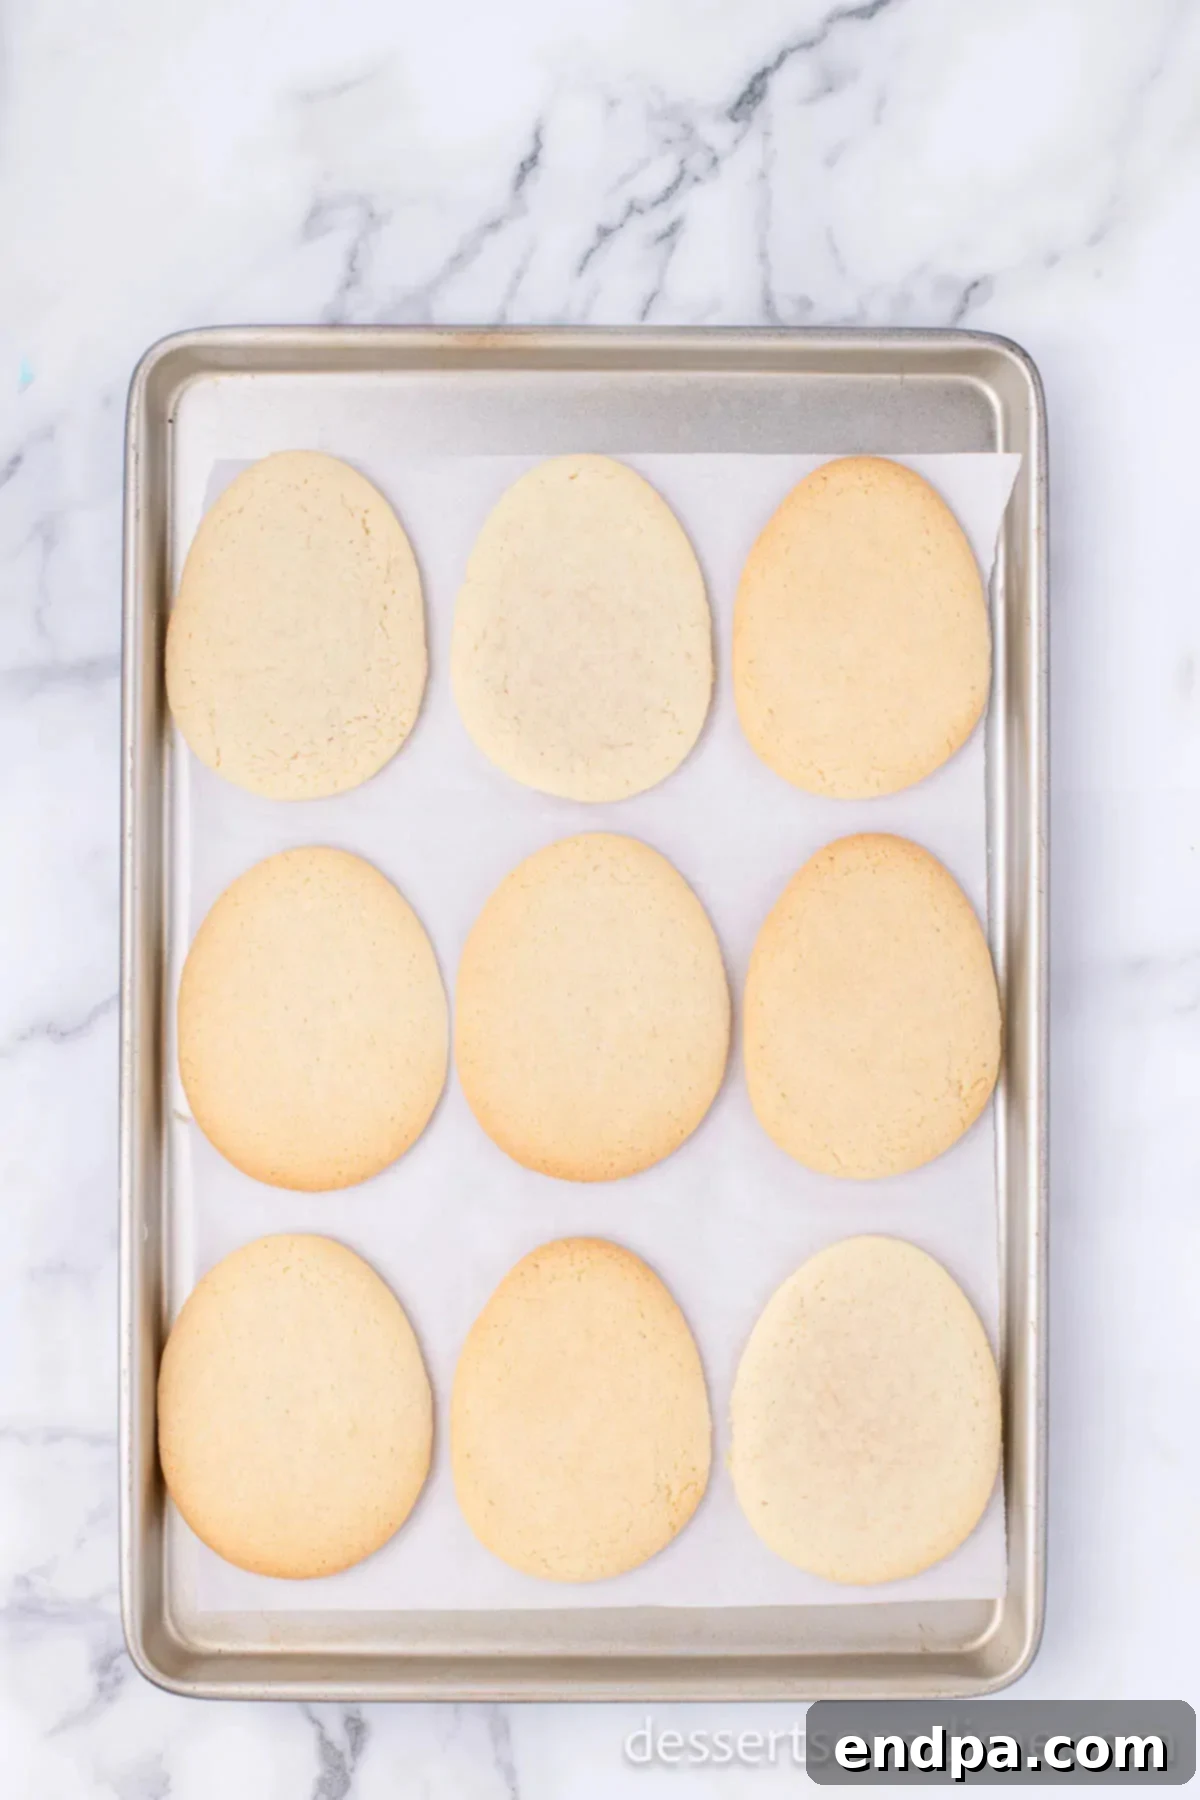
Step 8: Bake to Golden Perfection. Carefully transfer the cut cookie shapes to a baking sheet lined with parchment paper using a thin metal spatula. Bake the cookies in your preheated oven at 325 degrees F (160 degrees C) for 8 to 10 minutes. The cookies are ready when their edges are lightly golden brown. Avoid overbaking, as this can make them dry. Once baked, remove the cookies from the oven and immediately transfer them to a wire cooling rack to cool completely. This usually takes about 10-15 minutes.

Step 9: Decorate Once Cool. Once the cookies have cooled completely to room temperature, they are ready for their beautiful royal icing transformation. Proceed to the icing instructions and decorating guide to bring your Easter egg cookies to life with your preferred designs and colors.
Crafting the Perfect Royal Icing
Royal icing is the key to those beautiful, smooth, and defined decorations. Here’s how to prepare it to perfection:
- Step 1: Gather Your Mixer. For the best results, use either a stand mixer fitted with a whisk attachment or a sturdy hand-held mixer. This will ensure your icing reaches the ideal consistency.
- Step 2: Combine Icing Ingredients. In your mixer bowl, combine the egg whites, sifted powdered sugar, and cream of tartar. Begin mixing on low speed until everything is just incorporated, then increase to medium speed and continue mixing for 4 minutes. At this point, the mixture should be smooth and somewhat stiff.
- Step 3: Achieve the Right Consistency. After 4 minutes, check the icing’s consistency. For outlining and flooding, we’re aiming for a “15-second consistency.” This means if you drag a spatula across the surface of the icing, the line should disappear and smooth over within approximately 15 seconds. If your icing is too thick, add water a teaspoon at a time, mixing well after each addition, until the desired consistency is reached. If it’s too thin, gradually add a tablespoon or two more of sifted powdered sugar until it stiffens. Reduce speed to low once the desired consistency is achieved.
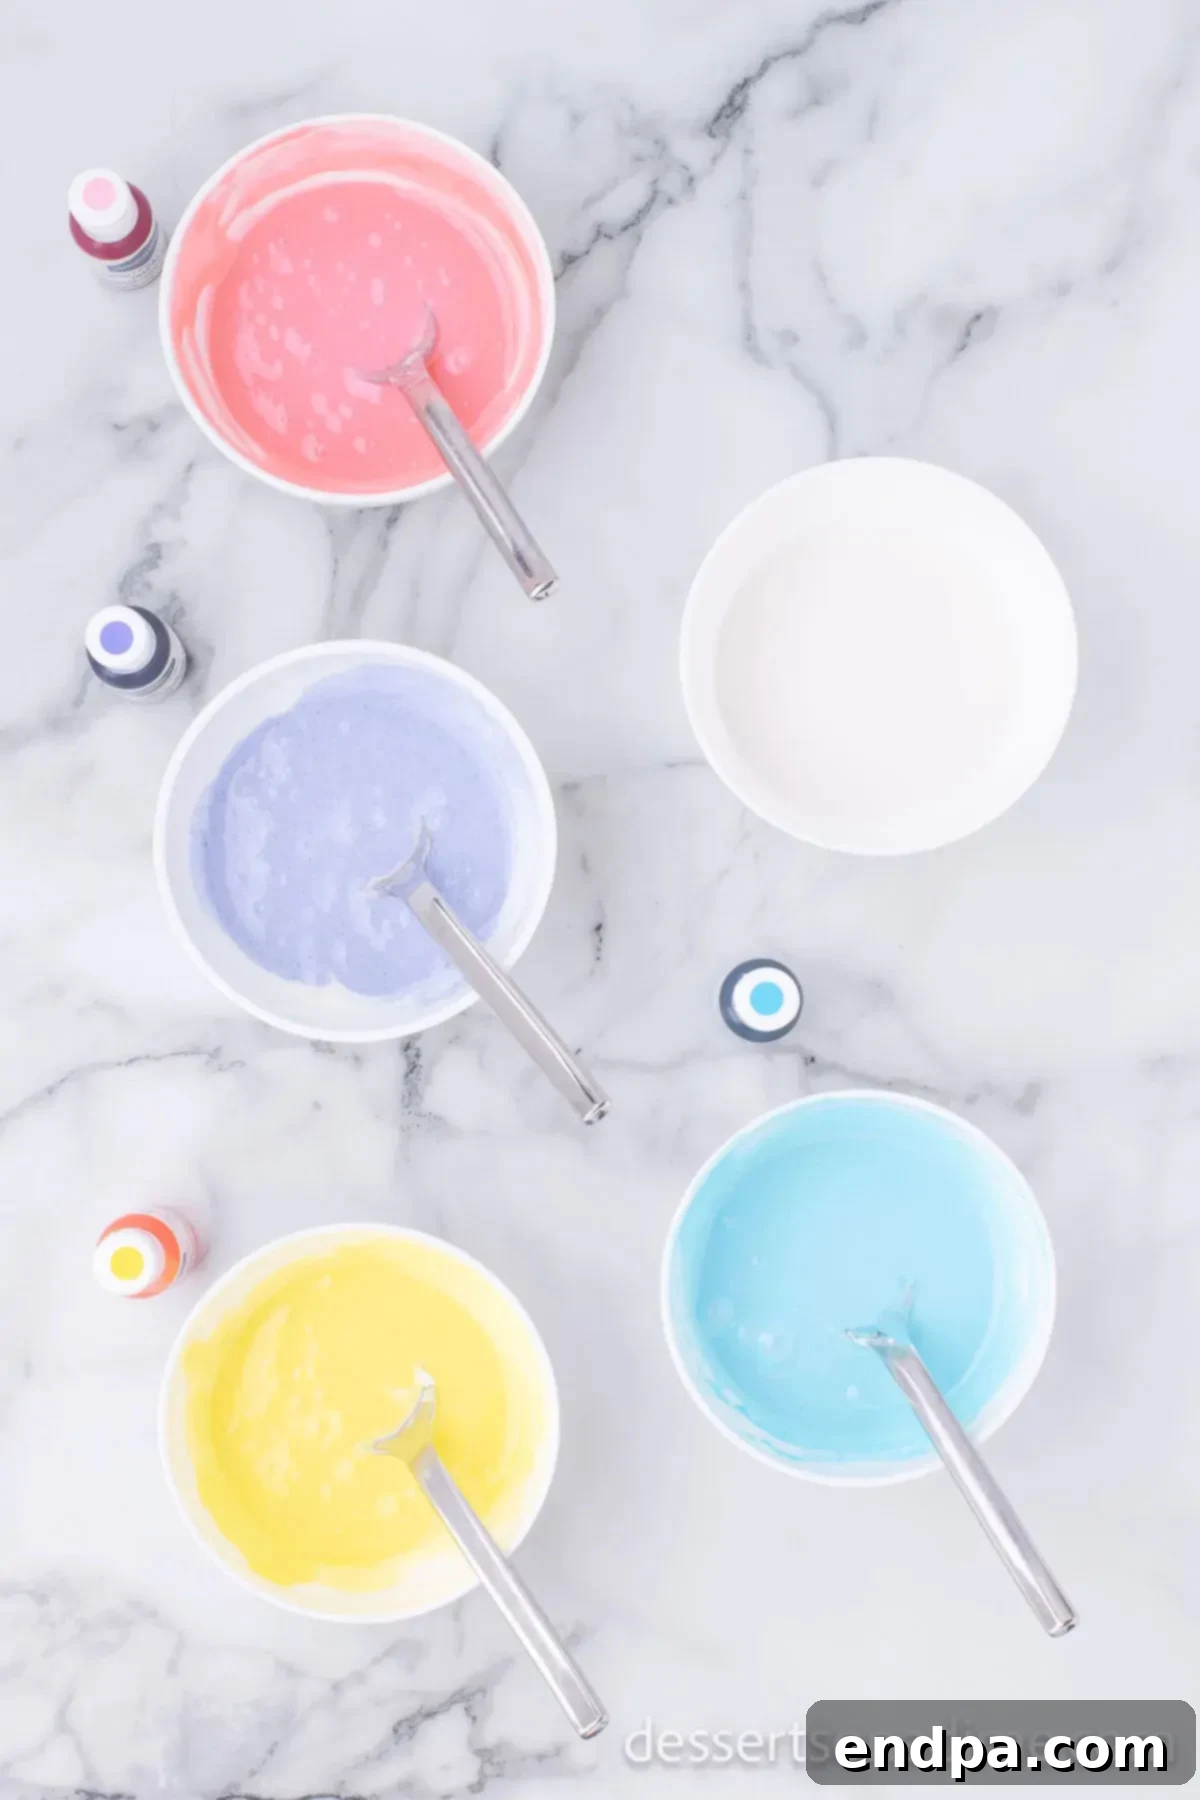
- Step 4: Divide and Color. Prepare five small bowls. Evenly divide the prepared white royal icing among these bowls. Now, it’s time to add your gel food coloring! For our Easter egg cookies, we recommend pastel colors like pink, yellow, purple, and blue. Leave one bowl of icing white for intricate detailing and contrasting designs. Mix each color thoroughly until a uniform, vibrant shade is achieved in each bowl.
Artful Decoration: Bringing Your Cookies to Life
Now for the fun part – decorating your stunning Easter egg sugar cookies! Patience is key for beautiful results.
- Step 1: Outline and Flood. Transfer each of your pastel-colored icings into separate piping bags. Snip a very small opening at the tip of each bag (or use a small round piping tip, like a #2). Start by outlining the edge of each cooled Easter egg cookie with a thin line of colored icing. Once outlined, immediately “flood” the inside of the outlined area by filling it with more of the same colored icing. Use a small offset spatula or a toothpick to gently spread the icing evenly to the edges, ensuring a smooth surface.
- Step 2: Allow Base Icing to Set. This is a crucial step! Once the base color has been applied to all your cookies, you must let this icing cool and harden completely. This will take approximately 2 to 3 hours, or even longer in humid environments. Do not rush this step, as trying to add detail to wet icing will cause colors to bleed.
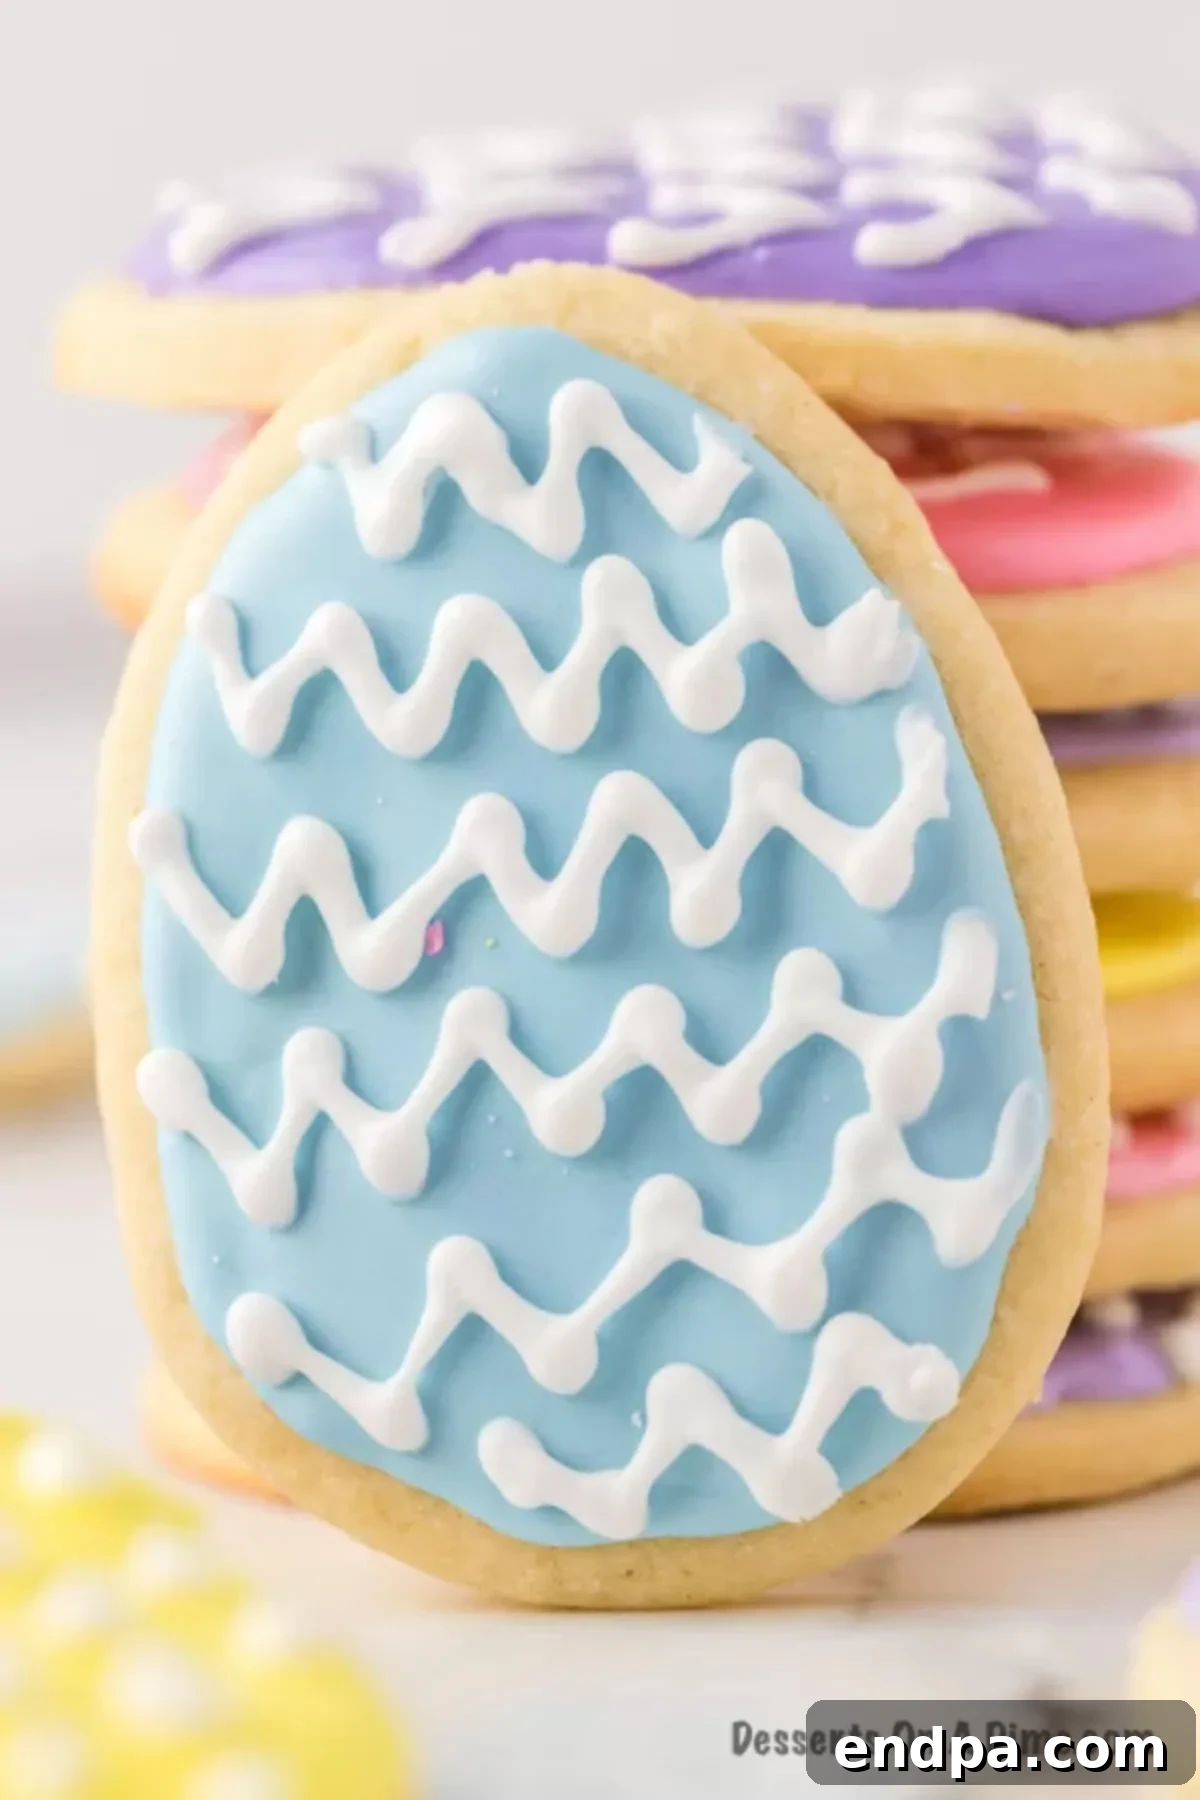
- Step 3: Add Decorative Details. Once the base icing is perfectly set and firm to the touch, it’s time for the intricate work. Take your white icing (or any contrasting color you prefer) and transfer it into a piping bag fitted with a very fine tip, such as a #1 or #0. Now, let your creativity flow! You can create classic zig-zag patterns, elegant stripes, charming polka dots, delicate florals, or any other festive design you can imagine to truly personalize your Easter eggs.
- Step 4: Final Drying Time. After adding all the decorative details, the cookies need another significant drying period. Allow the “writing icing” to cool and harden completely for another 2 to 3 hours. During this final drying stage, ensure the cookies are left uncovered. This exposure to air helps the icing dry properly, preventing stickiness and smudging.
Optimal Storage for Freshness
To preserve the beauty and deliciousness of your Easter Egg Sugar Cookies, proper storage is essential. Ensure that all layers of royal icing have cooled and hardened completely—this is critical for maintaining their intricate designs. Once fully set, store the cookies at room temperature in an airtight container. Layer them carefully between sheets of parchment paper to prevent sticking or damage to the delicate icing. Stored this way, your beautiful cookies will remain fresh and delightful for up to 5 to 7 days.
For longer preservation, these cookies freeze wonderfully! Once the icing is completely dry and hard, place the cookies in a single layer on a baking sheet and flash freeze for about an hour until firm. Then, transfer them to a freezer-safe airtight container, again layering with parchment paper. They can be stored in the freezer for up to 2 months. To enjoy, simply thaw them at room temperature, allowing several hours for the cookies to come back to their original texture.
Baking & Decorating Success Tips
- Essential Cookie Cutter: A good quality Easter egg cookie cutter is a must for achieving those perfectly shaped festive treats. Invest in one that provides a clean cut.
- Piping Bag Proficiency: Piping bags and a variety of small decorating tips are invaluable tools for royal icing. They allow for precision in outlining, flooding, and adding fine details. Practice on parchment paper first if you’re new to piping.
- Gel Food Coloring Superiority: Always opt for gel food coloring over liquid. Gel colors deliver intense, vibrant hues without thinning the royal icing, which is crucial for maintaining its structure and drying properties.
- Meringue Powder Advantage: If you prefer not to use raw egg whites or need a longer-lasting icing, meringue powder is an excellent and safe alternative. It creates a very stable royal icing.
- Cool Cookies are Key: Ensure your baked cookies are completely cool to the touch before applying any icing. Applying royal icing to warm cookies will cause it to melt and run.
- Patience with Icing Layers: Allow sufficient drying time between each layer of icing. The initial flood layer needs to be completely set (2-3 hours) before adding any details or “writing icing.” Rushing this step will result in blurred or bleeding designs.
- Uncovered Drying: When the icing is drying, especially the detailed top layer, leave the cookies uncovered. This exposure to air helps the icing dry hard and prevents stickiness.
- Proper Storage Timing: Only store your cookies in an airtight container once all icing layers are completely dry and hard, which can take several hours after the final decorations are applied. Storing them too early can smudge the designs and make the icing sticky.
- Mini Egg Cookies: For a delightful bite-sized version, use smaller egg-shaped cookie cutters. These are perfect for platters and party favors.
- Adjusting Icing Consistency: Royal icing can be finicky. If it’s too thick, add water a mere ¼ teaspoon at a time, mixing well after each addition. If it’s too thin, add powdered sugar a tablespoon at a time until the desired consistency is achieved.
- Even Dough Thickness: Roll your dough to an even thickness (about ¼ inch) to ensure all cookies bake uniformly and have a consistent texture.
- Don’t Overmix Dough: Once the flour is added, mix just until combined. Overmixing develops gluten, leading to tougher cookies.

More Festive Easter Desserts
Looking for more delicious treats to complete your Easter celebration? Explore these other delightful recipes:
- Easy Easter Cake Mix Cookies
- The Best Easter Bunny Cookies Recipe
- Charming Easter Chocolate Covered Oreos
- Fun Easter Cookie Cake Recipe
- Adorable Birds Nest Cookies Recipe
- Traditional Italian Easter Cookies Recipe
Embark on your Easter baking adventure with these delightful sugar cookies. They are sure to bring joy and color to your holiday. We’d love to hear about your creations! Please leave a star rating and comment below to share your experience.
Pin
Easter Egg Sugar Cookies
Ingredients
- 5 cups flour
- 2 tsp baking powder
- 1 tsp salt
- 1 1/2 cup unsalted butter softened at room temperature
- 2 cups granulated sugar
- 4 Eggs
- 2 tsp Vanilla Extract
- Icing Ingredients:
- 2 egg whites
- 1 cup powdered sugar
- 1/2 tsp cream of tartar
- Gel Food Coloring
Instructions
- COOKIE INSTRUCTIONS:
- Preheat your oven to 325 degrees F (160°C).
- In a large mixing bowl, cream the softened butter with the granulated sugar until the mixture is light, fluffy, and smooth to the touch, with no grainy texture.
- Add all 4 large eggs at once, mixing until just combined.
- Next, add in the vanilla extract and continue mixing until fully incorporated.
- In a separate bowl, sift the flour, baking powder, and salt together. Gradually add this dry mixture to the wet mixture, mixing on low speed until all ingredients are thoroughly blended and no dry streaks remain. Be careful not to overmix.
- Form the dough into a ball and wrap it completely in plastic cling wrap.
- Place the dough in the refrigerator to chill for approximately 6 hours, or ideally, overnight, until firm. Once firm, remove the cookie dough from the refrigerator and let it sit at room temperature for a short while to soften slightly before rolling.
- Lightly flour your work surface and rolling pin. Roll out the dough to an even ¼-inch thickness. Use an Easter egg cookie cutter to cut out the shapes.
- Line a cookie sheet with parchment paper. Carefully transfer the cut cookies onto the lined cookie sheet using a metal spatula.
- Bake at 325 degrees F (160°C) for 8-10 minutes, or until the edges are lightly browned. Do not overbake. Remove cookies from the oven and transfer them to a wire rack to cool completely (approximately 10-15 minutes).
- ICING INSTRUCTIONS:
- In a mixing bowl, combine egg whites, powdered sugar, and cream of tartar. Mix on medium speed for 4 minutes until smooth and stiff. If the icing is not stiff enough or needs a 15-second consistency (meaning a line drawn with a spatula disappears in about 15 seconds), gradually add ¼ cup more powdered sugar until desired consistency is reached. Adjust with tiny amounts of water if too thick.
- Divide the icing into 5 small bowls. Mix each bowl with your chosen gel food coloring (e.g., pink, yellow, purple, blue). Leave one bowl of icing white for detailing.
- Transfer the pastel-colored icings into piping bags. Outline and flood the cooled cookies with the pastel icing. Allow this first layer of icing to cool and harden completely (2-3 hours). Then, put the white icing into a piping bag fitted with a fine tip (e.g., #1) and use it to decorate the Easter egg cookies with desired patterns.
- Allow the detailed white icing to cool and harden completely (another 2-3 hours). Do not cover the cookies during this drying time. Once all icing layers are completely dry, store the cookies at room temperature in an airtight container for up to 5-7 days.
Nutrition Facts
Pin This Now to Remember It Later
Pin Recipe
