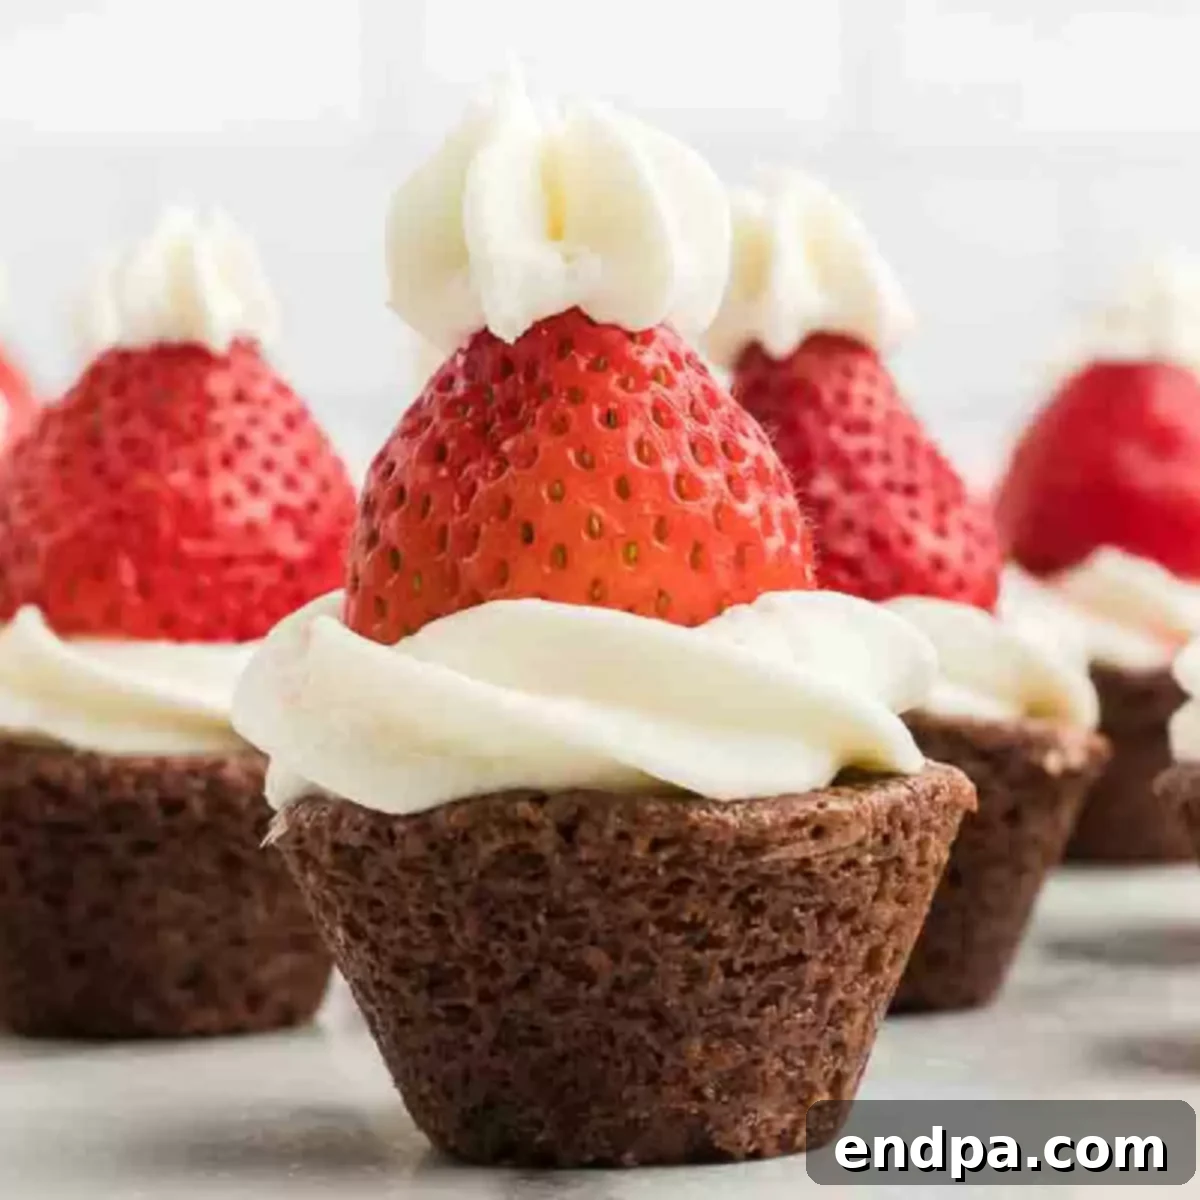
Prepare to spread holiday cheer with these incredibly adorable Santa Hat Brownie Bites! This recipe is designed to be both simple and spectacularly festive, making it a favorite for all ages. Imagine bite-sized fudgy brownies crowned with creamy white frosting and a vibrant red strawberry, perfectly resembling Santa’s iconic hat. These delightful treats are not only a feast for the eyes but also a joy to the palate, bringing together rich chocolate, sweet fruit, and smooth cream in every perfect bite.
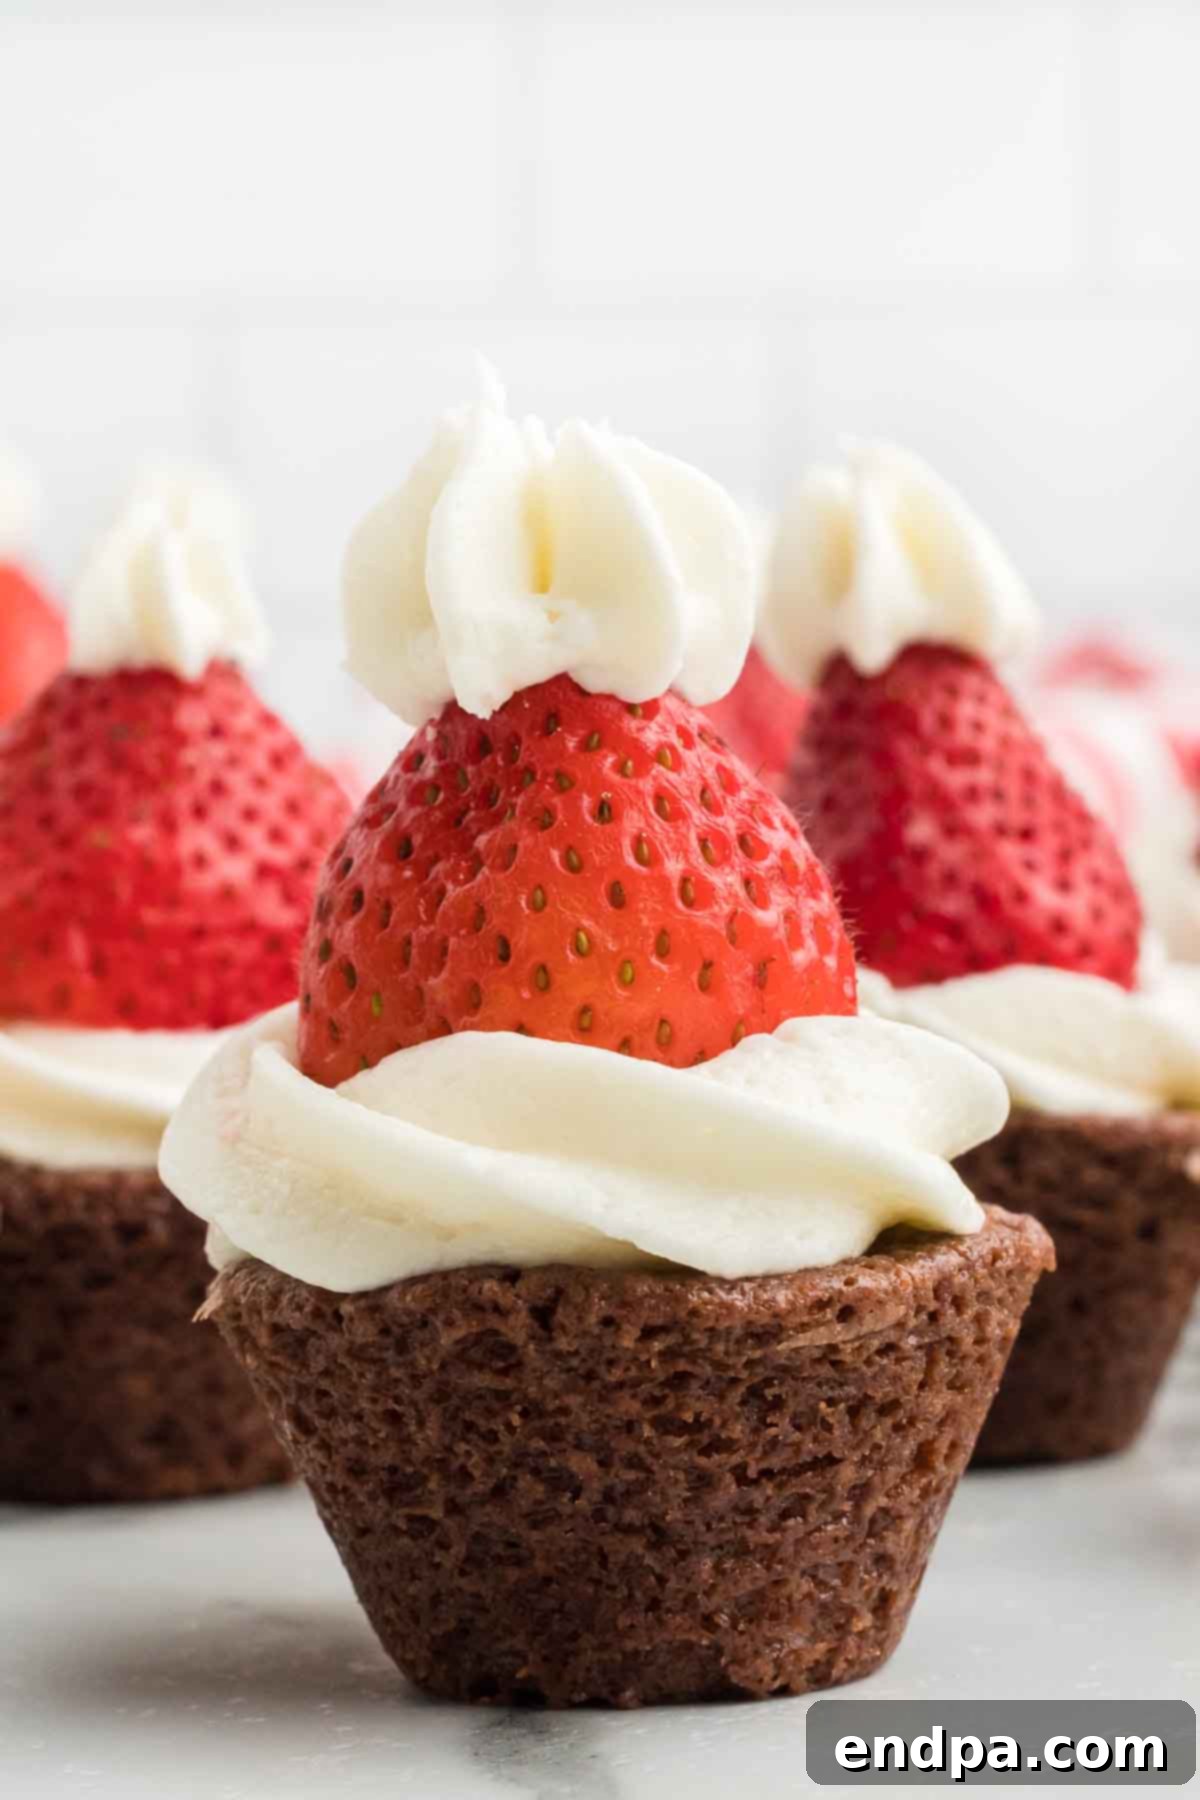
Festive Santa Hat Brownie Bites: Your Essential Christmas Dessert Guide
Christmas is a time for magic, and what better way to infuse that spirit into your home than with delightful, homemade treats? These Santa Hat Brownie Bites are arguably one of the cutest and most delicious Christmas recipes you’ll encounter. They’re designed to be the perfect size, baked conveniently in a mini muffin tin, ensuring each morsel is a balanced blend of rich chocolate and vibrant holiday flavors. The creamy homemade frosting and fresh strawberry topping create an irresistible combination that will leave everyone reaching for more.
Making these festive brownies is an activity that can bring the whole family together. The steps are straightforward enough for even the youngest helpers to participate, making it a wonderful way to create lasting holiday memories. The end result? A stunning dessert that will undoubtedly satisfy any sweet tooth and add a touch of whimsical charm to your holiday spread. Consider making these an annual tradition, a cherished part of your Christmas celebrations!
For your upcoming Christmas party, imagine a spread featuring these enchanting Santa Hat Brownies, alongside other holiday favorites like Classic Christmas Brownies or even fun Christmas Tree Brownies. These festive brownie bites are sure to be the star of any dessert table, sparking joy and delight with their charming appearance and irresistible taste.
What You’ll Discover in This Guide:
- Why These Santa Hat Brownie Bites Are a Must-Make for the Holidays
- Essential Ingredients for Perfect Santa Hat Brownies
- Creative Recipe Variations to Personalize Your Treats
- Step-by-Step Guide: How to Craft Adorable Santa Hat Brownie Bites
- Expert Tips for Santa Hat Brownie Success
- Storage and Shelf Life for Your Festive Santa Hat Brownies
- More Enchanting Santa-Themed Treats
- Santa Hat Brownie Bites Recipe Card
Why These Santa Hat Brownie Bites Are a Must-Make for the Holidays
There’s something truly special about a dessert that looks as good as it tastes, and these Santa Hat Brownie Bites perfectly embody that festive spirit. Beyond their undeniable adorableness, here’s why they’re a standout choice for your holiday baking:
- Irresistibly Delicious Flavor Profile: The foundation of rich, fudgy brownies provides a deep chocolate base that is beautifully complemented by the freshness of ripe strawberries and the sweet, velvety texture of the vanilla buttercream. It’s a classic combination that appeals to almost everyone.
- Perfectly Portioned & Bite-Sized: Baked in mini muffin tins, these brownies are naturally portion-controlled, making them ideal for parties and gatherings. Guests can easily grab a single treat without the need for plates or forks, reducing mess and encouraging mingling.
- A Show-Stopping Visual: The vivid red of the strawberry against the pure white frosting, all sitting atop a dark chocolate brownie, creates a striking visual that instantly evokes the holiday season. They are miniature works of art that will impress guests and make your dessert table pop.
- Fun for All Ages to Make: The simple assembly process, especially the frosting and strawberry placement, makes this a fantastic recipe for involving children in the kitchen. It’s an engaging and memorable holiday activity that ends with a delicious reward.
- Versatile for Any Holiday Occasion: Whether it’s a casual family dinner, a large Christmas party, a school potluck, or a festive bake sale, these Santa Hat Brownie Bites fit right in. They travel well (when properly chilled) and are always a welcomed addition.
- Creates Cherished Holiday Traditions: Establishing baking traditions is a wonderful way to bond with family during the holidays. This recipe is easy enough to become a beloved annual ritual that everyone looks forward to.
Essential Ingredients for Perfect Santa Hat Brownies
Crafting these delightful Santa Hat Brownie Bites requires a few key ingredients, most of which you likely already have in your pantry or can easily find at any grocery store. The beauty of this recipe lies in its simplicity and the ability to elevate even a basic brownie mix into a gourmet-looking treat.
- Brownie Mix: We recommend using your favorite boxed brownie mix. This is where the “easy to make” part truly shines! You’ll also need the additional ingredients listed on the brownie mix package (typically eggs, oil, and water). For an extra fudgy result, you can sometimes substitute melted butter for oil or add a teaspoon of instant espresso powder to enhance the chocolate flavor.
- Fresh Strawberries: These are the star of the “hat”! Look for firm, bright red strawberries with fresh green tops. Size matters here – choose strawberries that are roughly the same diameter as your brownie bites for a consistent “hat” look. You’ll need to remove their green tops before assembly.
- Unsalted Butter, softened: Essential for our creamy homemade buttercream frosting. Using unsalted butter allows you to control the overall saltiness of the frosting. Ensure it’s properly softened to room temperature so it creams smoothly without lumps.
- Powdered Sugar (Confectioners’ Sugar): This fine sugar is crucial for achieving a smooth, lump-free frosting with a delightful melt-in-your-mouth texture. You’ll need a generous amount to create enough frosting for all the “hats” and “pom-poms.”
- Milk: A small amount of milk helps to achieve the perfect consistency for your buttercream frosting, making it creamy and pipeable. You can use any type of milk you prefer (dairy or non-dairy). Start with the recommended amount and add more in tiny increments if needed.
- Vanilla Extract: Pure vanilla extract is highly recommended for the best flavor in your frosting. It adds a warm, sweet aroma that complements the chocolate and strawberry beautifully. While imitation vanilla works, pure vanilla provides a richer, more authentic taste.
For the complete, precise list of ingredients and detailed recipe steps, please scroll down to the bottom of this page where you’ll find our comprehensive recipe card.
Creative Recipe Variations to Personalize Your Santa Hat Brownie Bites
While the classic Santa Hat Brownie Bite is undeniably charming, there are many ways to customize this festive treat to suit your taste, time constraints, or dietary needs. Get creative and make these holiday brownies uniquely yours!
- Reddi Whip Shortcut: If you’re short on time or prefer a lighter topping, you can absolutely substitute homemade icing with canned whipped cream like Reddi Whip. It offers a wonderfully light and airy texture. Just keep in mind that whipped cream is less stable than buttercream and will not hold its shape as firmly or for as long, especially at room temperature. Pipe just before serving for the best results.
- Add Festive Sprinkles: For an extra pop of holiday cheer, top each brownie bite with a sprinkle of festive red, green, or white sprinkles. This is a fantastic step for kids to help with, adding to the fun and the visual appeal. Apply them directly onto the frosting before it sets.
- White Chocolate Drizzle or Dip: Elevate the elegance by dipping the tops of the brownie bites in melted white chocolate before frosting. Allow the white chocolate to set slightly, then proceed with the frosting and strawberry. For a more subtle touch, you can drizzle melted white chocolate over the finished Santa hats. This adds another layer of sweetness and a beautiful sheen.
- Homemade Brownie Base: While a store-bought mix makes this recipe super quick, don’t hesitate to use homemade brownies if you prefer baking from scratch. A rich, fudgy homemade brownie will certainly take these bites to the next level. Just ensure they are fully cooled before decorating.
- Store-Bought Frosting Option: In a real hurry? Pre-made frosting from a tub is a convenient shortcut. Vanilla or cream cheese icing would work beautifully here. You might need to whip it for a minute or two to achieve a lighter, more pipeable consistency.
- Gluten-Free Alternative: Making these inclusive is easy! Simply substitute a gluten-free brownie mix in this recipe. Follow the package instructions for the GF mix, and the rest of the assembly process remains the same.
- Alternative Baking Pans: No mini muffin pan? No problem! Bake the brownies in a rectangular or square baking pan. Once completely cooled, use a small round cookie cutter (or even the rim of a shot glass) to cut out individual brownie circles. Then decorate them as you would the mini muffin tin brownies.
- Peppermint Twist: For a refreshing wintery flavor, add a few drops of peppermint extract to your homemade frosting. This creates a delightful mint-chocolate combination that is perfect for the holiday season. Start with a small amount and taste as you go to achieve your desired intensity.
Step-by-Step Guide: How to Craft Adorable Santa Hat Brownie Bites
Creating these festive Santa Hat Brownie Bites is a straightforward and enjoyable process. Follow these detailed steps to ensure your holiday treats turn out perfectly charming and delicious.
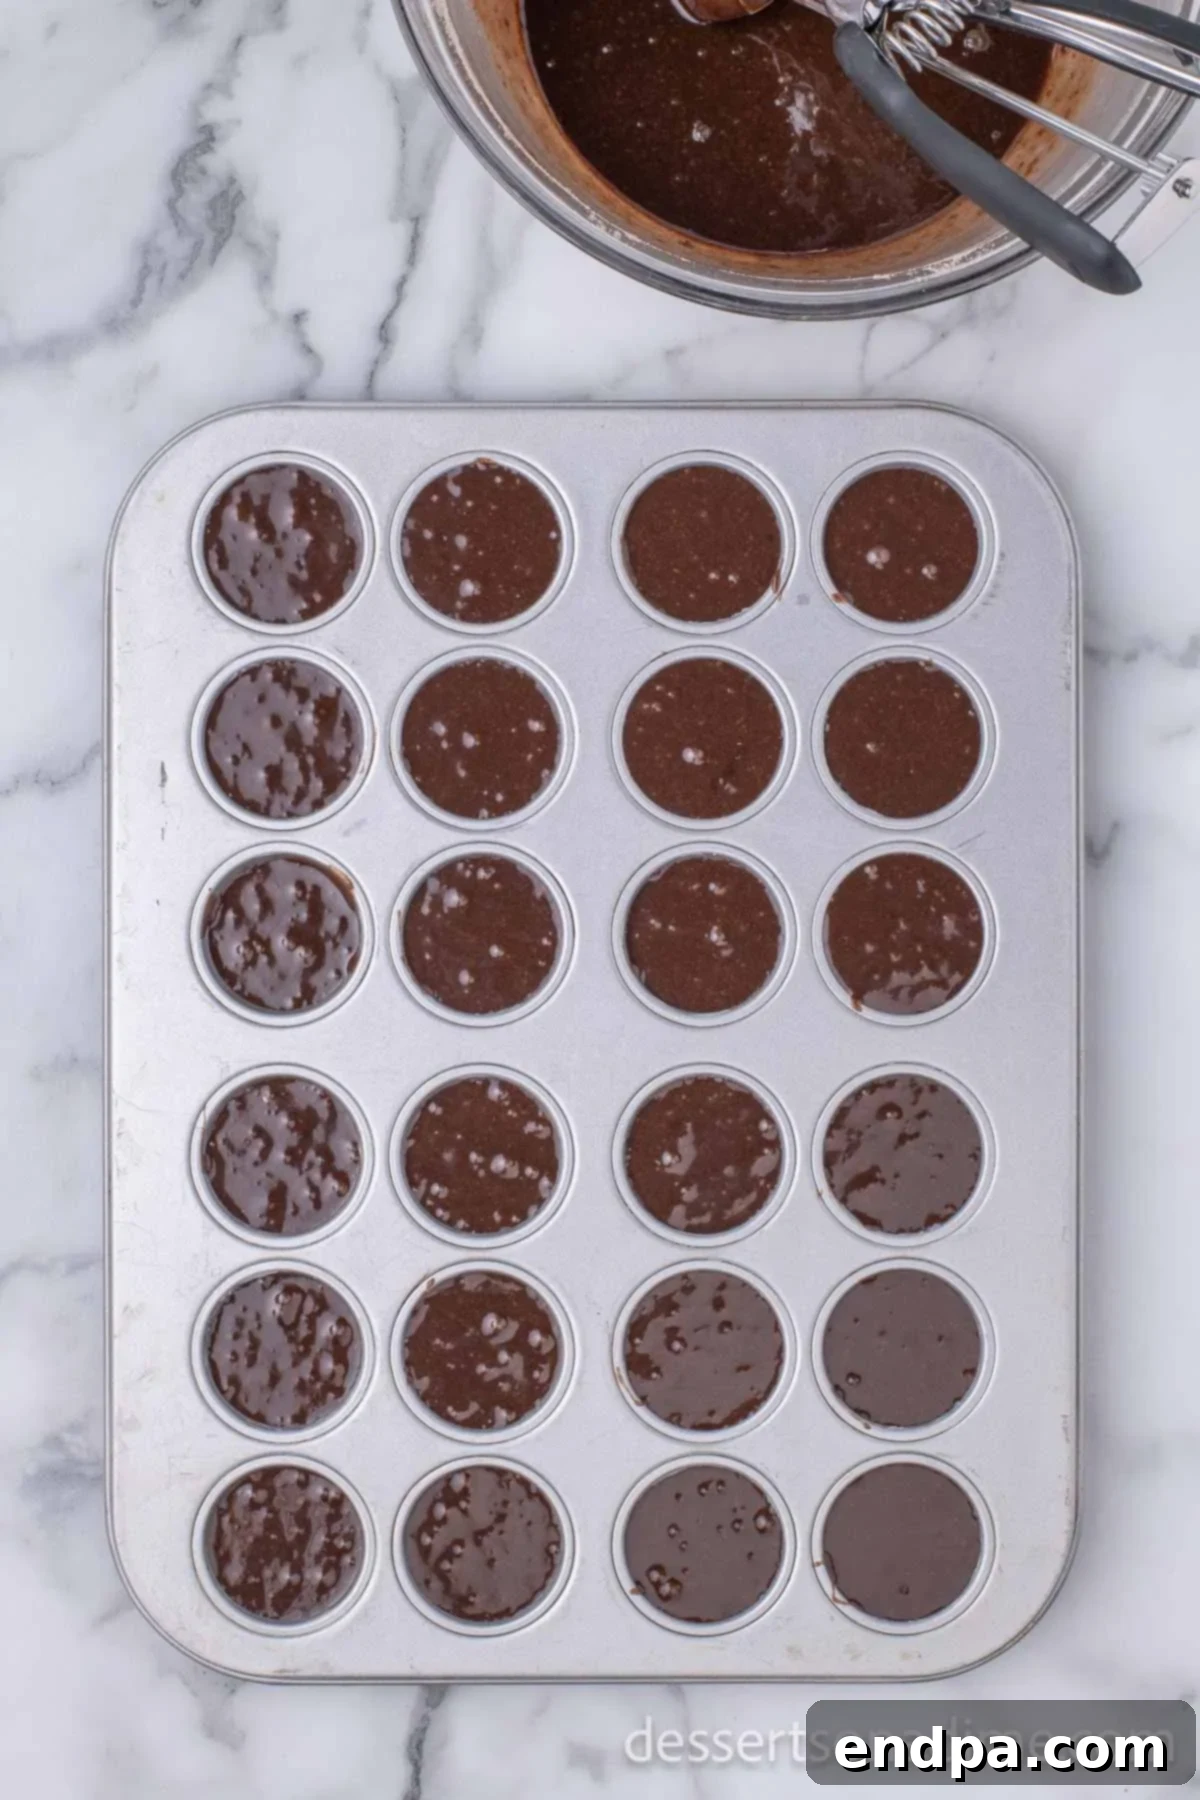
Step 1 – Prepare and Bake the Brownie Bites. Begin by preparing your chosen brownie mix according to the package instructions. Pay close attention to any specific directions for baking, as different mixes may vary. Grease and flour your mini muffin pans, or line them with mini paper liners for easier removal. Pour or spoon the brownie batter into each mini muffin cup, filling them about two-thirds full to allow for expansion. Bake as directed, typically for a shorter time than a full-sized pan. Once baked, remove them from the oven and allow the brownie bites to cool completely at room temperature on a wire rack. This is a crucial step – attempting to decorate warm brownies will cause your frosting to melt!
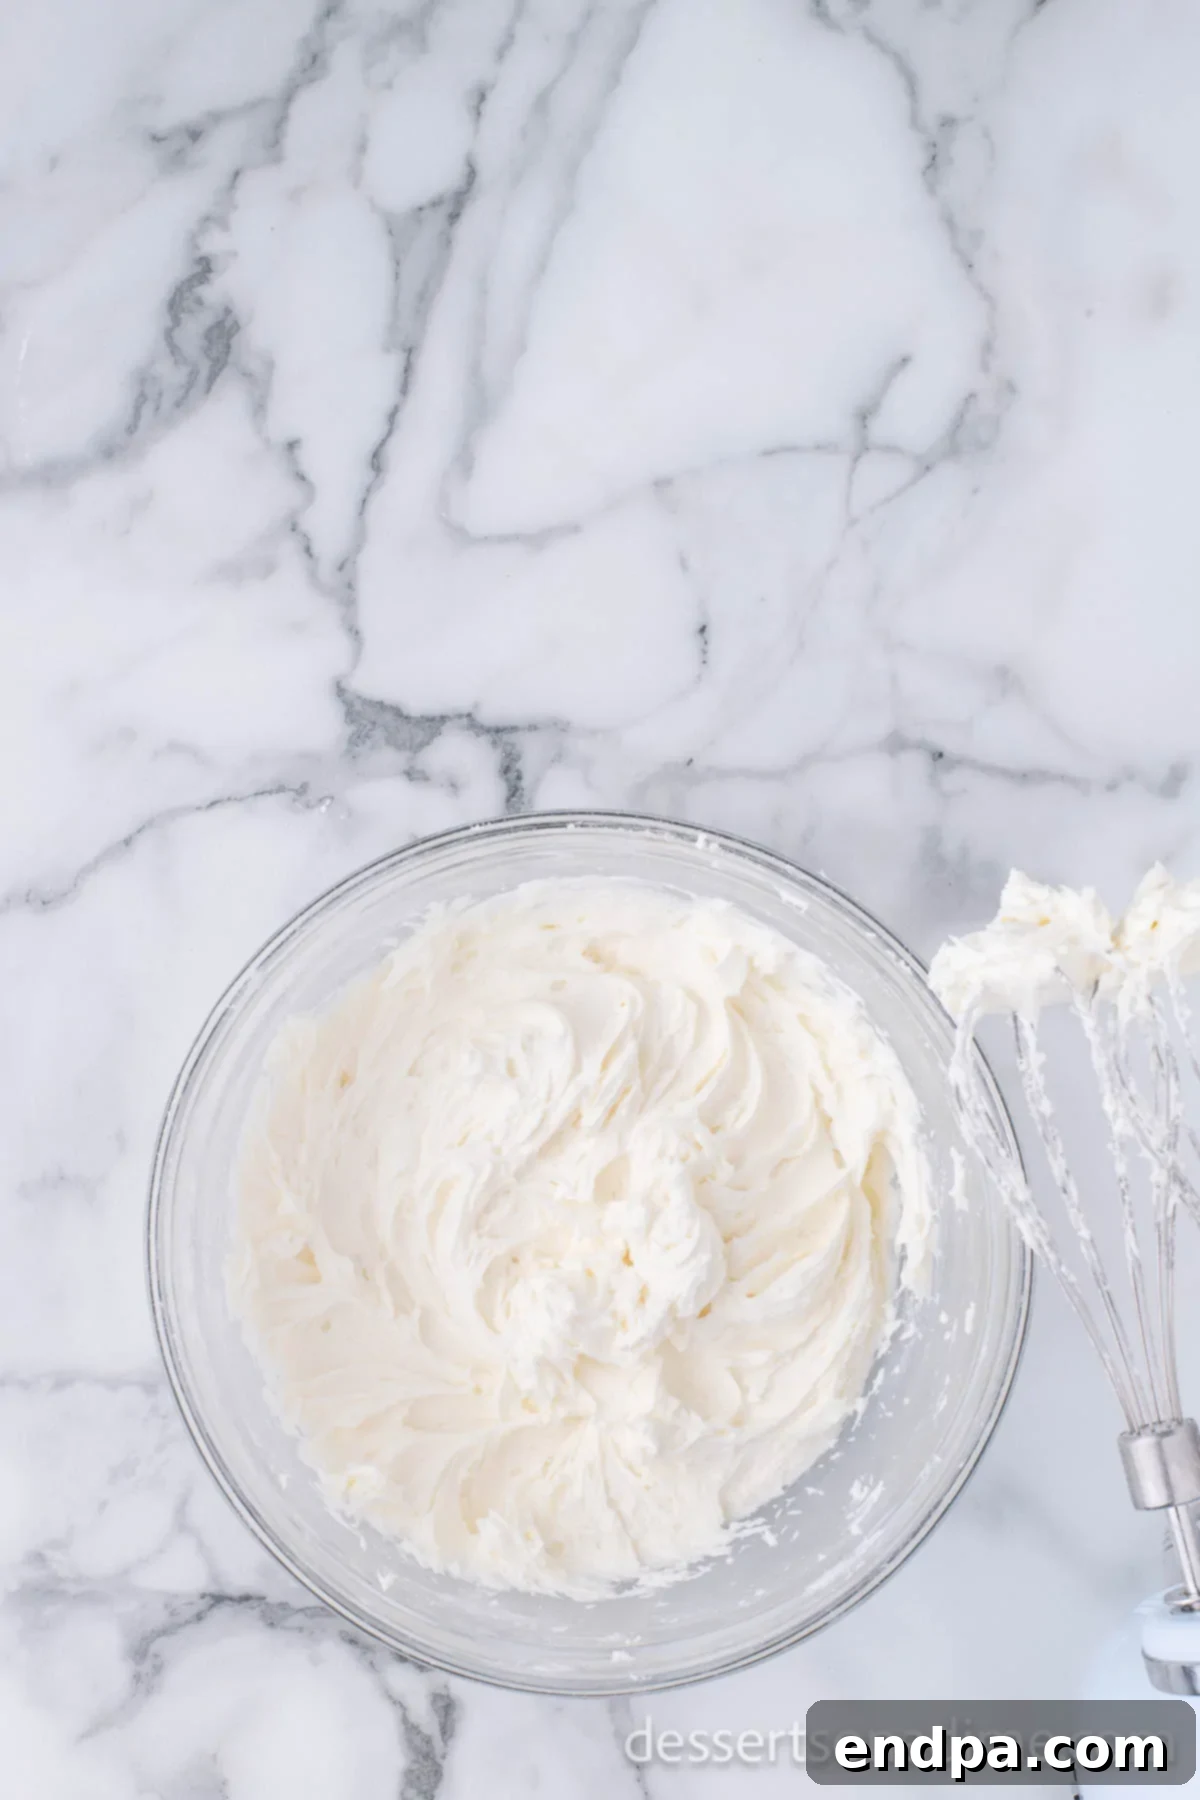
Step 2 – Craft the Velvety Frosting. While your brownie bases are cooling on a cooling rack, it’s time to prepare the star of the decoration: the homemade vanilla frosting. In a large mixing bowl, beat the softened unsalted butter with an electric mixer until it is light, fluffy, and creamy. This typically takes 2-3 minutes. Gradually add the powdered sugar, one cup at a time, mixing well after each addition to avoid a cloud of sugar. Once all the powdered sugar is incorporated, slowly drizzle in the milk and vanilla extract. Continue beating until the frosting is smooth, creamy, and holds stiff peaks, perfect for piping. If the frosting is too thick, add a tiny bit more milk; if it’s too thin, add a tablespoon or two more powdered sugar.
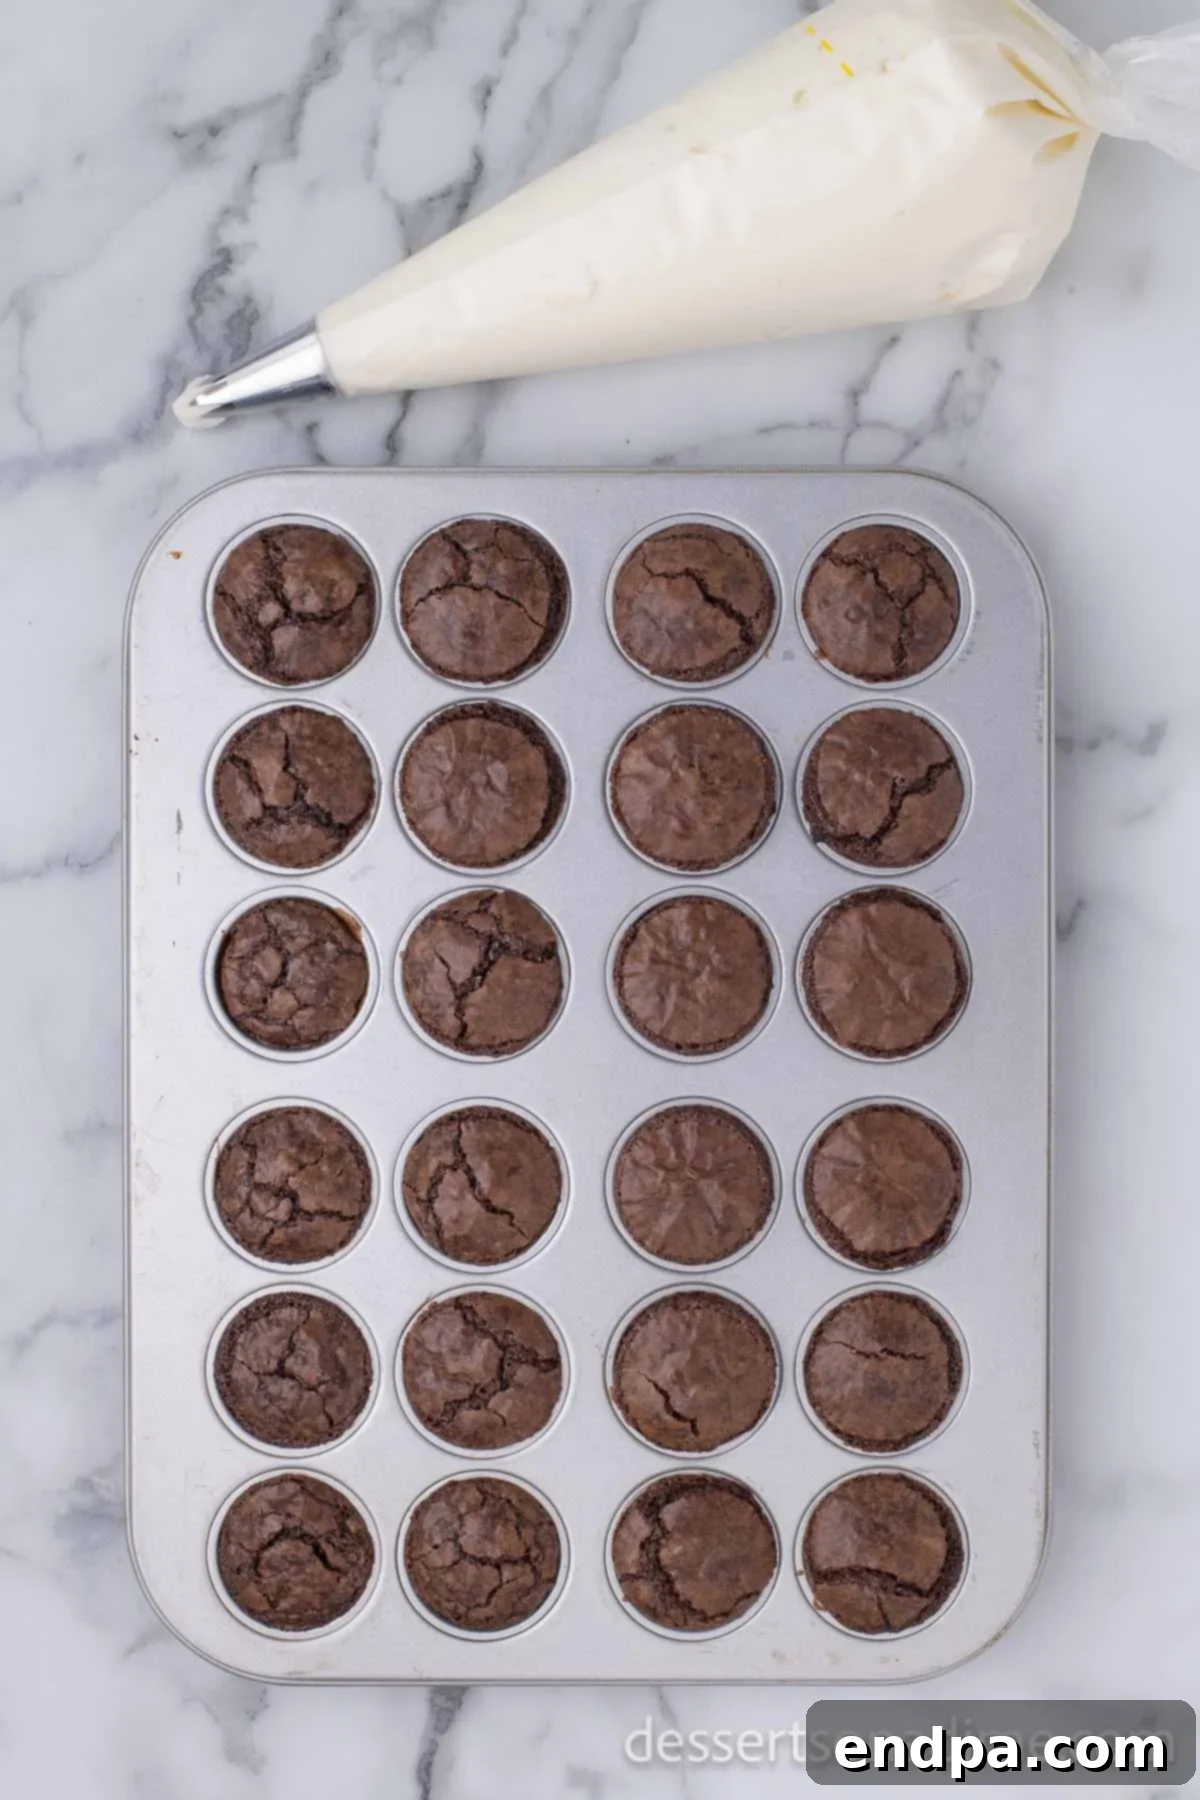
Step 3 – Prepare for Piping. Once your frosting is ready, transfer it to a piping bag fitted with a star or round tip. A large round tip (like Wilton 1A or 12) works well for a smooth, plush look, while a star tip (like Wilton 1M or 21) can create a more textured, “furry” trim. If you don’t have a piping bag, a sturdy Ziploc bag with a corner snipped off will work just fine. Fill the bag no more than two-thirds full to make it easier to handle, twisting the top to seal.
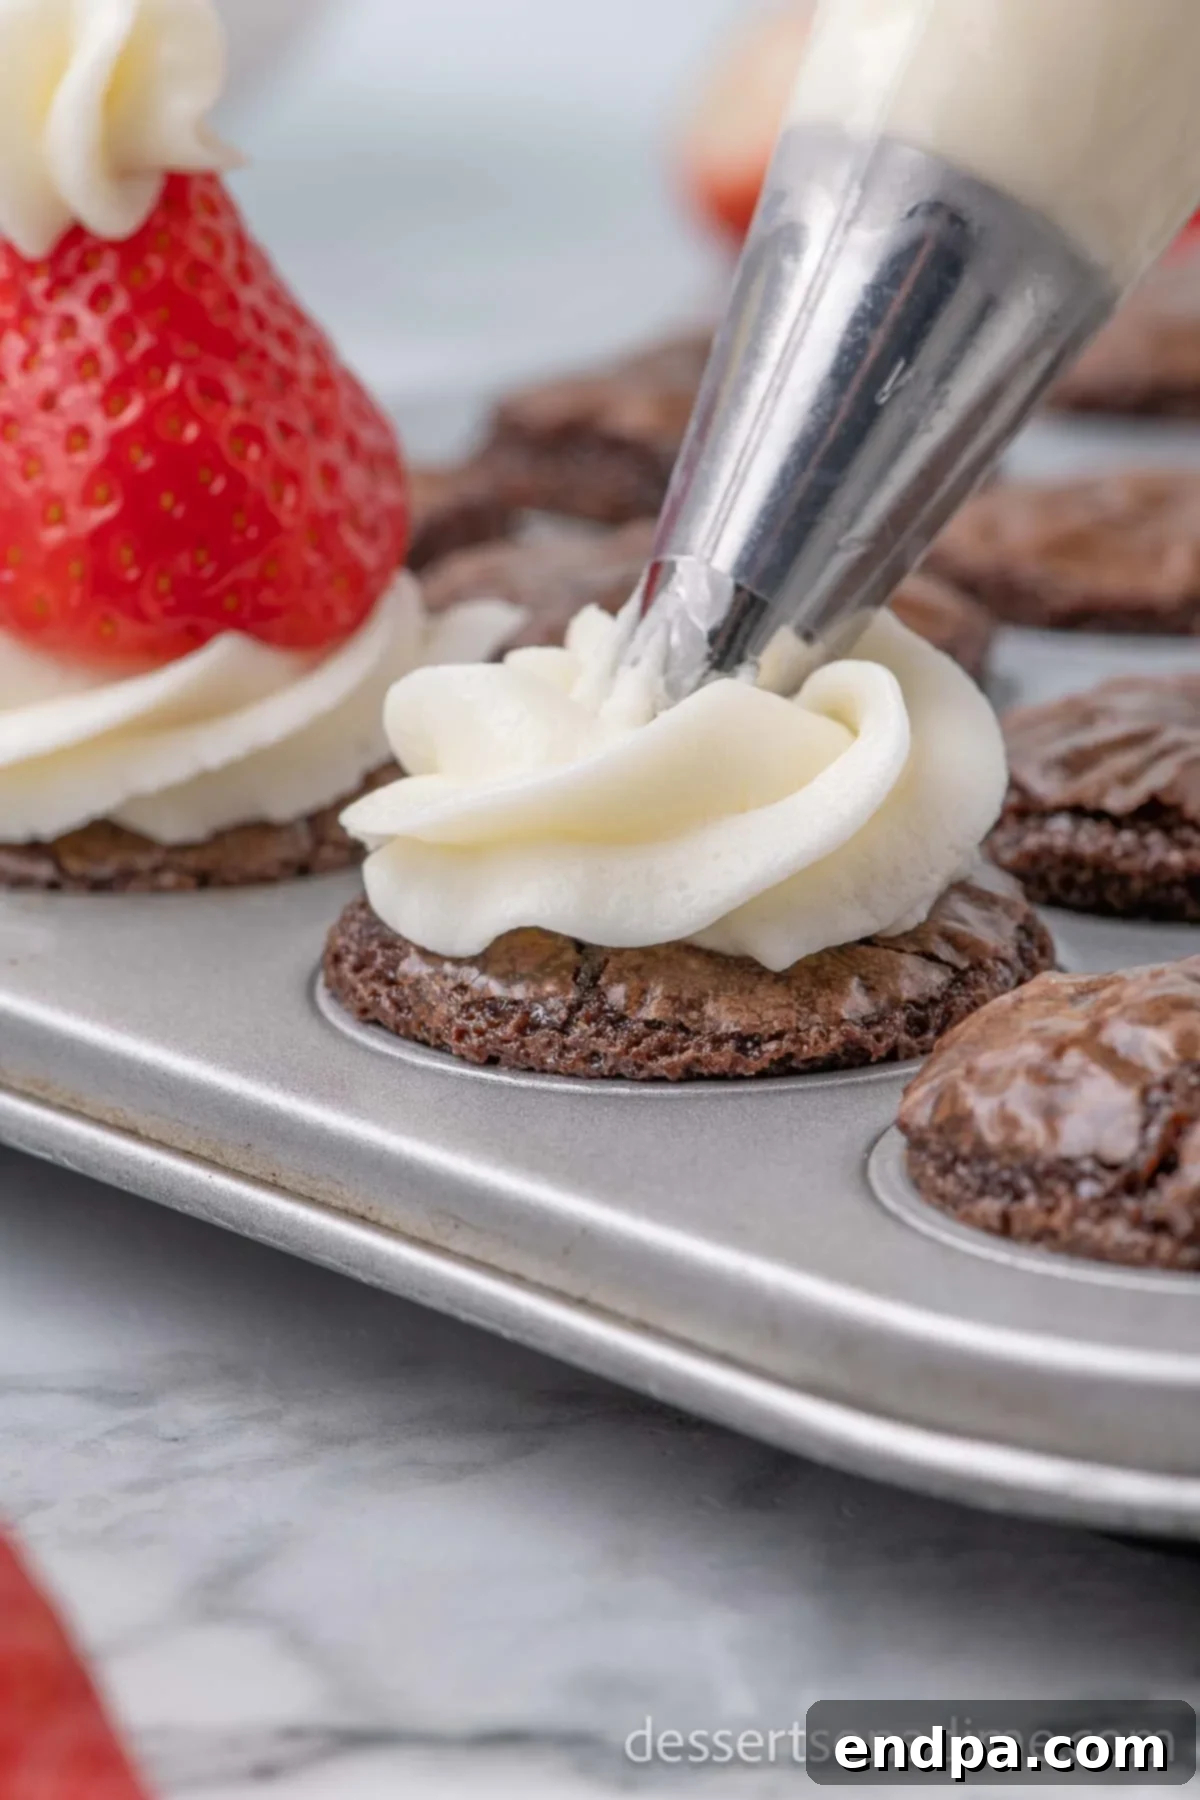
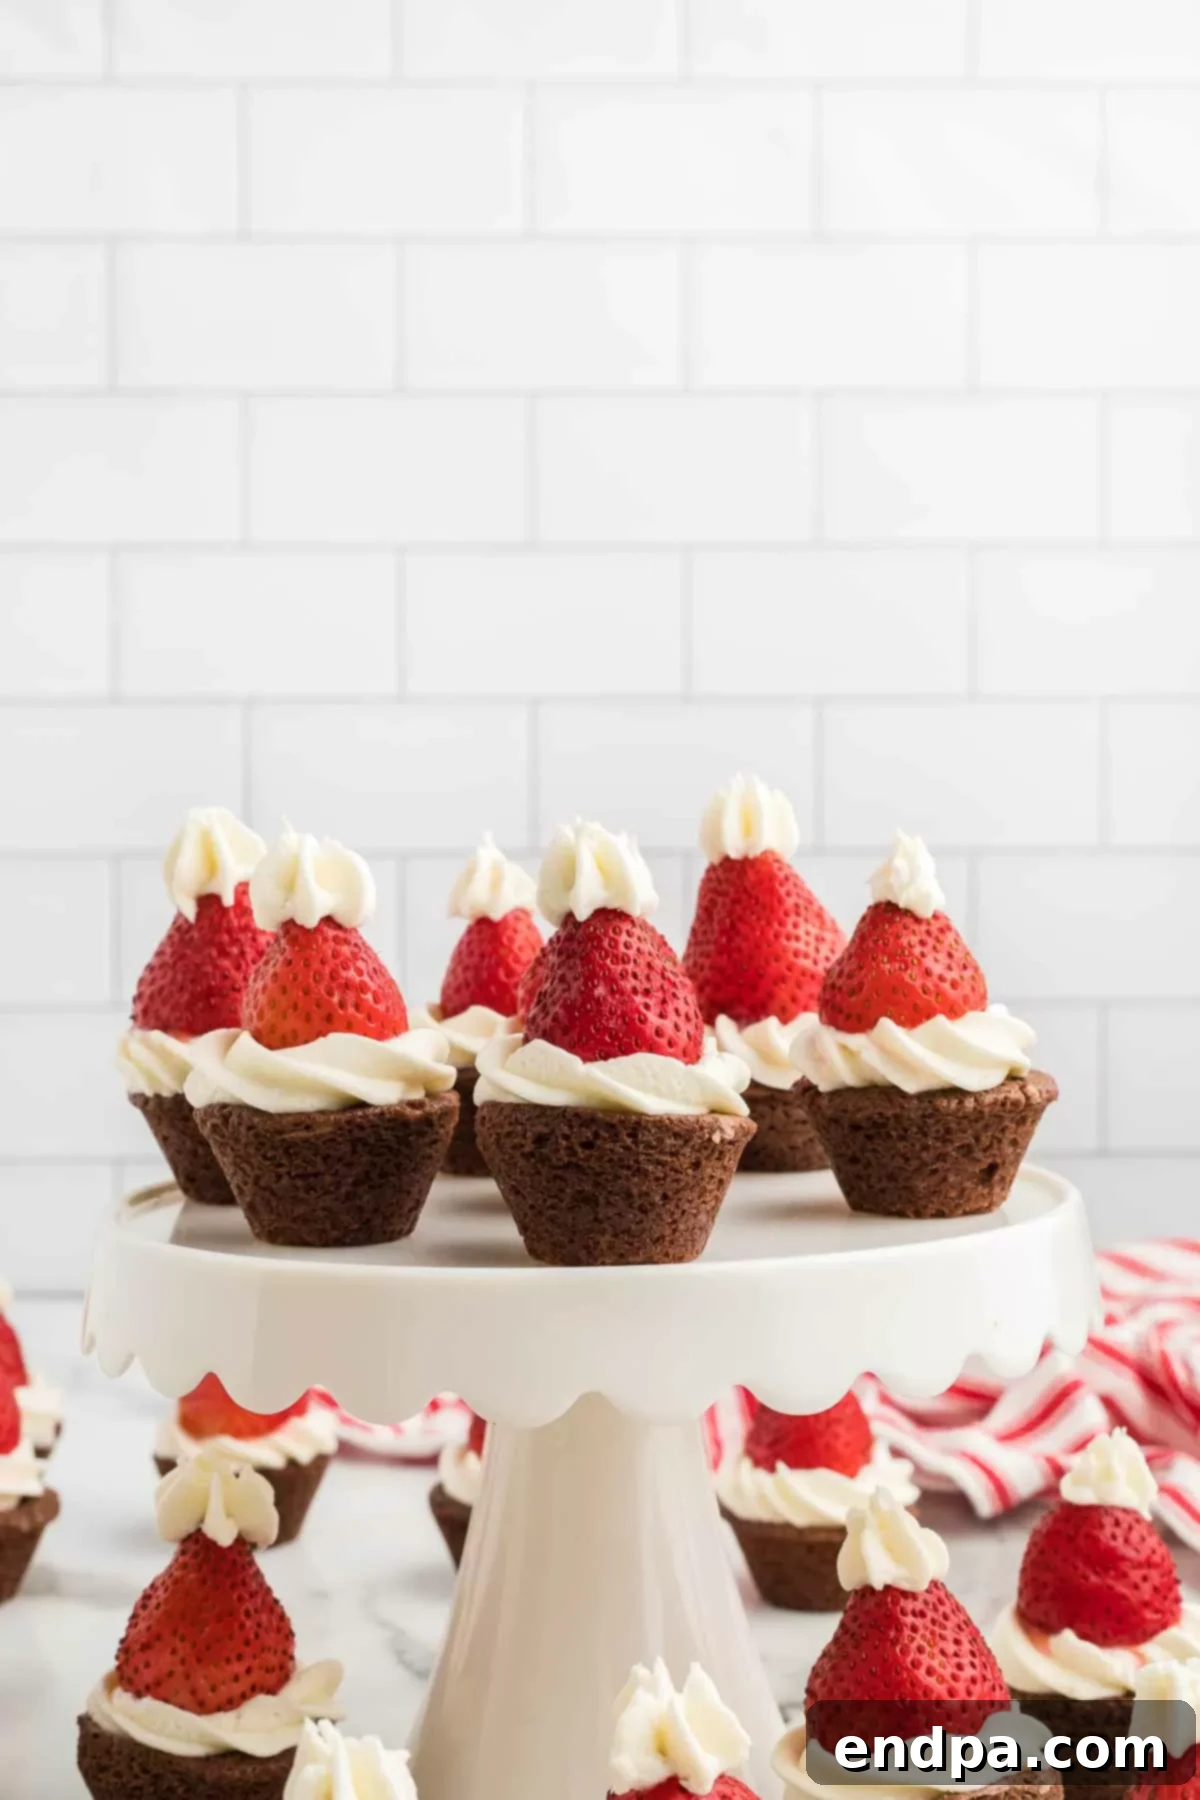
Step 4 – Frost the Brownie Bases. Take a cooled brownie bite and, with your piping bag, swirl a generous dollop of frosting on top. This will form the white base of Santa’s hat, acting as the trim. Aim for a distinct swirl that creates a slight peak in the center, which will help hold the strawberry in place. Ensure you apply enough frosting to create a visually appealing “fur” around the bottom of the hat.
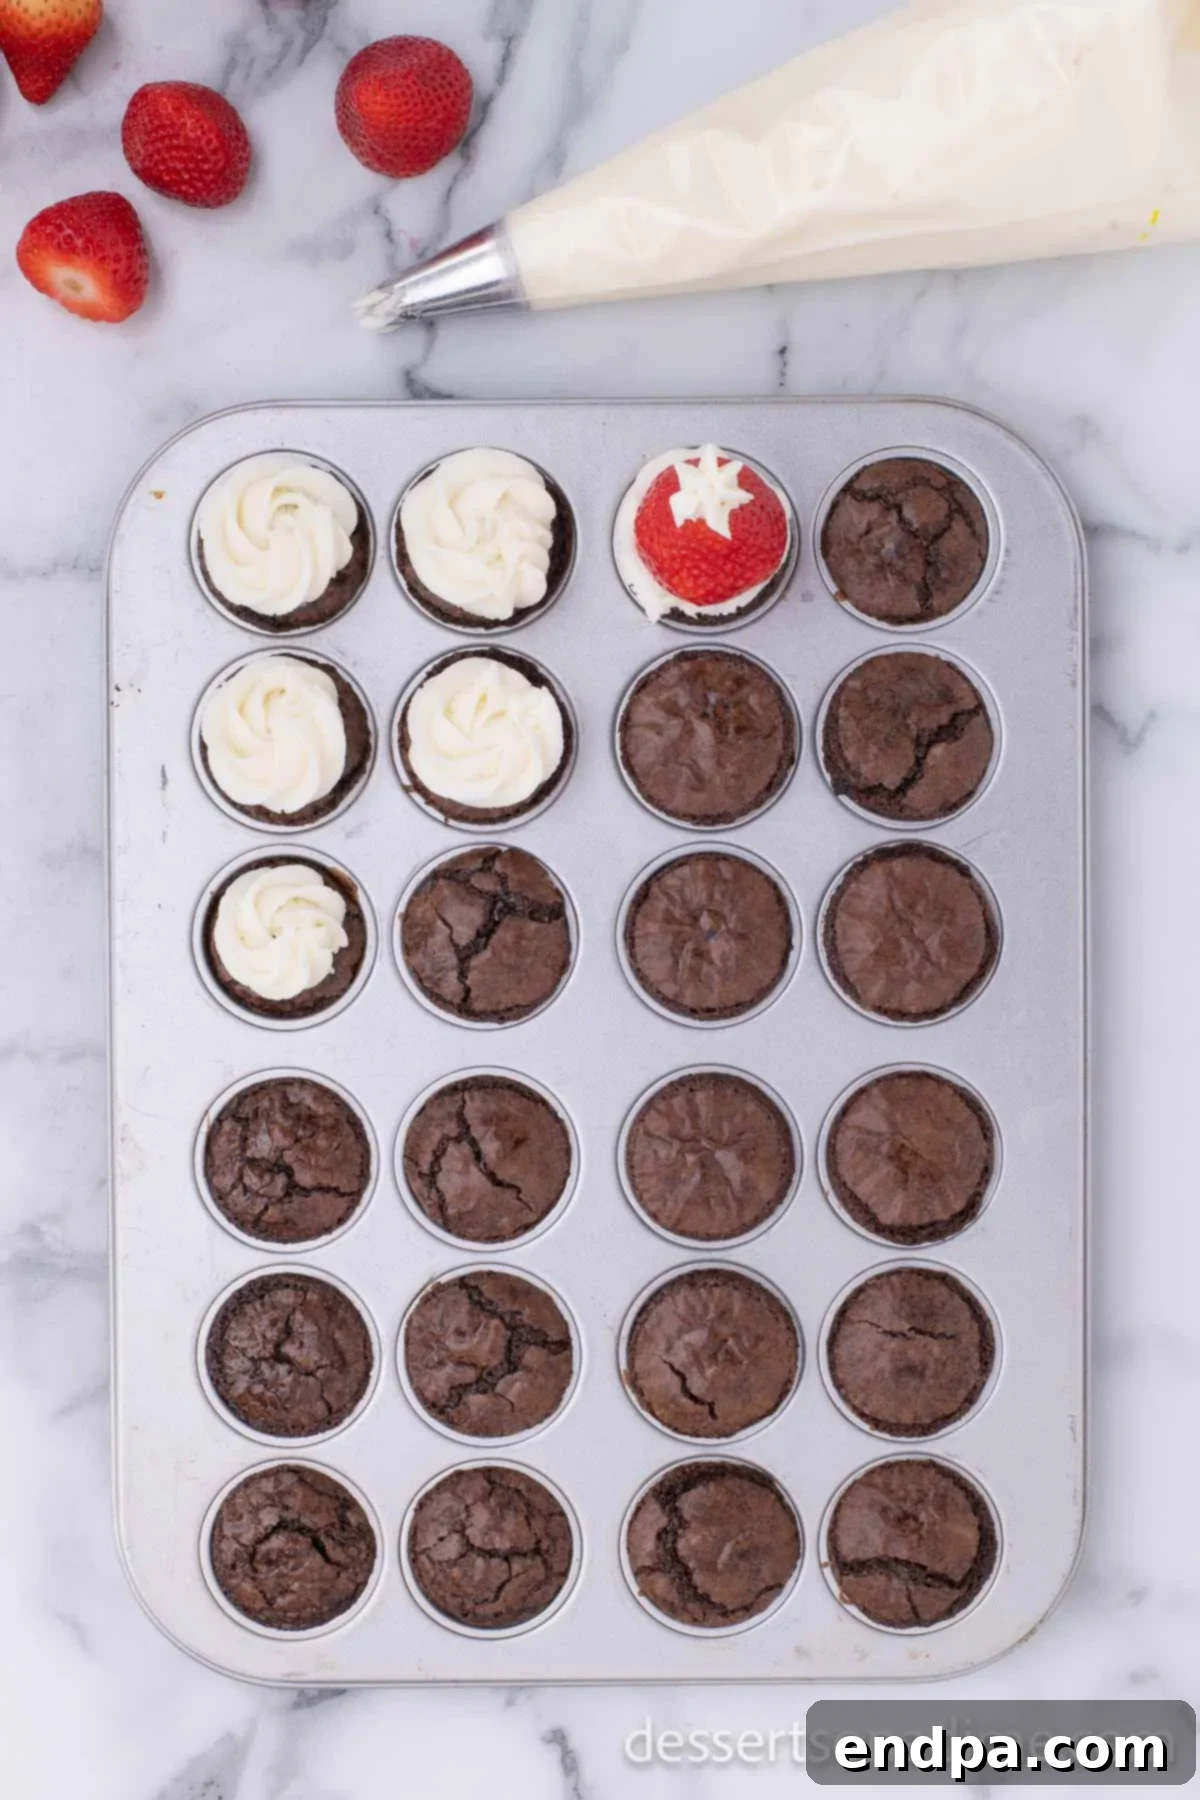
Step 5 – Adorn with Strawberries and Pom-Poms. Now for the iconic red hat! Gently place a fresh strawberry, with its green top removed and the cut side down, directly onto the center of the frosting swirl. Press down lightly to secure it. Once the strawberry is in place, use your piping bag again to add a small, festive dollop of frosting to the very tip of the strawberry. This final touch creates the “pom-pom” of Santa’s hat, completing the adorable look.
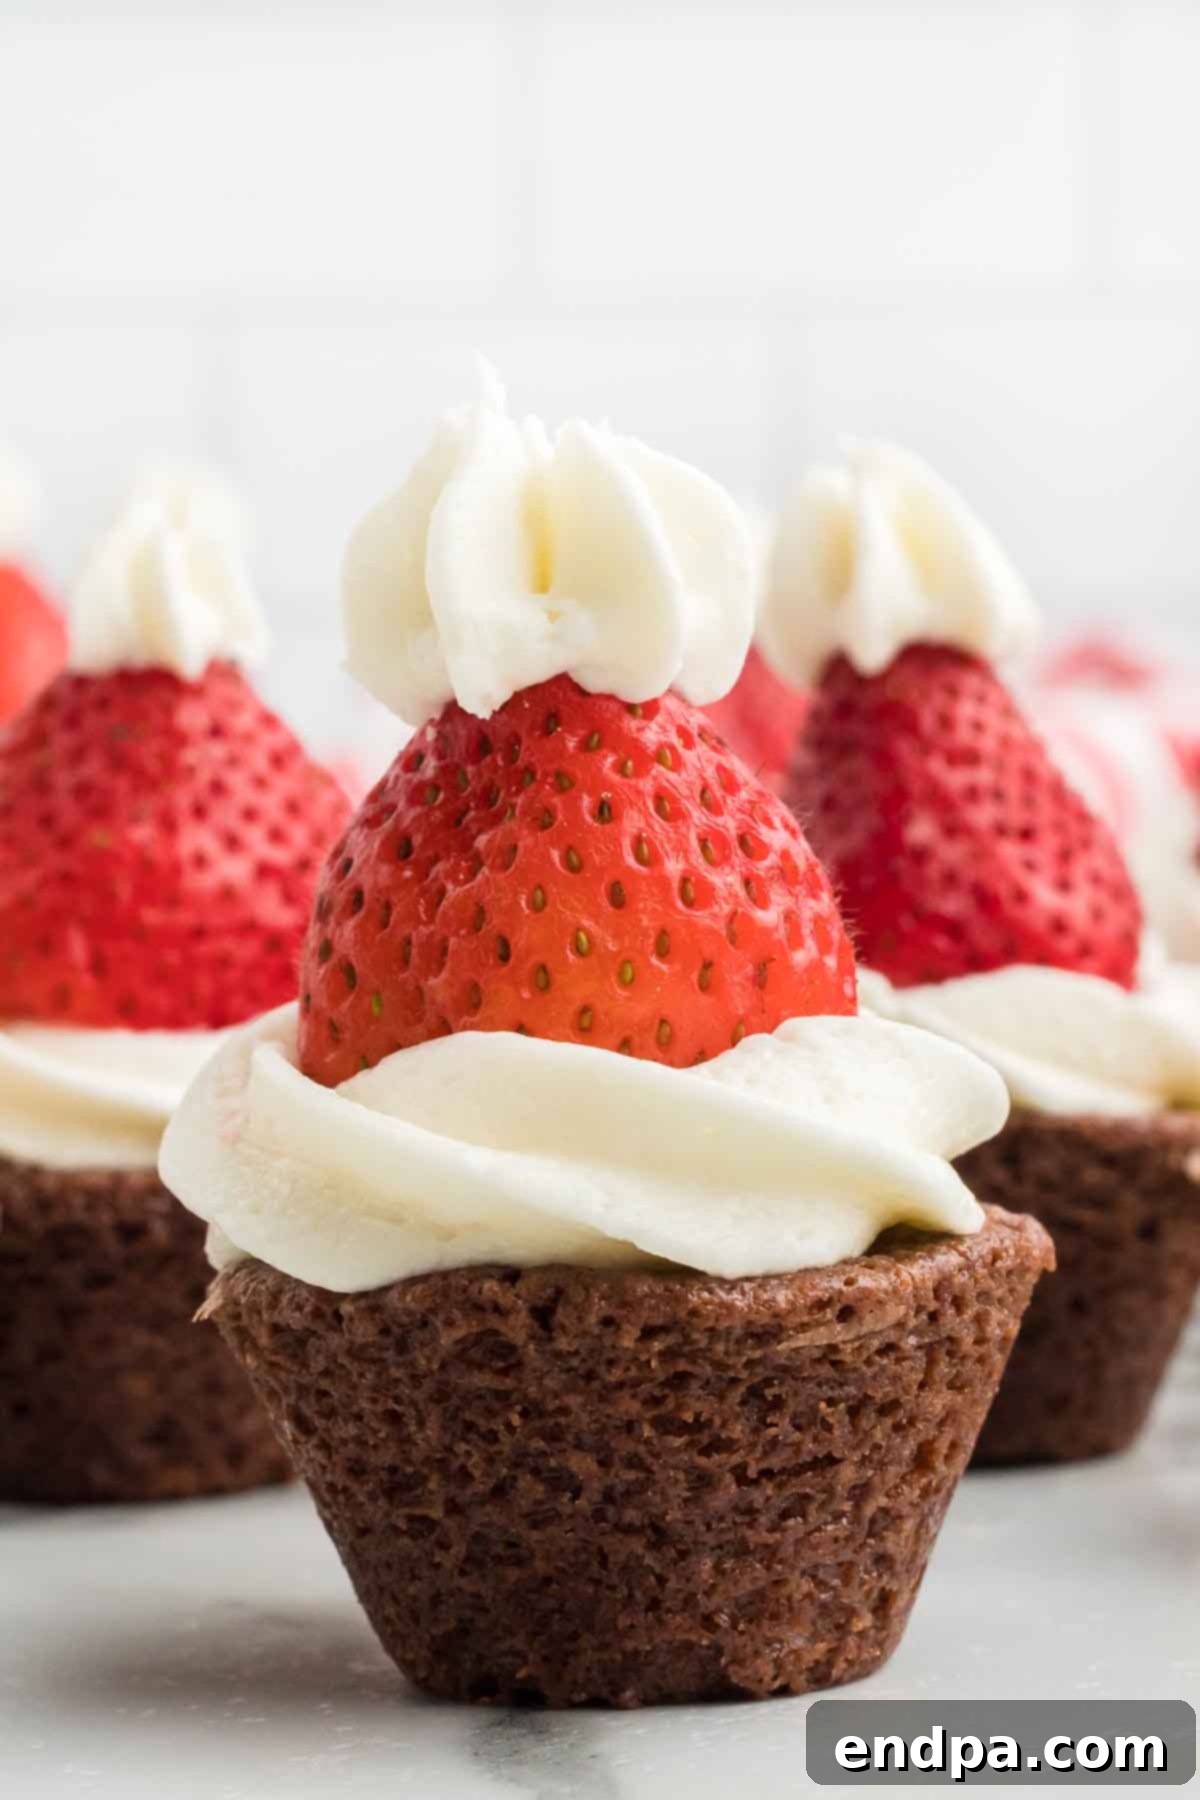
Step 6 – Chill and Serve Your Festive Treats. After all your Santa Hat Brownie Bites are assembled, carefully transfer them to a platter or serving tray. It’s essential to refrigerate them until you are ready to serve. Chilling helps the frosting set, ensuring the hats maintain their shape and that the strawberries remain fresh. These treats are best enjoyed when the frosting is firm and the brownies are cool. Prepare for an outpouring of compliments!
Expert Tips for Santa Hat Brownie Success
Achieving picture-perfect and delicious Santa Hat Brownie Bites is easy with a few insider tricks. These tips will help you avoid common pitfalls and ensure your holiday treats are a resounding success!
- Freshness is Key for Best Flavor: While these brownies are a joy to make, they are truly best served the same day they are assembled. The vibrant flavors of the fresh strawberry and rich brownie are at their peak, and the frosting is perfectly set. If you need to prepare ahead, make the brownie bites in advance and store them, then assemble the hats just a few hours before your event.
- Cooling Patience is a Virtue: This cannot be stressed enough – the brownie bases absolutely must be completely cooled to room temperature before you begin decorating. If there’s any warmth lingering in the brownies, your beautifully piped frosting will quickly melt and slide off, ruining the festive look. Give them ample time on a wire rack.
- Strawberry Selection and Preparation: Choose firm, ripe, and vibrantly red strawberries. Avoid overly soft or bruised berries. Consistency in size will make for more uniform and aesthetically pleasing hats. After washing, gently pat the strawberries thoroughly dry with paper towels. Excess moisture from the strawberries can cause the frosting to weep or break down prematurely, especially if stored for too long.
- Piping Bag Alternatives for Convenience: Don’t own a fancy piping bag or a set of decorative tips? No worries! A sturdy gallon-sized Ziploc bag (or similar heavy-duty plastic bag) works wonderfully. Simply fill the bag with frosting, push the frosting to one corner, twist the open end to secure, and snip a small hole (about ¼ to ½ inch) off the corner. You can then pipe just as you would with a regular piping bag.
- Kid-Friendly Assembly Fun: This recipe is fantastic for involving children! Let them help with placing the strawberries on the frosted brownies and adding the final “pom-pom” dollop of frosting. It’s a fun, engaging, and relatively mess-free way for them to contribute to holiday baking.
- Make Ahead Components for Stress-Free Hosting: To simplify your holiday prep, you can bake the brownie bites up to 2-3 days in advance. Store the cooled brownies in an airtight container at room temperature. You can also prepare the buttercream frosting a day or two ahead and store it in an airtight container in the refrigerator. Before using, let the frosting come to room temperature and then re-whip it for a minute or two until it’s light and fluffy again.
- Creative Presentation Ideas: Display your finished Santa Hat Brownie Bites on a tiered dessert stand for a stunning presentation at your holiday party. You can also arrange them on a festive platter garnished with a few sprigs of fresh mint or a dusting of edible glitter for an extra magical touch.
Storage and Shelf Life for Your Festive Santa Hat Brownies
To ensure your Santa Hat Brownie Bites remain as delicious and beautiful as possible, proper storage is key. Because they feature fresh fruit and dairy-based frosting, they require a bit more care than unadorned brownies.
- Best Served Fresh: These delightful treats are undeniably at their peak when served fresh, ideally within a few hours of assembly. The contrast of the firm brownie, creamy frosting, and juicy strawberry is most pronounced, and the visual appeal is crispest.
- Refrigeration is Essential: Due to the fresh strawberries and buttercream frosting, any leftovers (or prepared treats waiting to be served) must be stored in the refrigerator. Place them in an airtight container to protect them from absorbing other food odors and to prevent the frosting from drying out.
- Short Shelf Life: While you can store leftovers in the refrigerator for 1-2 days, be aware that their quality will gradually diminish. The moisture from the strawberries can begin to break down the frosting and soften the brownie over time, leading to a less ideal texture and appearance. The “hat” might start to lose its firm shape, and the colors may slightly bleed.
- Avoid Freezing Assembled Bites: We do not recommend freezing the assembled Santa Hat Brownie Bites. The fresh strawberries will become mushy upon thawing, and the frosting texture may also suffer. If you wish to prepare ahead, you can bake and freeze the plain brownie bases, then thaw and assemble them with fresh frosting and strawberries closer to your event.
More Enchanting Santa-Themed Treats
If you’re as enchanted by these festive Santa Hat Brownie Bites as we are, you’ll love exploring other charming Santa-themed treats that are perfect for adding extra holiday magic to your celebrations. These recipes are sure to bring smiles and deliciousness to your festive table!
- Santa Hat Cupcakes: Transform ordinary cupcakes into miniature Santa hats with fluffy frosting and a strawberry topping.
- Strawberry Santas: A super simple and healthy-ish treat made entirely from fresh strawberries and whipped cream.
- Santa Cookies Recipe: Classic sugar cookies decorated to look like jolly old Saint Nick himself, a fun baking project for the family.
- Strawberry Santas Recipe: Another take on the refreshing and light strawberry Santa, perfect for a lighter dessert option.
- Easy Strawberry Santa Hats: Quick and simple, focusing on just the strawberry and whipped cream for a fast, festive bite.
We absolutely cherish hearing from our readers and seeing your culinary creations! If you make these delightful Santa Hat Brownie Bites, please take a moment to leave us a comment and share your experience below. Your feedback and photos inspire us and help others embarking on their holiday baking adventures!
Pin
Santa Hat Brownie Bites
Ingredients
- 1 Brownie Mix
- *Ingredients to prepare brownies based on the package
- 24 Fresh Strawberries with the tops removed
- 1 cup Unsalted Butter softened
- 6 cups Powdered Sugar
- ¼ cup Milk
- 1 tsp Vanilla Extract
Instructions
- Prepare the brownie bites based on the package instructions. Allow the brownie bites to cool completely at room temperature on a wire rack.
- While the brownies are cooling, prepare the frosting. Beat the butter in a large mixing bowl until creamy and fluffy. Then gradually add in the powdered sugar, milk, and vanilla extract. Mix until thoroughly combined and the frosting is smooth and creamy.
- Place the prepared frosting in a piping bag fitted with your desired tip (or use a sturdy ziplock bag with a snipped corner).
- Swirl a generous amount of frosting on top of each cooled brownie bite. Then, carefully place a fresh strawberry (cut side down) on top of the frosting. Finish by piping a small dollop of frosting on the tip of each strawberry to create the “pom-pom.”
- Refrigerate the assembled Santa Hat Brownie Bites until ready to serve. Enjoy these festive treats!
Recipe Notes
Nutrition Facts
Pin This Now to Remember It Later
Pin Recipe
