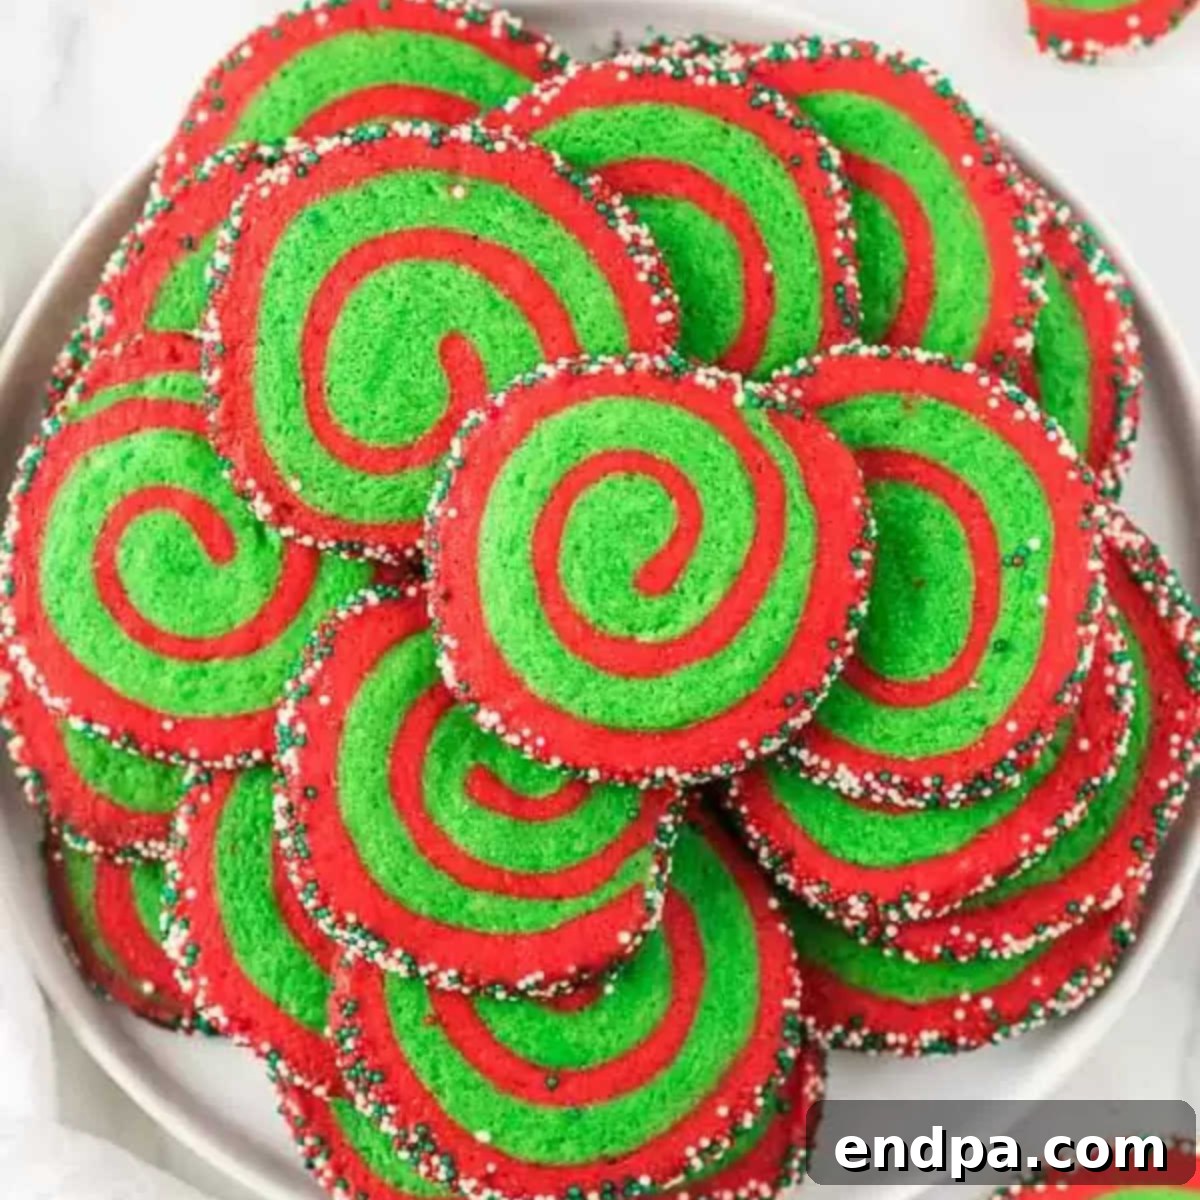
Easy & Festive Christmas Pinwheel Cookies: Your Guide to Holiday Baking Success
Get ready to add a burst of color and cheer to your holiday season with our incredibly easy and utterly delightful Christmas Pinwheel Cookies recipe! These festive treats are not just cookies; they’re edible works of art, guaranteed to be the undisputed stars of any Christmas gathering. Whether you’re planning a lively cookie exchange, hosting a grand holiday party, or simply looking for a fun baking project to enjoy with loved ones, these delicious cookies are sure to impress everyone with their stunning red and green swirls and irresistibly soft texture. Dive into the magic of holiday baking and try our Christmas pinwheel cookies recipe today – your taste buds and guests will thank you!
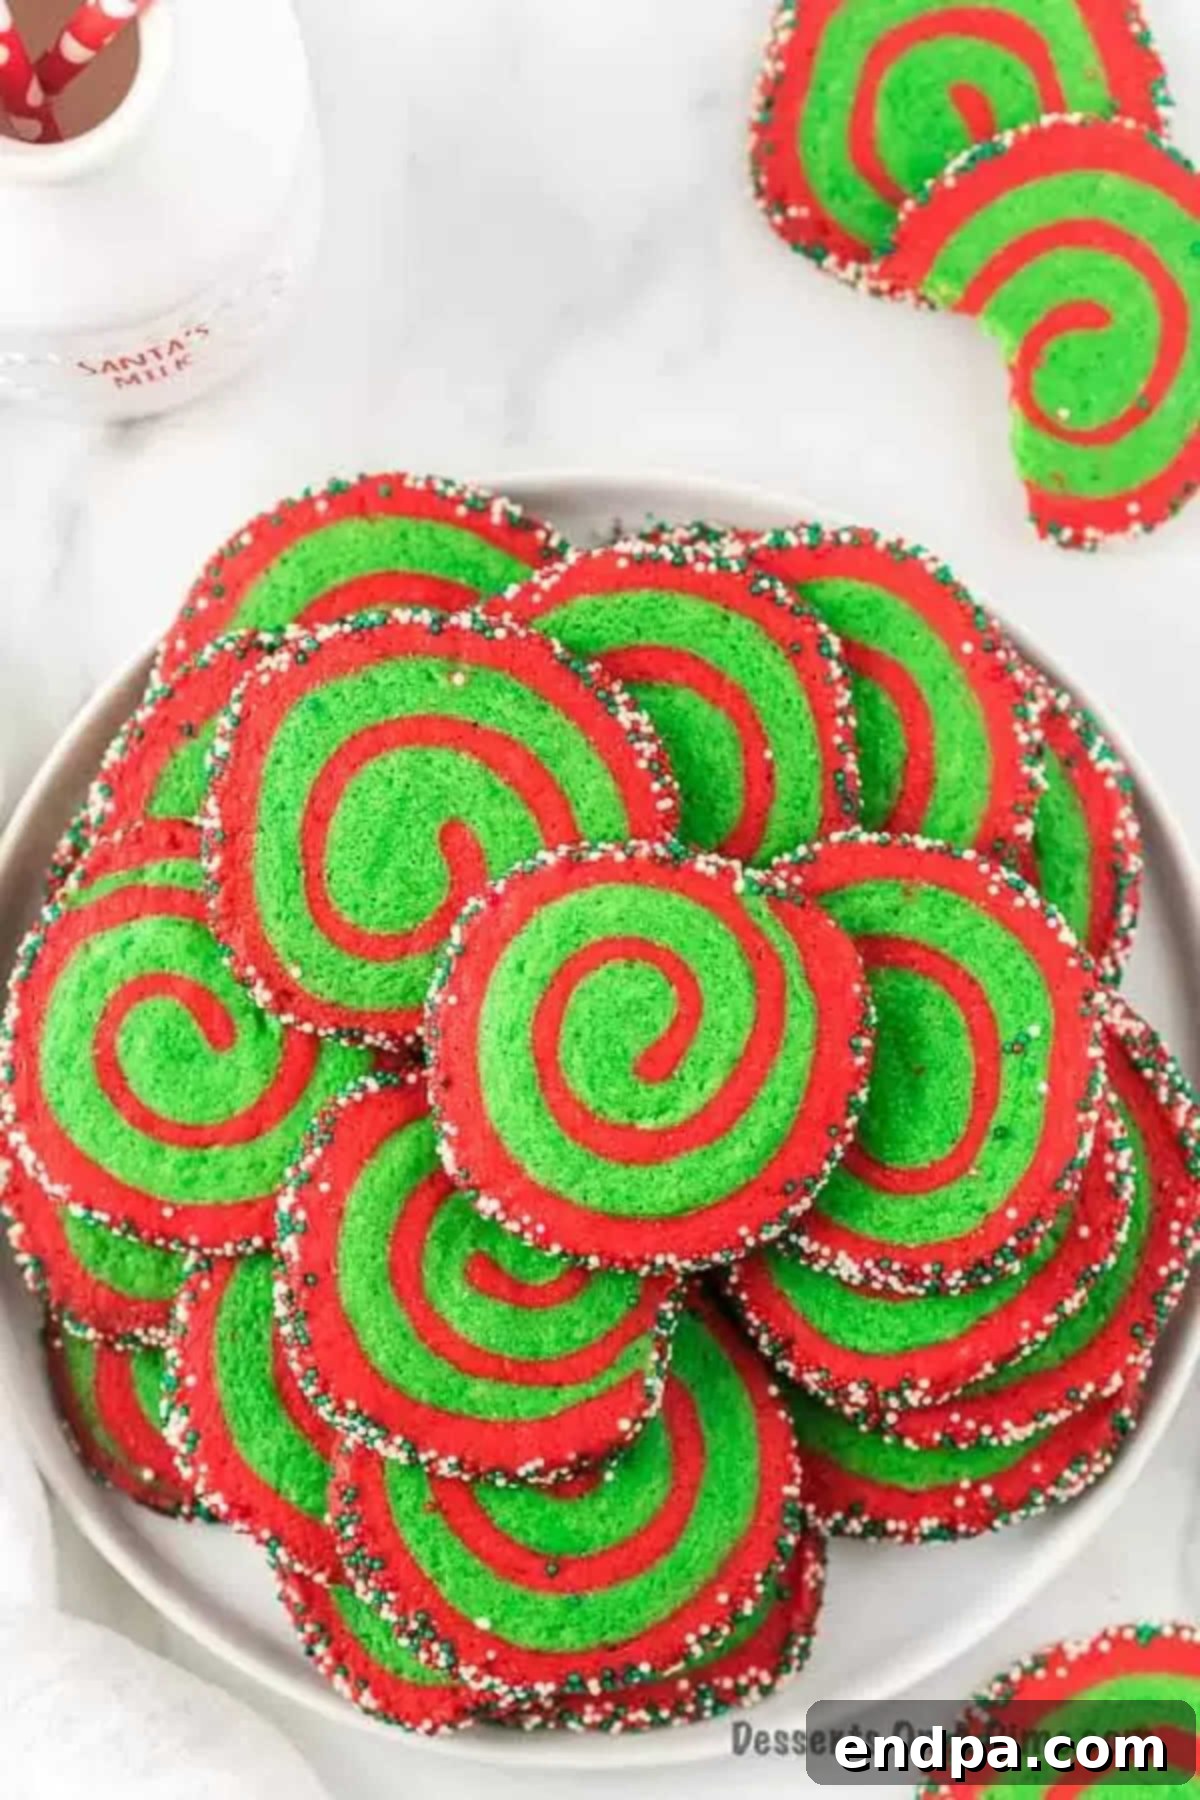
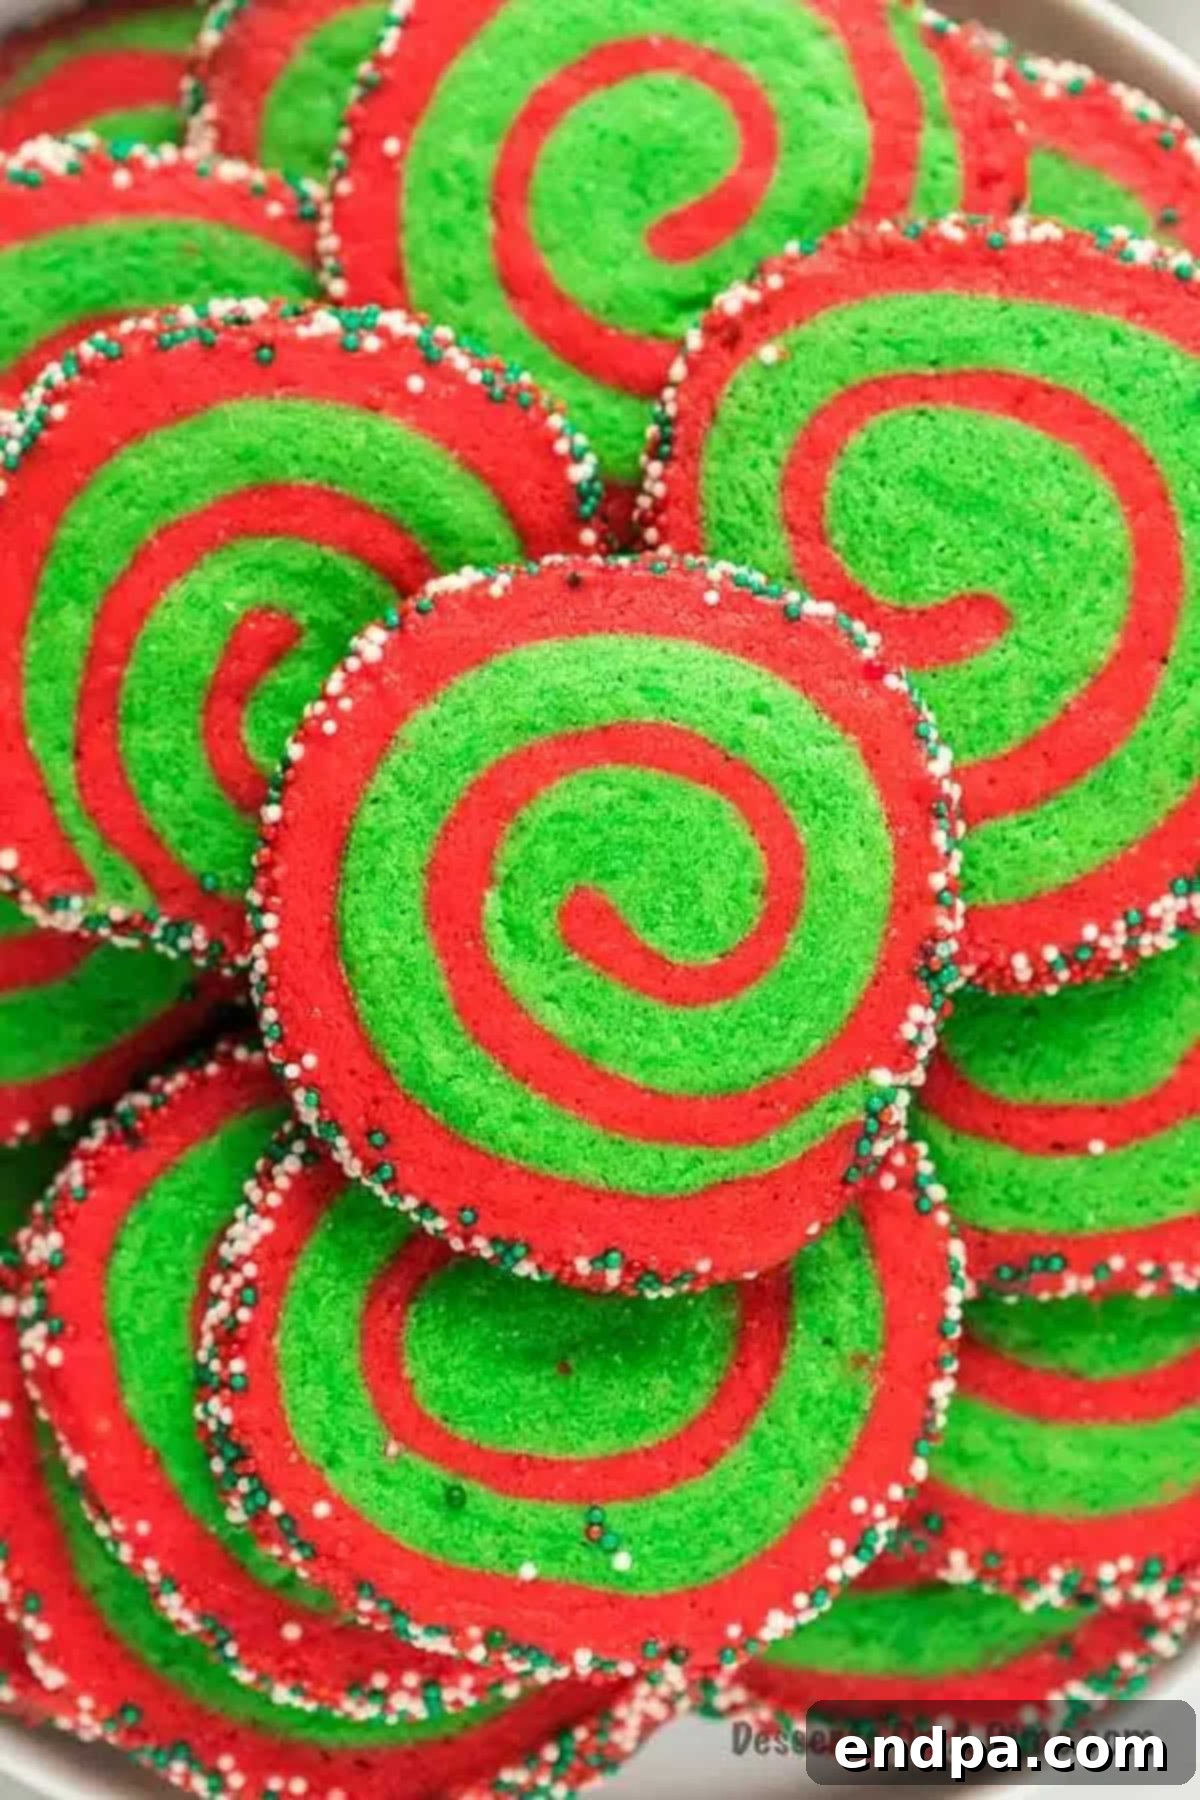
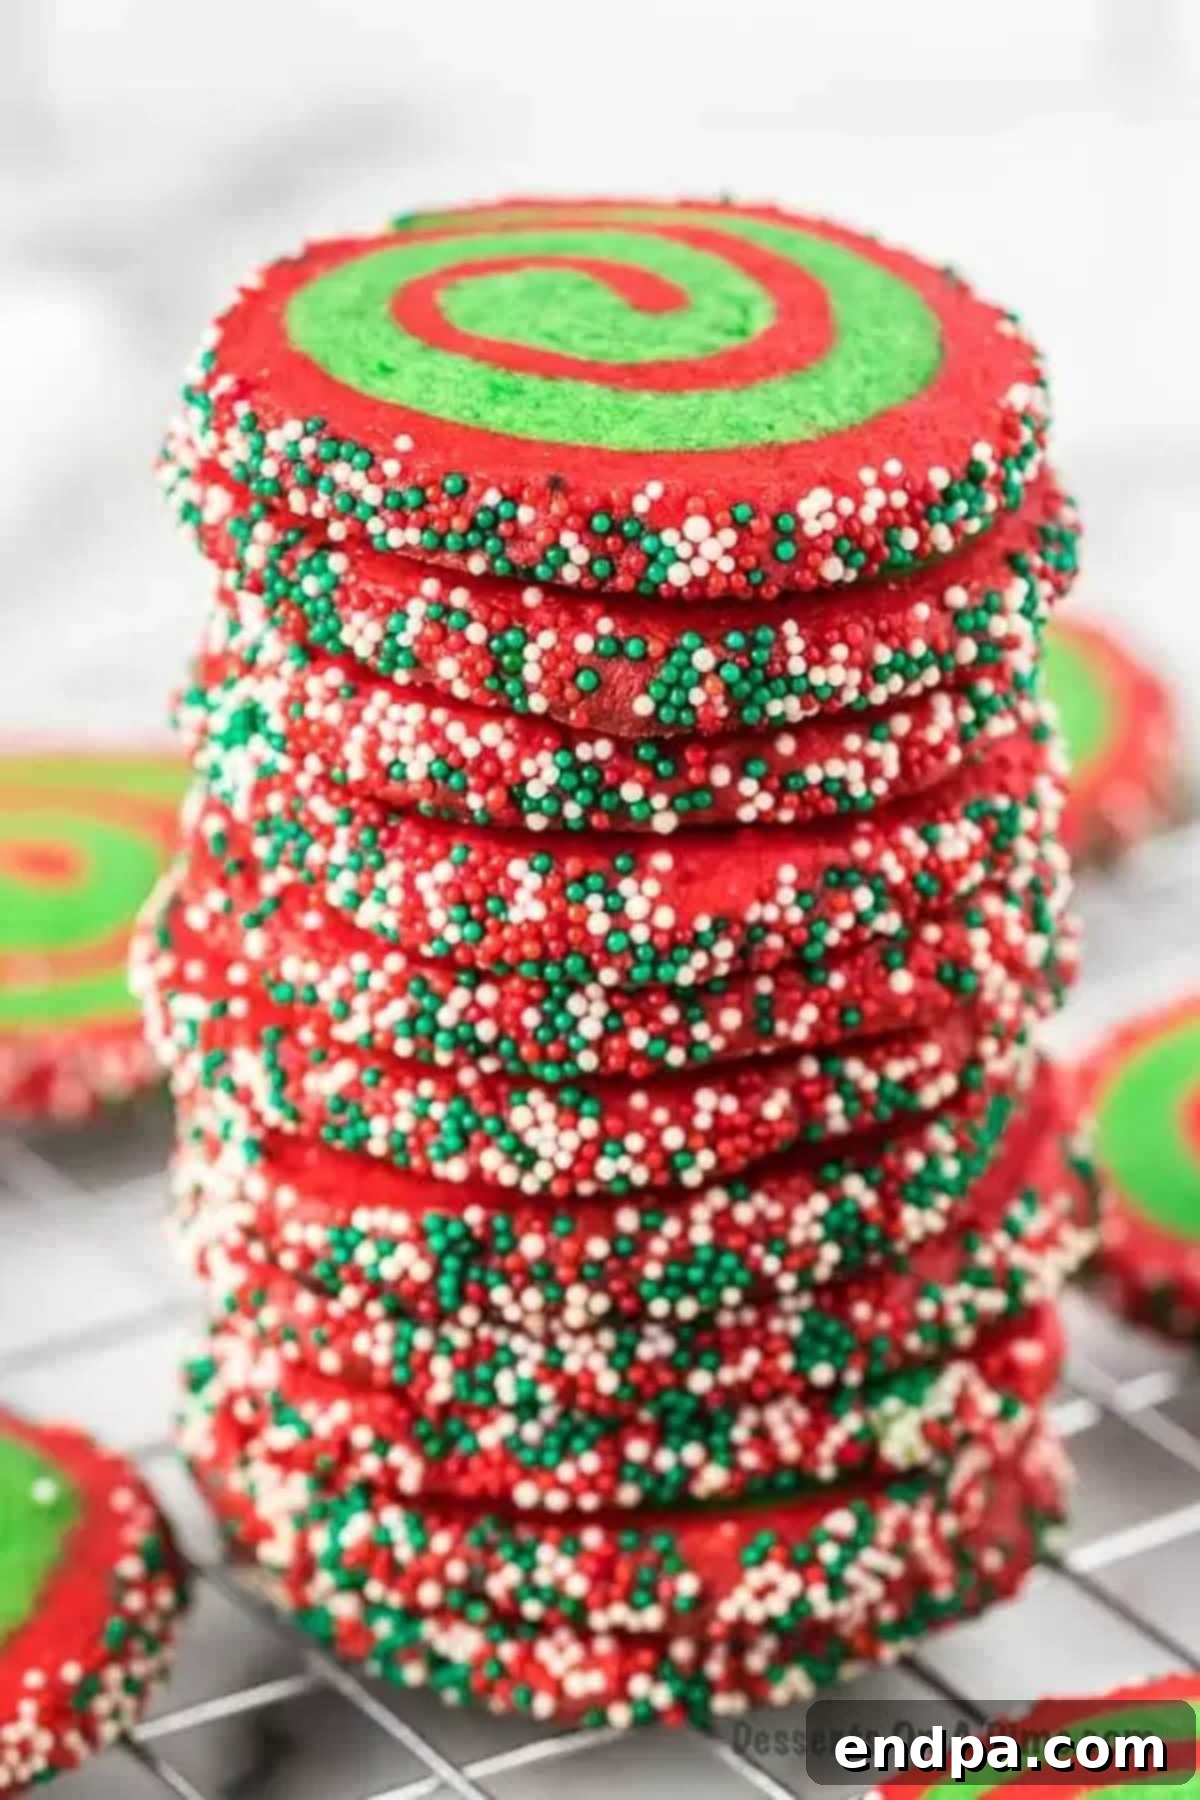
If you’re searching for truly festive Christmas cookies that stand out, these Pinwheel Cookies are an absolute marvel. Beyond their fantastic taste, their visual appeal is simply gorgeous. The vibrant red and green swirls instantly evoke the spirit of Christmas, making each cookie a mini celebration. To add to their festive charm, the entire cookie log is typically trimmed in a joyful coating of sprinkles, adding a delightful crunch and extra visual sparkle. These cookies are not only a joy to eat but also a pleasure to behold, making them a perfect centerpiece for your holiday dessert table.
Baking during the holidays is a wonderful tradition, especially when you involve the younger members of your family. If you love making your favorite Christmas Desserts with your kids, this Pinwheel Cookie recipe is an excellent place to start. Its straightforward steps and exciting coloring process make it a memorable activity for children of all ages. For more easy and fun recipes, you may also want to explore our 3-Ingredient Sugar Cookies or the ever-popular M&M Christmas Cookie Recipe. These simple recipes ensure that holiday baking remains a joyous, stress-free experience for everyone involved.
What’s in this Post: Christmas Pinwheel Cookies Recipe
- Why You Will Love These Cookies
- The Magic of Christmas Pinwheel Cookies: A Holiday Tradition
- Ingredients for Christmas Pinwheel Cookies
- Variations to Customize Your Pinwheel Cookies
- Step-by-Step Guide to Making Pinwheel Cookies
- How to Create the Perfect Pinwheel Design
- Expert Baking Tips for Flawless Christmas Pinwheels
- Mastering the Pinwheel Technique: Tips for Success
- Can I Make Christmas Pinwheel Cookies Ahead of Time?
- How to Store Christmas Pinwheel Cookies
- Can You Freeze Christmas Pinwheel Cookie Dough or Baked Cookies?
- Creative Serving and Gifting Ideas
- Common Pitfalls and How to Avoid Them
- More Easy Christmas Cookie Recipes
- Christmas Pinwheel Cookies Recipe Card
Why You Will Love These Cookies
There are countless reasons why these Christmas Pinwheel Cookies become an instant favorite every holiday season. The striking, vibrant red and green colors are undeniably festive, making them the ultimate Christmas cookie recipe for both their appearance and incredible taste. These cookies are not just visually appealing; they offer a delightful experience for everyone.
A huge advantage of this recipe is that it relies on simple, readily available ingredients. If you’re an avid home baker, chances are you already have the majority of these pantry staples on hand, saving you a last-minute trip to the grocery store during the busy holiday rush. This simplicity makes the baking process enjoyable and accessible for bakers of all skill levels.
Furthermore, these Pinwheel Cookies take your classic sugar cookie recipe to an exciting new level. While the base is a familiar and beloved sugar cookie dough, the unique swirling technique transforms it into something truly special and unexpected. The slight crispness at the edges combined with a tender, buttery interior creates a delightful texture that complements the playful pinwheel design. They are perfect for impressing guests, delighting children, and adding a touch of homemade charm to any festive occasion.
The Magic of Christmas Pinwheel Cookies: A Holiday Tradition
Christmas isn’t just about presents; it’s about traditions, and baking is a core part of that for many families. Christmas Pinwheel Cookies embody the very essence of holiday cheer. Their distinctive red and green swirls are immediately recognizable and evoke a sense of nostalgia and warmth. Imagine a platter of these dazzling cookies nestled amongst other holiday treats – they instantly become a focal point, drawing smiles and eager hands. They’re more than just a dessert; they’re a conversation starter, a craft project, and a delicious memory in the making. The process of coloring the dough and rolling it into its iconic pinwheel shape is a therapeutic and joyful activity, especially when shared with loved ones. These cookies are perfect for contributing to a festive atmosphere, whether you’re hosting a grand holiday feast or enjoying a quiet evening at home with family.
Ingredients for Christmas Pinwheel Cookies
Creating these beautiful pinwheel cookies requires a straightforward list of common baking ingredients. The quality of your ingredients can significantly impact the final taste and texture, so choosing fresh butter and good quality vanilla extract is always recommended. This recipe is designed to be accessible, ensuring you can whip up these festive treats without hunting for exotic items. Here’s what you’ll need to get started on your holiday baking adventure:
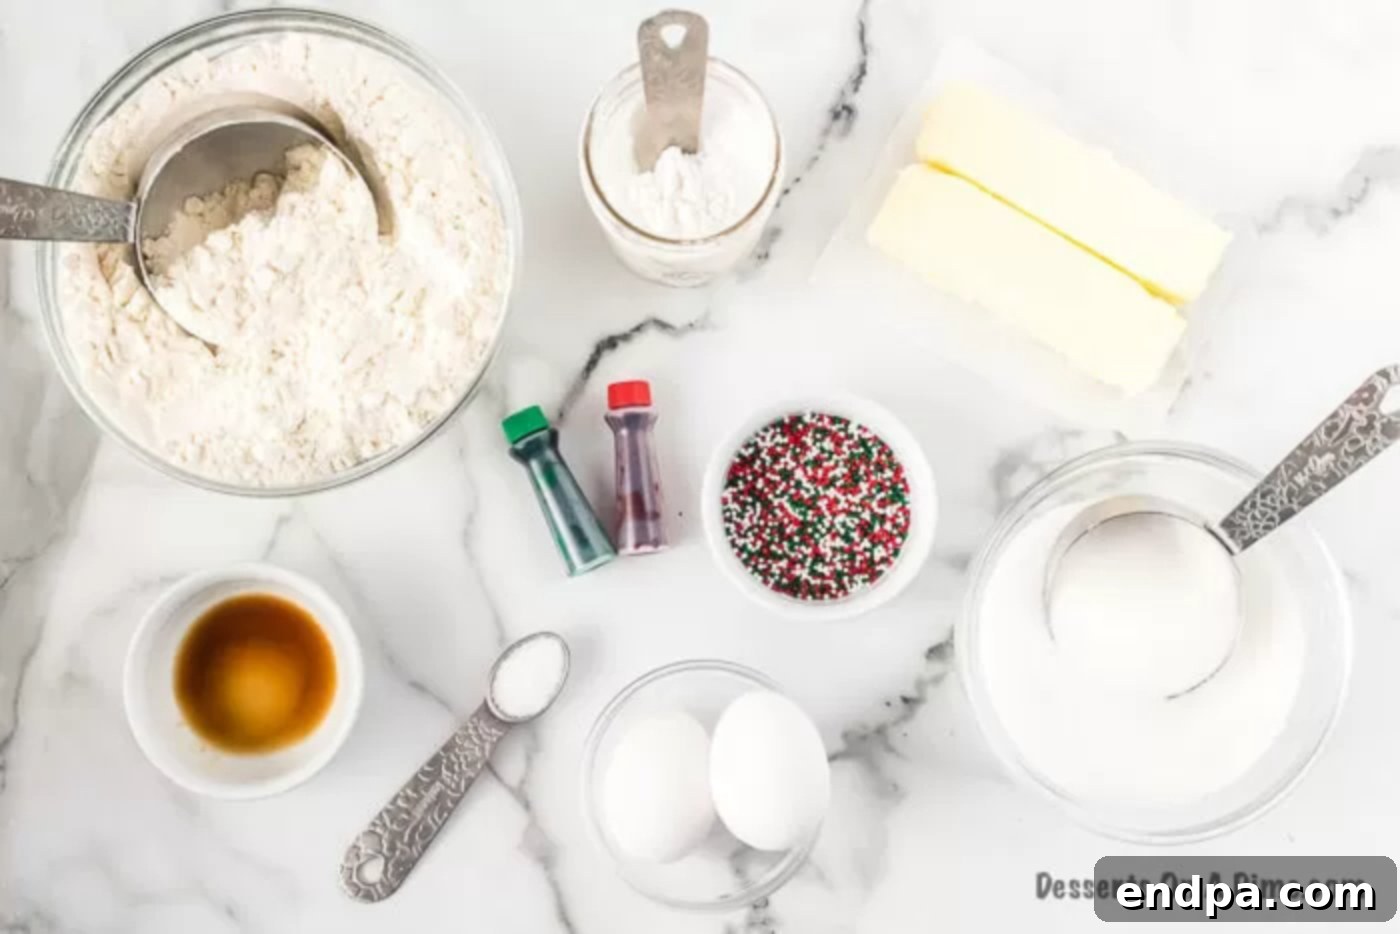
- All-Purpose Flour
- Salt
- Baking Powder
- Butter, Softened
- Granulated Sugar
- Eggs
- Vanilla Extract
- Red Food Coloring (gel food coloring for best results)
- Green Food Coloring (gel food coloring for best results)
- Christmas Sprinkles
For the complete list of ingredient quantities and detailed recipe steps, please scroll down to the dedicated recipe card at the end of this post.
Variations to Customize Your Pinwheel Cookies
While the classic red and green pinwheel is a holiday staple, this recipe offers fantastic flexibility for customization. Feel free to unleash your creativity and adapt these cookies to suit any occasion or personal preference:
- Change the Colors: Don’t limit yourself to just red and green! You can easily change the gel food coloring of the dough to create pinwheel cookies for any holiday or theme. Imagine pastel blues and pinks for Easter, orange and black for Halloween, or even patriotic red, white, and blue for the Fourth of July. The possibilities are endless, making these a versatile cookie for year-round celebrations. You can also add additional colors by dividing the dough into more portions.
- Change the Sprinkles: The sprinkles add both visual appeal and a delightful texture. Feel free to change the sprinkles to match your chosen colors or the holiday. Use nonpareils for a classic look, sanding sugar for a fine shimmer, edible glitter for extra sparkle, or even tiny chocolate chips for a different flavor profile. Whatever you have on hand or what inspires you can be incorporated into the design.
- Make for Different Holidays: As mentioned, these cookies are incredibly adaptable. With a simple change of food coloring and sprinkles, these pinwheel cookies can transform into a treat for virtually any holiday or special event. Think pink and red for Valentine’s Day, vibrant rainbow colors for a birthday celebration, or even team colors for a sports party. Their unique design makes them a standout no matter the occasion.
Step-by-Step Guide to Making Pinwheel Cookies
Crafting these festive Christmas Pinwheel Cookies is a straightforward process when broken down into manageable steps. Follow these instructions carefully to ensure your dough is perfectly prepared for creating those beautiful swirls.
- Step 1 – Mix Dry Ingredients: In a medium-sized mixing bowl, combine the all-purpose flour, baking powder, and salt. Whisk these dry ingredients together thoroughly. This ensures that the leavening agent (baking powder) and salt are evenly distributed throughout the flour, which is crucial for uniform cookie texture and flavor.
- Step 2 – Blend Wet Ingredients: Next, in a separate, larger mixing bowl, use either a stand mixer fitted with a paddle attachment or a hand-held mixer to cream together the softened butter with the granulated sugar until the mixture is light, fluffy, and smooth. This creaming process incorporates air, which contributes to the cookies’ tender texture. Then, add in the eggs one at a time, blending well after each addition, followed by the vanilla extract. Continue to blend until all ingredients are fully combined and the mixture is cohesive.
- Step 3 – Combine Wet and Dry Ingredients: Gradually add the flour mixture from the first bowl into the wet ingredients. With your mixer on low speed or by hand with a spatula, stir until just combined. It is crucial not to overmix the dough once the flour is added, as overmixing can develop the gluten too much, resulting in tough cookies. Stop mixing as soon as no dry streaks of flour remain.
- Step 4 – Divide Dough: Carefully divide the prepared dough evenly into two separate mixing bowls. Accuracy in division will help ensure both colored doughs are of similar size and thickness when rolled out.
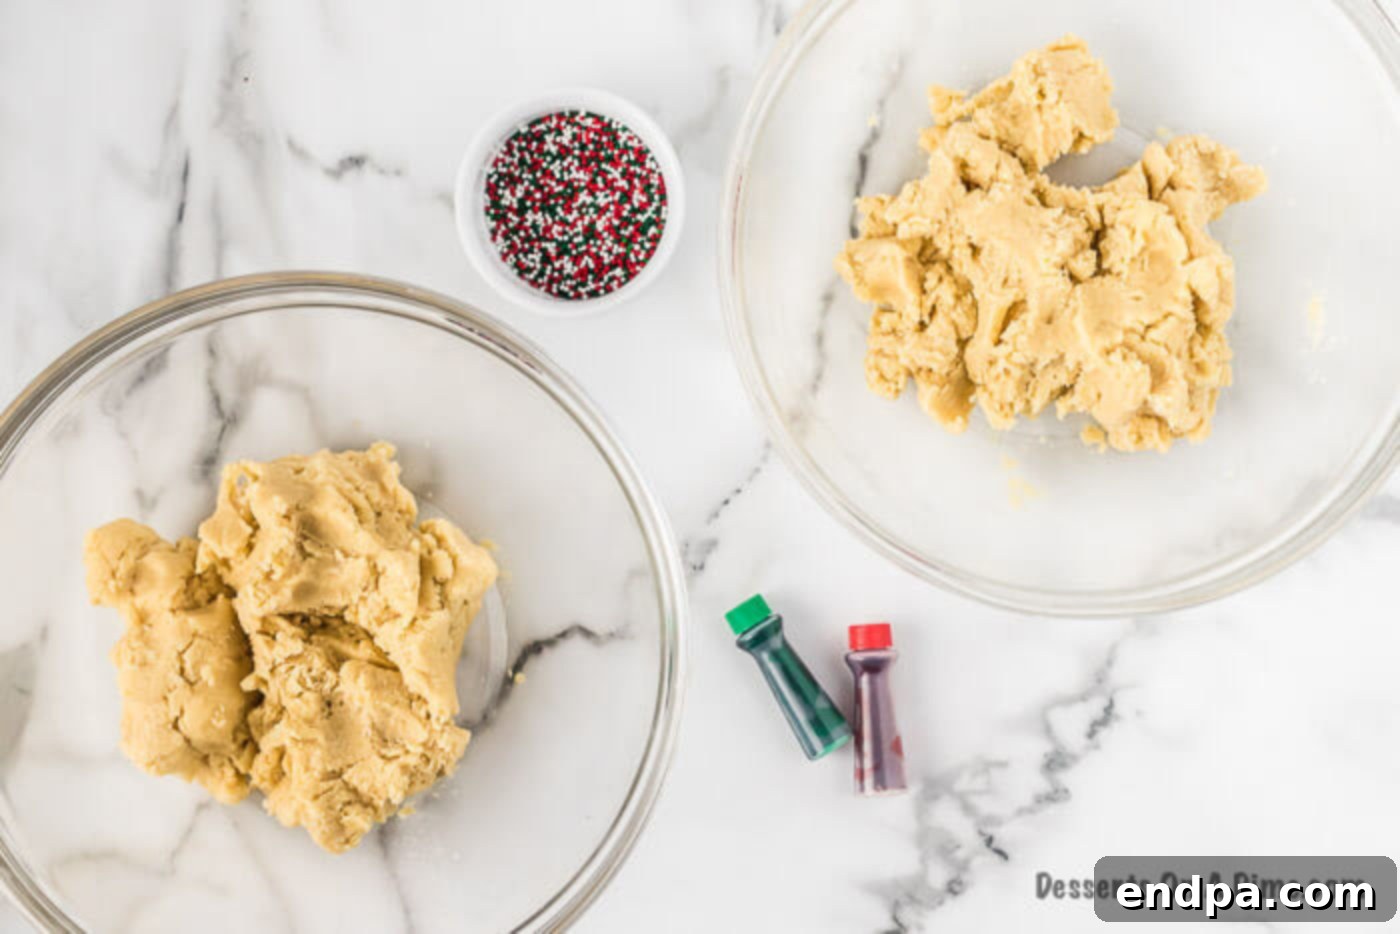
- Step 5 – Add Food Coloring to Dough: Now for the fun part! Dye one bowl of the divided dough a vibrant red using red gel food coloring, and the other bowl a rich green using green gel food coloring. Gel food colorings are recommended as they provide intense color without adding excess liquid to the dough. Stir in the food coloring thoroughly until the color is completely and uniformly incorporated throughout each dough portion.
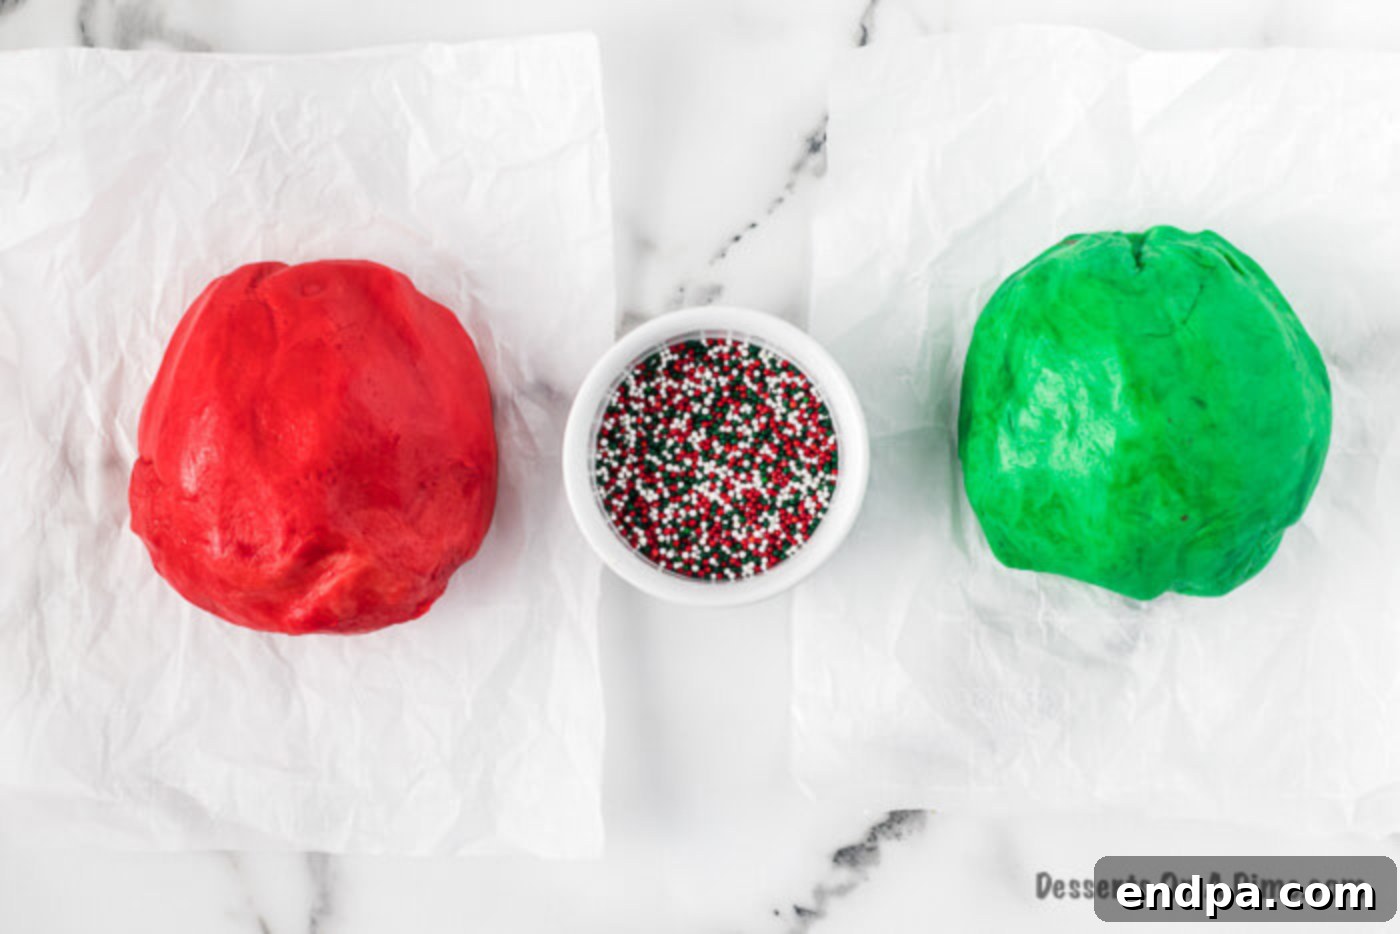
- Step 6 – Chill the Dough: This step is vital for achieving crisp, distinct pinwheel patterns. Wrap each portion of colored dough separately in wax paper or plastic wrap, ensuring it’s sealed tightly. Refrigerate the dough for a minimum of 30 minutes to 1 hour, or until the dough becomes firm enough to handle without sticking excessively. Proper chilling prevents the dough from spreading too much during baking and helps maintain the intricate swirl design.
- Step 7 – Roll the Red Dough: Once chilled, remove the red dough from the refrigerator. Place it on a piece of parchment paper or wax paper, which will prevent sticking and make rolling easier. Lightly dust the top of the dough with a small amount of flour. Using a rolling pin, roll out the red dough into a rectangular shape, aiming for a consistent thickness of approximately ¼ inch. Try to keep the edges as straight as possible for a neat pinwheel.
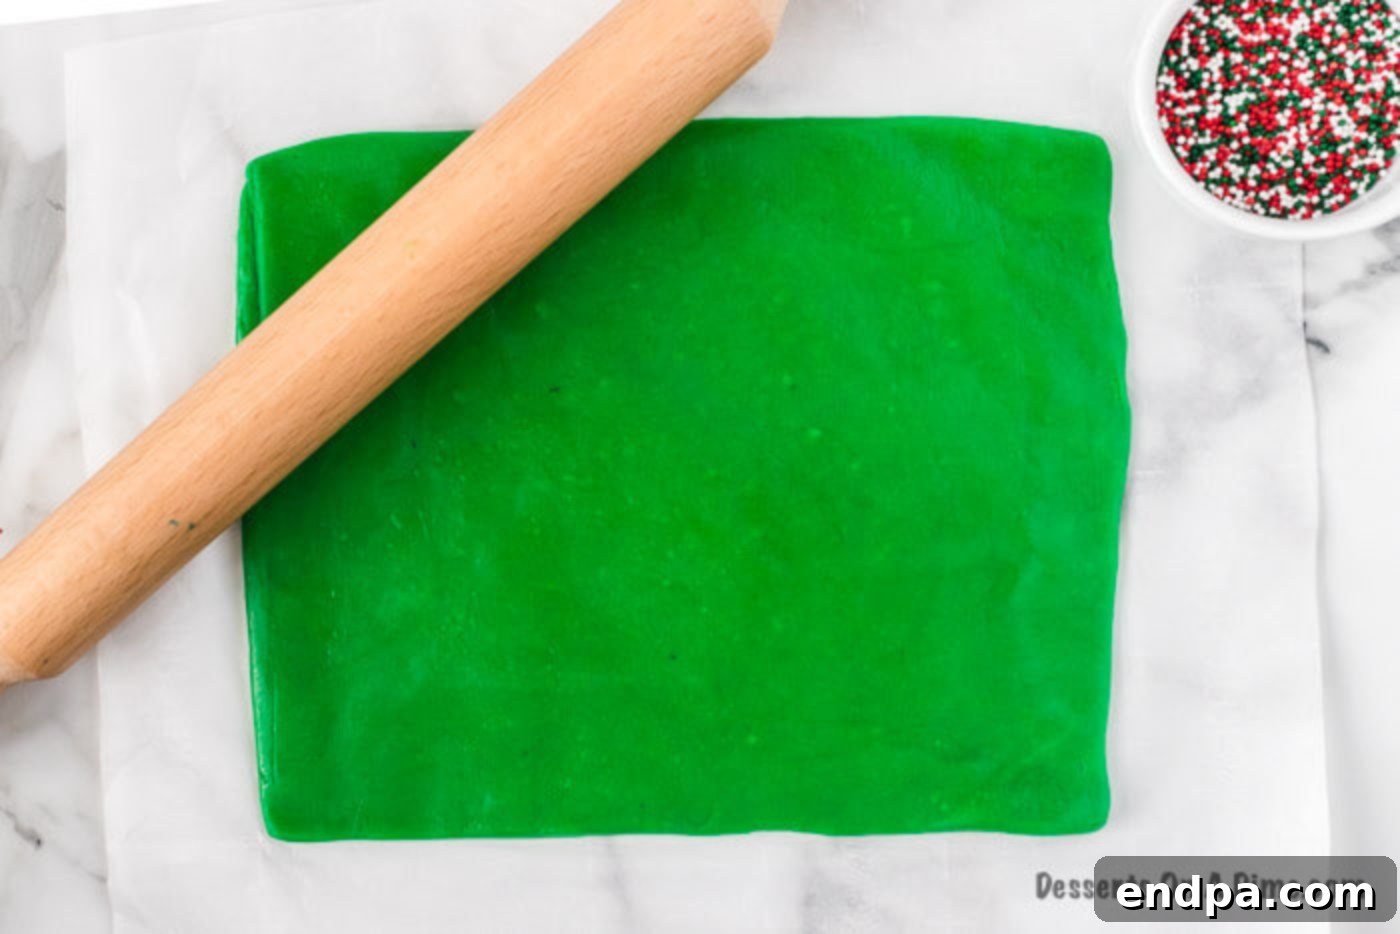
- Step 8 – Roll the Green Dough: Repeat the exact same rolling process with the green dough. Ensure it is also rolled out to approximately ¼ inch thick and in a similar rectangular shape to the red dough. Consistency in thickness for both doughs is key to an even and well-defined pinwheel.
How to Create the Perfect Pinwheel Design
The magic of Christmas Pinwheel Cookies truly comes alive in the layering and rolling process. This is where you transform two distinct colored doughs into a beautiful swirled pattern. Precision and gentle handling are your best friends here.
- Step 1 – Layer the Red and Green Dough: Carefully place the rolled-out green dough directly on top of the red dough. Ensure that the parchment paper or wax paper remains on the outside of both layers (under the red dough and initially on top of the green dough). Gently align the edges of the two dough rectangles to create a neat, even stack.
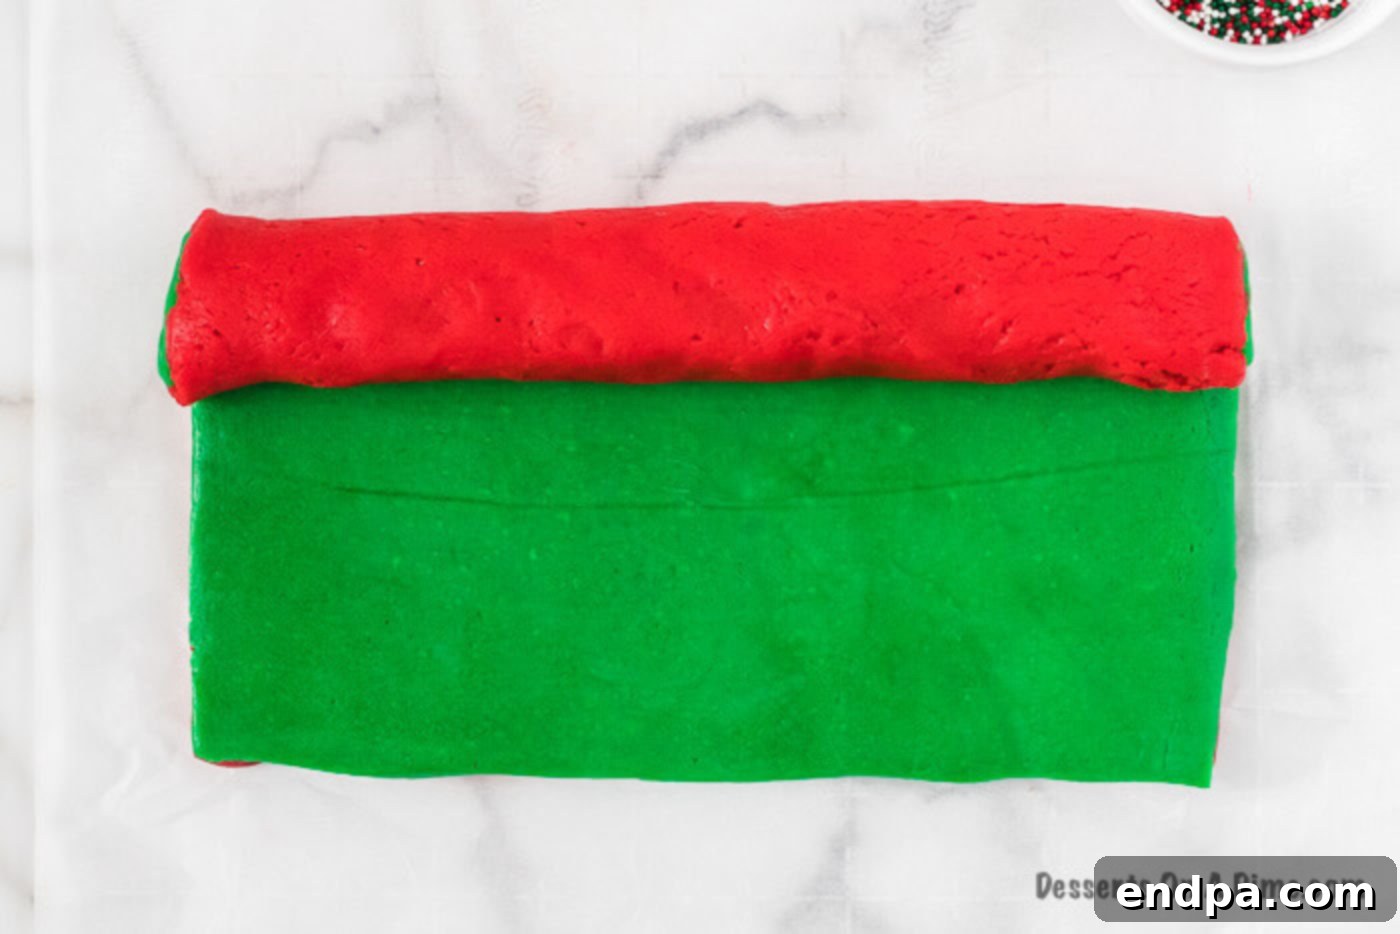
- Step 2 – Roll Dough Together: Remove the top layer of wax or parchment paper from the green dough. With a rolling pin, gently roll over the top of the layered dough. Apply light, even pressure to help the two dough layers adhere to each other without distorting their shape or thickness. This step ensures a tight bond, preventing separation during the final roll.
- Step 3 – Roll into a Log and Remove Wax Paper: Starting from one of the longer sides of the rectangle, begin to tightly roll the layered dough into a log shape. As you roll, gently peel away the bottom wax or parchment paper from underneath the dough. The paper is essential for preventing sticking and assisting in a smooth, even roll. If at any point the dough becomes too soft or difficult to manage, simply wrap the partially rolled log in plastic wrap and refrigerate it again for 15-20 minutes until it firms up. A firm dough is much easier to work with and ensures a defined pinwheel.
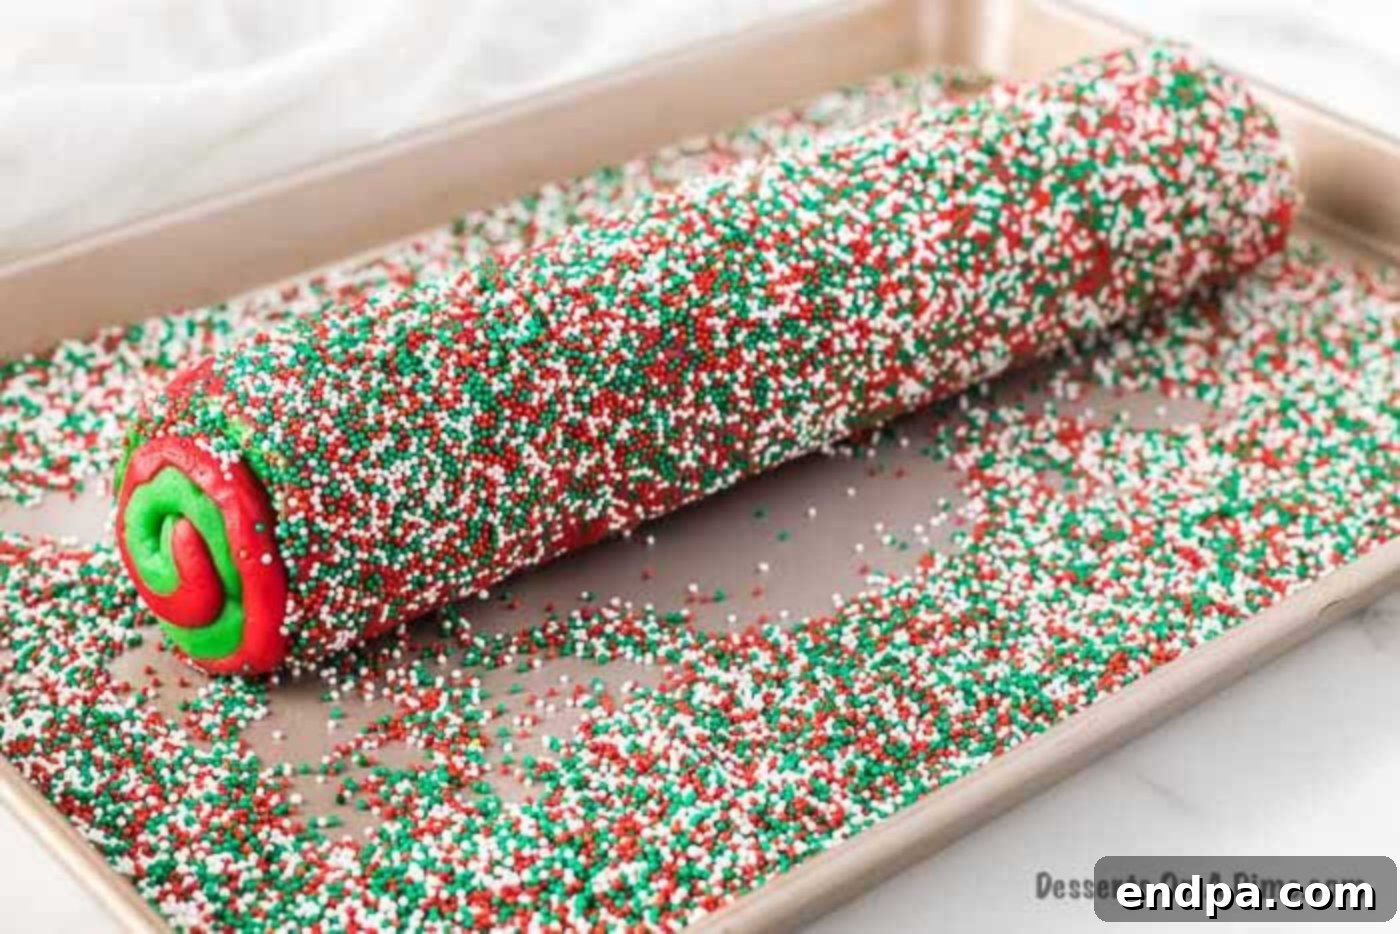
- Step 4 – Roll Dough in Sprinkles: Once the log has been fully formed and is firm, pour your festive Christmas sprinkles onto a clean baking sheet or a piece of parchment paper. Gently roll the entire log in the sprinkles, applying light pressure, so that they generously adhere to the entire outer surface. This not only adds a beautiful decorative trim but also a wonderful texture to the cookies.
- Step 5 – Refrigerate Again: After the sprinkle coating, wrap the entire log tightly with plastic wrap. Place it back into the refrigerator for another 30 minutes to 1 hour. This second chilling period is crucial for setting the sprinkles, firming the dough even further, and making it much easier to slice without squishing the pinwheel design.
- Step 6 – Prepare Oven: While the dough is chilling for its final firm-up, preheat your oven to 350 degrees F (175 degrees C). Also, line your baking sheets with parchment paper or silicone baking mats for easy removal and to prevent sticking.
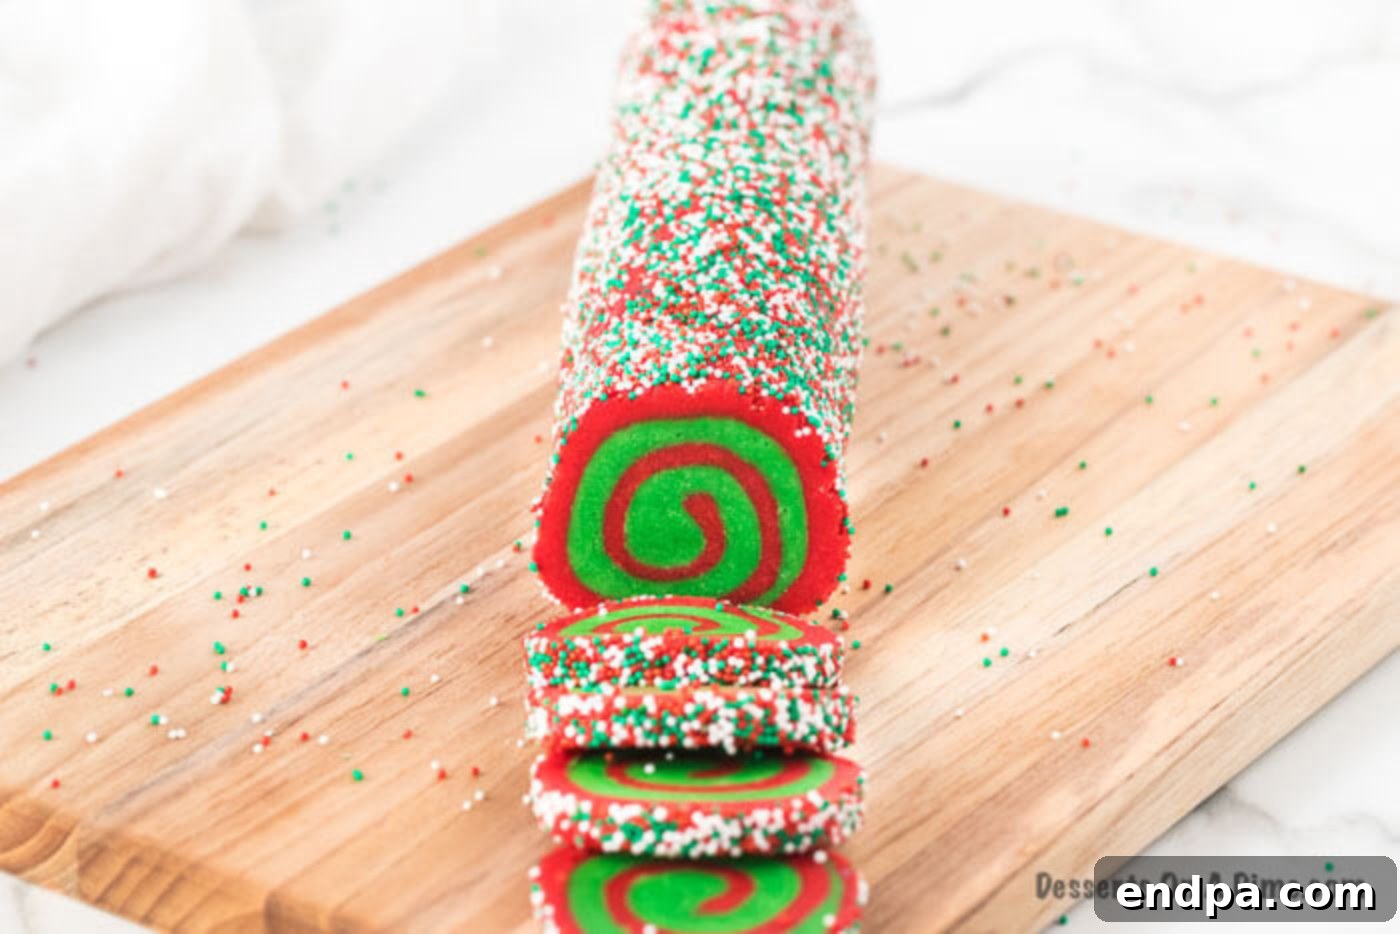
- Step 7 – Cut Dough into Slices: Remove the chilled log from the refrigerator and unwrap it. Using a sharp knife, carefully cut the log into ¼-inch thick slices. Aim for consistent thickness to ensure even baking. Place these beautiful pinwheel slices on your prepared, ungreased cookie sheets, leaving approximately 2 inches of space between each cookie to allow for slight spreading.
- Step 8 – Bake Cookies: Transfer the baking sheets to the preheated oven and bake for 12 to 15 minutes. The exact baking time may vary depending on your oven, so watch them closely. The cookies are done when their edges are lightly golden and the centers are set. You want them to be just baked through to maintain their tender chewiness.
- Step 9 – Cool Cookies: Once baked, remove the cookie sheets from the oven. Allow the cookies to cool on the baking sheets for approximately 5 minutes. This crucial resting period allows the cookies to set and firm up, preventing them from breaking when transferred. After 5 minutes, carefully transfer the cookies to a wire rack to cool completely. Cooling on a rack ensures air circulation, preventing soggy bottoms.
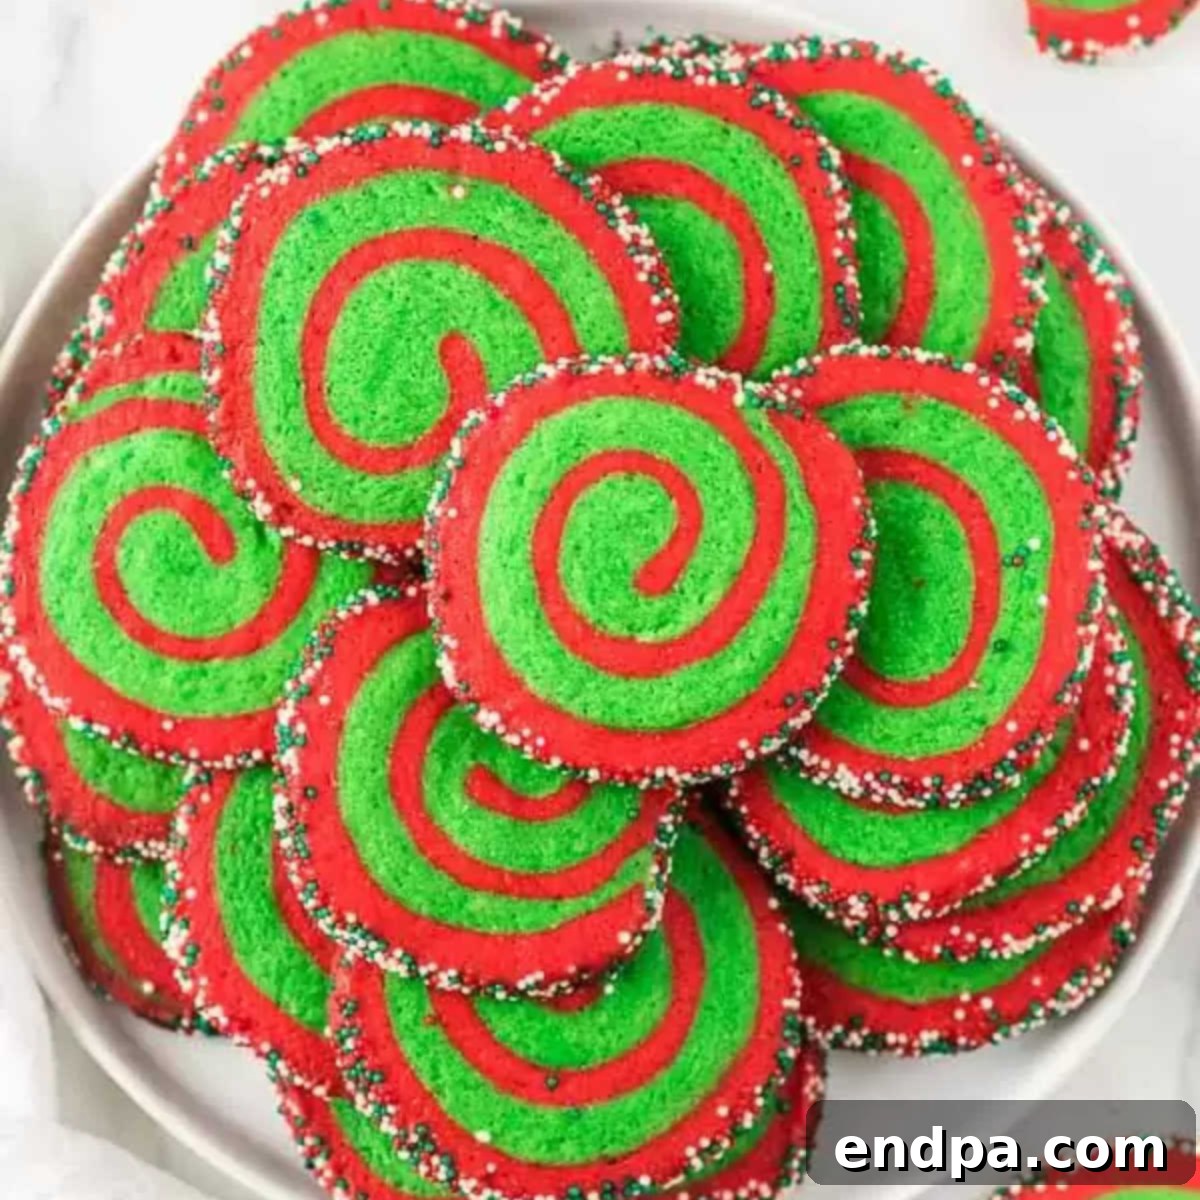
- Step 10 – Serve and Enjoy: Once completely cooled, your Christmas Pinwheel Cookies are ready to be served! These cookies turn out wonderfully light and fluffy with an amazing texture that’s tender and slightly crisp. They are a truly delicious and visually stunning addition to all your holiday baking endeavors.
Expert Baking Tips for Flawless Christmas Pinwheels
Achieving bakery-quality Christmas Pinwheel Cookies is easier than you think with these expert tips and tricks. These insights will help you navigate common baking challenges and ensure your cookies are nothing short of perfect:
- Stand Mixer vs. Hand-Held Mixer: While both a stand mixer with a paddle attachment or a hand-held mixer will work perfectly for this recipe, a stand mixer often makes the process even easier, especially when creaming butter and sugar. Its consistent power ensures thorough mixing, freeing up your hands for other tasks. Regardless of the mixer type, always make sure to frequently scrape down the sides of the bowl to ensure all ingredients are fully incorporated and no dry pockets remain.
- Dealing with Sticky Dough: If at any point your dough becomes too sticky or challenging to handle, don’t fret! This often happens if your kitchen is warm or if the dough hasn’t been chilled sufficiently. Simply place the dough back in the refrigerator for an additional 15-30 minutes to harden. A firmer dough is much easier to roll, layer, and slice.
- Cool on Baking Sheet First: After removing your freshly baked cookies from the oven, resist the urge to immediately transfer them to a cooling rack. Allow them to cool on the baking sheet for a few minutes (typically 5 minutes is enough). This brief resting period allows the cookies to firm up and settle, making them less fragile and preventing them from breaking when you move them to a wire rack.
- Separate Dough for Distinct Colors: When working with multiple food colorings, it’s essential to keep the dough portions separate until you’re ready to layer them. This ensures that you maintain distinct, vibrant colors for your pinwheels without them prematurely blending into muddy shades. Clean bowls and spatulas between colors can also help.
- Chill Dough for Perfect Slices: Chilling the dough before slicing is arguably one of the most critical steps for perfect pinwheel cookies. A well-chilled, firm dough will yield clean, defined slices and help the pinwheel pattern hold its shape beautifully during baking. If the dough is too soft, your slices will likely be squashed and the pattern distorted.
- Avoid Overbaking for Soft Cookies: For tender, soft pinwheel cookies, pay close attention to the baking time. Bake the cookies just until their edges are lightly golden and the centers appear set, but still slightly soft. They will continue to cook slightly from the residual heat on the baking sheet after being removed from the oven. Overbaking will result in hard, dry cookies.
- Gentle Mixing of Cookie Dough Batter: When you’re ready to combine the dry and wet ingredients to form your cookie dough, mix them until just combined. Overmixing can develop the gluten in the flour, leading to a tough, less tender cookie. Stop mixing as soon as no streaks of dry flour are visible in the dough.
Mastering the Pinwheel Technique: Tips for Success
The hallmark of a great Christmas Pinwheel Cookie is its perfectly defined swirl. This isn’t just about luck; it’s about technique. To truly master the pinwheel design, pay close attention to these details:
- Even Dough Thickness: When rolling out your red and green doughs, strive for uniform thickness (about ¼ inch). Inconsistent thickness will lead to an uneven roll and a lopsided pinwheel. Use a ruler or rolling pin guides if you need assistance.
- Tightly Layered Dough: When placing the green dough over the red, press gently to remove any air pockets between the layers. A slight, even roll with your pin can help bond them. Loose layers will separate during rolling and baking.
- A Tight Roll is Key: As you roll the layered dough into a log, aim for a tight, consistent coil. This is crucial for creating those distinct, tightly wound swirls. Loose rolling will result in a more open, less defined pinwheel pattern.
- Consistent Slicing: Use a very sharp, thin knife to cut your chilled dough log into slices. A dull knife will drag and squish the dough, distorting the beautiful pinwheel. Clean cuts preserve the intricate design. If the dough warms up during slicing, pop it back into the freezer for 10 minutes to firm up again.
- Temperature Control: Keep your dough cold! This cannot be emphasized enough. The cold dough is essential for firm rolls, clean cuts, and preventing color bleeding. Work quickly or refrigerate as needed.
Can I Make Christmas Pinwheel Cookies Ahead of Time?
Absolutely! Preparing cookie dough in advance is a fantastic time-saver, especially during the busy holiday season. If you wish to make the dough ahead of time, you can do so by rolling the combined red and green dough into a log, as described in the recipe. Once formed, wrap the dough log very tightly in plastic wrap, ensuring no air can get to it. This step is critical to prevent the dough from drying out and to minimize any potential color bleeding.
Store the tightly wrapped dough log in the refrigerator for up to 3 days. While the dough can last longer, it’s best to bake it within this timeframe to ensure the colors remain distinct and vibrant. Beyond 3 days, there’s a higher chance of the red and green food colorings slowly bleeding into each other, which might diminish the crispness of your pinwheel pattern. When you’re ready to bake, simply unwrap, slice, and follow the baking instructions.
How to Store Christmas Pinwheel Cookies
Proper storage is key to keeping your delicious Christmas Pinwheel Cookies fresh and tender for as long as possible. Once your cookies have completely cooled to room temperature, they are ready for storage.
For short-term storage, place the cookies in an airtight container at room temperature. This will help maintain their texture and prevent them from drying out. They typically stay fresh and delicious for 3-5 days when stored this way. If you are arranging them on a cookie tray for a party or for guests, ensure the entire tray is securely covered with plastic wrap or aluminum foil to protect the cookies from air exposure, which can quickly make them stale. Layering cookies with parchment paper in the container can also prevent them from sticking together, especially if they have sprinkles or frosting.
Can You Freeze Christmas Pinwheel Cookie Dough or Baked Cookies?
Yes, absolutely! Freezing is an excellent way to prepare for the Christmas holiday rush, allowing you to get a head start on your baking or to enjoy fresh-baked cookies at a moment’s notice. There are two convenient ways to freeze these pinwheel cookies:
- Freeze the Dough Log: This is often the preferred method for maximum freshness. After forming your red and green dough into a log (and optionally coating it with sprinkles), wrap the log extremely well in several layers of plastic wrap, followed by a layer of aluminum foil. This double wrapping helps prevent freezer burn. Place the securely wrapped dough log into a freezer-safe bag or container. Frozen dough logs can be stored for up to 2-3 months. When you’re ready to bake, transfer the log to the refrigerator to thaw overnight, or at room temperature for a few hours, until it’s firm enough to slice but not rock-hard. Then, slice and bake according to the recipe instructions.
- Slice and Freeze Dough: If you prefer to bake smaller batches at a time, you can slice the dough into individual cookies first, then arrange the slices on a baking sheet lined with parchment paper. Freeze them for about 30 minutes until solid, then transfer the frozen slices to a freezer-safe bag or container, separating layers with parchment paper to prevent sticking. This allows you to grab and bake just a few cookies whenever a craving strikes. Bake directly from frozen, adding a minute or two to the baking time.
- Freeze Baked Cookies: If you have leftover baked cookies or wish to prepare a large batch, you can freeze them too. Ensure the cookies are completely cooled. Arrange them in a single layer on a baking sheet and freeze until solid. Once frozen, transfer them to an airtight freezer-safe container or bag, placing parchment paper between layers to prevent them from sticking or breaking. Baked cookies can be frozen for up to 1 month. Thaw them at room temperature before serving.
Creative Serving and Gifting Ideas
Christmas Pinwheel Cookies are not only delicious to eat but also incredibly fun to serve and gift. Their vibrant colors and unique design make them perfect for enhancing any holiday presentation. Here are some ideas:
- Festive Platter: Arrange them artfully on a large white or holiday-themed platter, perhaps alongside other simple cookies like shortbread or gingerbread, to let their colors truly pop.
- Cookie Tins: Package them in decorative Christmas cookie tins or boxes. Layer with parchment paper to prevent sticking and breakage. These make fantastic hostess gifts or thoughtful presents for friends and neighbors.
- Pair with Drinks: Serve them with a warm mug of hot cocoa, a glass of cold milk, or a festive holiday punch. The simple flavors of the cookie complement these beverages beautifully.
- Cookie Exchange Showcase: If participating in a cookie exchange, these will undoubtedly be a standout. Present them on a small display plate, clearly labeling them for fellow bakers.
- Homemade Treat Bags: Place a few cookies in clear cellophane bags, tie with a festive ribbon, and attach a homemade gift tag. Perfect for school parties or small tokens of appreciation.
Common Pitfalls and How to Avoid Them
Even with an easy recipe, sometimes things can go slightly awry. Being aware of common baking pitfalls can help you avoid them and ensure your Christmas Pinwheel Cookies turn out perfectly every time:
- Over-mixing the Dough: As mentioned in the expert tips, over-mixing the dough after adding flour can develop too much gluten, leading to tough, chewy cookies instead of tender ones. Mix only until just combined.
- Insufficient Chilling: Not chilling the dough long enough is the most common reason for misshapen pinwheels or excessive spreading during baking. Cold dough holds its shape better. Don’t rush this step!
- Uneven Rolling: If your dough layers are not rolled to a consistent thickness, your pinwheel will be lopsided. Use a ruler or rolling pin guides to ensure evenness.
- Loose Rolling: A loosely rolled log will result in a less distinct, more open pinwheel pattern. Aim for a tight, firm roll to create those beautiful, swirling layers.
- Dull Knife for Slicing: Using a dull knife can squish and distort the pinwheel pattern. A sharp, thin knife will give you clean, crisp slices.
- Over-baking: Baking for too long will dry out the cookies and make them hard. Keep an eye on them; they should be lightly golden at the edges and set in the center.
- Colors Bleeding: While some minor bleeding can occur, especially if chilled for too long, excessive bleeding often comes from warm dough or insufficient chilling before slicing.
More Easy Christmas Cookie Recipes
If you’ve fallen in love with holiday baking, we have plenty more easy and delicious Christmas cookie recipes for you to explore. Expand your festive baking repertoire with these delightful options:
- Santa Cookies
- Christmas Cake Mix Cookies Recipe
- Gingerbread Kiss Cookies
- Christmas Cut Out Sugar Cookie Recipe
- Easy Grinch Cookies Recipe
- Eggnog Cookies
- Make sure you check out all our Christmas desserts too for even more festive inspiration.
We love hearing from you! If you make these festive Pinwheel Christmas Cookies, please make sure to leave us a comment below and share your experience. Your feedback helps us and other bakers in our community!
Christmas Pinwheel Cookies Recipe
Christmas pinwheel cookies are super easy to make and visually stunning. Perfect for holiday parties and cookie exchanges, these delightful cookies are sure to impress with their vibrant colors and tender texture.
Prep Time: 20 mins
Cook Time: 15 mins
Refrigerate: 2 hrs (minimum)
Total Time: 2 hrs 35 mins
Servings: 36 cookies
Cuisine: American
Course: Dessert
Calories: 109 kcal per cookie
Author: Carrie Barnard
Ingredients
- 3 Cups All-Purpose Flour
- 2 tsp Baking Powder
- 1 tsp Salt
- 1 cup Butter, Softened
- 1 cup Granulated Sugar
- 1 tsp Vanilla Extract
- 2 Large Eggs
- Red Gel Food Coloring
- Green Gel Food Coloring
- Christmas Sprinkles
Instructions
- In a mixing bowl, thoroughly whisk together the flour, baking powder, and salt. Set aside.
- In a separate large mixing bowl, using a stand mixer or hand-held mixer, cream together the softened butter and granulated sugar until light and fluffy. Beat in the eggs one at a time, then add the vanilla extract and mix until fully combined.
- Gradually add the dry flour mixture to the wet ingredients, mixing on low speed or by hand until just combined. Be careful not to overmix.
- Divide the dough evenly into two separate bowls.
- Add red food coloring to one bowl and green food coloring to the other. Stir each portion until the color is completely and uniformly incorporated.
- Wrap each colored dough ball separately in wax paper or plastic wrap and refrigerate for 30 minutes to 1 hour, or until the dough is firm.
- Remove the red dough from the refrigerator. Place it on a piece of parchment paper or wax paper, lightly dust with flour, and roll it out into a rectangle approximately ¼ inch thick.
- Repeat the same rolling process with the green dough, ensuring it’s also ¼ inch thick and a similar rectangular shape.
- Carefully place the green dough on top of the red dough, aligning the edges. Remove any top layer of parchment/wax paper.
- Gently roll a rolling pin over the layered dough to lightly press the two layers together.
- Starting from one long side, tightly roll the dough into a log, gently peeling off the bottom parchment or wax paper as you roll. If the dough becomes too soft, refrigerate it again briefly.
- Pour Christmas sprinkles onto a baking sheet. Gently roll the formed dough log in the sprinkles until generously coated on all sides.
- Wrap the entire sprinkle-coated log tightly in plastic wrap and refrigerate for another 30 minutes to 1 hour to firm up the dough and set the sprinkles.
- Preheat your oven to 350°F (175°C). Line baking sheets with parchment paper.
- Remove the chilled log from the refrigerator, unwrap it, and use a sharp knife to cut it into ¼-inch thick slices.
- Place the cookie slices on the prepared baking sheets, leaving about 2 inches between each cookie.
- Bake for 12-15 minutes, or until the edges are lightly golden and the centers are set.
- Remove from the oven and let cool on the baking sheet for 5 minutes before transferring to a wire rack to cool completely.
- Serve your beautiful Christmas Pinwheel Cookies and enjoy!
Nutrition Facts
Approximate values per cookie:
Calories 109 kcal, Carbohydrates 14g, Protein 1g, Fat 5g, Saturated Fat 3g, Cholesterol 23mg, Sodium 114mg, Potassium 44mg, Fiber 1g, Sugar 6g, Vitamin A 171IU, Calcium 16mg, Iron 1mg
