Indulge in the nostalgic delight of perfectly soft and chewy M&M Rice Krispie Treats – an irresistible no-bake dessert that brings a burst of color and fun to any occasion. Whether you’re planning a lively birthday bash, settling in for a cozy movie night, or simply craving a sweet and simple homemade snack, these gooey treats are incredibly easy to whip up. This beloved classic gets an exciting upgrade with the addition of everyone’s favorite candy-coated chocolates, making it a guaranteed crowd-pleaser for all ages.

We’re passionate about classic rice krispie treats, and this vibrant variation is particularly enjoyable to make. The inspiration for this recipe often sparks from those little bags of leftover M&M candies that seem to appear after holidays or parties. Instead of letting them linger in the pantry, transforming them into these delightful crispy squares is a brilliant idea. It’s a fantastic way to introduce a splash of color and extra chocolatey goodness to an already perfect no-bake dessert. If you love M&M’s, you might also enjoy our M&M Cookie Cake for another satisfying treat.
For those eager to master the art of the perfect Rice Krispie Treat, we’ve gathered the best tips and tricks to ensure your creations are always gooey, soft, and utterly delicious. Beyond this M&M version, our family adores experimenting with other easy no-bake options like Salted Caramel Rice Krispie Treats and rich Cookie Butter Rice Krispie Treats. Each variation offers a unique twist on the classic, showcasing the incredible versatility of this beloved cereal-based treat.
There’s something uniquely satisfying about homemade treats, and Rice Krispie treats are no exception. The freshness and customizable nature truly set them apart. Other beloved recipes include the rich and nutty Brown Butter Rice Krispie Treats, which add a sophisticated depth of flavor, and the festive Patriotic Rice Krispie Treats, perfect for holidays and celebrations. No matter the occasion, a batch of these chewy, colorful squares is sure to bring smiles.
Table of contents
- Why These M&M Rice Krispie Treats Are a Must-Try
- Simple Ingredients for Maximum Flavor
- Creative Recipe Variations and Customizations
- Step-by-Step Guide to Making M&M Rice Krispie Treats
- Stovetop Method: No Microwave, No Problem!
- Expert Tips for Flawless Rice Krispie Treats
- Frequently Asked Questions
- Serving and Storage Suggestions
- Explore More Easy Rice Krispie Treats
Why These M&M Rice Krispie Treats Are a Must-Try
These M&M Rice Krispie Treats effortlessly combine everything you adore about the classic recipe with the vibrant colors and delightful crunch of M&M candies. The result is a truly special sweet treat that’s both familiar and exciting. This recipe stands out not just for its incredible taste, but also for its sheer simplicity and budget-friendly nature. It’s the perfect dessert to make when you need something quick, impressive, and satisfying without breaking the bank or spending hours in the kitchen.
What makes this particular version so special is the playful addition of M&M’s. Each bite offers that signature crispy, gooey texture perfectly complemented by the chocolatey centers and candy shells of the M&M’s. It’s a dessert that appeals to both children and adults, making it an ideal choice for school parties, potlucks, family gatherings, or just a fun afternoon treat. We truly believe this is one of the best Rice Krispie Treat recipes you’ll ever encounter, consistently delivering that irresistible soft and chewy texture every time.
Simple Ingredients for Maximum Flavor
Creating these delightful M&M Rice Krispie Treats requires just a handful of common ingredients, making them an accessible and fuss-free dessert. The quality of these basic components plays a significant role in the final texture and taste of your treats.
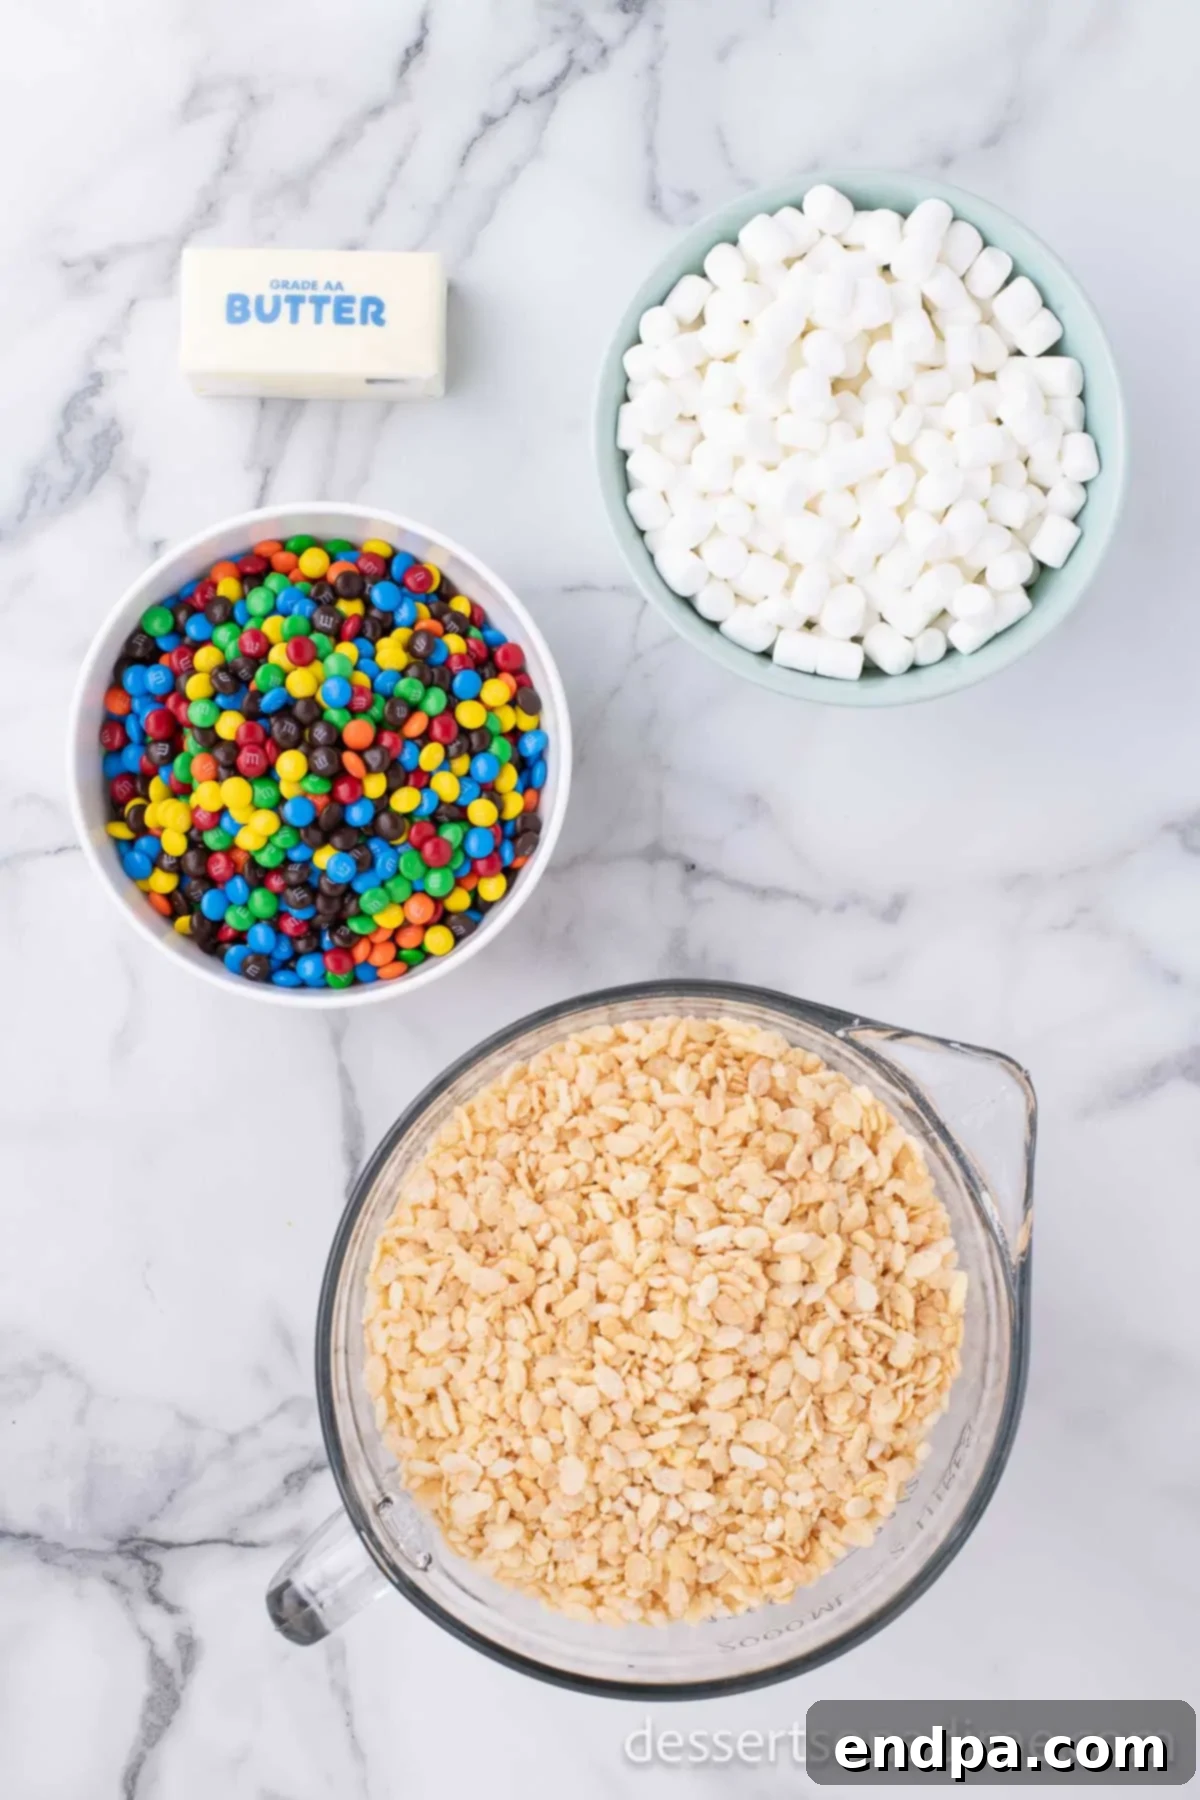
- Rice Krispie Cereal: The star of the show! Always ensure your crispy rice cereal is fresh. Stale cereal will result in a less satisfying crunch and can make the treats harder. Check the expiration date and store it in an airtight container to maintain its crispness.
- Salted Butter: While unsalted butter works, we highly recommend using salted butter for this recipe. The subtle saltiness perfectly balances the sweetness of the marshmallows and M&Ms, creating a more complex and incredibly delicious flavor profile that elevates the entire treat.
- Marshmallows: Fresh, soft marshmallows are key to achieving that signature gooey texture. We typically use a 10-ounce bag of standard mini marshmallows, but you can also use regular-sized marshmallows (you’ll need to melt them for slightly longer). For an extra special touch, you might even consider making your own Homemade Marshmallow Fluff, which can lend an even silkier, smoother consistency to the binder.
- Mini M&Ms: The mini size M&M’s are absolutely perfect for these treats as they distribute evenly and don’t overpower the crispy cereal. However, if you only have regular M&M’s on hand, feel free to use them! They will still add that wonderful color and chocolate kick.
You can find the precise measurements and the complete ingredient list in the detailed recipe card at the bottom of this page. Gathering these ingredients is the first exciting step towards making a batch of these delightful treats!
Creative Recipe Variations and Customizations
One of the best aspects of Rice Krispie Treats is how easily they can be customized. While the M&M version is fantastic on its own, don’t hesitate to get creative with these delightful variations to suit your taste or the occasion:
- Add Extra Chocolate: For the ultimate chocolate lover, drizzle the cooled treats with melted milk chocolate, dark chocolate, or white chocolate. You can even melt chocolate chips and use a fork to create an attractive zigzag pattern. Alternatively, mix in a handful of milk chocolate chips, semi-sweet chocolate chips, or chopped chocolate candy along with the M&Ms for an extra chocolate boost.
- Experiment with Marshmallow Sizes: While mini marshmallows melt quickly and evenly, feel free to use large marshmallows instead. Just remember they might take a little longer to melt completely. Ensure they are fully melted and smooth before adding the cereal.
- Fun Shapes with Cookie Cutters: Once the treats are set but still slightly warm and pliable, use your favorite cookie cutters to create fun shapes! Stars, hearts, or seasonal shapes can make these treats extra special for holidays or themed parties. Simply cut them out, and press any excess back into the pan to make more.
- Seasonal Food Coloring: Add a festive touch by incorporating food coloring into the melted marshmallow mixture. Green food coloring is perfect for St. Patrick’s Day or Christmas, while red food coloring works wonderfully for Valentine’s Day or other patriotic celebrations. A few drops will transform the entire batch into a colorful delight.
- Sprinkle on the Fun: Before the treats fully set, sprinkle them generously with your favorite sprinkles. Rainbow sprinkles are always a hit, but you can use themed sprinkles for birthdays, holidays, or specific events to add extra visual appeal and a tiny bit of crunch.
- A Pinch of Salt: For a delightful sweet and salty contrast, sprinkle a tiny bit of flaky sea salt over the top of the treats immediately after pressing them into the pan. This simple addition can really enhance the overall flavor and make them feel a bit more gourmet.
- Nut Butter Infusion: Swirl in a couple of tablespoons of peanut butter, almond butter, or any other nut butter into the melted marshmallow mixture before adding the cereal for a creamy, nutty twist.
- Candy Bar Mix-Ins: Chop up your favorite candy bars (like Snickers, Twix, or Reese’s Peanut Butter Cups) and gently fold them into the mixture along with the M&M’s for an even more decadent treat.
These variations prove that M&M Rice Krispie Treats are not just a simple snack, but a versatile canvas for your culinary creativity!
Step-by-Step Guide to Making M&M Rice Krispie Treats
Creating these delightful M&M Rice Krispie Treats is incredibly straightforward, and with our clear, step-by-step instructions, you’ll have a batch ready in no time. Precision in preparation and gentle handling are key to achieving that perfect gooey texture.
- Step 1 – Prepare Your Pan: First, take a 9×13 inch baking pan and generously spray it with a non-stick cooking spray. This crucial step prevents the sticky marshmallow mixture from adhering to the pan, making it much easier to spread and remove the treats later. You can also line the pan with parchment paper, leaving an overhang on the sides, which provides handles for easy lifting once the treats are set.
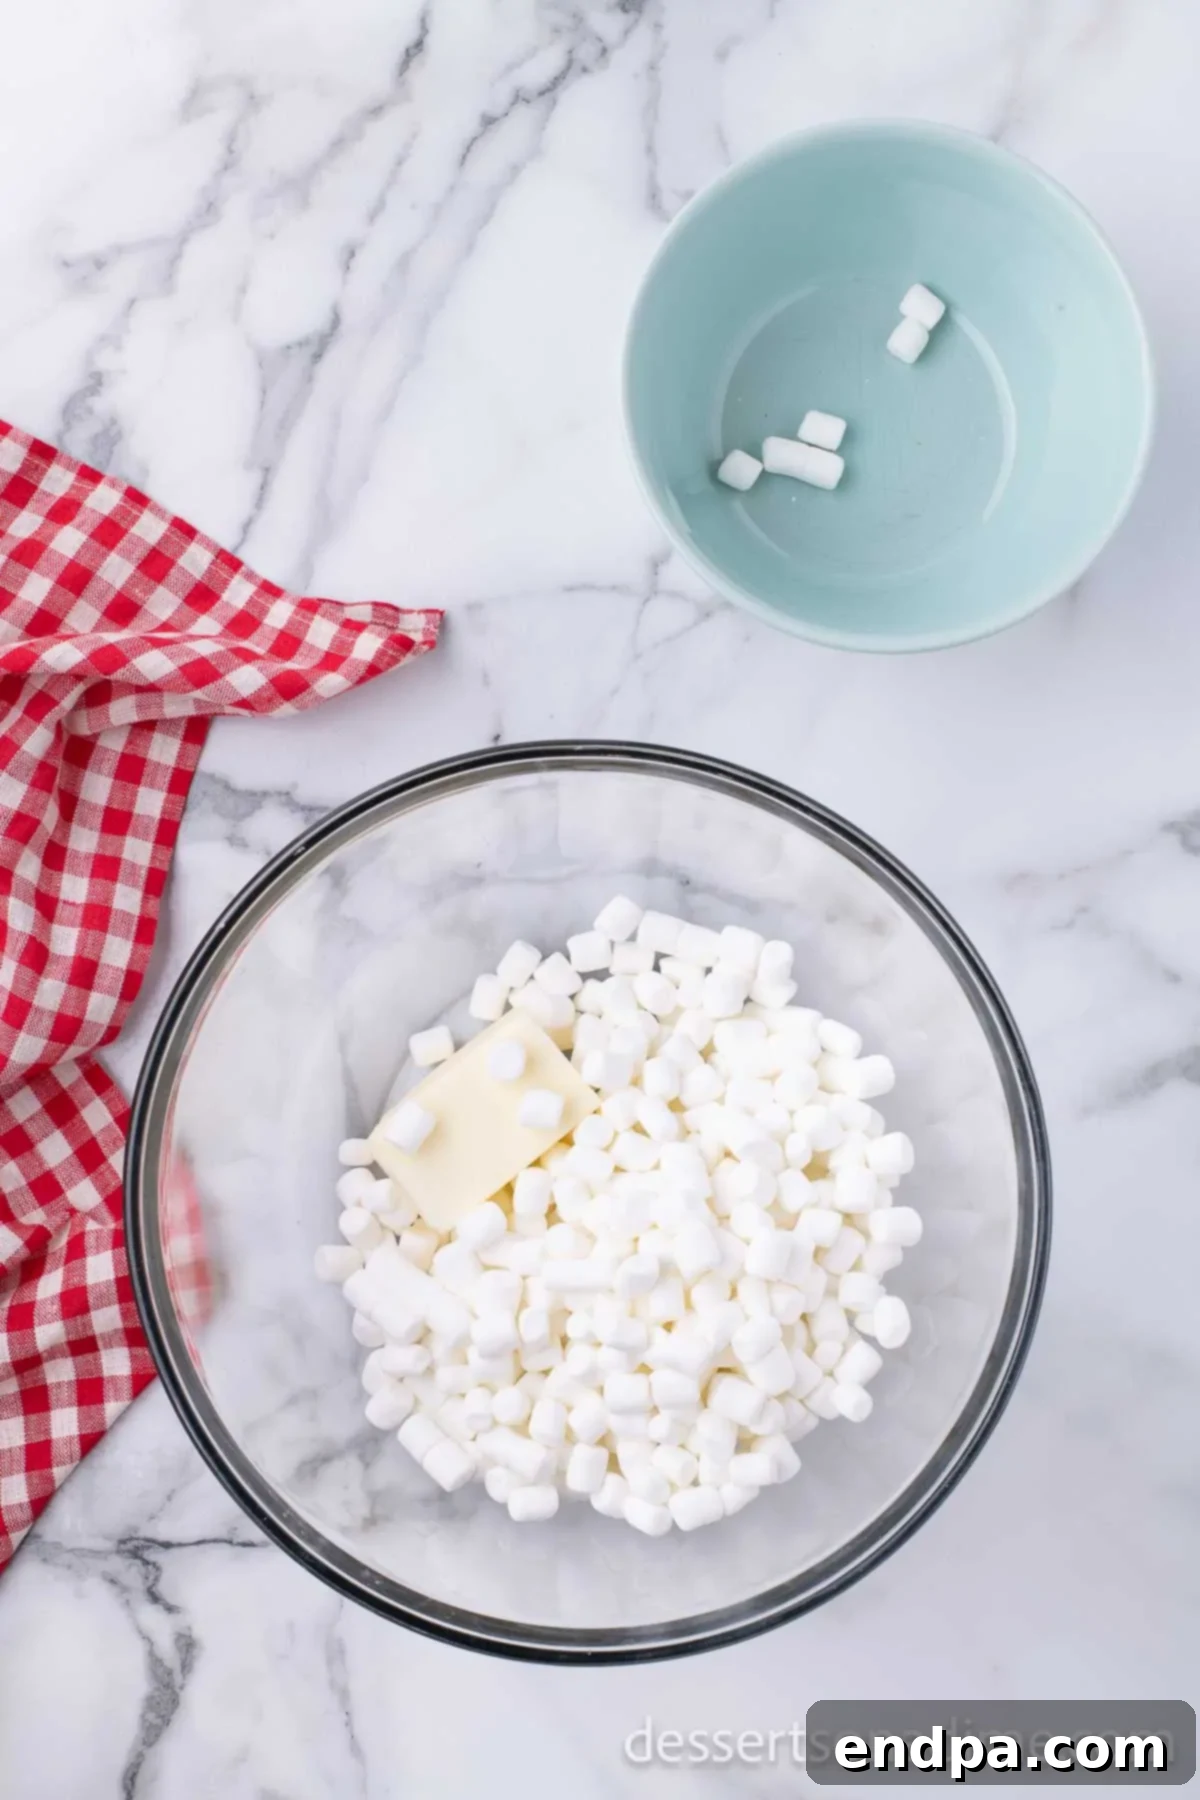
Step 2. Melt the Butter and Marshmallows: In a large, microwave-safe bowl, combine your salted butter and mini marshmallows. Heat this mixture in the microwave in short intervals – typically 30 seconds at a time. After each interval, remove the bowl and stir the mixture thoroughly with a rubber spatula. Continue this process until the butter and marshmallows are completely melted and form a smooth, gooey liquid. Be careful not to overheat, as this can make your treats hard.
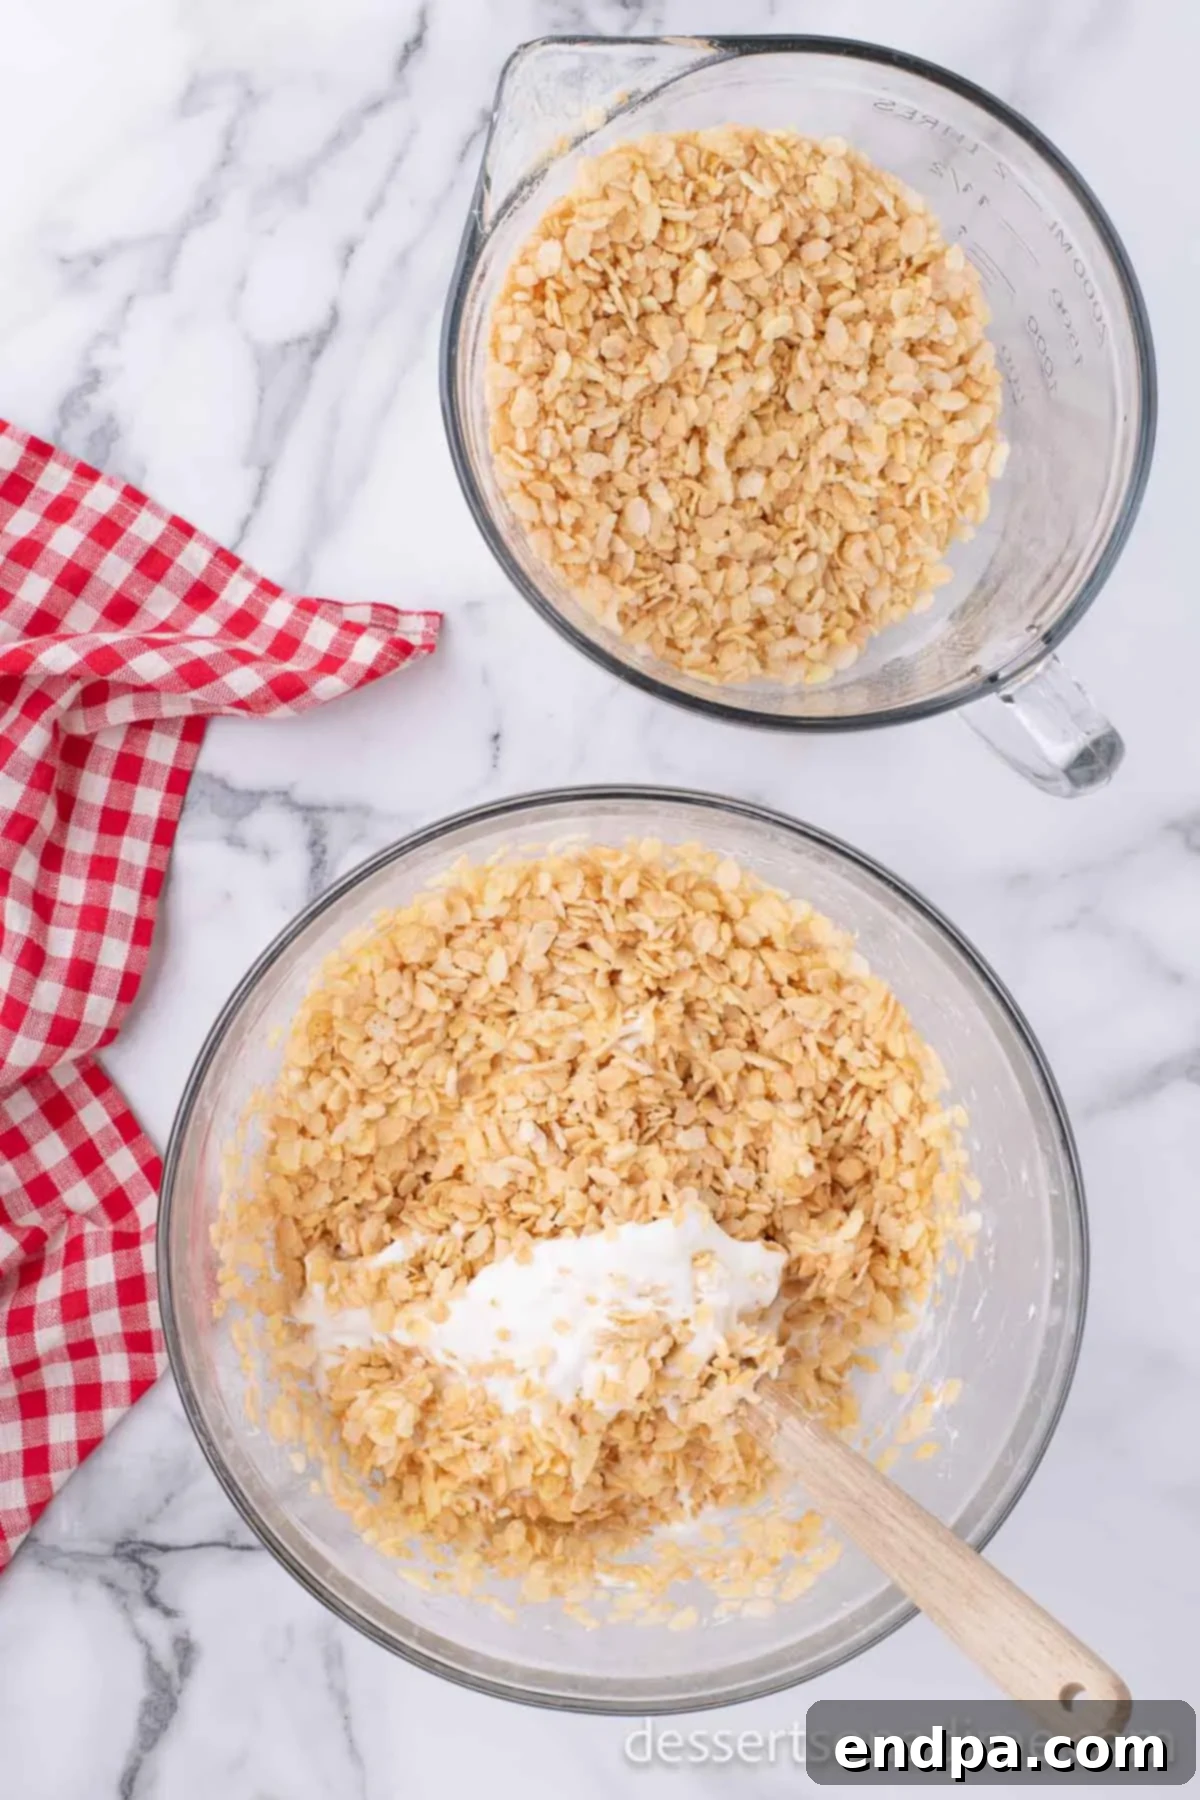
Step 3. Combine with Cereal and Cool: Once the marshmallow mixture is perfectly melted, add the Rice Krispie cereal to the bowl. Using your rubber spatula, mix until the cereal is thoroughly coated with the sticky marshmallow. Work quickly but gently to ensure even coating. After mixing, allow this warm mixture to sit at room temperature for about 5-8 minutes. This brief cooling period is essential because you don’t want the mixture to be too hot when you add the M&Ms, or they will melt and streak.
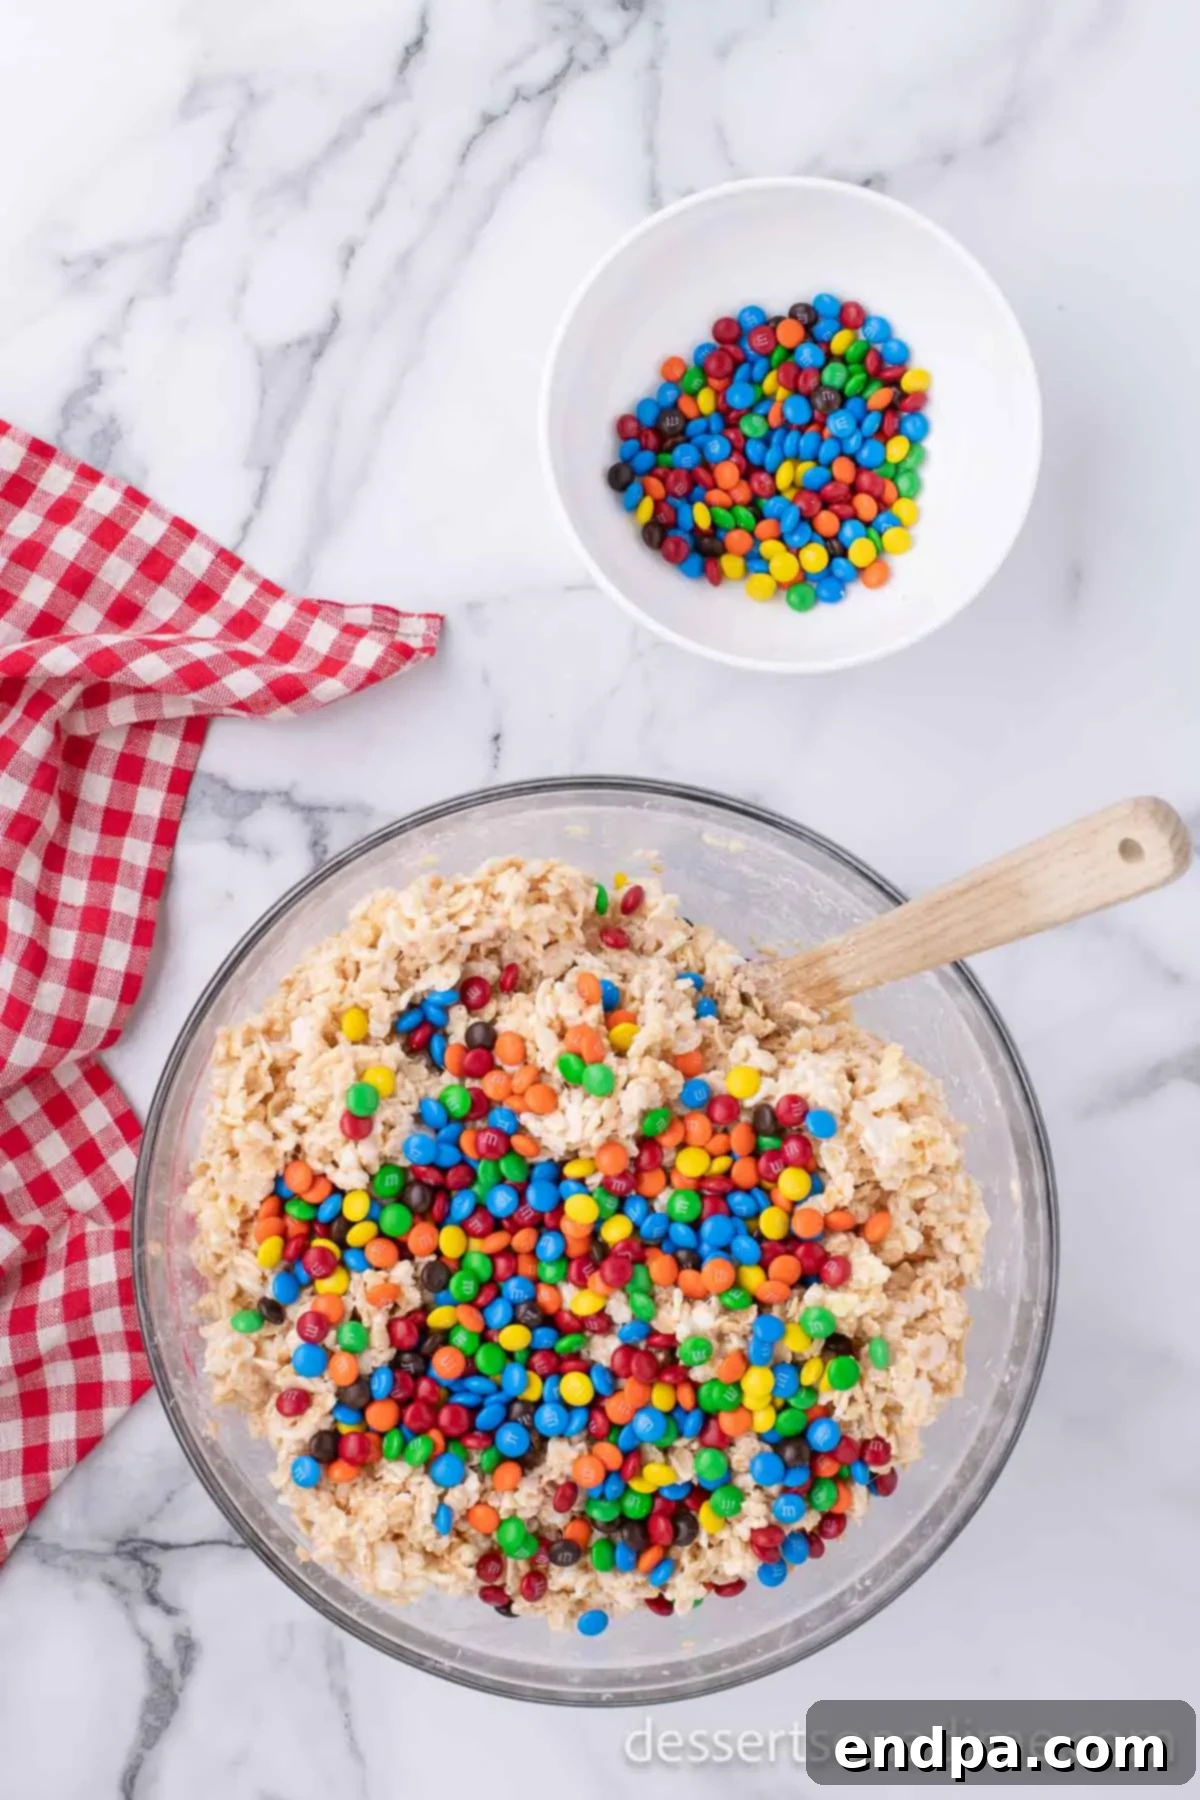
Step 4 – Gently Fold in M&M Candies: After the cereal mixture has cooled slightly, it’s time to add the mini M&M candies. Gently fold them into the mixture using your rubber spatula. The key here is to be very gentle and avoid overmixing. This technique ensures that the M&M’s retain their vibrant colors and don’t melt into the warm cereal, giving you beautiful, distinct candy pieces throughout your treats.
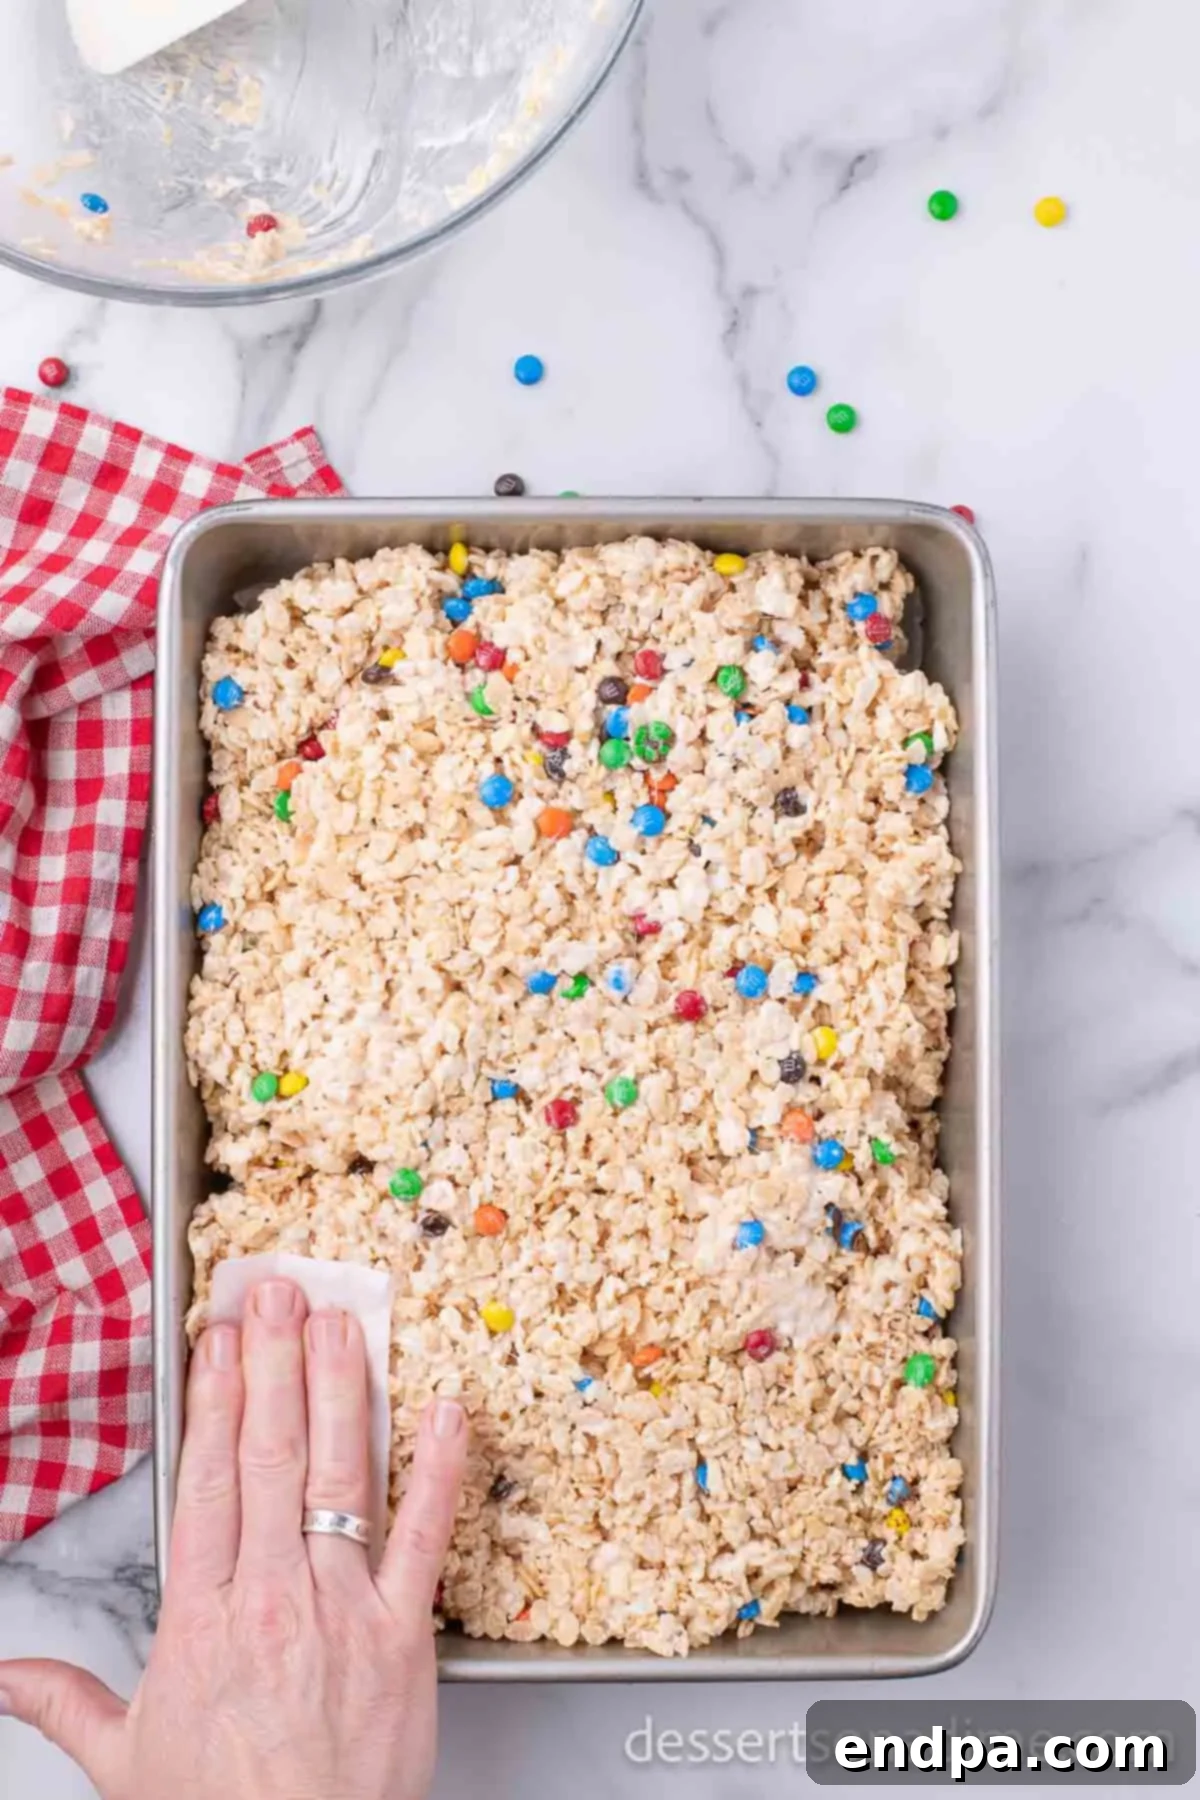
Step 5. Press into the Prepared Pan: Transfer the entire M&M Rice Krispie Treat mixture into your prepared 9×13 inch pan. To press the mixture evenly and firmly into the bottom of the pan without it sticking to your hands or spatula, use a piece of wax paper. Lightly spray one side of the wax paper with non-stick cooking spray, then place the sprayed side down over the mixture. Use your hands to gently and evenly press the treats down. Avoid pressing too hard, as this can result in dense, hard treats instead of soft, gooey ones.
Stovetop Method: No Microwave, No Problem!
Don’t have a microwave, or simply prefer using the stovetop? No problem at all! These delicious M&M Rice Krispie Treats can be easily prepared using a traditional stovetop method. This approach gives you excellent control over the melting process, ensuring a perfectly smooth marshmallow base.
- In a large, heavy-bottomed saucepan, melt the butter over low heat. It’s crucial to keep the heat low to prevent the butter from browning too quickly or scorching.
- Once the butter is mostly melted, add the marshmallows to the saucepan. Continue to heat on low, stirring constantly with a rubber spatula or wooden spoon. The goal is to melt the marshmallows slowly and evenly until they are completely smooth and combined with the butter. Avoid increasing the heat, as high heat will caramelize the sugars in the marshmallows, leading to hard, tough treats.
- As soon as the mixture is fully melted and smooth, immediately remove the saucepan from the heat.
- Pour the melted marshmallow and butter mixture over the Rice Krispie cereal in a separate, large mixing bowl.
- Stir quickly and thoroughly to ensure all the cereal is evenly coated. Allow the mixture to cool for 5-8 minutes before gently folding in the M&M’s to prevent them from melting.
- Finally, press the mixture evenly into your prepared 9×13 inch baking dish. Allow to cool completely before slicing, serving, and enjoying your perfectly made stovetop treats!
Expert Tips for Flawless Rice Krispie Treats
Achieving that iconic soft, gooey, and utterly delicious M&M Rice Krispie Treat every time is easier with a few expert tips. Follow these guidelines for consistently perfect results:
- Allow to Cool Completely: Patience is a virtue when it comes to Rice Krispie Treats. While tempting to dig in immediately, allowing them to cool completely at room temperature before slicing will help them set properly and develop their ideal chewy texture.
- Proper Storage for Freshness: Store your M&M Rice Krispie Treats in an airtight container at room temperature. When stored correctly, they will maintain their freshness and deliciousness for about 3-4 days. For optimal texture, aim to consume them within the first two days.
- Stovetop Heat Control: If you opt for the stovetop method, always cook the butter and marshmallows over very low heat. High heat can quickly overcook the marshmallows, causing them to become brittle and sugary once cooled, resulting in hard or tough treats instead of the desired soft and gooey ones. Stir constantly to ensure even melting.
- Avoid Refrigeration: A common mistake is storing Rice Krispie Treats in the refrigerator. The cold temperature causes the marshmallows to firm up significantly, leading to hard, brick-like treats. They are truly best when left to cool and stored at room temperature, preserving their signature gooey and delicious consistency.
- Pan Size Matters: For thick, substantial Rice Krispie Treats, a 9×13 inch baking pan is ideal. This size yields generously sized squares. If you prefer a smaller batch or thinner treats, you can easily half the recipe and prepare it in a 9×9 inch pan.
- Parchment Paper for Easy Removal: For exceptionally easy removal and cleanup, line your baking pan with parchment paper before spraying with non-stick spray. Leave an overhang on the sides so you can simply lift the entire slab of treats out of the pan once they’ve set, making slicing a breeze.
- Gentle Pressing is Key: When pressing the mixture into the prepared pan, use a light, gentle hand or a piece of sprayed wax paper/spatula. Avoid compacting the mixture too firmly, as this can squeeze out air and result in dense, hard treats. A gentle, even press is all that’s needed to ensure they hold together while retaining their soft texture.
- Don’t Overmix the Cereal: Once the cereal is added to the melted marshmallows, mix just until it’s evenly coated. Overmixing can crush the cereal pieces, compromising their crispness and texture.
Frequently Asked Questions
Even for a seemingly simple recipe like Rice Krispie Treats, questions can arise. Here are answers to some of the most common inquiries to help you master this delightful dessert:
The primary piece of equipment you’ll need is a sturdy 9×13 baking dish. This size ensures you get generously sized, thick treats. Using a dish with a lid is particularly convenient if you plan on transporting your treats to a party or potluck, or for easy storage.
There are a couple of common culprits for crumbly Rice Krispie Treats. The most frequent reason is using too many marshmallows. While it might seem counterintuitive, an excessive amount of marshmallows can make the treats too soft and sticky initially, but once they cool, they lack the structural integrity to hold together and will fall apart easily. We strongly recommend adhering strictly to the recipe’s specified marshmallow amount to ensure the correct balance. Another reason could be using too much cereal relative to the marshmallow mixture. This results in a dry mixture that doesn’t have enough binder to hold the cereal together, causing it to crumble.
The most common reason for hard Rice Krispie Treats is overheating the butter and marshmallow mixture. When marshmallows are cooked at too high a temperature or for too long, their sugar content caramelizes and becomes brittle upon cooling. It’s crucial to watch the mixture closely during the melting process, whether in the microwave or on the stovetop. Heat only until just melted and smooth, stirring frequently, and then remove from heat immediately.
To maintain their signature gooey and delicious texture, never store Rice Krispie Treats in the refrigerator. The cold temperature will make them hard. Instead, allow them to cool completely at room temperature, then cover them tightly with plastic wrap or place them in an airtight container. Stored this way at room temperature, they will remain fresh and enjoyable for up to 5 days, though they are often best within the first 2-3 days.
Yes, you can freeze Rice Krispie Treats! While we personally prefer them fresh for the ultimate soft and gooey experience, freezing them is a great option for meal prepping snacks or storing leftovers. To freeze, wrap individual treats tightly in plastic wrap, then place them in an airtight freezer-safe bag or container. They can be frozen for up to 6 weeks. Thaw them at room temperature for several hours before serving. For a more detailed guide on the process, refer to our article on Can You Freeze Rice Krispie Treats.
Serving and Storage Suggestions
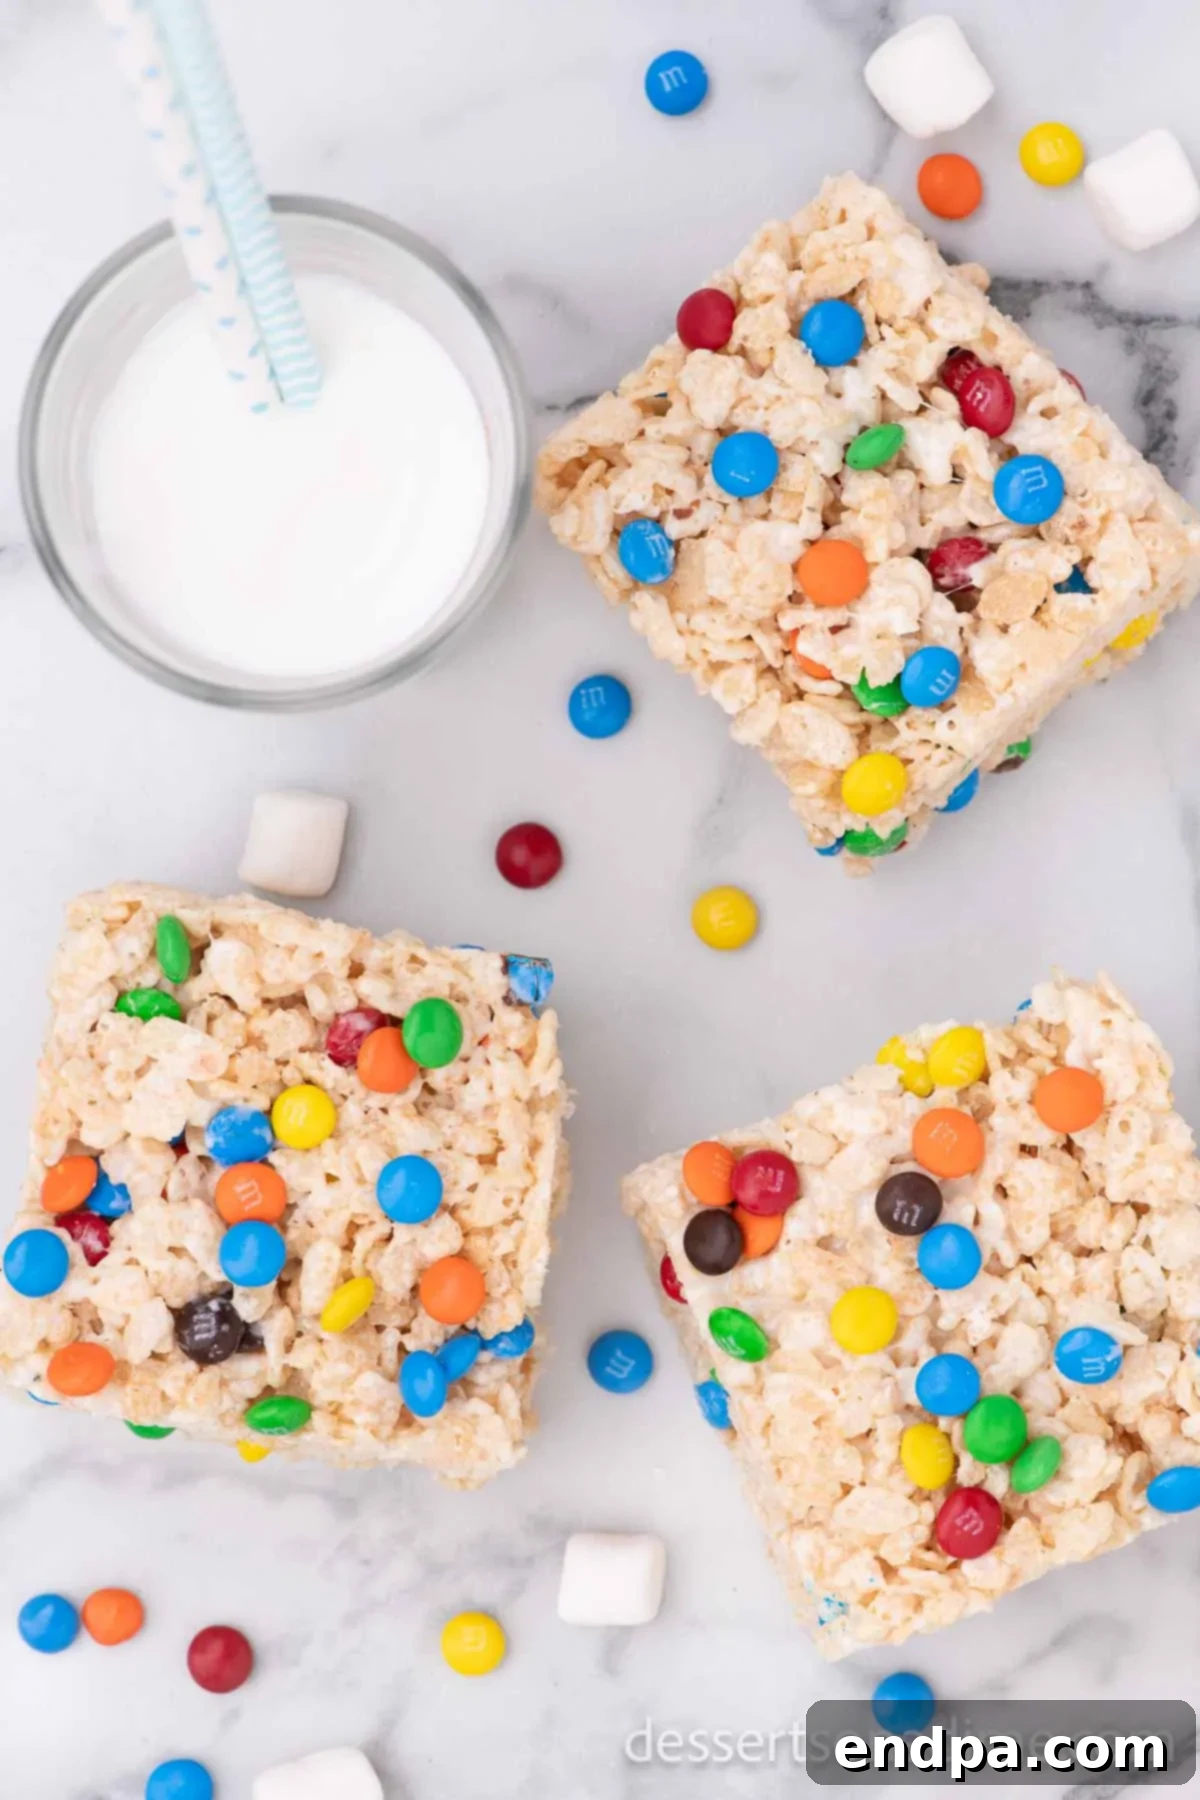
Once your M&M Rice Krispie Treats have fully cooled and set, they are ready to be sliced and served! For neat squares, use a sharp knife that has been lightly sprayed with non-stick spray, or run under hot water and wiped clean between cuts, to prevent sticking. These treats are perfect on their own as a simple dessert or snack.
For parties and gatherings, arrange them on a festive platter. Their vibrant colors make them a visually appealing addition to any dessert table. Consider placing them in mini cupcake liners for individual servings, making them easier to pick up and enjoy.
As reiterated, proper storage is crucial for maintaining their soft and gooey texture. Always store them at room temperature in an airtight container. If you stacked them, you might want to place a piece of wax paper between layers to prevent them from sticking together. Avoid direct sunlight or warm environments, which can cause the M&Ms to melt or the treats to become too soft. Enjoying them within a few days ensures the best possible experience!
Explore More Easy Rice Krispie Treats
If you’ve enjoyed these M&M Rice Krispie Treats, you’ll be thrilled to discover the endless possibilities that await with other easy variations. The versatility of Rice Krispie Treats means you can create a new flavor adventure for every craving or occasion. Here are some of our other favorite recipes you simply must try:
- Neapolitan Rice Krispie Treats: Enjoy the classic trio of chocolate, vanilla, and strawberry in one delightful square.
- Chocolate Rice Krispie Treats: For serious chocolate lovers, these treats are infused with rich cocoa for an indulgent twist.
- Peanut Butter Rice Krispie Treats: A creamy, nutty version that’s incredibly satisfying and packed with flavor.
- Strawberry Rice Krispie Treats: A fruity and fun option, perfect for spring or summer gatherings.
- Chocolate Chip Rice Krispie Treats: The timeless combination of crispy cereal and classic chocolate chips.
- Oreo Rice Krispie Treats: Crushed Oreo cookies mixed into the marshmallow base make for an irresistible cookies-and-cream treat.
Each of these recipes offers a unique flavor profile while retaining the beloved soft and chewy texture that makes Rice Krispie Treats a timeless favorite. Get ready to expand your repertoire of easy, no-bake desserts!
M&M Rice Krispie Treats
Ingredients
- 12 cups Rice Krispie Cereal
- 6 Tablespoons Butter
- 10 ounce package of Marshmallows
- 1 10 oz bag of mini m&ms
Instructions
- Spray a 9X13 pan with a non-stick cooking spray.
- Melt the butter and marshmallows in a large microwave safe bowl. Heat it in 30 second increments and stir between each one until fully meted.
- Once it’s melted, mix in the Rice Krispie cereal until completely coated. Allow this mixture to set up room temperature for 5-8 minutes to cool slightly.
- Fold in the mini m&ms gently so that they don’t melt.
- Spread evenly into the prepared pan. Use a piece of wax to press the Rice Krispies into the bottom of the pan. I spray the wax paper with a non-stick spray so that it doesn’t stick to the wax paper.
- Allow to cool completely before serving. Slice, serve and enjoy!
- *You can make half of this batch for thinner rice krispie treats. We love thick rice krispie treats!
- *Do not store in the refrigerator. They are best left to cool at room temperature so that the remain gooey and delicious!
Nutrition Facts
Pin This Now to Remember It Later
Pin Recipe
