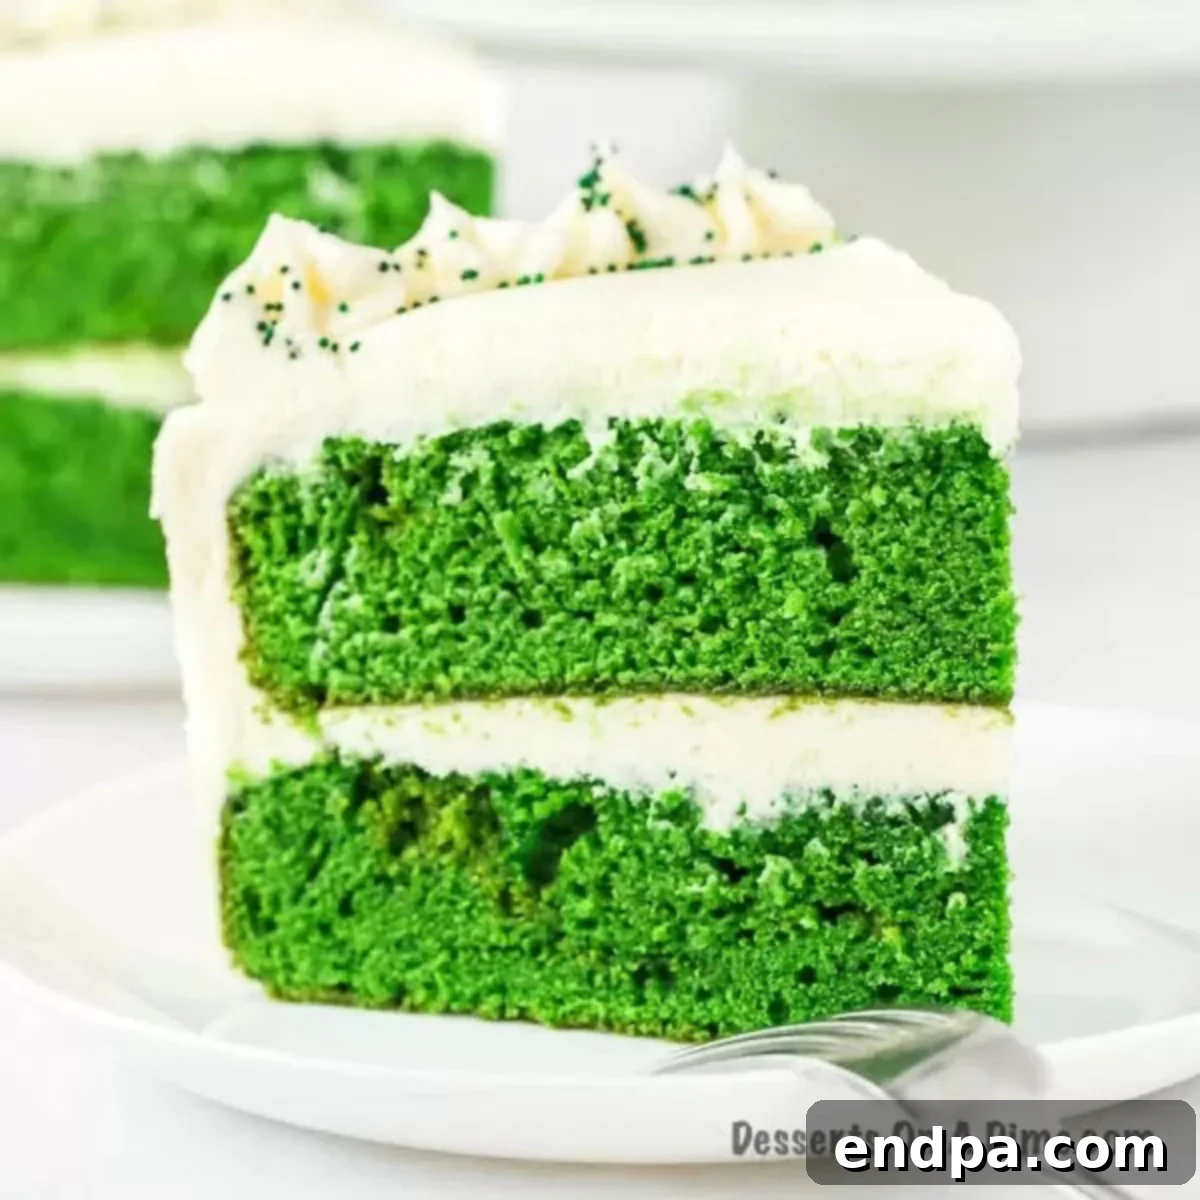
Green Velvet Cake is more than just a dessert; it’s a vibrant celebration on a plate, offering a unique twist on the beloved classic red velvet. This recipe provides an incredibly easy way to bake this stunning cake from scratch, culminating in moist, emerald-hued layers perfectly complemented by a rich, tangy cream cheese frosting. Whether you’re planning a festive St. Patrick’s Day gathering or simply craving a beautifully delicious homemade treat, this cake promises to impress with its striking appearance and exquisite flavor profile.
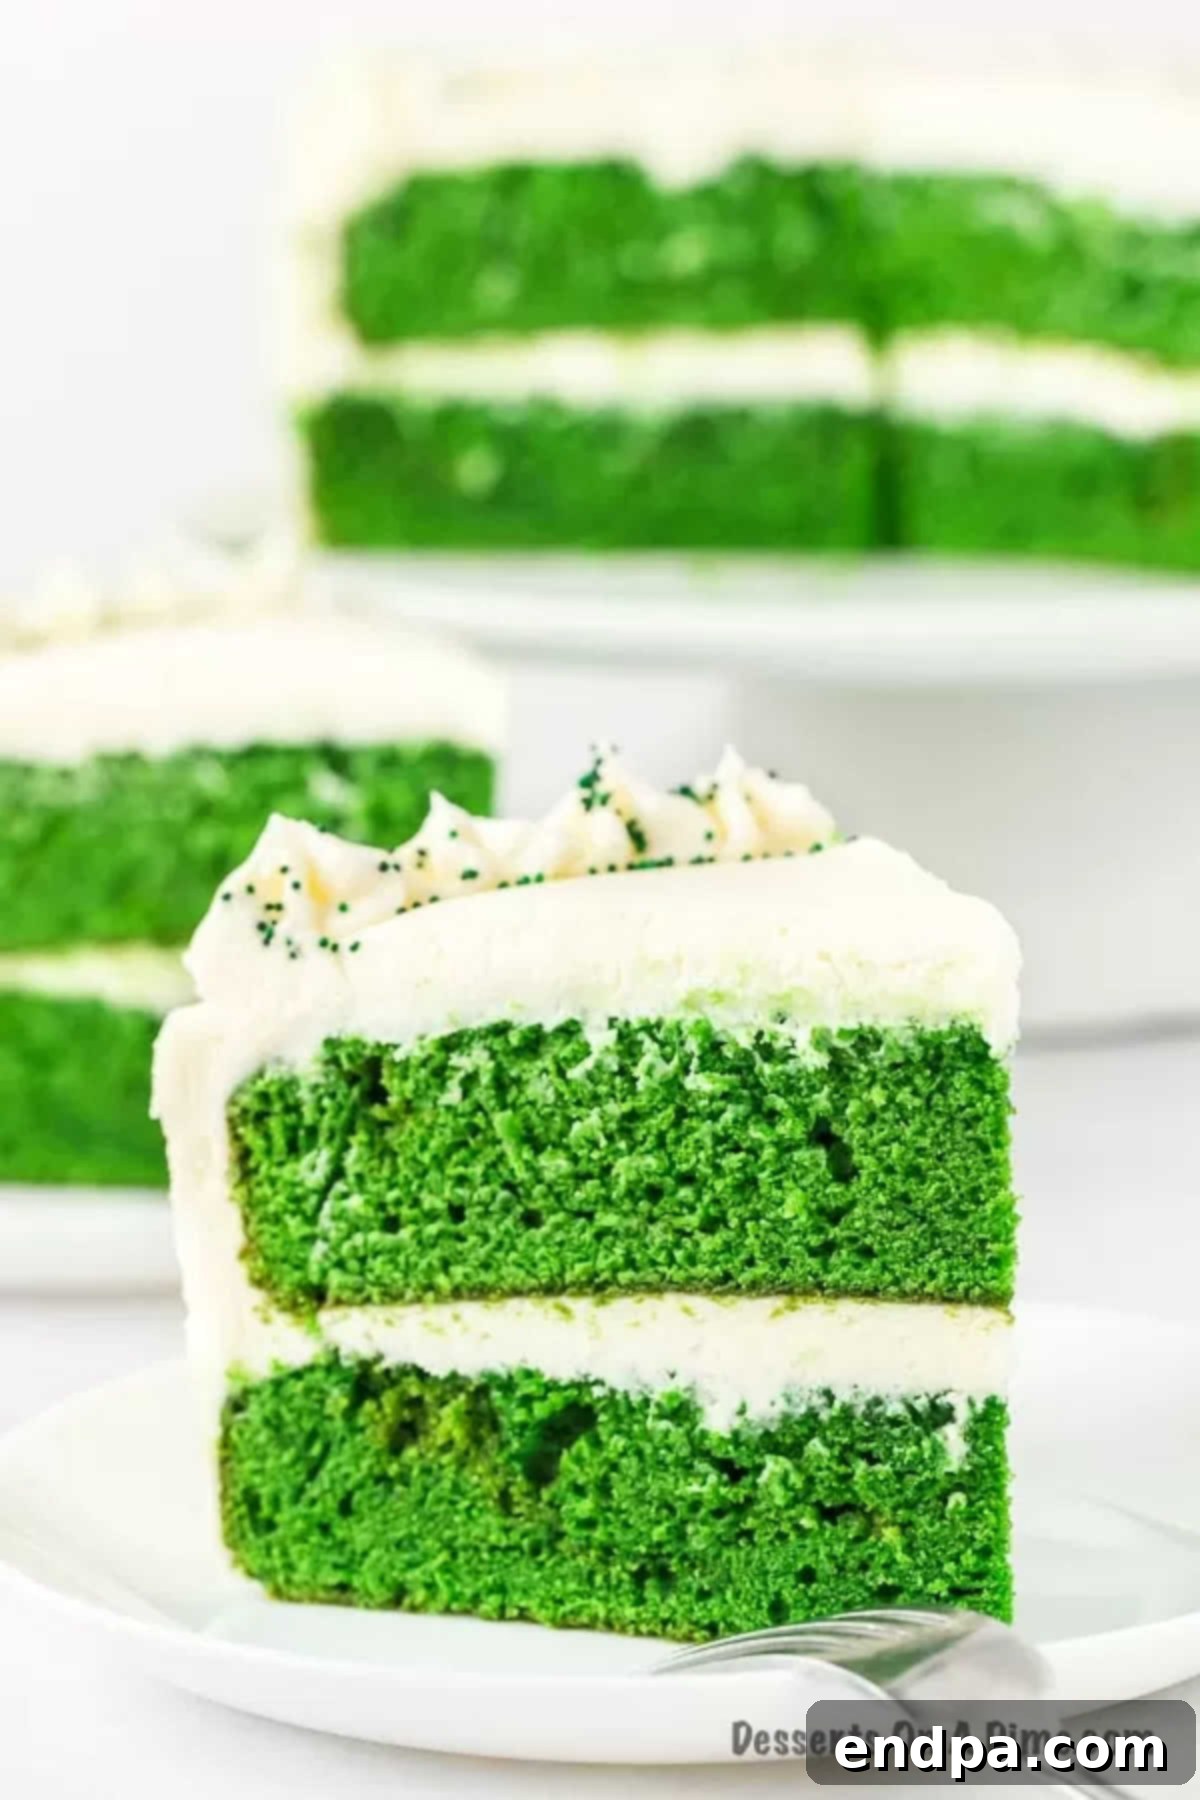
The beauty of this Green Velvet Cake lies not only in its striking visual appeal but also in its familiar and comforting taste. It offers the same delicate cocoa notes and signature “velvet” texture you’d expect from a traditional Red Velvet Cake, but with a cheerful green hue that makes it stand out. Each bite reveals a tender crumb and luscious layers of creamy icing, making it an instant favorite for any occasion.
Crafting a homemade cake might seem daunting, but this recipe is designed for simplicity without compromising on spectacular results. The directions are straightforward, making it an excellent choice for bakers of all skill levels. If you enjoy this vibrant dessert, you might also love our Green Velvet Cupcakes Recipe for a bite-sized indulgence. Prepare to delight your family and friends with this moist, flavorful, and incredibly gorgeous cake.
Looking for more holiday inspiration? Don’t forget to save our Christmas Cranberry Cake Recipe for upcoming festive seasons!
Table of Contents
- What is Green Velvet Cake All About?
- The Secret to That “Velvet” Texture
- Essential Ingredients for Your Green Velvet Masterpiece
- For the Moist Cake Layers
- For the Decadent Cream Cheese Frosting
- Step-by-Step Guide to Baking Green Velvet Cake
- Assembling Your Stunning Green Velvet Cake
- Storage Tips for Freshness
- Pro Baking Tips for Green Velvet Cake Success
- Frequently Asked Questions About Green Velvet Cake
- More St. Patrick’s Day Desserts to Explore
- More Easy Cake Recipes to Try
What is Green Velvet Cake All About?
Green Velvet Cake is essentially a vibrant, emerald-colored variant of the classic Red Velvet Cake. While red velvet gets its distinctive hue from a generous amount of red food coloring (and traditionally, a reaction between cocoa and acidic ingredients), green velvet achieves its signature color using green gel food coloring. Beyond the color, all the delightful characteristics that make red velvet so popular are present: a tender, moist crumb, a subtle hint of cocoa, and the quintessential tangy cream cheese frosting.
This cake is particularly popular for holidays like St. Patrick’s Day, where its green color perfectly matches the festive theme. However, its deliciousness transcends seasonal relevance, making it a fantastic choice for birthdays, potlucks, or any time you want a show-stopping dessert that tastes as good as it looks.
The Secret to That “Velvet” Texture
The term “velvet” in cake names refers to the incredibly smooth, soft, and fine crumb texture. This is achieved through a combination of specific ingredients and techniques:
- Acid and Baking Soda: A crucial chemical reaction occurs between acidic ingredients like buttermilk and the baking soda. This reaction not only helps the cake rise but also contributes to the tender, airy texture and keeps the crumb from becoming dense.
- Cocoa Powder: While red velvet cakes famously used a small amount of cocoa to react with acidic ingredients, modern recipes for both red and green velvet cakes use cocoa primarily for its subtle chocolate flavor, which is a hallmark of these desserts. It’s not meant to be a rich chocolate cake, but rather a cake with a hint of chocolate.
- Cake Flour: Using low-protein cake flour instead of all-purpose flour significantly contributes to the tender, fine crumb that gives velvet cakes their signature texture.
Understanding these elements is key to appreciating why green velvet cake has such a unique and beloved texture that distinguishes it from other cake varieties.
Essential Ingredients for Your Green Velvet Masterpiece
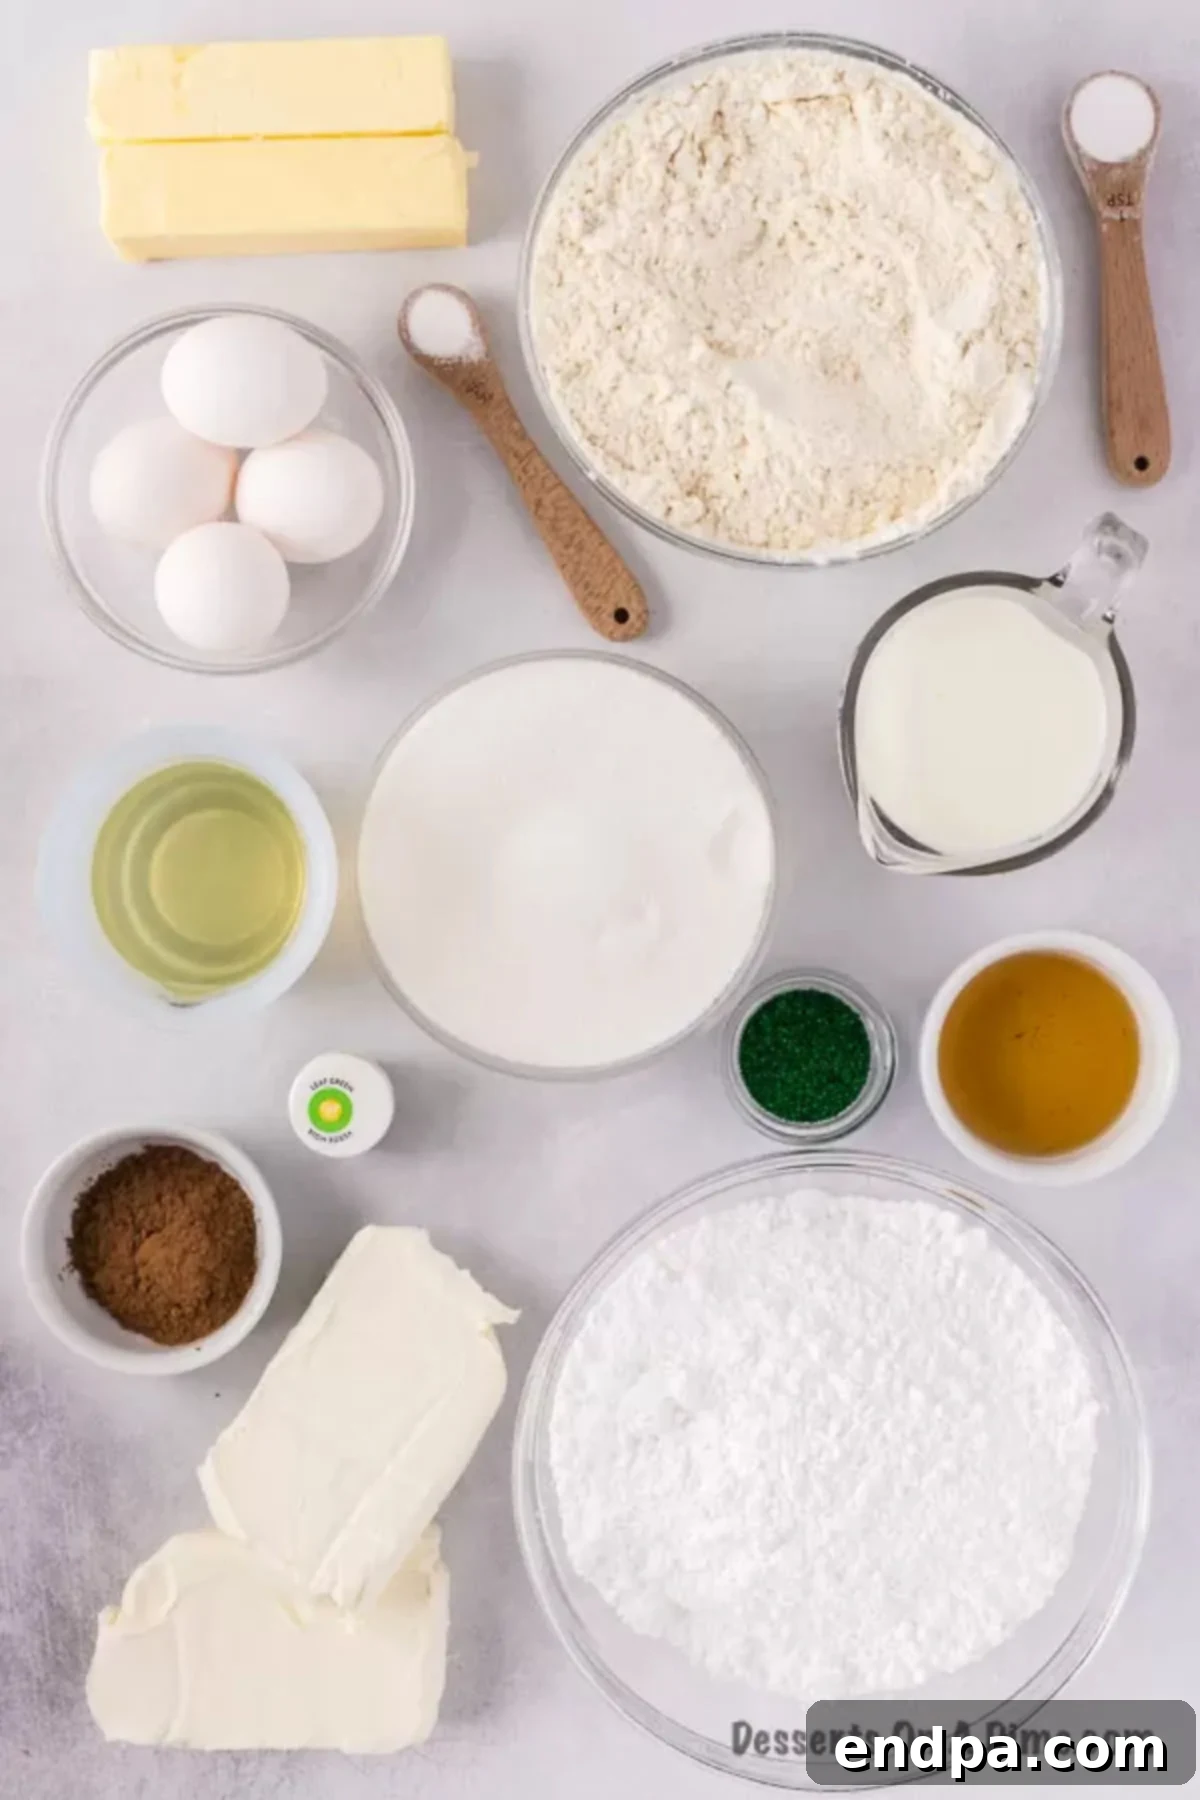
Gathering your ingredients and having them at room temperature is the first step to a successful baking experience. Here’s a detailed look at what you’ll need and why each component is vital:
For the Moist Cake Layers
- Cake Flour: The cornerstone of a truly “velvet” texture. Its lower protein content results in a softer, more tender crumb compared to all-purpose flour. If you don’t have it, you can make your own cake flour using all-purpose flour and cornstarch.
- Cocoa Powder: Provides the classic, subtle chocolate flavor that defines velvet cakes. Opt for unsweetened cocoa powder to control the sweetness and achieve the intended flavor balance.
- Baking Soda: This leavening agent works in tandem with the acidic buttermilk to create lift and that characteristic tender texture. It’s crucial for the “velvet” effect. You can learn about baking soda substitutes if needed.
- Salt: A pinch of salt enhances all the other flavors, balancing the sweetness and deepening the cocoa notes.
- Butter: Softened at room temperature, butter adds rich flavor and contributes to the cake’s moistness. Ensure it’s truly soft for proper creaming with sugar.
- Granulated Sugar: Sweetens the cake and helps create a tender texture by interfering with gluten development.
- Vegetable Oil: Unlike butter, oil remains liquid at room temperature, contributing significantly to a cake’s lasting moistness and tender crumb. It helps keep the cake from drying out.
- Large Eggs: Provide structure, richness, and moisture. Separating them and whipping the whites adds air, contributing to the light, airy texture.
- Vanilla Extract: Use pure vanilla extract for the best flavor, complementing the subtle cocoa.
- Green Gel Food Coloring: Gel food coloring is preferred over liquid as it provides vibrant, concentrated color without adding excess moisture to the batter, which can alter the cake’s consistency. You can adjust the amount to achieve your desired shade of green.
- Buttermilk: Absolutely essential for the velvet texture and a slight tangy flavor. If you don’t have it, you can easily make your own buttermilk substitute by adding a tablespoon of vinegar or lemon juice to regular milk and letting it sit for 5-10 minutes.
For the Decadent Cream Cheese Frosting
- Cream Cheese: Softened at room temperature, this is the star of the frosting, providing its signature tangy flavor and creamy texture. Using full-fat cream cheese yields the best results.
- Unsalted Butter: Also softened to room temperature, butter adds richness and structure to the frosting.
- Powdered Sugar: Sifted powdered sugar (confectioners’ sugar) is vital for a smooth, lump-free frosting. Add it gradually to achieve the desired consistency and sweetness.
- Vanilla Extract: Enhances the flavor of the cream cheese and butter, adding a delightful aroma.
- Green Sprinkles: An optional but highly recommended touch for a festive appearance, especially for St. Patrick’s Day or other green-themed celebrations.
Step-by-Step Guide to Baking Green Velvet Cake
Follow these detailed instructions to bake your way to a perfect Green Velvet Cake. Precision and patience are your best friends in the kitchen!
Preparing Your Workspace and Pans
- Step 1: Preheat the Oven. Begin by preheating your oven to 350 degrees F (175°C). This ensures the oven is at a consistent temperature when the cakes go in, promoting even baking.
- Step 2: Prepare the Cake Pans. This recipe uses two 9-inch cake pans. Thoroughly grease each pan with butter or cooking spray, then dust with flour, tapping out any excess. This creates a non-stick surface, ensuring your cakes release easily. Alternatively, you can line the bottoms with parchment paper for extra assurance, then grease and flour the sides. Using 8-inch pans is also an option, but bake time may slightly increase.
Crafting the Cake Batter
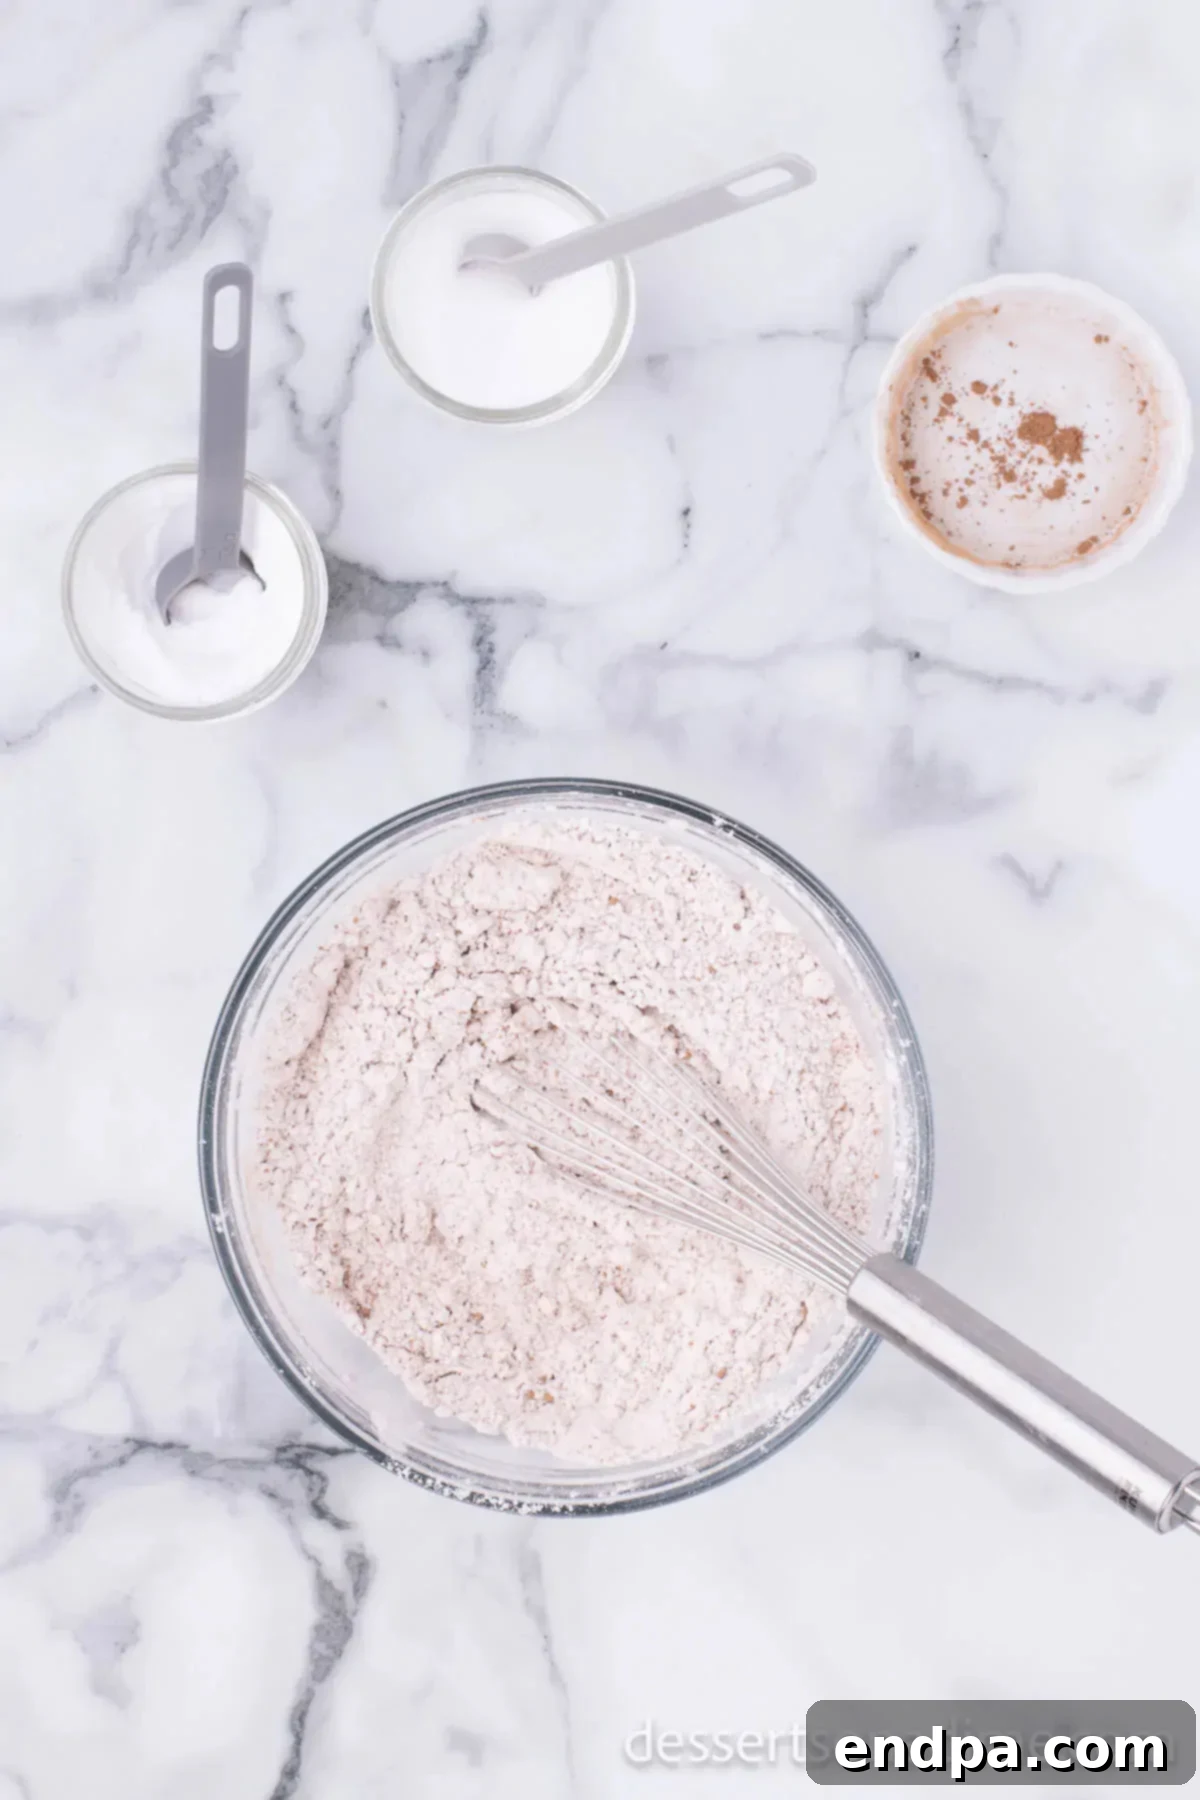
Step 3: Combine Dry Ingredients. In a medium-sized bowl, whisk together the cake flour, baking soda, salt, and cocoa powder. Whisking ensures these ingredients are evenly distributed, preventing lumps and promoting uniform rising.
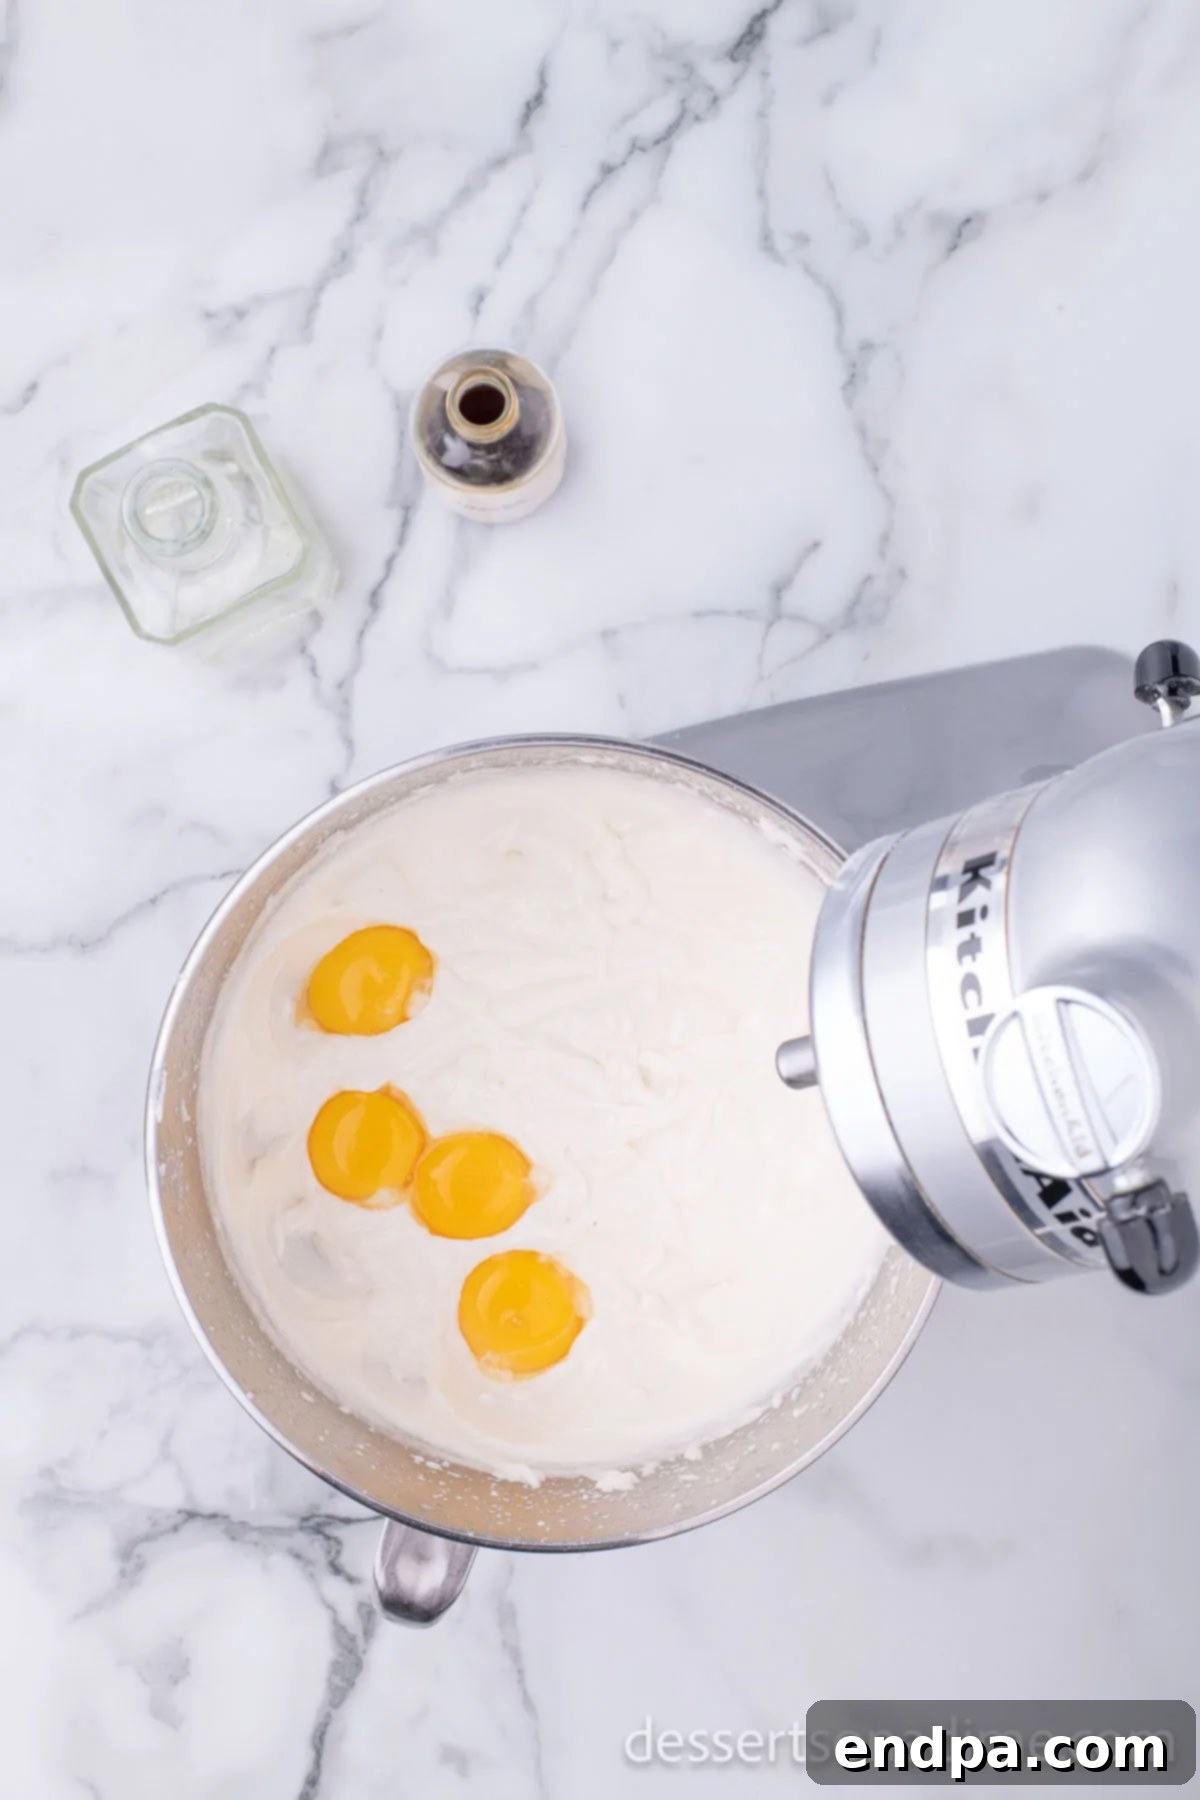
Step 4: Cream Wet Ingredients. In a separate large mixing bowl, beat the softened butter and granulated sugar together until light and fluffy, about 2-3 minutes. This creaming process incorporates air, which is essential for a tender cake. Then, add the vegetable oil, egg yolks (reserving the egg whites for later), and vanilla extract. Mix until these ingredients are well combined, scraping down the sides of the bowl with a spatula to ensure everything is incorporated.
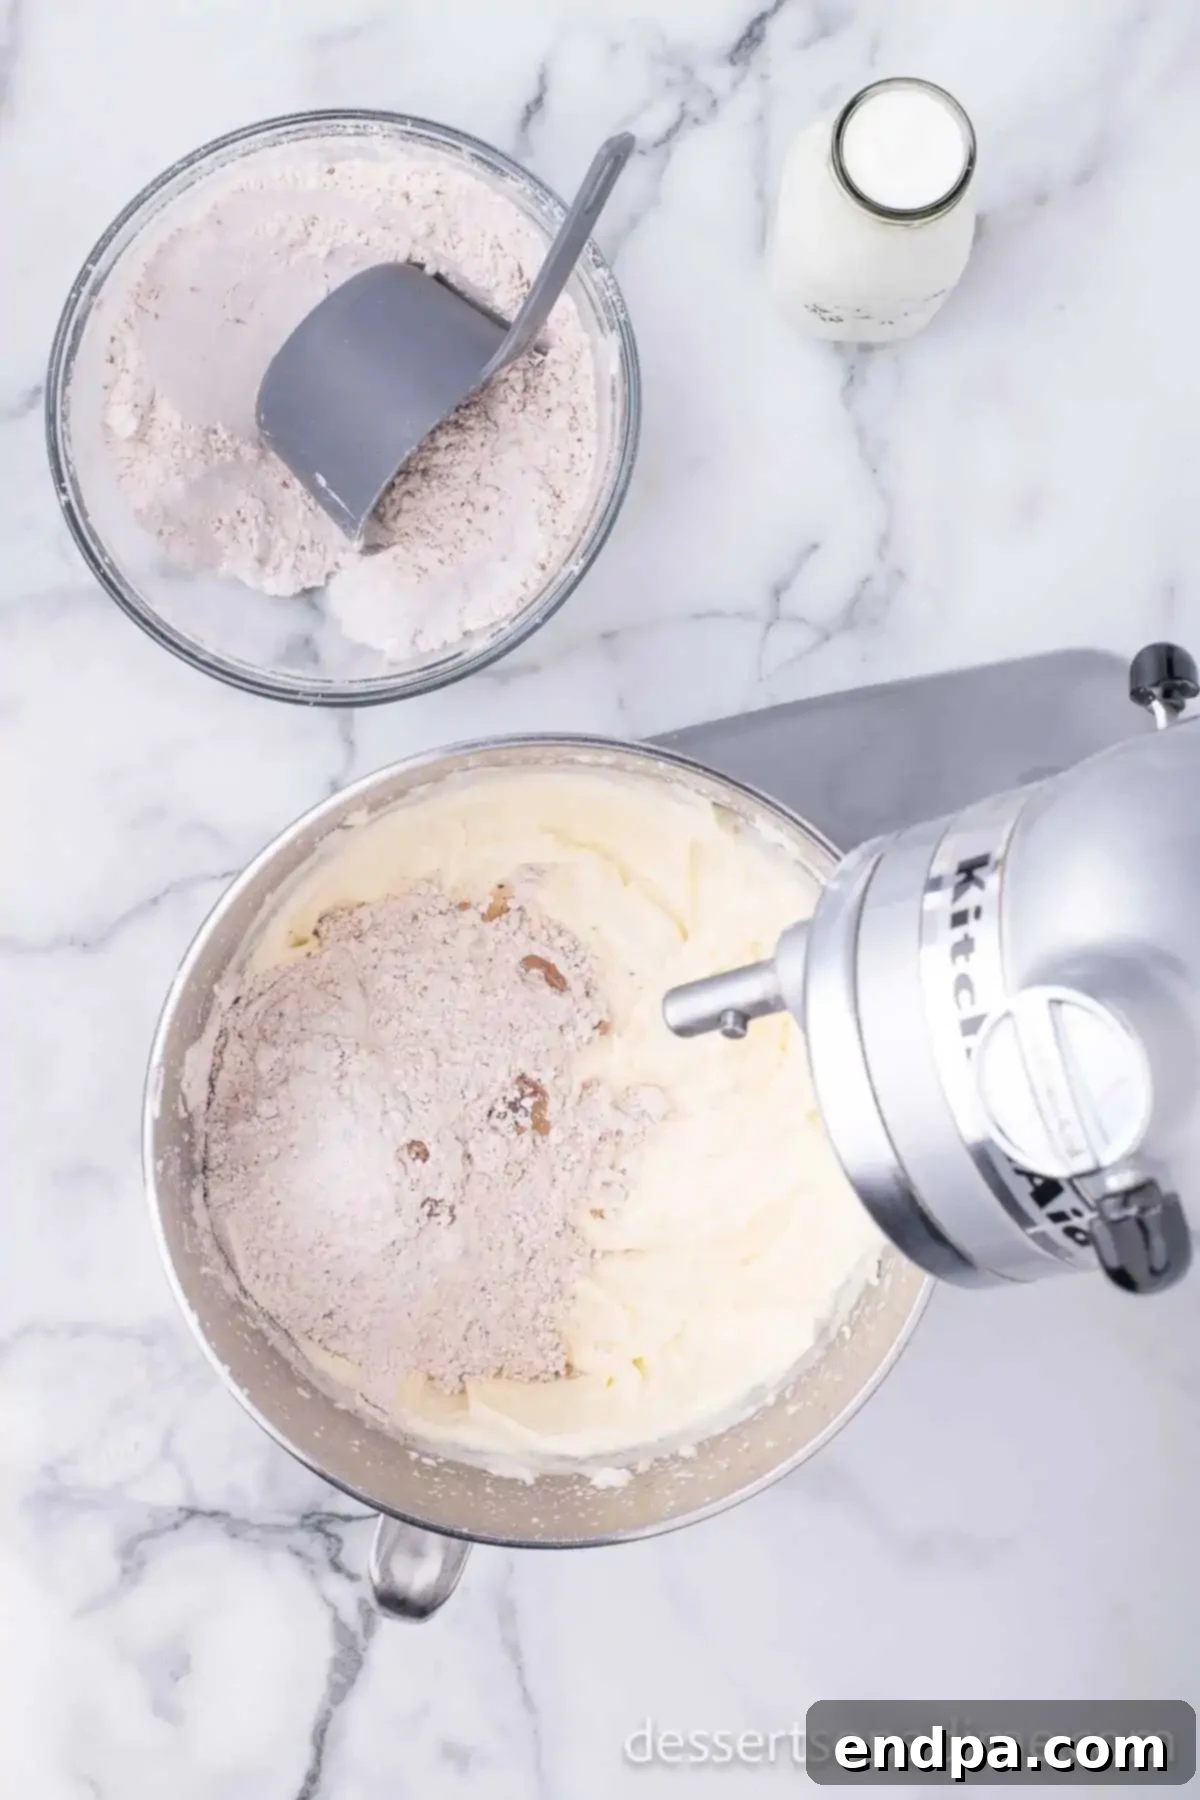
Step 5: Alternate Dry and Wet. Gradually add the dry ingredient mixture to the wet ingredients, alternating with the buttermilk. Start and end with the dry ingredients. Mix on low speed until just combined after each addition. Be careful not to overmix the batter, as this can lead to a tough cake.
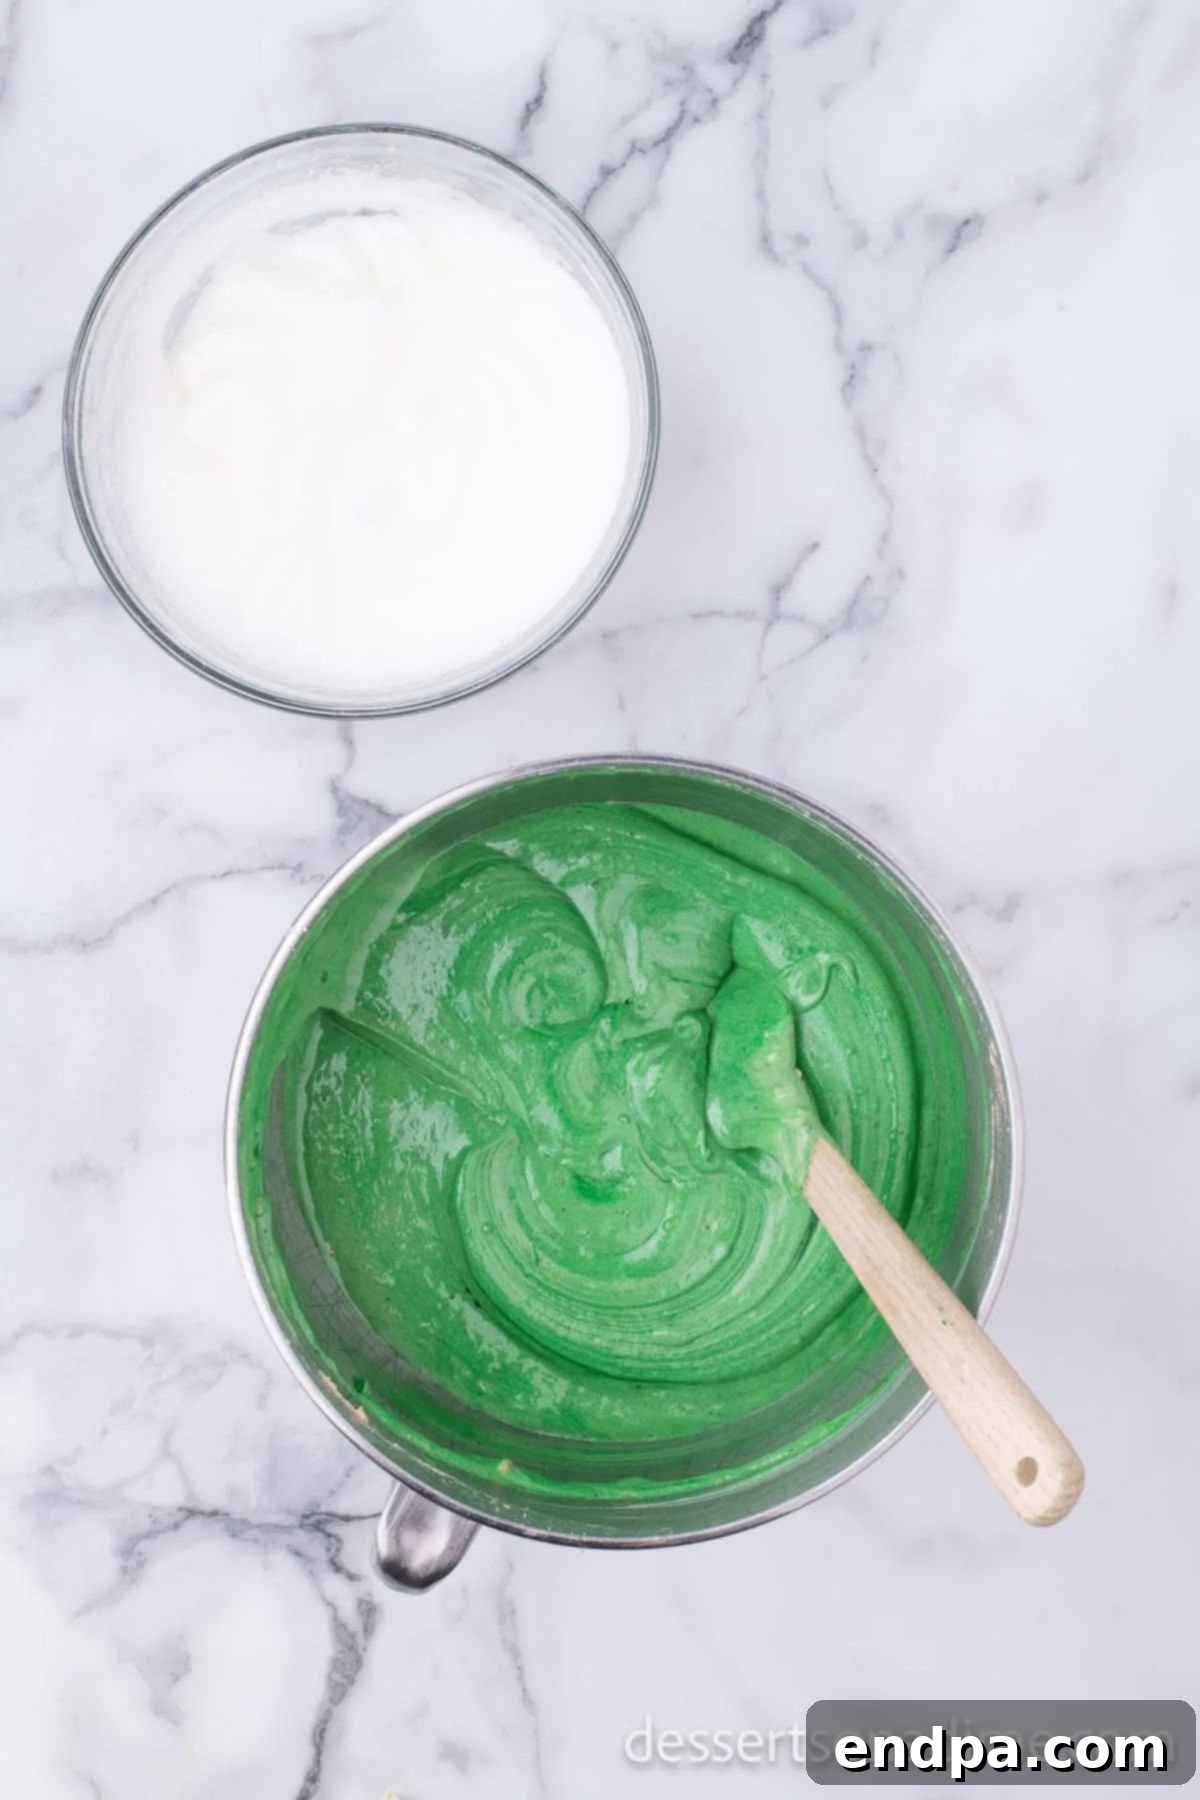
Step 6: Add Green Food Coloring. Incorporate the green gel food coloring into the batter. Start with about 2 teaspoons and add more gradually until you achieve your desired shade of green. A deep, vibrant green often looks best for this cake.
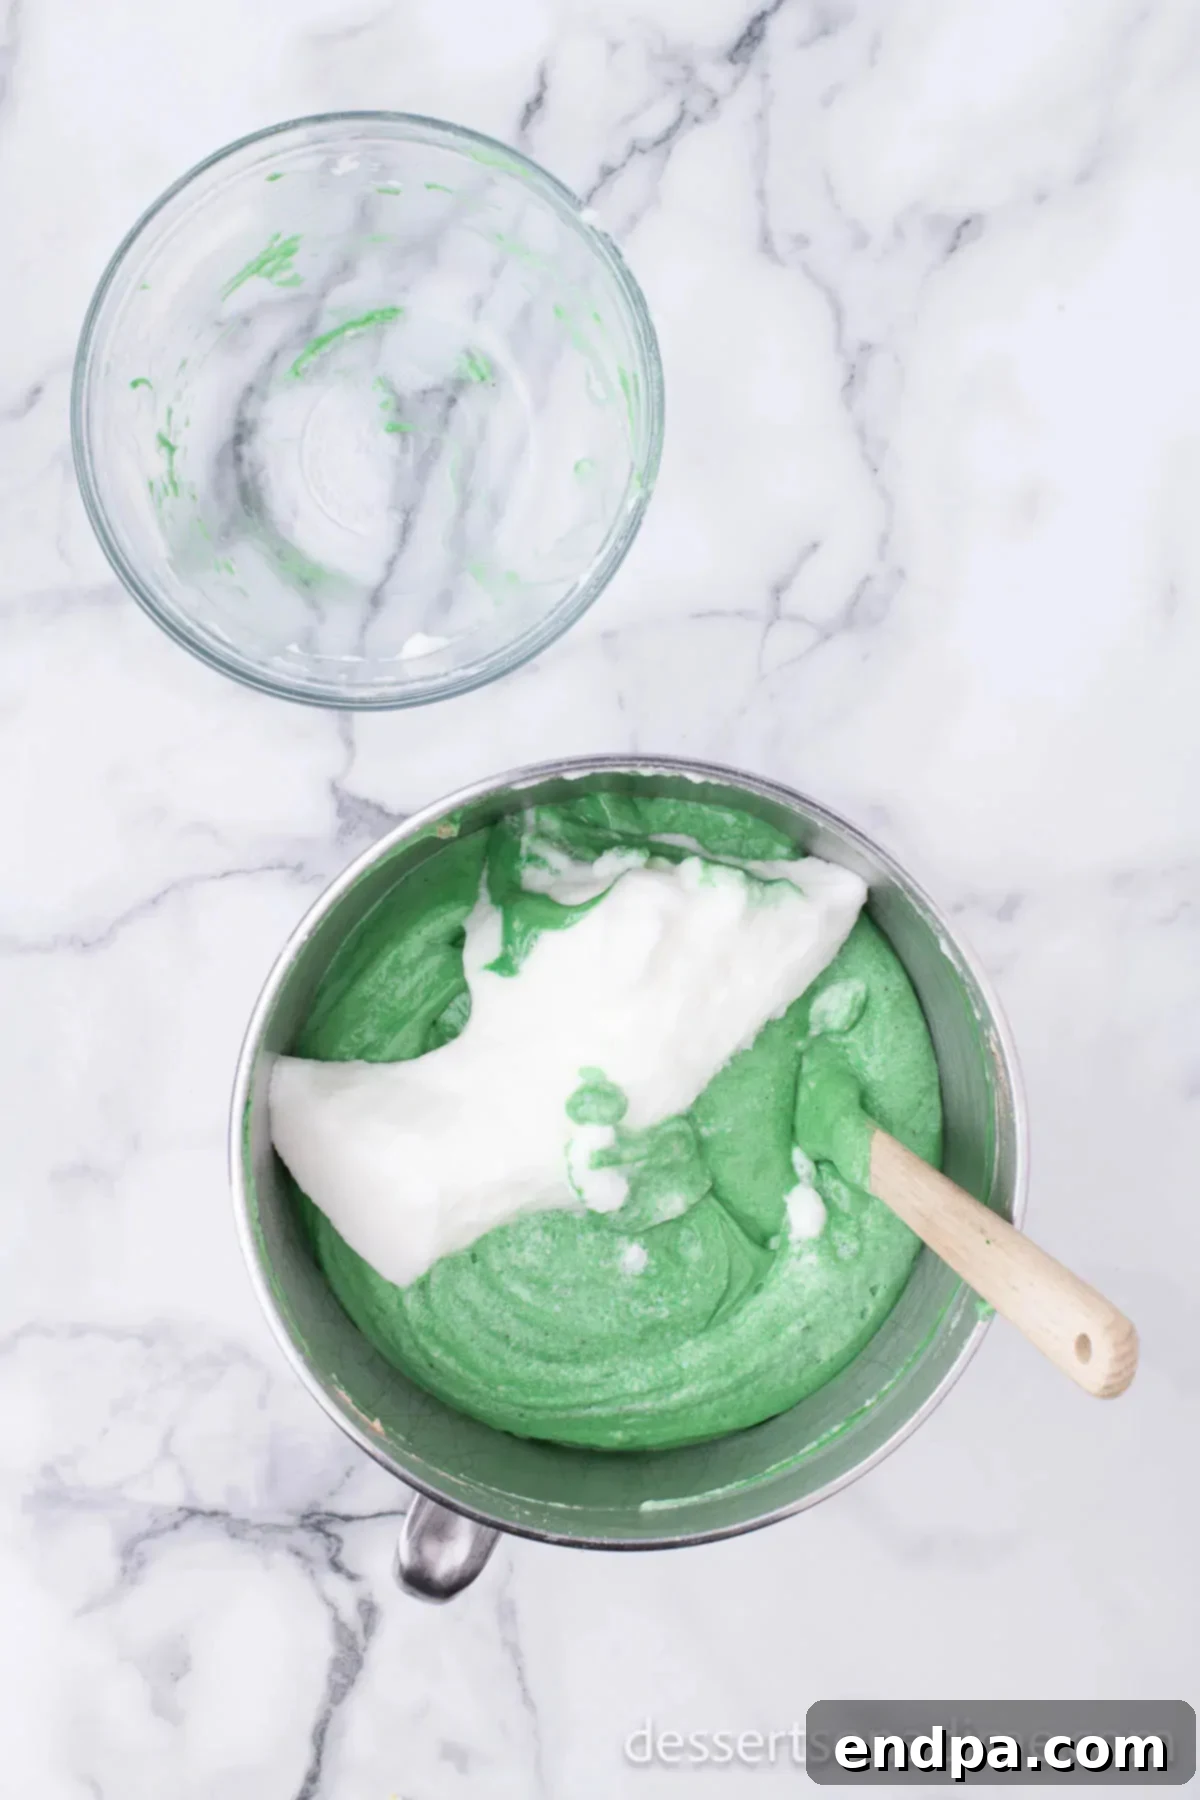
Step 7: Fold in Egg Whites. In a separate, clean mixing bowl, beat the reserved egg whites with a handheld mixer until they form soft, fluffy peaks. Gently fold these whipped egg whites into the green cake batter by hand using a spatula. This step adds additional air and contributes to the cake’s light and airy texture. Fold just until no streaks of egg white remain; do not overmix.
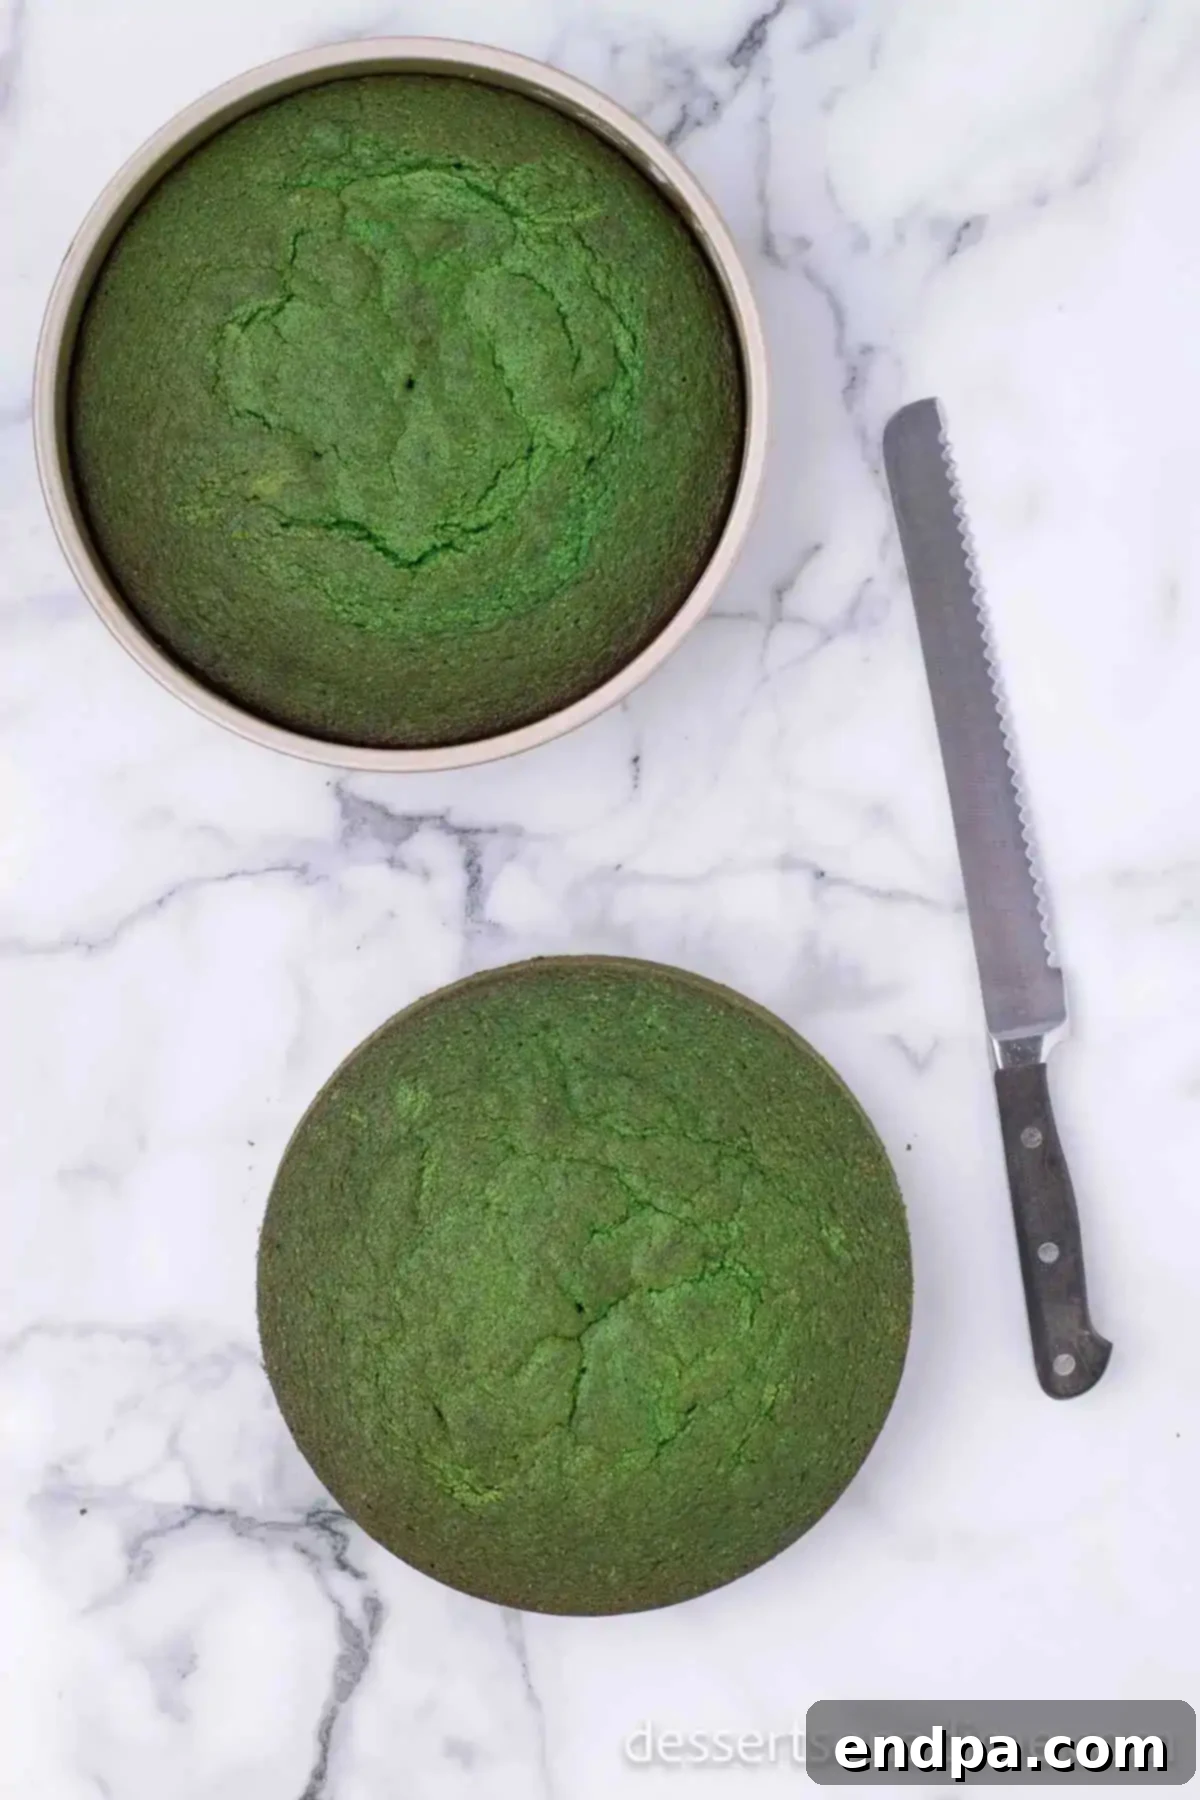
Step 8: Bake and Cool. Divide the batter evenly between the two prepared cake pans. Bake for 30 to 33 minutes, or until a wooden toothpick inserted into the center of a cake comes out clean. Once baked, allow the cakes to cool in their pans on a wire rack for about 5-10 minutes. Then, invert the cakes onto the wire rack to cool completely before frosting. This prevents the cakes from sinking and ensures the frosting doesn’t melt.
Mastering the Cream Cheese Frosting
The luscious cream cheese frosting is a non-negotiable component of any velvet cake. Here’s how to make it perfectly:
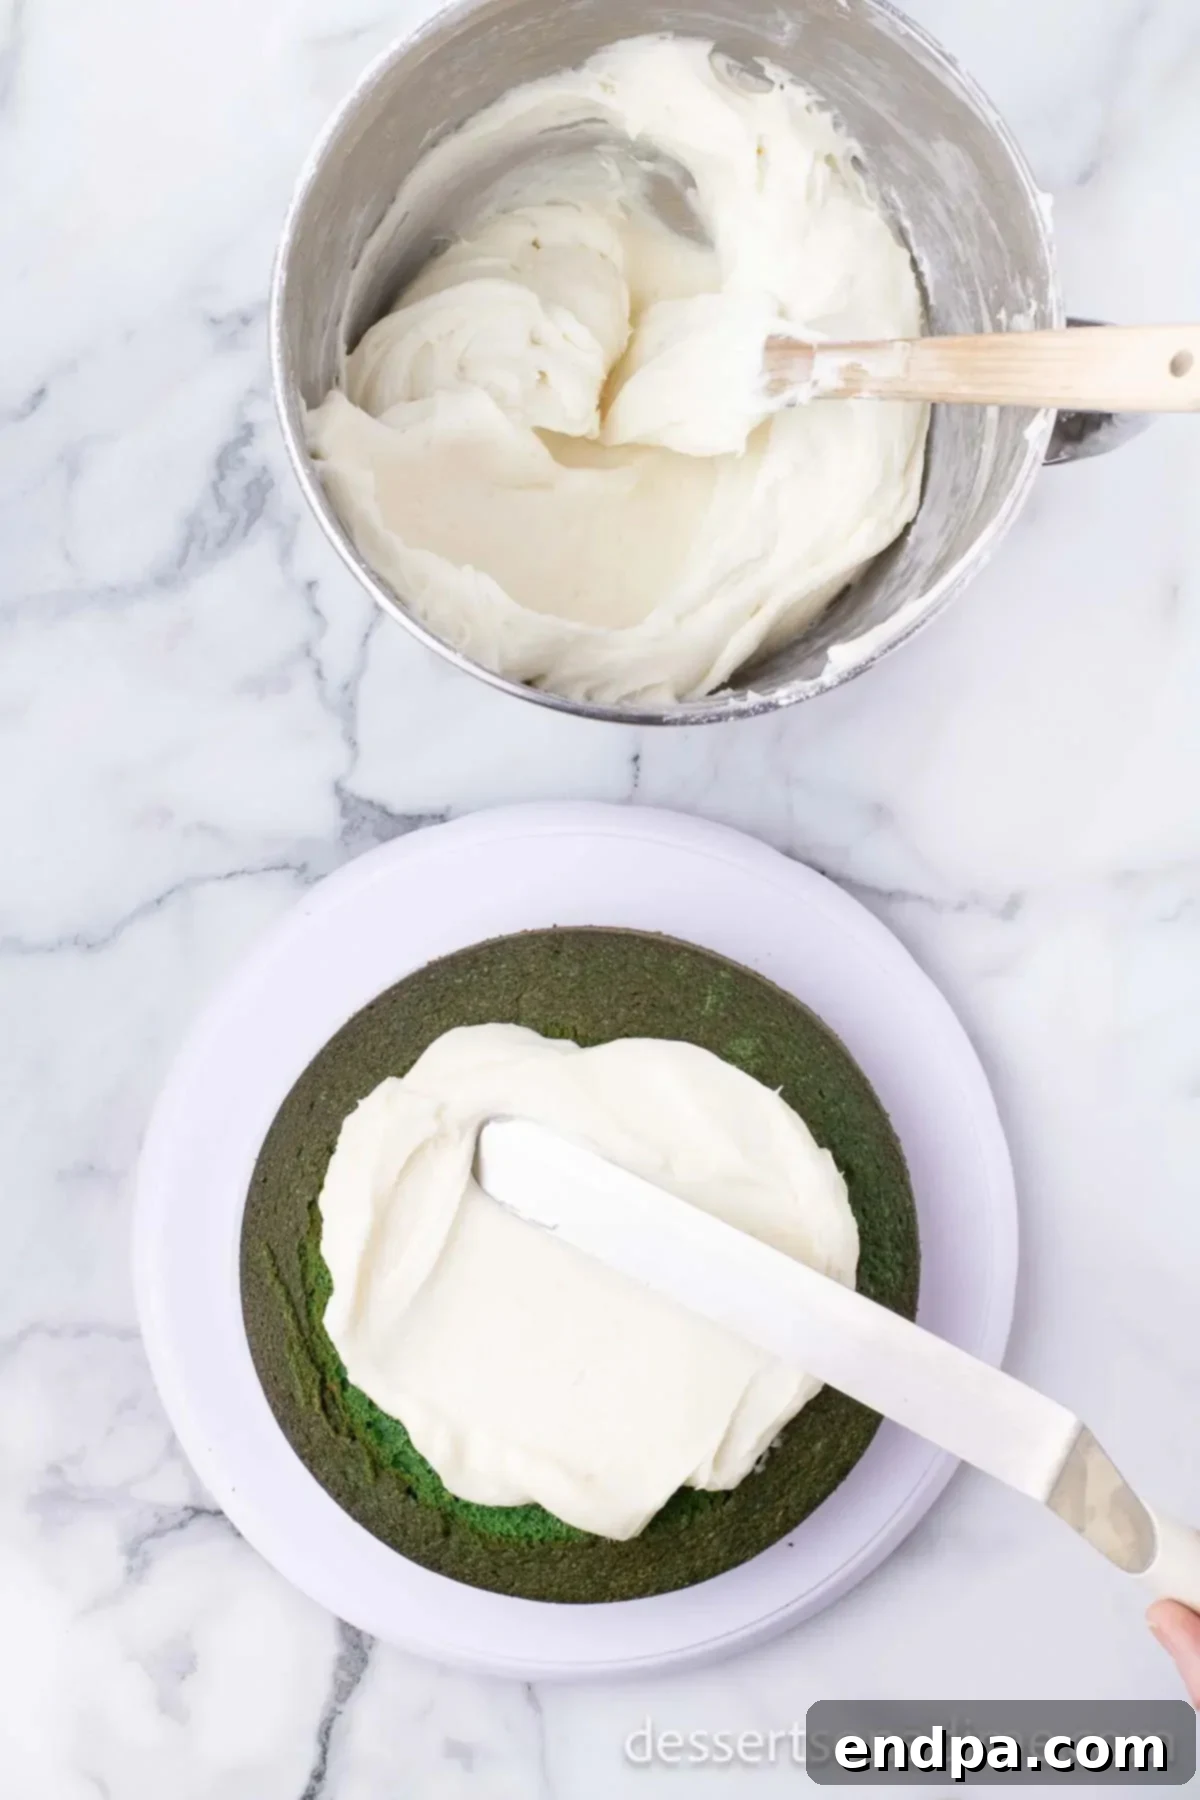
Step 9: Prepare the Frosting. In a large mixing bowl or the bowl of a stand mixer fitted with the paddle attachment, beat the softened cream cheese until it is completely smooth and free of lumps. This is crucial for a silky frosting. Next, add the softened unsalted butter and beat until fully combined and fluffy, about 1-2 minutes. Gradually add the sifted powdered sugar, one cup at a time, mixing on low speed until each addition is incorporated before adding more. Continue until the frosting reaches your desired thickness and sweetness. Finally, mix in the vanilla extract until just combined. Be careful not to overbeat the frosting, as it can become too thin.
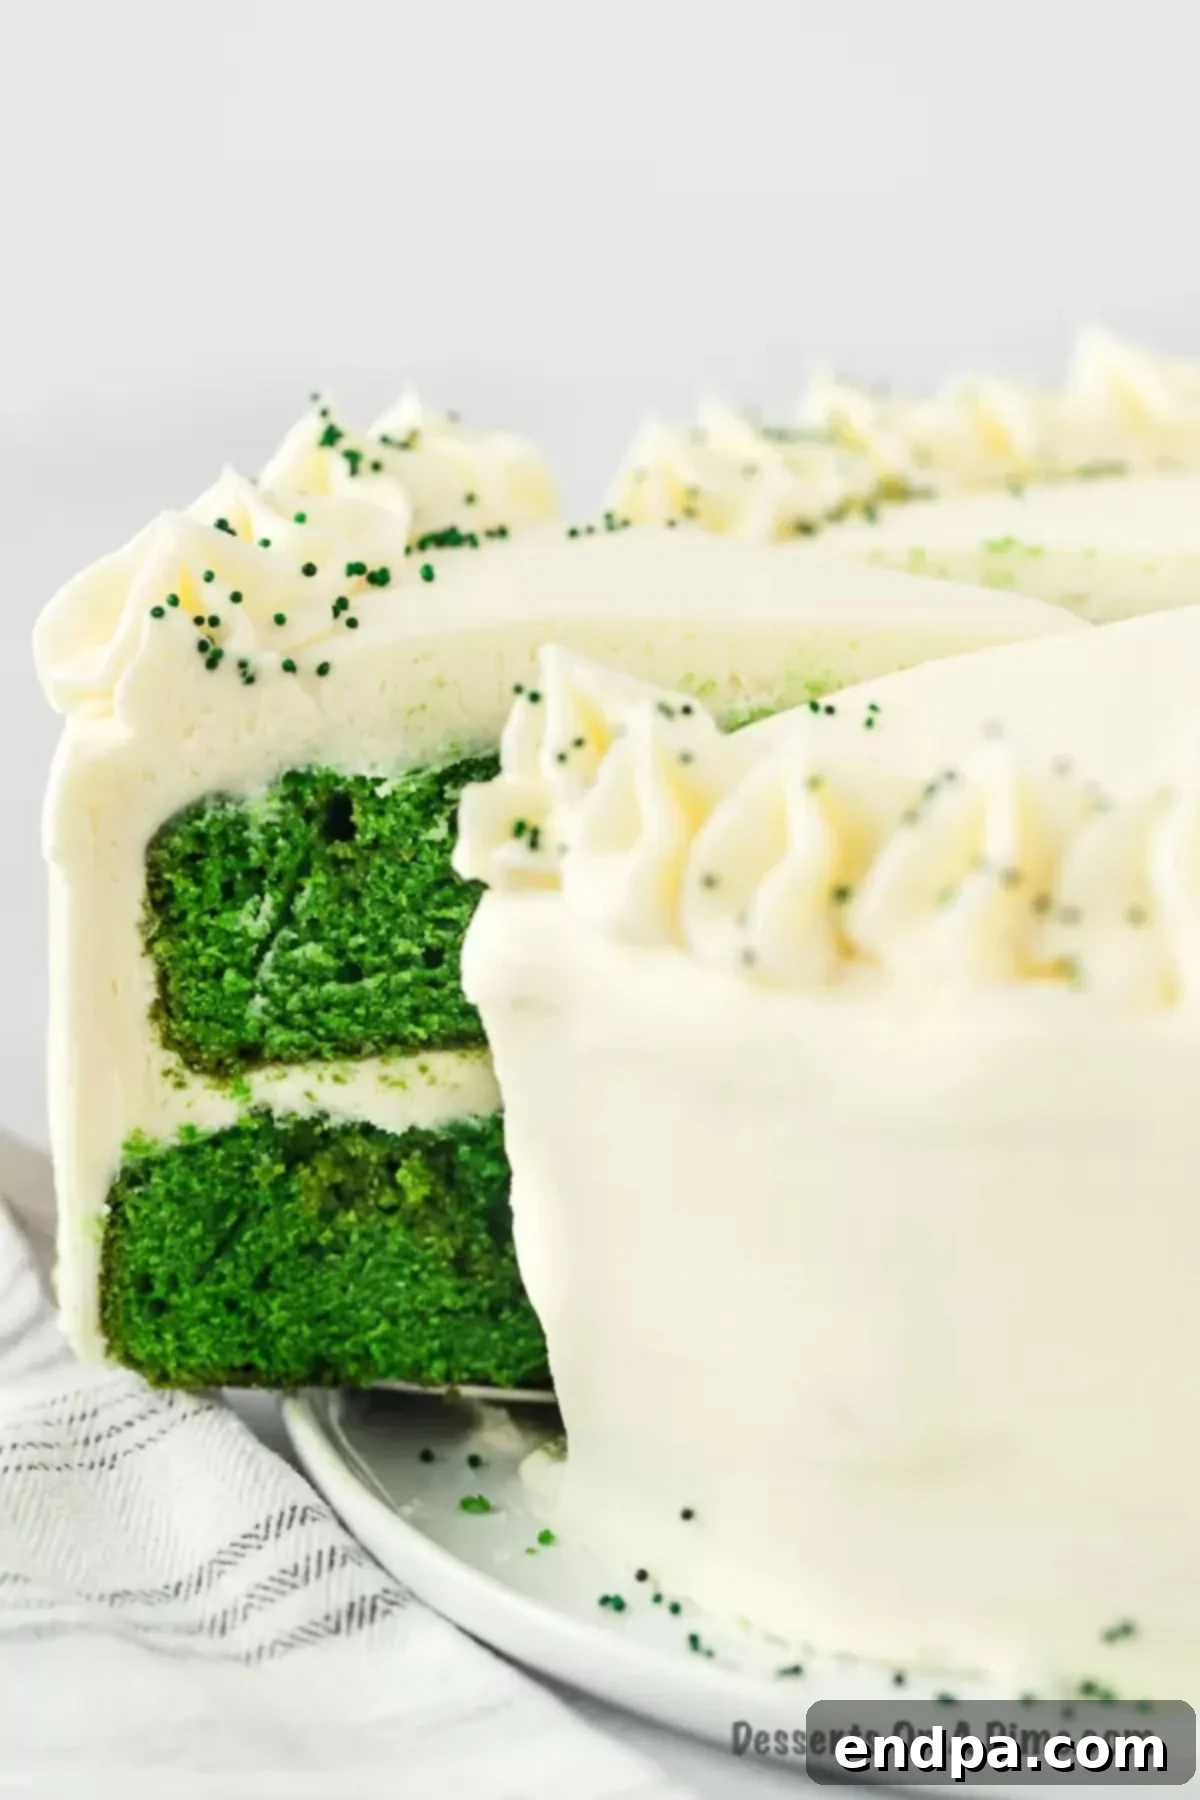
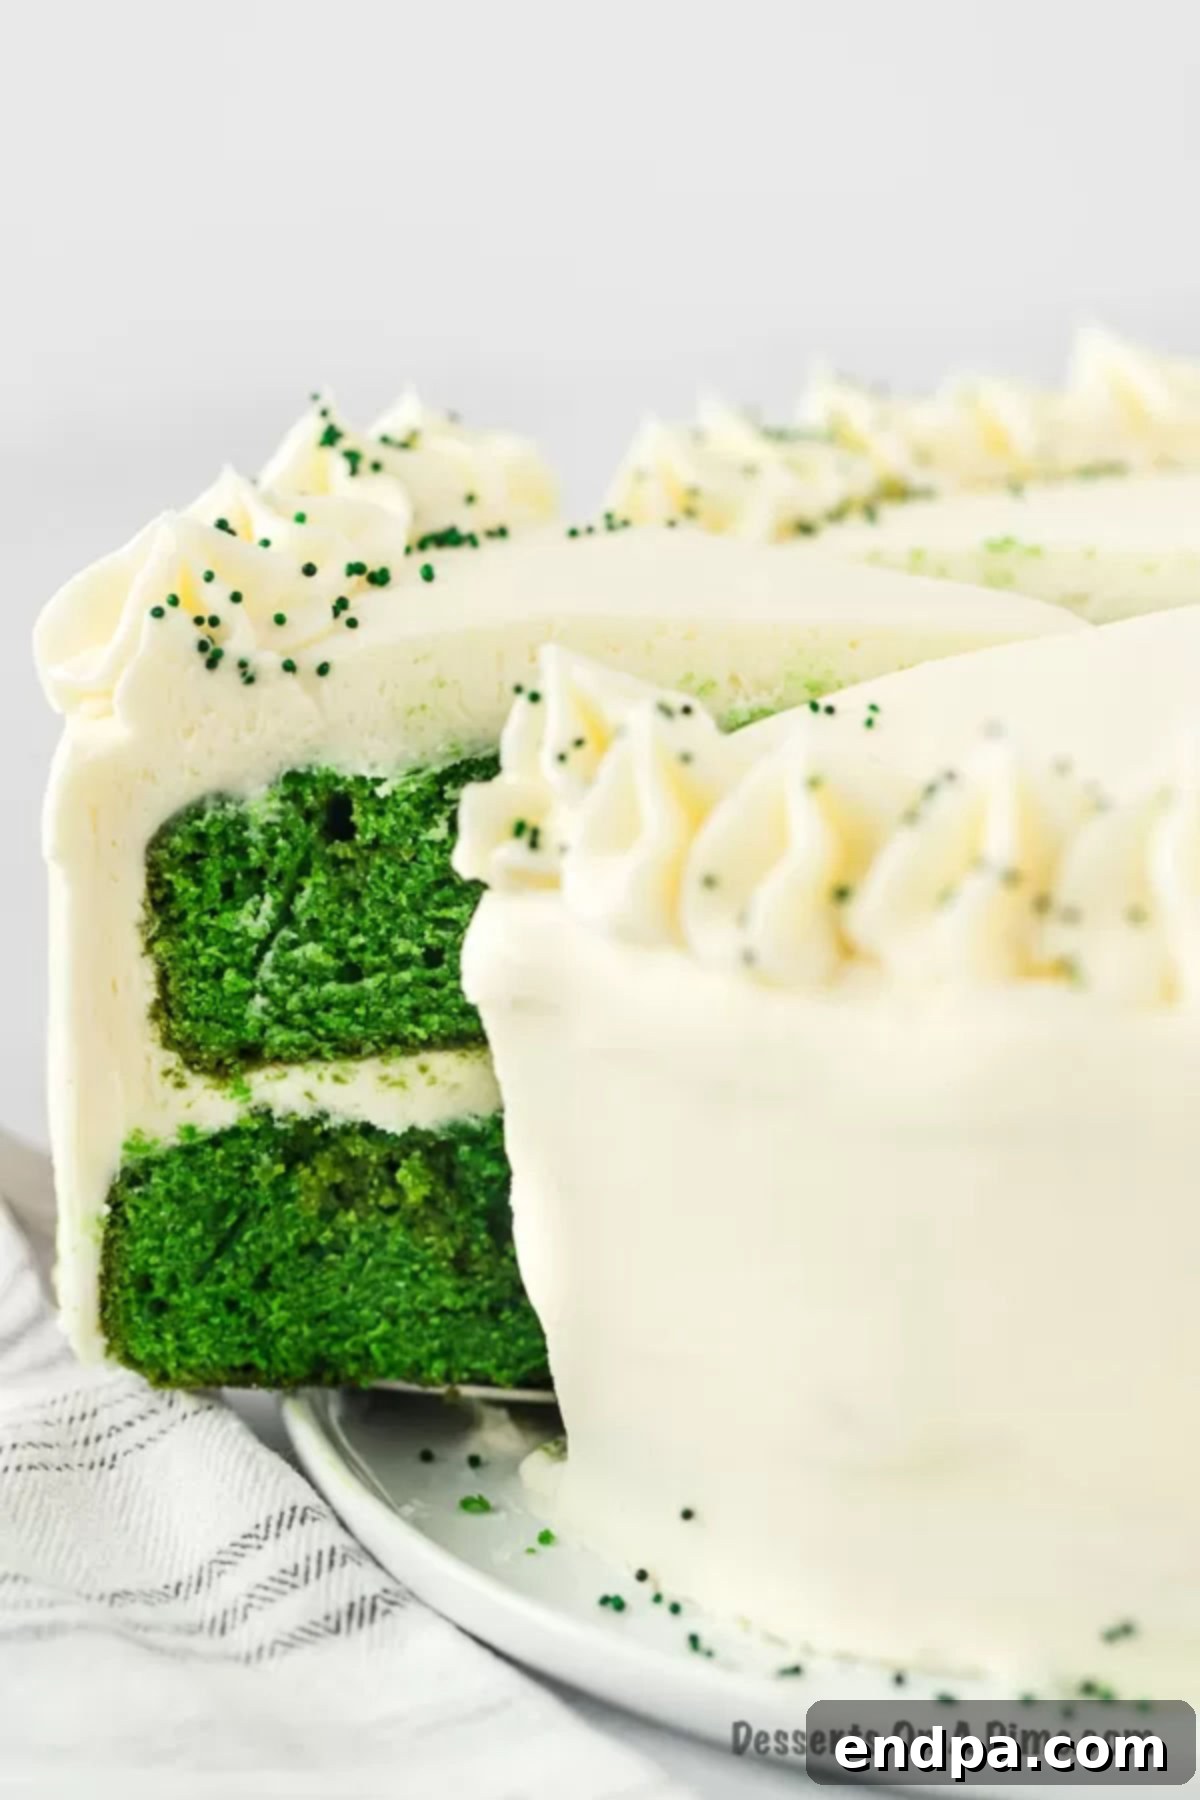
Step 10: Frost and Enjoy. Once your cakes are completely cool and your frosting is ready, it’s time to assemble and decorate your magnificent Green Velvet Cake. Slice, serve, and savor every delightful bite!
Assembling Your Stunning Green Velvet Cake
A beautifully assembled cake makes all the difference. Follow these steps for a professional finish:
- Level the Cake Layers: Once your cake layers are completely cool, use a long, serrated knife to carefully trim any domed tops, making each layer perfectly flat and even. This ensures a stable and professional-looking cake.
- Apply the Crumb Coat: Place one leveled cake layer on your chosen cake stand or serving platter. Spread a thin, even layer of cream cheese frosting over the top. This is called a “crumb coat” and it traps any loose crumbs, preventing them from mixing into your final frosting layer. An offset spatula makes this process easier.
- Add the Second Layer: Carefully place the second cake layer on top of the first, aligning it as best as possible. Spread another generous layer of frosting on top of this second layer.
- Frost the Sides and Decorate: Using your offset spatula, apply the remaining frosting to the sides of the cake, smoothing it out for a clean finish. You can create swirls or patterns on the top and sides, or simply leave it smooth. For a festive touch, sprinkle green sprinkles generously over the top and/or sides of the cake.
Storage Tips for Freshness
To keep your Green Velvet Cake tasting its best, proper storage is essential, especially with cream cheese frosting:
- Refrigeration is Key: Due to the cream cheese in the frosting, this cake must be stored in the refrigerator.
- Airtight Container: Place the cake inside an airtight cake carrier or cover it tightly with plastic wrap to prevent it from drying out or absorbing odors from the fridge.
- Shelf Life: Stored correctly in the refrigerator, your Green Velvet Cake will stay fresh and delicious for up to 5 days. For best flavor and texture, allow it to come to room temperature for about 30 minutes before serving.
Pro Baking Tips for Green Velvet Cake Success
Achieving a perfect Green Velvet Cake is easier with a few expert tips:
- Don’t Skip the Buttermilk: Buttermilk is a non-negotiable ingredient for velvet cakes. Its acidity reacts with baking soda to create the tender crumb and slight tanginess that defines this dessert. If you don’t have it, you can easily make a homemade version by adding 1 tablespoon of white vinegar or lemon juice to a liquid measuring cup, then filling the rest with milk to reach 1 cup. Let it sit for 5-10 minutes until it slightly curdles.
- Measure Flour Correctly: The common mistake of scooping flour directly from the bag can pack too much into your measuring cup, leading to a dense and dry cake. Always spoon flour into your measuring cup and then level it off with a straight edge for accurate measurement.
- Ensure Room Temperature Ingredients: For both the cake batter and the frosting, having ingredients like butter, eggs, and cream cheese at room temperature is crucial. Room temperature ingredients emulsify better, creating a smooth, uniform batter and a lump-free, creamy frosting.
- Avoid Overmixing the Batter: Once you add the dry ingredients to the wet, mix only until just combined. Overmixing develops gluten in the flour, which can result in a tough, chewy cake rather than a tender, velvet one.
- Cool Cakes Completely: Resist the urge to frost warm cakes! Even slightly warm cake layers will melt your beautiful cream cheese frosting, leading to a messy, unattractive cake. Allow your cakes to cool completely on a wire rack before even thinking about frosting.
- Choose Quality Gel Food Coloring: For the most vibrant and consistent green color, opt for high-quality gel food coloring. It’s concentrated, so you’ll use less, and it won’t thin out your batter like liquid food coloring can.
- Alternative Frosting: While cream cheese frosting is traditional, if you prefer, you can use a classic buttercream frosting instead. Just ensure it’s equally decadent!
Frequently Asked Questions About Green Velvet Cake
Can I use all-purpose flour instead of cake flour?
While cake flour is highly recommended for its low protein content and the resulting tender crumb, you can substitute it with all-purpose flour. For every cup of cake flour, use 1 cup of all-purpose flour minus 2 tablespoons, and then replace those 2 tablespoons with 2 tablespoons of cornstarch. Sift this mixture several times to mimic cake flour’s consistency. Your cake might be slightly less tender, but it will still be delicious.
Why did my Green Velvet Cake turn out dry?
A dry cake is often caused by overbaking or incorrect flour measurement. Make sure to bake only until a toothpick inserted in the center comes out clean, and no longer. Also, spoon and level your flour rather than scooping it, as described in the pro tips, to avoid adding too much flour.
Can I make Green Velvet Cake ahead of time?
Absolutely! The cake layers can be baked one day in advance, cooled completely, wrapped tightly in plastic wrap, and stored at room temperature. The cream cheese frosting can also be made a day ahead and stored in an airtight container in the refrigerator. Just bring the frosting to room temperature and give it a quick whip before assembling the cake. The assembled cake itself should be stored in the refrigerator.
What’s the best way to get a vibrant green color?
For the most vibrant and deep green, always use gel food coloring. Liquid food coloring can be watery and dilute your batter, and often produces a paler, less intense color. Gel colors are highly concentrated, so a little goes a long way to achieve that rich emerald hue.
More St. Patrick’s Day Desserts to Explore
- St. Patrick’s Day Chocolate Covered Oreos
- Easy Rainbow Cookies
- St. Patrick’s Day Cake Mix Cookies
- Delicious St. Patrick’s Day Puppy Chow
- Leprechaun Cookies
More Easy Cake Recipes to Try
- Strawberry Crunch Cake
- Carrot Cake Recipe
- Old Fashioned Hummingbird Cake
- Lemon Raspberry Cupcakes
- Easy Pumpkin Spice Cake Recipe
- Easy Chocolate Dump Cake with Chocolate Frosting
This Green Velvet Cake Recipe is an absolute must-try for its ease, beauty, and incredible flavor. Bake it today and share your delightful creation!
Pin
Green Velvet Cake
Ingredients
- For the Cake:
- 3 Cups Cake Flour
- 2 Tbsp Cocoa Powder
- 1 tsp Baking Soda
- 1/2 tsp Salt
- 1/2 cup Butter softened at room temperature
- 2 cups Granulated Sugar
- 1 cup Vegetable Oil
- 4 Large Eggs
- 1 Tbsp Vanilla Extract
- Green Gel Food Coloring
- 1 Cup Buttermilk
- For the Cream Cheese Frosting:
- 4 8- oz packages of Cream Cheese softened at room temperature
- 1 cup Unsalted Butter softened at room temperature
- 10-12 cups Powdered Sugar sifted
- 2 tsp Vanilla Extract
- Green Sprinkles
Instructions
- Preheat your oven to 350 degrees F (175°C). Prepare two 9-inch cake pans by greasing them thoroughly and then dusting them with flour, tapping out any excess. This method ensures the cakes release easily after baking. You may also use parchment paper circles on the bottom of the pans for added security.
- In a medium mixing bowl, whisk together the cake flour, baking soda, cocoa powder, and salt until well combined and lump-free. Set aside. In a separate large bowl, using a stand mixer with a paddle attachment or a handheld mixer, cream together the softened butter and granulated sugar for about 1-2 minutes until light and fluffy.
- To the butter and sugar mixture, add the vegetable oil, egg yolks (reserving the egg whites), and vanilla extract.
- Continue to mix these wet ingredients until they are thoroughly combined. Use a spatula to scrape down the edges of the bowl to ensure everything is incorporated.
- Gradually add the dry ingredients to the wet ingredients, alternating with the buttermilk. Begin and end with the dry ingredients. Mix on low speed until just combined after each addition. Be careful not to overmix the batter.
- Stir in approximately 2 teaspoons of green gel food coloring until the batter achieves your desired shade of vibrant green. For a classic Green Velvet, a deep emerald color is ideal.
- In another clean, separate mixing bowl, beat the reserved egg whites with a handheld mixer until they are light, fluffy, and form soft peaks.
- Gently fold the whipped egg whites into the green cake batter by hand using a spatula. Fold just until no streaks of egg white are visible; do not overmix, as this will deflate the air you’ve incorporated.
- Divide the batter evenly between the two prepared cake pans. Bake for 30-33 minutes, or until a wooden toothpick inserted into the center of a cake comes out clean.
- Allow the cakes to cool in their pans for 5 minutes. Then, carefully invert them onto a wire rack to cool completely. It is crucial that the cakes are entirely cool before frosting.
- For the Frosting:
- In a large mixing bowl or stand mixer, beat the softened cream cheese until it is completely smooth and free of any lumps.
- Add the softened unsalted butter to the cream cheese and beat until fully combined and fluffy.
- Gradually add the sifted powdered sugar, one cup at a time, mixing on low speed until each addition is incorporated. Continue adding sugar until the frosting reaches your desired consistency and sweetness – it should be thick and smooth. Finally, mix in the vanilla extract until just combined. Avoid overbeating.
- To Assemble the Cake:
- Using a serrated knife, carefully trim the tops of the cooled cake layers to make them level and flat. This ensures a stable and professional-looking cake.
- Place one cake layer on your chosen serving plate or cake stand.
- Spread an even layer of cream cheese frosting over the top of the first cake layer. This can serve as a crumb coat to trap loose crumbs. Carefully place the second cake layer on top and spread another layer of frosting over it. Then, frost the sides of the entire cake, smoothing it out for a neat finish. Decorate the top and sides as desired.
- For a festive touch, sprinkle green sprinkles over the finished cake. Slice, serve, and enjoy your beautiful Green Velvet Cake!
Nutrition Facts
Pin This Now to Remember It Later
Pin Recipe
