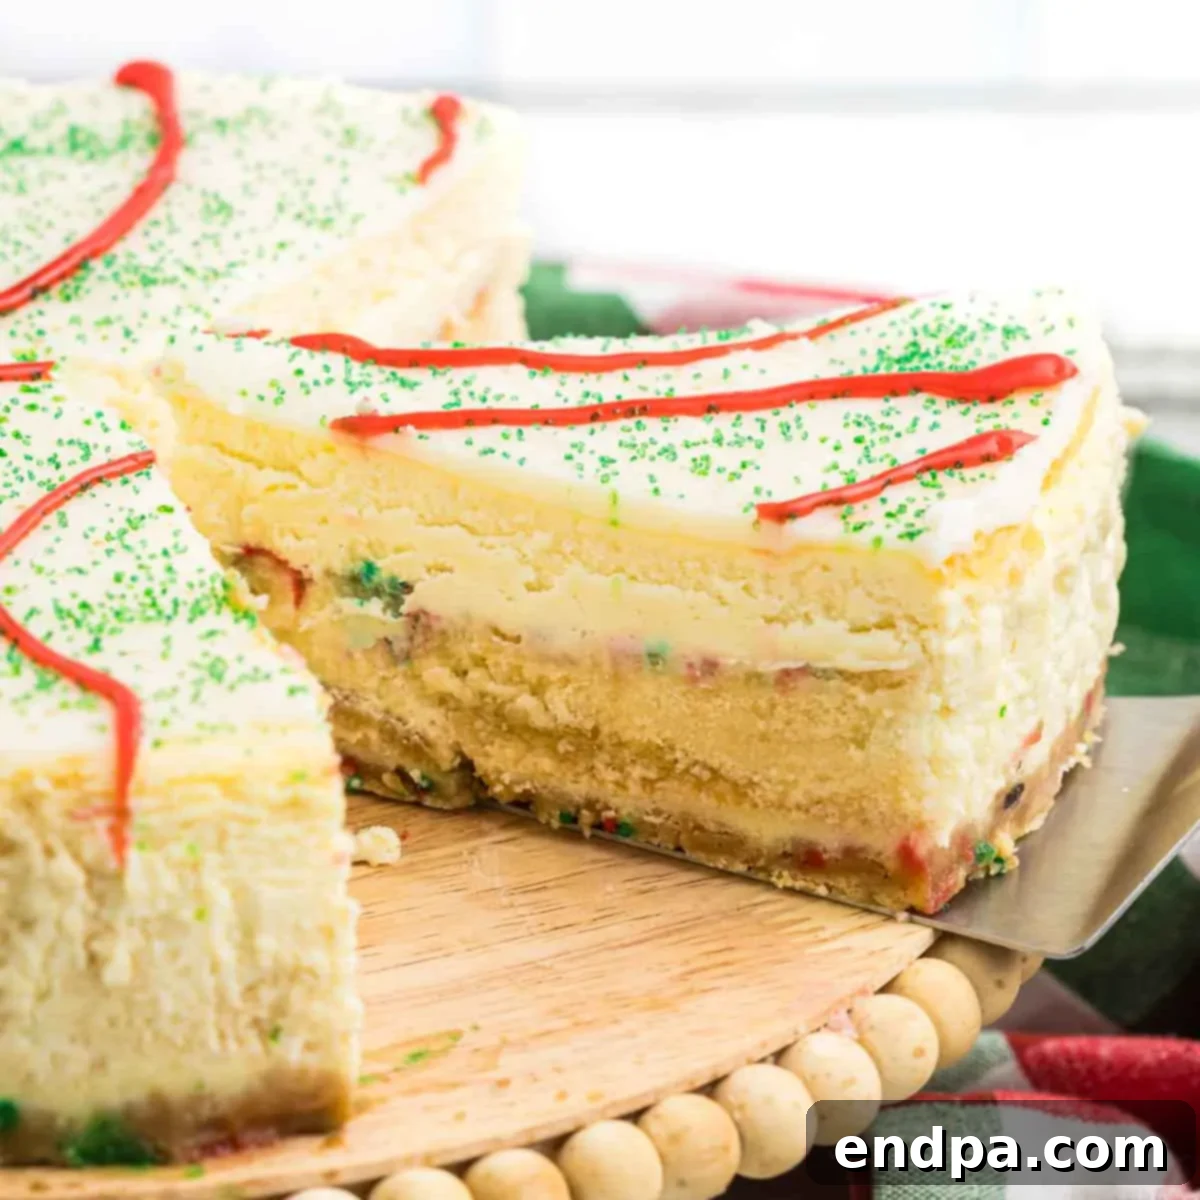
Little Debbie Christmas Tree Cheesecake: Your Ultimate Festive Dessert
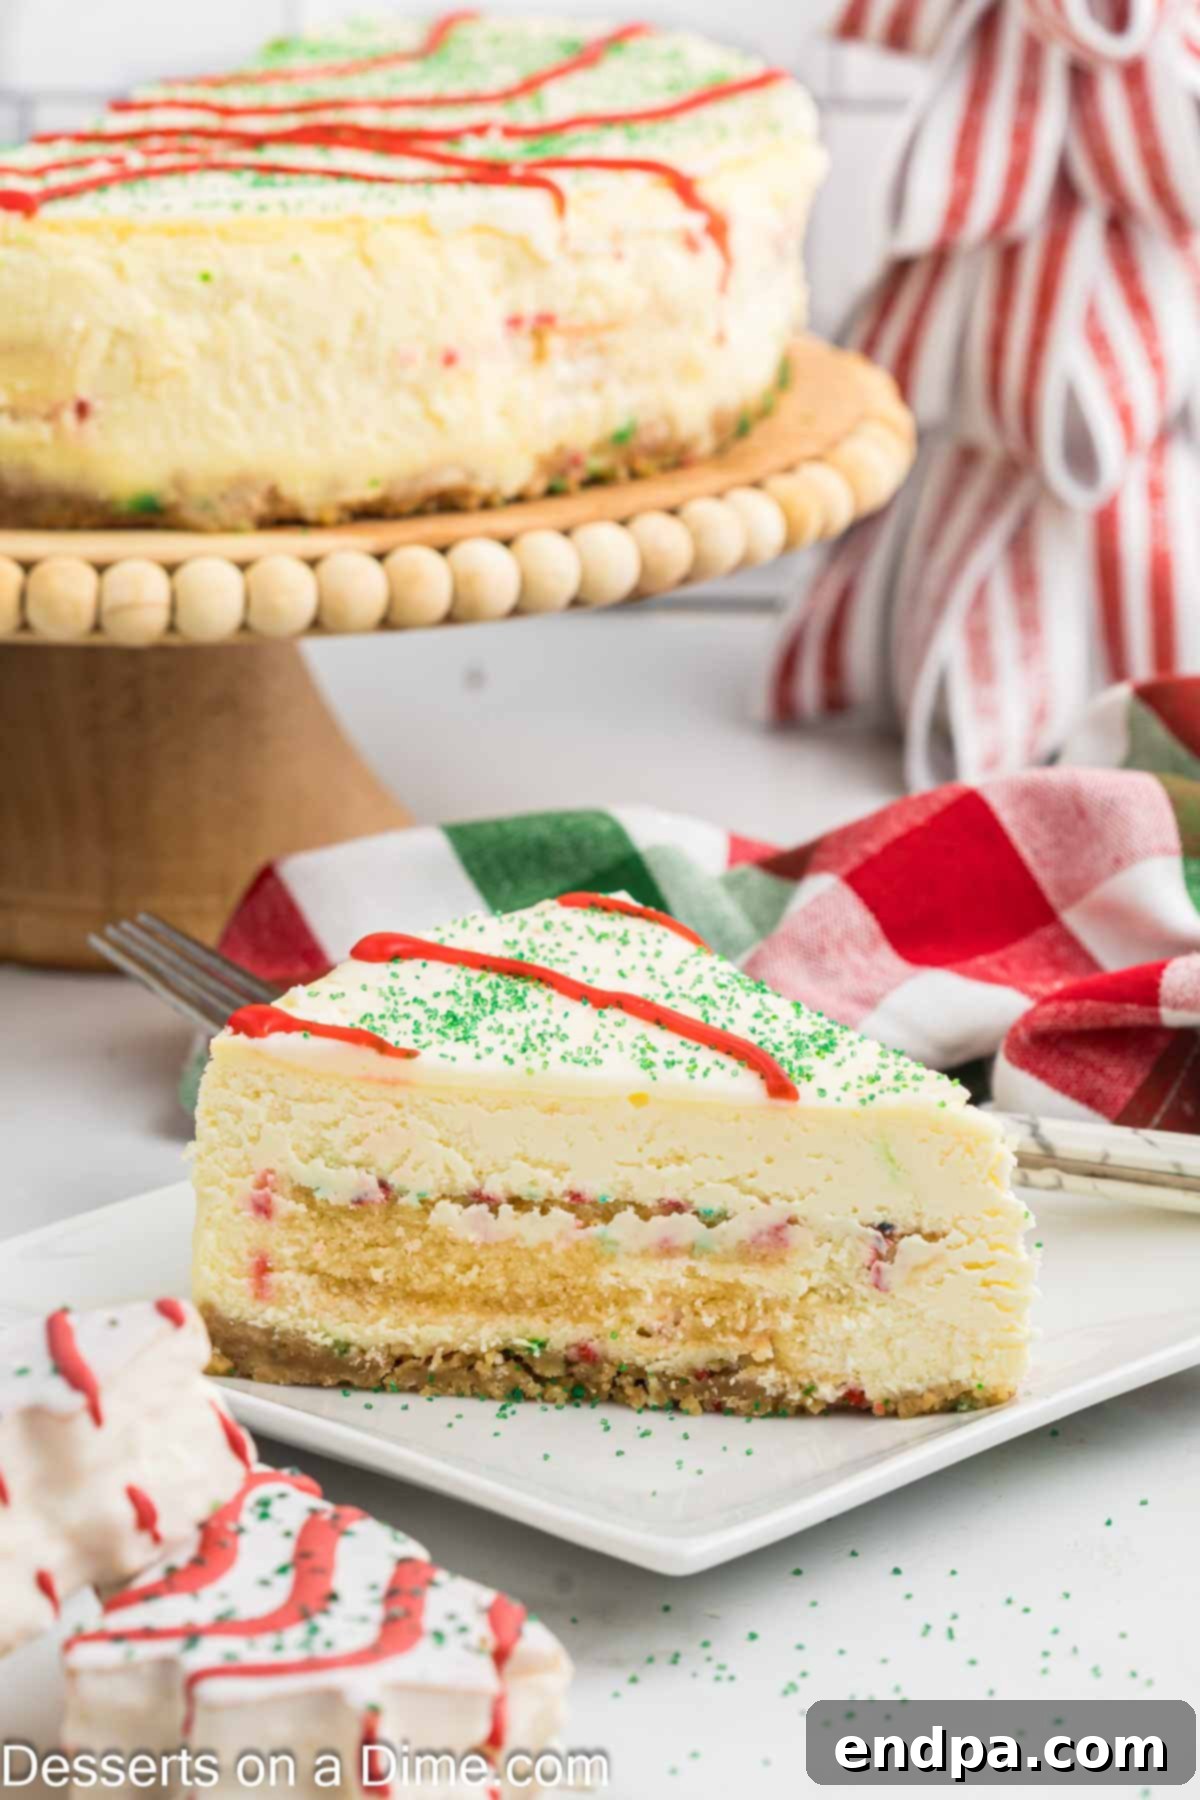
Step into the holiday spirit with a dessert that’s as enchanting as it is delicious: the Little Debbie Christmas Tree Cheesecake. This recipe transforms the beloved festive snack cakes into a truly unforgettable holiday showstopper. Imagine a rich, creamy cheesecake, bursting with the nostalgic flavor of Christmas Tree Cakes, all nestled on a crunchy golden Oreo crust and crowned with a decadent white chocolate ganache. It’s an easy-to-make, visually stunning treat that promises to be the highlight of any holiday gathering, family celebration, or a cozy evening sweet indulgence.
The magic of this cheesecake lies in its delightful combination of textures and flavors. Each bite delivers the smooth, tangy richness of classic cheesecake, perfectly complemented by the soft, sweet surprise of embedded Little Debbie Christmas Tree Cakes. Topped with vibrant sprinkles and festive icing stripes, it’s a dessert that not only tastes incredible but also captures the joyful essence of the season. Forget complicated holiday baking – this Christmas Tree Cheesecake offers a convenient yet impressive solution for your festive dessert needs, making holiday entertaining an absolute breeze.
For many, the Little Debbie Christmas Tree Cakes evoke cherished childhood memories, and this cheesecake brings that warmth and nostalgia to a sophisticated new level. It’s become a highly anticipated tradition in our home, eagerly awaited by children and adults alike. If you’re a fan of these iconic snack cakes, you’ll also adore our other creative takes, like Little Debbie Christmas Tree Cake Balls and Little Debbie Christmas Tree Dip. But for an absolute showstopper, this creamy, festive cheesecake truly takes the cake!
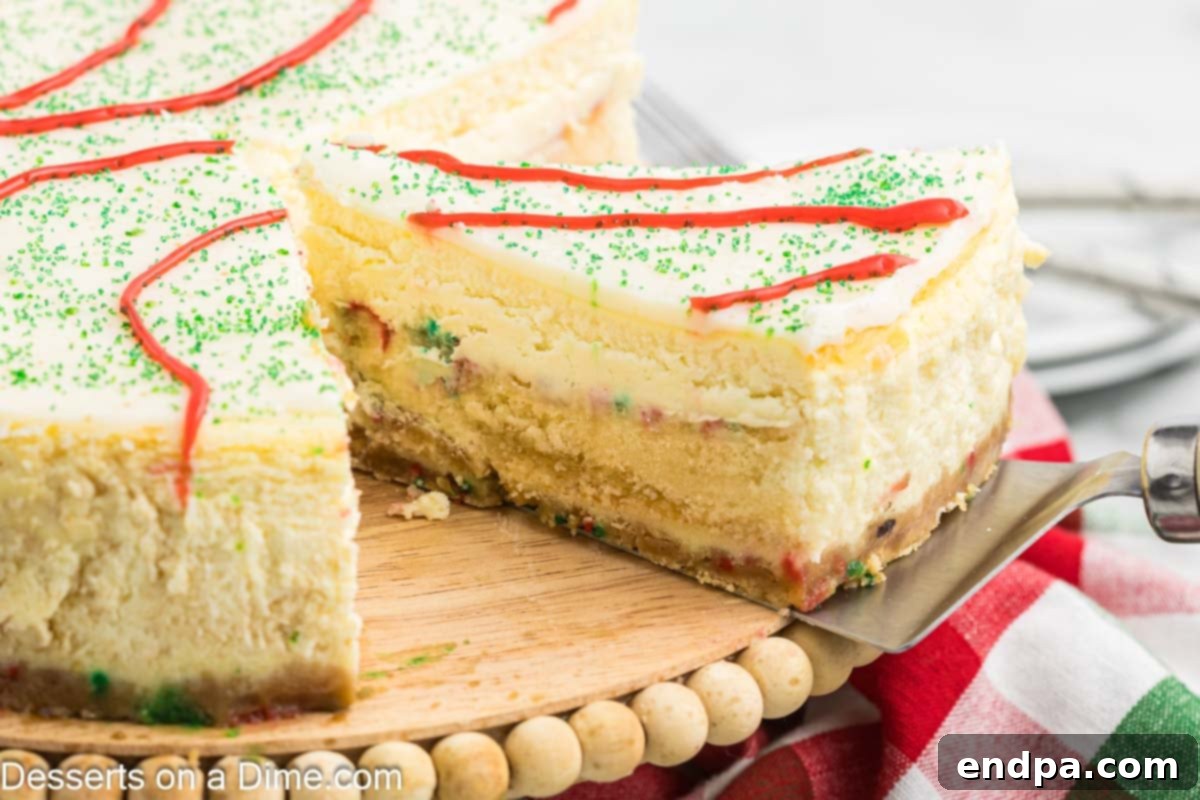
Table of contents
- Why This Christmas Tree Cheesecake Will Be Your New Holiday Favorite
- Essential Ingredients for Your Festive Cheesecake
- For the Irresistible Crust
- For the Velvety Filling
- For the Dazzling Ganache Topping
- Creative Variations to Personalize Your Little Debbie Cheesecake
- Step-by-Step Guide to Crafting Your Christmas Tree Cheesecake
- Storing Your Festive Cheesecake for Lasting Freshness
- Expert Tips for a Flawless Christmas Tree Cheesecake Every Time
- Frequently Asked Questions About Little Debbie Christmas Tree Cheesecake
- More Delightful Christmas Dessert Ideas
Why This Christmas Tree Cheesecake Will Be Your New Holiday Favorite
This isn’t just another dessert; it’s a celebration in every slice! Here’s why this Little Debbie Christmas Tree Cheesecake is poised to become a cherished part of your holiday traditions:
- Uniquely Festive and Fun: Beyond its incredible taste, this cheesecake brings undeniable holiday cheer to any table. Its playful design, reminiscent of the iconic Little Debbie Christmas Tree Cakes, makes it a conversation starter and a visual delight, perfect for holiday parties and festive gatherings.
- Luxuriously Creamy and Delicious: Indulge in the smooth, rich texture of a perfectly baked cheesecake. Each bite melts in your mouth, offering a decadent experience that satisfies even the most discerning sweet tooth. The addition of the snack cakes creates an exciting layered flavor profile that’s truly irresistible.
- Effortlessly Convenient: While it looks elaborate, this cheesecake is surprisingly simple to prepare, making holiday entertaining less stressful. Its easy-to-slice and serve nature means you can spend less time in the kitchen and more time enjoying the company of loved ones.
- A True Crowd-Pleaser: From the youngest family members to seasoned dessert connoisseurs, everyone adores this cheesecake. Its familiar flavors and festive appearance make it a universally loved treat, guaranteeing happy faces around your holiday table.
- Perfect for Any Party: Whether you’re hosting an intimate family dinner or a large holiday bash, this cheesecake scales up beautifully. Its sturdy structure allows for easy transport, and its impressive look means it’s always ready to take center stage at your dessert spread.
Essential Ingredients for Your Festive Cheesecake
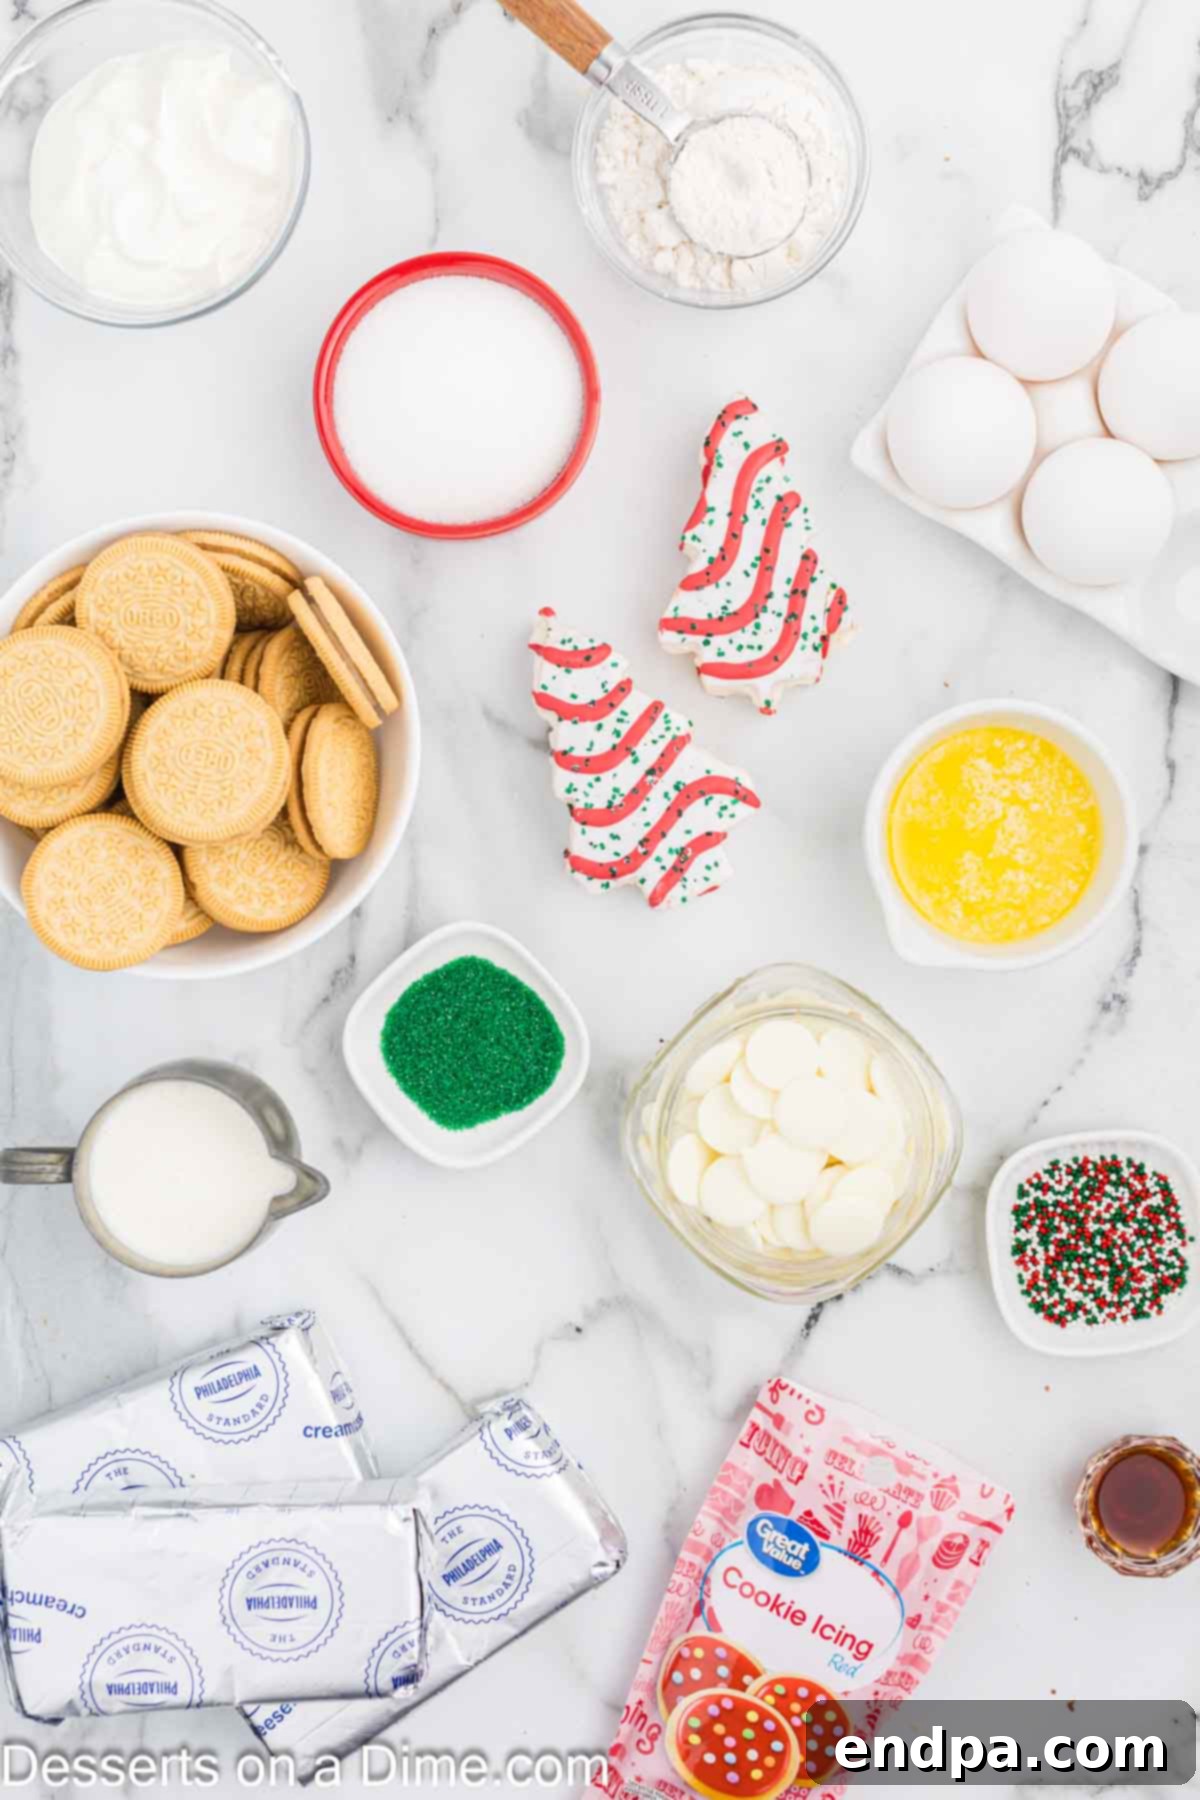
Crafting this festive masterpiece requires a few key ingredients, each playing a vital role in achieving the perfect balance of flavor and texture. Quality ingredients ensure a truly exceptional Little Debbie Christmas Tree Cheesecake.
For the Irresistible Crust
- Golden Oreos: These iconic vanilla sandwich cookies are crushed into fine crumbs to form the sweet, buttery, and sturdy base of your cheesecake. They provide a delightful contrast to the creamy filling.
- Butter: Melted butter binds the cookie crumbs together, creating a firm crust that holds its shape beautifully and adds a rich, complementary flavor. Unsalted butter is preferred to control the overall saltiness.
- Christmas Nonpareils Sprinkles: These tiny, round sprinkles are perfect for adding a festive pop of color to the crust. Unlike other sprinkle types, nonpareils maintain their shape and vibrant hue during baking, preventing any color bleeding.
For the Velvety Filling
- Cream Cheese: Crucial for the classic cheesecake tang and creaminess. Always use full-fat, brick-style cream cheese, softened completely to room temperature, to ensure a smooth, lump-free filling. Avoid spreadable or low-fat versions, as they can alter the texture and flavor.
- Granulated Sugar: Provides the perfect amount of sweetness to balance the rich cream cheese, creating a harmonious flavor profile.
- All-Purpose Flour: A small amount of flour acts as a stabilizer, helping the cheesecake filling set properly and preventing cracks during baking.
- Vanilla Extract: A splash of high-quality vanilla extract enhances all the other flavors in the cheesecake, adding a warm, aromatic depth to the creamy filling.
- Heavy Whipping Cream: Contributes to the luxurious, silky texture of the cheesecake filling, making it even more decadent.
- Full-Fat Sour Cream: Essential for a truly rich and smooth cheesecake. It adds a subtle tang that brightens the flavor and ensures a wonderfully moist consistency. Light sour cream should be avoided as it can impact the final texture and taste.
- Large Eggs: Act as a binder, helping the filling combine effortlessly and bake evenly to a perfectly set consistency. Ensure eggs are at room temperature for optimal incorporation.
- Little Debbie Christmas Tree Cakes: The star of this dessert! These festive snack cakes are gently pressed into the filling, infusing every slice with their nostalgic flavor and adding a delightful texture.
For the Dazzling Ganache Topping
- White Baking Chocolate: Opt for high-quality white baking chocolate (chips or finely chopped bar) for a smooth, glossy, and creamy ganache that forms a beautiful canvas for decorations.
- Heavy Whipping Cream: The foundation of a rich, pourable ganache. Do not substitute with lighter milk alternatives, as they will not yield the desired consistency.
- Green Sanding Sprinkles: These sparkling sprinkles mimic the green frosting of the original Christmas Tree Cakes, adding a festive visual appeal and a delicate crunch.
- Red Store-Bought Cookie Frosting: An easy and convenient way to pipe the iconic red stripes, completing the classic Little Debbie Christmas Tree cake look.
For a complete list of precise measurements and quantities, please refer to the detailed recipe card at the bottom of this page.
Creative Variations to Personalize Your Little Debbie Cheesecake
While the classic Little Debbie Christmas Tree Cheesecake is a holiday favorite, don’t hesitate to experiment with these delicious variations to truly make it your own or suit different tastes and occasions:
- Chocolate Lover’s Dream: If you prefer a richer chocolate flavor, swap the traditional Little Debbie Christmas Trees for their chocolate counterparts (if available seasonally). This small change will transform the cheesecake into a deep, cocoa-infused delight.
- Diverse Crust Options: Expand your crust horizons beyond Golden Oreos. Consider using classic graham cracker crumbs for a more traditional cheesecake base, or vanilla wafers for a subtly sweet foundation. If you opt for chocolate Christmas Trees, a regular Oreo crust would create a fantastic double-chocolate experience.
- Ganache Customization: Not a fan of white chocolate? Easily substitute milk chocolate for the white baking chocolate in the ganache topping. This will result in a slightly softer, sweeter, and more familiar chocolate glaze that pairs beautifully with the cheesecake.
- Seasonal Color Play: Get creative with your decorations! Use different colored sprinkles, edible glitter, or icing to match various holiday themes beyond Christmas, such as pastels for Easter or red, white, and blue for patriotic celebrations.
- Individual Mini Cheesecakes: For elegant single servings, prepare the cheesecake in cupcake liners within a muffin tin or a specialized mini cheesecake pan. Adjust baking times accordingly. These mini versions are perfect for portion control and easy serving at parties.
- A Hint of Seasonal Extracts: Elevate the flavor profile of your filling by adding a touch of almond or peppermint extract. A quarter to half a teaspoon can introduce a subtle, festive twist that complements the existing flavors beautifully.
- Crunchy Nutty Twist: For an added layer of texture and a nutty aroma, sprinkle finely chopped pecans, walnuts, or almonds on top of the ganache before it sets. This provides a lovely contrast to the smooth cheesecake.
Step-by-Step Guide to Crafting Your Christmas Tree Cheesecake
Follow these detailed instructions to create a stunning and delicious Little Debbie Christmas Tree Cheesecake that will impress everyone this holiday season.
- Step 1: Prepare Your Oven and Pan. Begin by preheating your oven to 325 degrees Fahrenheit (160°C). This ensures the oven is at the correct temperature when your cheesecake is ready to bake.
- Step 2: Crush the Oreos. Place the Golden Oreos in a food processor and pulse until they are finely ground into even crumbs.
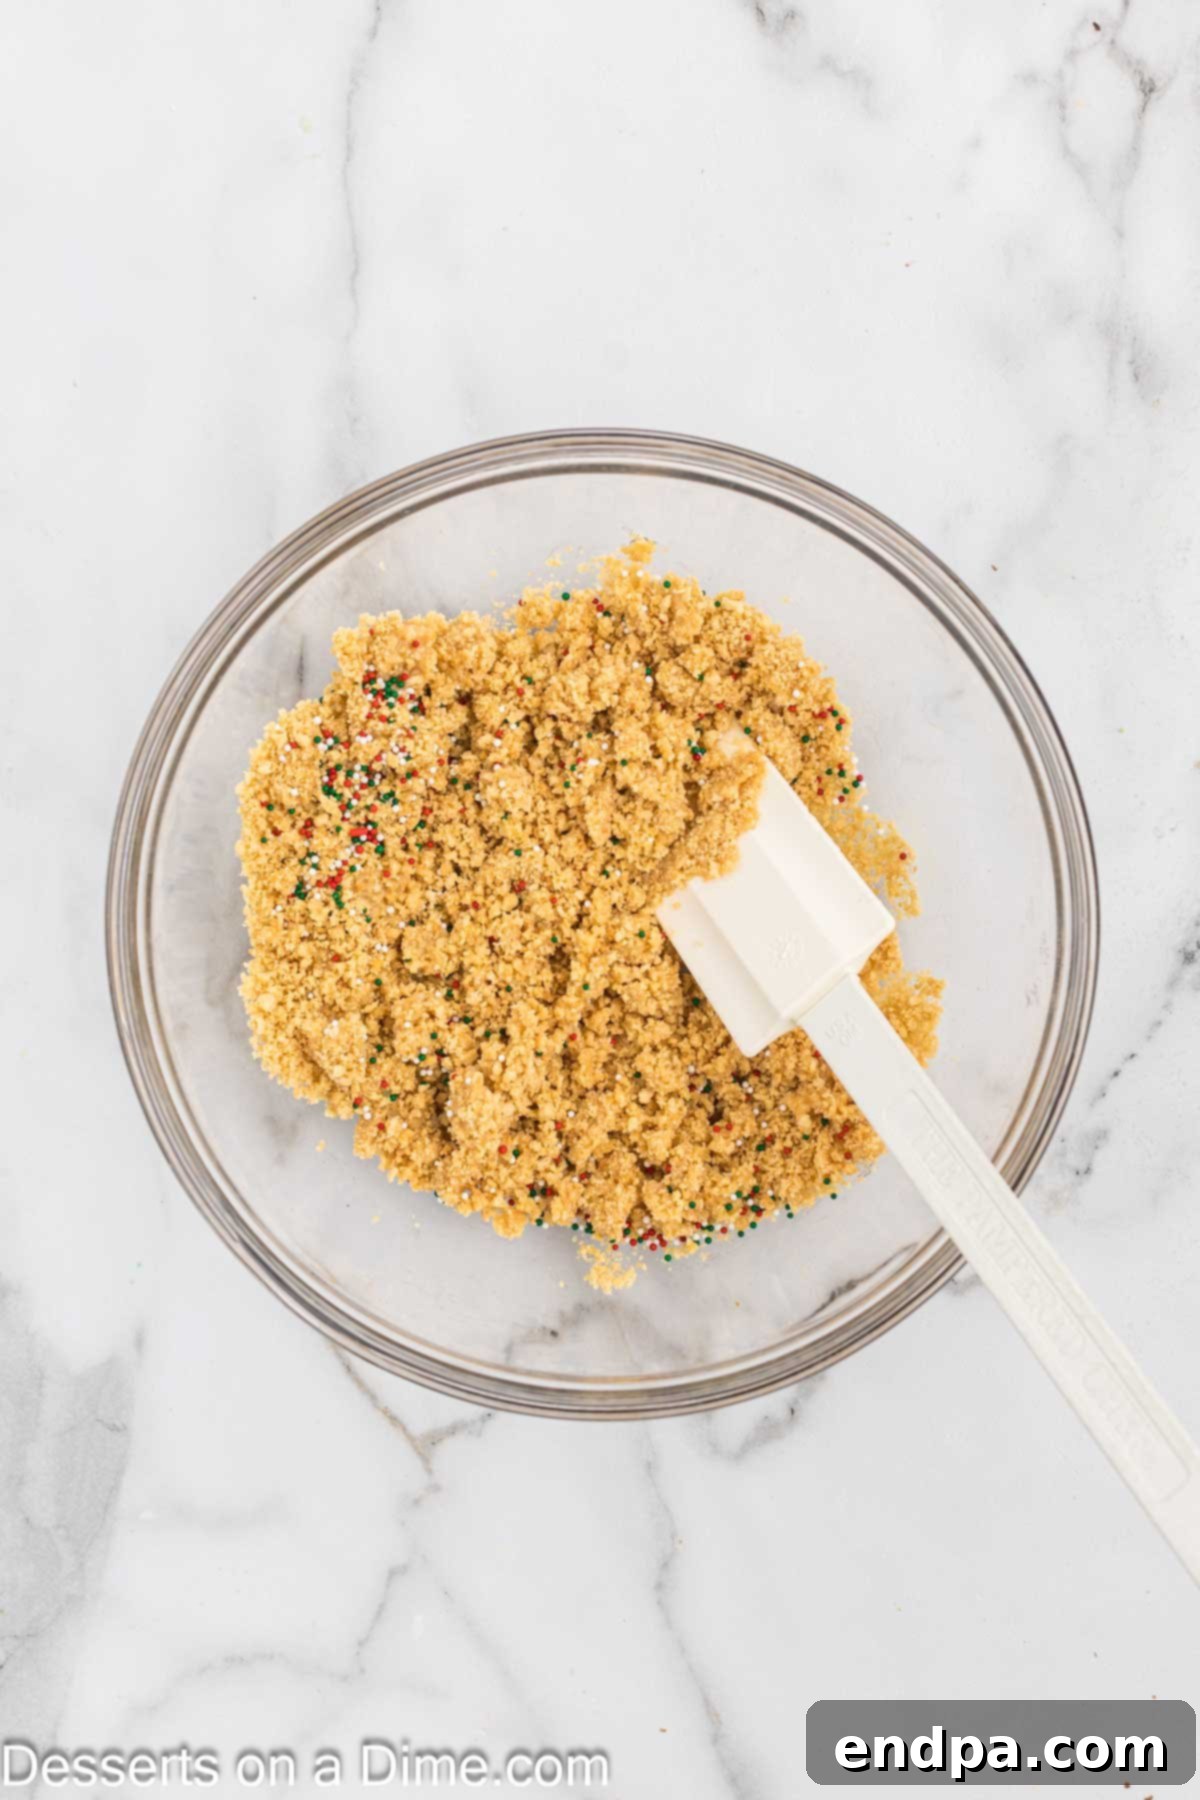
Step 3: Combine Crust Ingredients. In a mixing bowl, thoroughly combine the crushed Golden Oreo crumbs, melted butter, and festive Christmas nonpareils sprinkles. Mix until the crumbs are evenly moistened.
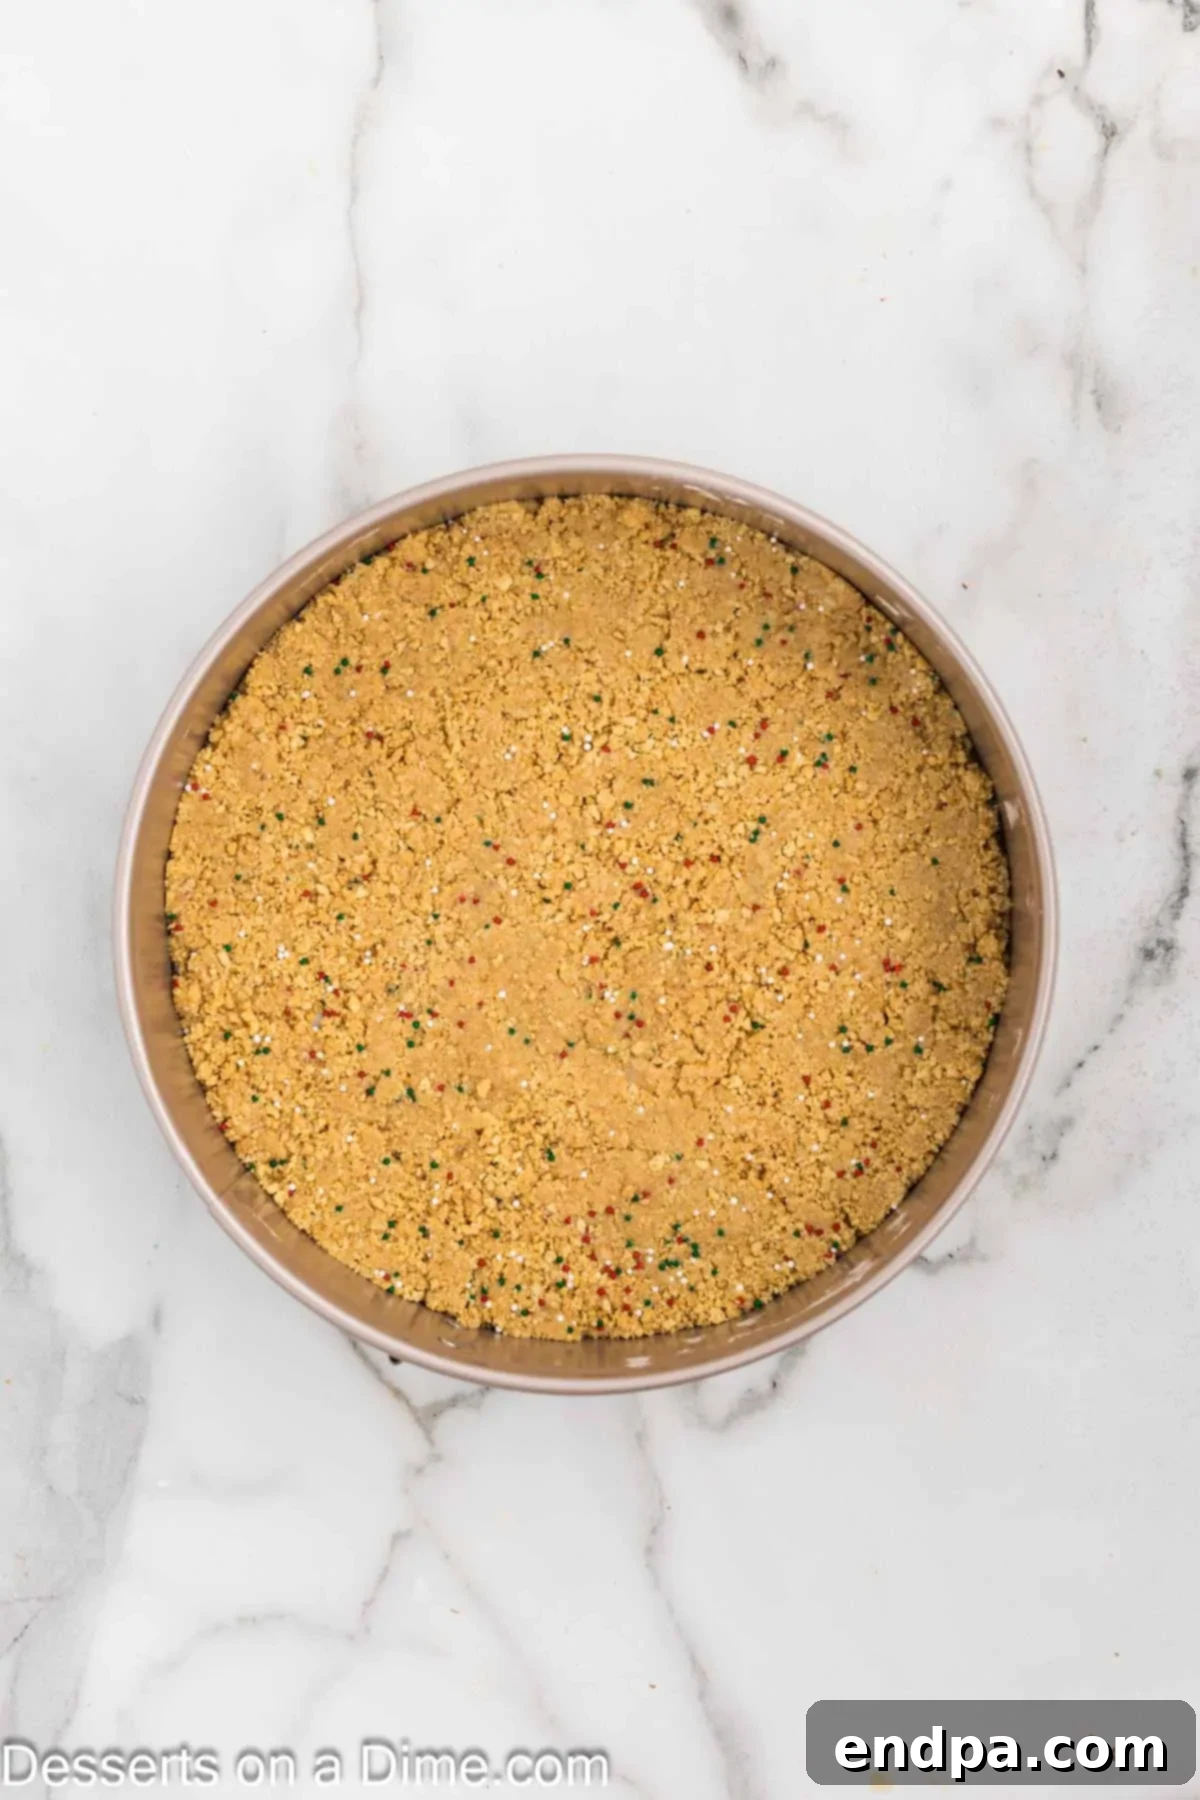
Step 4: Form and Bake the Crust. Pour the mixture into the bottom of a 9-inch springform pan. Press the crumbs firmly onto the bottom and up the sides of the pan by about ½ inch (1.25 cm). Bake for 8 minutes, then remove from the oven and let it cool completely at room temperature.
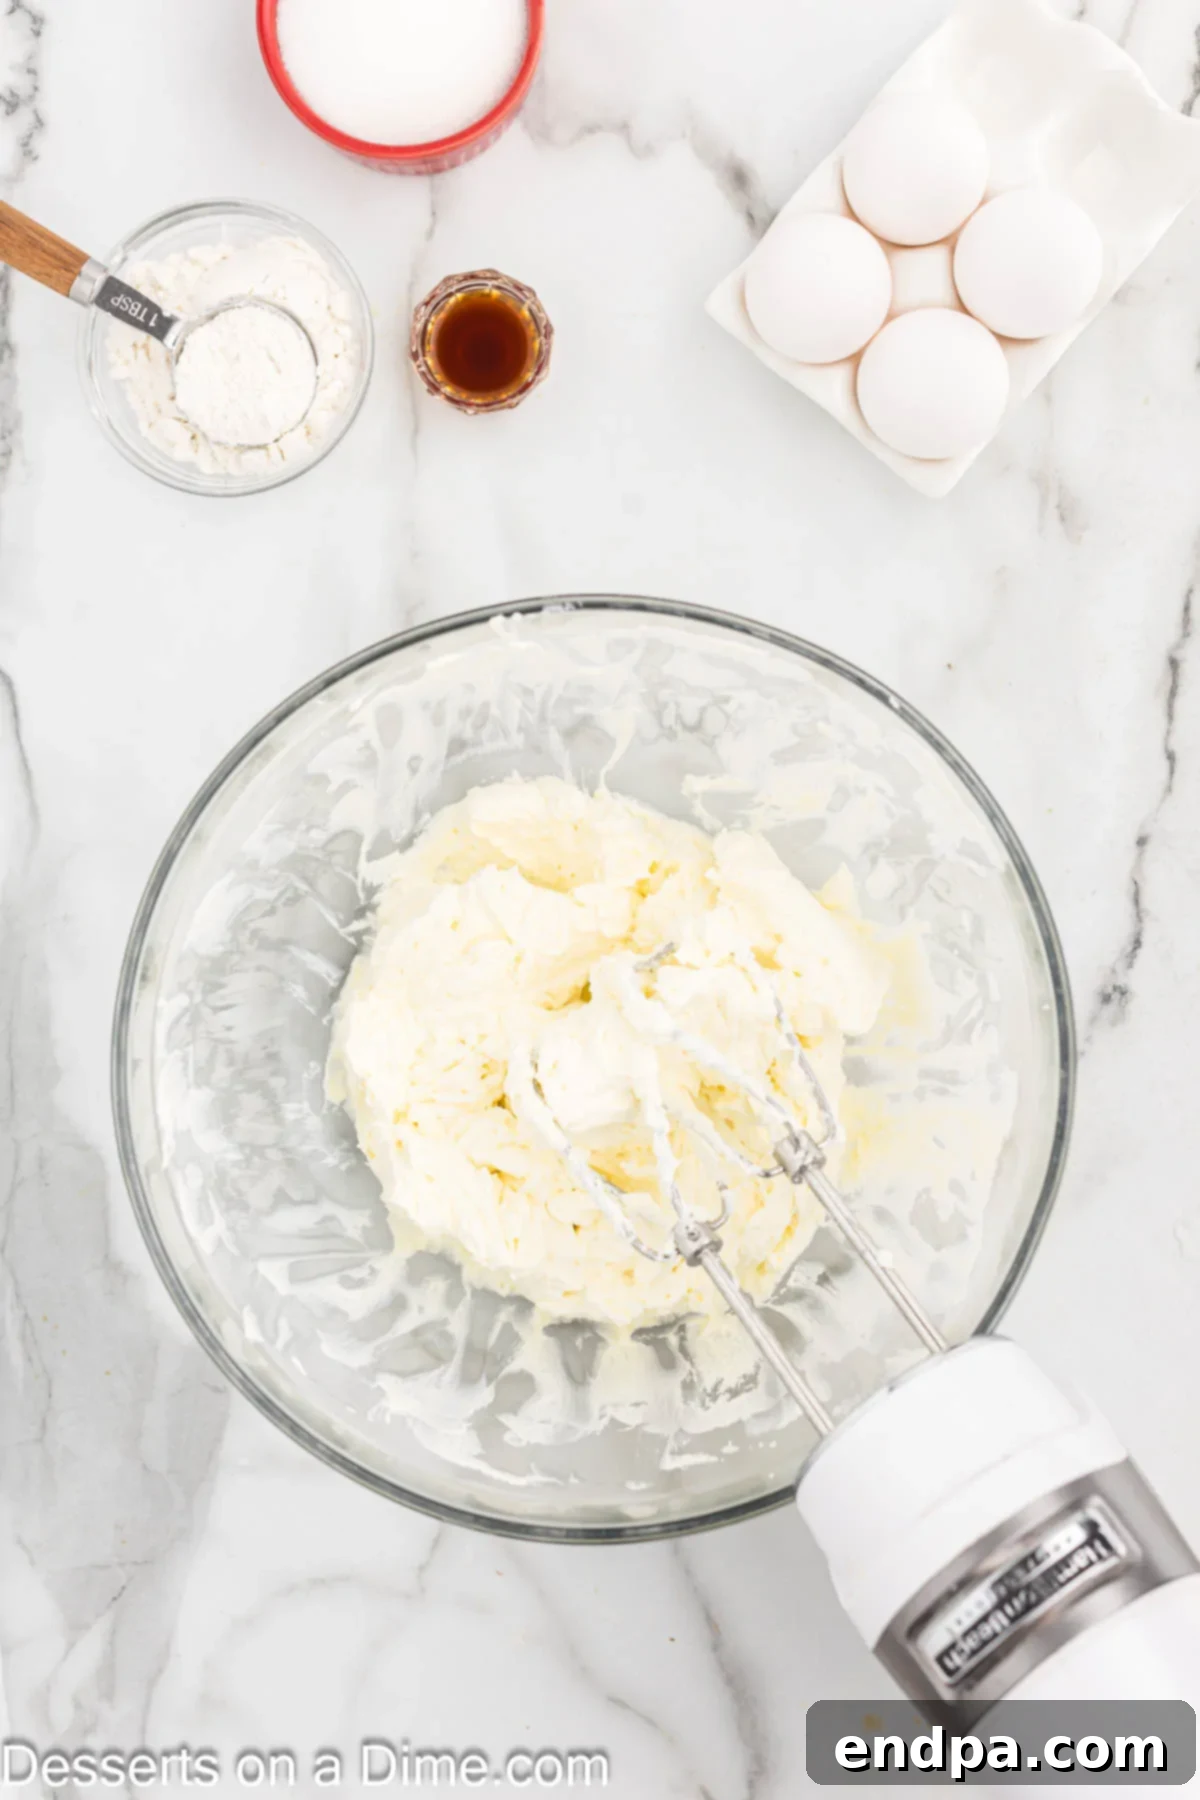
Step 5: Prepare the Cream Cheese. While the crust is cooling, begin making the filling. Using an electric mixer (either a hand mixer or a stand mixer with a paddle attachment), beat the softened cream cheese until it is light, fluffy, and completely smooth.
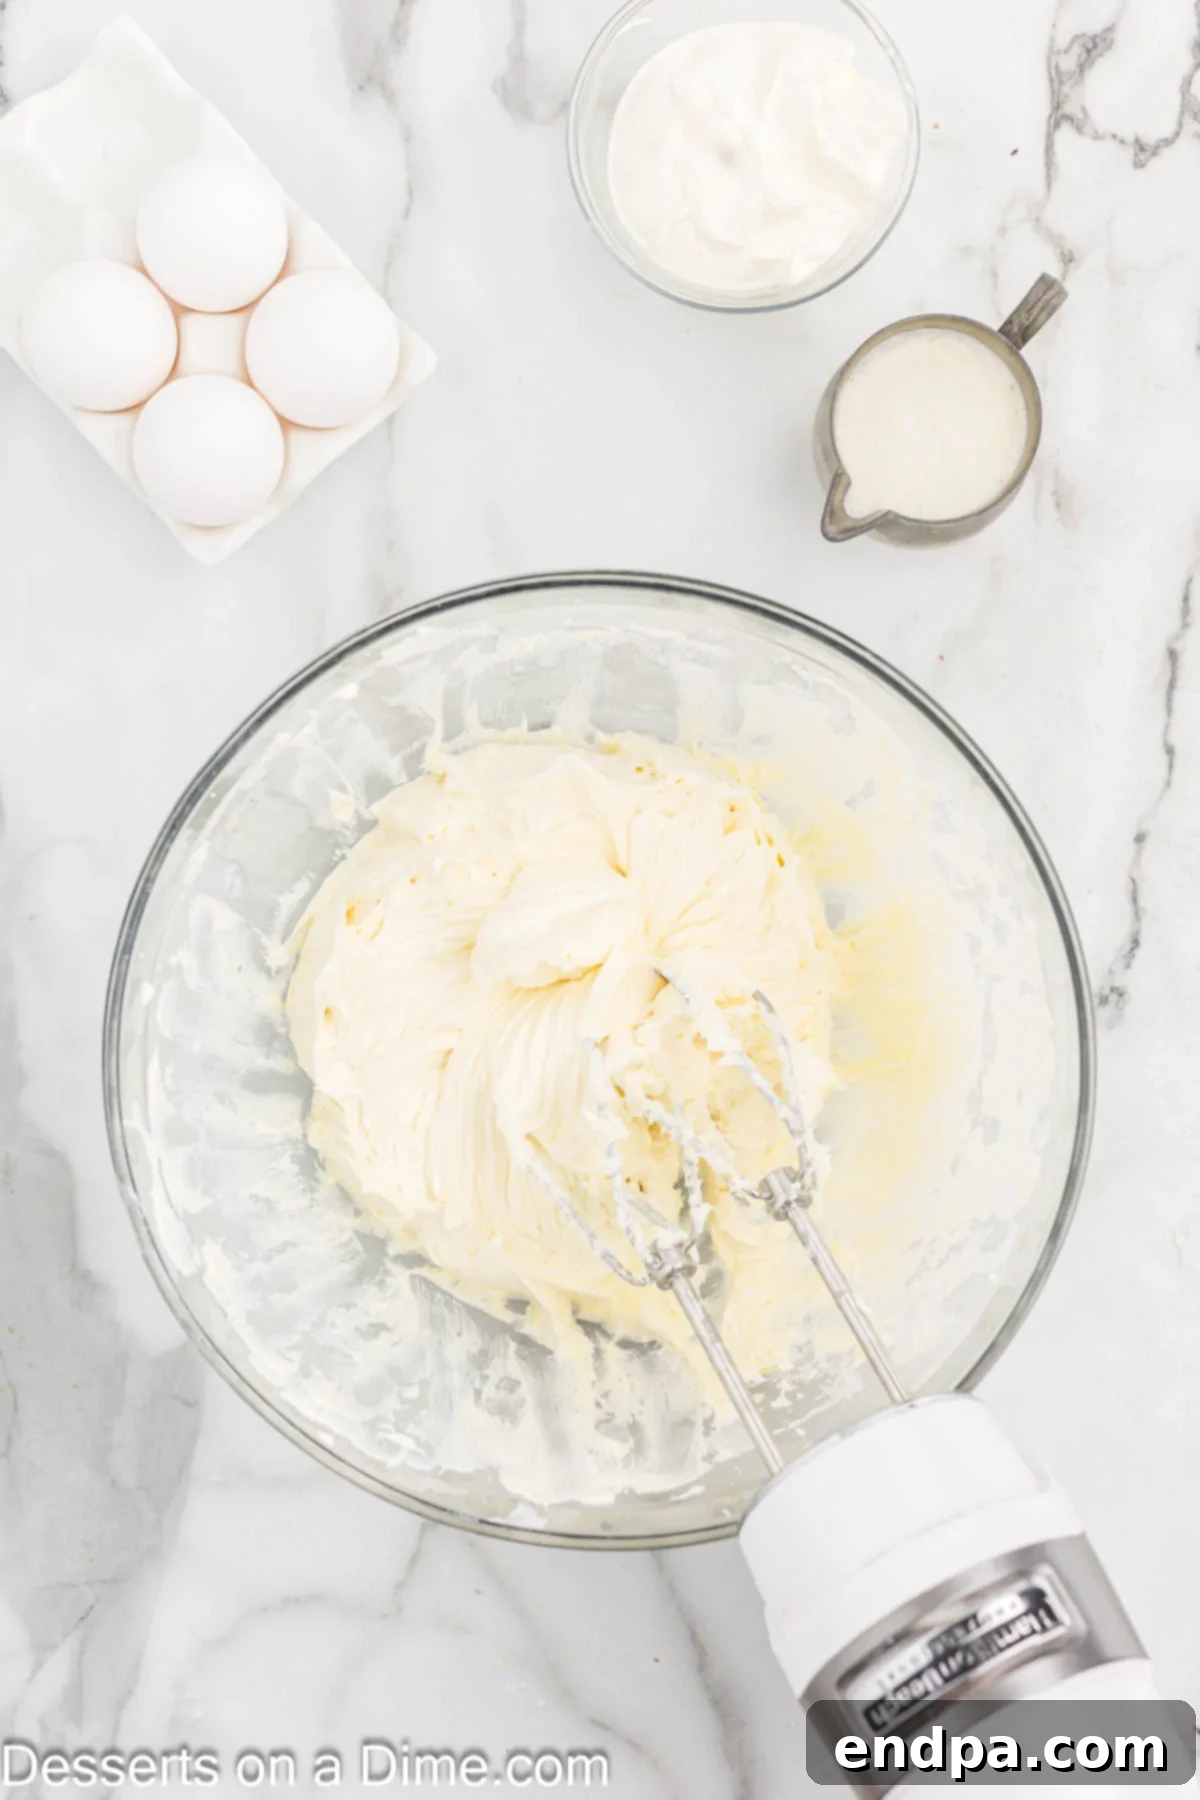
Step 6: Add Sugar, Flour, and Vanilla. To the cream cheese, add the granulated sugar, all-purpose flour, and vanilla extract. Beat for 1-2 minutes until all ingredients are well combined. Scrape down the sides of the bowl with a spatula to ensure everything is thoroughly blended.
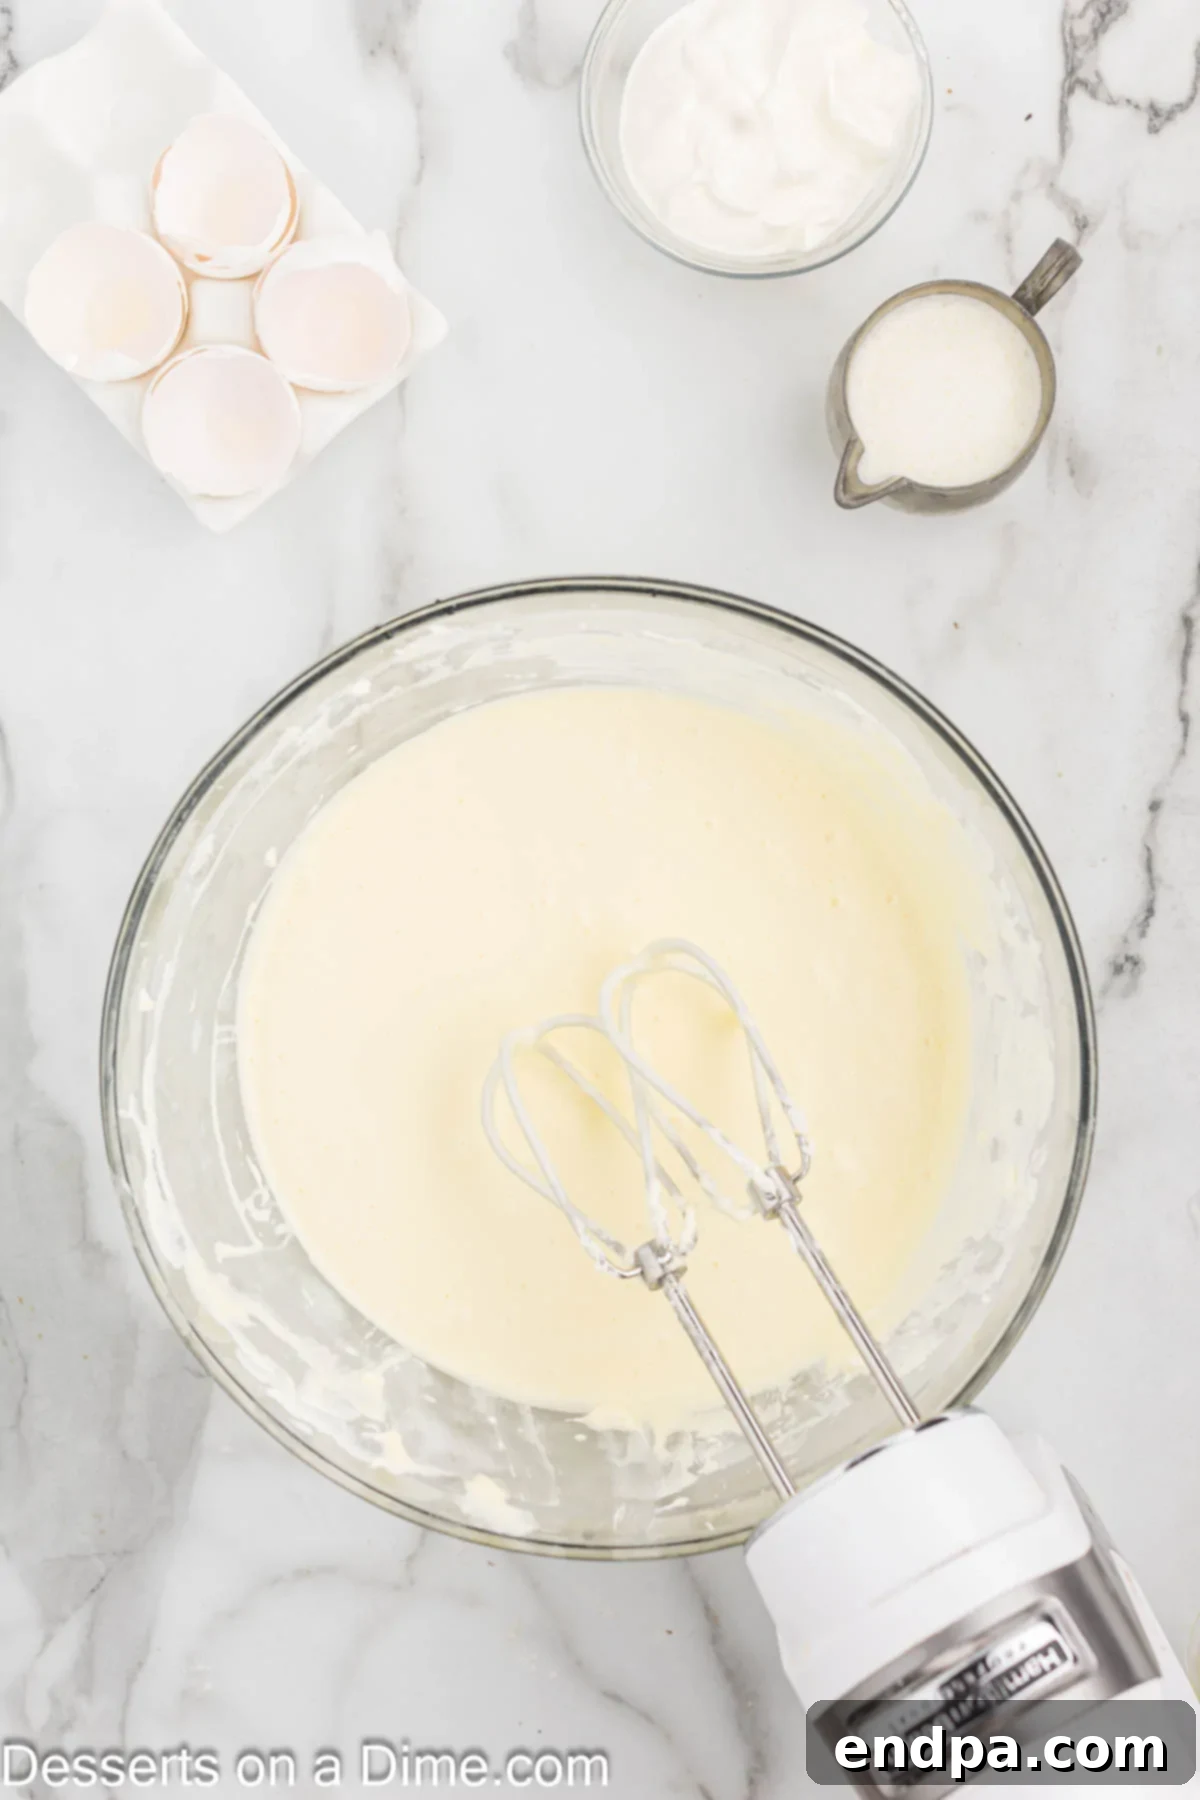
Step 7: Incorporate Eggs Gradually. Add the large eggs one at a time, mixing on low speed until each egg is just combined. Be careful not to overmix the batter after adding the eggs, as this can incorporate too much air and lead to cracks in the finished cheesecake.
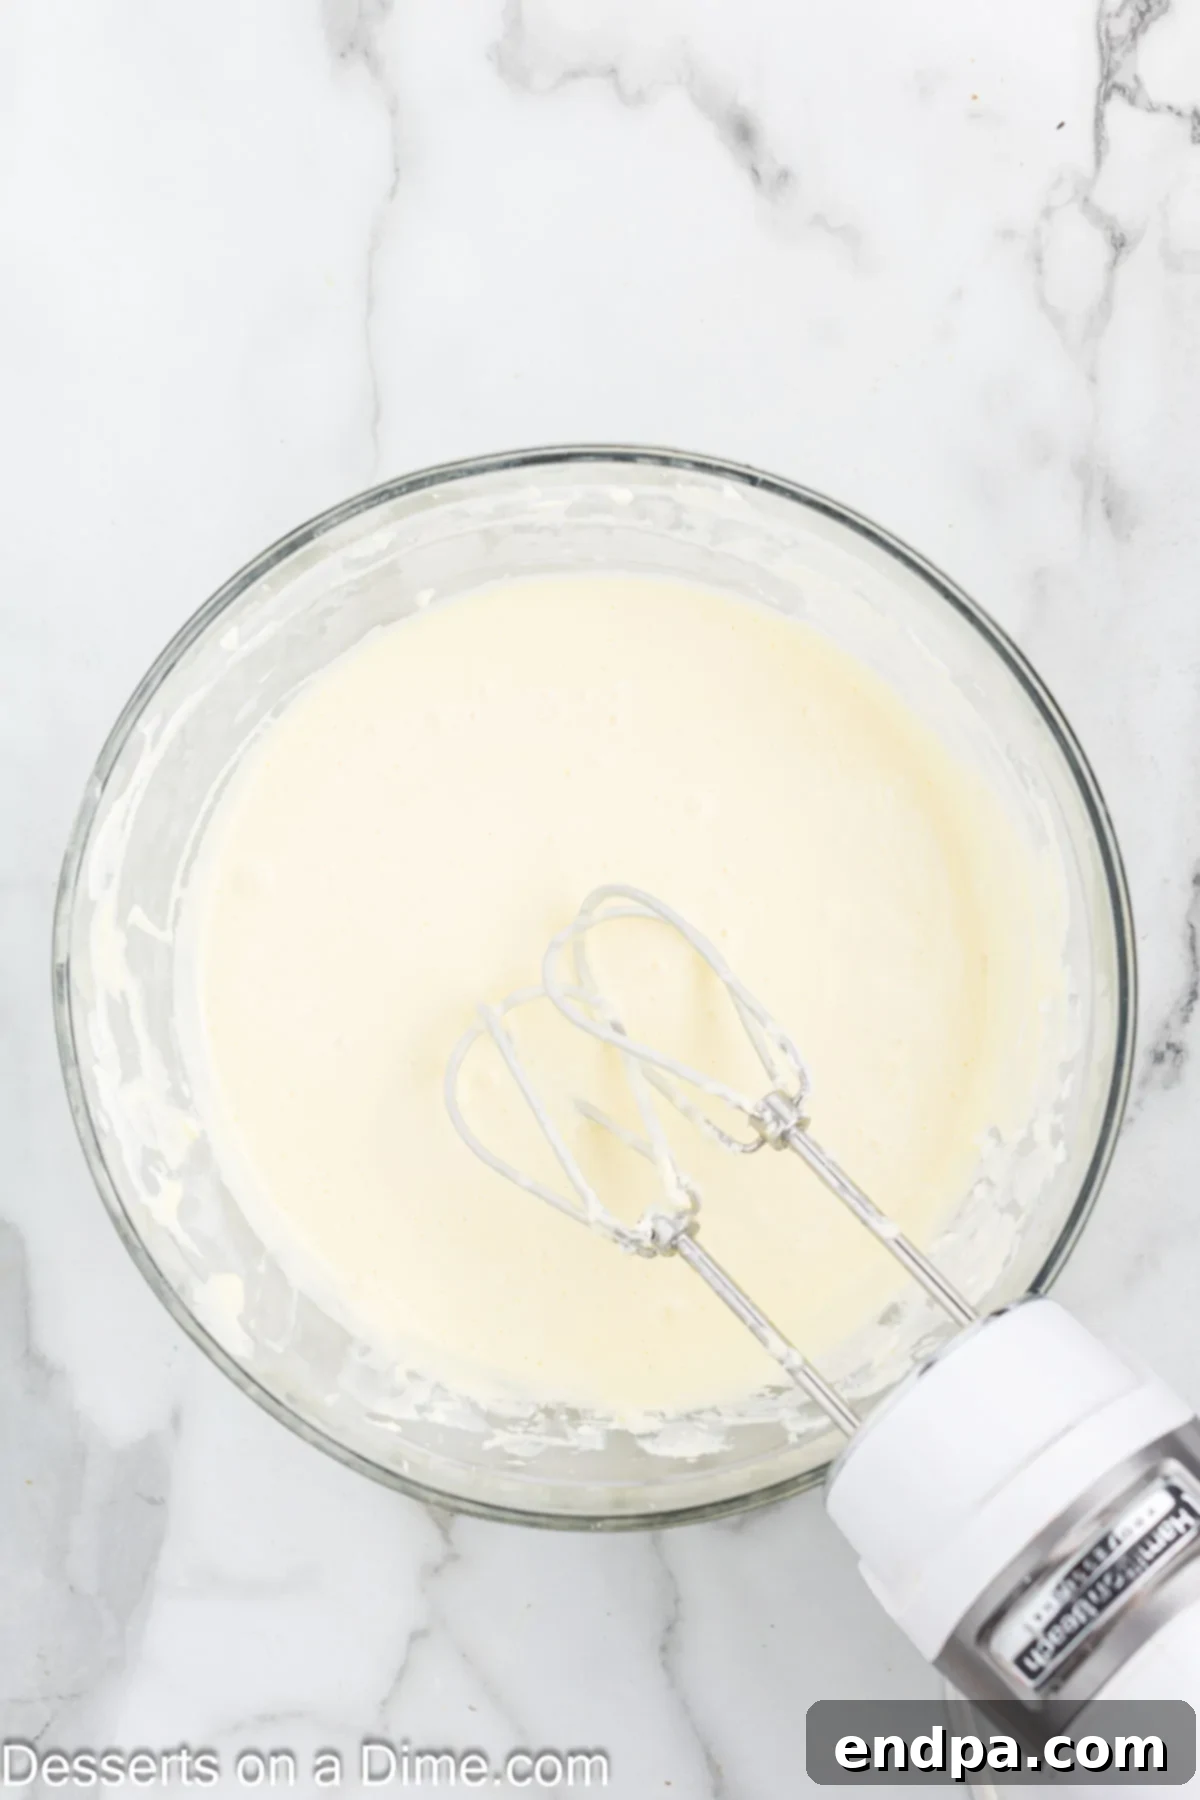
Step 8: Mix in Cream and Sour Cream. Reduce the mixer speed to low and gently mix in the full-fat sour cream and heavy whipping cream until they are thoroughly incorporated into the cheesecake batter. Again, avoid overmixing.
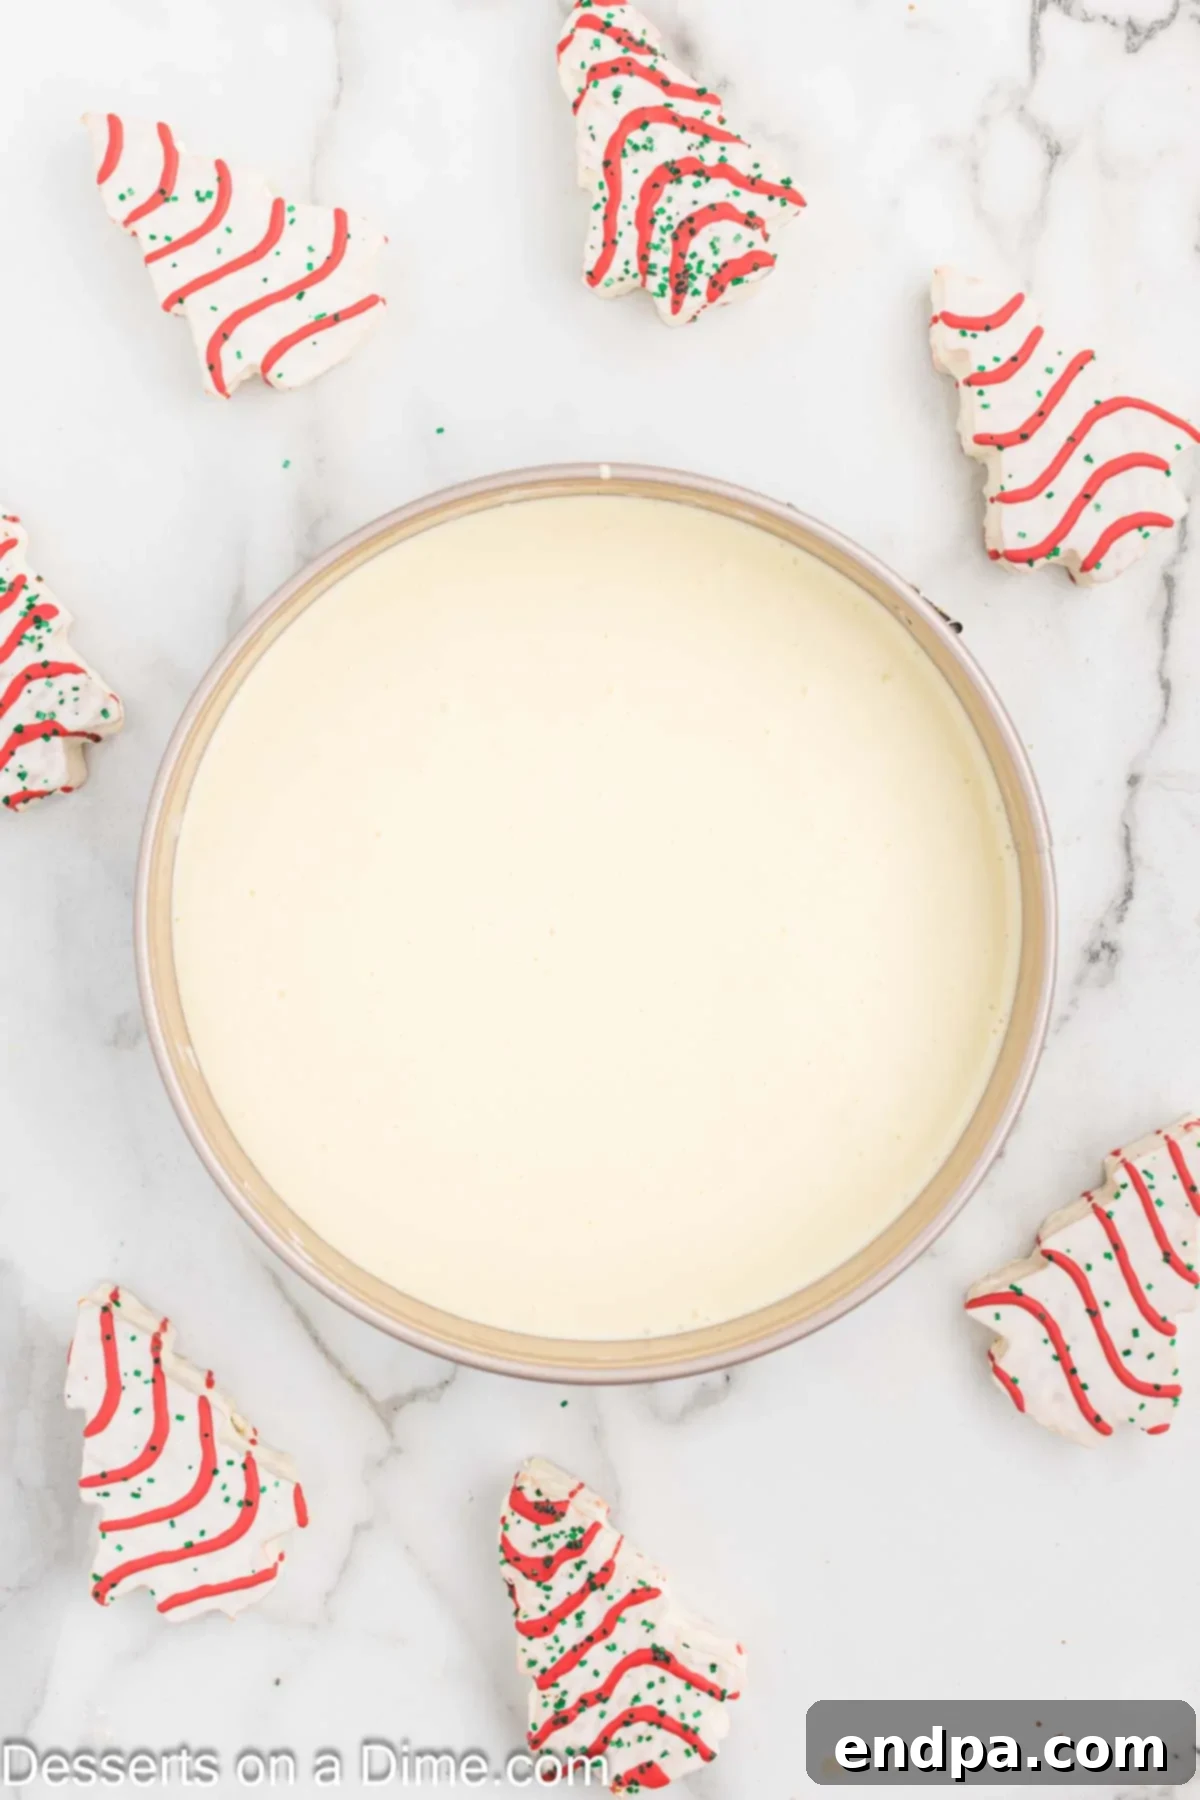
Step 9: First Layer of Filling. Pour half of the creamy cheesecake filling evenly over the cooled crust in the springform pan. Use a spatula to gently smooth the surface.
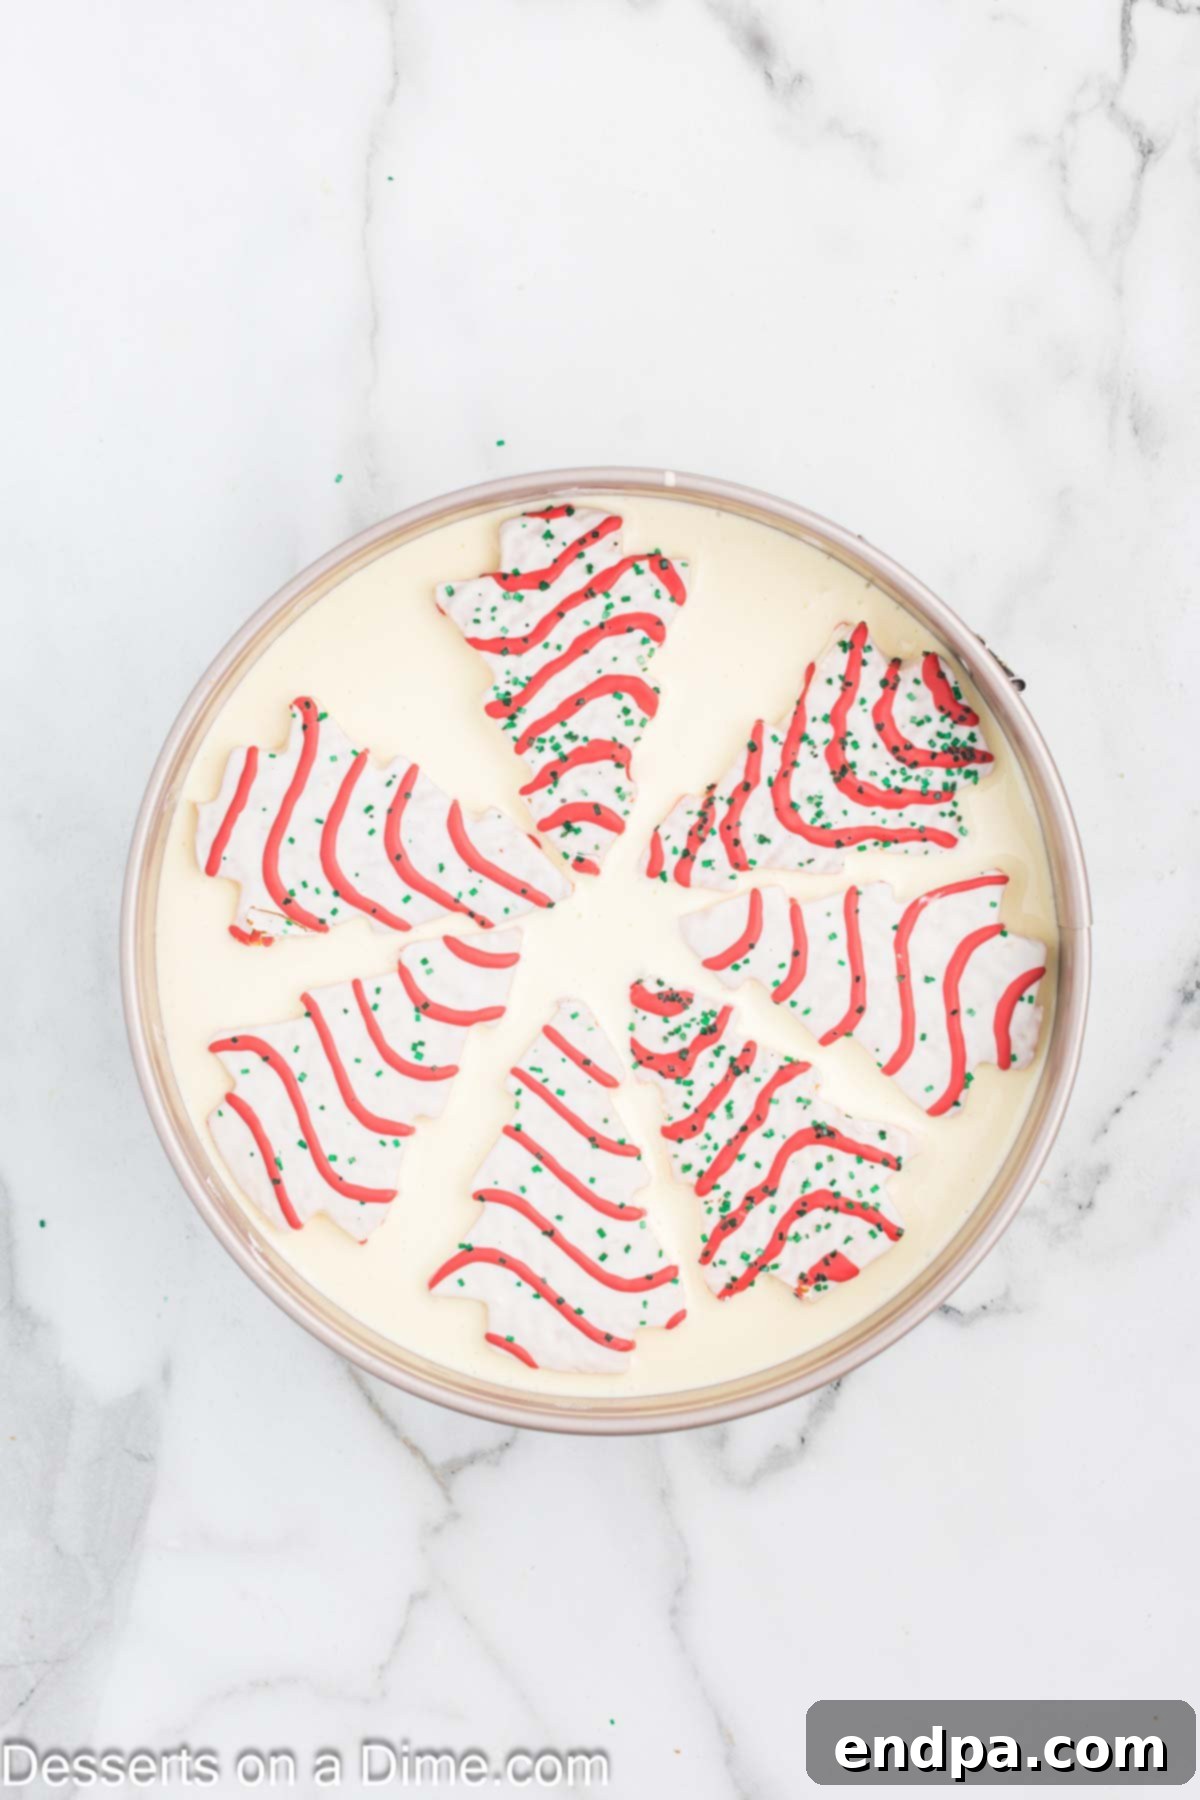
Step 10: Add the Christmas Tree Cakes. Carefully arrange the Little Debbie Christmas Tree Cakes on top of the first layer of cheesecake batter. Gently press them down slightly into the filling.
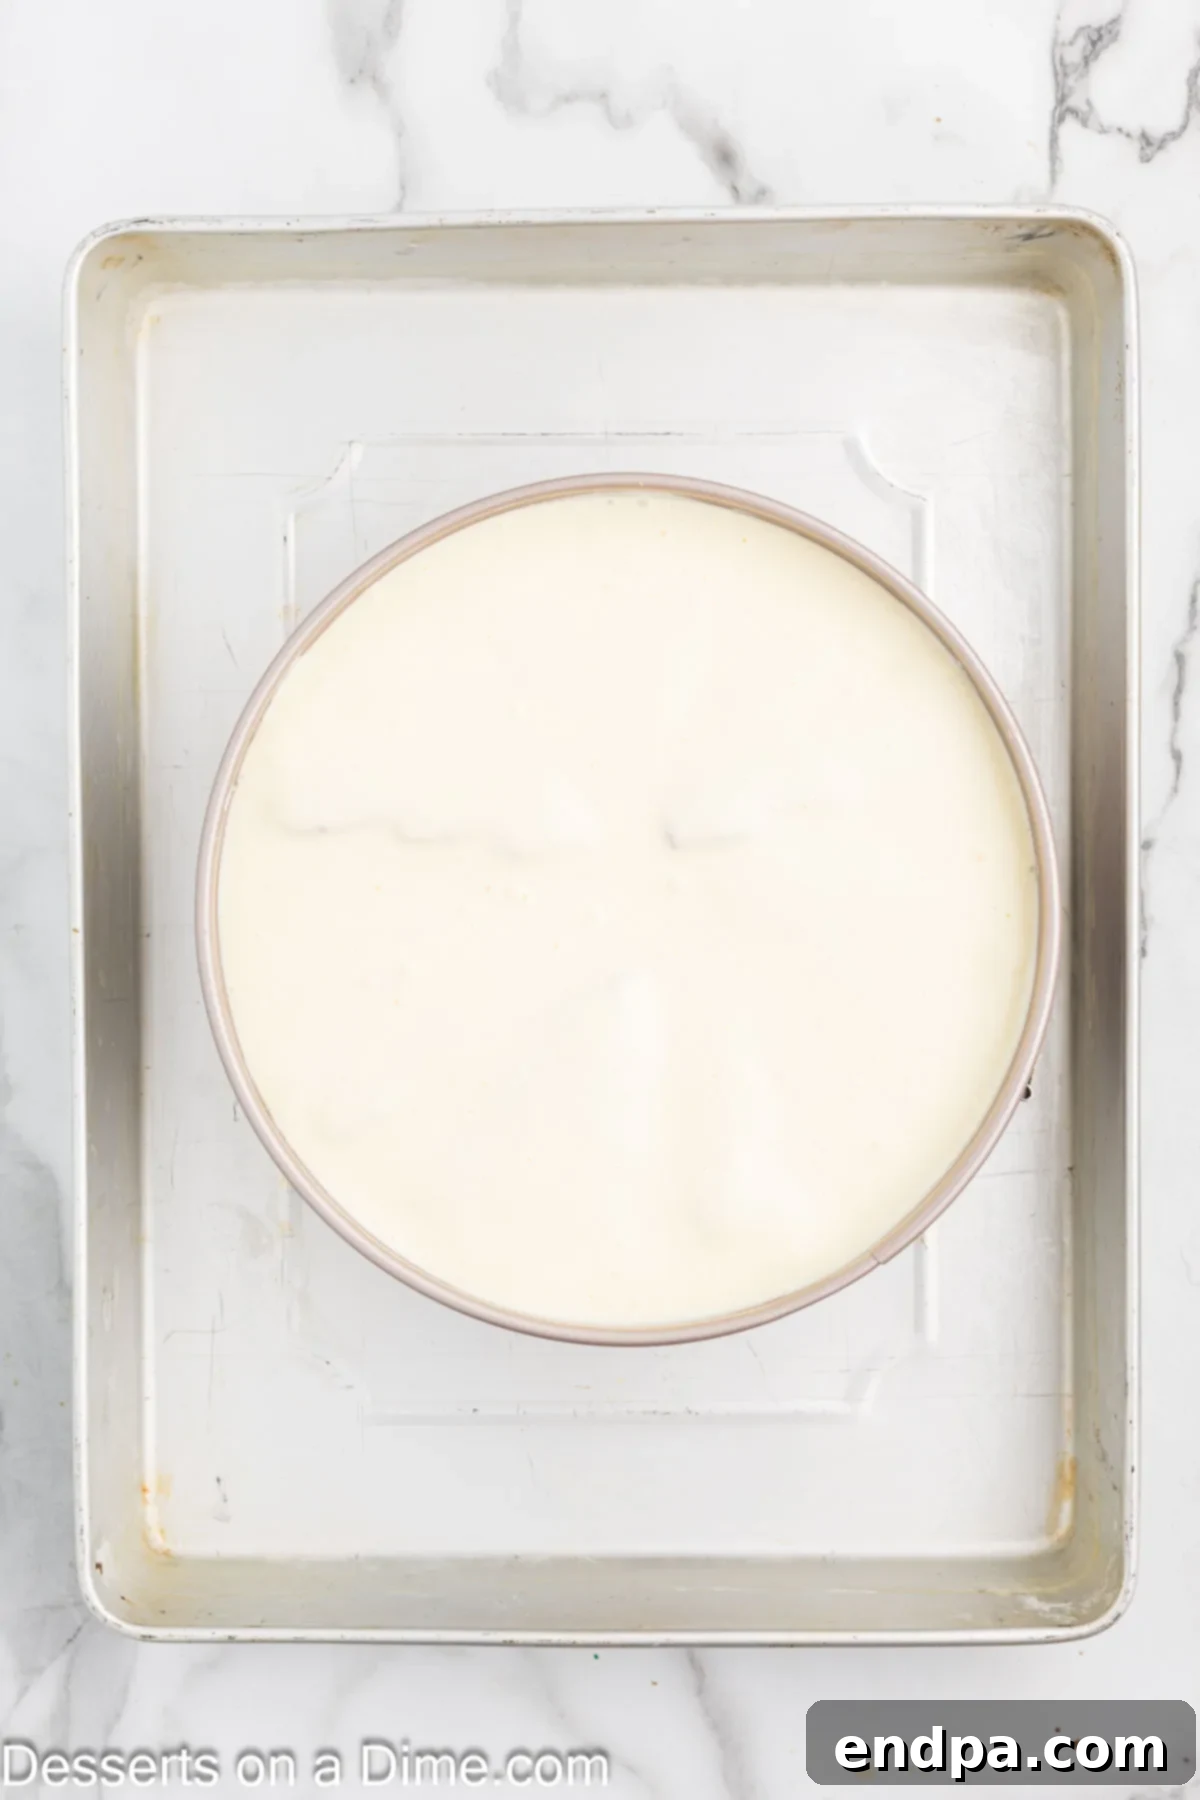
Step 11: Final Filling Layer and Water Bath. Pour the remaining cheesecake batter over the Little Debbie Cakes, covering them completely. Gently tap the springform pan against the counter a few times to release any trapped air bubbles, which helps prevent cracks. Place the cheesecake pan into a larger roasting pan. Carefully pour boiling water into the larger pan, ensuring it reaches about halfway up the sides of the springform pan. This water bath (bain-marie) helps the cheesecake bake evenly and prevents cracking.
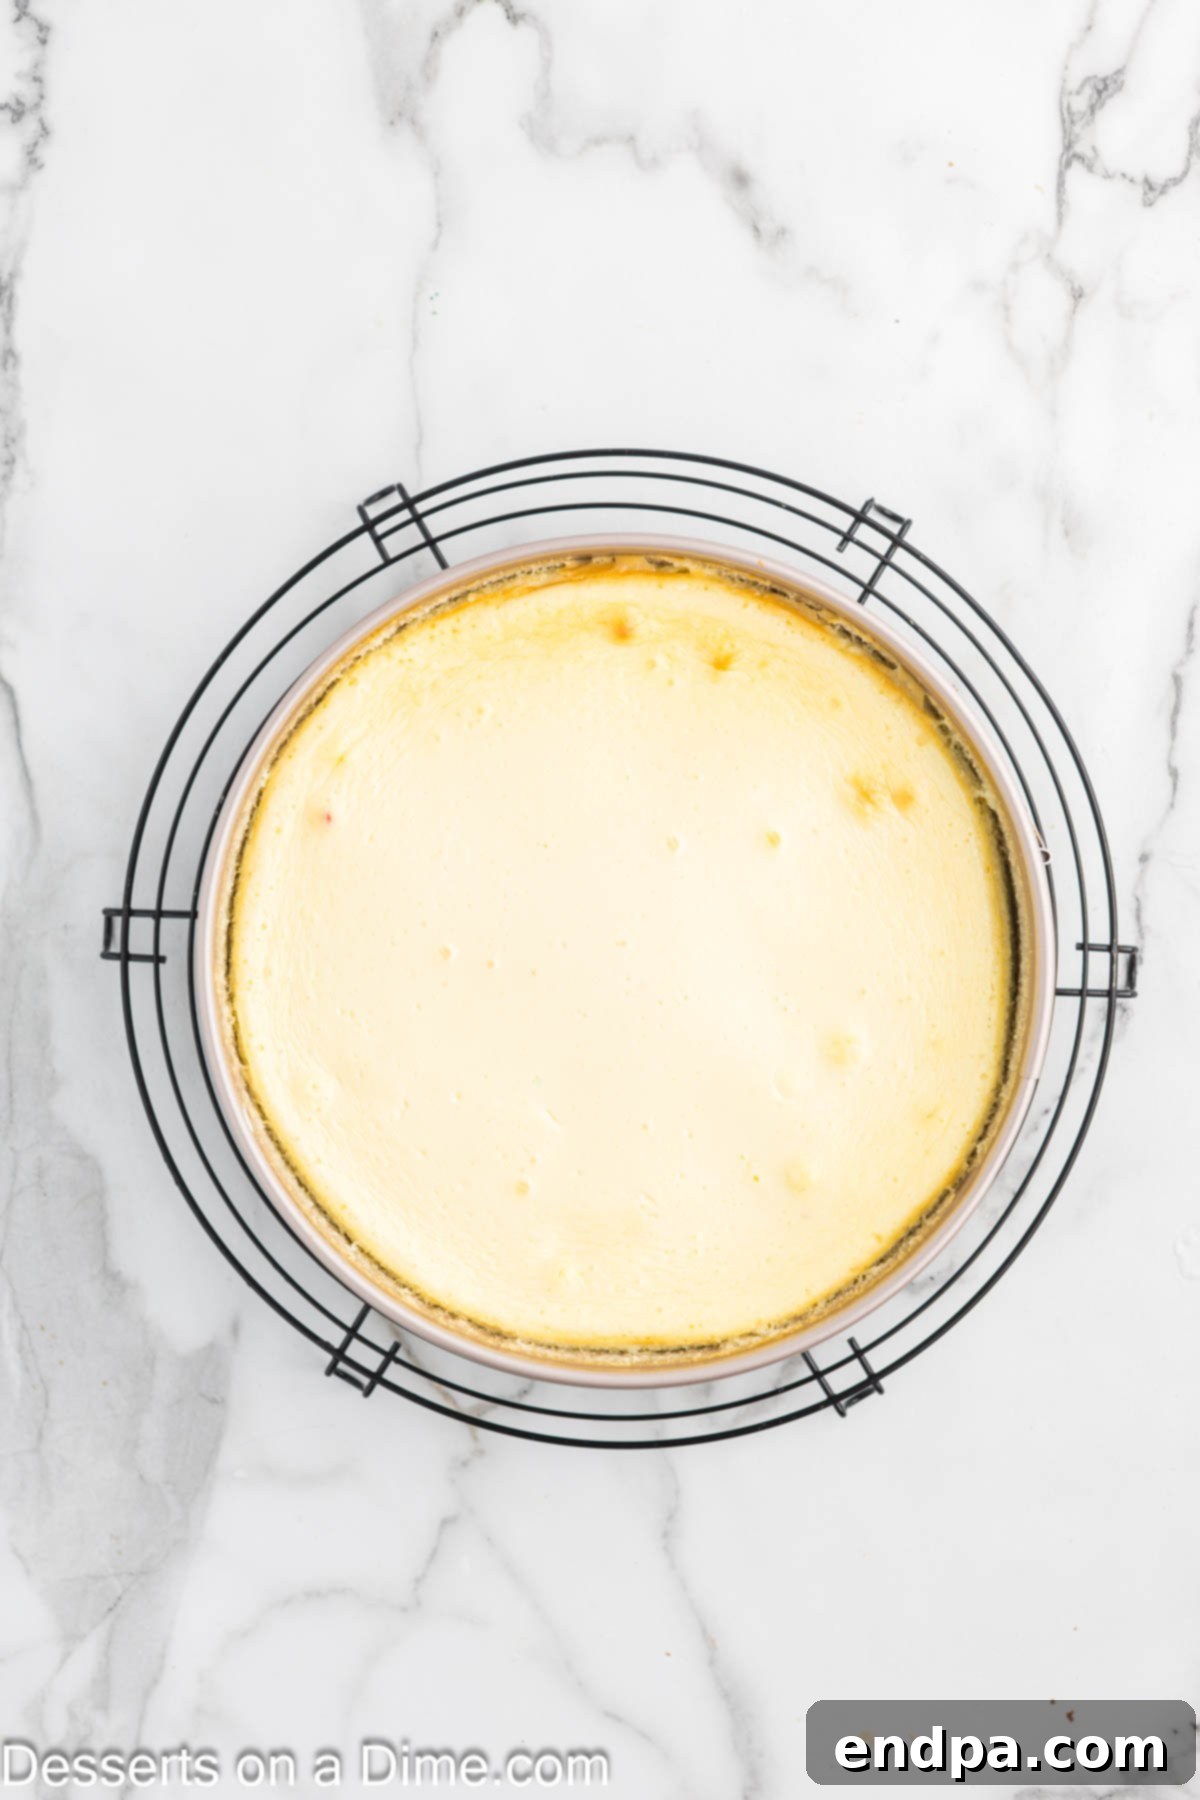
Step 12: Bake and Gradual Cool. Bake the cheesecake for 55-65 minutes, or until the edges are set and the center still has a slight jiggle. Once baked, turn off the oven and crack the oven door open. Allow the cheesecake to cool gradually inside the oven on the rack for an additional 45 minutes, or until it reaches room temperature. This slow cooling process is crucial for preventing cracks. Once cool, remove from the oven and carefully lift the springform pan out of the water bath. Chill the cheesecake in the refrigerator for a minimum of 4 hours, or ideally, overnight, to ensure it sets completely.
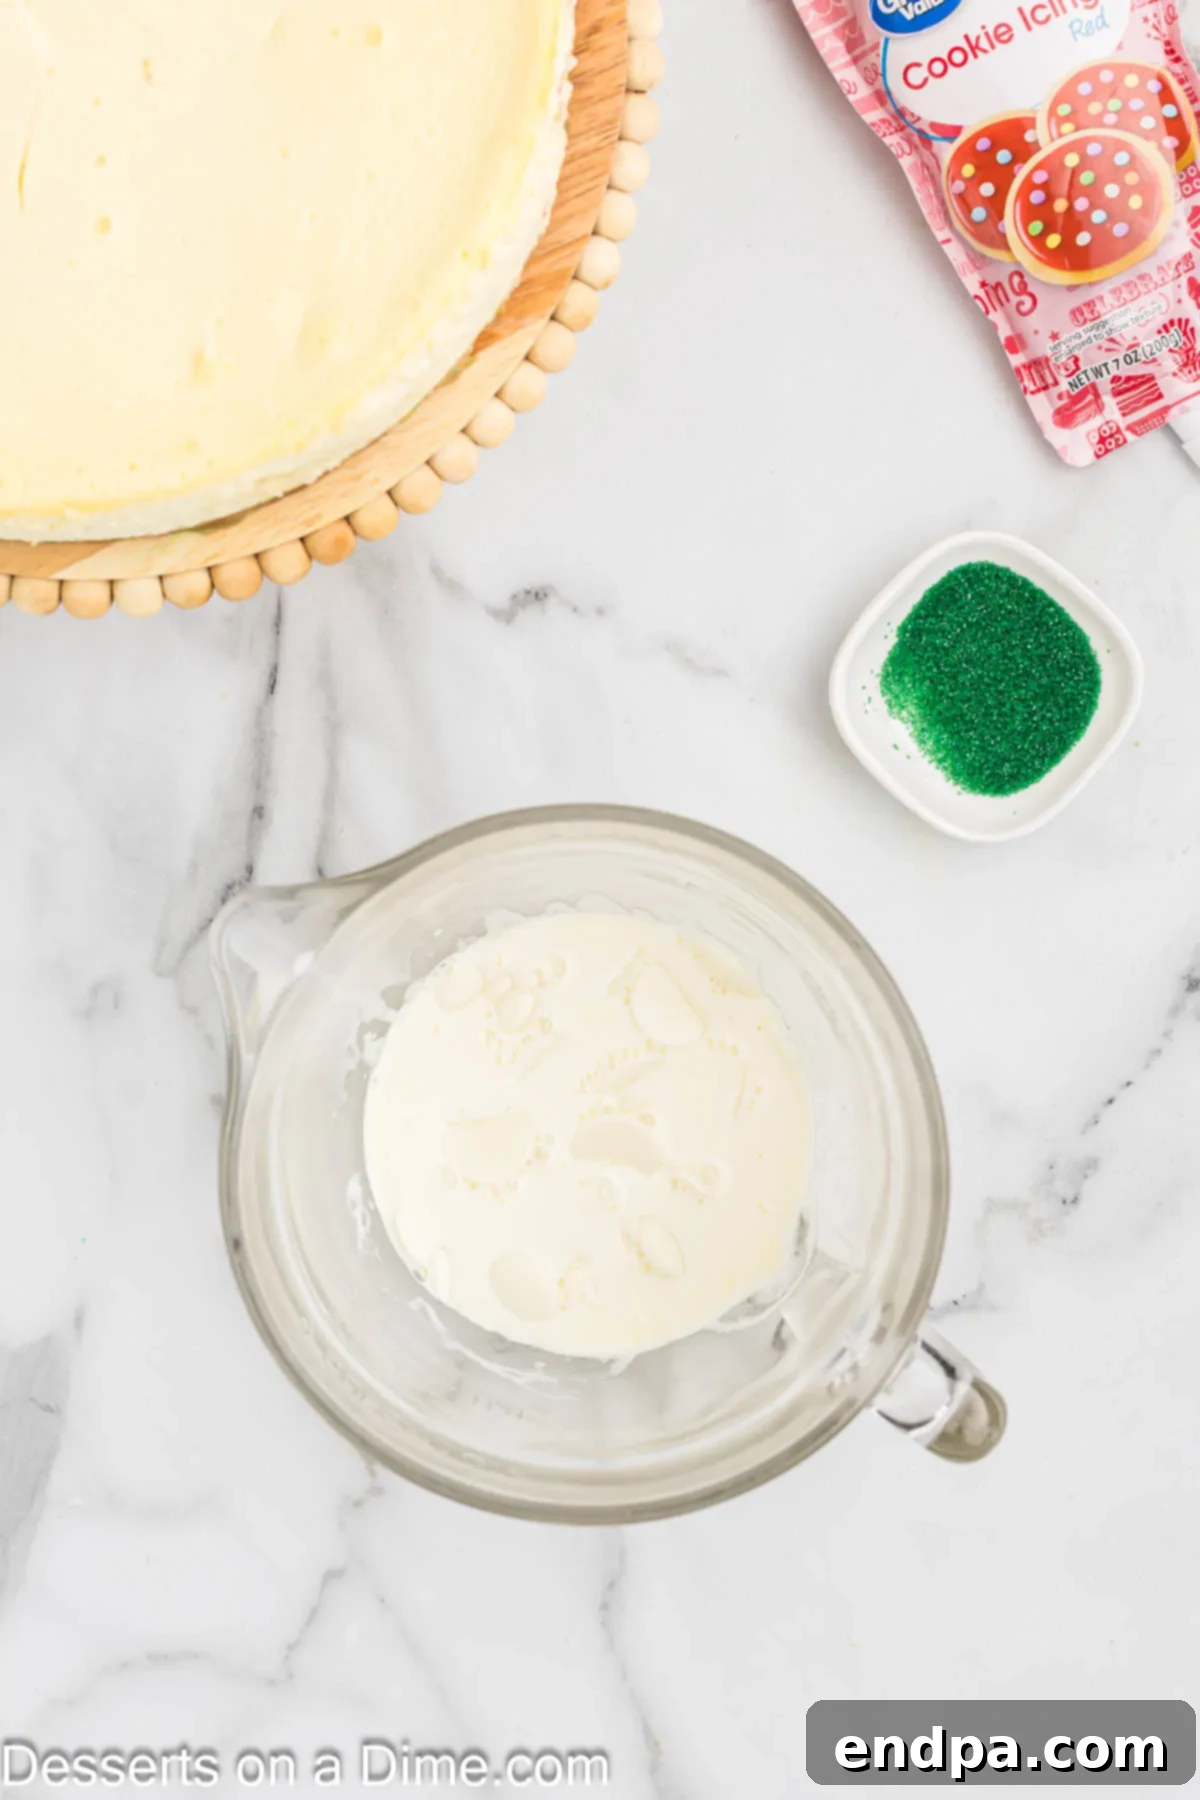
Step 13: Prepare the Ganache. While the cheesecake is chilling, prepare the white chocolate ganache topping. Place the heavy cream in a microwave-safe bowl and heat in 30-second intervals until it is hot but not boiling. Pour the hot cream over the white baking chocolate and let it sit undisturbed for a few minutes. Then, stir until the mixture is thoroughly combined and perfectly smooth.
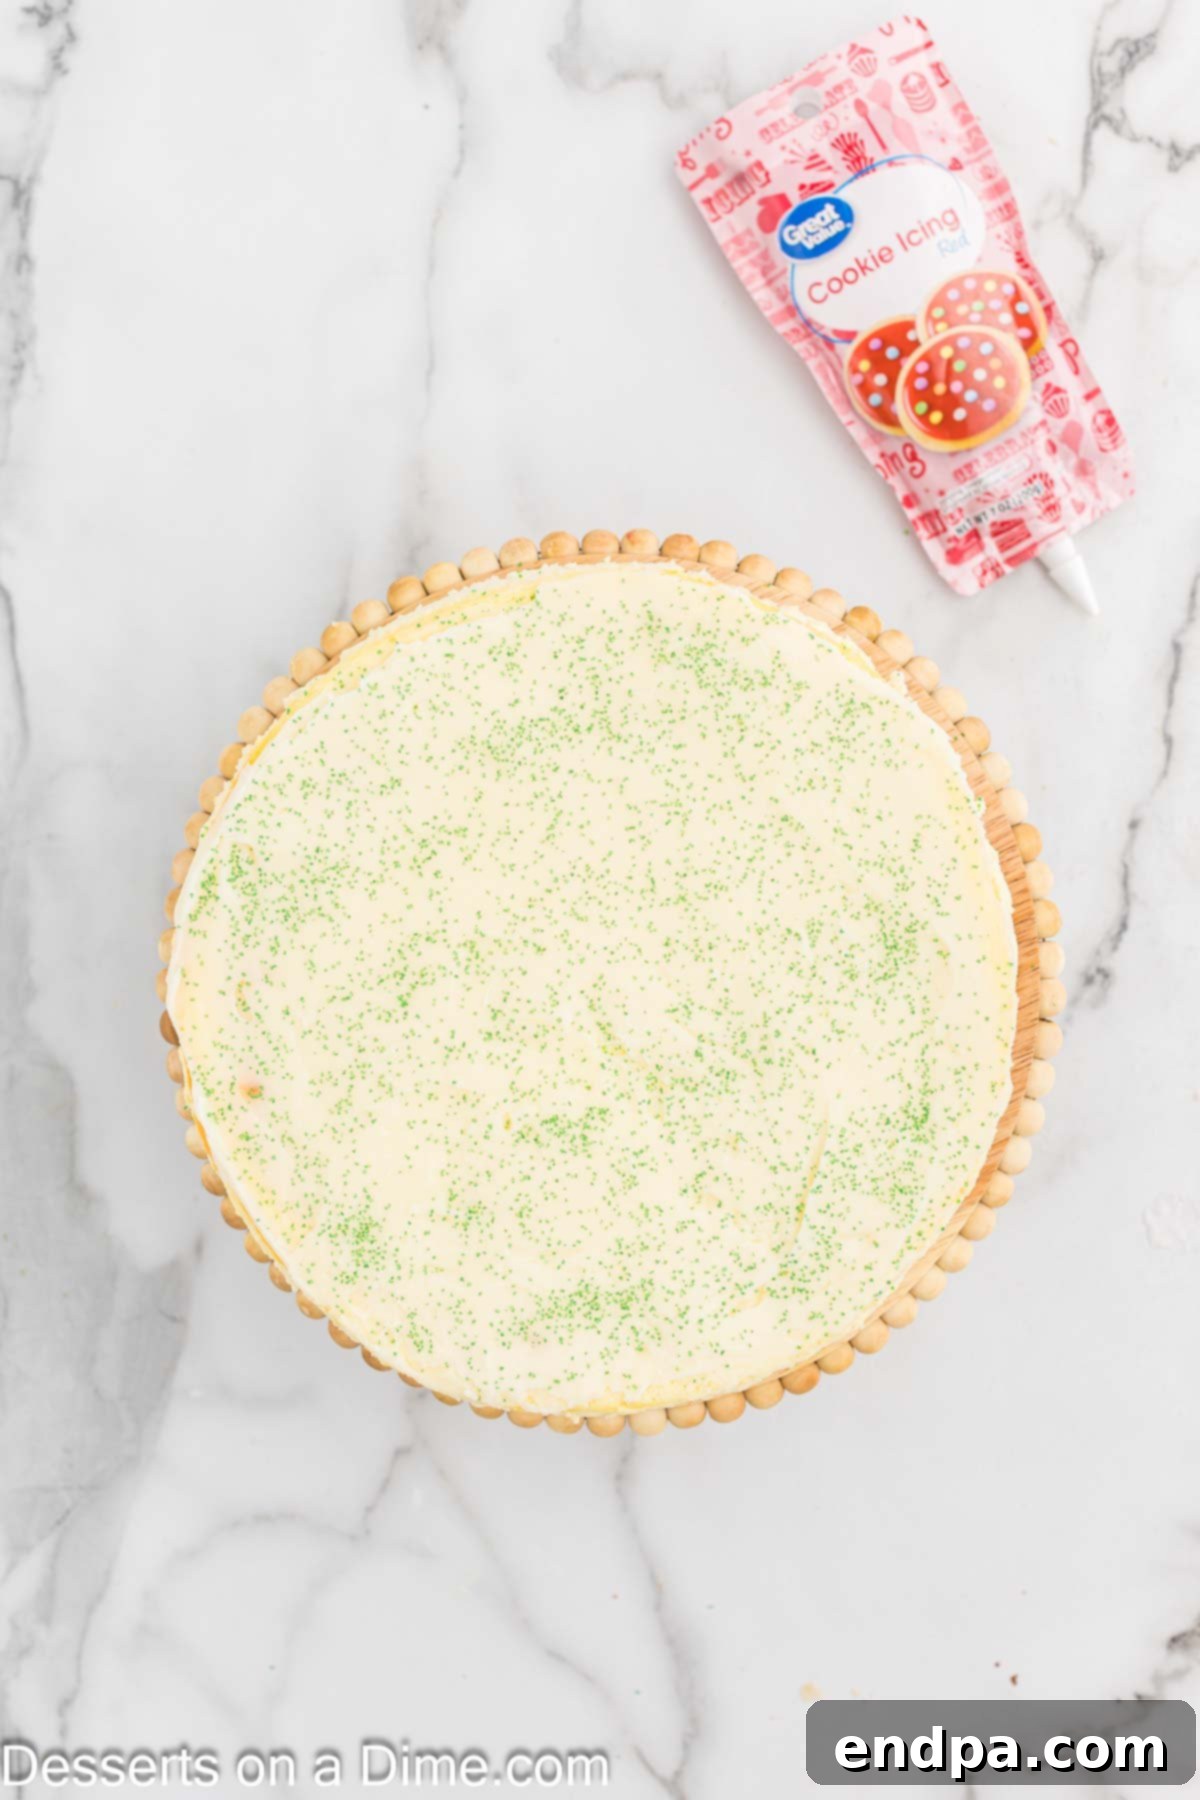
Step 14: Release and Top the Cheesecake. Once the cheesecake is thoroughly chilled, carefully remove it from the springform pan. The easiest way to do this is by running a thin knife around the inner edge of the pan to release the cheesecake before unlatching the springform. Transfer the cheesecake to a serving plate. Pour the prepared white chocolate ganache evenly over the top of the cheesecake and smooth it out with a spatula. Immediately sprinkle the green sanding sugar over the ganache before it sets.
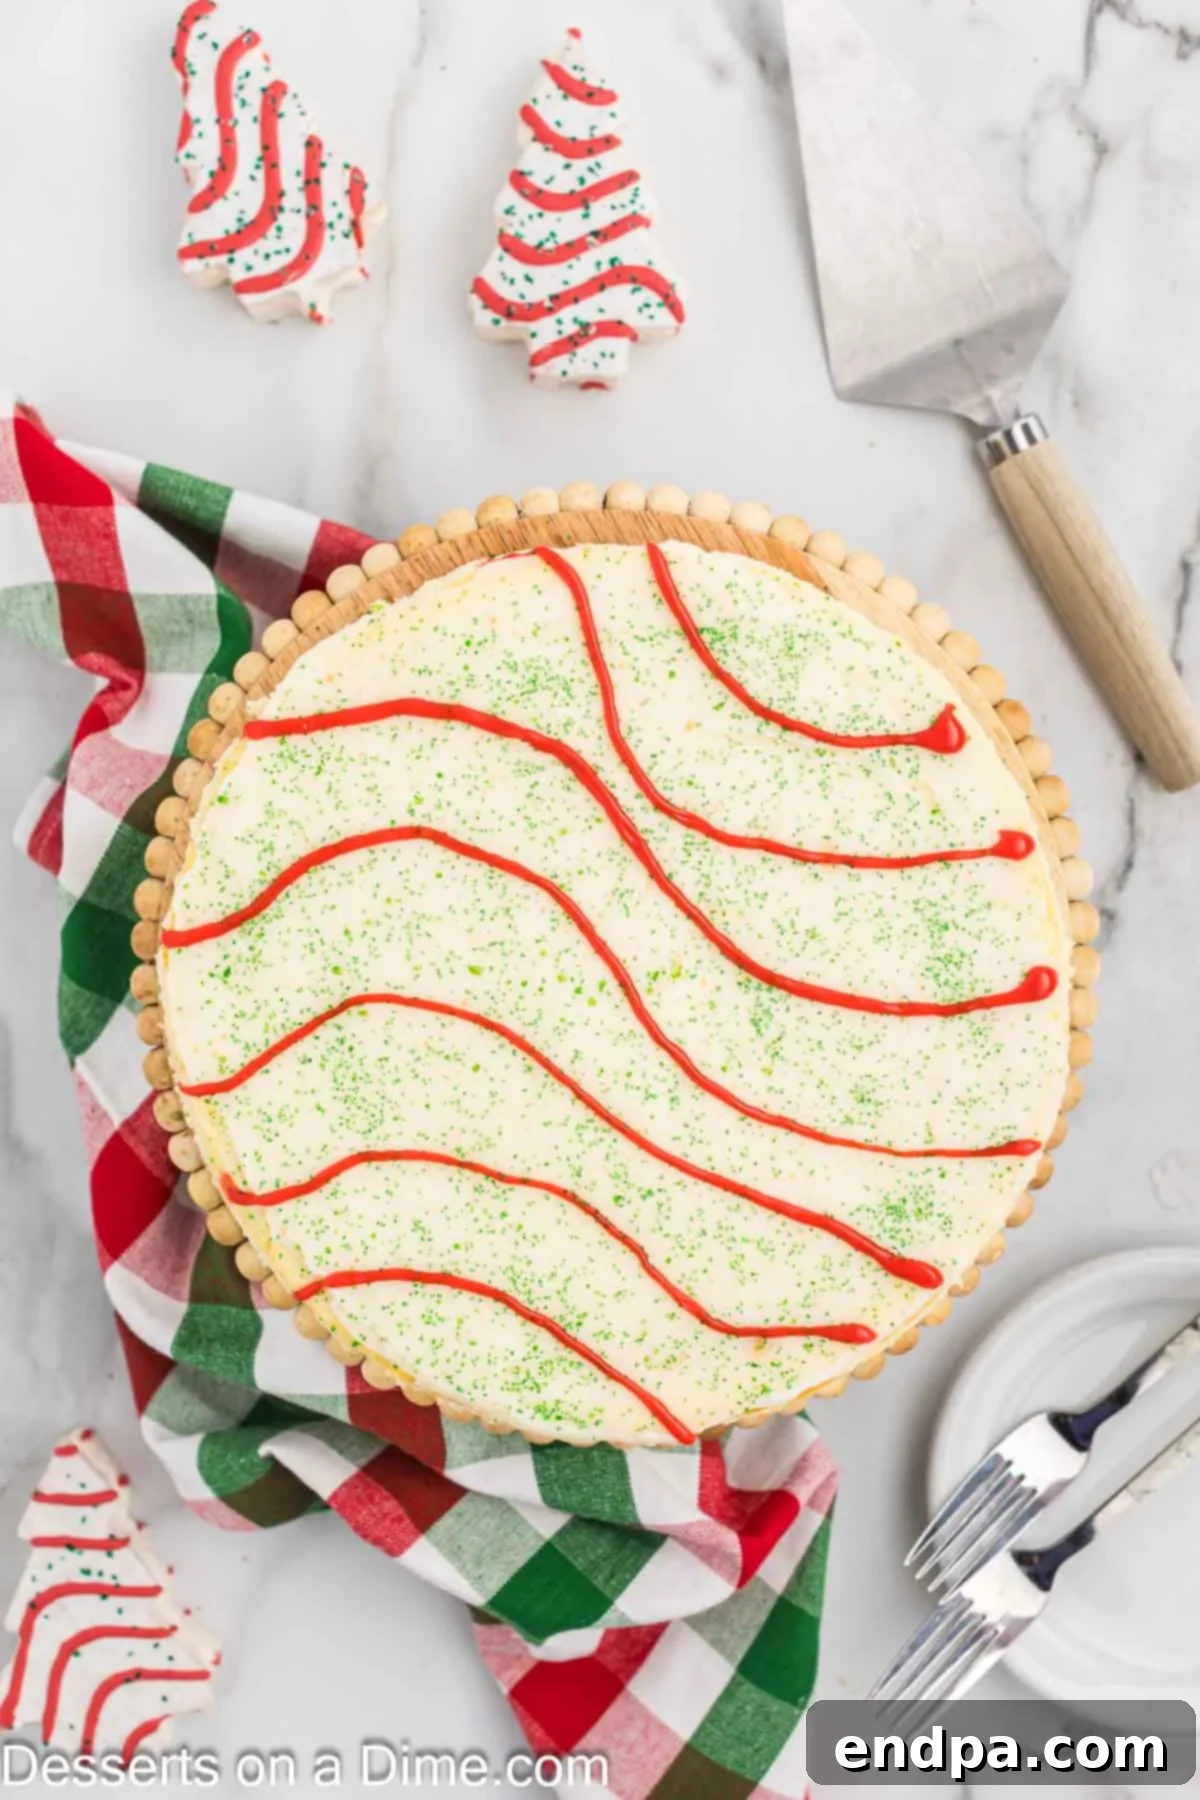
Step 15: Decorate with Red Stripes. Using store-bought red cookie frosting, carefully pipe decorative lines or stripes over the green sprinkles on the ganache, mimicking the iconic design of a Little Debbie Christmas Tree cake. This final touch brings the whole festive look together.
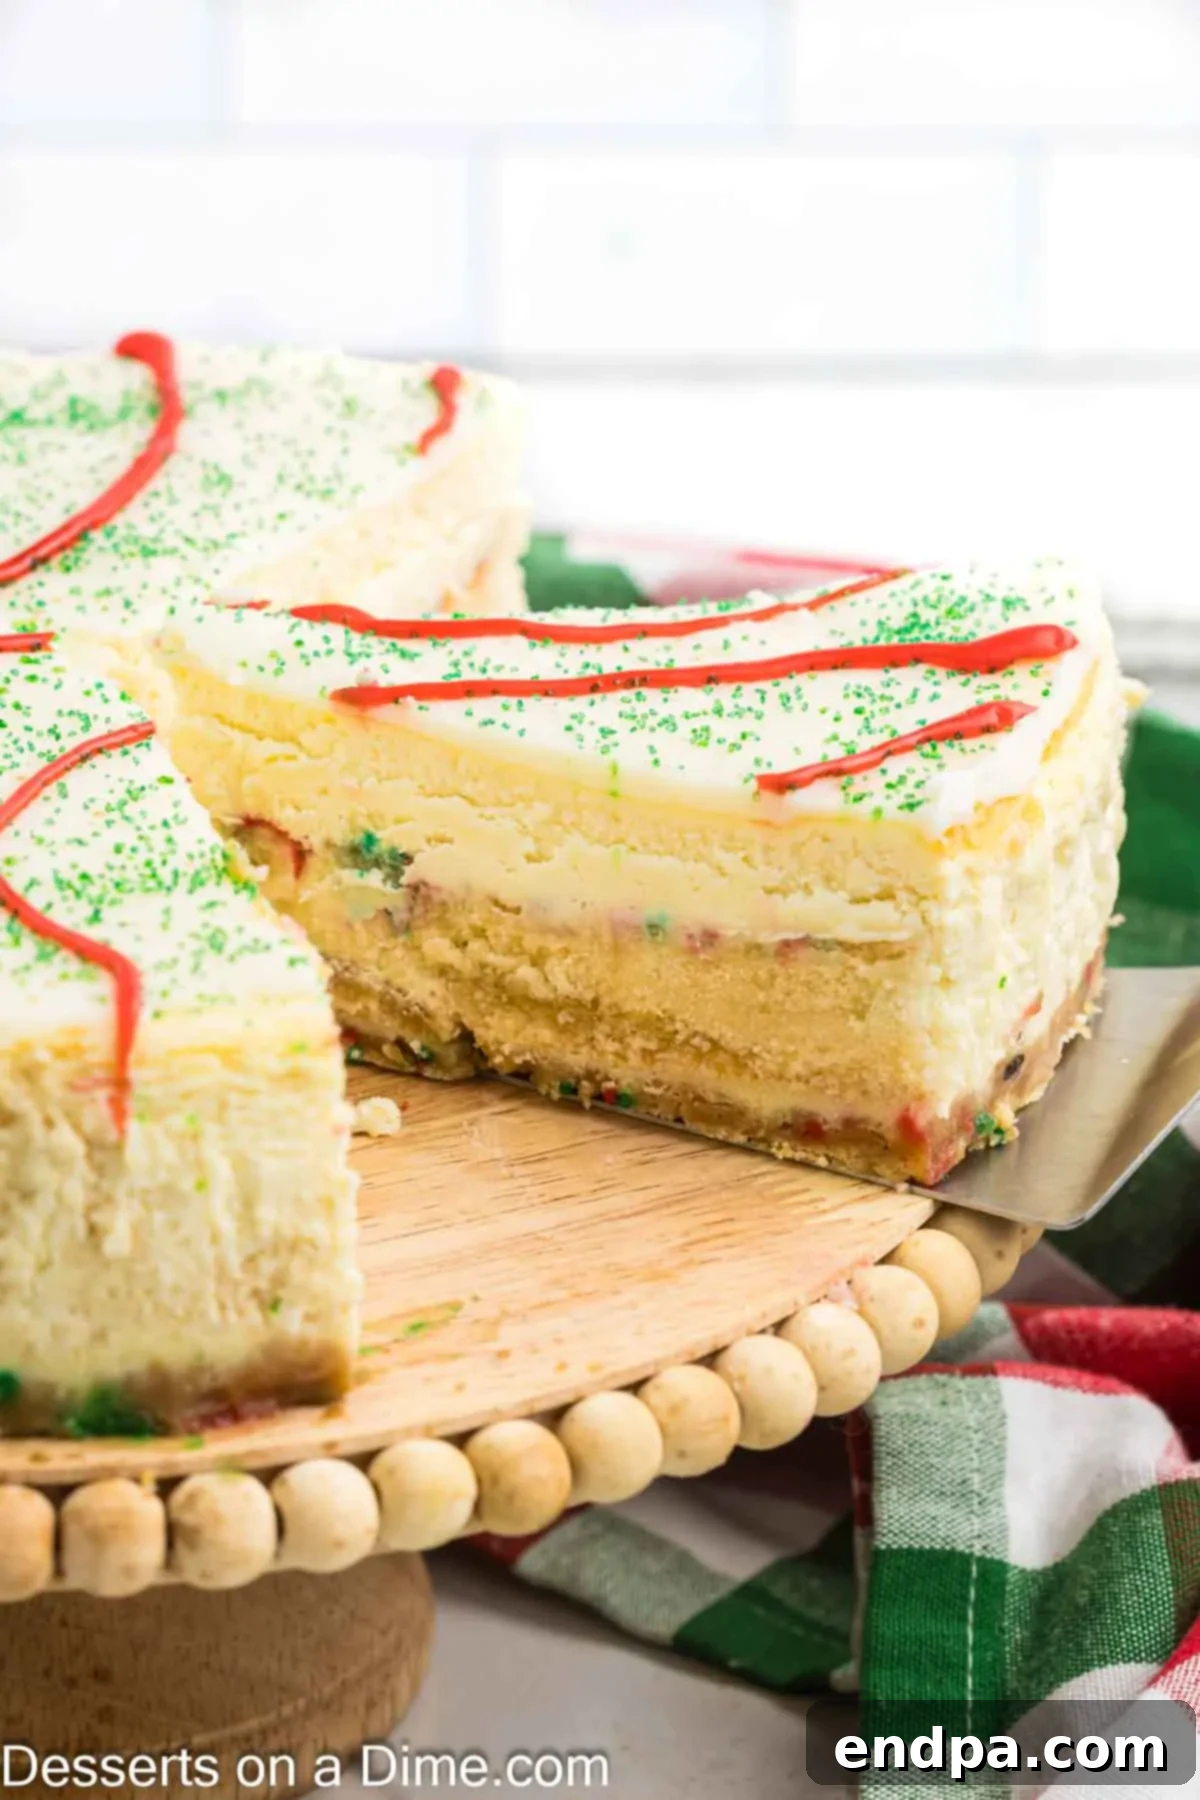
Step 16: Slice and Serve. Your stunning Little Debbie Christmas Tree Cheesecake is now ready to be sliced and served! Enjoy this delightful holiday creation.
Storing Your Festive Cheesecake for Lasting Freshness
To ensure your Little Debbie Christmas Tree Cheesecake stays fresh and delicious for as long as possible, proper storage is key:
- Refrigerate: For short-term storage, place the cheesecake in an airtight container or cover it tightly with plastic wrap. It will remain fresh and delightful in the refrigerator for 3-4 days. This keeps the cream cheese filling moist and prevents it from absorbing other odors in the fridge.
- Freeze: If you’re planning to enjoy it much later, cheesecake freezes exceptionally well. Wrap the entire cheesecake (or individual slices) tightly first in plastic wrap, then in a layer of aluminum foil. Freeze for up to 1 month. When ready to serve, thaw the cheesecake gradually in the refrigerator overnight to maintain its creamy texture.
- Decorated Cheesecake: If your cheesecake is adorned with frosting or sprinkles, store it in a single layer to prevent the beautiful decorations from smudging or getting squashed. A cake carrier or a large, inverted bowl can be helpful for this.
- Individual Servings: If you’ve opted for mini cheesecakes or have leftovers already sliced, store them in an airtight container with layers separated by parchment paper. This prevents them from sticking together and makes grabbing a single serving effortless.
Expert Tips for a Flawless Christmas Tree Cheesecake Every Time
Achieving a perfectly smooth, creamy, and crack-free cheesecake can seem daunting, but these expert tips will guide you to success:
- Achieve Softened Cream Cheese: This is arguably the most crucial tip! Ensure your cream cheese is completely softened to room temperature. This allows it to blend smoothly without lumps, creating a truly silky, uniform filling. Cold cream cheese will result in a lumpy batter.
- Eliminate Air Bubbles: After pouring the filling into the pan, gently tap the springform pan on your counter a few times. This simple action helps release any trapped air bubbles, which are a common culprit for cracks forming on the cheesecake surface during baking.
- Master the Gradual Cool Down: Avoid a sudden temperature drop after baking. Once the cheesecake is done, turn off the oven, crack the door slightly, and let the cheesecake cool gradually inside the oven. This slow transition prevents the cheesecake from contracting too quickly, which is a major cause of cracking, and allows it to set perfectly.
- Ensure Room Temperature Ingredients: Beyond cream cheese, using room-temperature eggs and sour cream is also vital. Ingredients at the same temperature emulsify more easily, resulting in a cohesive, creamy filling without any separation or lumps.
- Prioritize Full-Fat Cream Cheese: Always opt for full-fat, brick-style cream cheese. This provides the richest flavor and the classic dense, creamy texture that defines a great cheesecake. Light or reduced-fat versions contain more water, which can lead to a less stable consistency and impact the overall taste.
- Avoid the Pitfall of Overmixing: Mix your cheesecake filling only until the ingredients are just combined. Overmixing incorporates too much air into the batter, which can cause the cheesecake to puff up excessively during baking and then collapse and crack as it cools. Gentle mixing is key for a dense, even texture.
- Chill Before Decorating: Patience is a virtue when it comes to cheesecake. Always refrigerate the cheesecake until it is completely chilled and fully set before attempting to add any decorations, sprinkles, or frosting. This ensures the surface is firm and the ganache or icing applies smoothly for the best presentation.
Frequently Asked Questions About Little Debbie Christmas Tree Cheesecake
Here are some common questions you might have when making this festive Little Debbie Christmas Tree Cheesecake:
Cracks can sometimes appear on the surface of a cheesecake, even with the best techniques. Don’t worry, it’s a very common occurrence, especially for novice bakers. The good news is that for this particular recipe, the luscious white chocolate ganache topping is designed to cover any imperfections. Simply apply the ganache as instructed, and your beautiful festive decorations will hide any cracks, leaving you with a perfectly presentable and delicious dessert!
The recipe calls for 7 Little Debbie Christmas Tree Cakes, which ensures a generous and satisfying flavor distribution throughout the cheesecake. While you could technically reduce the number to 5 if absolutely necessary, we strongly advise against using any less than that. Using fewer cakes would significantly diminish the unique, nostalgic flavor that defines this specific recipe, and you might lose the delightful texture contrast they provide.
Proper chilling is crucial for any cheesecake to set fully and achieve its ideal dense, creamy texture. This Little Debbie Christmas Tree Cheesecake requires a minimum of 4 hours of refrigeration. However, for the best possible results, including easier slicing and a firmer set, we highly recommend chilling it overnight. Attempting to slice the cheesecake before it has properly chilled will likely result in a messy, crumbling presentation rather than neat, elegant slices.
More Delightful Christmas Dessert Ideas
Looking for more festive inspiration? Explore these other wonderful Christmas dessert recipes to complete your holiday menu:
- Christmas Dirt Cake Recipe
- Christmas Brownies
- Christmas Cake Pops
- Christmas Jello Poke Cake
We can’t wait to hear your thoughts on this incredible Little Debbie Christmas Tree Cheesecake! Give it a try and share your experience by leaving a comment and a star rating below.
Little Debbie Christmas Tree Cheesecake Recipe Card
Pin
Little Debbie Christmas Tree Cheesecake
Ingredients
For the Crust:
- 1 1/2 cup Golden Oreos crushed
- 4 Tablespoons Butter melted
- 1 Tablespoon Christmas Nonpareils Sprinkles
For the Filling:
- 3 pkg cream cheese softened, 8 ounces each
- ½ cup granulated sugar
- 3 tablespoons all purpose flour
- 1 teaspoon vanilla extract
- 1/4 cup heavy whipping cream
- 1/2 cup Full Fat Sour Cream
- 4 large eggs
- 7 Little Debbie Christmas Tree Cakes
For the Ganache Topping:
- 1 cup white baking chocolate
- 1/3 cup heavy whipping cream
- Green Sanding Sprinkles
- Red Store-Bought Cookie Frosting
Instructions
For the Crust:
- Preheat the oven to 325 degrees Fahrenheit (160°C).
- Pulse the golden Oreos in a food processor until they are fine crumbs. Mix together the cookie crumbs, melted butter, and Christmas nonpareils sprinkles in a mixing bowl.
- Press this mixture firmly into the bottom of a 9-inch springform pan and press the mixture about ½ inch (1.25 cm) up the sides of the pan.
- Bake for 8 minutes, then remove from oven and cool at room temperature.
For the Cheesecake:
- Beat the softened cream cheese with a hand mixer or stand mixer until soft, creamy, and fluffy.
- Mix in the granulated sugar, all-purpose flour, and vanilla extract for 1-2 minutes until thoroughly combined. Scrape down the sides of the bowl as needed to ensure everything is well blended.
- Gradually add in the eggs, one at a time, mixing on low speed until each egg is fully combined. Be careful not to overmix the batter.
- Keep the mixer speed on low and mix in the sour cream and heavy cream until both are thoroughly combined and smooth.
- Pour half of the cream cheese mixture over the cooled crust. Smooth it out as evenly as possible with a spatula.
- Place the Little Debbie Christmas Tree Cakes on top of the cheesecake batter and gently press them down into the filling.
- Pour the remaining cheesecake batter on top, covering the snack cakes. Gently tap the cheesecake pan against the counter several times to release any trapped air bubbles.
- Place the springform pan into a larger roasting pan. Pour boiling water around the cheesecake pan until it goes about halfway up the side of the springform pan. This water bath helps prevent the cheesecake from cracking.
- Bake for 55-65 minutes. The edges should be set, but the center should still appear slightly jiggly.
- Turn the oven off and crack the oven door open. Let the cheesecake sit in the oven on the rack for an additional 45 minutes until it has cooled to room temperature.
- Once cooled, remove the cheesecake from the oven and carefully lift it out of the water bath.
- Chill the cheesecake in the refrigerator for at least 4 hours, or preferably overnight, to allow it to fully set.
For the Ganache Topping:
- Place the heavy cream in a microwave-safe bowl and heat in 30-second intervals until the cream is hot but not boiling.
- Pour the hot cream over the white baking chocolate and let it sit for a few minutes. Then stir until thoroughly combined and smooth.
- Carefully remove the cheesecake from the springform pan by running a thin knife around the sides to release it, then transfer the cheesecake to a serving plate.
- Pour the white chocolate and cream mixture (ganache) over the top of the chilled cheesecake and smooth it out evenly. Immediately sprinkle the green sanding sprinkles on top.
- Using the store-bought red cookie frosting, create lines over the cheesecake to mimic the iconic stripes of a Little Debbie Christmas Tree cake. Carefully pipe the icing over the green sprinkles.
- The cheesecake is now ready to slice and serve immediately, or you can refrigerate it, covered, for up to 3-5 days. Enjoy your festive creation!
Recipe Notes
For the creamiest and smoothest cheesecake texture, it is essential to use all ingredients, especially cream cheese, eggs, and sour cream, at room temperature. This ensures proper emulsification and prevents lumps.
Always use full-fat cream cheese for the best possible flavor and consistency. Reduced-fat options can alter the texture of the cheesecake.
Nutrition Facts
Pin This Now to Remember It Later
Pin Recipe
