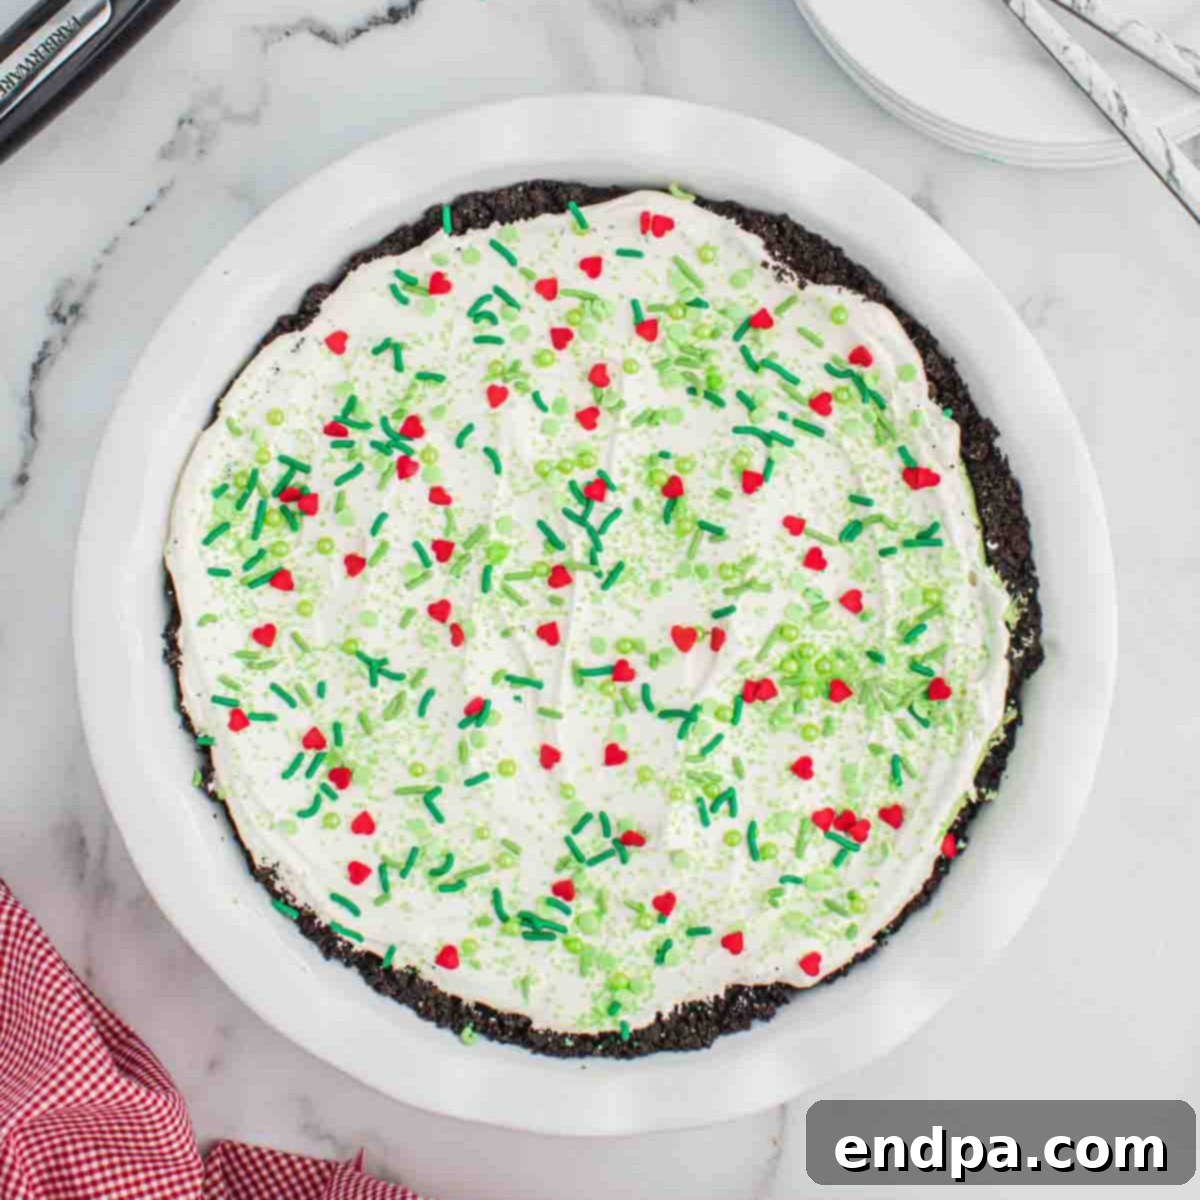
No Bake Grinch Pie is a delectable holiday dessert designed to capture the whimsical spirit of the Christmas season. This enchanting pie features a rich, dark Oreo cookie crust and a luxuriously creamy, vibrant green cream cheese filling, all adorned with cheerful red and green sprinkles. It’s not just a dessert; it’s a festive centerpiece that promises smiles and a touch of Grinchy fun for everyone.
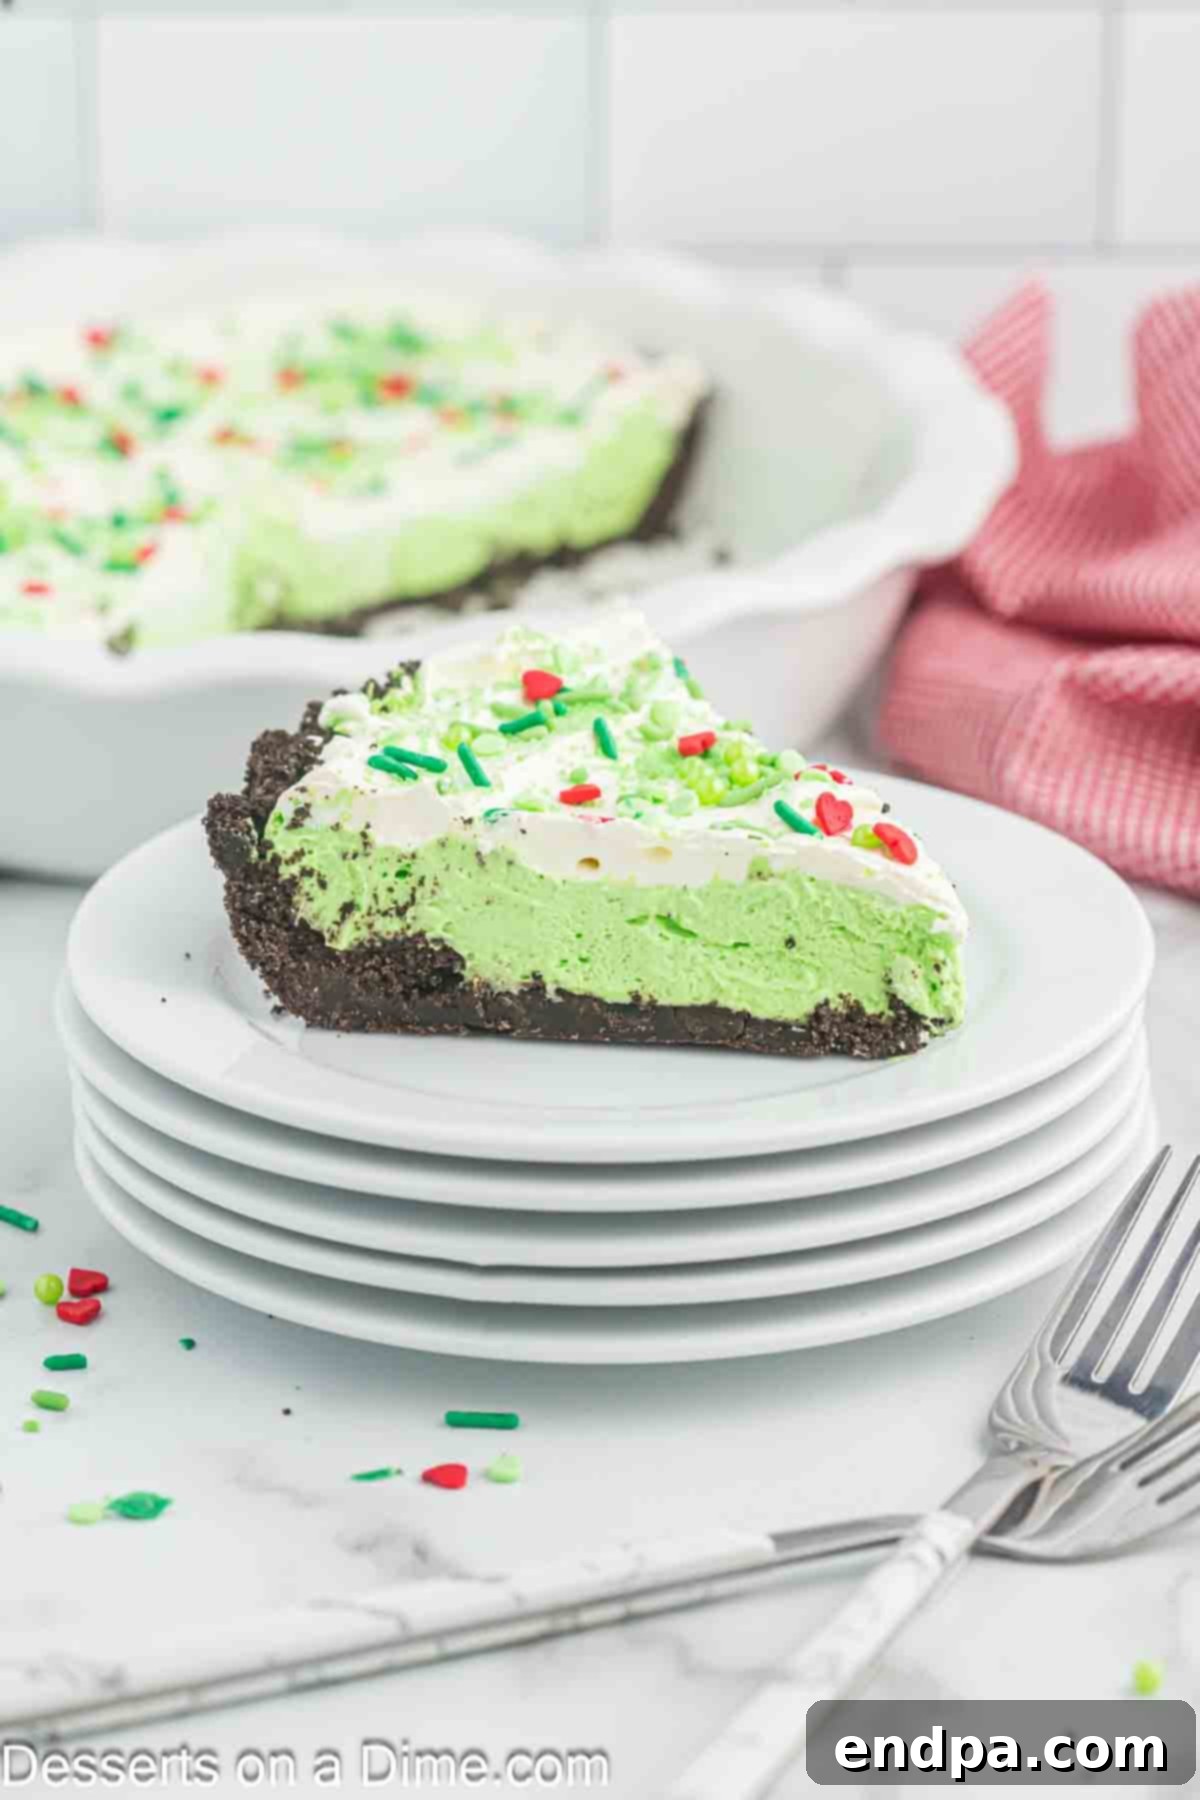
This scrumptious no-bake dessert is a true holiday marvel, boasting incredible ease of preparation. From its satisfyingly chocolatey foundation made with crushed Oreo cookies to its light and airy, green-tinted filling, every element comes together effortlessly. The result is a dessert that’s not only visually stunning but also incredibly delicious and universally appealing, making it a guaranteed hit at any holiday gathering.
To elevate its festive charm, this Grinch Pie is crowned with a generous shower of bright red and green sprinkles, making it the quintessential treat to enjoy during a cozy Grinch movie night or any holiday celebration. Imagine the delight on faces as this vibrant pie makes its grand appearance! Whip up this delightful green Grinch Pie, and let the most wonderful time of the year commence with a burst of flavor and color.
We absolutely adore crafting Grinch-themed desserts to celebrate the holiday season. If you’re planning to host unforgettable Christmas parties, consider adding these other whimsical Grinch creations to your menu: irresistible Grinch Pretzels, delightful Grinch Bark, adorable Grinch Cookies, or our rich and creamy Grinch Fudge. Each recipe offers a unique way to bring a touch of Whoville magic to your festive spread, perfectly complementing your No-Bake Grinch Pie.
For more incredibly simple and satisfying treats, you will also love our collection of Easy No-Bake Pies, which feature minimal effort for maximum flavor, and the classic, comforting flavors of our Arkansas Possum Pie Recipe. These diverse recipes prove that you don’t need an oven to create something truly spectacular and delicious.
What’s in this post: No-Bake Grinch Pie
- Why Make This Irresistible Grinch Pie?
- Gather Your Grinch Pie Ingredients
- Easy Step-by-Step Grinch Pie Instructions
- Expert Grinch Pie Recipe Tips for Success
- Creative Ways to Decorate Your Grinch Pie
- Storage Tips for Your Grinch Pie
- Explore More Easy Grinch Recipes
- Printable No-Bake Grinch Pie Recipe Card
- Frequently Asked Questions About Grinch Pie
Why Make This Irresistible Grinch Pie?
The holiday season is synonymous with joy, warmth, and delicious food, and Christmas-themed parties are always a highlight. This No-Bake Grinch Pie is not just a dessert; it’s an experience, making it the perfect addition to your festive celebrations for several compelling reasons. Firstly, its vibrant green hue instantly evokes the mischievous charm of the Grinch, setting a playful and nostalgic tone that guests of all ages will adore. It’s a guaranteed conversation starter and a feast for the eyes, perfectly encapsulating the holiday spirit.
Secondly, the “no-bake” aspect is a game-changer during the busy holiday rush. With so many dishes competing for oven space, a dessert that requires no baking saves precious time and effort. This allows you to focus on other preparations, engage in festive activities, or simply enjoy more moments with your loved ones. The simple list of readily available ingredients also contributes to its appeal, making grocery shopping a breeze and proving that extraordinary desserts don’t require complicated components.
Finally, this recipe is wonderfully kid-friendly, both in its preparation and its appeal. Children can actively participate in crushing the Oreos, mixing the filling, and, of course, adding the colorful sprinkles. They’ll be thrilled to contribute to a dessert that features their favorite Dr. Seuss character, and the vibrant green color is sure to be a major hit, sparking excitement and fostering wonderful holiday memories in the kitchen. It’s an easy win for both parents and eager young chefs!
Gather Your Grinch Pie Ingredients
Crafting this delightful Grinch Pie requires only a handful of common ingredients, ensuring that preparation is as stress-free as possible. Here’s a detailed look at what you’ll need:
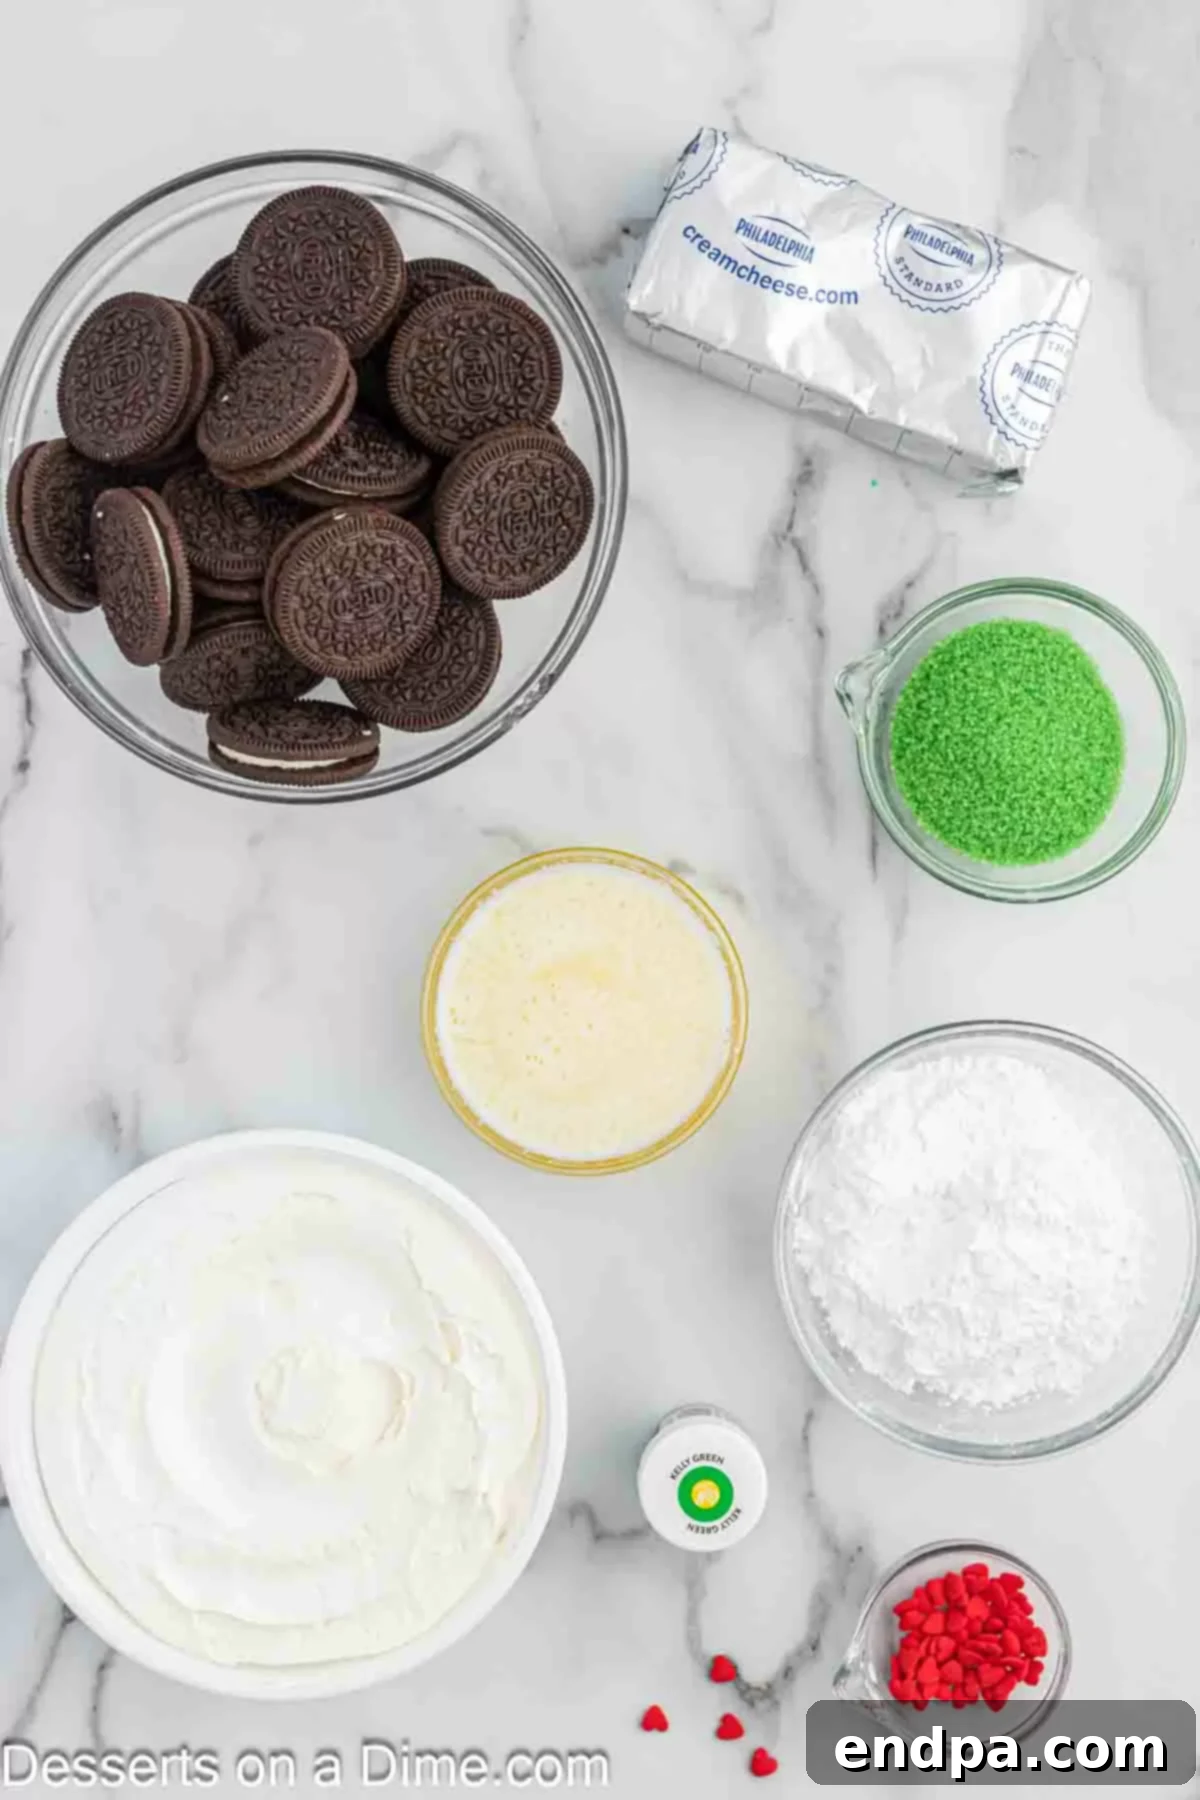
For the Rich Oreo Crust:
- Oreo Cookies: We recommend using regular Oreo cookies (about 25) for the best texture and rich chocolate flavor. Their dark chocolate wafers create a beautiful contrast with the green filling. Avoid double-stuffed varieties as the extra cream can alter the crust’s consistency when crushed and mixed with butter, potentially making it too soft.
- Unsalted Butter: Melted. Using unsalted butter allows you to control the overall saltiness of the pie, ensuring a perfectly balanced flavor profile that complements the sweet filling. If you only have salted butter, you can use it, but omit any additional salt in the recipe if applicable.
For an even quicker preparation or if you prefer a different base, you can opt for a store-bought pre-made pie crust. While an Oreo crust offers a unique flavor and texture, a classic graham cracker crust also makes a delicious alternative and works beautifully with the creamy green filling. Just ensure your chosen crust is a 9-inch size.
For the Creamy Grinch Pie Filling:
- Cream Cheese: You’ll need an 8-ounce block of full-fat cream cheese. It is absolutely crucial that your cream cheese is completely softened before use. This ensures a smooth, lump-free filling that easily incorporates with the other ingredients, creating that signature silky texture without any unwanted chunks.
- Powdered Sugar: Also known as confectioners’ sugar (¾ cup), this fine sugar blends seamlessly into the cream cheese, creating a smooth and sweet filling. For the smoothest possible texture, consider sifting your powdered sugar to remove any small lumps that might be present.
- Green Gel Food Coloring: Gel food coloring is highly recommended over liquid varieties. It provides a much more vibrant and intense green hue with significantly less product, preventing excess moisture that could thin the delicate filling. Start with a few drops and add more until your desired Grinch-like shade is achieved.
- Cool Whip: An 8-ounce container of thawed Cool Whip provides the essential lightness and airy texture to the pie filling. Feel free to use a store-brand whipped topping if you prefer; just ensure it is fully thawed according to package directions before incorporating.
For the Festive Topping:
- Green Sprinkles and Red Heart Sprinkles: These are essential for completing the iconic Grinch theme, mimicking his green skin and the small, growing heart that features so prominently in the story. Feel free to get creative with different shapes and sizes of festive sprinkles – a mix of stars, nonpareils, or sanding sugar can also add visual interest!
Easy Step-by-Step Grinch Pie Instructions
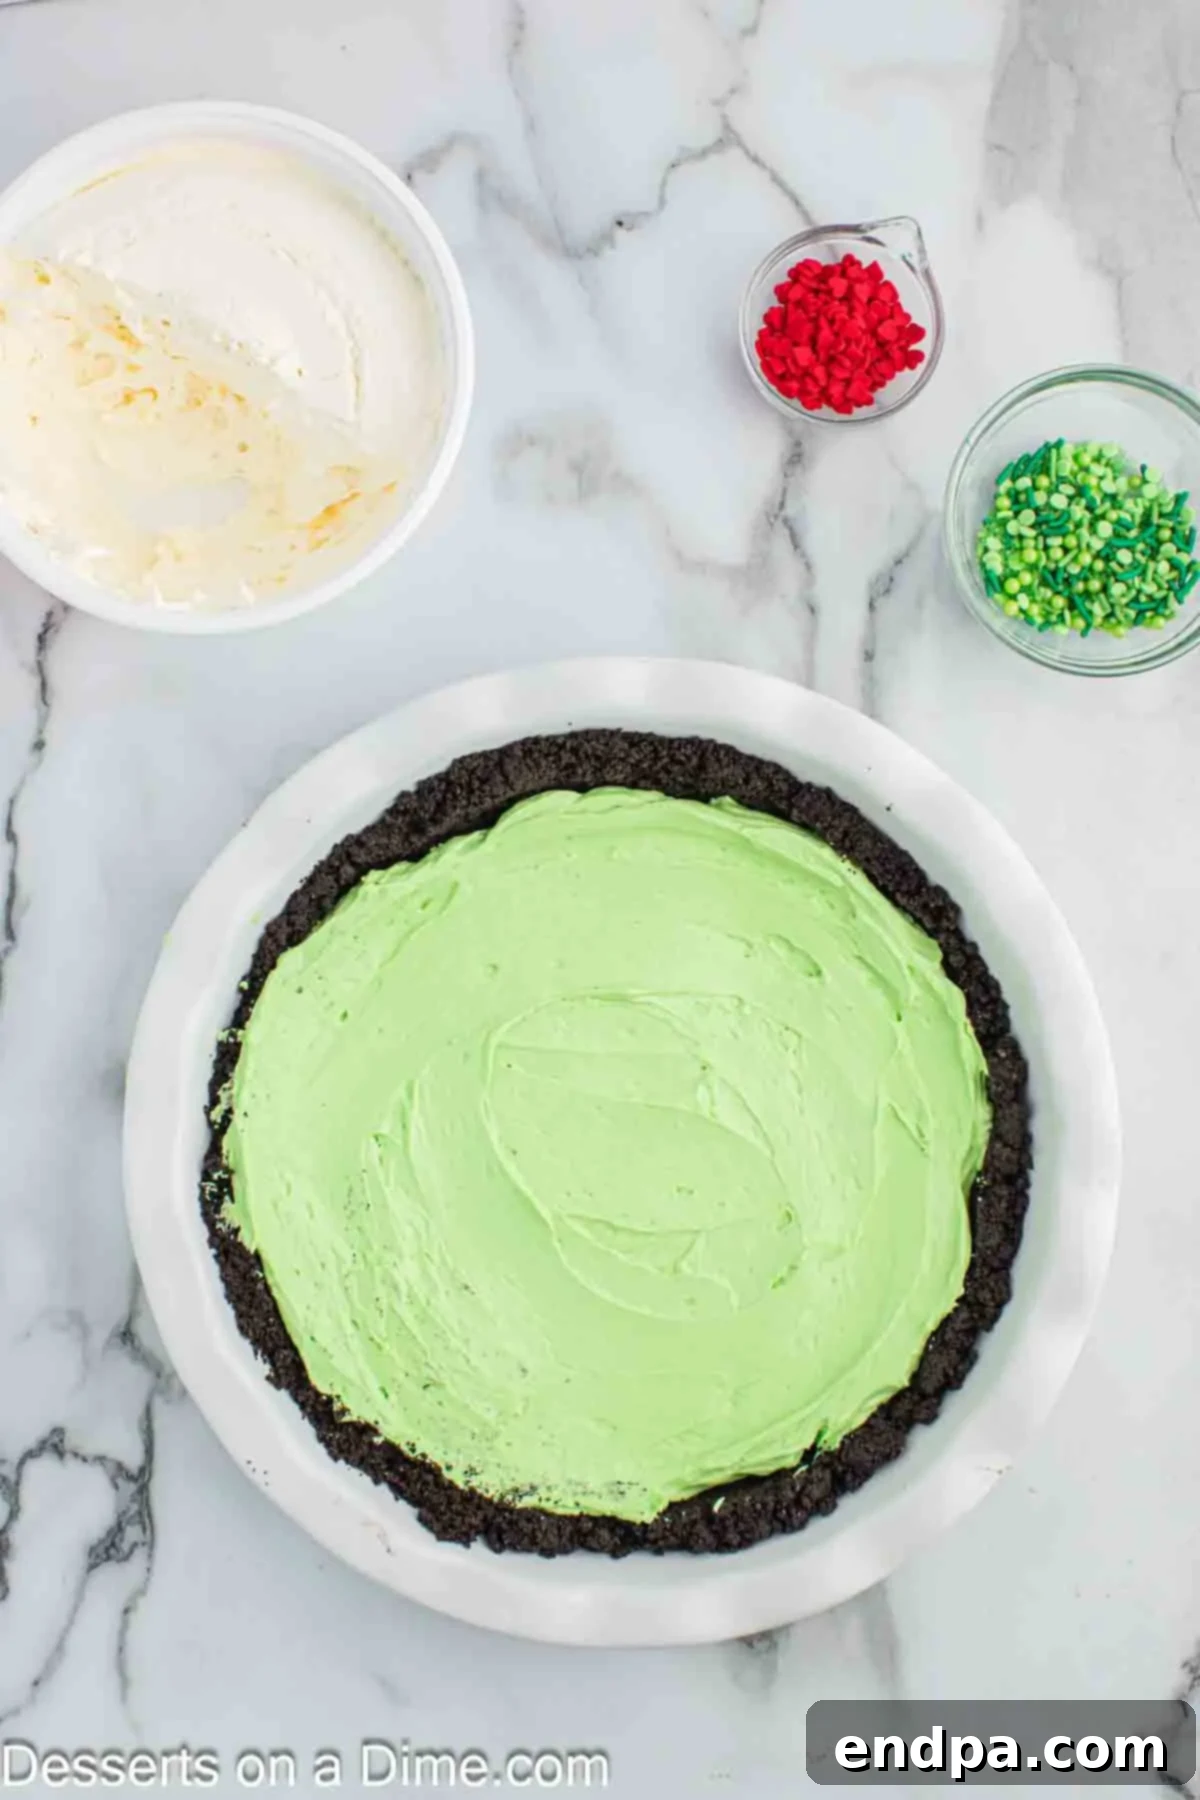
Creating this eye-catching No-Bake Grinch Pie is a straightforward and enjoyable process. Follow these simple steps carefully to bring a touch of Whoville charm and deliciousness to your holiday table, ensuring a perfect pie every time.
Expert Grinch Pie Recipe Tips for Success
To ensure your No-Bake Grinch Pie turns out perfectly every time, delighting both family and guests, keep these helpful tips and tricks in mind:
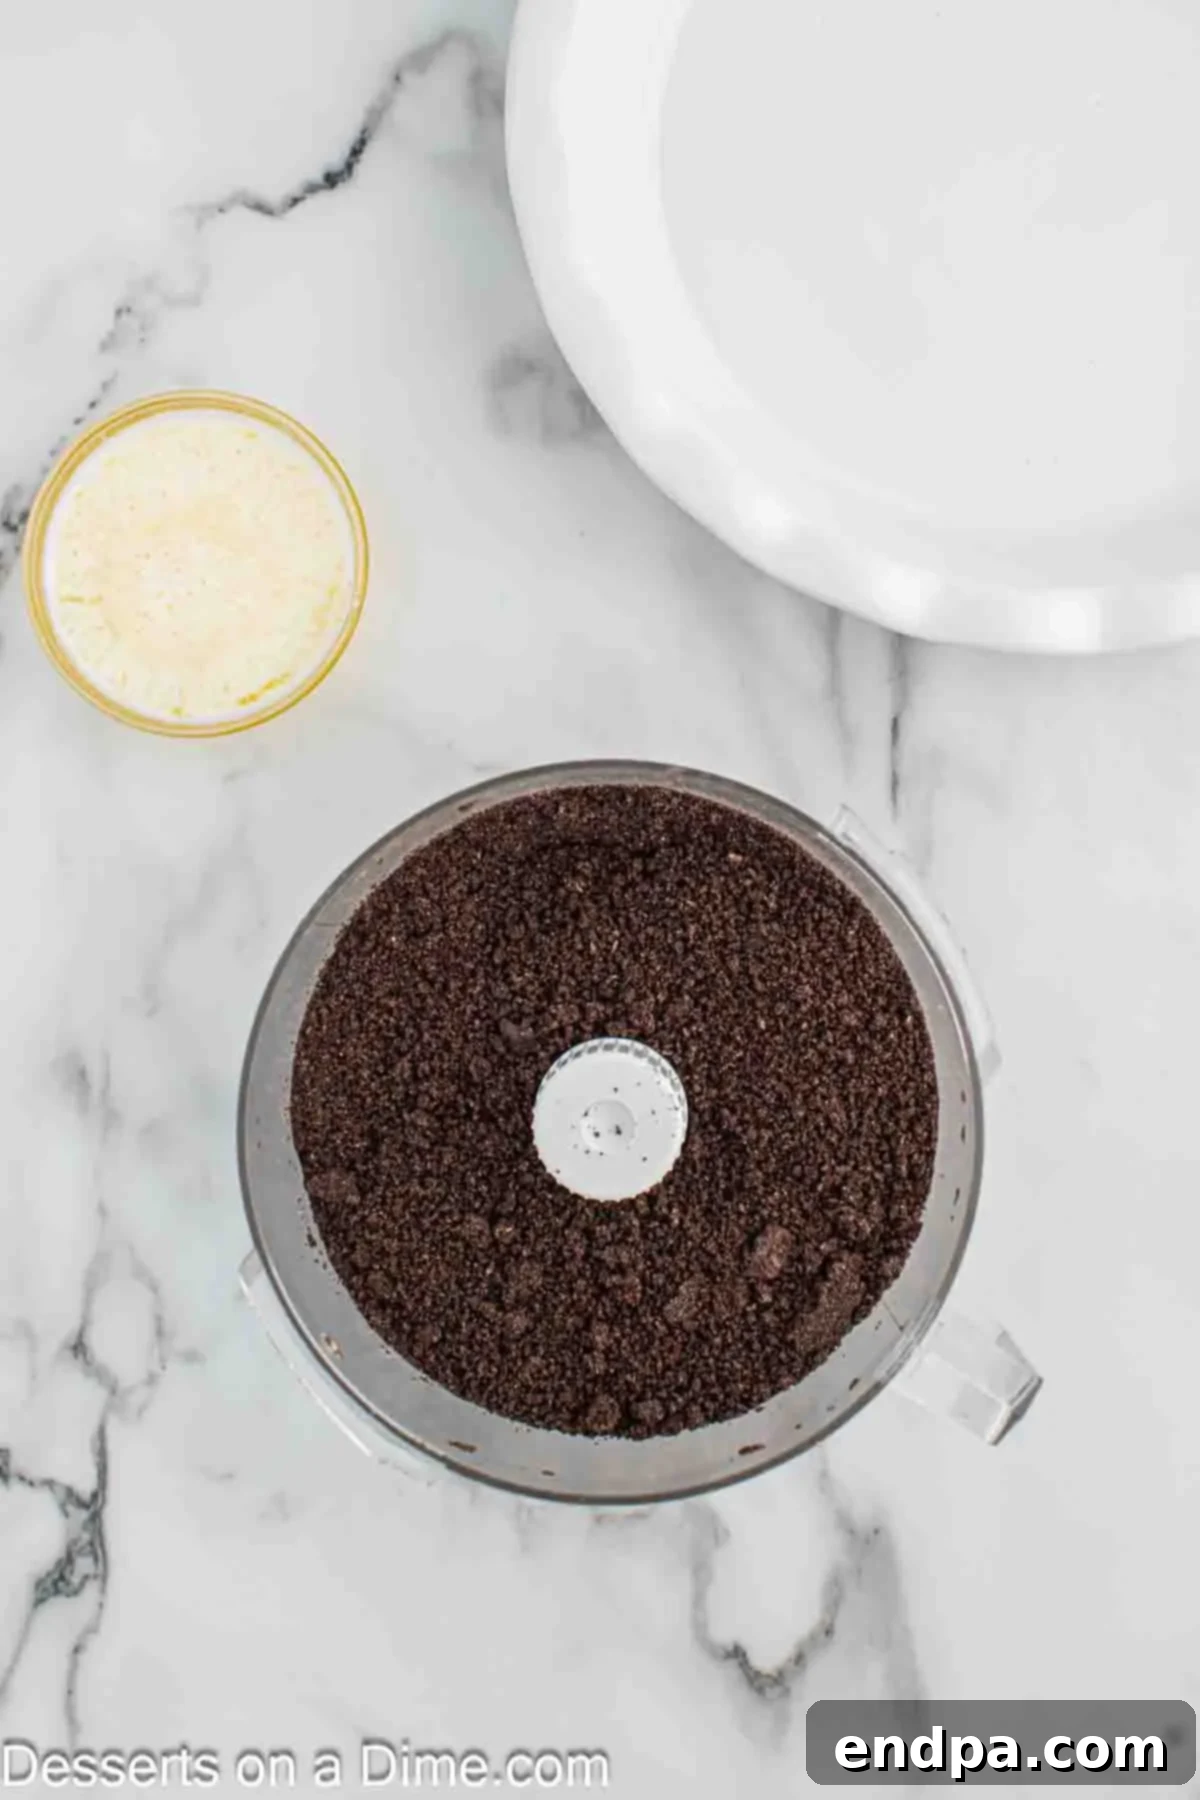
- Crust Consistency is Key: Whether you choose to use a food processor for speed or a Ziploc bag and rolling pin for a more hands-on approach, aim for fine, even cookie crumbs. This uniformity is crucial as it helps the melted butter bind them effectively, creating a stable, flavorful, and easy-to-slice crust. Avoid large chunks of cookies for a smooth finish.
- Firmly Press the Crust: Don’t be shy when pressing the crust into the pie plate. A firm, even press ensures the crust holds together beautifully when sliced, preventing any crumbling disasters. The bottom of a flat-bottomed measuring cup, a clean glass, or even the back of a sturdy spoon works wonders for creating a compact, sturdy base.
- Softened Cream Cheese is Non-Negotiable: For a silky-smooth, lump-free filling that melts in your mouth, your cream cheese must be at room temperature. Cold cream cheese will inevitably result in a lumpy, inconsistent filling that’s difficult to mix evenly. Take it out of the refrigerator at least 30 minutes to an hour before you plan to start mixing.
- Sift Powdered Sugar for Smoothness: Powdered sugar, also known as confectioners’ sugar, can sometimes contain small, hard lumps. Sifting it before adding it to the cream cheese mixture is a small extra step that guarantees an ultra-smooth filling without any gritty texture, contributing to that luxurious mouthfeel.
- Gradual Food Coloring Application: Gel food coloring is potent and highly concentrated! Always add it drop by drop, mixing thoroughly after each addition, until you achieve your desired vibrant shade of Grinch green. It’s much easier to add more color than to correct an overly dark shade, so proceed with caution.
- Gentle Folding for Airiness: When incorporating the Cool Whip into the cream cheese mixture, use a gentle folding technique rather than vigorous stirring. Overmixing can deflate the whipped topping, leading to a less airy, fluffy, and light filling. Use a spatula to gently scoop from the bottom and fold over the top until just combined.
- Chill Time is Crucial: The success of any no-bake pie relies heavily on adequate chilling. Allow your Grinch Pie to chill in the refrigerator for at least 1 hour, but 2-4 hours or even overnight is truly ideal for the best texture and to ensure clean, picture-perfect slices. Don’t rush this vital step!
- Decorate Closer to Serving: While the sprinkles can be added at the end of preparation, for ultimate freshness and visual appeal, consider adding any extra dollops of whipped cream, delicate cookie crumbles, or other decorative elements closer to serving time. This prevents them from softening or melting.
- Choose the Right Pie Plate: A standard 9-inch pie plate works perfectly for this recipe. For extremely easy serving and cleanup, a pie plate with a removable bottom can be a fantastic option, allowing you to present the entire pie beautifully.
- Personalize Your Pie: Don’t hesitate to experiment with customization! A thin layer of crushed peppermints or a drizzle of chocolate syrup on top of the green filling could add interesting flavor and visual variations, making the pie uniquely yours.
Creative Ways to Decorate Your Grinch Pie
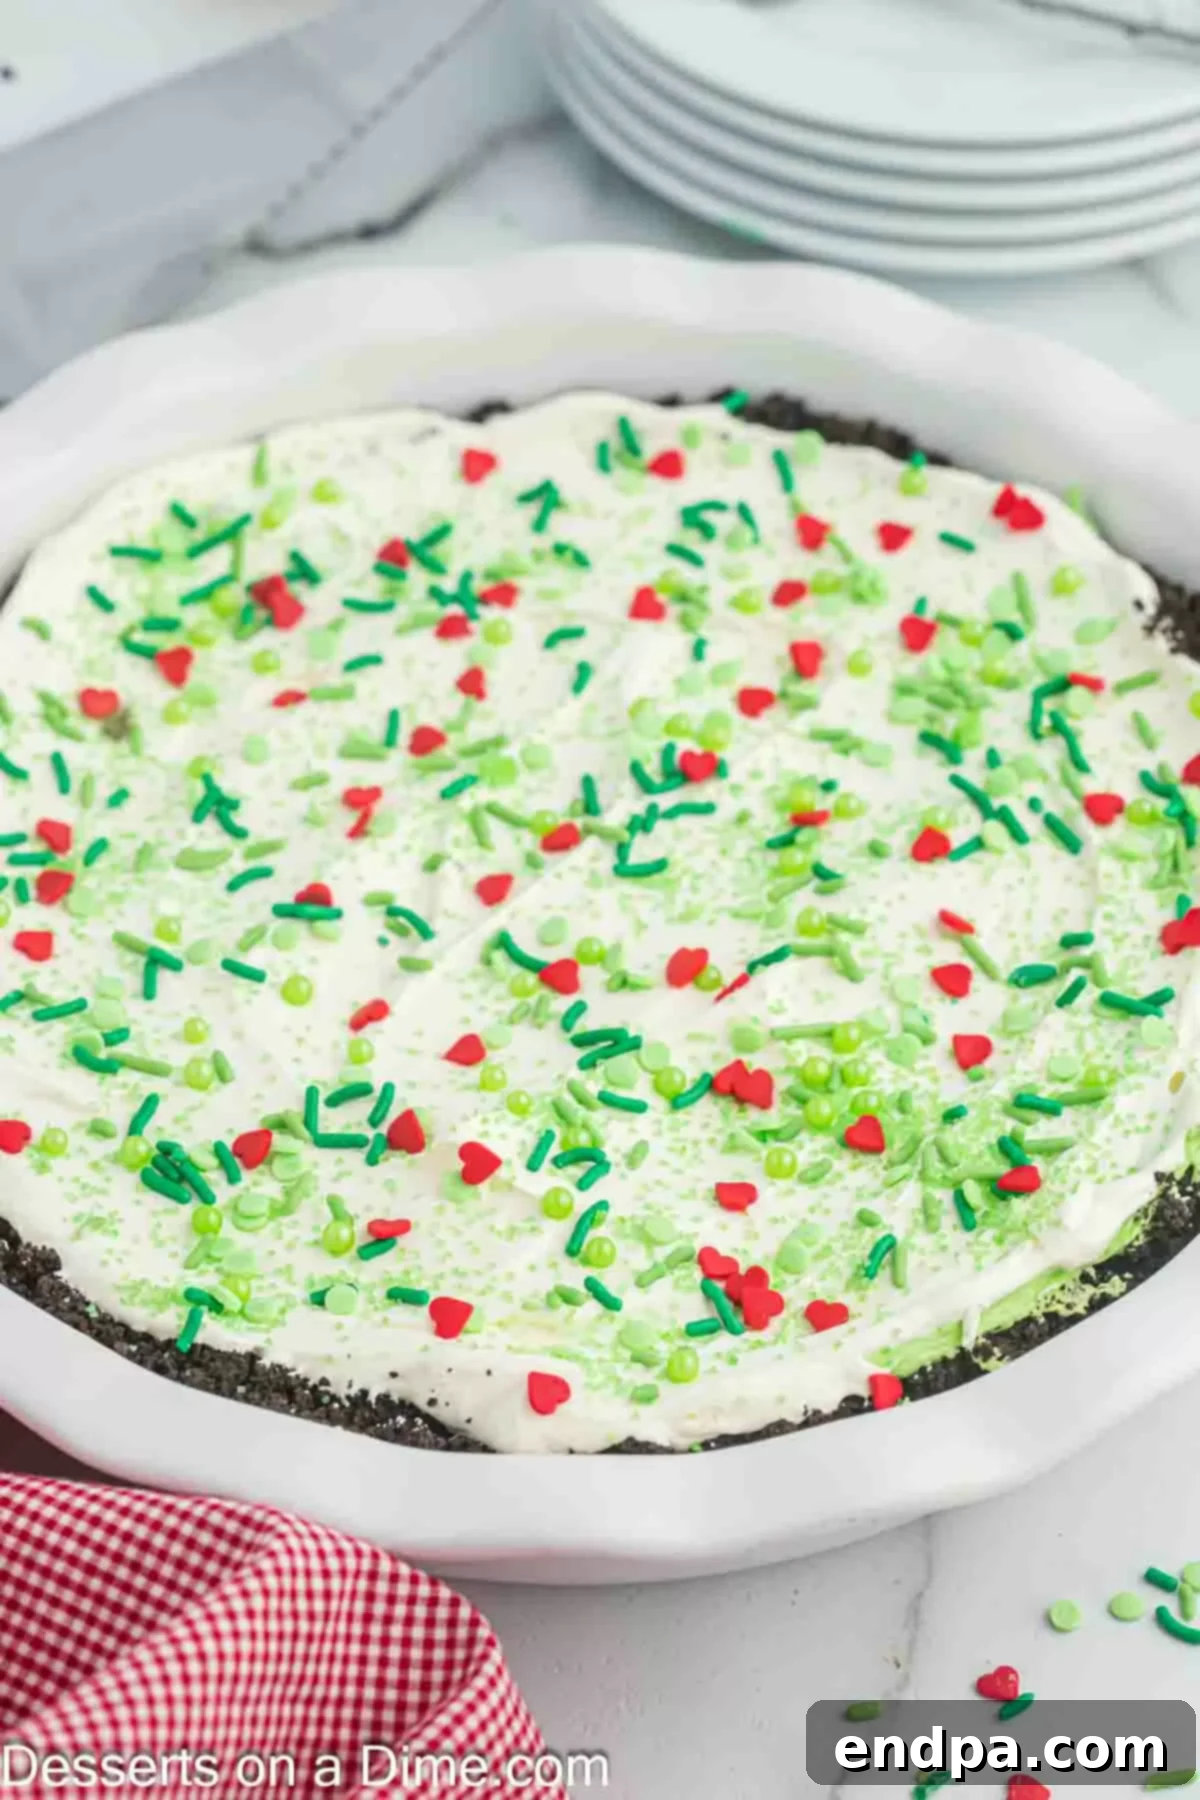
While the classic green and red sprinkles are essential for the iconic Grinch look, you can get even more creative with your Grinch Pie decoration to make it truly unforgettable and a showstopper at your holiday table:
- Elegant Whipped Cream Swirls: Use a piping bag fitted with a star tip to create elegant swirls or delicate dollops of extra whipped cream around the entire edge of the pie. This creates a beautiful, snowy border that perfectly frames the vibrant green filling.
- Magical Edible Glitter: For an extra touch of enchantment, dust your finished pie with green or silver edible glitter. This will add a magical sparkle, making your pie truly shimmer like fresh snow under a Whoville moon.
- The Iconic Heart Accent: To truly capture the Grinch’s transformation, place one larger red heart candy (such as a large conversation heart, a sugar cookie cut into a heart shape, or a custom-made fondant heart) prominently in the very center of the pie. This symbolizes his growing heart.
- Defined Cookie Crumb Border: Reserve a small amount of plain Oreo crumbs and delicately sprinkle them around the very edge of the pie, just inside the whipped cream border. This creates a defined, elegant contrast and adds another layer of texture.
- Decadent Chocolate Drizzle: A delicate drizzle of melted dark chocolate, white chocolate, or even red candy melts across the top of the pie can add a touch of extra decadence, visual interest, and another layer of flavor.
- Miniature Grinch Figurines: For a show-stopping centerpiece, gently place small, food-safe Grinch figurines or other themed edible toppers (like tiny gingerbread men) on the pie just before serving. Remember to remove them before slicing!
Storage Tips for Your Grinch Pie
Proper storage ensures your No-Bake Grinch Pie remains fresh, flavorful, and structurally sound for days, allowing you to enjoy it beyond the initial serving. After slicing and serving, cover any leftover pie tightly with plastic wrap directly over the surface, or carefully transfer individual slices to an airtight container. Refrigerate promptly. The pie will maintain its best quality, texture, and flavor for up to 3 days in the refrigerator. While technically safe to eat beyond this, the delicate texture and freshness may start to diminish over time. We generally do not recommend freezing this pie, as the cream cheese and whipped topping layers can unfortunately separate and become watery or grainy upon thawing, significantly affecting the overall texture and appeal of the dessert. Enjoy it fresh and well-chilled!
Explore More Easy Grinch Recipes
If you’re a true fan of Dr. Seuss’s classic tale, “How the Grinch Stole Christmas,” and want to infuse even more Grinchy fun and festive cheer into your holiday baking and entertaining, explore these other fantastic and incredibly easy recipes. Each one is designed to bring a smile to faces and a touch of Whoville magic to your holiday spread:
- Grinch Cupcakes: These are delightful green cupcakes, often flavored with vanilla or lime, generously topped with festive, vibrant frosting and adorned with a tiny red heart. They are perfect for individual servings at a holiday party or as a cute treat for school events.
- Easy Grinch Puppy Chow: A sweet and irresistibly crunchy snack mix, made with cereal coated in a buttery mixture, then tossed in green and red powdered sugar. This festive “muddy buddies” variation makes an ideal, addictive treat for holiday movie nights, gifting, or casual gatherings.
- Grinch Truffles Dessert: These are rich, creamy, and decadent bite-sized delights, often made with a base of crumbled cake or cream cheese, colored green, and beautifully decorated with a single red heart. They’re elegant yet fun, perfect for dessert platters.
- Grinch Dip Recipe: A light, fluffy, and vibrant green dip, typically cream cheese or yogurt-based and sweetened. It’s often served with vanilla wafers, graham crackers, or fresh fruit for a festive appetizer or lighter dessert option that’s bursting with holiday cheer.
Printable No-Bake Grinch Pie Recipe Card
For your convenience, here is a concise and easy-to-follow recipe card for the No-Bake Grinch Pie. Feel free to print this section for quick reference in your kitchen!
Grinch Pie
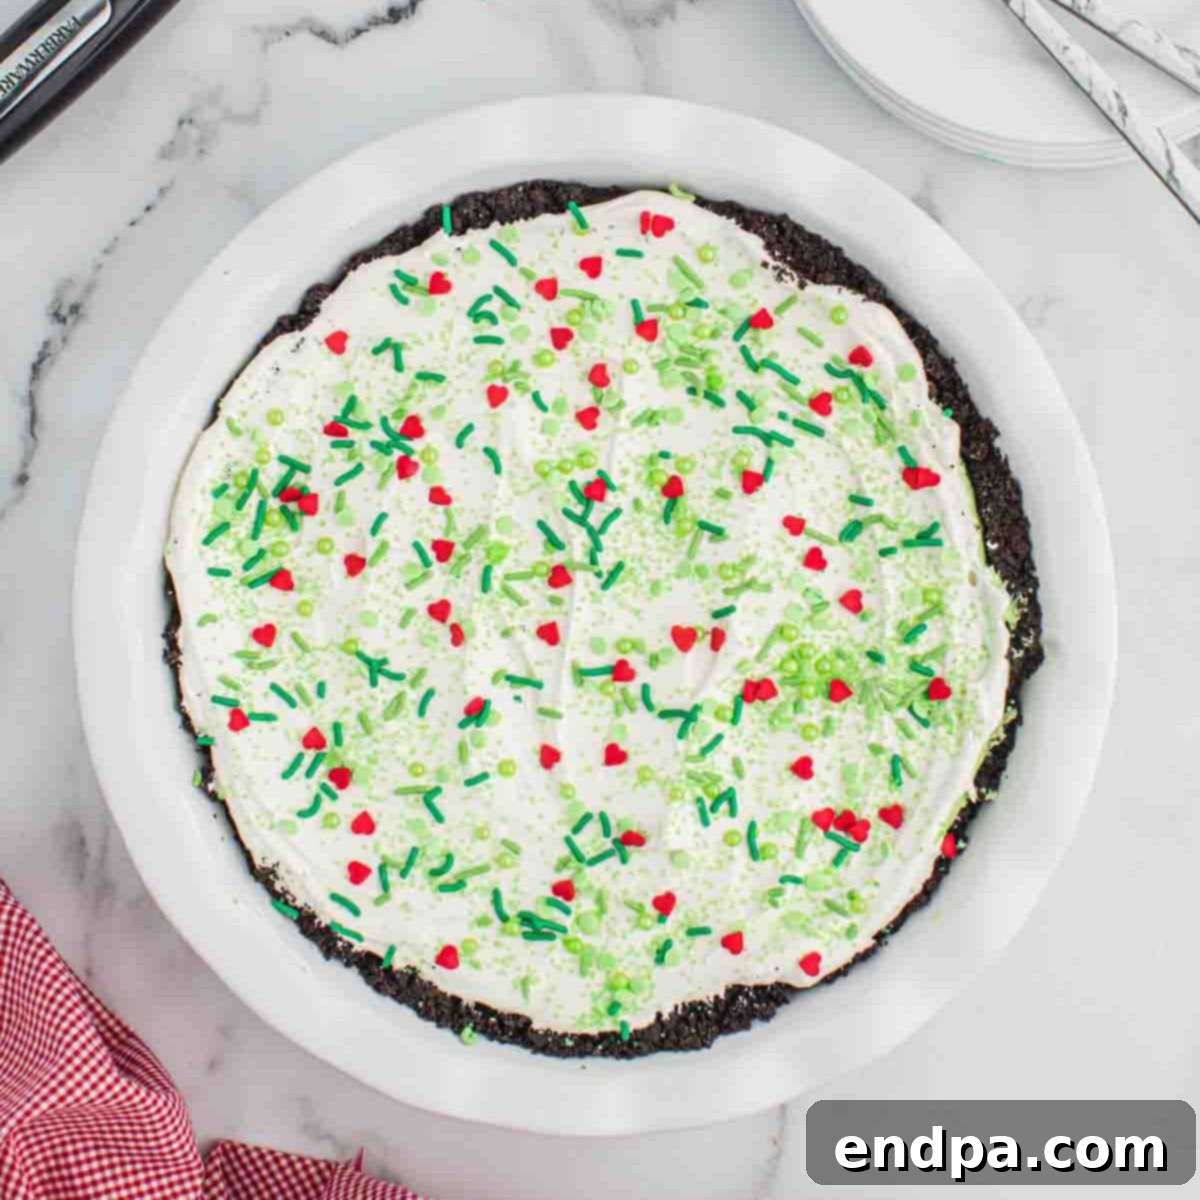
Summary: Grinch Pie is a truly delectable holiday dessert featuring a scrumptious, deep chocolate Oreo base and a luxuriously creamy, vibrant green cream cheese filling. It’s beautifully decorated with festive red and green sprinkles, making it an easy-to-make, crowd-pleasing treat that’s perfect for any Christmas celebration or Grinch-themed party.
Prep Time: 15 minutes
Refrigerate to chill: 1 hour
Total Time: 1 hour 15 minutes
Servings: 8 generous slices
Cuisine: American
Course: Dessert
Calories: Approximately 422 kcal per serving (based on original data)
Author: Carrie Barnard
Ingredients:
For the Oreo Crust:
- 25 Oreo Cookies (regular, not double-stuffed, about 1 standard package)
- 5 Tablespoons Unsalted Butter (melted)
For the Pie Filling:
- 8 ounces Cream Cheese (1 block, completely softened at room temperature)
- ¾ cup Powdered Sugar (confectioners’ sugar, sifted for best results)
- Green Gel Food Coloring (start with a small amount and add more gradually to achieve desired vibrant green)
- 8 ounces Cool Whip (1 container, thawed according to package directions, or other whipped topping)
For the Festive Topping:
- Green Sprinkles (for the Grinch’s skin)
- Red Heart Sprinkles (to symbolize the Grinch’s growing heart)
Instructions:
For the Crust:
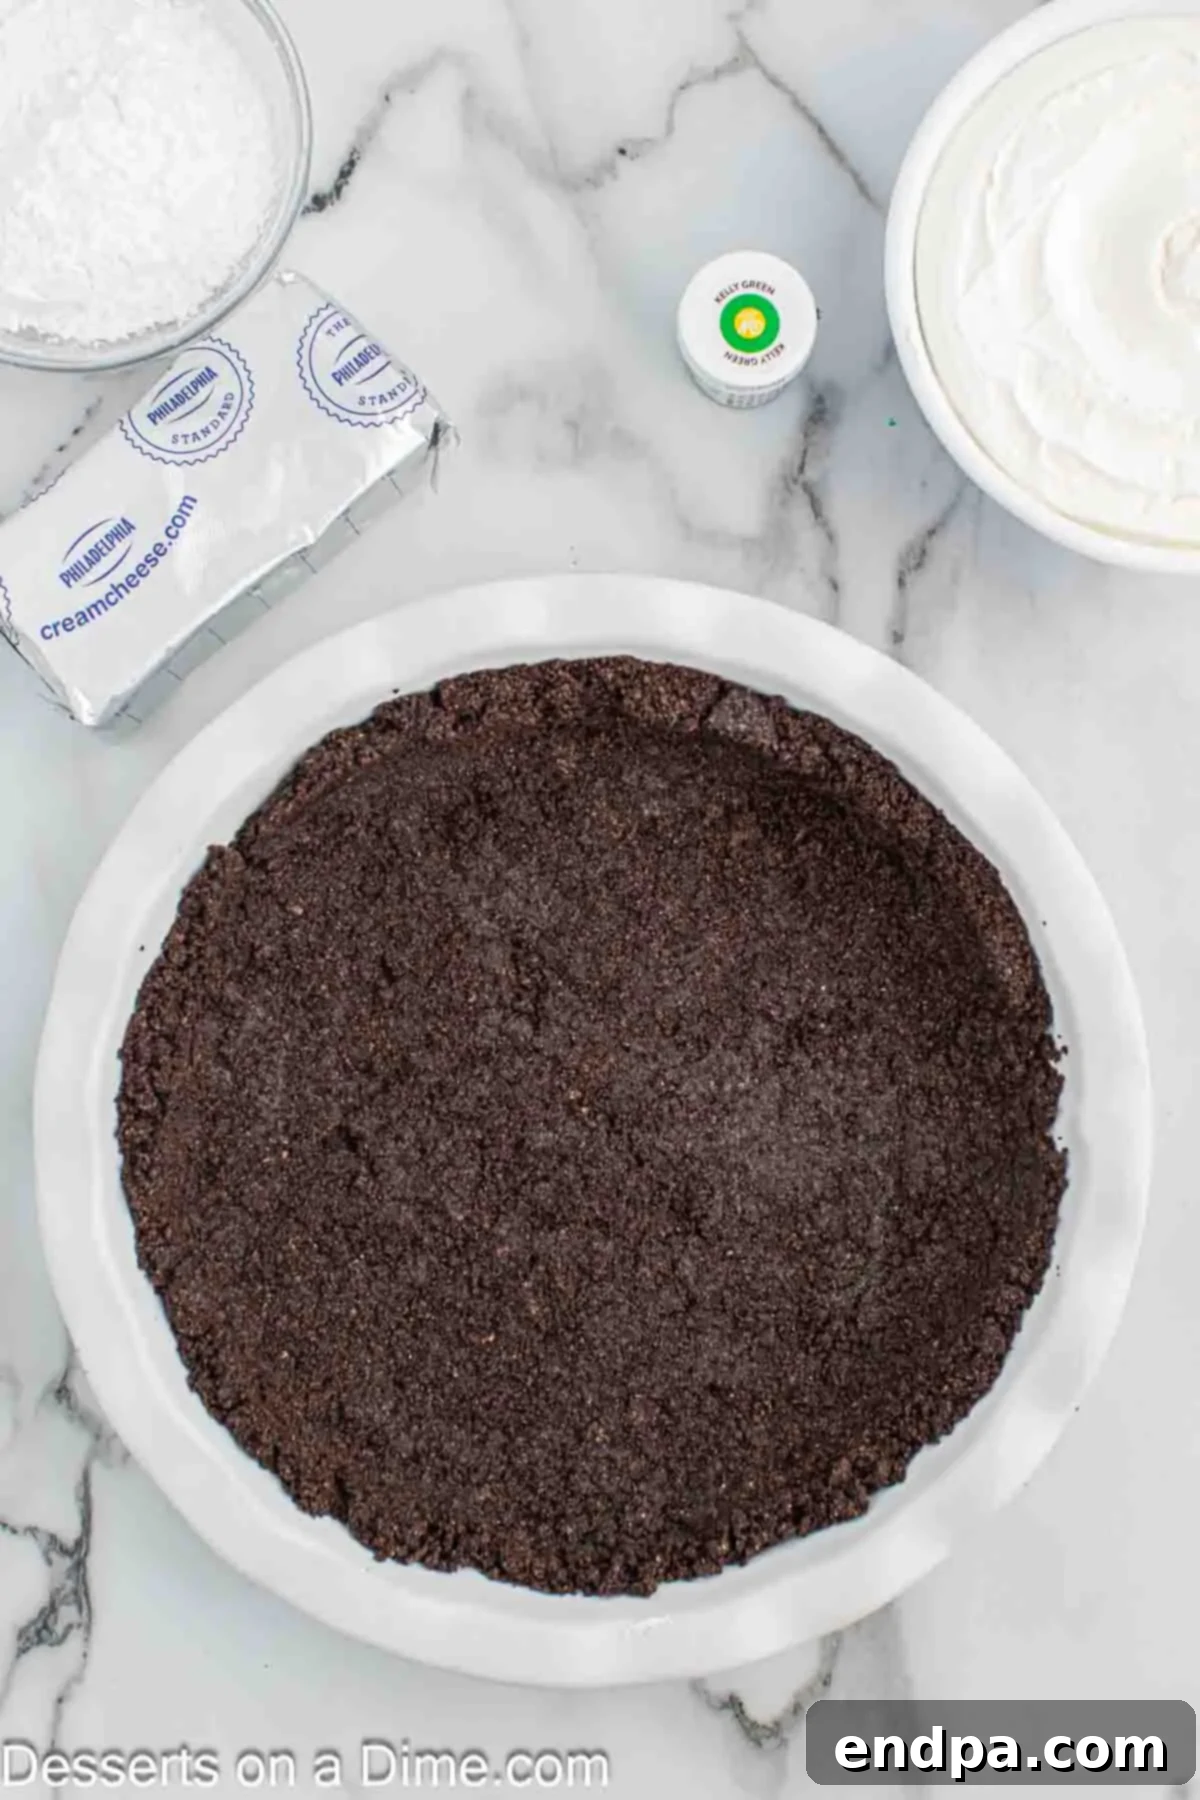
- Prepare Crumbs: Crush the Oreo cookies in a food processor until fine crumbs form. Alternatively, place them in a sturdy Ziploc bag and bash with a rolling pin until thoroughly crushed.
- Mix Crust: In a large bowl, mix the crushed cookies thoroughly with the melted butter until well combined and moistened.
- Form Crust: Press the mixture firmly and evenly into the bottom and up the sides of a 9-inch pie plate. Use the bottom of a glass cup or a flat measuring cup to compact it well and create a sturdy base.
- Chill Crust: Place the prepared crust in the fridge to chill and firm up while you prepare the filling.
For the Filling:
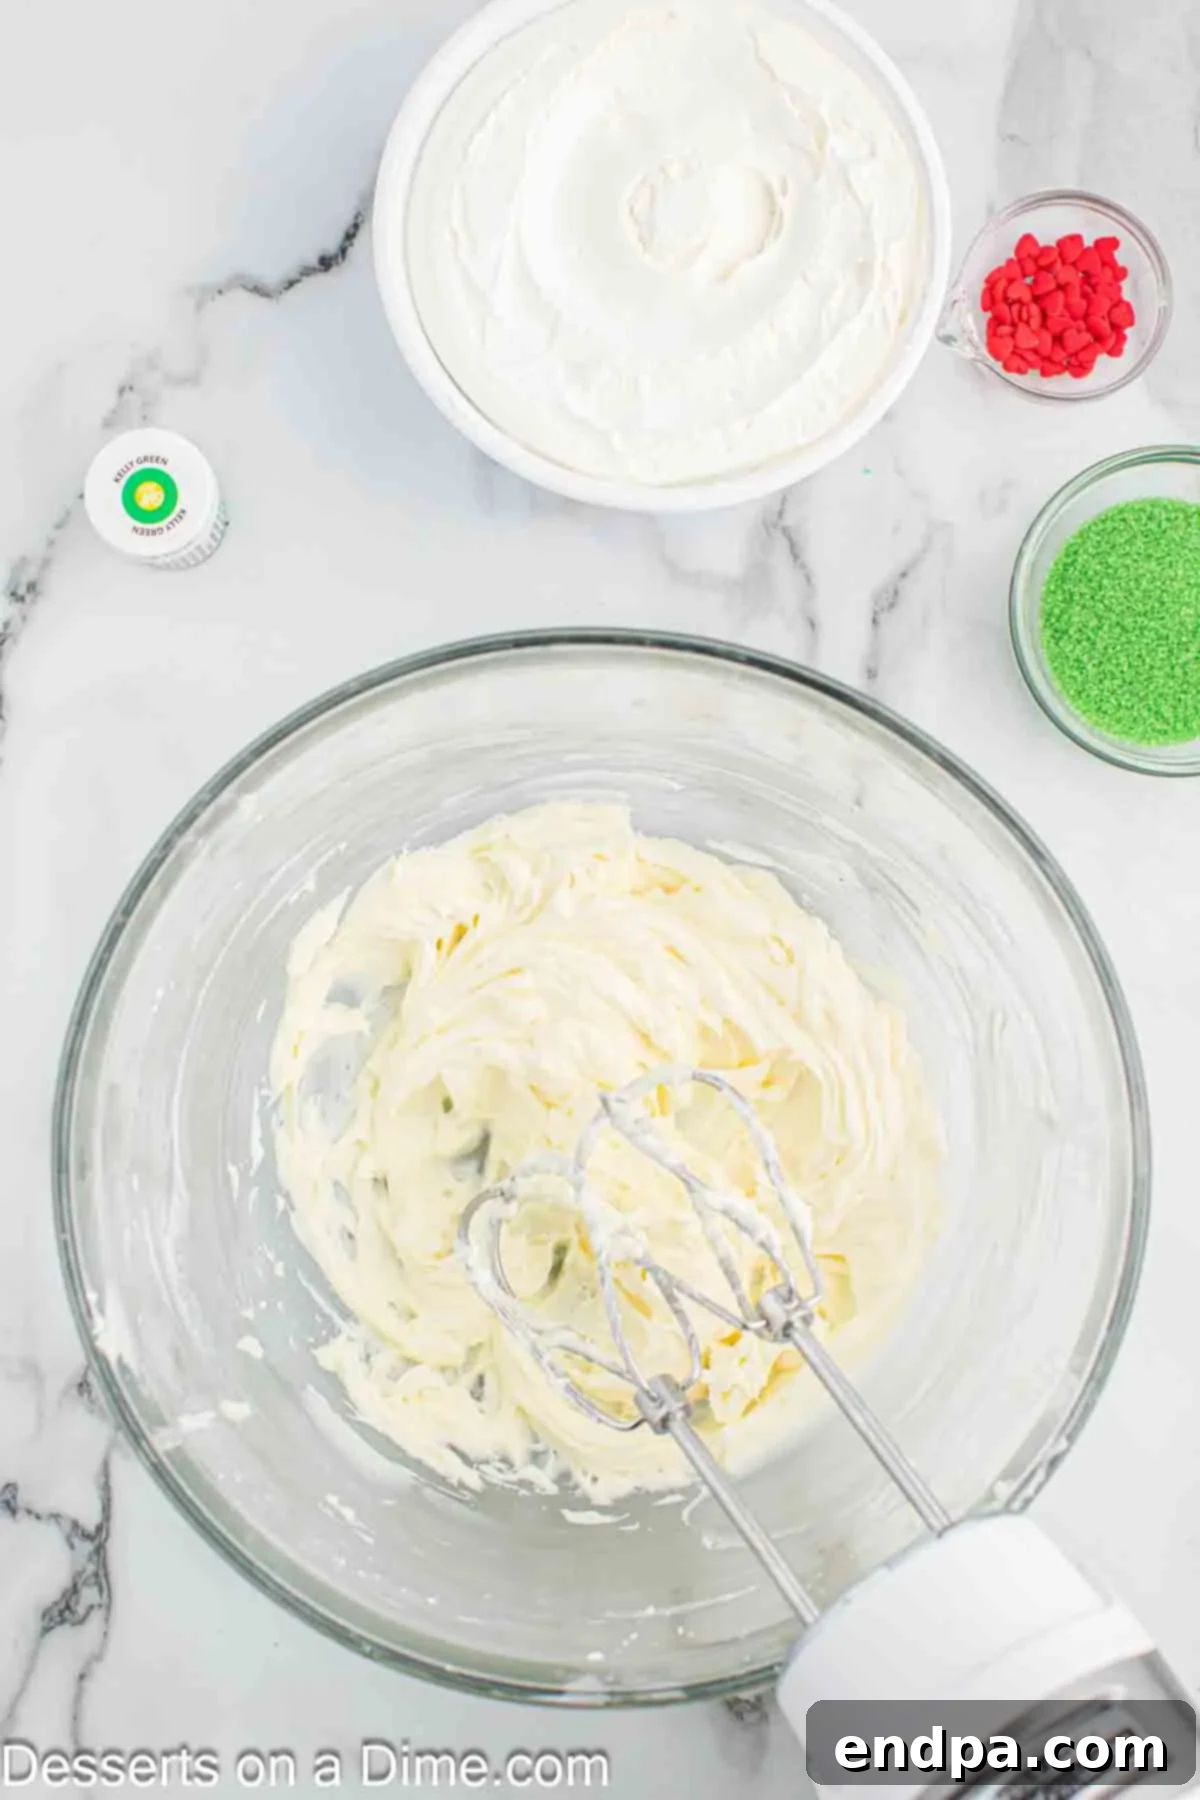
- Cream Cheese Base: In a large bowl, beat the completely softened cream cheese and powdered sugar together until the mixture is entirely smooth, light, and fluffy. Ensure there are no lumps.
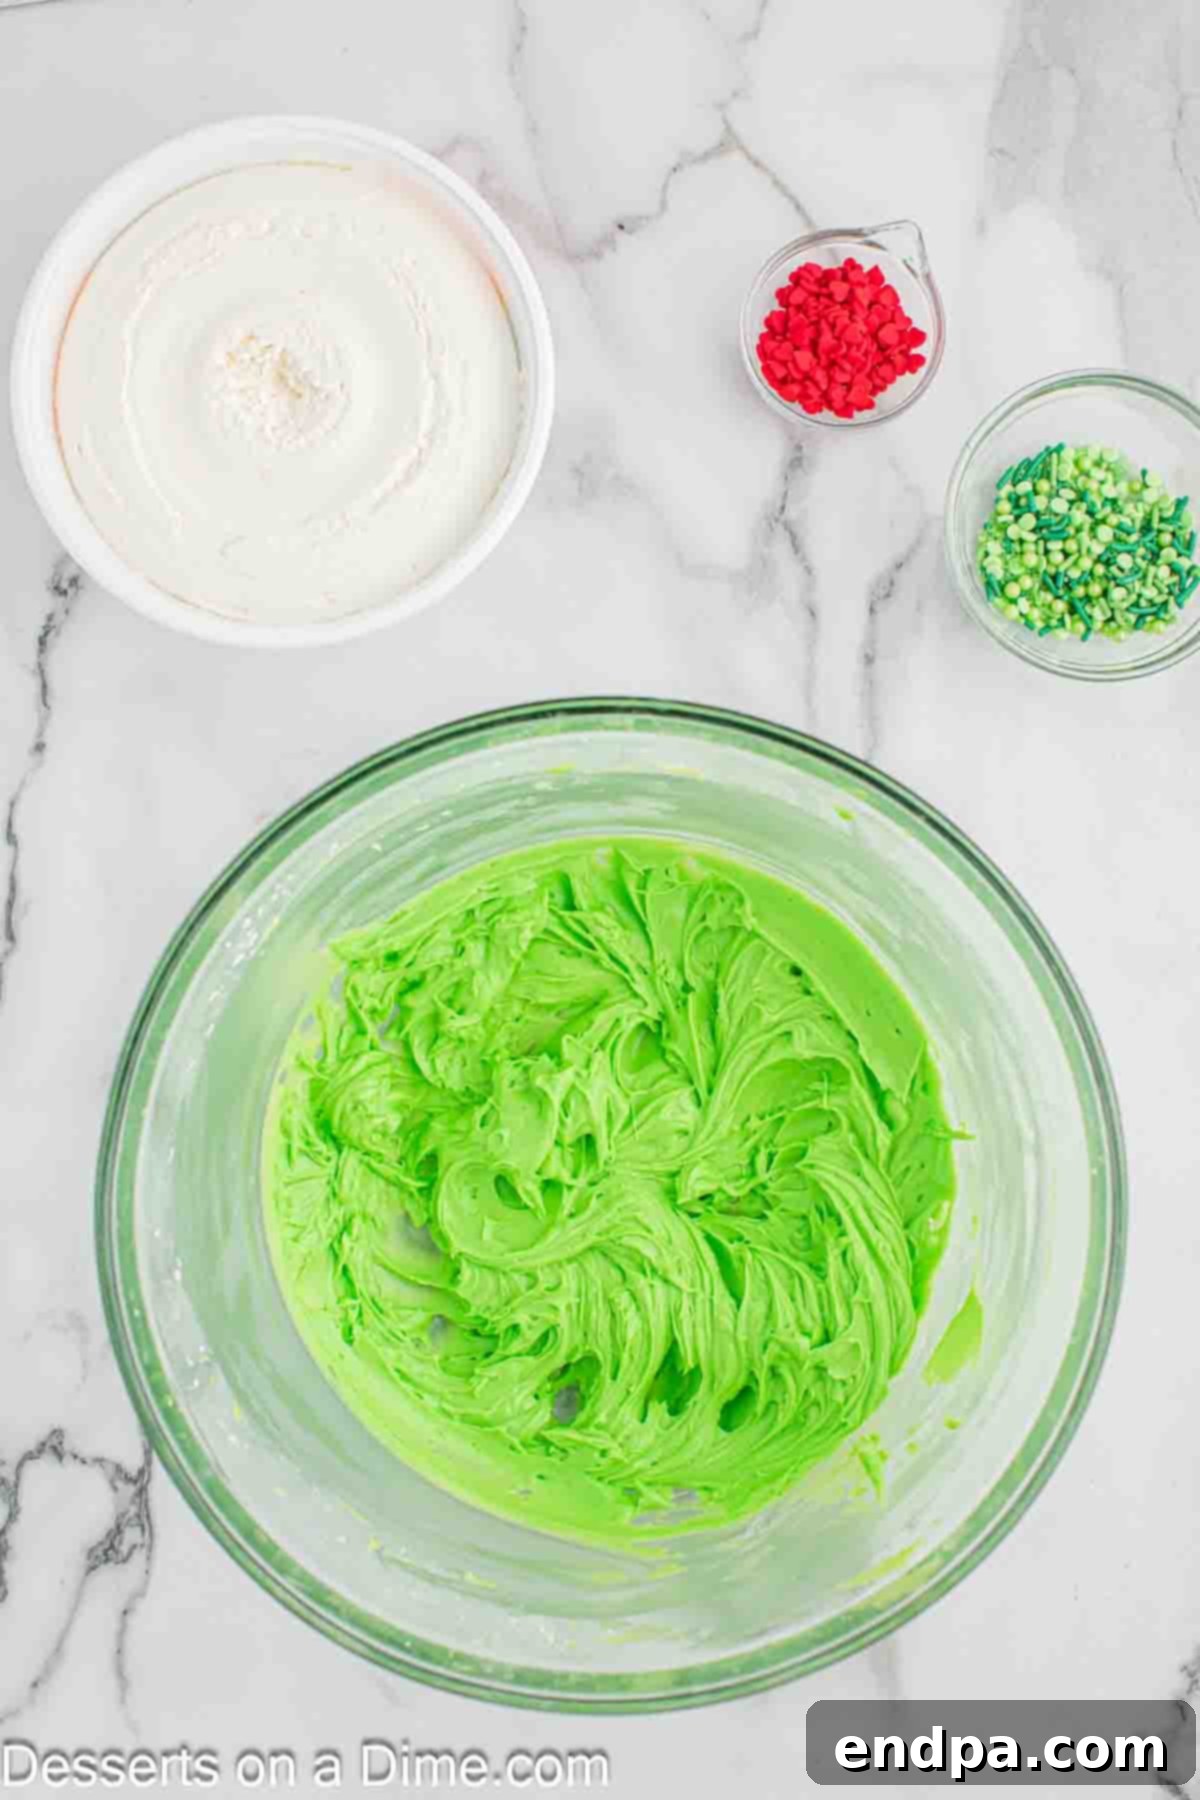
- Add Color: Add green gel food coloring gradually, mixing well after each addition, until you achieve your desired vibrant Grinch green color.
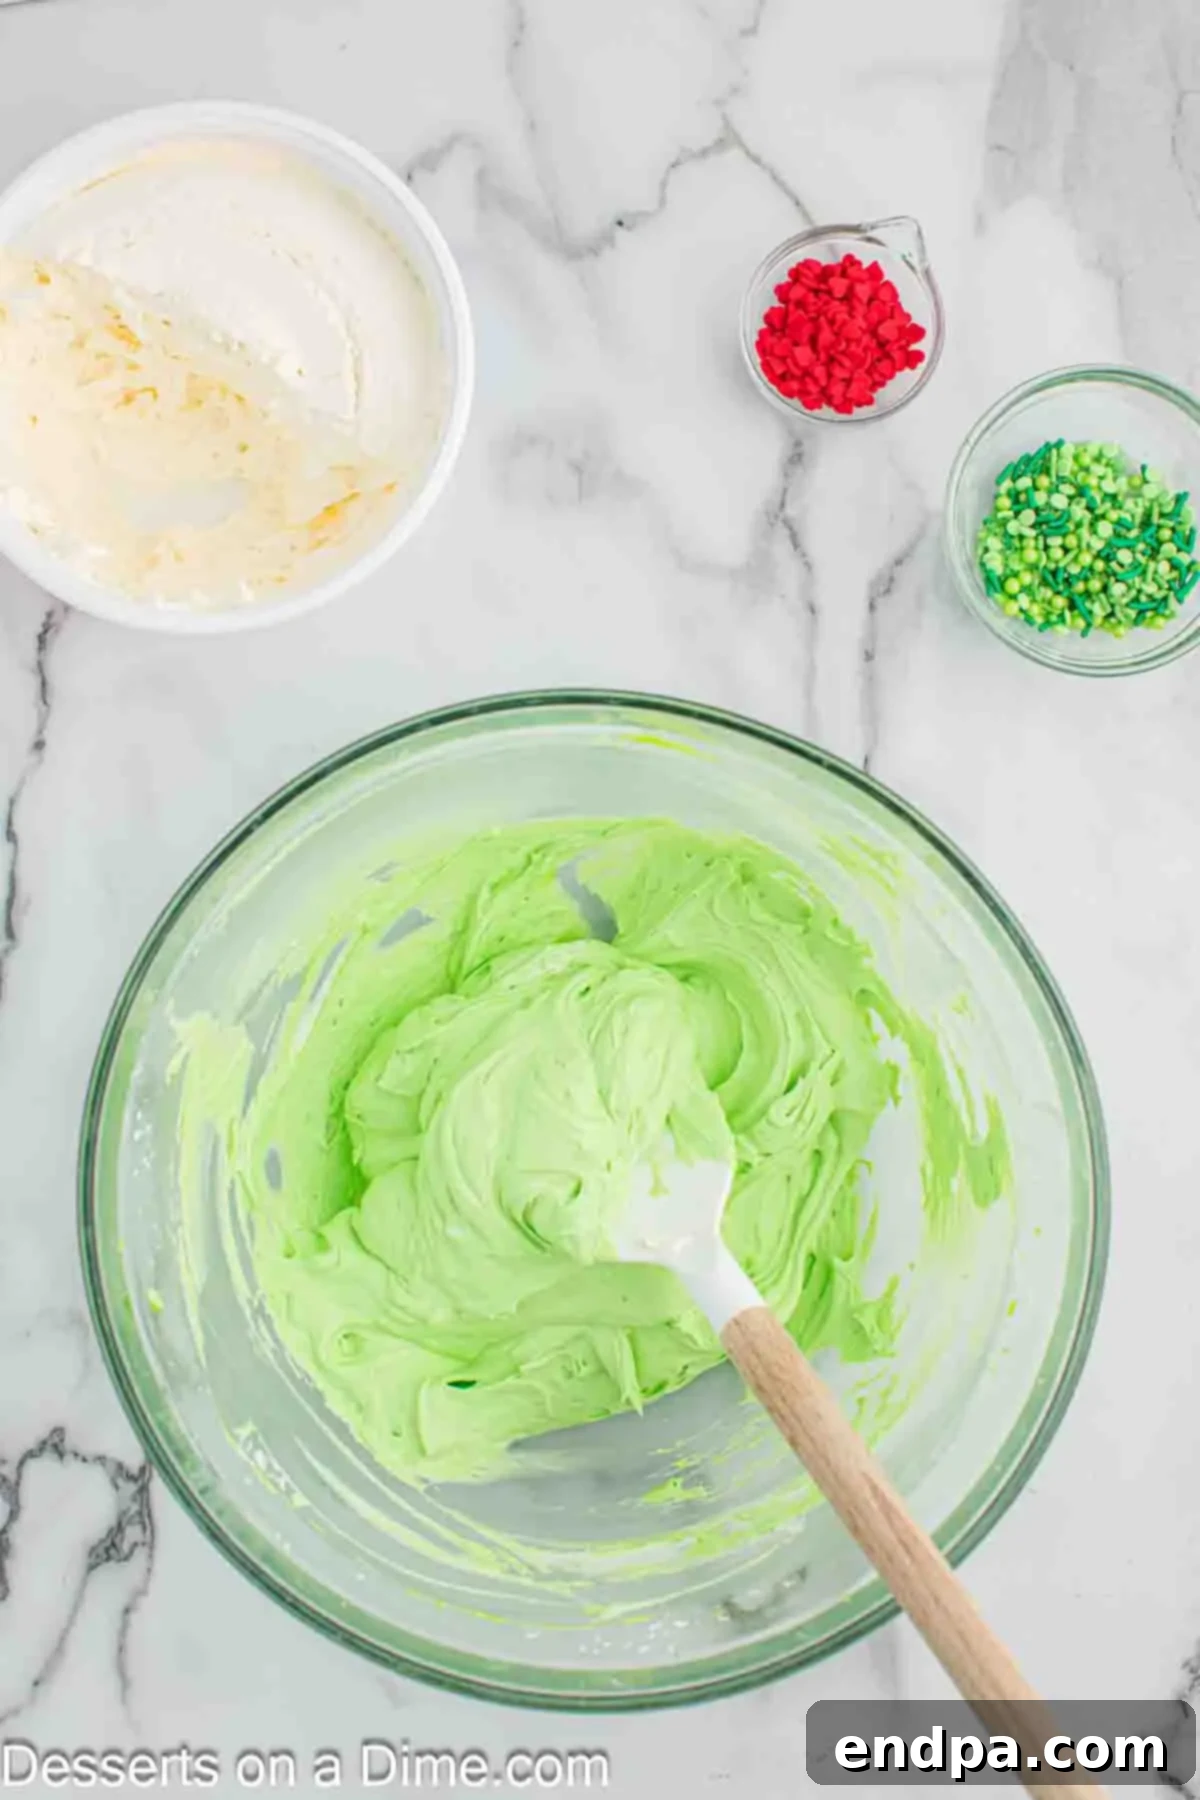
- Fold in Cool Whip (Part 1): Gently fold in half of the thawed Cool Whip into the green cream cheese mixture until just blended and no streaks remain. Be careful not to overmix, which can deflate the topping.
- Fill Pie: Spoon the vibrant green filling evenly into the chilled Oreo pie crust. Use a spatula or the back of a spoon to smooth the top surface of the filling.
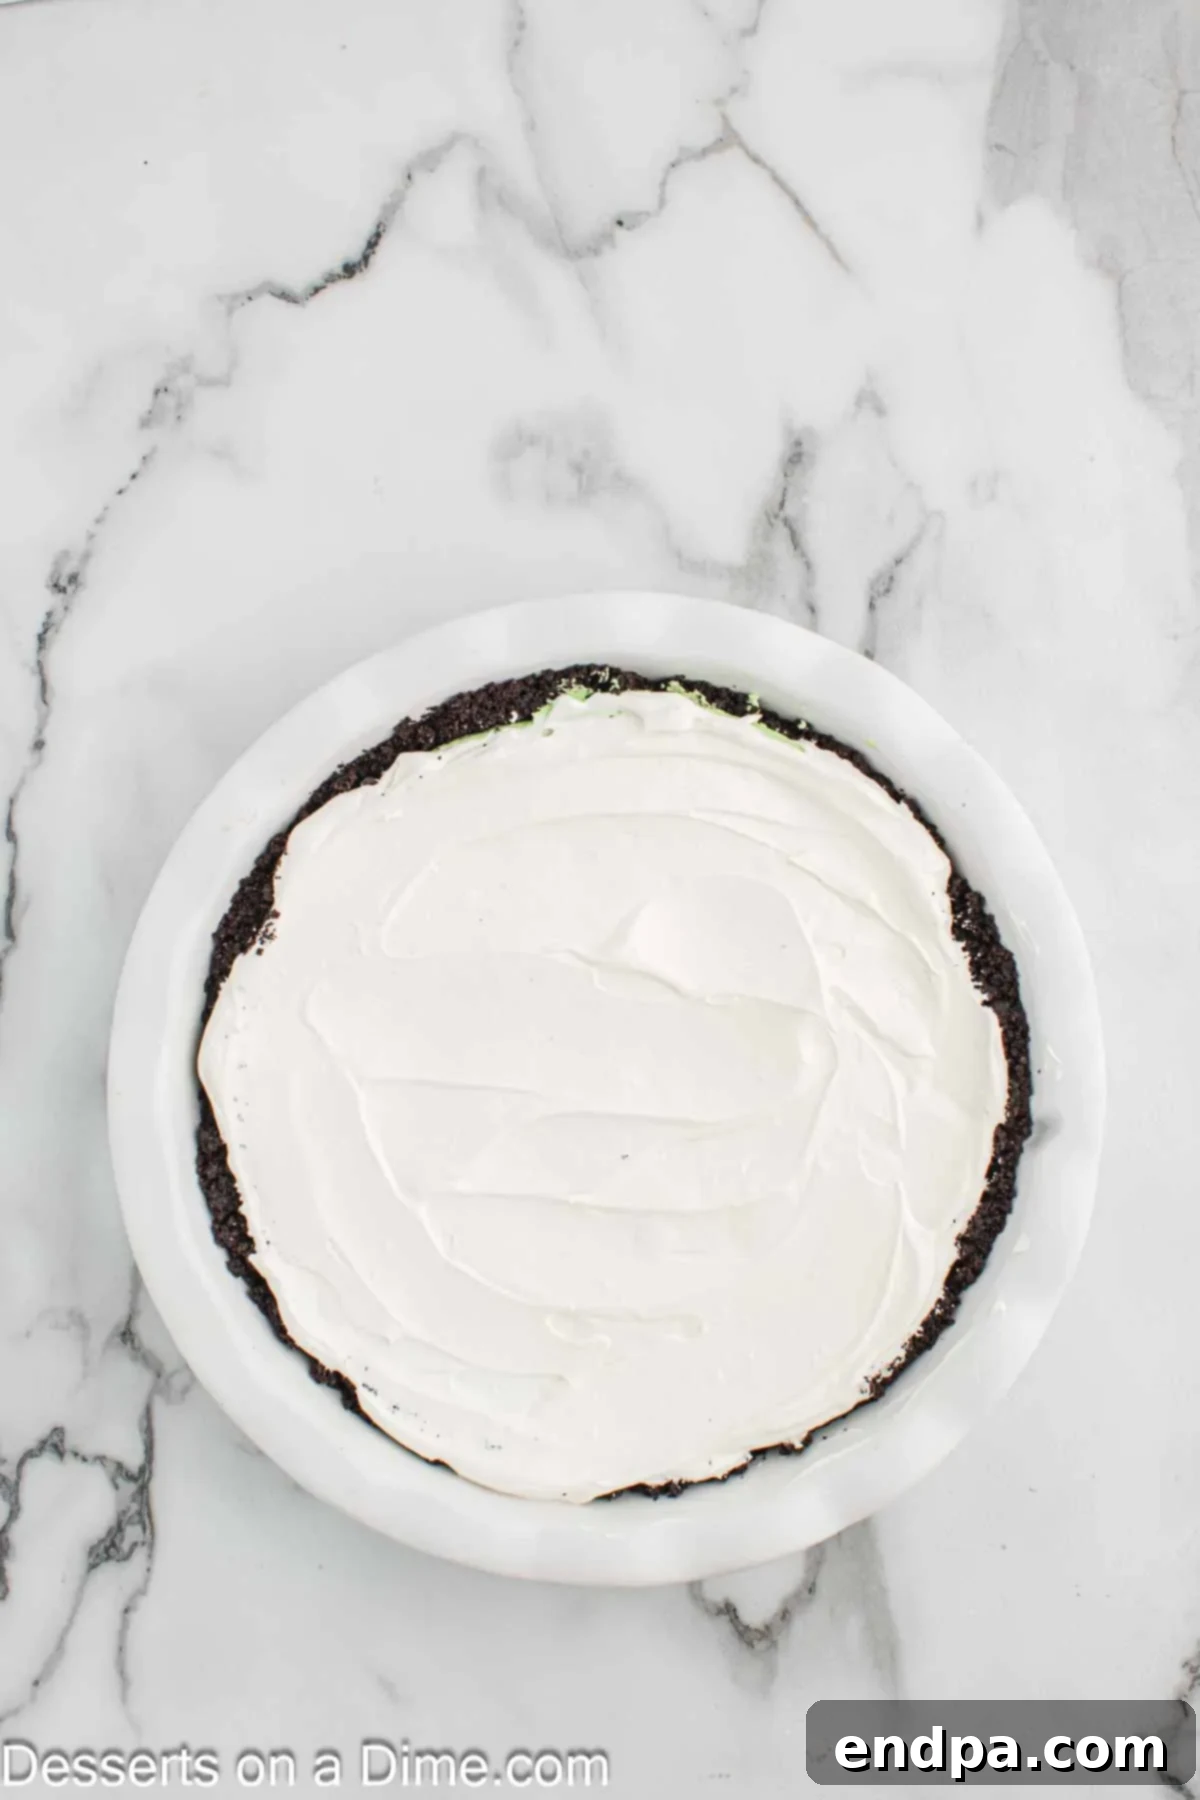
- Add Top Layer: Gently spread the remaining half of the thawed Cool Whip over the green filling, creating soft swirls or peaks for an appealing finish.
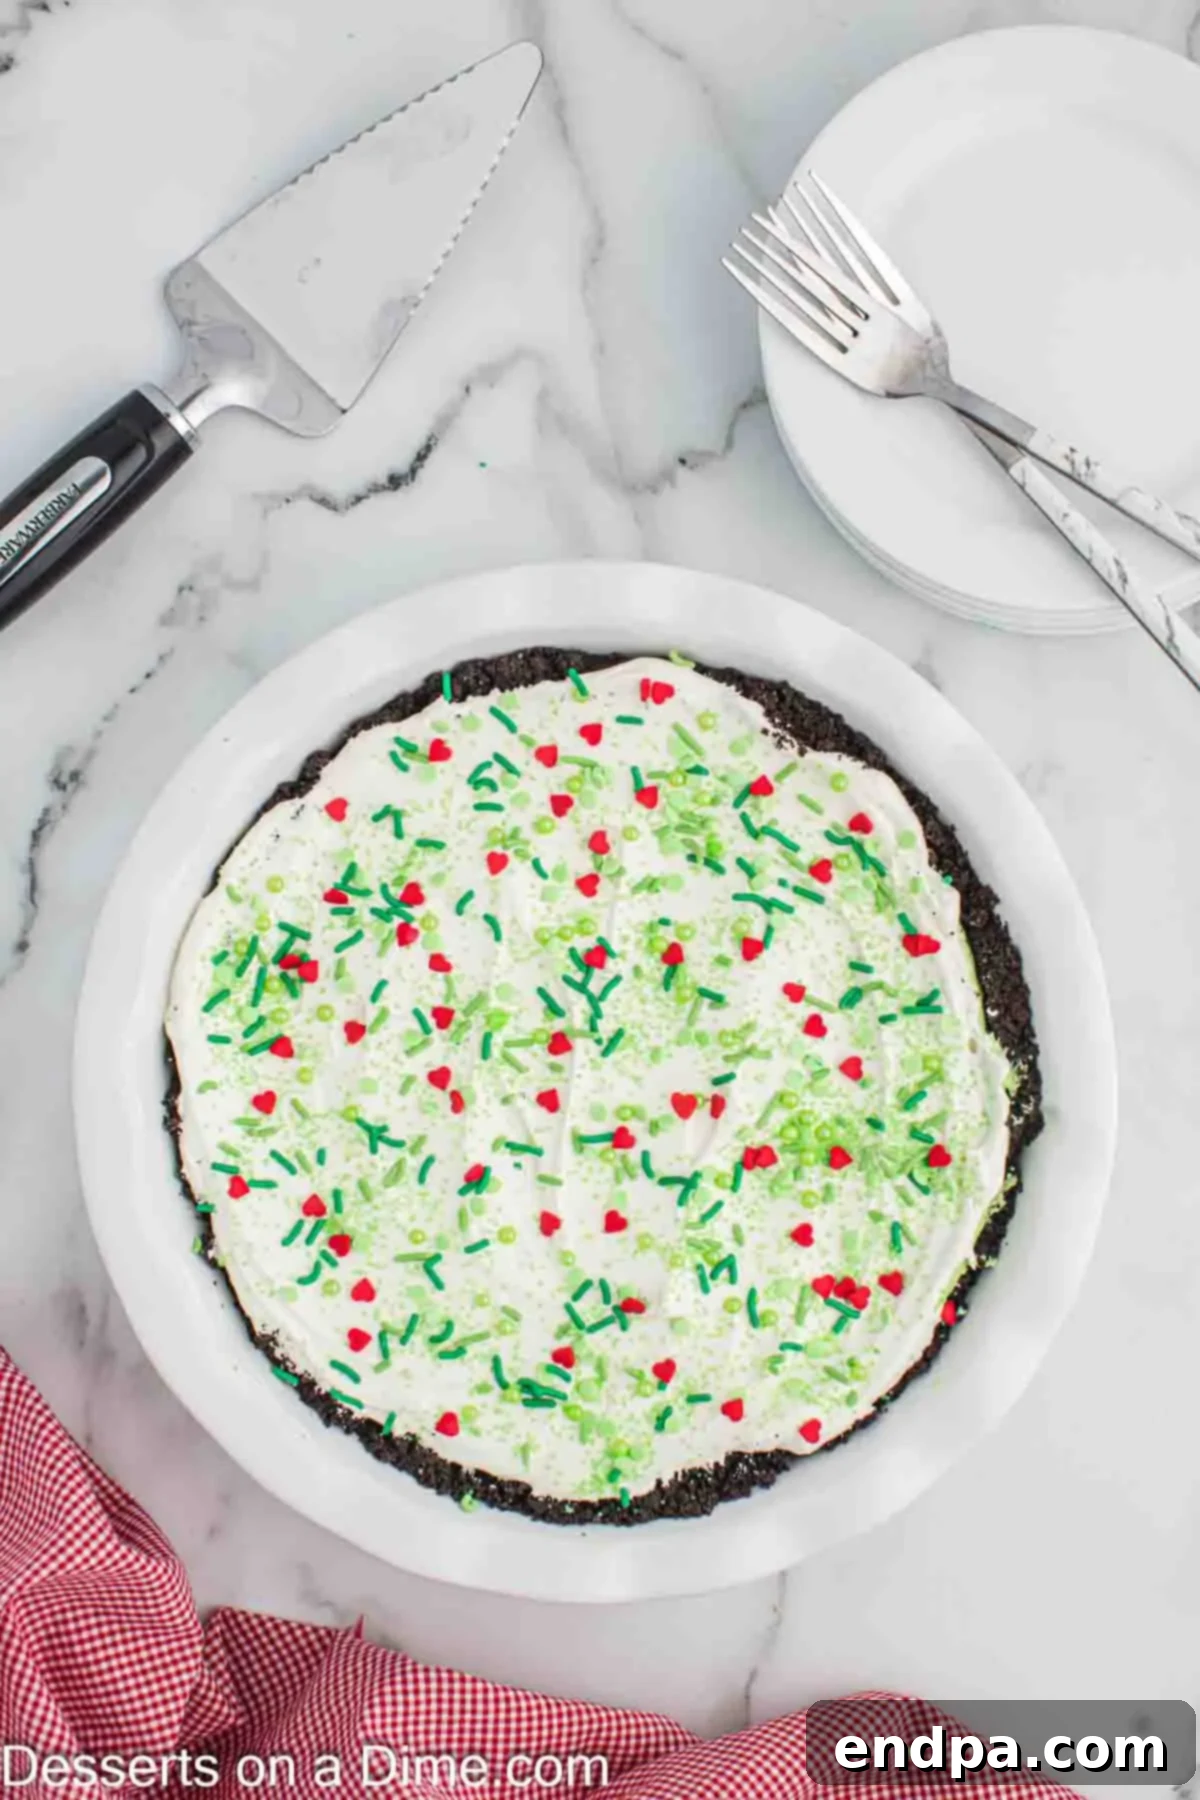
- Decorate: Generously sprinkle the green sprinkles and the red heart sprinkles on top to complete the iconic Grinch theme.
- Final Chill: Place the decorated pie back in the fridge to chill for at least one hour before serving. For optimal texture and cleaner slices, chilling for 2-4 hours or even overnight is highly recommended.
- Serve: Once thoroughly chilled and set, the Grinch Pie is ready to slice, serve, and enjoy!
Recipe Notes:
Store any leftover Grinch Pie covered tightly with plastic wrap or in an airtight container in the refrigerator for up to 3 days for best freshness. We do not recommend freezing this pie, as the cream cheese and whipped topping layers can separate and become watery or grainy upon thawing, which will compromise the texture significantly.
Nutrition Facts:
Approximate values per serving (based on 8 servings):
- Calories: 422 kcal
- Carbohydrates: 47g
- Protein: 5g
- Fat: 25g
- Saturated Fat: 13g
- Polyunsaturated Fat: 2g
- Monounsaturated Fat: 8g
- Trans Fat: 0.3g
- Cholesterol: 52mg
- Sodium: 256mg
- Potassium: 158mg
- Fiber: 1g
- Sugar: 32g
- Vitamin A: 650 IU
- Calcium: 68mg
- Iron: 5mg
(Please note: Nutritional information is an estimate and may vary based on specific brands and exact measurements used.)
Frequently Asked Questions About Grinch Pie
Curious about perfecting your No-Bake Grinch Pie or have specific questions about its preparation? Here are some common queries and their helpful answers to ensure your holiday dessert is a resounding success:
Q: Can I make Grinch Pie ahead of time?
A: Absolutely! This no-bake pie is an excellent make-ahead dessert, perfectly suited for alleviating stress during the busy holiday season. You can prepare it up to 1-2 days in advance. Just be sure to keep it well-covered with plastic wrap or in an airtight container and refrigerated. For the best visual appeal, we recommend adding the sprinkles and any other delicate decorative touches just a few hours before you plan to serve it, ensuring they look fresh and vibrant.
Q: What kind of pie plate should I use for this recipe?
A: A standard 9-inch pie plate is ideal and will work perfectly for this recipe. You can use one made of glass, ceramic, or even a disposable aluminum pie plate if you’re planning to take the pie to a party or potluck and prefer not to worry about retrieving your dish. If you happen to have a springform pan, that can also work, but a traditional pie plate is perfectly sufficient and will yield great results.
Q: Can I use homemade whipped cream instead of Cool Whip?
A: Yes, you certainly can! Homemade whipped cream can add an extra touch of gourmet flavor and a more luxurious texture to your Grinch Pie. If opting for homemade, ensure it’s stiffly whipped before you gently fold it into the cream cheese mixture for the filling and use it as a topping. Keep in mind that homemade whipped cream tends to soften more quickly than commercial whipped toppings like Cool Whip, so the pie might need to be kept extra cold and served promptly after it’s brought out of the refrigerator.
Q: How do I achieve the perfect vibrant green color for the Grinch Pie filling?
A: The key to getting that iconic, vibrant Grinch green color is to use gel food coloring. Gel coloring is much more concentrated than traditional liquid food coloring and will deliver intense color without adding excess moisture to your filling, which could alter its consistency. Start with a tiny amount (a drop or two) and mix it in completely. Then, gradually add more gel coloring, mixing thoroughly after each addition, until you reach your desired brilliant green hue. It’s always easier to add more color than it is to lighten a color that has become too dark.
Q: Can I use different types of cookies for the crust instead of Oreos?
A: While Oreo cookies provide that classic dark chocolate contrast and unique flavor that pairs wonderfully with the green filling, you can absolutely experiment with other types of cookies for the crust. Chocolate wafer cookies, classic graham crackers, or even green-colored sugar cookies (for an extra green boost!) could work as delicious alternatives. Just ensure you adjust the amount of melted butter slightly if the alternative cookies have a different fat or moisture content to achieve the right crumb consistency that presses firmly into the pie plate.
We absolutely love hearing from you and seeing your festive creations! If you make this delightful No-Bake Grinch Pie Recipe, please share your experience by leaving us a star review and a comment below. Your feedback truly brightens our day and helps other aspiring bakers in our community. Happy holidays and happy baking!
