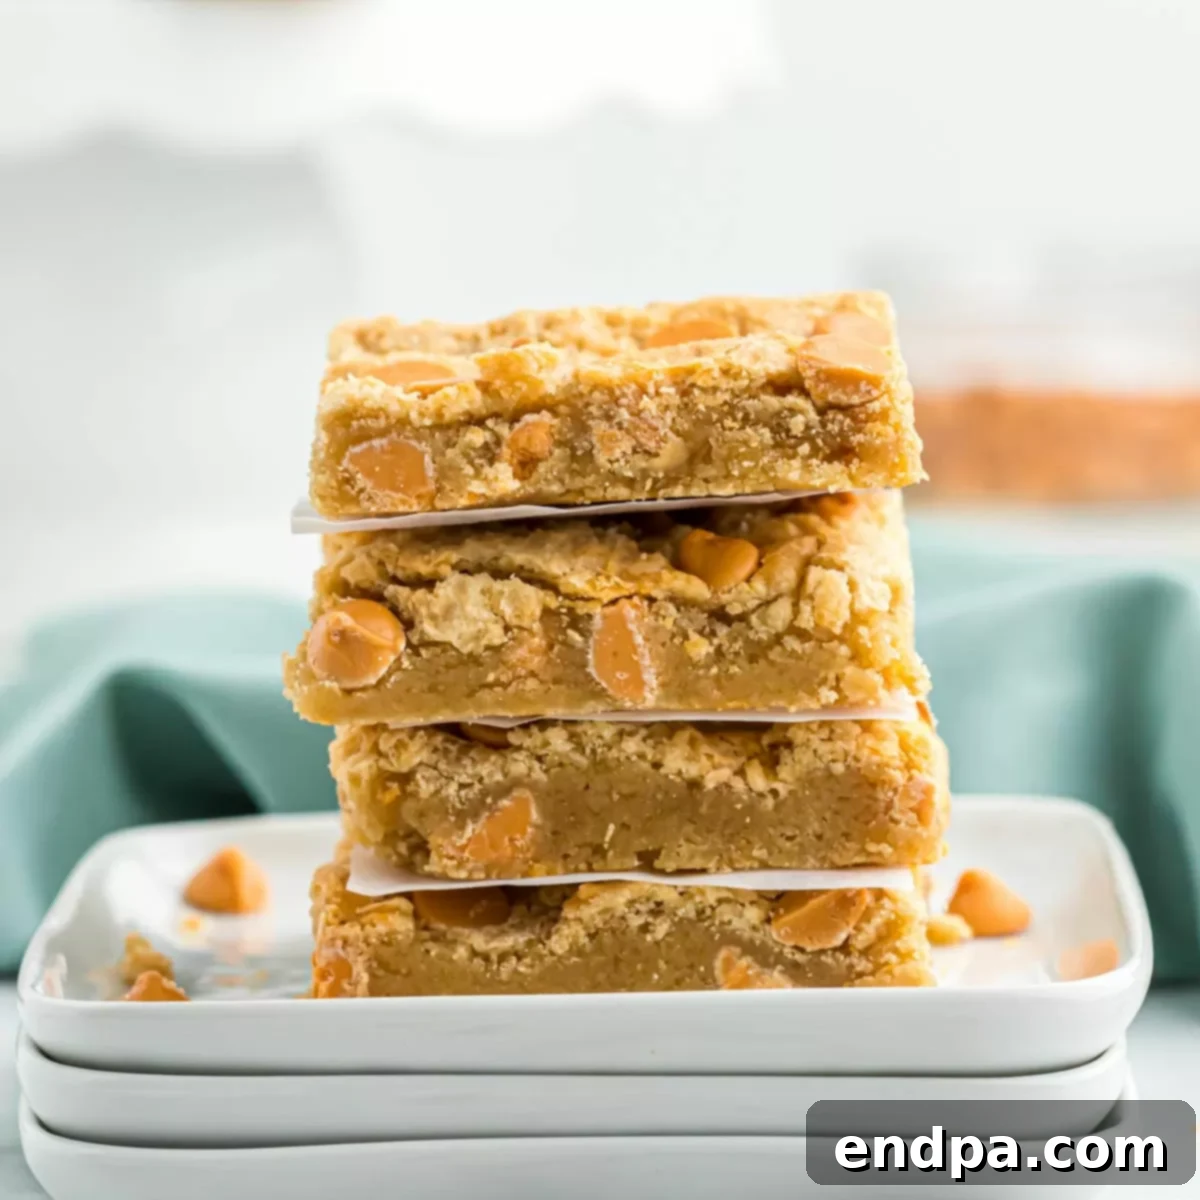
Indulge in the rich, caramel-like sweetness of these perfectly chewy and utterly decadent Butterscotch Bars. This incredible homemade butterscotch cookie bar recipe delivers a fantastic dessert experience with surprisingly little effort. Whether you’re a long-time fan of butterscotch or new to its delightful flavor, these bars are guaranteed to become a new favorite treat that everyone will adore. They’re not just easy to make; they’re an absolute joy to eat, embodying the comforting essence of a classic dessert.
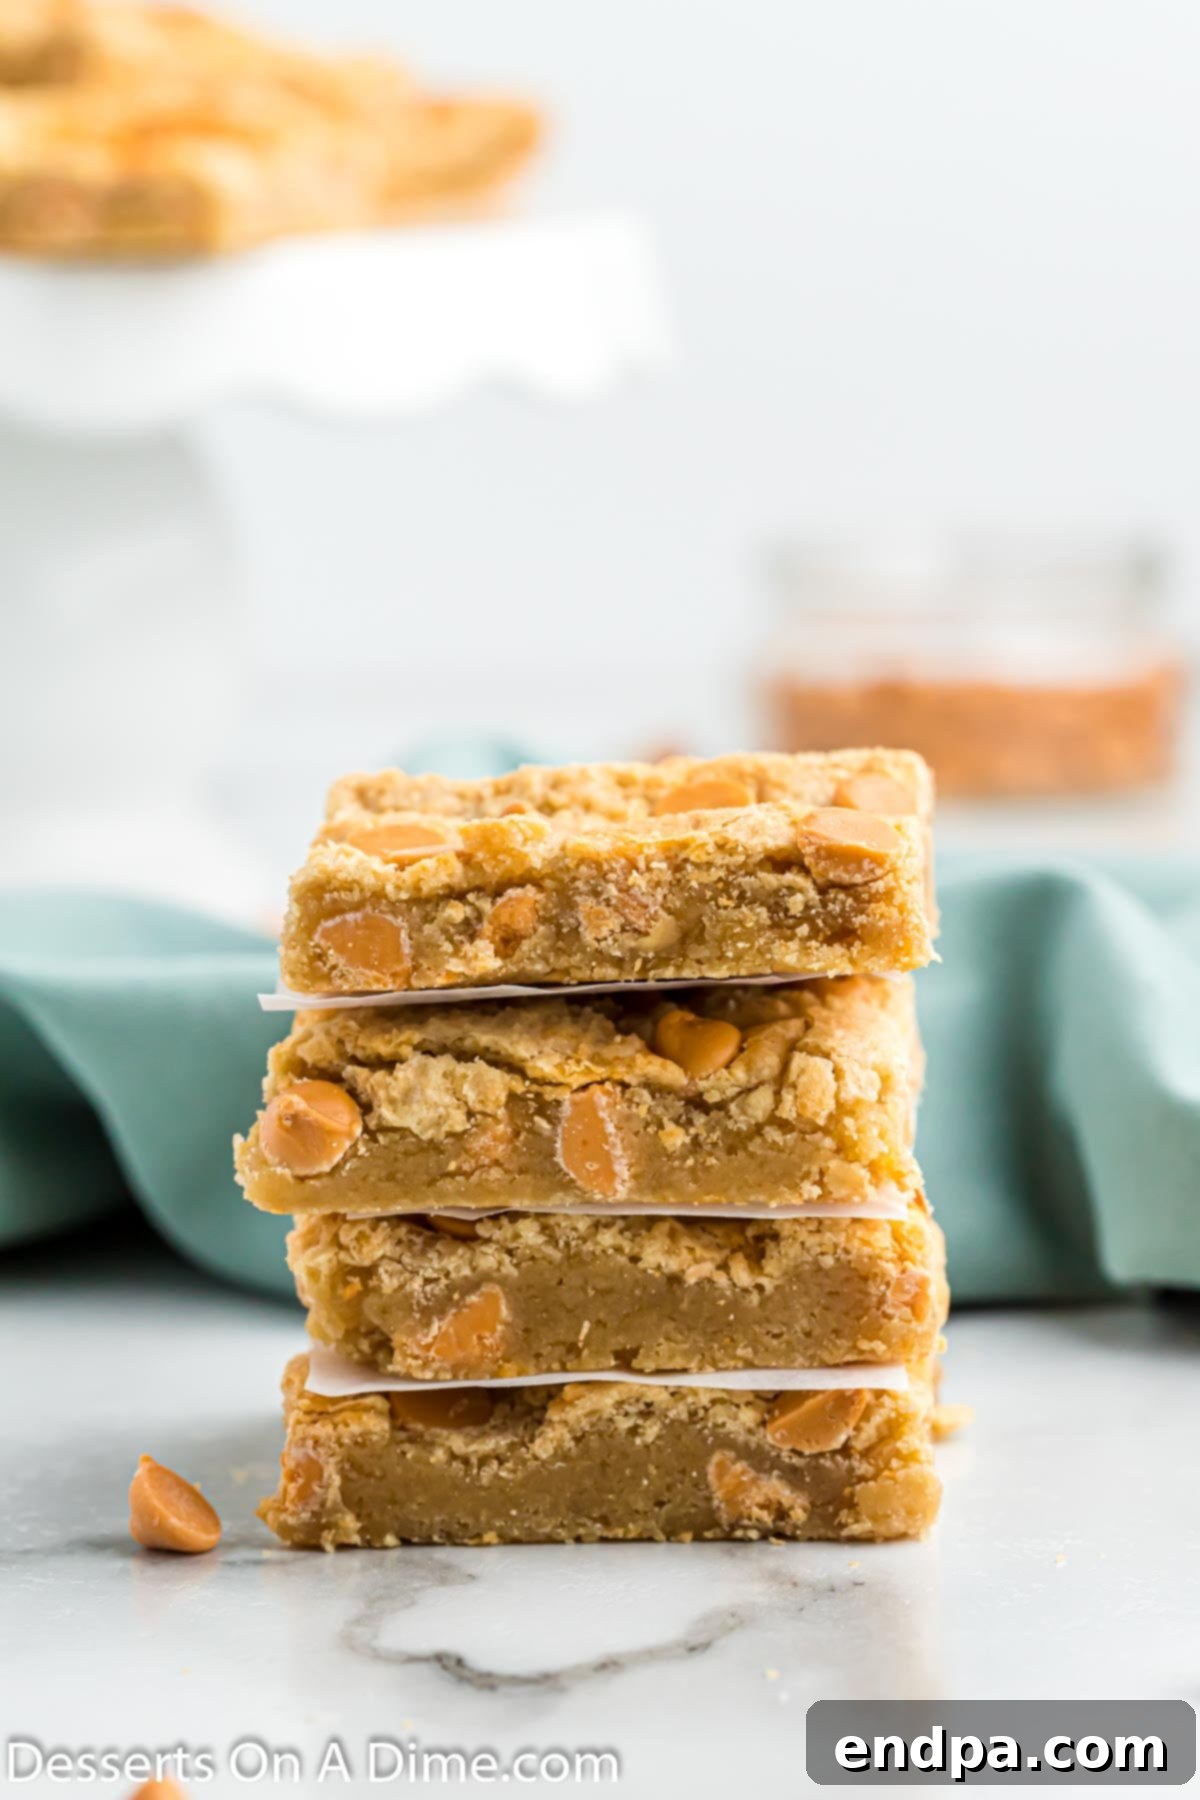
The distinctive and inviting flavor of butterscotch truly shines in these easy-to-prepare cookie bars. They consistently turn out amazing, offering a delightful combination of soft, chewy texture and irresistible sweetness. One of the best aspects of this recipe is that it primarily uses common pantry staples, making it incredibly accessible. You can whip up a batch of these glorious bars in 15 minutes or less of active prep time. The most challenging part, perhaps, is patiently waiting for them to bake and cool before you can dive in!
If you enjoy comforting bar desserts, you might also love our recipes for 7 Layer Cookie Bars, our simple Blondie Recipe, and the unique Sweet Potato Pie Bars. Each offers its own special twist on a beloved classic.
Table of Contents
- Why These Butterscotch Bars Are a Must-Try
- What is Butterscotch? A Sweet Delight
- Essential Ingredients for Perfect Butterscotch Bars
- Equipment You’ll Need
- Exciting Variations and Additions
- How to Make the Best Butterscotch Bars: Step-by-Step
- Expert Baking Tips for Success
- Serving Suggestions
- Proper Storage for Freshness
- How to Freeze Butterscotch Bars
- Frequently Asked Questions
- More Irresistible Cookie Bar Recipes
- More Scrumptious Butterscotch Dessert Recipes
Why These Butterscotch Bars Are a Must-Try
There’s a reason these butterscotch bars earn rave reviews and disappear quickly from any dessert spread. Each bite is absolutely packed with the unmistakable, rich flavor of butterscotch chips, generously distributed throughout the chewy dough. These chips, much like chocolate chips in shape and texture, deliver a burst of golden, caramel-like sweetness that is simply irresistible.
If you have a fondness for butterscotch, this recipe is more than just a suggestion—it’s an absolute essential. It stands out not only for its incredible taste but also for its remarkable simplicity. You don’t need to be an experienced baker to achieve perfect results; the straightforward steps ensure deliciousness every time. These bars are the perfect solution for a quick and satisfying dessert, a delightful treat for gatherings, or a comforting indulgence after a long day. Their ease of preparation combined with their utterly delicious flavor makes them a true winner in any recipe collection.
What is Butterscotch? A Sweet Delight
Before we dive into the recipe, let’s appreciate the star ingredient: butterscotch. Often confused with caramel, butterscotch is a distinct confectionery that typically involves boiling brown sugar and butter together. While caramel uses granulated white sugar, butterscotch’s reliance on brown sugar gives it a deeper, richer, and slightly molasses-like flavor profile. A touch of cream or corn syrup can also be added for texture and to prevent crystallization, creating that signature smooth and chewy consistency.
The name “butterscotch” itself is thought to have a few possible origins. One theory suggests it comes from its “scotched” or scored top, a method used to cut it into pieces. Another, more widely accepted, theory attributes it to the Scottish town of Doncaster, famous for its butterscotch sweets. Regardless of its exact etymology, butterscotch has been a beloved flavor for centuries, cherished for its warm, buttery, and sweet notes that evoke a sense of nostalgia and comfort. In these bars, butterscotch chips perfectly capture this classic essence, providing a concentrated burst of that golden, buttery goodness that makes them truly special.
Essential Ingredients for Perfect Butterscotch Bars
Crafting these amazing butterscotch bars starts with a few key ingredients, most of which you likely already have on hand. Quality ingredients make a noticeable difference in the final taste and texture of your bars, so take a moment to ensure everything is ready.
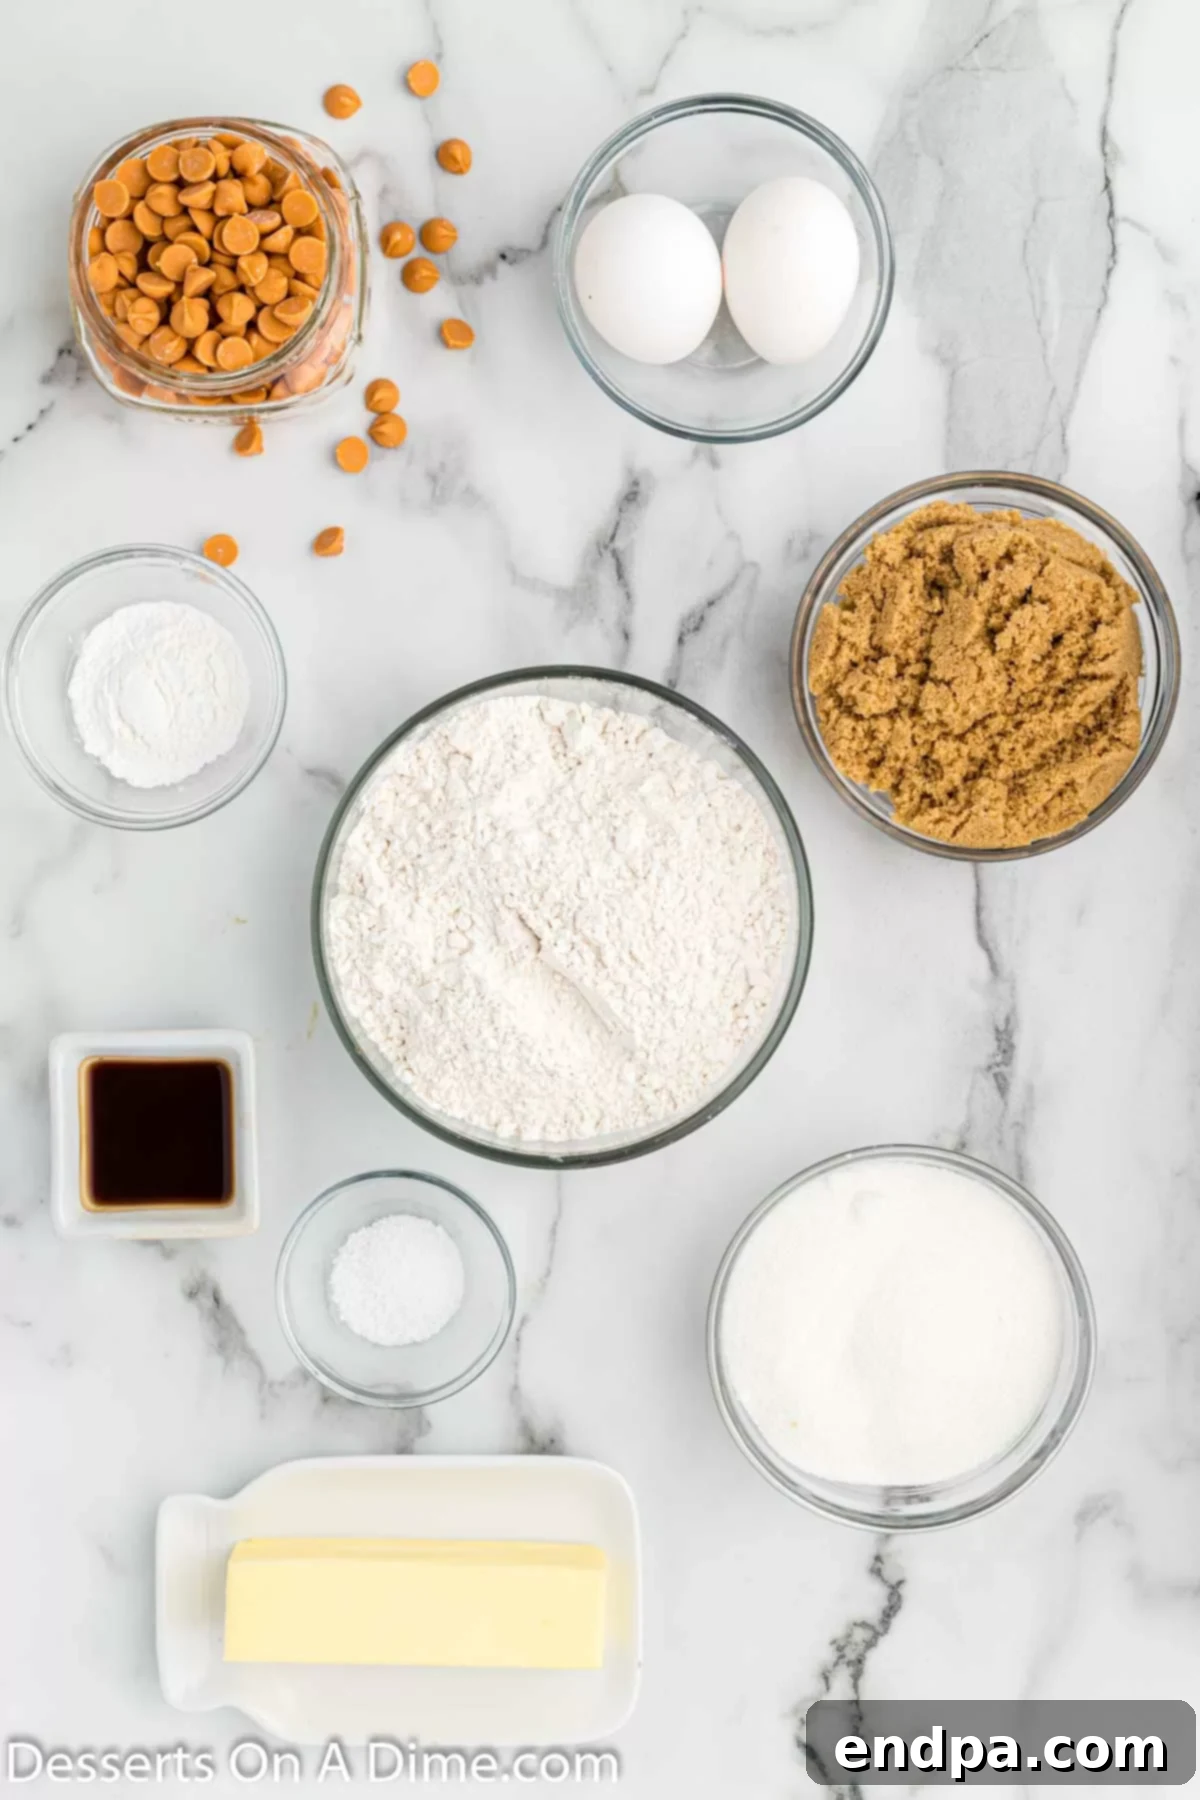
- Butter: Use unsalted butter, softened to room temperature. This is crucial for achieving a smooth, well-combined batter and a tender, chewy crumb. Cold butter won’t cream properly with the sugars, leading to a less desirable texture.
- Granulated Sugar: Provides sweetness and helps create the crisp edges while maintaining a tender interior.
- Brown Sugar: The star of the show for butterscotch flavor! Brown sugar contributes moisture, depth of flavor, and that characteristic chewy texture that makes these bars so irresistible. For an even more homemade touch, you can try our Homemade Brown Sugar Recipe.
- Large Eggs: Ensure your eggs are at room temperature. Room temperature eggs emulsify better with the butter and sugar, resulting in a smoother batter and a more uniform bake. They act as a binder and contribute to the rich structure of the bars.
- Vanilla Extract: A crucial flavor enhancer that complements the butterscotch beautifully. Use pure vanilla extract for the best results.
- All-Purpose Flour: The structural base of your bars. For accurate measurement, spoon the flour into your measuring cup and then level it off with a straight edge, rather than scooping directly from the bag. This prevents over-measuring, which can lead to dry, dense bars.
- Salt: A pinch of salt balances the sweetness and enhances all the other flavors, making them pop.
- Baking Powder: Provides the lift needed for a soft and slightly airy texture, preventing the bars from being too dense.
- Butterscotch Baking Chips: These are the key to infusing every bite with that glorious butterscotch flavor. Good quality chips melt smoothly and distribute evenly.
The complete list of ingredients with precise measurements can be found in the recipe card at the bottom of the page, along with the full instructions.
Equipment You’ll Need
Making these butterscotch bars is straightforward and doesn’t require any fancy equipment. Here’s a quick list of what you’ll need to get started:
- 9×13 inch Baking Pan: A standard size for bar cookies.
- Mixing Bowls: One large bowl for the wet ingredients and another for dry ingredients.
- Electric Mixer: A hand mixer or stand mixer works best for creaming butter and sugar. A whisk can work in a pinch, but an electric mixer makes the process much easier and ensures a well-aerated mixture.
- Rubber Spatula: For scraping down the sides of the bowl and gently folding in ingredients.
- Measuring Cups and Spoons: For accurate ingredient measurements.
- Parchment Paper or Non-Stick Cooking Spray: To ensure your bars don’t stick to the pan.
- Wire Cooling Rack: Essential for cooling the bars evenly and preventing them from becoming soggy.
Exciting Variations and Additions
While these butterscotch bars are absolutely perfect as is, they also serve as an excellent canvas for creativity. Feel free to experiment with these delicious variations and additions to customize them to your liking, adding extra flavor and texture dimensions:
- M&M’s: For a pop of color and extra sweetness, fold in a half cup of your favorite M&M’s. The candy coating adds a fun crunch.
- Pretzels: Crush about a half cup of pretzels into smaller pieces and fold them into the batter. The salty crunch perfectly complements the sweet butterscotch, creating a delightful sweet-and-salty combination.
- White Chocolate Chips: Introduce another layer of creamy sweetness by adding white chocolate chips. They melt beautifully and add a lovely visual contrast.
- Chocolate Chips: A classic pairing with butterscotch! You can use dark chocolate chips for a rich, bittersweet contrast, milk chocolate chips for extra creaminess, or semi-sweet chocolate chips for a balanced flavor.
- Peanut Butter Chips: For a truly irresistible flavor combination, toss in a ½ cup of peanut butter chips. The nutty, savory notes of peanut butter are a fabulous match for the sweet butterscotch.
- Mini Marshmallows: Stir in mini marshmallows during the last few minutes of baking, or sprinkle them on top for a gooey, toasted topping.
- Oatmeal: For a heartier, chewier bar, incorporate about ½ cup of rolled oats into the batter. This creates delicious oatmeal butterscotch bars that are wonderfully satisfying.
- Caramel Sauce Drizzle: Once the bars have cooled, drizzle the top with a generous amount of warm caramel sauce. This transforms them into decadent Butterscotch Caramel Bars, adding another layer of luxurious sweetness.
- Melted Chocolate Drizzle: For an elegant touch, melt white or milk chocolate and drizzle it decoratively all over the tops of the cooled bars.
- Nuts: Add a pleasant crunch and nutty flavor by mixing in ½ cup of chopped pecans or walnuts. Toasting the nuts lightly before adding them can enhance their flavor even further.
How to Make the Best Butterscotch Bars: Step-by-Step
Making these chewy butterscotch bars is a breeze! Follow these simple steps for a truly delightful dessert:
- Step 1: Prepare Your Baking Pan and Oven. Begin by preheating your oven to 350 degrees Fahrenheit (175°C). While the oven heats, prepare a 9×13 inch baking dish by lightly coating it with non-stick cooking spray. For easier removal, you can also line the pan with parchment paper, leaving an overhang on the sides.
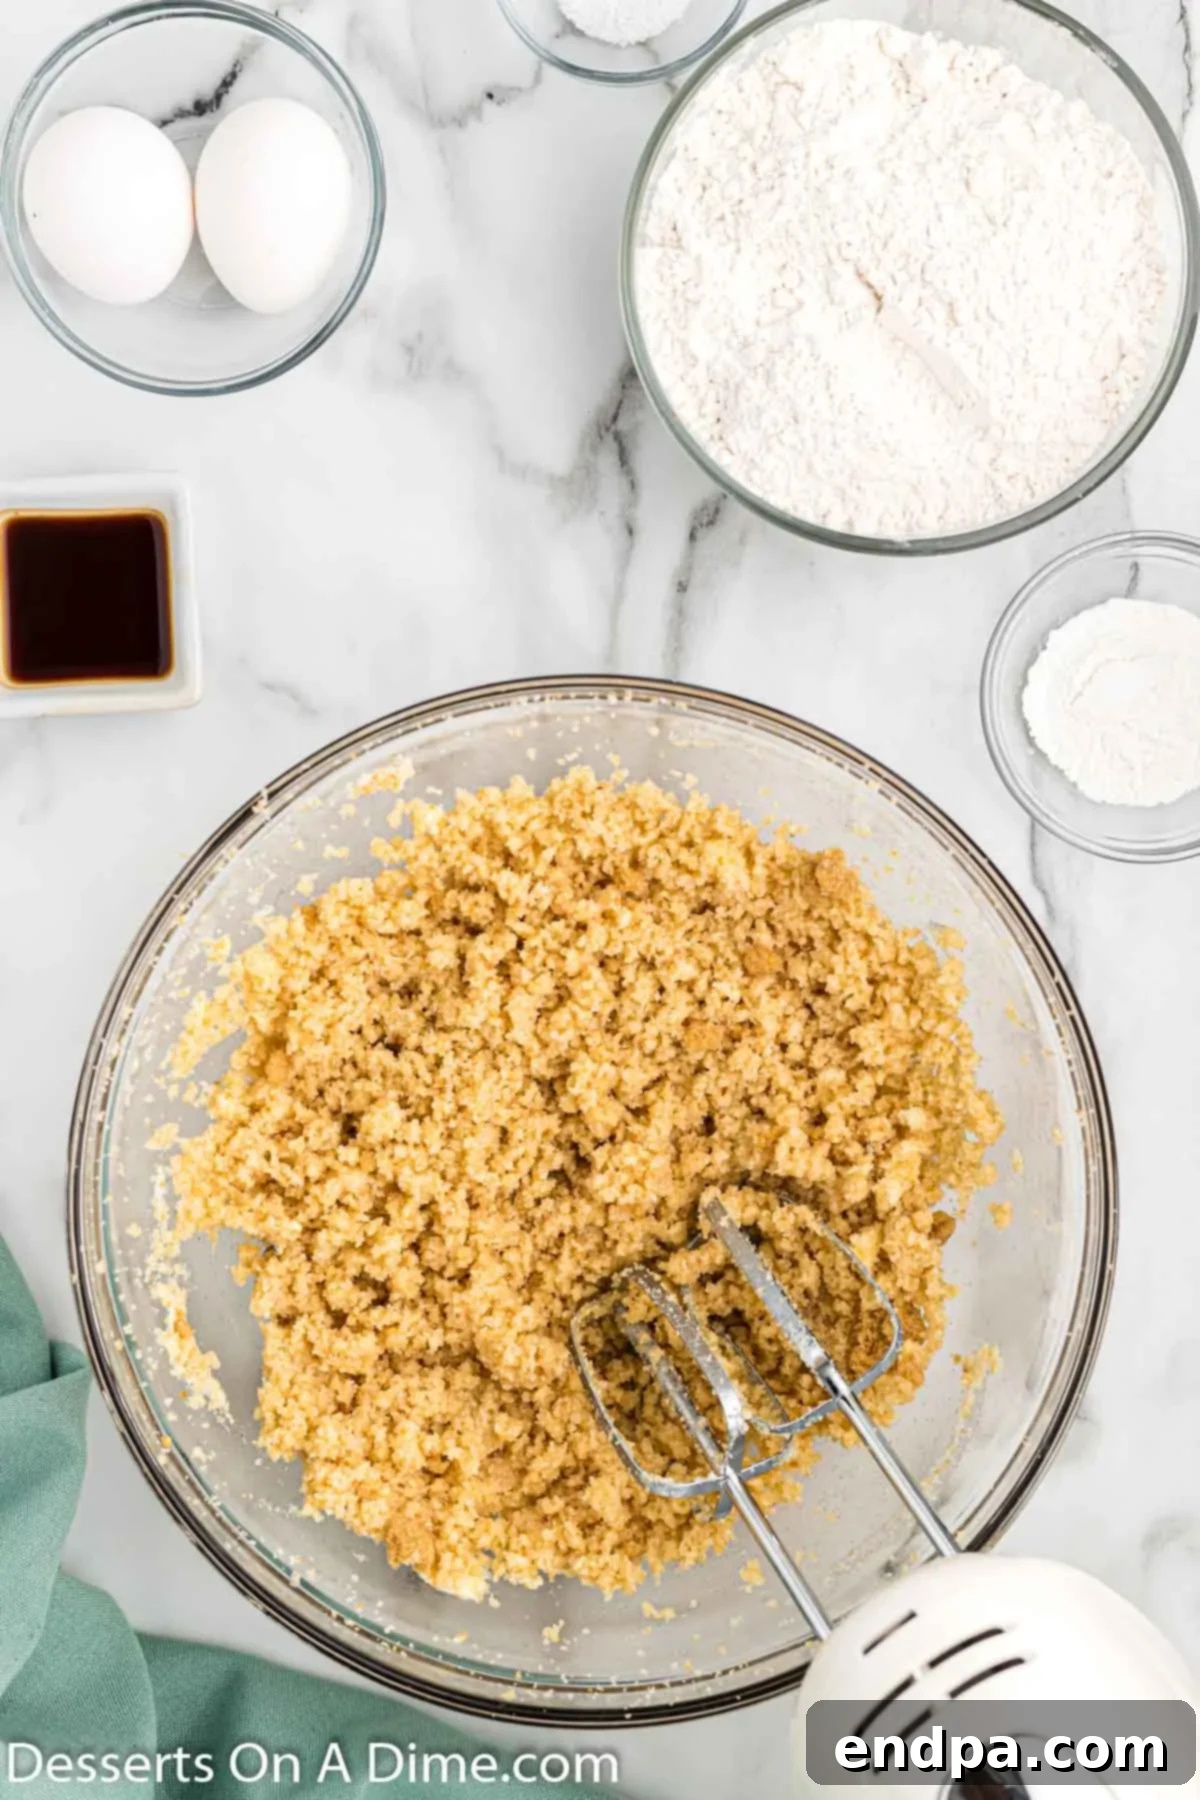
Step 2: Cream Butter and Sugars. In a large mixing bowl, combine the softened butter with both the granulated sugar and brown sugar. Using either a hand mixer or a stand mixer fitted with the paddle attachment, beat them together on medium speed until the mixture is light, fluffy, and well-combined, usually for 2-3 minutes. This step incorporates air, contributing to the bars’ tender texture.
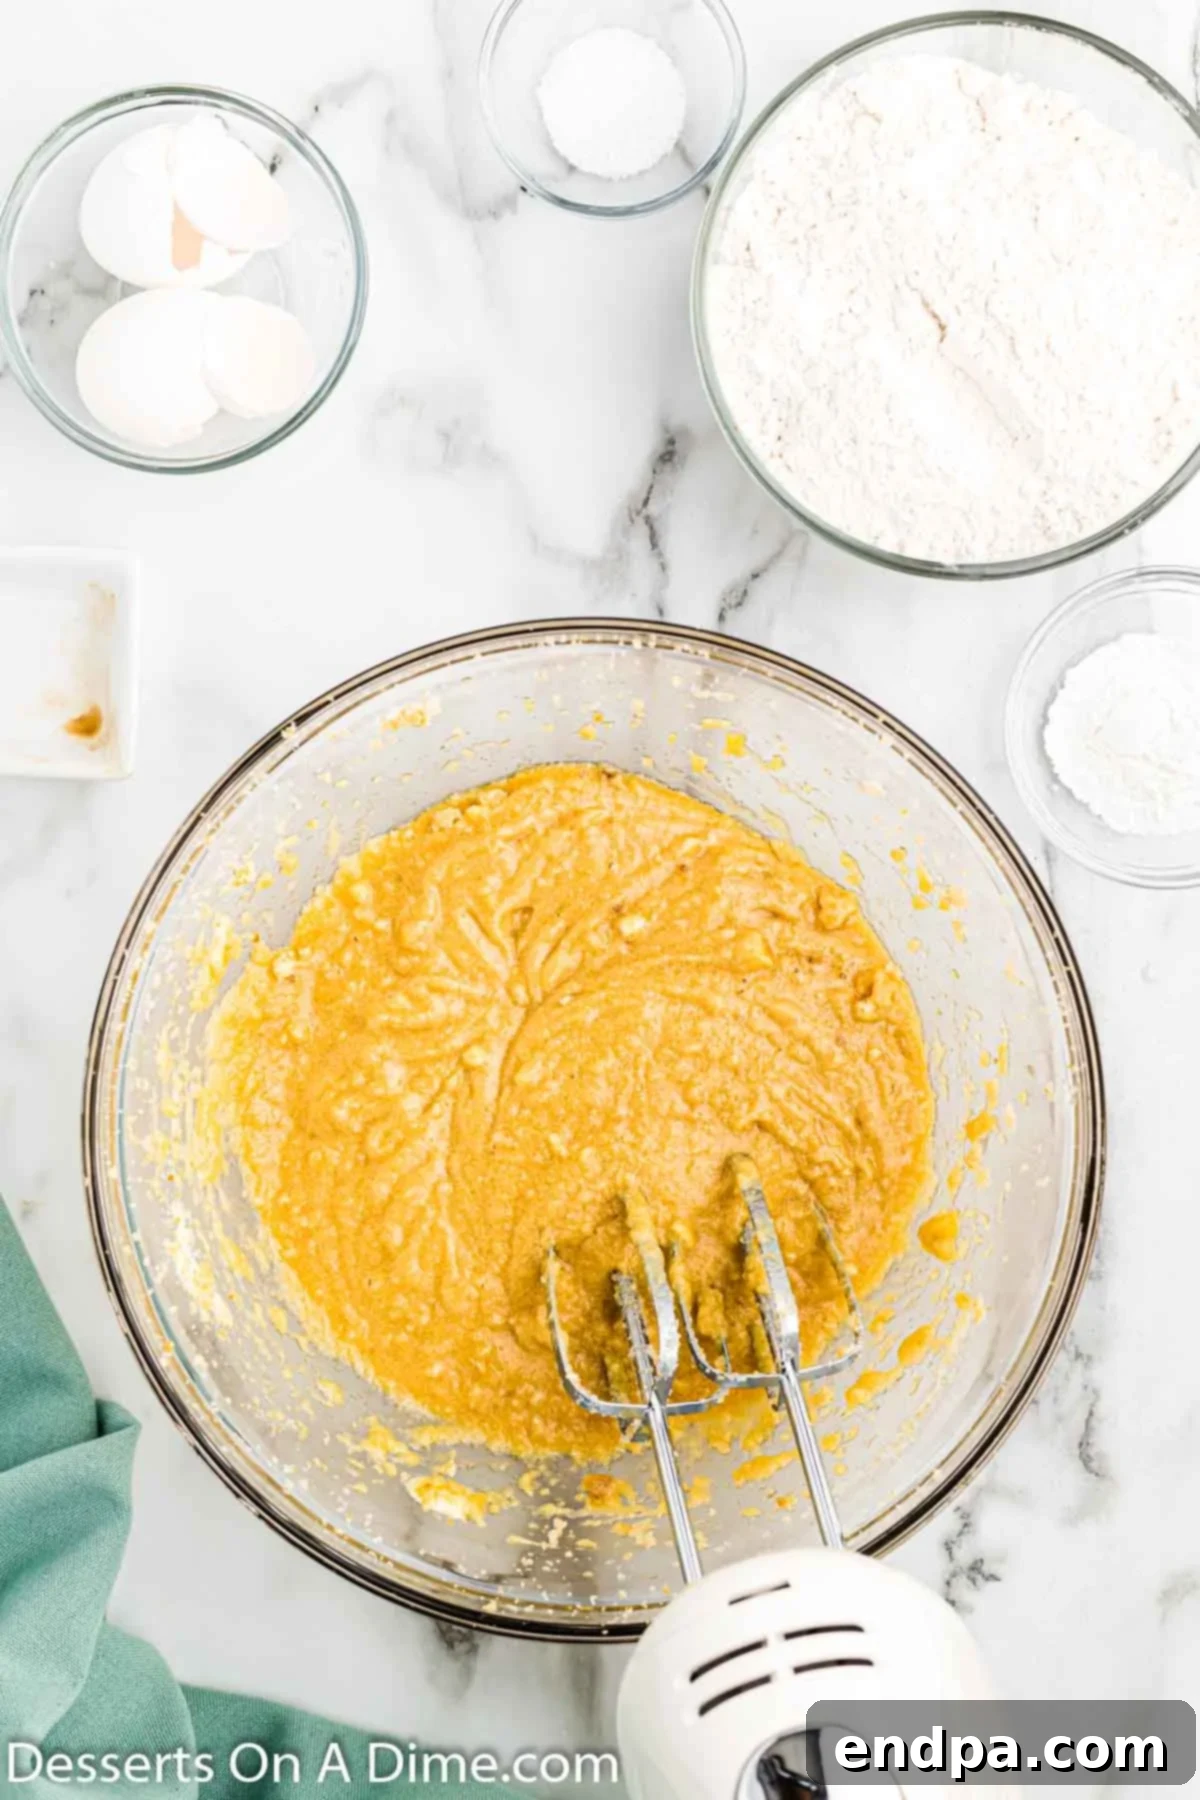
Step 3: Add Vanilla and Eggs. Next, add the vanilla extract and the two room-temperature large eggs to the butter and sugar mixture. Continue mixing on medium-low speed until all ingredients are just combined and fully incorporated. Be careful not to overmix at this stage.
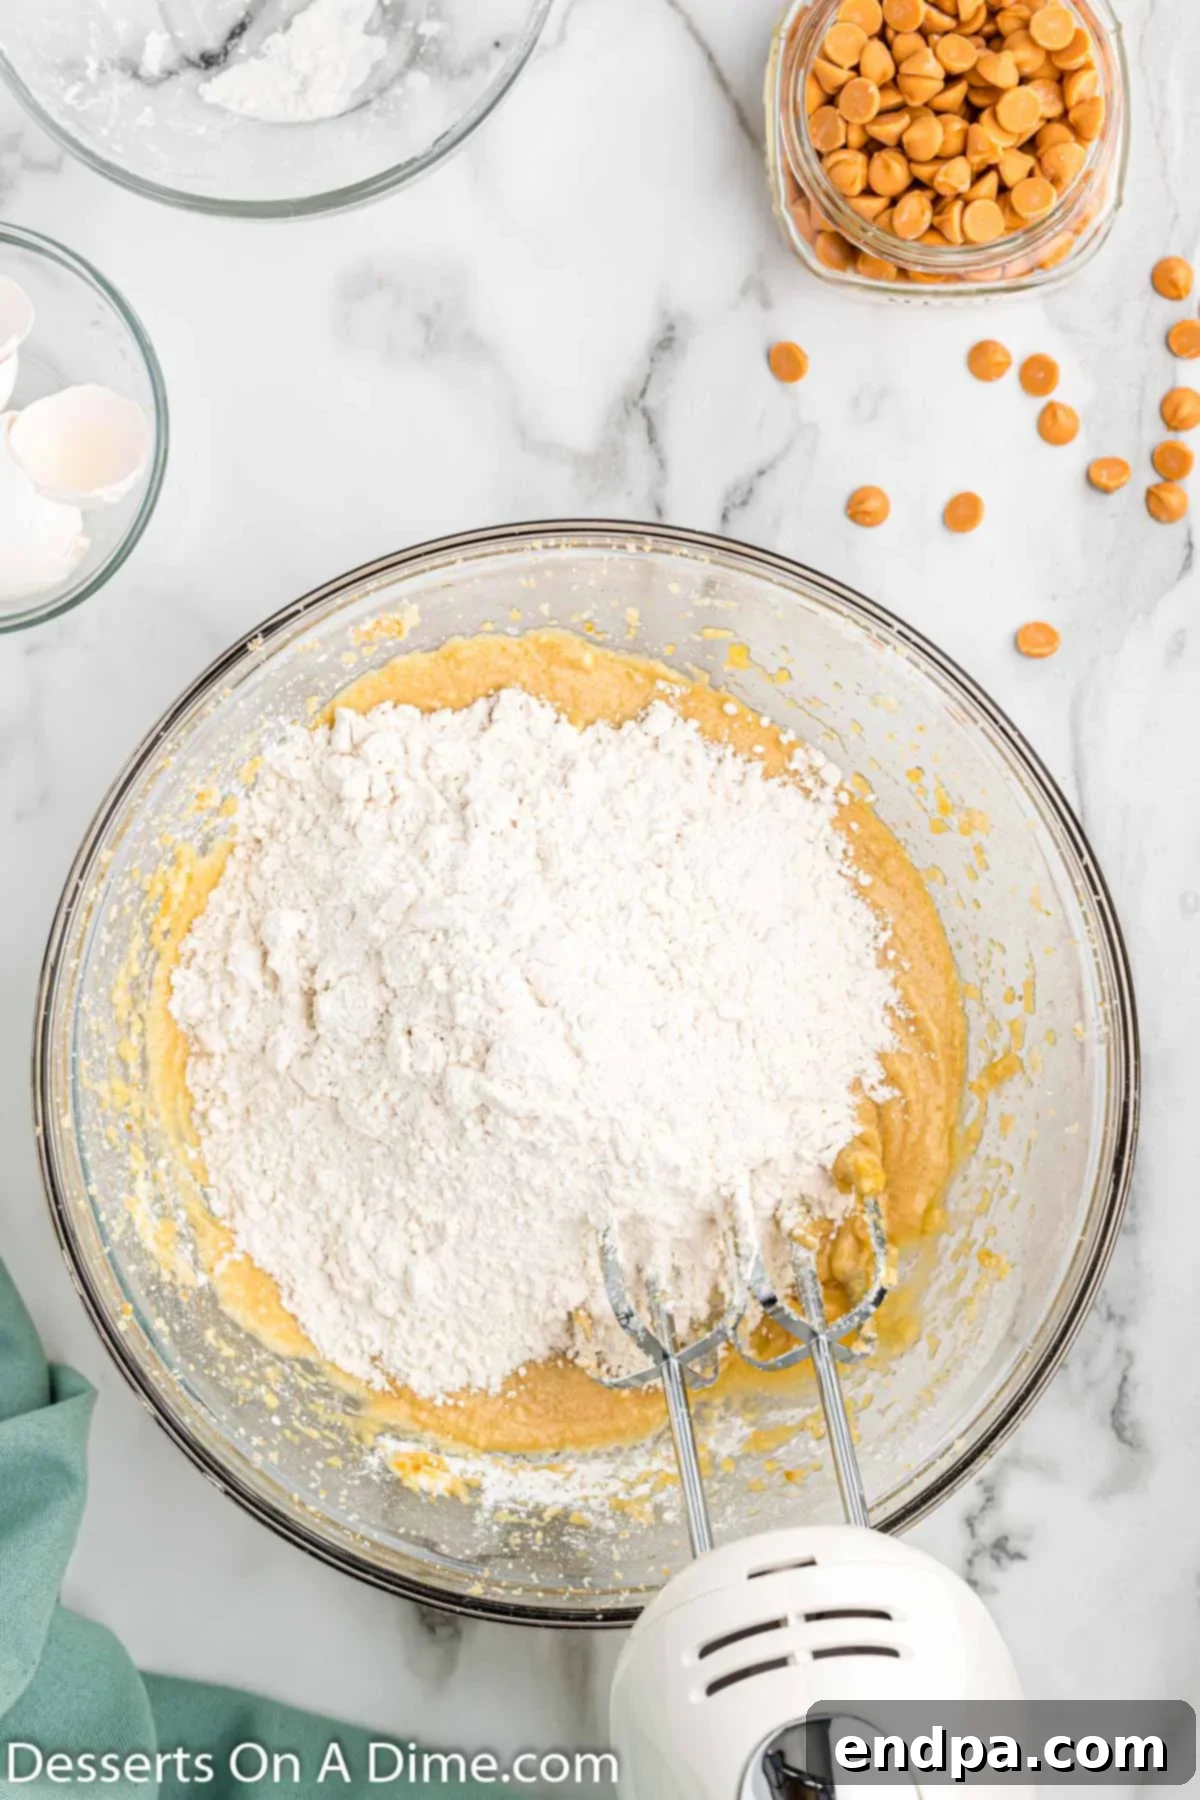
Step 4: Incorporate Dry Ingredients. Reduce the mixer speed to low. Gradually add the all-purpose flour, salt, and baking powder to the wet ingredients. Mix until the dry ingredients are just incorporated into the batter, taking care not to overmix. Overmixing can develop the gluten in the flour, resulting in tough bars. Stop as soon as no streaks of flour remain.
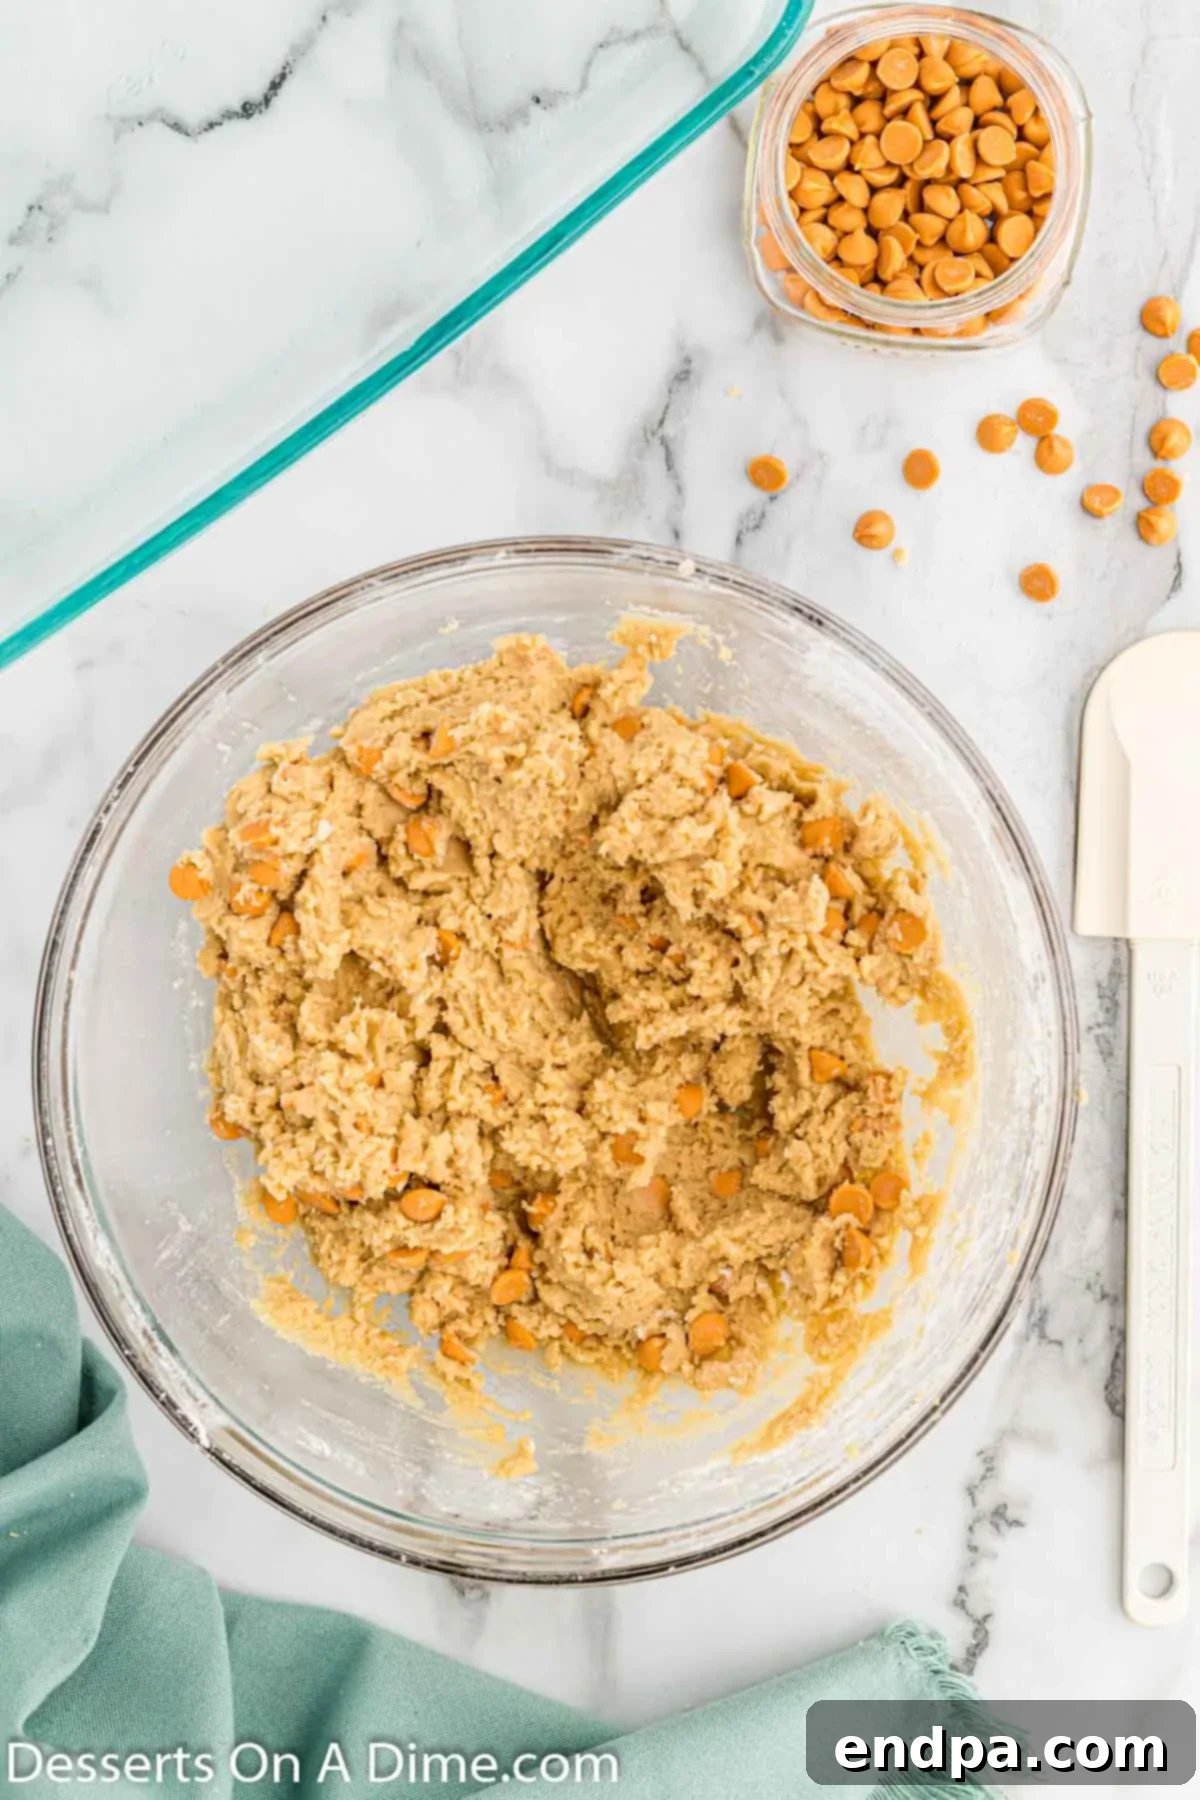
Step 5: Fold in Butterscotch Chips. With a rubber spatula, gently fold in about ¾ cup of the butterscotch baking chips until they are evenly distributed throughout the batter. Reserve the remaining ¼ cup for sprinkling on top.
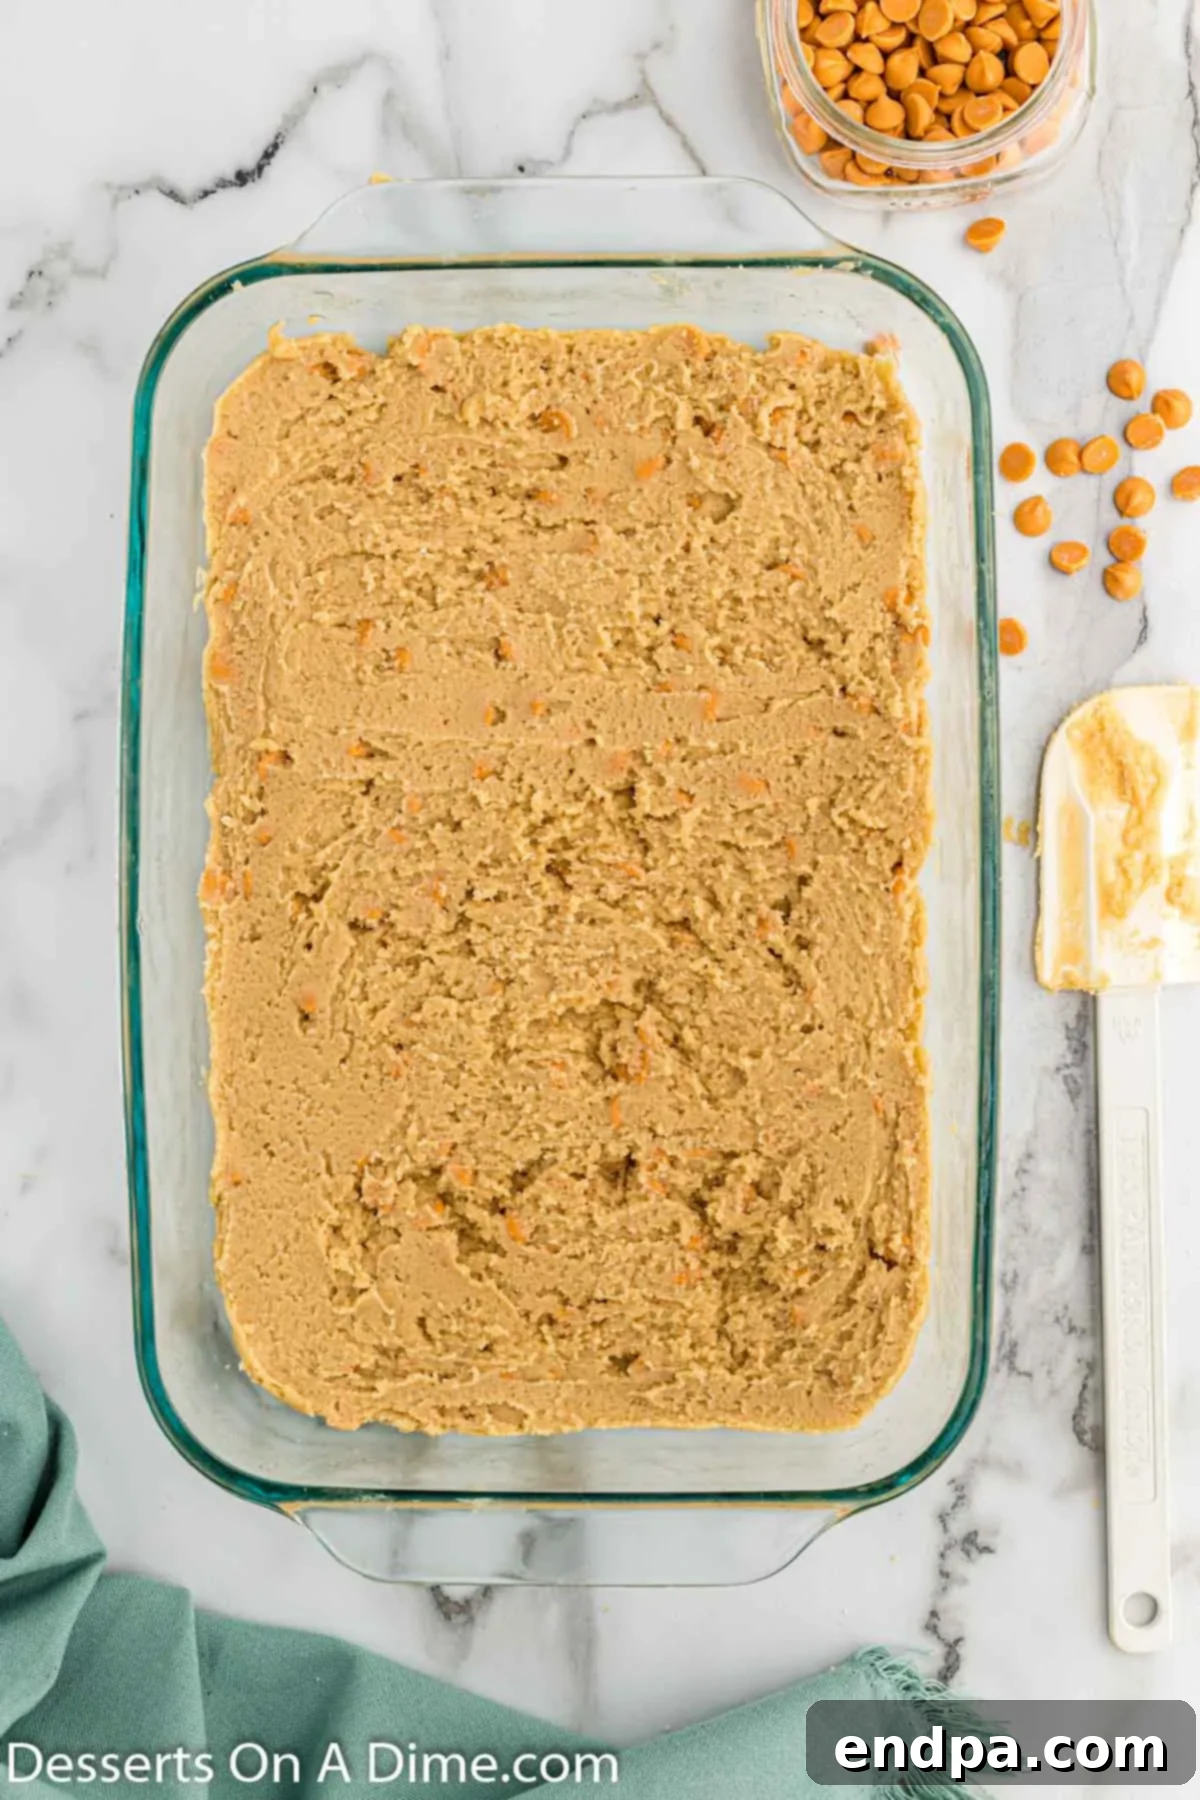
Step 6: Spread Batter into Pan. Carefully spoon the thick batter into the prepared 9×13 inch baking pan. Use your spatula to gently spread the batter evenly across the bottom of the pan, ensuring it reaches all corners.
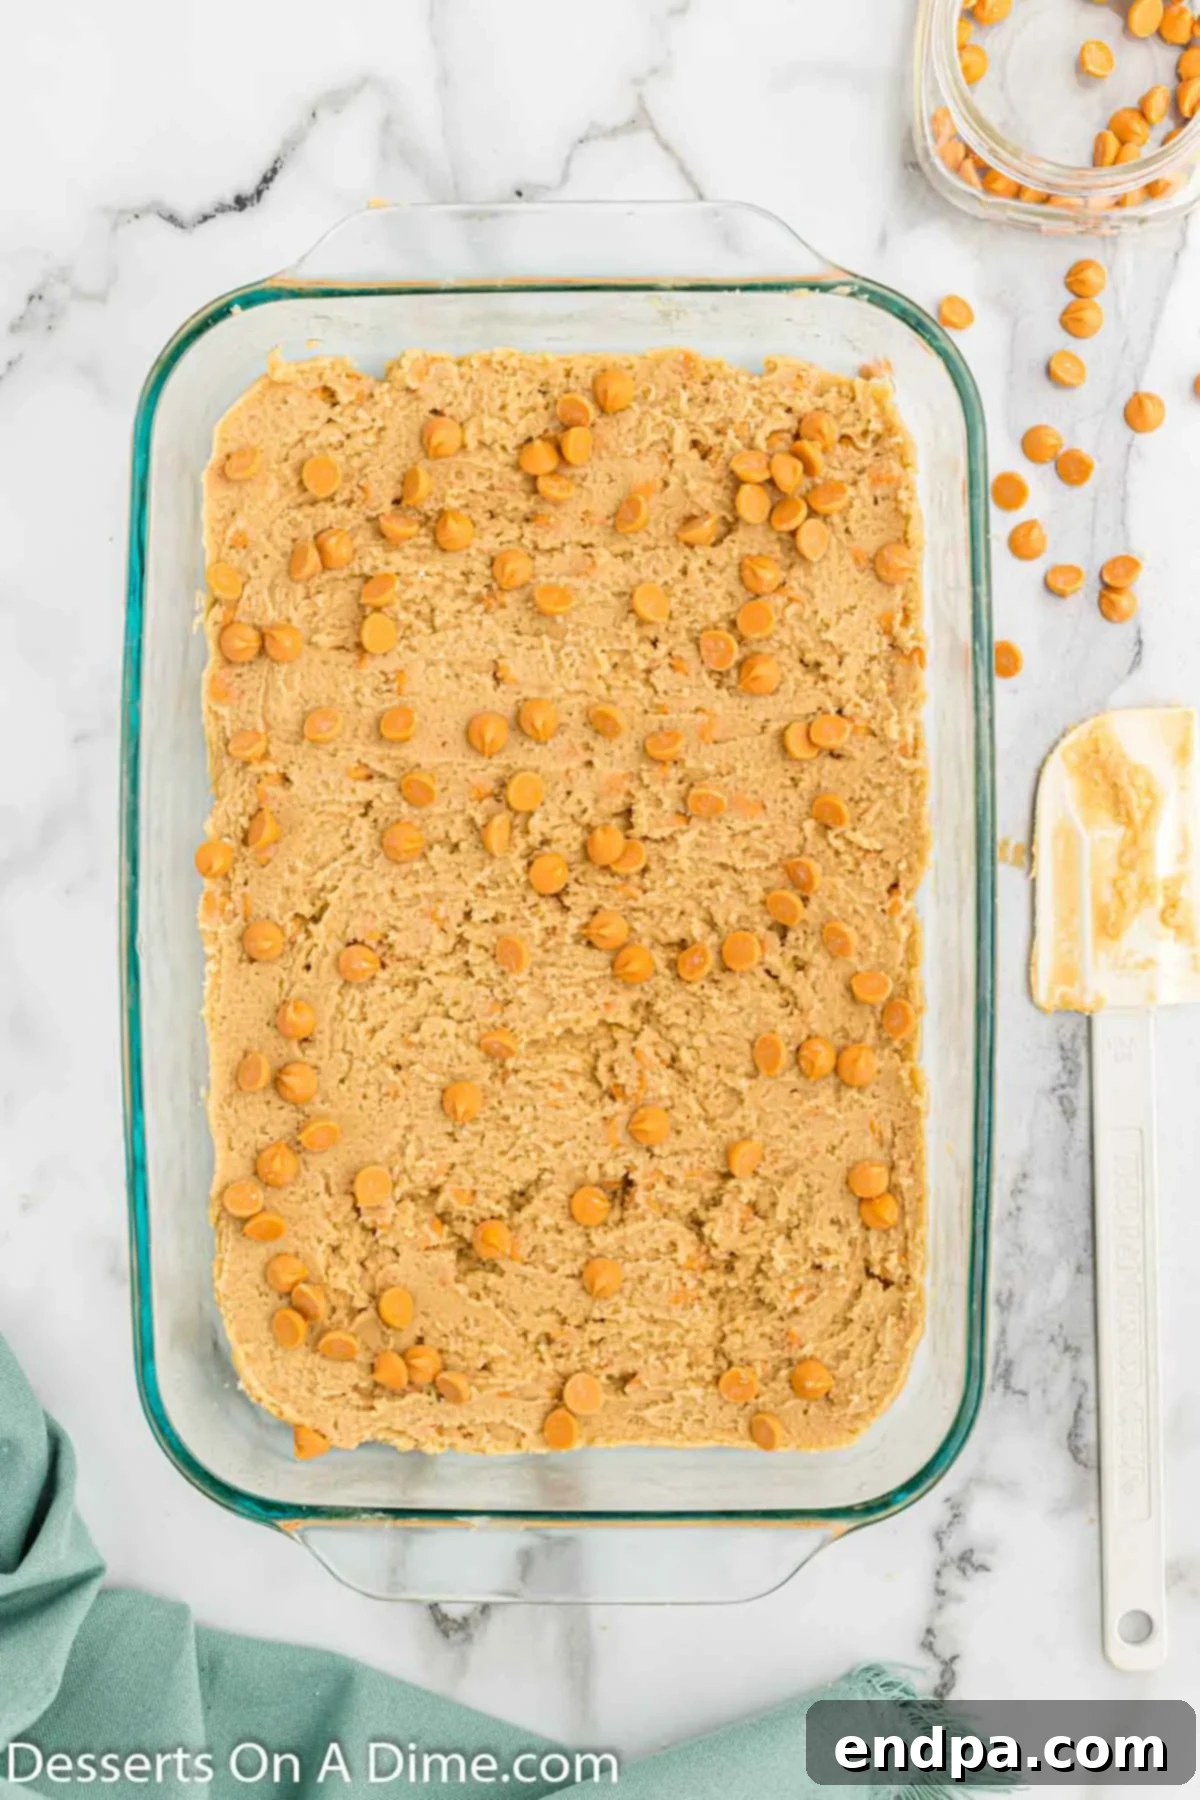
Step 7: Sprinkle Remaining Chips. Take the remaining ¼ cup of butterscotch chips and sprinkle them generously over the top of the batter in the pan. This not only adds more flavor but also creates an attractive, golden top layer.
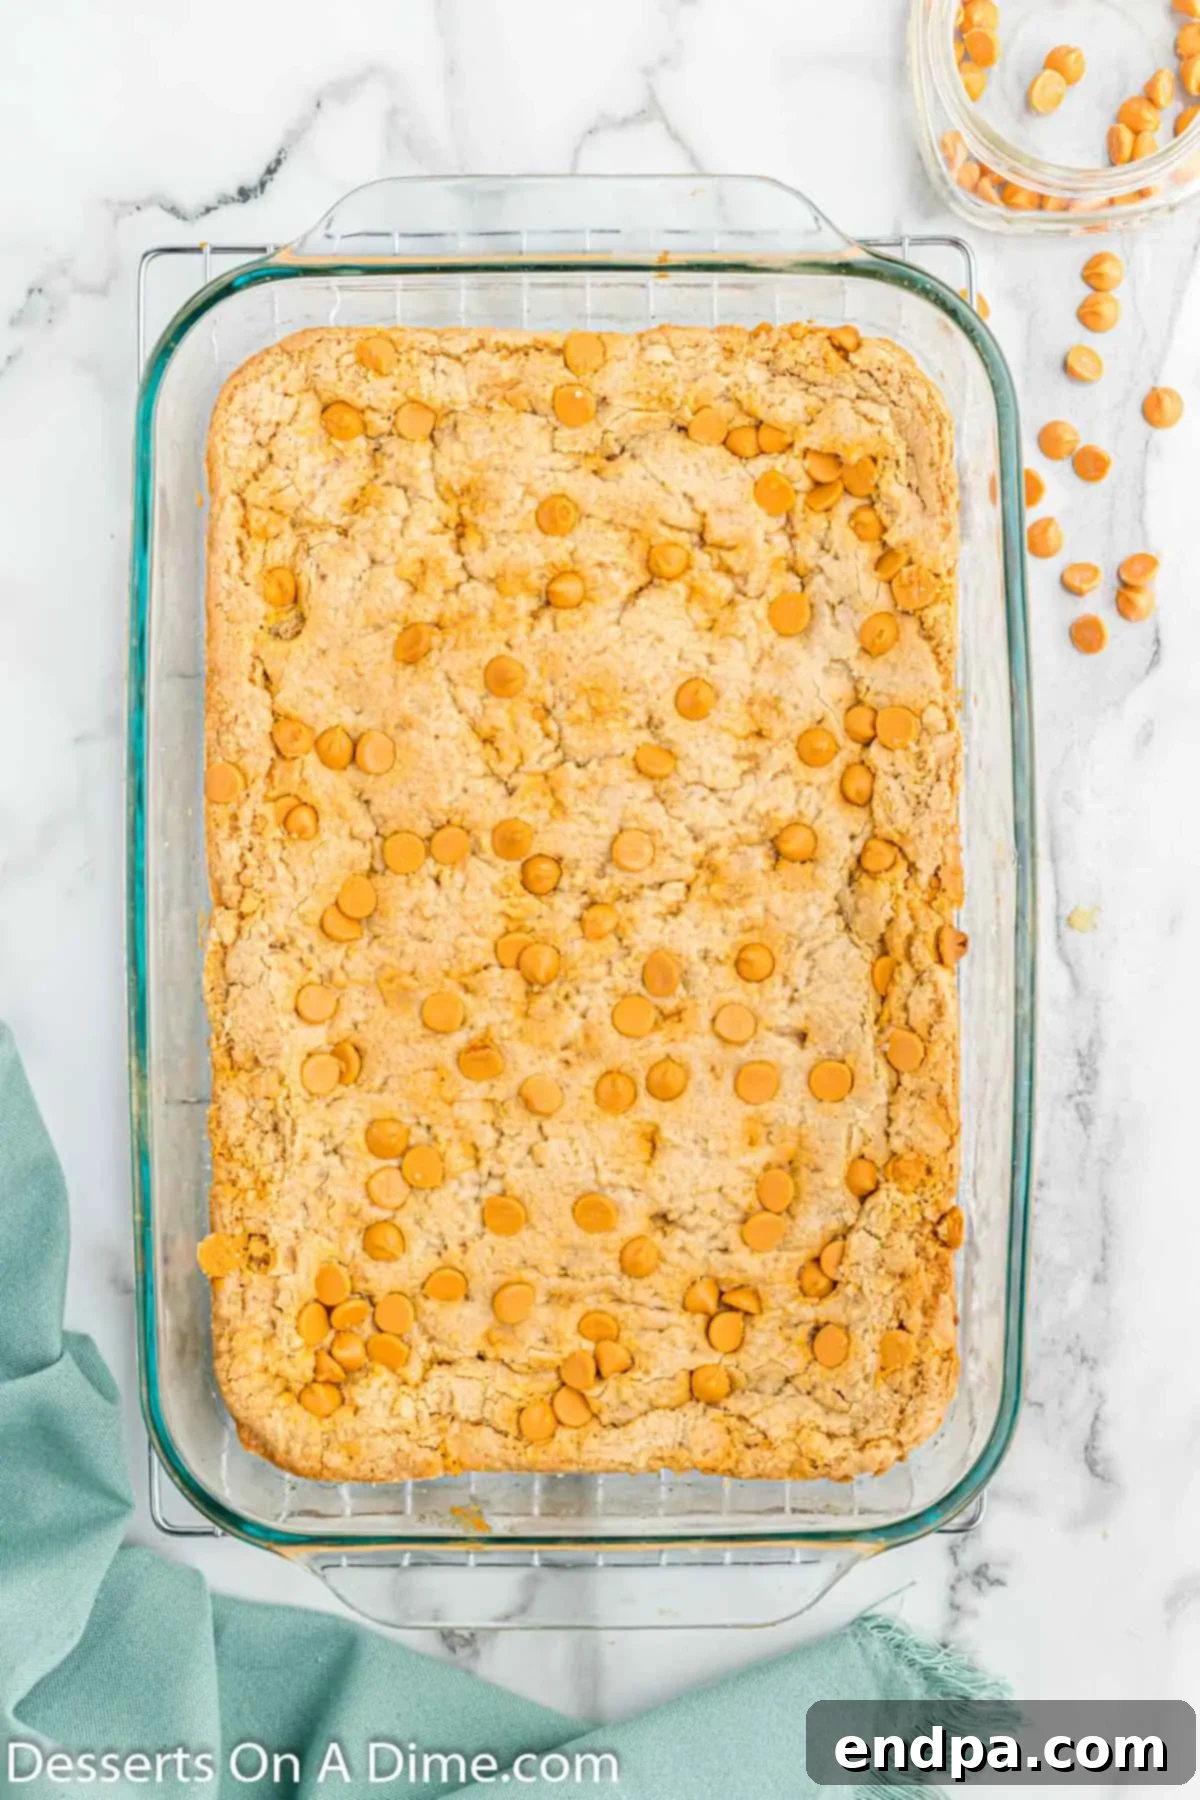
Step 8: Bake to Golden Perfection. Place the baking pan in the preheated oven and bake for 25-30 minutes. The bars are ready when the edges are lightly golden brown and the center appears set. They might still seem slightly soft in the middle when you first pull them out, but they will continue to set and firm up as they cool to room temperature. Avoid overbaking, as this can lead to dry bars.
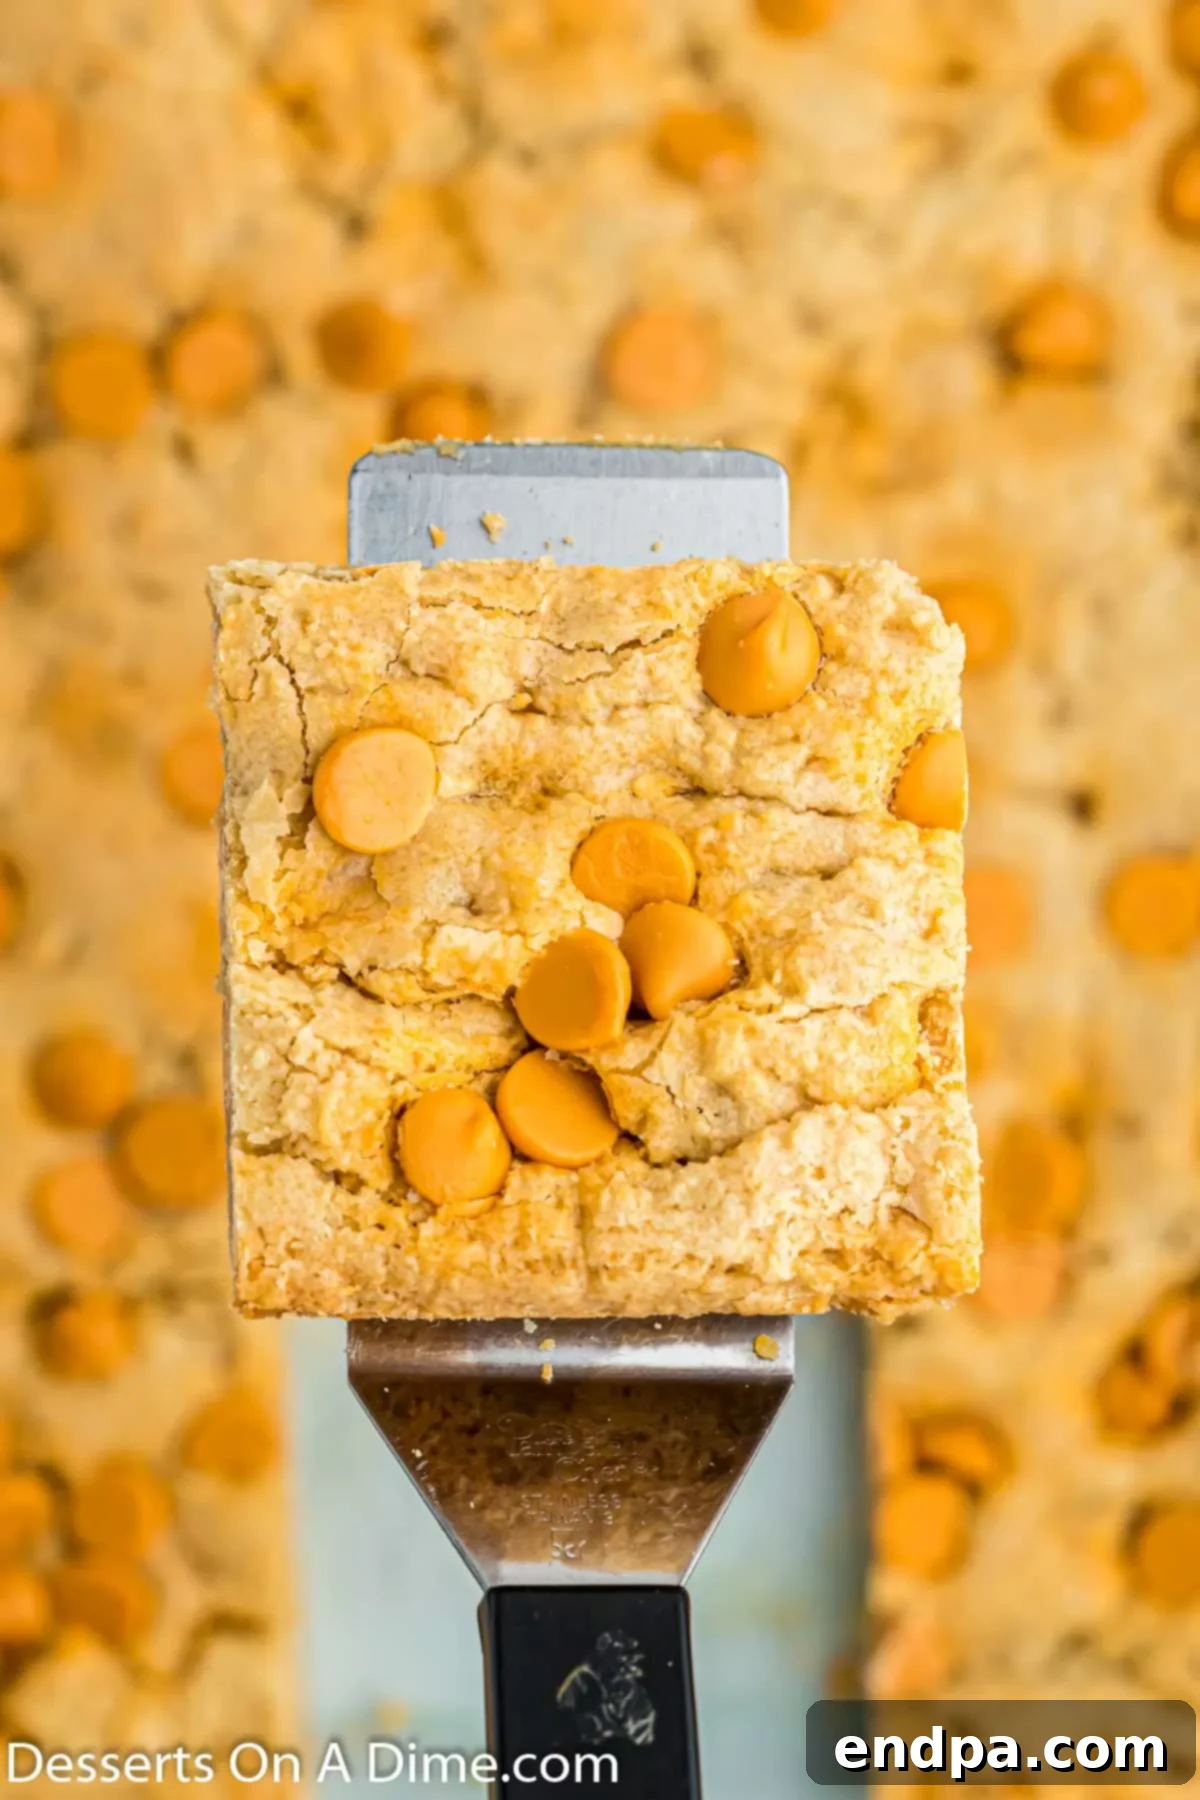
Step 9: Cool, Slice, and Enjoy! Once baked, remove the pan from the oven and place it on a wire cooling rack. Allow the bars to cool completely in the pan before attempting to slice them. Cooling ensures they set properly and makes for clean, neat cuts. Once cooled, slice into squares, serve, and savor every chewy, butterscotchy bite!
Expert Baking Tips for Success
Achieving perfectly chewy and flavorful butterscotch bars is simple with a few insider tips. Keep these in mind to ensure your homemade treats turn out spectacular every time:
- Choose High-Quality Butterscotch Morsels: The quality of your butterscotch chips significantly impacts the flavor. Invest in a good brand of butterscotch morsels, such as Nestle Toll House, for the best results. They melt smoothly and offer a rich, authentic butterscotch taste that elevates the entire bar.
- Do Not Overbake the Bars: This is arguably the most crucial tip for achieving that desirable chewy texture. When you take the bars out of the oven, they may appear soft and even slightly undercooked in the very center. Resist the urge to bake them longer! They will continue to “set” and firm up considerably as they cool down to room temperature. Overbaking leads to dry, crumbly, and hard bars rather than the soft, chewy texture we’re aiming for. Look for lightly golden edges as your cue.
- Ensure Room Temperature Ingredients: For optimal mixing and a smooth batter, make sure your butter and eggs are at room temperature. Softened butter creams easily with sugar, incorporating air for a lighter texture. Room temperature eggs emulsify better, creating a cohesive batter without curdling.
- Measure Flour Accurately: Baking is a science, and precise measurements matter. Always spoon your flour into the measuring cup and level it off with a straight edge (like the back of a knife) rather than scooping directly from the flour bag. Scooping packs the flour, resulting in too much flour and a dry, dense finished product.
- Prepare the Pan Properly: Don’t skip spraying your baking pan with non-stick cooking spray, or better yet, line it with parchment paper for effortless removal. This prevents the sticky, chewy bars from adhering to the pan, ensuring you can lift them out cleanly and slice them without hassle.
- Avoid Overmixing the Batter: Once you add the flour, mix only until the ingredients are just combined. Overmixing develops the gluten in the flour, which can lead to tough, dense bars instead of light and chewy ones.
- Cool Completely Before Slicing: Patience is a virtue, especially with bar desserts. Allowing the butterscotch bars to cool completely on a wire rack ensures they firm up and set properly. This makes them much easier to slice into neat, even squares without crumbling.
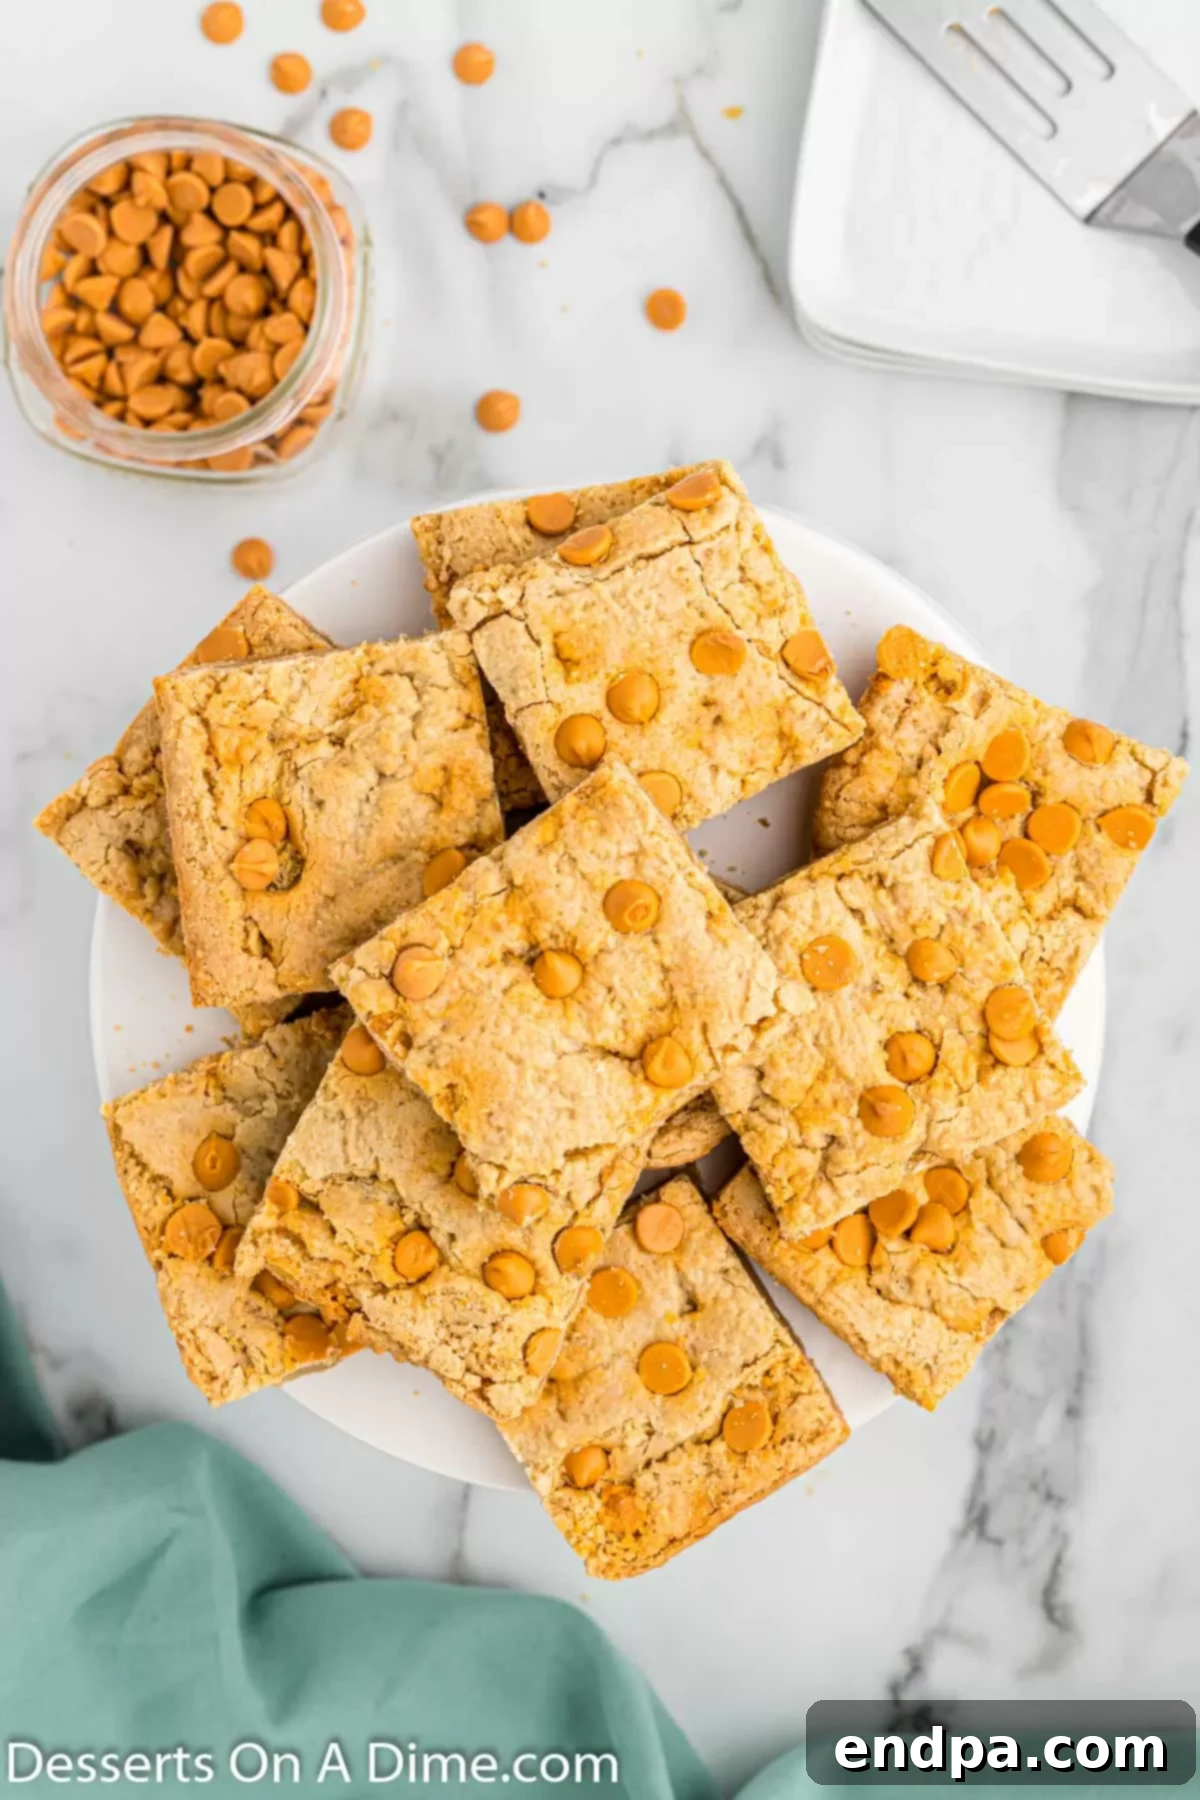
Serving Suggestions
These butterscotch bars are incredibly versatile and can be enjoyed in many ways. Here are a few ideas to elevate your dessert experience:
- Warm with Ice Cream: Serve a slightly warmed bar with a scoop of vanilla bean ice cream. The contrast of warm bar and cold, creamy ice cream is simply heavenly.
- With a Drizzle: Enhance the flavor with a drizzle of caramel sauce, chocolate syrup, or even a sprinkle of sea salt flakes for a sophisticated touch.
- Coffee or Tea Companion: These bars pair wonderfully with a cup of coffee, tea, or a glass of milk, making them a perfect afternoon snack or after-dinner treat.
- Dessert Platter: Cut into smaller squares and arrange them on a dessert platter alongside other treats for parties and gatherings.
- Packed for Lunch: They make an excellent addition to lunchboxes for a sweet surprise.
Proper Storage for Freshness
To keep your delicious butterscotch bars tasting fresh and chewy for as long as possible, proper storage is key. Store any leftover bars in an airtight container at room temperature. They will maintain their quality and flavor for up to 1 week.
For best results and to prevent them from sticking together, I recommend placing a piece of parchment paper or wax paper in between layers of bars if you’re stacking them. An old baker’s trick for keeping bar cookies exceptionally soft and moist during storage is to tuck a slice of fresh bread into the airtight container with the bars. The bread will absorb moisture and help maintain the bars’ desired texture. Just be sure to replace the bread every couple of days to keep it fresh.
How to Freeze Butterscotch Bars
Yes, these butterscotch bars are incredibly freezer-friendly, making them perfect for meal prep or for stashing away a sweet treat for a rainy day! You can freeze these bars for up to 1 month without compromising their delicious taste or texture.
Here’s how to freeze them effectively: Once the bars have cooled completely and been sliced, wrap individual bars or small stacks tightly in plastic wrap. Then, place the wrapped bars inside an airtight freezer-safe container or a heavy-duty freezer bag. This double layer of protection helps prevent freezer burn and keeps them fresh.
When you’re ready to enjoy them, simply remove the desired number of bars from the freezer and allow them to thaw overnight in the refrigerator. Alternatively, you can let them come to room temperature on the counter for a quicker thaw. They will still taste absolutely amazing, just as if they were freshly baked, making this a truly convenient and freezer-friendly recipe!
Frequently Asked Questions
Here are some common questions you might have about making and enjoying these butterscotch bars:
Can I use salted butter instead of unsalted?
While unsalted butter is generally preferred in baking to control the salt content, you can use salted butter. If you do, omit the ½ teaspoon of added salt from the recipe. Taste the batter (before adding eggs for safety) to ensure it’s not overly salty.
Why are my butterscotch bars dry?
The most common reason for dry bars is overbaking. Butterscotch bars should look slightly underdone in the center when removed from the oven, as they continue to cook and set as they cool. Over-measuring flour (by scooping directly from the bag) can also lead to dry bars. Ensure you’re spooning and leveling your flour.
Can I substitute butterscotch chips with other chips?
Absolutely! As mentioned in the variations section, these bars are very versatile. You can swap butterscotch chips for chocolate chips (milk, dark, semi-sweet), white chocolate chips, peanut butter chips, or a combination of your favorites.
How do I know when the bars are done baking?
Look for lightly golden brown edges. The center should appear mostly set but might still have a slight jiggly quality. A toothpick inserted into the center may come out with moist crumbs, but not wet batter. Remember, they will firm up as they cool.
Can I make these bars in a different size pan?
You can, but you’ll need to adjust the baking time. For a smaller pan (e.g., 8×8 inch), the bars will be thicker, and you’ll need to increase the baking time. For a larger pan, they’ll be thinner, and baking time will decrease. Always monitor closely for doneness.
Is there a way to make these bars gluten-free?
You can try using a 1:1 gluten-free all-purpose flour blend. Ensure the blend contains xanthan gum, or add ½ teaspoon per cup of flour if it doesn’t. Results may vary slightly in texture.
More Irresistible Cookie Bar Recipes
If you’re a fan of the ease and deliciousness of bar desserts, you’re in for a treat! We have a wide selection of cookie bar recipes that are perfect for any occasion, from simple weeknight desserts to impressive party treats. Each recipe offers unique flavors and textures that are sure to please. Explore some of our other favorites:
- Sugar Cookie Bars: Soft, chewy, and topped with a creamy frosting, these are a delightful twist on classic sugar cookies.
- Magic Cookie Bars Recipe: A truly magical dessert with layers of graham cracker crust, chocolate chips, coconut, nuts, and sweetened condensed milk.
- Cookie Dough Bars: Indulge in safe-to-eat cookie dough in a convenient bar form, perfect for those who love to sneak a bite of dough.
- Pumpkin Dream Bars: A no-bake, creamy, and spiced pumpkin dessert that’s perfect for autumn gatherings.
More Scrumptious Butterscotch Dessert Recipes
Can’t get enough of that rich, buttery butterscotch flavor? You’re in luck! Butterscotch is a wonderfully versatile ingredient that shines in a variety of desserts. If you’ve loved these butterscotch bars, you’ll definitely want to explore these other fantastic recipes that celebrate this iconic flavor. Prepare to satisfy your sweet tooth with more golden, caramel-like goodness:
- Butterscotch Pie: A creamy, dreamy pie with a luscious butterscotch filling that’s smooth and utterly irresistible.
- Butterscotch Pecan Pie: A delightful fusion of classic pecan pie with the added depth and sweetness of butterscotch, creating a truly rich dessert.
- Butterscotch Cornflake Cookies: A simple, no-bake cookie that combines crunchy cornflakes with melted butterscotch chips for a quick and satisfying treat.
Give this incredibly easy and delicious butterscotch bars recipe a try today for the perfect after-school treat, a delightful dessert for gatherings, or just a comforting indulgence for yourself. You won’t regret it! Once you’ve baked a batch, we’d love to hear from you. Please leave a comment below and a star rating to share your experience!
Pin
Butterscotch Bars
15 minutes
30 minutes
45 minutes
12
American
Dessert
377
Carrie Barnard
Ingredients
-
1/2
cup
Butter
softened at room temperature -
1
cup
Granulated Sugar -
1
cup
Brown Sugar -
2
Large Eggs
at room temperature -
2
tsp
Vanilla Extract -
2
cups
All Purpose Flour -
1/2
tsp
Salt -
2
tsp
Baking Powder -
1
cup
Butterscotch Baking Chips
Instructions
- Preheat the oven to 350 degrees F (175°C) and spray a 9×13 baking pan with a non-stick cooking spray (or line with parchment paper).
- Beat together the softened butter, granulated sugar, and brown sugar in a medium mixing bowl with either a hand mixer or a stand mixer until light and fluffy.
- Add in the vanilla extract and both room-temperature eggs. Mix until they are just incorporated.
- On a low speed, mix in the all-purpose flour, salt, and baking powder until just combined. Be careful not to overmix. Then gently fold in ¾ cup of the butterscotch baking chips.
- Spread the batter evenly into the prepared 9×13 baking pan.
- Sprinkle the remaining ¼ cup of butterscotch chips on top of the batter in the pan.
- Bake for 26-30 minutes, or until the edges of the bars are lightly golden brown and the center is set (they may appear slightly undercooked but will continue to set as they cool to room temperature).
- Remove from the oven and cool the bars completely on a wire rack before slicing.
- Once cooled, slice into squares, serve, and enjoy your delicious homemade butterscotch bars!
Recipe Notes
You can keep a piece of bread in the container to help keep these bars soft while storing them.
Nutrition Facts
Calories
377
kcal
,
Carbohydrates
59
g
,
Protein
4
g
,
Fat
14
g
,
Saturated Fat
8
g
,
Polyunsaturated Fat
1
g
,
Monounsaturated Fat
4
g
,
Trans Fat
1
g
,
Cholesterol
49
mg
,
Sodium
246
mg
,
Potassium
146
mg
,
Fiber
2
g
,
Sugar
40
g
,
Vitamin A
283
IU
,
Calcium
73
mg
,
Iron
2
mg
Pin This Now to Remember It Later
Pin Recipe
