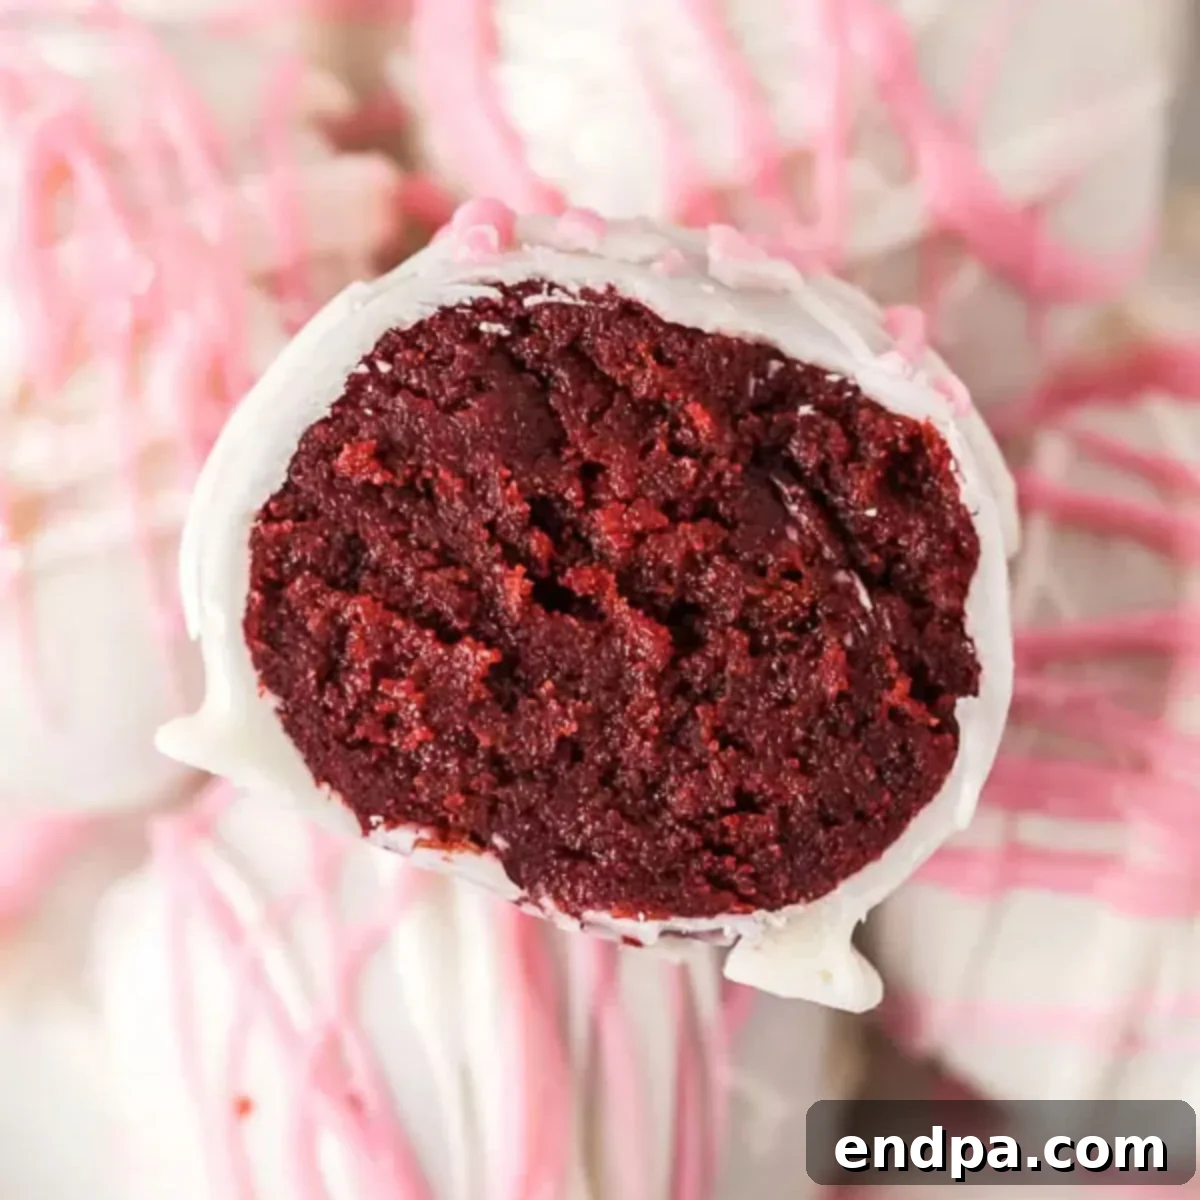
Red Velvet Cake Balls, featuring a rich red velvet cake base blended with luscious cream cheese frosting and dipped in a silky white chocolate coating, are an irresistible dessert that promises to delight with every bite. These charming, bite-sized treats are perfect for any gathering, holiday celebration, or simply as a special indulgence. Our easy-to-follow recipe ensures a flawless batch of red velvet cake balls that will undoubtedly become a new favorite.
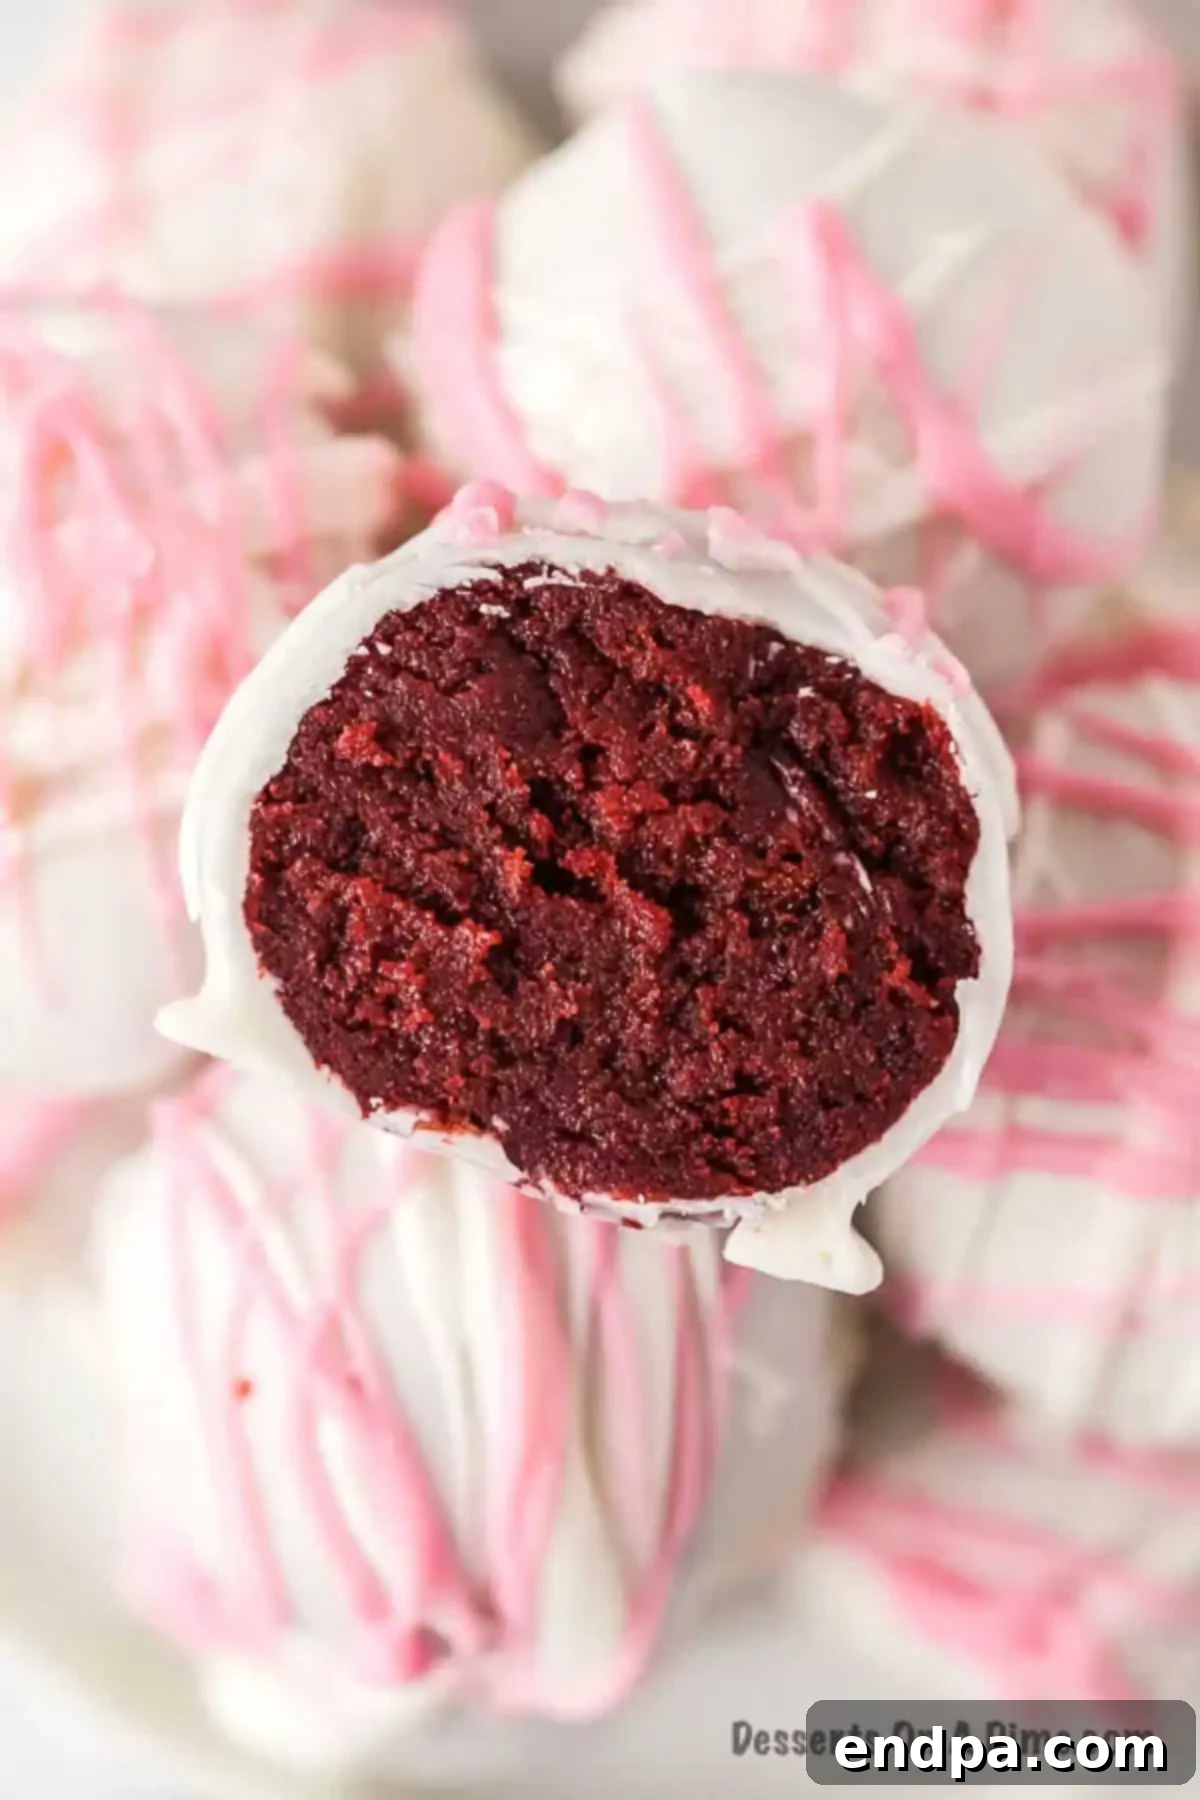
These delightful Red Velvet Cake Balls are not just incredibly flavorful but also beautifully versatile for decorating, making them suitable for any occasion. Much like our popular Red Velvet Brownies and Red Velvet Fudge, this incredible cake ball recipe begins with a simple cake mix, proving that gourmet taste doesn’t have to mean complicated steps. Prepare to impress your friends and family with these decadent, easy-to-make treats.
What’s in this post: Red Velvet Cake Balls Recipe
- What are Cake Balls?
- The Allure of Red Velvet Flavor
- Essential Ingredients for Red Velvet Cake Balls
- Creative Variations to Explore
- How to Make Red Velvet Cake Balls: A Detailed Guide
- Expert Tips for Perfect Cake Balls
- Serving and Storing Your Cake Balls
- Frequently Asked Questions
- More Red Velvet Recipes You’ll Love
- Delicious Cake Ball Recipes to Try
- Red Velvet Cake Balls Recipe Card
What are Cake Balls? The Ultimate Bite-Sized Delight
Cake balls are truly the perfect bite-sized treat, offering all the delightful flavors of a full cake in a compact, easy-to-eat form. Essentially, they are made from cake crumbs, typically from a baked cake (often starting with a convenient box cake mix), which are then mixed with a complementary frosting until a dense, moldable dough forms. This mixture is then rolled into small spheres, chilled, and finally coated in melted chocolate or candy melts.
The beauty of cake balls lies in their simplicity and versatility. They are incredibly fun to make, especially when involving children in the crumbling and mixing process. The combination of moist cake and creamy frosting creates a rich, concentrated flavor that surpasses a slice of cake for many. Their individual serving size makes them ideal for parties, potlucks, or as a charming gift. Plus, they eliminate the need for plates and forks, making them a mess-free dessert option for any occasion.
The Allure of Red Velvet Flavor
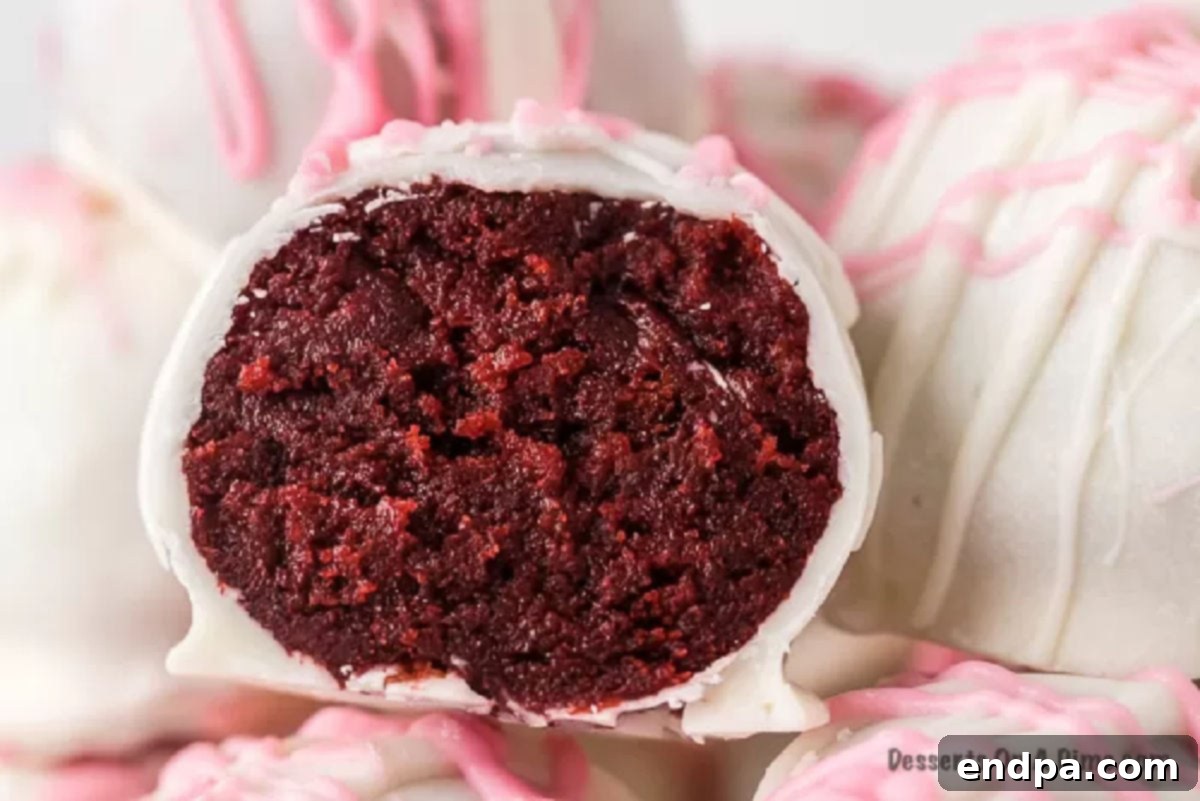
Red Velvet is more than just a color; it’s a distinct flavor profile that has captivated dessert lovers for generations. Characterized by its striking deep red hue, a subtle hint of cocoa, and a delicate tang, red velvet cake offers a unique sensory experience. The traditional pairing with cream cheese frosting is what truly defines its classic taste, providing a perfect balance of sweetness and a slightly tart finish.
The history of red velvet cake is as intriguing as its flavor, with origins debated between the Victorian era and the Great Depression. Regardless of its exact beginnings, it has evolved into a beloved classic, especially popular in the Southern United States. The unique combination of buttermilk, vinegar, and a touch of cocoa powder reacts to create the signature moist crumb and subtle tang that makes red velvet so distinctive. When transformed into cake balls, these delightful characteristics are concentrated into an explosion of flavor in every single bite, making them an unforgettable treat for holidays like Christmas and Valentine’s Day, or any moment you crave something truly special.
Essential Ingredients for Your Red Velvet Cake Balls
Crafting these delectable Red Velvet Cake Balls requires a few simple ingredients, many of which you likely already have on hand. The convenience of starting with a cake mix makes this recipe accessible to bakers of all skill levels, ensuring a delicious outcome every time. Here’s what you’ll need for this easy red velvet cake ball recipe:
- Red Velvet Cake Mix (and ingredients called for on the box): A standard box of red velvet cake mix will be your base. Remember to also gather the ingredients specified on the cake mix box, which typically include eggs, oil, and water. Using a mix ensures a consistent texture and flavor, saving you time without compromising on taste.
- Cream Cheese Frosting: This is the crucial binding agent and flavor enhancer. Store-bought cream cheese frosting offers a convenient solution, providing that essential tangy sweetness that pairs perfectly with red velvet cake. You’ll need enough to thoroughly moisten the crumbled cake.
- White Chocolate Chips: These will form the smooth, rich coating for your cake balls. Opt for good quality white chocolate chips or baking bars for the best melting consistency and flavor.
- Coconut Oil: A small amount of coconut oil helps to thin out the melted white chocolate, making it easier to dip the cake balls and achieve a perfectly smooth, glossy finish. It also helps the chocolate set quickly and crack-free.
- Pink and Red Candy Melts (Optional, for decoration): These are fantastic for adding festive drizzles and decorative touches. Candy melts are designed to melt smoothly and set quickly, making them ideal for adding splashes of color that complement the red velvet theme.
This simple list of ingredients is all you need to create a batch of stunning and delicious red velvet cake balls that are sure to impress.
Creative Variations to Explore with Your Cake Balls
While the classic Red Velvet Cake Ball is a masterpiece on its own, this recipe is incredibly adaptable, inviting you to experiment with various flavors and decorations. Here are some exciting variations to make your cake balls truly unique:
- Homemade Red Velvet Cake: For those who prefer a completely from-scratch approach, you can certainly substitute the box cake mix with your favorite Homemade Red Velvet Cake Recipe. Ensure the cake is fully cooled before crumbling and mixing with frosting. This option allows for even greater control over flavor and texture.
- Different Icing and Cake Combinations: Don’t limit yourself to red velvet! The cake ball technique works wonderfully with countless combinations. Try a chocolate cake mix with chocolate frosting and a dark chocolate coating for a rich, triple chocolate treat. Or, consider a vanilla cake with lemon frosting and a white chocolate coating for a brighter, zesty flavor. Pumpkin spice cake with cream cheese frosting and a caramel drizzle would be perfect for fall.
- Explore Various Coatings: Beyond white chocolate, consider other dipping options. Milk chocolate, dark chocolate, or even flavored candy melts (like mint or strawberry) can completely change the profile of your cake balls. For a simpler approach, skip the chocolate coating and roll the cake balls in powdered sugar or cocoa powder for a truffle-like finish.
- Exciting Toppings and Garnishes: The possibilities for decoration are endless!
- Sprinkles: Use different colors and shapes of sprinkles to match any holiday or party theme. From festive Christmas sprinkles to romantic Valentine’s Day hearts, sprinkles add instant charm.
- Crushed Candies: Roll cake balls in crushed peppermint, M&M’s, Oreos, or Heath bars for added texture and flavor.
- Nuts: Chopped pecans, walnuts, or almonds provide a delightful crunch.
- Mini Chocolate Chips: A sprinkle of mini chocolate chips on top of the wet coating adds a classic touch.
- Coconut Flakes: Toasted or plain coconut flakes offer a tropical twist.
- Drizzles: Experiment with different colored candy melts (as in this recipe), caramel sauce, or fudge sauce for an artistic drizzle.
- Flavor Boosters: Add a drop or two of food-grade essential oils or extracts to your cake mix or frosting to introduce new flavors, such as peppermint, almond, or orange.
With these variations, you can customize your cake balls to perfectly suit your taste, occasion, or creative whim!
How to Make Red Velvet Cake Balls: A Detailed Guide
Making these delightful Red Velvet Cake Balls is a straightforward and rewarding process. Follow these detailed steps to create perfectly moist and beautifully coated treats:
- Prepare the Cake: Begin by making your red velvet cake according to the instructions on the box. Use a standard 9×13 inch baking pan for best results. Once baked, allow the cake to cool completely in the pan on a wire rack. This is crucial for achieving the right consistency when crumbling.
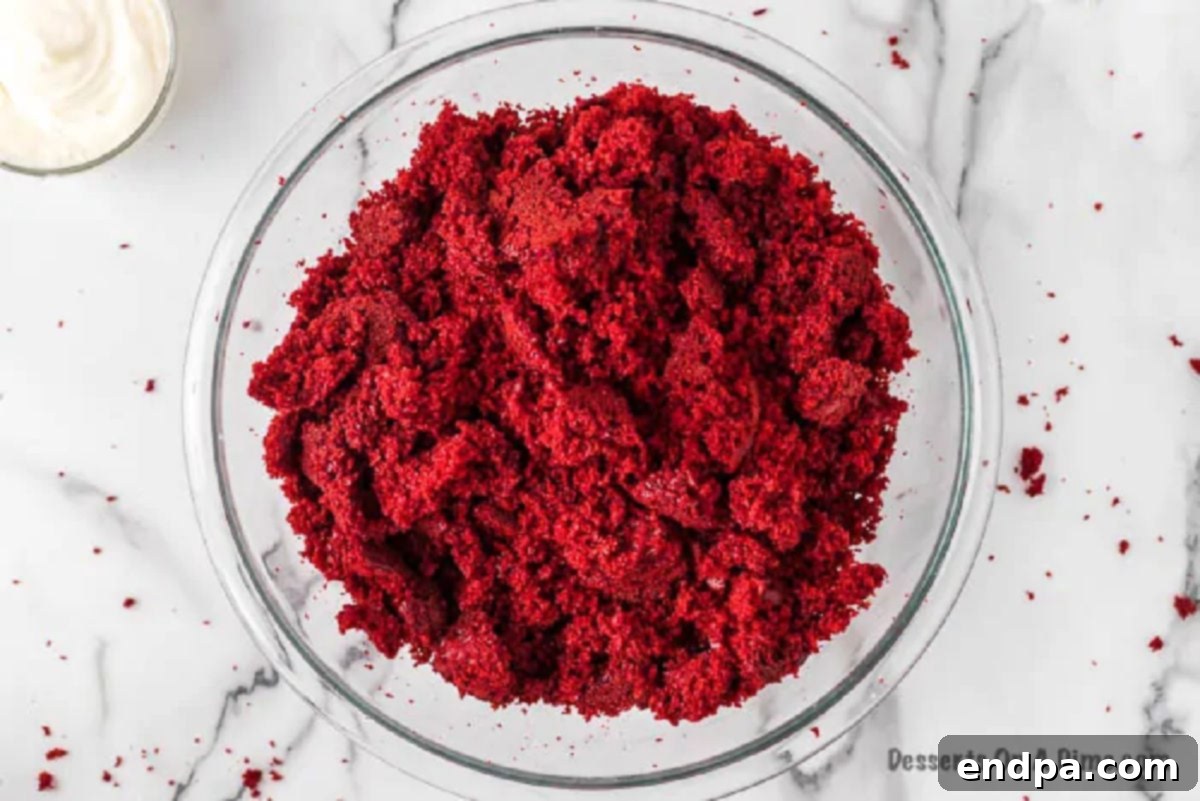
Step 2. Crumble the Cake: Once the cake has cooled completely, use your hands or a fork to crumble it into fine crumbs in a large mixing bowl. Ensure there are no large chunks left, as this will affect the texture of your cake balls. This step is often a favorite for younger helpers!
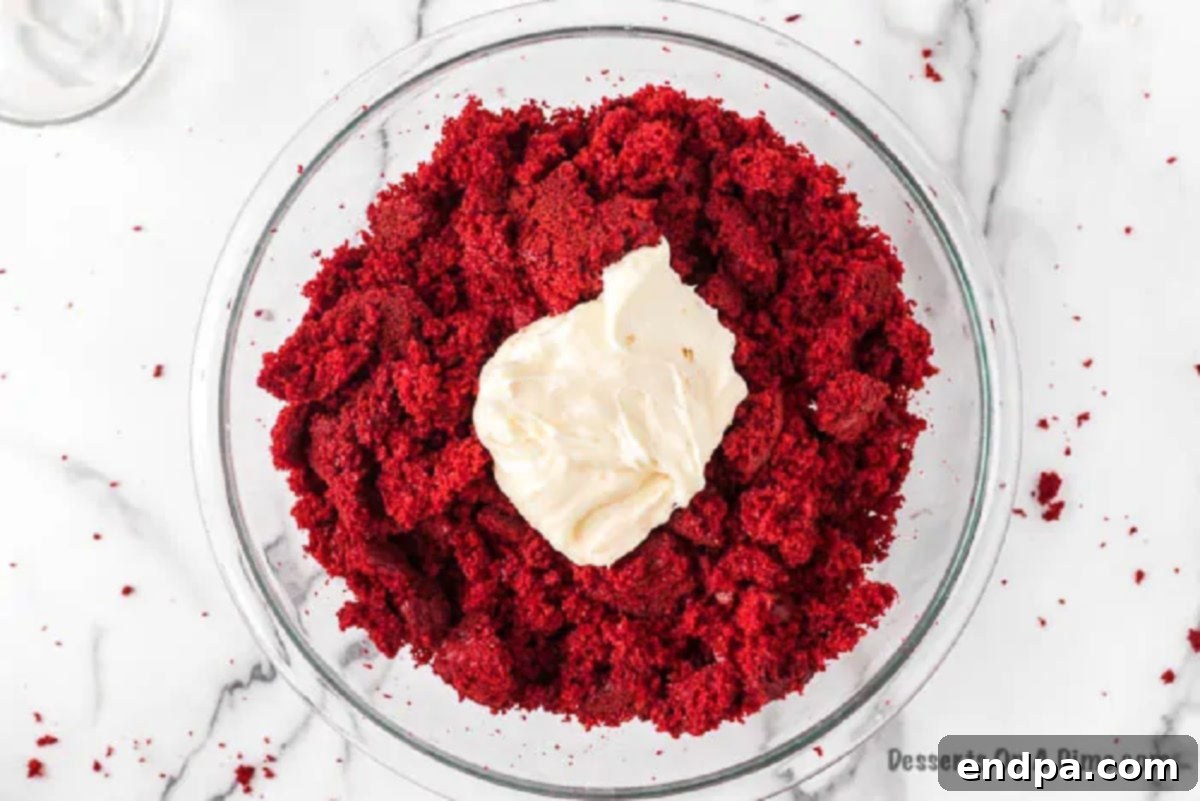
Step 3. Incorporate the Frosting: Add the cream cheese frosting to the crumbled cake. Using a sturdy spoon or your hands, thoroughly mix everything together until well blended and a thick, uniform dough forms. The mixture should be moist enough to hold its shape when rolled but not overly sticky. Start with less frosting and add more if needed.
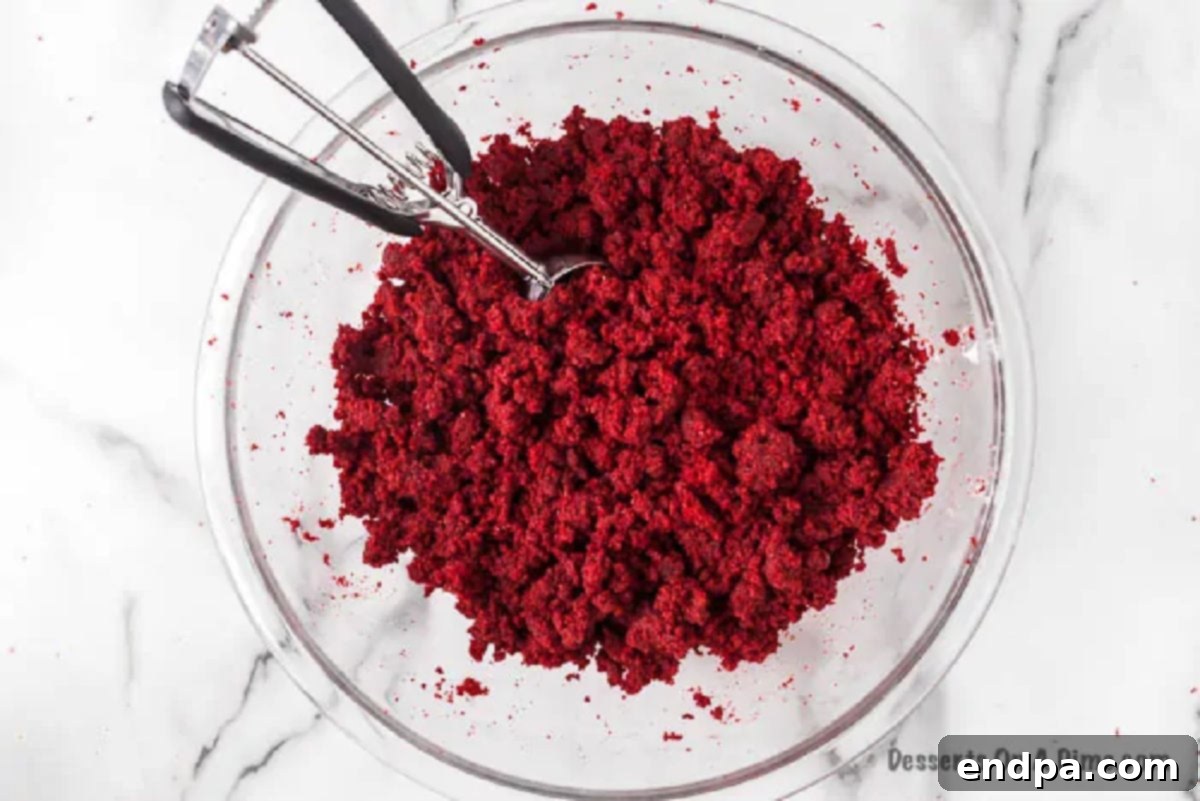
Step 4. Form the Cake Balls: Take small portions of the cake mixture (about 1 tablespoon each) and roll them between your palms to form smooth, round balls. Aim for uniform size for even dipping. This recipe typically yields about 50 cake balls. Place the formed cake balls onto a baking sheet lined with parchment paper or wax paper.
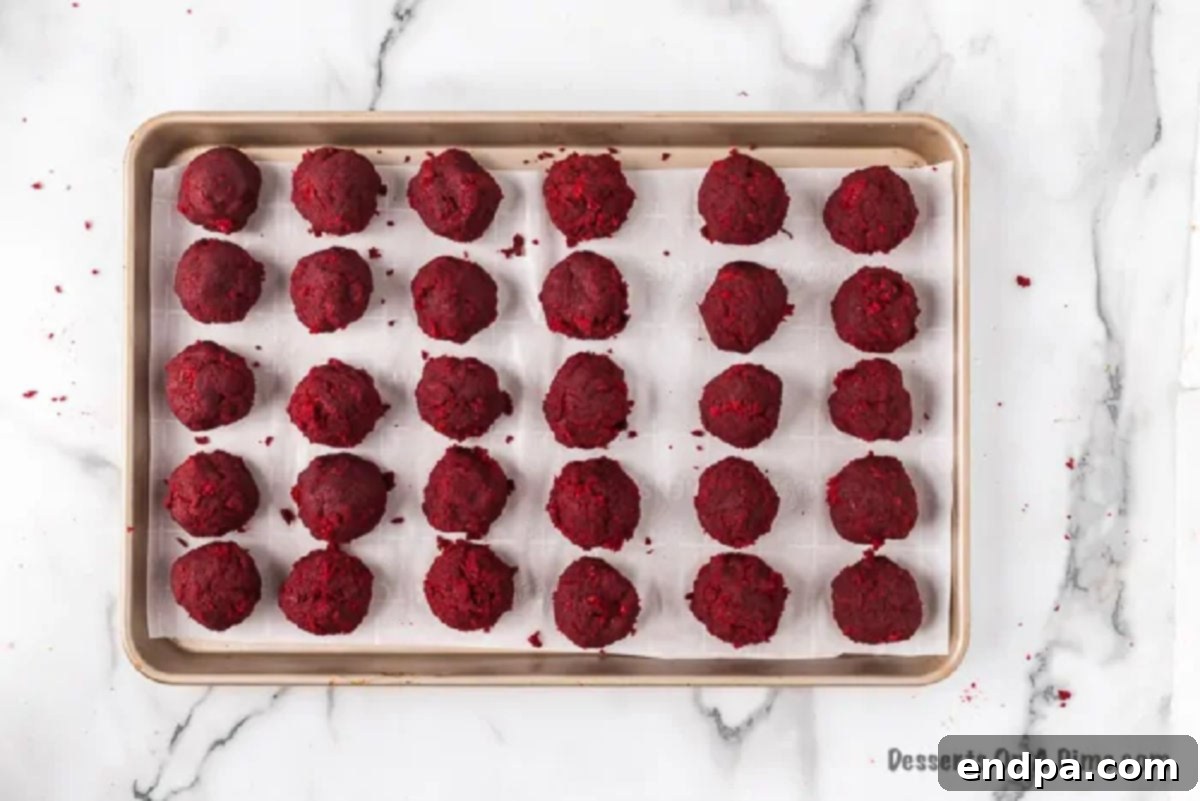
Step 5. Chill Thoroughly: Transfer the baking sheet with the cake balls to the freezer for at least 15 minutes. Chilling is a critical step as it helps the cake balls firm up, making them easier to dip and preventing them from falling apart or creating crumbs in your melted chocolate.
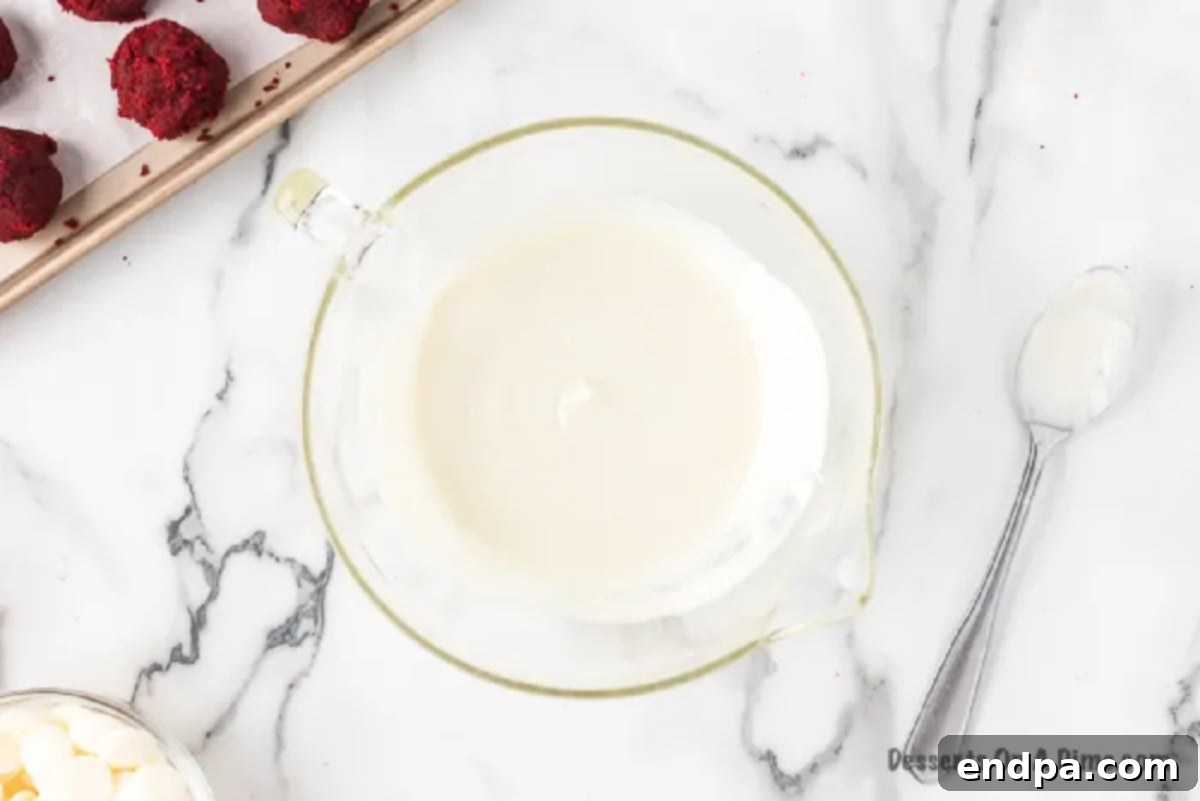
Step 6. Melt the White Chocolate Coating: In a microwave-safe bowl, combine the white chocolate chips and coconut oil. Microwave in 30-second intervals, stirring well after each, until the chocolate is smooth, creamy, and completely melted. Be careful not to overheat the chocolate, as it can seize.
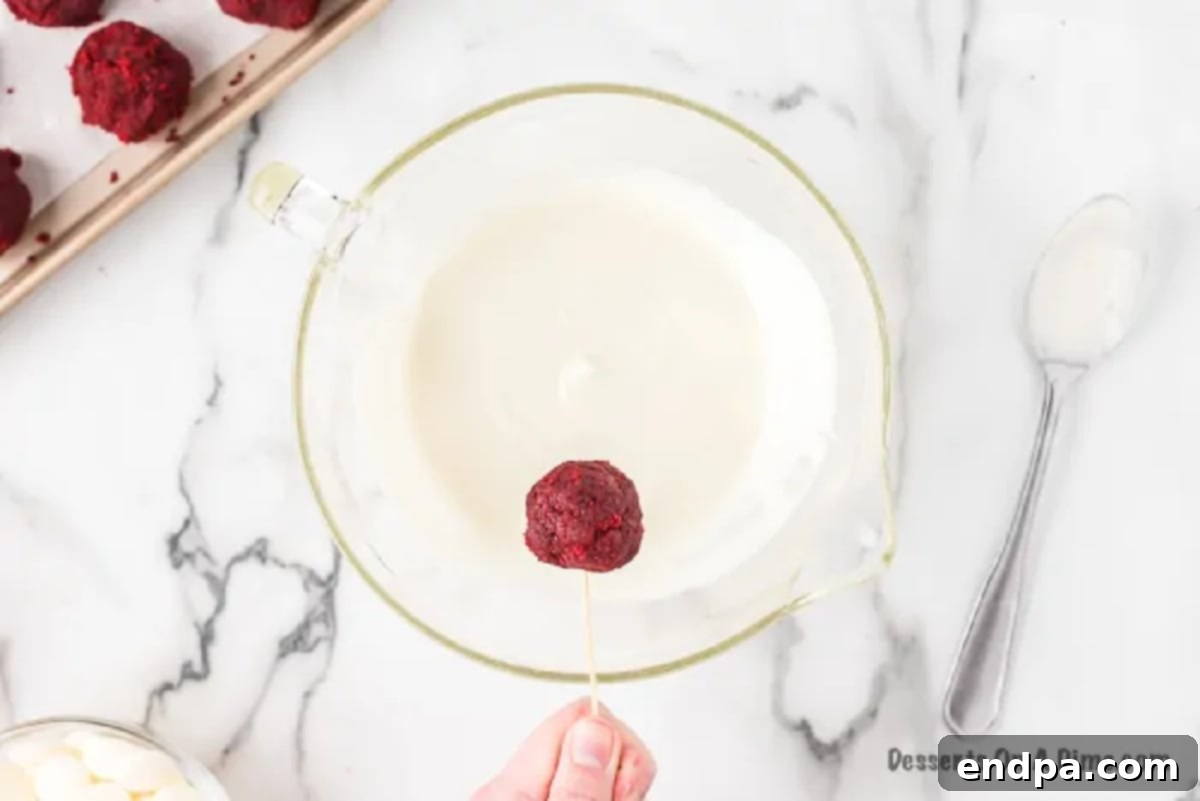
Step 7. Dip the Cake Balls: Remove the chilled cake balls from the freezer. Insert a toothpick into the center of each cake ball. Dip each cake ball into the melted white chocolate, rotating it to ensure it’s completely covered. Gently tap the toothpick against the edge of the bowl to allow any excess chocolate to drip back into the bowl, creating a thin, even coating.
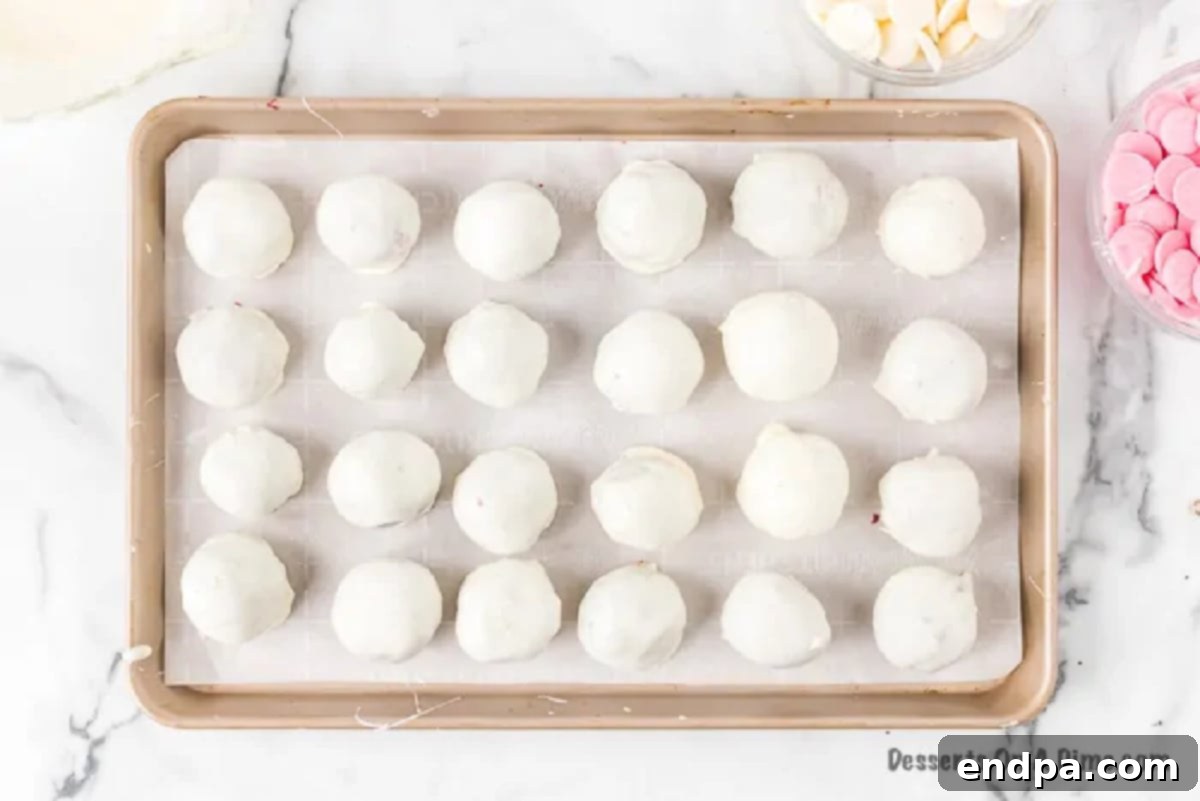
Step 8. Allow to Set: Carefully transfer the dipped cake balls back to the lined baking sheet. Remove the toothpick by gently twisting it out. If a small hole remains, you can gently smooth it over with a clean fingertip or a tiny dab of melted chocolate. Allow the chocolate coating to set completely at room temperature or in the refrigerator for faster setting.
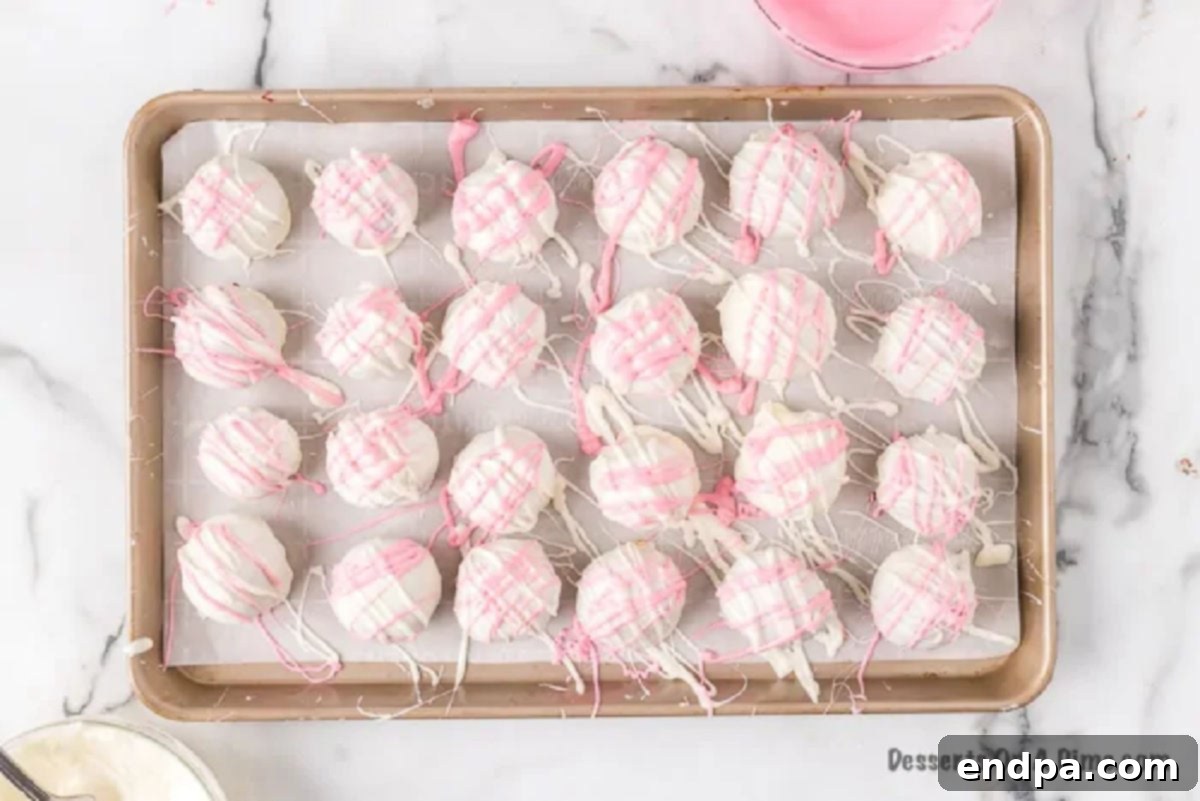
Step 9. Decorate (Optional): Once the white chocolate coating is fully set, melt the pink and red candy melts in separate small microwave-safe bowls until smooth. Using a spoon or a piping bag with a very small snip in the corner, drizzle the melted candy melts over the top of the cake balls to create a beautiful decorative finish. Let the drizzles set before handling.
Expert Tips for Perfect Red Velvet Cake Balls
Achieving bakery-quality cake balls at home is entirely possible with a few simple tricks. Here are some expert tips to ensure your Red Velvet Cake Balls turn out perfect every time:
- Cool the Cake Completely: This cannot be stressed enough. Warm cake will result in a greasy, mushy mixture when combined with frosting. Always ensure your cake is thoroughly cooled, preferably in the refrigerator for a short period, before crumbling.
- Don’t Overmix the Frosting: When combining the crumbled cake and frosting, mix just until a uniform, moldable dough is formed. Overmixing can lead to a dense, tough texture in the finished cake balls.
- The Right Frosting Consistency: If your frosting is too thick, your cake balls might be too dry and crumbly. If it’s too thin, they might be too sticky and difficult to roll. Adjust by adding a tiny bit more frosting if dry, or a few more cake crumbs if too wet.
- Chill, Chill, Chill: Chilling the formed cake balls before dipping is perhaps the most important step for success. Cold cake balls are firm, less prone to crumbling, and won’t melt the chocolate coating as quickly, allowing for a smoother dip. A quick 15-30 minutes in the freezer is ideal.
- Thin Your Chocolate Coating: The coconut oil (or a shortening like Crisco) is key to a smooth, thin, and even chocolate coating. Without it, the chocolate can be too thick and clumpy, resulting in a bumpy finish and making dipping difficult. Add it gradually until you reach the desired consistency.
- Melt Chocolate Carefully: White chocolate can be temperamental. Always microwave in short bursts (30 seconds) and stir thoroughly between each, even if it doesn’t look fully melted. Residual heat will continue to melt the chocolate. Overheating can cause it to seize and become unusable.
- Tap Off Excess Chocolate: After dipping, gently tap the toothpick against the side of the bowl. This helps remove any excess chocolate, ensuring a thin, even coat and preventing pools of chocolate at the base of your cake balls.
- Use a Dipping Tool: While toothpicks work, specialized candy dipping tools or even a fork can make the dipping process easier and cleaner, especially for removing the cake balls from the chocolate.
- Smooth the Hole: Once the dipped cake ball is on parchment paper and the toothpick is removed, a small hole may remain. You can gently smooth this over with a clean finger or a tiny bit of extra melted chocolate before the coating fully sets.
- Decorate Once Set: Ensure the base chocolate coating is completely firm before applying any drizzles or sprinkles. This prevents colors from bleeding and allows decorations to adhere properly.
By following these tips, you’ll be well on your way to creating stunning and delicious Red Velvet Cake Balls that look and taste professionally made!
Serving and Storing Your Delicious Cake Balls
Once your Red Velvet Cake Balls are beautifully coated and decorated, they’re ready to be enjoyed! Here are some tips for serving and ensuring they stay fresh for as long as possible:
Serving Suggestions
- Elegant Platter: Arrange your cake balls neatly on a decorative platter or a tiered cake stand for an impressive presentation. Their vibrant red interior and beautiful coating make them a stunning centerpiece.
- Individual Servings: For parties, place each cake ball in a mini paper liner or on a small dessert plate. This makes them easy to grab and enjoy.
- Pair with Beverages: These rich treats pair wonderfully with coffee, hot cocoa, or a glass of milk. For an adult gathering, consider serving them with a sparkling wine or a dessert cocktail.
- Holiday Treat: Their striking red and white appearance makes them ideal for Christmas, Valentine’s Day, or any festive occasion.
How to Store Red Velvet Cake Balls
Proper storage is key to maintaining the freshness and deliciousness of your cake balls. Due to the cream cheese frosting, refrigeration is highly recommended.
- In the Refrigerator: Place leftover cake balls in an airtight container. Stored in the refrigerator, they will remain fresh and delicious for about 7-10 days. Bring them to room temperature for about 15-20 minutes before serving for the best texture and flavor, or enjoy them chilled!
- On the Counter (Short Term): If your home is cool and not humid, cake balls can last for about 3-5 days at room temperature in an airtight container. However, for maximum freshness and food safety, especially with cream cheese, refrigeration is always the safest bet.
Can You Freeze Cake Balls? Absolutely!
Yes, cake balls freeze beautifully, making them an excellent make-ahead dessert for busy holiday seasons or unexpected guests.
- Flash Freezing: To prevent them from sticking together, flash freeze the cake balls first. Arrange them in a single layer on a baking sheet and place them in the freezer for about 1-2 hours, or until completely solid.
- Long-Term Storage: Once frozen solid, transfer the cake balls to a freezer-safe airtight container or a heavy-duty freezer bag. They will keep well in the freezer for up to 1-2 months.
- Thawing: When you’re ready to enjoy them, simply transfer the desired number of cake balls from the freezer to the refrigerator a few hours before serving, or let them thaw at room temperature. We love to eat them cold too!
Freezing individual cake balls is a fantastic way to ensure you always have a delightful treat on hand, ready to be pulled out and enjoyed whenever a craving strikes!
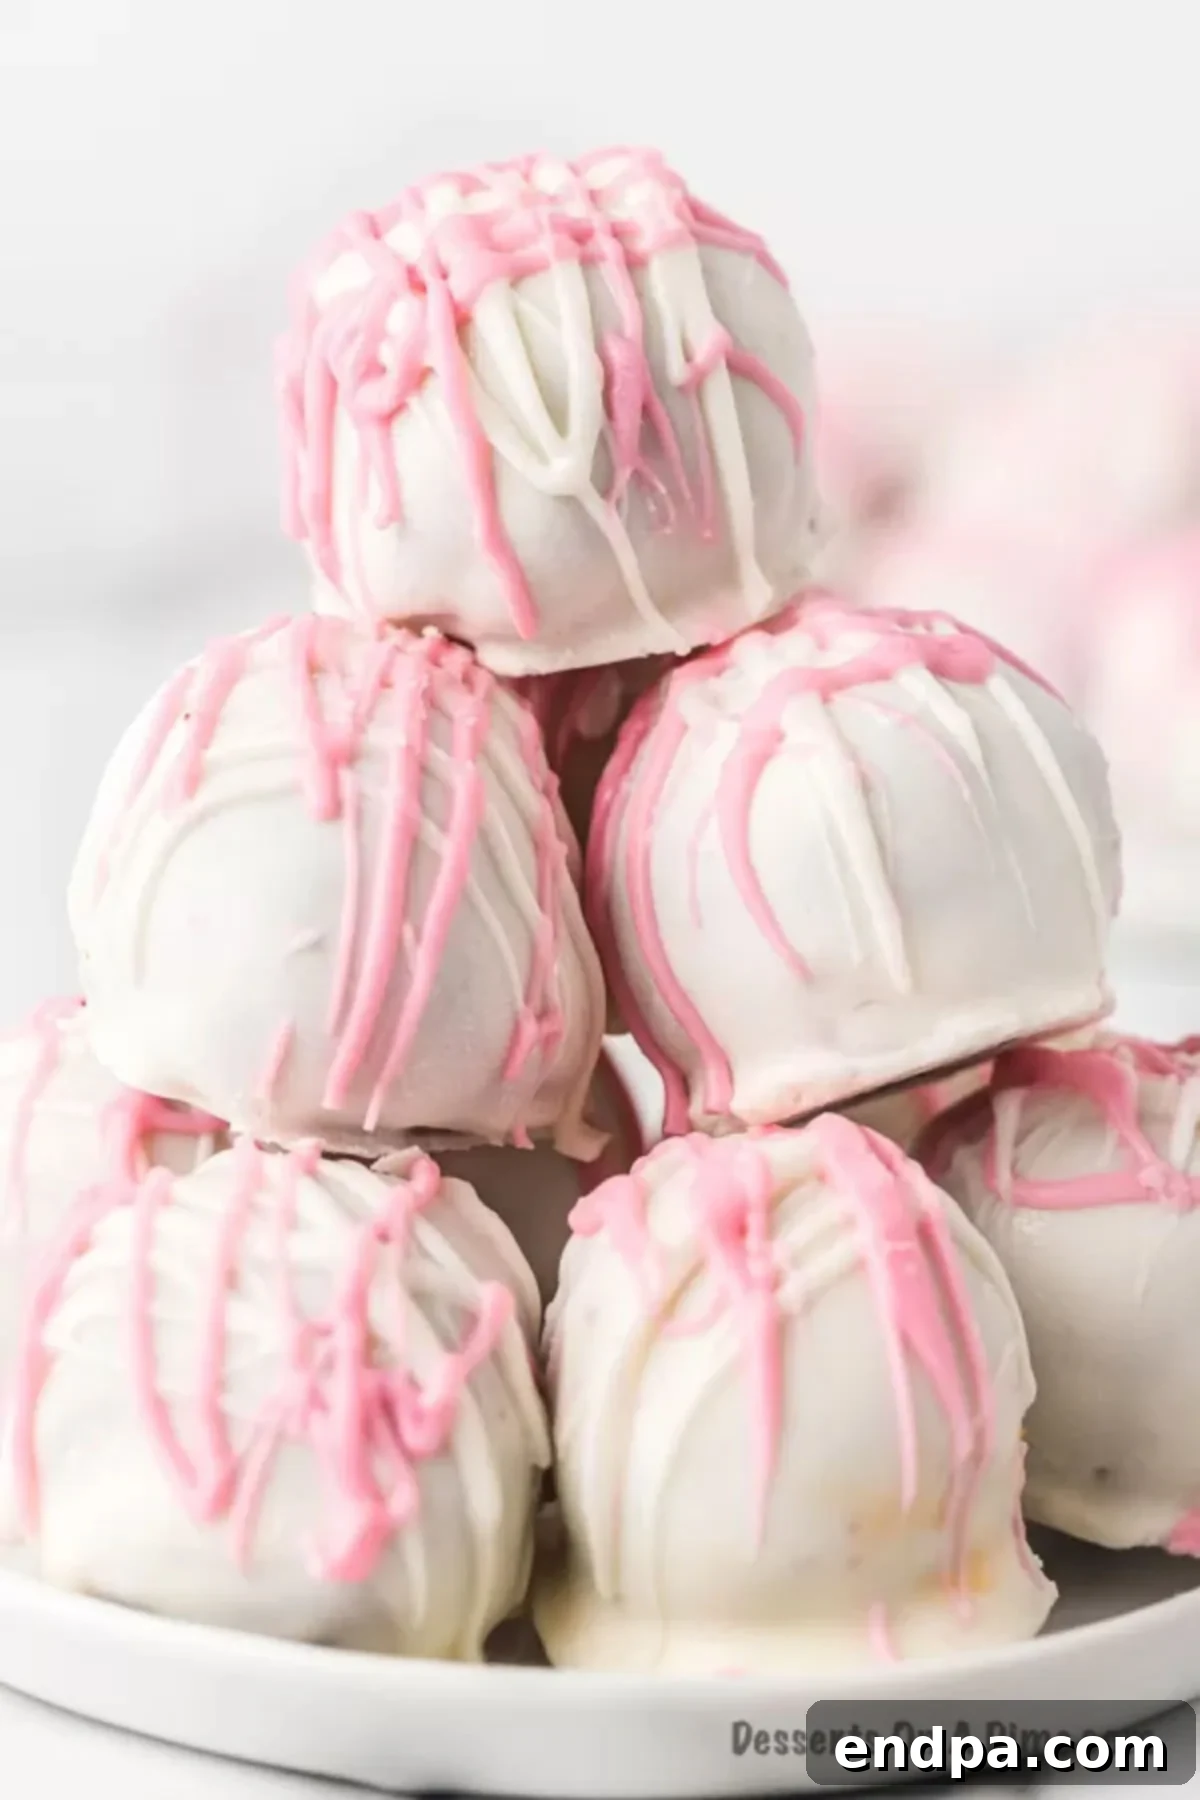
Frequently Asked Questions About Red Velvet Cake Balls
The key to preventing cake balls from falling apart lies in the perfect balance of cake crumbs and frosting, along with proper chilling. First, ensure there’s enough frosting to thoroughly bind the cake crumbs into a firm, cohesive dough—it should hold its shape when rolled without being overly sticky. Second, chilling the formed cake balls for at least 15-30 minutes in the freezer before dipping is crucial. This firms them up, making them less fragile during the dipping process. Finally, when dipping in chocolate, make sure to tap off any excessive chocolate, which can weigh down the ball or create a thick, uneven coating that might crack. Allowing the chocolate coating to fully harden provides an extra protective layer, keeping the cake balls perfectly intact.
Decorating cake balls is a fun opportunity to personalize them for any theme or occasion! Here are some creative ideas:
- Add Sprinkles: This is the easiest way to customize! Use colorful sprinkles, festive holiday shapes (like tiny hearts for Valentine’s Day or snowflakes for Christmas), or classic nonpareils. Apply them immediately after dipping while the chocolate is still wet.
- Change the Frosting: Experiment with different frosting flavors inside the cake balls. While cream cheese is classic for red velvet, you could use chocolate fudge frosting, vanilla buttercream, or even a hint of mint frosting for a different twist.
- Vary the Candy Melts/Chocolate: Instead of white chocolate, dip your red velvet cake balls in milk chocolate, dark chocolate, or even strawberry-flavored pink candy melts. You can also use different colored candy melts for drizzles, stripes, or full coatings to match your event’s color scheme.
- Top with Chocolate Chips or Nuts: Sprinkle mini chocolate chips, chopped nuts (like pecans or walnuts), or toasted coconut flakes on top of the still-wet chocolate coating for added texture and flavor.
- Edible Glitter or Luster Dust: For a truly elegant touch, brush your set cake balls with edible luster dust or spray with edible glitter to give them a shimmering finish.
- Patterned Drizzles: Use a piping bag with a tiny hole or a fork to create intricate drizzle patterns with contrasting melted chocolate or candy melts.
Red Velvet Cake Balls, especially due to the cream cheese frosting, are best stored in an airtight container in the refrigerator. When refrigerated, they will last about 7-10 days. If left out on the counter in an airtight container (in a cool environment), they will typically last for about 3-5 days, though refrigeration is always recommended for cream cheese-based desserts.
Absolutely! The cake ball concept is incredibly versatile. You can use almost any type of cake—chocolate, vanilla, lemon, carrot, pumpkin, or even a gluten-free cake mix. Just ensure the cake is completely cooled before crumbling and combine it with a frosting that complements its flavor. The ratios might need slight adjustments depending on the cake’s moisture content, but the general method remains the same.
If your chocolate coating is too thick, simply add a tiny bit more coconut oil (or shortening) and stir until it reaches a smoother, thinner consistency. If your chocolate seizes (becomes thick, grainy, and hard), it’s usually due to overheating or getting even a tiny drop of water into it. Unfortunately, seized chocolate is difficult to rescue. Your best bet is to discard it and start fresh, ensuring your bowl is completely dry and you melt the chocolate slowly and carefully.
More Red Velvet Recipes You’ll Love
If you’ve fallen in love with the classic taste of red velvet, you’ll be thrilled to discover these other fantastic red velvet desserts:
- Classic Red Velvet Cake: The timeless favorite, perfect for any celebration.
- Easy Red Velvet Cookies Recipe: Soft, chewy cookies with that signature red velvet flavor.
- Red Velvet Cake Pops Recipe: Similar to cake balls but on a stick, offering a fun party treat.
- Red Velvet Popcorn: An unexpected yet delightful sweet and crunchy snack.
Delicious Cake Ball Recipes to Try Next
Once you’ve mastered Red Velvet Cake Balls, expand your repertoire with these other exciting cake ball variations:
- Sweet and Easy Cake Balls: A versatile base recipe for any flavor combination.
- Vanilla Cake Balls Recipe: Simple, elegant, and perfect with any coating or decoration.
- Valentine’s Day Cake Balls Recipe: Festive and romantic, ideal for sharing with loved ones.
- Birthday Cake Pops: Bring the party to a stick with these joyful cake pops.
We invite you to try this incredibly delicious recipe for red velvet cake bites! Once you’ve made them, please come back and leave a comment to share your experience and any creative twists you added. Your feedback helps our baking community!
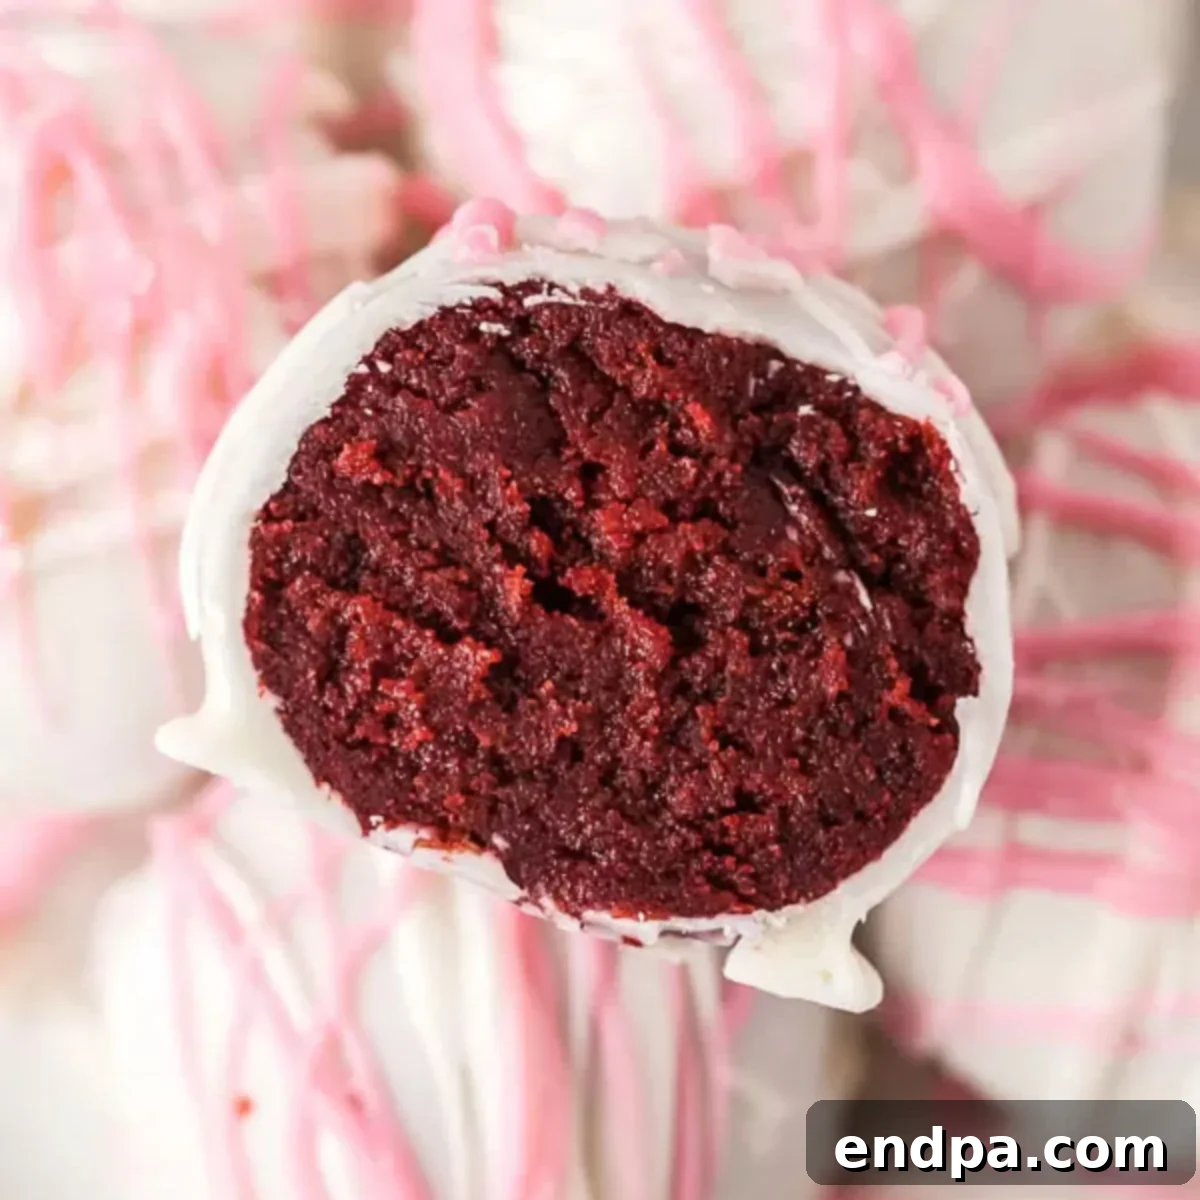
Red Velvet Cake Balls Recipe
Red velvet cake balls with creamy cream cheese frosting dipped in smooth white chocolate make an irresistible dessert. These fun, bite-sized treats are perfect for any occasion!
Ingredients
- 1 box red velvet cake mix and ingredients called for on box
- 1 cup cream cheese frosting
- 2 cups white chocolate chips
- 1 TBS coconut oil
- pink candy melts
- red candy melts
Instructions
- Make red velvet cake according to box instructions and allow to cool completely.
- Crumble the cooled cake into a large bowl, ensuring no large chunks remain.
- Add the cream cheese frosting to the crumbled cake. Stir everything together until well blended and a cohesive mixture forms.
- Shape the mixture into approximately 50 uniform cake balls (about 1 tablespoon each) and place them on a baking sheet lined with parchment or wax paper.
- Place the baking sheet in the freezer for at least 15 minutes to firm up the cake balls.
- In a small microwave-safe bowl, combine white chocolate chips and coconut oil. Microwave in 30-second intervals, stirring thoroughly after each, until smooth and creamy.
- Insert a toothpick into each chilled cake ball. Dip each ball into the melted white chocolate, rotating to cover completely. Gently tap off any excess chocolate back into the bowl.
- Carefully place the dipped cake balls back on the lined baking sheet, removing the toothpick with a slight twist. Allow the chocolate coating to set completely at room temperature or in the refrigerator.
- Once the white chocolate is set, melt the pink and red candy melts in separate small microwave-safe bowls until smooth.
- Drizzle the melted candy melts over the top of the cake balls to decorate. Let the drizzles set before handling or storing.
- Store finished cake balls in an airtight container in the refrigerator for 7-10 days, or freeze for longer storage.
Nutrition Facts
Carbohydrates 15g,
Protein 1g,
Fat 5g,
Saturated Fat 2g,
Cholesterol 2mg,
Sodium 53mg,
Potassium 33mg,
Fiber 1g,
Sugar 12g,
Vitamin A 8IU,
Vitamin C 1mg,
Calcium 28mg,
Iron 1mg
Pin This Now to Remember It Later
Pin Recipe
