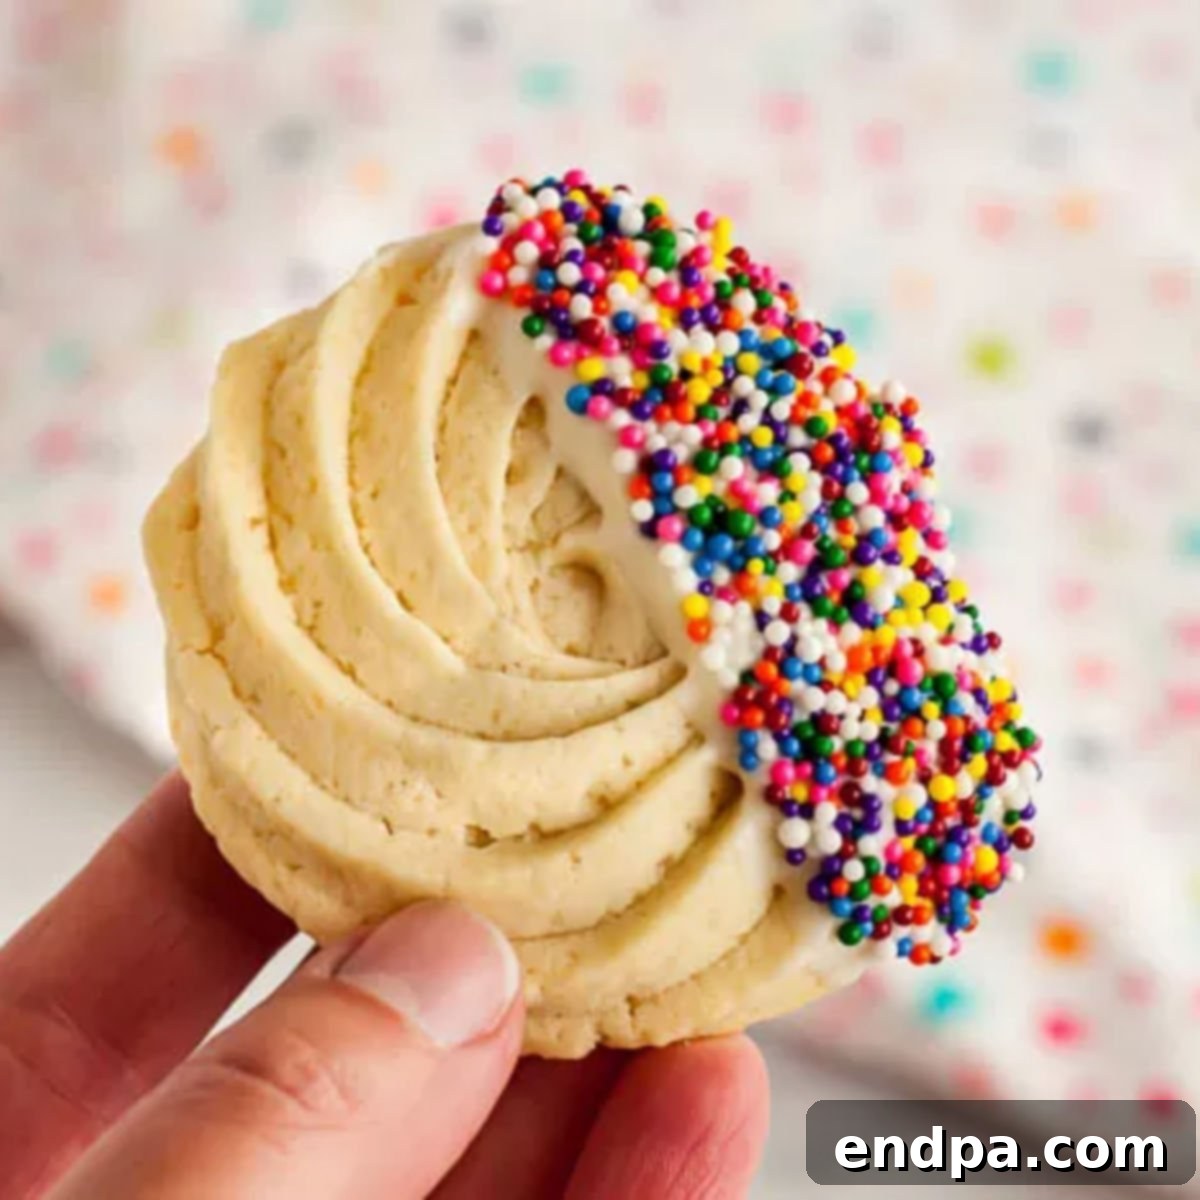
Unlock the secret to baking extraordinary treats with this effortless Butter Cookies Recipe. Incredibly simple to prepare with just a few core ingredients, these cookies deliver a truly delicious and visually stunning experience. Whether you’re assembling an impressive cookie exchange platter or simply craving a delightful snack for your afternoon tea, these butter cookies are elegant enough to impress yet straightforward enough for any day of the week. Their delicate texture melts in your mouth, leaving a rich, buttery taste that’s utterly irresistible.
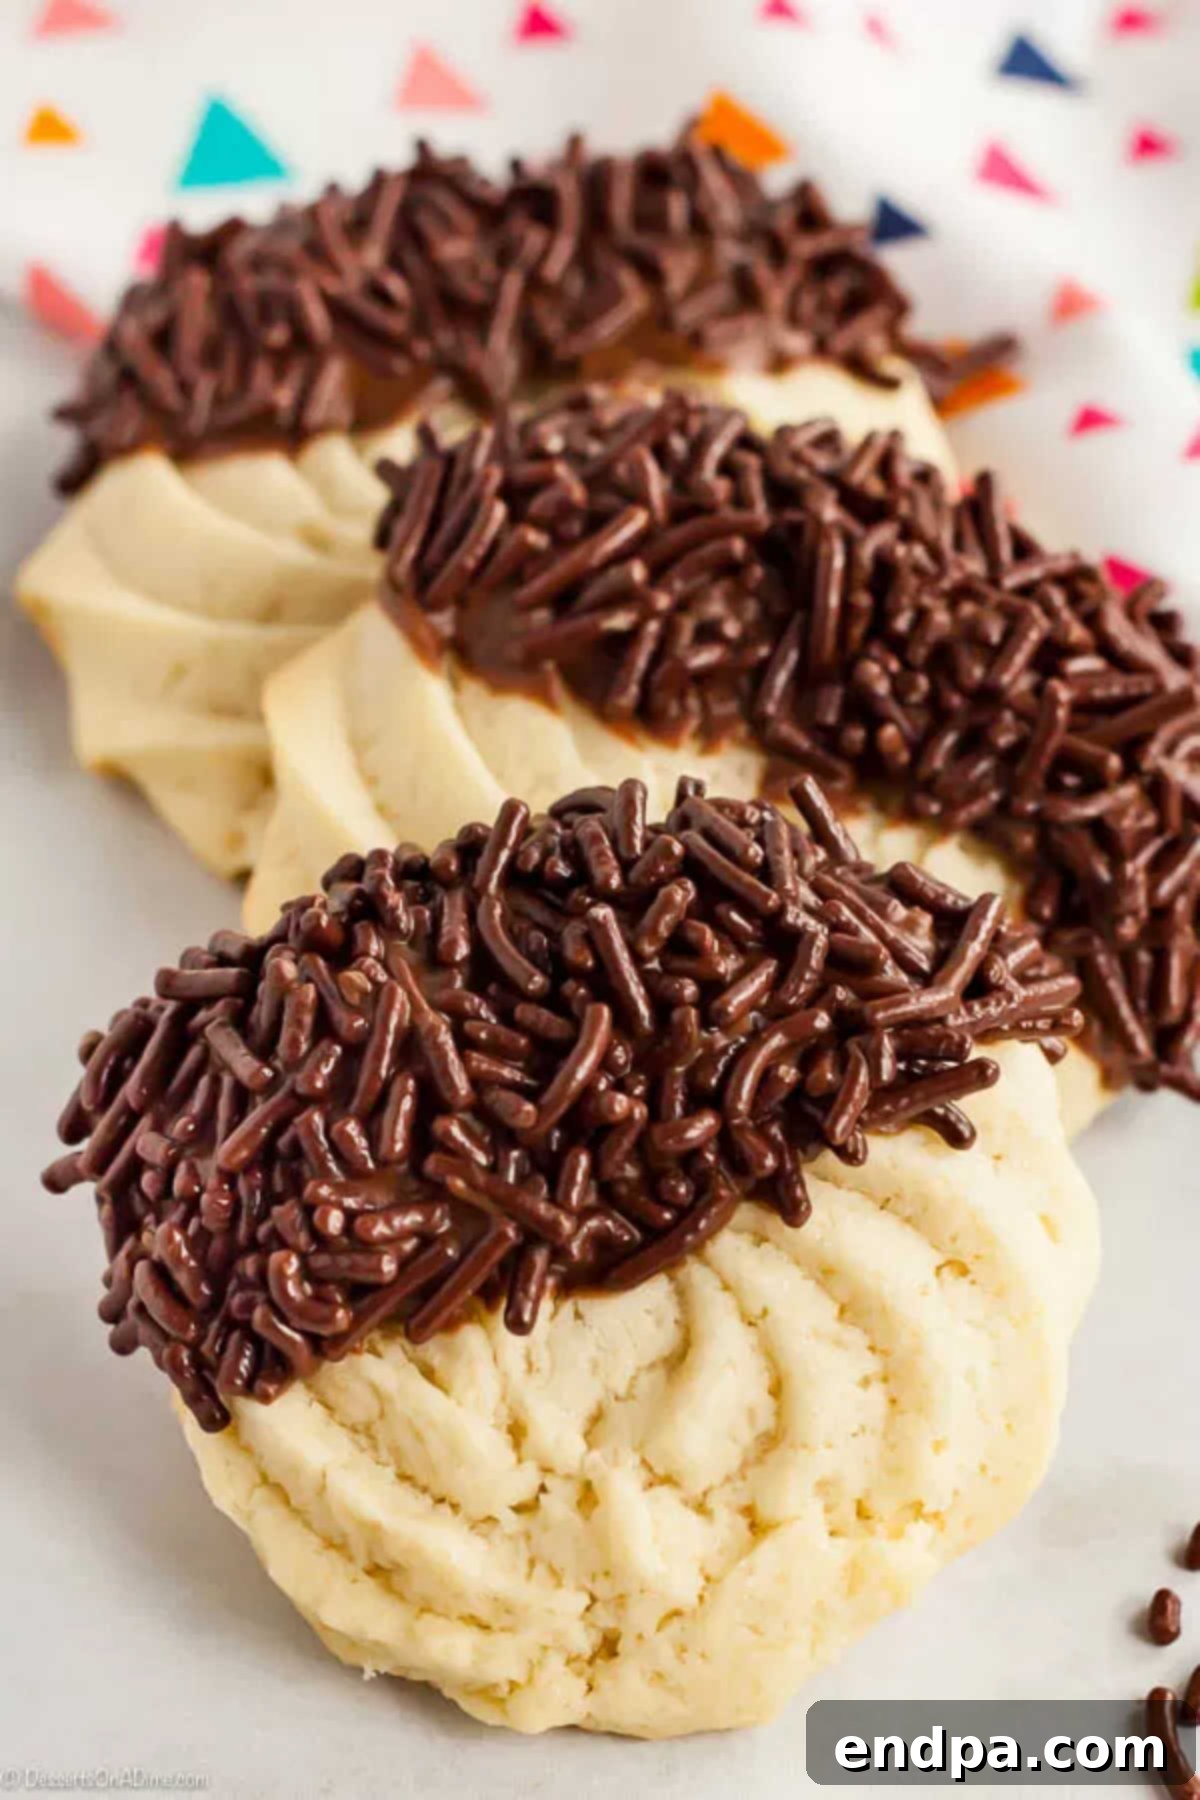
There’s an undeniable charm to homemade butter cookies. Their tender crumb and rich flavor are a testament to classic baking at its best. Beyond their delectable taste, these cookies offer a fantastic canvas for creativity. You can shape them into intricate designs, pipe them into elegant swirls, or keep them perfectly plain to let their pure buttery essence shine. No matter how you choose to present them, everyone will marvel at your baking prowess, assuming you’ve spent hours crafting these delightful homemade cookies, when in reality, they’re surprisingly easy to master!
Feel free to enjoy these classic butter cookies unadorned for a timeless treat, or elevate them with a drizzle of icing, a dusting of powdered sugar, or a vibrant scattering of sprinkles. The possibilities for customization are endless, ensuring your cookies will always stand out and impress friends and family alike.
If you’re looking to expand your dessert repertoire, I highly recommend trying other popular recipes such as Cookie Butter Cheesecake, Strawberry Chocolate Chip Cookies, and Coffee Cake Cookies for equally delicious and satisfying desserts. Each recipe offers a unique flavor profile that promises to delight your taste buds.
Table of Contents
- The Enduring Charm of Homemade Butter Cookies
- Key Ingredients for Perfect Butter Cookies
- Step-by-Step Guide to Baking Butter Cookies
- Storing and Freezing Butter Cookies
- Frequently Asked Questions About Butter Cookies
- Expert Tips for Flawless Butter Cookies
- Creative Ways to Decorate Your Butter Cookies
- More Irresistible Cookie Recipes
The Enduring Charm of Homemade Butter Cookies
There’s something truly special about a batch of freshly baked butter cookies. This recipe makes it incredibly simple to recreate bakery-quality cookies right in your own kitchen. With minimal ingredients and straightforward steps, anyone, regardless of their baking experience, can achieve fantastic results. You’ll be captivated by their rich taste and delightful, tender texture that truly melts in your mouth.
Beyond their amazing flavor, these cookies are inherently beautiful. Their elegant simplicity makes them perfect for gifting, holiday platters, or simply brightening an ordinary day. They offer a comforting aroma that fills your home and a nostalgic taste that brings smiles to every face. If you’re looking for more fun baking projects, explore our collection of Easy Cookie Recipes for Kids, which are perfect for involving little helpers in the kitchen.
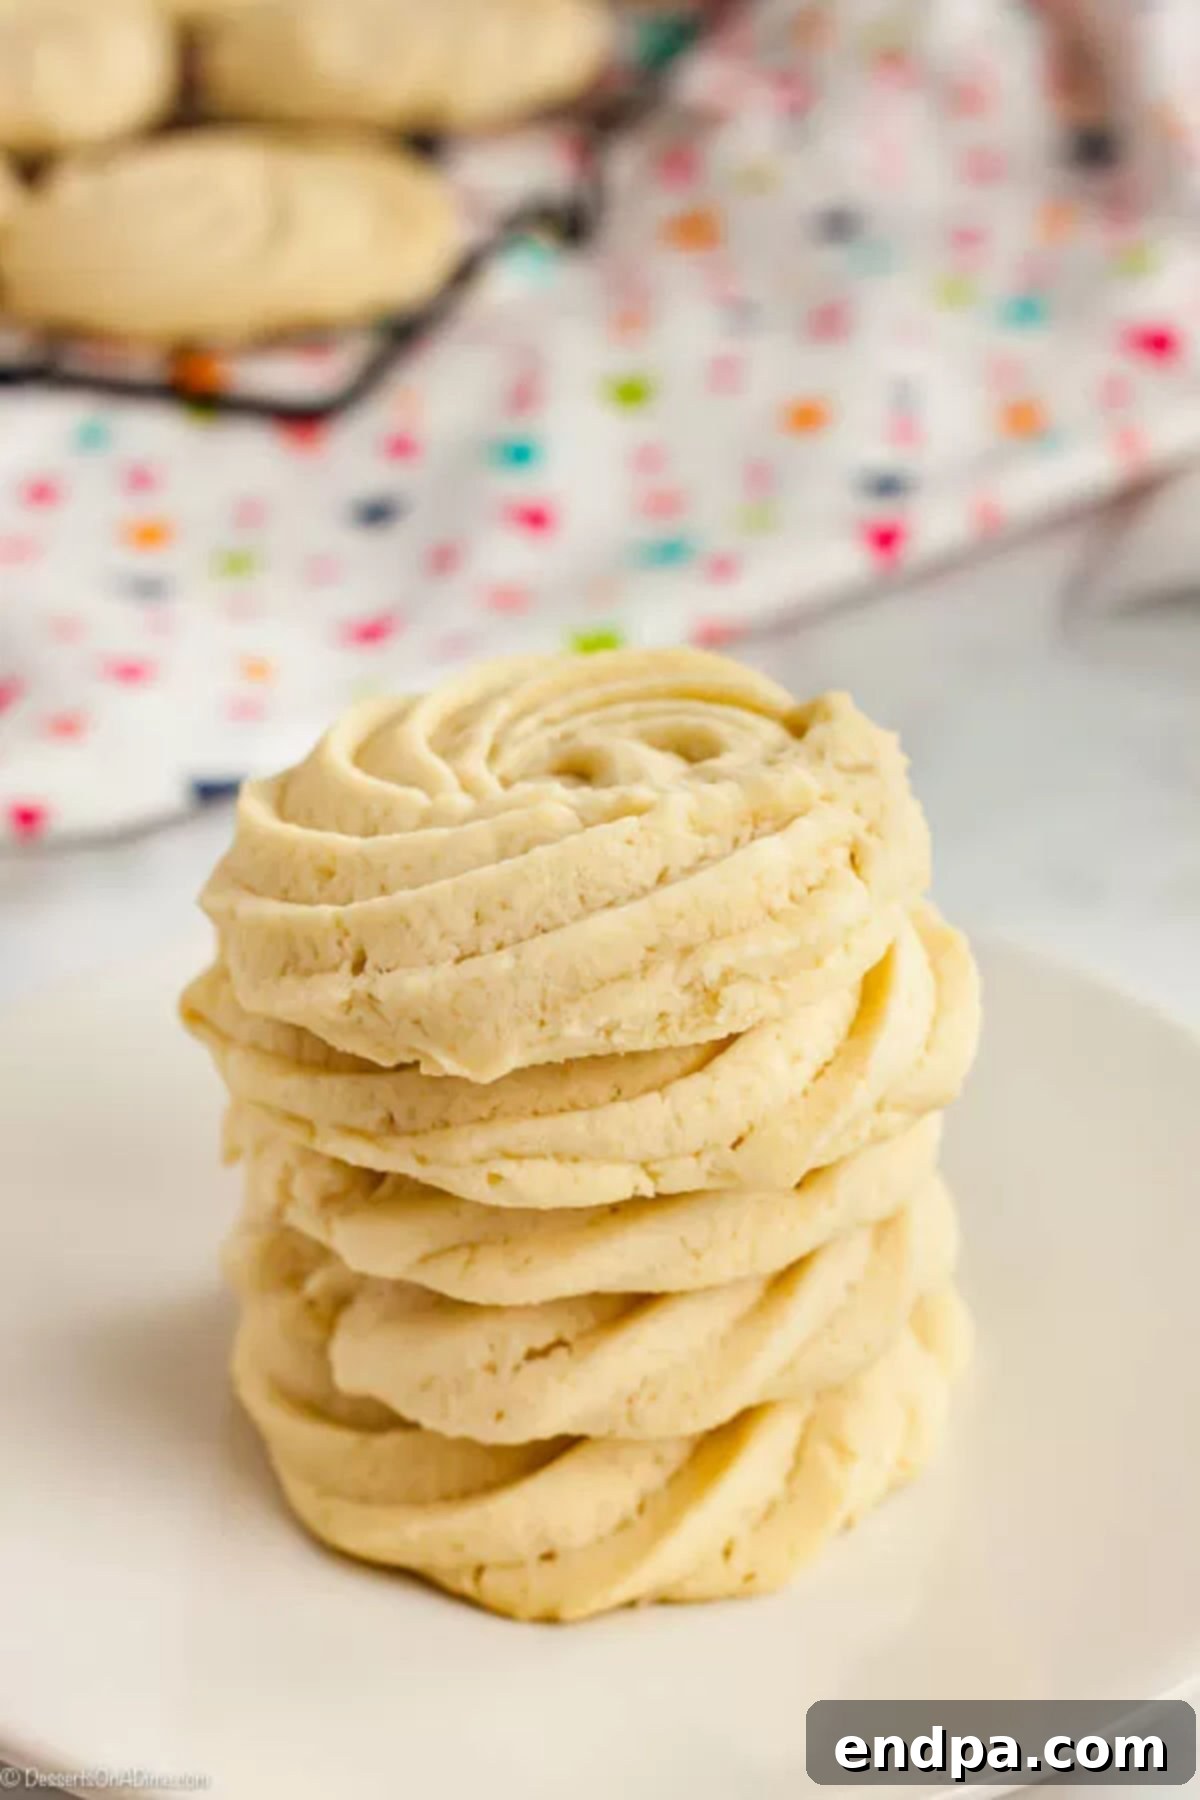
Key Ingredients for Perfect Butter Cookies
Crafting the perfect butter cookie relies on a few high-quality, simple ingredients. Here’s a closer look at what you’ll need and why each component is essential:
- Unsalted Butter: This is the star of the show, providing the rich, distinctive flavor and tender texture. It’s crucial that your butter is softened to room temperature, which allows it to cream properly with sugar, incorporating air for a light consistency. Unsalted butter is preferred as it gives you precise control over the overall saltiness of your cookies.
- Granulated Sugar: Beyond sweetness, sugar plays a vital role in creating the crisp edges and tender centers of butter cookies. It also helps with the browning process, giving your cookies that desirable golden hue.
- Salt: Just a pinch of salt enhances all the other flavors, balancing the sweetness and preventing the cookies from tasting flat.
- Egg Yolks: We use only the egg yolks in this recipe to add richness, tenderness, and a beautiful golden color to the cookies, without adding extra moisture that could lead to spreading or a less delicate texture.
- Vanilla Extract: A staple in most cookie recipes, vanilla extract provides a warm, inviting aroma and deepens the overall flavor profile. If you’re feeling adventurous, almond extract can offer a delightful alternative.
- All-Purpose Flour: The structural backbone of our cookies. To ensure accuracy and prevent dense cookies, always spoon your flour into the measuring cup and level it off with a knife, rather than scooping directly from the bag.
- Milk: A small amount of milk helps achieve the perfect consistency for piping, ensuring your dough is smooth and manageable. While any milk will work, whole milk contributes a subtle richness to the final product.
You’ll find the complete, precise list of ingredients with exact measurements at the bottom of this page, within the detailed recipe card.
Step-by-Step Guide to Baking Butter Cookies
Making these classic butter cookies is a rewarding process, yielding delicious results with minimal effort. Follow these easy steps for perfectly baked, melt-in-your-mouth treats:
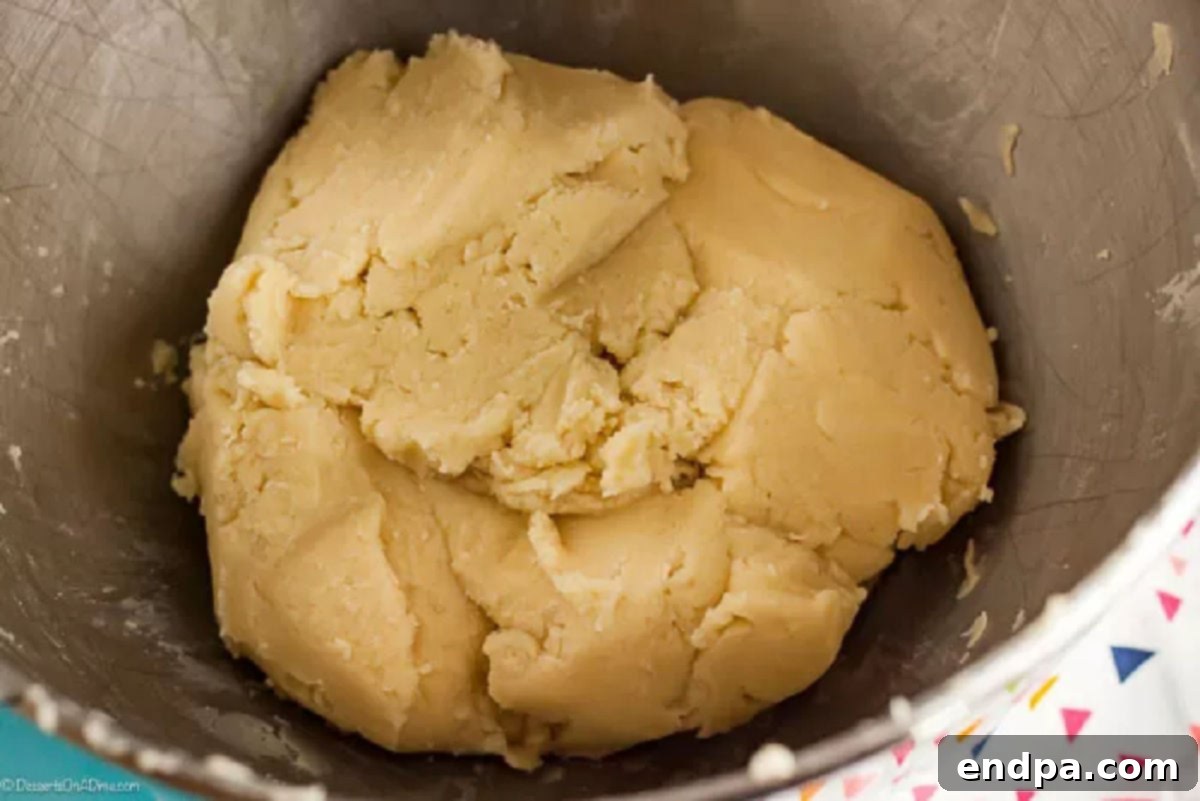
Step 1: Prepare the Dough. Begin by preheating your oven to 350 degrees Fahrenheit (175°C). In the bowl of your electric stand mixer, combine the softened unsalted butter, granulated sugar, and salt. Beat these ingredients together on medium speed until the mixture is light, fluffy, and well combined, typically for 2-3 minutes. Make sure to scrape down the sides of the bowl periodically to ensure even mixing. Next, add in the egg yolks and vanilla extract, mixing until they are fully incorporated into the butter mixture. Finally, gradually add the all-purpose flour, mixing until the dough starts to come together and becomes crumbly. At this point, add the milk, a teaspoon at a time, mixing until the dough reaches a pipe-able consistency. Be cautious not to add too much milk, as this can cause the cookies to spread excessively during baking. The goal is a dough that is firm enough to hold its shape but soft enough to pipe smoothly.
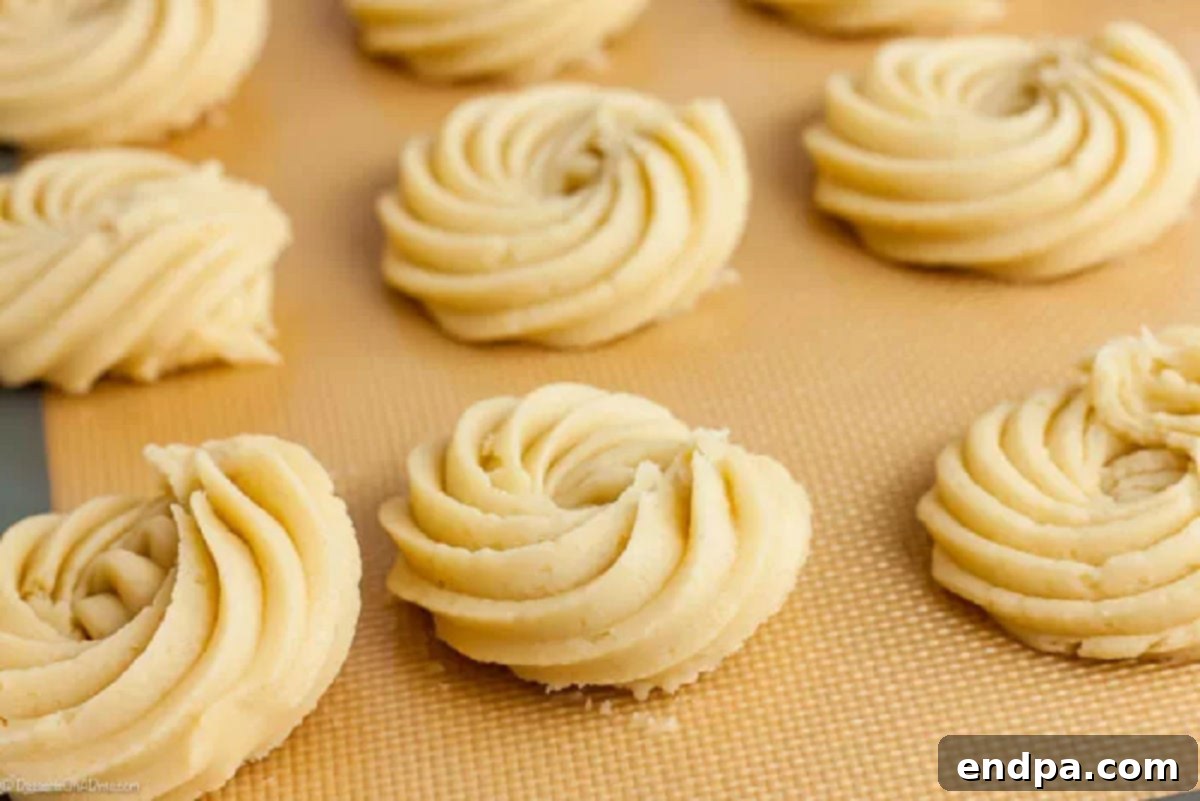
Step 2: Pipe the Cookies. Once your dough is perfectly prepared, transfer it into a sturdy piping bag fitted with a large open star tip. This tip is ideal for creating those classic, beautiful butter cookie shapes. Carefully pipe the dough onto two ungreased baking sheets. You can create various designs such as rosettes, S-shapes, or simple round swirls. Ensure you leave a little space between each cookie to allow for slight expansion during baking. If you notice your dough is particularly soft or you’ve had issues with cookies spreading in the past, consider chilling the piped dough on the baking sheets for about 30 minutes before baking to help them maintain their shape.
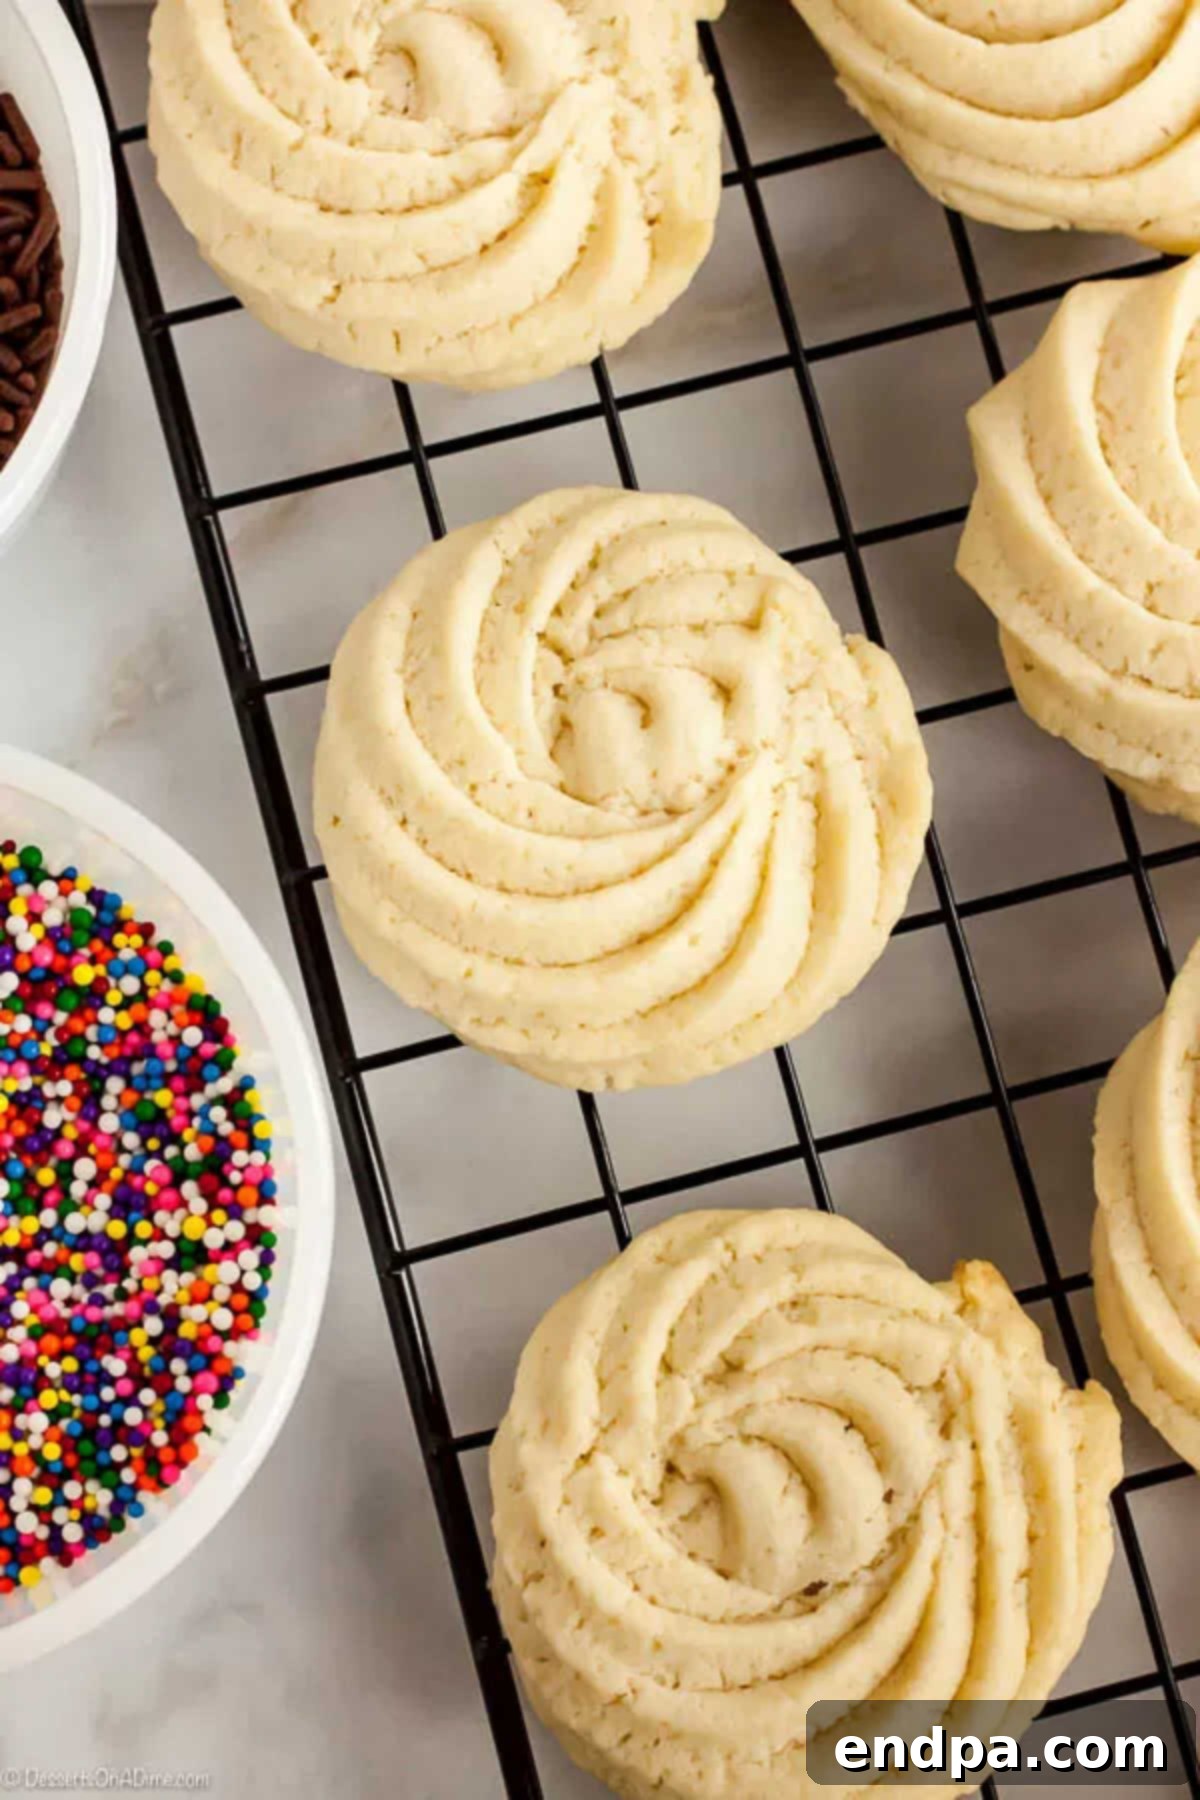
- Step 3: Bake and Cool. Bake the cookies one sheet at a time in your preheated oven for approximately 12 to 16 minutes, or until the edges are lightly golden brown. It’s important not to overbake them, as they will continue to firm up as they cool. Overbaking can lead to a dry, crumbly texture. Once baked, remove the sheets from the oven and allow the cookies to cool on the baking sheet for about 5 minutes. This brief cooling period on the warm sheet helps them set and prevents breakage. After 5 minutes, carefully transfer the cookies to a wire rack to cool completely. Storing them in an airtight container once fully cooled will help maintain their freshness and delicate texture.
Storing and Freezing Butter Cookies
Proper storage is key to keeping your butter cookies fresh and delicious for as long as possible. Here’s how to do it:
For short-term storage, keep these delightful cookies at room temperature in an airtight container. They will maintain their quality and melt-in-your-mouth texture for up to 5-7 days. A clever trick to keep them extra soft is to place a piece of white bread in the container with the cookies; the bread will absorb moisture, preventing the cookies from drying out.
Butter cookies also freeze exceptionally well, making them perfect for meal prep or enjoying freshly baked treats whenever a craving strikes. For best results, freeze the cookies before adding any frosting or sprinkles. Once completely cooled, arrange them in a single layer on a baking sheet and freeze until solid (about 1-2 hours). Then, transfer the frozen cookies to a freezer-safe bag or airtight container, separating layers with parchment paper to prevent sticking. They can be stored in the freezer for up to 2-3 months. When you’re ready to enjoy them, simply thaw them at room temperature. Once defrosted, you can then add any desired decorations. For those who love to plan ahead, you can also learn How to Freeze Cookie Dough, allowing you to bake fresh cookies anytime.
Frequently Asked Questions About Butter Cookies
While not always strictly necessary for butter cookies, chilling the dough can be a beneficial step, especially if you typically experience issues with cookies spreading too much during baking. Chilling the dough for about 30 minutes in the refrigerator before piping or baking helps solidify the butter, which in turn helps the cookies maintain their intricate shapes and prevents excessive spreading in the oven. If your kitchen is warm or your dough feels particularly soft, a quick chill is highly recommended for optimal results.
No, butter cookies are distinct from shortbread cookies, although they share some similarities and are often confused. The primary differences lie in their ingredient ratios and baking temperatures. Butter cookies typically contain more sugar and often include egg yolks and sometimes a touch of milk, resulting in a slightly softer, richer, and more tender cookie with a delightful “melt-in-your-mouth” quality. They are also typically baked at a slightly higher temperature. Shortbread, on the other hand, is traditionally made with just three ingredients: butter, sugar, and flour, in a specific ratio that yields a dense, crumbly, and wonderfully “short” (meaning tender due to high fat content) texture. Shortbread is usually baked at a lower temperature for a longer period.
For baking exquisite butter cookies, unsalted butter is unequivocally the best choice. Using unsalted butter grants the baker complete control over the amount of salt in the recipe, allowing for precise flavor balancing. Different brands of salted butter can have varying sodium levels, which can unpredictably affect the final taste of your cookies. It’s a common mistake to grab the wrong type at the grocery store, so always double-check to ensure you select the unsalted version for consistent and delicious results.
Many cookie recipes, including this one, call for softened butter because it creams beautifully with sugar, creating a light and airy dough. However, it’s easy to forget to take butter out of the refrigerator in advance. A handy trick to quickly soften butter is to place water in a microwave-safe bowl – one large enough to invert over your stick of butter. Microwave the water for about 2 minutes, or until it’s very hot and steaming. Carefully pour out the hot water, then immediately place the warm inverted bowl over the stick of butter on your counter. The residual heat trapped in the bowl will gently and quickly soften the butter to the perfect consistency without melting it, usually within 5-10 minutes.
Butter cookies are a beloved classic in the world of confections, originating famously from Denmark, where they are sometimes referred to as Danish biscuits. These delectable treats are primarily made from a rich combination of butter, flour, and sugar, often with the addition of egg yolks and vanilla for enhanced flavor and texture. They are celebrated for their distinctive crisp edges, tender interiors, and a luxurious, melt-in-your-mouth quality that truly highlights the pure flavor of butter. As a foundational cookie type, they are versatile, simple to make, and universally cherished for their soft, delicious, and deeply satisfying character.
While both are popular types of cookies, there are several key differences between sugar cookies and butter cookies that set them apart. The most significant distinction lies in their sugar content: butter cookies typically call for a higher proportion of sugar relative to flour, contributing to their tender, almost crumbly texture. Sugar cookies, in contrast, have a more balanced sugar-to-flour ratio, resulting in a sturdier dough that is ideal for rolling, cutting into shapes, and decorating with royal icing. The baking temperature and fat content also play a role; butter cookies often bake at slightly higher temperatures and have a richer, buttery mouthfeel, whereas sugar cookies often have a crisper, firmer texture suitable for intricate designs. Essentially, butter cookies prioritize a rich, delicate taste and texture, while sugar cookies focus on versatility for shaping and decorating.
Absolutely! Butter cookies are excellent candidates for freezing, whether baked or as dough. To freeze baked cookies, ensure they are completely cooled, then place them in a single layer on a baking sheet in the freezer until solid. Once firm, transfer them to an airtight, freezer-safe container or bag, using parchment paper between layers to prevent sticking. They will keep well in the freezer for up to 2-3 months. For the best quality, I recommend freezing them before adding any frosting or delicate sprinkles. This allows you to add fresh decorations once they’ve thawed at room temperature, making them look and taste freshly made.
Expert Tips for Flawless Butter Cookies
Achieving bakery-perfect butter cookies is easy when you follow these insider tips:
- Use Baking Liners or Parchment Paper: For consistent baking, easy cleanup, and perfectly non-stick results every single time, line your baking sheets with either silicone baking mats or parchment paper. This prevents the cookies from sticking and promotes even browning across the bottom.
- Chill the Dough When Needed: If you find your cookie dough to be too soft or sticky to pipe neatly, don’t hesitate to chill it in the refrigerator for 20-30 minutes. This will firm up the butter, making the dough much more manageable and helping your piped shapes hold their definition during baking.
- Ensure Room Temperature Ingredients: This is a crucial step for the best results. Softened butter creams smoothly with sugar, incorporating air for a light texture. Similarly, room temperature egg yolks emulsify better with the butter mixture, creating a cohesive and well-textured dough. Forgetting this step can lead to a lumpy dough and a less tender cookie.
- Avoid Overmixing: Once you add the flour, mix the ingredients only until they are just combined. Overmixing the dough develops the gluten in the flour, which can result in tough, chewy cookies instead of the delicate, tender texture we desire in butter cookies. Mix until no dry streaks of flour remain, then stop.
Creative Ways to Decorate Your Butter Cookies
While butter cookies are delightful on their own, decorating them adds an extra touch of festivity and personalization. Here are some simple yet creative ideas to elevate your treats:
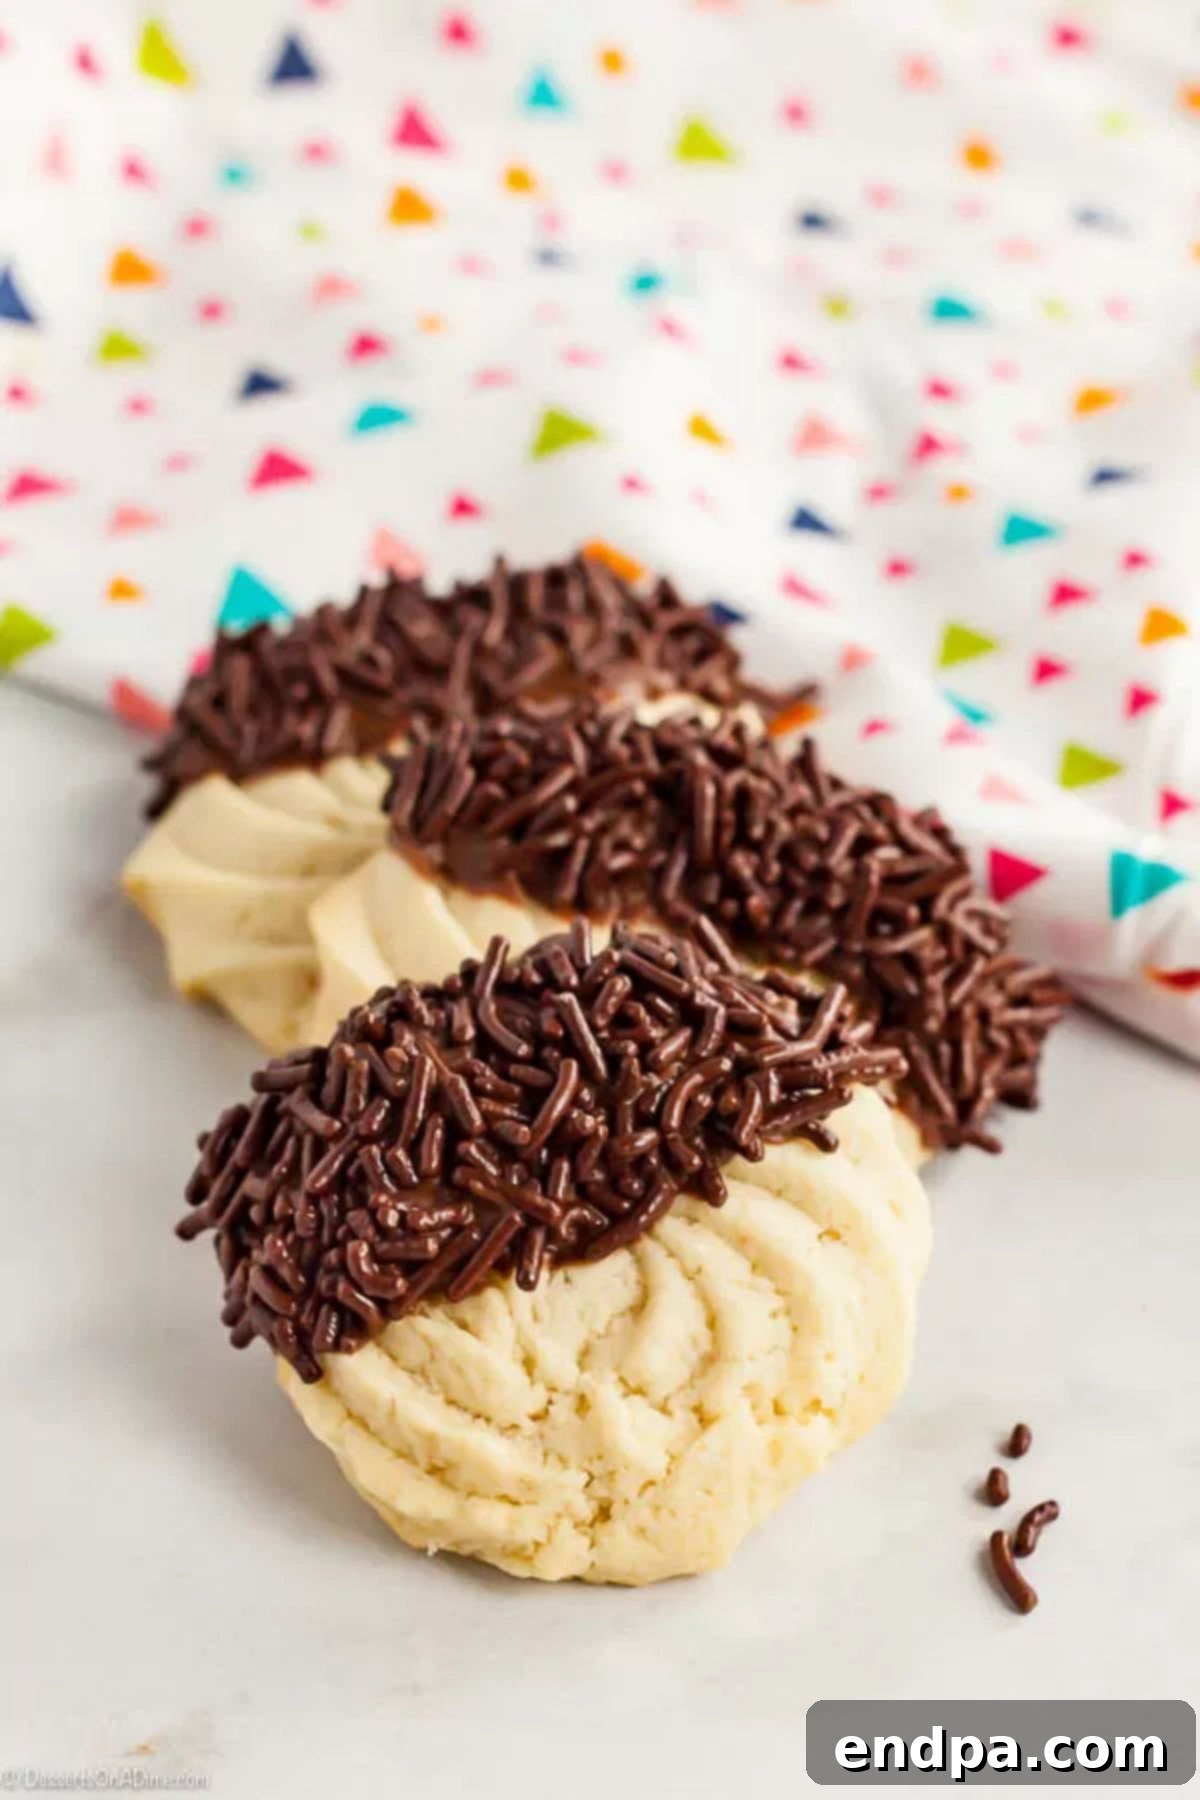
- Simple Sprinkles: For an instant pop of color and fun, sprinkle your freshly baked cookies with decorative sprinkles while they are still warm from the oven. The warmth will help the sprinkles adhere beautifully.
- Powdered Sugar Dusting: A light dusting of powdered sugar (confectioners’ sugar) gives these cookies an elegant, snowy finish. This is perfect for a refined look and adds just a touch more sweetness.
- Classic Chocolate Dip: Melt some high-quality dark, milk, or white chocolate. Dip half of each cooled cookie into the melted chocolate, allowing the excess to drip off, then place them on parchment paper to set. You can then add sprinkles to the chocolate before it hardens for extra flair.
- Glaze with Flavor: Prepare a simple glaze by whisking powdered sugar with a small amount of milk or lemon juice until smooth. Add a drop of food coloring for visual appeal or a different extract (like almond or peppermint) for an extra flavor dimension. Drizzle or dip cooled cookies into the glaze.
- Citrus Zest: For a bright, fresh flavor, add finely grated lemon, orange, or lime zest to your glaze or directly into the cookie dough. This brightens the rich butter flavor beautifully.
- Nutty Crunch: Before baking, press a blanched almond or a small nut onto the center of each cookie. Alternatively, finely chop nuts and sprinkle them over a chocolate-dipped or glazed cookie.
These decoration ideas are simple to implement and allow you to customize your butter cookies for any occasion, from casual gatherings to elegant celebrations.
More Irresistible Cookie Recipes
If you’ve fallen in love with baking after trying these butter cookies, there are plenty of other easy and delicious cookie recipes waiting for you to explore. Expand your baking skills and delight your family and friends with these fantastic options:
- Cake Mix Chocolate Chip Cookie Recipe: An incredibly simple recipe that starts with a cake mix for quick and satisfying results.
- Chocolate Dipped Sugar Cookies Recipe: Take classic sugar cookies to the next level with a luxurious chocolate coating.
- Lemon Cool Whip Cookies: Light, airy, and bursting with zesty lemon flavor, these cookies are a refreshing treat.
- Chocolate Crinkle Cookie Recipe: Rich, fudgy, and coated in powdered sugar, these cookies are a holiday favorite.
- Italian Cookies Recipe: Discover the charm of traditional Italian cookies, often delicately flavored and beautifully glazed.
- Funfetti Cookies Recipe: Bright, colorful, and packed with sprinkles, these cookies are a party in every bite.
Each of these recipes promises a delightful baking adventure and a delicious outcome. Happy baking!
Pin
Butter Cookies
★★★★★
Ingredients
- 1 cup unsalted butter softened
- 2/3 cup granulated sugar
- 1/4 tsp salt
- 2 large egg yolks
- 1 tsp vanilla extract
- 2 cups all-purpose flour
- 2 tsp milk
Instructions
- 1. Preheat oven to 350 degrees F (175°C).
- 2. In the bowl of an electric stand mixer, cream together butter, sugar, and salt until light and fluffy.
- 3. Mix in egg yolks and vanilla extract until well combined.
- 4. Gradually add flour and mix until the dough is crumbly. Then, add milk, 1-2 teaspoons at a time, until a pipe-able consistency is reached. Use as little milk as possible to prevent spreading.
- 5. Transfer the dough to a 16-inch piping bag fitted with a large open star tip.
- 6. Pipe dough into desired shapes onto two ungreased baking sheets. If cookies tend to spread, chill the piped dough on the baking sheet for 30 minutes before baking.
- 7. Bake one sheet at a time in the preheated oven until the bottoms are golden brown, about 12-16 minutes.
- 8. Let cookies cool on the baking sheet for 5 minutes, then transfer to a wire rack to cool completely. Store in an airtight container.
Recipe Notes
Nutrition Facts
Pin This Now to Remember It Later
Pin Recipe
