Decadent & Easy Red Velvet Brownies from a Cake Mix: Your Go-To Recipe
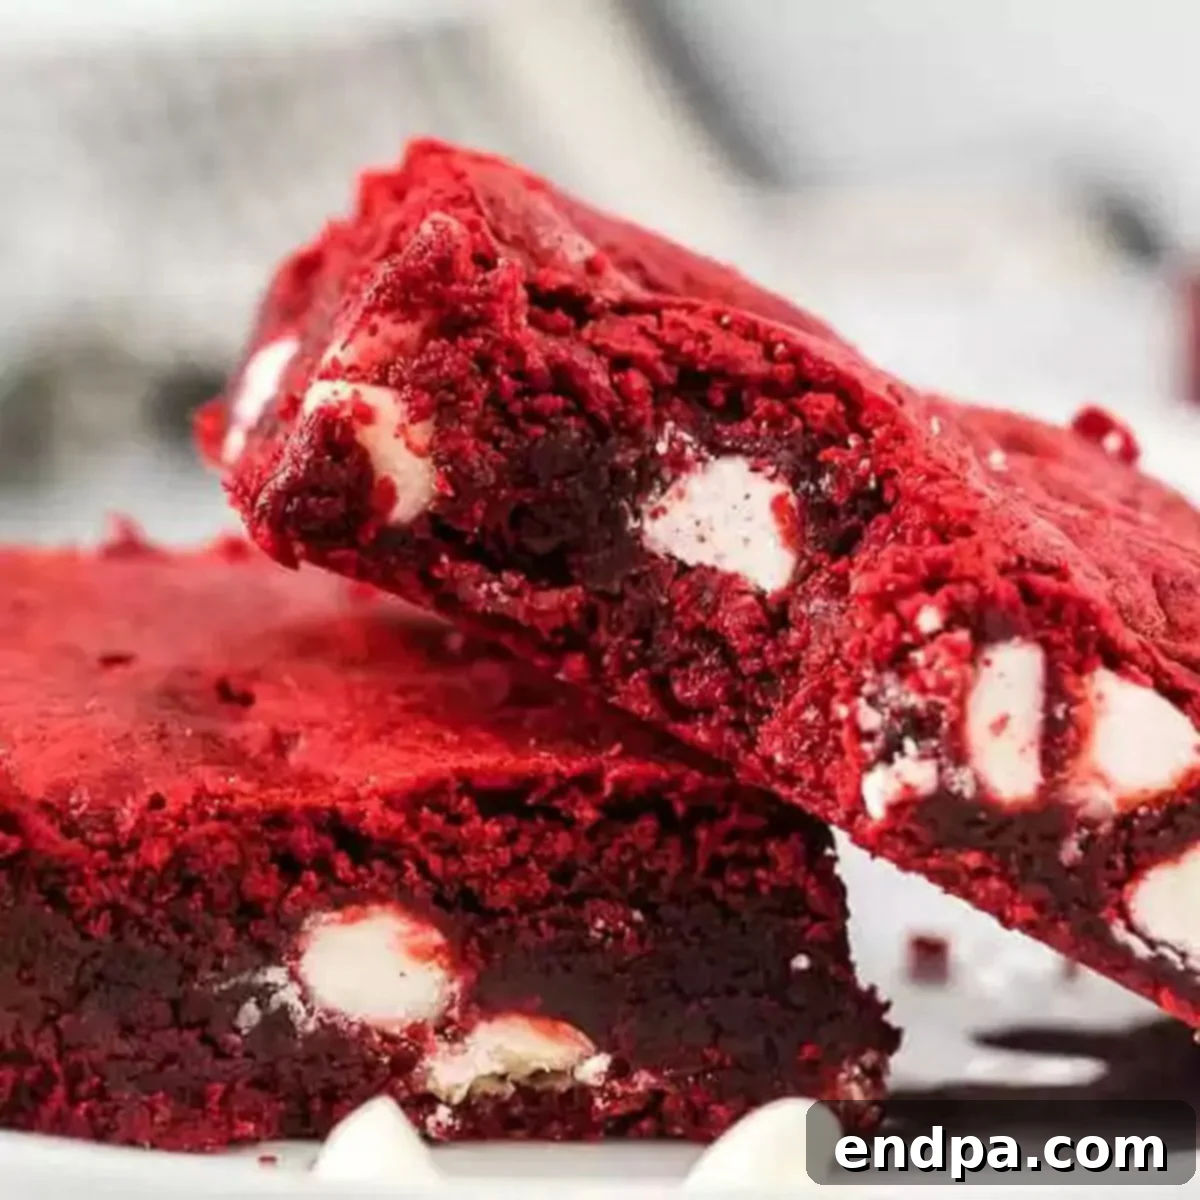
Prepare to be amazed by these incredibly easy and utterly decadent Red Velvet Brownies! The secret to their delightful simplicity lies in a humble cake mix, transforming everyday ingredients into a truly special treat. Each bite is rich, fudgy, and generously loaded with sweet white chocolate chips, making them an irresistible dessert for any occasion.
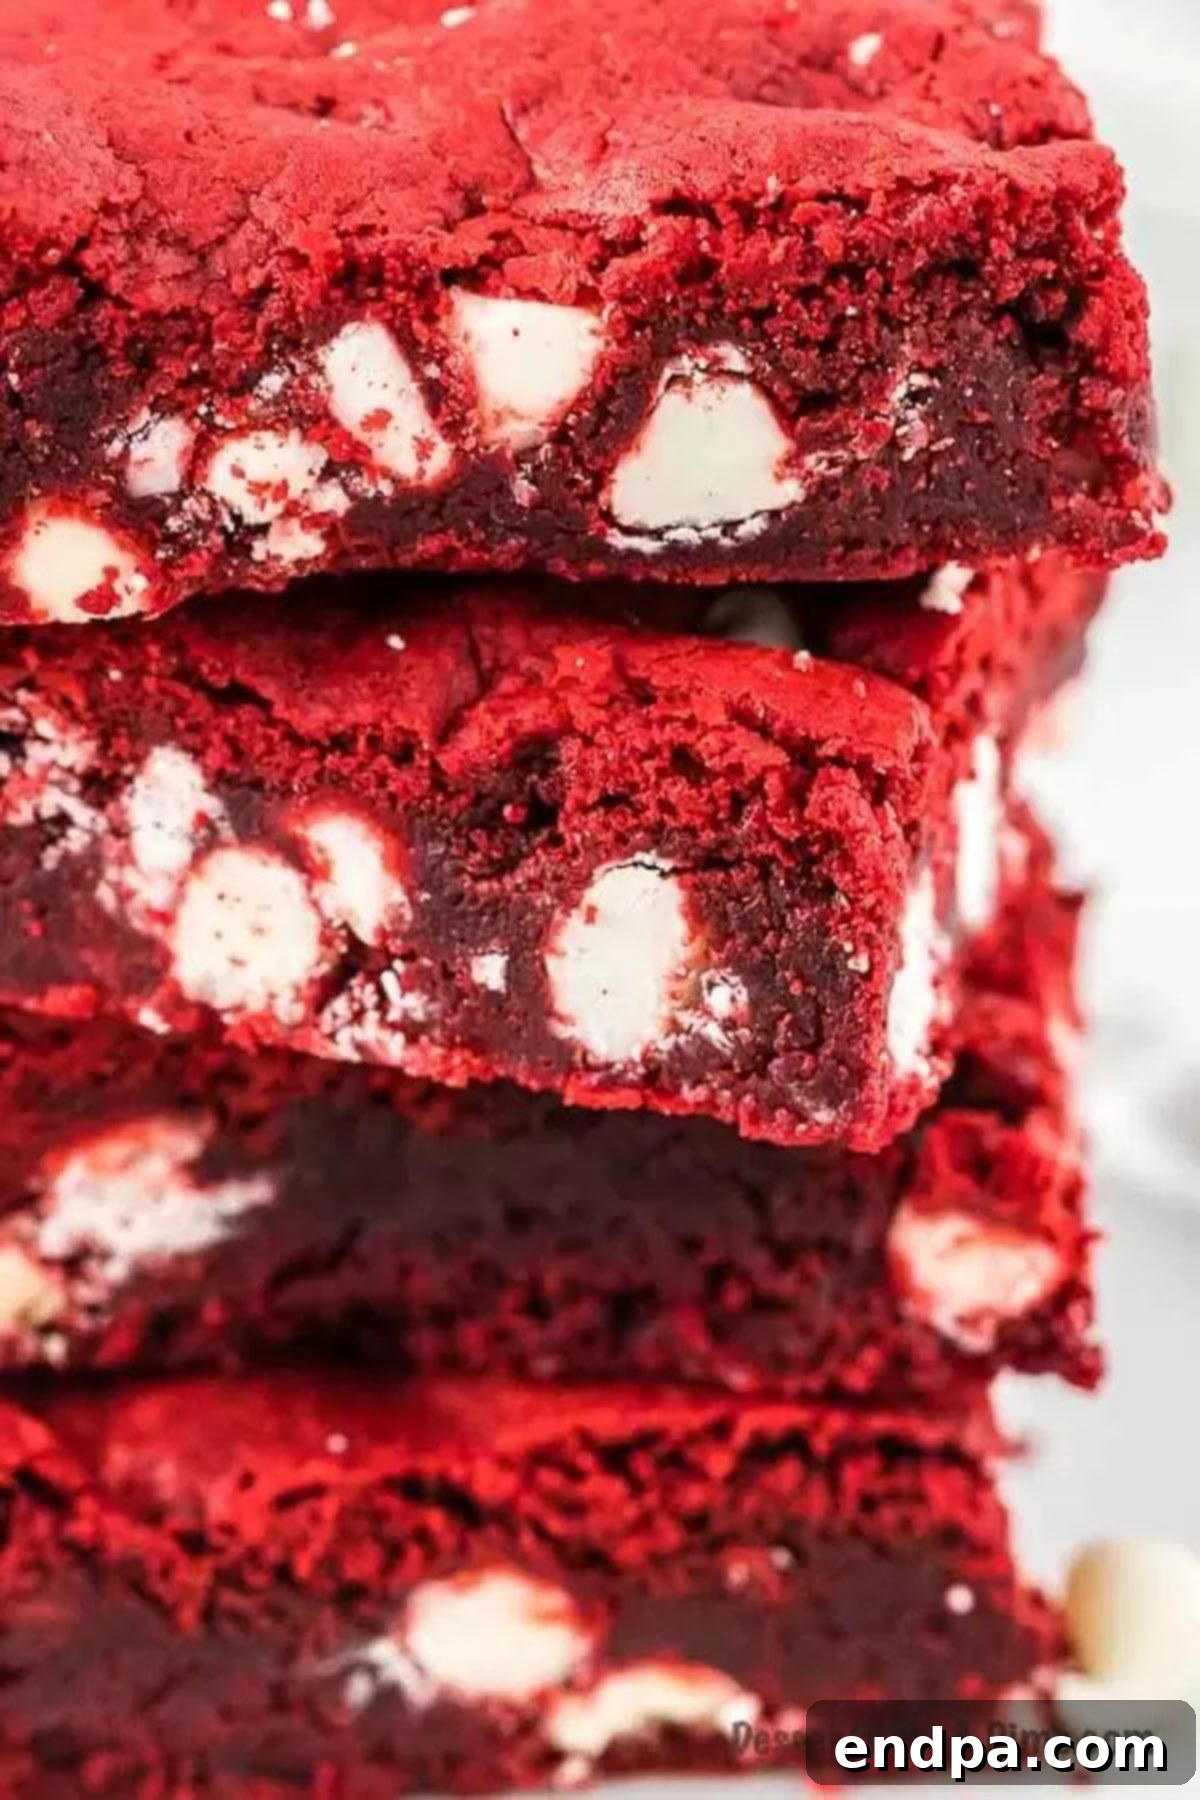
Red velvet holds a special place in my heart as one of my all-time favorite dessert flavors. Its unique blend of subtle cocoa, vanilla, and a hint of tanginess, coupled with its striking red hue, makes it truly stand out. If you adore red velvet as much as I do, you’ll love exploring other delights like this easy Red Velvet Cake recipe, luscious Red Velvet Fudge, and elegant Red Velvet Trifle Cups. Sometimes, that specific craving for red velvet hits, and you need a quick, no-fuss recipe that delivers on flavor and indulgence. That’s exactly where these brownies shine!
These Red Velvet Brownies are not only a perfect treat for satisfying those urgent cravings but also an easy Valentine’s Day recipe, bursting with vibrant red velvet flavor and a touch of romance. They’re also fantastic for holiday gatherings, potlucks, or simply as an everyday pick-me-up. For more stunning red desserts that are sure to impress, don’t forget to check out 31 Easy Red Desserts to Impress.
Table of Contents
- What is Red Velvet? The Classic Confection Explained
- The Irresistible Taste of Red Velvet Brownies
- Simple Ingredients for Amazing Red Velvet Brownies
- Creative Variation Ideas for Your Red Velvet Brownies
- Step-by-Step Guide: How to Make Red Velvet Brownies from a Cake Mix
- Expert Baking Tips for Perfect Red Velvet Brownies
- Knowing When Your Red Velvet Brownies Are Perfectly Done
- Mastering the Art of Cutting Red Velvet Brownies
- Serving Suggestions to Elevate Your Treat
- Frequently Asked Questions About Red Velvet Brownies
- More Decadent Homemade Brownie Recipes to Explore
- Discover More Irresistible Red Velvet Delights
- Red Velvet Brownies Recipe
What is Red Velvet? The Classic Confection Explained
Red Velvet is often misunderstood, but at its heart, it’s a type of vanilla cake with a distinct cocoa undertone and a vibrant red hue. Traditionally, the striking red color came from a chemical reaction between acidic buttermilk, vinegar, and natural cocoa powder (specifically, non-Dutched cocoa). This reaction not only enhanced the red pigment but also gave the cake its signature tender crumb and slight tang. Modern red velvet recipes, especially those using a cake mix like ours, achieve the iconic color with the help of red food coloring, while still maintaining that delicate balance of vanilla and mild chocolate flavors. It’s a flavor profile that’s rich yet light, making it truly unique.
The Irresistible Taste of Red Velvet Brownies
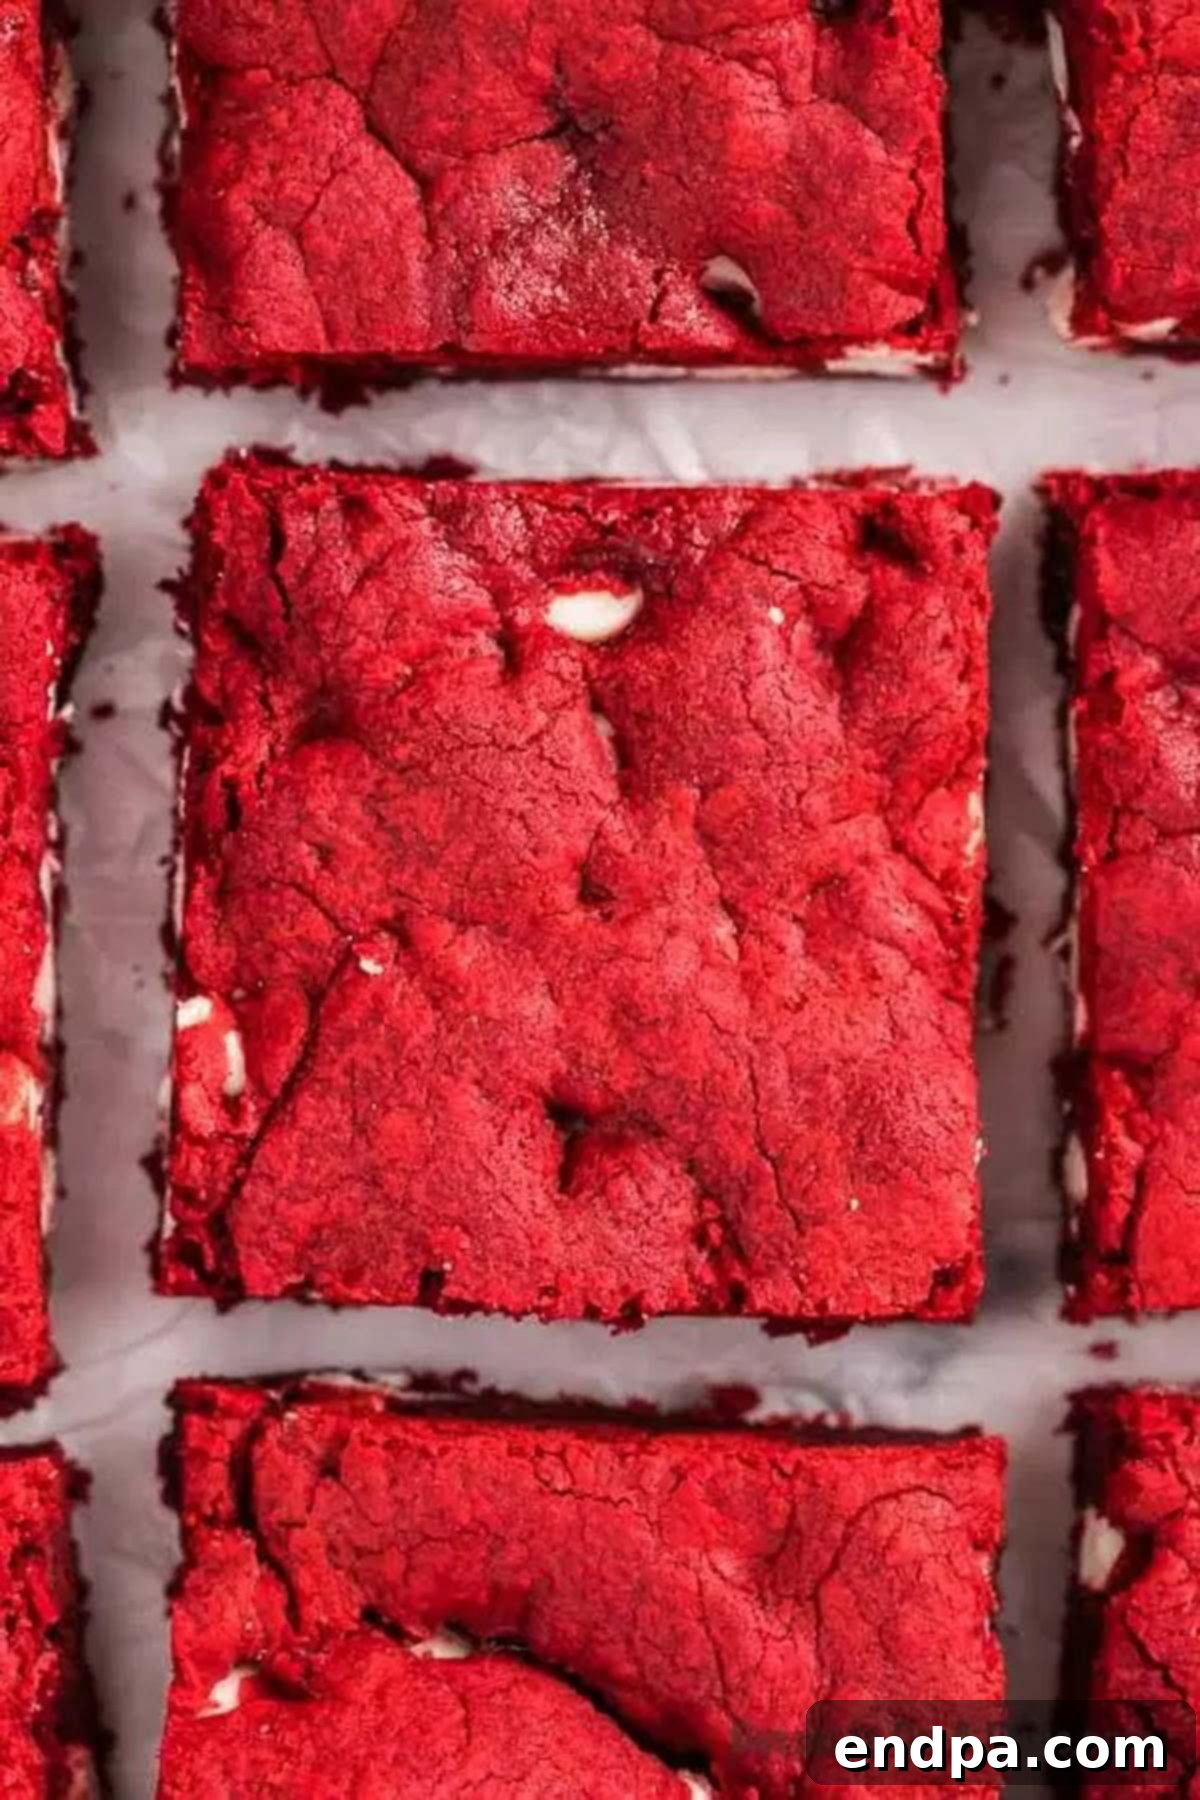
When transformed into brownies, the beloved red velvet flavor takes on a new dimension. These Red Velvet Brownies boast a wonderfully fudgy and delightfully chewy texture – a hallmark of a truly great brownie. Unlike traditional cakey brownies, ours are designed to be dense and moist, melting in your mouth without being crumbly. The flavor itself is a harmonious blend, sitting perfectly between a classic chocolate brownie and a rich vanilla one. You get that subtle hint of cocoa, the comforting sweetness of vanilla, and a satisfying depth that’s beautifully complemented by the creamy pockets of white chocolate chips. It’s a decadent experience that’s neither too sweet nor too rich, hitting just the right balance.
Simple Ingredients for Amazing Red Velvet Brownies
One of the best things about this recipe is its minimal ingredient list, proving that you don’t need a pantry full of obscure items to create something truly delicious. With just a few staple ingredients, you’ll be well on your way to baking a batch of these glorious red velvet brownies.
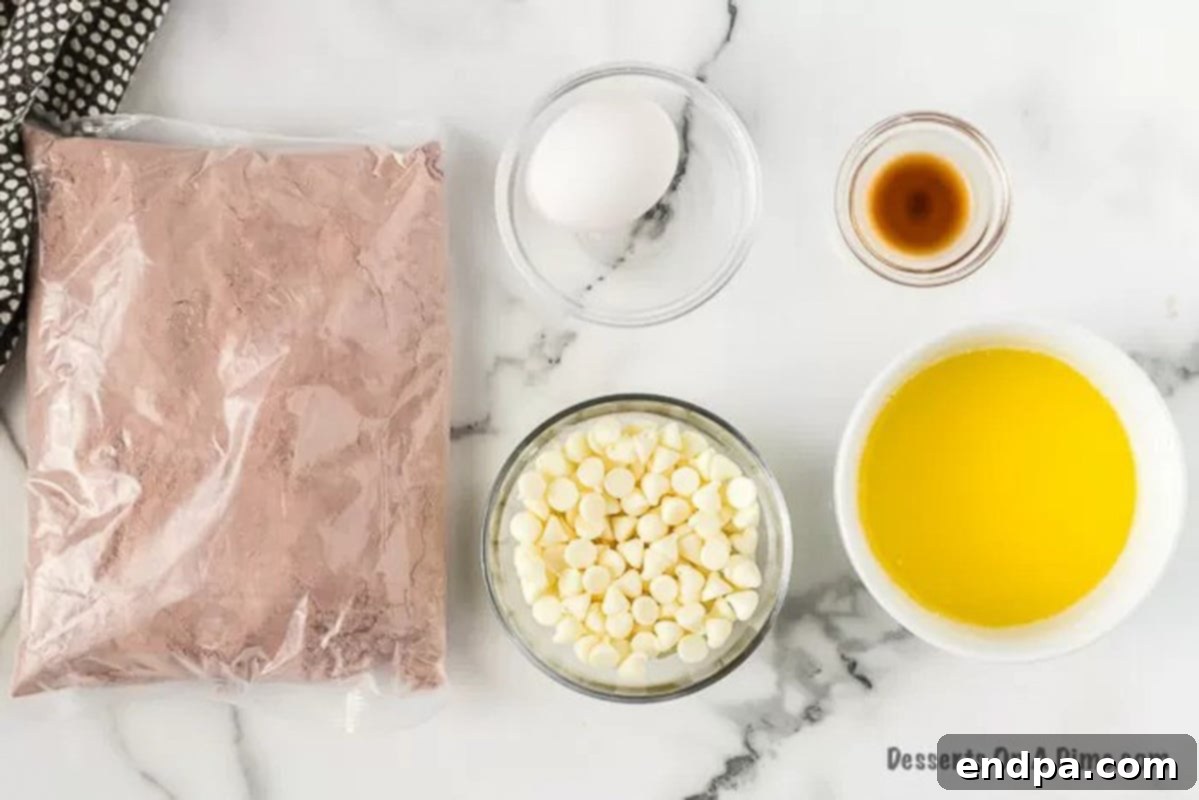
- Red Velvet Cake Mix (your favorite brand)
- Large Egg
- Unsalted Butter, melted
- Vanilla Extract (pure for best flavor)
- White Chocolate Chips (or your preferred chocolate)
For the precise measurements and the full, detailed recipe instructions, please scroll down to the dedicated recipe card at the bottom of this post.
Creative Variation Ideas for Your Red Velvet Brownies
While these Red Velvet Brownies are fantastic as they are, there’s always room for a little creativity in the kitchen! Here are some delightful ideas to customize your next batch:
- For the Cake Mix: Don’t limit yourself to just red velvet! This cake mix brownie technique is wonderfully versatile. Feel free to experiment with other flavors like chocolate fudge, vanilla, strawberry, or even seasonal mixes like spice cake for a different twist. Red velvet remains our top pick for its unique charm!
- For the Butter: If you’re out of butter or prefer an alternative, you can substitute the same amount of vegetable oil. This will yield a slightly different texture, often a bit chewier. Ensure your butter is melted and slightly cooled before mixing for the best consistency.
- For the White Chocolate Chips: While white chocolate chips provide a beautiful contrast and creamy sweetness, feel free to swap them out. Milk chocolate chips, semi-sweet chocolate chips, dark chocolate chunks, or even a mix of different chocolates would be absolutely delicious. For a festive touch, try peppermint chips during the holidays!
- Add a Luscious Topping: Elevate your brownies with a simple topping. A dusting of powdered sugar adds a touch of elegance. For ultimate indulgence, whip up a batch of tangy cream cheese frosting. Simply mix the frosting ingredients until smooth and spread it generously over the completely cooled brownies. This classic pairing is a match made in heaven!
- Introduce Other Mix-ins: Beyond chocolate chips, consider folding in chopped nuts (pecans or walnuts are fantastic), crushed cookies (like Oreos), mini marshmallows, or even a swirl of dulce de leche or peanut butter for an extra layer of flavor and texture.
- Adjust for Your Preferred Texture: If you lean towards a more cake-like brownie with a lighter crumb, simply add one more large egg to the recipe. Remember to stir eggs in one at a time, ensuring each is fully incorporated before adding the next. This slight adjustment will give you a brownie that’s less fudgy and more airy.
Step-by-Step Guide: How to Make Red Velvet Brownies from a Cake Mix
Making these brownies is incredibly straightforward, perfect for beginner bakers or when you need a quick dessert. Follow these simple steps for perfectly fudgy Red Velvet Brownies:
- Step 1: Prepare Your Oven. First, preheat your oven to 350 degrees Fahrenheit (175°C). This ensures your oven is at the correct temperature for even baking from the start.
- Step 2: Prepare Your Pan. Next, generously spray an 8×8-inch baking pan with a non-stick cooking spray. For easier cleanup and removal, you can also line the pan with parchment paper, leaving an overhang on the sides to create “handles.”
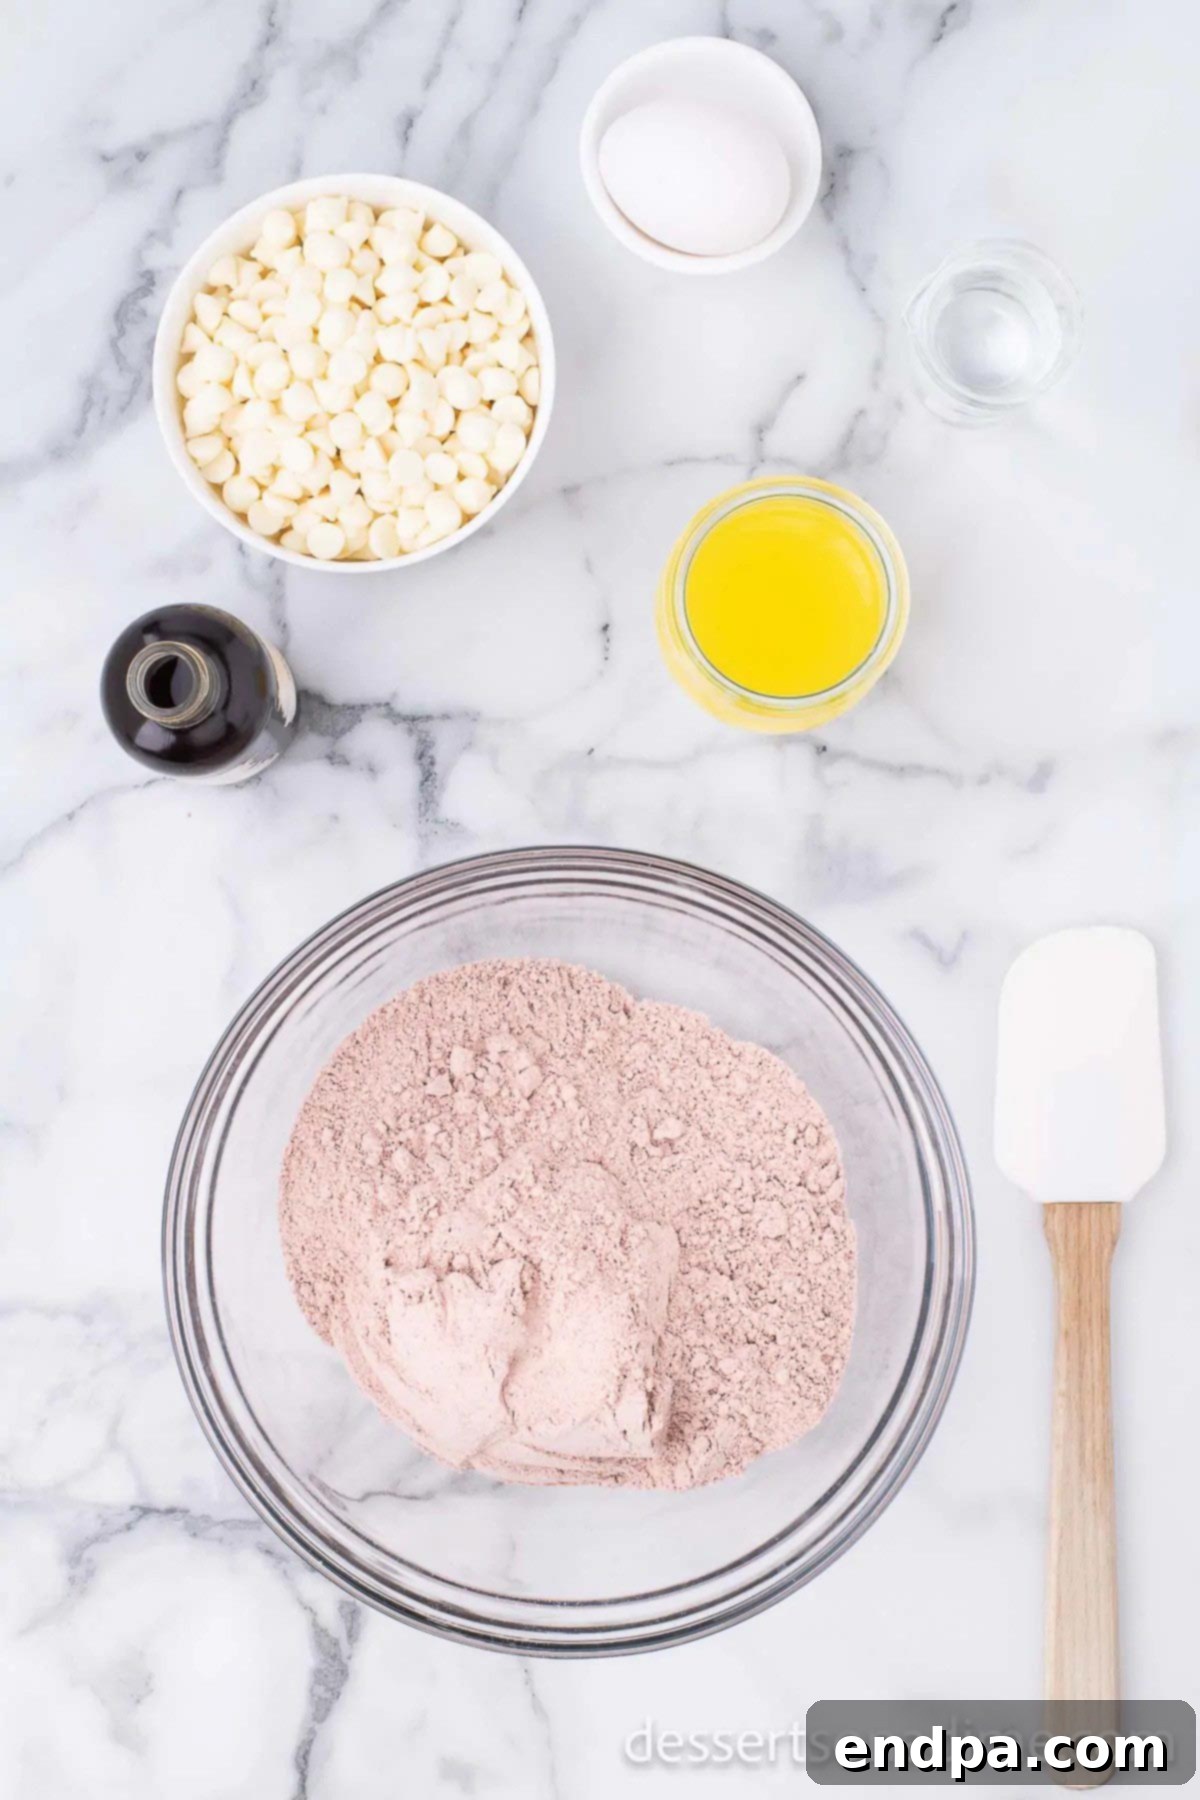
Step 3: Combine Ingredients. In a large mixing bowl, combine the entire Red Velvet Cake Mix, one egg, melted butter, and vanilla extract. Whisk these ingredients together by hand until just combined. It’s important not to overmix the batter at this stage to maintain a tender texture.
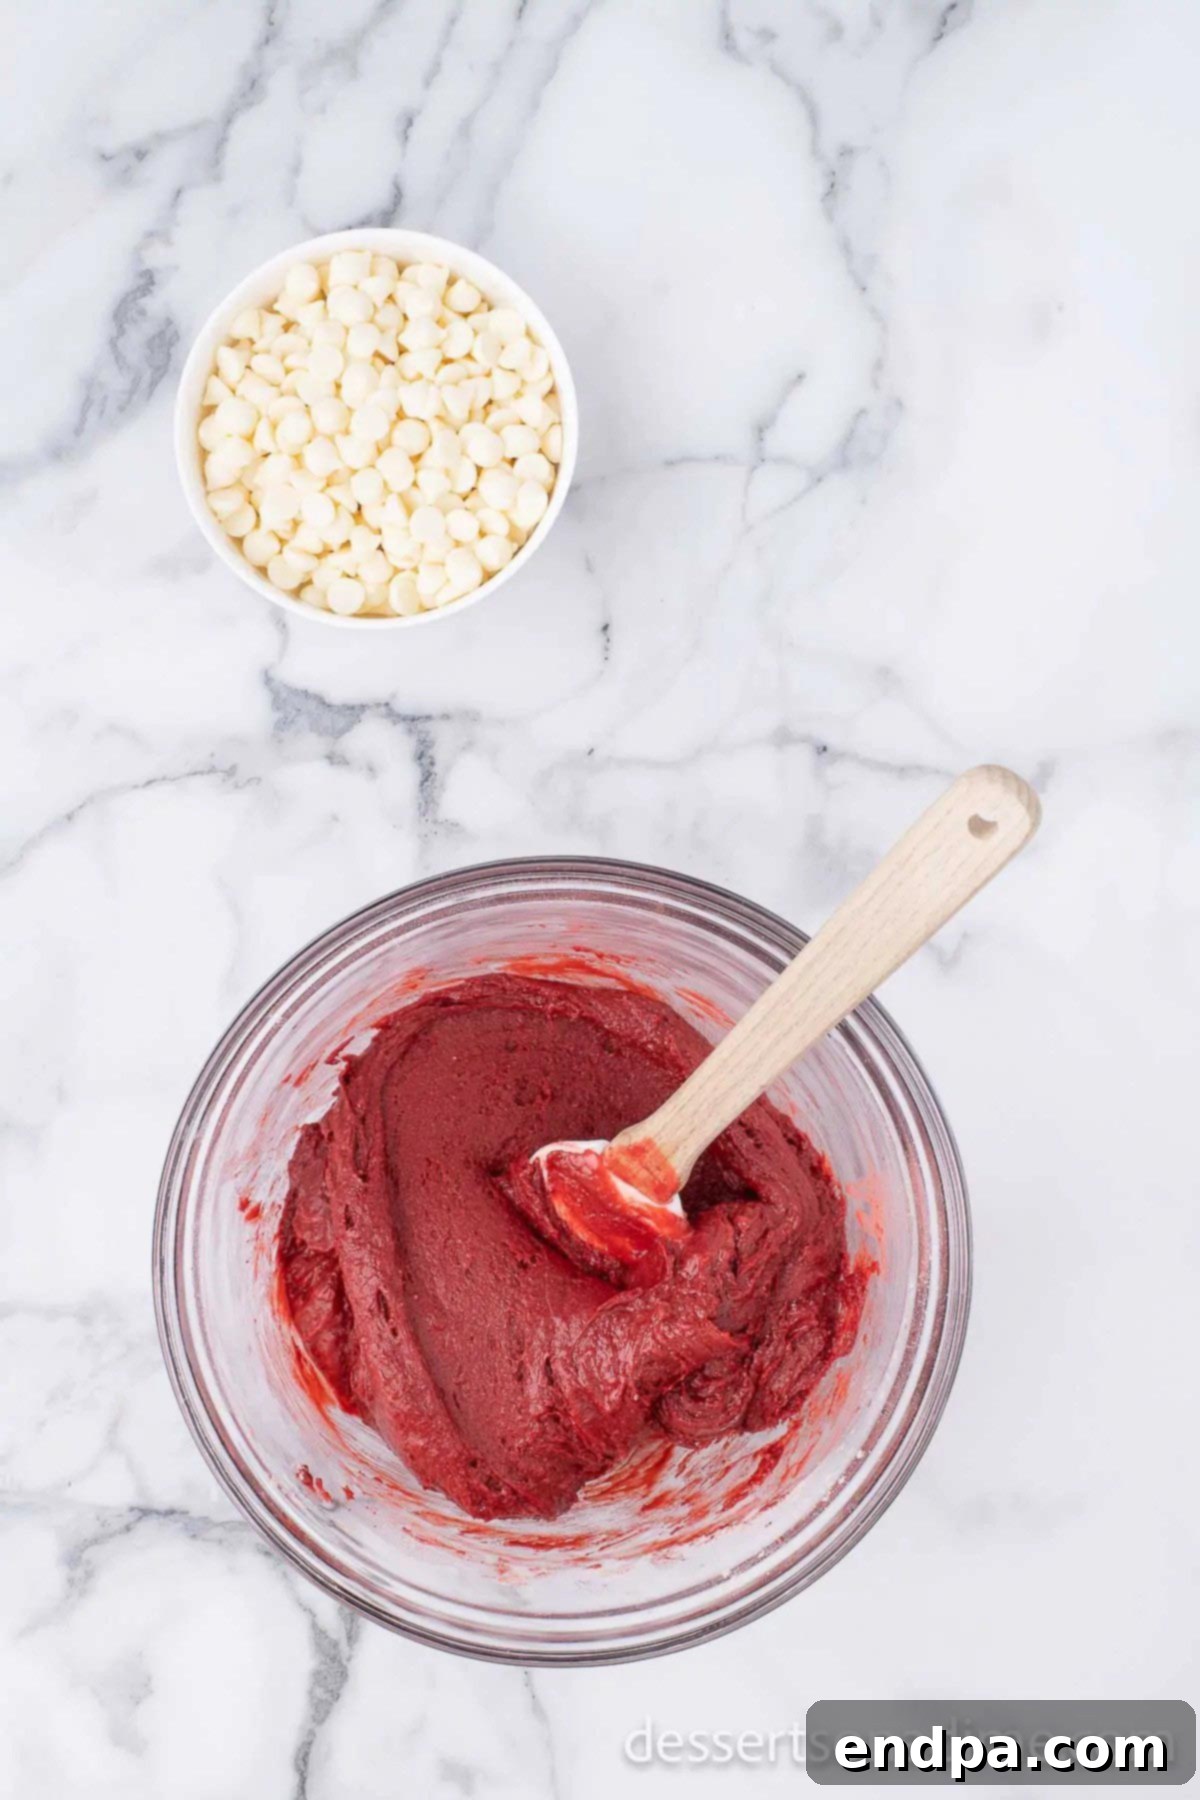
Step 4: Achieve the Right Consistency. The batter will be quite thick; this is completely normal for fudgy brownies. If you find it challenging to get the cake mix to combine fully with the melted butter and egg, add the suggested two tablespoons of water, one tablespoon at a time, until a thick, uniform batter forms. Avoid adding too much liquid, as this can alter the final texture.
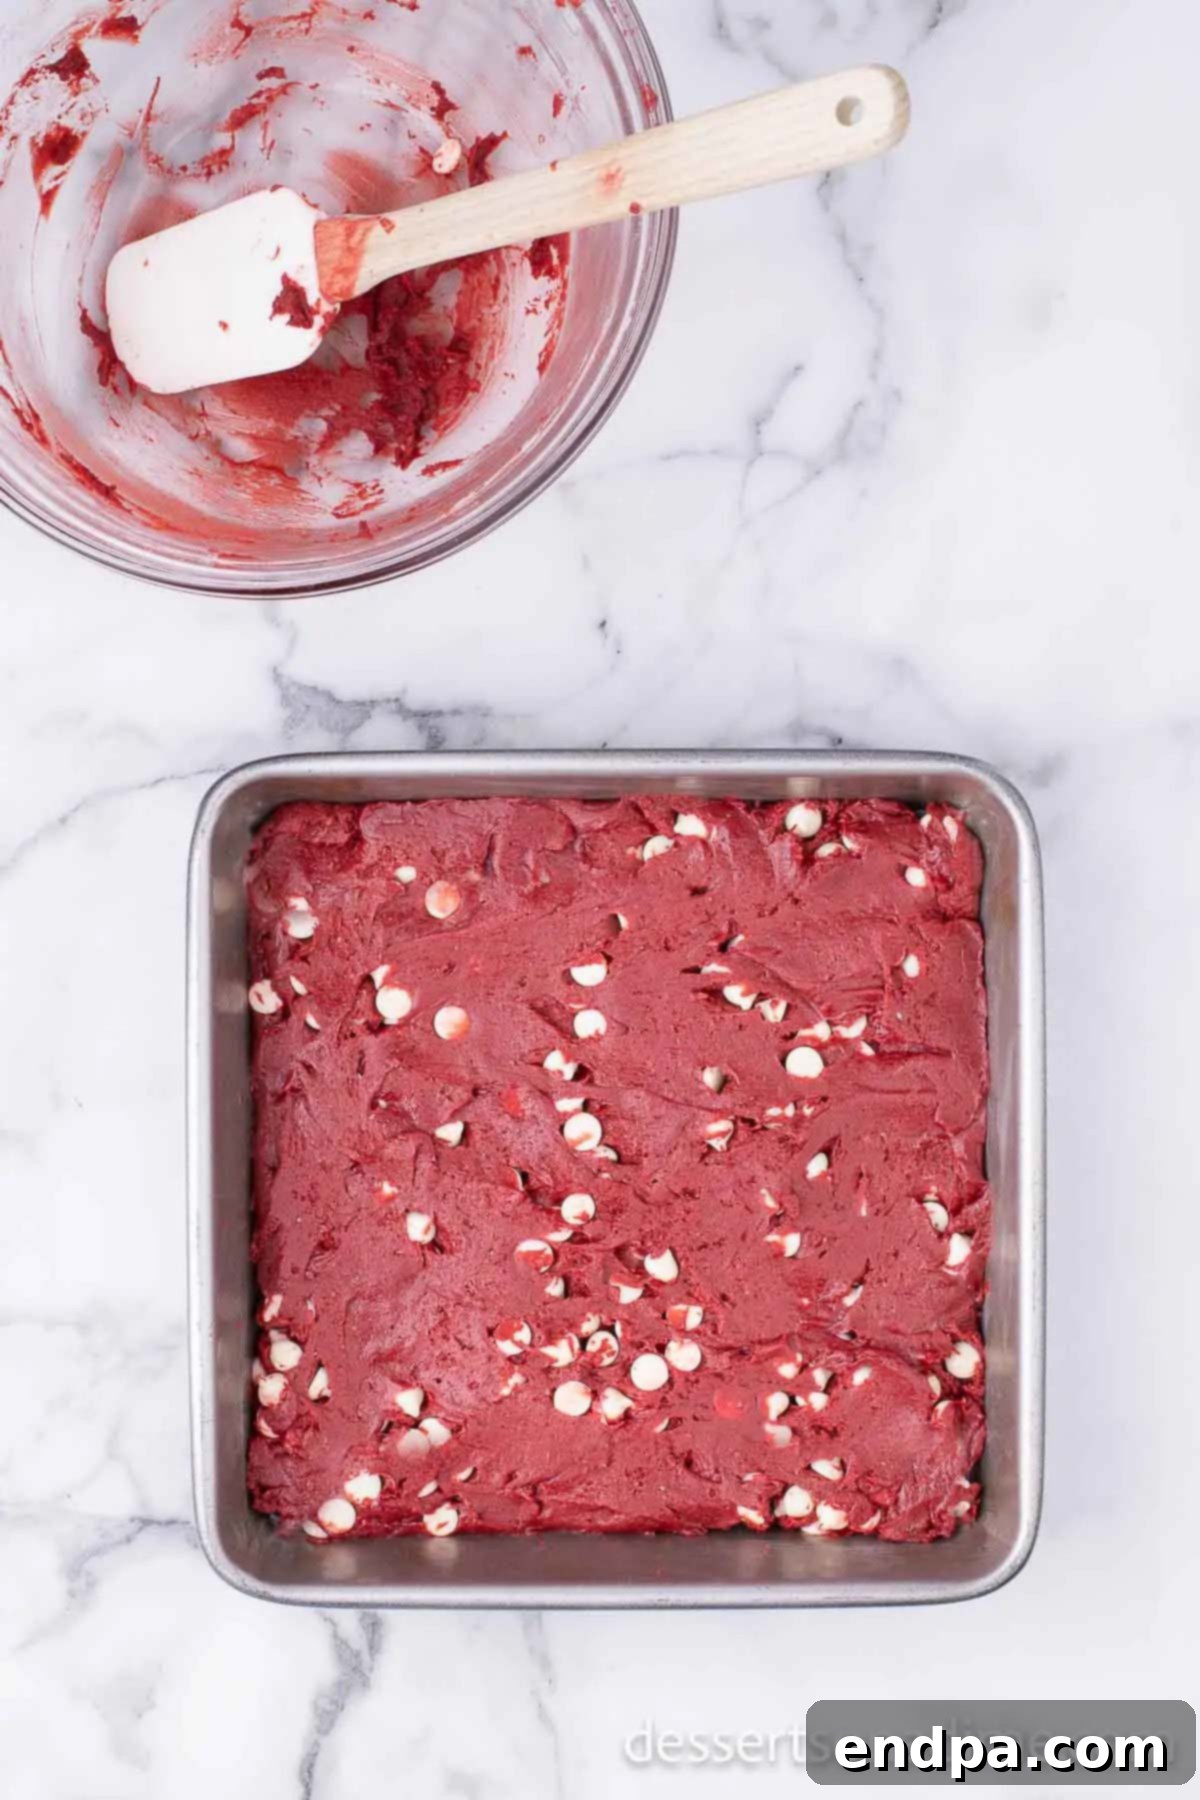
Step 5: Fold in White Chocolate Chips & Transfer. Gently fold in the white chocolate chips using a rubber spatula. It’s best to do this by hand rather than with an electric mixer to prevent overmixing and ensure the chips are evenly distributed without breaking. Once combined, pour the red velvet brownie batter into your prepared baking dish. Use the rubber spatula to spread the thick batter evenly across the bottom of the pan.
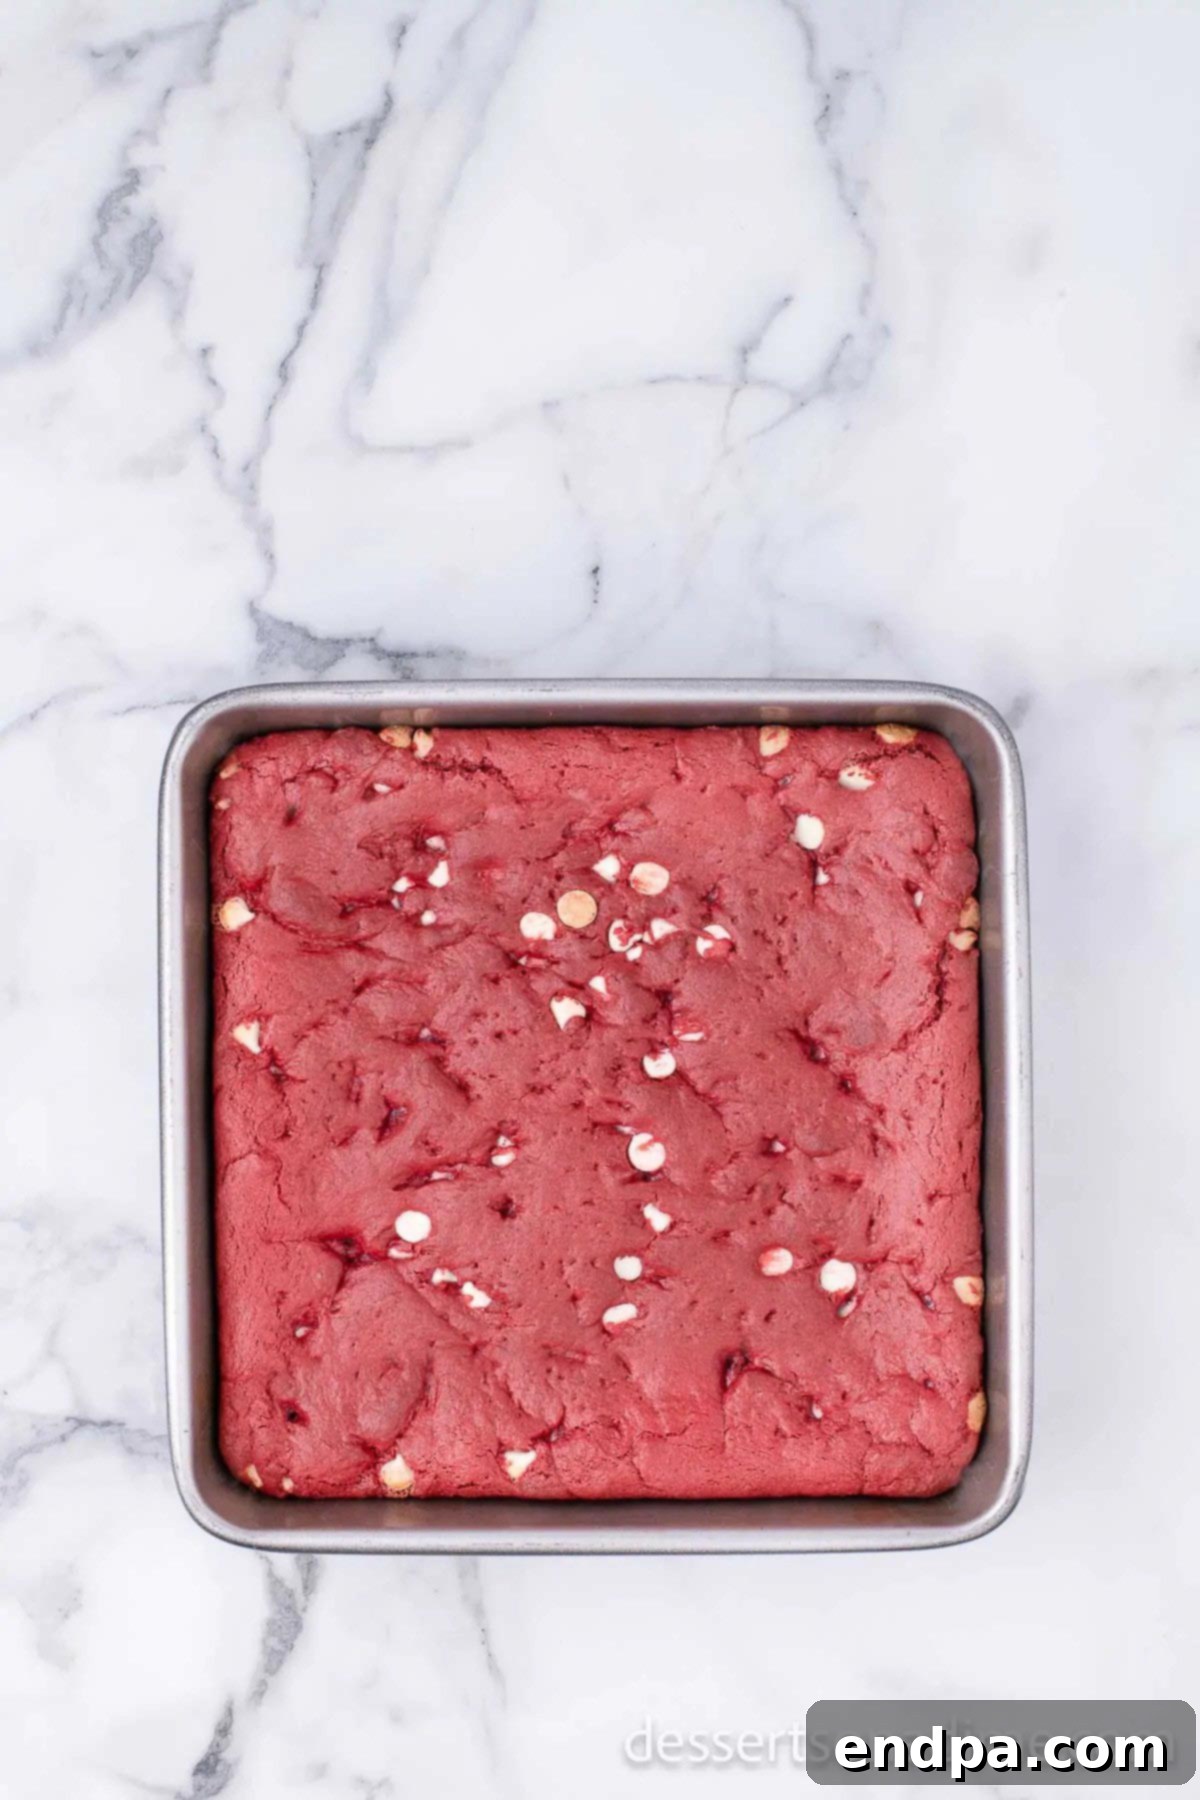
Step 6: Bake and Cool. Bake the brownies uncovered for 20-25 minutes. You’ll know they’re ready when the edges appear set and firm. The center might still look slightly soft, which is perfect for a fudgy texture. Once baked, remove the pan from the oven and let the brownies cool completely in the pan on a wire rack before attempting to slice them. Patience is key for clean cuts and the best texture!
Expert Baking Tips for Perfect Red Velvet Brownies
Achieving bakery-quality brownies at home is simpler than you think with a few clever tricks up your sleeve:
- Use Parchment Paper for Easy Cleanup: I always recommend lining your baking pan with parchment paper. Not only does it make cleanup incredibly easy, but it also allows you to lift the entire batch of cooled brownies out of the pan for perfect, effortless slicing. Leave a slight overhang on two sides for convenient “handles.”
- Invest in a Wire Rack: A wire cooling rack is an invaluable tool for any baker. It allows air to circulate around all sides of your brownies, preventing the bottom from becoming soggy and ensuring they cool evenly and completely. This is crucial for achieving the ideal fudgy texture and for cutting neat squares.
- Avoid Overmixing and Overbaking: These are the two most common culprits for dry, tough brownies. Mix the batter just until the ingredients are combined – a few lumps are fine! And keep a close eye on your brownies towards the end of the baking time. A slightly underbaked brownie will be gloriously fudgy, while an overbaked one will be dry and cakey.
- Room Temperature Ingredients: Ensure your egg is at room temperature. Room temperature ingredients emulsify more easily, creating a smoother, more uniform batter and a better texture in your final product.
- Don’t Rush the Cooling Process: It’s tempting to slice into warm brownies, but for clean, intact squares and the best fudgy consistency, they absolutely must cool completely. Warm brownies are delicate and prone to crumbling.
- Double Your Batch for Convenience: These brownies are so popular, they disappear fast! Consider making a double batch. You can easily package leftovers in small zip-top bags for quick lunchbox treats throughout the week or freeze them for future cravings. They make fantastic grab-and-go snacks.
- Pan Size Matters: This recipe is optimized for an 8×8-inch baking pan. If you use a larger pan, your brownies will be thinner and may bake faster, so adjust your baking time accordingly. For a thicker brownie, you could use a slightly smaller pan, but again, keep an eye on the baking time.
Knowing When Your Red Velvet Brownies Are Perfectly Done
Determining the perfect doneness for brownies can be tricky, as it significantly impacts their texture. For these fudgy red velvet brownies, you want to aim for a specific stage:
Watch the brownies closely, especially during the last few minutes of their estimated cook time. The edges of the brownies should appear set and baked through, firm to the touch. However, the center is where the magic happens for fudgy brownies. It should still be mostly set but will have a slight wobble when you gently shake the pan. This indicates that the center is still very moist.
Remember, brownies continue to cook slightly from residual heat as they cool in the pan. Pulling them out when the center is still a little wobbly prevents them from becoming dry or too cake-like. If you wait for a toothpick inserted in the middle to come out completely clean, you will likely end up with a denser, more cake-like brownie rather than the desired fudgy texture. Embrace the slight wobble for ultimate fudginess!
Mastering the Art of Cutting Red Velvet Brownies
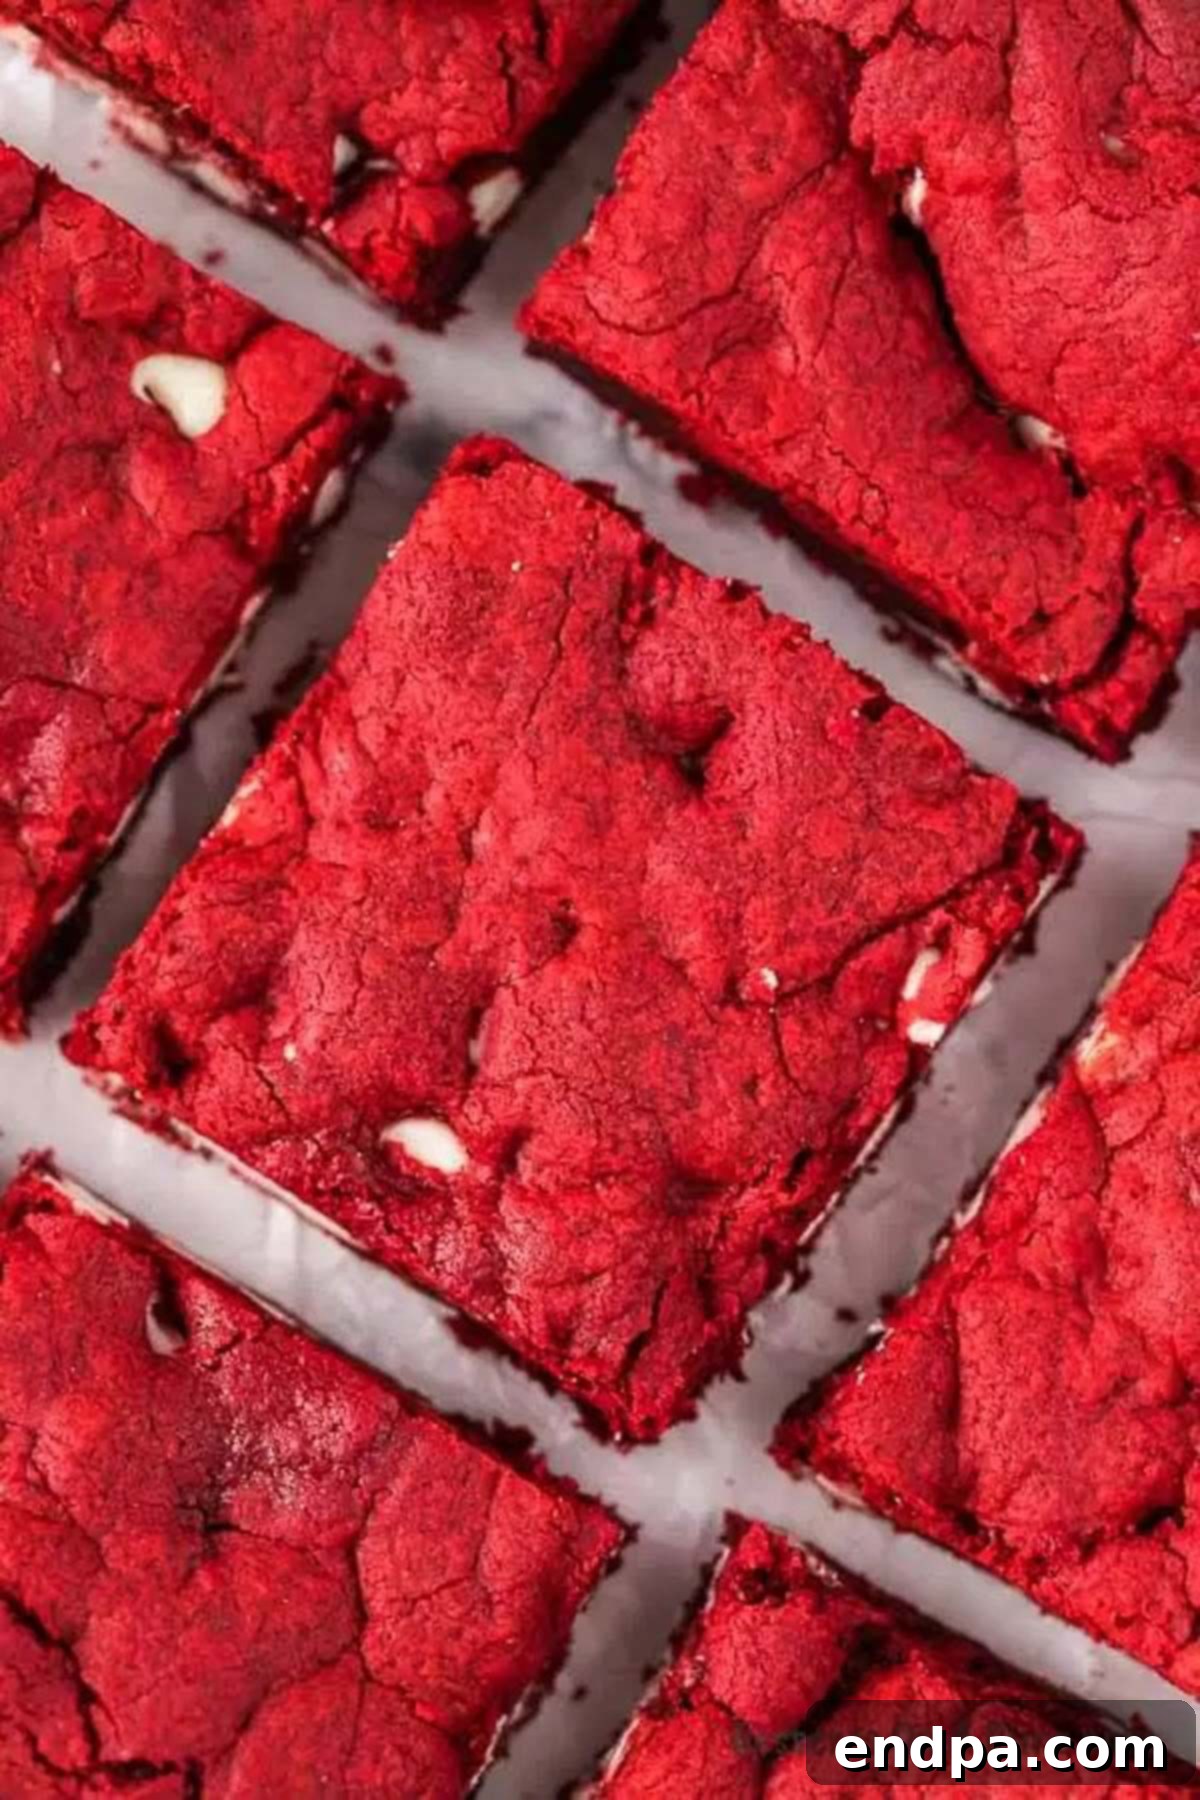
For beautifully neat and tidy squares of red velvet brownies, proper cutting technique is essential. The absolute best way to cut this red velvet brownies recipe is to allow them to cool completely. This means letting them rest in the pan for at least 1-2 hours, or even chilling them in the refrigerator for 30 minutes to an hour for extra firmness.
Once completely cooled, use a clean, sharp knife. For even cleaner cuts, many bakers recommend using a plastic knife, which surprisingly glides through brownies with ease without sticking. Alternatively, if using a regular metal knife, coat the blade lightly with cooking spray or run it under hot water and wipe it dry between each cut. This prevents the fudgy brownie from sticking and dragging, giving you perfect, clean edges every time. Cut in a straight line, clean the knife, then make your next cut.
Serving Suggestions to Elevate Your Red Velvet Brownies
These brownies are incredibly versatile and delicious on their own, but a few simple additions can turn them into an extraordinary dessert:
- Warm with Ice Cream: Our absolute favorite way to enjoy these brownies is served warm with a generous scoop of creamy vanilla ice cream. The warm brownie melting into cold ice cream is a heavenly combination!
- A Dollop of Whipped Cream: A swirl of freshly whipped cream adds a touch of lightness and complements the rich brownie flavor beautifully.
- A Dusting of Powdered Sugar: Simple yet elegant, a light dusting of powdered sugar makes these brownies presentation-ready with minimal effort.
- Pair with Coffee or Milk: A classic combination, these brownies are perfect alongside a hot cup of coffee, a refreshing glass of milk, or even a fancy latte.
- Garnish with Berries: Fresh raspberries or strawberries add a pop of color and a tart counterpoint to the sweet brownies, especially fitting for Valentine’s Day or other festive occasions.
- Perfect for Gifting: Wrap individual brownies or small batches in festive packaging for homemade gifts that everyone will appreciate.
Frequently Asked Questions About Red Velvet Brownies
Store leftover red velvet cake mix brownies in an airtight container at room temperature for up to 4 days. While they technically last that long, they generally disappear much faster in my house due to their deliciousness!
Absolutely! Brownies freeze wonderfully. Ensure that the brownies have cooled completely to room temperature. For best results, cut the brownies into individual pieces. Wrap each piece tightly with plastic wrap, then place the individual wrapped pieces in a freezer-safe bag or airtight container. They can be frozen for up to 3 months.
To thaw frozen brownies, simply place them on a plate at room temperature and let them sit until fully defrosted, which usually takes about 30-60 minutes depending on their size. If you prefer them warm, you can pop them in the microwave for 10-20 seconds. This method of freezing individual pieces is my favorite because it allows you to easily defrost just the amount you want to enjoy that evening, keeping the rest perfectly fresh for later.
Yes, you can, but you may need to adjust the baking time. If you use a 9×13-inch pan, the brownies will be thinner and bake faster (around 18-22 minutes). If you use a smaller pan (e.g., 9×9 inch), they will be thicker and require a slightly longer baking time (25-30 minutes or more). Always monitor for doneness as described in the “Knowing When Your Brownies Are Done” section.
The batter for these brownies is intentionally thick to ensure a fudgy texture. However, if it’s too thick to mix or spread easily, add water one tablespoon at a time, up to a maximum of 2 tablespoons, until it reaches a manageable consistency. Avoid adding too much liquid, as it can make the brownies more cake-like.
More Decadent Homemade Brownie Recipes to Explore
If you’ve fallen in love with these easy Red Velvet Brownies, you’ll definitely want to try some of these other fantastic brownie recipes that are perfect for any sweet craving:
- Brownie Cookies
- Raspberry Cheesecake Brownies Recipe
- One Bowl Brownies
- Butterscotch Brownies
- Buckeye Brownie Cookies Recipe
Discover More Irresistible Red Velvet Delights
Can’t get enough of that iconic red velvet flavor? Here are even more delightful red velvet recipes that are sure to satisfy your cravings for this classic dessert:
- Easy Red Velvet Cookies Recipe
- Red Velvet Cake Pops Recipe
- Red Velvet Funnel Cake Recipe
- Cheesecake Factory Red Velvet Cheesecake Recipe
- Red Velvet Cake Balls Recipe
- Red Velvet Ice Cream
We absolutely love hearing from you! If you make these incredible red velvet brownies, please take a moment to leave us a star review and share your thoughts. Your feedback helps us and other home bakers discover delicious recipes!
Red Velvet Brownies Recipe
The secret to these easy Red Velvet Brownies is a cake mix. Each bite is decadent and loaded with white chocolate chips. Give it a try!
Prep Time: 10 minutes
Cook Time: 25 minutes
Total Time: 35 minutes
Servings: 12
Cuisine: American
Course: Dessert
Calories: 309
Author: Carrie Barnard
Ingredients
- 1 Red Velvet Cake Mix (standard box, typically 15.25 oz or 432g)
- 1 large egg
- 1/2 cup (1 stick) unsalted butter, melted
- 2 Tablespoons water (if needed, see instructions)
- 1 tsp vanilla extract
- 1 cup white chocolate chips
Instructions
- Preheat your oven to 350 degrees F (175°C).
- Spray an 8×8-inch baking pan with non-stick cooking spray, or line with parchment paper for easy removal.
- In a large mixing bowl, combine the red velvet cake mix, egg, melted butter, and vanilla extract. Stir together by hand until just combined. The batter will be thick. If it’s too thick to stir, add water one tablespoon at a time until a workable consistency is achieved (up to 2 tablespoons).
- Gently fold in the white chocolate chips with a spatula.
- Pour the batter into the prepared baking dish and spread evenly.
- Bake uncovered for 20-25 minutes. The edges will be firm, but the center may still be slightly wobbly (this is ideal for fudgy brownies).
- Remove from oven and let the brownies cool completely in the pan on a wire rack before slicing and enjoying!
Recipe Video
Nutrition Facts
Calories: 309 kcal
Carbohydrates: 35 g
Protein: 4 g
Fat: 18 g
Saturated Fat: 9 g
Cholesterol: 37 mg
Sodium: 383 mg
Potassium: 167 mg
Fiber: 1 g
Sugar: 23 g
Vitamin A: 261 IU
Vitamin C: 1 mg
Calcium: 88 mg
Iron: 2 mg
