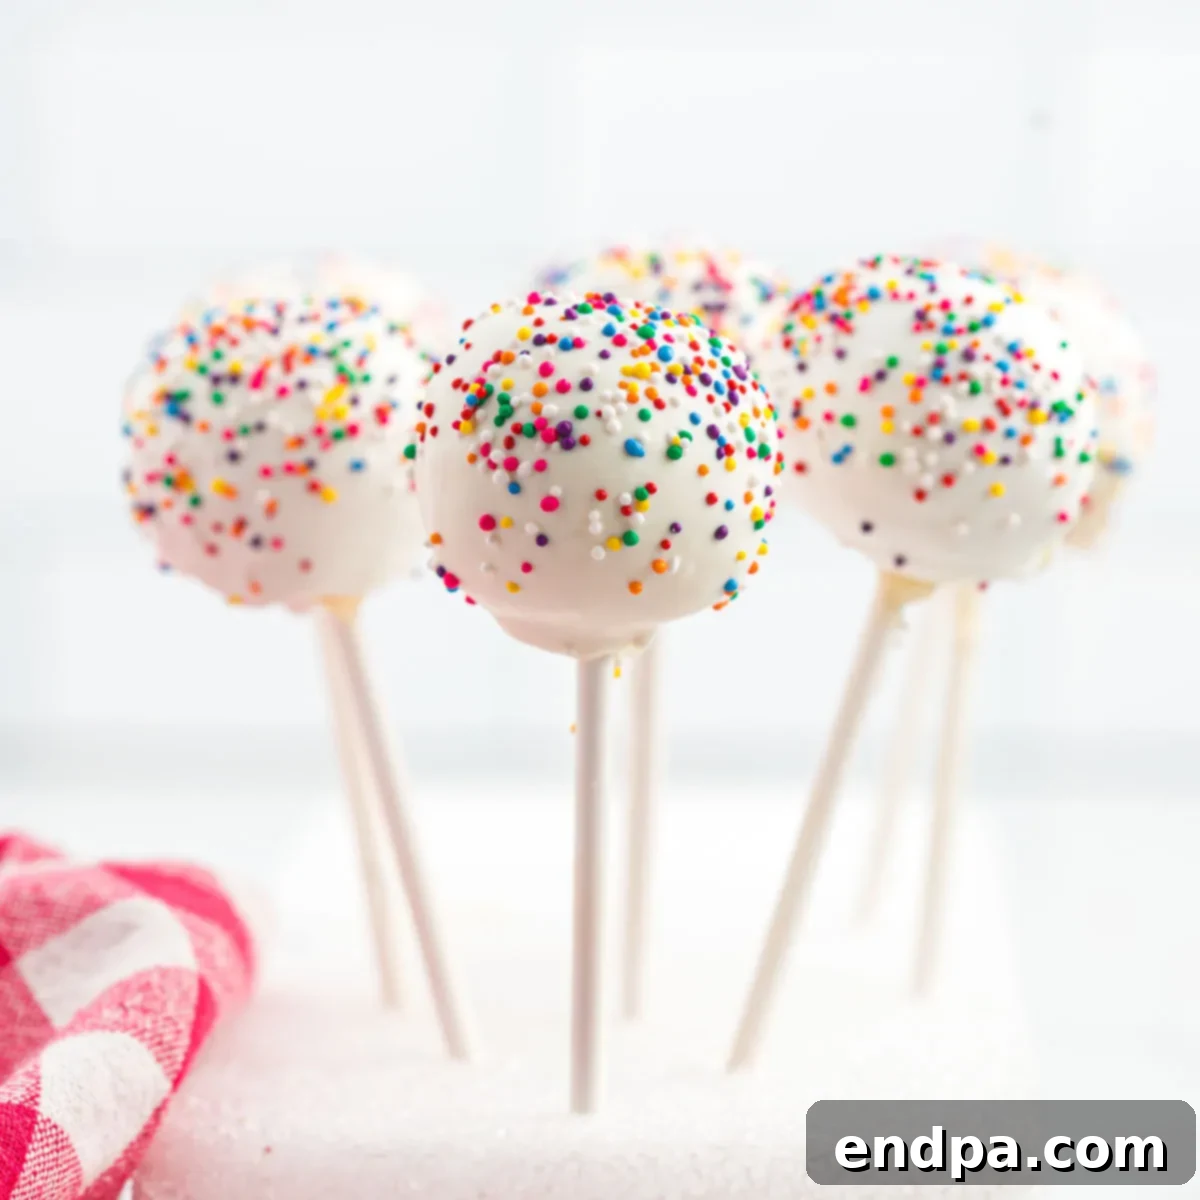
Easy Cake Pop Recipe: Your Guide to Perfect Homemade Treats
Welcome to your ultimate guide for creating incredibly easy and undeniably delicious homemade cake pops! Whether you’re planning a dazzling birthday party, preparing festive holiday treats, or simply looking for a fun and creative dessert for any special occasion, this cake pop recipe is your secret weapon. Starting with a simple cake mix, we’ll transform ordinary cake into enchanting, bite-sized delights that are guaranteed to impress everyone, from kids to adults. Say goodbye to expensive bakery prices and hello to the joy of making these adorable and customizable party treats right in your own kitchen.
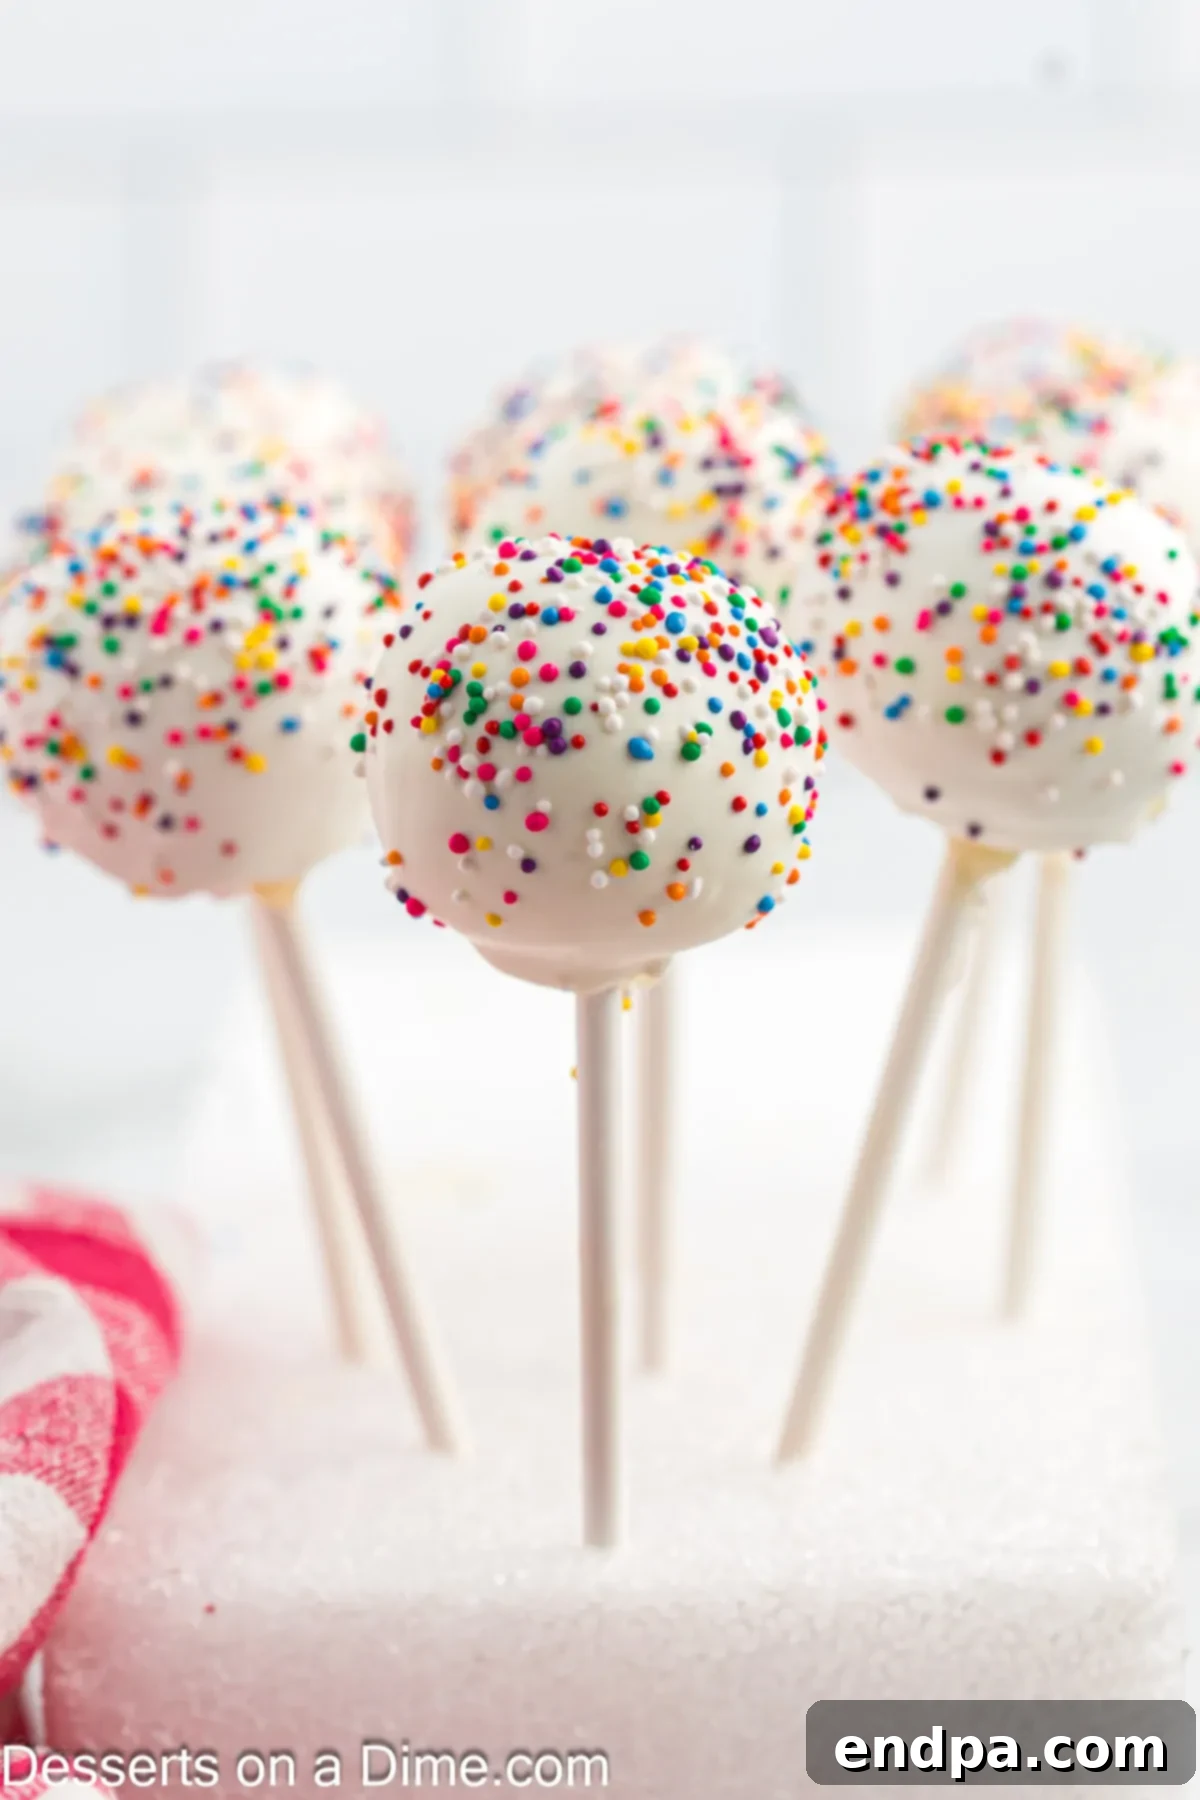
Learning how to make cake pops is a rewarding experience. This guide provides simple, step-by-step instructions that ensure even novice bakers can achieve perfectly spherical, beautifully coated treats. Not only will you save a significant amount of money by making these at home, but you’ll also enjoy the creative freedom to customize them to your heart’s content. If you love variety, be sure to explore other popular cake pop ideas like Brownie Cake Pops, Oreo Cake Pops, and Cookie Dough Cake Pops – all perfect for adding a unique twist to your dessert spread.
What’s in this post: Easy Cake Pop Recipe Guide
- Why You’ll Adore This Easy Cake Pop Recipe
- Essential Ingredients for Your Cake Pops
- Creative Variations and Smart Substitutions
- Step-by-Step Guide to Making Perfect Cake Pops
- Expert Pro Tips for Cake Pop Perfection
- Frequently Asked Questions About Cake Pops
- More Easy Cake Pop Recipes to Inspire You
- Full Cake Pop Recipe Card
Why You’ll Adore This Easy Cake Pop Recipe
There are countless reasons why homemade cake pops have become a beloved dessert, and this particular recipe makes the process incredibly enjoyable and accessible. Here’s why you’ll fall in love with making them:
- Effortless Beginning with a Cake Mix: Our recipe intelligently starts with a boxed cake mix, significantly cutting down on prep time and simplifying the baking process. This means you get to enjoy the fun decorating part without the stress of baking from scratch. It’s perfect for busy schedules and ensures consistently delicious results every time.
- Incredibly Budget-Friendly: Forget about paying premium prices for custom treats at a bakery. Making a large batch of these homemade cake pops costs just a fraction of the price. You can create an impressive dessert spread without breaking the bank, making them ideal for large gatherings and events.
- A Guaranteed Kid-Friendly Hit: Cake pops are universally adored, especially by children. Their compact size, playful appearance, and customizable decorations make them an exciting treat. They’re easy for little hands to hold and eat, making them a mess-free and highly anticipated addition to any party or family celebration.
- Endless Customization Options: From the cake flavor to the frosting, candy coating, and sprinkles, every element of a cake pop can be tailored to match your theme or personal preference. This versatility allows you to unleash your creativity and make each batch uniquely yours.
- Perfect for Any Occasion: While often associated with birthdays, cake pops are fantastic for any holiday, school event, baby shower, or just a simple weekend treat. Their festive nature makes them adaptable to any celebration, big or small.
Essential Ingredients for Your Cake Pops
Crafting these delightful cake pops requires just a few basic ingredients, most of which you likely already have in your pantry or can easily find at any grocery store. The beauty of this recipe lies in its simplicity and the ability to customize flavors.
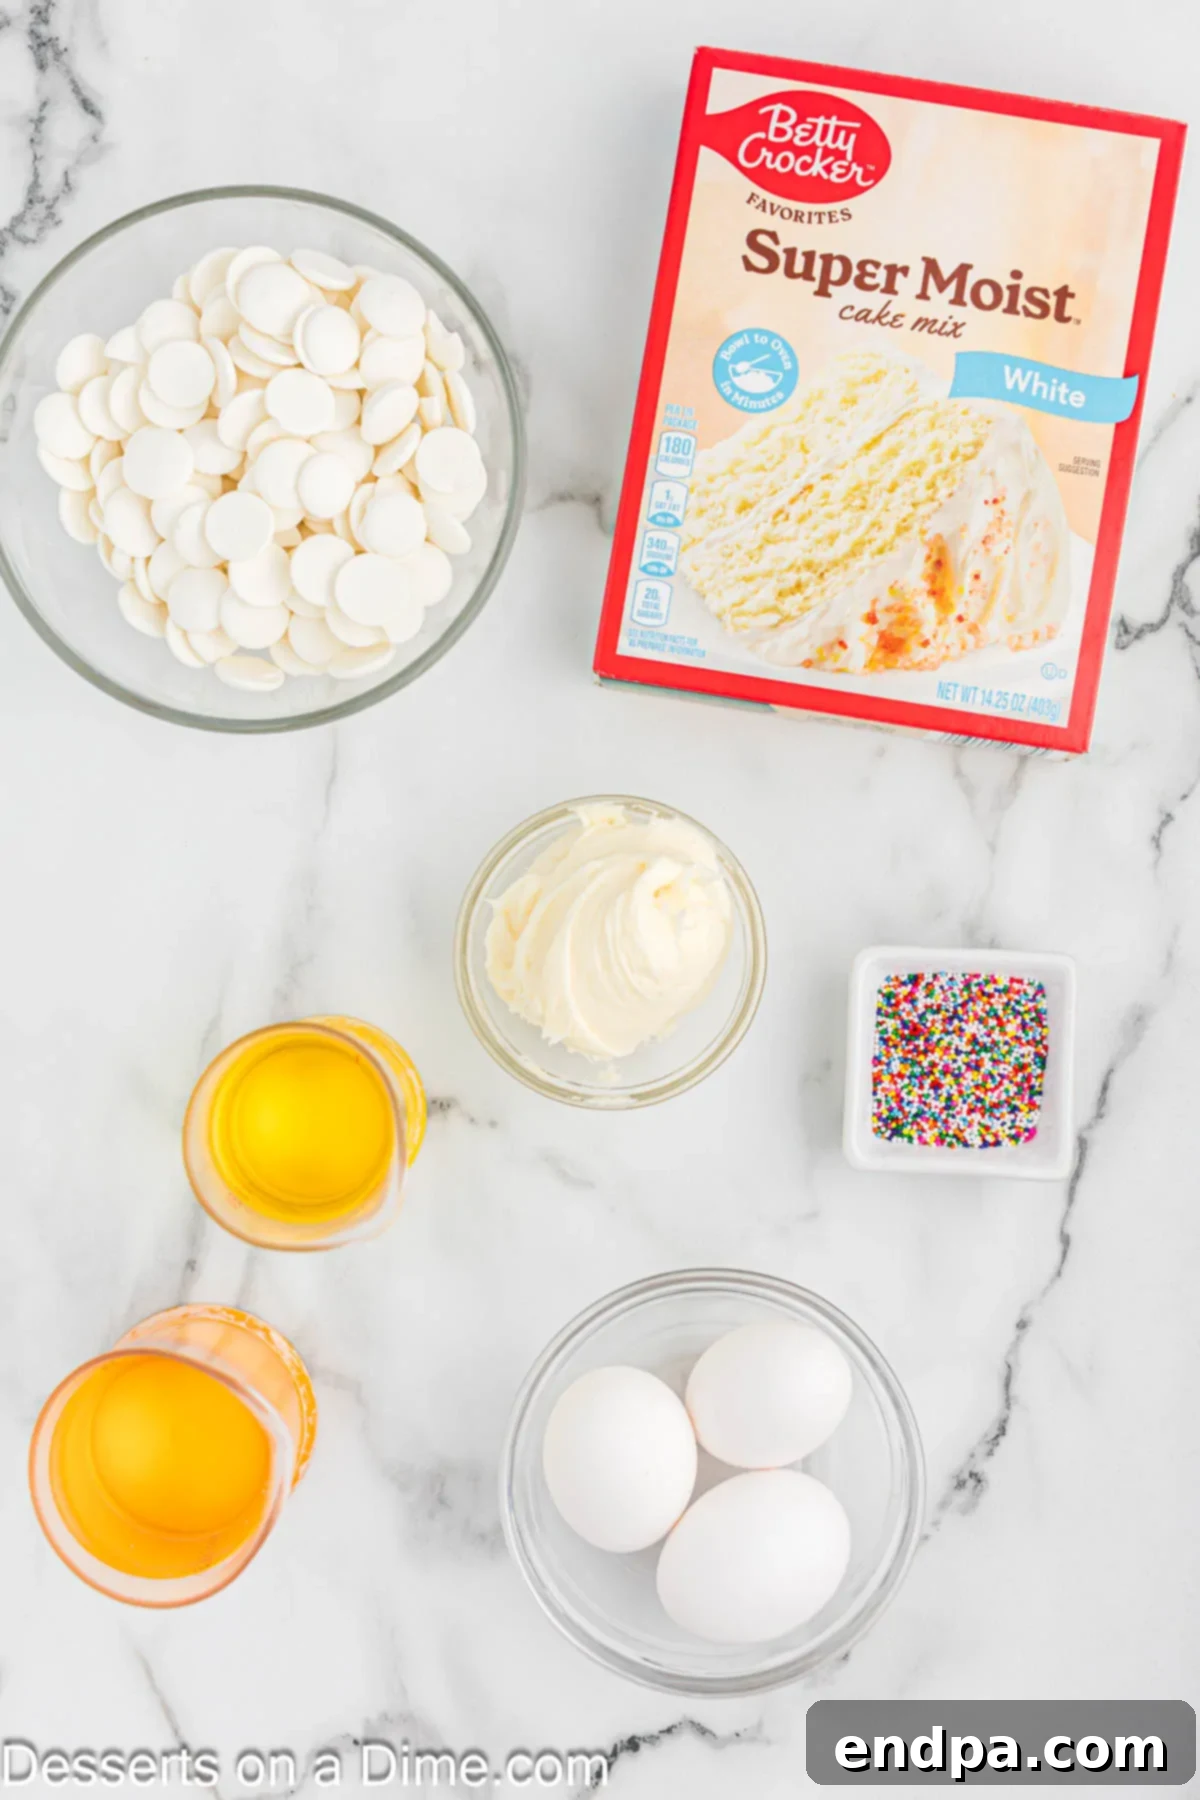
- Classic White Cake Mix: This is our foundation. While white is versatile, feel free to use any flavor you prefer.
- Vegetable Oil: For moistness in your cake.
- Large Eggs: Essential for the cake’s structure and richness.
- Vanilla Frosting: This acts as the “glue” that binds the crumbled cake into perfect spheres. Store-bought vanilla frosting is a convenient choice, or you can opt for a homemade version for an extra touch of flavor. Ensure it’s not too stiff for easy mixing.
- Lollipop Sticks: The signature component for holding your cake pops. Available at most craft or baking supply stores.
- Candy Melts: These provide the smooth, colorful, and quick-setting outer shell. They come in a rainbow of colors, allowing for endless decorative possibilities. Choose your favorite color to match your theme!
- Multi-Colored Sprinkles: The final touch for decoration, adding texture and a festive look. Don’t be afraid to get creative with different types and colors of sprinkles.
You can find the complete ingredient list with precise measurements and detailed instructions in the full recipe card at the bottom of this post.
Creative Variations and Smart Substitutions
One of the most exciting aspects of making cake pops is the freedom to experiment with different flavors and decorations. This versatility ensures that your cake pops can always be tailored to suit any palate, party theme, or seasonal celebration.
- White Chocolate vs. Candy Melts: While candy melts are designed for easy melting and setting, you can absolutely substitute them with good quality white chocolate. For best results, use white chocolate melting wafers or chop a bar of white chocolate finely. You might need to add a teaspoon of coconut oil or shortening to thin it slightly for easier dipping. Dark or milk chocolate can also be used for a classic chocolate cake pop.
-
Frosting Flavors Beyond Vanilla: Expand your flavor profile by trying different frosting varieties.
- Cream Cheese Frosting: Adds a delightful tang and richness, pairing wonderfully with red velvet or carrot cake mixes. Our homemade cream cheese frosting is an excellent choice.
- Chocolate Frosting: Perfect for creating double chocolate cake pops or adding depth to a classic white cake.
- Lemon Frosting: Brightens up vanilla or lemon cake mixes with a zesty kick.
- Strawberry Frosting: Complements strawberry or vanilla cake mixes beautifully.
-
Explore Different Cake Flavors: The base cake mix offers a world of possibilities. Don’t limit yourself to just classic white!
- Strawberry Cake: For a vibrant, fruity flavor and color.
- Vanilla Cake: A classic, comforting choice that pairs well with almost any frosting and coating.
- Red Velvet Cake: Offers a rich flavor and stunning deep red interior, especially when paired with cream cheese frosting.
- Lemon Cake: A refreshing option, perfect for spring or summer.
- Chocolate Cake Pops: A timeless favorite, especially when combined with chocolate or peanut butter frosting. Try our Starbucks Chocolate Cake Pops recipe for inspiration.
- Spice Cake or Pumpkin Cake: Excellent choices for fall and winter holidays.
-
Customizing Sprinkles and Toppings: Sprinkles are your canvas for creativity!
- Seasonal Sprinkles: Use red and green for Christmas, pastels for Easter, orange and black for Halloween, or patriotic colors for national holidays.
- Themed Sprinkles: Match sprinkles to a party theme, like mermaid scales, dinosaur shapes, or tiny stars.
- Edible Glitter or Dust: Add a touch of elegance and sparkle for a sophisticated look.
- Drizzles: After the main candy coating has set, use a contrasting color of melted candy melts or chocolate to drizzle intricate patterns over your cake pops.
- Crushed Nuts or Cookies: Roll the freshly dipped cake pops in finely crushed nuts (pecans, walnuts), crushed Oreos, or graham crackers for added flavor and texture.
Step-by-Step Guide to Making Perfect Cake Pops
Follow these detailed instructions carefully to ensure your cake pops turn out beautifully moist, perfectly shaped, and smoothly coated. Each step is designed to make the process as straightforward as possible.
Expert Pro Tips for Cake Pop Perfection
Achieving bakery-quality cake pops at home is easier than you think with a few insider tricks. These pro tips will help you avoid common pitfalls and ensure your cake pops are flawless every time.
- Ensure Proper Frosting Amount: The ratio of crumbled cake to frosting is crucial. Too little frosting will result in dry, crumbly cake balls that won’t hold their shape or may crack when dipped. Too much frosting will make the mixture too sticky and difficult to roll. Aim for a consistency that resembles dense cookie dough – firm enough to roll but still pliable. If your mixture feels too dry, add a tiny bit more frosting; if too wet, add a tablespoon of powdered sugar or finely crushed vanilla wafers to absorb moisture.
- Pre-Chill for Stability: Freezing the cake balls before dipping is a non-negotiable step. This ensures they are firm and less likely to fall apart or slip off the stick when submerged in the warm candy melts. However, beware of over-freezing (more than 15-20 minutes for average-sized cake pops). Cake balls that are too cold can create a stark temperature difference with the warm candy, leading to frustrating cracks in your beautiful coating as it dries.
- Maintain Optimal Candy Melt Consistency: If your candy melts are too thick, they will create a clumpy, uneven coating. To thin them, add a very small amount (1/2 teaspoon at a time) of coconut oil, vegetable shortening (like Crisco), or a specialized candy thinning agent. Stir until you reach a smooth, pourable consistency that coats the back of a spoon without being too heavy. Avoid adding water, as this will cause the candy melts to seize.
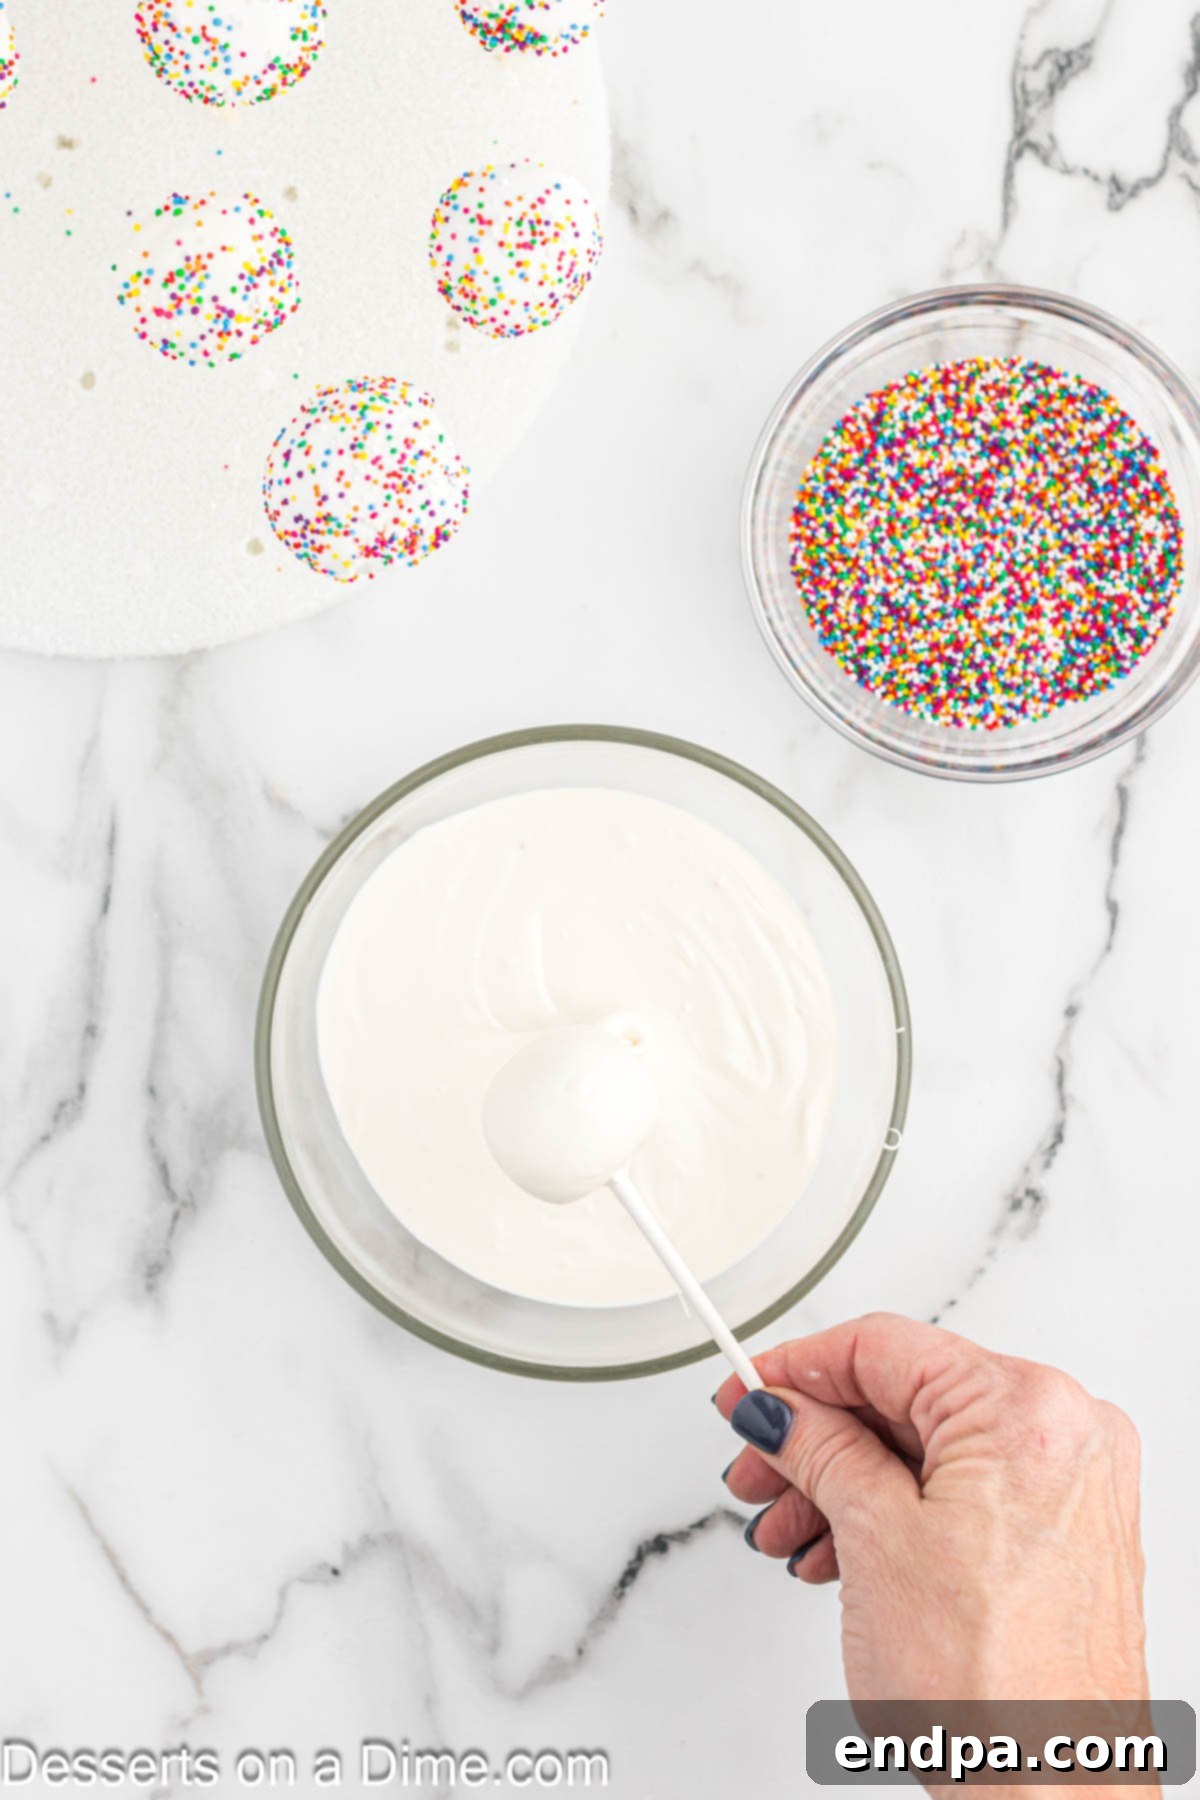
- Smooth Dipping Technique: For a perfect coating, dip the cake pop straight down into the melted candy until it’s fully submerged. Then, lift it straight up, gently tapping the stick against the side of the bowl. Rotate the cake pop as you tap to encourage excess candy to drip off, creating a smooth finish. Work quickly, as candy melts harden fast.
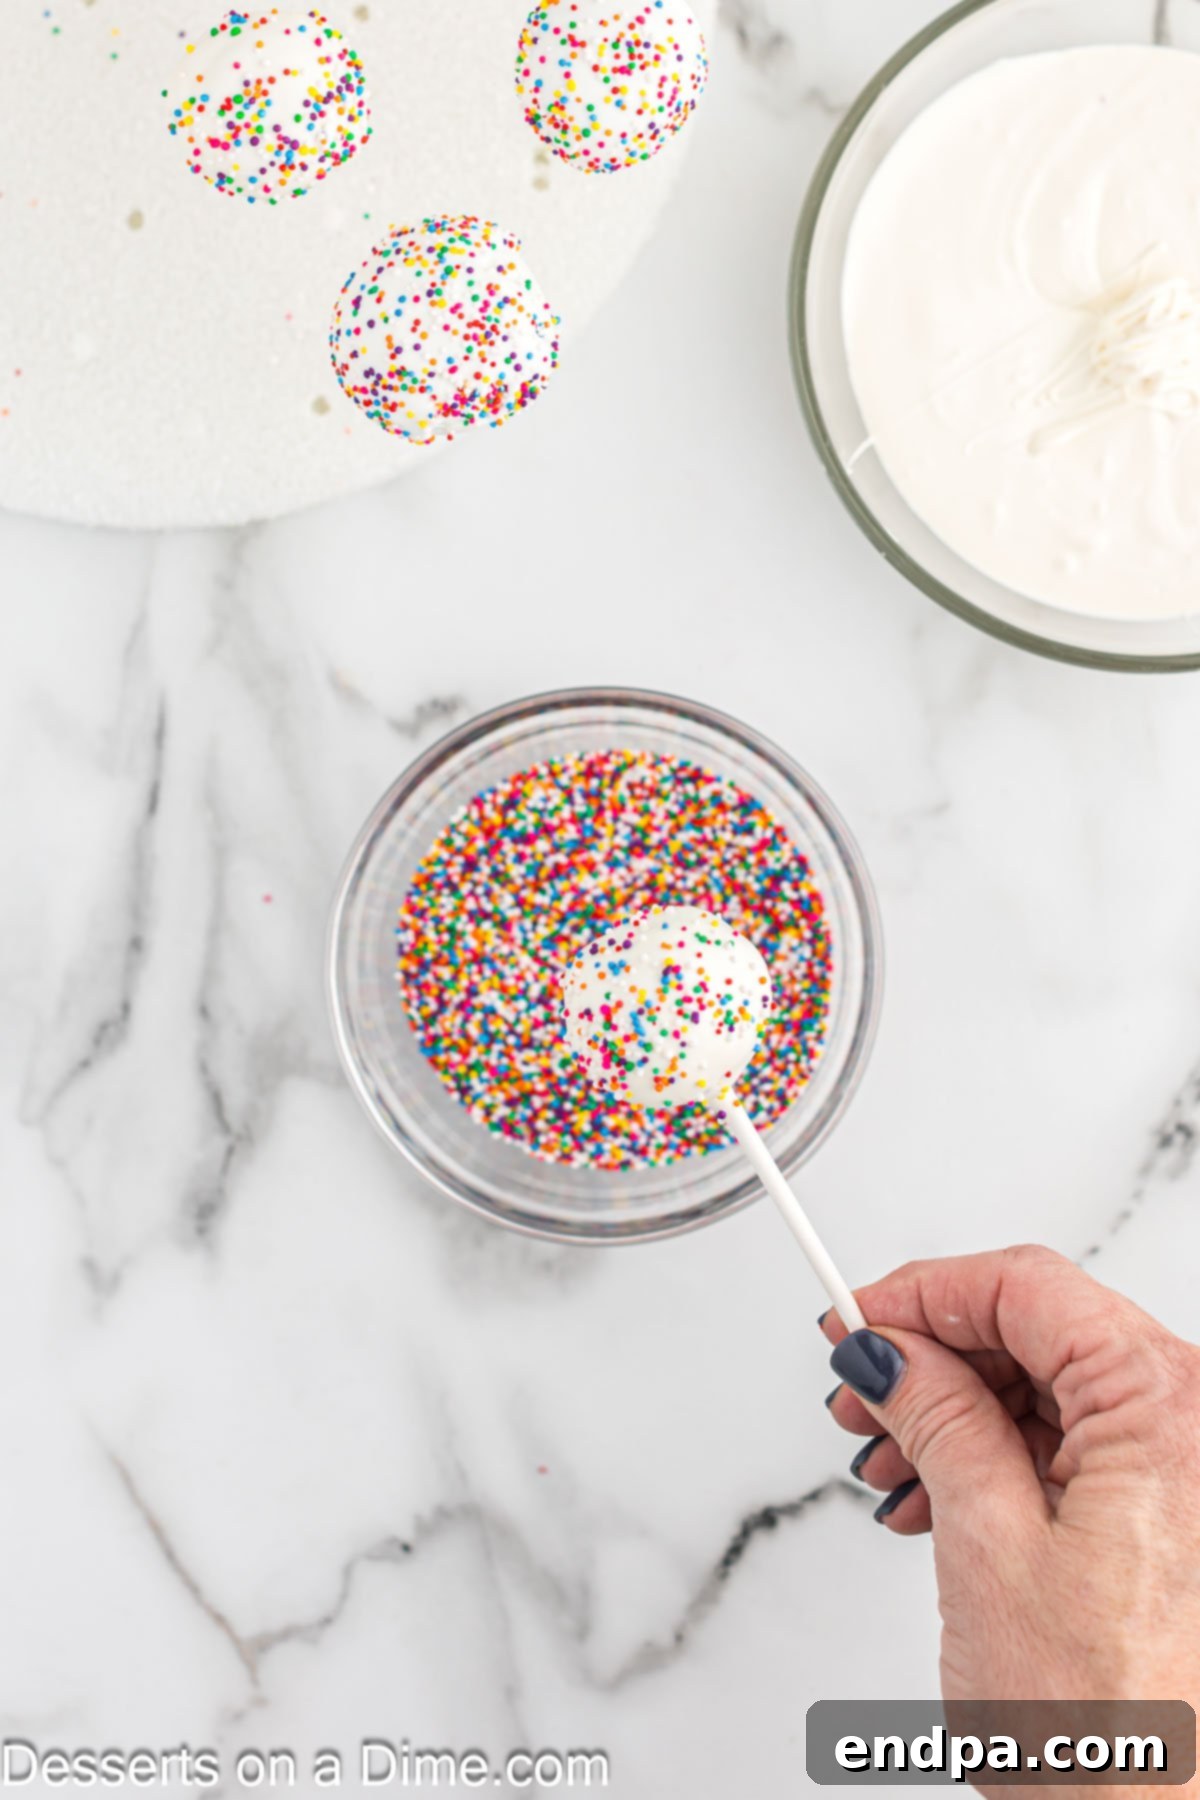
- Efficient Sprinkling: Have your sprinkles ready before you start dipping! Once a cake pop is dipped, immediately add the sprinkles while the coating is still wet and tacky. This ensures they adhere properly.
- Storage Solutions: Cake pops are best stored in an airtight container in the refrigerator to maintain freshness and prevent the coating from softening. They can last up to a week in the fridge. For longer storage, see our FAQ section on freezing cake pops.
Frequently Asked Questions About Cake Pops
Have questions about making, storing, or troubleshooting your cake pops? Here are some of the most common inquiries and their comprehensive answers to help you master this fun dessert.
Any leftover cake pops should be stored in an airtight container in the refrigerator. This will keep them fresh and prevent the candy coating from becoming sticky or soft. They will remain delicious for up to 1 week.
Absolutely! If you prefer to skip the lollipop sticks, you can simply make delicious cake balls. Follow all the steps up to the point of inserting the sticks. After rolling the cake mixture into balls and chilling them, you can dip them in candy melts and decorate them as desired. Cake balls are great for platters or as toppings for other desserts.
Cracking in cake pop coatings is a common issue, often caused by a significant temperature difference between the chilled cake ball and the warm melted chocolate or candy. If the cake balls are too cold (i.e., frozen for too long), the warm coating will contract as it cools and adheres to the frozen surface, leading to cracks. It’s important not to freeze the cake balls any longer than the instructed 10-15 minutes. They should be firm but not rock-solid frozen.
Yes, it’s very easy to freeze cake pops! Just make sure they are completely dry and the candy coating has fully set before freezing. Place them in a single layer in a freezer-safe container, or layer them with parchment paper in between, to prevent them from sticking together. They can be frozen for up to 5 to 6 weeks. When you’re ready to serve, simply thaw them at room temperature for a few hours. This makes them a great make-ahead treat!
If your candy melts are too thick for a smooth coating, you can thin them out. Add 1/2 to 1 teaspoon of vegetable shortening (like Crisco) or coconut oil to the melted candy and stir well until you achieve a thinner, more fluid consistency. Repeat if necessary, adding small amounts at a time until desired consistency is reached. Avoid adding any water or milk, as this will cause the candy to seize and become unusable.
To achieve perfectly round cake balls, use a cookie scoop for uniform portions. After scooping, gently roll the mixture between the palms of your hands. Apply even, gentle pressure and avoid overworking the mixture, which can make it greasy. If your hands get sticky, wash them or lightly dust them with powdered sugar.
More Easy Cake Pop Recipes to Inspire You
If you’ve fallen in love with making these delightful treats, there’s a whole world of cake pop creativity waiting for you to explore! Here are some more fantastic and easy cake pop recipes to try:
- Copycat Starbucks Cake Pops Recipe: Recreate your favorite coffee shop treat at home.
- Red Velvet Cake Pops Recipe: Indulge in rich, vibrant red velvet flavor.
- Birthday Cake Pops Recipe: Perfect for celebrations with classic birthday cake flavor and sprinkles.
- Strawberry Cake Pops: A fruity and refreshing option for spring and summer.
- Lemon Cake Pops: Zesty and bright, a delightful treat for lemon lovers.
Don’t wait any longer to create these fun, delicious, and always popular cake pops! Dive into the recipe below, unleash your creativity, and prepare to delight your friends and family. We’d love to hear about your experience; please leave a comment and a star rating once you’ve tried this recipe!
Cake Pop Recipe
This Cake Pop Recipe is so easy and perfect for birthday parties, holidays and special occasions. Choose your favorite cake flavor and make these party treats.
30 mins
25 mins
55 mins
24
American
Dessert
242 kcal
Carrie Barnard
Ingredients
- 1 box Classic White Cake Mix
- 1 cup Water
- ½ cup Vegetable Oil
- 3 Large Eggs
- ½ cup Vanilla Frosting (pre-made or homemade)
- 24 Lollipop Sticks
- 12 ounces Candy Melts (your choice of color)
- Multi-Colored Sprinkles
Instructions
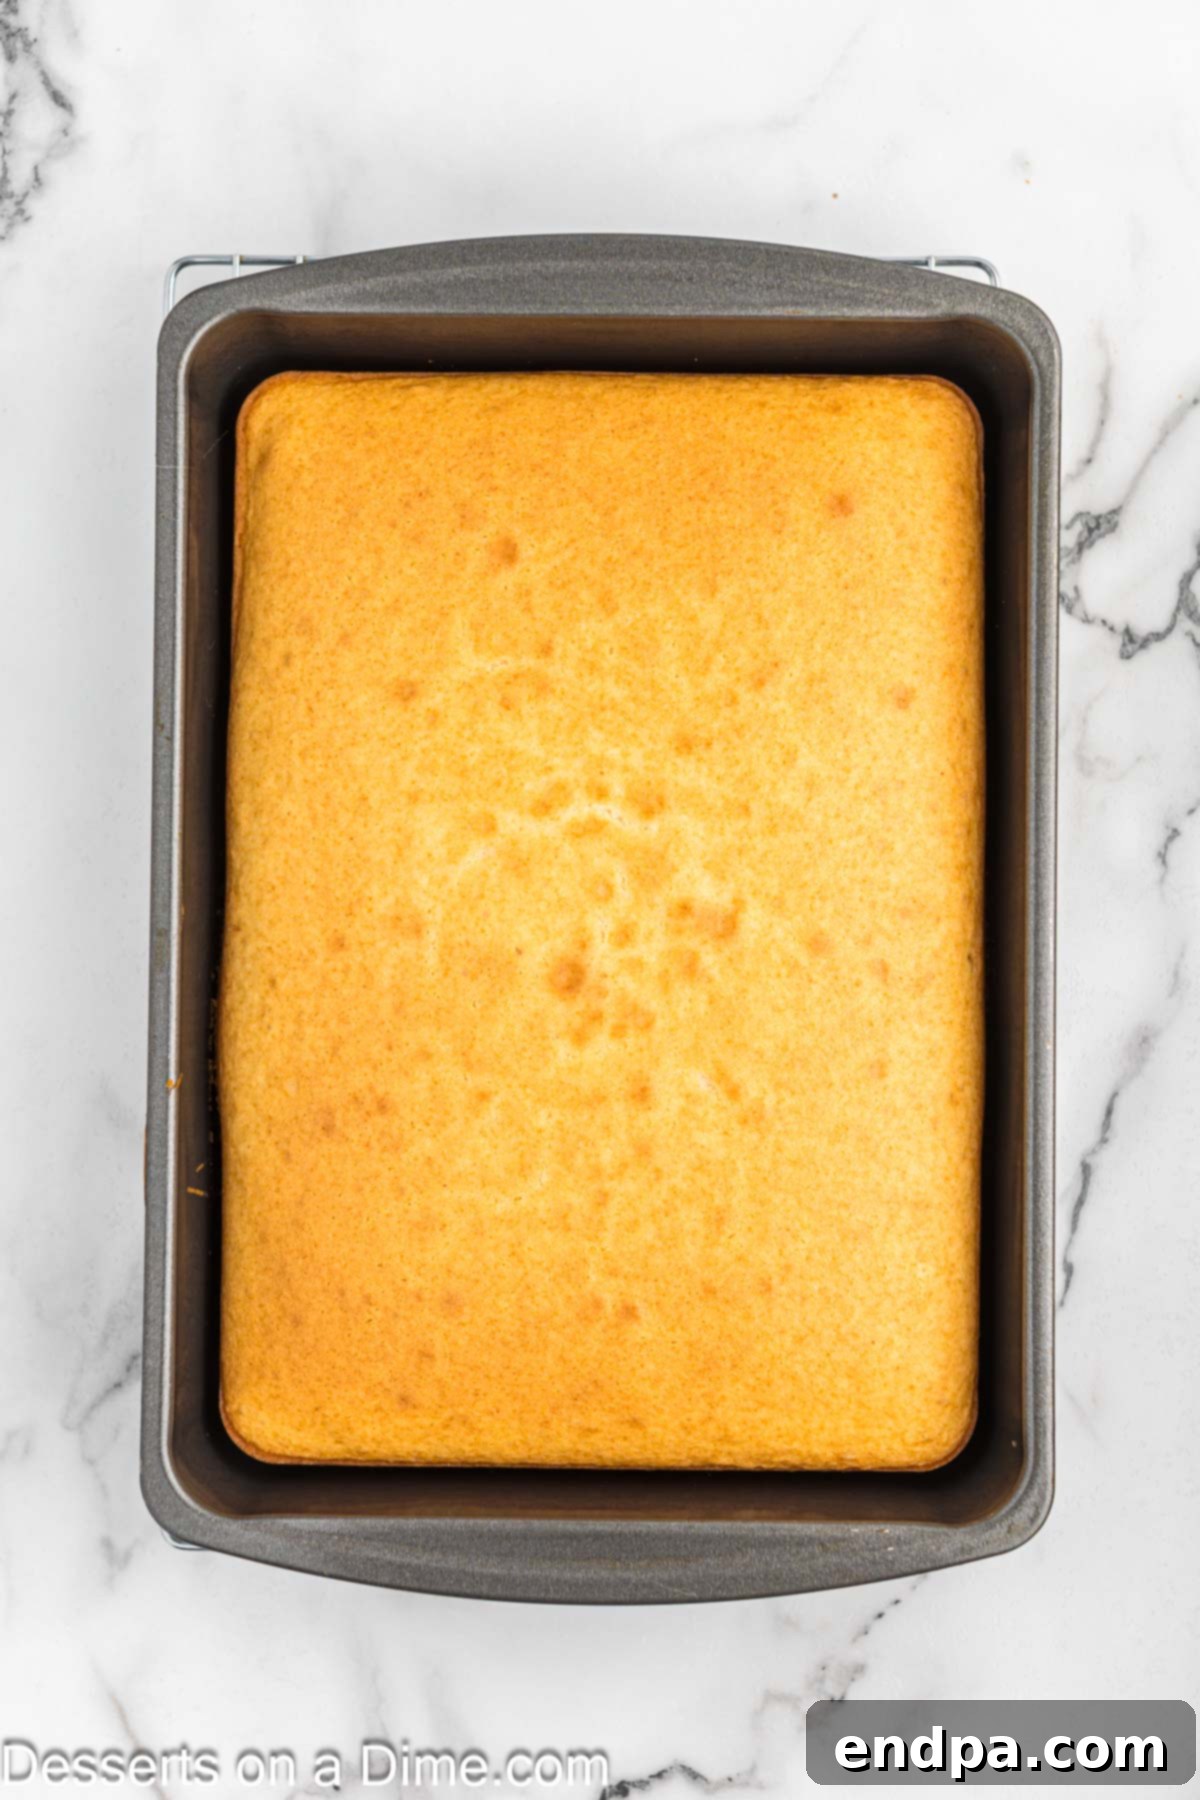
- Preheat your oven to 350 degrees Fahrenheit (175°C) and lightly spray a 9×13 inch baking pan with non-stick cooking spray.
- In a large mixing bowl, combine the cake mix, water, vegetable oil, and eggs. Stir until the batter is smooth and well-combined.
- Pour the prepared cake batter into your greased 9×13 inch baking pan. Bake according to the instructions on your cake mix package until a toothpick inserted into the center comes out clean.
- Once baked, remove the cake from the oven and allow it to cool completely at room temperature. This is crucial for the texture of your cake pops.
- Carefully remove the cooled cake from the pan. Using your hands, crumble the entire cake into a large mixing bowl. Make sure to remove and discard all of the firm, brown outer layers and edges of the cake. These can create an undesirable texture in your cake pops.
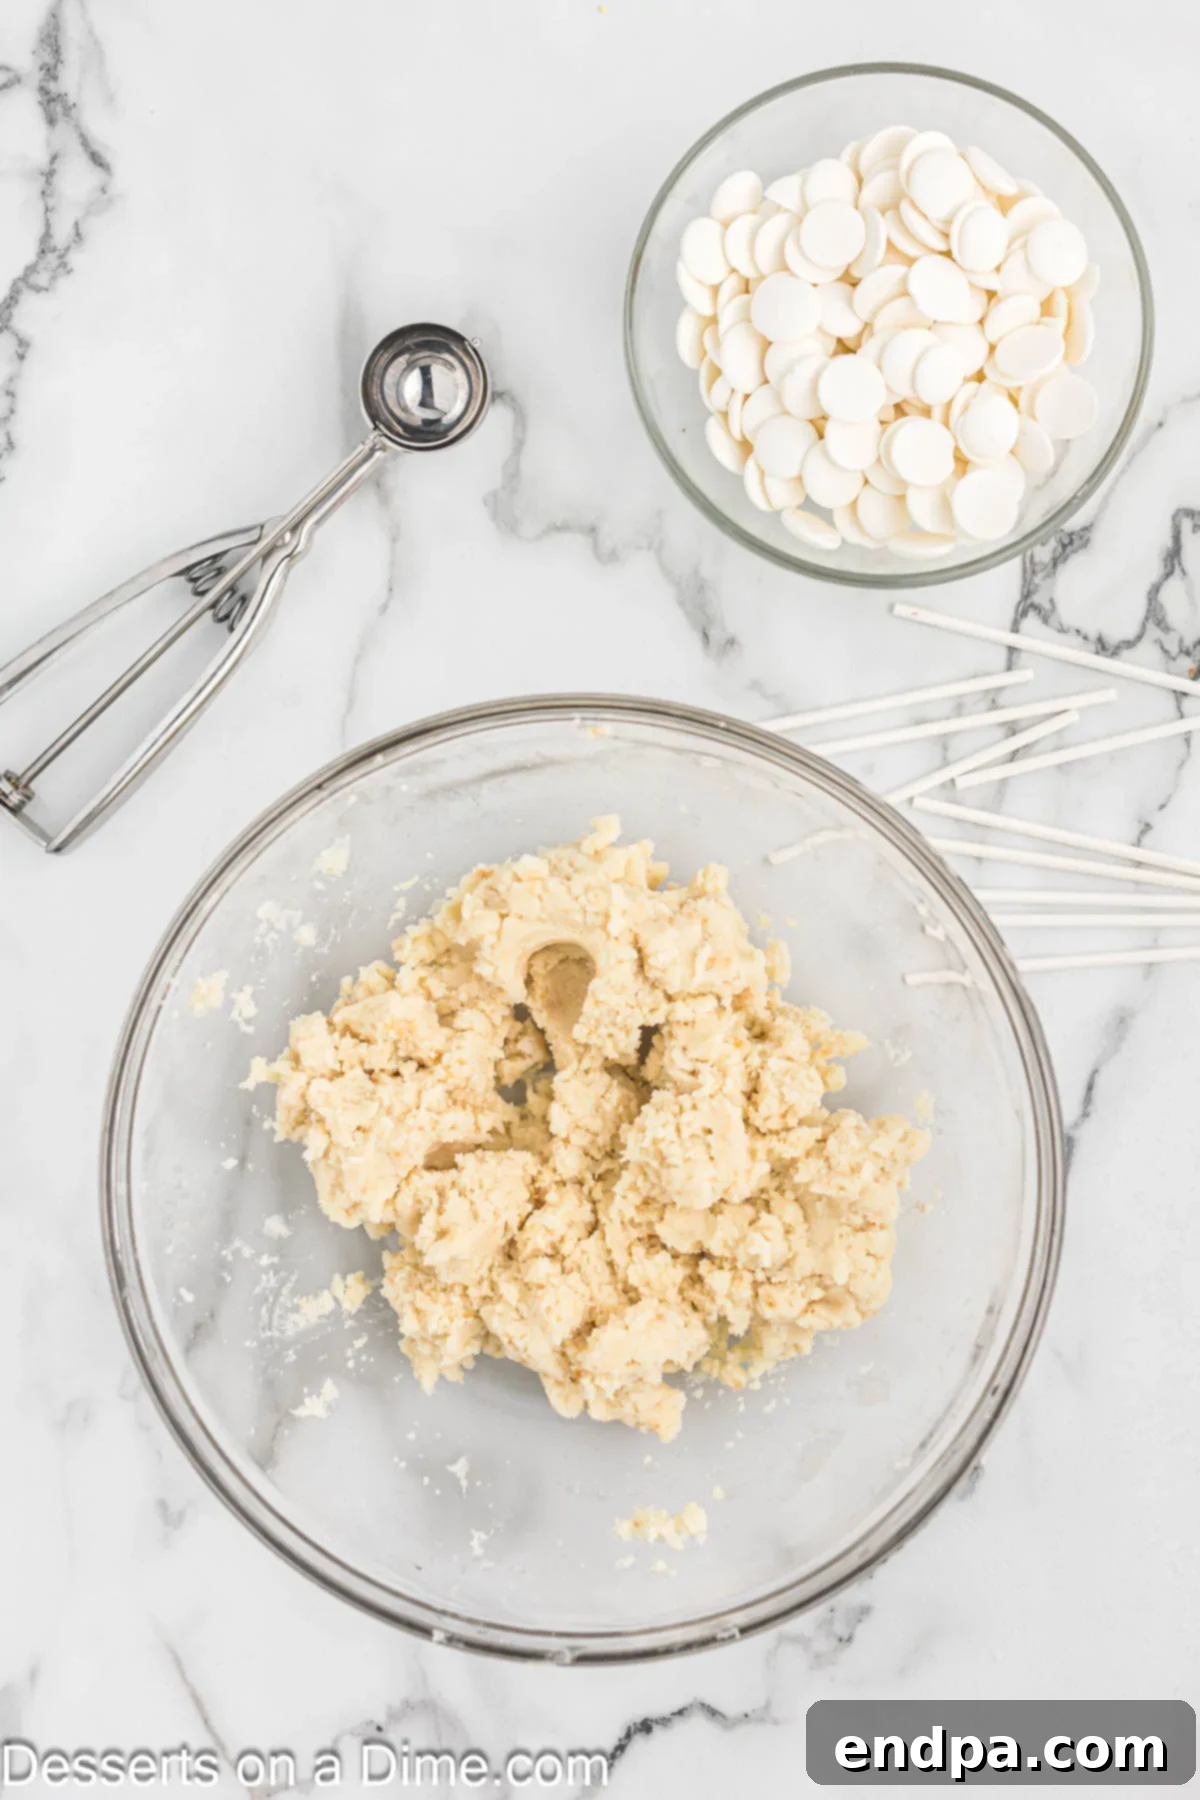
- Add the vanilla frosting to the crumbled cake. Using your hands or a sturdy spatula, mix thoroughly until everything is well combined and the mixture resembles a thick, pliable dough. It should hold its shape when pressed together.
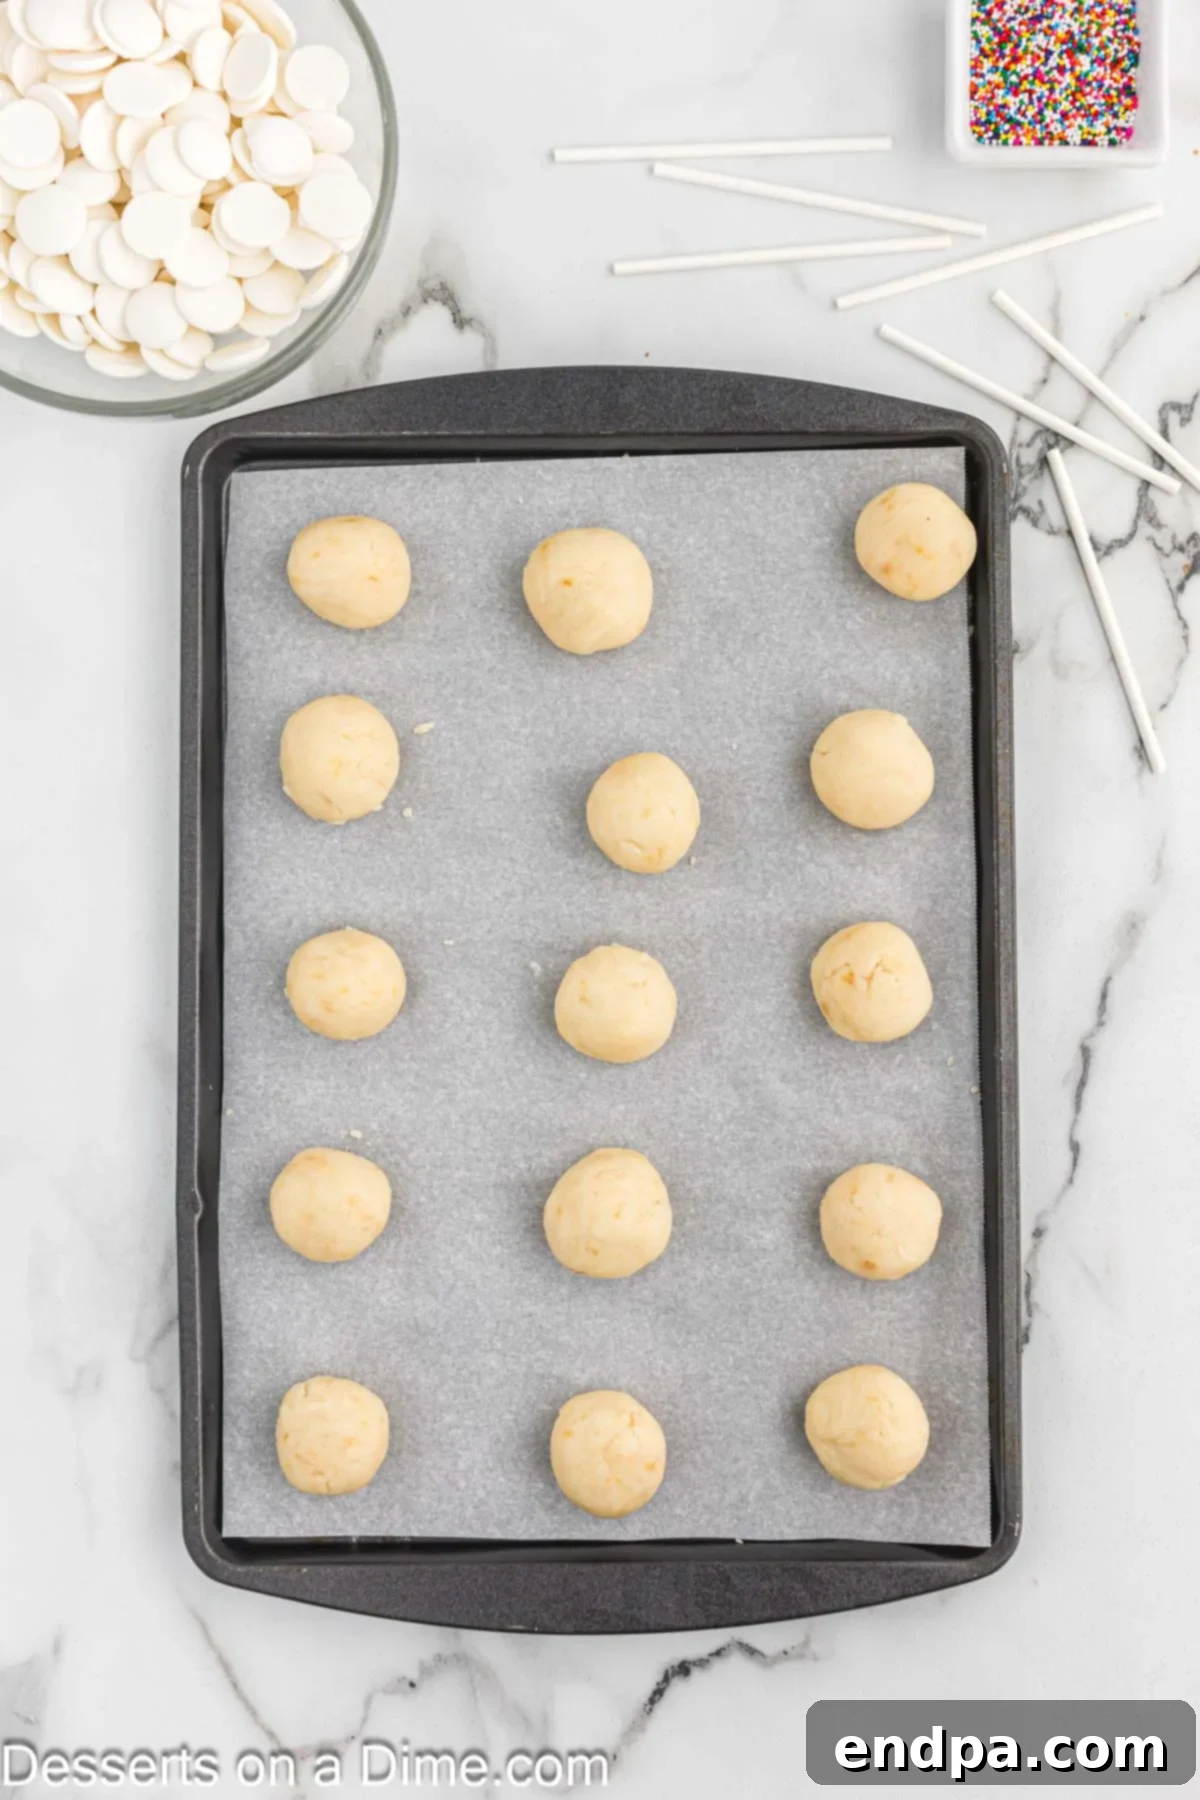
- Take the cake mixture and roll it into 24 uniform cake balls. To ensure consistent sizing, we recommend using a 1.5-tablespoon cookie scoop. Place the formed cake balls onto a baking sheet lined with parchment paper or wax paper.
- Place your candy melts in a small, microwave-safe bowl. Microwave the candy melts in 30-second intervals, stirring well after each interval, until they are completely smooth and melted. Be careful not to overheat the candy.
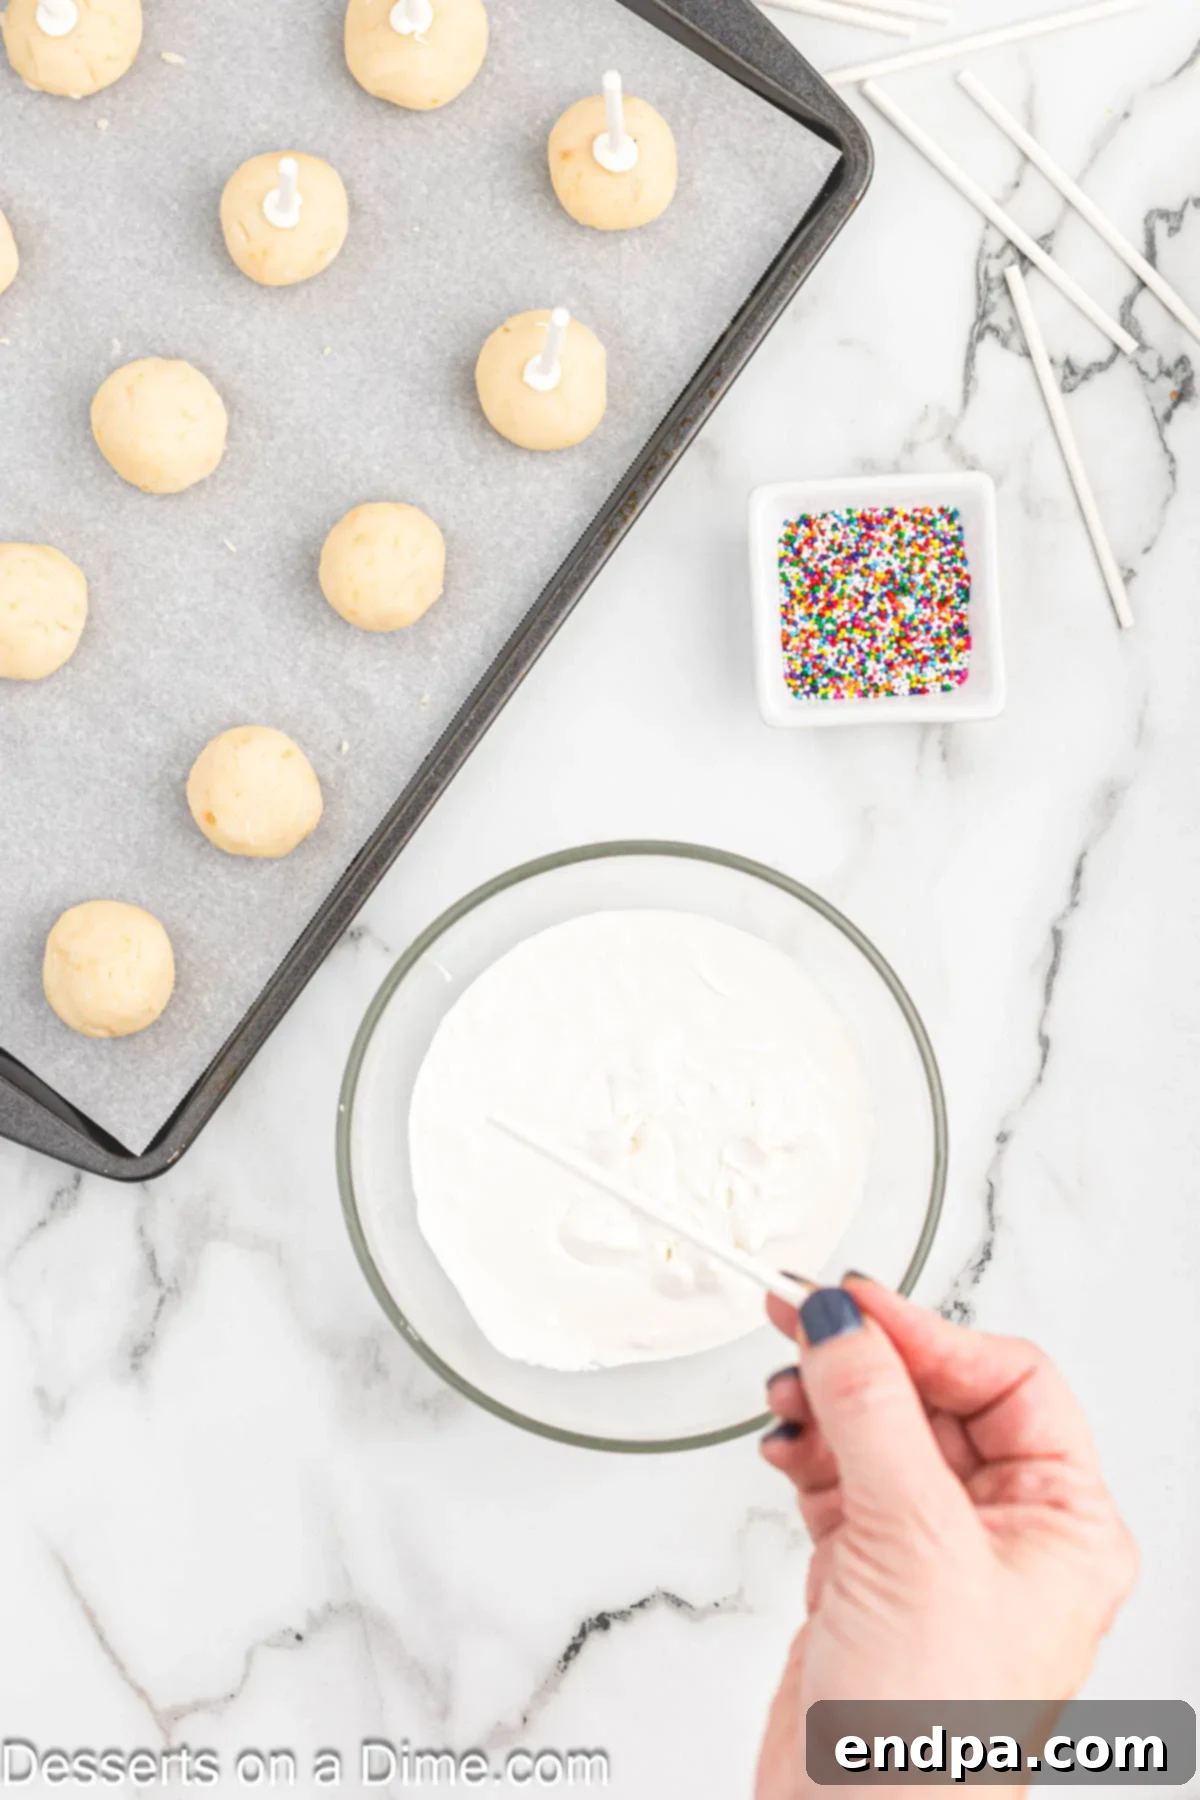
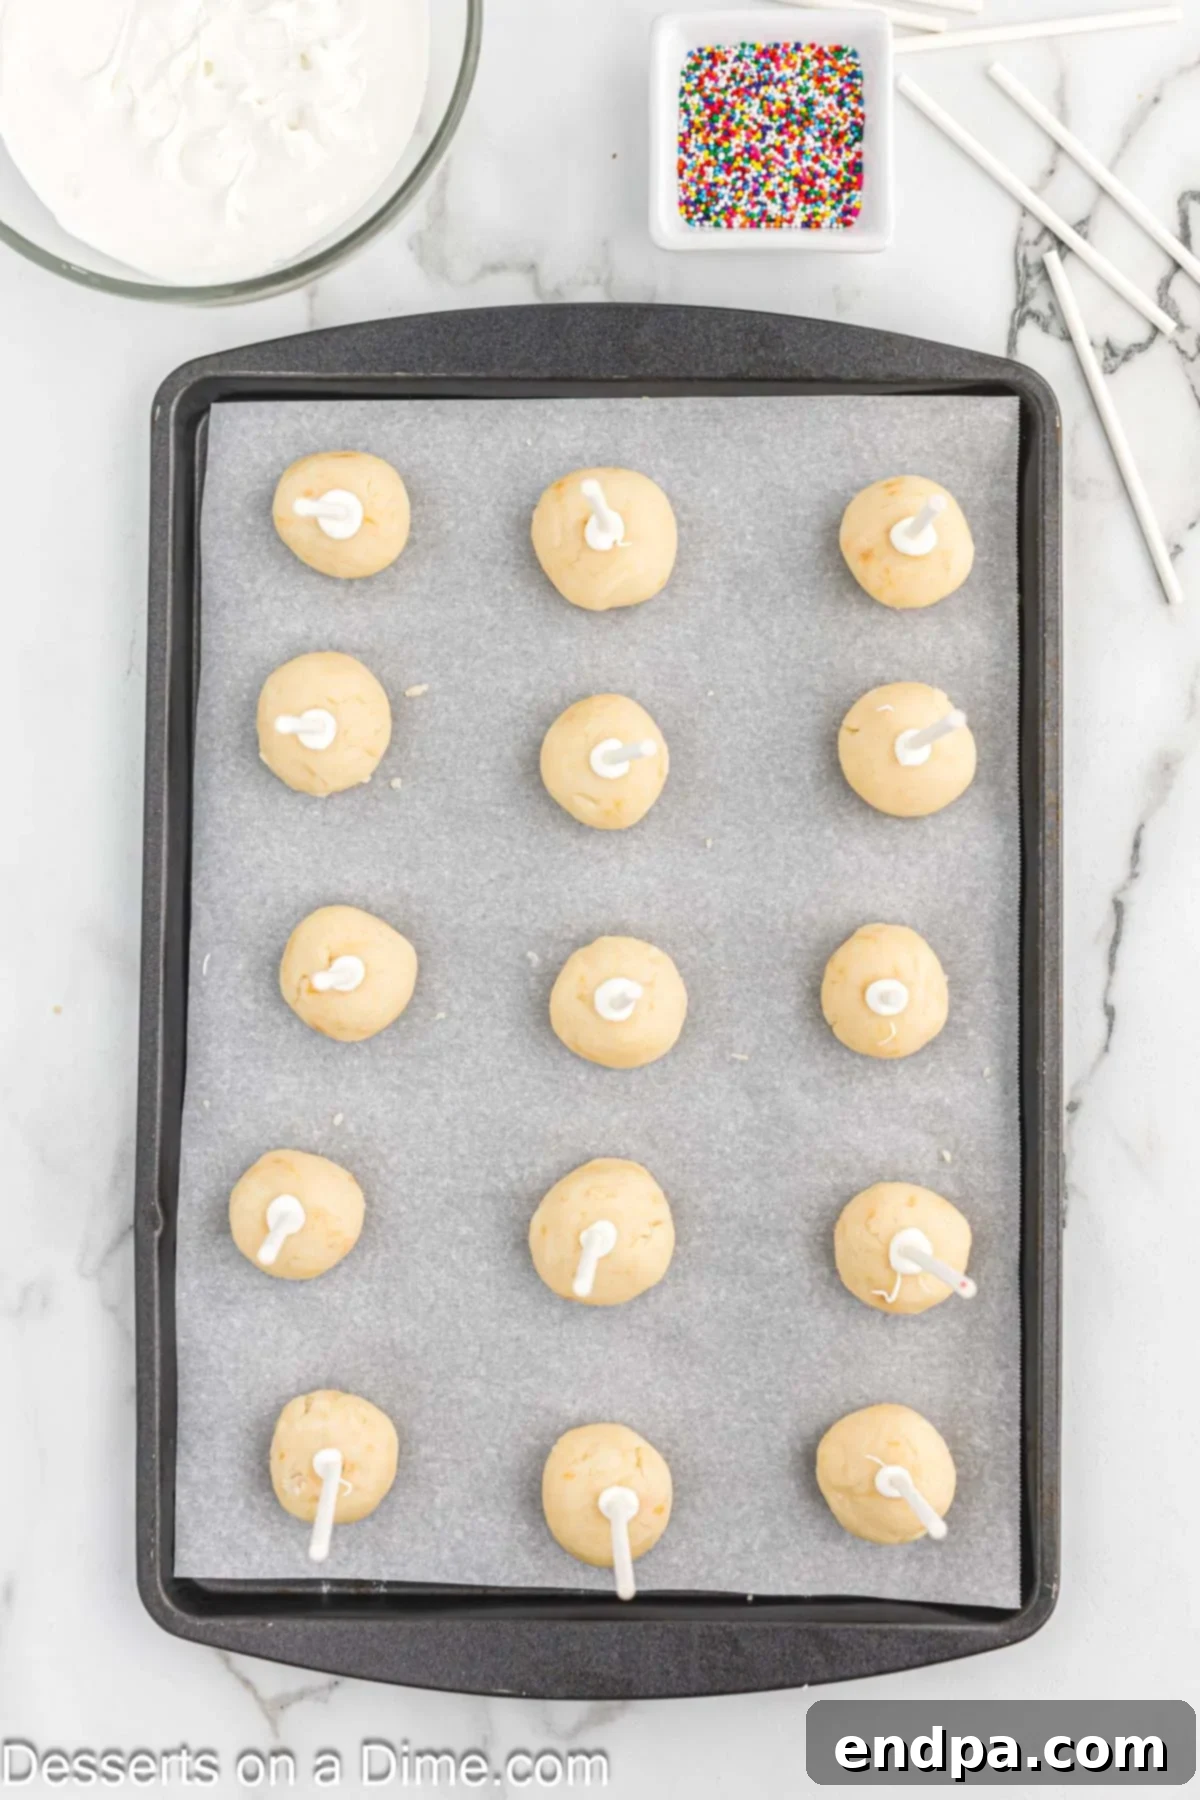
- Dip the tip of each lollipop stick into the melted candy (about ½ inch) and then immediately insert the candy-coated end about halfway into each cake ball. This candy acts as a “glue” to secure the stick.
- Place the baking sheet with the cake pops (sticks pointing up) into the freezer for 10 to 15 minutes. This chilling process helps the cake balls firm up, preventing them from falling off the sticks during dipping. Do not freeze for longer than 15 minutes, as extreme cold can cause cracking.
- Remove the chilled cake pops from the freezer. If your candy melts have started to solidify, reheat them briefly until smooth again. Dip each cake pop into the melted candy melts, ensuring the entire cake ball is covered. Gently tap the stick against the edge of the bowl to remove any excess candy coating.
- Before the candy coating dries, immediately add your desired multi-colored sprinkles or other decorations.
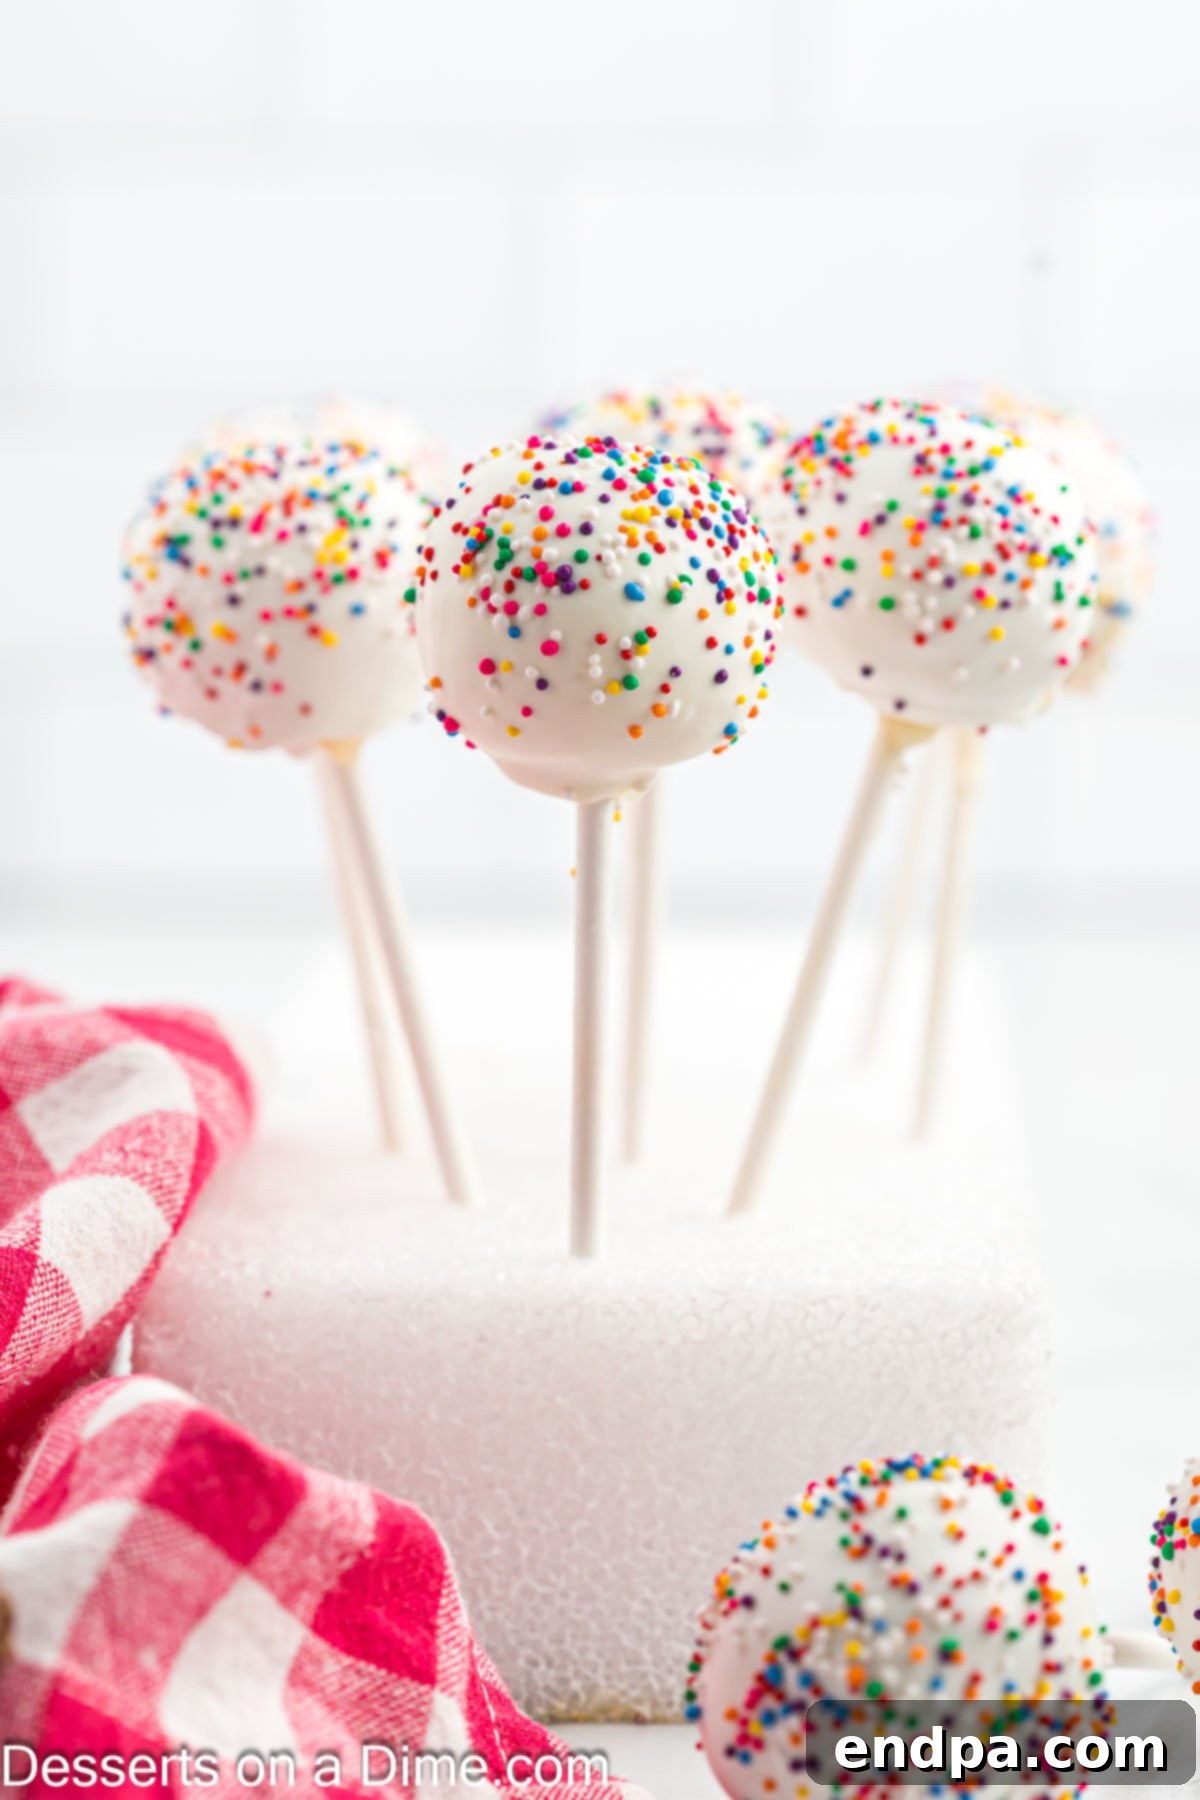
- To allow the candy to set and dry completely, place the sticks of the coated cake pops into a block of Styrofoam. Continue this process until all cake pops have been coated and decorated.
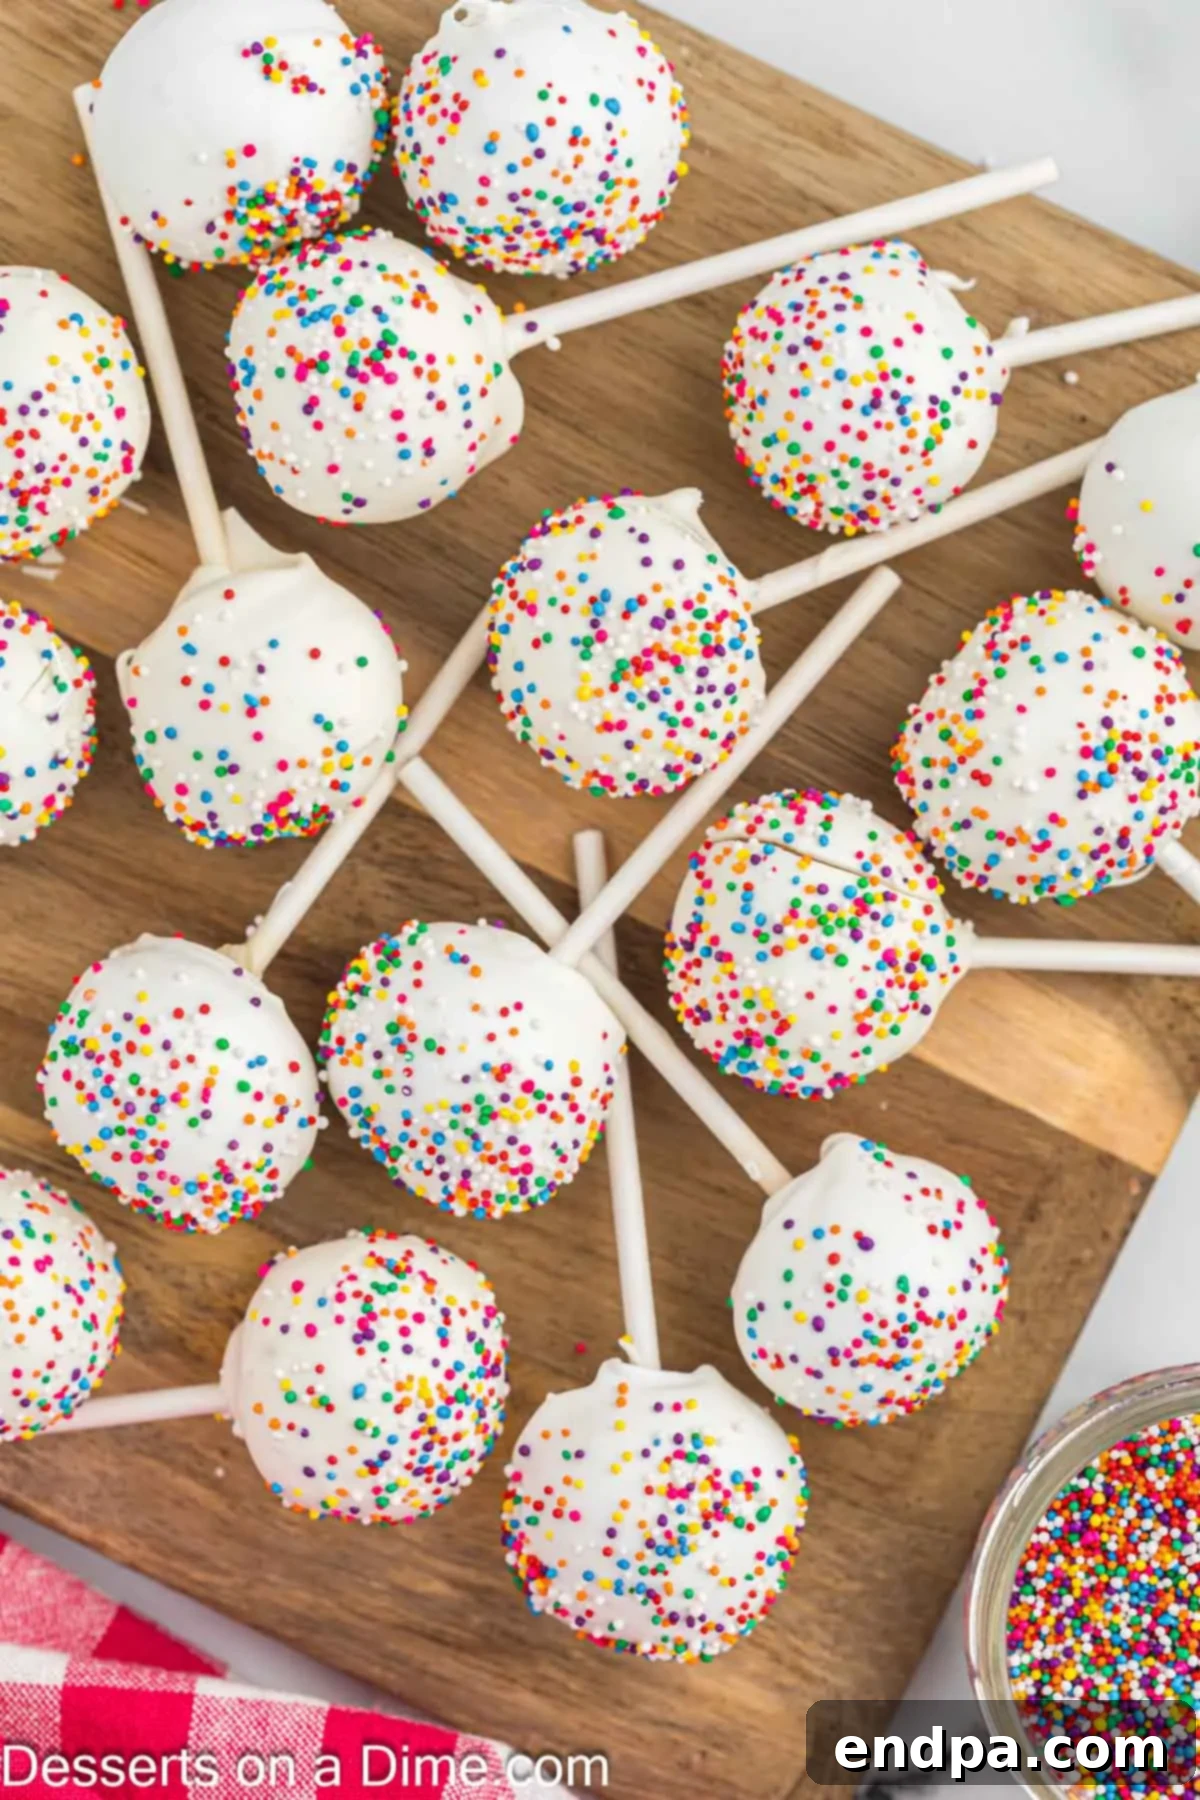
- Once the candy coating is completely dry and firm, your delicious cake pops are ready to serve and enjoy!
Nutrition Facts
Per serving (approximate):
- Calories: 242 kcal
- Carbohydrates: 25g
- Protein: 7g
- Fat: 13g
- Saturated Fat: 4g
- Polyunsaturated Fat: 4g
- Monounsaturated Fat: 3g
- Trans Fat: 0.1g
- Cholesterol: 184mg
- Sodium: 235mg
- Potassium: 83mg
- Fiber: 0.2g
- Sugar: 16g
- Vitamin A: 267IU
- Calcium: 75mg
- Iron: 1mg
Note: Nutritional information is an estimate and may vary based on specific ingredients and preparation methods.
