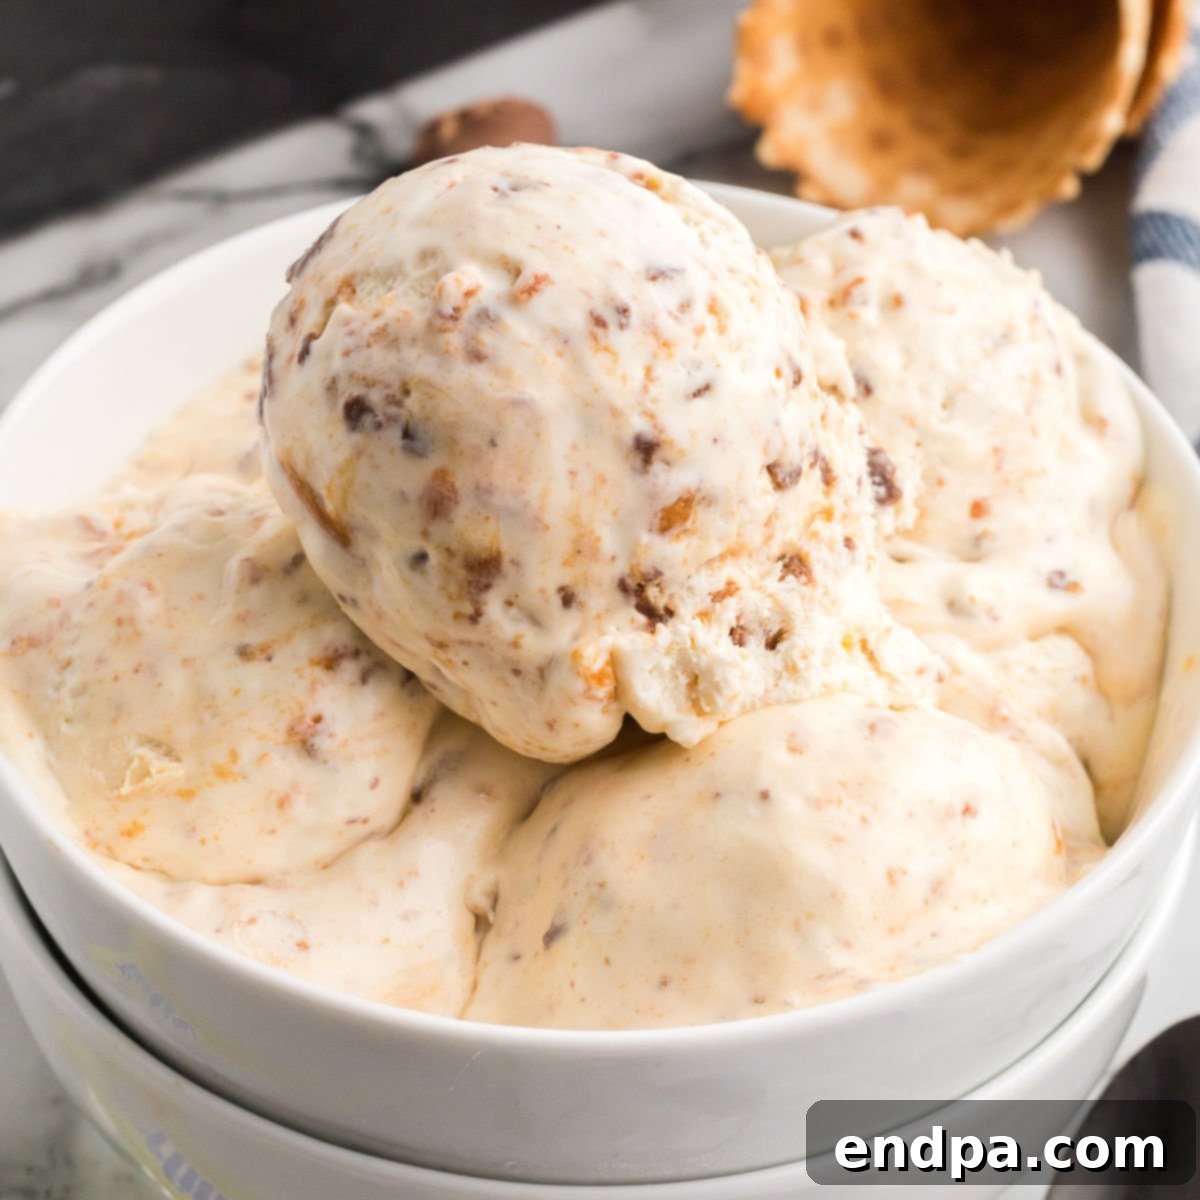
Irresistibly Easy No-Churn Homemade Butterfinger Ice Cream
Prepare to delight your taste buds with this sensational Homemade Butterfinger Ice Cream! This recipe delivers a rich, creamy vanilla ice cream base generously loaded with irresistible crushed Butterfinger candy bars, creating an explosion of flavor and delightful crunch in every spoonful. It’s not just an easy dessert; it’s a homemade masterpiece that promises to become a family favorite, especially because it requires no special equipment like an ice cream maker.
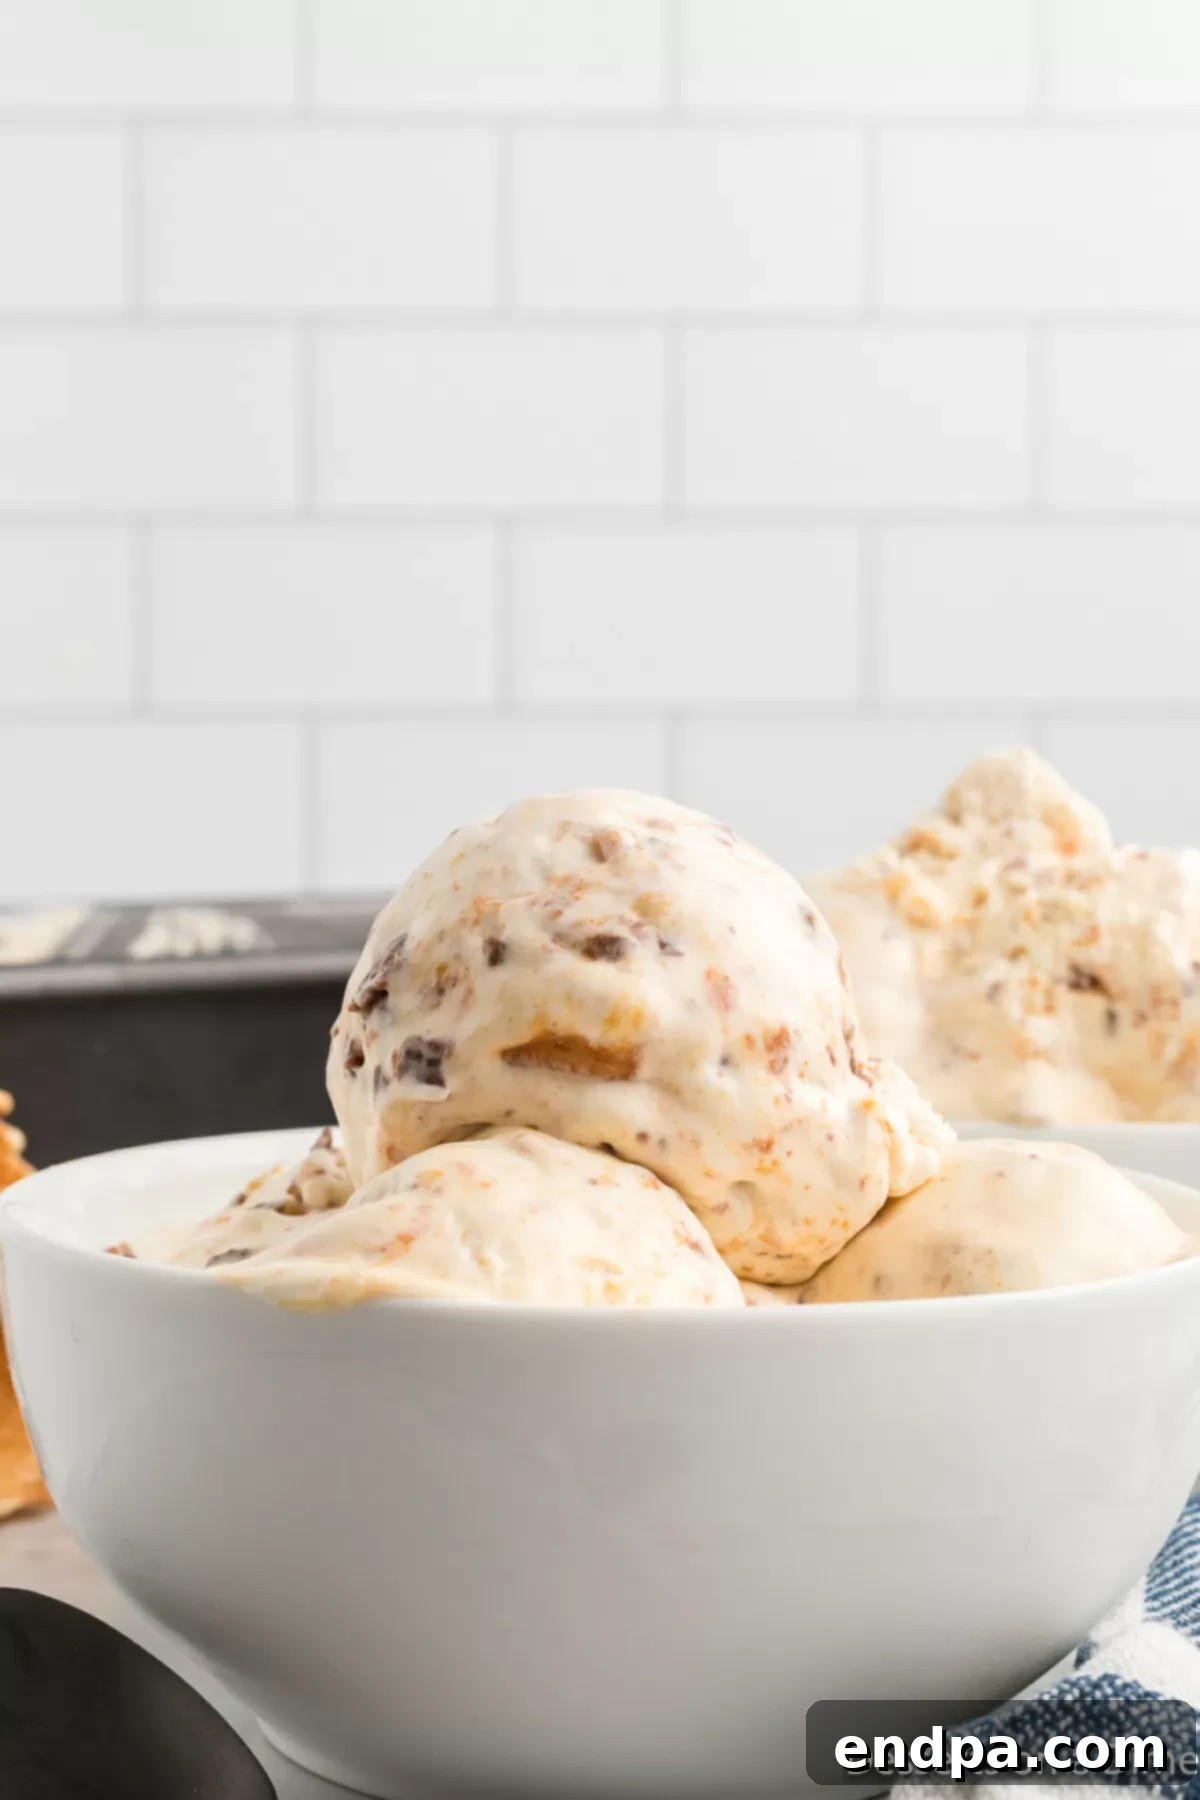
In our household, ice cream isn’t just a treat; it’s a staple. That’s why I’ve fallen in love with making homemade versions. It’s not only a rewarding culinary adventure but also a fantastic way to save both time and money. Plus, the ability to customize flavors and ingredients means endless possibilities for unique and delicious frozen desserts.
Among our collection of beloved homemade ice cream recipes, this Butterfinger ice cream holds a special place. Its popularity stems from our collective adoration for the iconic Butterfinger candy bar – that unique combination of crispy, peanut-buttery goodness coated in chocolate. If you share this love for the distinctive Butterfinger flavor, you absolutely must try our equally delightful Butterfinger Cupcakes and the decadent Butterfinger Pie.
Beyond our Butterfinger obsession, some of our other top homemade ice cream picks include the comforting Pecan Pie Ice Cream, the fun and vibrant Cookie Monster Ice Cream, and the luxuriously smooth Caramel Pecan Praline Ice Cream. Each offers a unique blend of flavors and textures, proving that homemade ice cream is always a fantastic idea!
Table of Contents
- Why We Love This Recipe
- Key Ingredients for Success
- Creative Variations to Try
- How to Make Homemade Butterfinger Ice Cream
- Expert Pro Tips for Perfect Ice Cream
- Storage and Serving Suggestions
- Irresistible Topping Ideas
- More Delicious No-Churn Ice Cream Recipes
Why We Love This Easy No-Churn Butterfinger Ice Cream
There are countless reasons to fall head over heels for this particular Butterfinger ice cream recipe. First and foremost is its incredible simplicity. Forget about specialized equipment; this is a true no-churn ice cream recipe, meaning you don’t need an expensive ice cream maker, rock salt, or even eggs. It’s a straightforward process that yields professional-quality results right from your home kitchen.
The magic truly happens with the flavor and texture. The base is a dreamily rich and creamy vanilla ice cream, perfectly sweet and smooth. But what truly elevates it is the generous addition of crushed Butterfinger candy bars. Each bite offers a delightful contrast – the cool, silky ice cream giving way to those signature crunchy, peanut-buttery pieces. It’s a symphony of textures that keeps you coming back for more.
This recipe is also incredibly versatile and a guaranteed crowd-pleaser. Whether you’re making it for a weeknight treat or a special gathering, it always receives rave reviews. The balance of sweetness is just right, ensuring it’s indulgent without being overly rich. If you enjoy candy-bar infused desserts, you’ll also adore our Snickers Ice Cream, a similar approach to creating amazing ice cream desserts at home.
Key Ingredients for Success
One of the beauties of no-churn ice cream is its minimal ingredient list. High-quality ingredients are paramount here, as each one plays a crucial role in achieving that perfect creamy consistency and delicious flavor. You’ll be amazed at what just a few items can create!
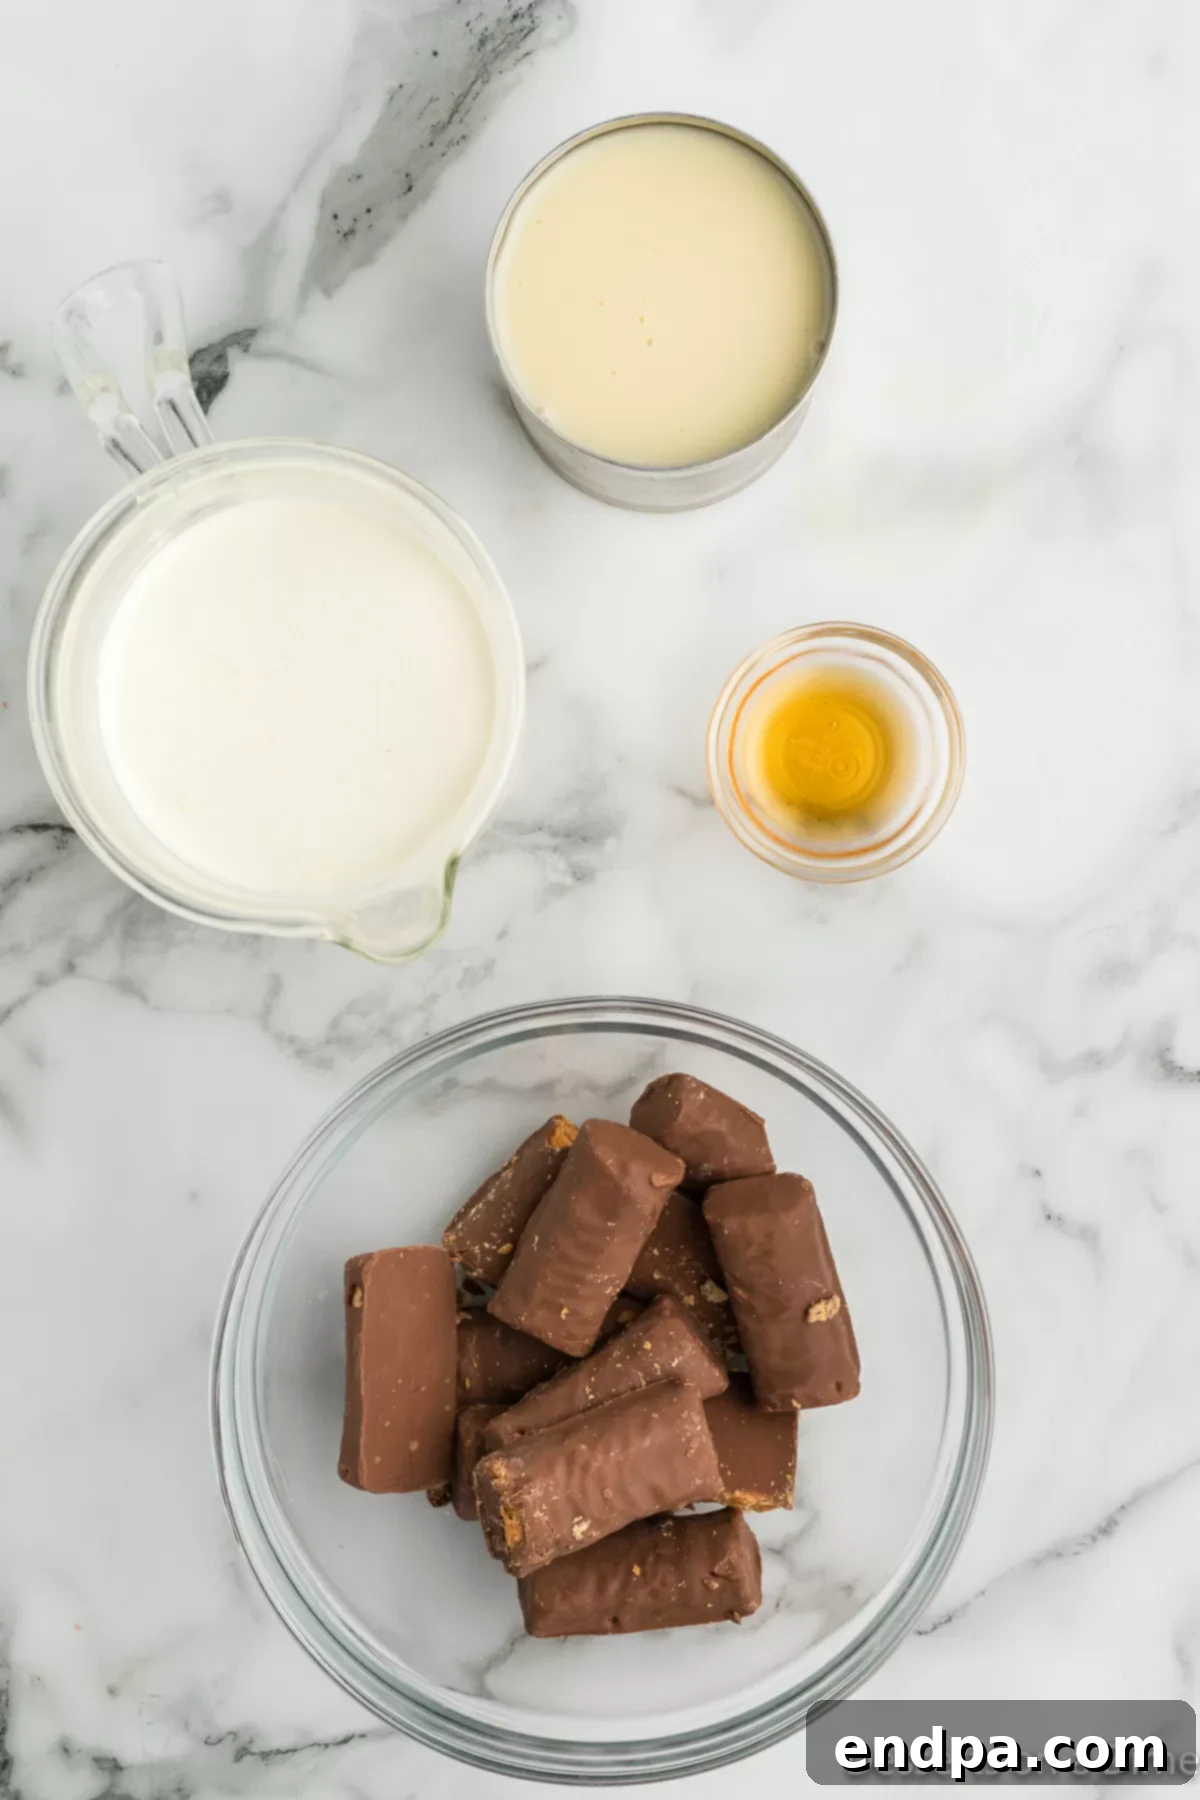
- Sweetened Condensed Milk: This is the secret weapon for no-churn ice cream. It provides both the sweetness and the incredibly creamy texture without the need for an egg custard base. Do not substitute this with regular milk, as it won’t achieve the desired consistency or sweetness level. Its thick, viscous nature is essential for preventing ice crystals and ensuring a smooth, delightful scoop every time.
- Vanilla Extract: Opt for pure vanilla extract if possible. A good quality vanilla enhances the overall flavor of the ice cream base, providing a warm, aromatic backdrop for the Butterfinger pieces. The subtle nuances of pure vanilla truly make a difference in the final taste profile.
- Heavy Whipping Cream: This ingredient is critical for building the airy, light body of the ice cream. It needs to be very cold to whip properly into stiff peaks. As it whips, it incorporates air, which is what gives the no-churn ice cream its signature light yet creamy texture. Without sufficient whipping, your ice cream will be dense and icy.
- Mini Butterfingers: The star of the show! Mini Butterfingers are convenient for crushing, but any size will work. The unique crispy, peanut-butter brittle texture and chocolate coating are what makes this ice cream so special. For an even more homemade touch, you could even try making your own Homemade Butterfinger candy bars to crush into the mixture!
You can find the precise measurements and full instructions in the recipe card at the bottom of the page.
Creative Variations to Try
While this Butterfinger ice cream is perfect as is, it’s also a fantastic canvas for your own culinary creativity. Don’t be afraid to experiment with these simple variations to tailor the flavor and texture to your preferences or what you have on hand.
- Chocolate Chips: For an extra layer of chocolatey goodness and varied texture, stir in a handful of chocolate chips. Milk chocolate chips will add a sweet, classic flavor, while dark chocolate chips can provide a delightful counterpoint to the sweetness of the Butterfingers. If you’re a peanut butter enthusiast, peanut butter chocolate chips would be an absolutely divine addition, complementing the existing peanut butter notes from the candy.
- Extra Toppings: After spreading the ice cream mixture into your loaf pan, sprinkle additional crushed Butterfingers or chocolate chips on top. This not only makes for a beautiful presentation but also promises an extra burst of flavor and crunch with every scoop.
- Flavorful Syrups: Swirl in your favorite syrups to the vanilla ice cream mixture before freezing. Classic chocolate syrup will amplify the existing chocolate notes, while caramel syrup adds a rich, buttery depth that pairs wonderfully with the peanut butter. These syrups also add an appealing ribbon of color and a slightly different texture to the frozen treat.
- Any Size Butterfingers: Don’t limit yourself to mini Butterfingers. Feel free to use fun-size, standard bars, or even larger bags of Butterfinger bits. The key is to crush them into manageable, bite-sized pieces that distribute well throughout the ice cream.
- Other Candy Bar Mix-ins: This recipe is incredibly adaptable! If you have other leftover candy bars from holidays or parties, this is the perfect opportunity to use them up. Try crushed Snickers, Twix, Reese’s Peanut Butter Cups, or Heath bars for different flavor profiles and textures. Each will bring its own unique character to the creamy base.
How to Make Homemade Butterfinger Ice Cream
Making this no-churn ice cream is surprisingly simple, with just a few key steps that will lead you to a perfectly creamy and crunchy dessert. Follow along to create your own batch of Butterfinger bliss.
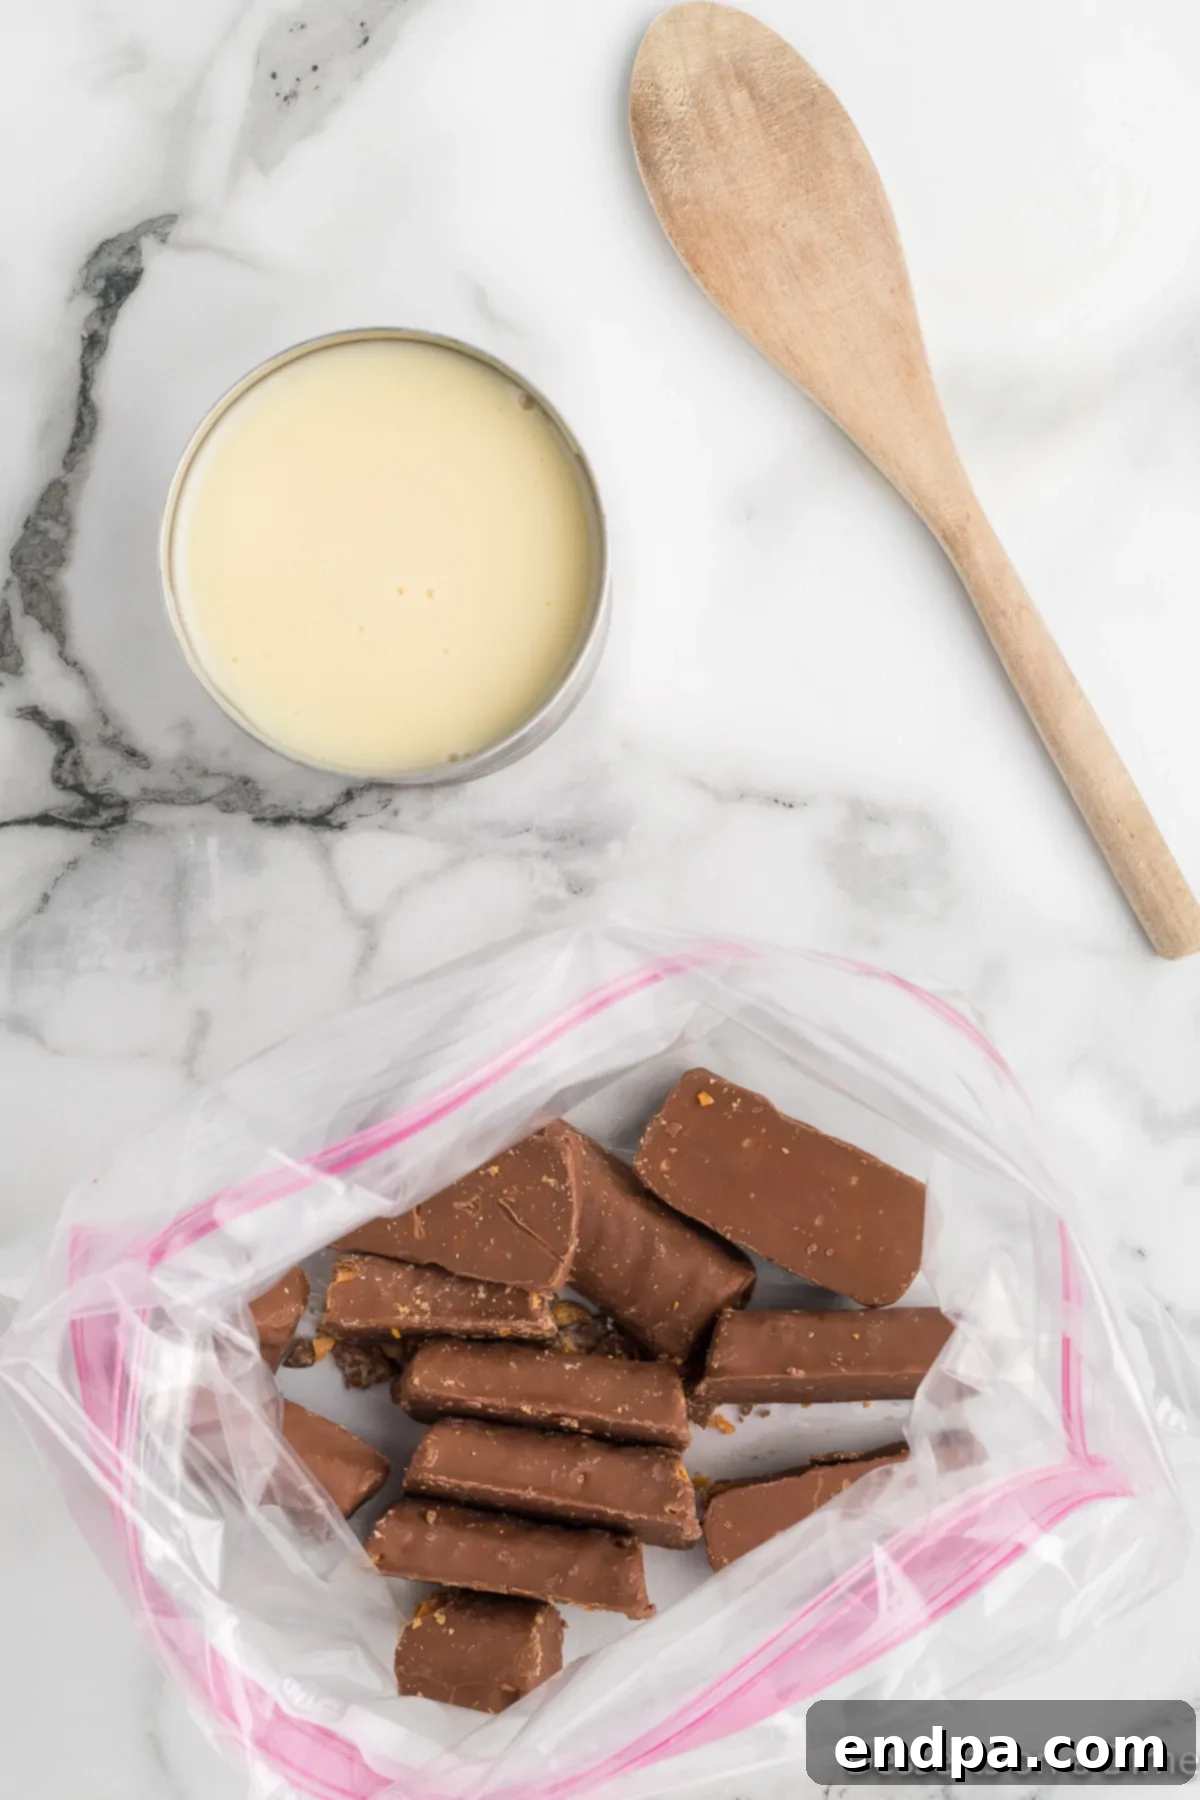
Step 1: Crush the Butterfingers. Unwrap all your mini Butterfingers and place them into a large, sturdy ziplock bag. Seal the bag tightly, ensuring all air is expelled. Using a wooden spoon, rolling pin, or even the flat side of a meat tenderizer, gently but firmly crush the candy bars into small, irregular pieces. You want a mix of fine crumbs and larger chunks for the best texture in your ice cream. This step is satisfying and ensures even distribution of the candy.
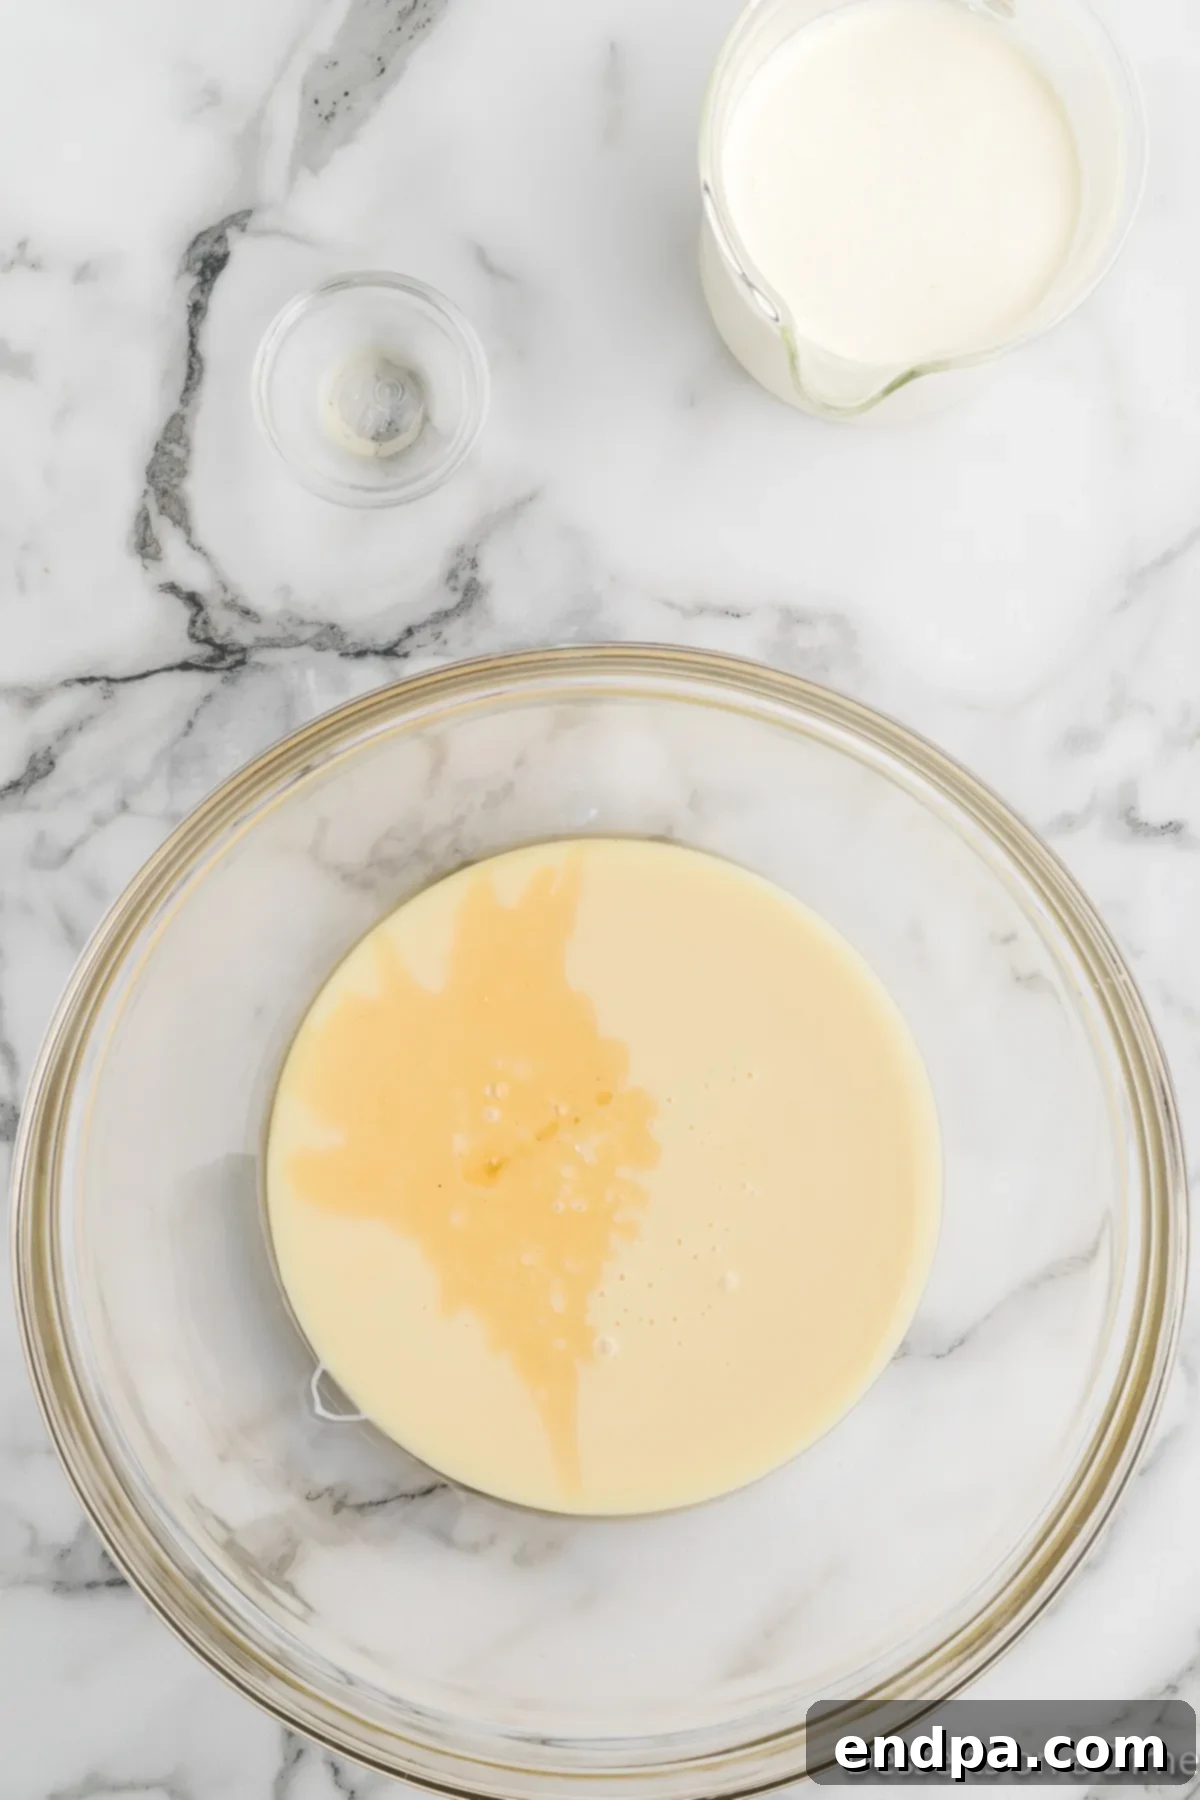
Step 2: Combine Wet Ingredients. In a large mixing bowl, pour in the sweetened condensed milk and vanilla extract. Stir these two ingredients together thoroughly until they are well combined. This forms the sweet, foundational layer of your ice cream base. Set this bowl aside for a moment.
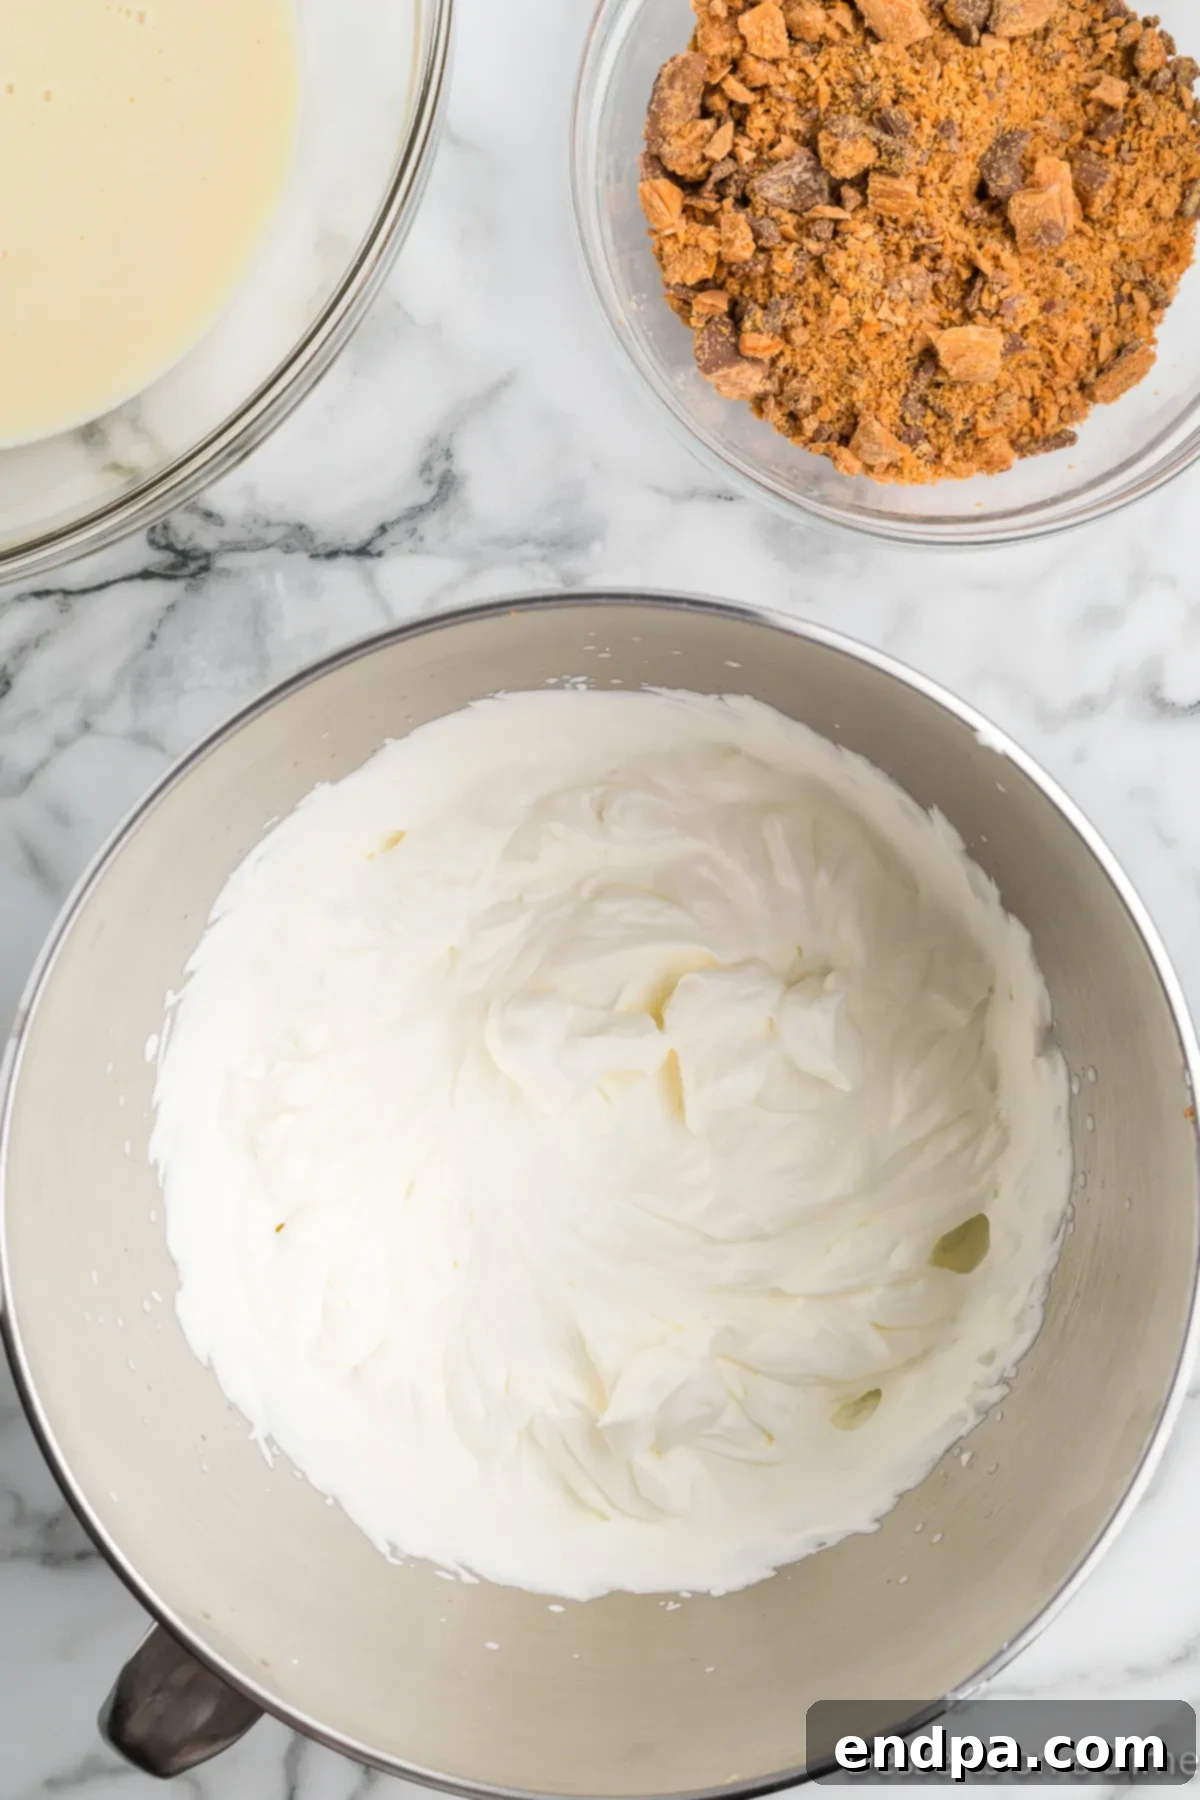
Step 3: Whip the Cream. In a separate, very cold bowl (this helps the cream whip better), pour the cold heavy whipping cream. Using either a stand mixer fitted with the whisk attachment or a handheld electric mixer, beat the cream on medium-high speed for 2-3 minutes. Continue mixing until the cream transforms into stiff peaks, meaning when you lift the whisk, the peaks hold their shape firmly. Be careful not to over-whip, as it can turn grainy.
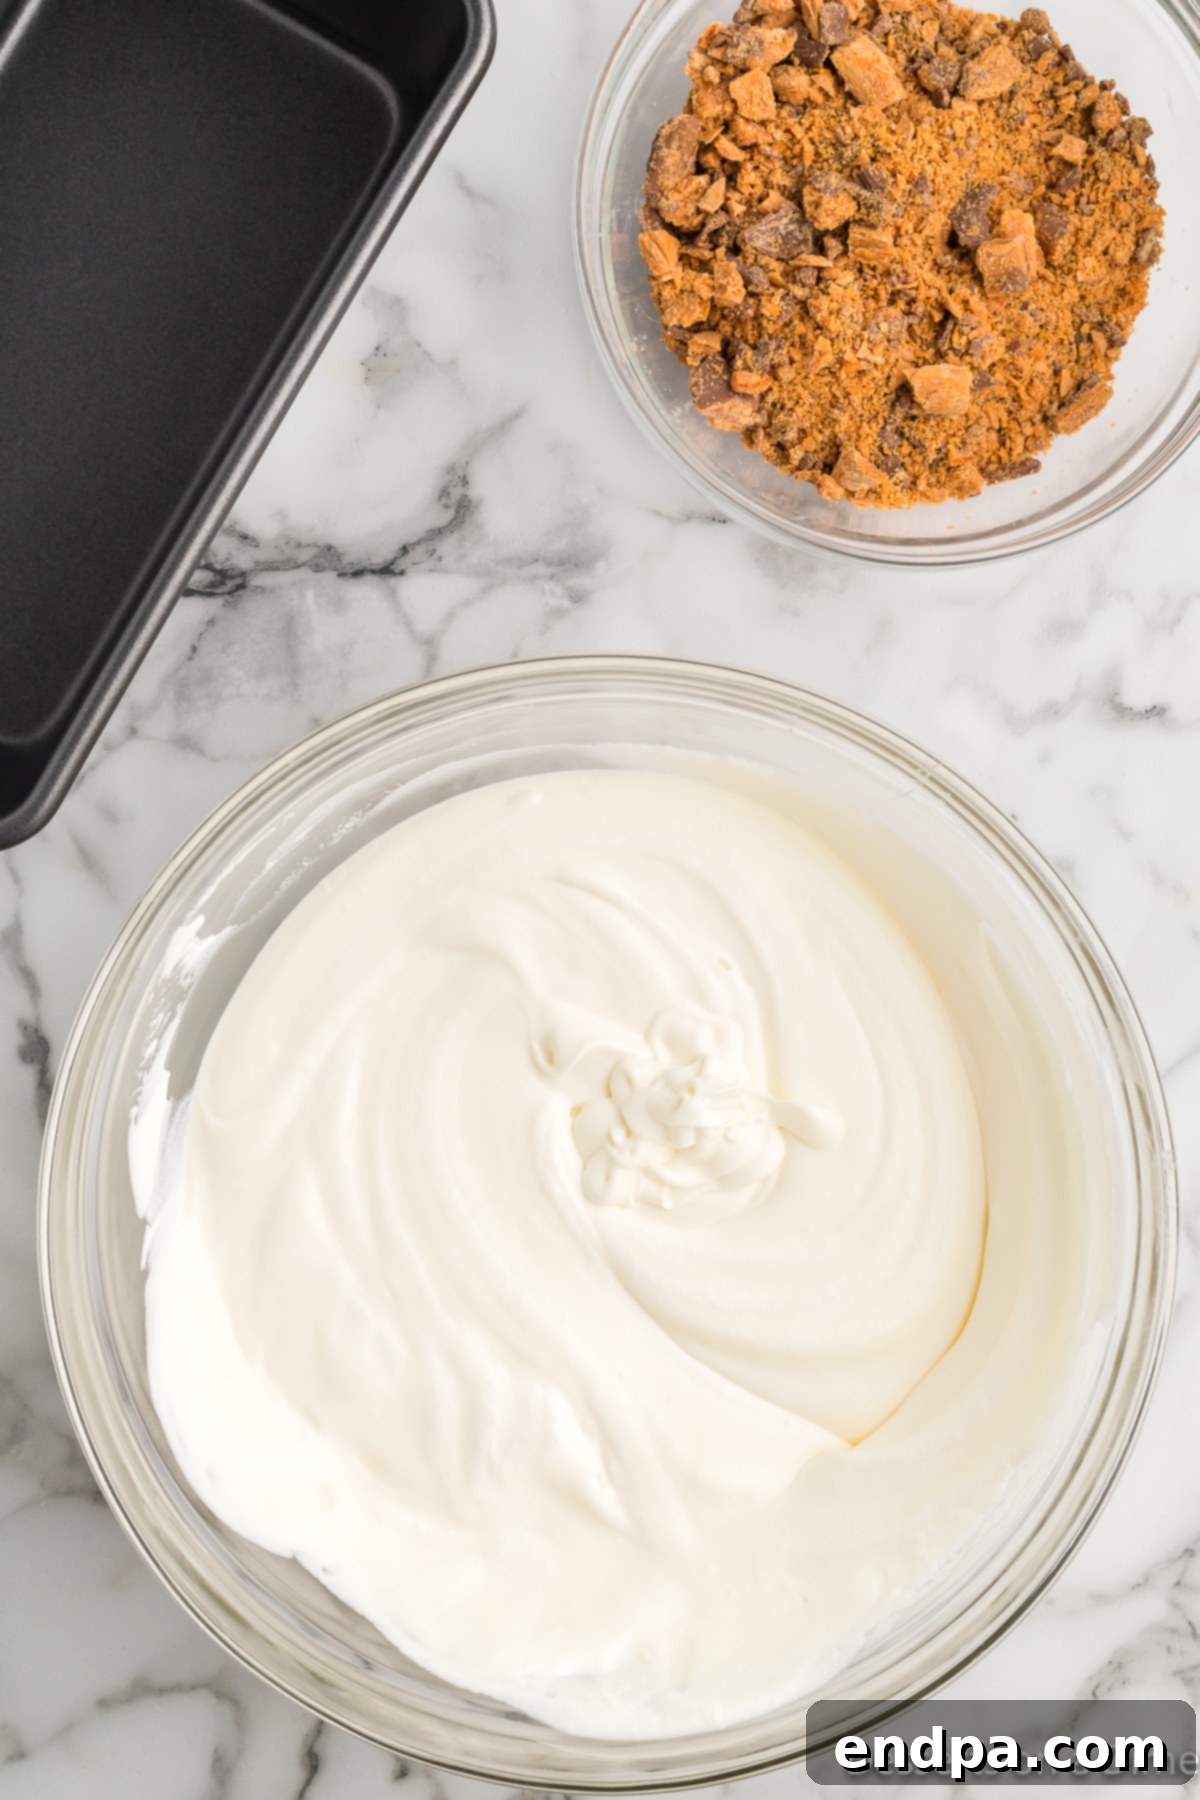
Step 4: Fold and Combine. Gently, but thoroughly, fold the whipped cream into the sweetened condensed milk and vanilla mixture. Use a spatula and a circular motion, scraping from the bottom and folding over the top, to incorporate the whipped cream without deflating it too much. This gentle folding technique is crucial for maintaining the airy texture of the ice cream. Once mostly combined, fold in the crushed Butterfingers until they are evenly distributed throughout the mixture. Again, avoid overmixing.
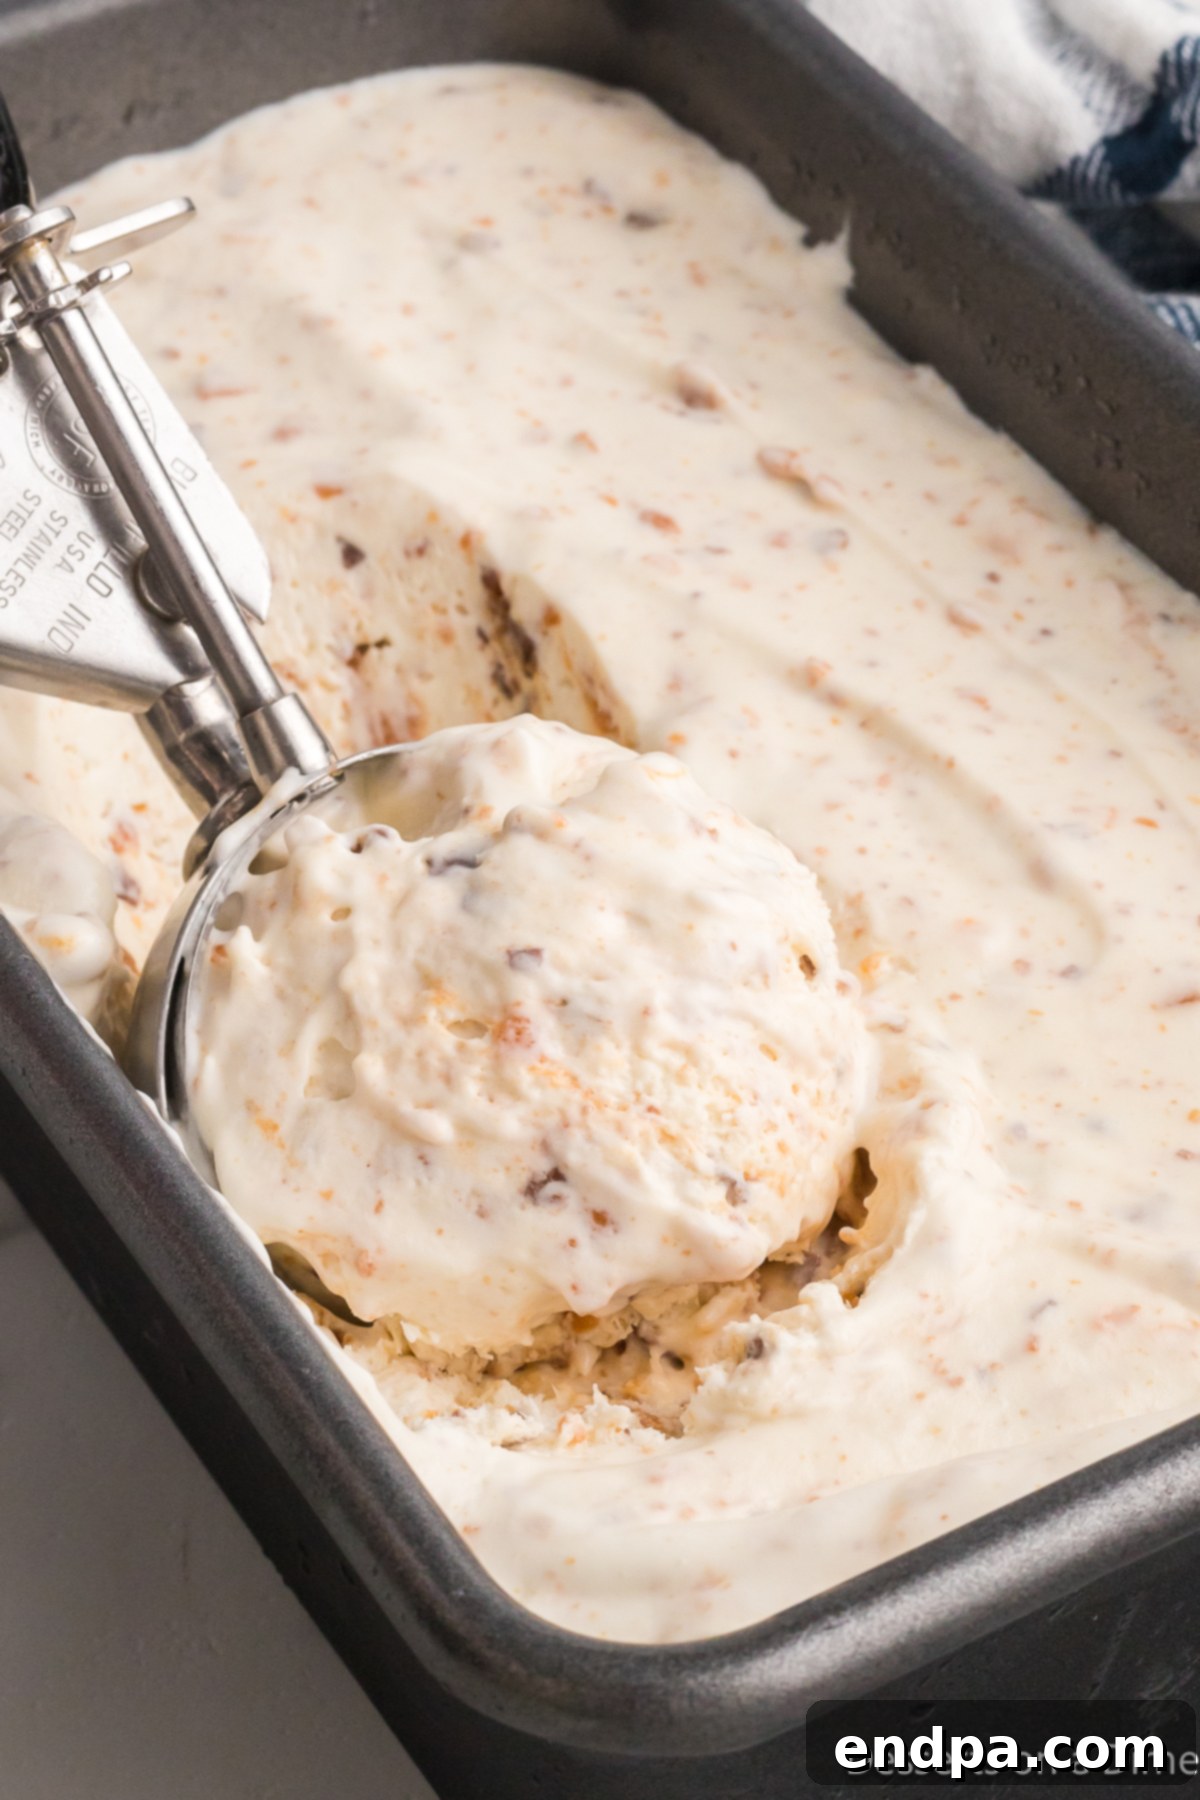
Step 5: Freeze. Carefully spread the ice cream mixture into a 9-inch loaf pan or a freezer-safe container. Smooth the top with a spatula. Cover the pan tightly with plastic wrap, ensuring the wrap touches the surface of the ice cream to prevent ice crystals from forming. Then, cover it again with aluminum foil. Place in the freezer for at least 6 hours, though I highly recommend chilling it overnight for the best, firmest results.
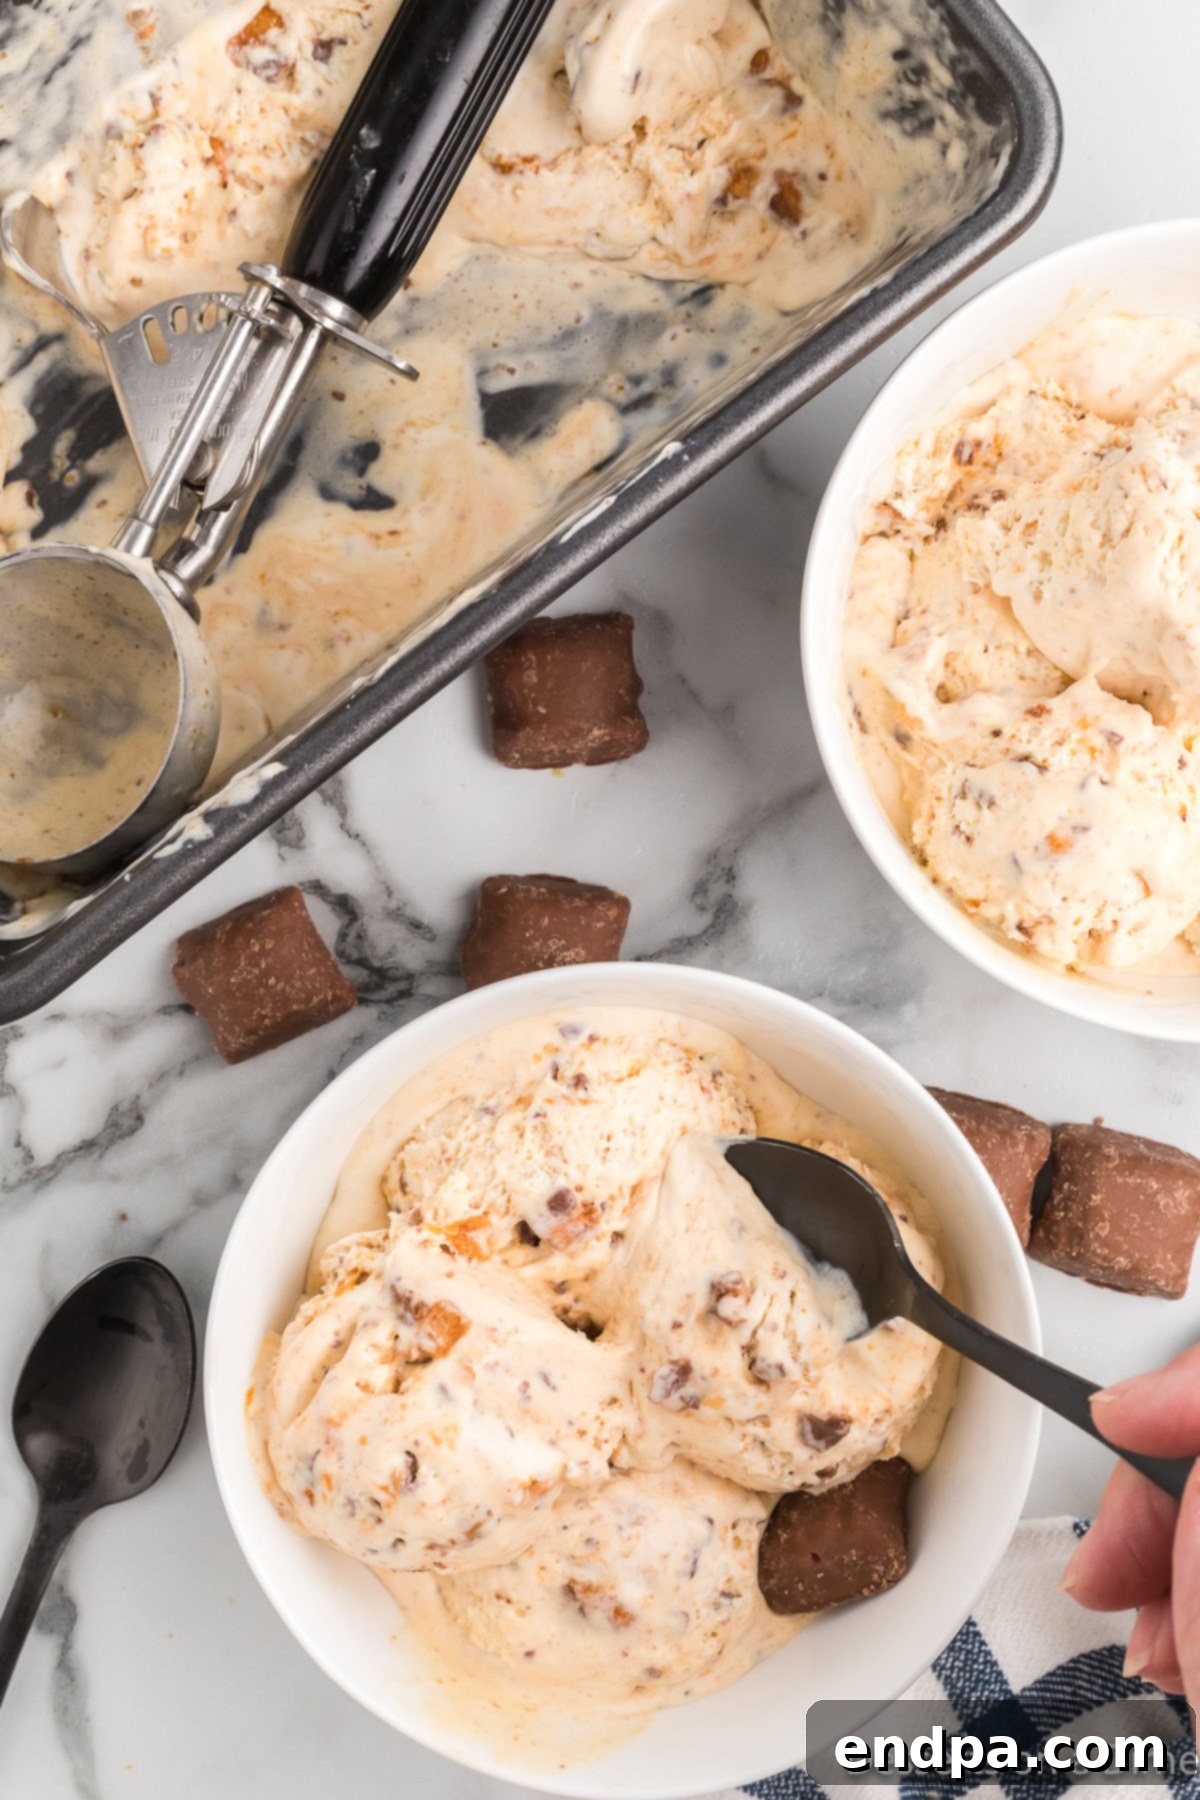
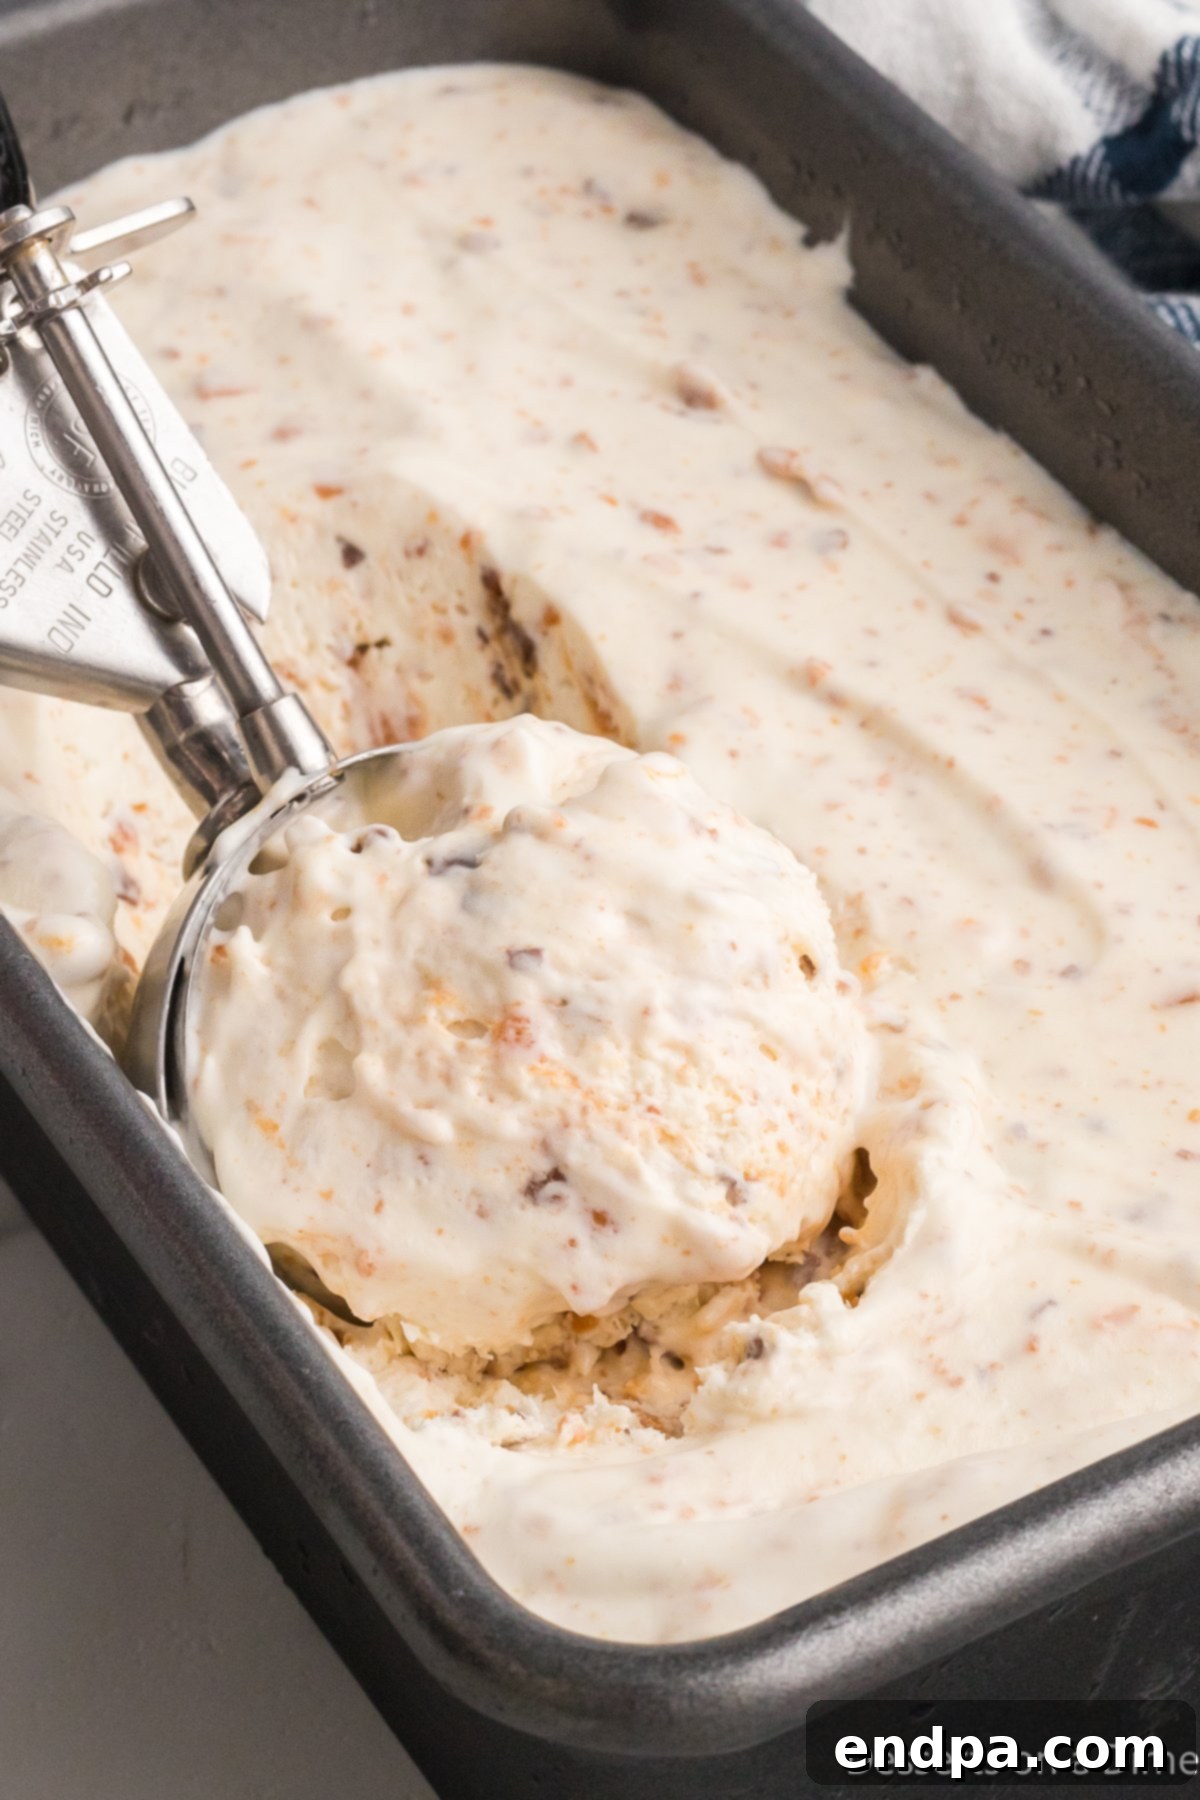
Step 6: Scoop and Enjoy! Once the ice cream is thoroughly frozen and firm, remove it from the freezer. You might need to let it sit on the counter for a minute or two to soften slightly, making it easier to scoop. Serve generous scoops into bowls or cones, and savor every creamy, crunchy bite!
Expert Pro Tips for Perfect Homemade Ice Cream
Achieving perfectly creamy, delicious no-churn ice cream is easy, but a few expert tips can elevate your homemade treat from good to absolutely phenomenal. Pay attention to these details for the best possible results.
- Chopping the Butterfinger: While a ziplock bag and a wooden spoon work perfectly for crushing, a food processor can give you more control over the size of your candy pieces. Pulse the Butterfingers a few times for a mix of fine crumbs and larger chunks. For those who prefer a more uniform texture, continuous pulsing will create finer crumbs. The key is not to turn it into a paste.
- Proper Freezing for Best Texture: Freeze your ice cream for a minimum of 6 hours, but for optimal firmness and scoopability, overnight freezing (12-24 hours) is highly recommended. To prevent dreaded freezer burn and ice crystals, ensure your container is covered with plastic wrap directly touching the surface of the ice cream, then seal tightly with aluminum foil. This barrier protects the ice cream from exposure to air and moisture.
- Serving Perfection: If your ice cream is rock-solid straight from the freezer, don’t force it. Allow it to sit on the counter for 5-10 minutes before attempting to scoop. This brief resting period allows it to soften slightly, making it much easier to scoop smoothly and beautifully. Serve your delightful creation in classic bowls or fun ice cream cones.
- Achieving Stiff Peaks with Heavy Whipping Cream: The success of no-churn ice cream largely depends on properly whipped heavy cream. Beat the heavy cream until stiff peaks form – this means when you lift your whisk, the peaks stand up firmly without flopping over. This incorporates the necessary air that gives the ice cream its light, fluffy, and creamy texture. Under-whipped cream will result in a denser, icier ice cream, while over-whipped cream can become grainy.
- Utilize a Frozen Bowl: For an extra boost in whipping performance and to keep your ingredients as cold as possible, consider freezing your mixing bowl (and even your whisk attachment) for at least 20-30 minutes, or even 24 hours, before you start whipping the heavy cream. A cold bowl helps the cream achieve stiff peaks more quickly and maintains its volume.
- Quality Ingredients Matter: With a recipe containing so few ingredients, the quality of each one truly shines through. Invest in good quality sweetened condensed milk, pure vanilla extract, and fresh heavy whipping cream. You’ll notice the difference in the richness and depth of flavor in your final product.
- Heavy Cream vs. Regular Milk: This is a crucial distinction. Do not substitute regular milk for heavy whipping cream. Heavy cream contains a high fat content (typically 36% or more) which is essential for whipping into a stable foam and for providing the creamy mouthfeel of ice cream. Regular milk lacks this fat content and will not whip, resulting in an icy, runny mixture rather than a luscious ice cream.
Storage and Serving Suggestions
Proper storage is key to enjoying your homemade Butterfinger ice cream for as long as possible. I often prepare this recipe the night before I plan to serve it, allowing it ample time to freeze to the perfect consistency.
This delicious ice cream will keep beautifully in the freezer for up to 3 months when stored correctly in an airtight, freezer-safe container. To prevent freezer burn and the formation of ice crystals, always cover any leftovers. For best results, place a layer of plastic wrap directly onto the surface of the ice cream, ensuring it touches and seals out air, then secure the lid of your container. This double-layer protection is vital for maintaining its smooth texture.
Irresistible Topping Ideas
Transform your Butterfinger ice cream into an even grander dessert experience with a selection of delightful toppings. If you’re hosting a party, setting up an ice cream bar is a fantastic way to let friends and family customize their sundaes. Offer a variety of bowls filled with these fun and festive additions:
- Chopped Nuts: Pecans, walnuts, or peanuts add an extra layer of crunch and nutty flavor.
- Sprinkles: A pop of color and a touch of sweetness, perfect for any occasion.
- Hot Fudge Sauce: A warm, rich chocolate sauce that creates a decadent contrast.
- Homemade Caramel Sauce: Buttery, sweet, and perfectly complements the Butterfinger flavor.
- Extra Crushed Candy Bars: More Butterfinger bits, or even other crushed candies like Snickers or Oreos, for varied texture.
- Homemade Whipped Cream: A light, airy cloud of sweetness to top it all off.
- Cherries: The classic final touch for any sundae!
More Delicious No-Churn Ice Cream Recipes
Loved this easy homemade ice cream? Explore more delightful no-churn creations to satisfy all your frozen dessert cravings:
- No Churn Chocolate Ice Cream
- White Chocolate Raspberry Ice Cream
- Cherry Chocolate Chip Ice Cream
- No Churn Peach Ice Cream
- Twix Ice Cream
- Kool Aid Ice Cream
This Butterfinger no-churn ice cream is truly a labor of love, loaded with flavor, and a guaranteed family favorite. Give it a try today and experience the joy of homemade frozen treats!
Homemade Butterfinger Ice Cream
This Homemade Butterfinger Ice Cream is a vanilla flavored ice cream filled with crushed Butterfinger candy bars. It’s an easy and delicious ice cream recipe that’s perfect for any occasion.
Prep Time: 15 mins
Freeze Time: 6 hrs
Total Time: 6 hrs 15 mins
Servings: 8
Cuisine: American
Course: Dessert
Calories: 495 kcal
Author: Carrie Barnard
Ingredients
- 14 oz. sweetened condensed milk
- 2 tsp Vanilla Extract
- 2 cups heavy whipping cream cold
- 1 pkg Mini Butterfingers (8 oz)
Instructions
- Unwrap the mini Butterfingers and place them in a large ziplock bag. Seal it tightly. Use a wooden spoon to crush the candy bars into small pieces.
- Then, mix together the sweetened condensed milk and vanilla extract in a large bowl until well combined.
- Pour the cold heavy whipping cream into a separate, clean bowl and mix with a stand mixer or handheld mixer for 2-3 minutes until it holds stiff peaks.
- Gently stir the whipped cream into the sweetened milk mixture until well combined, being careful not to overmix and deflate the cream. Then, fold in the crushed Butterfingers until evenly distributed.
- Next, spread the mixture evenly into a 9-inch loaf pan. Cover with plastic wrap, ensuring it touches the surface of the ice cream, then cover with foil. Freeze for at least 6 hours, or preferably overnight, until firm.
- Once frozen, scoop out with an ice cream scoop and enjoy your delightful homemade Butterfinger ice cream!
Recipe Notes
I usually prepare this recipe the night before we plan to enjoy it for best results. This ice cream will last up to 3 months when stored properly in an airtight freezer-safe container in the freezer.
Nutrition Facts
Calories 495 kcal, Carbohydrates 49g, Protein 7g, Fat 31g, Saturated Fat 19g, Polyunsaturated Fat 2g, Monounsaturated Fat 8g, Trans Fat 0.01g, Cholesterol 84mg, Sodium 144mg, Potassium 304mg, Fiber 1g, Sugar 42g, Vitamin A 1007IU, Vitamin C 2mg, Calcium 190mg, Iron 0.4mg
