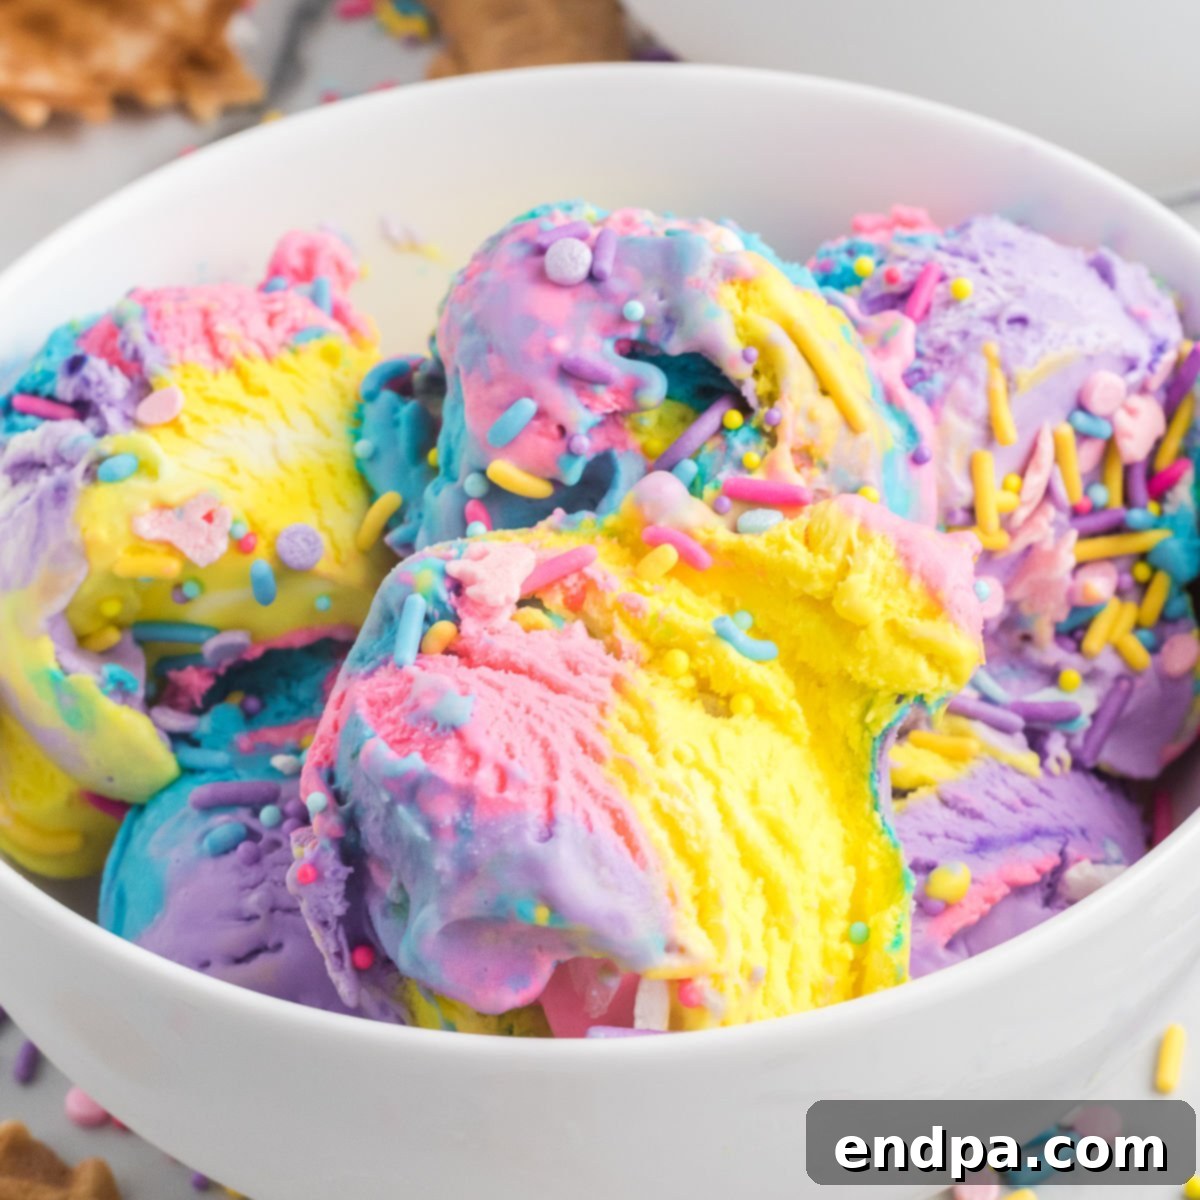
Unicorn Ice Cream is more than just a dessert; it’s a vibrant, rainbow-inspired treat that brings a touch of magic to any occasion. This incredibly easy, no-churn recipe requires just 5 simple ingredients, making it accessible for even the most novice home cook. Imagine creamy vanilla ice cream swirled with brilliant hues and adorned with a generous showering of colorful sprinkles – a true delight for the eyes and the taste buds!
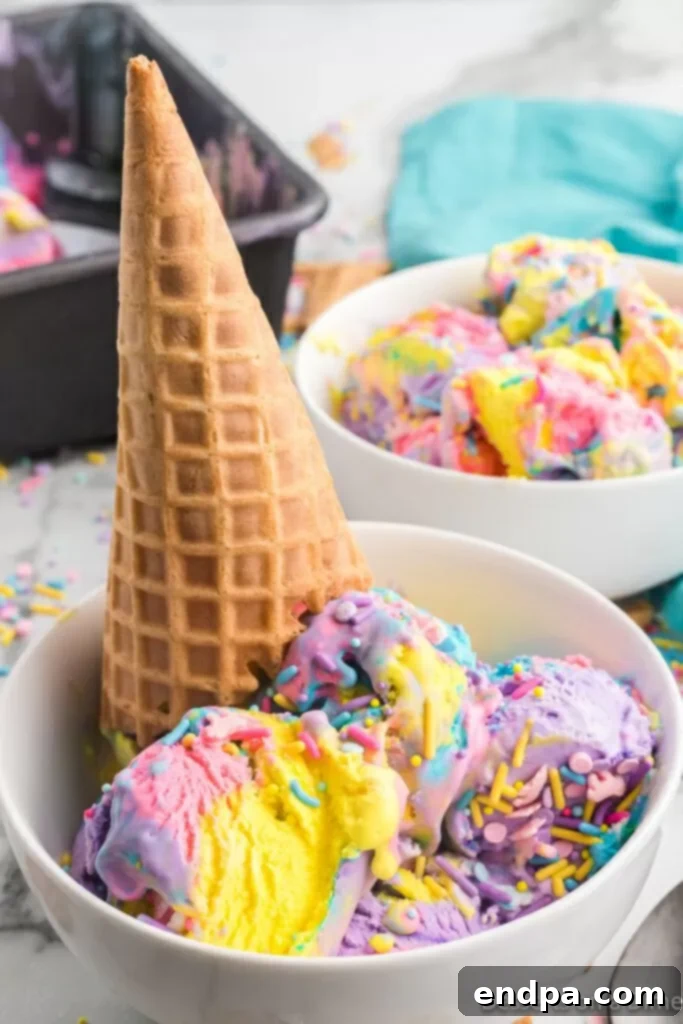
This delightful no-churn unicorn ice cream is perfectly vanilla-flavored, offering a classic taste that appeals to everyone, especially children who adore vanilla. Its charm lies in the dazzling display of rainbow sprinkles and the option to use your favorite shades of blue, pink, purple, and yellow food coloring. Each color blends harmoniously, creating a gorgeous and truly irresistible treat that’s as fun to make as it is to eat.
Whether you’re planning an epic unicorn-themed party, celebrating a birthday, or simply looking for a fun dessert to brighten a regular day, this recipe is your go-to. It’s also a fantastic addition to any festive gathering. If you’re a fan of magical desserts, you might also enjoy exploring our collection of the Best Unicorn Desserts, many of which we’ve been crafting for years!
For those who love the art of homemade ice cream, we highly recommend trying other fantastic no-churn recipes like our No-Churn Chocolate Ice Cream, a seasonal Pumpkin Ice Cream Recipe, or the classic Cherry Garcia Ice Cream. These are just a few of our many Ice Cream Desserts that promise pure delight without the need for an ice cream machine.
Beyond traditional scoops, don’t miss out on unique ice cream-inspired treats such as Melted Ice Cream Cake, convenient Mason Jar Ice Cream, and whimsical Homemade Cotton Candy Ice Cream. Each offers a creative twist on your favorite frozen dessert!
Table of Contents
- Why This Recipe Works
- The Magic of No-Churn Ice Cream
- Ingredients You’ll Need
- Customizations & Creative Additions
- Step-by-Step Instructions
- Pro Tips for Perfection
- Storage & Make-Ahead Tips
- Serving Suggestions
- Frequently Asked Questions
- More Enchanting Unicorn Desserts
- More Irresistible No-Churn Ice Cream Recipes
Why This Recipe Works: Pure Dessert Magic
This Unicorn Ice Cream recipe stands out for its incredible simplicity and stunning results. It requires only a handful of ingredients, and the entire process is a breeze, eliminating the need for any specialized equipment like an ice cream maker. This is truly the easiest way to make delicious, creamy homemade ice cream that looks like it came straight from a gourmet shop.
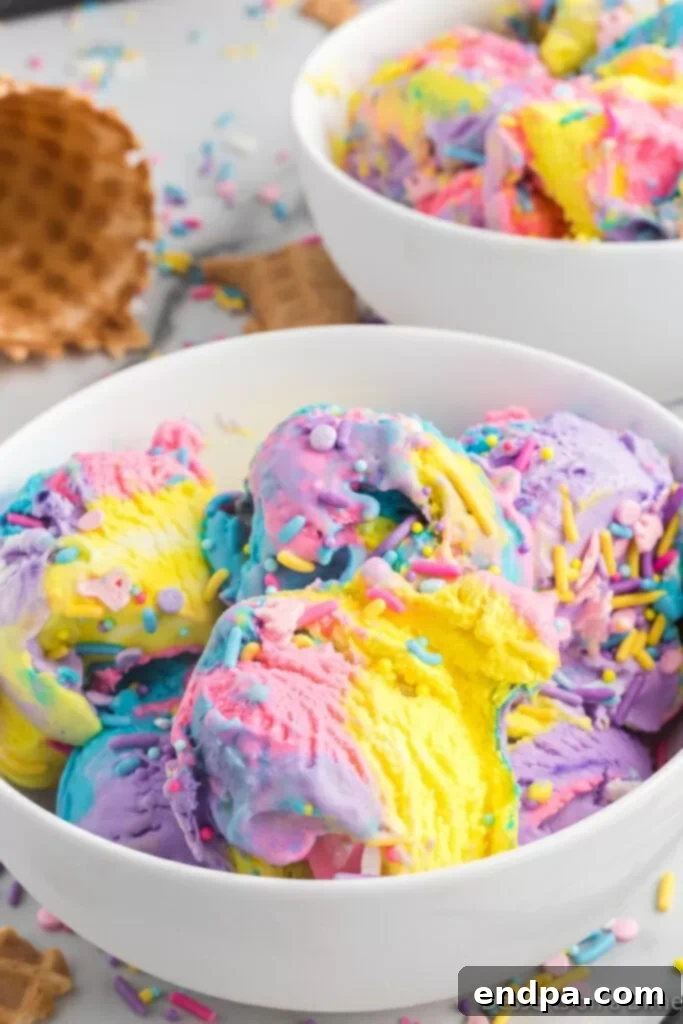
The magic of this recipe lies in its no-churn method, which consistently produces a wonderfully smooth and soft ice cream texture. It’s perfect for serving in crispy waffle cones, charming waffle bowls, or even as a delightful topping for other desserts. This fun and vibrant recipe is ideal for themed celebrations, from a whimsical birthday bash to an elegant baby shower. For an extra special touch, consider drizzling it with a rich Homemade Hot Fudge Sauce.
And if you’re looking for more unique frozen treats, our family absolutely adores the Air Fryer Fried Ice Cream – another unexpected favorite!
The Magic of No-Churn Ice Cream
If you’ve ever thought making ice cream at home was too complicated or required expensive machinery, think again! No-churn ice cream is a revelation. The secret lies in whipping heavy cream to stiff peaks and then gently folding in sweetened condensed milk. The whipped cream provides the necessary air and volume, while the condensed milk offers sweetness and a smooth, creamy base that freezes beautifully without the need for constant churning. This method bypasses the ice crystal formation often associated with homemade ice cream, resulting in a delightfully soft and scoopable texture every time. It’s a game-changer for homemade frozen desserts, opening up a world of flavor possibilities with minimal effort.
Ingredients You’ll Need for Your Unicorn Creation
Creating this magical Unicorn Ice Cream requires just a few key components. Each ingredient plays a vital role in achieving that perfect creamy texture and vibrant appearance.
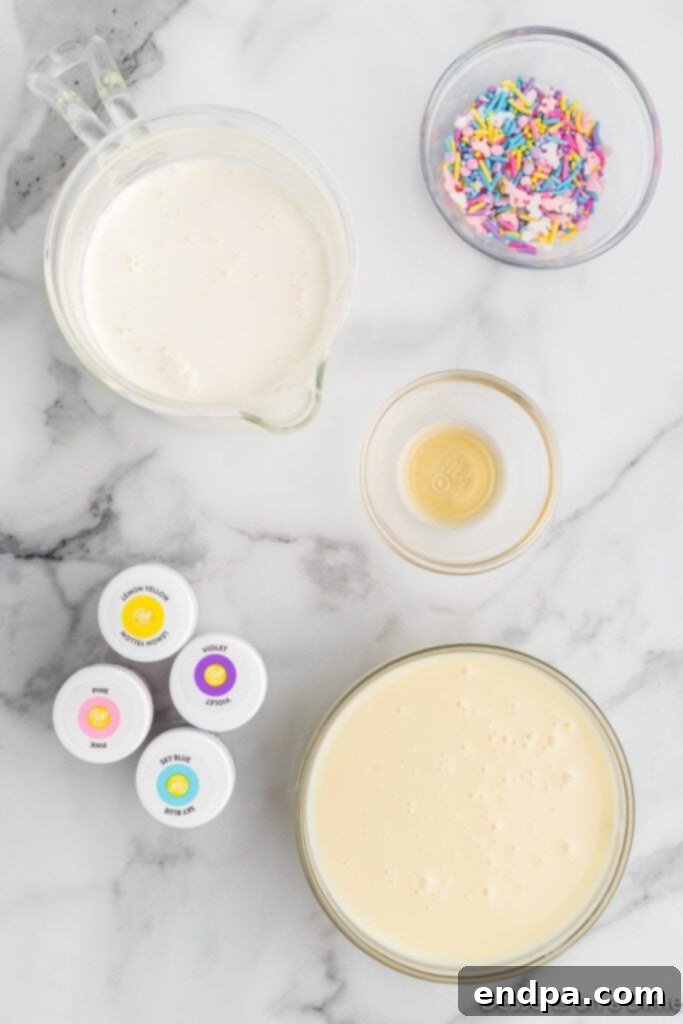
- Heavy Whipping Cream: This is the foundation of our no-churn ice cream. Ensure your heavy cream is very cold before whipping. Cold cream whips up faster and holds its stiff peaks better, which is crucial for the airy texture of the ice cream.
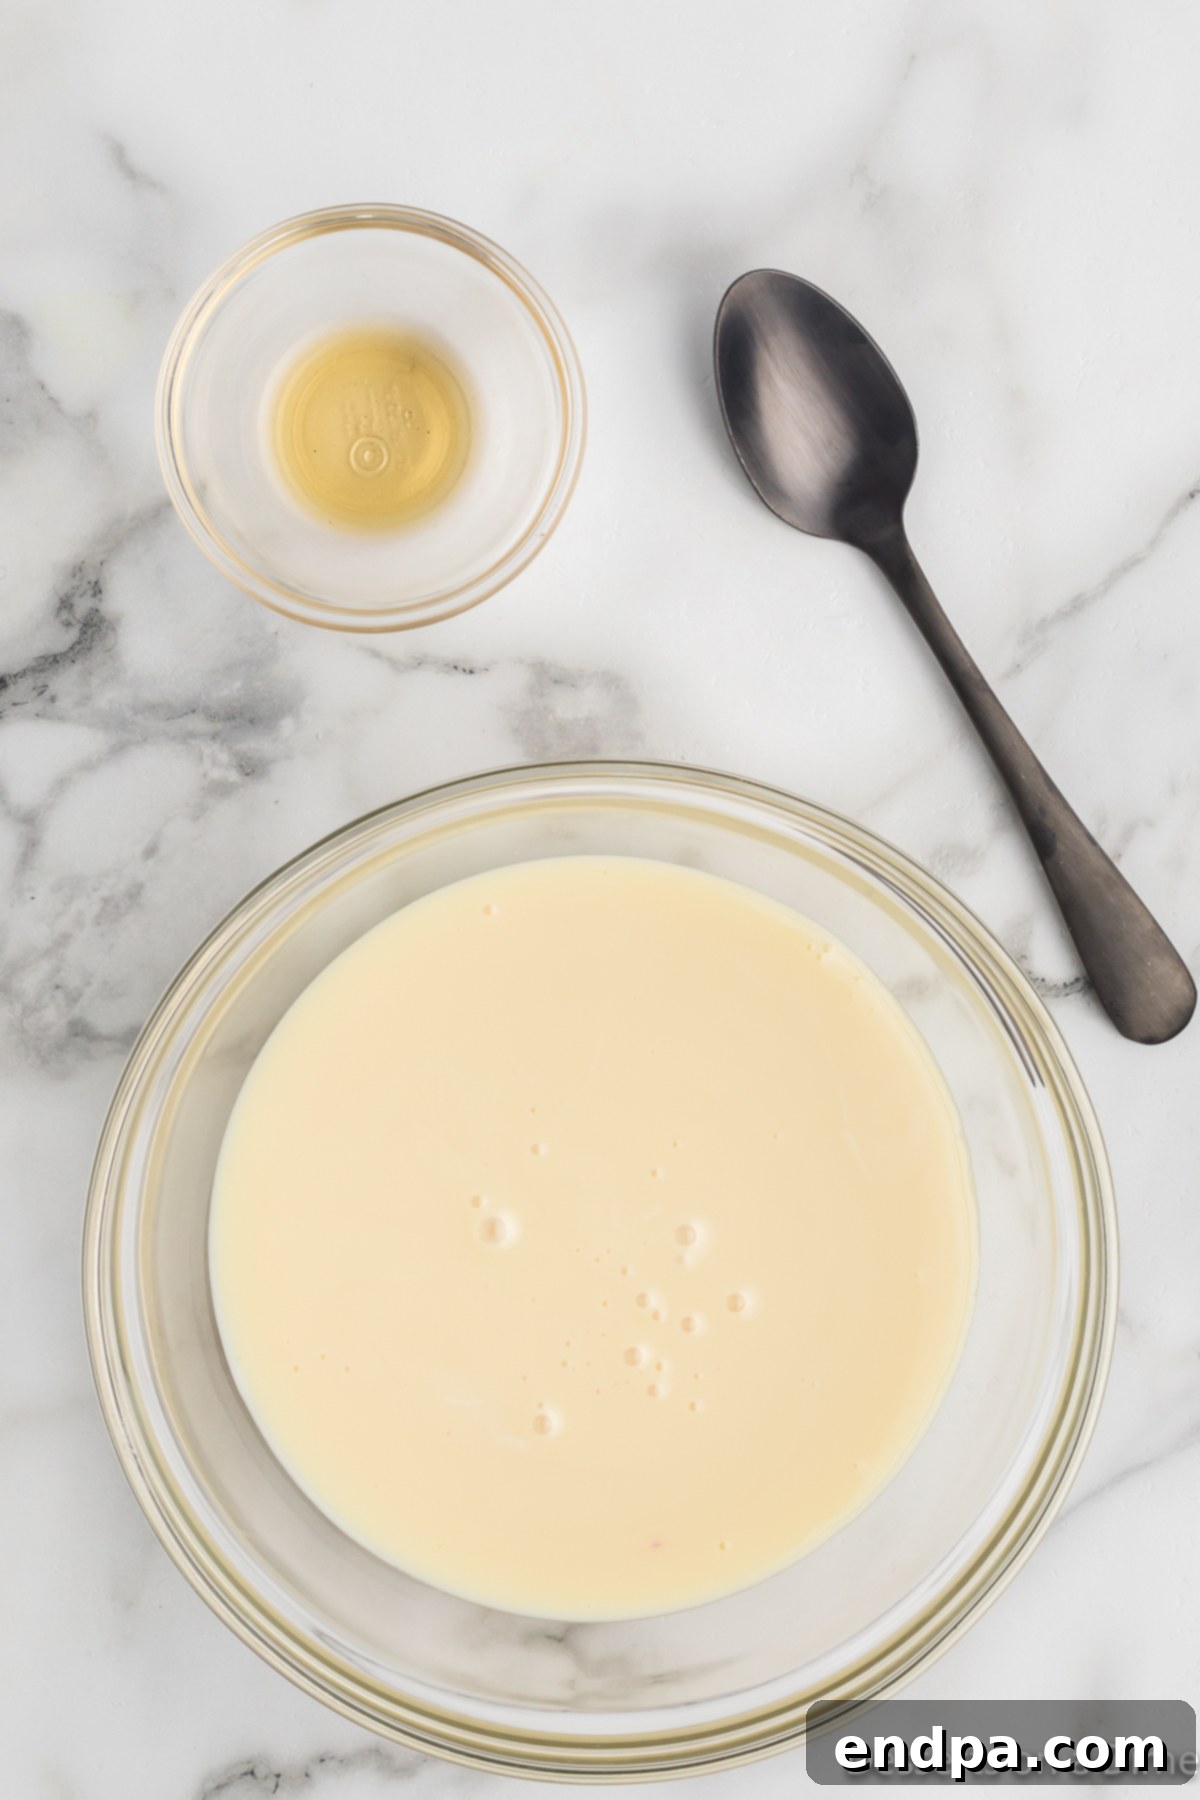
- Sweetened Condensed Milk: This ingredient provides both the sweetness and the necessary creaminess without adding extra sugar or creating ice crystals. It’s what gives no-churn ice cream its signature smooth consistency. Make sure it’s cold as well for optimal mixing.
- Vanilla Extract: Always opt for pure vanilla extract. It imparts a rich, classic vanilla flavor that serves as a perfect backdrop for the colorful presentation. The quality of your vanilla makes a noticeable difference in the final taste.
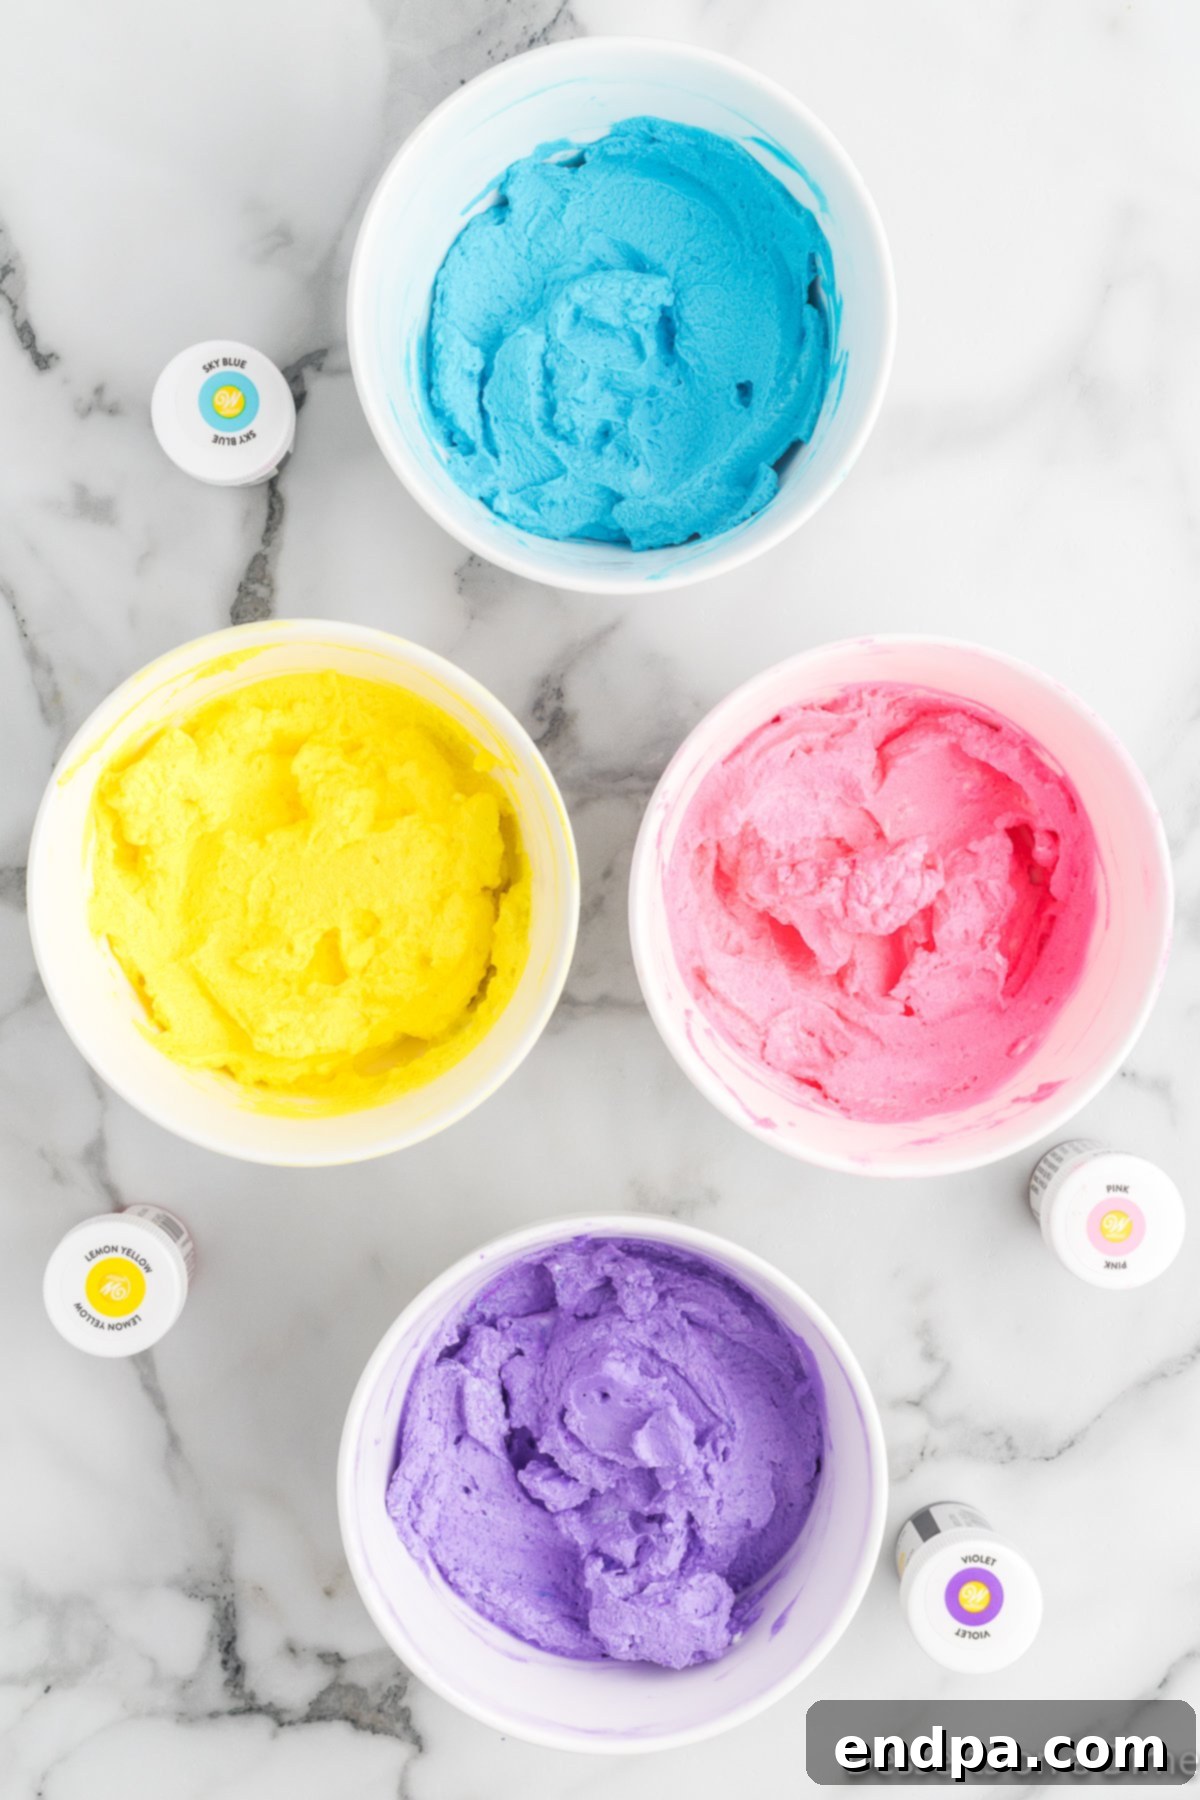
- Food Coloring: We recommend using pink, purple, blue, and yellow for that iconic unicorn aesthetic. However, feel free to get creative with your favorite colors! Gel food coloring is highly recommended for its vibrant, concentrated pigments that won’t thin out your mixture.
- Unicorn Sprinkles: These are essential for adding that fun, whimsical touch and irresistible crunch to your ice cream. Look for a mix of star, rainbow, and pearl sprinkles to truly capture the unicorn magic.
You can find the precise measurements and a printable recipe card for the complete list of ingredients and detailed instructions further down in this post.
Customizations & Creative Additions: Make It Your Own!
One of the joys of making homemade ice cream is the freedom to customize. While our core recipe is perfect as is, here are some ideas for substitutions and additions to make your Unicorn Ice Cream truly unique:
- Flavor Extracts: Beyond classic vanilla, experiment with other extracts to change the flavor profile. Lemon or orange extract can create a delightful creamsicle-like taste, while almond or peppermint can add an unexpected twist. Start with half a teaspoon and adjust to your preference.
- Food Coloring Options: For vibrant, bright colors that truly pop, we highly recommend using gel food coloring. It’s more concentrated and won’t add excess liquid to your ice cream base. If you prefer natural alternatives, options like beet juice for pink, spirulina for blue, or turmeric for yellow can be used, but note that the colors might be less intense and more pastel.
- Freezing Containers: A standard loaf pan works wonderfully for freezing the ice cream and is something most kitchens already have. For easier storage and a more professional look, consider using containers specifically designed for ice cream, often equipped with airtight lids to prevent freezer burn.
- Sprinkle Varieties: While classic rainbow unicorn sprinkles are a must, don’t limit yourself! Experiment with different types and colors of sprinkles to match various themes or holidays. Edible glitter can also be a fantastic addition, giving your ice cream an extra sparkly, magical sheen. Crushed cookies (like Oreos), mini chocolate chips (white chocolate chips would be fitting!), or even small chopped candies can be folded into the base for added texture and flavor.
- Fruit Swirls: For a fruity twist, gently fold in a swirl of fruit puree (like raspberry or strawberry) after adding the colored dollops, but before the final layer of sprinkles. This adds natural flavor and another dimension of color.
Step-by-Step Instructions: Crafting Your Rainbow Masterpiece
Creating this stunning Unicorn Ice Cream is surprisingly straightforward. Follow these easy steps to bring your magical dessert to life:
- Step 1: Chill Your Pan. Place a loaf pan (a metal one is ideal as it freezes faster) in the freezer for at least 30 minutes before you begin. This helps the ice cream freeze more quickly and prevents large ice crystals from forming.
- Step 2: Chill Your Tools. Similarly, place your large mixing bowl (or stand mixer bowl) and whisk attachment in the freezer for at least 30 minutes. Starting with cold equipment ensures your heavy cream whips up perfectly and maintains its volume.
Pro Tips for Perfect Unicorn Ice Cream
To ensure your homemade Unicorn Ice Cream is absolutely perfect every time, keep these expert tips in mind:
- Start with Cold Supplies: This cannot be stressed enough! Chilling your mixing bowl, whisk, and loaf pan in the freezer for at least 30 minutes before you start is crucial. Cold equipment helps the heavy cream whip faster and achieve maximum volume, leading to a lighter, airier ice cream.
- Gently Combine Mixtures: When folding the sweetened condensed milk mixture into the whipped cream, do so very gently. Overmixing will deflate the whipped cream, resulting in a denser, less airy ice cream. Use a spatula and a light hand.
- Opt for Gel Food Coloring: For the most vibrant and eye-catching rainbow colors, always use gel food coloring. It’s highly concentrated, so a little goes a long way, and it won’t add excess liquid that could thin out your ice cream base. Liquid food coloring can sometimes yield less intense colors and alter the texture slightly.
- Don’t Let It Sit Out: Homemade no-churn ice cream tends to soften and melt quicker than commercial ice cream due to its lower fat content and lack of stabilizers. Scoop and serve immediately, then place any leftovers back into the freezer without delay.
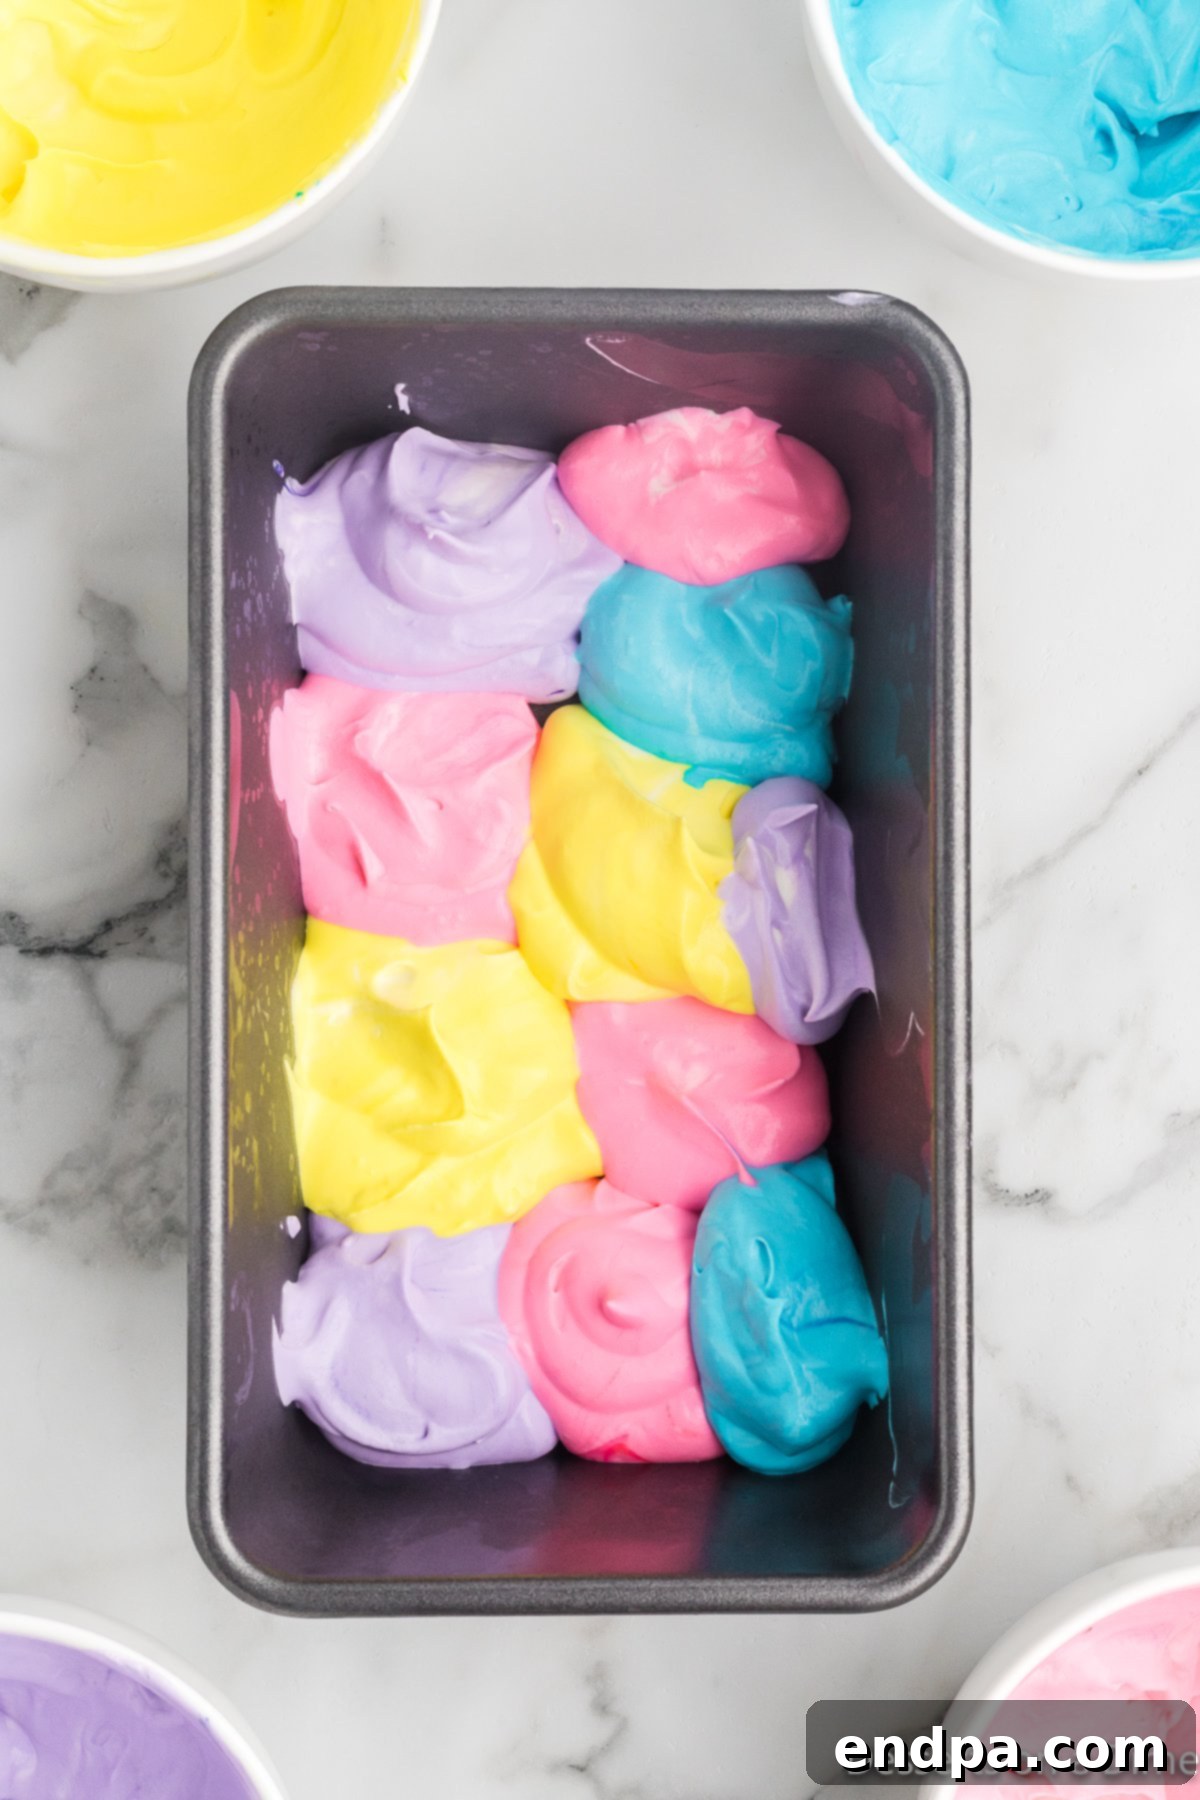
- Achieve Distinct Swirls: When layering the different colored mixtures into the loaf pan, resist the urge to vigorously mix them. The goal is distinct dollops and swirls that create the rainbow effect. A gentle swirl with a butter knife on the top layer is fine if you want a subtle marble, but excessive mixing will result in a muddy, less appealing color.
- Choose Metal Pans for Best Results: Metal loaf pans conduct cold much more efficiently than glass pans. This means your ice cream will freeze faster and more evenly, reducing the chance of ice crystal formation and ensuring a smoother texture.
- Seal Tightly for Storage: Proper storage is key to maintaining quality. Cover the ice cream tightly with plastic wrap, pressing the wrap directly onto the surface of the ice cream before covering the pan itself. This minimizes air exposure, which is the main culprit for freezer burn and ice crystals.
Storage & Make-Ahead Tips
Proper storage is essential to keep your homemade Unicorn Ice Cream fresh and delicious for as long as possible. Here’s how to store it effectively:
You can conveniently leave the ice cream in the loaf pan for storage. The most important step is to cover it very tightly with plastic wrap. For an extra layer of protection against ice crystals, we highly recommend placing a piece of wax paper or parchment paper directly on top of the ice cream before sealing it with plastic wrap. This barrier helps prevent freezer burn and maintains the smooth texture.
It’s important to note that this homemade unicorn ice cream is typically softer and melts more quickly than store-bought varieties. This is a common characteristic of no-churn recipes, as they lack the stabilizers found in commercial ice cream. To enjoy it at its best, do not remove it from the freezer until you are ready to scoop and serve.
When stored properly, your homemade Unicorn Ice Cream will last for up to 2 months in the freezer. After this period, you might notice a subtle change in taste and texture, though it will likely still be enjoyable. For the freshest taste and best consistency, aim to consume it within the first month.
Serving Suggestions: Unleash the Magic!
Once your magical Unicorn Ice Cream is perfectly frozen, it’s time to serve it up and enjoy! Here are some ideas to make the experience even more special:
- Classic Cones or Bowls: The simplest way to enjoy is in a crisp waffle cone, sugar cone, or a colorful serving bowl. The vibrant colors of the ice cream truly shine.
- Dazzling Toppings: Enhance the unicorn theme with extra sprinkles, edible glitter, whipped cream, or a drizzle of white chocolate sauce.
- Unicorn Sundaes: Create ultimate sundaes by layering the ice cream with colorful candies, fruit, and a dollop of whipped cream.
- Ice Cream Sandwiches: Sandwich a scoop between two soft sugar cookies or rainbow-colored wafers for a fun handheld treat.
- Pair with Cake: Serve alongside a slice of birthday cake or a simple vanilla cupcake for a festive dessert duo.
- Milkshakes: Blend a few scoops with a splash of milk for a whimsical unicorn milkshake.
Frequently Asked Questions About Unicorn Ice Cream
Here are some common questions about making and enjoying this magical no-churn ice cream:
Q: What does “no-churn” mean?
A: No-churn means you don’t need an ice cream maker! This recipe relies on whipping heavy cream and folding it with sweetened condensed milk to create a creamy, scoopable ice cream that freezes directly in a pan.
Q: Can I use different colors for the ice cream?
A: Absolutely! Feel free to use any combination of food coloring you like. Consider holiday themes (red and green for Christmas) or specific party colors.
Q: How long does it take for the ice cream to freeze completely?
A: It typically takes at least 4-6 hours to become firm enough to scoop. For the best texture, we recommend freezing it overnight.
Q: Is this recipe gluten-free?
A: Yes, if your sprinkles are gluten-free, the base ingredients (heavy cream, sweetened condensed milk, vanilla extract, food coloring) are naturally gluten-free.
Q: Can I make this ice cream dairy-free?
A: While the original recipe uses dairy, you can experiment with dairy-free heavy whipping cream alternatives (like full-fat coconut cream, chilled overnight) and dairy-free sweetened condensed milk substitutes. Results may vary slightly in texture.
Q: Why is my no-churn ice cream icy?
A: Icy texture usually occurs if the heavy cream wasn’t whipped to stiff enough peaks, or if the mixture wasn’t covered tightly during freezing, allowing ice crystals to form. Ensure your cream is very cold and whip it thoroughly, and always press plastic wrap directly onto the surface before freezing.
Q: Can I add mix-ins other than sprinkles?
A: Yes! After layering the colors, you can fold in mini marshmallows, white chocolate chips, crushed cookies, or finely chopped candies for extra texture and flavor. Add these before the final layer of sprinkles.
More Enchanting Unicorn Desserts
Extend the magic beyond ice cream with these other delightful unicorn-themed treats:
- Unicorn Cupcakes
- Easy Unicorn Dip
- Unicorn Fudge
- Unicorn Poop Cookies
More Irresistible No-Churn Ice Cream Recipes
If you’ve fallen in love with the simplicity and deliciousness of no-churn ice cream, explore these other fantastic variations:
- Chocolate Caramel Ice Cream
- Corn Ice Cream (A surprisingly delicious and unique flavor!)
- Pistachio Ice Cream
- Pecan Praline Ice Cream Recipe
- No-Churn Peach Ice Cream
- S’mores Ice Cream Recipe
Embark on a culinary adventure and create this fun and whimsical ice cream today to sprinkle a little unicorn magic into your life. We’d love to hear about your experience – don’t forget to leave a comment and a star rating once you do!
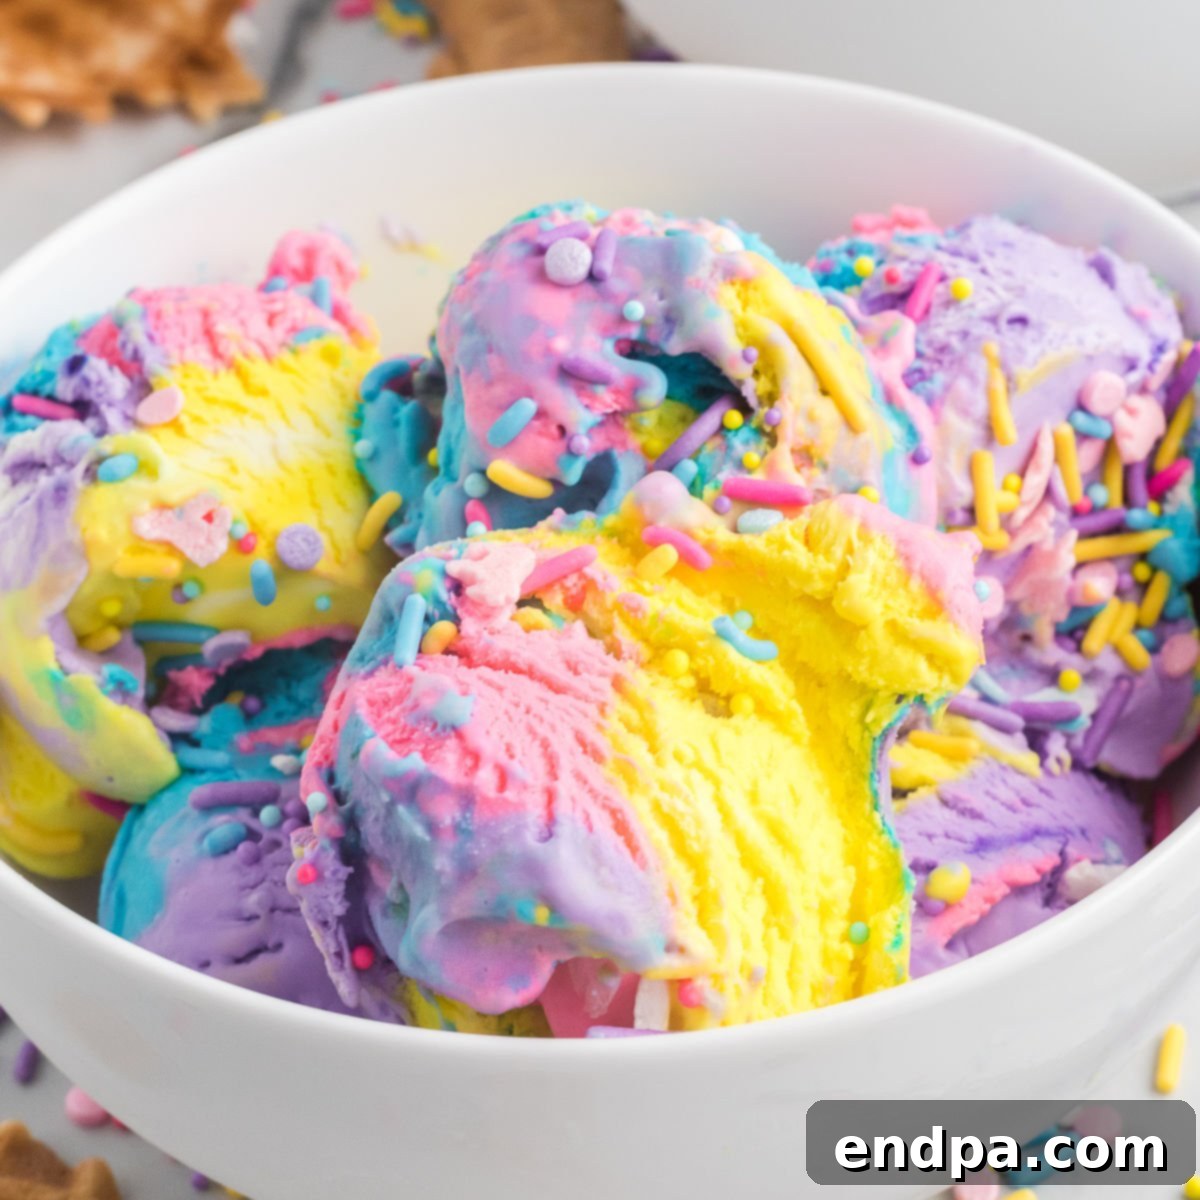
Unicorn Ice Cream Recipe
This Unicorn Ice Cream recipe is a colorful, easy-to-make, no-churn dessert featuring vibrant rainbow swirls and fun sprinkles, perfect for any celebration!
Recipe Details
- Prep Time: 15 mins
- Cook Time: 0 mins
- Freeze Time: 4 hrs
- Total Time: 4 hrs 15 mins
- Servings: 8
- Cuisine: American
- Course: Dessert
- Calories: 363 kcal
- Author: Carrie Barnard
Ingredients
- 2 cups very cold heavy whipping cream
- 14 oz sweetened condensed milk, cold
- 1 teaspoon vanilla extract
- Food coloring (Pink, Purple, Blue & Yellow recommended)
- 2 Tablespoons Unicorn Sprinkles
Instructions
- Place a loaf pan in the freezer for at least 30 minutes before you begin.
- Place a large mixing bowl and whisk (or stand mixer bowl and whisk attachment) in the freezer for at least 30 minutes before you begin.
- Ensure both heavy whipping cream and sweetened condensed milk are very cold.
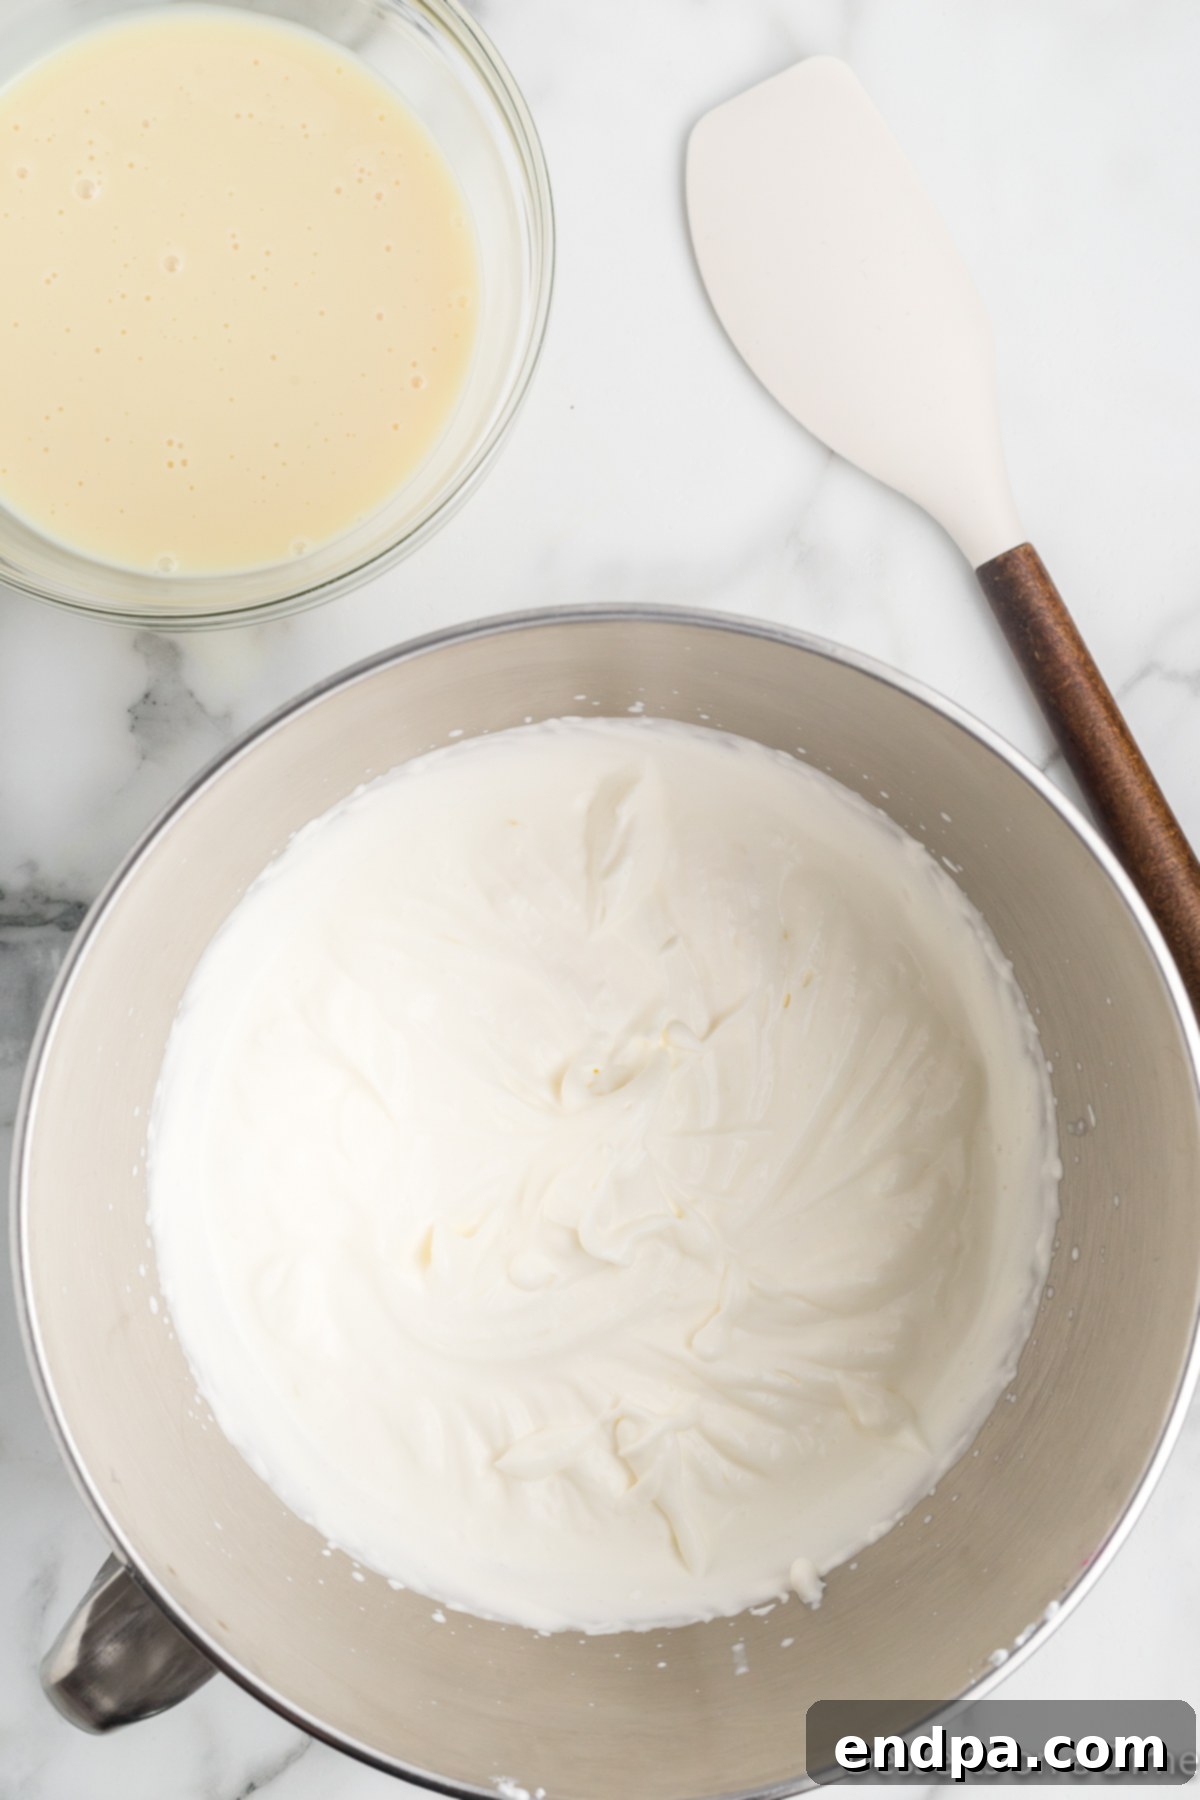
- In the chilled large bowl, beat the heavy whipping cream until stiff peaks form.
- In a separate medium bowl, stir together the sweetened condensed milk and vanilla extract until smooth.
- Gradually add the milk mixture to the whipped cream, gently folding it in with a spatula to maintain the airiness of the whipped cream.
- Divide the mixture evenly into 4 separate bowls.
- Dye each of the bowls pink, purple, blue, and yellow with the food coloring, stirring gently until the color is consistent.
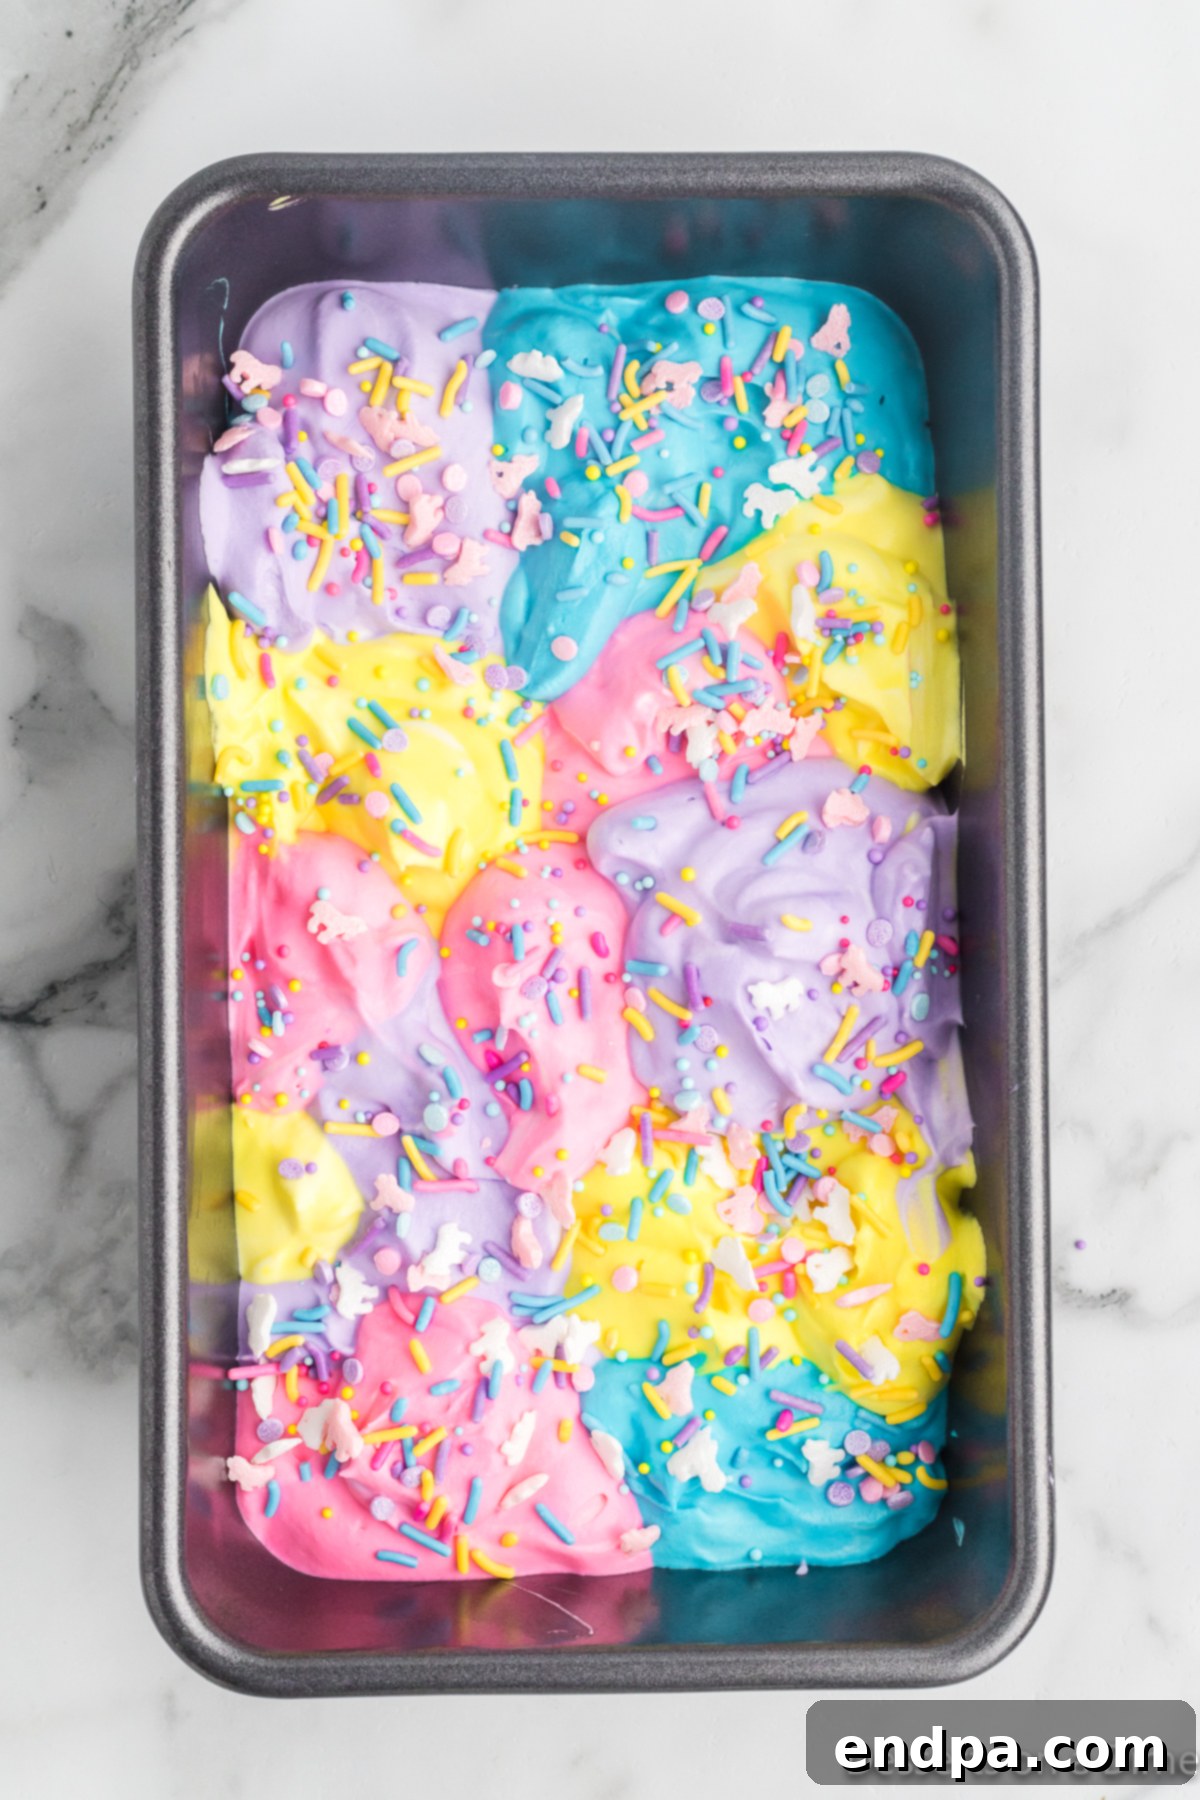
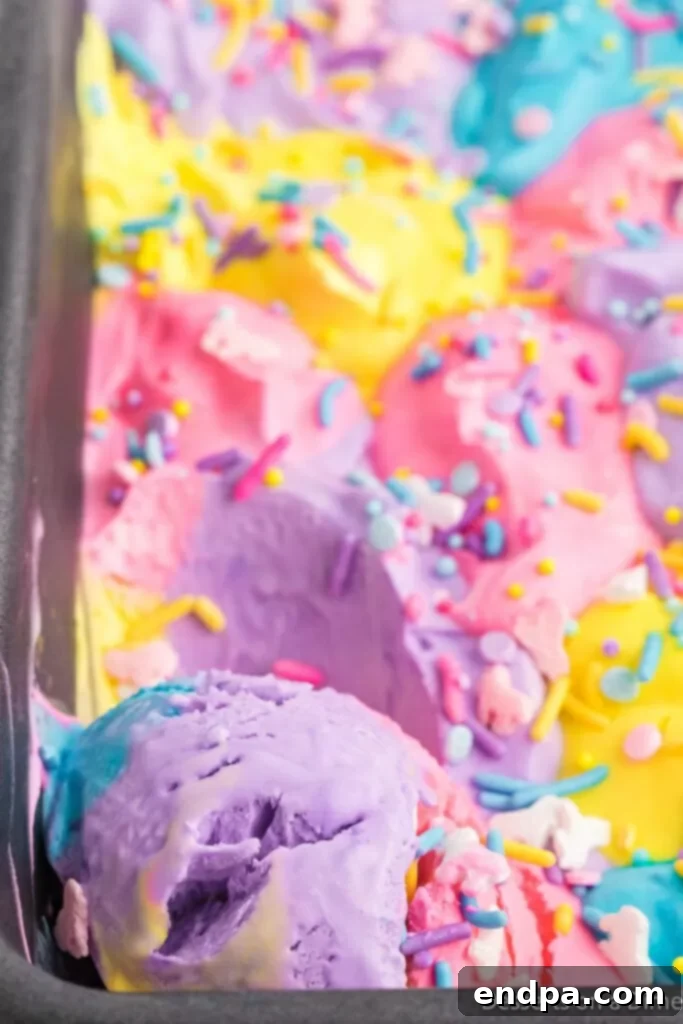
- Remove the loaf pan from the freezer. Add alternating dollops of each colored mixture to fill the pan about halfway. Sprinkle half of the unicorn sprinkles over this layer. Then, add more dollops of the remaining colored mixture to fill the pan completely. Scatter the remaining sprinkles on top.
- Cover the pan tightly with plastic wrap, pressing it directly onto the surface of the ice cream. Freeze for at least 4 hours, or preferably overnight, until the ice cream is firm.
- Once firm, your Unicorn Ice Cream is ready to serve and enjoy!
Recipe Notes
This homemade ice cream is very soft and tends to melt quicker than store-bought ice cream, so serve it promptly.
Homemade ice cream, when stored properly, will last for up to 2 months in the freezer.
For the most vibrant colors, always use gel food coloring in this Unicorn Ice Cream recipe.
Nutrition Facts (per serving)
- Calories: 363 kcal
- Carbohydrates: 29g
- Protein: 6g
- Fat: 26g
- Saturated Fat: 16g
- Polyunsaturated Fat: 1g
- Monounsaturated Fat: 7g
- Cholesterol: 84mg
- Sodium: 79mg
- Potassium: 241mg
- Sugar: 29g
- Vitamin A: 1007IU
- Vitamin C: 2mg
- Calcium: 180mg
- Iron: 0.2mg
