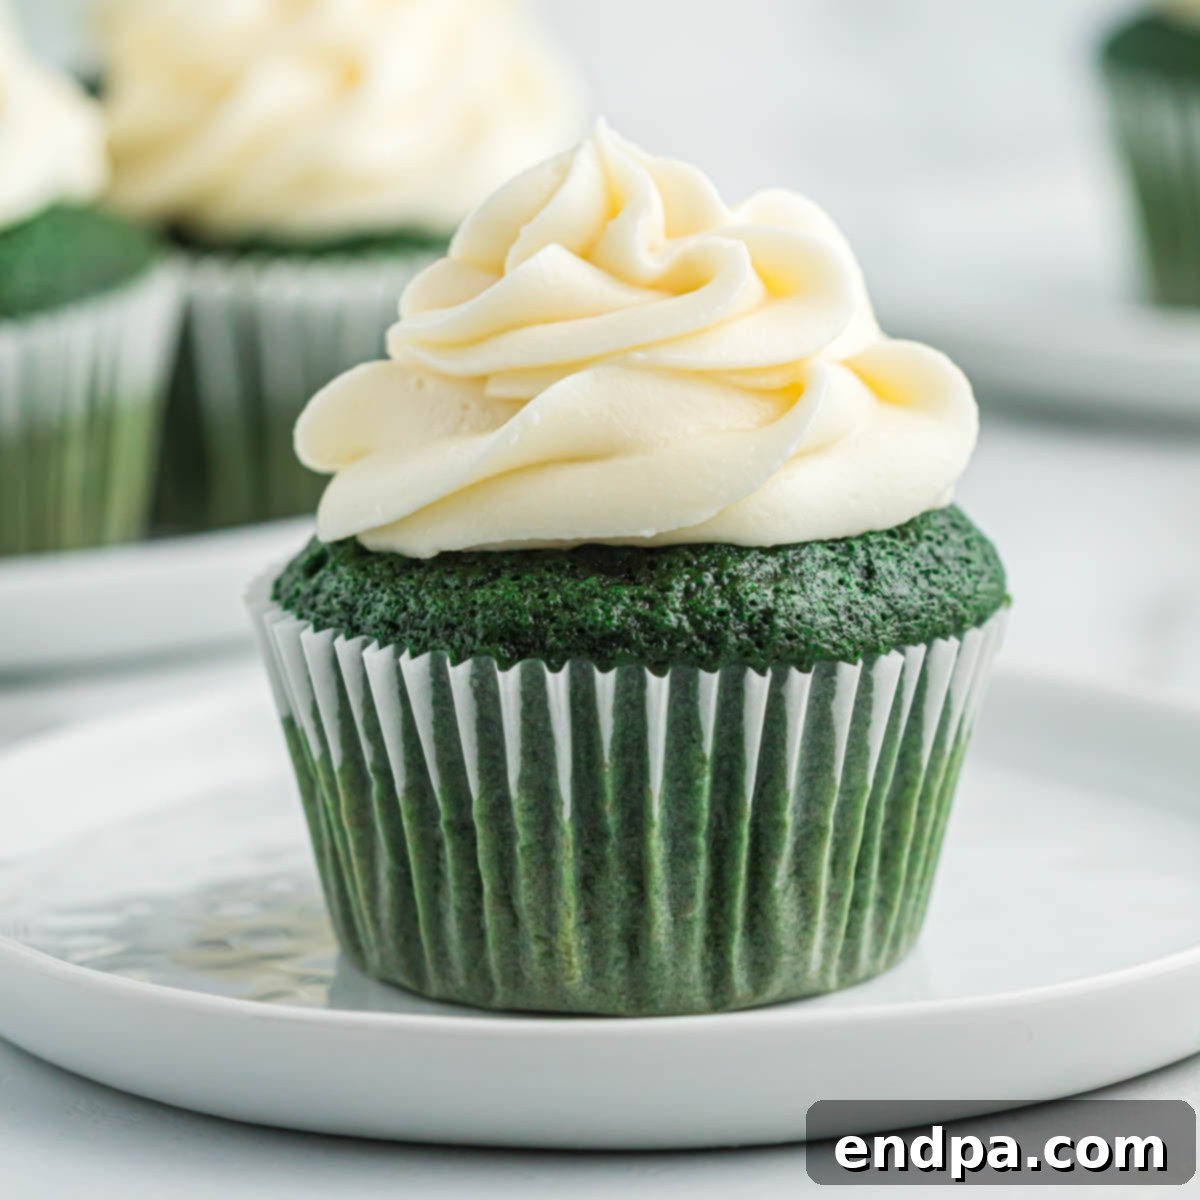
Welcome to the ultimate guide for creating the most enchanting Green Velvet Cupcakes, a recipe that promises to be as delightful to behold as it is to taste. Perfect for celebrating St. Patrick’s Day, Earth Day, or any occasion that calls for a splash of vibrant green, these cupcakes offer a whimsical twist on the classic velvet cake. Imagine the rich, delicate flavor profile of traditional Red Velvet Cupcakes, but with a stunning emerald hue that captivates from the first glance. This homemade recipe is designed for ease and enjoyment, resulting in moist, fluffy cupcakes crowned with a decadent, tangy cream cheese frosting. Prepare to impress your friends and family with this truly special treat!
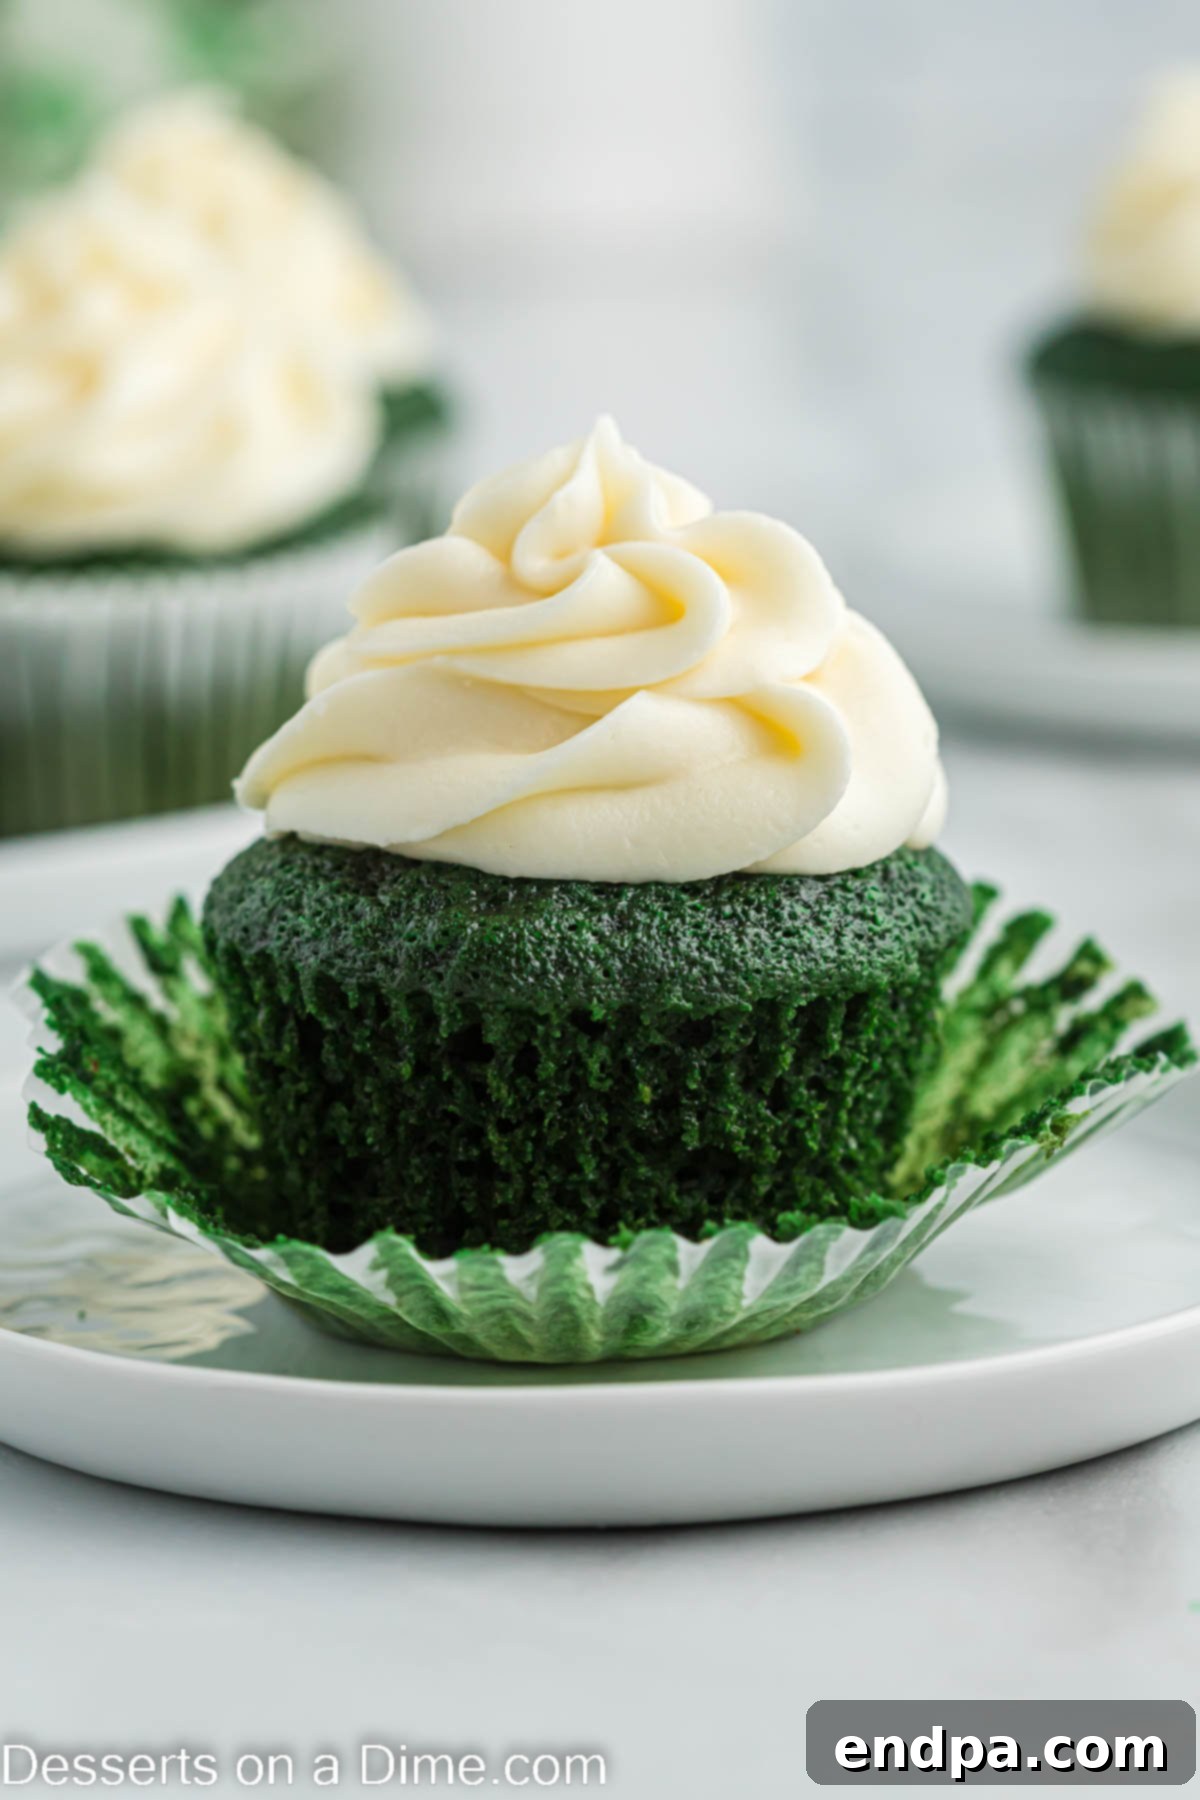
These luscious Green Velvet Cupcakes aren’t just a feast for the eyes; their flavor is truly amazing. The vibrant green color makes them an instant favorite for themed gatherings, adding a festive touch that’s both elegant and fun. If you’re a devoted fan of red velvet cake, venturing into this green variation will be a delightful culinary adventure. The transformation from a simple batter to a brightly colored dessert is truly magical once the food coloring is added, making it an ideal centerpiece alongside other festive treats like St Patrick’s Day Rainbow Cookies and playful Lucky Charms Treats.
For those who prefer a grander dessert, this recipe can easily be adapted to create a magnificent Green Velvet Cake. The joy of making and enjoying anything “green velvet” is unparalleled, especially when paired with other seasonal favorites like rich Guinness Brownies. Get ready to dive into the world of velvet cakes with a verdant twist that promises to bring smiles and satisfaction to every bite.
Table of Contents
- Why These Green Velvet Cupcakes Are a Must-Try
- Essential Ingredients for Perfect Green Velvet Cupcakes
- For the Moist and Fluffy Cupcakes
- For the Tangy Cream Cheese Frosting
- Step-by-Step Guide: How to Make Green Velvet Cupcakes
- Can You Freeze Green Velvet Cupcakes? Tips for Storage
- Expert Baking Tips for Green Velvet Cupcakes
- Frequently Asked Questions (FAQ)
- More Delightful Cupcake Recipes to Explore
Why These Green Velvet Cupcakes Are a Must-Try
There’s something truly special about these Green Velvet Cupcakes that makes them stand out. They encapsulate all the beloved flavors of a classic velvet cake – a subtle cocoa note, incredible moisture, and a tender crumb – but with a vibrant green twist that instantly brightens any dessert spread. This recipe isn’t just about a change in color; it’s about delivering an experience. Here’s why we believe this recipe will become a new favorite:
- Festive & Fun: The dazzling green color makes these cupcakes an instant hit for holiday celebrations like St. Patrick’s Day or even Christmas, adding a playful yet sophisticated element to your table.
- Unforgettable Flavor: The combination of a hint of cocoa with the subtle tang of buttermilk creates a unique depth of flavor that is both comforting and exciting. Paired with a rich cream cheese frosting, it’s a symphony of tastes.
- Incredibly Moist Texture: Thanks to carefully chosen ingredients like buttermilk and vegetable oil, these cupcakes boast an exceptionally moist and tender crumb that practically melts in your mouth.
- Easy to Follow: With clear, simple step-by-step instructions, even novice bakers can confidently create these beautiful and delicious treats. It’s a rewarding baking project that yields impressive results.
- Versatile for Any Occasion: While perfect for holidays, their delicious taste means they’re equally suited for birthdays, potlucks, or simply as a special homemade dessert to brighten an ordinary day.
- Crowd-Pleaser: Everyone loves a good cupcake, and the novelty of a green velvet version is sure to spark conversation and delight guests of all ages.
Whether you’re celebrating a specific event or simply craving a unique and delicious dessert, these Green Velvet Cupcakes are an absolute must-try. Their stunning appearance and irresistible taste make them a joyful addition to any culinary repertoire.
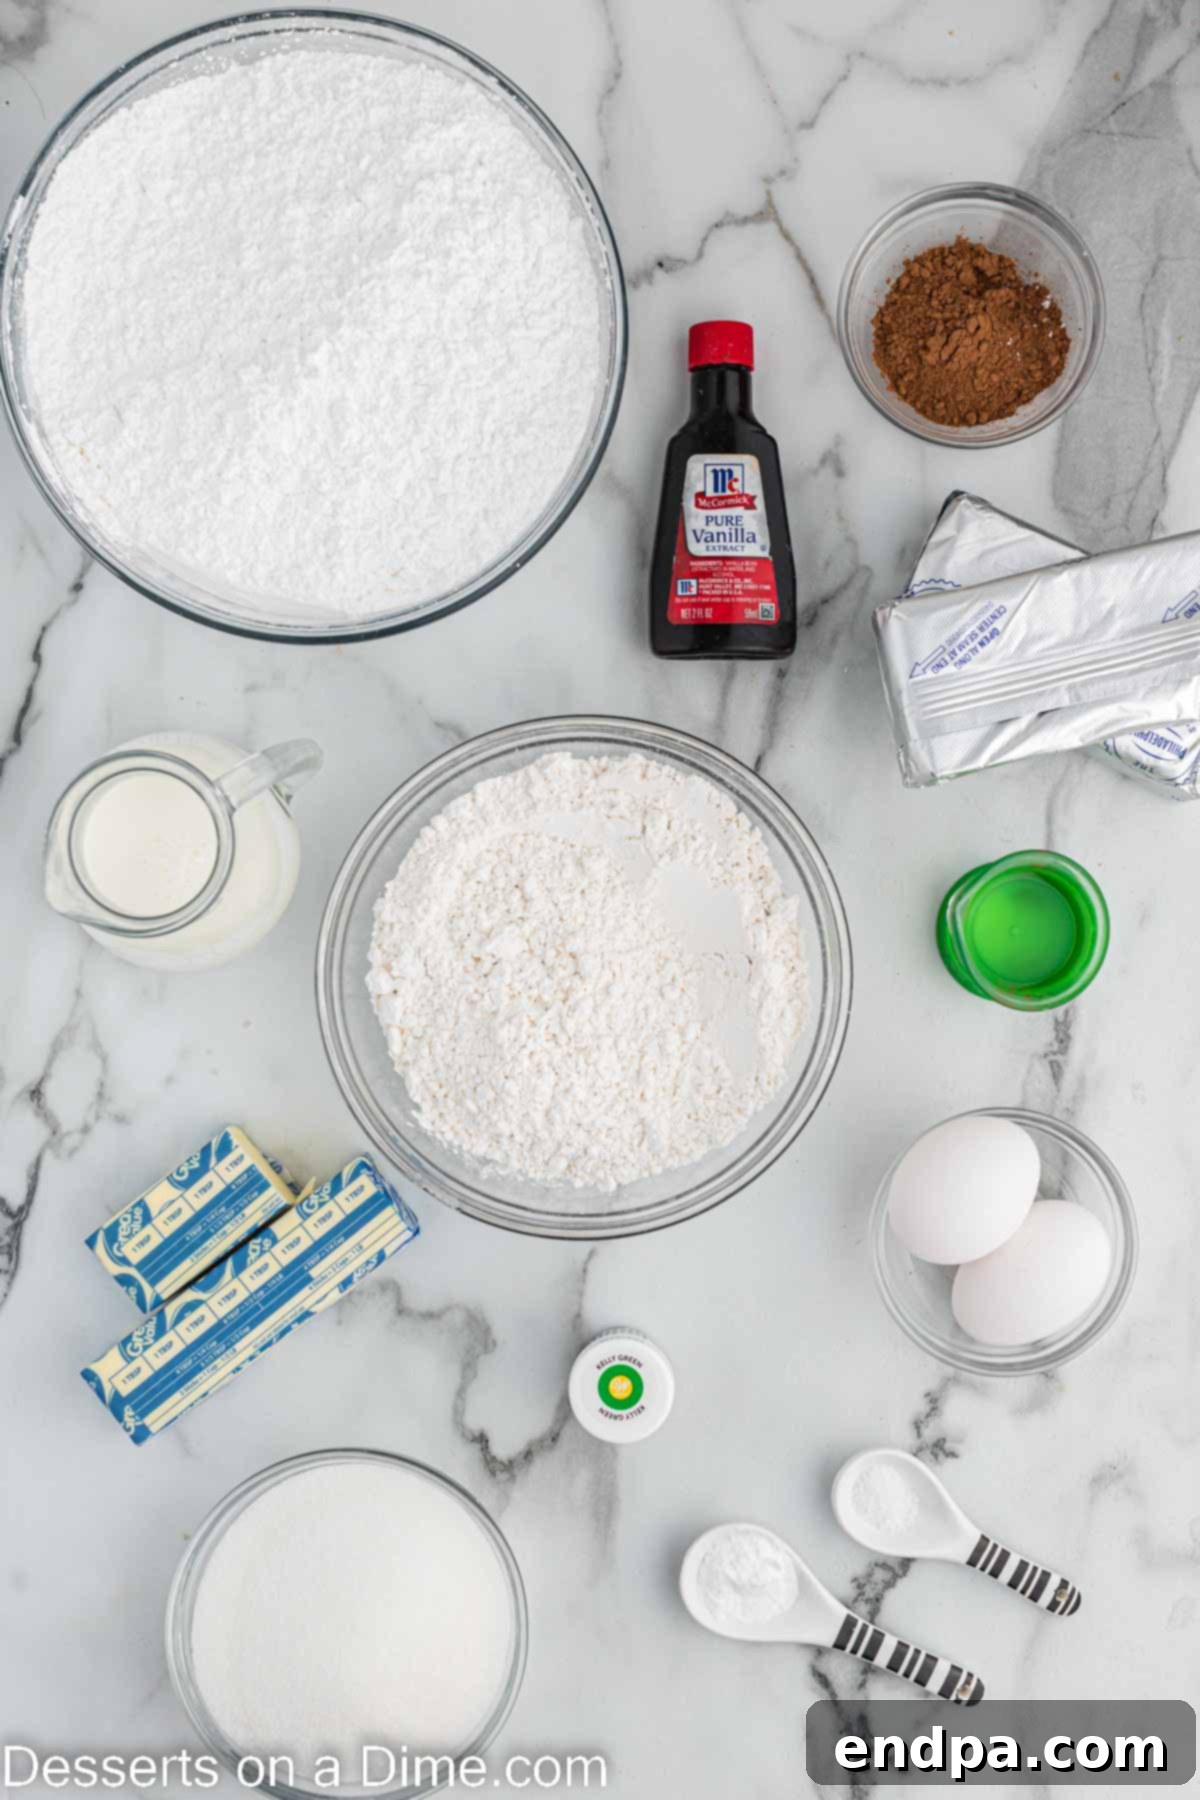
Essential Ingredients for Perfect Green Velvet Cupcakes
Crafting the perfect Green Velvet Cupcakes begins with selecting the right ingredients. Each component plays a crucial role in achieving that signature moist texture, subtle flavor, and vibrant color. Here’s a detailed look at what you’ll need:
For the Moist and Fluffy Cupcakes
- Cake Flour: This is the secret to a super light and tender crumb. Its lower protein content results in less gluten development, creating a softer cupcake. If you don’t have it on hand, you can easily learn How to Make Cake Flour at home.
- Cocoa Powder: Unlike red velvet, which uses cocoa for color, in green velvet, it contributes a delicate milk chocolate flavor that complements the richness of the cake without overpowering the green hue.
- Baking Soda: Acts as a leavening agent, helping the cupcakes rise and creating a light, airy texture. It also reacts with the buttermilk to enhance the velvet tang.
- Salt: A pinch of salt is vital for balancing the sweetness and enhancing all the other flavors in the cupcake batter.
- Unsalted Butter (softened): Provides richness and contributes to the cake’s tender texture. Ensure it’s softened to room temperature for smooth creaming with sugar.
- Granulated Sugar: Sweetens the cupcakes and helps create a moist, delicate crumb.
- Vegetable Oil: This ingredient is key to keeping the cupcakes incredibly moist, as oil remains liquid at room temperature, unlike butter.
- Large Eggs (separated): The egg yolks add richness and tenderness, while whipped egg whites are gently folded in to give the cupcakes extra lift and a lighter texture.
- Vanilla Extract: A staple in most baked goods, vanilla enhances the overall flavor profile, adding warmth and depth.
- Green Gel Food Coloring: Gel food coloring is highly recommended for its vibrant, concentrated pigment. It delivers a rich green color without adding excess liquid to the batter, which could alter the cupcake’s consistency. You might need to adjust the amount slightly to achieve your desired shade.
- Buttermilk: Essential for that signature “velvet” texture and subtle tang. Buttermilk reacts with the baking soda to create a beautifully tender and moist crumb. If you don’t have it, you can easily learn What is Buttermilk and how to make a quick substitute using milk and lemon juice or white vinegar.
For the Tangy Cream Cheese Frosting
- Cream Cheese (softened): The star of the frosting! Make sure it’s at room temperature for a smooth, lump-free frosting. The tangy flavor perfectly complements the sweet cupcakes.
- Unsalted Butter (softened): Adds richness and structure to the frosting. Like cream cheese, it should be softened to room temperature for optimal creaminess.
- Powdered Sugar (sifted): Provides sweetness and thickens the frosting. Sifting is crucial to prevent lumps and ensure a silky-smooth texture.
- Vanilla Extract: Enhances the flavor of the frosting, adding a delightful aroma and taste that pairs wonderfully with the cream cheese.
By gathering these high-quality ingredients and preparing them as directed, you’ll be well on your way to baking a batch of truly exceptional Green Velvet Cupcakes. The complete ingredient list with precise measurements is provided in the recipe card below.
Step-by-Step Guide: How to Make Green Velvet Cupcakes
Creating these enchanting Green Velvet Cupcakes is a fun and straightforward process. Follow these detailed steps to achieve perfectly moist, green-hued treats topped with luscious cream cheese frosting.
- Step 1: Prepare Your Workspace. Begin by preheating your oven to 350 degrees F (175 degrees C). This ensures the oven is at the correct temperature when your batter is ready.
- Step 2: Line Muffin Tins. Line 16 standard muffin tins with cupcake liners. You can choose classic white, festive green, or any pattern that matches your theme. This prevents sticking and makes cleanup a breeze.
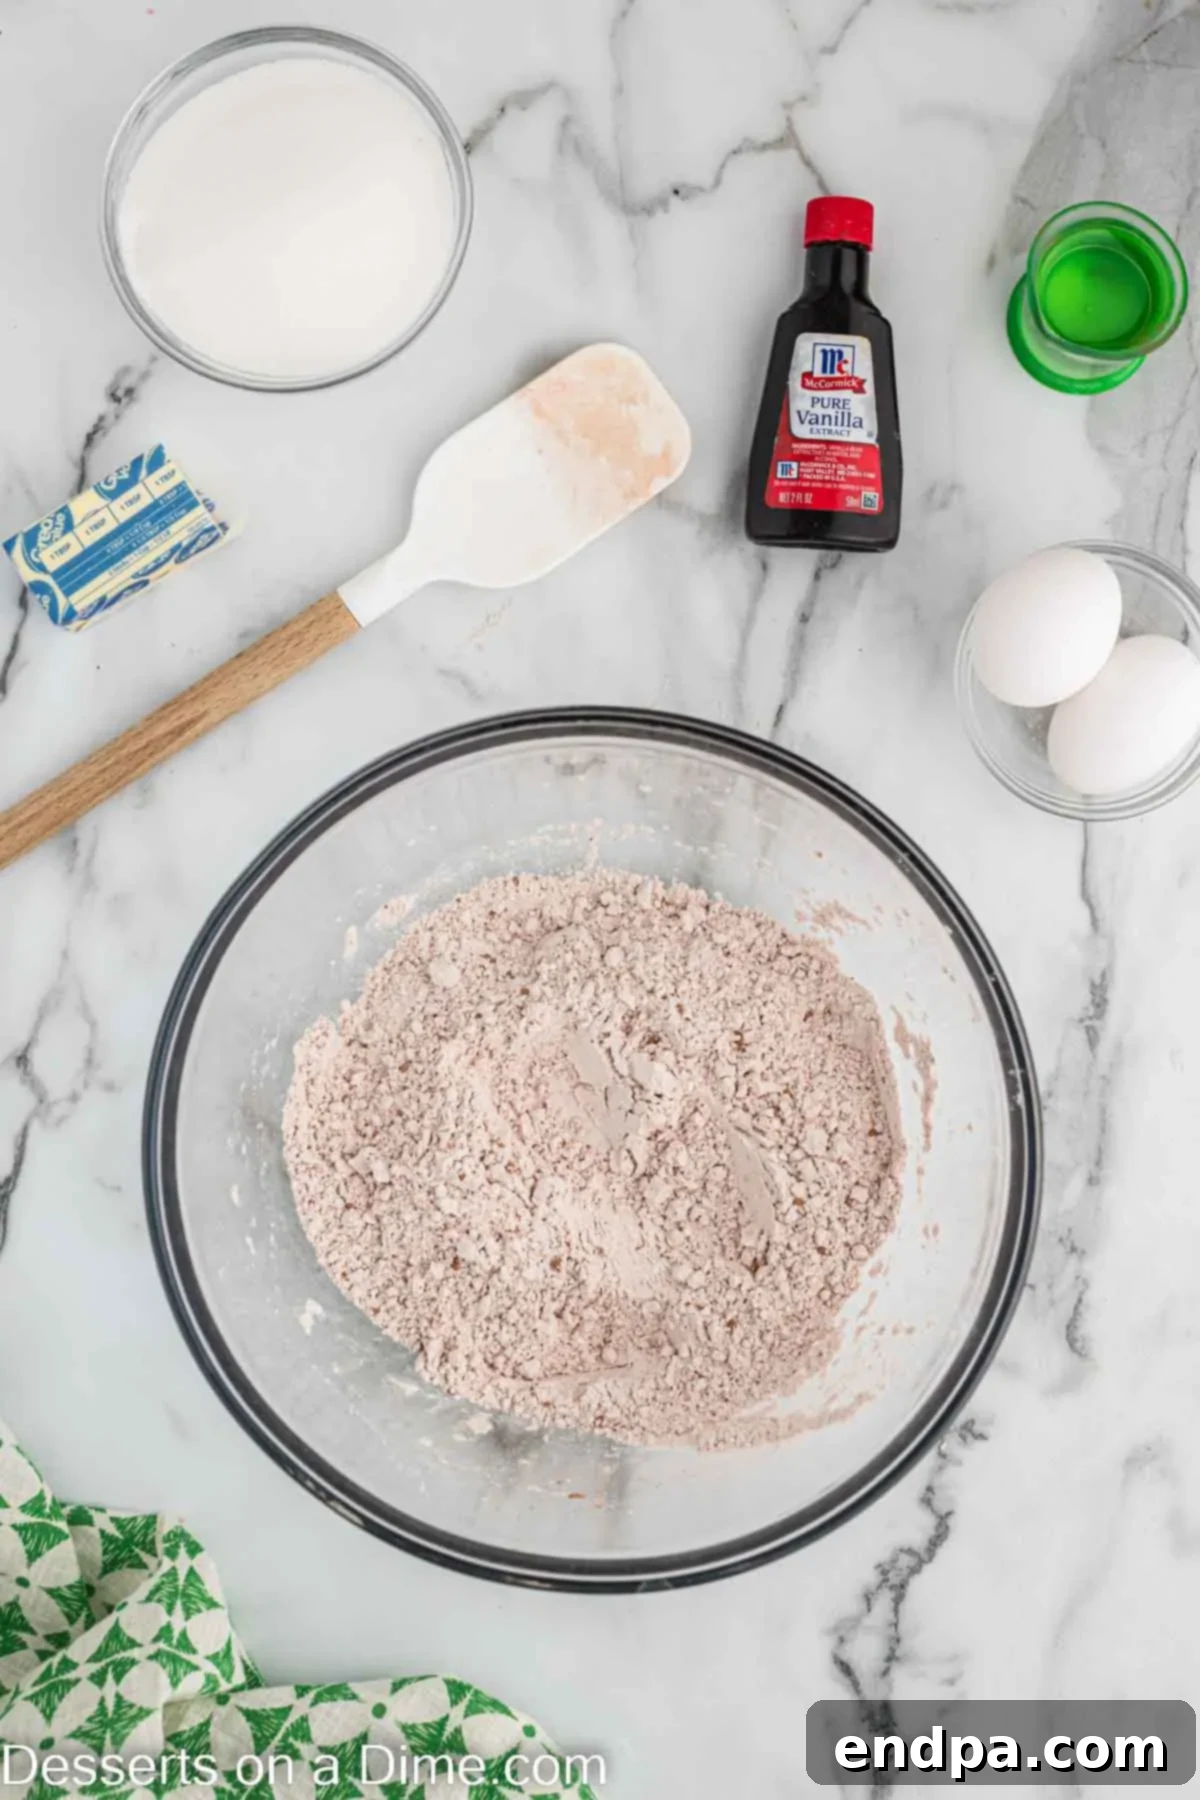
Step 3: Combine Dry Ingredients. In a large mixing bowl, whisk together the cake flour, baking soda, cocoa powder, and salt. Make sure these dry ingredients are well combined to ensure even distribution throughout the batter.
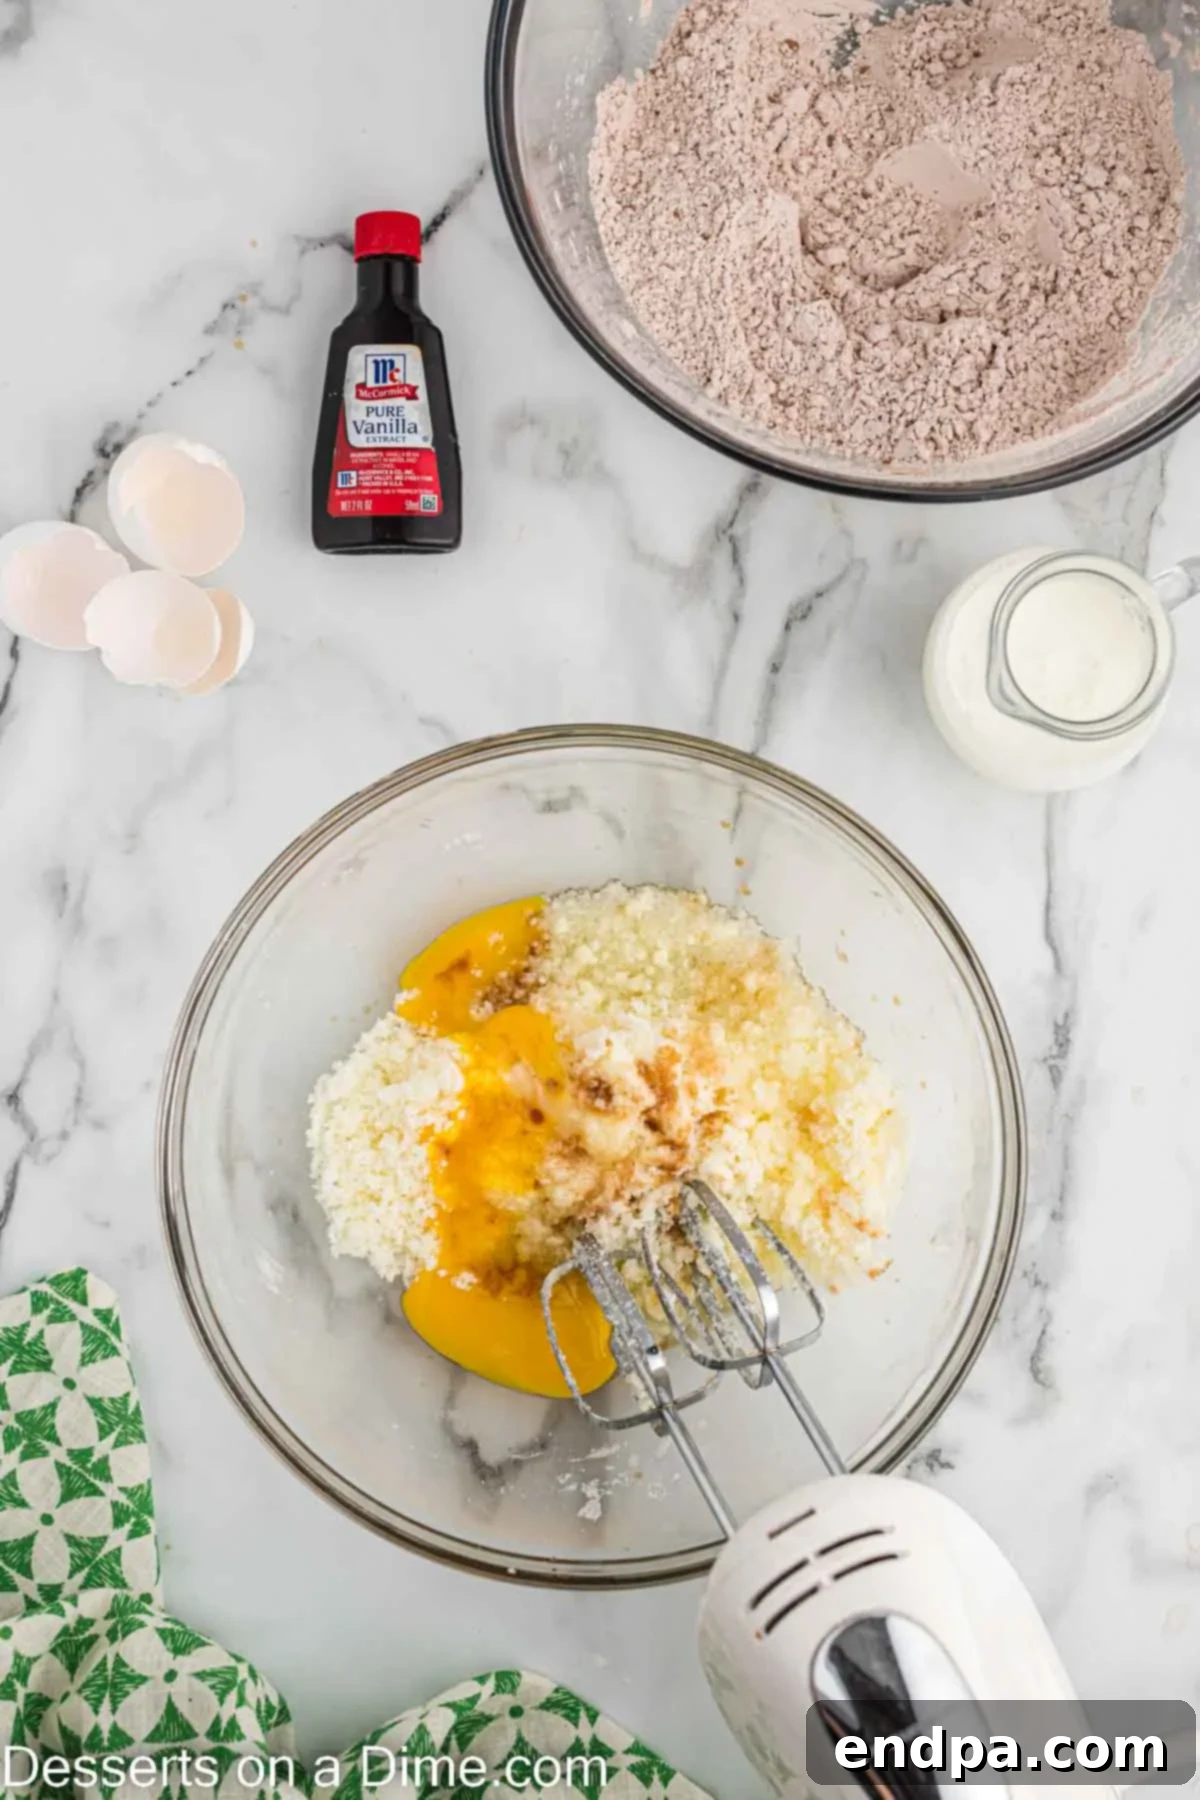
Step 4: Cream Butter and Sugar. In a separate large bowl, using either a stand mixer with a paddle attachment or a handheld electric mixer, cream together the softened butter and granulated sugar. Beat until the mixture is light, fluffy, and pale in color, typically for about 2-3 minutes.
Step 5: Incorporate Wet Ingredients. Add the vegetable oil, egg yolks (reserving the egg whites for a later step), and vanilla extract to the creamed butter and sugar. Mix until these ingredients are thoroughly combined, scraping down the sides of the bowl with a spatula to ensure everything is incorporated.
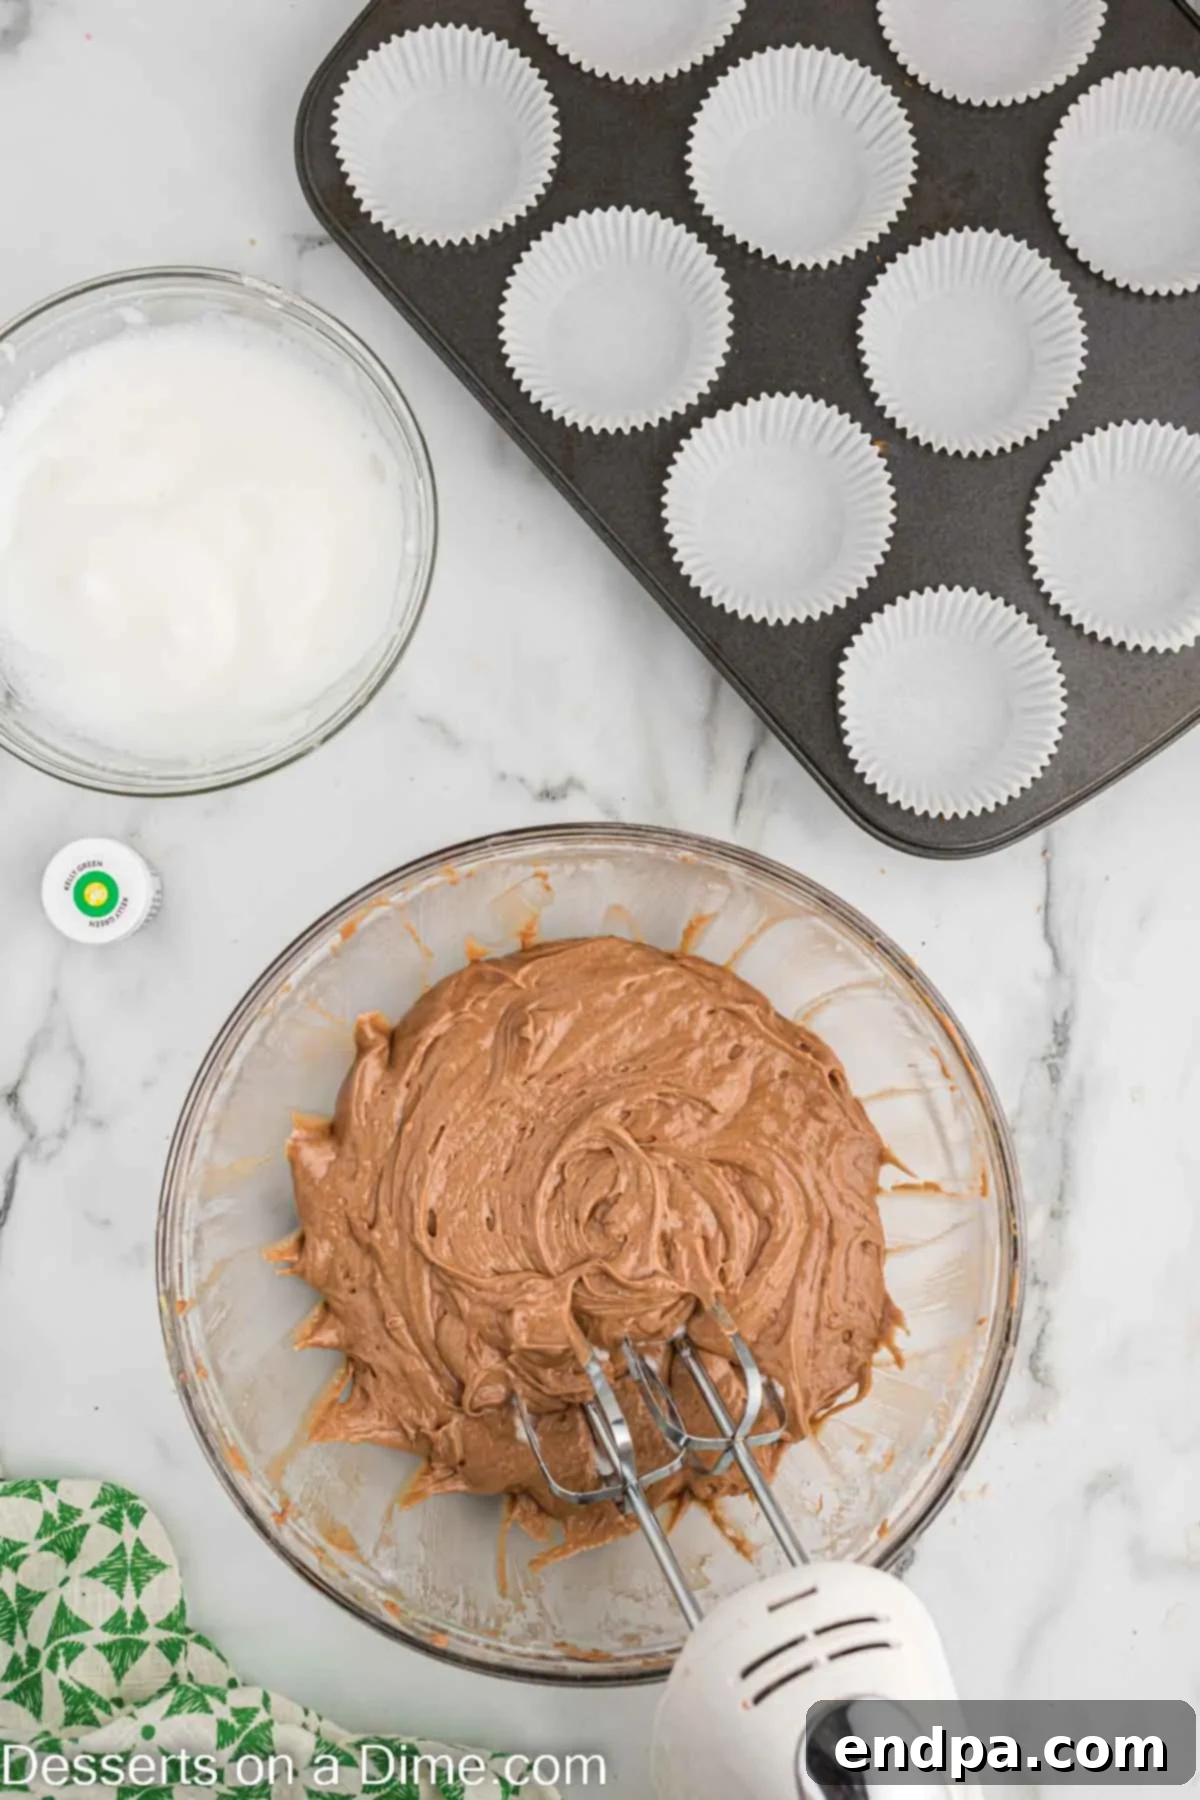
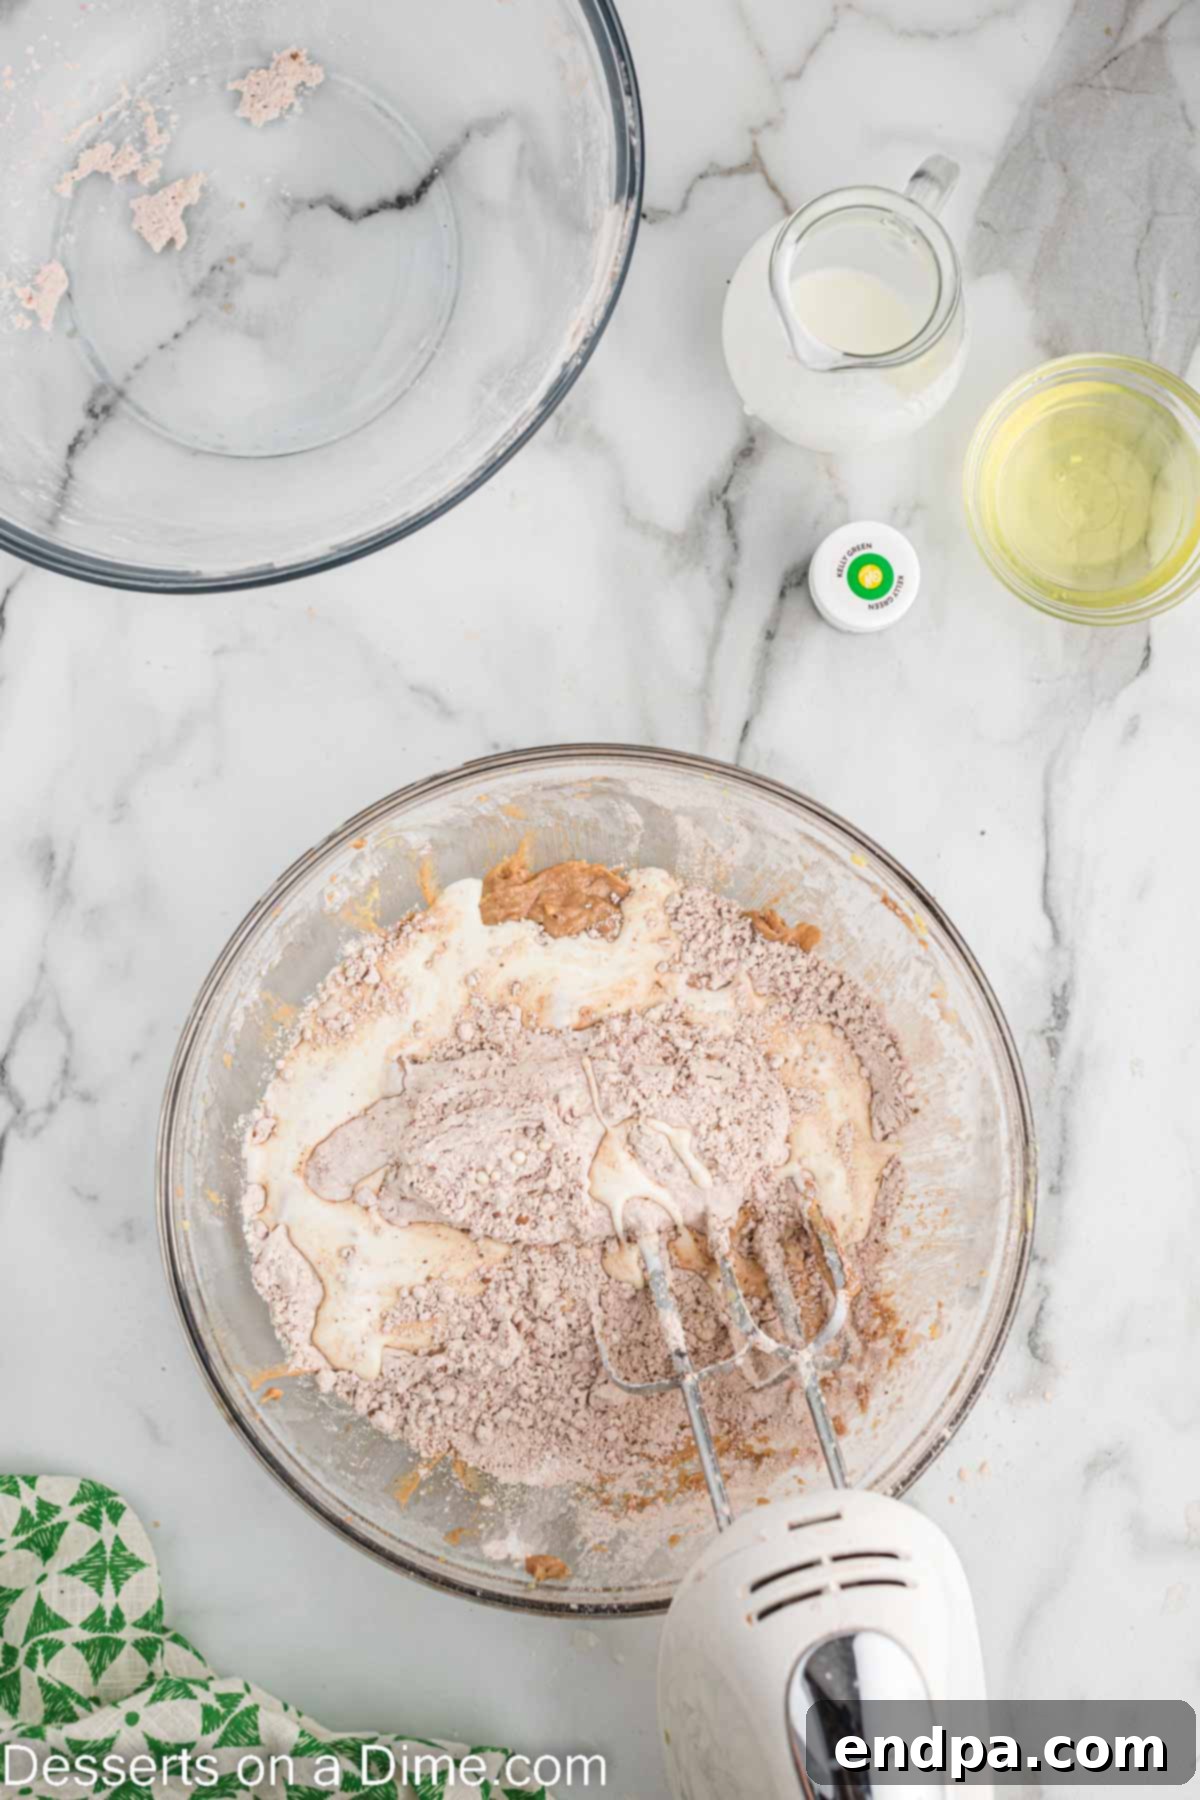
Step 6: Alternate Dry and Wet. Gradually add the whisked dry ingredients and buttermilk to the wet mixture, alternating between the two. Begin and end with the dry ingredients. Mix on low speed until just combined after each addition. Be careful not to overmix; overmixing can lead to tough cupcakes.
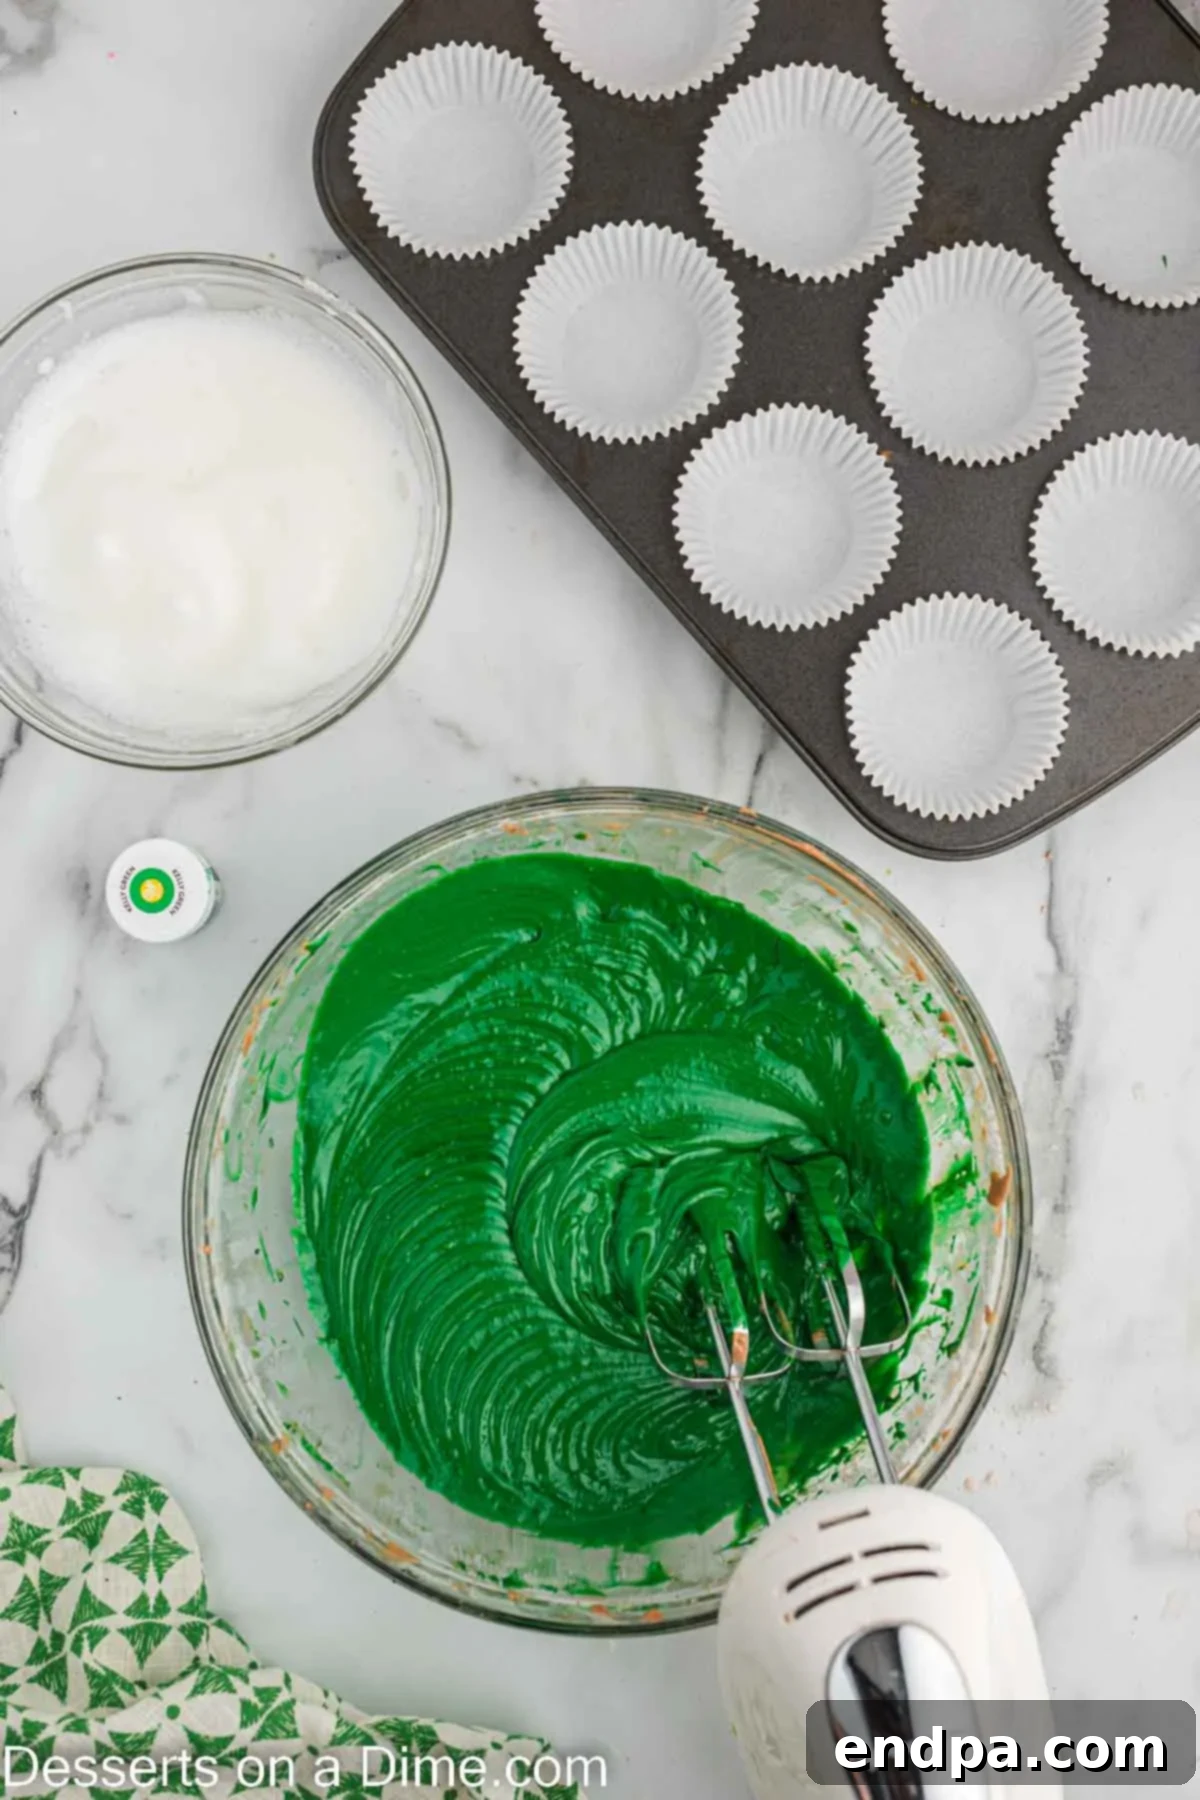
Step 7: Add Green Food Coloring. Now it’s time for the signature color! Add about 2 teaspoons of green gel food coloring to the batter. Mix until the desired vibrant green shade is achieved. Gel food coloring provides the best color without thinning the batter.
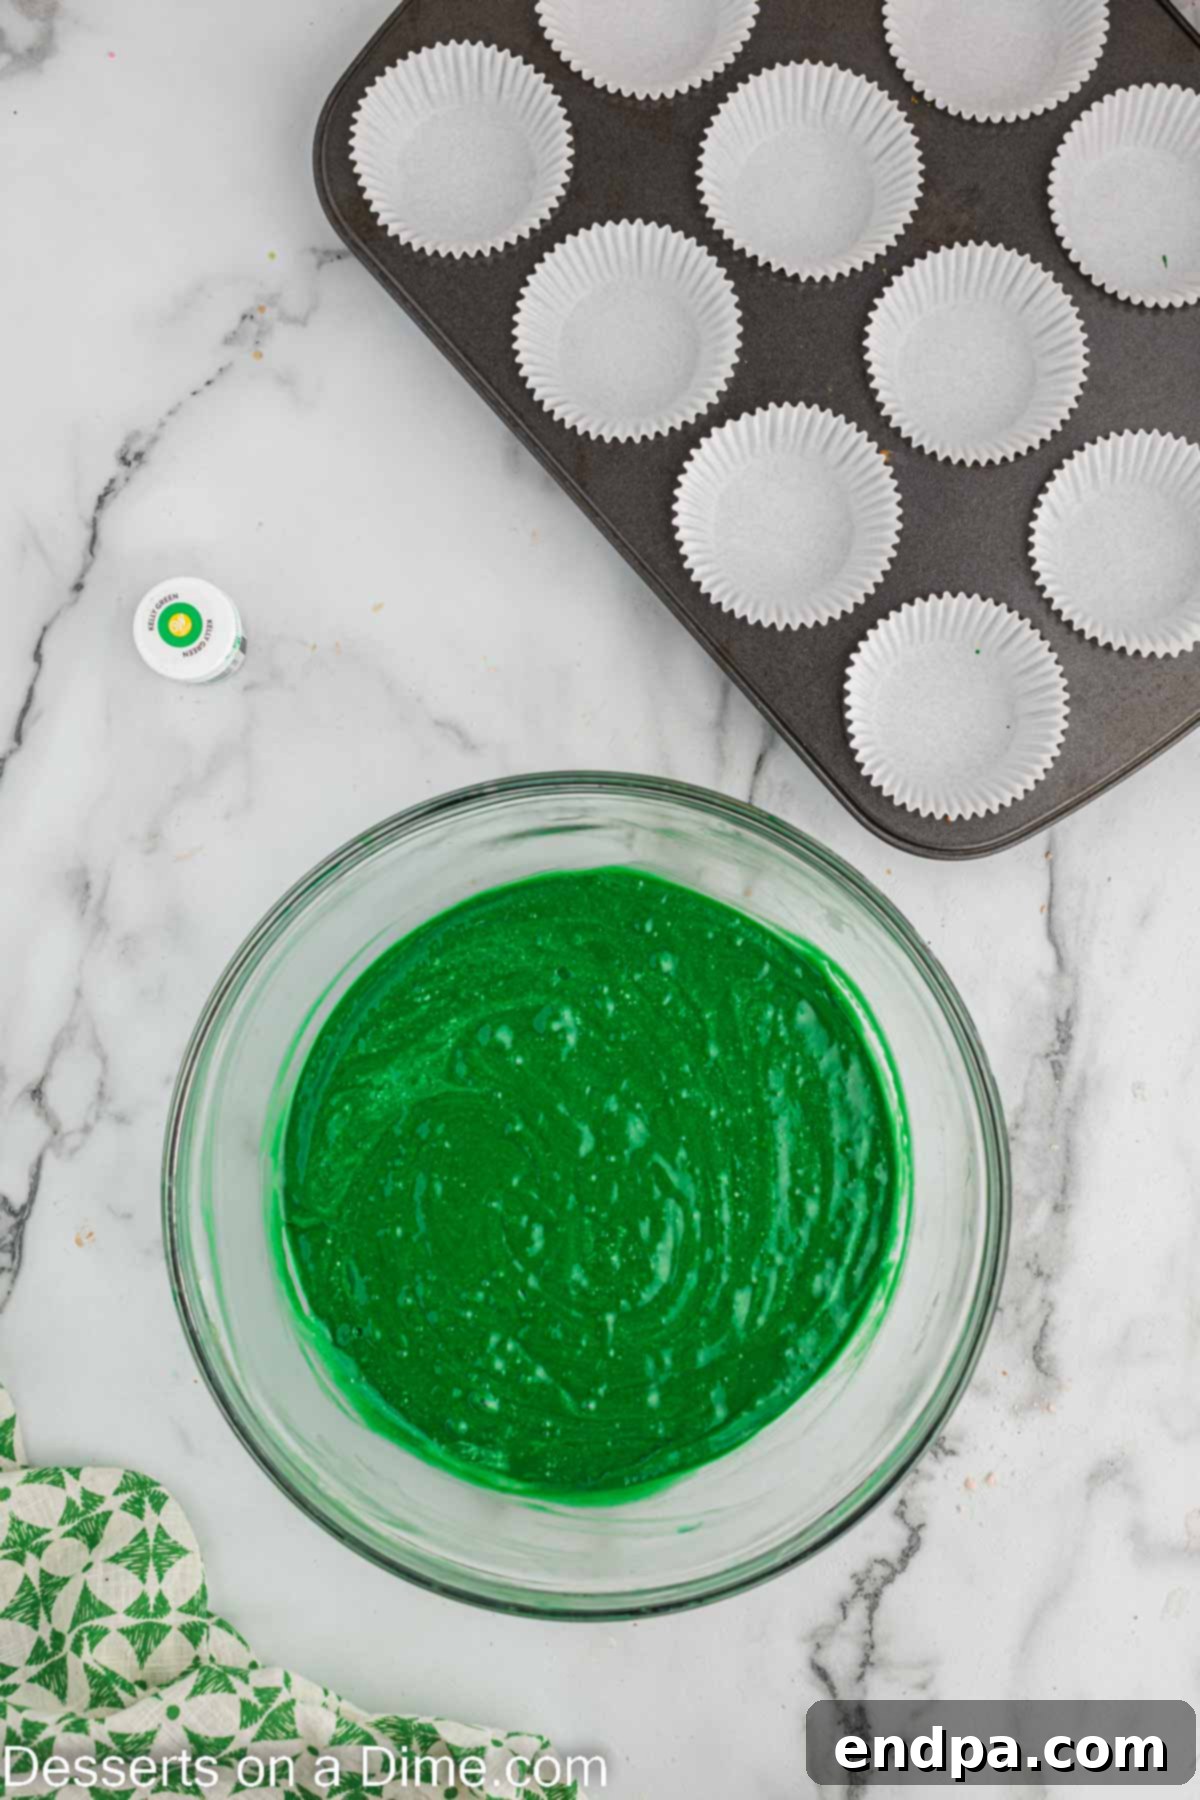
Step 8: Fold in Egg Whites. In a separate, clean bowl, beat the reserved egg whites until they form soft peaks. Gently fold these whipped egg whites into the green batter using a spatula. This step adds airiness and a lighter texture to the cupcakes. Fold only until just combined; do not overmix, as this will deflate the egg whites.
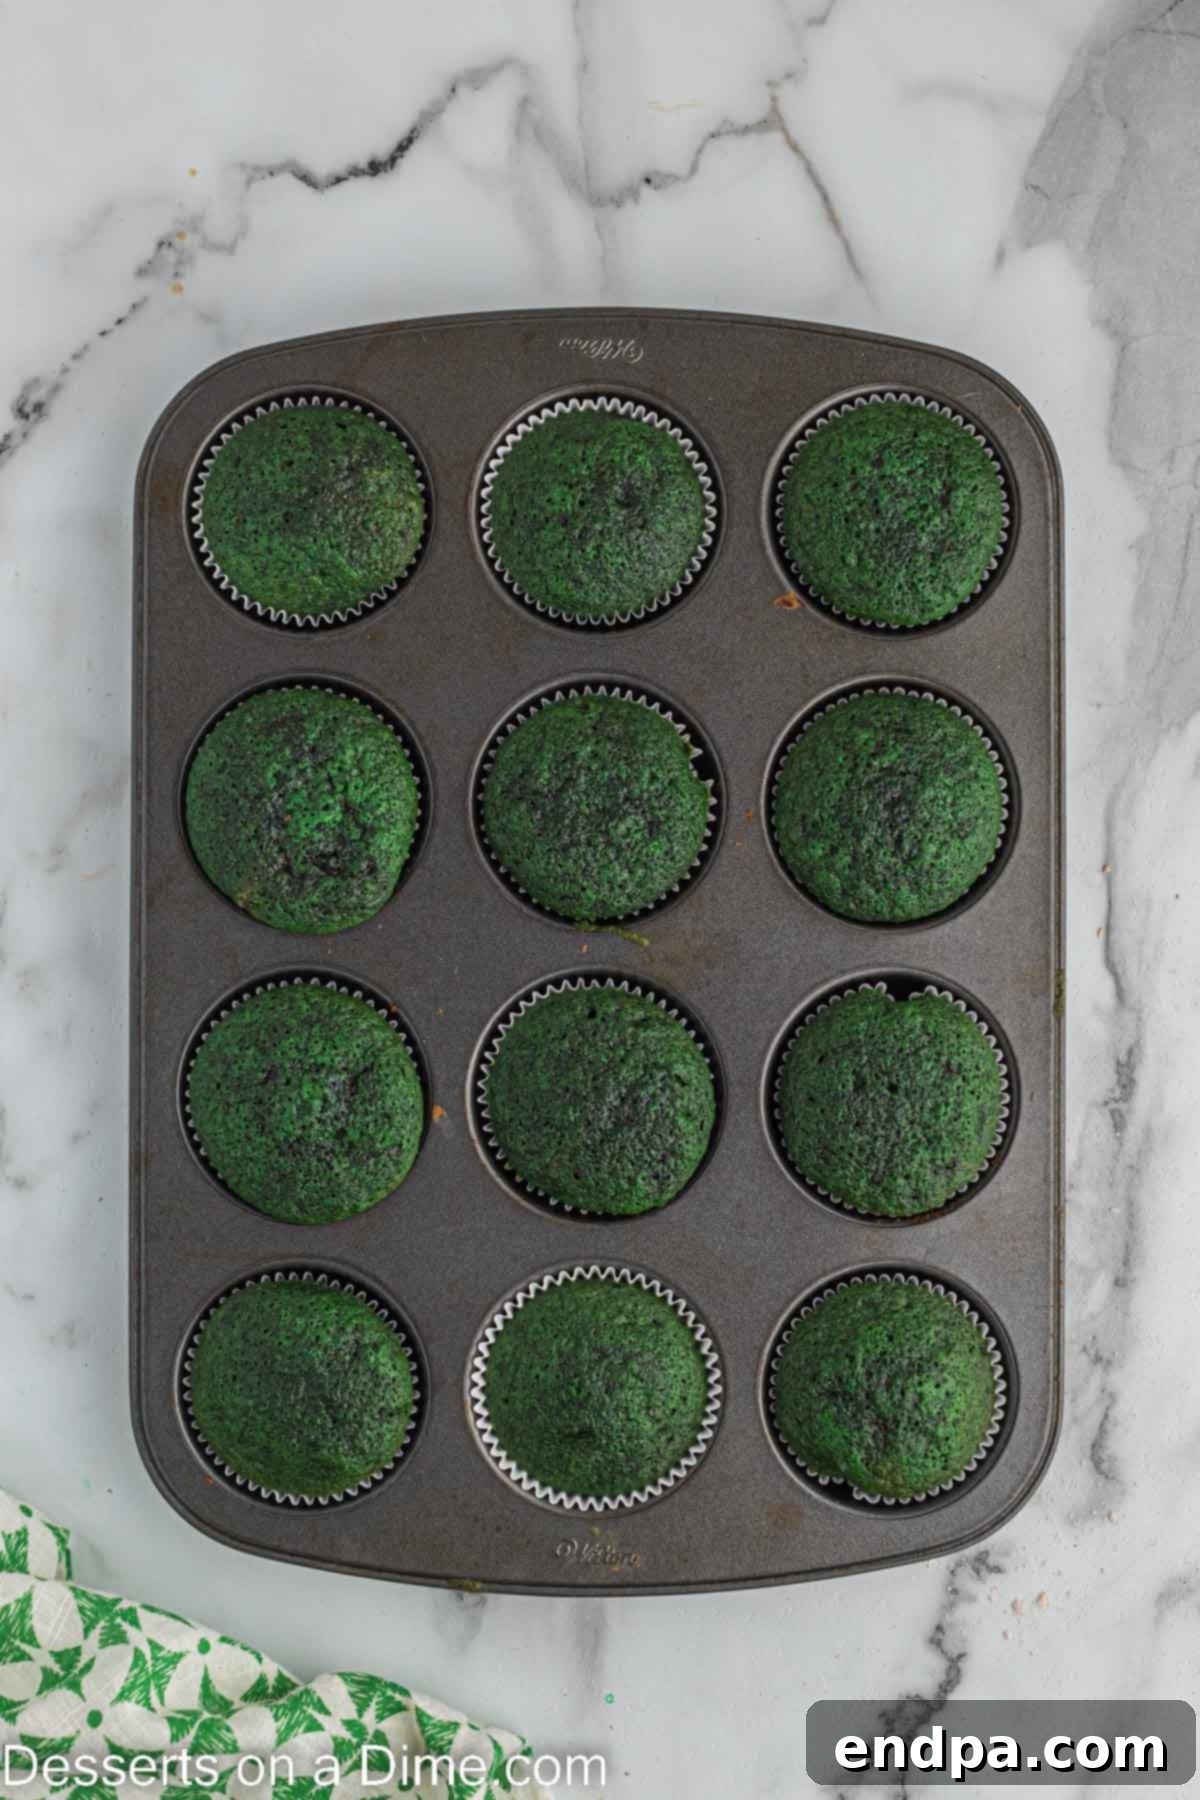
Step 9: Bake the Cupcakes. Divide the batter evenly among the 16 prepared cupcake liners, filling each about two-thirds full. Bake for 15-18 minutes, or until a toothpick inserted into the center of a cupcake comes out clean. Once baked, remove the muffin tins from the oven and let the cupcakes cool in the tins for a few minutes before transferring them to a wire rack to cool completely. Cooling completely is crucial before frosting.
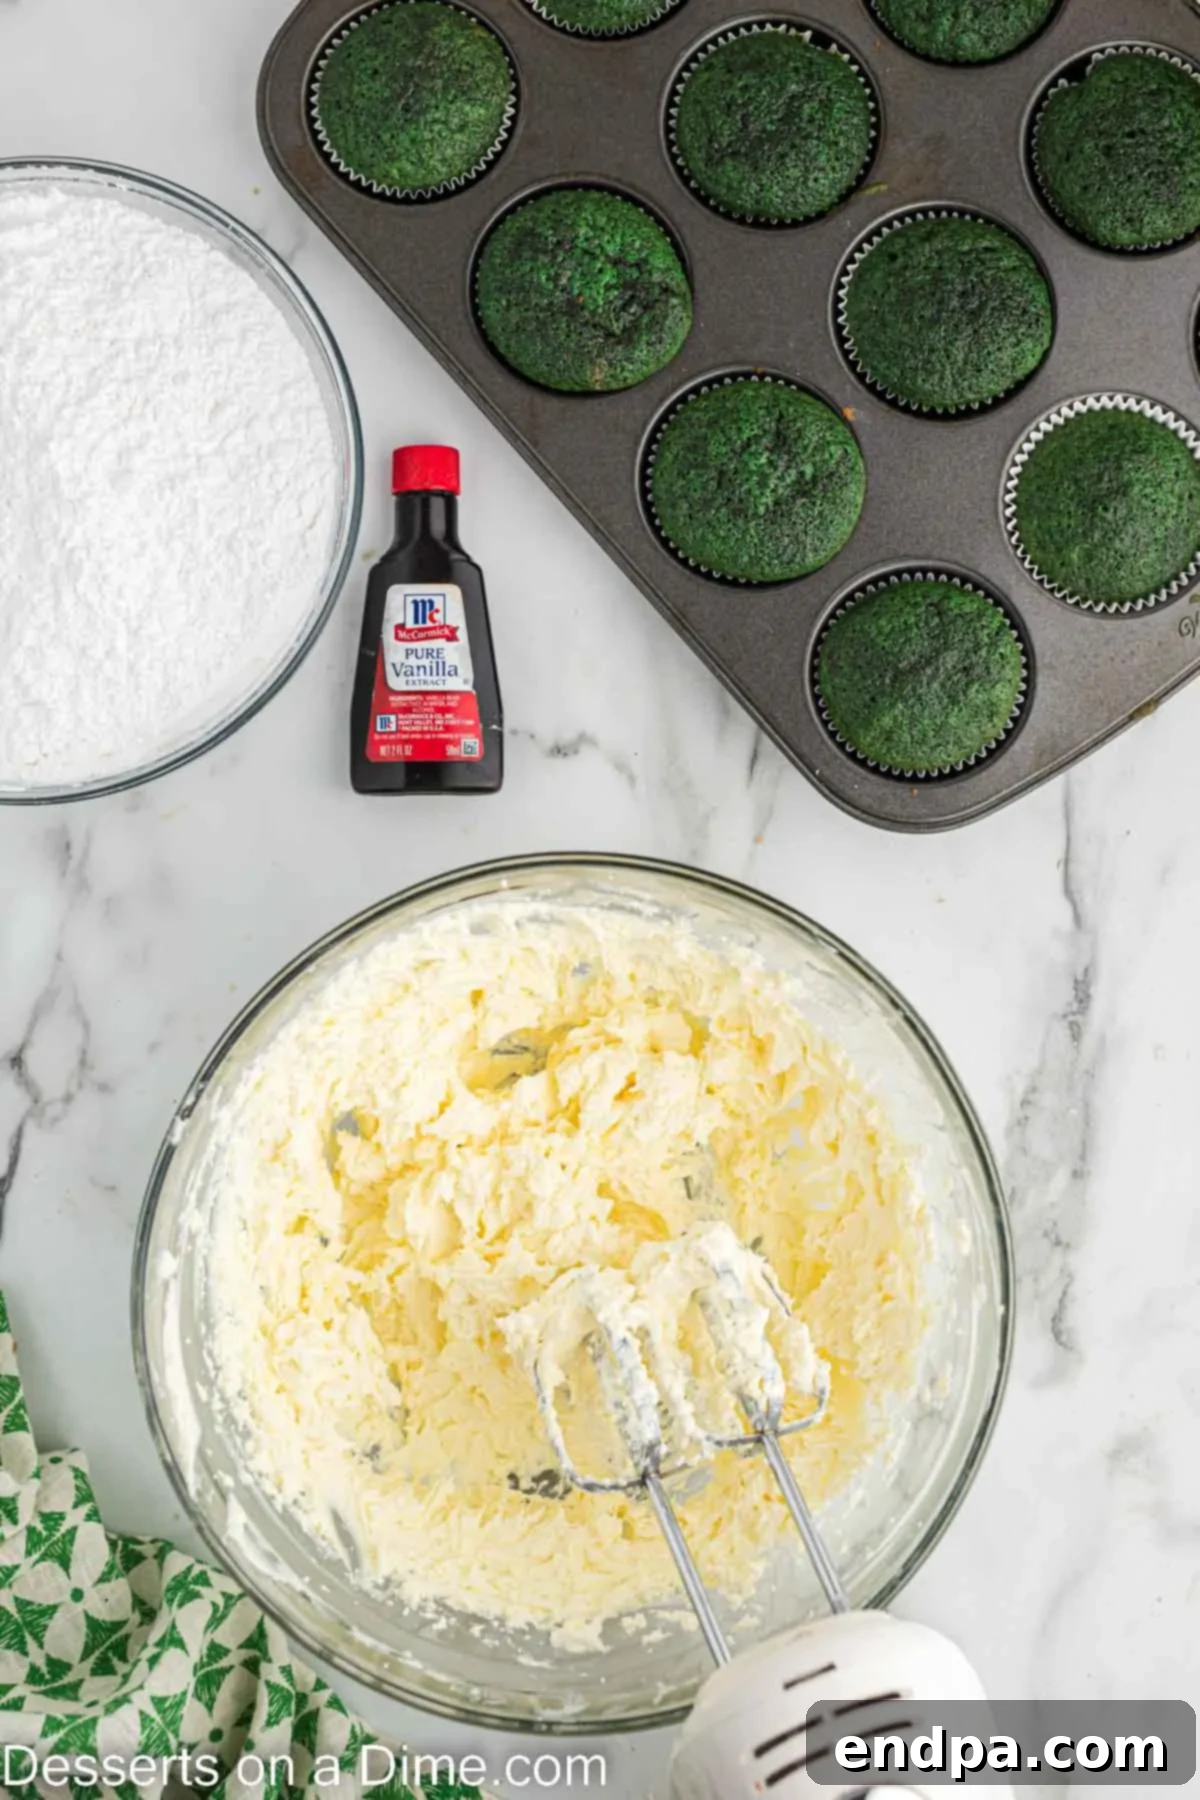
Step 10: Prepare the Cream Cheese Frosting. While the cupcakes are cooling, prepare your decadent cream cheese frosting. In a large mixing bowl, beat the softened cream cheese until it is completely smooth and free of any lumps. Add the softened unsalted butter and continue to beat until the mixture is light, fluffy, and well combined.
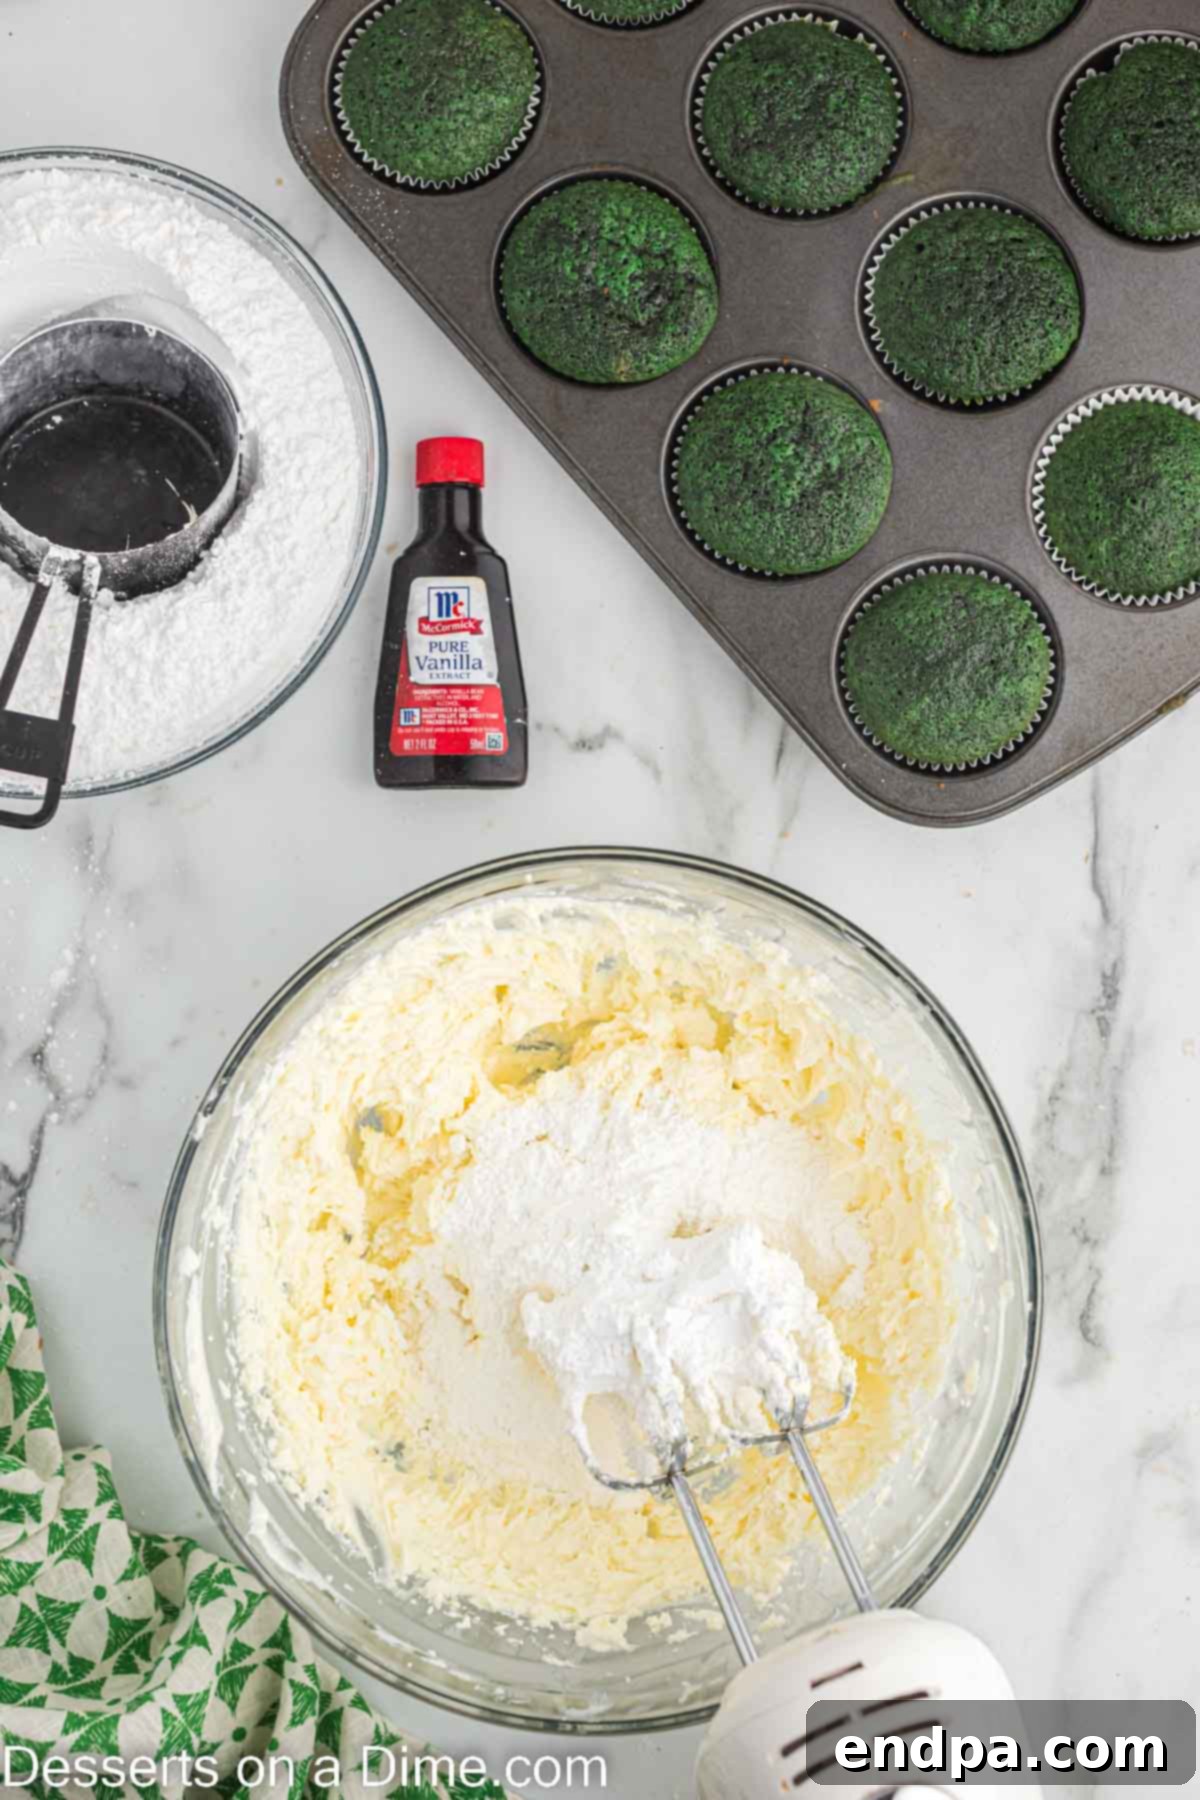
Step 11: Finish the Frosting. Gradually add the sifted powdered sugar to the cream cheese mixture, one cup at a time, beating well after each addition until thoroughly incorporated. Continue until the frosting reaches your desired thickness and consistency. Finally, mix in the vanilla extract until just combined. Taste and adjust sweetness if desired.
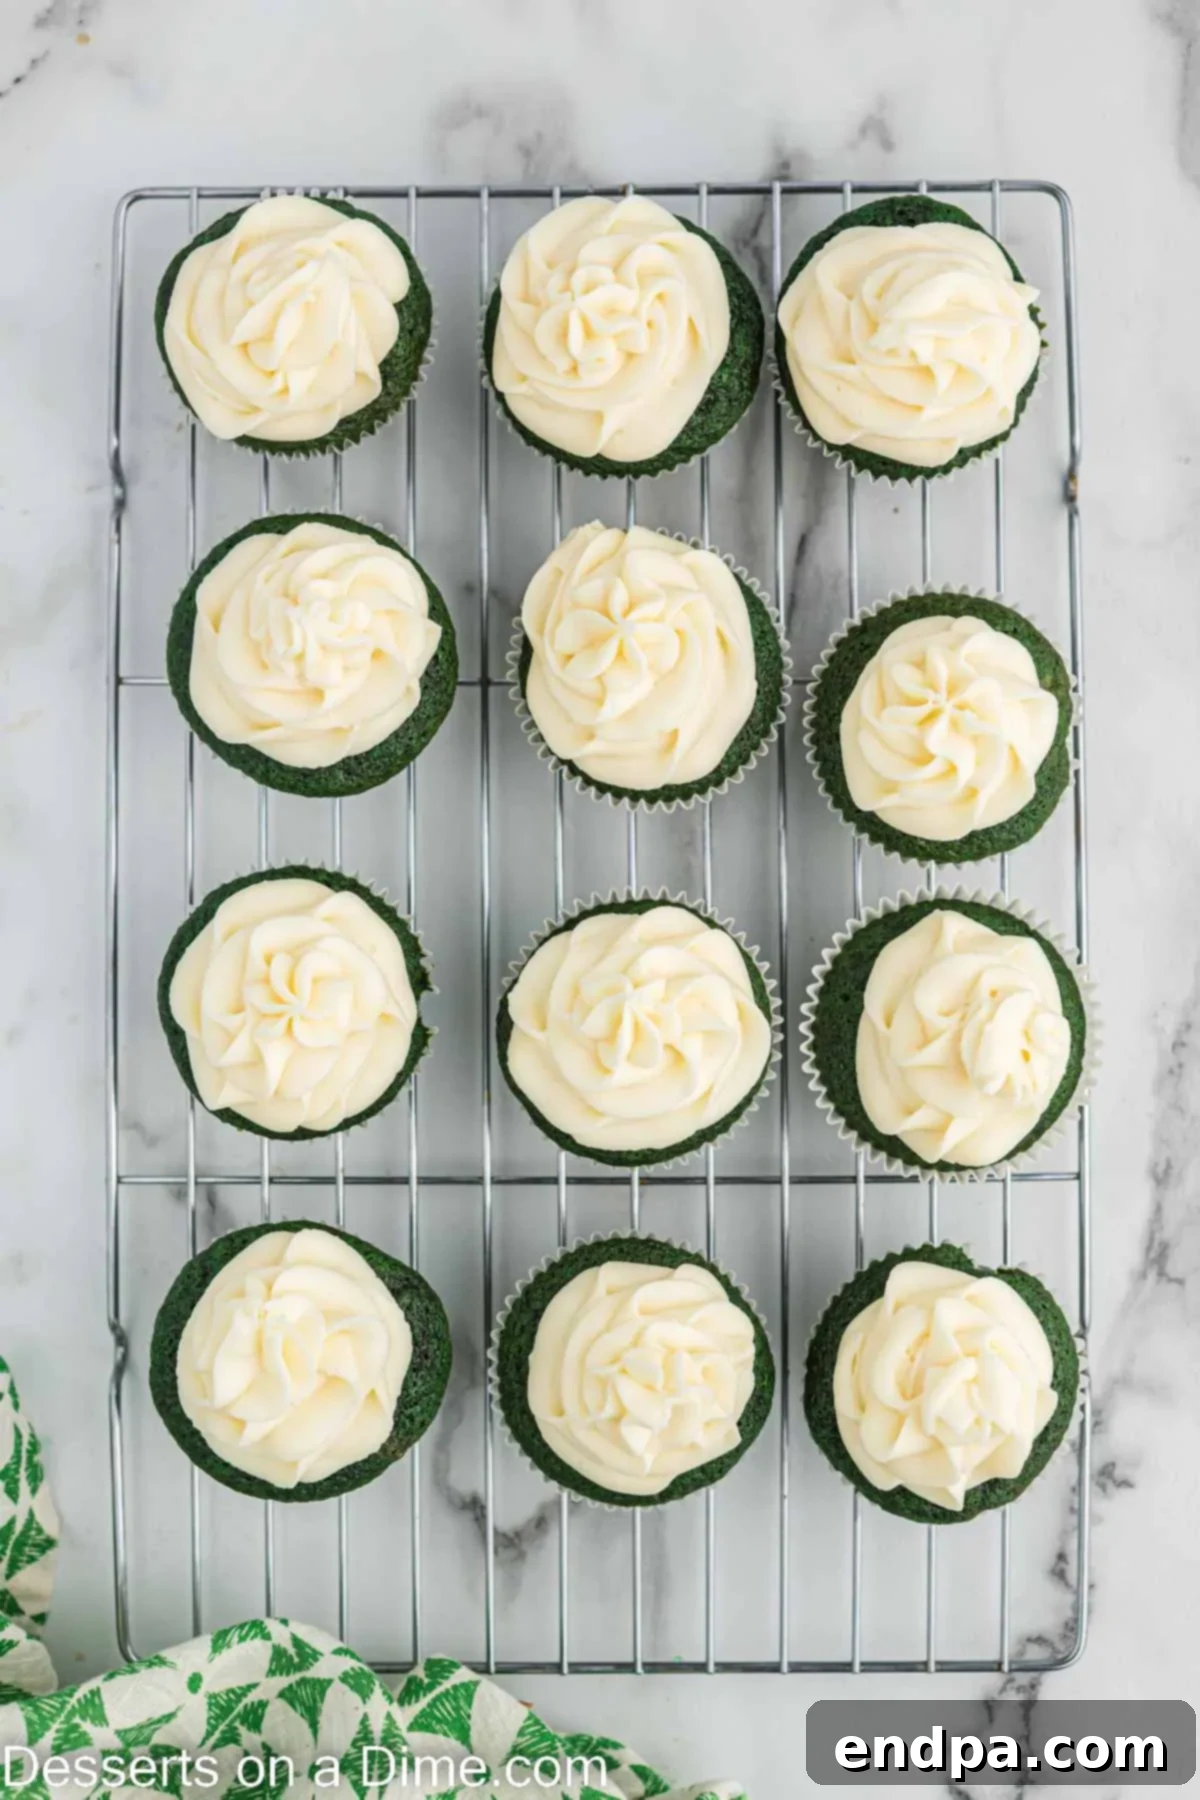
Step 12: Frost and Enjoy! Once the cupcakes are completely cool, it’s time to frost them! You can spread the cream cheese frosting onto each cupcake with a knife or offset spatula for a rustic look, or use a piping bag with your favorite tip for a more professional finish. Garnish with sprinkles or chopped nuts if desired. Now, take a bite and enjoy your magnificent homemade Green Velvet Cupcakes!
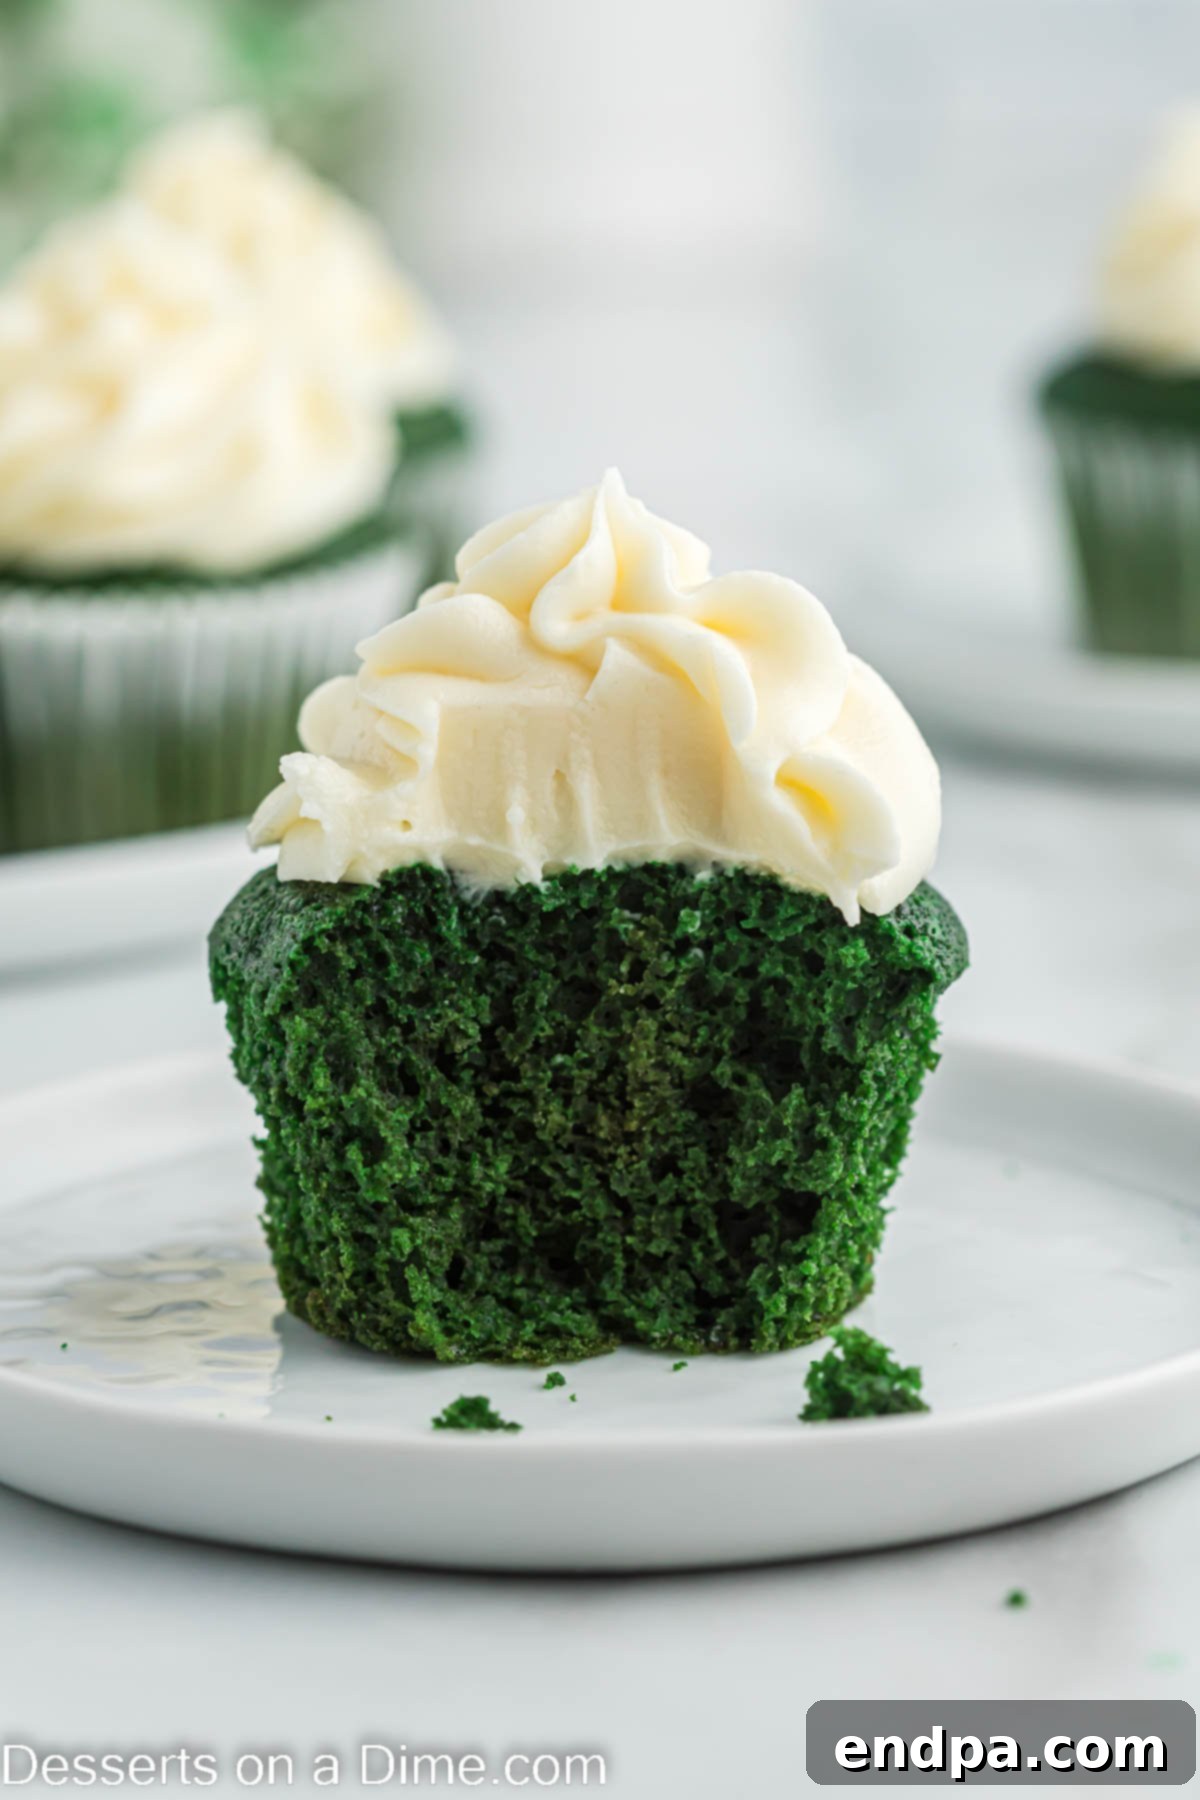
Can You Freeze Green Velvet Cupcakes? Tips for Storage
Yes, these delicious Green Velvet Cupcakes can certainly be frozen, making them a fantastic option for meal prep or enjoying later! Freezing them is a great way to extend their freshness and ensure you always have a delightful treat on hand.
Freezing Instructions:
For best results, it’s generally recommended to freeze unfrosted cupcakes. Once your cupcakes have completely cooled on a wire rack:
- Place them in a single layer on a baking sheet and freeze for about 30 minutes, or until firm. This helps prevent them from sticking together.
- Once firm, transfer the cupcakes to a freezer-safe airtight container. You can also individually wrap each cupcake in plastic wrap before placing them in the container for extra protection against freezer burn.
- Label the container with the date. Cupcakes can be frozen for up to 2 months.
Thawing and Frosting:
When you’re ready to enjoy your frozen cupcakes:
- Remove them from the freezer and thaw them overnight in the refrigerator.
- Once thawed, bring them to room temperature before frosting.
- Prepare the cream cheese frosting as usual and frost your perfectly thawed cupcakes. They will taste just as fresh as if they were baked that day!
Storage of Frosted Cupcakes:
Due to the cream cheese frosting, these cupcakes need to be refrigerated. Place your frosted Green Velvet Cupcakes inside an airtight container and store them in the refrigerator for up to 5 days. They store remarkably well and often taste even better the next day as the flavors meld together. Be warned, though, they’re so good, you might find everyone fighting over who gets the last one!
Expert Baking Tips for Green Velvet Cupcakes
Achieving bakery-quality Green Velvet Cupcakes at home is simpler than you think with these expert tips:
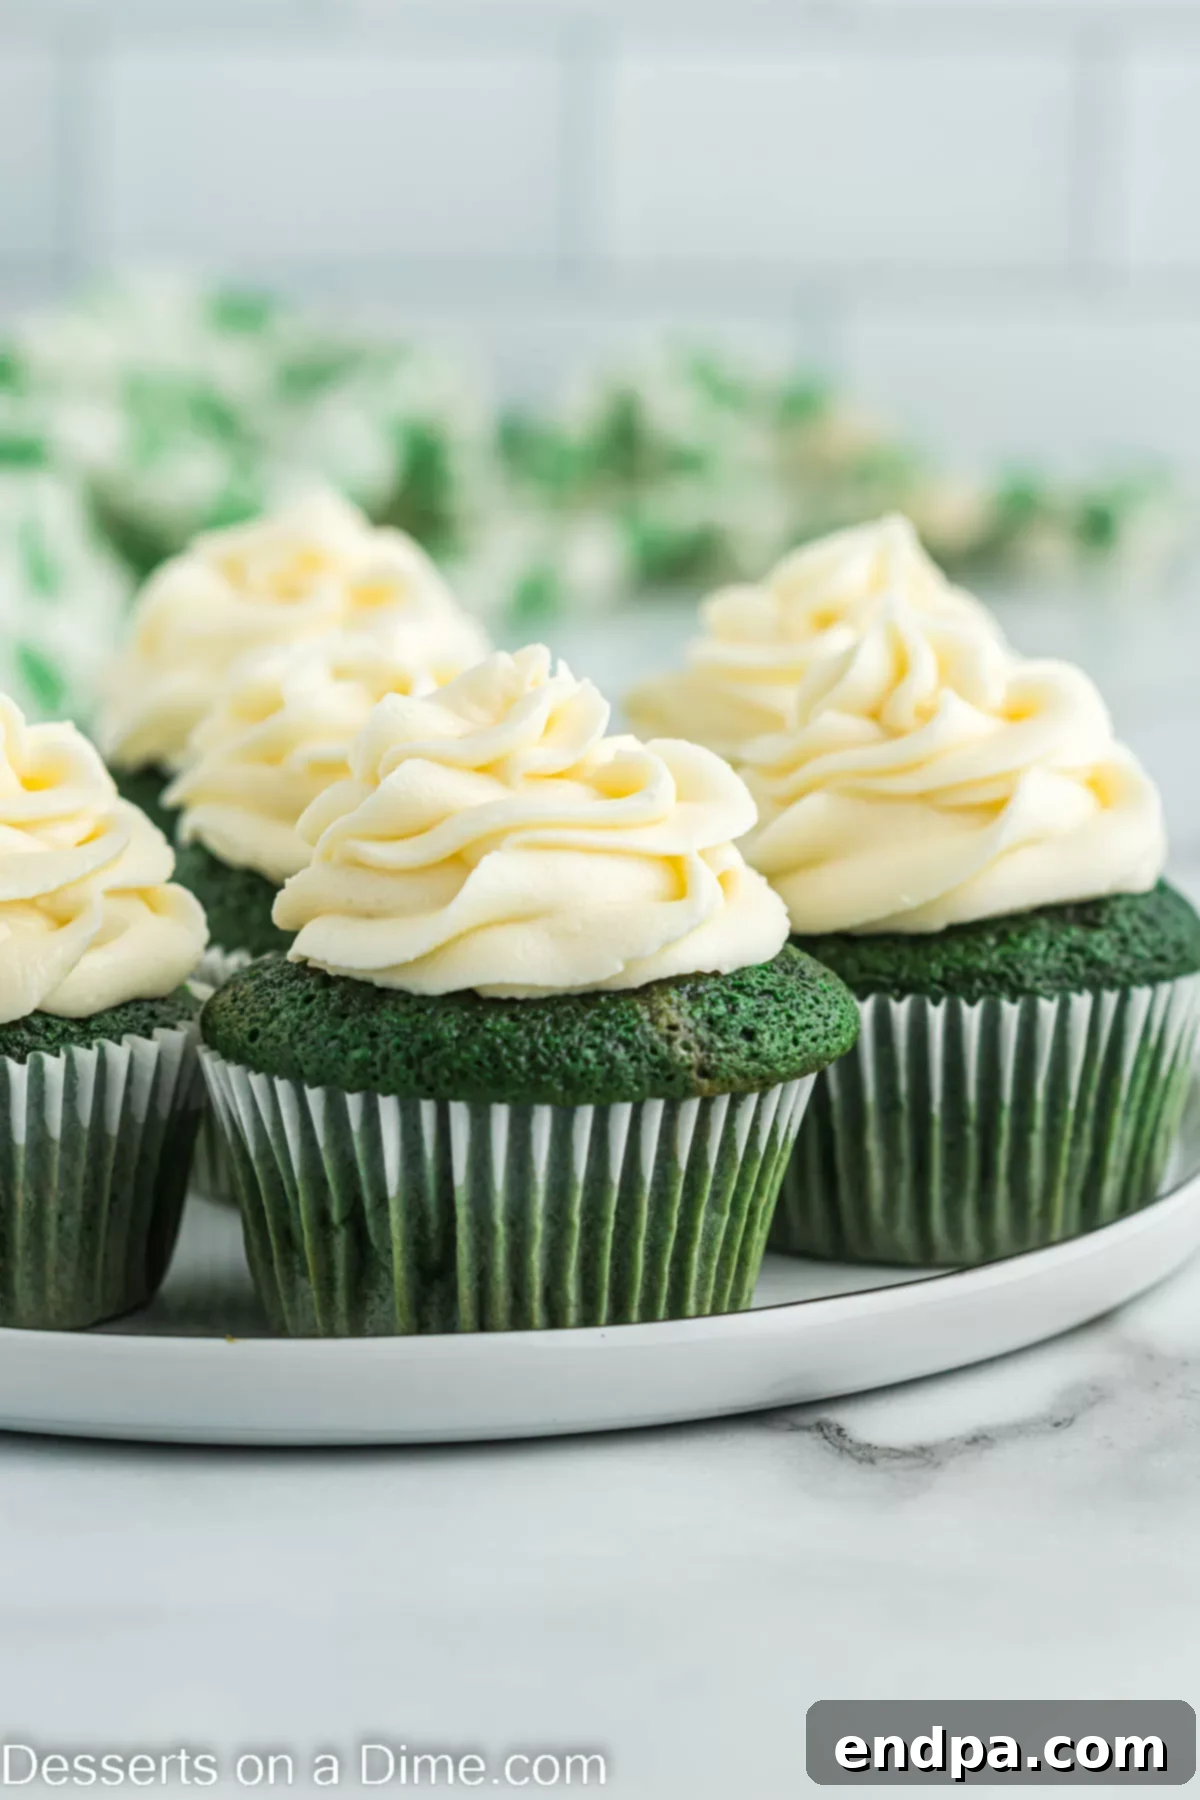
- Achieving the Perfect Green Hue with Food Coloring: For the most vibrant and consistent color, we highly recommend using gel food coloring. Gel colors are concentrated, meaning you need less to achieve a brilliant shade, which is crucial as it won’t thin out your batter. If you opt for liquid food coloring, be prepared to use a larger amount (it might require double or triple the quantity of gel) and understand it may slightly alter the batter’s consistency. Always add food coloring gradually until you reach your desired shade of green.
- Always Use Cupcake Liners: Don’t forget to line your cupcake pans with paper liners! This not only makes for easy removal and cleanup but also helps the cupcakes maintain their shape and moisture. Plus, you can find festive liners for any occasion, adding to the visual appeal.
- The Buttermilk Advantage: Buttermilk is a non-negotiable ingredient for true velvet cupcakes. It interacts with the baking soda to create that tender, moist crumb and distinctive tangy flavor that defines velvet cakes. Do not substitute buttermilk with regular milk; the cupcakes will lack the desired texture and taste. If you don’t have buttermilk, you can easily make your own by adding 1 tablespoon of lemon juice or white vinegar to a liquid measuring cup, then filling it with regular milk to the 1-cup line. Let it sit for 5-10 minutes until it slightly curdles before using.
- Creative Toppings and Garnishes: While the cream cheese frosting is divine on its own, feel free to get creative with toppings! A sprinkle of finely chopped nuts (like pecans or walnuts) adds a lovely crunch, while colorful sprinkles can enhance the festive look. For St. Patrick’s Day, consider adding edible gold coins or a dusting of green sugar for a touch of Irish charm. Fresh mint leaves can also add a burst of color and a subtle refreshing note.
- The Magic of Cake Flour: Using cake flour instead of all-purpose flour makes a significant difference in the outcome of this recipe. Cake flour has a lower protein content, which results in less gluten development, leading to incredibly light, tender, and fluffy cupcakes. It’s a small change that yields a noticeably superior texture.
- Mini Cupcakes for Bite-Sized Delights: This recipe is easily adaptable for mini cupcakes, perfect for parties or when you want smaller portions. If making mini cupcakes, remember to adjust the baking time accordingly; they will bake much faster, typically around 10-12 minutes. Keep a close eye on them to prevent overbaking.
- Bake Ahead for Convenience: To save time, especially when preparing for parties or during busy weeks, you can bake the cupcakes up to 2 days in advance. Once completely cooled, store them in an airtight container in the refrigerator. When you’re ready to serve, simply take them out, allow them to come to room temperature, prepare the frosting, and decorate as usual. This convenient method ensures you have fresh-tasting treats with minimal last-minute effort.
- Room Temperature Ingredients: Always ensure your butter, cream cheese, and eggs are at room temperature. This allows them to cream together smoothly, creating a homogeneous batter and frosting, which is crucial for the perfect texture.
- Don’t Overmix: When combining wet and dry ingredients, mix just until no streaks of flour remain. Overmixing develops gluten, which can lead to tough, dense cupcakes.
By incorporating these tips into your baking process, you’ll elevate your Green Velvet Cupcakes from delicious to truly extraordinary!
Frequently Asked Questions (FAQ)
Q: What gives velvet cake its distinctive texture?
A: The “velvet” texture comes from a combination of ingredients. Buttermilk, vinegar (sometimes used in place of some buttermilk), and cocoa powder, when combined with baking soda, create a tender crumb and a subtle tang. The mild acidity also helps to activate the baking soda, contributing to the cake’s light and airy structure.
Q: Can I use regular milk instead of buttermilk?
A: While you can substitute, it’s not recommended if you want the authentic “velvet” texture and flavor. Buttermilk is crucial for the characteristic tang and moisture. If you don’t have buttermilk, you can make a substitute by adding 1 tablespoon of lemon juice or white vinegar to a measuring cup, then filling it to the 1-cup line with regular milk. Let it sit for 5-10 minutes until it slightly curdles before using.
Q: Why is there cocoa powder in a green velvet cake?
A: Just like in red velvet, cocoa powder in green velvet cake isn’t primarily for color (that comes from the food coloring). Instead, it adds a subtle, delicate chocolate flavor that complements the tanginess of the buttermilk and the sweetness of the sugar, creating a more complex and rich taste profile.
Q: How do I prevent my cupcakes from sinking in the middle?
A: Cupcakes can sink for several reasons. Common culprits include opening the oven door too early (before they’re set), overmixing the batter, or an inaccurate oven temperature. Ensure your oven is preheated correctly, avoid opening the door during the first two-thirds of baking, and mix the batter just until combined.
Q: Can I make these into a layer cake?
A: Absolutely! This recipe can easily be converted into a layer cake. You would typically divide the batter between two or three 8 or 9-inch round cake pans. Baking times will vary, usually around 25-35 minutes for layer cakes. Always check for doneness with a toothpick inserted into the center.
Q: What’s the best way to get a smooth cream cheese frosting?
A: The key to a smooth cream cheese frosting is to start with both cream cheese and butter softened to room temperature. Beat them together until completely smooth before adding the sifted powdered sugar. Add the sugar gradually, and beat on medium-high speed until light and fluffy. If your frosting seems too thin, you can add a bit more sifted powdered sugar; if too thick, a tablespoon of milk or cream can help.
Q: How can I make these cupcakes gluten-free?
A: To make these cupcakes gluten-free, you can substitute the cake flour with a good quality 1:1 gluten-free all-purpose flour blend that contains xanthan gum. Ensure all other ingredients are also gluten-free. The texture might vary slightly, but they should still be delicious!
More Delightful Cupcake Recipes to Explore
If you’ve enjoyed baking these Green Velvet Cupcakes, you’ll love these other easy and delicious cupcake recipes to expand your baking repertoire:
- Orange Creamsicle Cupcakes Recipe
- Lemon Cupcakes Recipe
- Margarita Cupcakes Recipe
- Rainbow Cupcakes
- Classic Chocolate Cupcakes
- Fluffy Vanilla Cupcakes
We hope you thoroughly enjoy baking and savoring these fun, festive green velvet cupcakes. Don’t forget to leave a comment and share your experience once you’ve tried this fantastic recipe!
Pin
Green Velvet Cupcakes
Ingredients
For the Cupcakes:
- 1 1/3 Cups Cake Flour
- 2 Tbsp Cocoa Powder
- 1 tsp Baking Soda
- 1/4 tsp Salt
- 1/4 cup Butter softened
- 1 cup Granulated Sugar
- 1/4 cup Vegetable Oil
- 2 Large Eggs
- 1 teaspoon Vanilla Extract
- Green Gel Food Coloring
- 2/3 Cup Buttermilk
For the Cream Cheese Frosting:
- 2 pkgs Cream Cheese 8 oz each -softened
- 1/2 cup Unsalted Butter softened
- 6 cups Powdered Sugar sifted
- 1 teaspoon Vanilla Extract
Instructions
For the Cupcakes:
- Preheat the oven to 350 degrees F (175 C).
- Line 16 muffin tins with cupcake liners.
- In a medium bowl, whisk together the cake flour, baking soda, cocoa powder, and salt. Set aside.
- In a large bowl, using an electric mixer, cream together the softened butter and granulated sugar until light and fluffy, about 2-3 minutes.
- Add the vegetable oil, egg yolks (reserving the egg whites), and vanilla extract. Mix until well combined, scraping down the sides of the bowl as needed.
- Gradually add the dry ingredient mixture and the buttermilk to the wet ingredients, alternating between the two. Begin and end with the dry ingredients. Mix on low speed until just combined after each addition. Be careful not to overmix.
- Add approximately 2 teaspoons of green gel food coloring to the batter and mix until the desired vibrant green color is achieved.
- In a separate clean bowl, beat the reserved egg whites until they are light, fluffy, and form soft peaks.
- Gently fold the whipped egg whites into the green batter using a spatula until just combined. Do not overmix, as this can deflate the batter.
- Divide the batter evenly among the 16 prepared cupcake liners, filling each about two-thirds full.
- Bake for 15-18 minutes, or until a toothpick inserted into the center of a cupcake comes out clean.
- Allow the cupcakes to cool in the muffin tins for a few minutes before transferring them to a wire rack to cool completely. This is essential before frosting.
For the Frosting:
- In a large mixing bowl, beat the softened cream cheese until it is smooth and completely lump-free.
- Add the softened unsalted butter to the cream cheese and beat until combined and smooth.
- Slowly add the sifted powdered sugar, one cup at a time, beating well after each addition until the frosting is thick, smooth, and fluffy. Finally, mix in the vanilla extract until just combined.
- Once the cupcakes are completely cool, frost each with a generous amount of cream cheese frosting. Enjoy your festive Green Velvet Cupcakes!
Recipe Notes
Nutrition Facts
Pin This Now to Remember It Later
Pin Recipe
