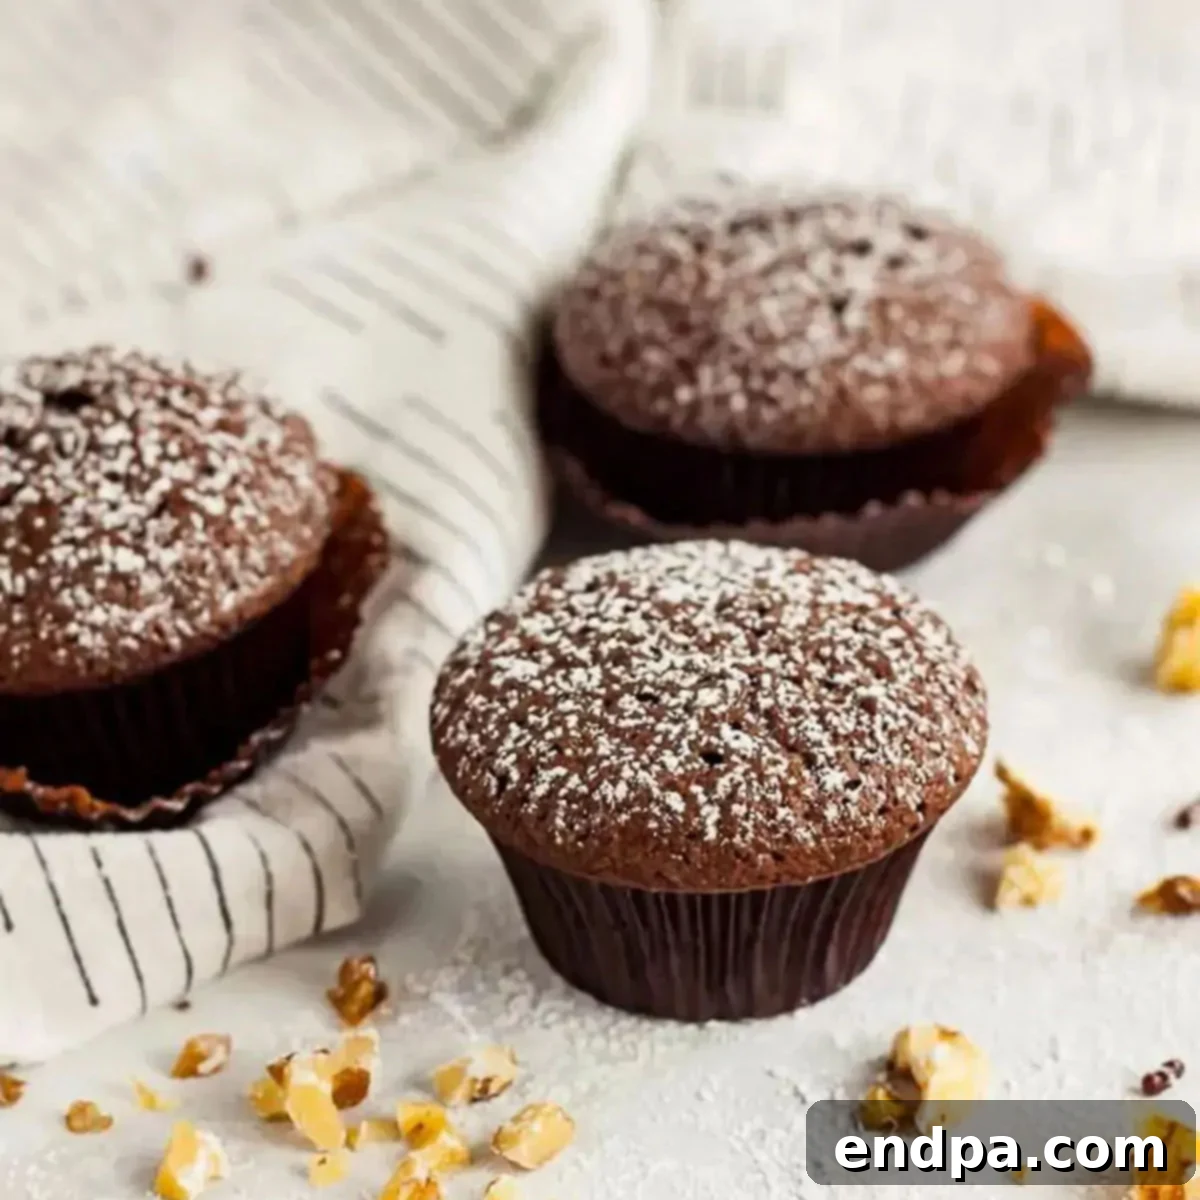
There’s an undeniable charm in bite-sized desserts, and this recipe for Mini Brownie Cupcakes perfectly captures that appeal. Each delightful morsel delivers an intensely rich and fudgy experience, truly loaded with chocolate flavor that will satisfy any sweet craving. These aren’t just small brownies; they are perfectly portioned masterpieces, ideal for sharing or indulging yourself.
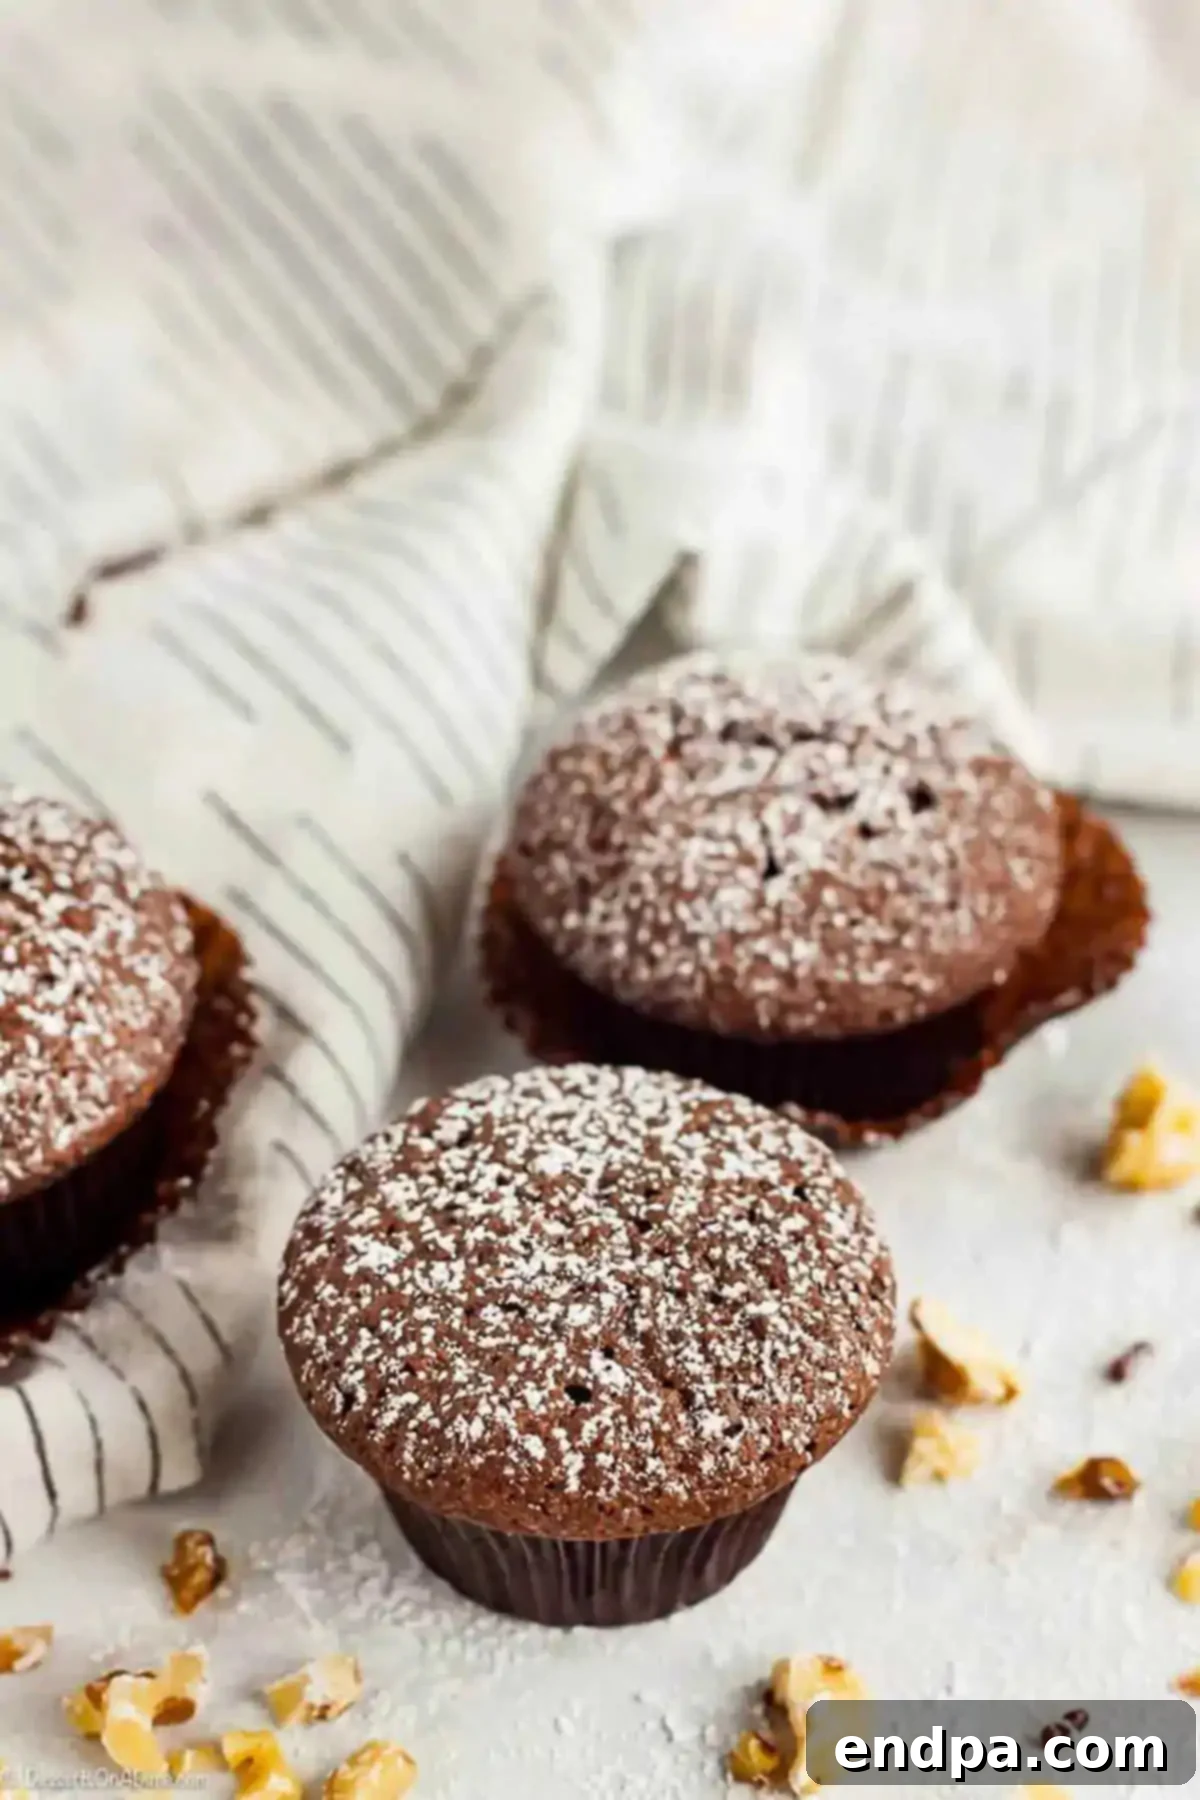
Prepare to fall in love with these homemade mini brownie cupcakes. This recipe is a guaranteed crowd-pleaser that, once tasted, will become a staple in your dessert repertoire. Forget about those mediocre store-bought mixes filled with artificial ingredients; this delightful treat can be whipped up using simple pantry staples you likely already have on hand. The convenience of baking from scratch has never tasted so good!
What makes this brownie cupcake recipe truly exceptional is its speed and superior flavor. You can have these delectable treats ready in under 30 minutes, and they consistently taste far better than anything made from a boxed fudge brownie mix. Their individual size and rich taste make them a fantastic addition to any occasion, whether it’s an elegant brunch spread alongside delightful Brunch Desserts or a casual get-together. They pair wonderfully with other homemade delights like a luscious Crazy Banana Cake, offering a diverse array of flavors for your guests.
Table of contents
- Why These Mini Brownie Cupcakes Are a Must-Try
- Essential Equipment for Mini Brownies
- Key Ingredients for Perfect Mini Brownie Cupcakes
- Step-by-Step Guide: How to Make Mini Brownie Cupcakes
- Delicious Toppings and Serving Suggestions
- Storage and Freezing Tips
- Pro Tips for Baking Mini Brownies
- Frequently Asked Questions About Mini Brownie Cupcakes
- Explore More Brownie Recipes
Why These Mini Brownie Cupcakes Are a Must-Try
These mini brownie cupcakes are more than just a sweet treat; they’re a celebration of rich chocolate flavor in a perfectly manageable size. Each tiny cupcake is bursting with an incredible depth of chocolate, offering a deeply satisfying experience without being overwhelming. Their individual portions are simply ideal for a variety of occasions:
- Perfect for Parties: Say goodbye to messy slicing and uneven servings! These mini treats are effortlessly grab-and-go, making them a hit at any gathering, from birthday parties to holiday celebrations.
- Kid-Friendly Portions: Children (and adults!) adore the novelty of mini desserts. The smaller size means less waste and more fun, as everyone gets to enjoy a perfectly sized brownie.
- Quick and Easy: Despite their gourmet taste, the entire recipe is incredibly simple to follow, requiring minimal effort and time. It’s a fantastic option for a last-minute dessert or when you crave something sweet without a lengthy baking process.
- Decadent Flavor in Every Bite: Thanks to quality ingredients and a straightforward method, each mini brownie is irresistibly fudgy and deeply flavorful, a true testament to homemade goodness.
- Versatile for Customization: They serve as a fantastic base for a wide array of toppings and mix-ins, allowing you to personalize them for different tastes and events.
Once you experience the ease of preparation and the delicious results, these mini brownie cupcakes are sure to become a beloved staple in your kitchen.
Essential Equipment for Mini Brownies
To create these delightful mini brownie cupcakes, you won’t need an extensive array of specialized baking tools. The key is often found in common kitchen items, with a few specific recommendations to ensure success:
- Mini-Muffin Tin: This is arguably the most crucial piece of equipment for achieving the perfect bite-sized shape. I highly recommend using a mini-muffin tin; it creates uniform cupcakes that are not only fun to eat but also bake quickly and evenly. The kids especially love these tiny treats because it means they can enjoy more than one! If you don’t have a mini-muffin tin, you can use a regular cupcake pan, but adjust baking times and be sure to use liners for easy removal.
- Mixing Bowls: You’ll need at least one large mixing bowl for combining the wet and dry ingredients. Having a second, smaller bowl is helpful for melting butter or whisking eggs separately.
- Measuring Cups and Spoons: Accuracy is key in baking. Ensure you have a good set of dry measuring cups for flour and cocoa, liquid measuring cups for wet ingredients, and a set of measuring spoons for vanilla, salt, and baking powder.
- Whisk or Electric Mixer: A sturdy whisk is perfect for blending the wet ingredients and incorporating the dry ingredients by hand. For an even smoother batter or if you’re making a larger batch, a hand-held electric mixer can make the process quicker and easier.
- Rubber Spatula: Essential for scraping down the sides of the bowl, ensuring all ingredients are well incorporated, and for gently folding in any additions.
- Cooking Spray or Mini Cupcake Liners: To prevent sticking and ensure easy release, a good quality non-stick cooking spray is vital. Alternatively, mini paper cupcake liners can be used, which also add a decorative touch and make cleanup a breeze.
- Cooling Rack: Once baked, the mini brownies need to cool completely. A wire cooling rack allows air to circulate around them, preventing the bottoms from becoming soggy and ensuring a perfectly fudgy texture throughout.
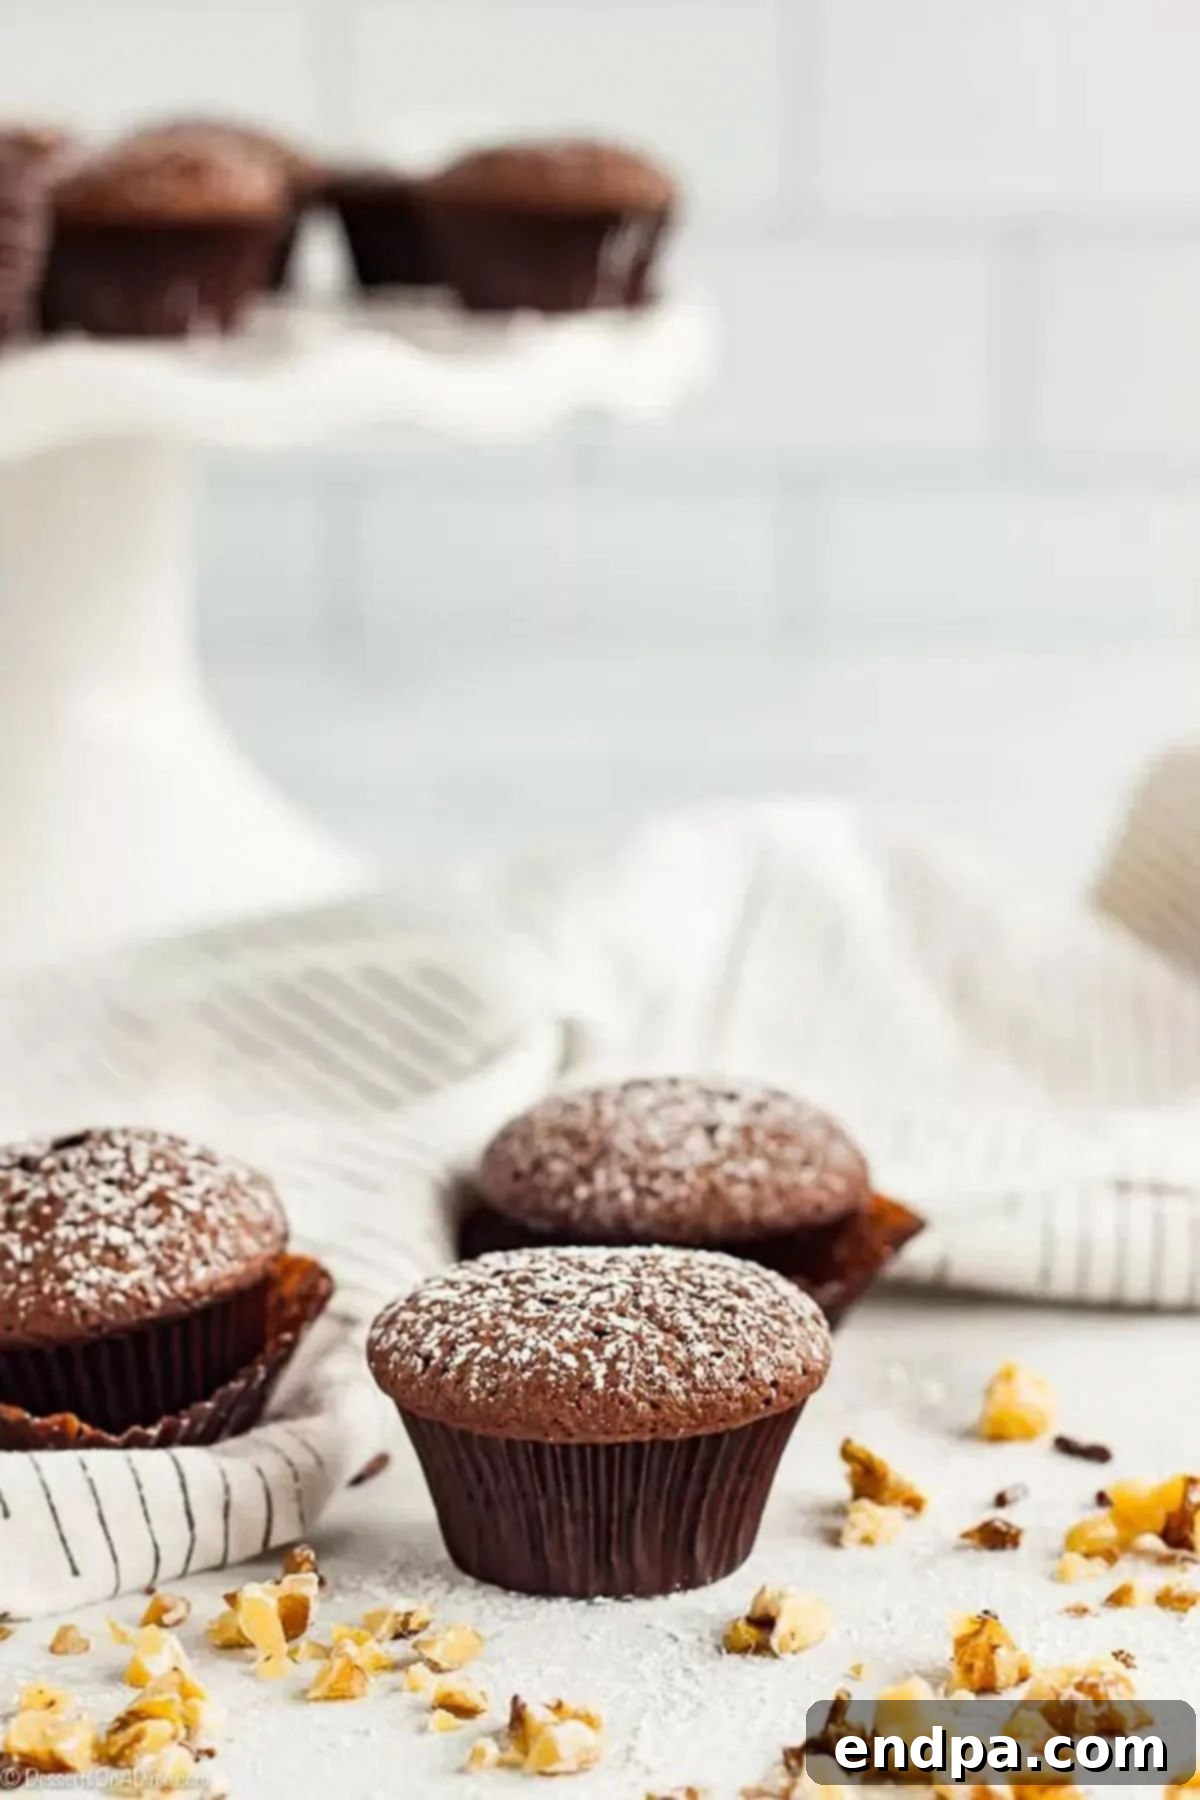
Key Ingredients for Perfect Mini Brownie Cupcakes
The beauty of this recipe lies in its simplicity and the quality of a few core ingredients. Using fresh, high-quality components ensures the best flavor and texture for your fudgy mini brownie cupcakes:
- Butter: For the most luxurious flavor and texture, always opt for real unsalted butter. Melted butter creates that signature fudgy brownie consistency. While margarine can be used in a pinch, it won’t yield the same rich depth of flavor or desirable chewiness.
- Granulated Sugar: White granulated sugar provides the sweetness and helps achieve that slightly crisp top crust that is characteristic of a perfect brownie.
- Eggs: Room temperature eggs are crucial for this recipe. They emulsify better with the melted butter and sugar, creating a smoother, more uniform batter and contributing to the fudgy texture. If your eggs are cold, simply place them in a bowl of warm water for 5-10 minutes before using.
- Vanilla Extract: Don’t skimp on this! Pure vanilla extract significantly enhances the chocolate flavor, adding depth and complexity to the brownies. Avoid imitation vanilla for the best results.
- Unsweetened Cocoa Powder: This recipe specifically calls for unsweetened cocoa powder. It provides a deep, intense chocolate flavor without adding excessive sweetness, balancing perfectly with the sugar. Dutch-processed cocoa can also be used for an even darker color and slightly milder chocolate taste.
- All-Purpose Flour: For accurate measurement and to prevent a dense, dry brownie, I highly recommend spooning the flour into your measuring cup and then leveling it off with a knife. Do not scoop directly from the bag, as this can compact the flour and result in using too much.
- Salt: A small amount of salt is vital in any sweet recipe. It balances the sweetness, enhances the chocolate flavor, and brings all the ingredients into harmony.
- Baking Powder: This leavening agent gives the brownies a slight lift, ensuring they aren’t overly dense while still maintaining that desirable fudgy center.
You’ll find the precise measurements for each of these ingredients listed in the complete recipe card below. Always ensure your ingredients are fresh for the best possible outcome.
Step-by-Step Guide: How to Make Mini Brownie Cupcakes
Making these mini brownie cupcakes is a straightforward process, perfect for bakers of all skill levels. Follow these simple steps for perfectly fudgy and delightful results:
- Step 1: Prepare Your Oven and Pan. Begin by preheating your oven to 350°F (175°C). This ensures the oven is at the correct temperature when your batter is ready. Next, prepare your mini-muffin pan. You can either generously spray each cup with a non-stick cooking spray, making sure to coat all sides thoroughly, or use mini cupcake liners. Liners are especially convenient for easy removal and cleanup, and they also add a nice presentation.
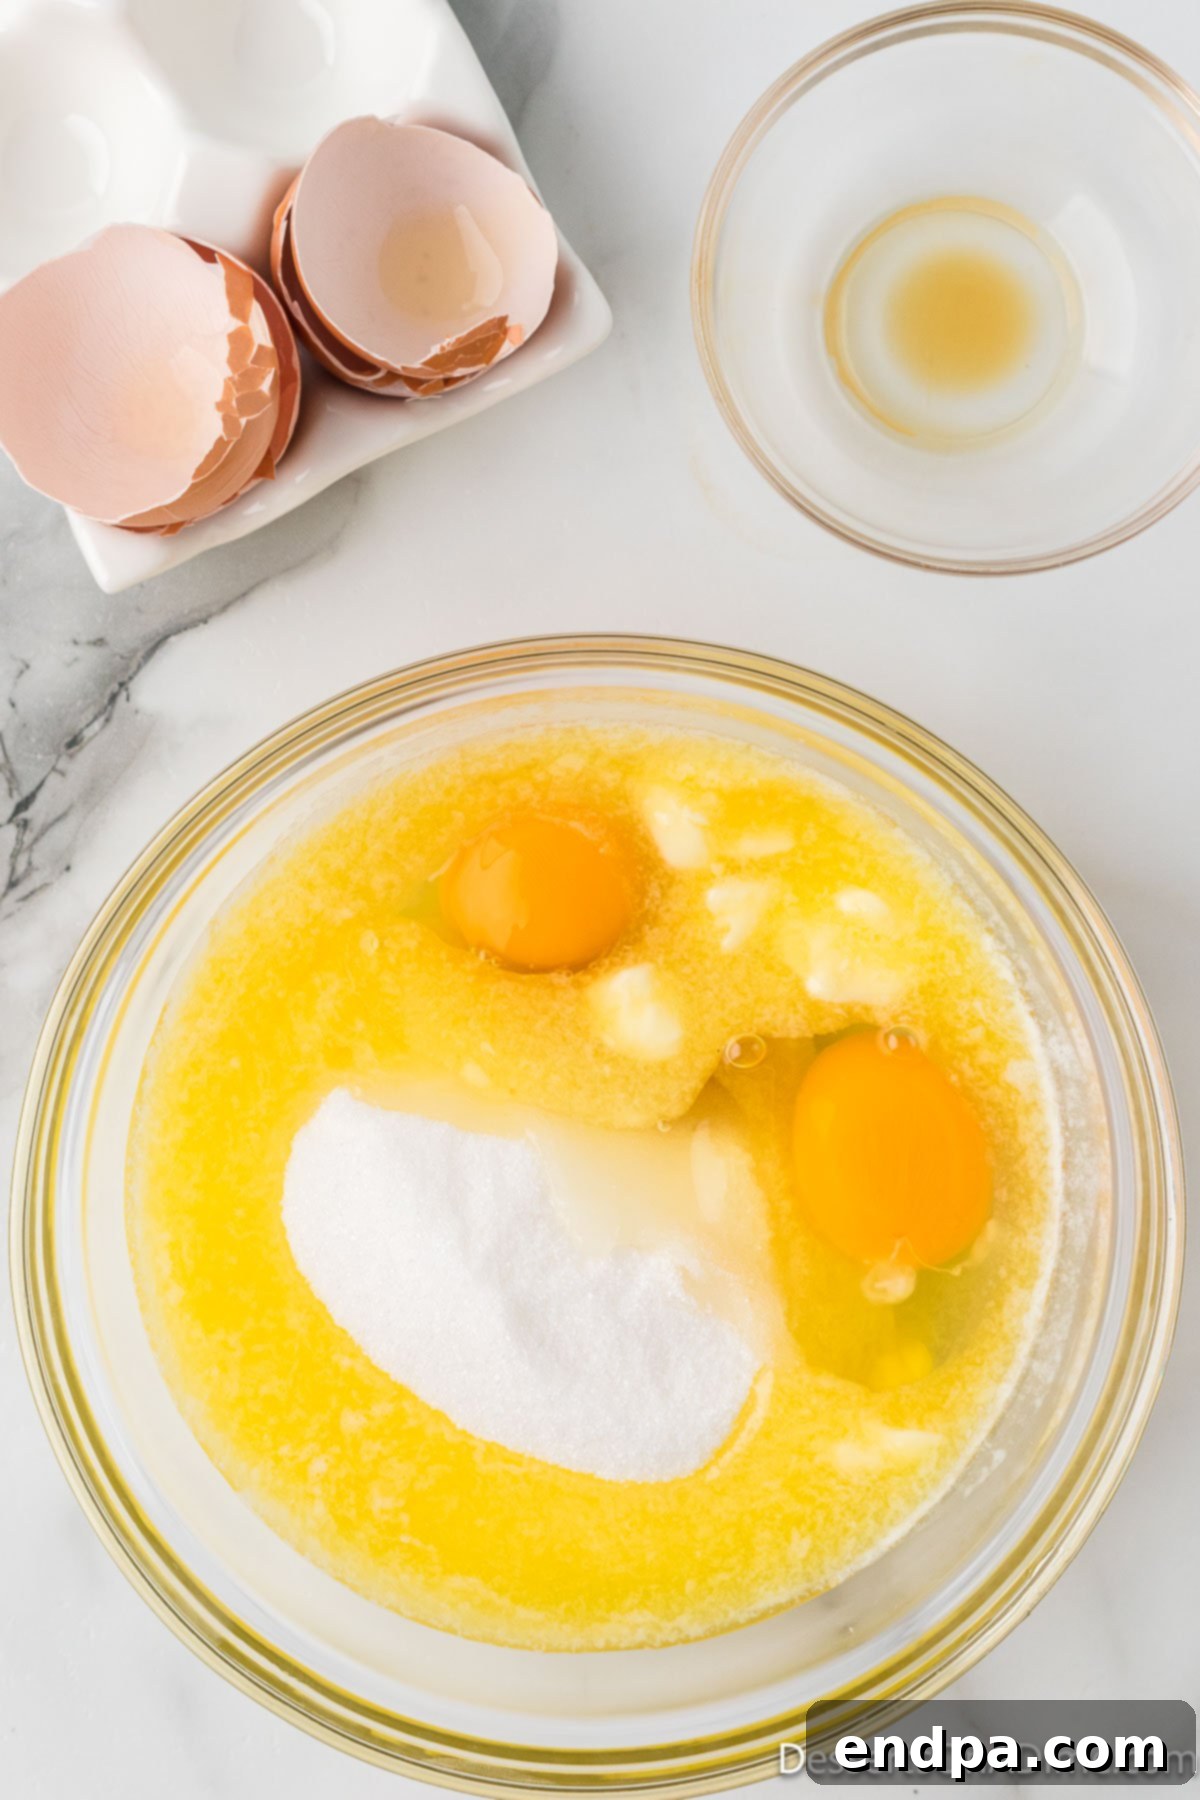
Step 2: Combine Wet Ingredients. In a large mixing bowl, pour your melted butter. Add the white sugar, room temperature eggs, and pure vanilla extract. Whisk these ingredients together vigorously until they are well combined, light in color, and slightly frothy. This ensures a smooth base for your brownies and helps to dissolve the sugar evenly, contributing to a wonderfully fudgy texture.
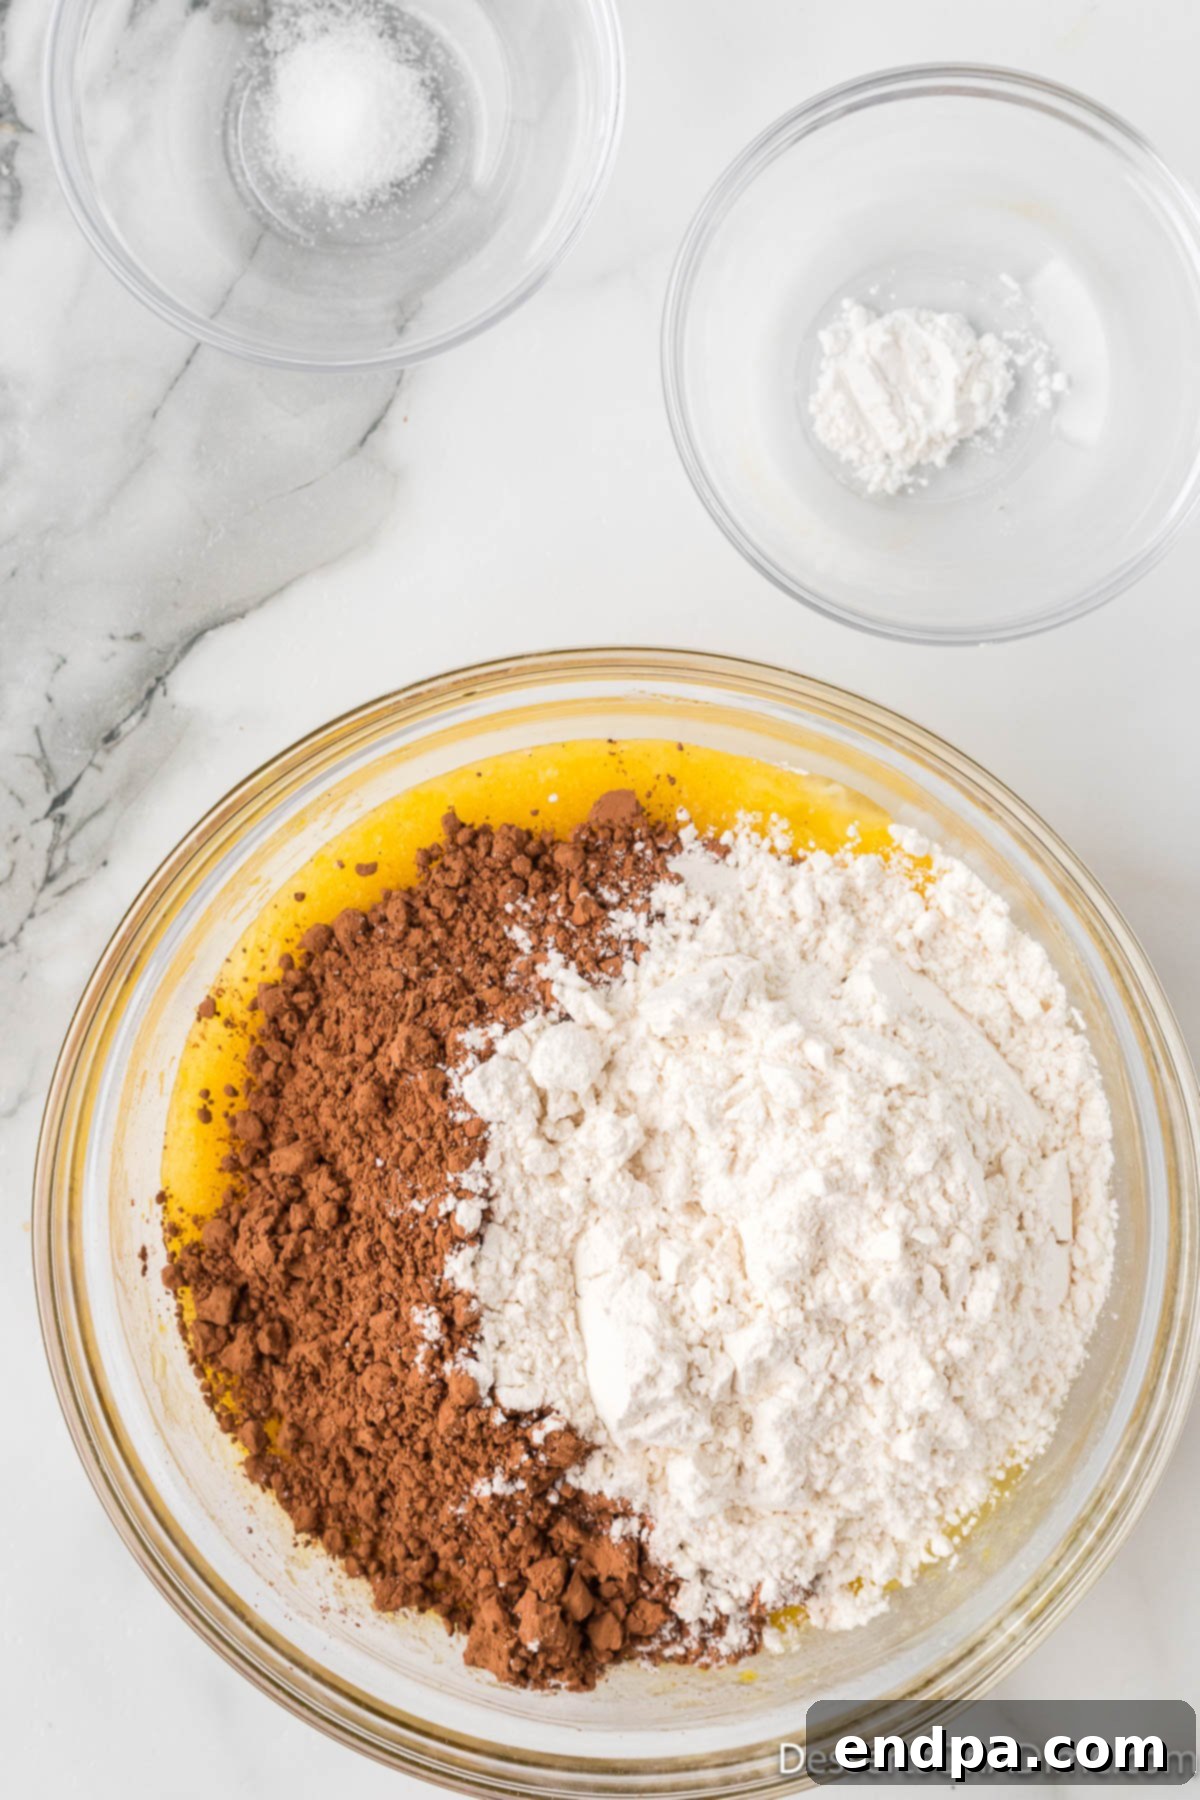
Step 3: Incorporate Dry Ingredients. To the wet mixture, add the unsweetened cocoa powder, all-purpose flour (remember to spoon and level!), salt, and baking powder. Using a whisk or a rubber spatula, gently beat or fold these dry ingredients into the wet mixture by hand. Mix just until no streaks of dry flour remain and the chocolate mixture is smooth. Be careful not to overmix, as this can lead to tough brownies.
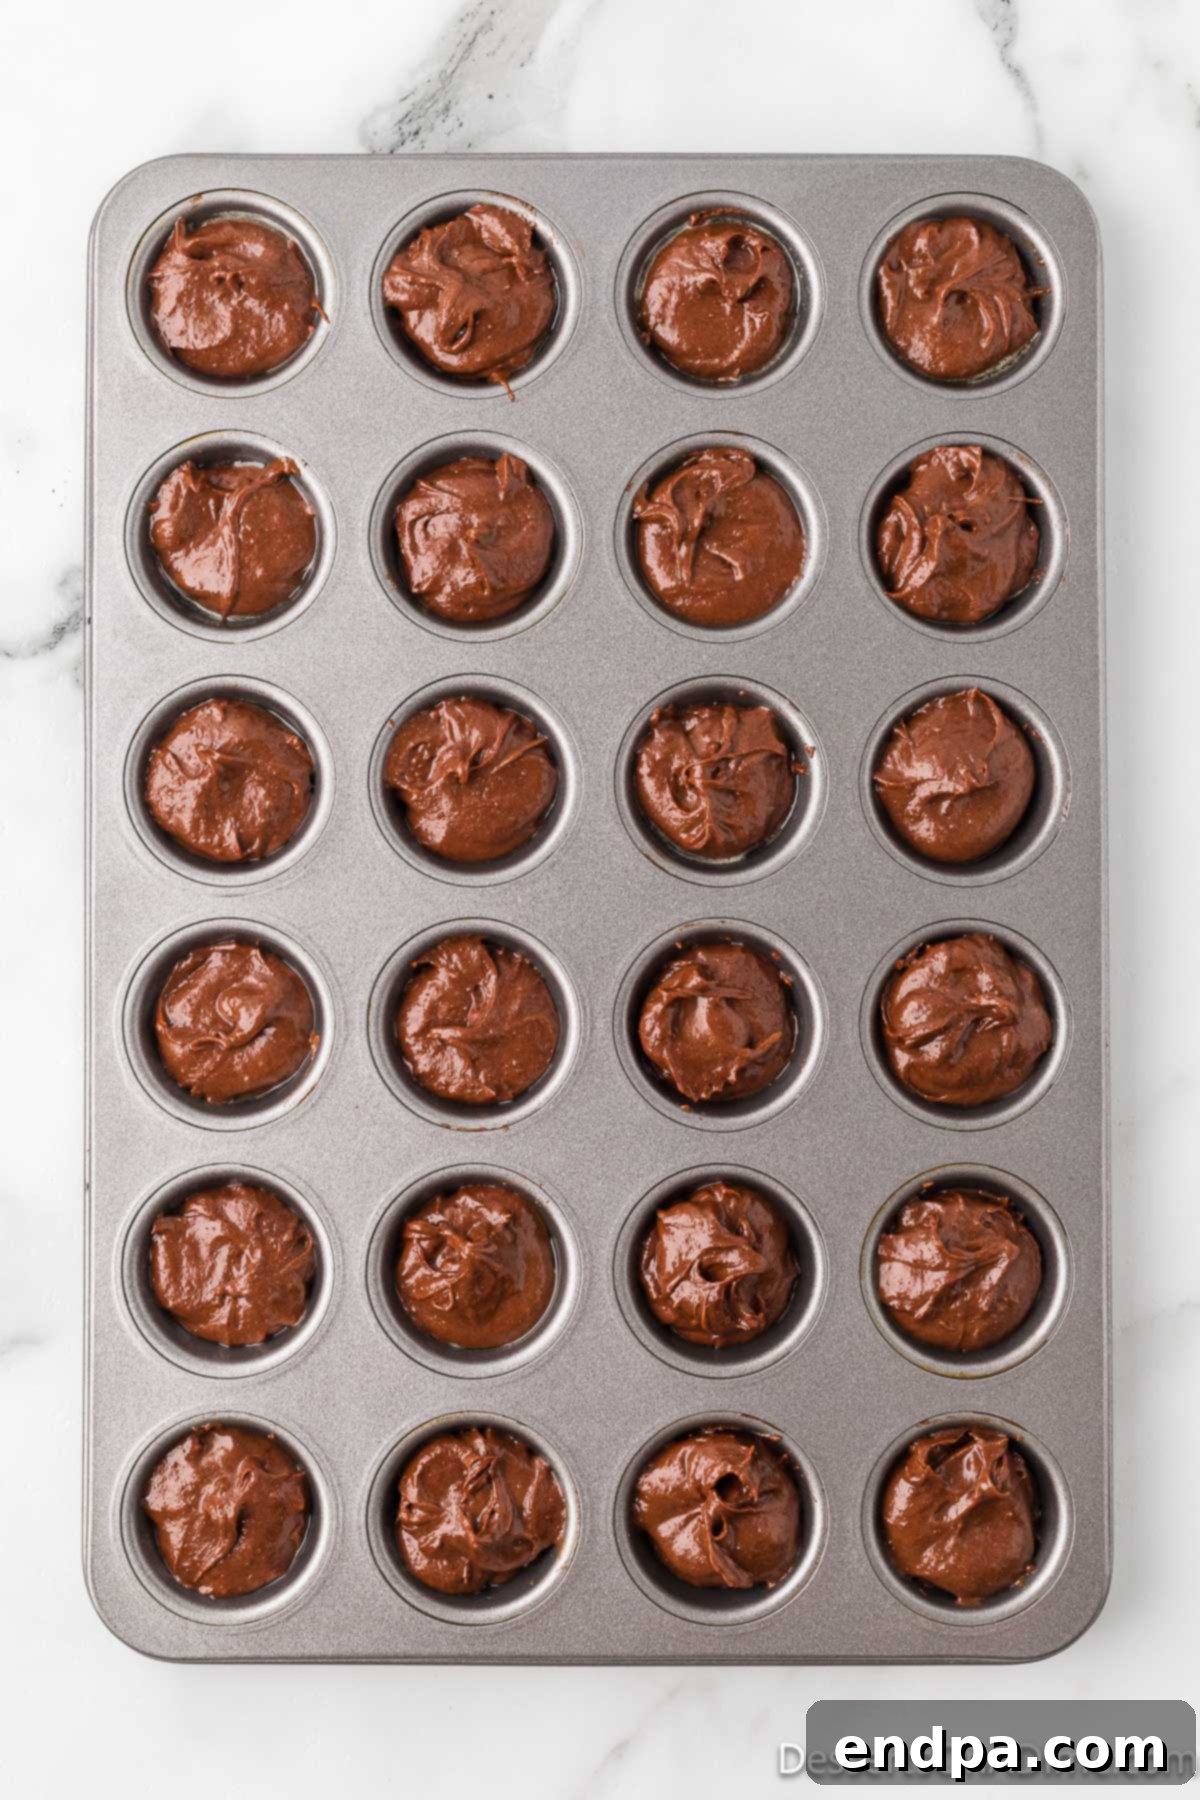
Step 4: Fill the Muffin Cups. Now it’s time to spoon your rich brownie batter into the prepared mini muffin cups. A tablespoon is an ideal tool for this step. Aim to fill each muffin cup approximately two-thirds of the way full. This allows for a slight rise during baking without overflowing. Each recipe typically yields about 20 mini brownie cupcakes.
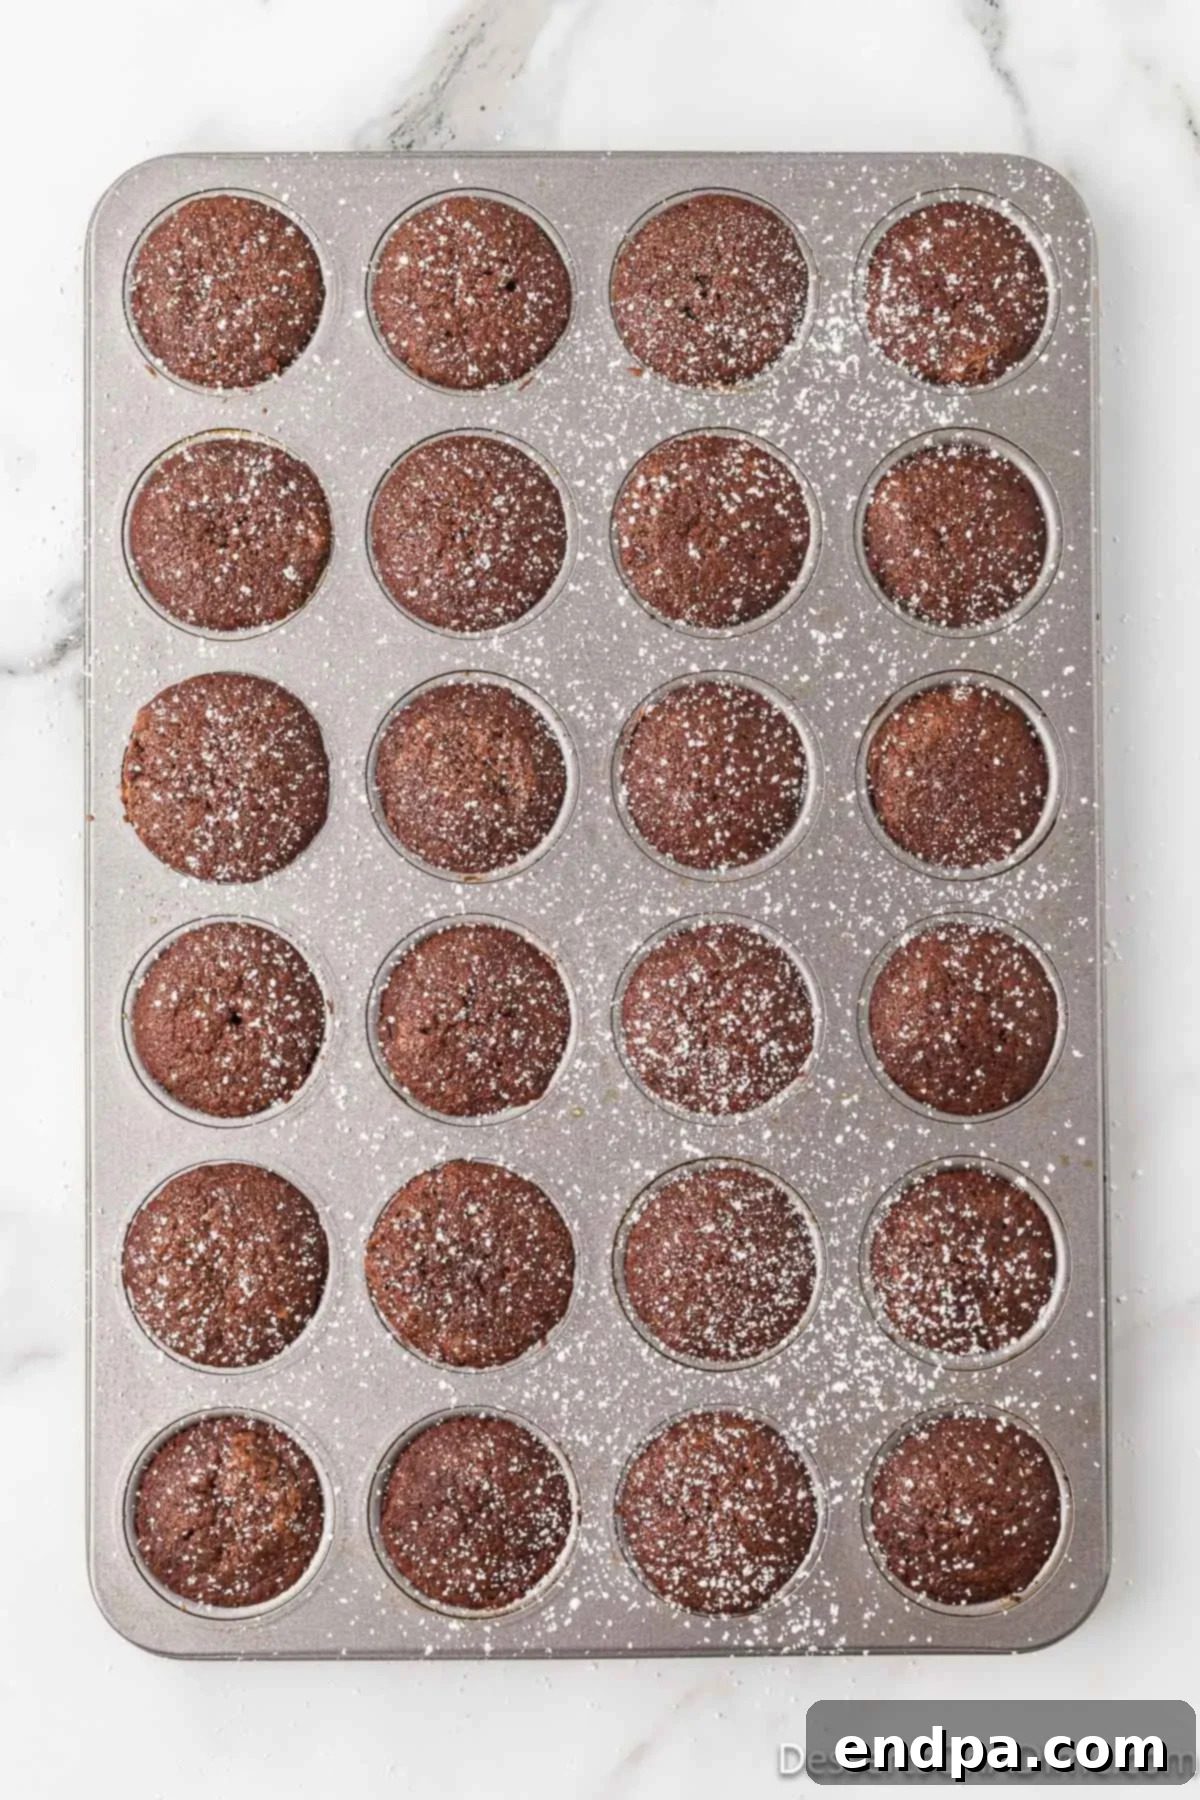
Step 5: Bake and Cool. Place the mini muffin pan into your preheated oven. Bake for a short period of 8 to 10 minutes. Mini brownies bake quickly, so keep a close eye on them. You can test for doneness by inserting a toothpick into the center of a brownie; it should come out with moist crumbs attached, but not wet batter. Once baked, remove the pan from the oven and let the mini brownies cool in the pan for a few minutes before transferring them to a wire cooling rack to cool completely. This helps them firm up and prevents them from falling apart. Once cooled, if you desire a touch of elegance and extra sweetness, sprinkle them with powdered sugar.
Delicious Toppings and Serving Suggestions
While these mini brownie cupcakes are utterly delicious on their own, adding a topping can elevate them to an even more impressive dessert. Here are some fantastic ideas to get you started, ranging from simple dustings to decadent drizzles:
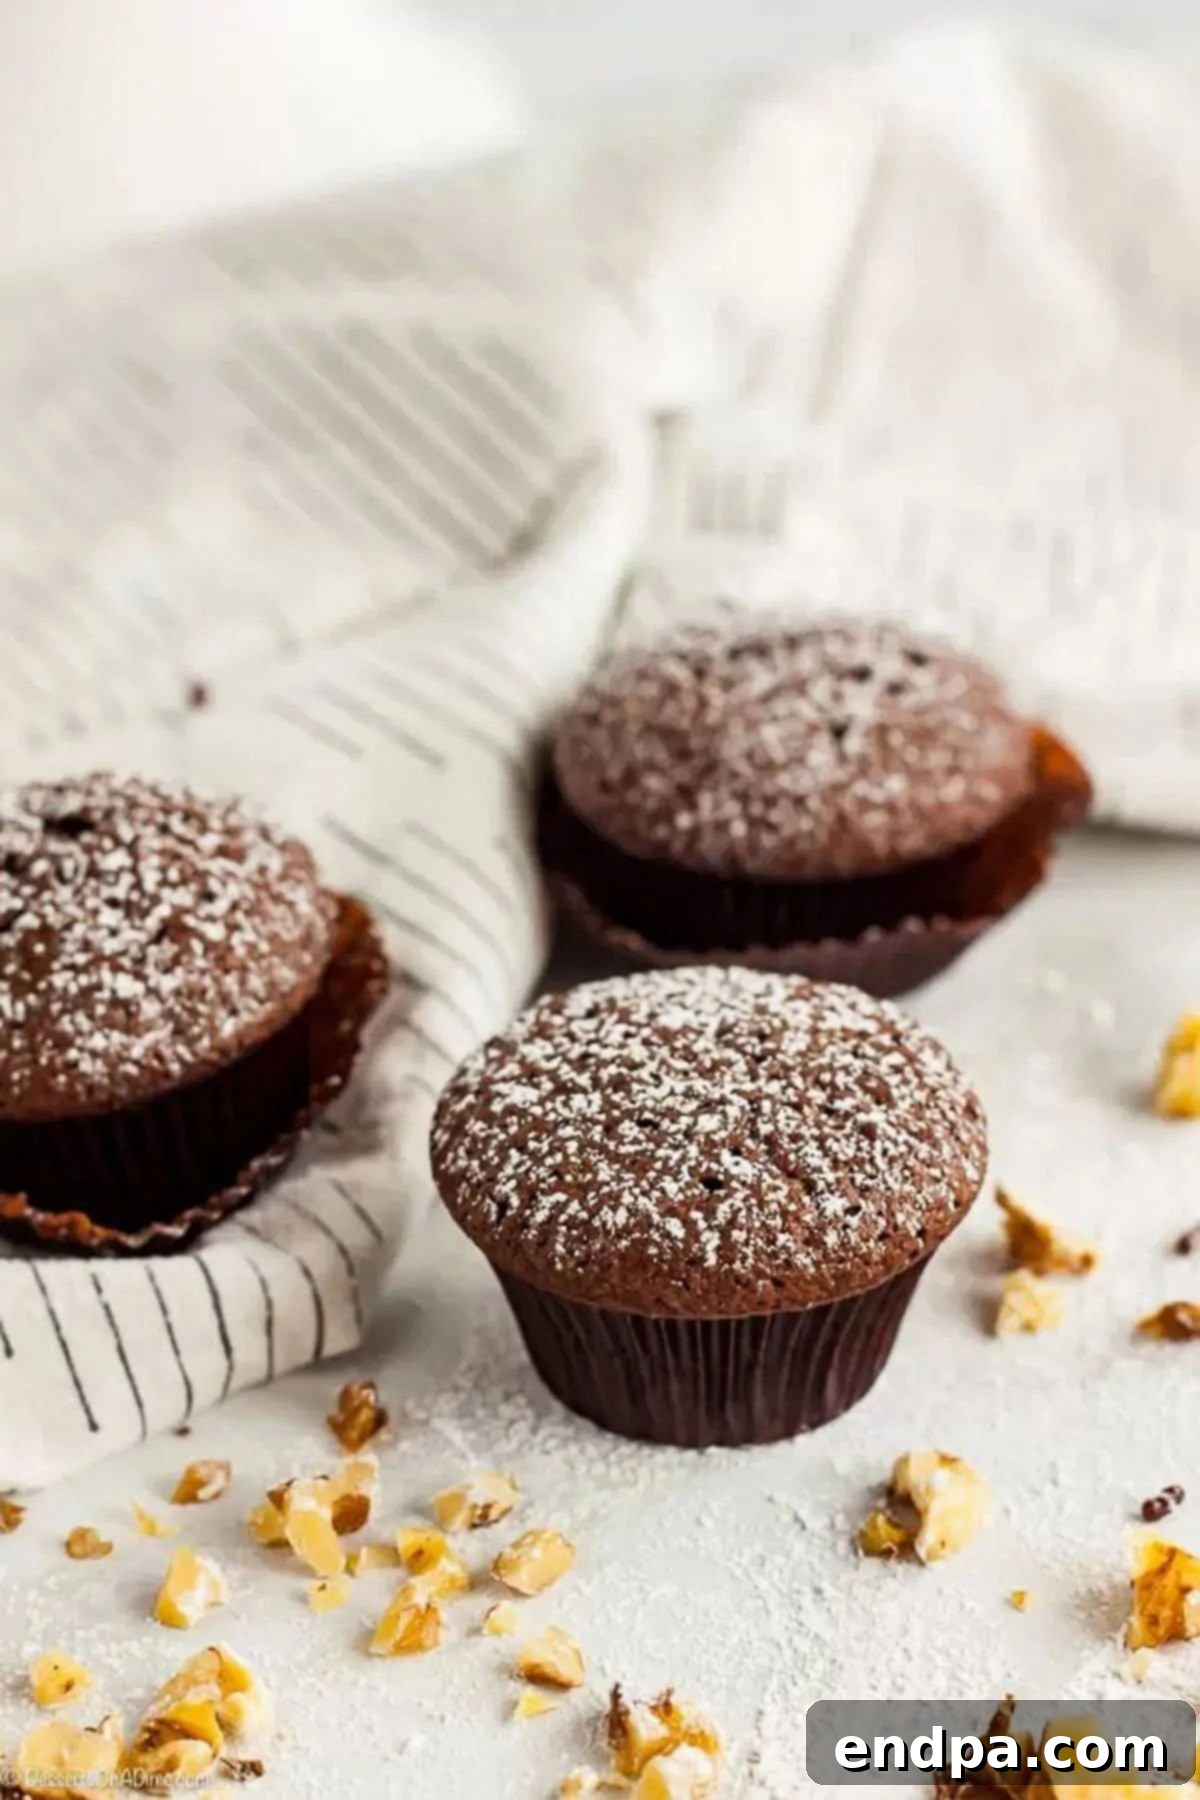
- Powdered Sugar: A classic for a reason! A light dusting of powdered sugar adds a subtle sweetness and a beautiful, elegant finish that makes these brownies look professionally made. It’s my go-to for a quick and easy enhancement.
- Chocolate Sauce or Hot Fudge Sauce: For the ultimate chocolate lover, a drizzle of warm chocolate syrup or rich homemade Hot Fudge Sauce adds an extra layer of decadence. Serve a small bowl alongside for dipping!
- Frosting of Your Choice: Transform these brownies into true mini cupcakes with a swirl of your favorite frosting. A light and tangy Homemade Cream Cheese Frosting would be absolutely divine, offering a lovely contrast to the rich chocolate. Alternatively, a classic buttercream or chocolate ganache would also be excellent choices.
- Caramel Sauce: The sweet and buttery notes of caramel pair exceptionally well with chocolate. A drizzle of homemade Caramel Sauce can add a sophisticated and chewy element to your mini brownies.
- Whipped Cream: A dollop of light and airy Homemade Whipped Cream provides a wonderful textural contrast and coolness, especially when the brownies are still slightly warm. Add a fresh berry for a touch of freshness.
- Mini Chocolate Chips or Sprinkles: For a fun and festive touch, sprinkle some mini chocolate chips or colorful sprinkles on top while the brownies are still a little warm, allowing them to adhere.
- Chopped Nuts: If your family enjoys a bit of crunch, finely chopped walnuts, pecans, or even peanuts can be sprinkled on top. They add texture and a nutty flavor that complements the chocolate beautifully.
You can even take these mini treats to the next level by creating a delightful mini brownie sundae bar! Simply provide an assortment of toppings like chocolate syrup, scoops of your favorite ice cream, whipped cream, and a bright red cherry on top. The possibilities are endless for customizing these versatile brownies to suit any taste or occasion.
Storage and Freezing Tips
Proper storage is key to keeping your mini brownie cupcakes fresh and delicious, allowing you to enjoy them for days to come. Here’s how to store them effectively:
Room Temperature Storage:
- Once your mini brownie cupcakes have cooled completely, transfer them to an airtight container or a resealable plastic bag.
- Store them at room temperature, away from direct sunlight or heat sources.
- Under these conditions, they will generally stay fresh and moist for up to 1 week. However, in my experience, they rarely last that long because they’re simply too tempting to resist!
Refrigeration:
- If you live in a particularly warm climate, or if your brownies are topped with cream cheese frosting or whipped cream, refrigeration is recommended.
- Store them in an airtight container in the refrigerator for up to 5-7 days. Bring them to room temperature or gently warm them slightly before serving for the best texture and flavor.
Freezing for Longer Shelf Life:
Freezing is an excellent option for extending the shelf life of your mini brownie cupcakes, ensuring you always have a delightful treat on hand for unexpected guests or future cravings.
- Initial Freeze: Arrange the completely cooled brownie bites in a single layer on a baking sheet lined with parchment paper. Place the baking sheet in the freezer for at least 1 hour, or until the brownies are firm. This step is crucial as it prevents them from sticking together once they are in a bag.
- Transfer to Freezer Bag: Once hardened, transfer the frozen mini brownie bites into a freezer-safe, airtight bag or container. Squeeze out as much air as possible before sealing to prevent freezer burn.
- Freeze Duration: Properly stored, these mini brownie cupcakes can be kept in the freezer for up to 3 months.
- Thawing: When you’re ready to enjoy your frozen treats, simply remove the desired number of brownie bites from the freezer and let them defrost at room temperature for about 30-60 minutes. For a warm, freshly baked experience, you can gently heat them in the microwave for a few seconds or in a low oven.
Having a stash of these frozen mini brownie cupcakes means you’re always ready for a sweet craving or an impromptu dessert serving!
Pro Tips for Baking Mini Brownies
Achieving perfectly fudgy and delightful mini brownie cupcakes is simple when you keep a few expert tips in mind. These small details can make a big difference in the final outcome:
- Grease Your Muffin Tin Generously: To ensure your mini brownies pop out cleanly without sticking, spray your mini muffin tin thoroughly with non-stick cooking spray. Get into all the crevices. If using liners, this step is less critical but still helpful if the liners stick to the pan.
- Use Room Temperature Eggs: As mentioned in the ingredients section, using room temperature eggs helps them combine more smoothly with the butter and sugar, creating a more uniform and fudgy batter. This prevents a “scrambled egg” texture if added to warm butter.
- Don’t Overmix the Batter: Once you add the dry ingredients to the wet ingredients, mix only until just combined. Overmixing develops the gluten in the flour, which can lead to tough, cakey brownies rather than the desired fudgy texture. A few small lumps are perfectly fine.
- Spoon and Level Flour: Always spoon your all-purpose flour into your measuring cup and level it off with a straight edge. Scooping directly from the bag can compact the flour, resulting in too much flour and a dry brownie.
- Cool Completely Before Removing: Patience is a virtue when it comes to brownies! Allow the mini brownie cupcakes to cool in the pan for at least 10-15 minutes before attempting to remove them. This gives them time to set and firm up, preventing them from crumbling or falling apart when you take them out.
- Testing for Doneness: Mini brownies bake very quickly. For a truly fudgy center, it’s best to slightly underbake them. A toothpick inserted into the center should come out with moist crumbs attached, but not wet batter. If it comes out completely clean, they might be leaning towards cakey.
- Consider Parchment Liners: For an extra layer of non-stick assurance and easy handling, consider using mini parchment paper cupcake liners. They provide a rustic, elegant look and ensure foolproof removal.
- Add-ins: If you’re adding chocolate chips, nuts, or other mix-ins, fold them in gently at the very end of mixing the batter to ensure even distribution without crushing them.
By following these simple tips, you’ll consistently bake perfect, fudgy, and incredibly delicious mini brownie cupcakes every time!
Frequently Asked Questions About Mini Brownie Cupcakes
For these mini brownie cupcakes, I typically use a tablespoon to scoop the batter into each mini muffin tin. Generally, it takes approximately 2 tablespoons of batter per tin. The goal is to fill each cup about two-thirds of the way full. This allows enough room for the brownies to rise slightly without overflowing, ensuring a perfectly rounded top.
For this specific recipe, it’s crucial to use unsweetened cocoa powder. This provides a deep, rich chocolate flavor that is balanced by the sugar in the recipe. Using unsweetened cocoa powder is key to achieving that classic, intensely chocolatey brownie taste and the fudgy texture we all love. Avoid using sweetened cocoa mixes, as they will alter the sugar balance of the recipe.
Absolutely! Stuffing these delicious mini brownie bites is a fantastic way to add extra flavor and texture. After you’ve spooned the batter into the muffin tins but before baking, you can gently press your chosen add-ins into the center of each brownie. Any type of finely chopped nuts (like walnuts or pecans), chocolate chips (milk, dark, or white), or small pieces of candy (such as mini M&Ms or chopped Snickers) would be delicious. Just make sure the add-ins are cut into small pieces so you get a small amount in each delightful bite. These brownies are always a hit, no matter how you choose to serve them!
No, when properly baked and cooled, brownies generally do not stick to cupcake liners. They should peel off easily and cleanly. Using liners is a very convenient option, especially for parties, as it makes serving and cleanup much simpler and more hygienic.
If you’ve generously used non-stick cooking spray, the brownies should pop out of the pan quite easily once they have cooled. I always recommend heavily spraying the muffin pan before adding the batter to ensure maximum non-stick protection. If a few brownies are a bit stubborn, you can gently run a thin knife or a small offset spatula along the sides of the cup to help loosen them. Always allow them to cool slightly in the pan before attempting removal to prevent them from breaking apart.
Yes, absolutely! If you don’t have a mini muffin tin, you can certainly make these brownies in a regular-sized cupcake pan. When using a regular pan, the recipe should yield approximately 12 standard-sized brownie cupcakes. Fill each cupcake tin with batter until it is about three-quarters of the way full. The baking time will be slightly longer; bake them for 15 to 20 minutes, or until a toothpick inserted into the center of a cupcake comes out with moist crumbs attached. For easy removal from a regular cupcake pan, I highly recommend using standard cupcake liners.
Explore More Brownie Recipes
If you love brownies as much as we do, you’ll be thrilled to discover a world of rich, fudgy, and delightful variations. After mastering these Mini Brownie Cupcakes, why not expand your baking horizons with some of these other fantastic brownie creations? There’s a brownie for every occasion and every craving!
- Easy Homemade Brownies Recipe: A classic, go-to recipe for perfect brownies every time.
- Brownie Mix Cookies Recipe: Transform a simple brownie mix into chewy, chocolatey cookies.
- Buckeye Brownies Recipe: The irresistible combination of chocolate and peanut butter in brownie form.
- Copycat Little Debbie Brownies: Recreate that nostalgic, frosted treat at home.
- Salted Caramel Brownies: A heavenly blend of sweet and salty, with gooey caramel ribbons.
- Oreo Brownies: Layers of rich brownie and crunchy Oreo cookies for an indulgent experience.
We encourage you to give this Mini Brownie Cupcakes recipe a try for the best fudgy brownie bites. They are truly irresistible! We’d love to hear about your experience; don’t forget to come back and leave a comment and a star rating once you’ve baked this delicious recipe. Happy baking!
Pin
Mini Brownie Cupcakes
10 minutes
10 minutes
20 minutes
10
American
Dessert
202
Carrie Barnard
Ingredients
-
1/2
cup
melted butter
-
1
cup
white sugar
-
2
eggs
-
1
teaspoon
vanilla extract
-
1/3
cup
unsweetened cocoa powder
-
1/2
cup
all-purpose flour
-
1/4
teaspoon
salt
-
1/4
teaspoon
baking powder
Instructions
- Preheat oven to 350 degrees F (175 degrees C). Spray a mini-muffin pan generously with non-stick cooking spray, or line with mini cupcake liners.
- In a large bowl, whisk together the melted butter, sugar, eggs, and 1 teaspoon vanilla extract until well combined and smooth. Then, gradually beat in the ⅓ cup cocoa powder, ½ cup all-purpose flour, salt, and baking powder by hand until just combined and no dry streaks remain. Be careful not to overmix.
- Spoon the brownie batter into the prepared mini muffin cups. Use approximately 1 tablespoon of batter per tin, filling each about two-thirds full. This recipe will yield about 20 mini-muffins.
- Bake in the preheated oven for 8 to 10 minutes, or until a toothpick inserted into the center comes out with moist crumbs attached.
- Allow the mini brownie cupcakes to cool in the pan for a few minutes before transferring them to a wire rack to cool completely. Once cooled, sprinkle with powdered sugar if desired.
Recipe Notes
Nutrition Facts
Calories
202
kcal
,
Carbohydrates
27
g
,
Protein
2
g
,
Fat
10
g
,
Saturated Fat
6
g
,
Cholesterol
57
mg
,
Sodium
153
mg
,
Potassium
73
mg
,
Fiber
1
g
,
Sugar
20
g
,
Vitamin A
331
IU
,
Calcium
16
mg
,
Iron
1
mg
Pin This Now to Remember It Later
Pin Recipe
