Welcome to the enchanting world of St. Patrick’s Day baking! As the vibrant hues of green begin to emerge, symbolizing good luck and the spirit of Ireland, there’s no better way to celebrate than with a batch of delightful Shamrock Cookies. These charming sugar cookies, shaped like four-leaf clovers, are more than just a dessert; they’re a festive centerpiece, a delicious gift, and a fun activity for the whole family. Adorned with a smooth, sweet green frosting and a generous scattering of colorful sprinkles, they capture the essence of the holiday in every bite.

Our journey begins with a classic soft sugar cookie recipe, elevated to holiday perfection. This particular cookie recipe is renowned for its simplicity, yielding tender, buttery cookies that hold their shape beautifully—a crucial factor when working with intricate cookie cutters. With straightforward instructions, even novice bakers can achieve impressive results. The vibrant green frosting and sparkling sprinkles transform these everyday treats into irresistible St. Patrick’s Day Desserts, making them ideal for parties, school lunches, or simply a cozy family treat. Their striking appearance and wonderful taste make them a memorable addition to any festive spread.
Crafting these shamrock delights is so enjoyable and efficient, you might even find yourself with extra time to whip up a few other St. Patrick’s Day-themed sweets! Consider adding St. Patrick’s Day Cake Mix Cookies for a quick option, or explore the unique flavor of Pistachio Cookies. For a delightful salty-sweet combination, don’t miss out on making St. Patrick’s Day Chocolate Covered Pretzels. These complementary treats will ensure your celebration is truly overflowing with joy and deliciousness!
Table of contents
- Why These Shamrock Cookies Are a Must-Make
- Essential Ingredients for Perfect Shamrock Cookies
- For the Irresistible Sugar Cookies
- For the Vibrant Green Frosting
- Creative Variations to Elevate Your Shamrock Cookies
- Step-by-Step Guide to Baking and Decorating
- Storage and Make-Ahead Tips
- Expert Baking and Decorating Pro Tips
- Frequently Asked Questions (FAQs)
- More St. Patrick’s Day Dessert Ideas
Why These Shamrock Cookies Are a Must-Make
This shamrock cookie recipe is more than just a simple baking project; it’s an opportunity to create stunning, bakery-quality desserts right in your own kitchen. The magic lies in the simplicity of the process, coupled with a result that truly impresses. With easy-to-follow instructions, even those new to baking will feel confident and empowered to create a treat that looks professionally made. Imagine the delight on your friends’ and family’s faces when they see (and taste!) these beautifully crafted, festive cookies.
Beyond their visual appeal, these cookies boast a perfectly balanced flavor profile – a tender, buttery sugar cookie base complemented by a sweet, vibrant green frosting. They are the epitome of comfort and celebration, making them ideal for any St. Patrick’s Day gathering. The joy of homemade treats, especially when they look this good, is truly unmatched. So, gather your ingredients and get ready to transform simple dough into edible works of art. These shamrock cookies are sure to become a cherished tradition in your holiday baking repertoire.
Essential Ingredients for Perfect Shamrock Cookies
Achieving the perfect texture and flavor for your shamrock cookies starts with selecting the right ingredients. Each component plays a crucial role in ensuring your cookies are not only delicious but also hold their festive shape beautifully and boast a vibrant, appealing frosting.

For the Irresistible Sugar Cookies
- All-Purpose Flour: The foundation of our cookies. For best results, avoid packing the flour into your measuring cup. Instead, spoon it lightly into the cup and then level it off. This prevents adding too much flour, which can lead to dry, dense cookies.
- Salted Butter: Ensure your butter is softened to room temperature. This is key for creaming it smoothly with the sugar, creating a light and airy base for your dough. If you only have unsalted butter, simply add an extra pinch of salt to the recipe.
- Granulated Sugar: Provides sweetness and contributes to the cookie’s delicate texture.
- Vanilla Extract: Pure vanilla extract is highly recommended as it imparts the richest, most authentic flavor to your cookies. Avoid imitation vanilla for the best taste.
- Large Eggs: Like butter, eggs should be at room temperature. This allows them to emulsify better with the other ingredients, resulting in a more uniform and evenly baked cookie.
- Baking Powder: Our leavening agent. It gives the cookies a slight lift and contributes to their soft texture.
- Salt: Essential for balancing the sweetness and enhancing all the other flavors in the cookie dough.
For the Vibrant Green Frosting
- Powdered Sugar: Also known as confectioners’ sugar, this is the base of our frosting. Sifting it is a non-negotiable step to ensure a super smooth, lump-free frosting with the perfect consistency for piping and spreading.
- Milk: Whole milk is preferred for a richer frosting, but reduced-fat milk can also be used. Add it slowly, a tablespoon at a time, to achieve your desired pipeable consistency.
- Light Corn Syrup: This secret ingredient adds a lovely sheen to your frosting and helps it set beautifully, giving it that professional, slightly crisp crust without becoming brittle.
- Vanilla Extract: Just a touch of vanilla in the frosting enhances its flavor, complementing the cookies perfectly.
- Green Gel Food Coloring: Gel food coloring is superior to liquid drops for frosting because it delivers intense color without adding excess liquid, which could thin out your frosting. Start with a small amount and gradually add more until you achieve your desired shade of green.
- Green Sugar Sprinkles: While optional, these add a wonderful festive sparkle and a touch of texture, making your shamrock cookies truly pop.
Find the comprehensive, detailed list of all ingredients for this Shamrock Cookies Recipe, including exact measurements, in the recipe card at the bottom of the page.
Creative Variations to Elevate Your Shamrock Cookies
While the classic green-frosted shamrock cookie is undeniably charming, there are many ways to customize and enhance this recipe to suit your taste and creativity. Don’t be afraid to experiment and make these festive treats uniquely yours!
- Chocolate Dipped Elegance: For a sophisticated twist, skip the traditional green icing. Instead, melt some high-quality white or dark chocolate. Dip half of each baked shamrock cookie into the melted chocolate, allowing the excess to drip off. Before the chocolate sets, liberally sprinkle with green sugar sprinkles or finely chopped pistachios for a contrasting texture and color. This creates a beautiful and delicious treat.
- Rich Buttercream Frosting: If you prefer a richer, more decadent frosting, a smooth buttercream is an excellent alternative. Prepare a batch of your favorite buttercream (perhaps a Cinnamon Buttercream for an unexpected warm note, or a classic vanilla). Pipe it onto the cooled cookies using your favorite piping tips and then adorn with green sprinkles. Buttercream offers a different mouthfeel and can be flavored in countless ways.
- Flavor Boosters: Infuse your cookies with additional flavors beyond vanilla.
- Almond Extract: A few drops of almond extract in the cookie dough can add a delightful, nutty undertone that pairs wonderfully with the sweet frosting.
- Mint Extract: For a refreshing St. Patrick’s Day treat, add a touch of mint extract to your green frosting. Start with a very small amount, as mint can be quite potent, and adjust to taste. This will create a “mint chocolate chip” type flavor if you decide to add mini chocolate chips to the dough.
- Citrus Zest: Incorporate lemon or lime zest into the cookie dough for a bright, zesty flavor that cuts through the sweetness of the frosting.
- Colored Cookie Dough: For an extra pop of green, you can add a few drops of green gel food coloring directly into your cookie dough during the mixing process. This creates a uniformly green cookie base, even before frosting, enhancing the festive theme.
- Different Sprinkles: Beyond green sugar sprinkles, consider using gold sprinkles for a “pot of gold” effect, rainbow sprinkles for a whimsical touch, or even edible glitter for extra sparkle.
- Royal Icing Details: For advanced decorators, royal icing can be used to create intricate details on your shamrocks, such as veins on the leaves or a delicate border, giving your cookies an even more refined look.
Step-by-Step Guide to Baking and Decorating
Baking perfect shamrock cookies is an enjoyable process, and by following these detailed steps, you’ll create a batch of festive treats that are as delightful to look at as they are to eat. Remember, precision and patience are your best friends in baking!
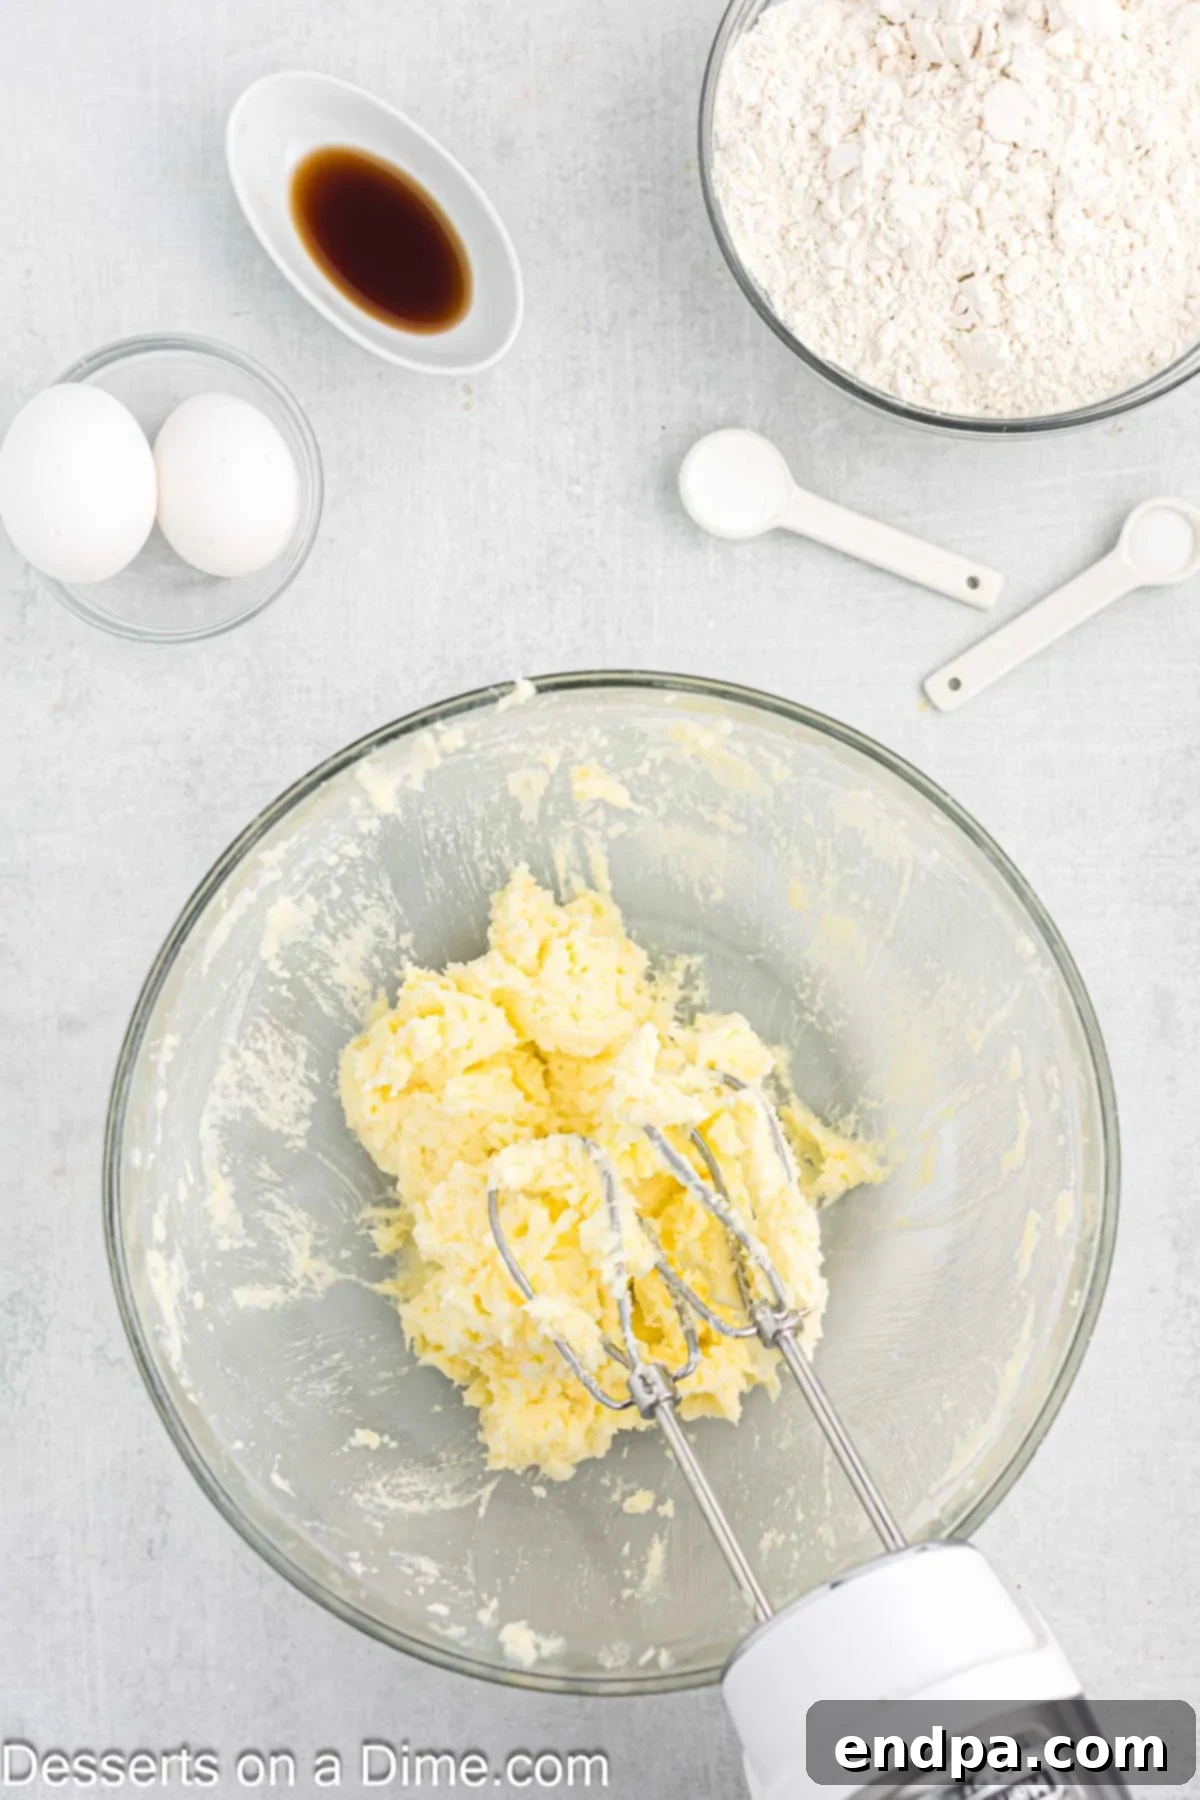
Step 1: Cream Butter and Sugar. Begin by preheating your oven to 350°F (175°C). In a large mixing bowl, preferably using a stand mixer fitted with a paddle attachment, cream together the softened butter and granulated sugar. Mix on medium speed until the mixture is light, fluffy, and smooth, ensuring no grainy texture remains. This step is crucial for incorporating air and achieving a tender cookie.

Step 2: Add Wet Ingredients. Next, incorporate the room-temperature eggs, one at a time, mixing well after each addition until fully combined. Then, stir in the pure vanilla extract. Continue to mix until all the wet ingredients are thoroughly integrated and the mixture is cohesive.
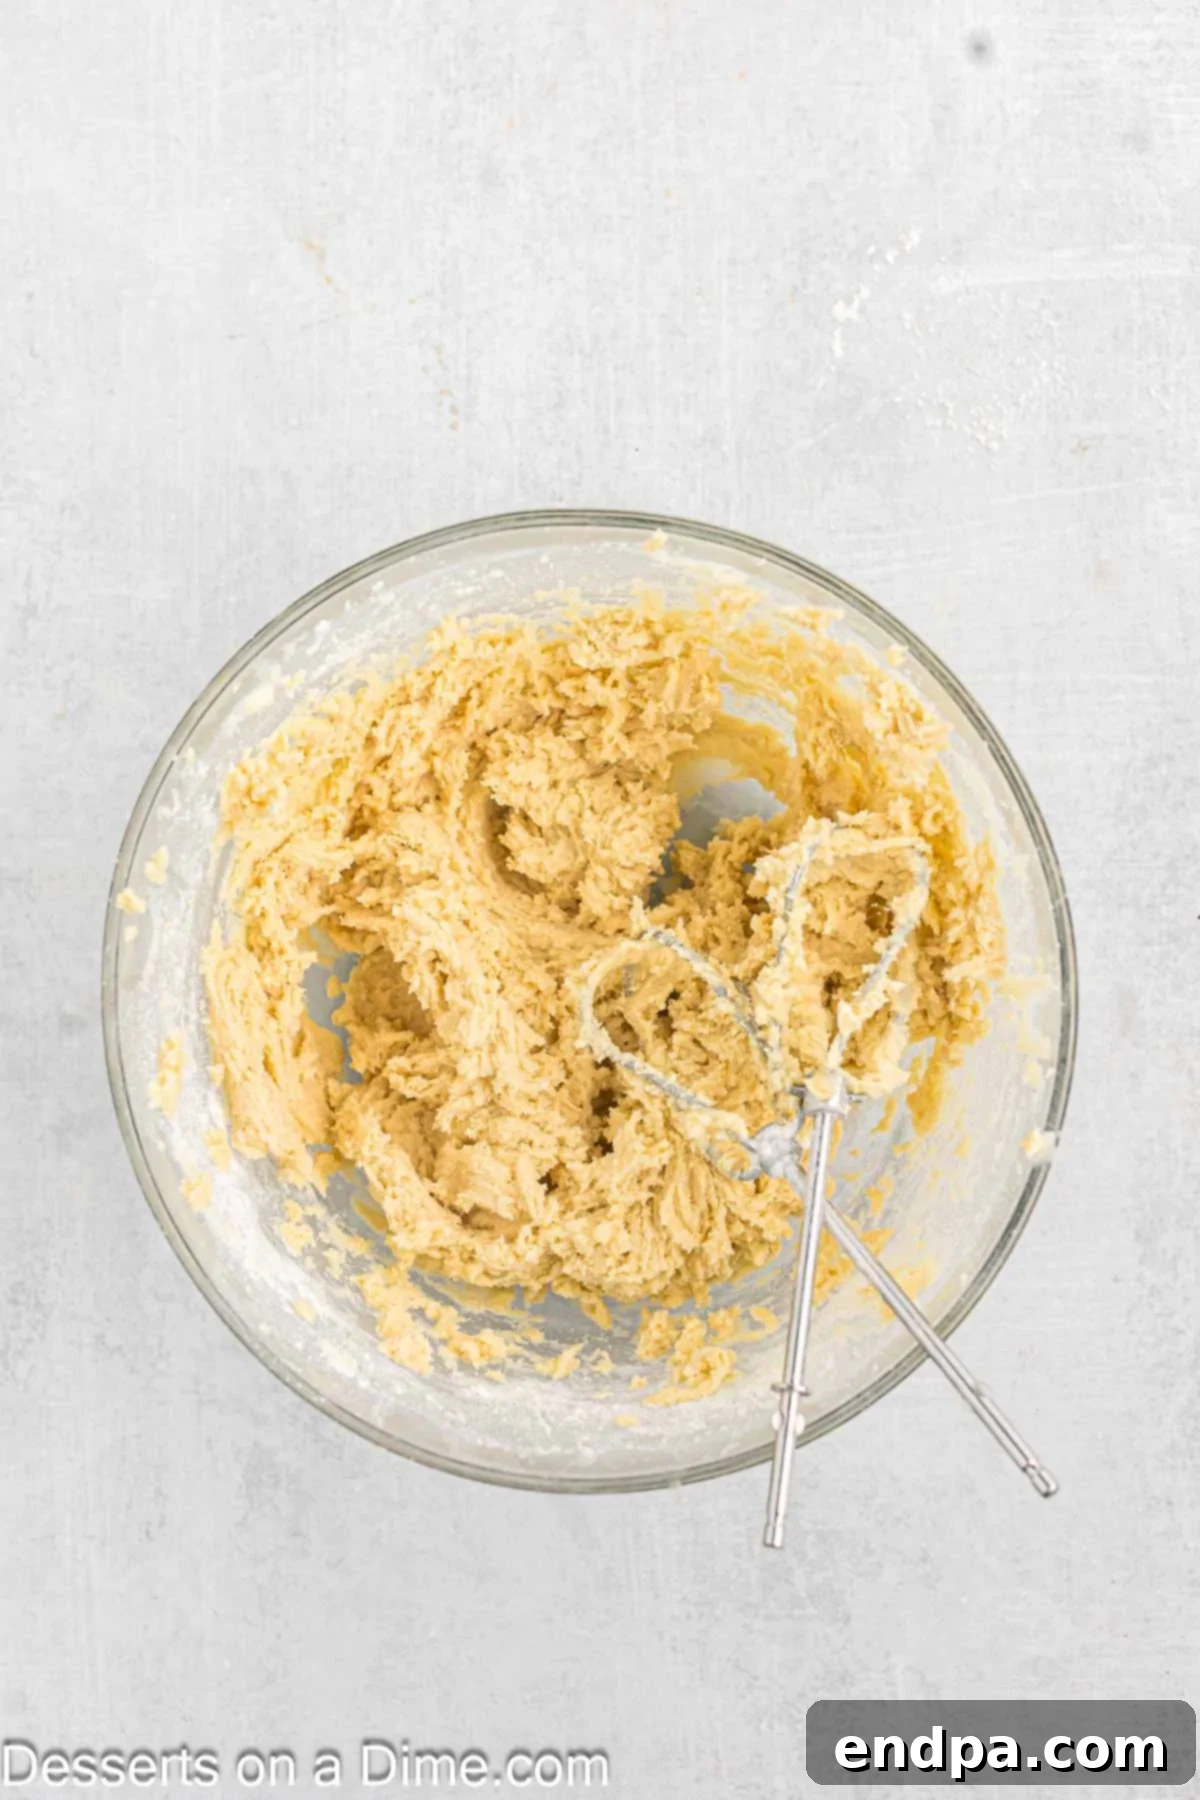
Step 3: Combine Dry and Wet Ingredients. In a separate large bowl, sift together the all-purpose flour, baking powder, and salt. This step ensures an even distribution of leavening and prevents lumps. Gradually add the sifted dry ingredients to the wet mixture, mixing on low speed until just combined. Be careful not to overmix, as this can develop the gluten too much, leading to tough cookies.
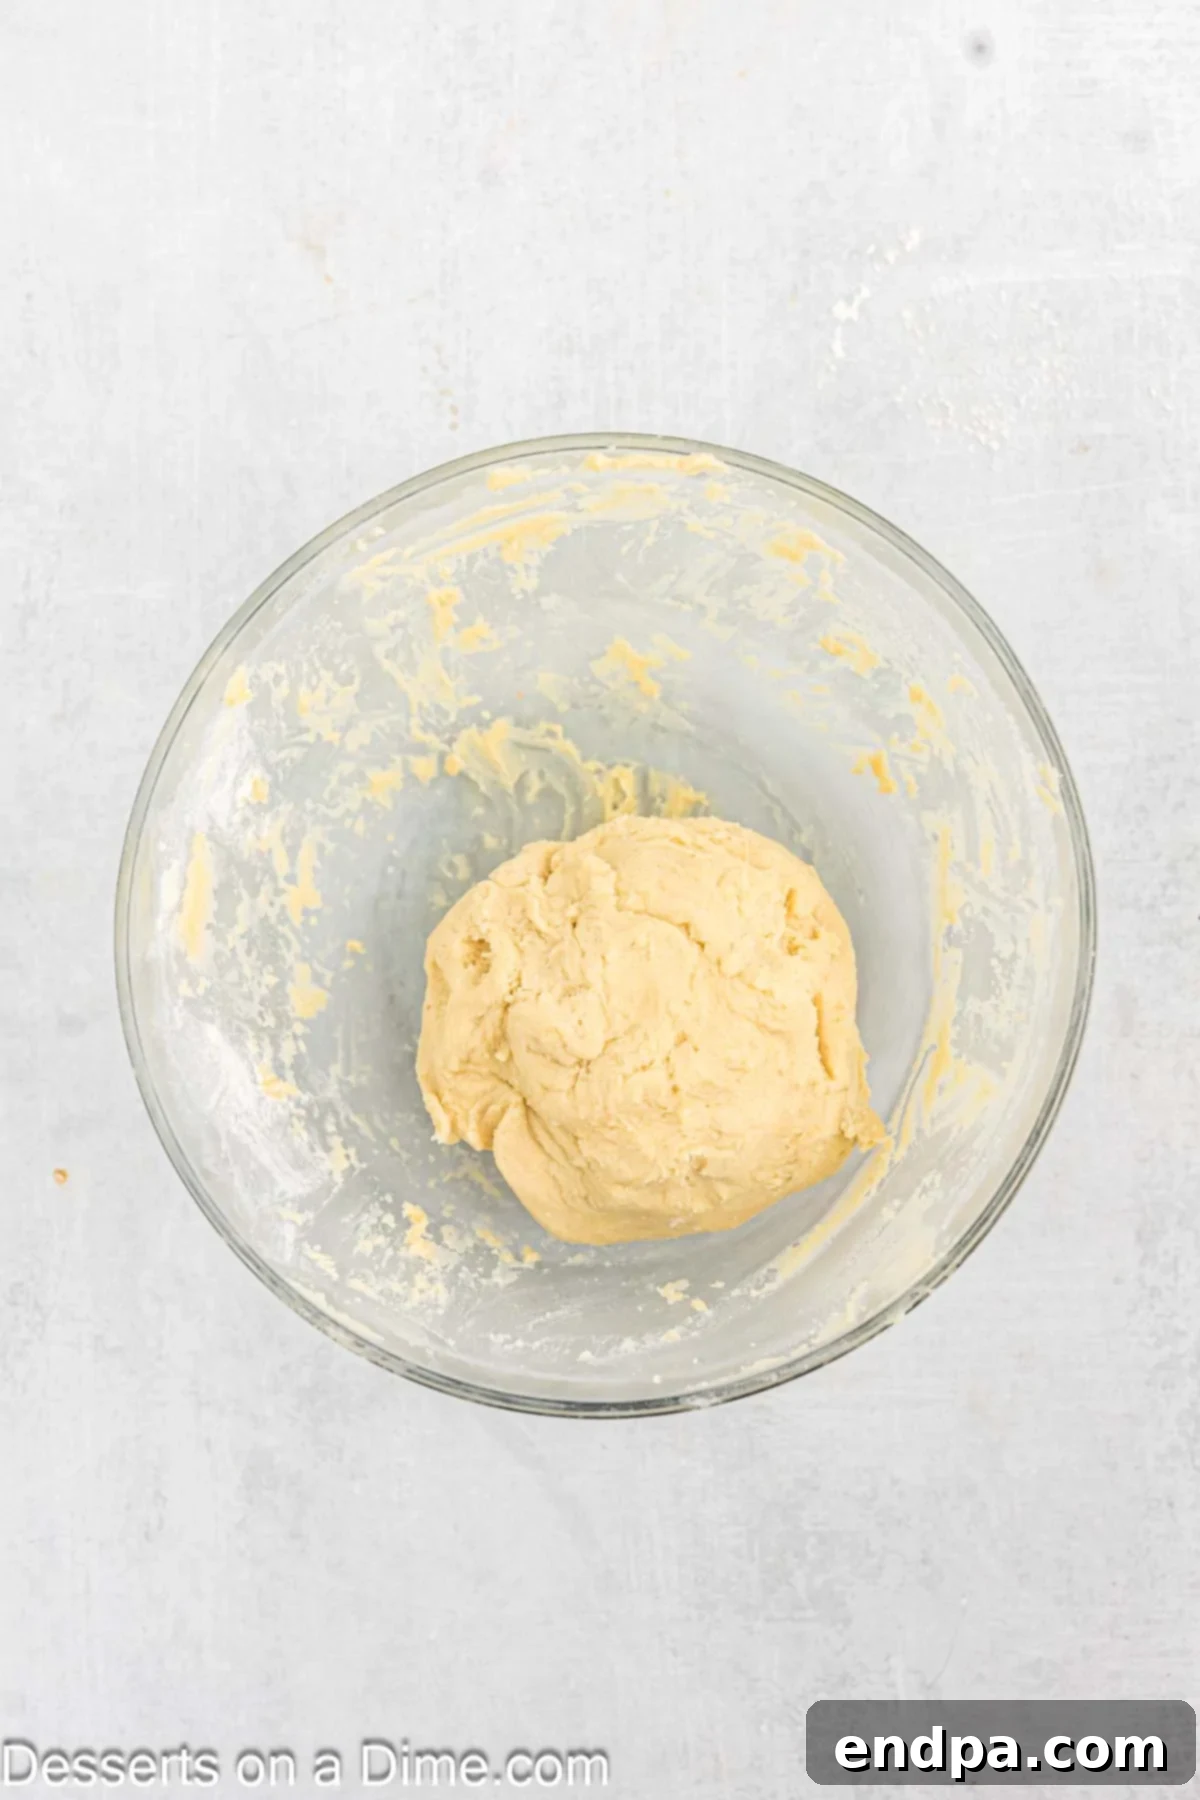
Step 4: Chill the Dough. Gently form the sugar cookie dough into a ball. Wrap it completely in plastic wrap, ensuring it’s airtight. Transfer the wrapped dough to the refrigerator and chill for a minimum of 6 hours, or ideally, overnight. This chilling period is vital as it allows the butter to firm up, preventing the cookies from spreading too much during baking, and deepens the flavors. Once chilled, remove the dough from the refrigerator and let it sit at room temperature for about 10-15 minutes to soften slightly, making it easier to roll out.
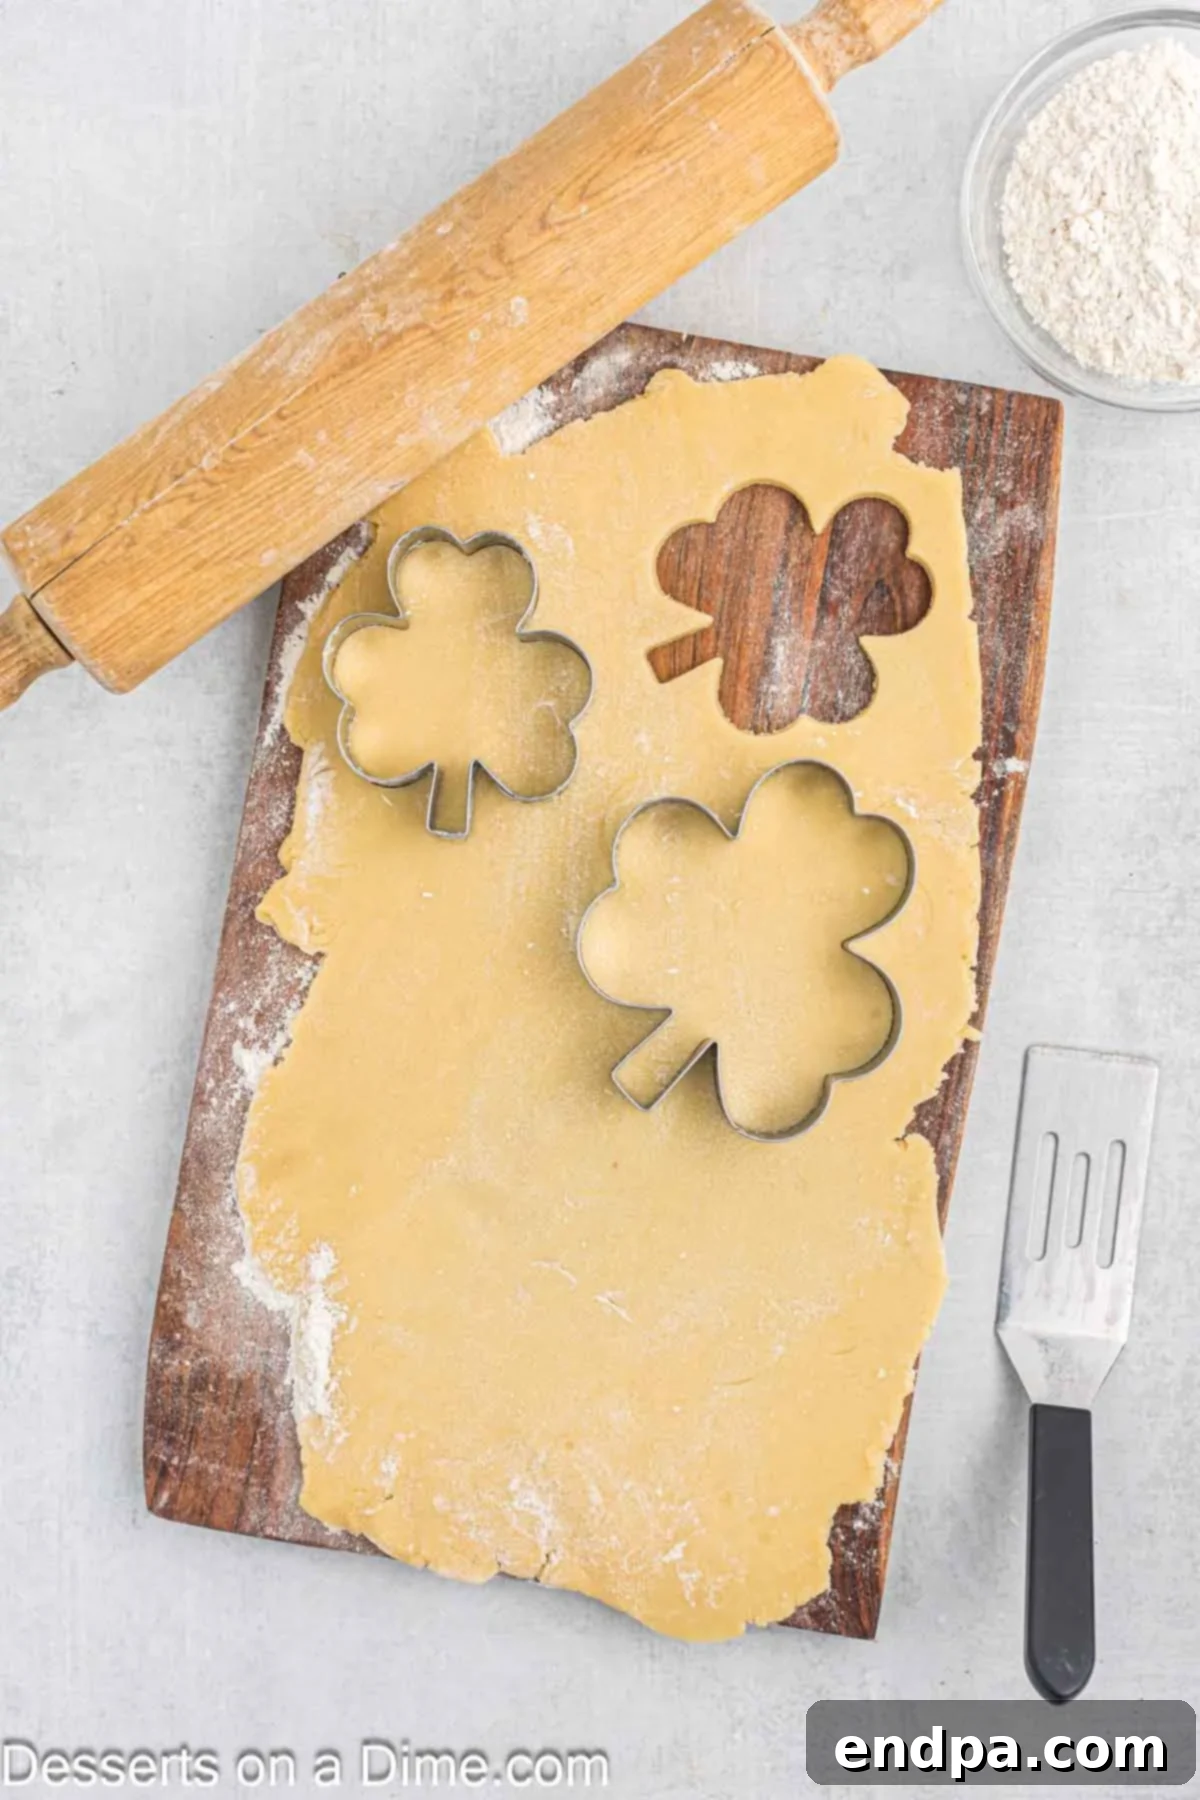
Step 5: Roll and Cut Cookies. Lightly flour your work surface (a wooden cutting board works well) and your rolling pin. If the dough is still a bit sticky, work a little flour into it. Roll the dough to an even thickness, about ¼ inch. Using your shamrock-shaped cookie cutter, begin cutting out your cookies. Try to place your cuts close together to minimize scraps and re-rolling.

Step 6: Bake the Cookies. Line a baking sheet with parchment paper to prevent sticking and ensure even baking. Carefully transfer the cut shamrock cookies to the prepared baking sheet, leaving about an inch between each. Bake for 8-10 minutes in the preheated oven, or until the edges are lightly golden brown and the centers are just set. Baking time may vary depending on your oven and cookie thickness, so keep a close eye on them.
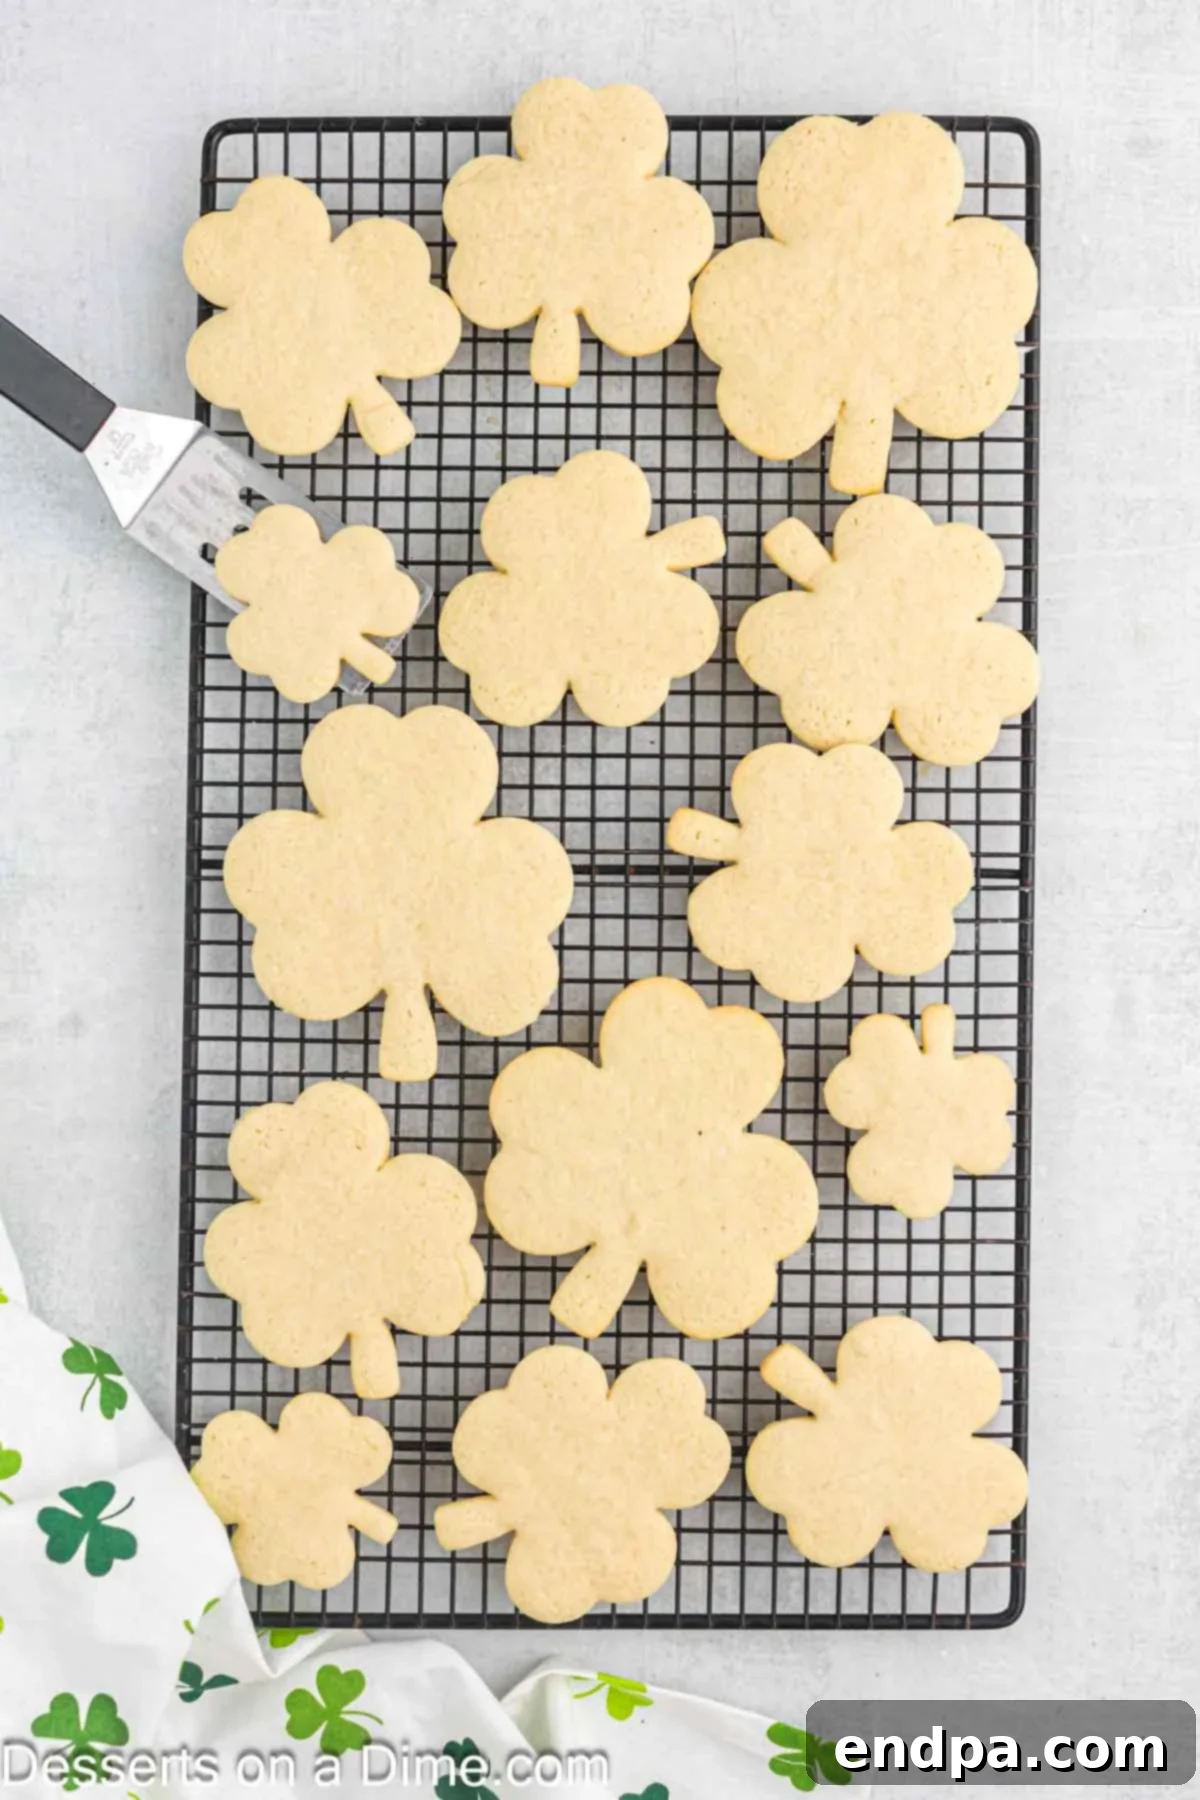
Step 7: Cool Completely. Once baked, allow the cookies to rest on the baking sheet for about 5 minutes. This helps them firm up before you move them. Then, carefully transfer them to wire racks to cool completely. It’s essential that the cookies are fully cooled before frosting; otherwise, the frosting will melt and slide off.
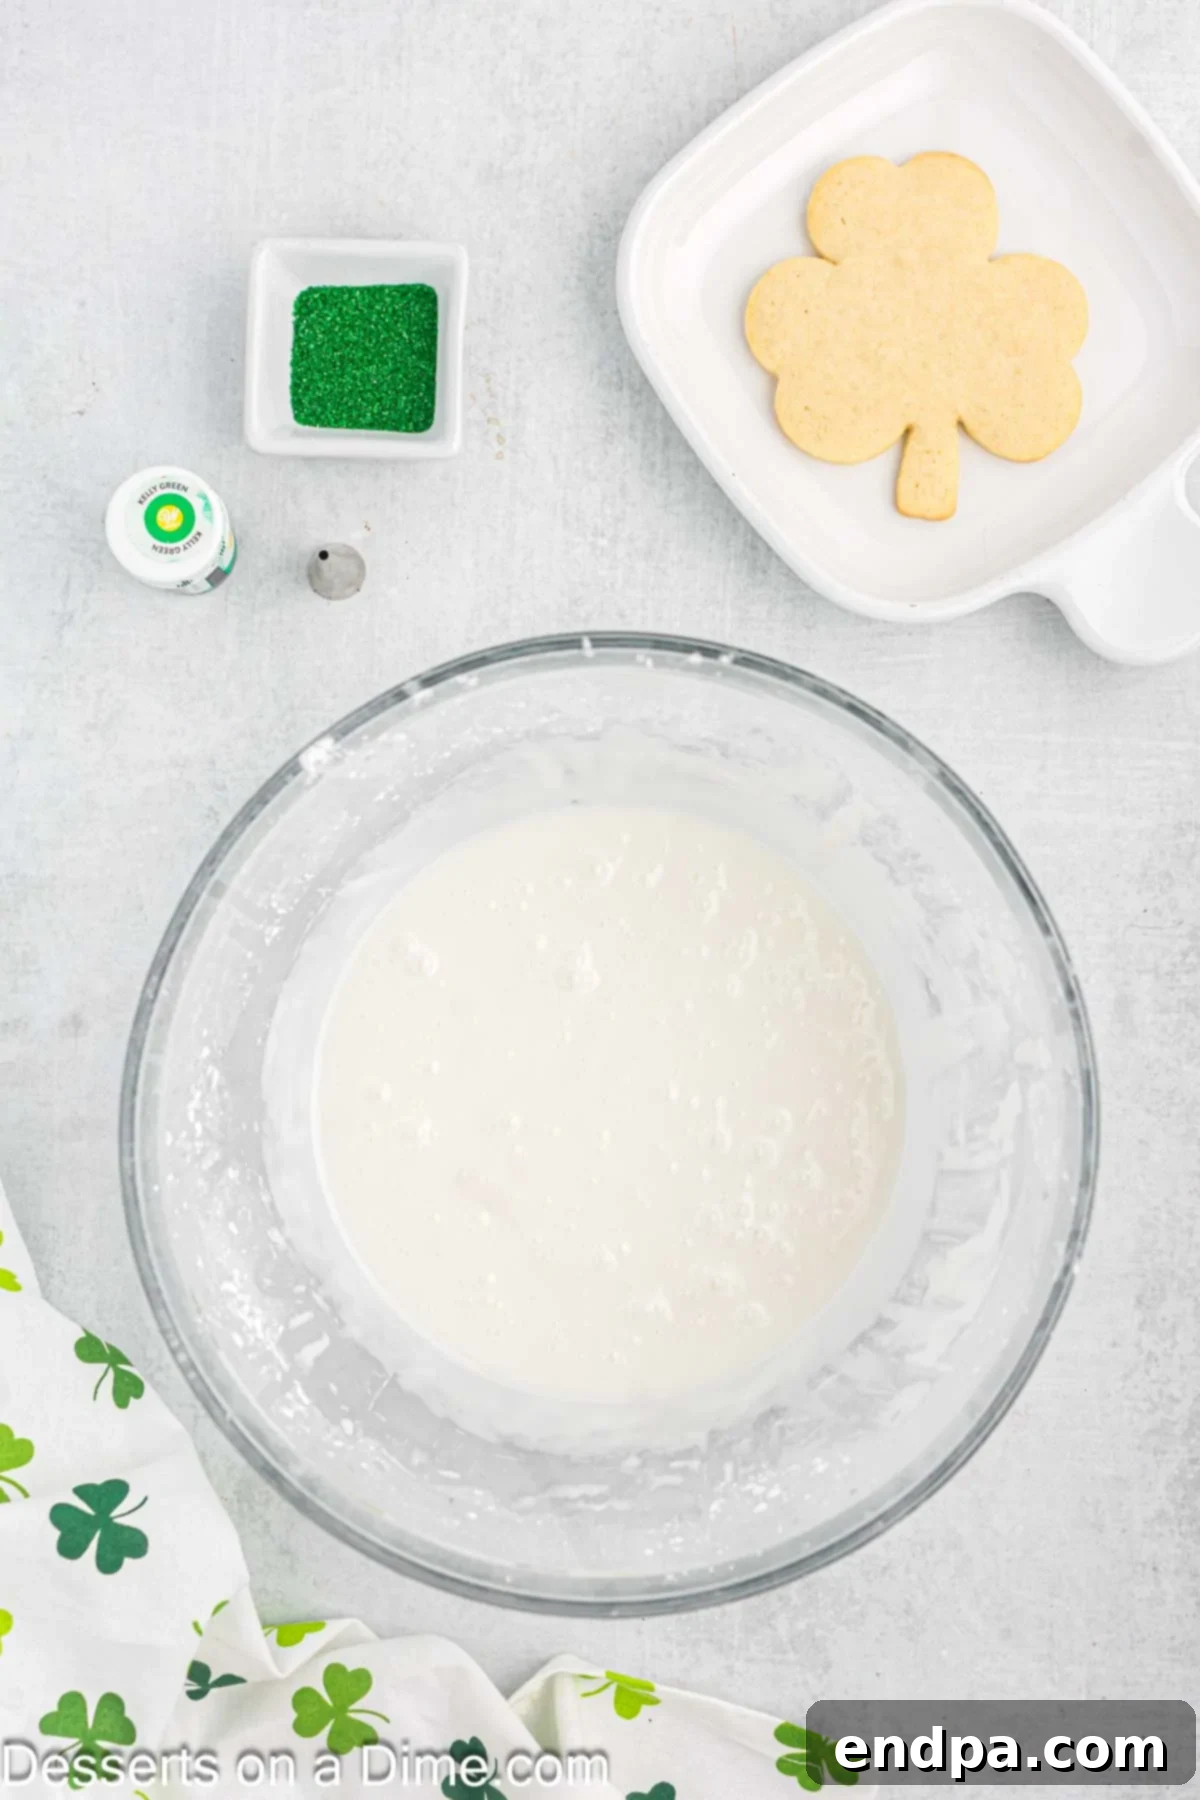
Step 8: Prepare the Frosting. While your cookies are cooling, it’s time to make the vibrant green frosting. In a mixing bowl, combine the sifted powdered sugar, milk (start with 3 tablespoons), light corn syrup, and vanilla extract. Using an electric mixer (a stand mixer works wonders here), beat on medium speed for about 4 minutes. Gradually add the remaining milk, one tablespoon at a time, until you achieve a smooth, pipeable consistency that holds its shape. You want it thick enough to outline, but thin enough to flood.
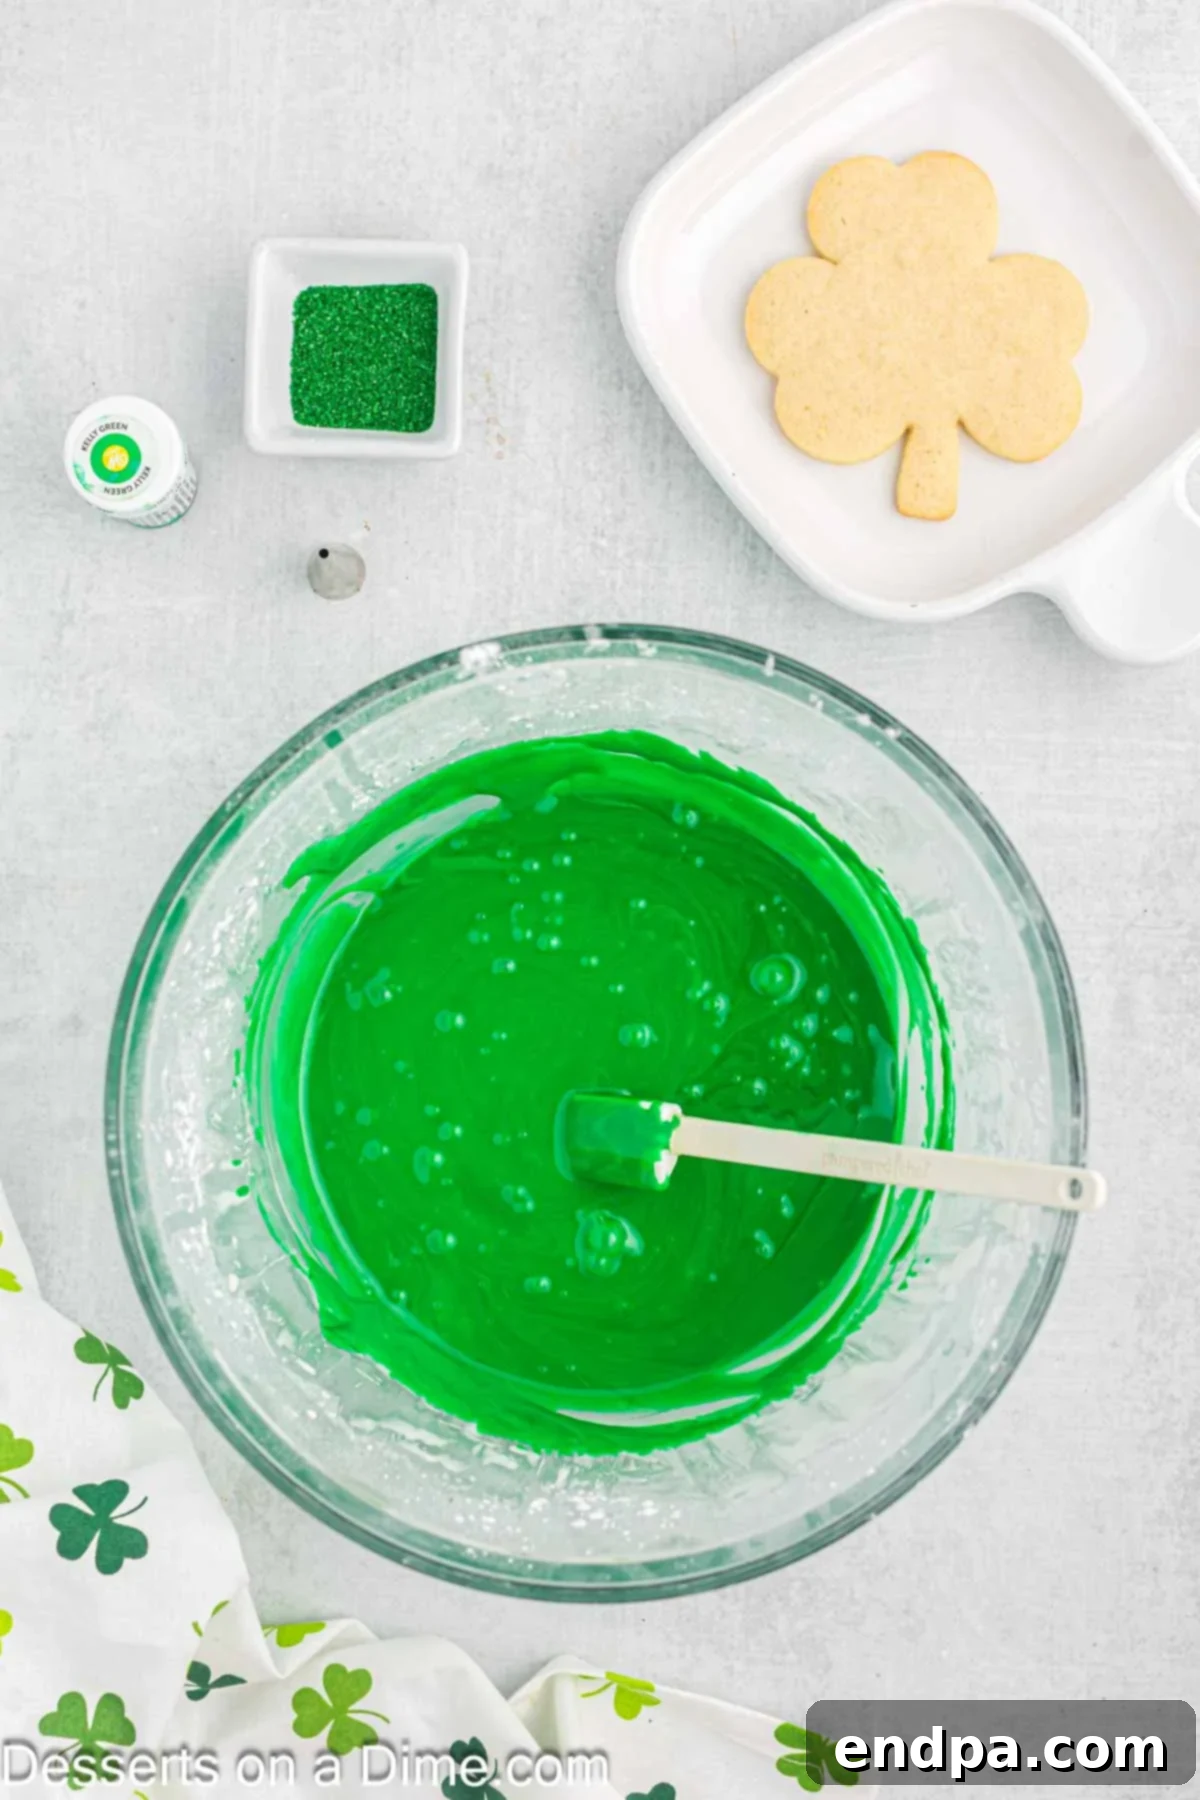
Step 9: Color the Frosting. Now for the fun part – adding color! Add a few drops of green gel food coloring to the frosting. Stir well until the frosting transforms into a vibrant, uniform green color. Add more coloring if you desire a deeper shade. Remember, gel coloring is potent, so add it gradually.

Step 10: Frost the Cookies. Transfer the green frosting to a piping bag fitted with a small round tip, such as Wilton tip #5. This tip is excellent for both outlining and flooding. Start by carefully outlining the entire edge of each shamrock cookie. Once the outline is complete, fill in the center of the cookie with frosting. You can use a small spoon or a clean toothpick to gently spread the frosting to the edges, ensuring a smooth, even surface.
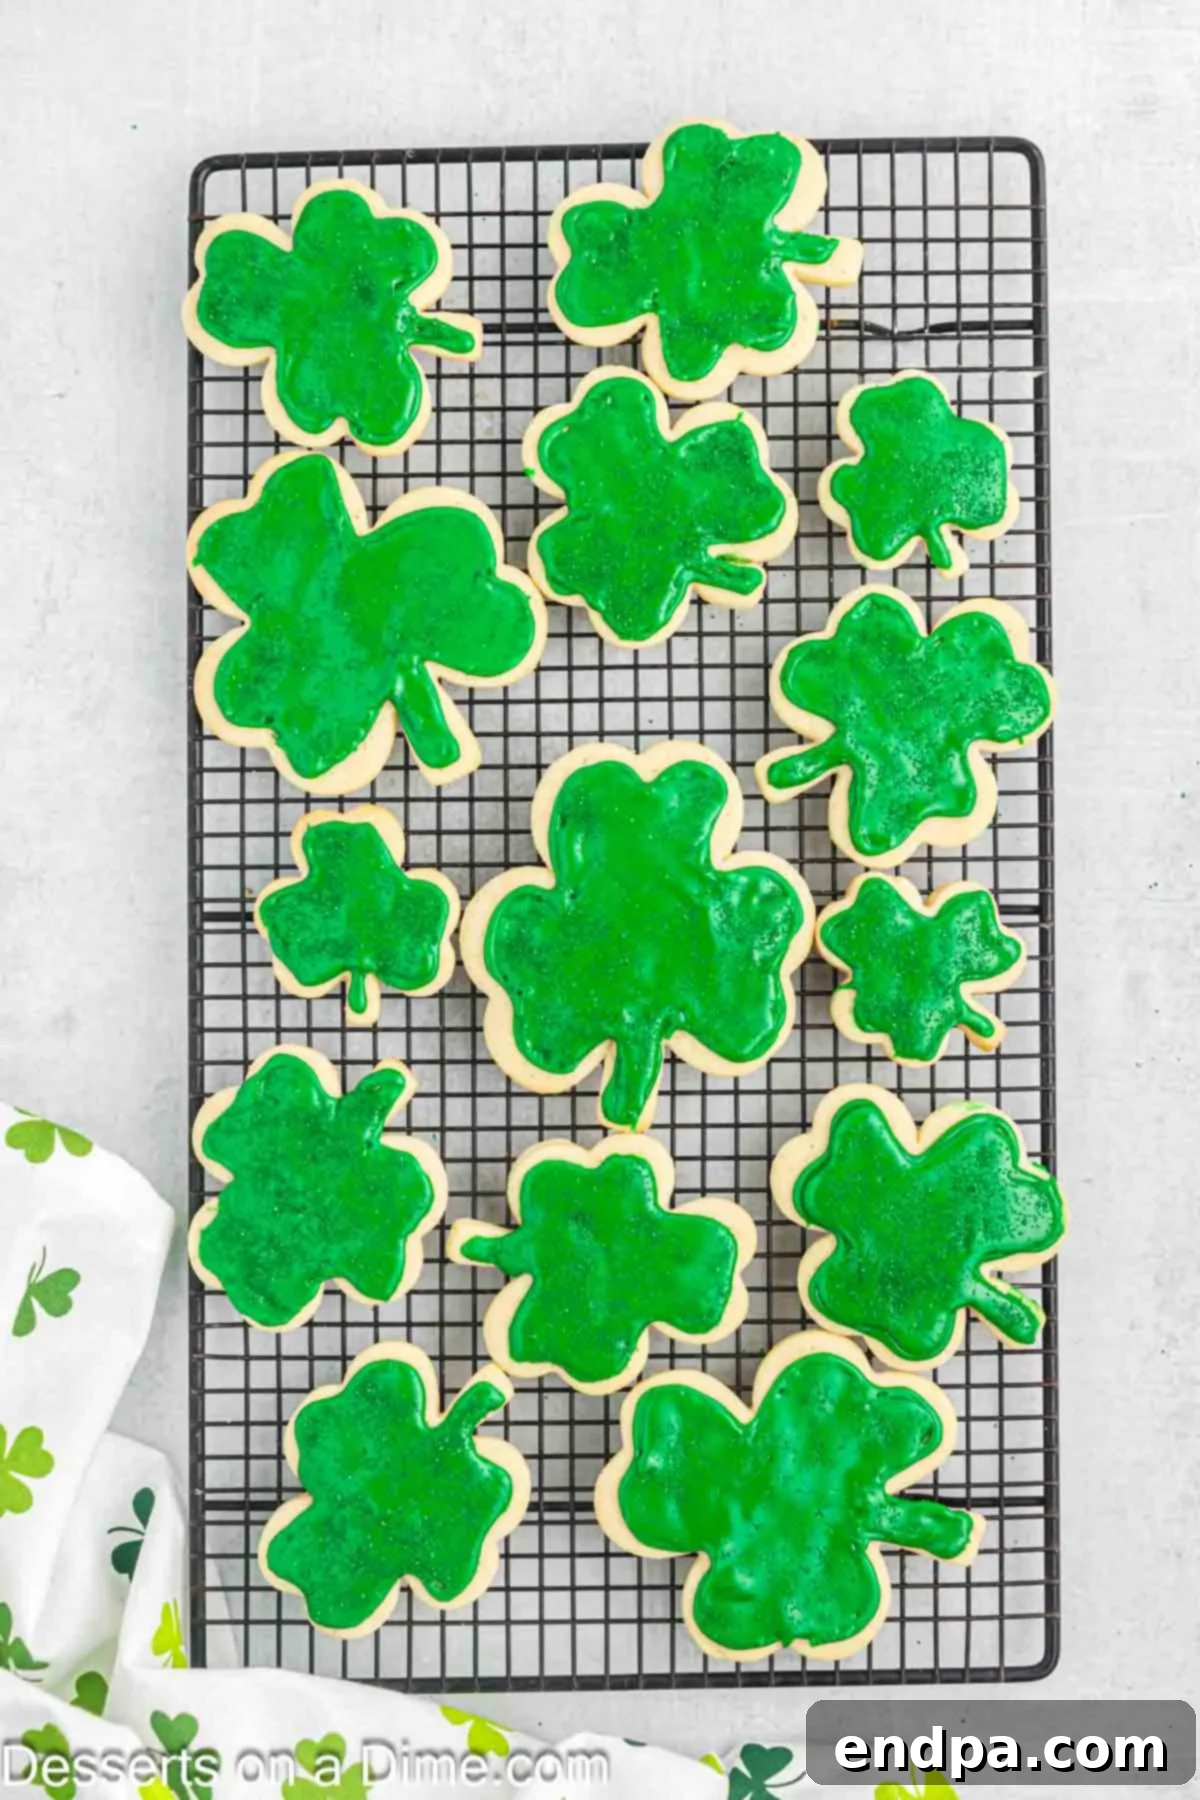
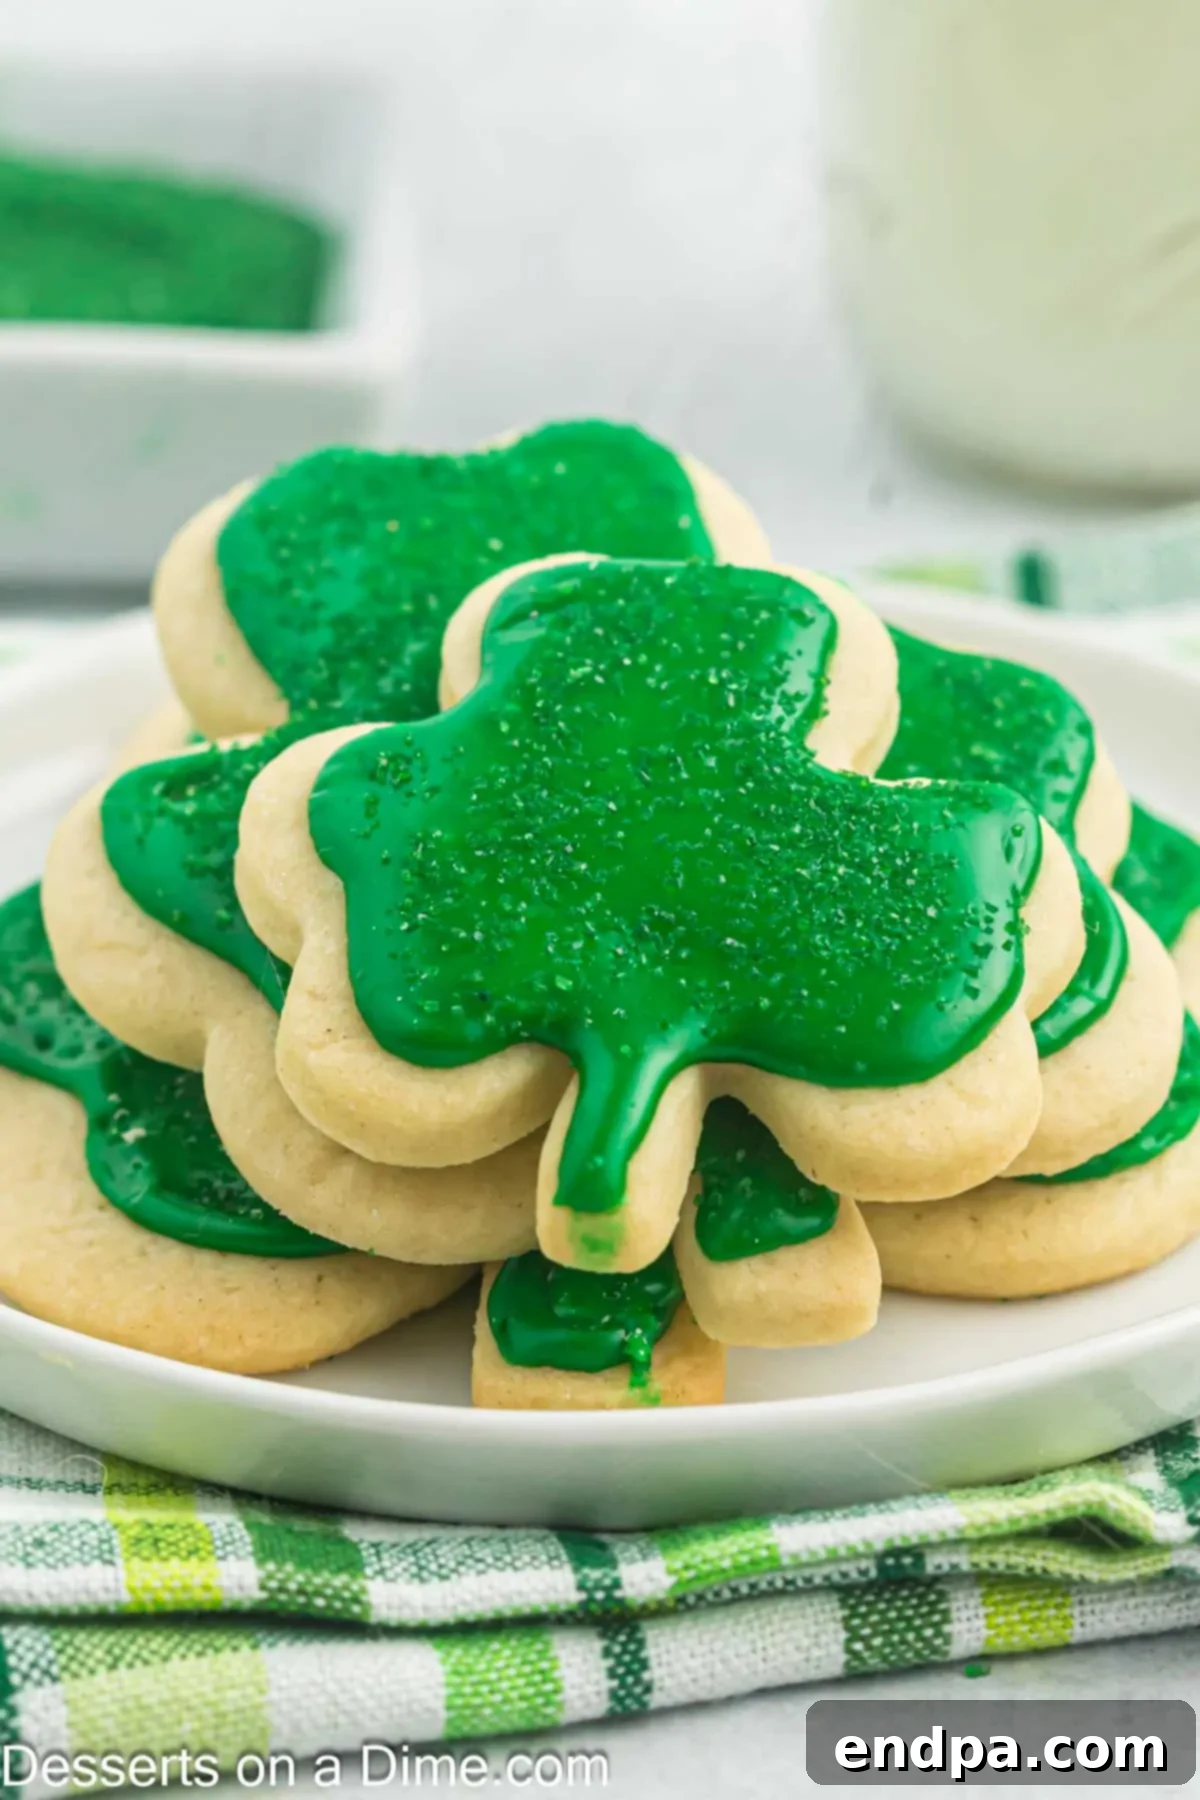
Step 11: Add Sprinkles and Set. Immediately after frosting each cookie (while the frosting is still wet), generously sprinkle with green sugar sprinkles. This allows the sprinkles to adhere perfectly. Once all cookies are frosted and sprinkled, arrange them on a wire rack or a baking sheet lined with parchment paper. Allow the frosting to harden completely at room temperature, which can take several hours depending on humidity. This ensures the frosting sets beautifully and won’t smudge when handled.
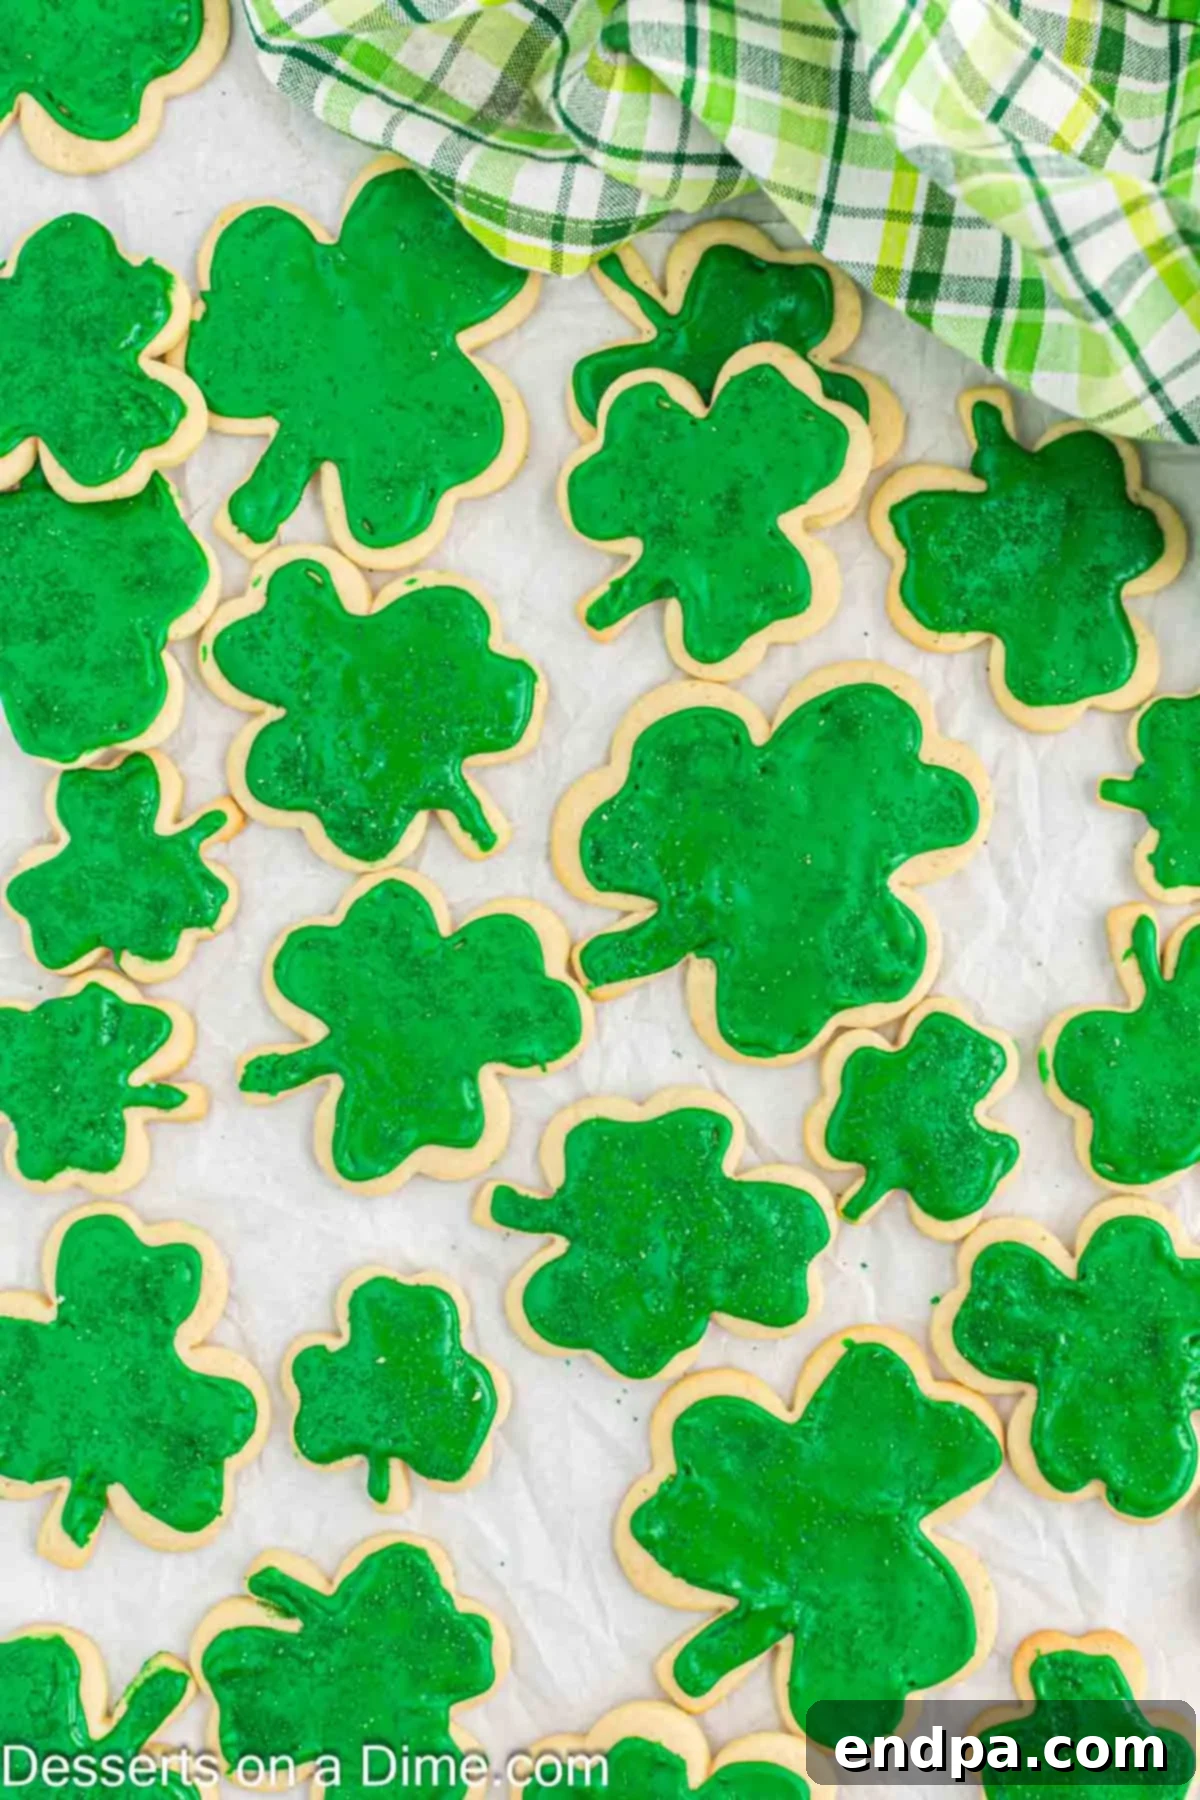
Step 12: Serve and Enjoy. Once the frosting is fully set and firm to the touch, your beautiful shamrock cookies are ready to be served! Arrange them on a festive platter and watch them disappear. These cookies are perfect for sharing the luck of the Irish with everyone you know.
Storage and Make-Ahead Tips
Proper storage is essential to keep your shamrock cookies fresh and delicious. These tips will help you enjoy your festive treats for days or even months to come, making them perfect for preparing in advance for St. Patrick’s Day.
- Room Temperature Storage: Once the frosting has completely hardened (which can take several hours or overnight), store the decorated cookies in an airtight container at room temperature. Layer them with parchment paper between each layer to prevent sticking and preserve the frosting. They will stay fresh and delightful for up to 10 days.
- Refrigeration: While not strictly necessary, if you live in a very warm or humid climate, you can store frosted cookies in the refrigerator for extended freshness. Ensure they are in an airtight container to prevent them from drying out or absorbing refrigerator odors. Let them come to room temperature for about 15-20 minutes before serving for the best texture and flavor.
- Freezing Baked & Frosted Cookies: Yes, you can freeze these cookies! After the frosting has completely set and hardened, arrange the cookies in a single layer on a baking sheet and flash freeze them for about an hour. Once solid, transfer them to a freezer-safe airtight container, placing parchment paper between layers. They can be frozen for up to 3 months. To thaw, simply remove them from the freezer and let them come to room temperature in their container to prevent condensation.
- Freezing Cookie Dough: This is a fantastic make-ahead option! Form the dough into a ball and wrap it tightly in several layers of plastic wrap, then place it inside a freezer bag. Freeze for up to 3 months. When ready to bake, thaw the dough in the refrigerator overnight, then let it sit at room temperature for 15-20 minutes before rolling and cutting as usual. You can also roll out the dough, cut out the shamrock shapes, and freeze the raw cutouts on a baking sheet. Once frozen solid, transfer them to a freezer bag. Bake from frozen, adding a minute or two to the baking time, or let them thaw slightly before baking. Learn more about How to Freeze Cookie Dough for detailed instructions.
Expert Baking and Decorating Pro Tips
Mastering these shamrock cookies is all about a few key techniques and clever shortcuts. These pro tips will help ensure your cookies turn out perfectly every time, from mixing the dough to the final decorative touches.
- Achieve Perfect Frosting Consistency: The key to beautiful piped frosting is its consistency. If your frosting is too thick, it will be hard to pipe smoothly; if it’s too thin, it will run off the cookies. When making the frosting, always add milk slowly, a tablespoon at a time, until you reach a consistency that holds a soft peak but is still easily pipeable. For a runnier “flood” consistency to fill in the outlines, add a tiny bit more milk until it spreads easily but doesn’t overflow.
- DIY Piping Bag: No piping bags on hand? No problem! A sturdy Ziploc bag makes an excellent substitute. Simply fill the bag with frosting, snip a tiny corner off the bottom, and you’re ready to pipe. You can even insert a piping tip into the corner before snipping for more precise control.
- Don’t Skip Chilling the Dough: This tip is crucial for sugar cookies, especially when using cookie cutters. Chilling the dough thoroughly (at least 6 hours, or ideally overnight) prevents the cookies from spreading too much in the oven, ensuring your shamrock shapes remain distinct and sharp. Cold dough also makes it much easier to handle and cut.
- Room Temperature Butter is Non-Negotiable: Softened butter creams beautifully with sugar, creating an airy, emulsified base for your dough. If your butter is too cold, it won’t mix properly, leading to a dense cookie. If it’s melted, it will make the dough greasy. Aim for butter that gives slightly when pressed but still holds its shape.
- Measure Flour Accurately: Over-measuring flour is a common baking mistake that can lead to dry, crumbly cookies. Always spoon flour into your measuring cup and level it off with a straight edge rather than scooping directly from the bag.
- Even Rolling for Even Baking: When rolling out your dough, strive for an even thickness (about ¼ inch). This ensures that all your cookies bake uniformly, preventing some from burning while others are still undercooked. Using rolling pin guides can be helpful.
- Immediate Sprinkling: To ensure your sprinkles adhere perfectly and create a vibrant finish, apply them immediately after frosting each cookie, while the frosting is still wet. If you wait too long, the frosting may begin to set, and the sprinkles won’t stick.
Frequently Asked Questions (FAQs)
Absolutely! You can freeze the baked and fully frosted cookies. Ensure the frosting has completely set and hardened before storing them. Arrange the cookies in a single layer on a baking sheet and flash freeze them for about an hour. Once solid, transfer them to a freezer-safe airtight container, placing parchment paper between layers to prevent sticking. They can be frozen for up to 3 months. To enjoy, simply remove them from the freezer and let them thaw at room temperature in their container for about 30-60 minutes.
Yes, freezing the cookie dough is a great way to prepare ahead! Form the dough into a disc or log, wrap it tightly in plastic wrap, and then place it in a freezer-safe bag. It can be frozen for up to 3 months. When you’re ready to bake, thaw the dough in the refrigerator overnight, then let it sit at room temperature for 15-20 minutes until it’s pliable enough to roll and cut. Alternatively, you can roll out the dough, cut the shamrock shapes, and freeze the raw cutouts on a baking sheet. Once solid, transfer them to a freezer bag and bake from frozen (adding a couple of minutes to the bake time) or let them thaw slightly first.
While you can use liquid food coloring, gel food coloring is highly recommended for this recipe. Liquid food coloring can add too much extra moisture to your frosting, potentially thinning it out and making it difficult to pipe or achieve a vibrant color without adding a lot of drops. Gel food coloring provides a much more concentrated pigment, allowing you to achieve a rich green hue with just a small amount, without affecting the frosting’s consistency.
Cookie spreading is a common issue with a few potential culprits. The most likely reason is insufficient chilling of the dough. Ensure you chill the dough for the recommended 6 hours or overnight. Other factors could be butter that was too soft or even slightly melted when mixed, or too much baking powder. Make sure your oven temperature is accurate as well; an oven that’s not hot enough can also contribute to spreading. If you’re still having trouble, try chilling the cut-out cookies on the baking sheet for 10-15 minutes before baking.
For uniformly sized cookies, ensure your dough is rolled to an even thickness across the entire surface. Using a rolling pin with adjustable guides can be very helpful for this. Also, when cutting with your shamrock cutter, apply even pressure and try to use the same technique for each cookie. Consistent size ensures they bake evenly.
More St. Patrick’s Day Dessert Ideas
If you’re planning a grand St. Patrick’s Day celebration or simply want more festive treats, be sure to explore these other fantastic recipes that capture the spirit of the holiday:
- St. Patrick’s Day Cake Pops
- St. Patrick’s Day Rice Krispie Treats
- Rainbow Cupcakes
- St. Patrick’s Day Leprechaun Cookies Recipe
We hope this detailed guide helps you create the most enchanting and delicious Shamrock Cookies for your St. Patrick’s Day festivities. These festive treats are sure to bring smiles and a touch of Irish luck to everyone who enjoys them. We’d love to hear about your baking adventures! Please come back and leave a comment and star rating once you’ve tried this recipe. Happy baking!
Shamrock Cookies
Ingredients
For the Cookies:
- 2 3/4 cups All Purpose Flour
- 1 cup Salted Butter softened
- 1 cup Granulated Sugar
- 2 teaspoon Vanilla Extract
- 2 Large Eggs
- 1 teaspoon Baking Powder
- 1/2 teaspoon Salt
For the Frosting:
- 3 cups Powdered Sugar sifted
- 3-4 Tablespoons Milk
- 2 Tablespoons Light Corn Syrup
- 1/2 teaspoon Vanilla Extract
- Green Gel Food Coloring
- Green Sugar Sprinkles optional
Instructions
For the Cookies:
- Cream the softened butter with the granulated sugar in a mixing bowl until the mixture is light, fluffy, and smooth, ensuring no grainy texture remains.
- Add the large eggs and vanilla extract. Mix until all ingredients are thoroughly combined.
- In a separate bowl, sift together the all-purpose flour, baking powder, and salt. Gradually add this dry mixture to the wet mixture, mixing until just combined and thoroughly blended without overmixing.
- Form the cookie dough into a cohesive ball. Wrap it completely in plastic wrap, ensuring it’s airtight.
- Place the wrapped dough in the refrigerator and chill for approximately 6 hours, or preferably overnight, until firm.
- Once thoroughly chilled and firm, remove the cookie dough from the refrigerator and let it sit at room temperature for about 10-15 minutes to soften slightly, making it easier to roll.
- Preheat your oven to 350 degrees Fahrenheit (175°C).
- Lightly flour your work surface and rolling pin. Roll out the dough to an even thickness of about ¼ inch. Use a shamrock-shaped cookie cutter to cut out your cookies on the lightly floured surface.
- Line a baking sheet with parchment paper to prevent sticking.
- Carefully transfer the cut shamrock cookies to the parchment-lined baking sheet using a metal spatula, leaving adequate space between them.
- Bake for 8-10 minutes, or until the edges of the cookies are lightly browned and the centers are just set.
- Allow the cookies to sit on the baking sheet for 5 minutes to firm up before carefully moving them to a wire rack to cool completely.
For the Frosting:
- In a mixing bowl, combine all frosting ingredients (except the green food coloring). Start with 3 tablespoons of milk. Using an electric mixer on medium speed, beat for 4 minutes. Gradually add the remaining milk, one tablespoon at a time, until the frosting reaches a smooth, pipeable consistency that holds its shape.
- Add the green gel food coloring and stir it in thoroughly until the frosting achieves a vibrant, uniform green color. Add more coloring if a deeper shade is desired.
- Transfer the prepared frosting to a piping bag fitted with a small round tip, such as Wilton tip #5.
- Pipe the frosting onto the cooled cookies. For best results, first outline the entire outside shape of each cookie, then fill in the remaining center area with frosting. Use a small spoon or toothpick to gently spread the frosting to the edges if needed.
- Immediately after frosting each cookie (while the frosting is still wet), top with green sugar sprinkles if desired.
- Allow the frosted cookies to sit undisturbed at room temperature for several hours (or overnight) until the frosting is completely hardened and set. Once set, the cookies are ready to serve and enjoy!
Nutrition Facts
Pin This Now to Remember It Later
Pin Recipe
