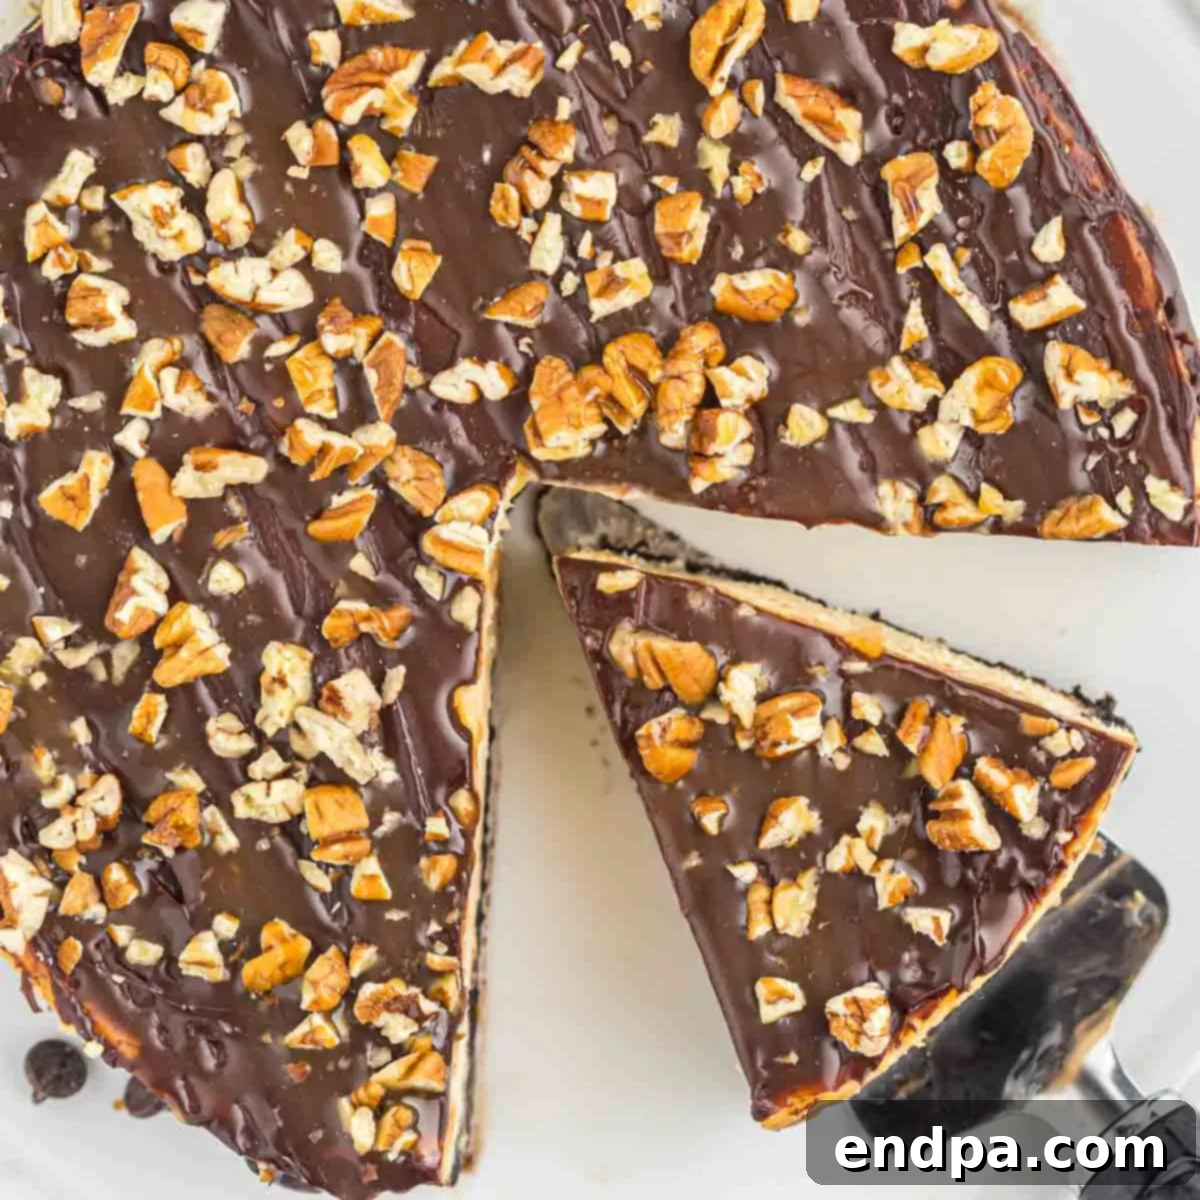
Indulgent Turtle Cheesecake: The Ultimate Guide to a Decadent Dessert
Prepare to be captivated by the sheer indulgence of a homemade Turtle Cheesecake. This exquisite dessert features a luxuriously rich, creamy filling, generously crowned with crunchy pecans, luscious caramel, and decadent chocolate. Each slice rests upon a perfectly crumbly Oreo cookie crust, creating a symphony of textures and flavors that will tantalize your taste buds and leave a lasting impression.
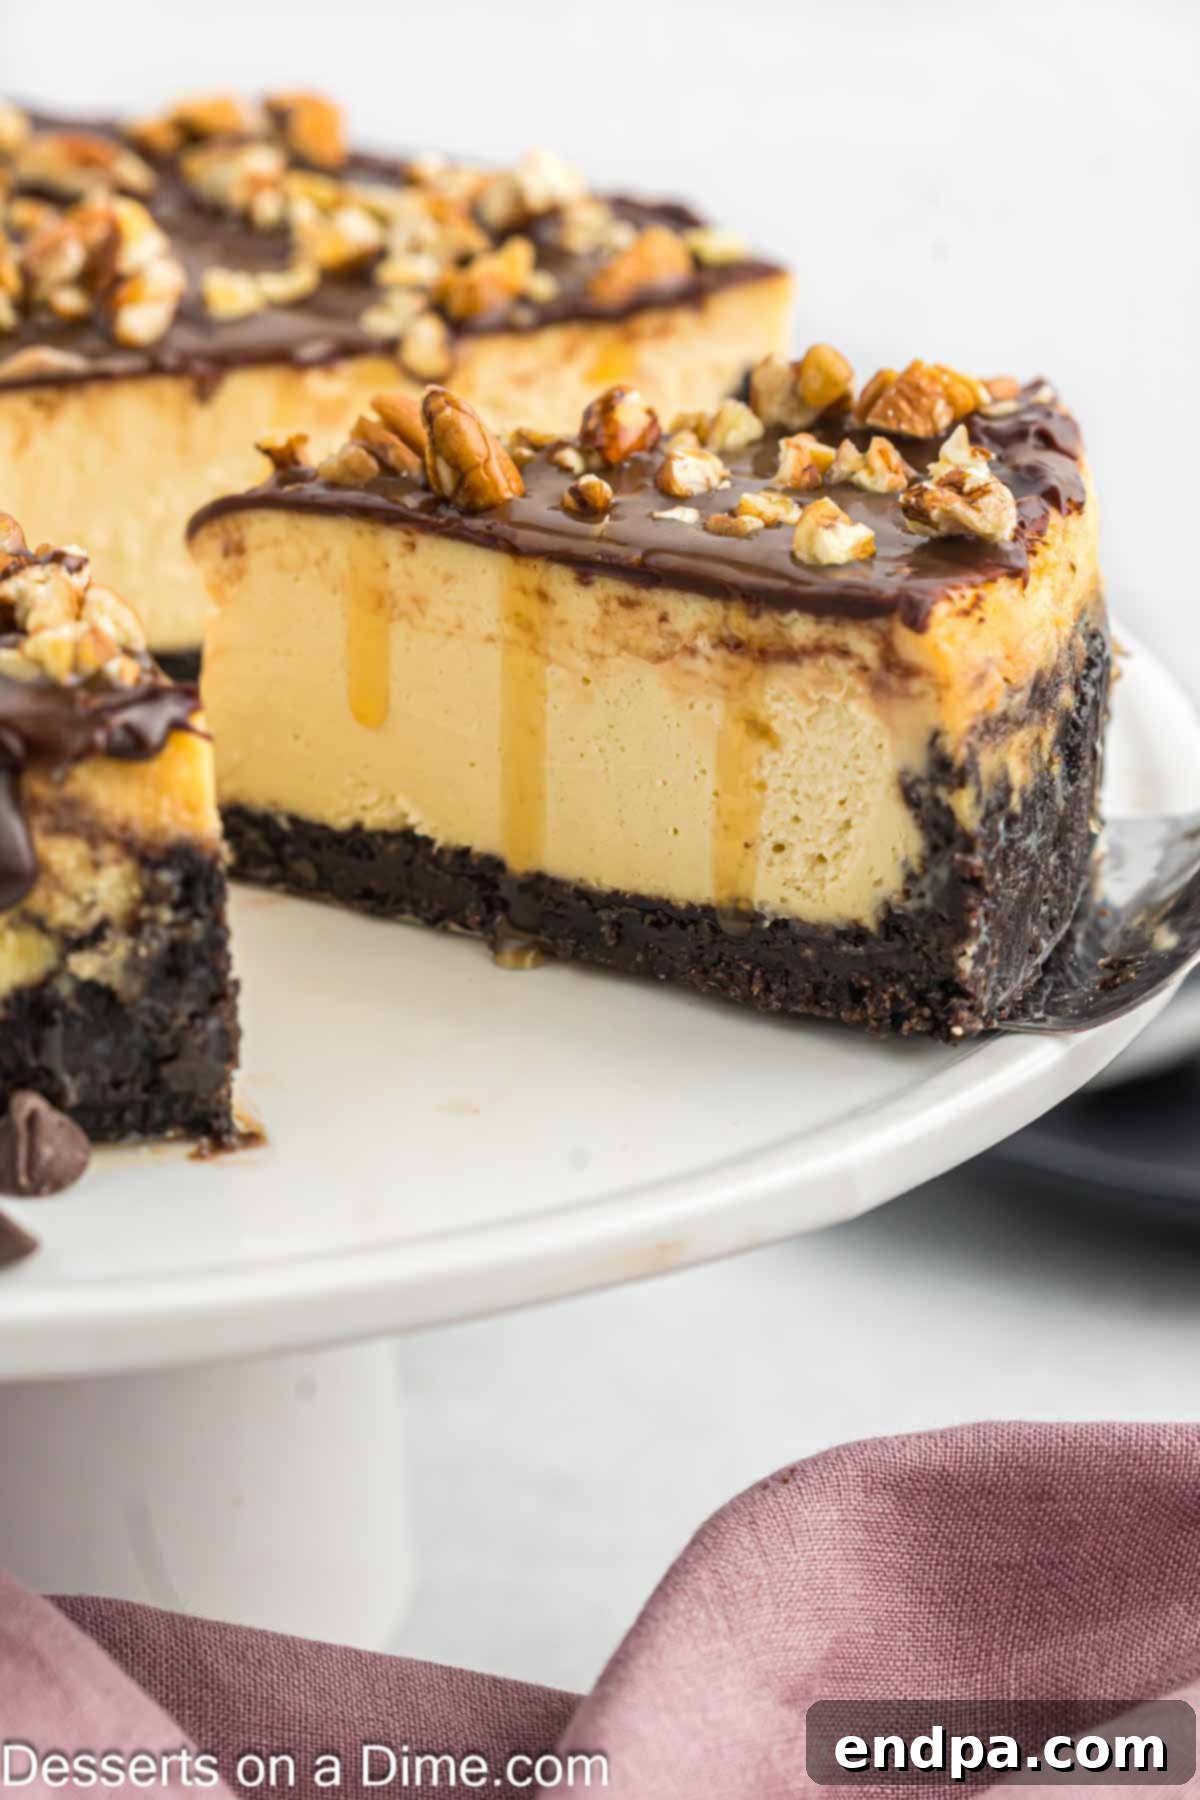
If the classic combination of sweet, salty, and nutty found in Chocolate Turtles holds a special place in your heart, then this Turtle Cheesecake recipe is destined to become a new family favorite. My household adores cheesecake, from the charming Mini Oreo Cheesecake and the comforting Butter Pecan Cheesecake to the elegantly sophisticated Cheesecake Brulee. While life can be busy, these recipes are designed to be straightforward and accessible, ensuring you can whip up a show-stopping dessert without dedicating an entire day to the kitchen.
Crafting a homemade cheesecake might seem daunting, but with clear instructions and a few insider tips, you’ll achieve bakery-quality results right in your own kitchen. This guide will walk you through every step, ensuring your Turtle Cheesecake is not only visually stunning but incredibly delicious. Get ready to impress your guests, or simply treat yourself to a slice of pure dessert heaven.
Table of contents
- Why We Adore This Turtle Cheesecake Recipe
- Essential Ingredients for Your Turtle Cheesecake
- Creative Variations & Smart Substitutions
- Step-by-Step Guide to Baking the Perfect Turtle Cheesecake
- Proper Storage for Lasting Freshness
- Expert Tips for Cheesecake Perfection
- Frequently Asked Questions
- More Irresistible Cheesecake Recipes
Why We Adore This Turtle Cheesecake Recipe
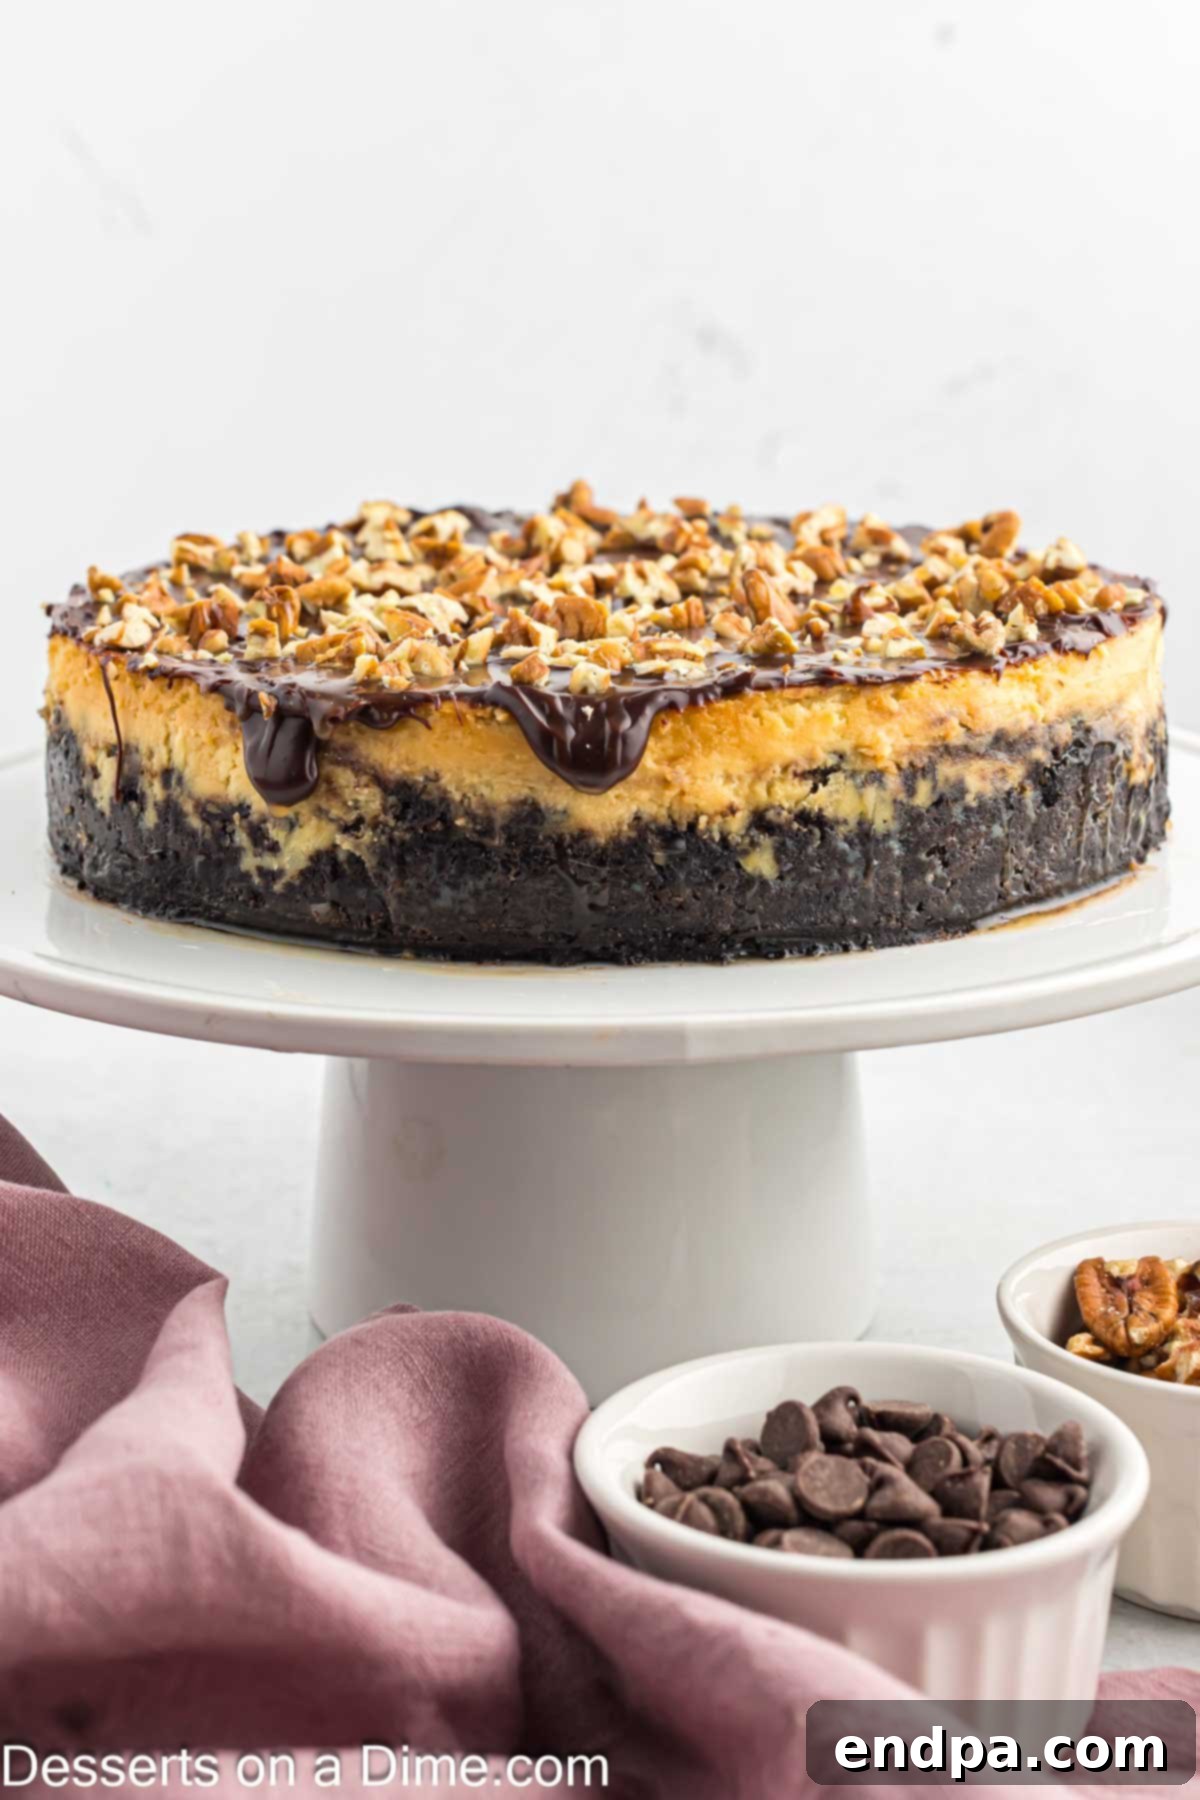
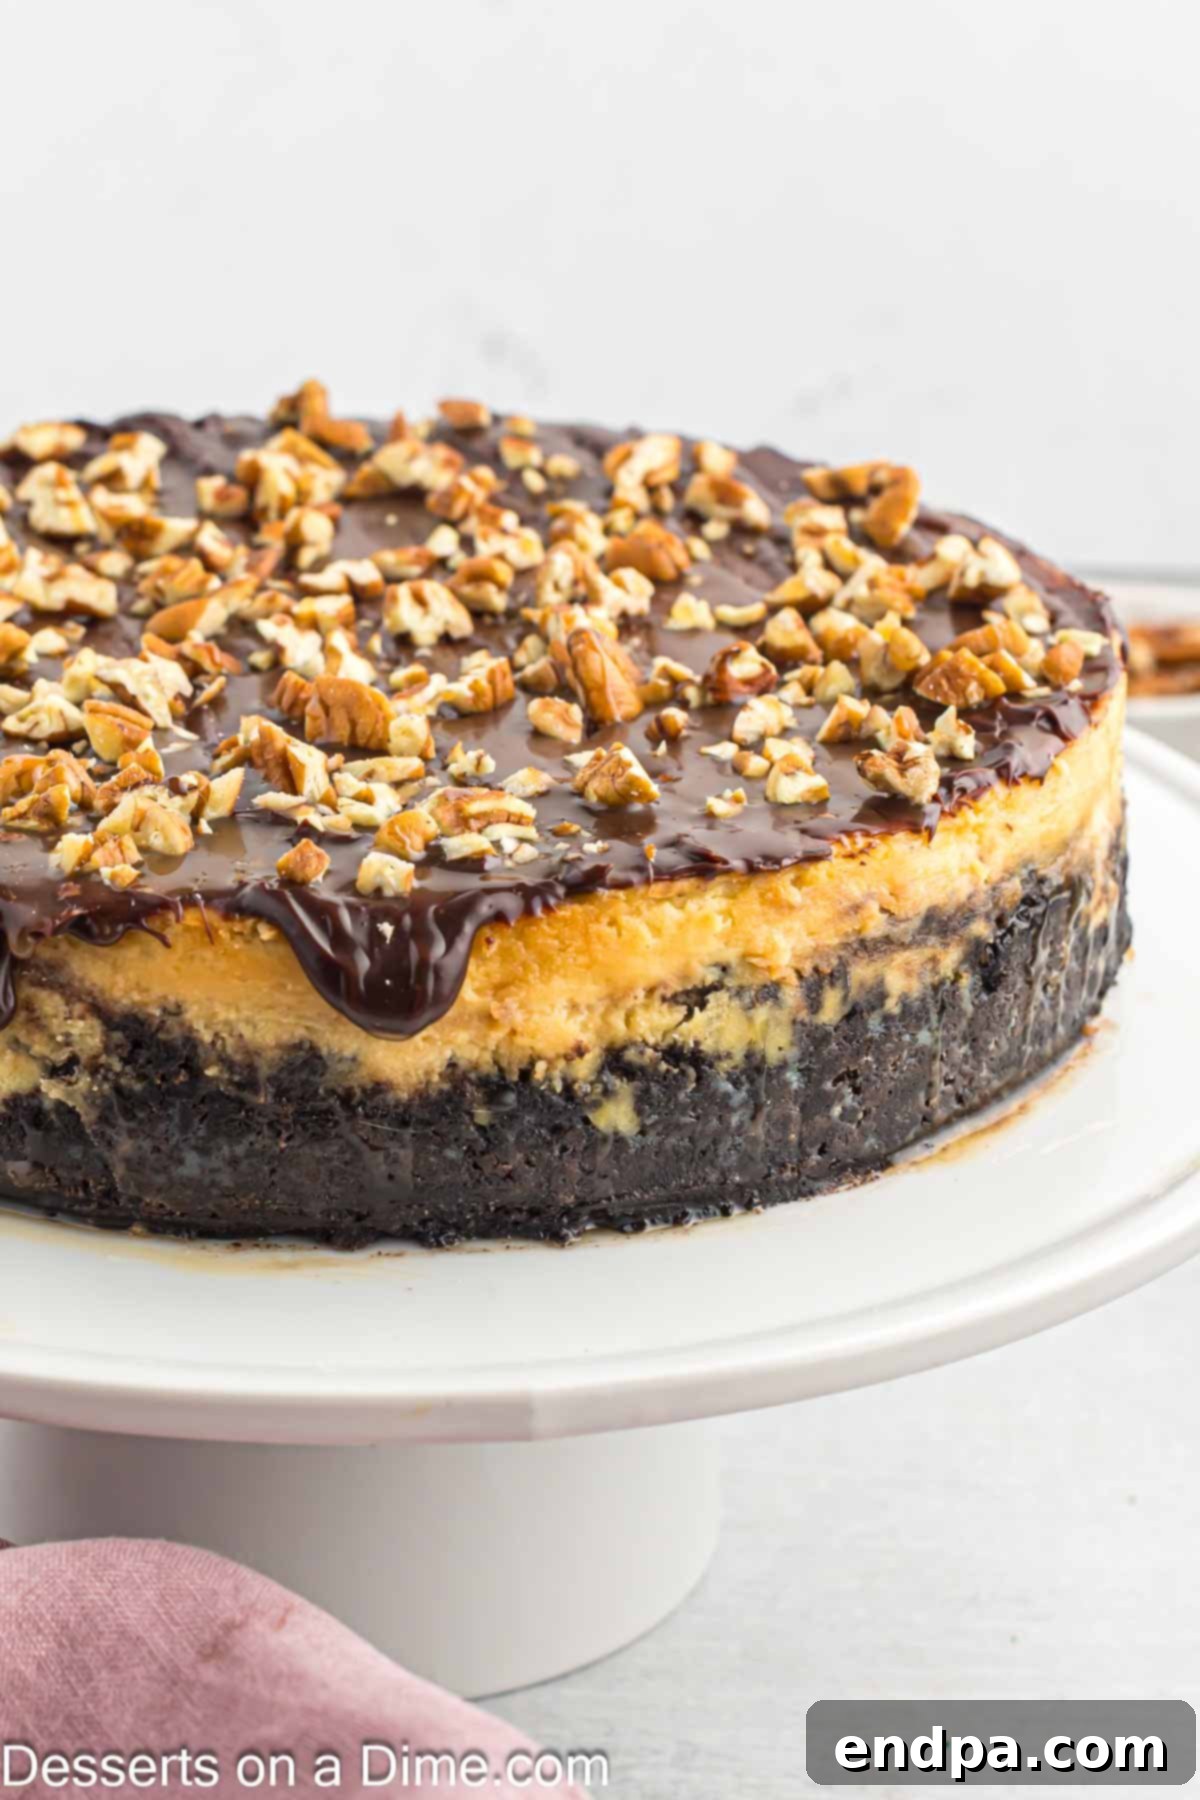
This Turtle Cheesecake isn’t just a dessert; it’s an experience. Every Forkful is a delightful journey through layers of flavor and texture. Imagine the initial crunch of the rich, dark Oreo cookie crust, giving way to an incredibly smooth and creamy cheesecake filling. Then comes the burst of signature “turtle” flavors: the buttery, nutty goodness of pecans, the sweet and gooey embrace of caramel, and the bittersweet notes of chocolate. It’s a harmonious blend that creates an explosion of taste in every bite.
What makes this recipe truly special is its ability to elevate a classic candy profile into a sophisticated, yet comforting, dessert. It strikes the perfect balance between richness and sweetness, ensuring that each spoonful is deeply satisfying without being overly heavy. Whether you’re celebrating a special occasion, hosting a dinner party, or simply craving an indulgent treat, this Turtle Cheesecake consistently delivers. Plus, while it presents beautifully, the steps are surprisingly straightforward, making it achievable for home bakers of all skill levels. It’s a recipe that promises “oohs” and “aahs” with minimal stress, making it a beloved staple in our kitchen.
Essential Ingredients for Your Turtle Cheesecake
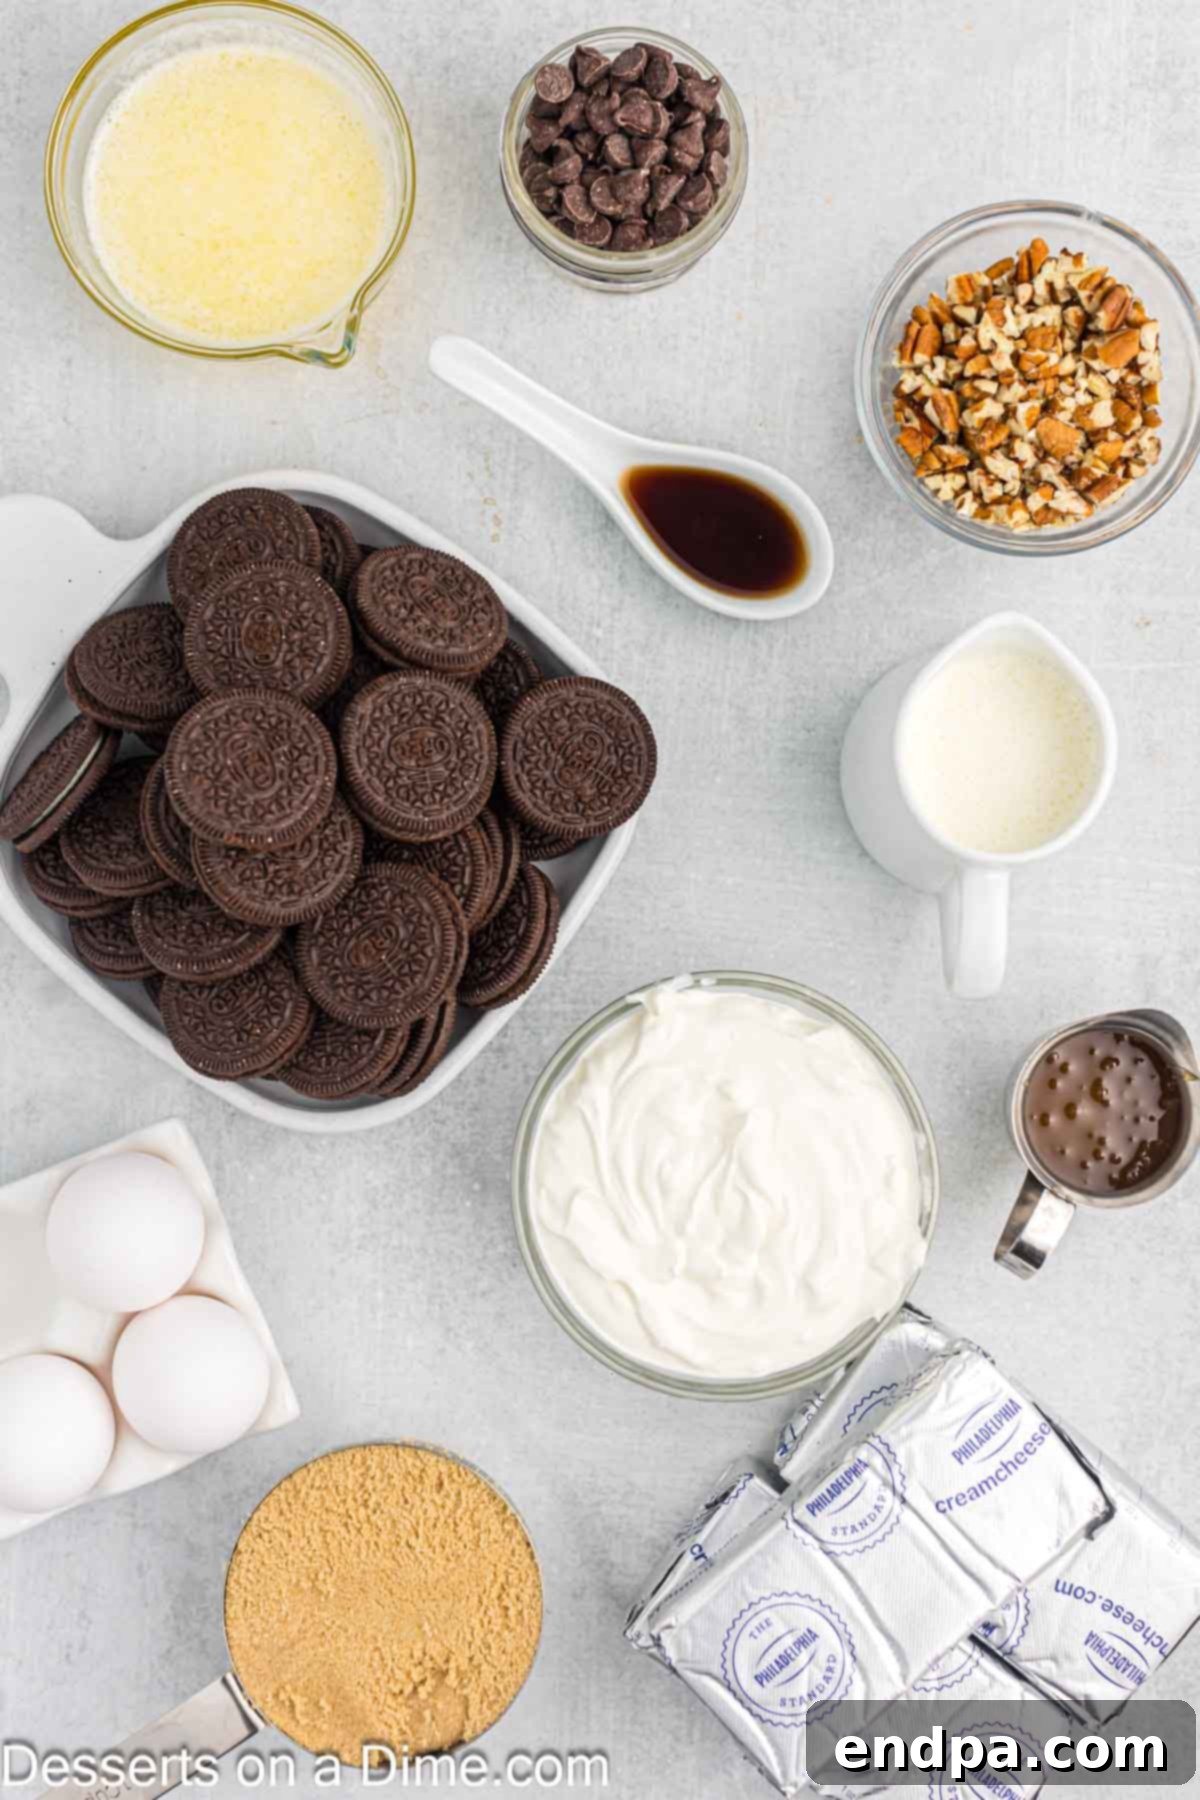
Gathering high-quality ingredients is the first step towards a truly magnificent cheesecake. Each component plays a vital role in achieving that perfect creamy texture, rich flavor, and irresistible “turtle” topping.
For the Crust:
- Oreo Cookies: The foundation of our cheesecake. These iconic chocolate sandwich cookies provide a dark, slightly bitter, and perfectly sweet base that complements the rich filling. For an alternative, consider making Homemade Chocolate Wafer Cookies for a unique touch.
- Butter (melted): Acts as the binding agent for the cookie crumbs, creating a firm, flavorful crust that holds its shape beautifully.
For the Cheesecake Filling:
- Cream Cheese: The star of any cheesecake. Opt for full-fat block cream cheese, softened to room temperature, to ensure a lusciously smooth, dense, and rich filling without any lumps.
- Light Brown Sugar: Adds a deeper, more molasses-like sweetness compared to white sugar, enhancing the overall caramel notes of the turtle flavor.
- Vanilla Extract: A crucial flavor enhancer that brings warmth and depth to the creamy cheese mixture. Pure vanilla extract offers the best results.
- Sour Cream: Contributes a subtle tang and helps achieve the signature creamy, velvety texture of cheesecake, preventing it from becoming too dense.
- Large Eggs (room temperature): Bind the ingredients together and provide structure to the cheesecake. Using room temperature eggs prevents curdling and ensures a smoother, more emulsified batter.
- Heavy Cream: Adds extra richness and contributes to the ultra-creamy consistency of the cheesecake filling.
For the Topping:
- Heavy Cream: Used to create a smooth, pourable chocolate ganache that drizzles beautifully over the cheesecake.
- Semi-Sweet Chocolate Chips: Provide the rich chocolate element of the turtle topping. Semi-sweet offers a balanced flavor that isn’t overly sweet.
- Caramel Sauce: The gooey, buttery caramel is essential for the classic turtle profile. You can use your favorite store-bought sauce or elevate your cheesecake with Homemade Caramel Sauce.
- Pecan Halves (chopped): Deliver the satisfying crunch and nutty flavor that completes the turtle experience. Lightly toasting them beforehand can enhance their flavor even further.
You can find the precise measurements and the full recipe card at the bottom of the page, making it easy to prepare this incredible dessert.
Creative Variations & Smart Substitutions
While the classic Turtle Cheesecake is utterly perfect as is, there are always opportunities to customize this recipe to your liking or adapt it based on what you have on hand. Here are some delightful variations and clever substitutions:
- Homemade Caramel Sauce: For an elevated touch, consider making your own Easy Homemade Caramel Sauce. The rich, buttery flavor of homemade caramel is truly unparalleled and adds an extra layer of gourmet appeal to your cheesecake. It takes a little extra time, but the effort is well worth it for the depth of flavor it brings.
- Garnish with Whipped Cream: Enhance the presentation and add an extra layer of lightness by topping each slice with a dollop of freshly whipped cream. Our Homemade Whipped Cream Recipe is simple to follow and provides a delicate contrast to the rich cheesecake and toppings. A sprinkle of cocoa powder or a few extra pecan pieces on top of the whipped cream can make it even more special.
- Crust Alternatives: While Oreo cookies are a phenomenal choice, you can easily switch up the crust for a different flavor profile.
- Vanilla Wafers: Offer a milder, buttery vanilla base that lets the turtle flavors shine.
- Biscoff Cookies: Provide a unique spiced cookie flavor that pairs wonderfully with caramel.
- Graham Crackers: A classic cheesecake crust that’s reliably delicious and easy to prepare.
- Shortbread Cookies: For a richer, more buttery crust, shortbread cookies are an excellent choice.
- Add Nuts to the Crust: For extra crunch and nutty flavor, you can add about half a cup of finely chopped pecans (or walnuts) to your cookie crumb mixture before pressing it into the pan.
- Chocolate Type: Feel free to experiment with different types of chocolate for the drizzle. Dark chocolate chips will offer a more intense, less sweet flavor, while milk chocolate chips will make it sweeter and creamier.
- Nut Choices: If pecans aren’t your favorite or you have allergies, walnuts or even chopped almonds can make great substitutions, offering their own distinct nutty notes.
- Spiced Cheesecake: For a festive twist, consider adding a pinch of cinnamon or nutmeg to your cheesecake filling for a warm, inviting aroma and taste.
These variations allow you to put your own spin on this incredible dessert, ensuring it’s always a hit with your unique preferences in mind.
Step-by-Step Guide to Baking the Perfect Turtle Cheesecake
Follow these detailed instructions to create a flawless and delicious Turtle Cheesecake. Precision and patience are key for cheesecake perfection!
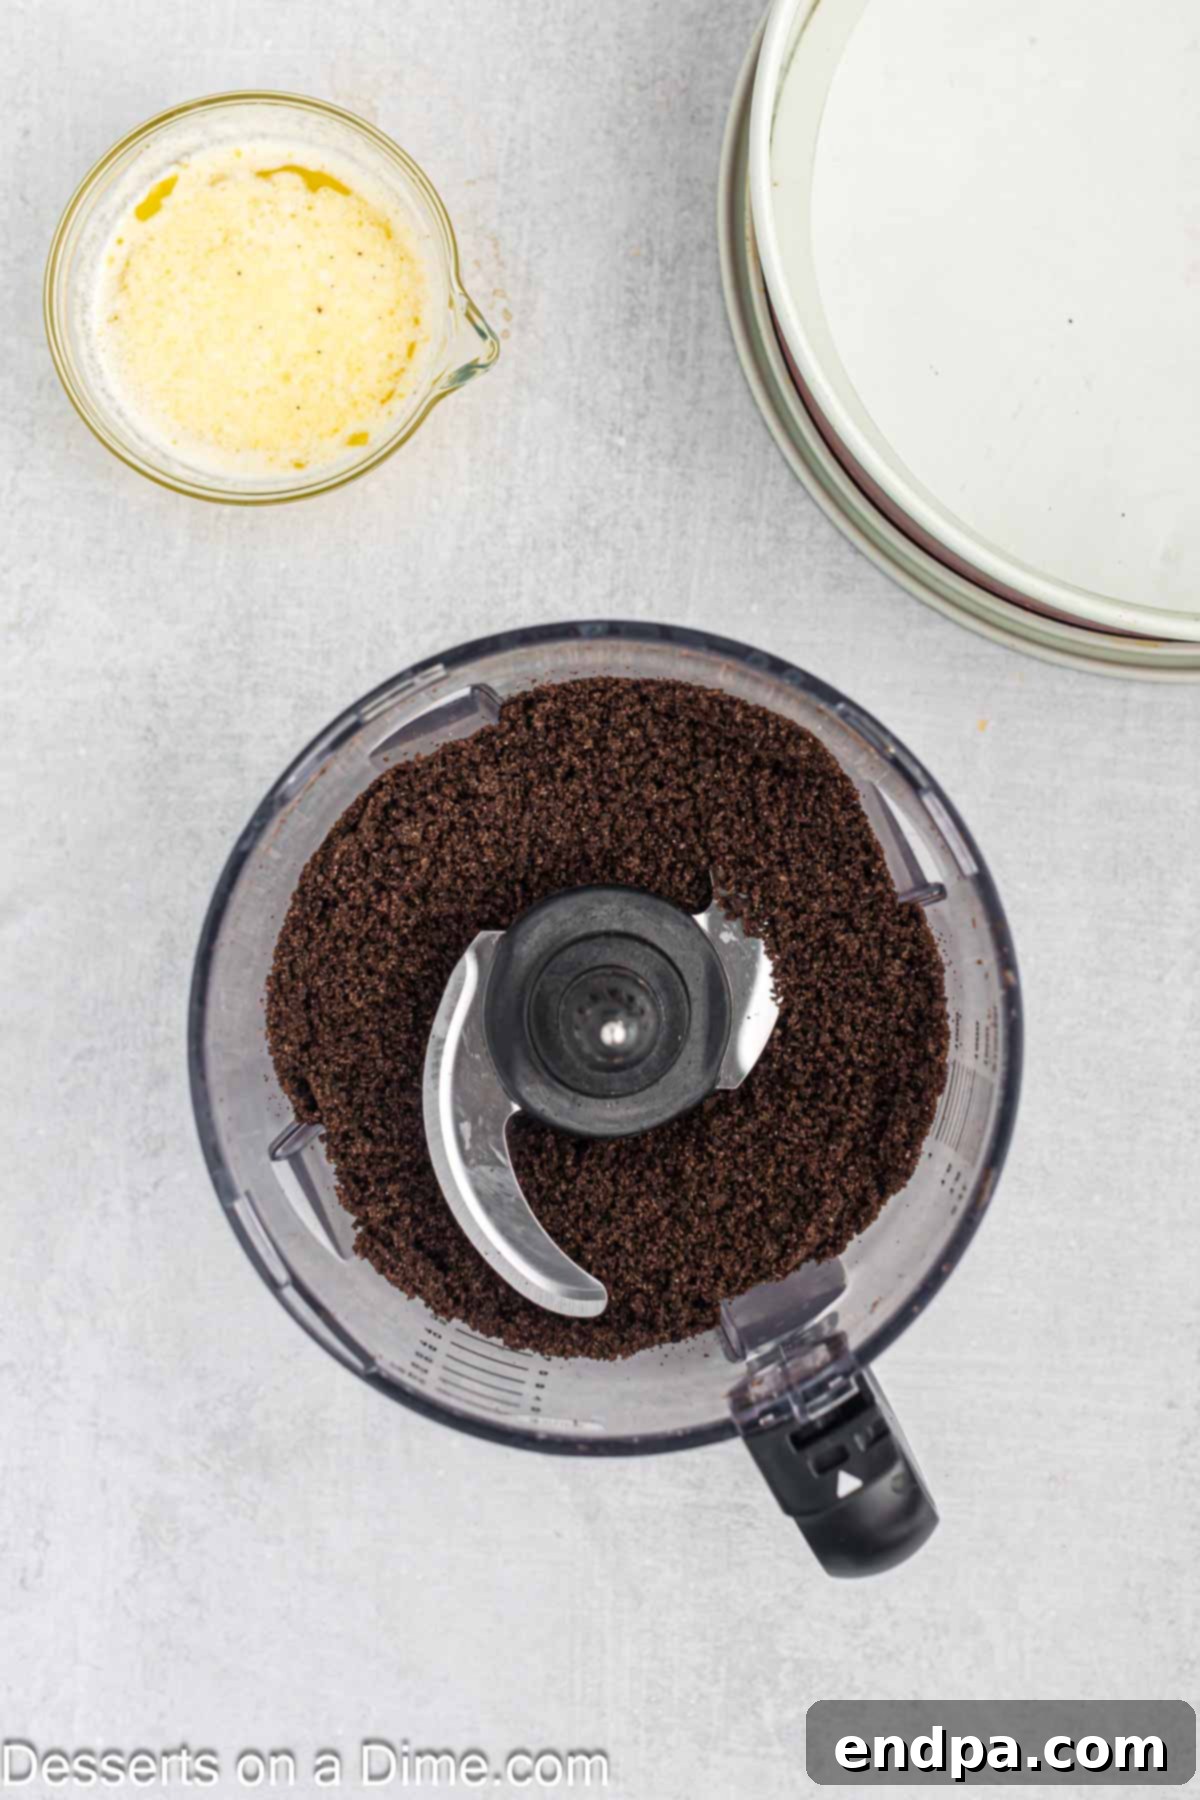
Step 1: Prepare the Crust Crumbs. Begin by placing your Oreo cookies into a food processor or blender. Process them until they form fine, even crumbs. Consistency is important here to ensure a uniform crust. If you don’t have a food processor, you can place the cookies in a large Ziploc bag and crush them with a rolling pin.
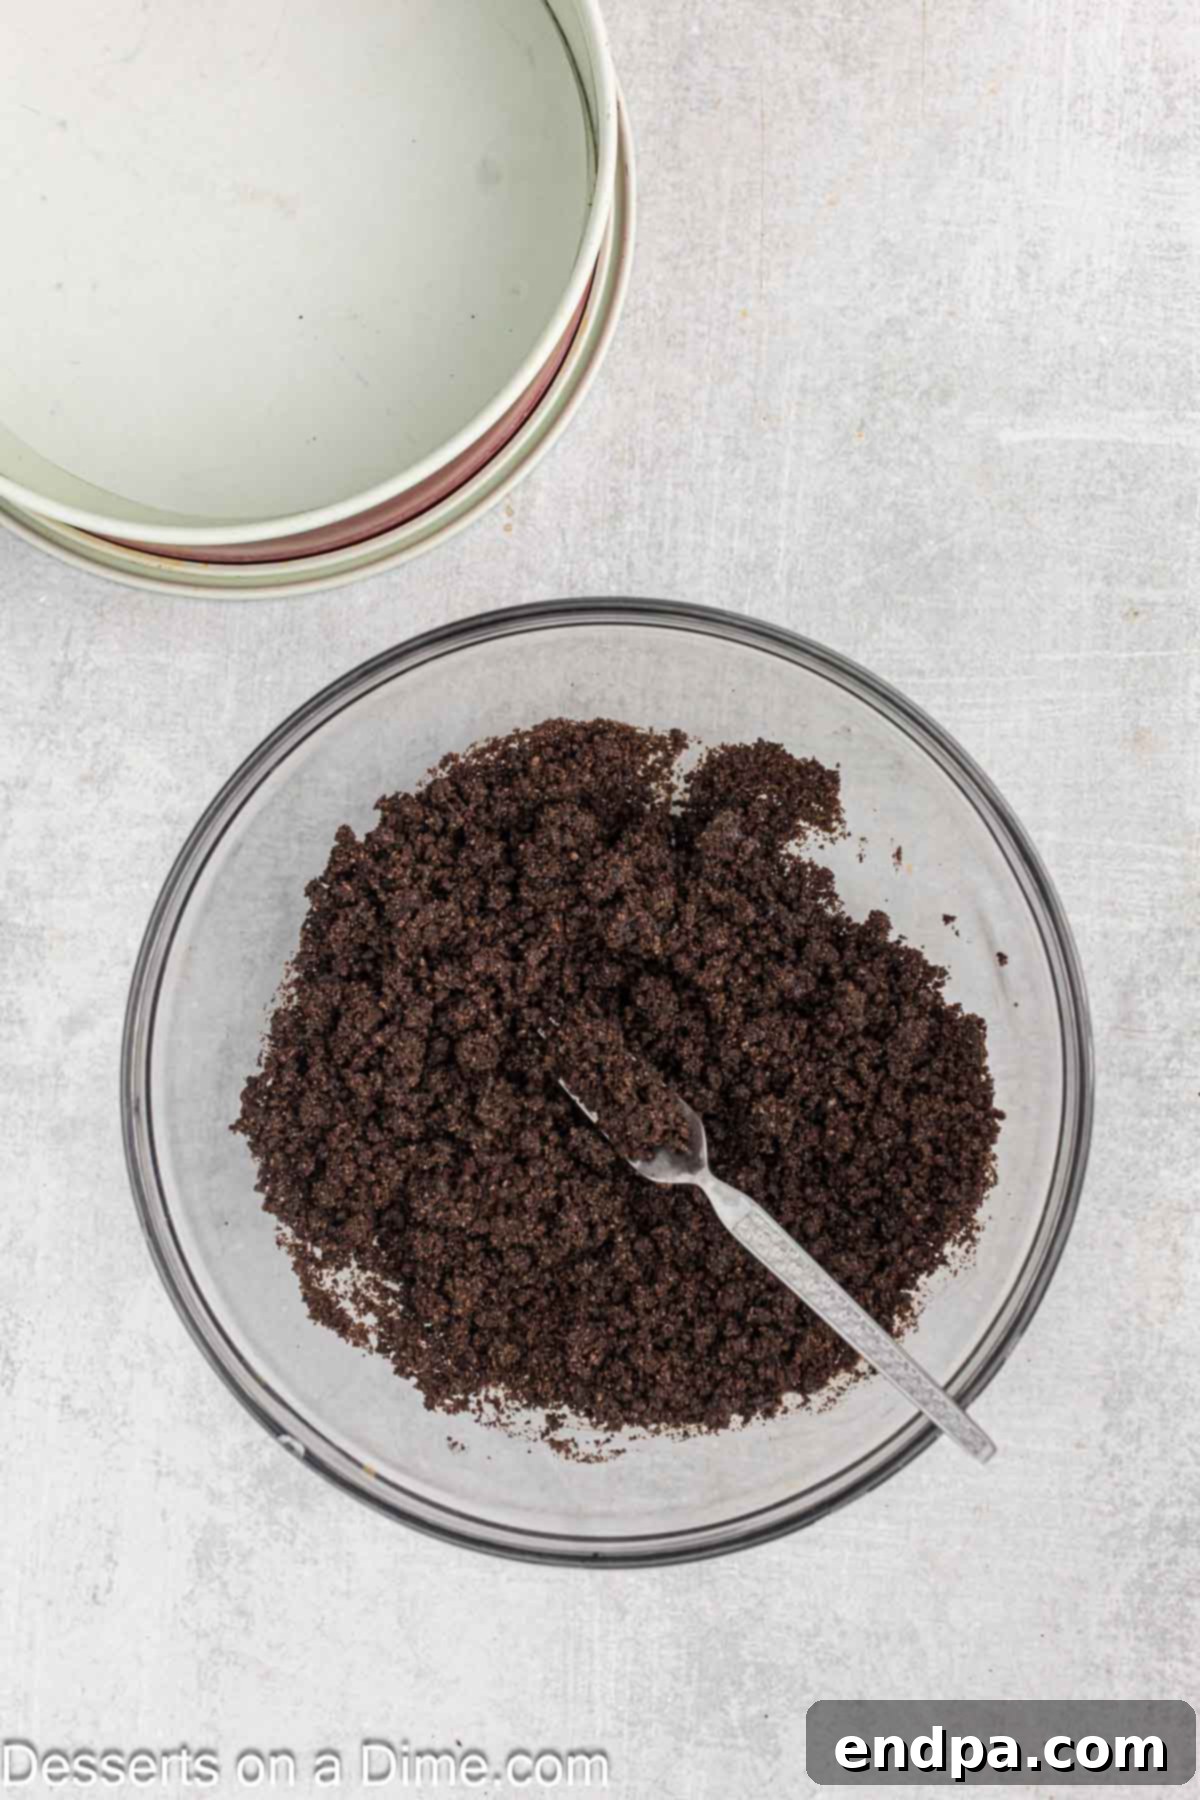
Step 2: Form the Crust. Transfer the Oreo crumbs to a medium-sized mixing bowl. Pour in the melted butter and stir thoroughly until all the crumbs are moistened and resemble wet sand. This ensures the crust will hold together. Once combined, press the mixture firmly and evenly into the bottom of a 9-inch springform pan, extending about halfway up the sides. Use the back of a spoon or a flat-bottomed glass for a compact finish. Place the pan in the refrigerator to chill while you prepare the filling.
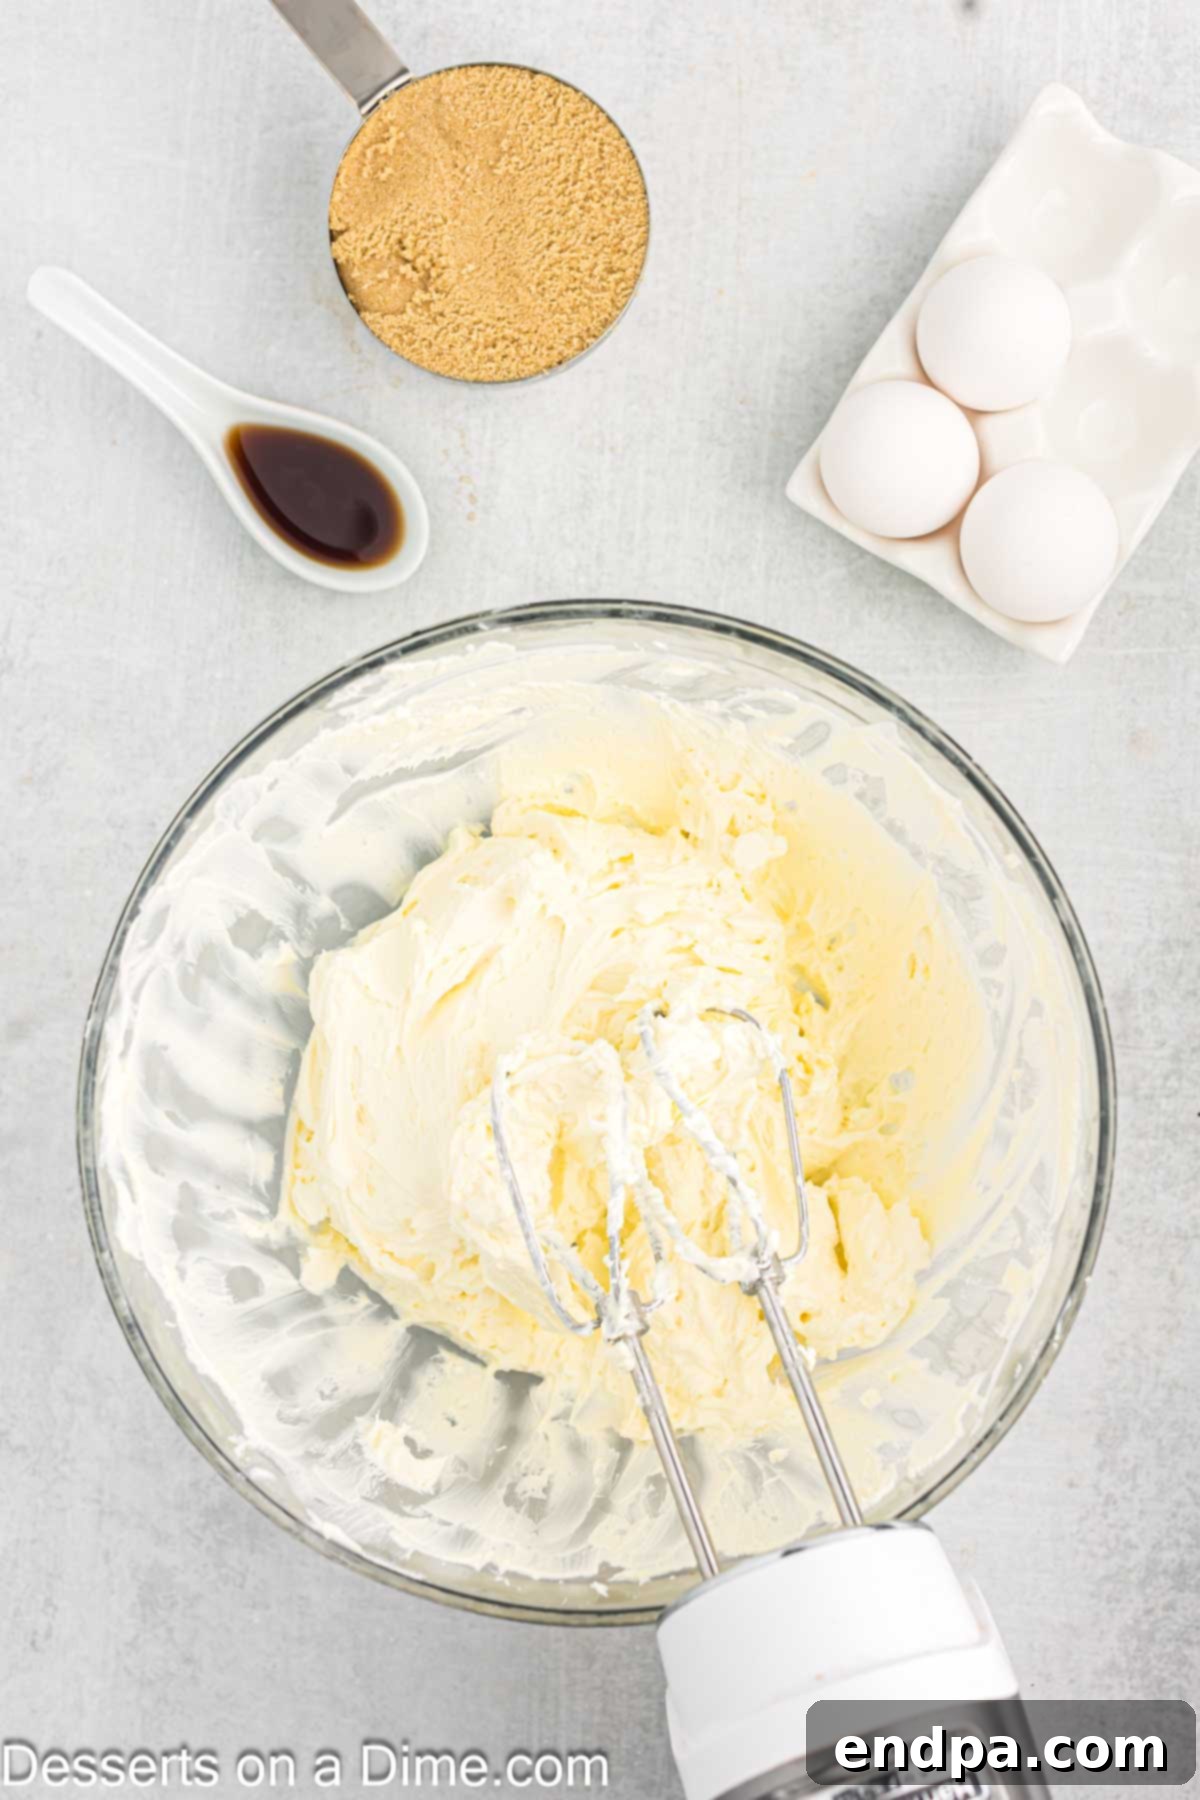
Step 3: Cream the Cheese. In a separate large mixing bowl, beat the softened cream cheese using either a handheld mixer or a stand mixer fitted with the paddle attachment. Beat on medium speed until the cream cheese is completely smooth and creamy, with no lumps remaining. This is a critical step for a silky cheesecake texture.
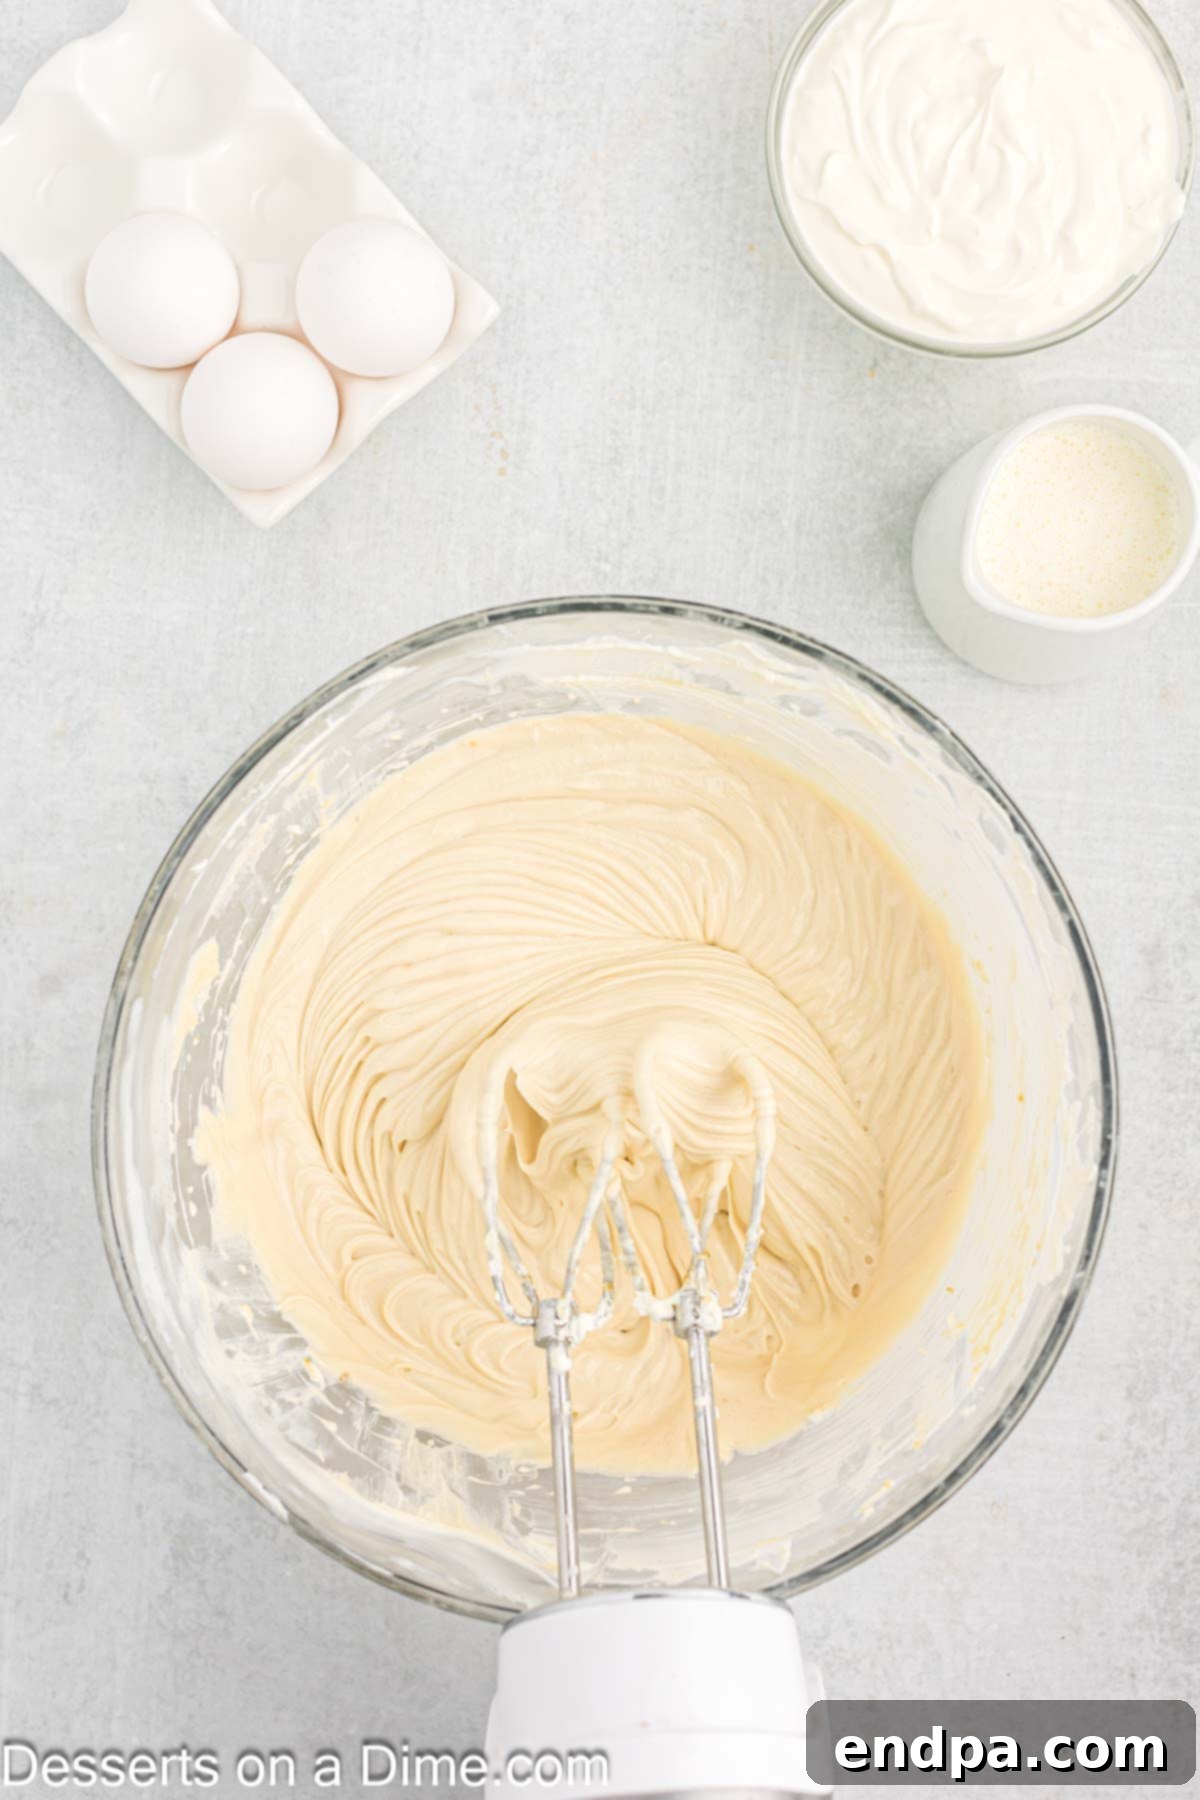
Step 4: Incorporate Sweeteners and Flavor. Add the light brown sugar and vanilla extract to the creamed cheese. Beat on low speed for 1-2 minutes until just combined. Be sure to scrape down the sides of the bowl frequently with a rubber spatula to ensure all ingredients are thoroughly incorporated and no sugar crystals remain.
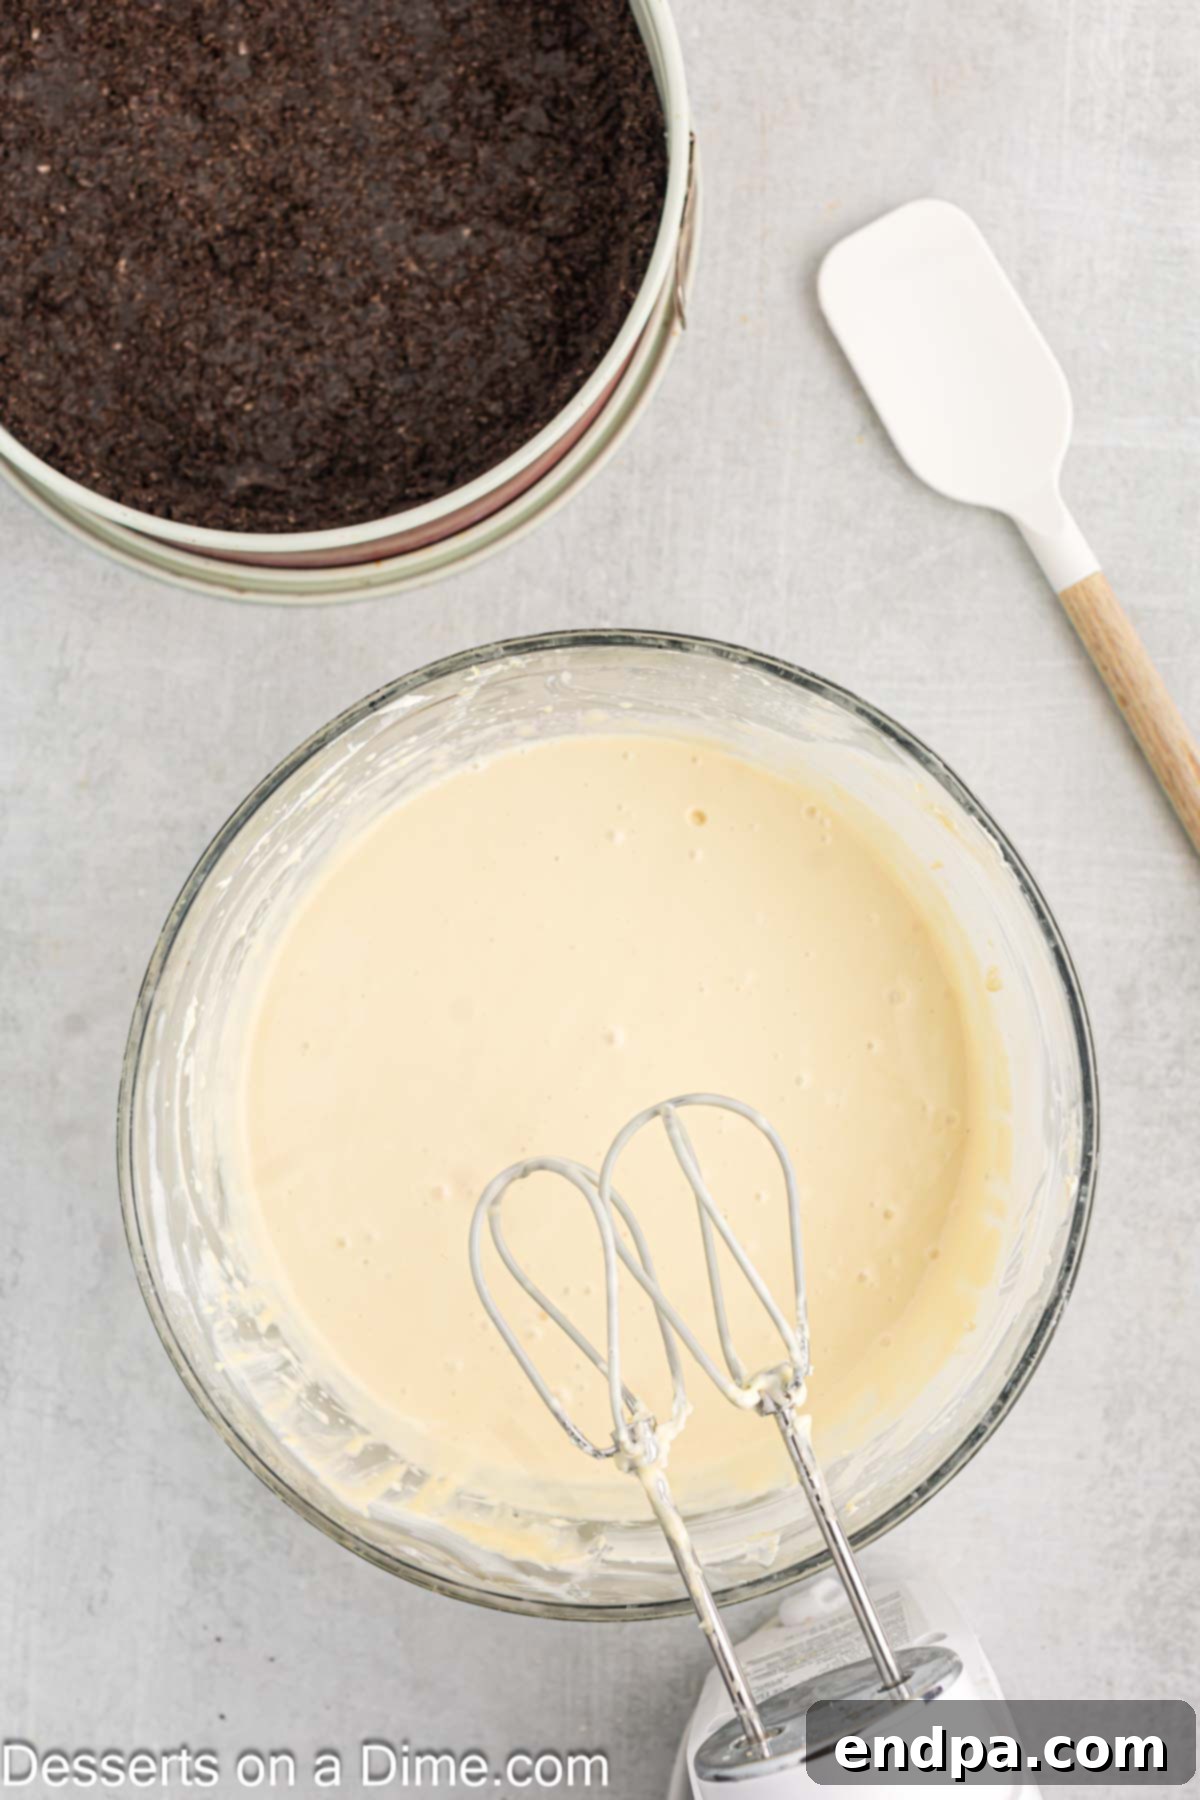
Step 5: Add Eggs and Creams. Reduce your mixer speed to the lowest setting. Add the large eggs one at a time, mixing only until each egg is just combined before adding the next. Overmixing at this stage can incorporate too much air, leading to cracks in your finished cheesecake. Continue on low speed to mix in the sour cream and heavy cream until they are thoroughly integrated into the batter. Again, mix just until smooth, avoiding excessive beating.
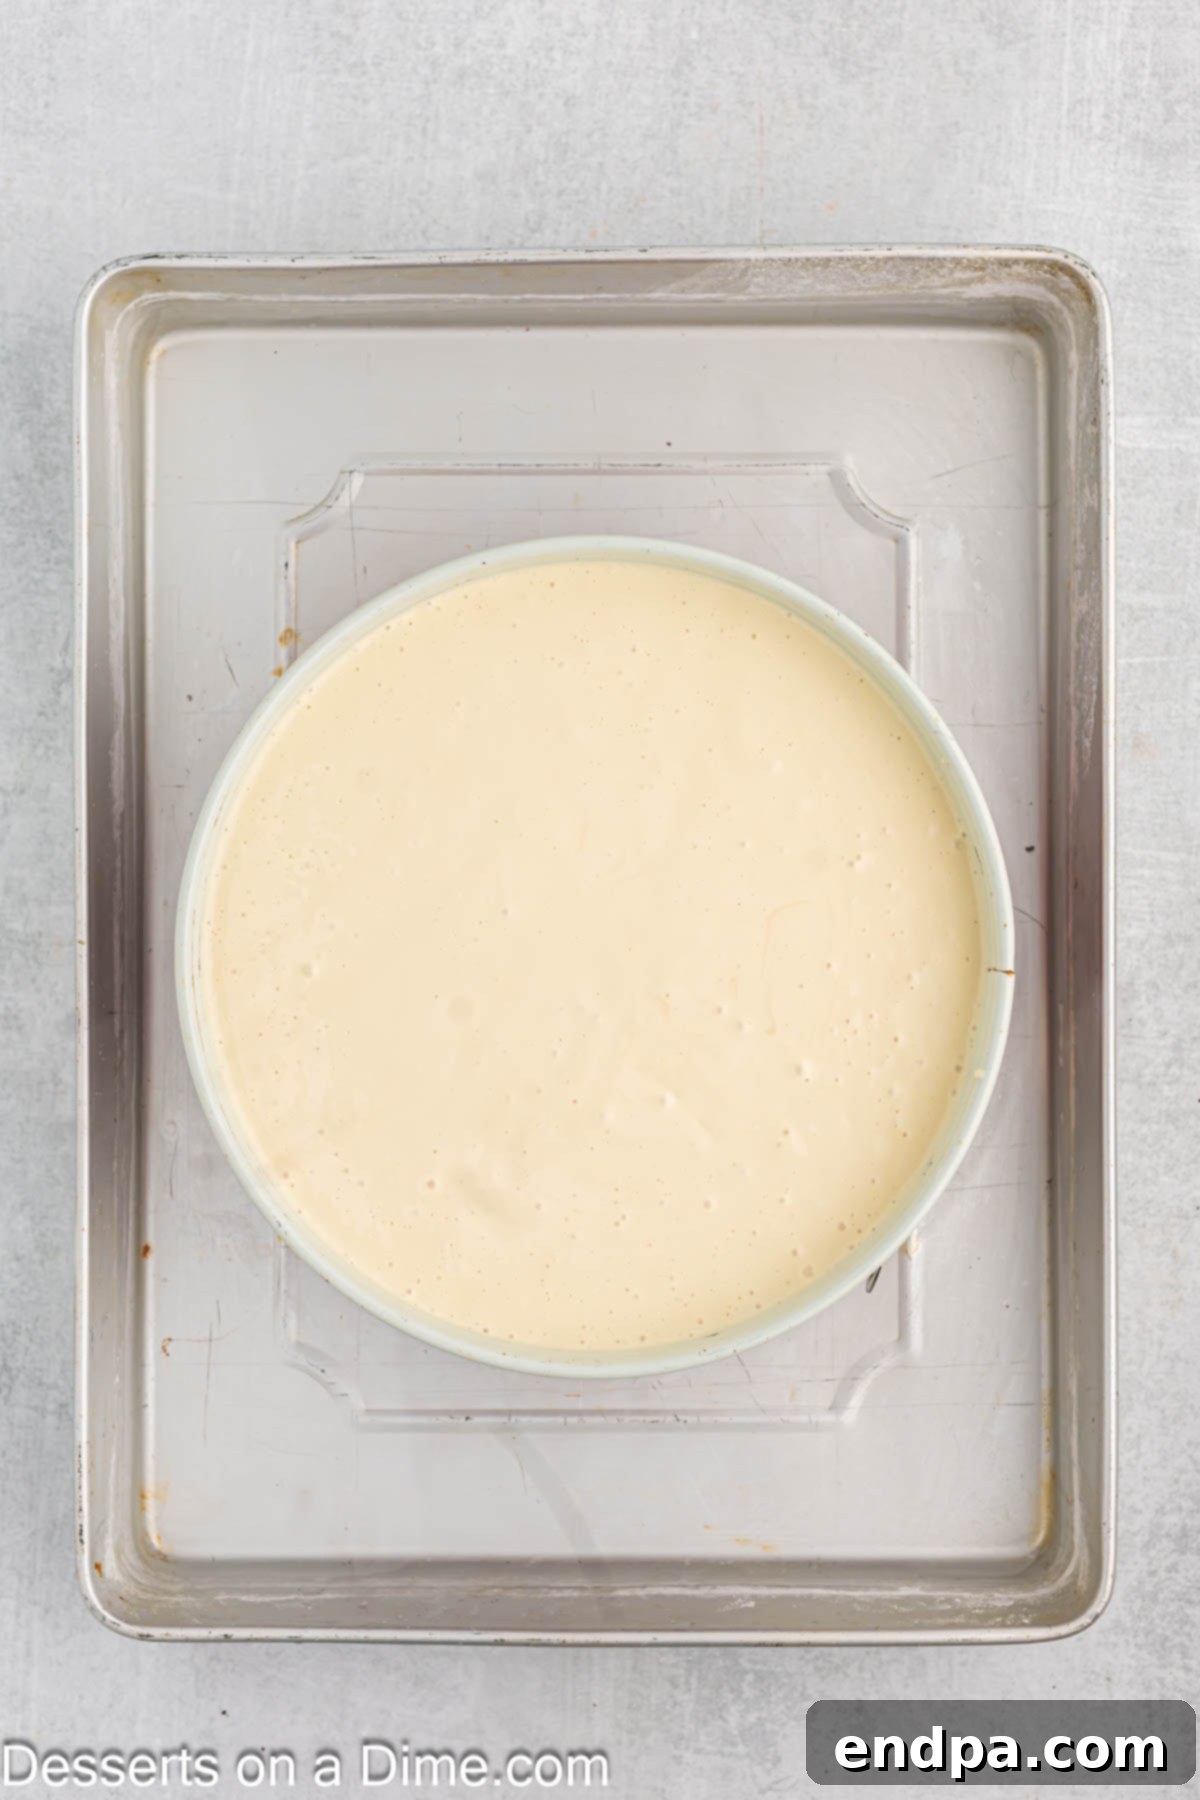
Step 6: Bake with a Water Bath. Gently pour the creamy cheesecake mixture over the chilled Oreo crust in the springform pan. Use a spatula to smooth the top as much as possible. To prevent cracks and ensure even, moist baking, place the springform pan into a larger roasting pan. Carefully pour boiling water into the larger pan until it reaches approximately halfway up the sides of the cheesecake pan. Bake for 60-70 minutes, or until the edges are set and the center still has a slight jiggle. Turn off the oven, crack the oven door open slightly, and let the cheesecake cool gradually inside the oven for an additional 45 minutes. This slow cooling also helps prevent cracking. Carefully remove the cheesecake from the water bath and allow it to cool completely at room temperature for about 1 hour.
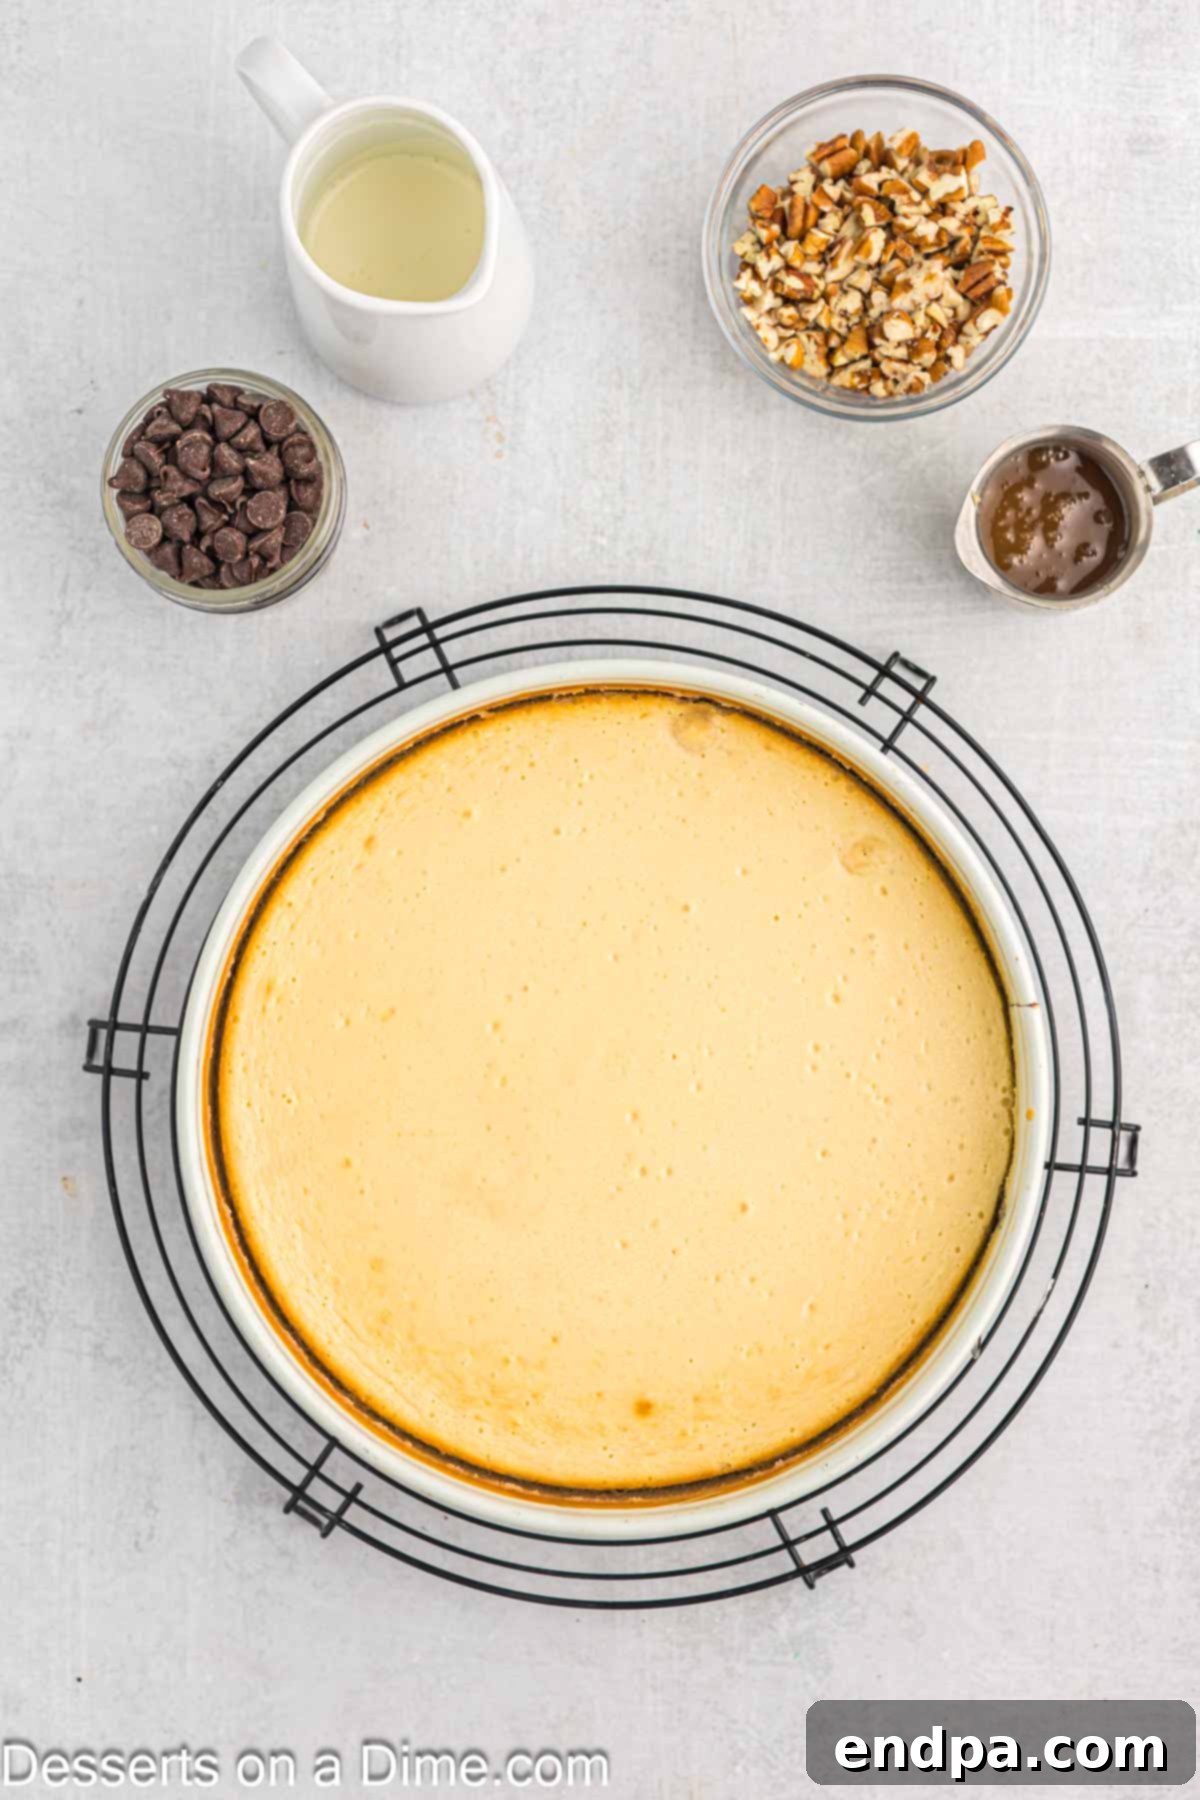
Step 7: Chill Thoroughly. Once cooled to room temperature, transfer the cheesecake to the refrigerator and chill for at least 4 hours, or preferably overnight. This chilling period is crucial for the cheesecake to fully set, develop its rich flavor, and achieve its firm, creamy texture. When you’re ready to serve, gently run a thin knife around the inner edge of the springform pan to release the cheesecake smoothly before unlatching the sides.
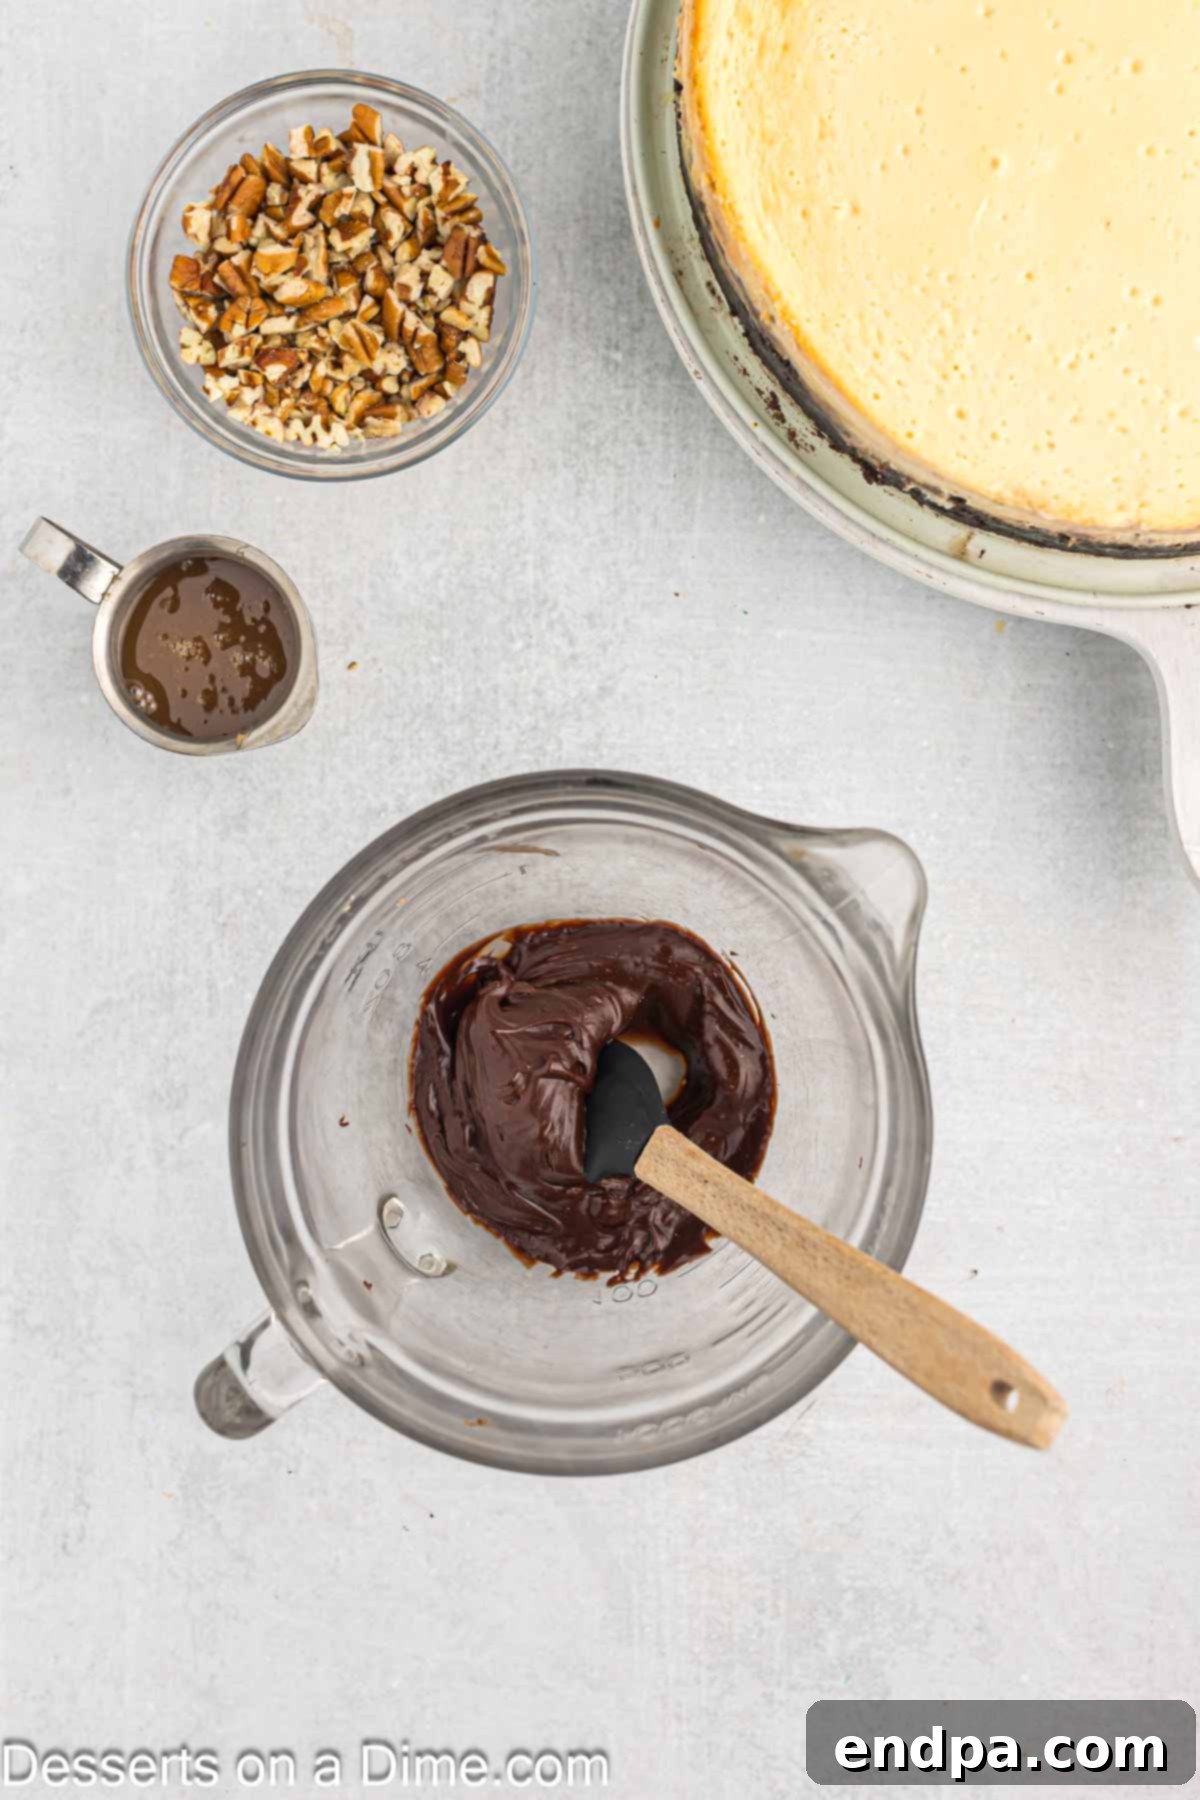
Step 8: Prepare Chocolate Drizzle. For the chocolate topping, pour the heavy cream into a microwave-safe bowl. Heat in the microwave for 20-30 seconds, just until it’s warmed through (do not boil). Add the semi-sweet chocolate chips to the warm cream. Let the mixture sit undisturbed for a few minutes to allow the heat to melt the chocolate. Then, stir with a whisk until it’s thoroughly combined and beautifully smooth, forming a glossy ganache.
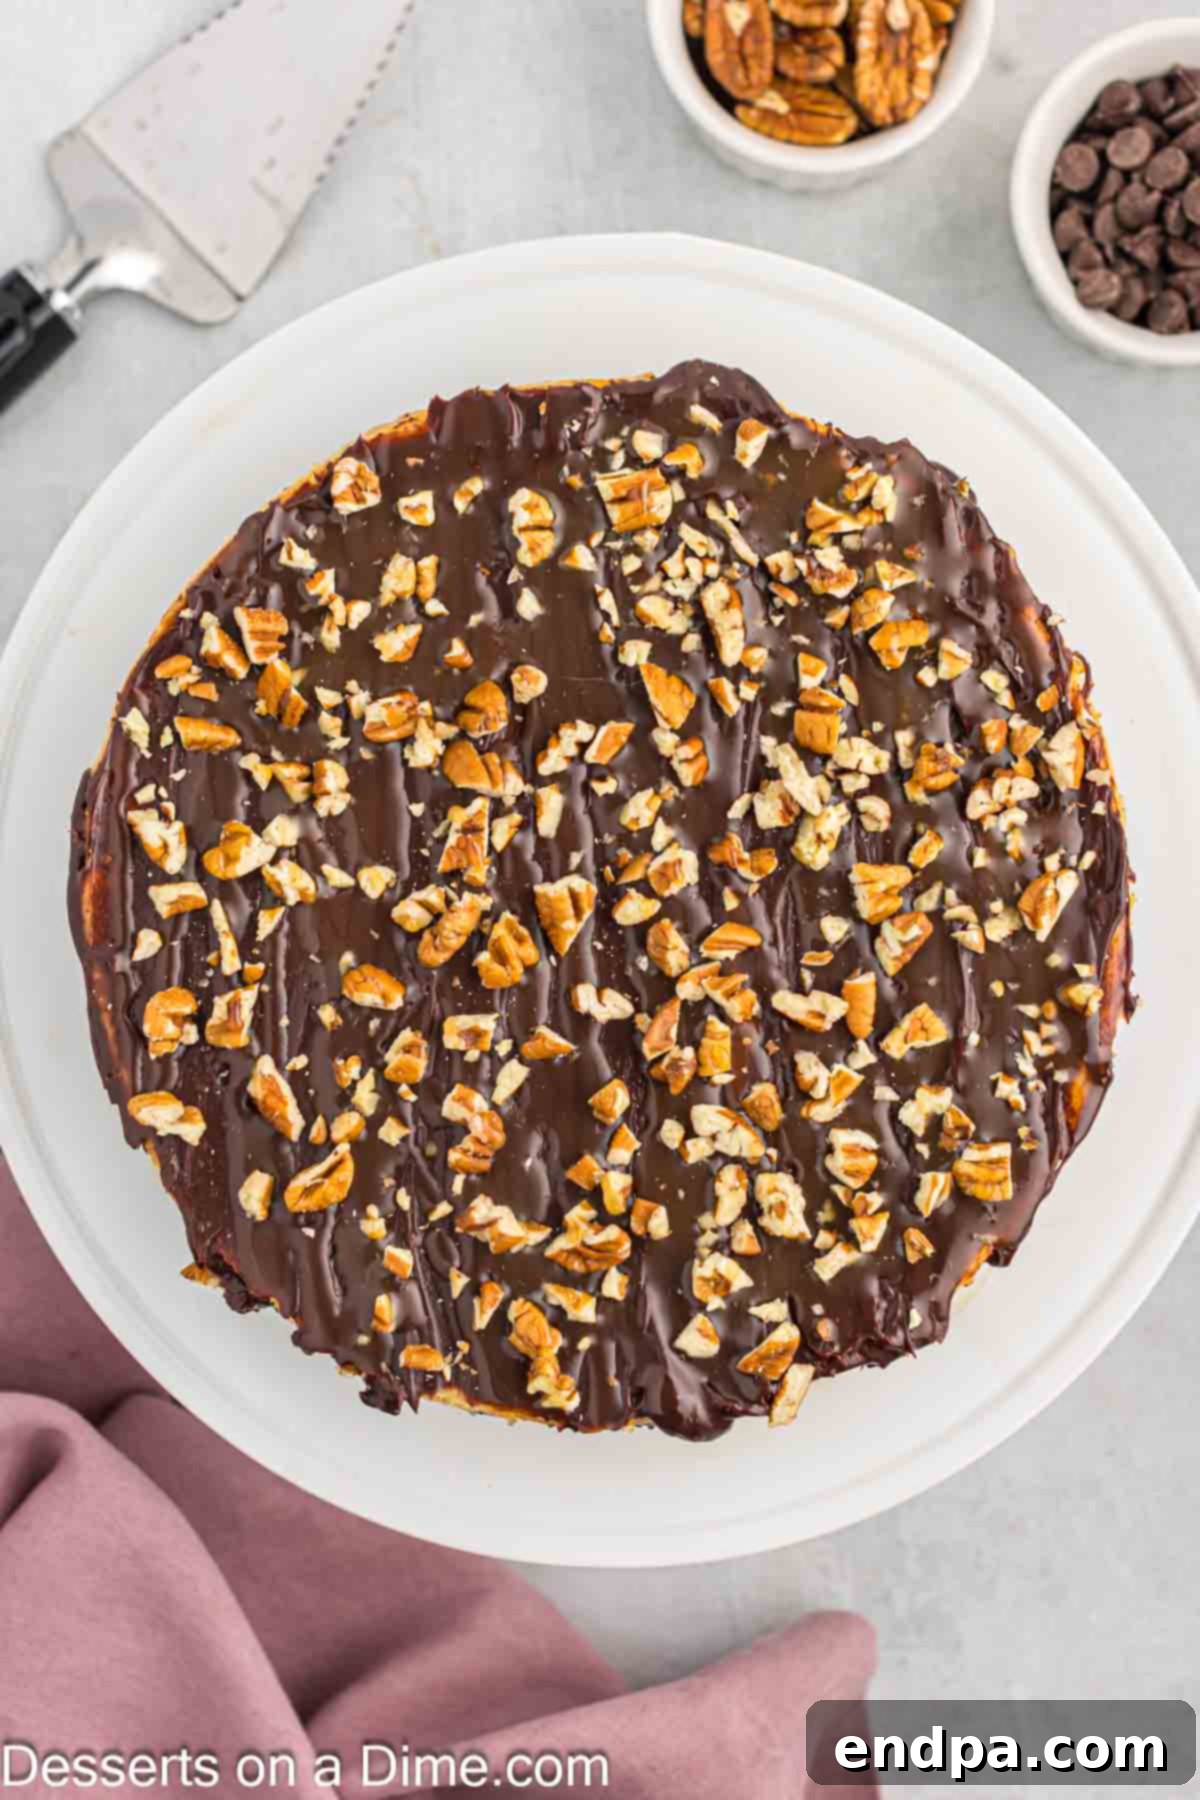
Step 9: Assemble the Toppings. Once the cheesecake is chilled and removed from the pan, carefully transfer it to your desired serving plate or stand. When you are ready to serve (or just before for best presentation), generously drizzle the top of the cheesecake with the melted chocolate ganache and the rich caramel sauce. You can use a spoon or a squeeze bottle for a more controlled drizzle.
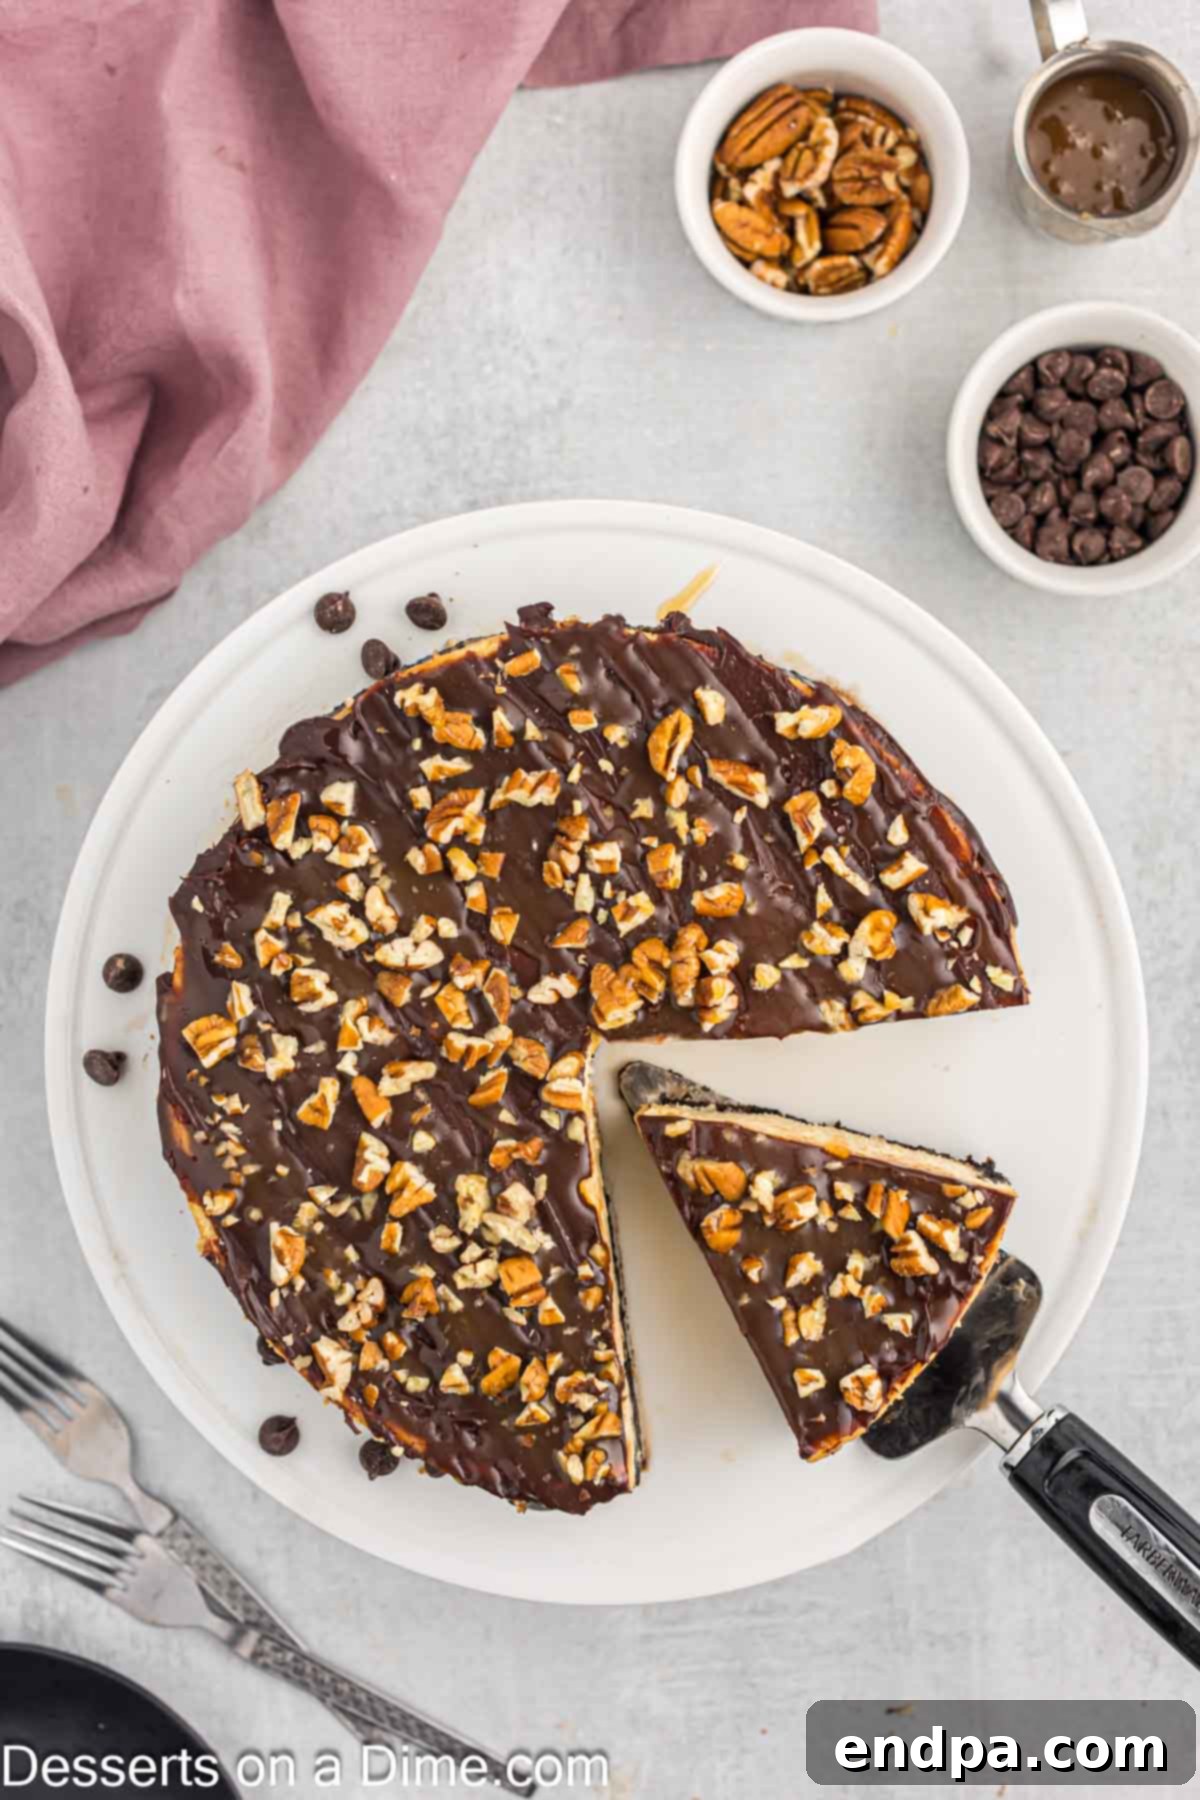
Step 10: Final Touches and Serve. To complete the iconic “turtle” look and flavor, liberally sprinkle the chopped pecan halves over the chocolate and caramel. Your homemade Turtle Cheesecake is now ready to be sliced, served, and savored! Each bite promises a harmonious blend of creamy, crunchy, sweet, and salty flavors.
Proper Storage for Lasting Freshness
To ensure your delicious Turtle Cheesecake remains fresh and delightful, proper storage is essential. Once cooled and topped, cover the cheesecake loosely but completely with plastic wrap or aluminum foil. You can also transfer individual slices to an airtight container. Store the covered cheesecake in the refrigerator for up to 5 days. This keeps the cream cheese filling firm and prevents the crust from becoming soggy. For longer storage, cheesecake can be frozen. Wrap the entire cooled cheesecake (without toppings if possible, as they can become messy upon thawing) tightly in multiple layers of plastic wrap, then a layer of aluminum foil. It can be frozen for up to 1-2 months. Thaw frozen cheesecake overnight in the refrigerator before adding toppings and serving.
Expert Tips for Cheesecake Perfection
Achieving a truly magnificent cheesecake requires a few insider tricks. Here are some pro tips to help you master this Turtle Cheesecake recipe:
- Embrace Room Temperature Ingredients: This is arguably the most crucial tip for a perfectly smooth cheesecake. Ensure your cream cheese, eggs, and sour cream are at room temperature. Cold ingredients will not combine smoothly, resulting in a lumpy batter and a less creamy final texture. Take them out of the refrigerator at least an hour before you plan to start baking.
- Always Use Full-Fat Cream Cheese: For the richest flavor and the best, most decadent texture, always opt for full-fat block cream cheese. Low-fat or whipped cream cheese varieties contain more water, which can lead to a less stable and less flavorful cheesecake.
- Resist the Urge to Peak: During baking and the initial cooling phase in the oven, do not open the oven door. Fluctuations in temperature can cause the cheesecake to crack significantly. The water bath provides a stable, moist environment, and slow cooling helps prevent thermal shock.
- Achieve Clean Slices by Warming Your Knife: For beautifully neat slices, run your knife under hot water, wipe it clean, and then make each cut. Repeat this process for every slice. This trick ensures the toppings and creamy filling don’t stick to the blade, giving you picture-perfect servings.
- Avoid Overbaking for a Creamy Center: An overbaked cheesecake will be dry and crumbly, losing its signature creamy texture. The center should still be slightly jiggly when you turn off the oven, as it will continue to set as it cools. Trust the jiggle!
- Prevent a Soggy Crust: To keep your Oreo crust delightfully crisp, ensure you press it very firmly into the pan. You can also blind bake the crust for 8-10 minutes at 350°F (175°C) before adding the filling, especially if you’re concerned about it being too soft.
- Water Bath Security: If you’re nervous about water leaking into your springform pan during the water bath, wrap the outside of the pan securely with a double layer of heavy-duty aluminum foil before placing it in the larger roasting pan.
- Gradual Cooling is Key: After baking, the cheesecake needs to cool slowly. First in the turned-off oven, then at room temperature, and finally in the refrigerator. This gradual temperature change is vital for preventing cracks and maintaining the smooth, creamy consistency.
Frequently Asked Questions
Here are some common questions about making Turtle Cheesecake to help you achieve the best results:
Do I have to use the water bath?
Yes, the water bath is highly recommended for cheesecake. It creates a moist, consistent baking environment which helps the cheesecake bake evenly and prevents the top from cracking. The gentle, indirect heat also helps prevent the filling from curdling, resulting in an exceptionally smooth and creamy texture. Skipping this step significantly increases the chance of cracks and a less desirable texture.
Can I freeze this cheesecake?
Absolutely! This Turtle Cheesecake recipe is freezer-friendly, making it perfect for preparing ahead or storing leftovers. To freeze, allow the cheesecake to cool completely, then wrap it tightly in multiple layers of plastic wrap, followed by a layer of aluminum foil. If you wish to freeze the entire cheesecake, it’s best to wait until serving day to add the chocolate, caramel, and pecan toppings, as they can sometimes become messy or alter in texture during freezing and thawing. For individual slices, wrap each slice separately. It can be frozen for up to 1-2 months. Thaw overnight in the refrigerator before serving.
Why did my cheesecake crack?
Cheesecake cracks are often caused by one of two main issues: overmixing or rapid temperature changes. Overmixing the batter, especially after adding the eggs, incorporates too much air. This air expands rapidly during baking, causing the cheesecake to rise excessively, and then contracts as it cools, leading to cracks. Always mix on low speed and only until just combined. Rapid temperature changes, such as opening the oven door too soon or cooling the cheesecake too quickly (e.g., placing a hot cheesecake directly into a cold refrigerator), can also cause the surface to contract and crack. The water bath and gradual cooling steps in this recipe are designed specifically to minimize these risks.
More Irresistible Cheesecake Recipes
If you’ve fallen in love with making cheesecake, there’s a whole world of delightful variations to explore. Here are some more of our favorite cheesecake recipes that are sure to please:
- Reese’s Cheesecake: A peanut butter and chocolate lover’s dream, packed with the iconic candy flavor.
- Strawberry Swirl Cheesecake: A vibrant and fruity classic, perfect for a refreshing dessert.
- Cheesecake Factory Red Velvet Cheesecake Recipe: Recreate the beloved restaurant favorite with this rich and velvety recipe.
- Sopapilla Cheesecake Recipe: A unique and easy-to-make cheesecake inspired by the crispy, honey-drizzled Mexican pastry.
- Banana Cream Cheesecake: A delightful combination of creamy banana pudding and classic cheesecake.
I am genuinely excited for you to try this decadent Turtle Cheesecake recipe. It’s truly a showstopper that combines irresistible flavors and textures into one incredible dessert. Please come back and leave a comment once you’ve made it – I’d love to hear about your experience!
Pin
Turtle Cheesecake
Ingredients
For the Crust:
- 30 Oreo Cookies
- 5 Tablespoons Butter melted
For the Cheesecake:
- 24 ounces Cream Cheese softened
- 1 cup Light Brown Sugar
- 2 Tablespoons Vanilla Extract
- 1 cup Sour Cream
- 3 large Eggs room temperature
- 1/2 cup Heavy Cream
For the Topping:
- 2 Tablespoons Heavy Cream
- 4 ounces Semi-Sweet Chocolate Chips
- 1/4 cup Caramel Sauce
- 1/2 cup Pecan Halves chopped
Get Recipe Ingredients
Want to save this recipe?
Just enter your email and we’ll send it right to you, plus great new recipes weekly!
Instructions
For the Crust:
- Place the Oreo Cookies in a food processor or blender and blend until the cookies are turned into fine, even crumbs.
- Place the Oreo crumbs in a mixing bowl. Stir in the melted butter until well combined and the crumbs resemble wet sand.
- Pour the mixture into a 9-inch springform pan. Use the back of a spoon to press the mixture firmly down into the bottom of the pan and approximately halfway up the sides of the pan to form a compact crust.
- Refrigerate the crust for at least 30 minutes while you prepare the cheesecake filling to allow it to firm up.
For the Cheesecake Layer:
- In a large bowl, beat the softened cream cheese with a handheld mixer or stand mixer until it is completely soft and creamy, ensuring no lumps remain.
- Add the light brown sugar and vanilla extract to the cream cheese mixture. Beat on low speed for 1-2 minutes until just combined. Scrape down the sides of the bowl as needed to ensure everything is well mixed.
- Reduce the mixer speed to low. Slowly add the eggs, one at a time, mixing only until each egg is fully incorporated before adding the next. Be careful not to overmix at this stage, as it can introduce too much air.
- Keeping the mixer speed on low, mix in the sour cream and heavy cream until both are thoroughly combined and the batter is smooth.
- Gently pour the cream cheese mixture over the chilled Oreo cookie crust in the springform pan. Use a spatula to smooth the top of the cheesecake as much as possible.
- Prepare a water bath: Place the springform pan into a larger roasting pan. Carefully pour boiling water into the larger pan until it reaches approximately halfway up the side of the cheesecake pan.
- Bake the cheesecake for 60-70 minutes. The edges should appear set, but the center should still have a slight jiggly movement when gently nudged. This indicates it’s perfectly baked.
- Once baked, turn the oven off and crack the oven door open slightly. Let the cheesecake sit in the cooling oven for an additional 45 minutes to cool slowly and prevent cracking. Then, remove it from the oven and carefully lift the springform pan out of the water. Let the cheesecake cool completely at room temperature for approximately 1 hour.
- Once cooled to room temperature, transfer the cheesecake to the refrigerator and chill for at least 4 hours, or ideally overnight, to allow it to fully set and firm up.
- When ready to serve, gently run a thin knife around the inner edge of the springform pan to release the cheesecake from the sides, then unlatch and remove the pan carefully.
For the Topping:
- For the chocolate topping, place the heavy cream in a microwave-safe bowl. Heat for 20-30 seconds until just warmed. Add the semi-sweet chocolate chips, let sit for a few minutes, then stir until thoroughly combined and smooth to create a ganache.
- Remove the chilled cheesecake from the springform pan as described in step 1.9, and carefully move it to your desired serving plate.
- Just before serving, drizzle the top of the cheesecake generously with both the melted chocolate ganache and the caramel sauce. Sprinkle the chopped pecans evenly over the top. Your Turtle Cheesecake is now ready to slice, serve, and enjoy!
Recipe Notes
Always use room temperature ingredients for the cheesecake filling. This is key to achieving a perfectly smooth, lump-free batter and a rich, creamy final product.
Opt for full-fat cream cheese for the best flavor and a wonderfully dense, luxurious texture in your cheesecake.
Avoid overmixing the cheesecake batter, especially after adding the eggs. Overmixing incorporates too much air, which can lead to cracks in your finished cheesecake during baking and cooling.
Nutrition Facts
Pin This Now to Remember It Later
Pin Recipe
