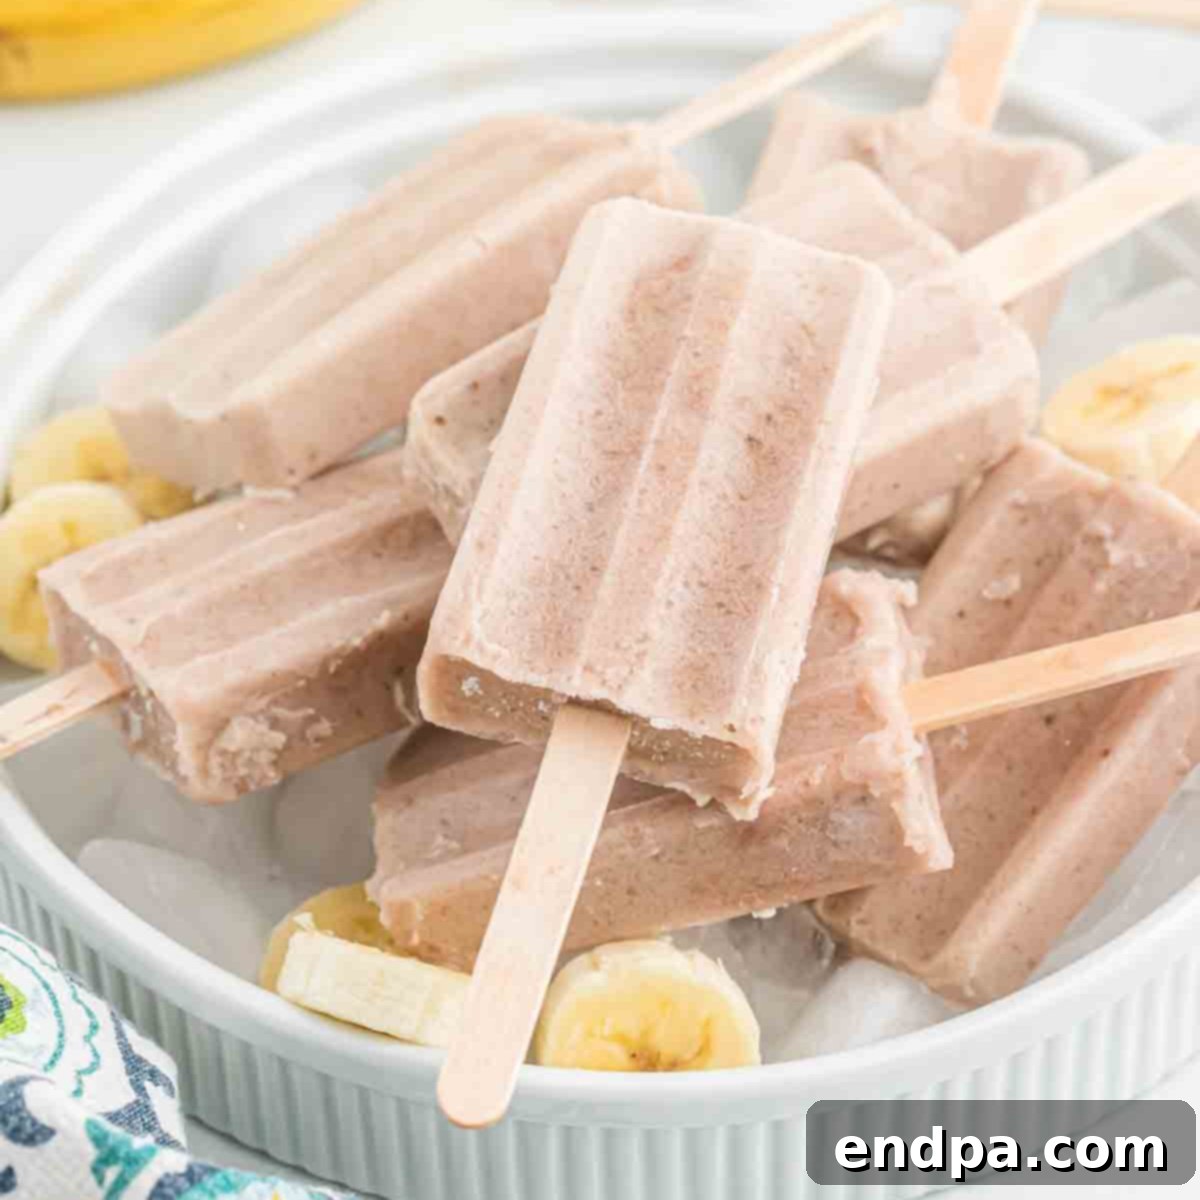
Easy 3-Ingredient Homemade Banana Popsicles: A Healthy & Refreshing Frozen Treat
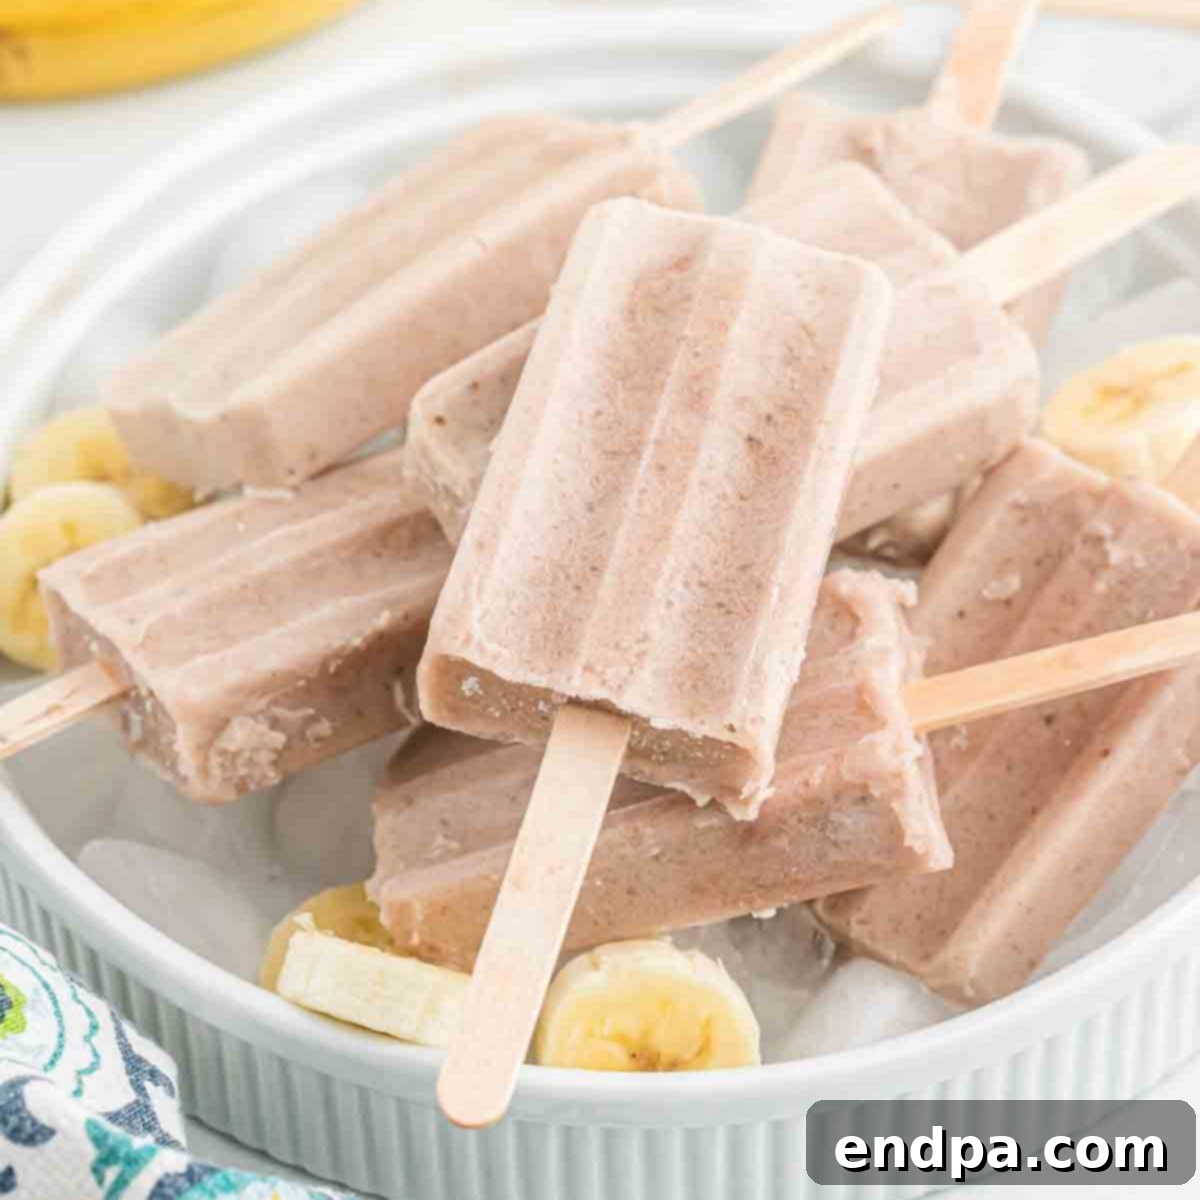
Craving a delightful and wholesome frozen dessert that requires minimal effort? Look no further than these incredibly easy-to-make Banana Popsicles! With just three simple ingredients, you can whip up a batch of these refreshing treats that are sure to be a hit with both kids and adults. If you can operate a blender, pour a mixture, and use a freezer, you’re just a few steps away from enjoying this absolutely delicious and guilt-free snack.
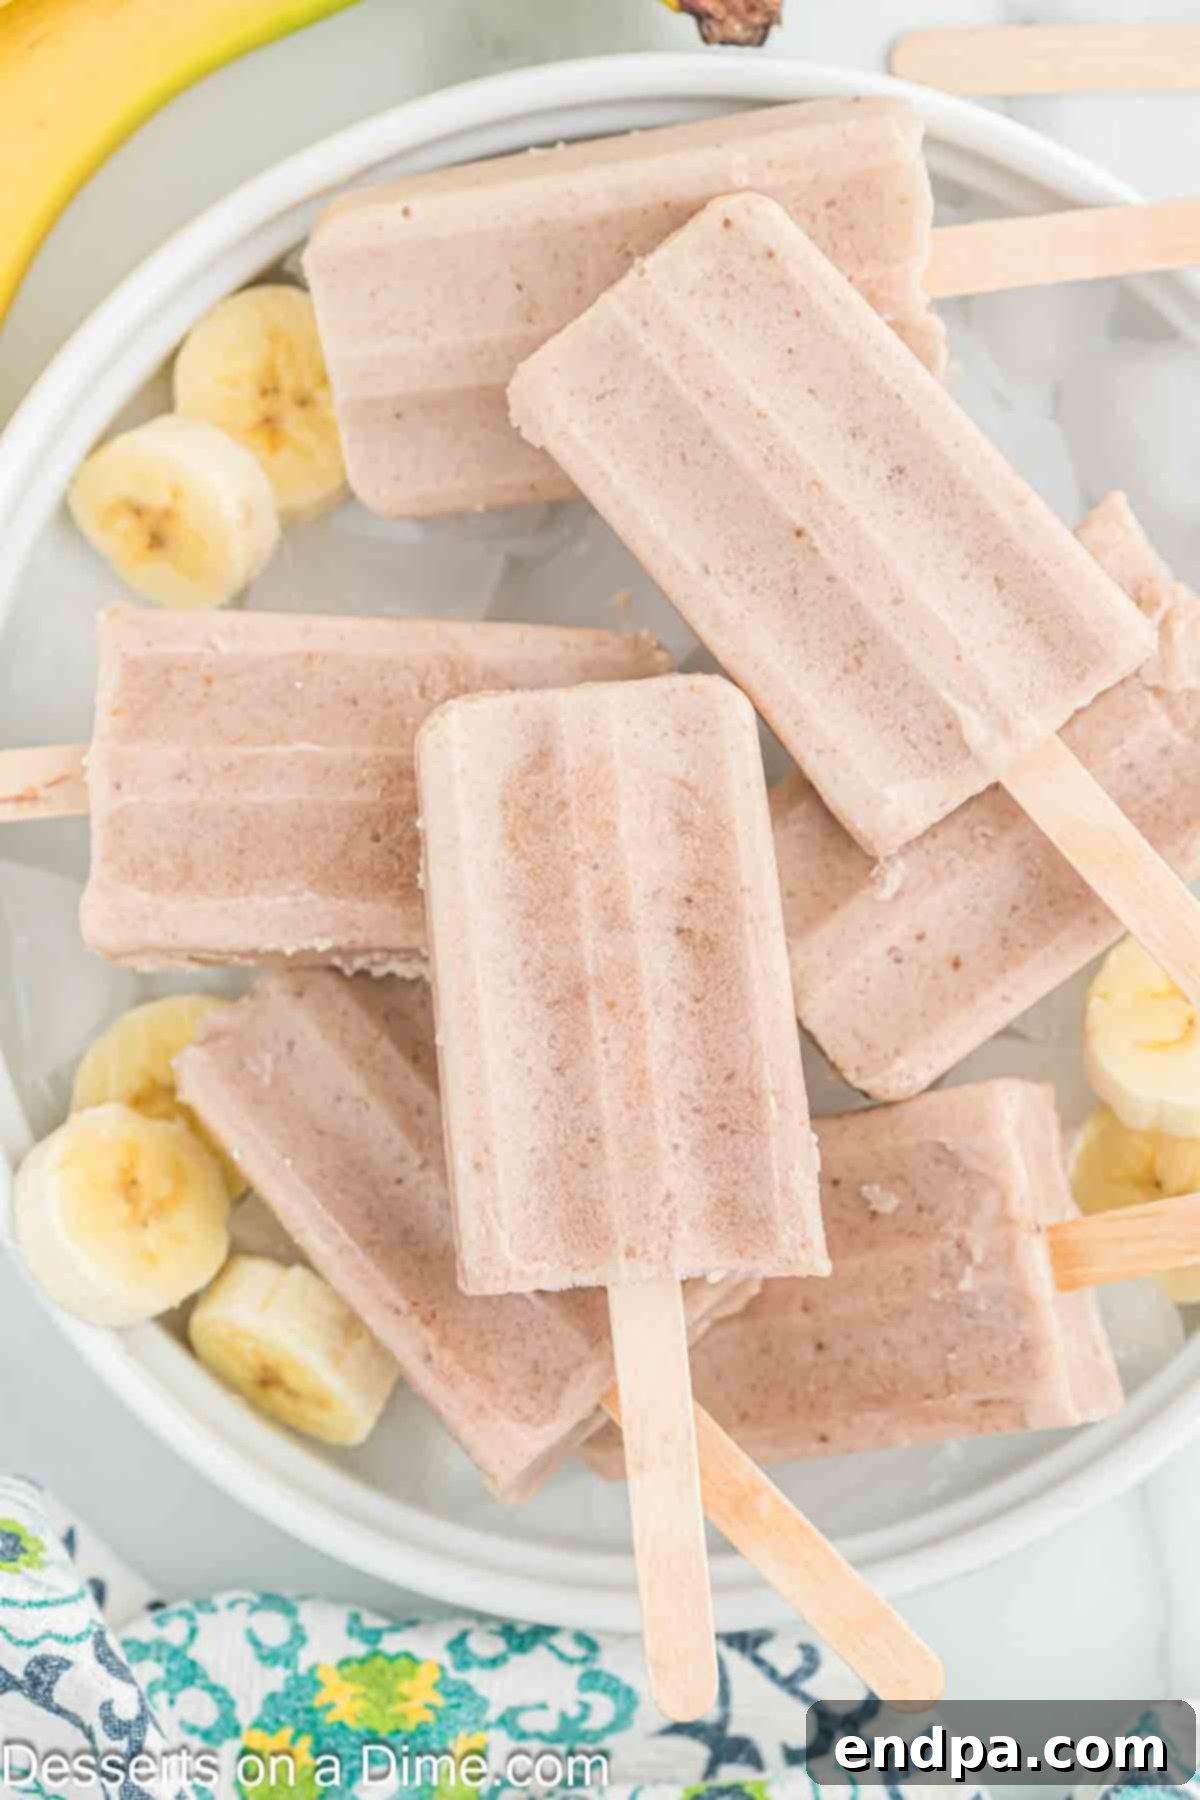
Making homemade popsicles is one of my favorite kitchen activities, and this banana version truly stands out. It’s a fantastic way to utilize those ripe bananas sitting on your counter, transforming them into a creamy, naturally sweet delight. The magic happens when ripe bananas are blended and frozen; their texture becomes incredibly smooth, remarkably similar to soft-serve ice cream. This makes banana popsicles an excellent, healthier alternative to traditional ice cream, perfect for satisfying sweet cravings without the added sugars and fats.
Beyond their delightful taste and creamy consistency, these popsicles offer a wonderful opportunity to introduce healthy habits into your family’s diet. They are packed with the goodness of real fruit, making them a smart choice for an afternoon snack or a light dessert. Plus, the simplicity of the recipe means you can involve your children in the preparation, turning it into a fun and educational activity. From Greek Yogurt Popsicles to vibrant Blueberry Popsicles, the world of homemade frozen treats is vast, but these banana popsicles are a foundational recipe everyone should master. And if you find yourself with an abundance of bananas, don’t stop here! Consider trying other delicious banana-based recipes like Banana Cookies or exploring more banana desserts.
Table of Contents
- Why You Will Love These Banana Popsicles
- What You’ll Need: Key Ingredients for Banana Popsicles
- Endless Possibilities: Delicious Banana Popsicle Variations
- Step-by-Step Guide: How to Make Banana Popsicles
- Storage Solutions: Keeping Your Banana Popsicles Fresh
- Pro Tips for Perfect Banana Popsicles
- Frequently Asked Questions About Banana Popsicles
- Explore More Refreshing Popsicle Recipes
- Delightful Banana Desserts to Try Next
- Banana Popsicles Recipe
Why You Will Love These Banana Popsicles
There are countless reasons to fall in love with this simple banana popsicle recipe. They’re not just a treat; they’re a convenient, healthy, and customizable delight for any occasion.
- Minimal Ingredients: The beauty of this recipe lies in its simplicity. You truly only need three core ingredients, which are likely already in your pantry or easily accessible at any grocery store. This makes it a perfect last-minute dessert or snack option.
- A Healthy & Guilt-Free Indulgence: In an era where healthy eating is paramount, these banana popsicles shine as a fantastic alternative to highly processed, sugar-laden frozen treats. Bananas provide natural sweetness, potassium, and fiber, while milk adds calcium and protein. It’s a treat you can feel good about serving to your family, knowing they’re getting beneficial nutrients.
- Effortless Preparation: From blending to freezing, the entire process is incredibly straightforward and quick. It requires no baking, no complex techniques, and very little active time. This makes it ideal for busy weekdays or when you need a speedy dessert for unexpected guests.
- Infinitely Customizable: While the basic recipe is wonderfully delicious on its own, it also serves as a perfect canvas for endless flavor variations. Whether you want to add more fruit, a hint of spice, or even a decadent chocolate swirl, these popsicles are incredibly adaptable to suit every taste and preference.
What You’ll Need: Key Ingredients for Banana Popsicles
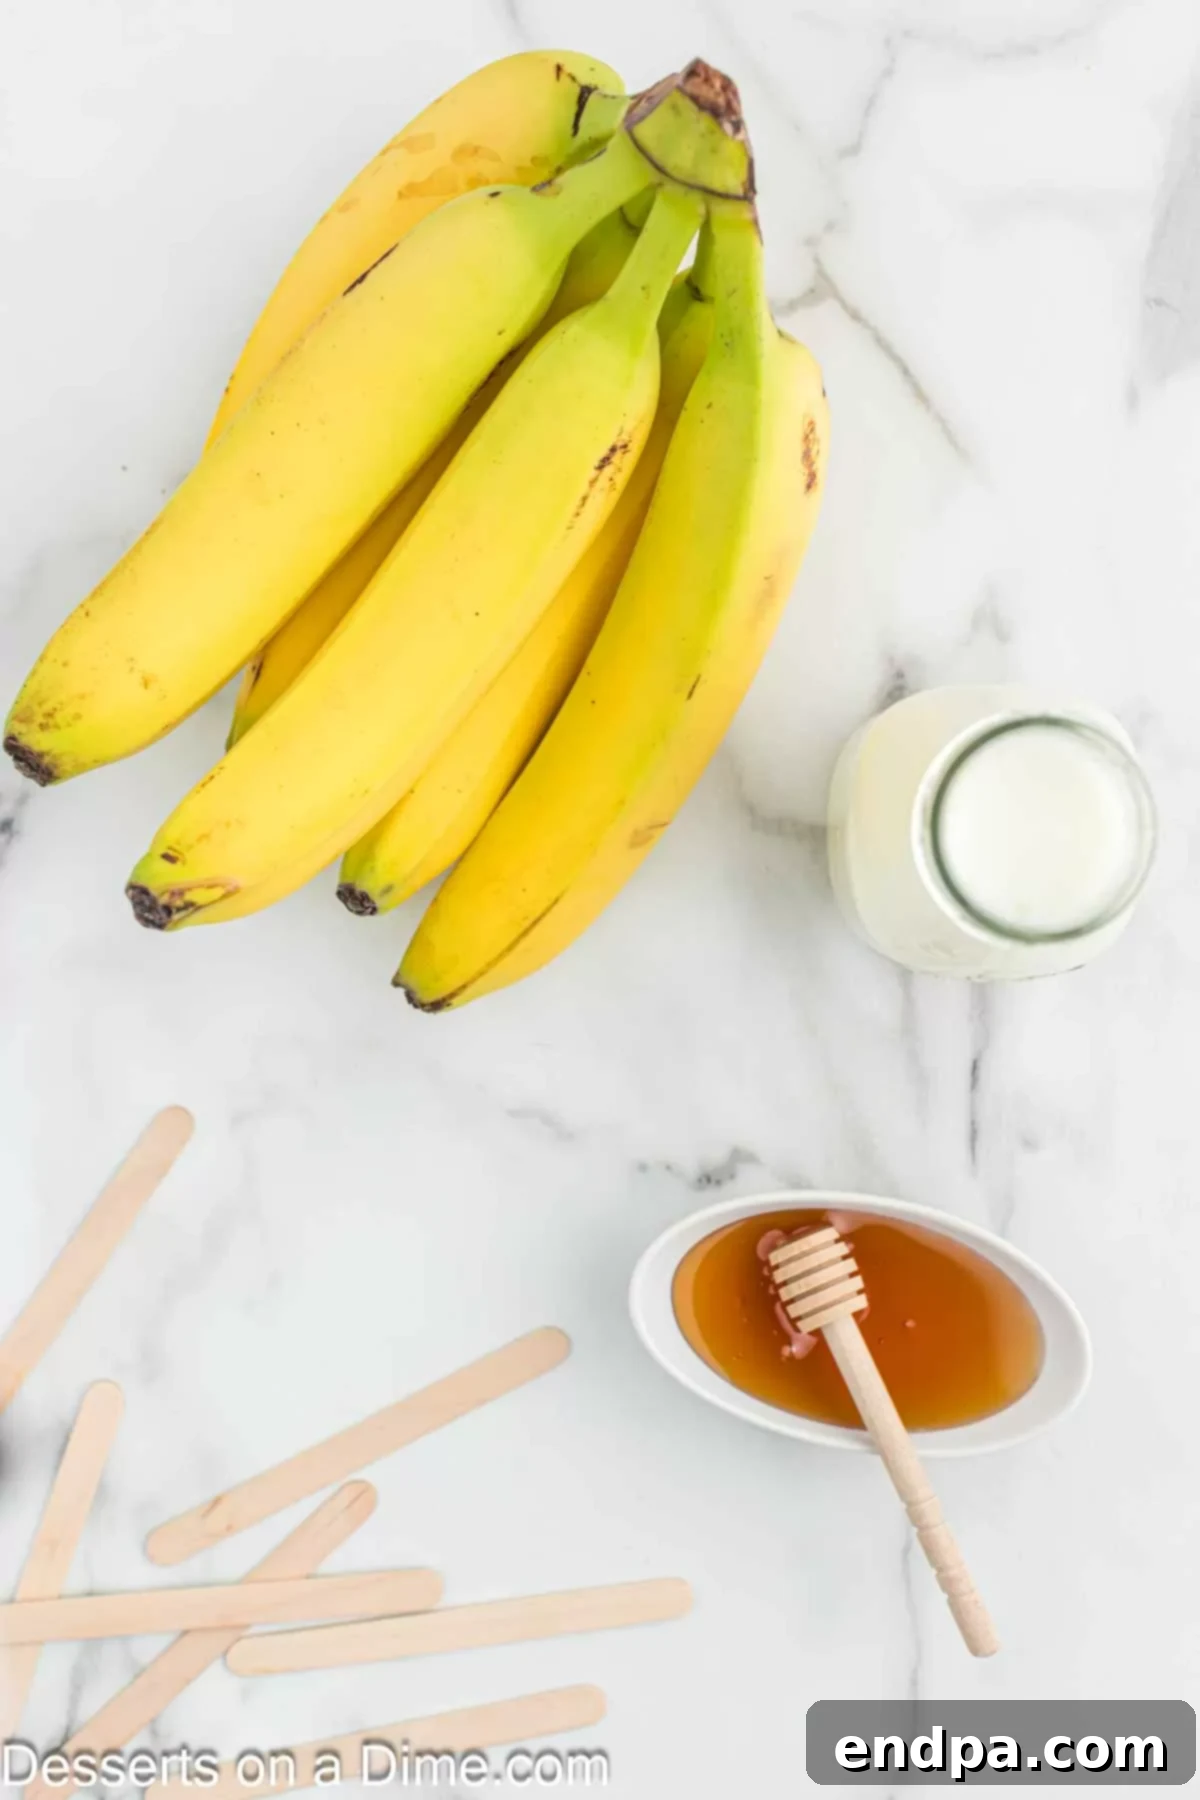
The magic of these popsicles comes from the perfect blend of a few key components:
- Milk: For this recipe, I typically use whole milk, which lends a rich and creamy texture to the popsicles. However, feel free to adapt it to your dietary needs or preferences. Reduced-fat milk works just as well for a lighter option, and for those seeking a dairy-free alternative, almond milk, soy milk, or even coconut milk can be easily substituted, creating a delicious vegan version.
- Bananas: The star of the show! It’s crucial to use ripe bananas for the best flavor and sweetness. Ripe bananas (the ones with brown spots on their peels) are naturally sweeter and blend into a much smoother consistency, eliminating the need for excessive added sweeteners. They are also packed with essential vitamins and minerals, making these popsicles a nutritious choice.
- Honey: This serves as our natural sweetener, enhancing the banana’s inherent sweetness without using refined sugars. You can adjust the amount of honey based on the ripeness of your bananas and your personal taste preference. For those looking for other natural sweetener options, maple syrup or agave nectar can be excellent substitutes, offering slightly different flavor profiles.
These simple ingredients combine to create a refreshing and satisfying frozen treat that truly hits the spot.
Endless Possibilities: Delicious Banana Popsicle Variations
While the classic 3-ingredient banana popsicle is fantastic on its own, its simple base makes it incredibly versatile. Don’t hesitate to experiment and create your own signature flavors!
- Sweetener Swaps: Beyond honey, consider other natural sweeteners. Maple syrup offers a distinct, warm flavor, while agave nectar provides a neutral sweetness. For an even healthier option, you could blend in a couple of pitted dates (Medjool dates work best) for natural sweetness and extra fiber.
- Dairy-Free Delight: Easily make this recipe suitable for those with lactose intolerance or a vegan diet by swapping out dairy milk for a plant-based alternative. Almond milk, soy milk, oat milk, or even full-fat coconut milk (for extra creaminess) are excellent choices. This simple switch ensures everyone can enjoy these frozen treats.
- Fruity Twists: Elevate your banana popsicles by adding other fruits.
- Strawberry Banana Popsicles: A classic combination! Add ½ cup to 1 cup of fresh or frozen strawberries to the blender. You might need to slightly adjust the amount of milk depending on how much liquid the strawberries release.
- Tropical Fusion: Blend in pineapple chunks, mango, or a splash of orange juice for a taste of the tropics.
- Berry Blast: Incorporate blueberries, raspberries, or mixed berries for an antioxidant-rich and flavorful popsicle.
- Chocolate Lovers’ Dream: Bananas and chocolate are a match made in heaven!
- Cocoa Powder Kick: Add 1-2 tablespoons of unsweetened cocoa powder to the blender for a subtle chocolate banana flavor.
- Chocolate Chip Surprise: Stir in a handful of mini chocolate chips into the mixture before pouring it into the molds.
- Dipped Decadence: For an extra special treat, once your popsicles are fully frozen, melt some chocolate (dark, milk, or white) and dip the popsicles in it. For added texture and crunch, sprinkle with chopped nuts, shredded coconut, or sprinkles before the chocolate sets. Refreeze briefly until the chocolate hardens.
- Spices & Extracts: A dash of spice can transform the flavor profile.
- Vanilla Extract: A teaspoon of pure vanilla extract enhances the natural sweetness and adds a comforting aroma.
- Cinnamon or Nutmeg: A pinch of cinnamon or nutmeg can add a warm, cozy flavor, especially delicious with bananas.
- Nutty Goodness: For a protein boost and rich flavor, add a spoonful of peanut butter or almond butter to the blender. You can even swirl it in at the end for a marbled effect.
With these variations, you can create a new popsicle experience every time, keeping your taste buds excited!
Step-by-Step Guide: How to Make Banana Popsicles
Creating these delightful banana popsicles is incredibly simple. Follow these straightforward steps for a perfect batch every time.
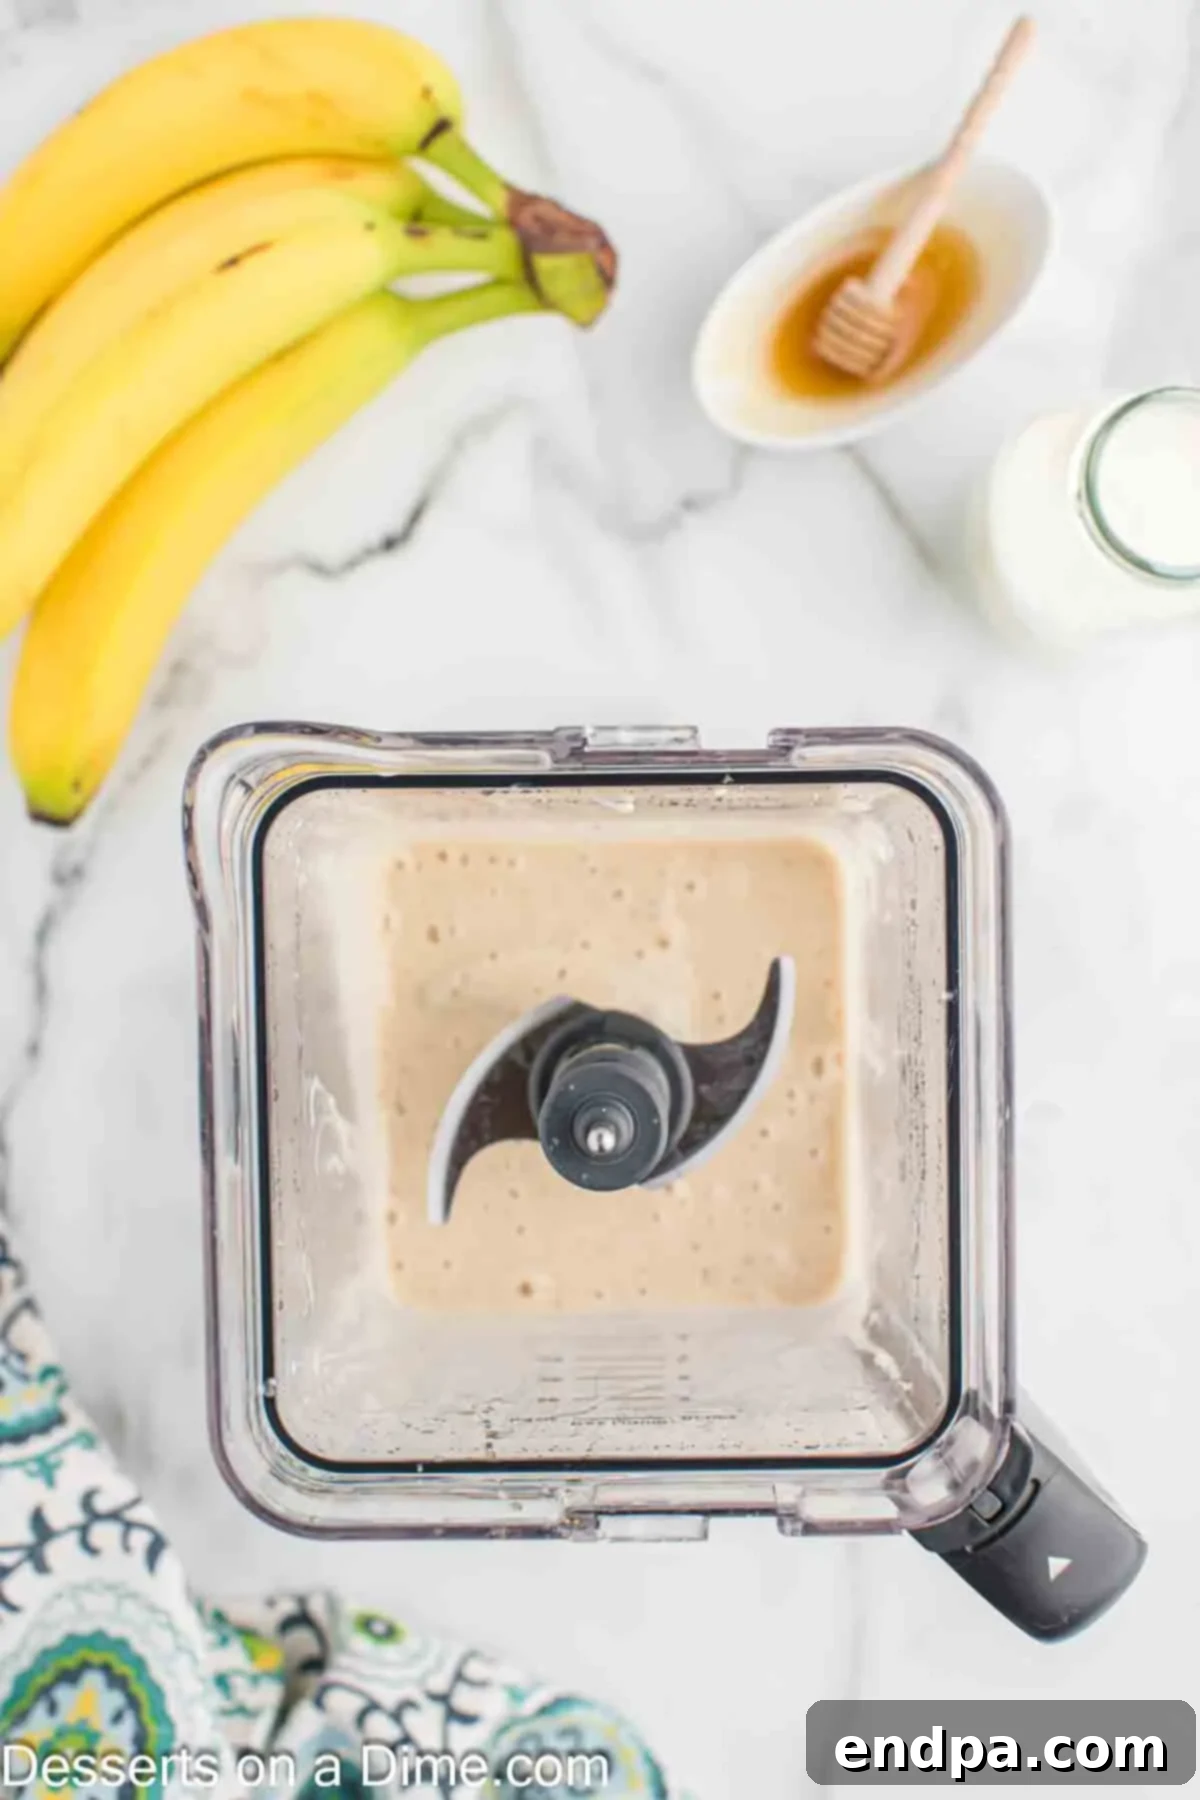
Step 1: Blend the Ingredients. Gather your milk, ripe bananas, and honey. Place all these ingredients into a high-speed blender. Blend until the mixture is completely smooth and creamy, with no lumps of banana remaining. Scrape down the sides of the blender if necessary to ensure everything is fully incorporated. The consistency should be similar to a thick smoothie.
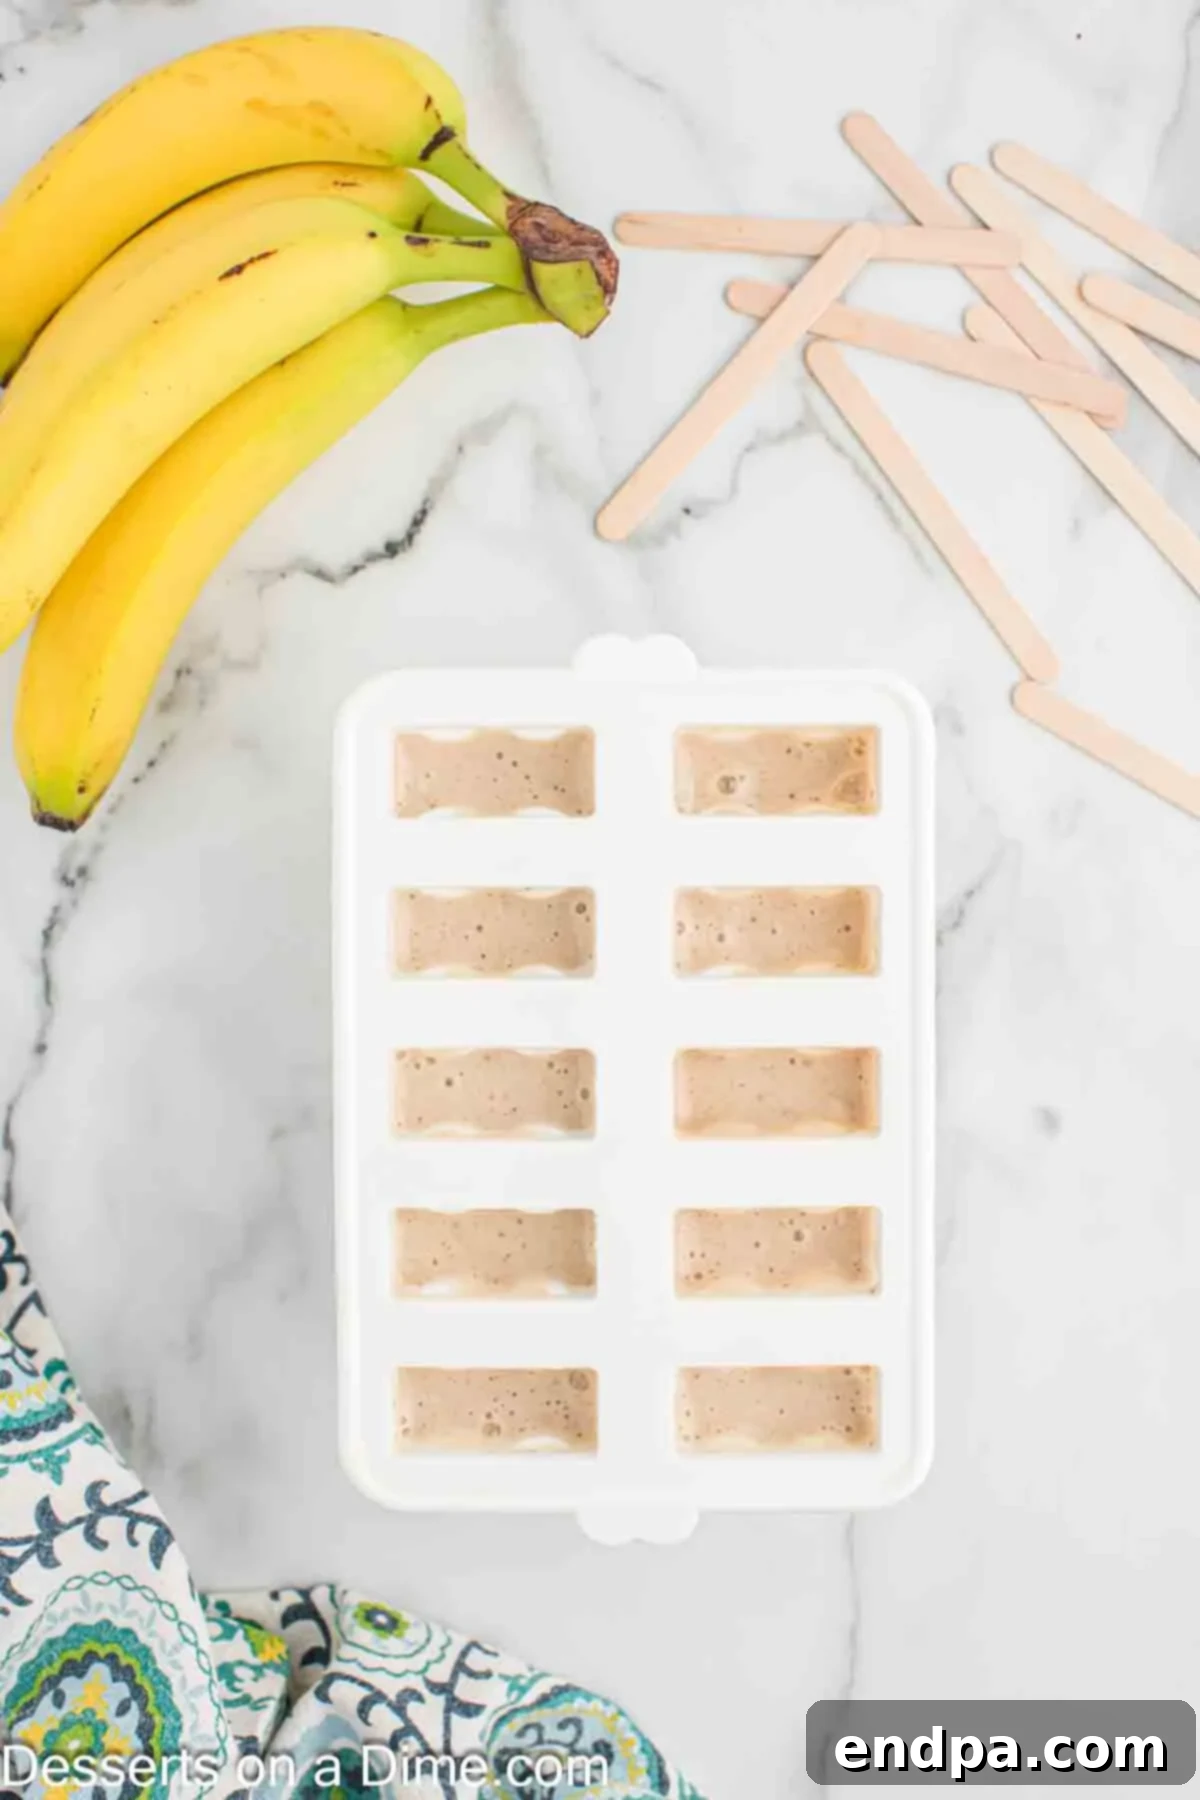
Step 2: Fill the Popsicle Molds. Carefully pour the blended banana mixture into your chosen popsicle molds. It’s important to leave a little space at the top of each mold – about ¼ to ½ inch – as the mixture will expand slightly as it freezes. This prevents overflow and ensures your popsicles have enough room to form properly. For easy pouring, you can use a small funnel or a liquid measuring cup with a spout.
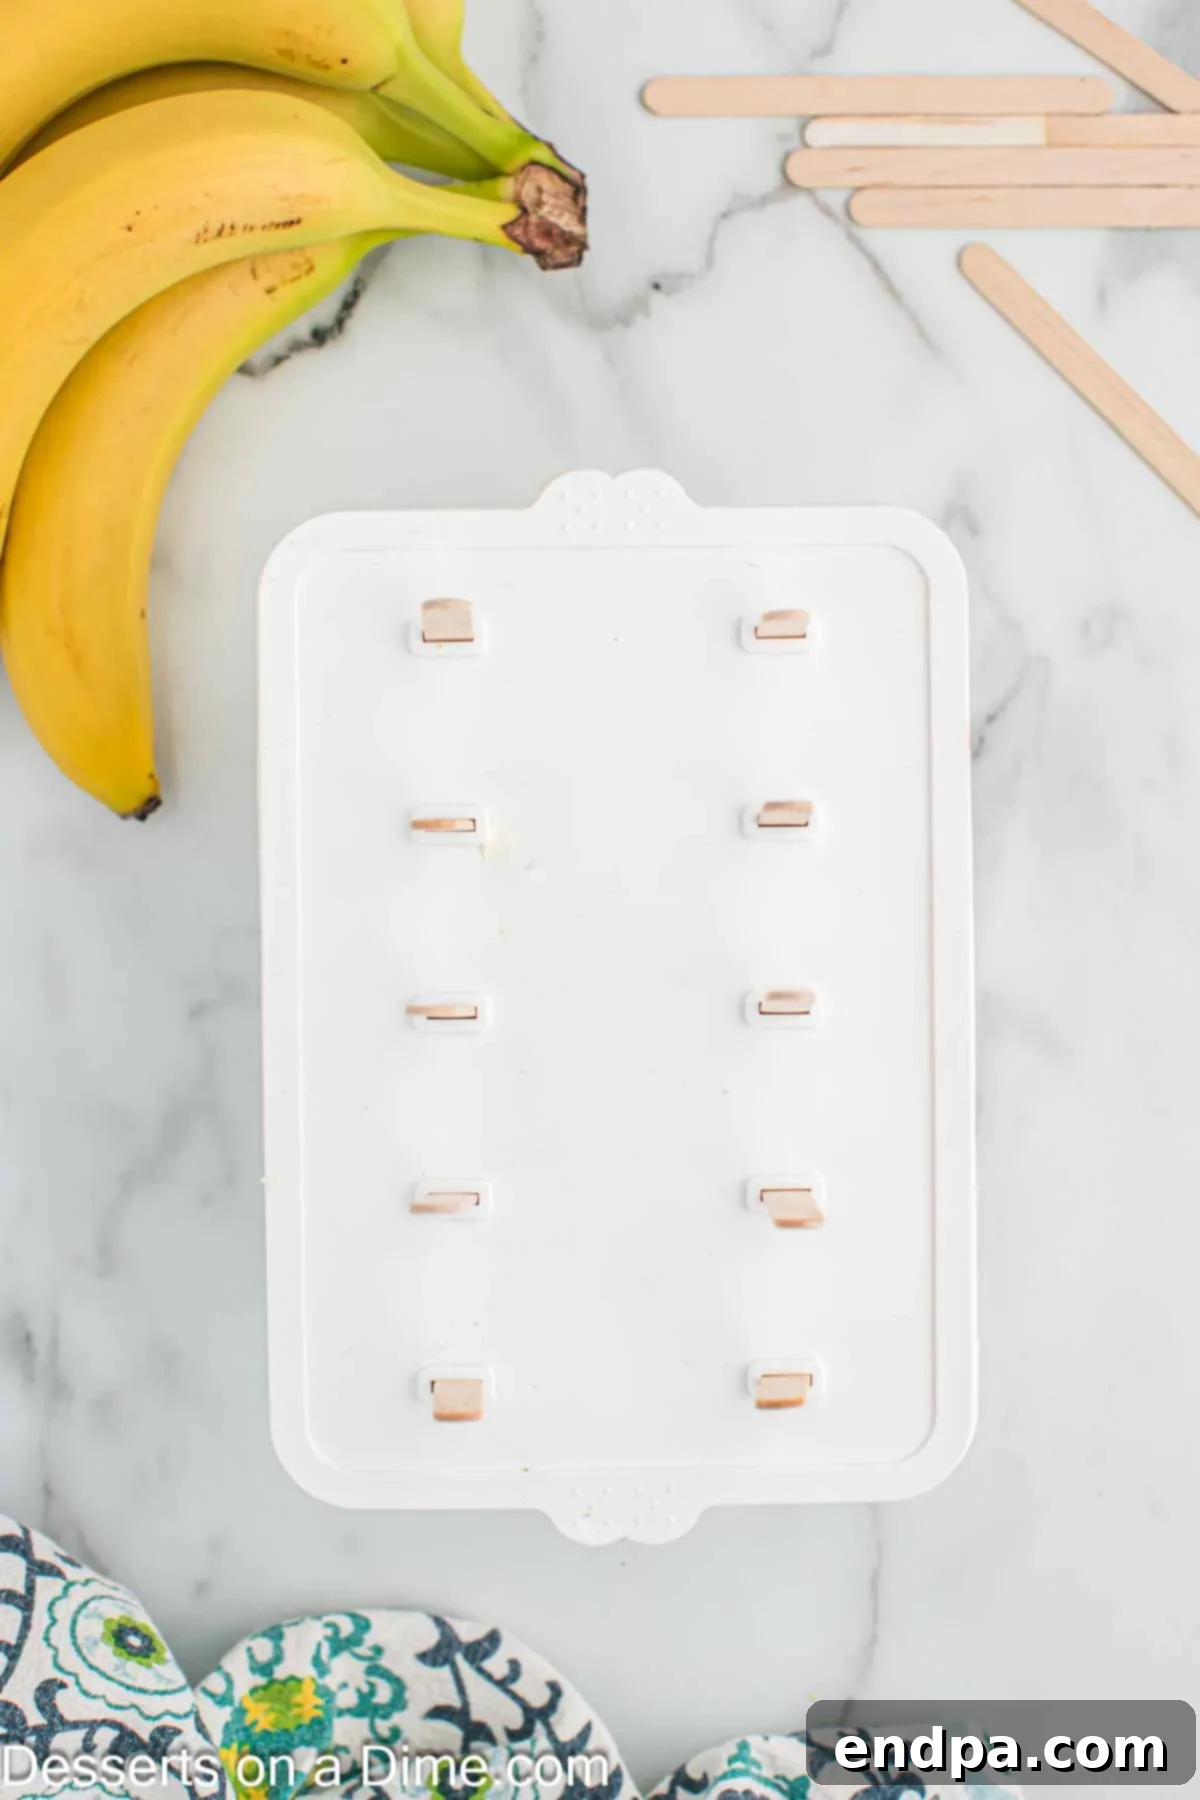
Step 3: Insert Sticks and Freeze. Once the molds are filled, carefully insert the popsicle sticks into the center of each mold. If your molds come with a lid that has slots for sticks, place the lid on top before inserting the sticks. This helps keep them upright. Transfer the filled molds to the freezer and freeze for a minimum of 4 hours, or preferably overnight, to ensure they are completely solid. Adequate freezing time is key to preventing a slushy texture.
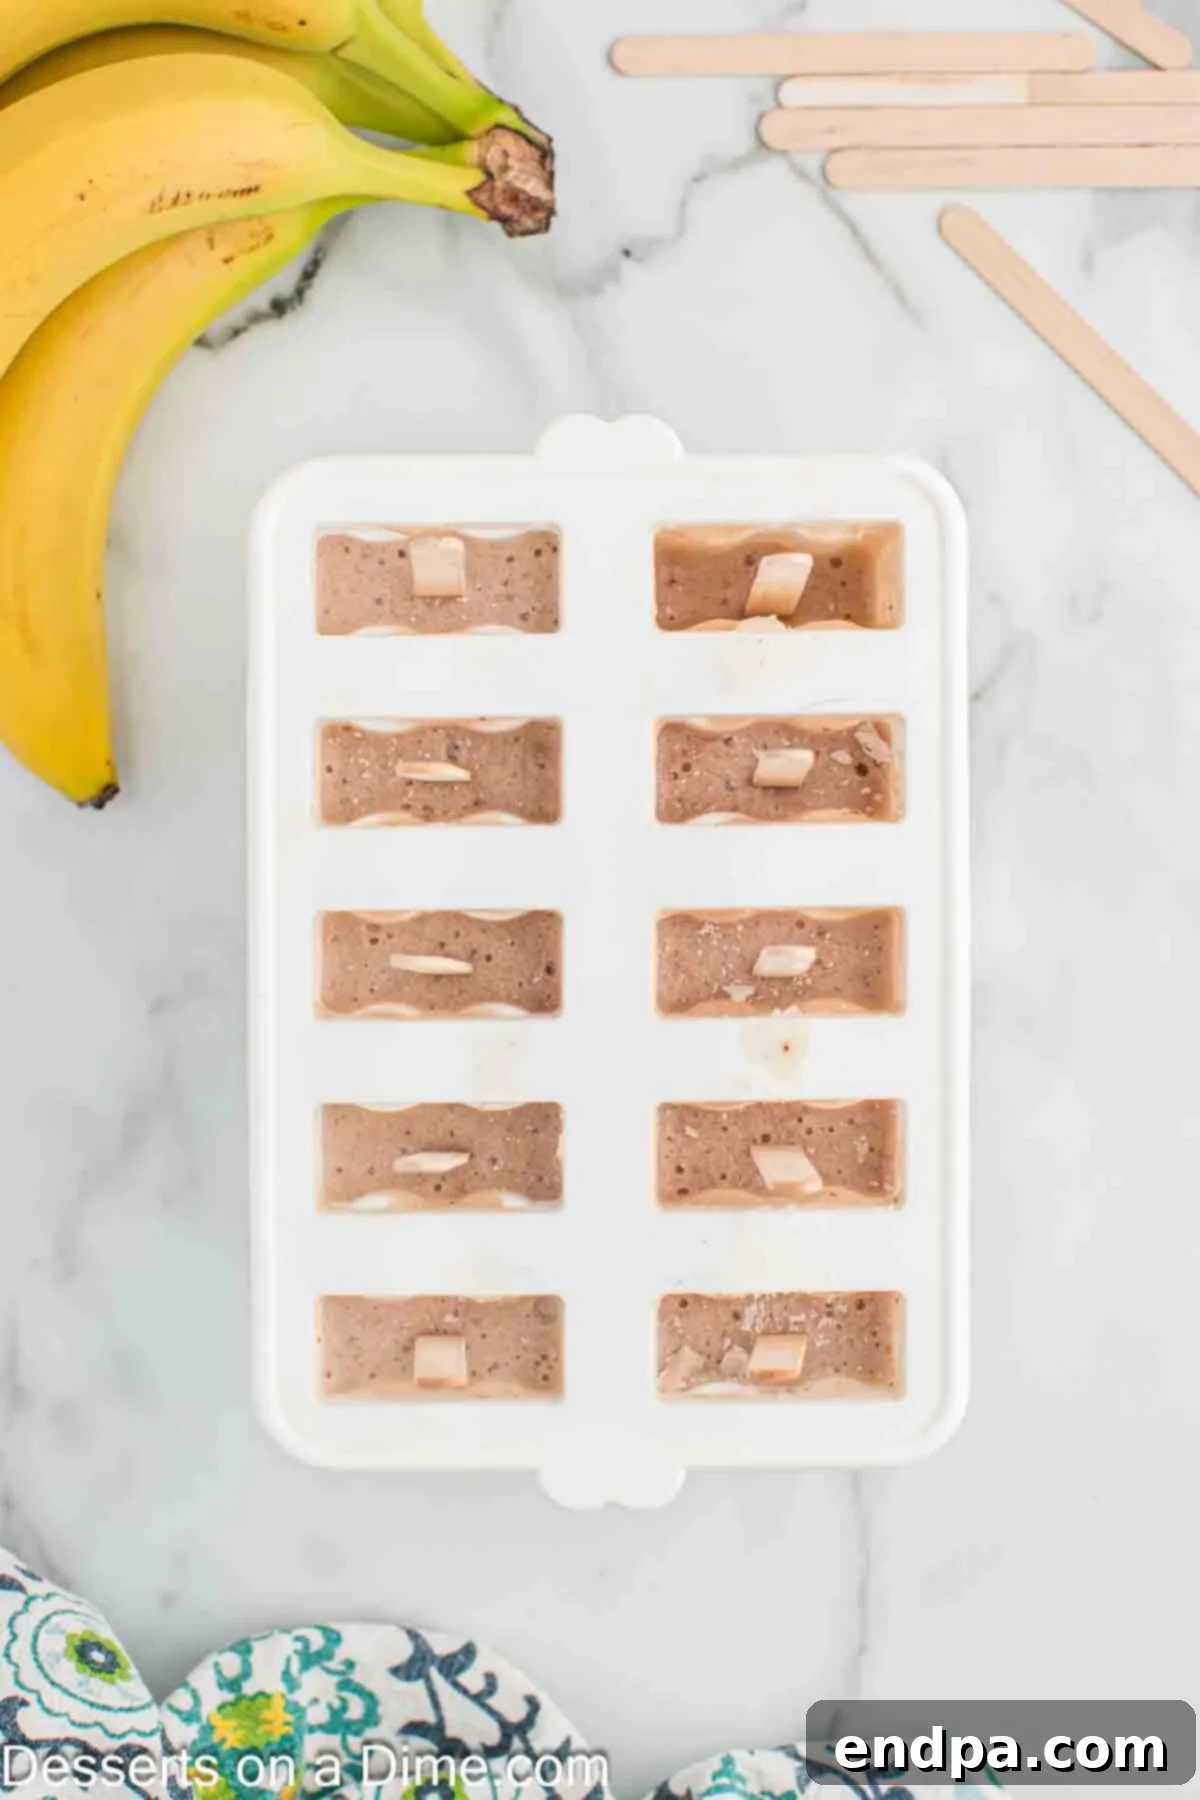
Step 4: Remove and Enjoy! When you’re ready to enjoy your banana popsicles, remove the molds from the freezer. If you have trouble removing them, run the molds under warm tap water for about 10-20 seconds. This will slightly loosen the frozen treats from the edges of the mold, allowing them to slide out easily without breaking. Be careful not to use hot water for too long, as it could start to melt the popsicle itself. Once loosened, gently pull the stick, and your delicious homemade banana popsicle is ready to be savored!
Storage Solutions: Keeping Your Banana Popsicles Fresh
Proper storage is essential to ensure your homemade banana popsicles remain fresh, flavorful, and easy to access. You have a couple of options once they are fully frozen.
You can either keep the popsicles directly in their molds, which works well if you have extra space in your freezer and don’t mind removing them one by one as needed. However, depending on the type of mold, sometimes prolonged exposure can lead to air getting to the popsicles, potentially causing freezer burn or a slightly icy texture over time.
For optimal freshness and convenience, I highly recommend removing the frozen popsicles from their molds and transferring them to an airtight freezer-safe container or a large freezer bag. This method offers several advantages:
- Prevents Freezer Burn: Storing them in an airtight container minimizes exposure to air, which is the primary cause of freezer burn, helping to maintain their smooth texture and fresh flavor.
- Easy Access: This is especially convenient for children, as they can easily grab a popsicle from the container without the need to un-mold it each time.
- Space-Saving: Once out of the molds, popsicles can often be stored more compactly, freeing up space in your freezer.
If you’ve opted for the decadent variation of dipping your popsicles in chocolate or adding other external toppings, it’s best to wrap each individual popsicle tightly in plastic wrap before placing them in a storage container. This extra step protects the coating from condensation and prevents them from sticking together.
These homemade banana popsicles will stay fresh and delicious in the freezer for up to 6 weeks when stored correctly. This means you can easily make a large batch and have a healthy, ready-to-eat treat whenever a craving strikes!
Pro Tips for Perfect Banana Popsicles
While making banana popsicles is inherently simple, a few expert tips can elevate your homemade treats from good to absolutely perfect:
- Gentle Removal from Molds: If your popsicles are stubborn and won’t release easily, resist the urge to force them out. Instead, run the outside of the popsicle mold under warm, but not hot, tap water for about 10-20 seconds. The gentle heat will slightly loosen the outer layer of the popsicle from the mold, allowing it to slide out effortlessly. Avoid using hot water for too long, as it could start melting your delicious creation!
- Choosing the Right Popsicle Molds: The type of mold you use can significantly impact your experience. While plastic molds are common, silicone molds are often preferred because of their flexibility. They are much easier to remove the popsicles from, frequently requiring no extra effort or warm water. Their non-stick nature allows you to simply peel the mold away from the frozen treat, making for a smooth and quick release.
- The Magic of Ripe Bananas: This is arguably the most crucial tip! Always use very ripe bananas – those with plenty of brown spots on their peels. Ripe bananas are not only naturally sweeter, reducing the need for added honey or other sweeteners, but their softer texture also blends into a much creamier, smoother mixture. Under-ripe bananas will result in a less flavorful and potentially grainier popsicle.
- Quality Ingredients Matter: Since there are so few ingredients in this recipe, the quality of each one truly shines through. Using good quality milk and a flavorful honey will make a noticeable difference in the overall taste of your popsicles. Opt for ingredients you genuinely enjoy the taste of.
- Adjusting Consistency: If, after blending, you find your mixture to be too thick for pouring into the molds, you can add a small amount of additional milk (a tablespoon at a time) to thin it out. Blend briefly after each addition until you reach a pourable yet still creamy consistency. Be cautious not to add too much, as a very thin mixture might result in icier popsicles.
- Batch Freezing for Future Enjoyment: Don’t just make a single serving! This recipe is fantastic for batch freezing. Prepare a larger quantity and store them as suggested in the storage section. Having a stash of these healthy treats in your freezer means you’re always prepared for a healthy snack or a quick dessert.
- Involve the Little Ones: Making popsicles is a wonderful activity to do with children. They can help peel the bananas, add ingredients to the blender (with supervision), and even pour the mixture into the molds. It’s a fun way to get them interested in healthy eating and basic cooking skills.
Frequently Asked Questions About Banana Popsicles
Here are some common questions you might have when making your own banana popsicles:
Can I use frozen bananas for this recipe?
Absolutely! Using frozen bananas is a fantastic idea, especially if you have overripe bananas you want to save for later. Simply peel and slice them before freezing, then blend them directly from frozen. This can even result in an even creamier, thicker mixture, sometimes requiring slightly less milk or a bit more blending time. It’s a great way to reduce food waste and always have a banana supply on hand for your popsicles or smoothies.
How long do homemade banana popsicles last in the freezer?
When stored properly in an airtight container, homemade banana popsicles can last for up to 6 weeks in the freezer. While they are safe to eat beyond that, their texture and flavor might start to diminish, possibly becoming a bit icier or losing some of their vibrant taste. For the best quality, try to enjoy them within the first month.
What if I don’t have popsicle molds?
No popsicle molds? No problem! You can get creative with what you have. Small paper cups (like Dixie cups) work wonderfully. Fill them with the mixture, cover the top with aluminum foil, and poke a popsicle stick through the foil into the center. Once frozen, you can simply tear away the paper cup. You can also use ice cube trays for mini popsicles, or even small plastic containers.
Are these banana popsicles suitable for babies or toddlers?
Yes, these popsicles can be a great healthy treat for babies and toddlers, especially if you adjust the sweetness. For very young children, you might consider omitting the honey entirely or reducing it significantly, relying solely on the natural sweetness of very ripe bananas. Ensure the texture is perfectly smooth to avoid choking hazards, and always supervise young children while they enjoy frozen treats.
Can I make these popsicles vegan?
Yes, this recipe is incredibly easy to adapt for a vegan diet. Simply substitute regular milk with your favorite plant-based milk, such as almond milk, soy milk, oat milk, or coconut milk. Ensure that your chosen sweetener (honey, maple syrup, or agave) aligns with your vegan dietary choices. Maple syrup and agave nectar are excellent vegan alternatives to honey.
Explore More Refreshing Popsicle Recipes
If you’ve enjoyed making these banana popsicles, you’ll love diving into the world of other simple and delicious frozen treats. Here are some more easy popsicle recipes to try:
- Homemade Lime Popsicles Recipe
- Homemade Raspberry Popsicle Recipe
- Lemon Popsicles Recipe
- Jello Popsicles Recipe
- Lemon Lime Popsicles
- Root Beer Float Popsicles Recipe
Delightful Banana Desserts to Try Next
If you have extra ripe bananas and are looking for more ways to enjoy their sweet flavor, these banana-based desserts are must-tries. From creamy to comforting, there’s something for every banana lover:
- Peanut Butter Banana Ice Cream
- Moist Banana Cake
- Banana Pudding Cookies Recipe
- Banana Split Cake Recipe
- Fried Bananas Recipe
Banana Popsicles Recipe
Description: You only need 3 ingredients to make refreshing Banana Popsicles. This frozen treat is effortless to make and turns out absolutely delicious. If you can blend, pour and freeze, you can make this recipe!
Prep Time: 10 mins
Freeze Time: 4 hrs
Total Time: 4 hrs 10 mins
Servings: 10 popsicles
Cuisine: American
Course: Dessert, Snack
Author: Carrie Barnard
Ingredients
- 1/2 cup Milk (whole, reduced-fat, or dairy-free alternative)
- 4 Ripe Bananas
- 2 Tablespoons Honey (or maple syrup/agave nectar)
Instructions
- Place all the ingredients (milk, bananas, honey) into a blender. Blend until completely smooth and creamy.
- Pour the mixture into popsicle molds, leaving a small space (about ¼ to ½ inch) at the top for expansion during freezing.
- Insert popsicle sticks into each mold. If your molds have a lid with stick slots, place the lid on top.
- Place the filled popsicle molds in the freezer and freeze for at least 4 hours, or preferably overnight, until solid.
- To remove, run the molds under warm water for 10-20 seconds to loosen the popsicles, then gently pull them out and enjoy!
Recipe Notes
These homemade popsicles will last for up to 6 weeks in the freezer when stored in an airtight container after removal from the molds. If dipped in chocolate, wrap individually before storing.
Nutrition Facts (per serving)
Calories: 62kcal, Carbohydrates: 15g, Protein: 1g, Fat: 1g, Saturated Fat: 0.3g, Polyunsaturated Fat: 0.05g, Monounsaturated Fat: 0.1g, Cholesterol: 1mg, Sodium: 5mg, Potassium: 189mg, Fiber: 1g, Sugar: 10g, Vitamin A: 50IU, Vitamin C: 4mg, Calcium: 18mg, Iron: 0.1mg
We encourage you to make these refreshing banana popsicles. After trying the recipe, please share your thoughts and a star rating if possible! Your feedback is invaluable.
