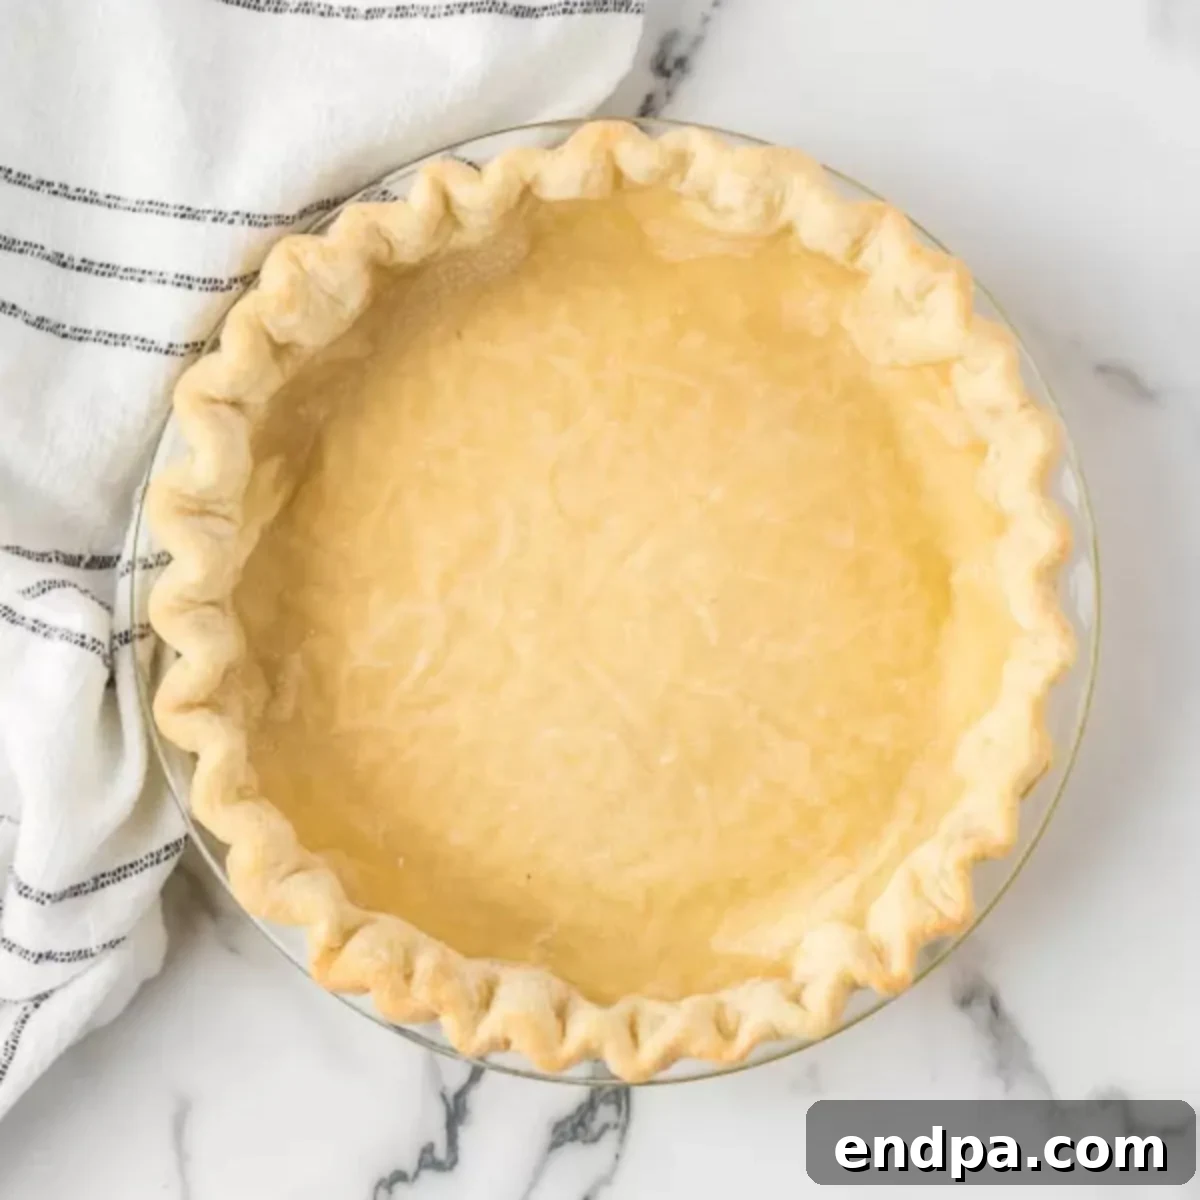
Unlock the secret to consistently perfect homemade pies with our incredibly easy **3-Ingredient Pie Crust Recipe**. Forget complicated techniques or daunting ingredient lists; this recipe delivers a wonderfully buttery, exquisitely flaky, and delightfully tender crust using just three basic components: all-purpose flour, cold butter, and ice water. Whether you’re a seasoned baker looking for a reliable shortcut or a beginner eager to master the art of pie making, you’ll be astonished at how simple it is to create a pie crust from scratch that tastes infinitely superior to any store-bought alternative. This versatile dough is ideal for both sweet dessert fillings and hearty savory creations, making it your ultimate go-to foundation for all your baking endeavors.
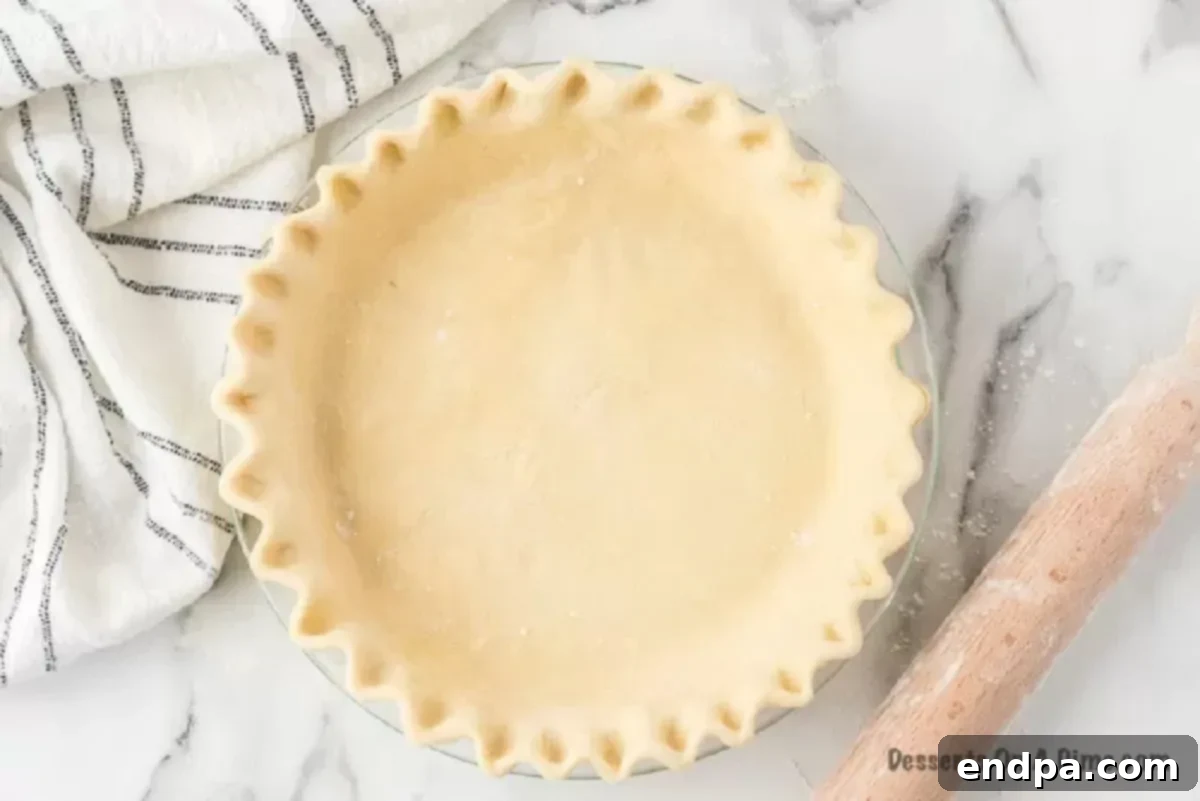
Crafting a truly delicious pie no longer needs to be an intimidating task. This foolproof 3-ingredient pie crust recipe demystifies the process, making authentic homemade pie accessible to everyone. The magic behind its tender, flaky texture lies in the careful handling of these high-quality, temperature-controlled ingredients. The dough comes together quickly with minimal effort, rolls out smoothly, and bakes to a beautiful golden perfection every single time. It creates the ideal, robust yet delicate, foundation for any pie filling you can envision, from classic apple and pumpkin pies to sophisticated creamy custards and savory quiches. Once you experience the difference a homemade crust makes, you’ll wonder why you ever settled for less.
This simple homemade crust is perfect for bakers of all skill levels, from absolute beginners to experienced enthusiasts. You have the flexibility to mix it by hand for a more artisanal touch or use a food processor for even greater speed and consistency. Regardless of your method, the dough handles beautifully, rolling out effortlessly without tearing or sticking. The biggest challenge you’ll face after preparing this easy pie crust is deciding which delightful filling to pair it with! We particularly love how it complements beloved recipes such as our Apple Blueberry Pie, our delightfully Easy Pumpkin Pie Recipe, and the comforting flavors of Sweet Potato Pie. Prepare to impress everyone with your newfound pie-making prowess!
Table of Contents
- Why We Love This Easy Pie Crust
- Essential Ingredients for Your Perfect Pie Crust
- Step-by-Step Instructions: Crafting Your Flaky Pie Crust
- Pro Tips for Achieving Pie Crust Perfection
- Storage and Freezing Tips for Homemade Pie Dough
- What Types of Pies Work Best with This Crust?
- Explore More Delicious Pie Recipes
- Printable 3-Ingredient Pie Crust Recipe Card
Why We Love This Easy 3-Ingredient Pie Crust Recipe
This 3-ingredient pie crust recipe has quickly become a beloved staple in countless kitchens, and for good reason. It effortlessly eliminates the stress often associated with pie baking while consistently delivering spectacularly delicious results. Here’s why we, and so many others, adore it:
Minimal Ingredients, Maximum Flavor and Ease
You won’t need a sprawling list of specialty items or a complex shopping trip for this recipe. With just three fundamental ingredients – high-quality all-purpose flour, rich cold butter, and refreshing ice water – you can construct a pie base that’s unparalleled in both taste and texture. This beautiful simplicity means less time worrying about obscure components and more time enjoying the baking process, truly proving that sometimes, the most extraordinary flavors come from the simplest combinations.
Achieve Unrivaled Flakiness and Buttery Goodness
The defining characteristic of an exceptional pie is undoubtedly its crust, and this recipe consistently surpasses expectations. Each bite offers an exquisite, delicate flakiness that shatters perfectly, releasing a deep, luxurious buttery flavor that complements and elevates any filling. It bakes up dependably crisp and achieves a gorgeous golden-brown hue, guaranteeing a professional-quality finish that will impress even the most discerning palates every single time.
Quick, Easy, and Incredibly Beginner-Friendly
The notion of crafting pie crust from scratch can often appear intimidating, but this recipe is meticulously designed for both ease and efficiency. It effortlessly comes together in mere minutes with minimal physical effort and a surprisingly easy cleanup, making it an ideal choice for busy weeknights, impromptu gatherings, or simply when a baking craving strikes. Even if you’re a complete novice in the kitchen, you’ll find the entire process straightforward, rewarding, and a fantastic confidence booster.
Remarkably Versatile for Any Pie Creation
Whether your culinary preference leans towards something sweet and indulgent or a hearty, savory dish, this homemade pie crust proves to be wonderfully adaptable. It forms the perfect, sturdy yet tender, base for beloved classic fruit pies, decadent creamy custards, robust savory quiches, and elegant tarts. Its inherently neutral yet rich flavor profile seamlessly enhances a vast array of fillings, cementing its status as an indispensable and truly versatile addition to your culinary repertoire.
Hands Down Superior to Store-Bought Options
Once you experience the profound difference in taste and texture, there will be no turning back to pre-made, commercially produced crusts. This homemade iteration offers an unmatched freshness, a discernible depth of flavor, and a textural superiority that simply cannot be replicated by store-bought alternatives. It represents an effortless yet impactful way to significantly elevate your baking and infuse every dish with that irreplaceable, heartfelt touch of homemade love and dedication.
Essential Ingredients for Your Perfect Pie Crust
Creating an exceptional, flaky pie crust hinges on focusing on the quality and, crucially, the temperature of just a few key components. Here’s a breakdown of what you’ll need and the vital role each element plays in achieving that ideal, irresistible texture.
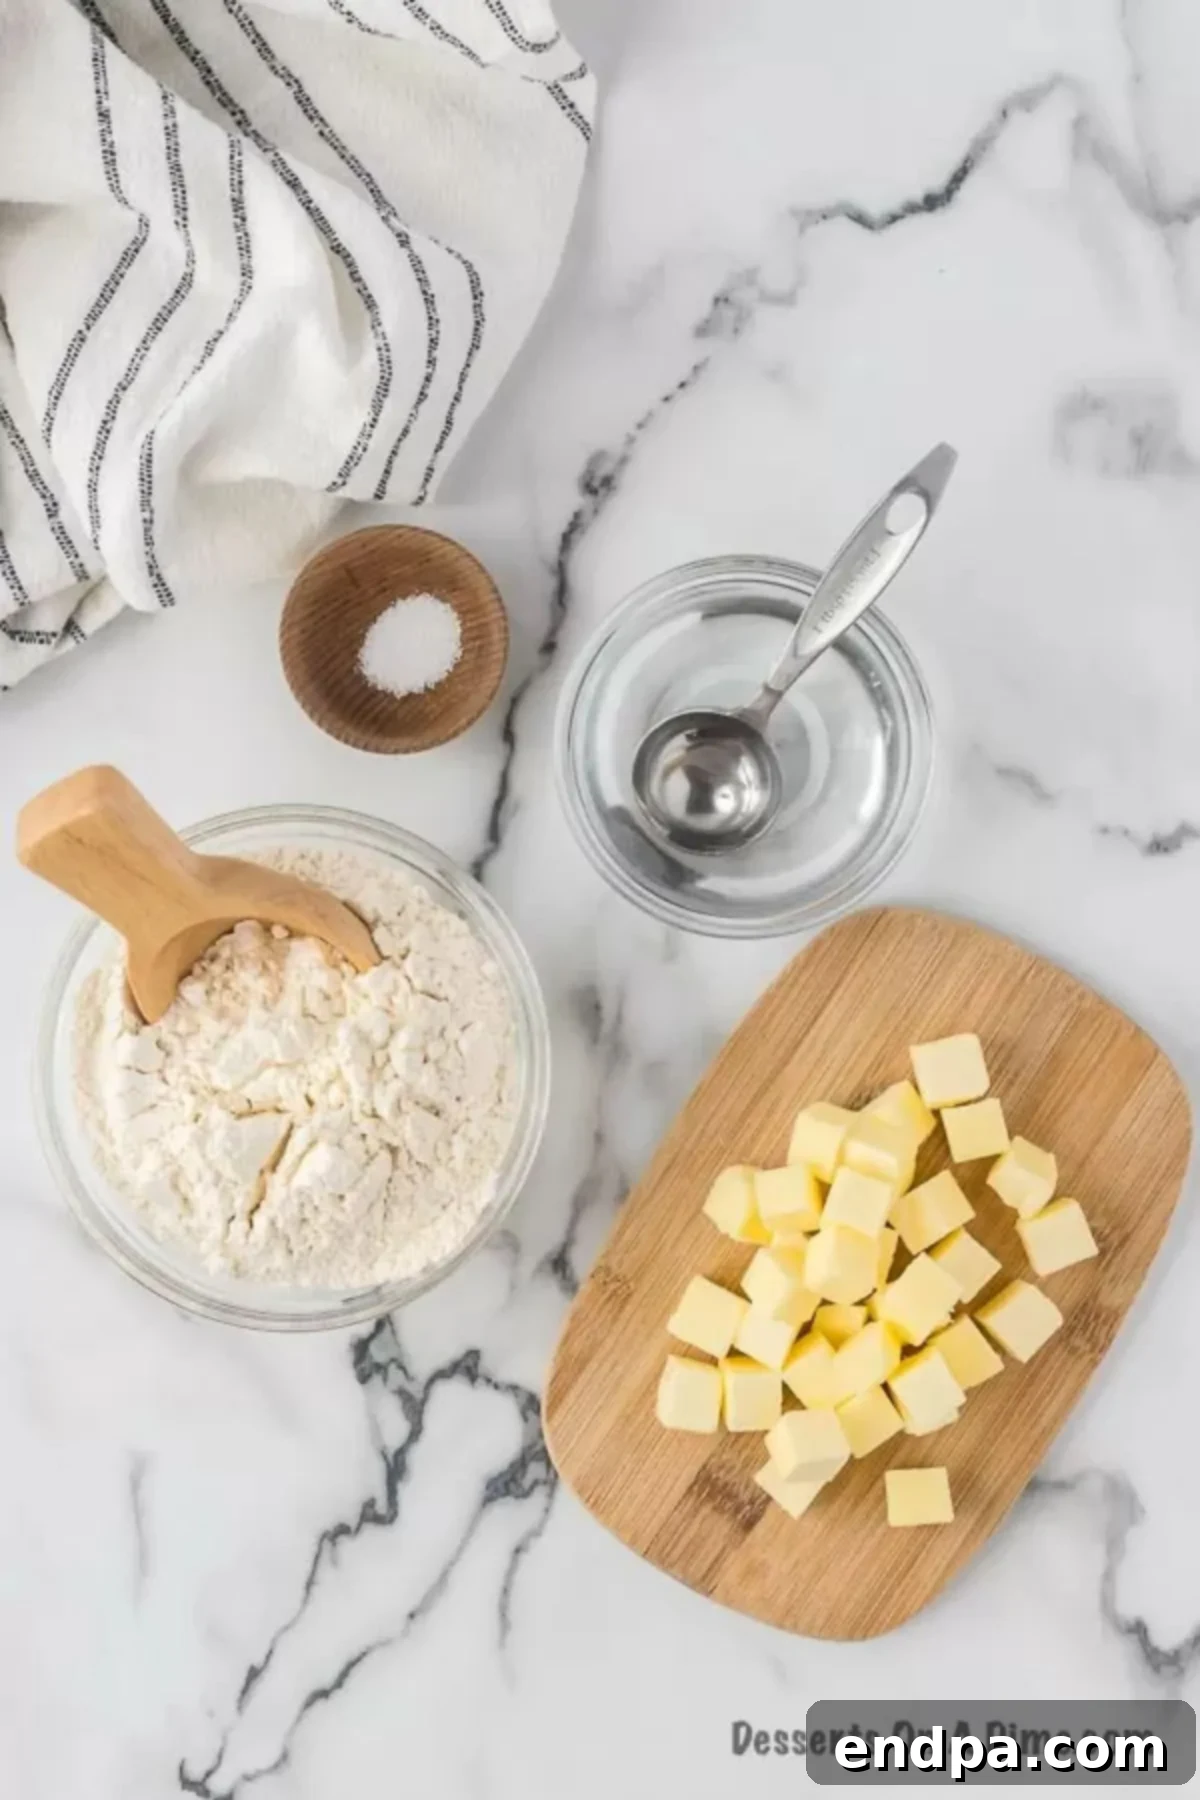
Cold Butter
This is arguably the most critical ingredient for achieving that highly sought-after flaky texture. Opt for unsalted butter, and ensure it’s cut into small, consistently sized cubes. The secret lies in these cold butter pieces, which, when they melt during baking, create pockets of steam that effectively separate the layers of dough. This process results in the light, airy, and distinctively flaky crust that defines a truly great pie. Always ensure your butter is straight from the refrigerator and handled quickly to keep it firm throughout the mixing process.
All-Purpose Flour
Standard all-purpose flour provides the essential structural framework for your pie crust. To guarantee the most accurate measurements and consistently reliable results, it’s vital to avoid scooping flour directly from its bag. Instead, gently spoon the flour into your measuring cup until it overflows slightly, then meticulously level it off with a straight edge (like the back of a knife). This technique prevents over-packing the flour, a common pitfall that can lead to a dense, tough, and less enjoyable crust.
Ice-Cold Water
The temperature of your water is just as paramount as the temperature of your butter. Using genuinely ice-cold water is crucial because it helps to maintain the butter’s firmness, effectively preventing it from melting and fully incorporating into the dough prematurely. This preservation of discrete butter pieces is what directly contributes to the magnificent flakiness of the finished crust. Always have a cup of water prepared with a few ice cubes, allowing it to chill thoroughly before adding it gradually to your mixture.
Salt (Optional, but Highly Recommended for Flavor)
While the recipe prominently features three core ingredients, the addition of a small amount of salt – typically 1/4 teaspoon for a single crust – is a highly recommended practice that significantly elevates the overall taste. Salt acts as a crucial flavor enhancer, adeptly balancing the inherent richness of the butter and drawing out the very best qualities of your pie’s chosen filling. It’s a minor detail that yields a considerable impact on the complexity and deliciousness of the final baked crust.
Step-by-Step Instructions: Crafting Your Flaky Pie Crust
Follow these meticulously detailed steps to create a perfect, golden, and incomparably flaky pie crust every single time. Remember, precision and maintaining cold temperatures are your greatest allies throughout this process!
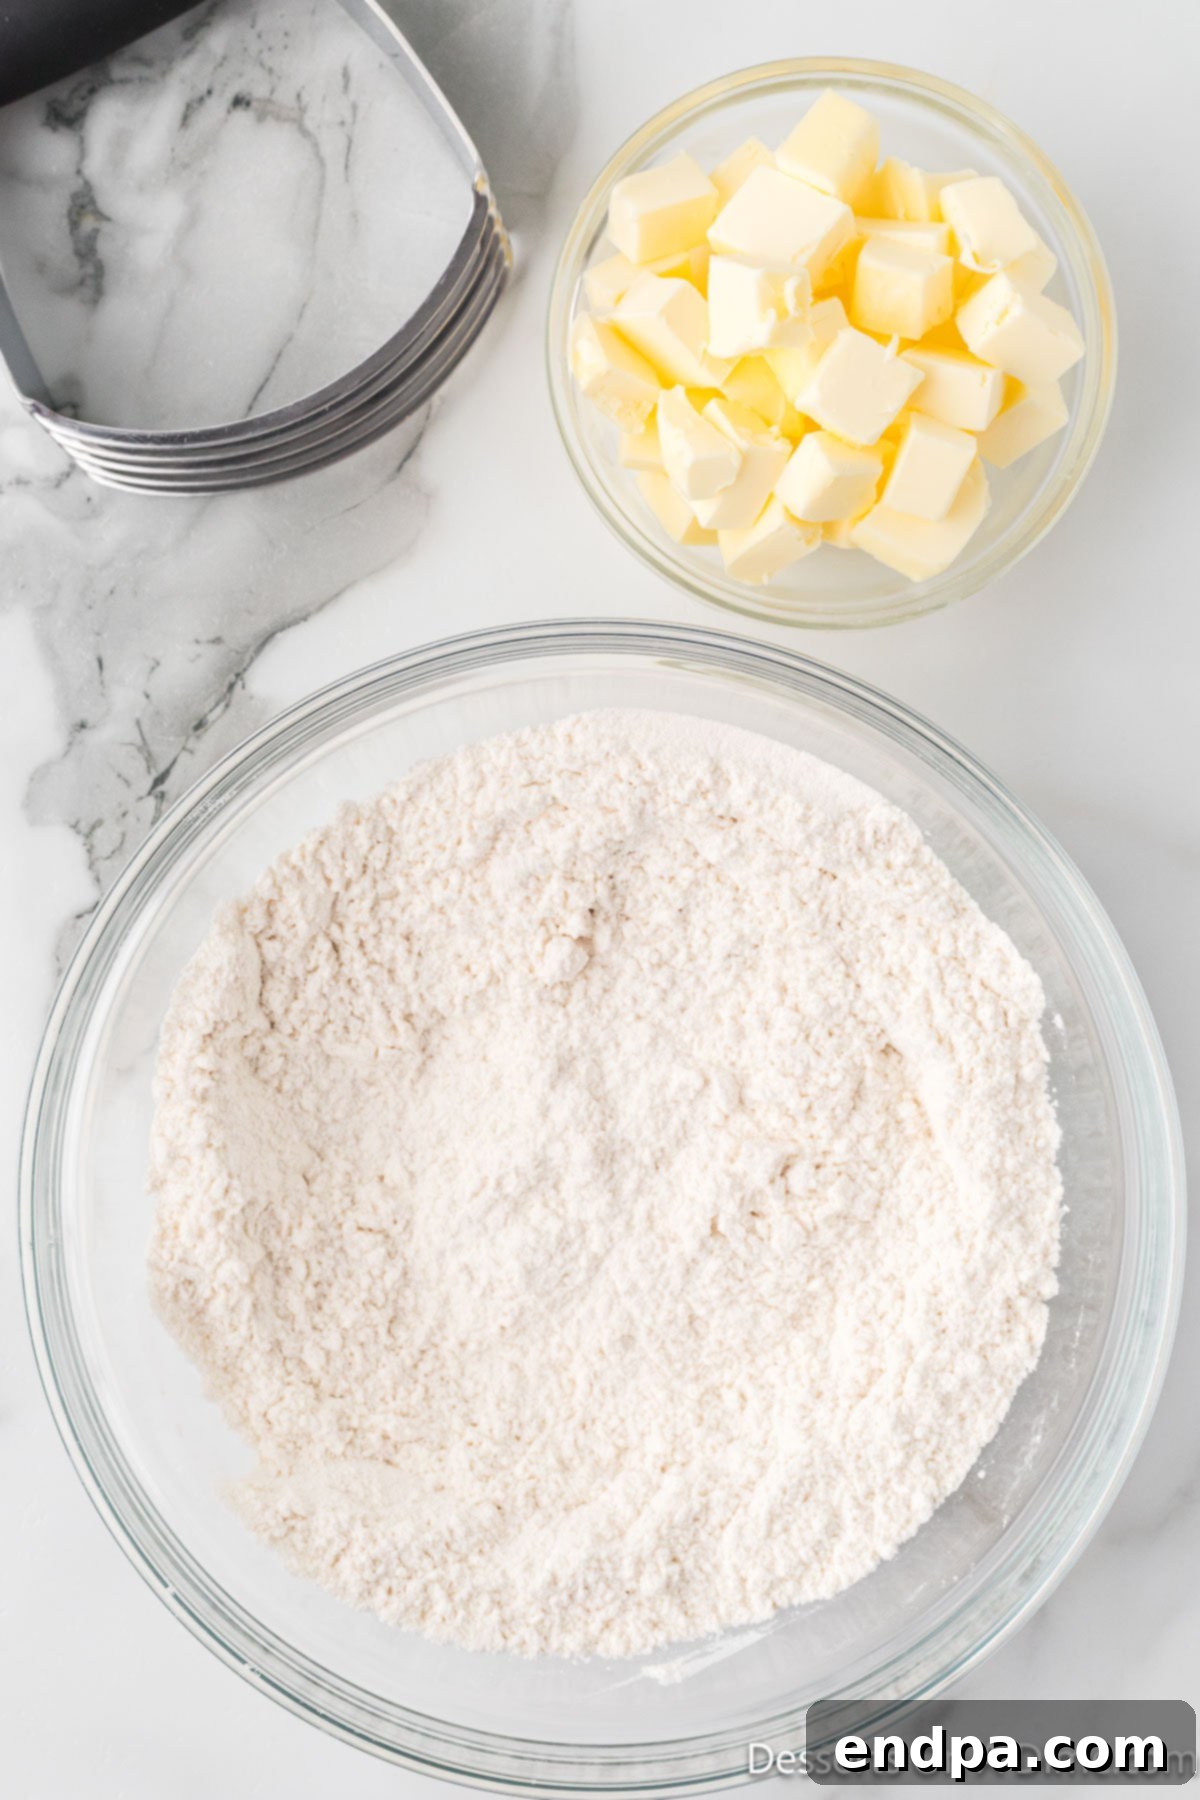
Step 1: Combine Dry Ingredients Thoroughly
In a spacious mixing bowl, begin by whisking together the measured all-purpose flour and salt. It’s important to ensure these dry ingredients are thoroughly combined and evenly distributed. This initial step is key to preventing any pockets of overly salty or bland dough in your finished crust, ensuring a consistent flavor throughout.
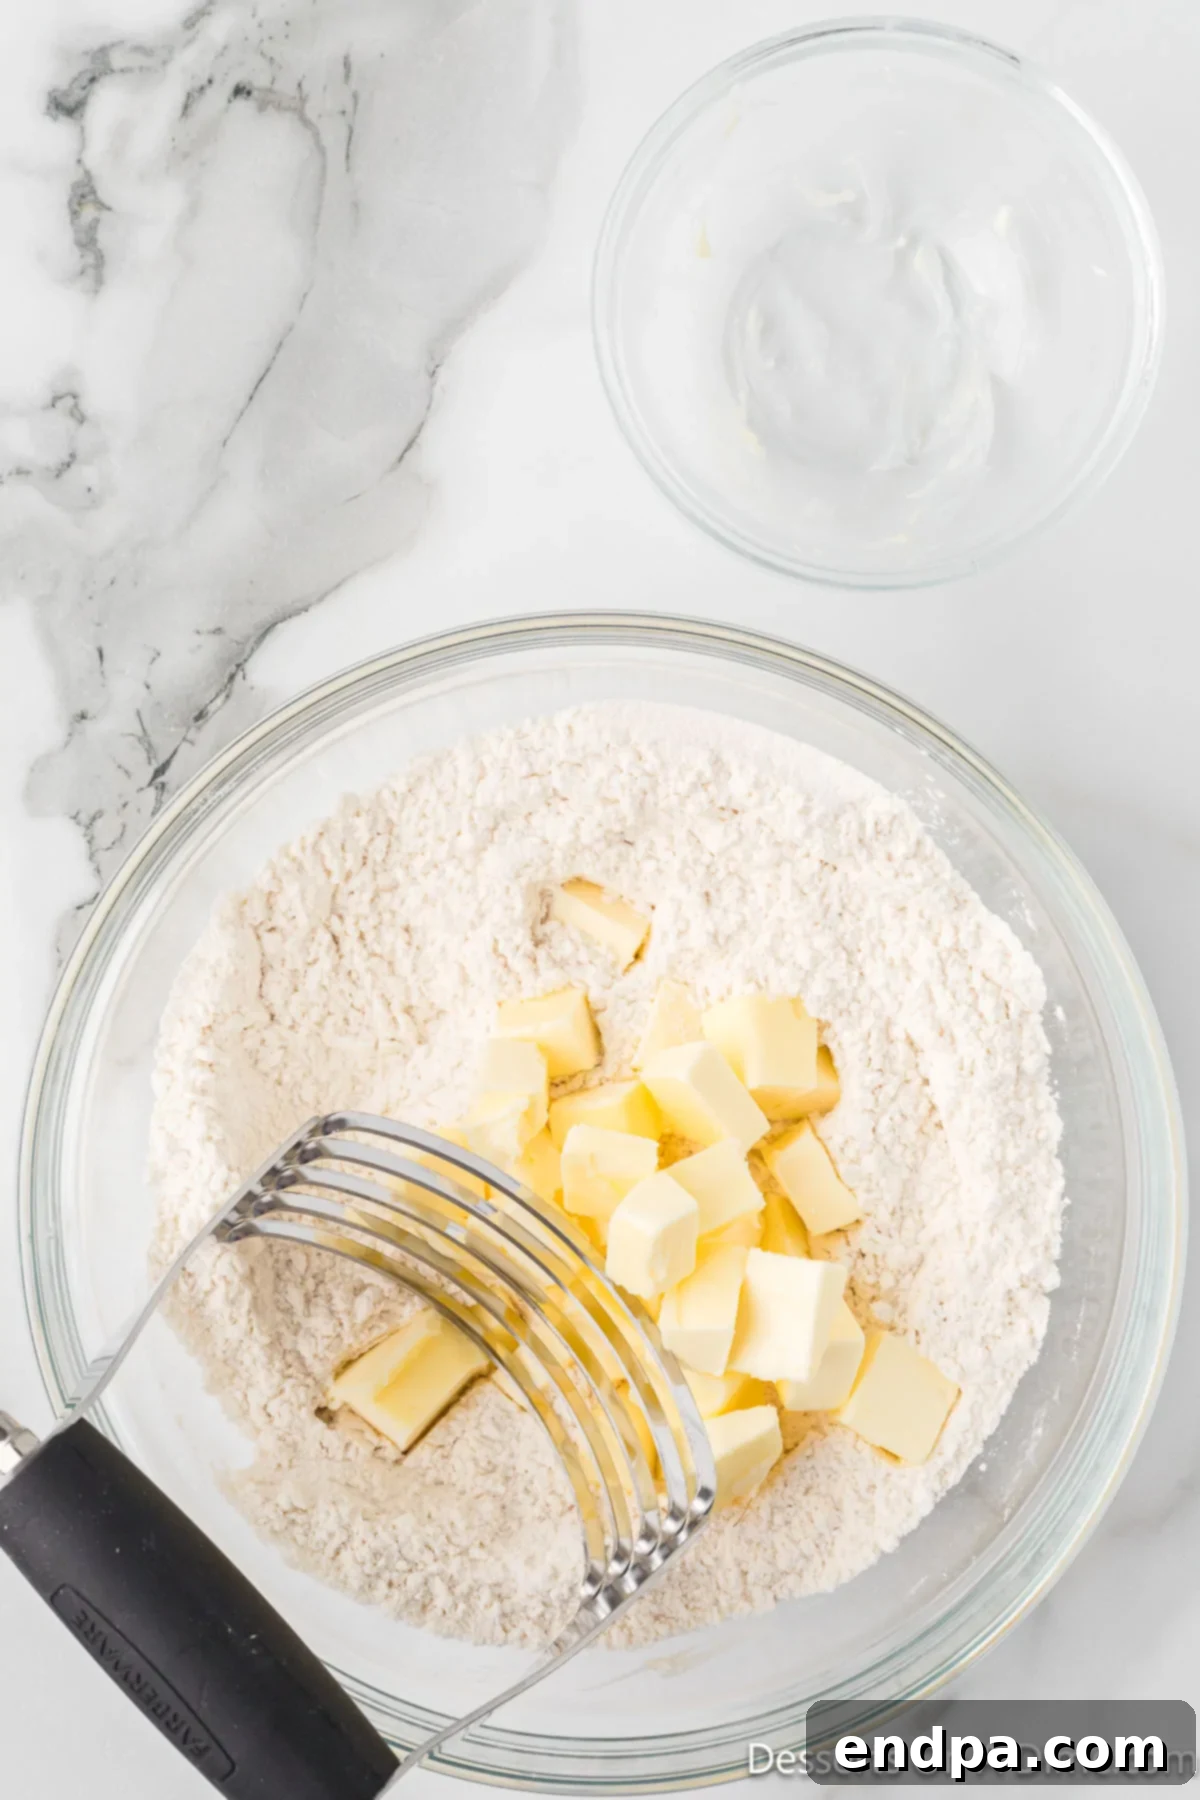
Step 2: Incorporate the Cold Butter Swiftly
Now, add the impeccably cold, precisely cubed butter into your flour mixture. Using either two forks, a dedicated pastry cutter, or your very fingertips, swiftly cut the butter into the dry ingredients. The goal is to work quickly to prevent the butter from warming up and melting. Continue this process until the mixture predominantly resembles coarse crumbs, with some distinct pea-sized pieces of butter still visibly present. These larger, firm butter pieces are absolutely vital for cultivating that coveted flaky texture.
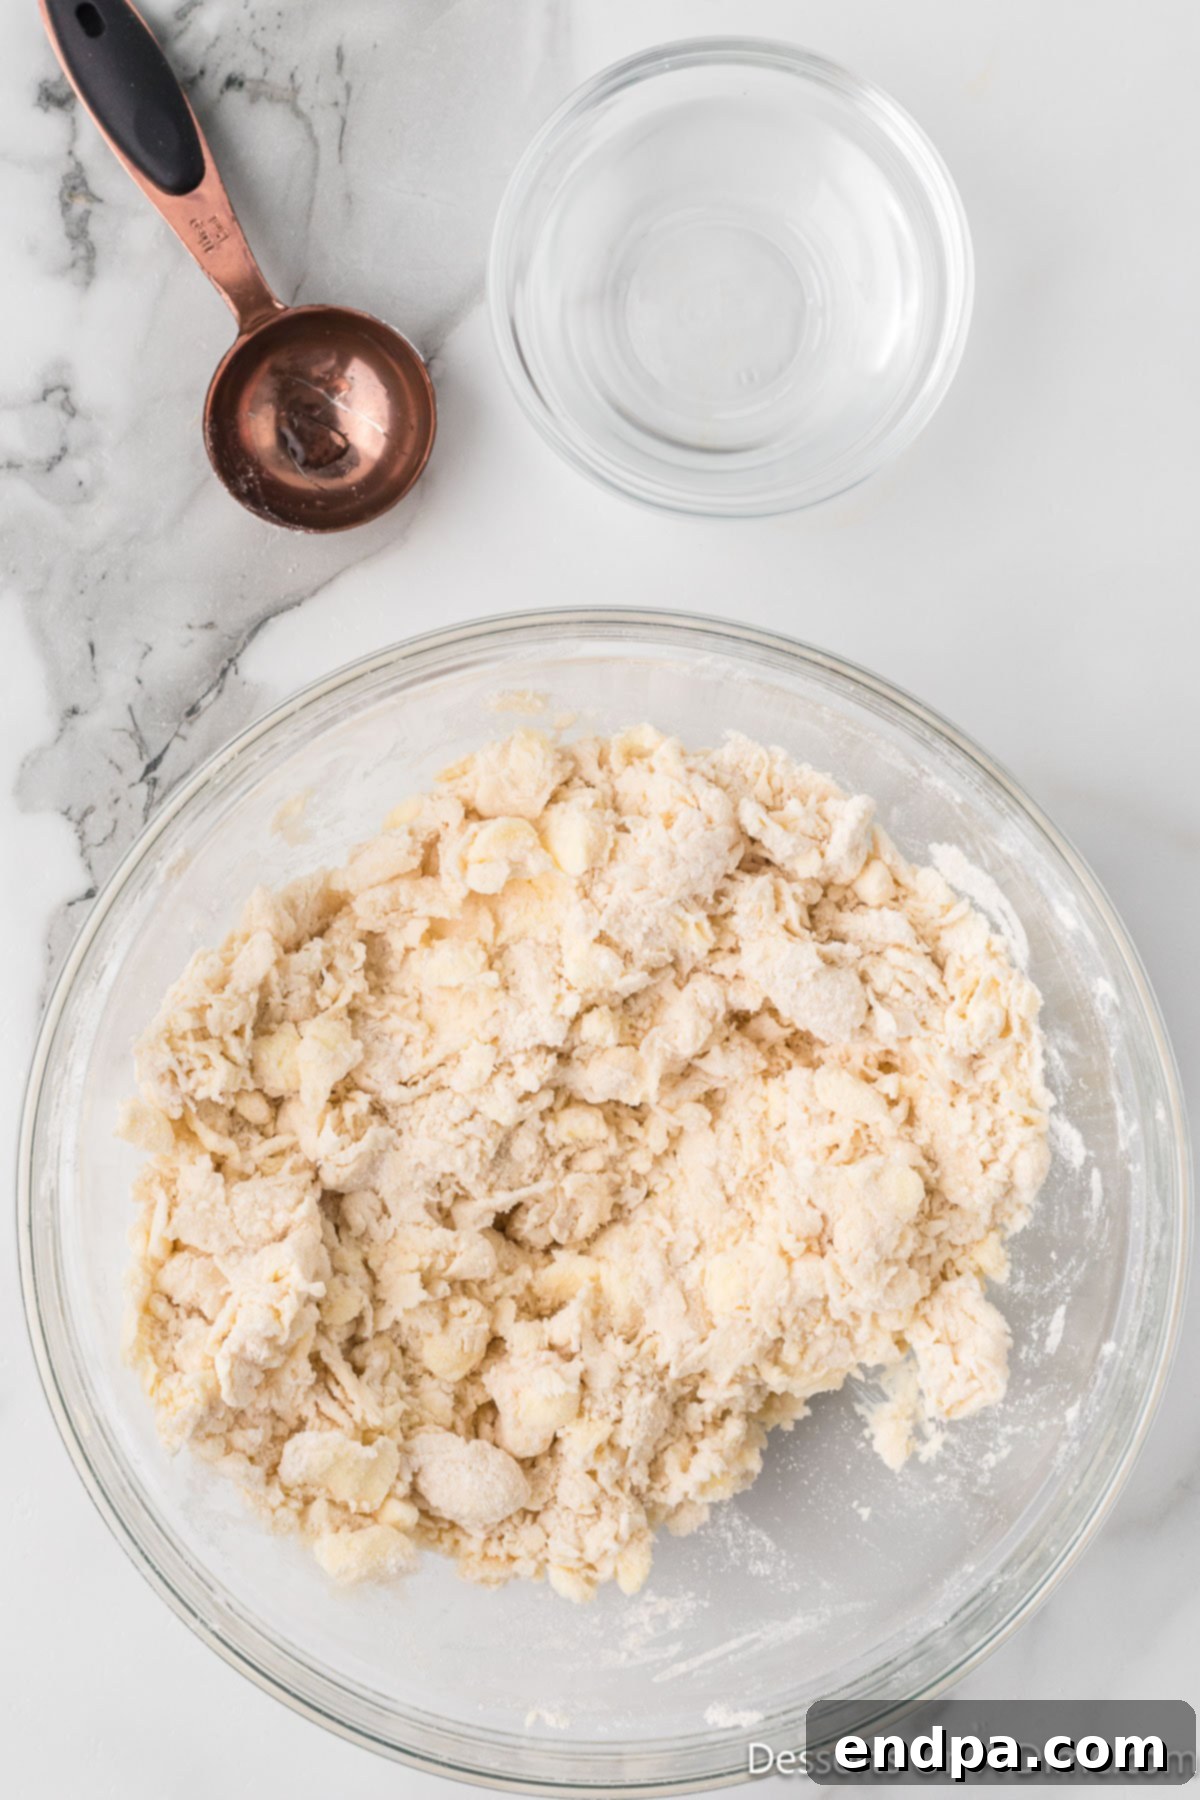
Step 3: Gradually Add Ice Water Until Dough Forms
Begin the delicate process of adding the ice-cold water, introducing it precisely one tablespoon at a time, and mixing very gently after each addition. Your objective is to moisten the flour just sufficiently for the dough to barely come together. Exercise caution to avoid adding excessive water, as this can easily lead to a tough and undesirable crust. Cease adding water as soon as the mixture transforms into a shaggy ball that cohesively holds its shape without becoming overtly sticky.
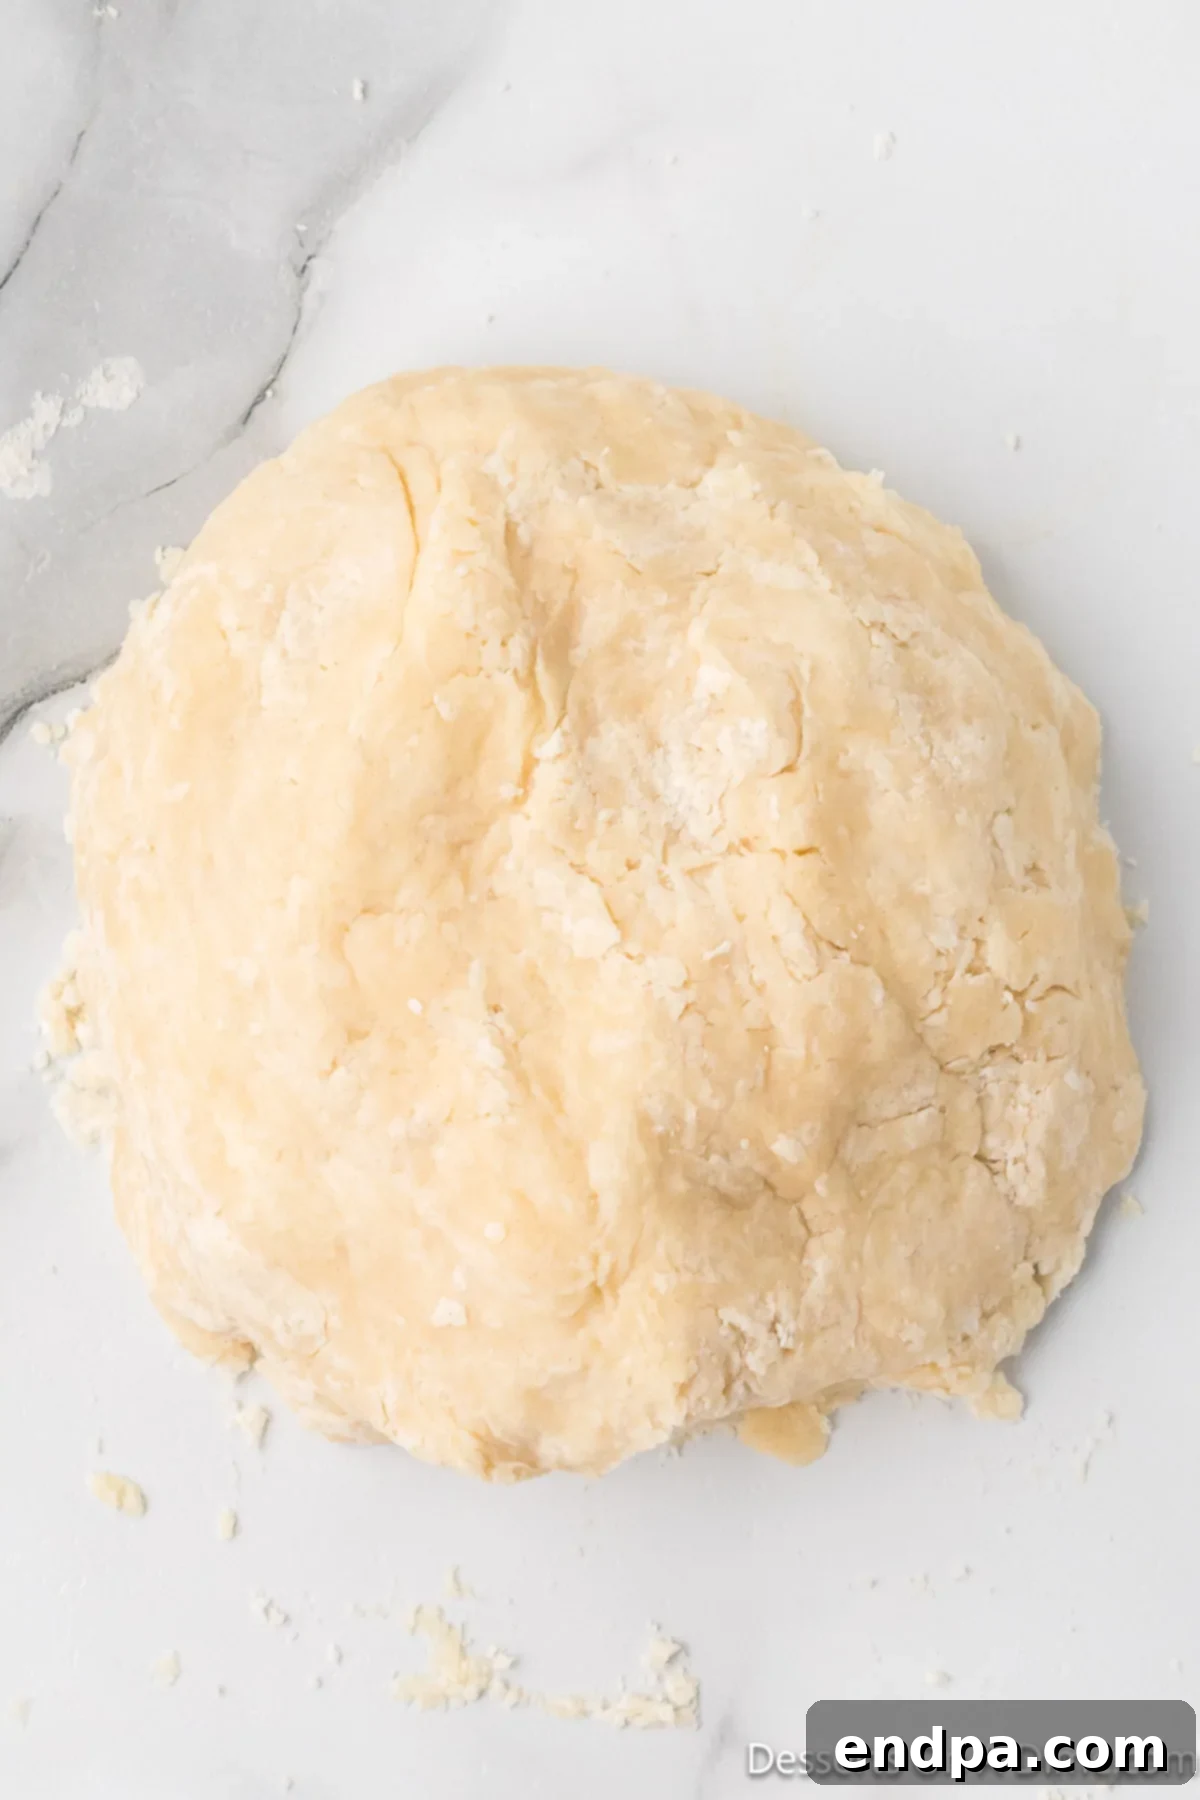
Step 4: Chill the Dough for Optimal Results
Lightly dust a clean, cool work surface or a piece of parchment paper with a small amount of flour. Turn the newly formed dough out onto this surface and gently shape it into a flattened disc or a compact ball. Subsequently, wrap the dough tightly and thoroughly in plastic wrap, then transfer it to the refrigerator to chill for a minimum of 2 hours. This crucial chilling period allows the gluten strands to relax, effectively preventing shrinkage during baking, and re-firms the butter, all of which are instrumental in yielding a remarkably tender and flaky crust.
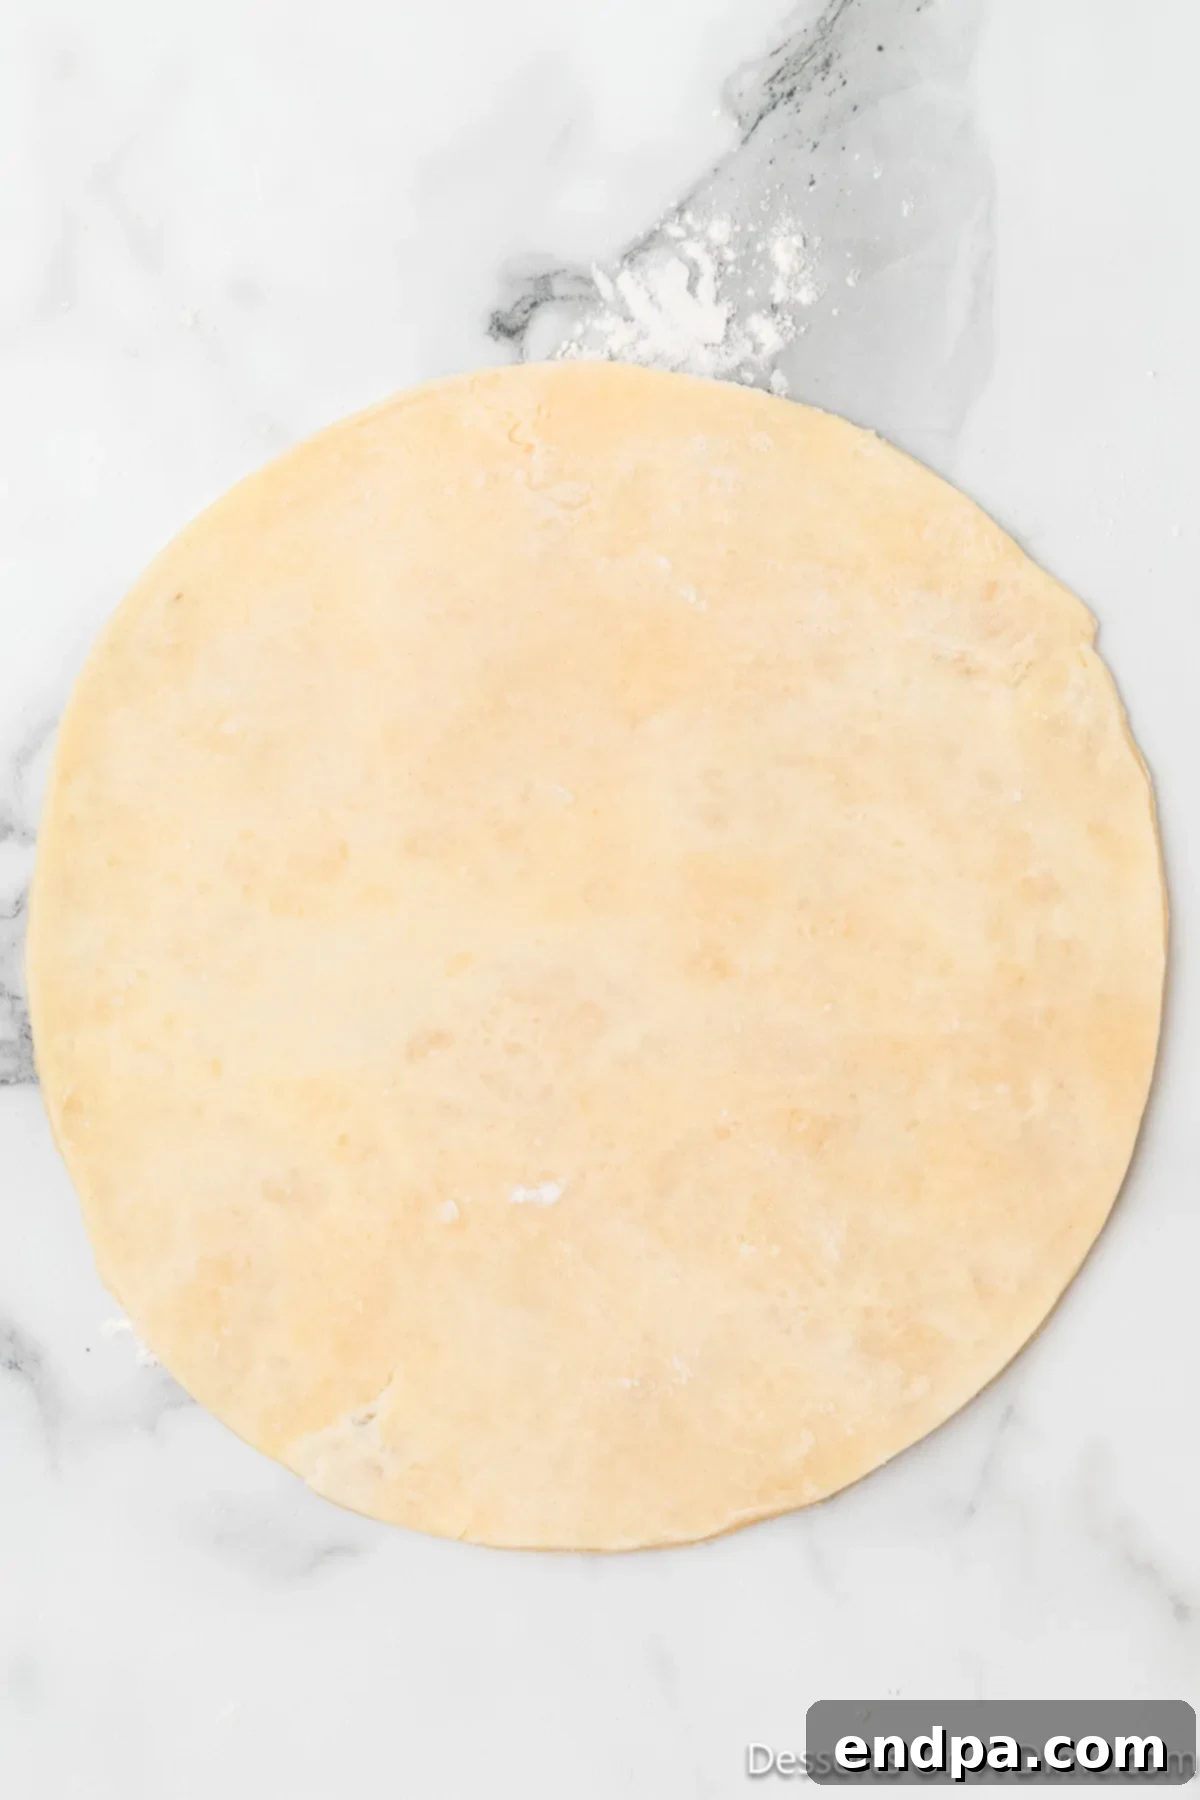
Step 5: Roll Out the Chilled Dough Evenly
Once the dough has been adequately chilled, retrieve it from the refrigerator and place it onto a lightly floured work surface. Employing a rolling pin, carefully roll the dough evenly from its center outwards, ensuring you rotate it frequently to help maintain a consistently circular shape. Aim to achieve a uniform 10 to 12-inch circle, approximately 1/8 inch thick, which is the ideal dimension for a standard 9-inch pie plate. It’s important to avoid overworking the dough during this stage to preserve its tenderness.
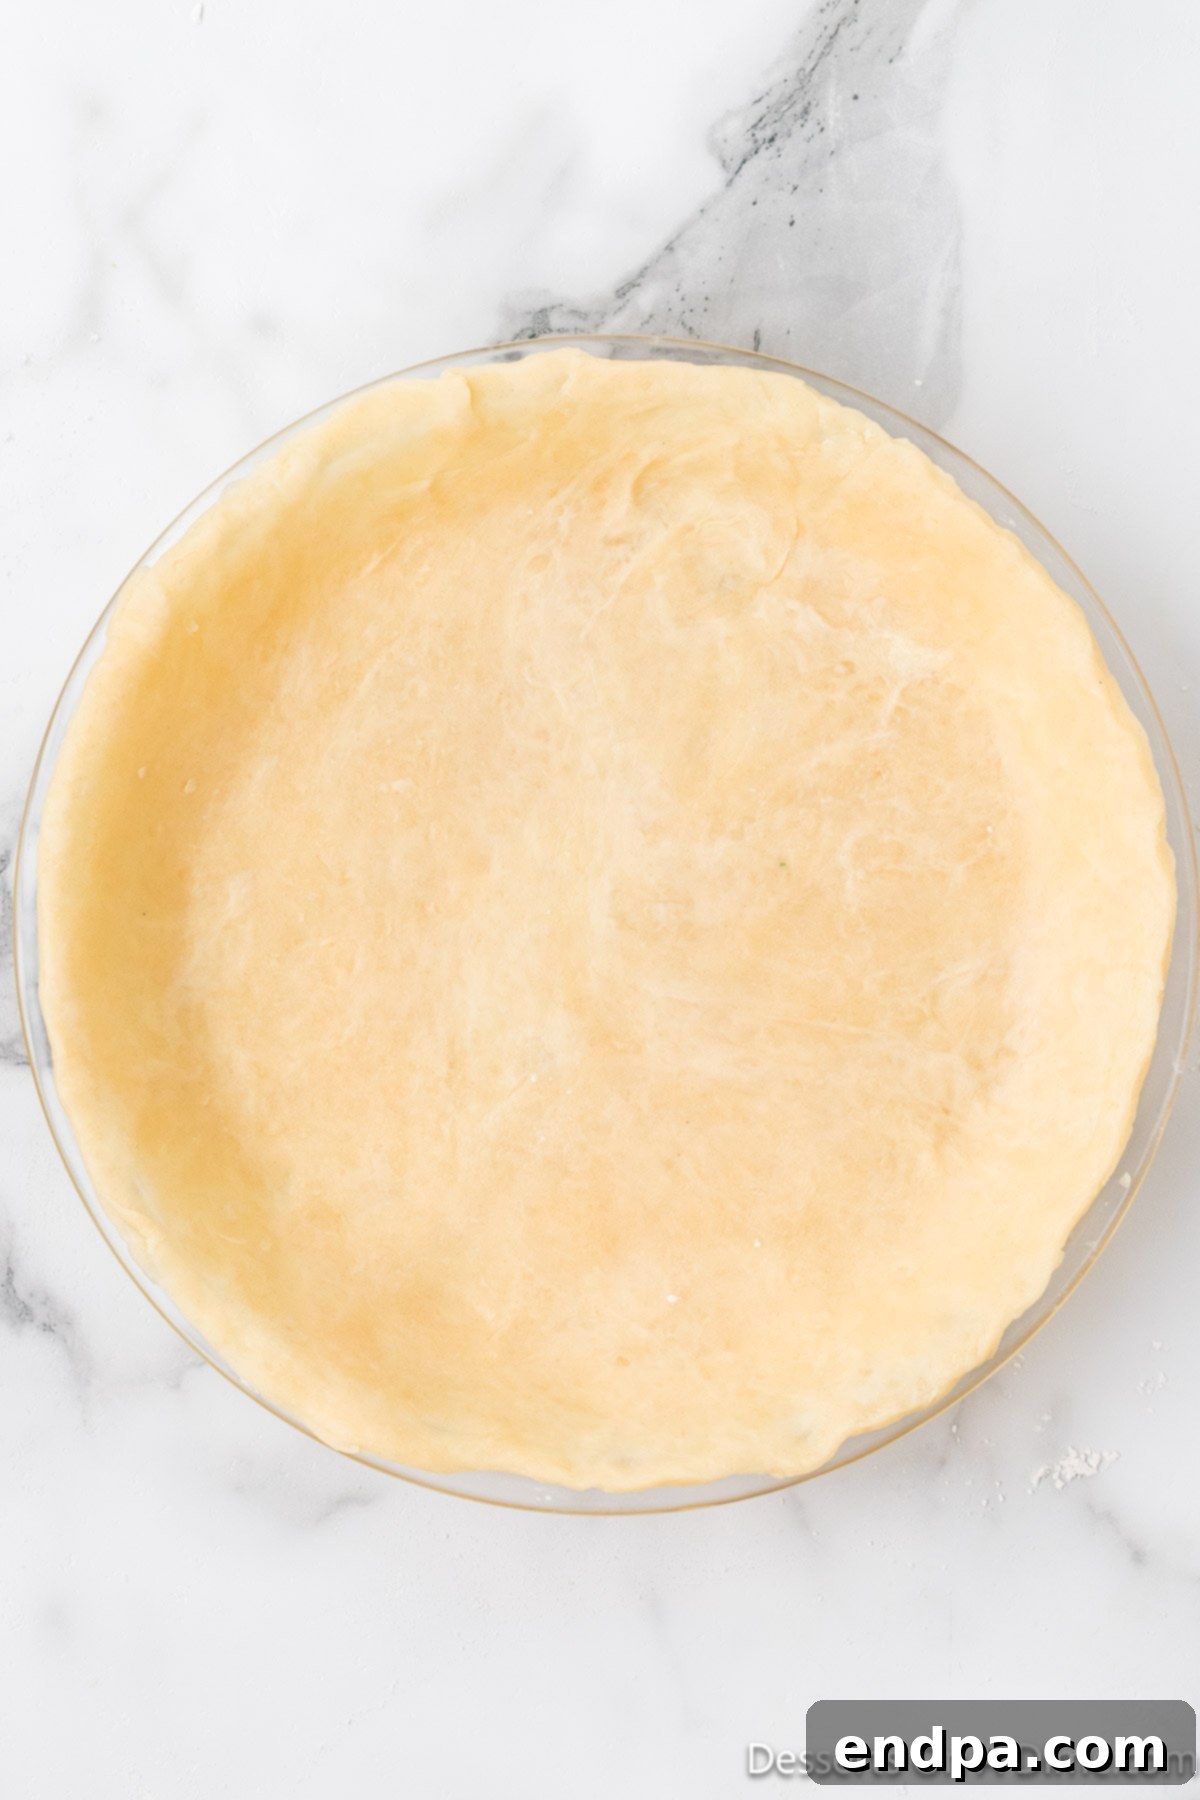
Step 6: Carefully Transfer to Pie Plate
With utmost care, transfer the rolled-out dough into your 9-inch pie dish. A helpful technique is to gently fold the dough in half or even quarters, then carefully unfold it directly into the pan. Once positioned, gently press the dough against the bottom and sides of the dish, meticulously ensuring that there are no trapped air bubbles beneath. Allow any excess dough to gracefully drape over the edges of the pie plate.
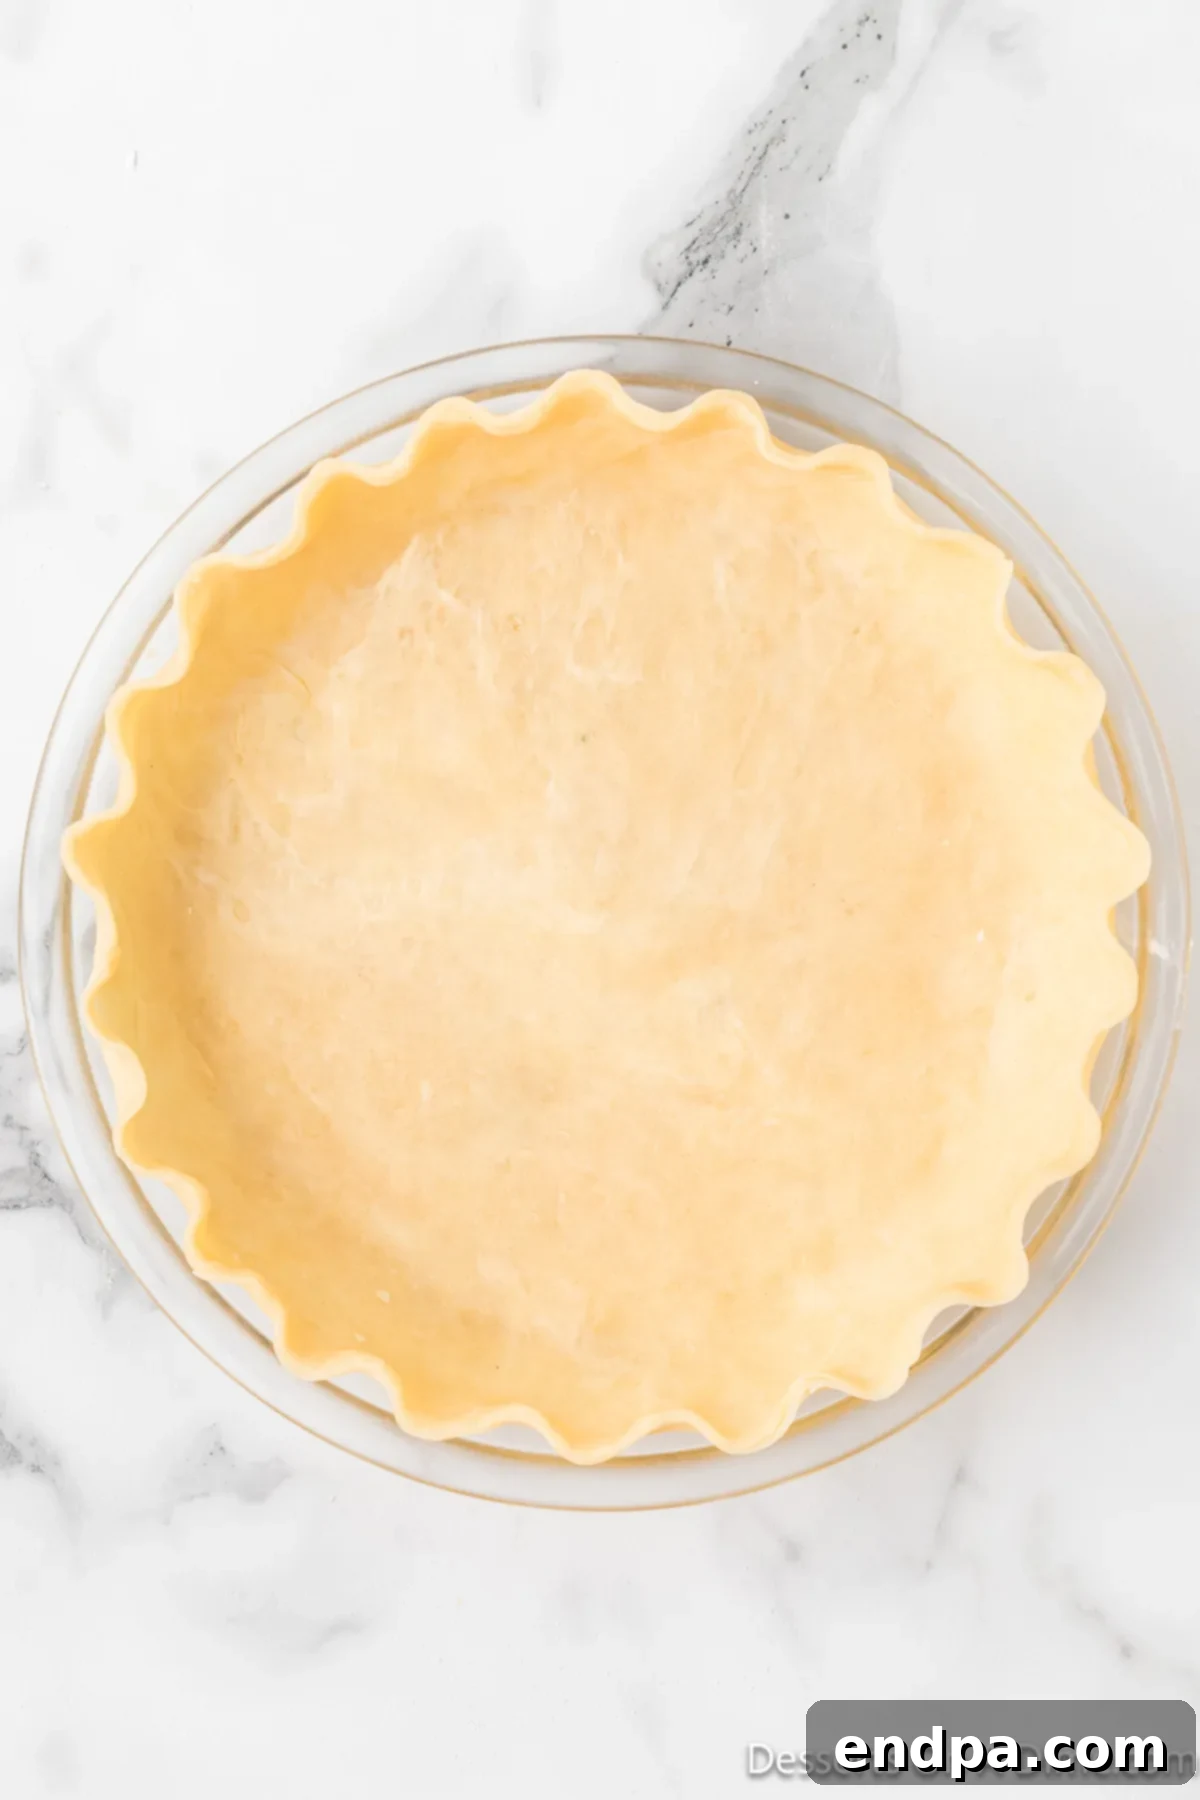
Step 7: Trim and Artfully Crimp the Edges
Using a pair of clean kitchen shears or a small, sharp knife, meticulously trim any excess dough from around the perimeter of the pie plate, leaving a consistent overhang of approximately 1/2-inch. Carefully fold this overhang under itself to construct a sturdy and attractive rim. Subsequently, use your fingers to decoratively crimp the edges, creating a beautiful, finished border that also significantly aids in maintaining the pie’s structural integrity during the baking process.
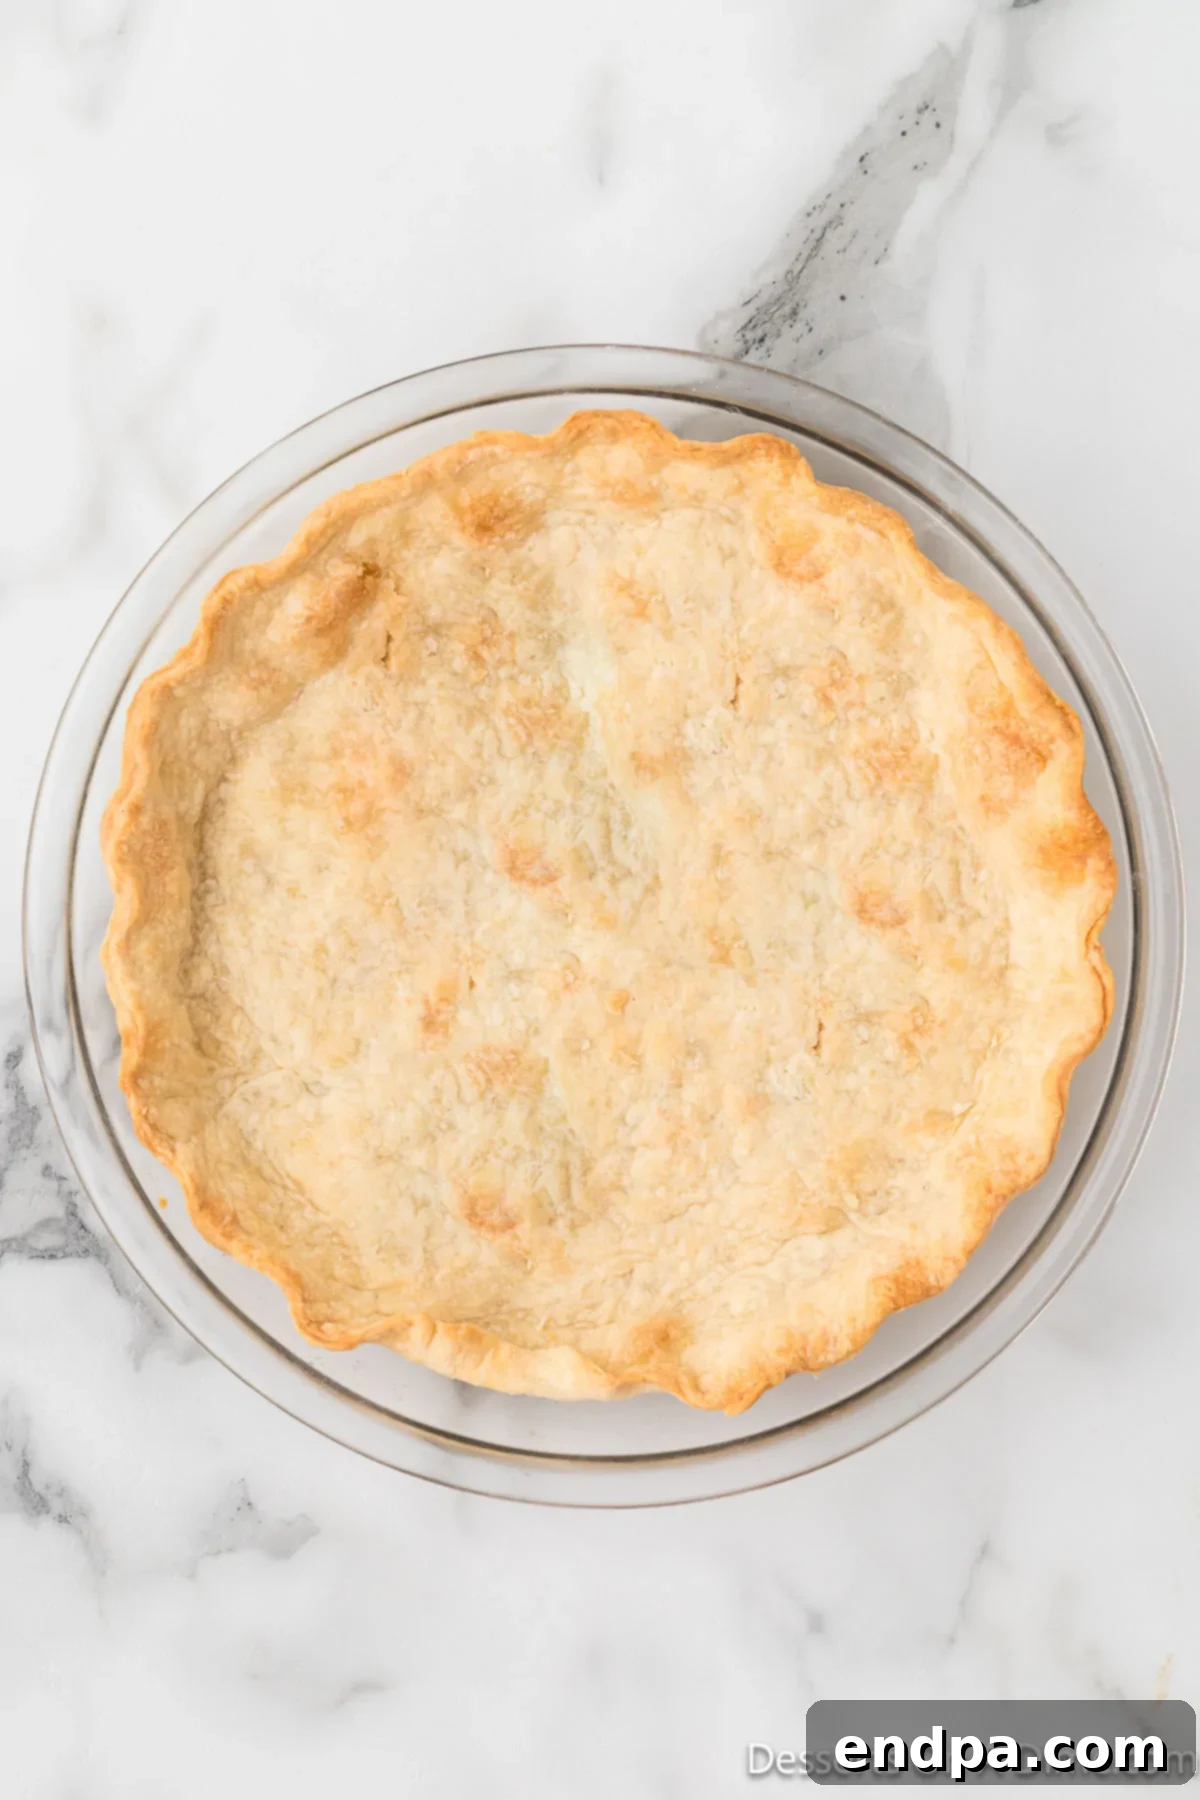
Step 8: Blind Bake (or Fill and Bake According to Recipe)
For a “blind-baked” or pre-baked crust – a technique often utilized for cream pies or recipes where the filling requires no baking – gently prick the bottom of the crust extensively with a fork, line it with parchment paper, and fill it generously with pie weights or dried beans. Bake in a preheated oven at 425°F (220°C) for 10-15 minutes, or until it achieves a beautiful golden-brown color and a distinct flaky texture. Baking times can vary, so maintain a vigilant watch. If you are preparing a filled pie, simply follow your specific pie recipe’s instructions for baking temperatures and times.
Pro Tips for Achieving Pie Crust Perfection
Even with a minimal three ingredients, a few expert techniques can dramatically enhance your pie crust, transforming it from good to truly exceptional. Master these crucial tips for consistently achieving perfect, tender, and flaky results every time you bake.
Double the Recipe for Double-Crust Pies
If your baking plans include a classic fruit pie featuring both a top and bottom crust, simply double all the ingredient quantities specified in this recipe. After successfully mixing the dough, ensure you divide it into two equal portions before wrapping and chilling. This straightforward adjustment guarantees you’ll have ample dough for a generous double-crust pie without having to compromise on desired thickness, integrity, or that essential flakiness.
Maintain All Ingredients at Optimal Cold Temperatures
The cardinal rule for achieving a genuinely flaky pie crust is to ensure every component, especially the butter and water, remains as cold as possible throughout the process. Consider chilling your mixing bowl and even your flour for a few minutes prior to starting. Cold butter melts much slower in the oven, creating those vital steam pockets that separate the layers of dough. If your kitchen environment is particularly warm, work swiftly and don’t hesitate to return ingredients to the refrigerator if they begin to soften.
Dice Butter into Small, Consistently Sized Pieces
When incorporating butter into your flour mixture, aim for small, uniformly sized cubes, ideally around 1/2-inch. This meticulous preparation allows the butter to be distributed evenly throughout the flour without the risk of overworking the dough. These small, firm pieces of cold butter are the cornerstone for developing those coveted flaky layers as they slowly melt and release steam during the baking process.
Always Utilize Ice Water, Not Just Cold Water
Do not simply rely on cold tap water; instead, make it ice water. To prepare, fill a measuring cup with the required amount of water and add a few ice cubes, allowing it to sit for a minute or two before you begin to use it. This additional chill factor is paramount for maintaining the butter’s solid firmness, effectively preventing it from melting and prematurely blending into the flour, a scenario that would unfortunately result in a tough, rather than exquisitely flaky, crust.
Add Water Gradually and Precisely Assess Dough Consistency
Achieving the correct pie dough consistency is absolutely critical. Introduce the ice water one tablespoon at a time, mixing very gently after each addition until the dough just barely begins to come together. The flour should be adequately moistened, but the dough should never feel sticky or excessively wet. Depending on your specific flour brand and ambient humidity, you might not require all the water, or conversely, a tiny bit more. Stop adding water as soon as a shaggy ball of dough forms.
Strictly Avoid Overmixing the Dough at All Costs
Overmixing is the undisputed adversary of a tender pie crust. Excessive mixing significantly develops the gluten structure within the flour, inevitably leading to a tough, undesirably chewy crust. Strive to mix only until the ingredients are just combined and a shaggy, somewhat fragmented dough forms. It’s perfectly normal, and indeed desirable, to still observe distinct, small pieces of butter throughout the dough, rather than a completely smooth, uniform mixture.
Handle the Dough Minimally When Rolling
Once your dough has been adequately chilled and is ready for rolling, the key is to handle it as little as humanly possible. Excessive manipulation will not only warm the precious butter but also further develop the gluten, culminating in a dense, less flaky crust. Roll gently and efficiently, employing just enough flour on your work surface and rolling pin to confidently prevent any sticking, thus preserving the dough’s delicate structure.
Utilize a Food Processor for Enhanced Speed (with Caution)
For unparalleled convenience and speed, a food processor can incorporate butter into flour in mere seconds. However, it’s crucial to exercise caution to avoid over-processing. Use very short pulses (1-2 seconds each) to combine the butter and flour until it achieves a coarse, crumbly consistency. Then, for better control, consider transferring the mixture to a bowl to add the water by hand, or if using the processor for water, again, employ only very short bursts.
Never Skip the Essential Chilling Step
Refrigerating the dough for a minimum of 2 hours (or ideally, even overnight) is an absolutely non-negotiable step for achieving the finest results. This vital resting period allows the gluten strands within the dough to fully relax, which effectively prevents the crust from shrinking excessively during the baking process. Furthermore, it provides the butter with a crucial opportunity to re-firm itself, thereby guaranteeing maximum flakiness in the final baked product.
Accurate Measuring is Fundamentally Essential
Baking, at its core, is a precise science, and consequently, accurate measurements are paramount for success. Employ proper measuring cups and spoons, and always meticulously level off your flour measurement to ensure consistency. Too much flour will invariably result in a dry, crumbly, and difficult-to-work-with crust, whereas too little can render the dough overly sticky and unmanageable, highlighting the importance of precision for optimal outcomes.
Storage and Freezing Tips for Homemade Pie Dough
One of the significant advantages of preparing your own pie crust from scratch is the convenience of making it in advance. This capability allows you to streamline your baking process, ensuring you always have a fresh, homemade base ready whenever inspiration (or a pie craving) strikes. Here’s how to effectively store your homemade dough to maintain its freshness and readiness for baking.
Refrigerator Storage
If your plans involve using your perfectly prepared pie dough within a few days, the refrigerator is your optimal storage solution. After shaping the dough into a flattened disc and wrapping it meticulously in several layers of plastic wrap, place it inside an airtight container or a large zip-top bag. Stored correctly in this manner, your pie dough will remain fresh, pliable, and perfectly ready to roll for up to 2 to 3 days. Before you begin rolling, it’s beneficial to let the dough sit at room temperature for approximately 10-15 minutes to allow it to soften slightly, making it more manageable.
Freezing the Dough for Extended Shelf Life
For scenarios requiring longer-term storage, freezing offers an excellent and highly effective option. You can choose to freeze the dough as a compact disc, ensuring it’s tightly wrapped first in plastic wrap and then in a layer of heavy-duty aluminum foil, or simply place it directly into a freezer-safe bag. Alternatively, for the ultimate in convenience, you can press the dough directly into a disposable pie plate, artfully crimp the edges, and then securely wrap the entire plate before freezing. Homemade pie dough can be safely frozen for up to 2 months without any noticeable degradation in its quality or texture.
Thawing Instructions for Frozen Dough
When the moment arrives to utilize your pre-made frozen pie dough, the thawing process is straightforward and crucial for maintaining its integrity. Simply transfer the frozen dough from the freezer to the refrigerator and allow it to thaw slowly and completely overnight. This gradual thawing method is essential as it helps to preserve the butter’s distinct integrity and prevents the dough from becoming soggy. Once thoroughly thawed, you can confidently roll it out and proceed with your chosen pie recipe as initially directed, enjoying the convenience of having your perfect pie crust ready to go.
What Types of Pies Work Best with This Flaky Crust?
This incredibly versatile 3-ingredient pie crust is robust yet tender, with a rich, buttery flavor profile that makes it an ideal complement for a wide spectrum of fillings. Its exceptional flaky texture and delicious taste make it perfectly suited for nearly any pie recipe you can imagine, shining brilliantly in both sweet and savory culinary applications.
Decadent Sweet Cream Pies & Custards
This particular crust is absolutely perfect for delicate cream pies, such as luscious chocolate cream, exotic coconut cream, or classic banana cream pie, where a pre-baked (or blind-baked) crust serves as the sturdy yet tender vessel for a rich, often unbaked, custard filling. It also performs exceptionally well with baked custards like creamy pumpkin pie, velvety sweet potato pie, or a rich pecan pie (like our delightful Karo Syrup Pecan Pie Recipe), providing a stable yet tender base that resists sogginess beautifully.
Timeless Classic Fruit Pies
While often featured in single-crust pie recipes, this remarkable dough can be effortlessly doubled to construct a truly stunning double-crust fruit pie. Envision it generously filled with our luscious Homemade Cherry Pie Filling, crisp apples, juicy blueberries, or a vibrant medley of mixed berries. Its inherent structural integrity ensures it holds up splendidly to the moisture of juicy fruit fillings, delivering an incredibly satisfying crunch and burst of flavor with every single bite.
Hearty Savory Pies & Flavorful Quiches
Do not confine this fantastic pie crust solely to the realm of desserts! It crafts an absolutely exceptional and flavorful base for a variety of savory pies and elegant quiches. Picture it as the foundation for a comforting chicken pot pie, a hearty shepherd’s pie, or a sophisticated classic Lorraine quiche. The rich, buttery essence of the crust harmoniously complements and deepens the flavors of diverse savory fillings, transforming any meal into a truly satisfying and memorable culinary experience.
Charming Tarts and Delightful Hand Pies
Beyond its traditional pie applications, this versatile dough is also perfectly suited for crafting exquisite individual tarts or adorable, portable hand pies. Its ease of handling and impressive pliability make it a genuine pleasure to work with, especially for creating smaller, more intricate shapes. Whether miniature or on-the-go, it promises to deliver the same delicious flakiness and rich flavor in a convenient, bite-sized format, making it ideal for entertaining or individual treats.
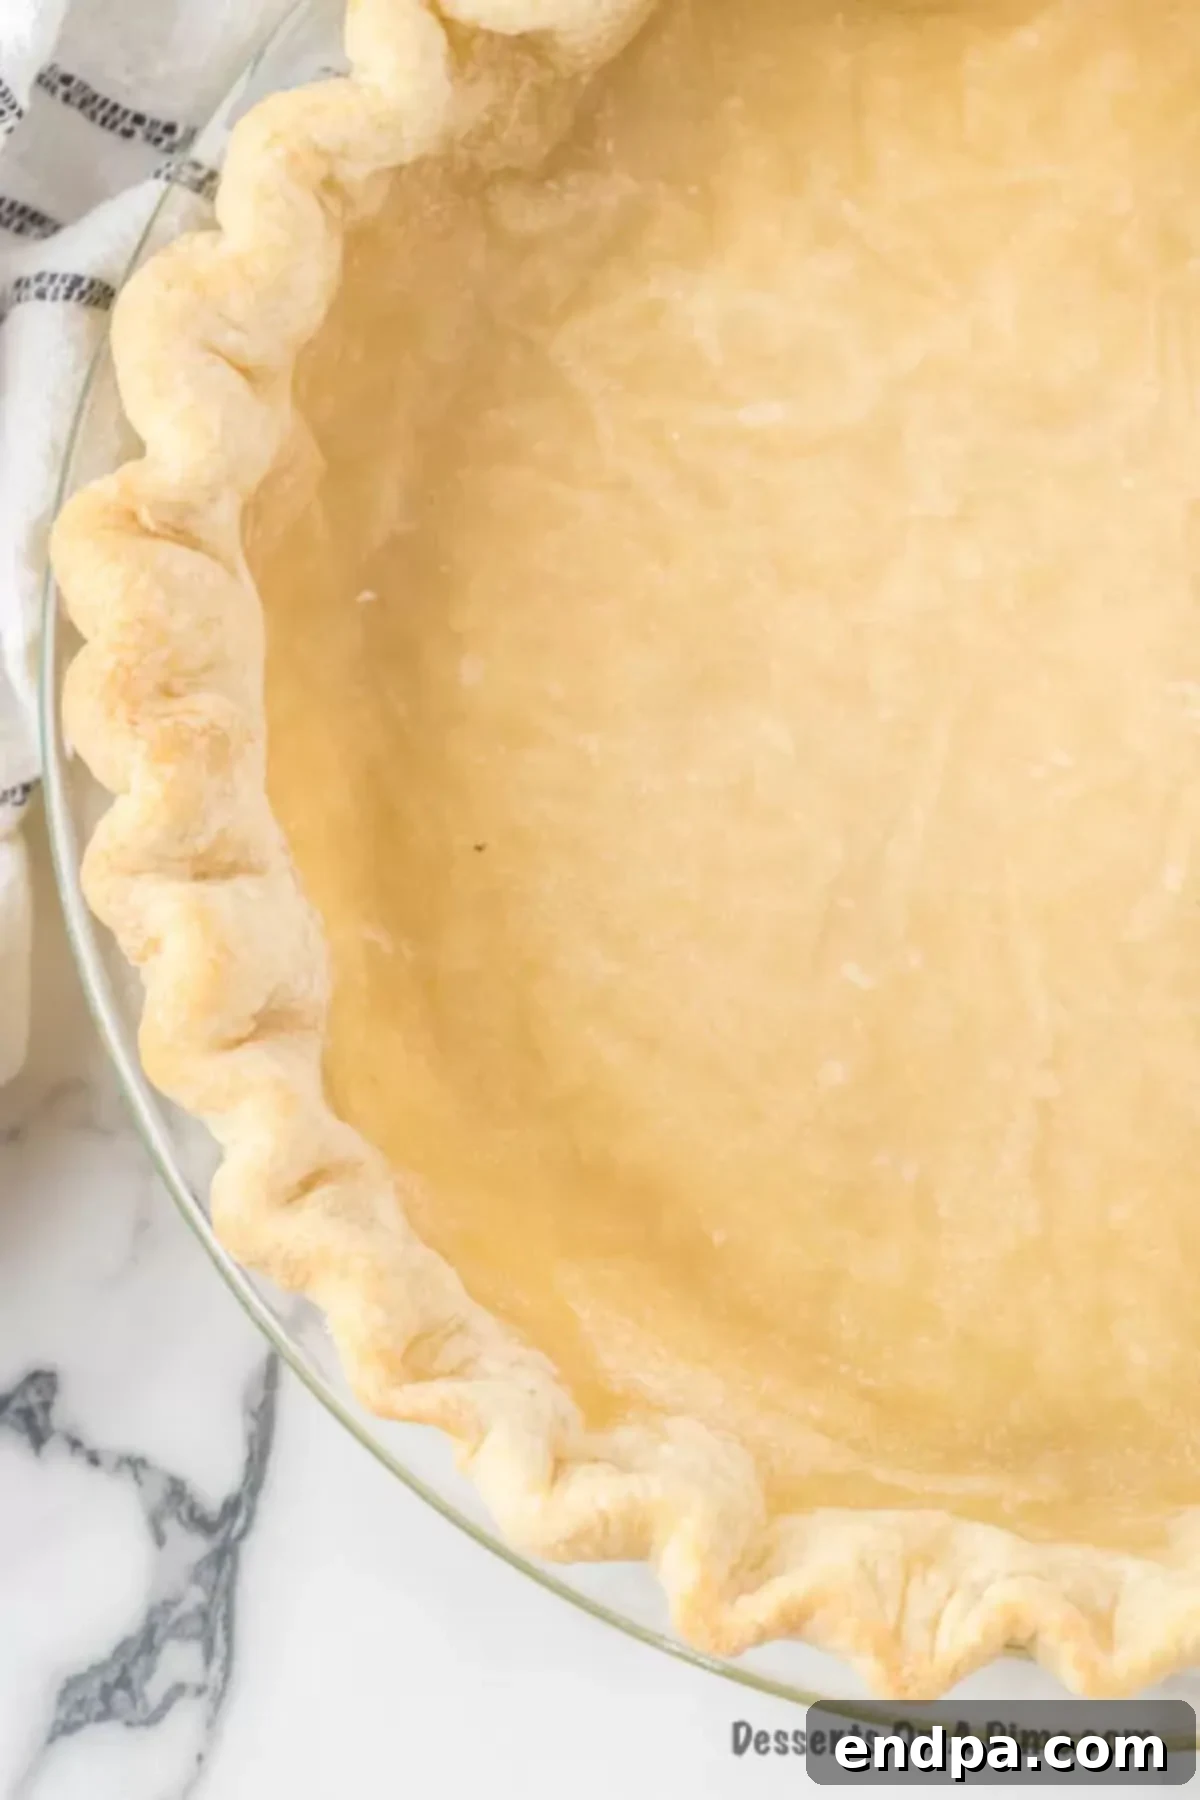
Explore More Delicious Pie Recipes
Once you’ve mastered the art of creating this incredibly versatile 3-ingredient pie crust, you’ll undoubtedly be eager to pair it with a diverse selection of delectable fillings. Here is an inspiring collection of other fantastic pie recipes to ignite your creativity and guide your next delightful baking project:
- Southern Sweet Potato Pie
- Graham Cracker Pie Crust Recipe
- Easy Chocolate Pecan Pie Recipe
- 35 Gluten-Free Thanksgiving Pies
- Blueberry Pie Bites
- Salted Caramel Apple Pie Recipe
We wholeheartedly encourage you to make this simple yet spectacular 3-ingredient pie crust recipe a cherished staple in your kitchen. It stands as a remarkable testament to how basic ingredients, when approached with a bit of care and attention, can be transformed into something truly extraordinary and deeply satisfying. We would love to hear about your baking adventures; don’t hesitate to leave a comment and share your experience with this fantastic recipe!
Printable 3-Ingredient Pie Crust Recipe Card
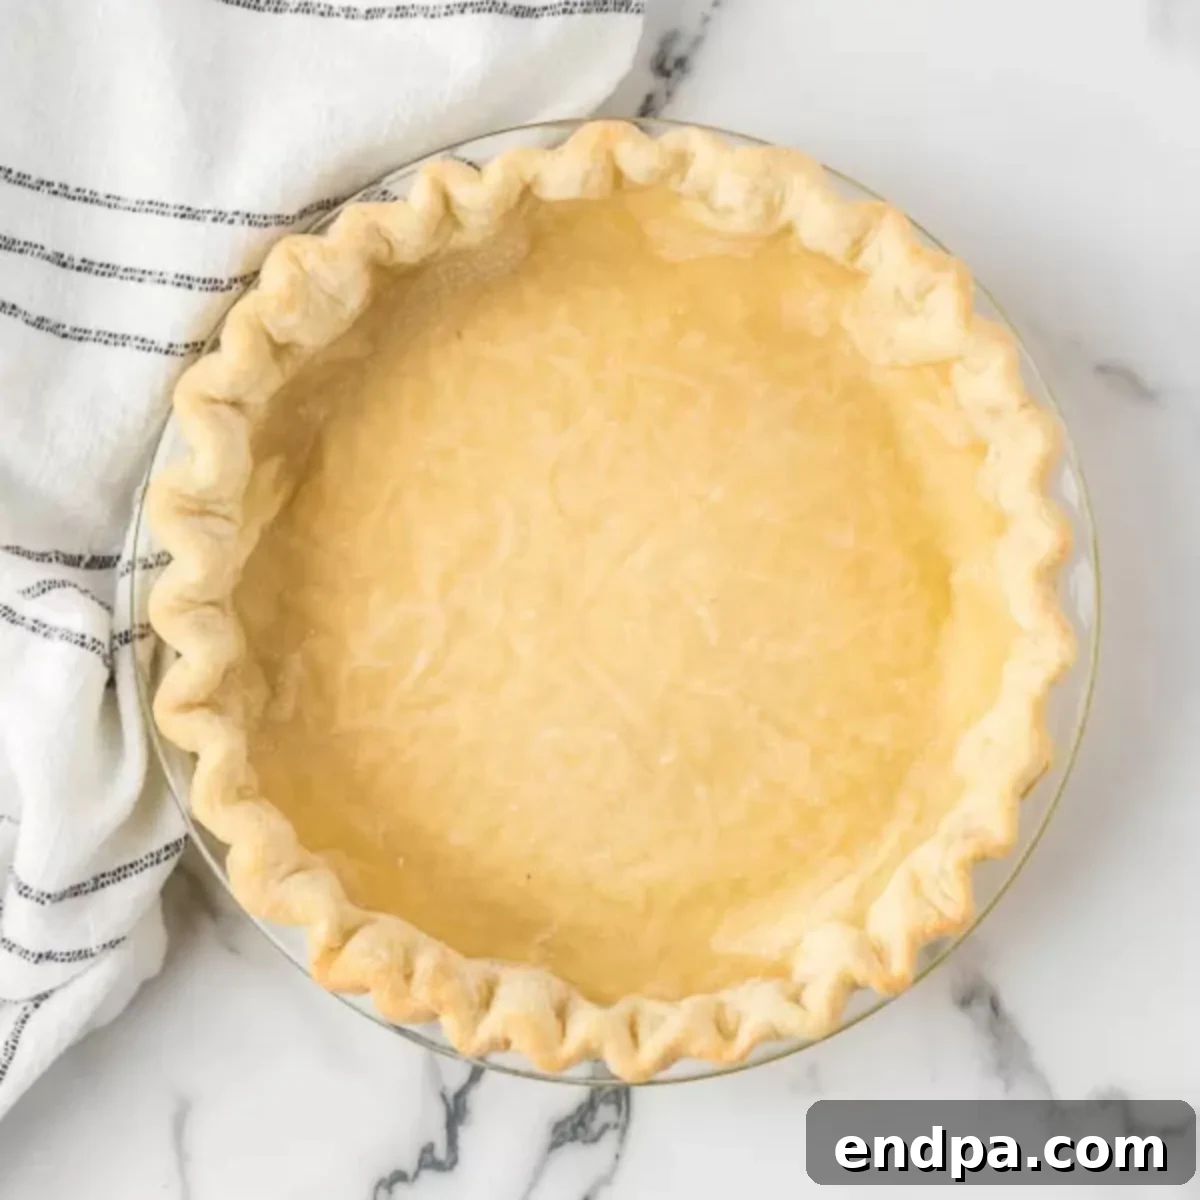
3-Ingredient Flaky Butter Pie Crust
This **3-Ingredient Pie Crust Recipe** is the ultimate secret to achieving a perfect pie. Skip the often-disappointing store-bought versions and instead create this wonderfully flaky, rich, and buttery homemade pie crust dough. It serves as the ideal foundation for all your cherished pie recipes, whether you’re crafting a sweet dessert or a savory main course.
2 hrs 10 mins
10 mins
2 hrs 20 mins
8
American
Dessert, Main Course
187 kcal
Carrie Barnard
Ingredients
- 1/2 cup Cold Butter, cubed
- 1 1/2 cup All-Purpose Flour
- 1/4 tsp Salt
- 4-6 Tbsp Cold Water
Instructions
- Whisk together the all-purpose flour and salt in a large mixing bowl until thoroughly combined.
- Add the cold, cubed butter to the flour mixture. Using two forks or a pastry blender, cut the butter into the dry ingredients until the mixture resembles coarse crumbs with some pea-sized pieces of butter still visible.
- Slowly add the ice-cold water, 1 tablespoon at a time, mixing gently after each addition. Continue until a shaggy dough is formed that just barely holds together and is not sticky.
- Lightly flour a clean work surface. Turn the dough out, gently form it into a flattened disc, wrap it tightly in plastic wrap, and refrigerate for at least 2 hours (or up to 2-3 days).
- Once chilled, remove the dough from the refrigerator. On a lightly floured surface, roll the dough into an even 10-12 inch circle (approximately 1/8 inch thick) to fit a standard 9-inch pie plate.
- Carefully transfer the rolled-out dough into the pie pan, gently pressing it against the bottom and sides.
- Trim any excess dough from around the edges, leaving about a 1/2-inch overhang. Fold this overhang under itself to create a sturdy rim, then use your fingers to decoratively crimp the edges.
- For a pre-baked crust (blind bake): Prick the bottom of the crust with a fork, line it with parchment paper, and fill with pie weights or dried beans. Bake at 425°F (220°C) for 10-15 minutes, or until golden brown and flaky. If filling the crust before baking, follow your specific pie recipe’s instructions for baking temperature and time.
Nutrition Facts
Carbohydrates: 18g,
Protein: 3g,
Fat: 12g,
Saturated Fat: 7g,
Polyunsaturated Fat: 1g,
Monounsaturated Fat: 3g,
Trans Fat: 1g,
Cholesterol: 31mg,
Sodium: 174mg,
Potassium: 28mg,
Fiber: 1g,
Sugar: 1g,
Vitamin A: 355IU,
Calcium: 7mg,
Iron: 1mg
