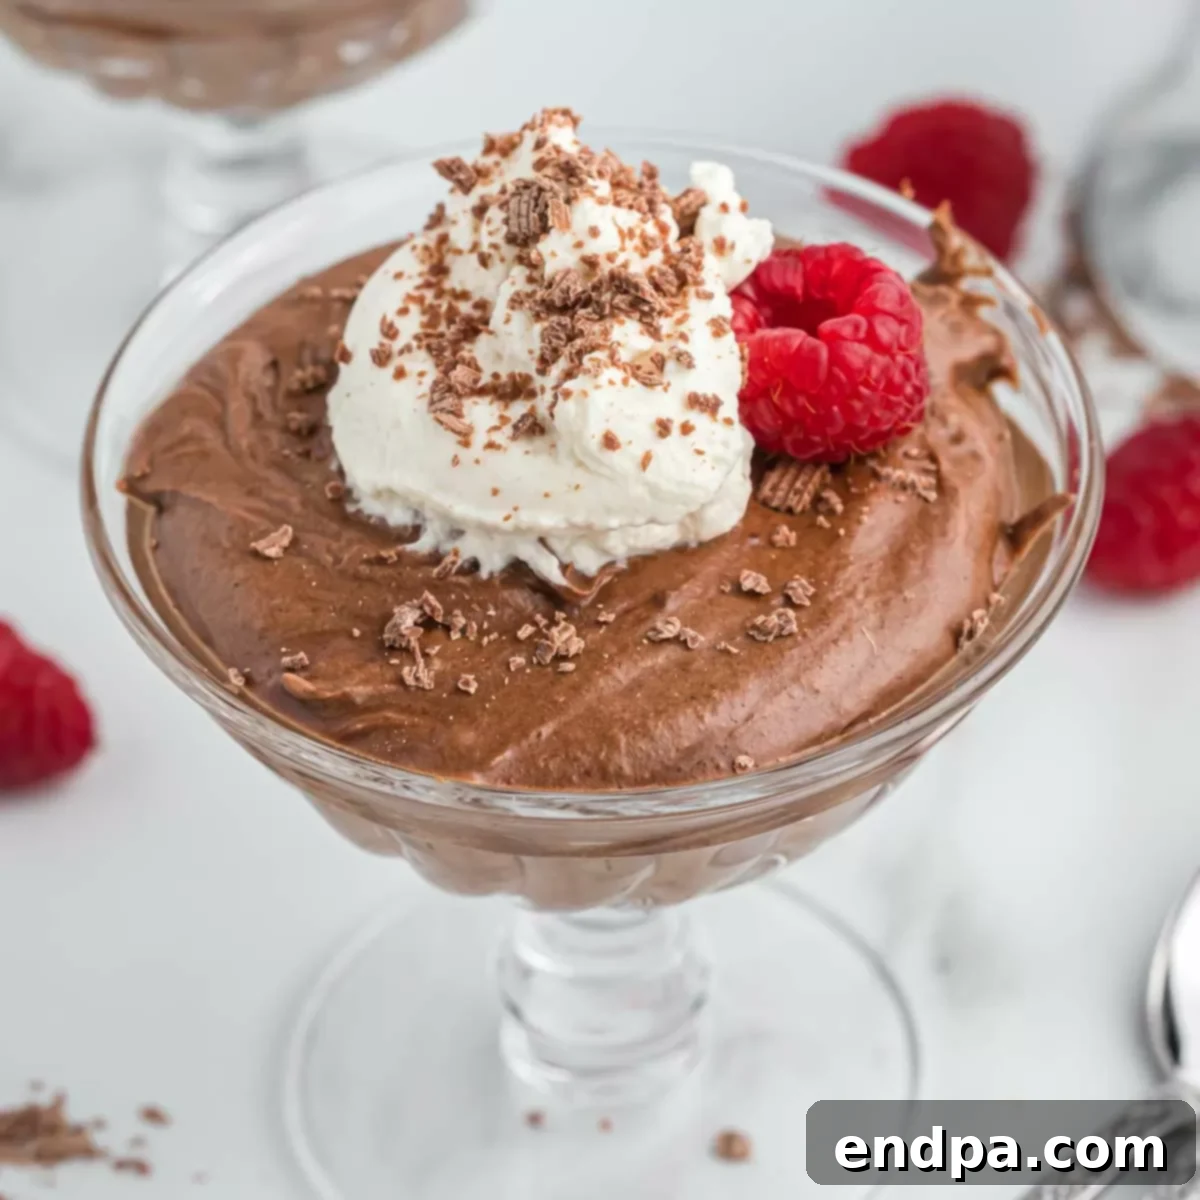
Indulge in the Ultimate Decadence: The Easiest Homemade Chocolate Mousse Recipe
Prepare to elevate your dessert game with our incredibly simple yet supremely decadent Chocolate Mousse Recipe. This classic treat, known for its light, airy, and intensely rich chocolate flavor, often seems intimidating, but our version makes it astonishingly accessible. Each spoonful promises a velvety smooth texture that melts in your mouth, leaving a lingering taste of premium chocolate. Forget complicated techniques; this recipe is designed for both novice and seasoned home bakers alike, delivering gourmet results without the fuss.
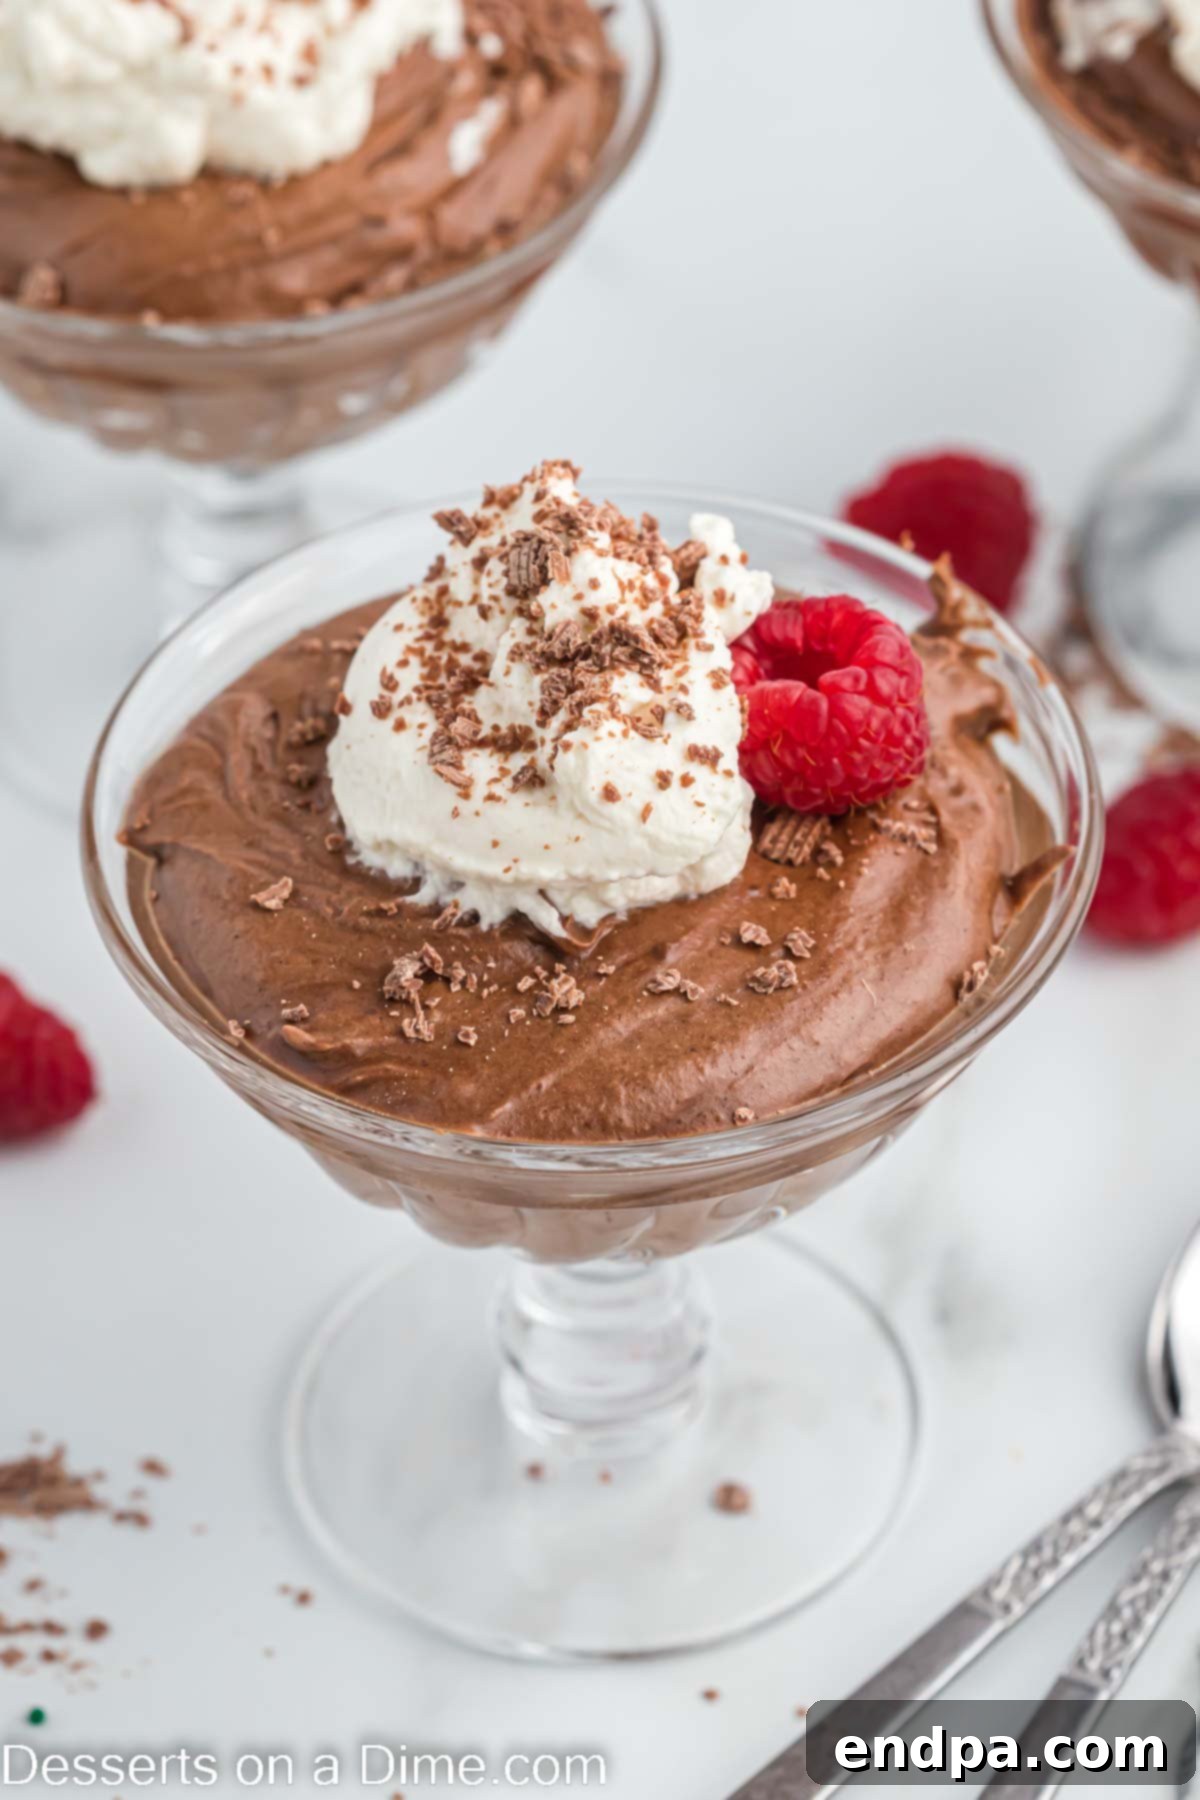
What makes this easy chocolate dessert truly stand out is its innovative use of the microwave to perfectly melt the chocolate and butter, completely eliminating the need for a cumbersome double boiler. This streamlined approach means you spend less time on preparation and more time savoring the perfect blend of chocolatey goodness. It’s a dessert that perfectly balances rich flavor with a surprisingly light texture, making it an ideal ending to any meal, from casual weeknight dinners to elegant gatherings.
Once you discover how effortlessly this luxurious dessert comes together, it’s bound to become a frequent request in your household. Its ease and impressive presentation make it a go-to for impromptu celebrations or simply when a craving for something truly special strikes. If you enjoy this recipe, you might also love exploring other delightful chocolate creations like our Chocolate Mousse Pie, French Silk Brownies, or our creamy Cheesecake Mousse for more indulgent experiences.
Table of Contents
- Why This Chocolate Mousse Recipe Works
- Essential Ingredients for Chocolate Mousse
- For the Chocolate Mousse Base
- For the Dreamy Topping
- Step-by-Step Guide to Perfect Chocolate Mousse
- Crafting the Perfect Whipped Cream Topping
- Storage and Make-Ahead Tips
- Creative Topping and Serving Ideas
- Pro Tips for Flawless Chocolate Mousse
- Explore More Easy Chocolate Desserts
Why This Chocolate Mousse Recipe Works
Understanding the magic behind classic chocolate mousse reveals why this recipe is truly exceptional. Unlike simple chocolate pudding, which relies on cornstarch or flour for thickness, authentic chocolate mousse achieves its ethereal texture through the careful incorporation of air. This recipe masterfully combines melted chocolate with whisked egg yolks, then delicately folds in stiffly beaten egg whites and heavy cream to create those signature “soft peaks” and an incredibly airy consistency. The result is a dessert that isn’t just sweet, but a symphony of rich flavor and delicate, cloud-like lightness. Each bite offers a sensory experience that is far more refined and satisfying than any pudding, making it a truly decadent indulgence that feels remarkably light.
Our method simplifies this elegant process, particularly by harnessing the efficiency of the microwave for melting the chocolate. This crucial step, traditionally done over a fussy double boiler, becomes quick and mess-free. The balanced use of semi-sweet chocolate prevents the mousse from becoming overly sweet, allowing the true cocoa notes to shine through. Furthermore, the precise steps ensure optimal air incorporation, guaranteeing that characteristic light and fluffy texture that defines a truly exceptional chocolate mousse. It’s a recipe engineered for success, turning a potentially complex dessert into an achievable culinary triumph.
Essential Ingredients for Chocolate Mousse
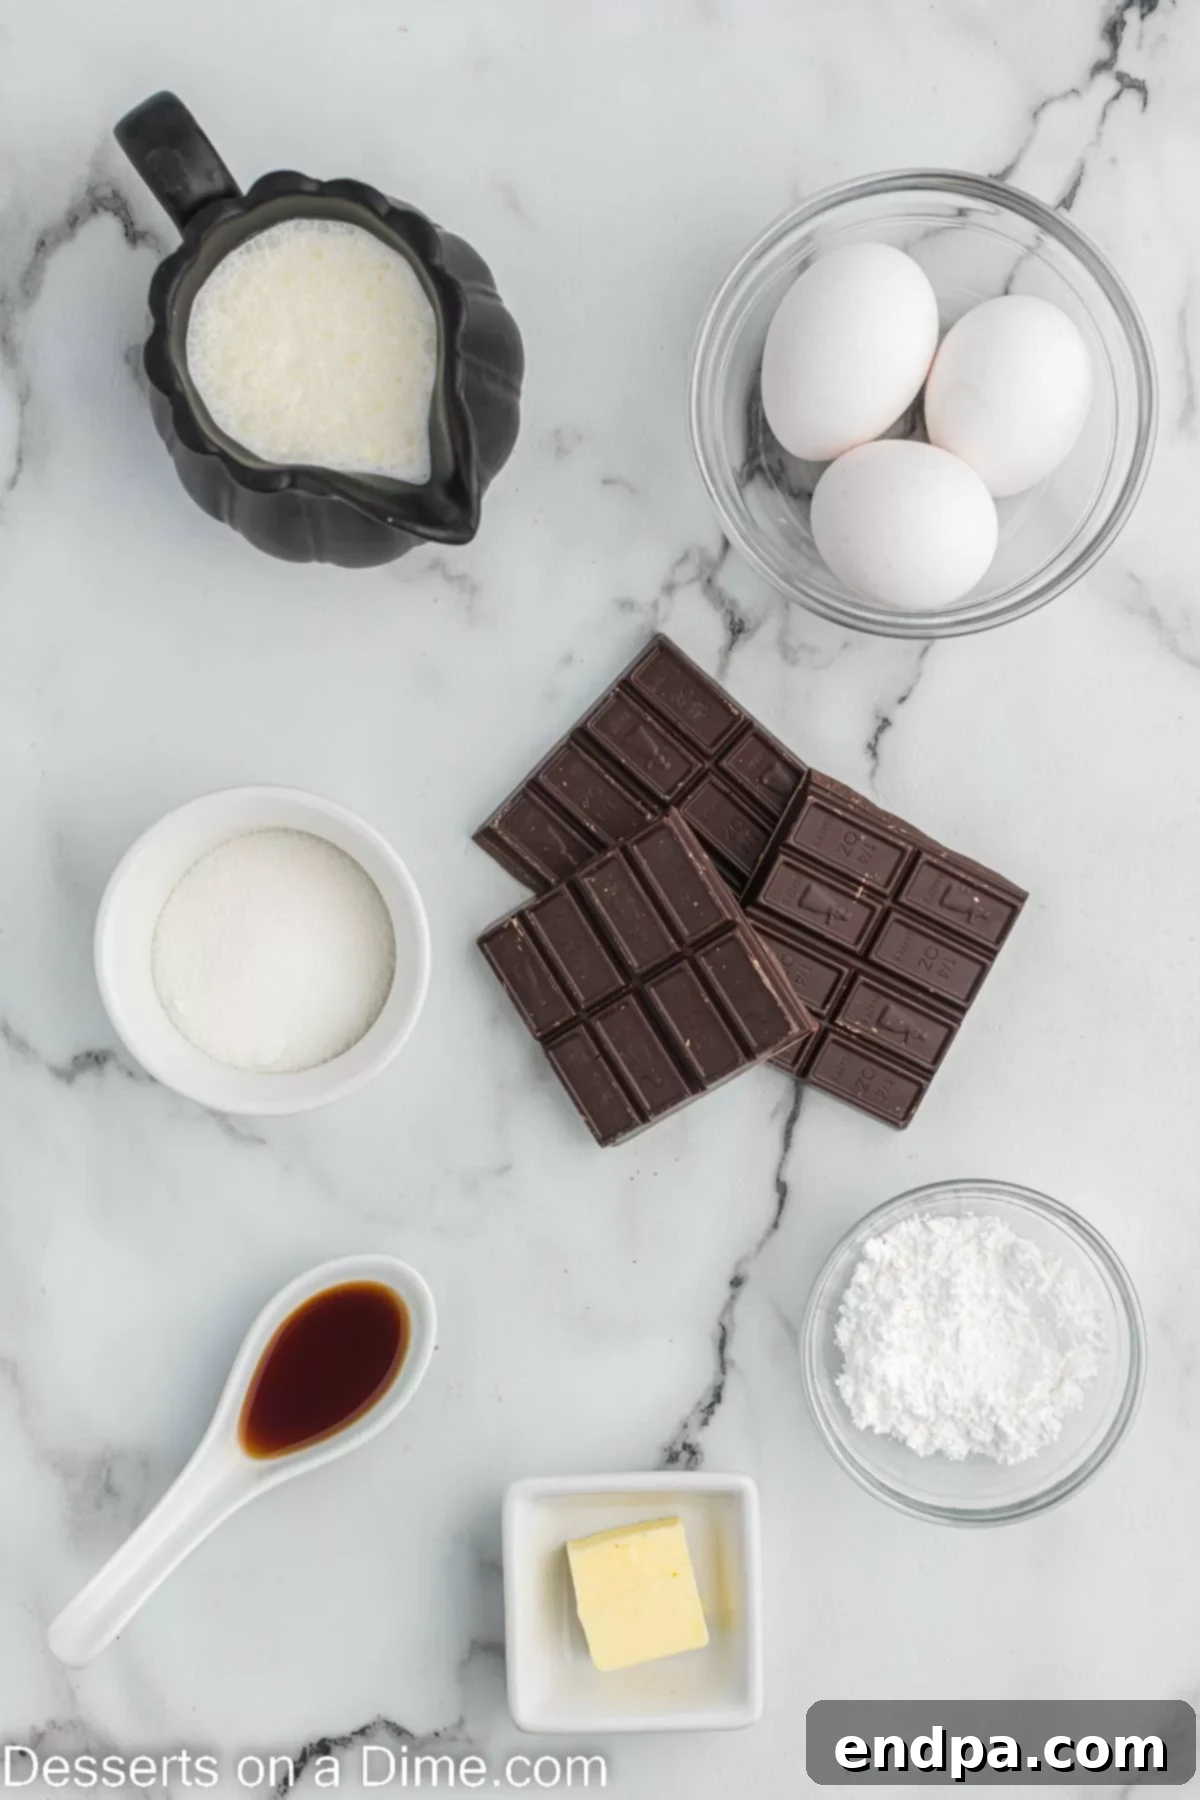
Achieving the perfect chocolate mousse begins with selecting high-quality ingredients. Each component plays a vital role in developing the desired texture and flavor profile. Below is a visual guide to our key ingredients, followed by a detailed explanation of their importance for both the mousse itself and its delightful topping.
For the Chocolate Mousse Base:
- Semi-Sweet Chocolate: The heart of your mousse! Using semi-sweet chocolate is crucial as it provides a deep, rich chocolate flavor without making the final dessert cloyingly sweet. Its balanced bitterness allows the other flavors to emerge beautifully. For the best outcome, opt for a high-quality baking chocolate bar rather than chocolate chips, which often contain stabilizers that can affect melting and texture.
- Unsalted Butter: A small amount of butter adds richness and helps create a smooth, glossy chocolate base when melted. It contributes to the overall luxurious mouthfeel of the mousse.
- Large Eggs (Yolks and Whites Separated): Eggs are fundamental to the mousse’s structure. The yolks emulsify with the chocolate, adding richness and stability, while the whisked egg whites create the essential light and airy volume. Ensuring your eggs are at room temperature (except for the heavy cream) is vital for proper emulsification and optimal whisking of the whites to stiff peaks.
- Granulated Sugar: A touch of granulated sugar sweetens the mousse and also helps to stabilize the egg whites when beaten, contributing to their volume and glossy texture.
- Heavy Whipping Cream (Chilled): This is non-negotiable for achieving that classic cloud-like texture. It must be well-chilled to whip effectively to stiff peaks, which are then gently folded into the chocolate mixture, adding further lightness and creaminess. Do not take it out of the fridge until you’re ready to use it!
- Vanilla Extract: Pure vanilla extract enhances the chocolate flavor, adding a warm, aromatic depth that rounds out the overall taste profile. A good quality vanilla makes a noticeable difference.
For the Dreamy Topping:
- Heavy Whipping Cream (Chilled): Just like the mousse base, chilled heavy cream is essential for creating a stable, fluffy whipped cream topping.
- Powdered Sugar: Also known as confectioners’ sugar, this finely milled sugar sweetens the whipped cream and helps stabilize it without adding a grainy texture. Sifting it before use is recommended to prevent any lumps.
- Vanilla Extract: Again, pure vanilla extract elevates the flavor of your whipped cream, making it an even more delightful complement to the rich chocolate mousse.
- Chocolate Shavings: These not only add an extra burst of chocolate flavor but also provide an elegant, professional finish to your dessert, making it visually appealing.
Step-by-Step Guide to Perfect Chocolate Mousse
Creating this exquisite chocolate mousse is a delightful journey, and following these detailed steps will ensure a flawless, delectable result. Remember to work carefully and enjoy the process!
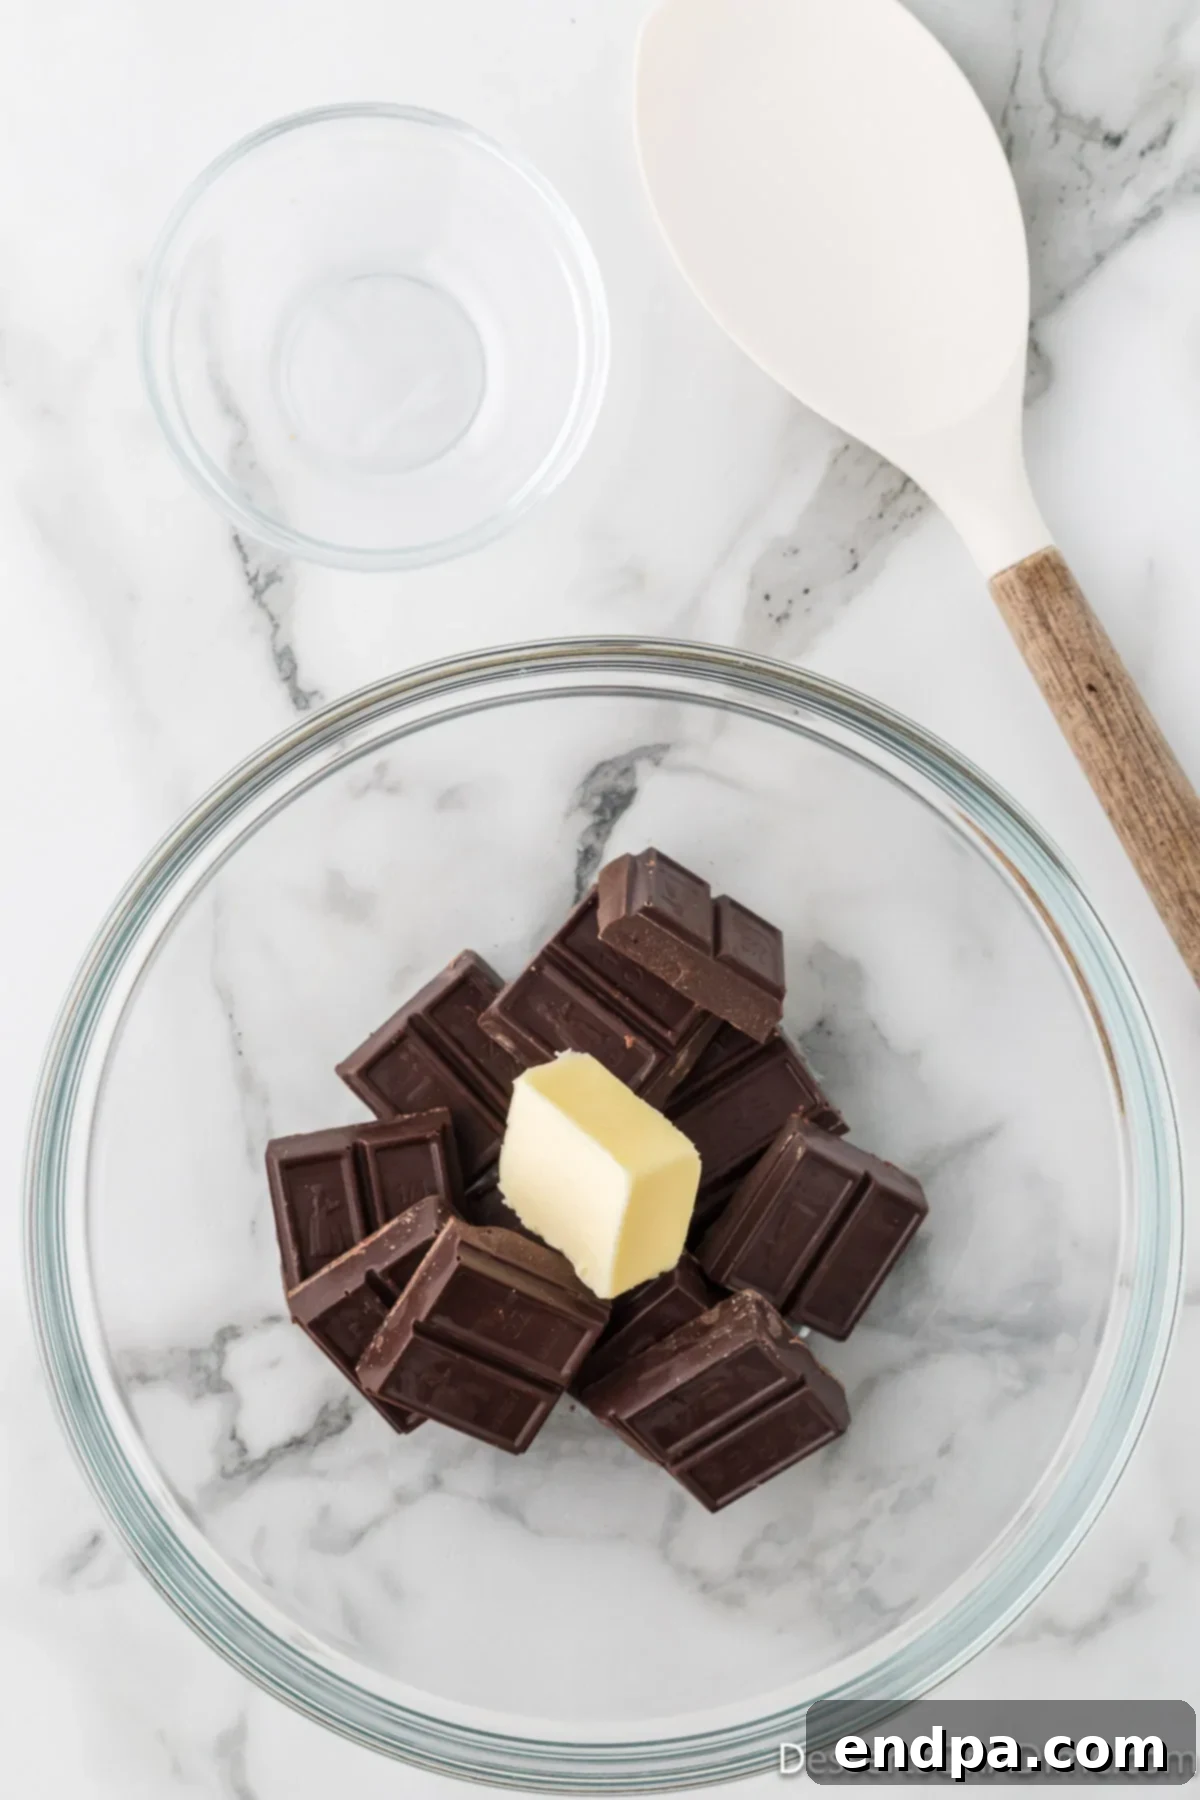
Step 1: Melt the Chocolate and Butter. Begin by breaking your chosen semi-sweet chocolate into smaller pieces and combining them with the unsalted butter in a microwave-safe bowl. Heat this mixture in short 20-second intervals, stirring thoroughly after each one. Continue until the chocolate is about 80% melted. The residual heat from the melted chocolate will gently melt the remaining pieces, ensuring a smooth, lump-free consistency without overheating. Set this mixture aside to cool slightly, as you don’t want it to cook the eggs in the next step.
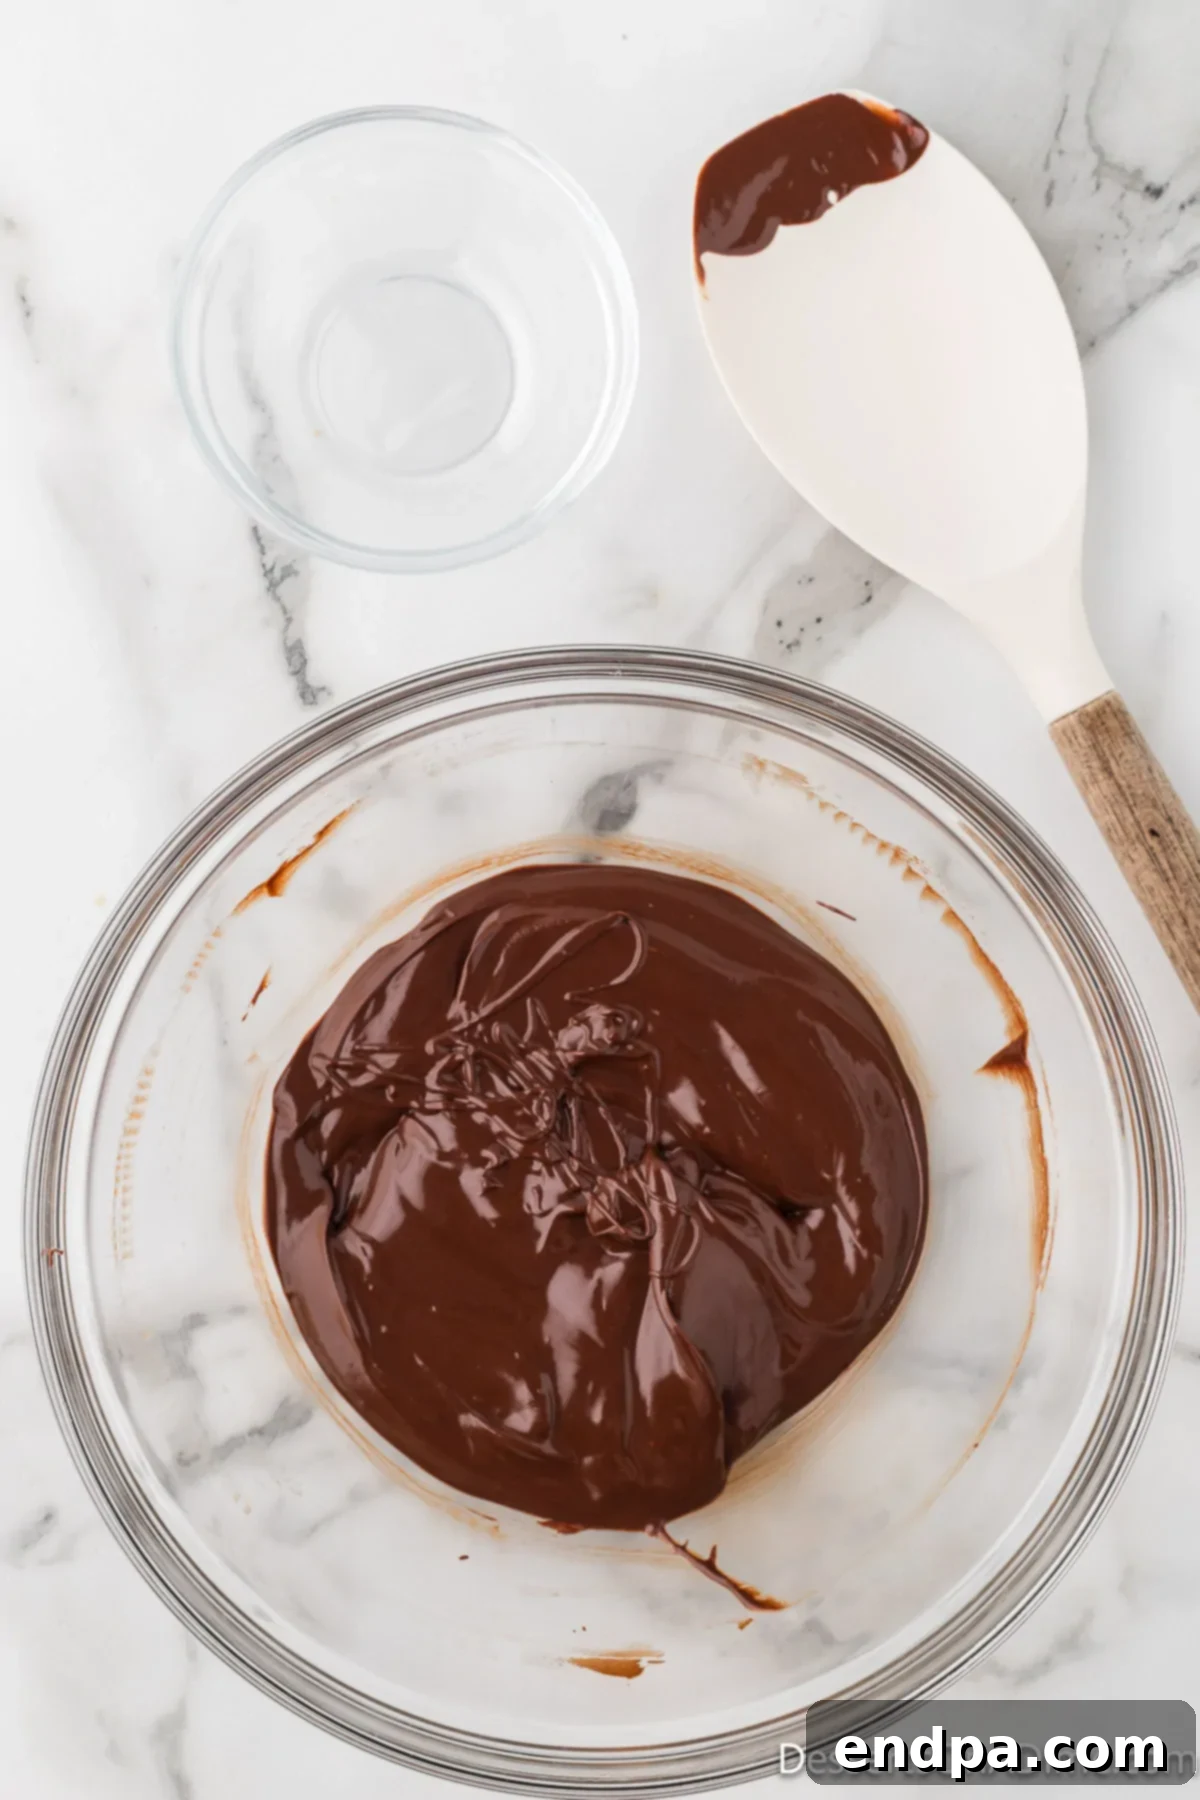
Step 2: Allow the Chocolate to Cool. It’s important for the melted chocolate and butter mixture to cool down slightly before proceeding. This prevents the egg yolks from cooking when added, ensuring a smooth, integrated base for your mousse. Let it sit for a few minutes while you prepare the egg yolks.
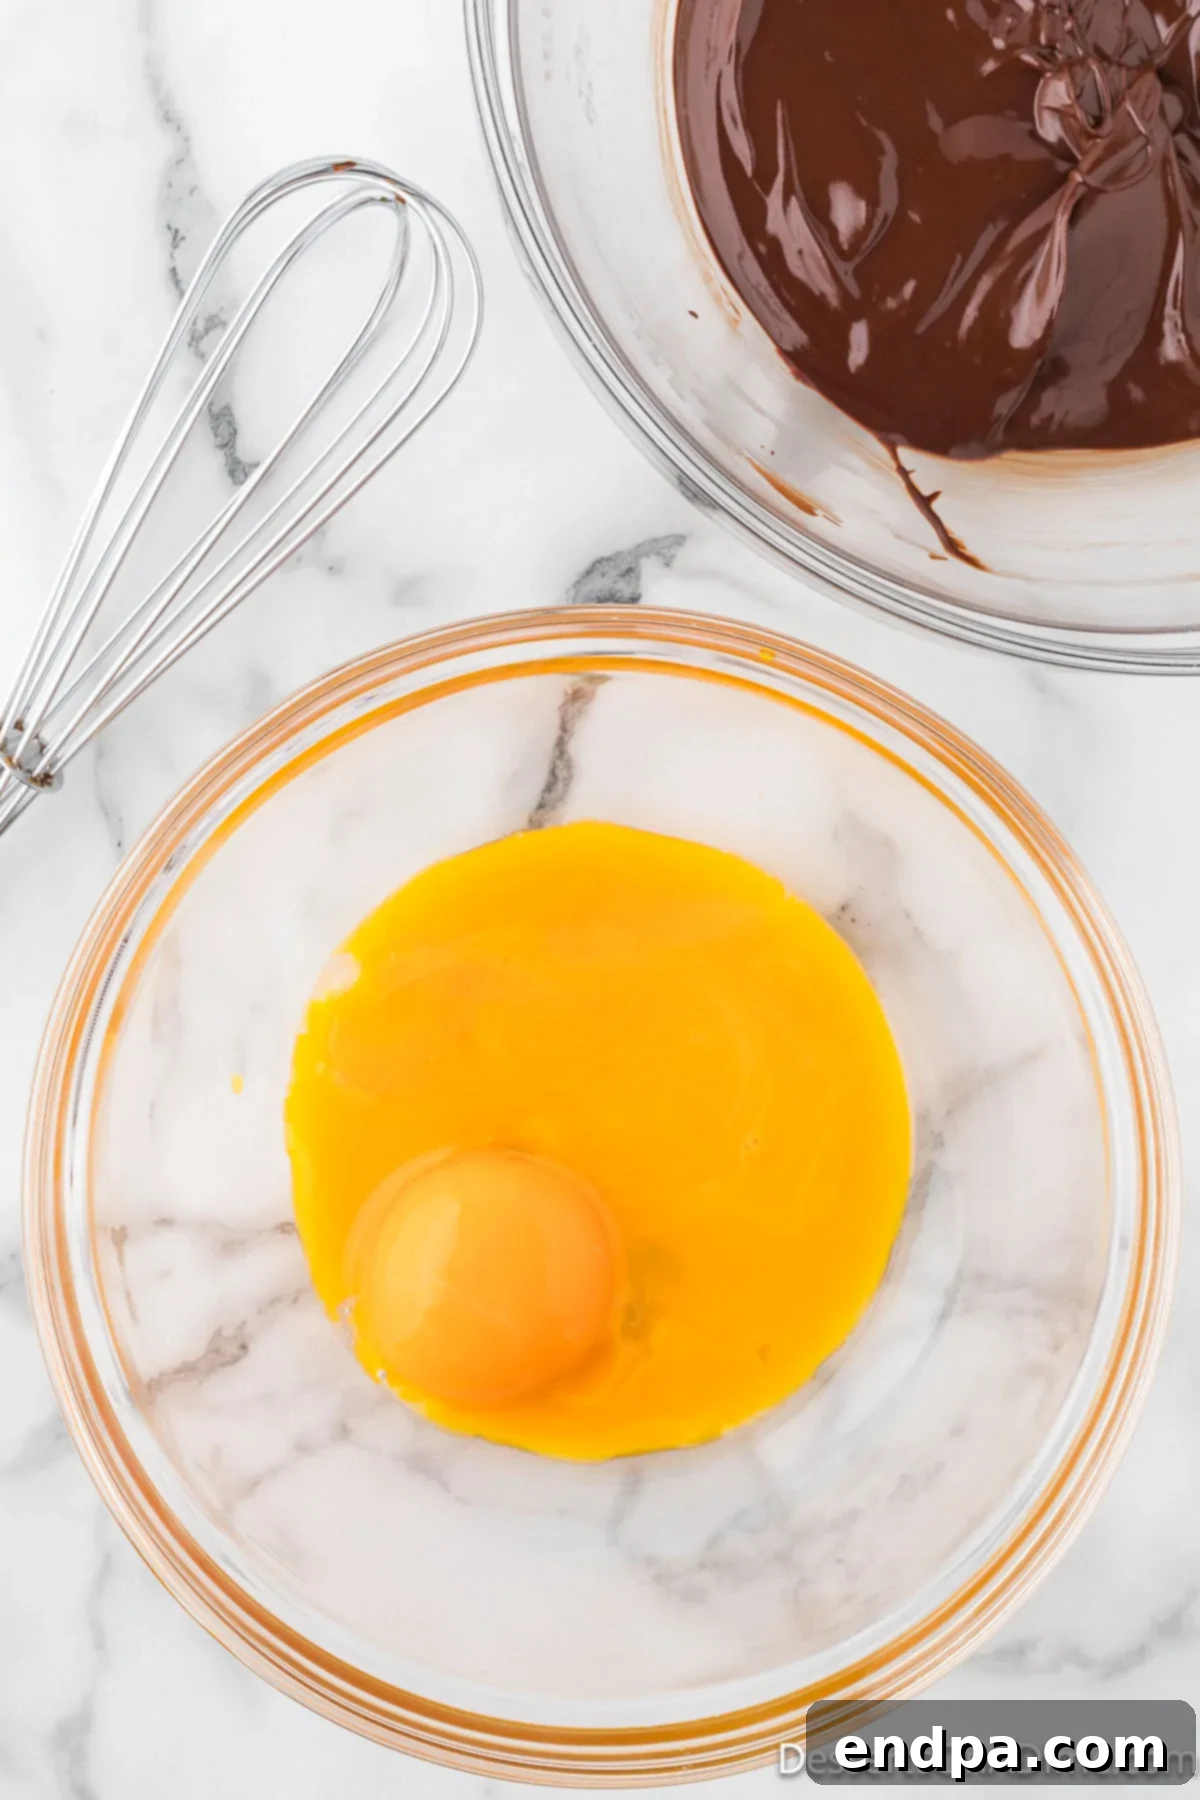
Step 3: Prepare the Egg Yolks. In a separate clean bowl, gently whisk the egg yolks until they are uniformly combined and a pale yellow. This step prepares them to be smoothly integrated into the chocolate mixture.
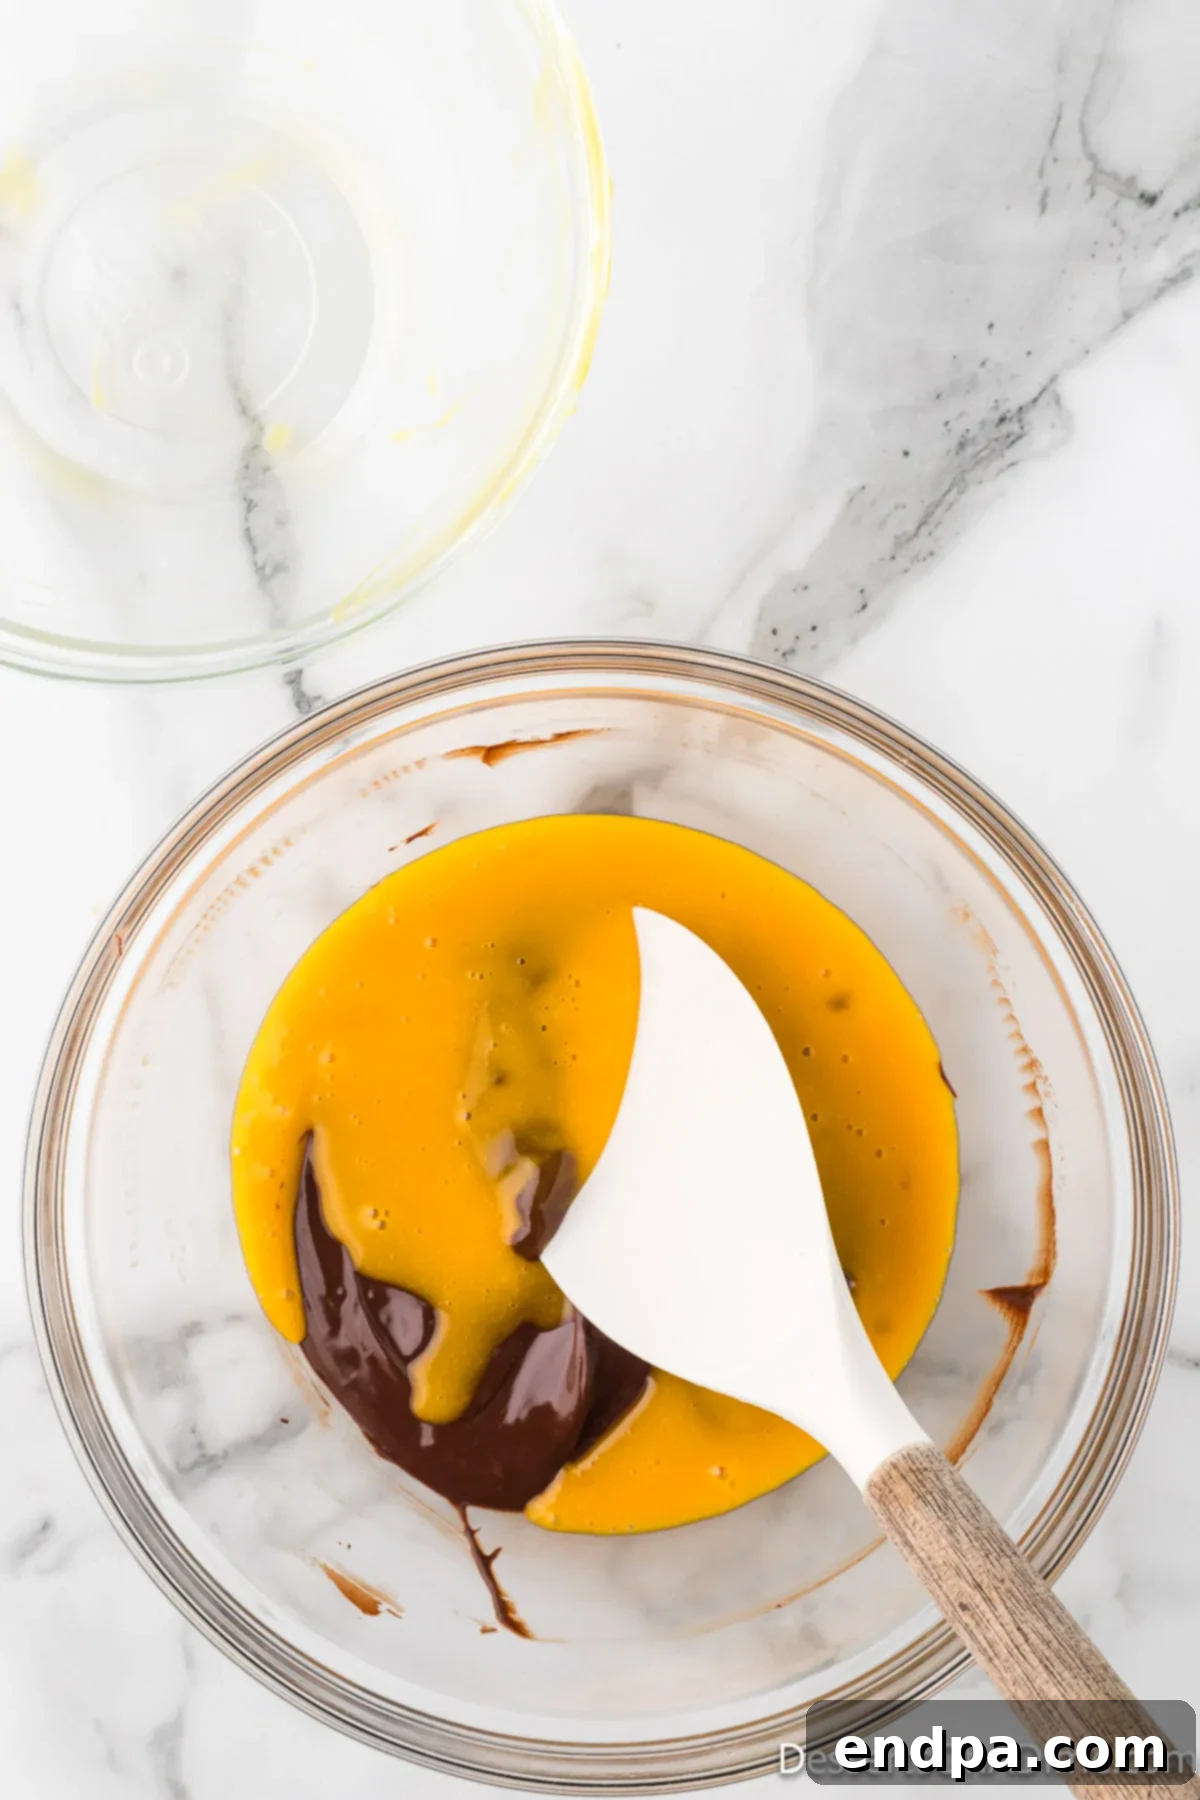
Step 4: Combine Yolks with Chocolate. Gradually add the whisked egg yolks into the slightly cooled melted chocolate mixture. Stir continuously as you add them to ensure thorough incorporation. This creates a rich, smooth base.
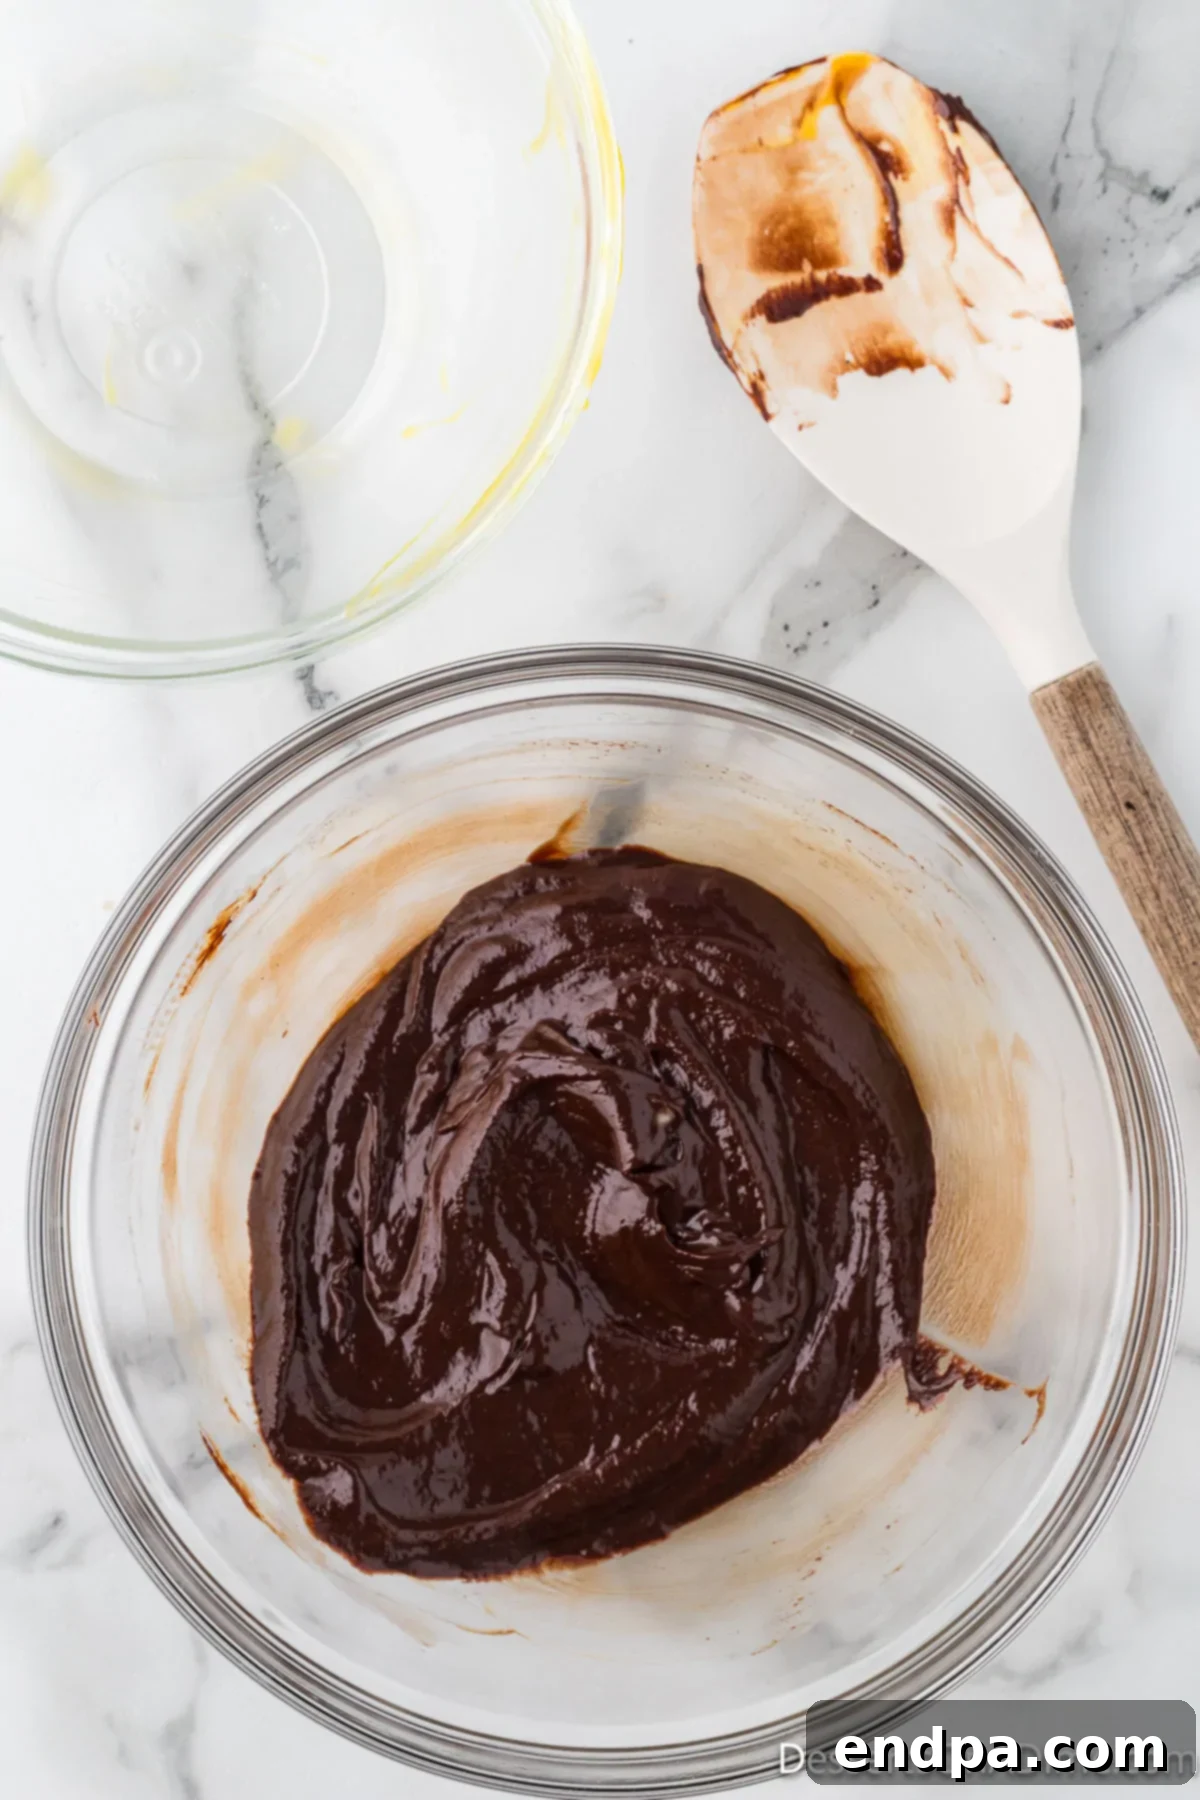
Step 5: Blend Until Smooth. Continue stirring the chocolate and egg yolk mixture until it is perfectly smooth, homogeneous, and well blended. There should be no streaks or separate layers; just a unified, luxurious chocolate base.
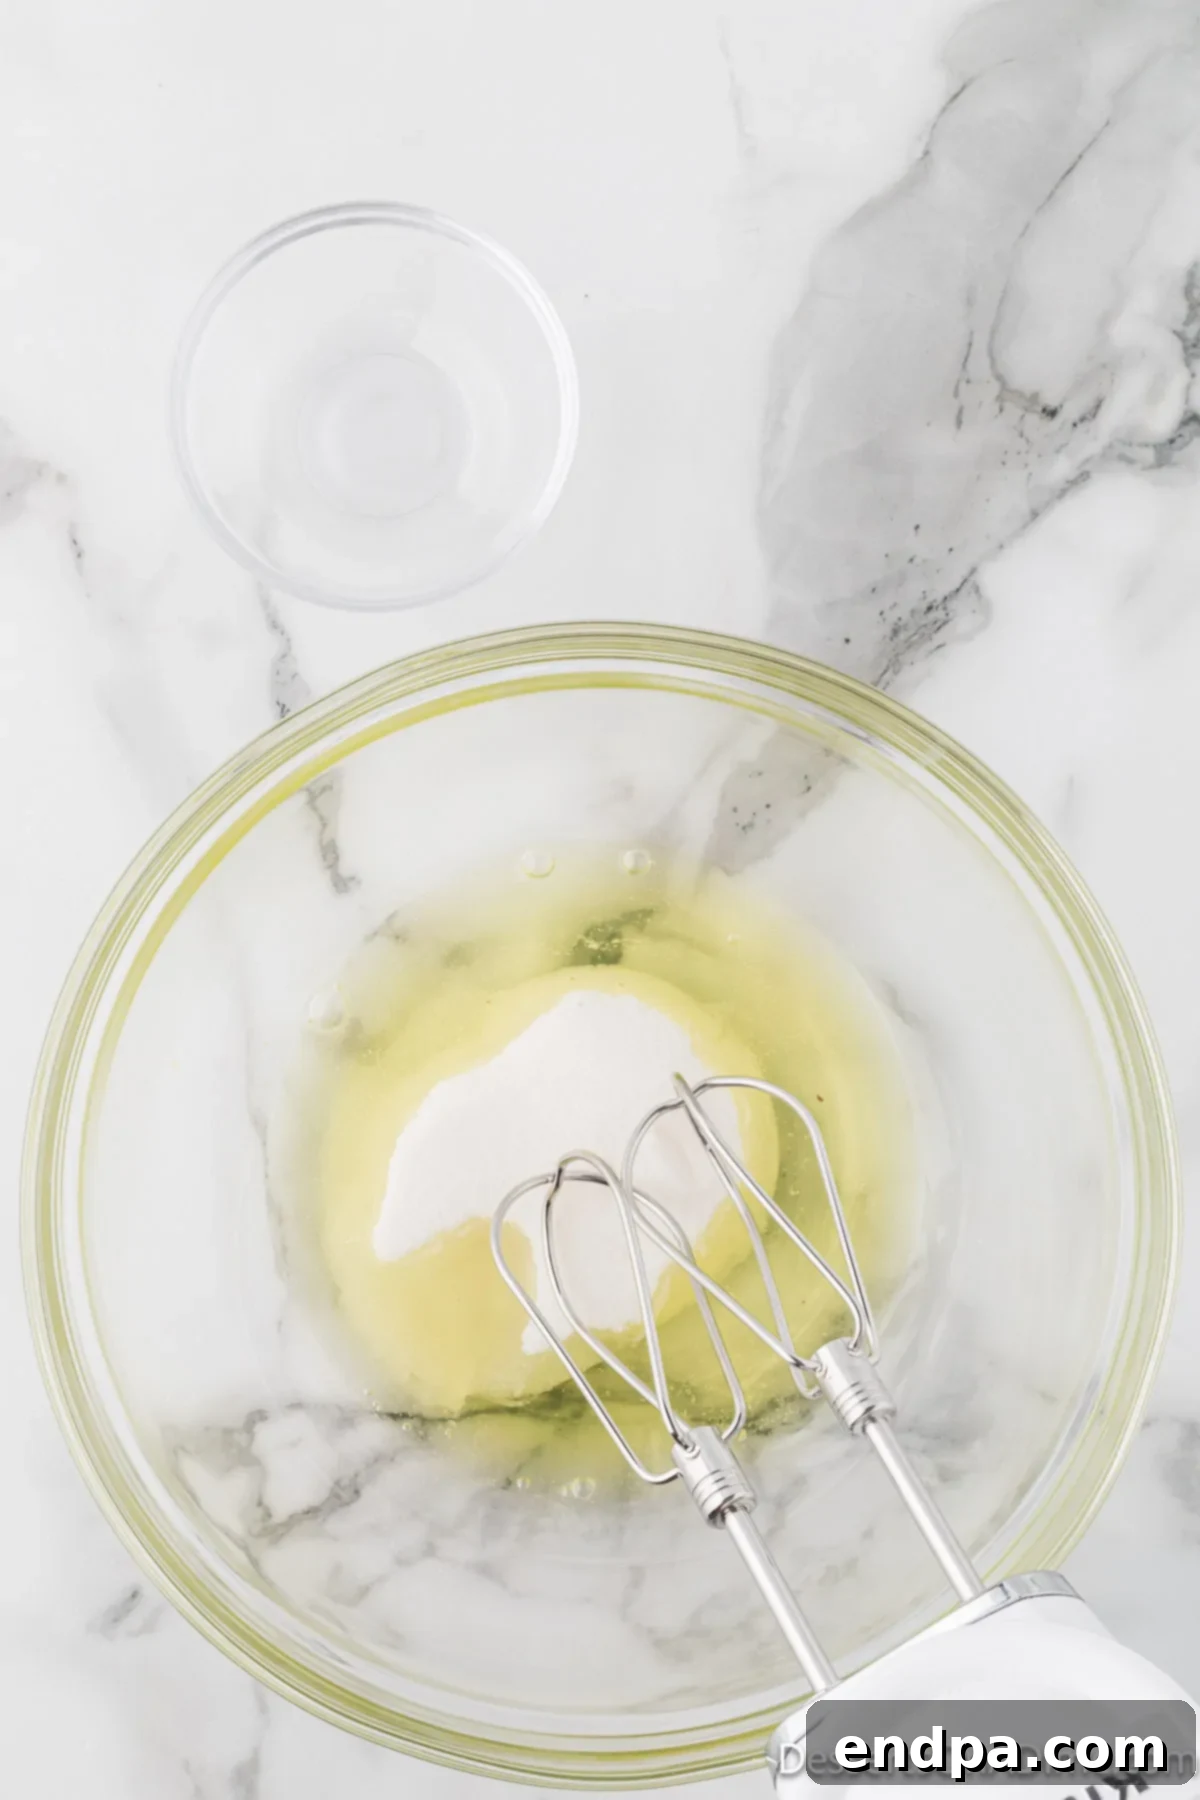
Step 6: Prepare the Meringue. In a very clean, dry mixing bowl (ensure no grease is present, as it can prevent whites from whipping), combine the reserved egg whites with the granulated sugar. This mixture will form the meringue component of your mousse, which gives it its signature airy texture.
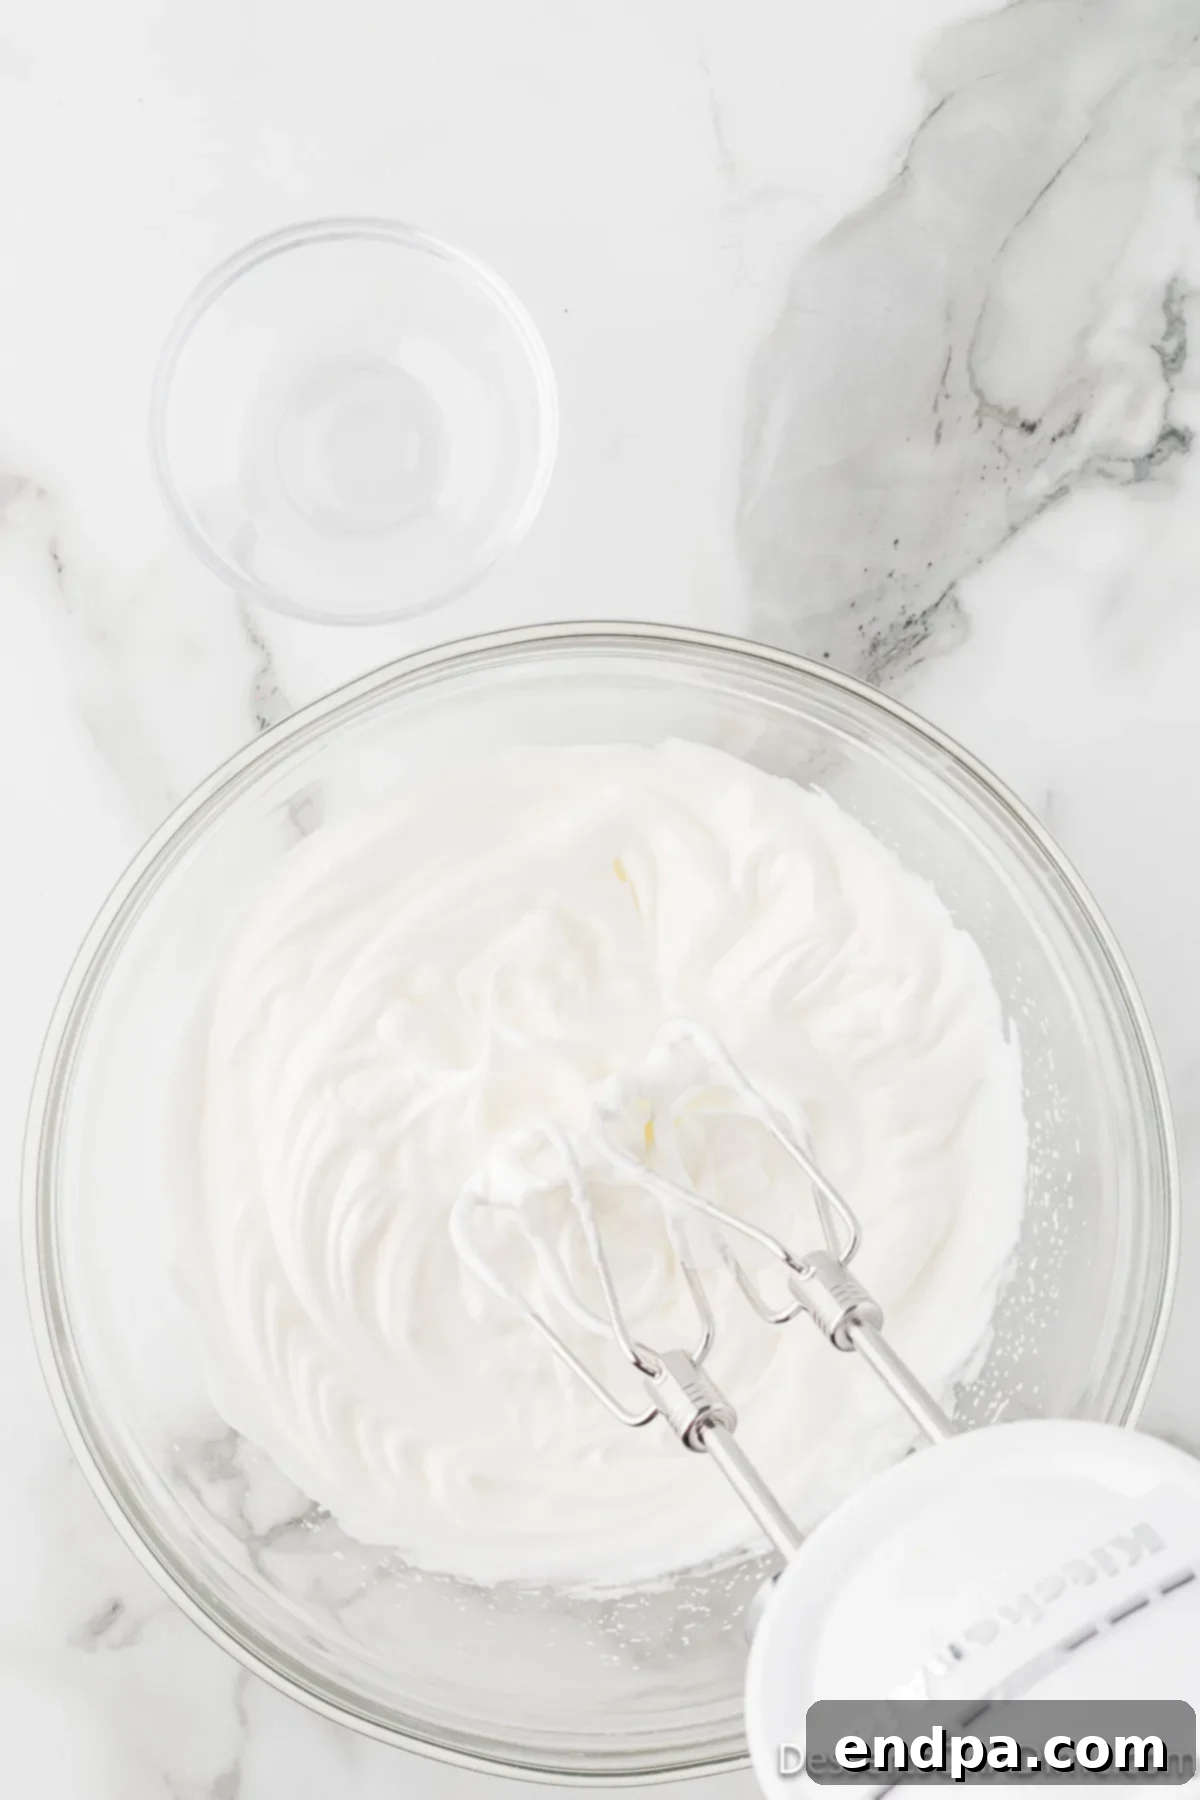
Step 7: Whip Egg Whites to Stiff Peaks. Using an electric mixer, beat the egg white and sugar mixture on medium-high speed. Continue beating until the egg whites become foamy, then progress to firm, glossy stiff peaks. This process incorporates air, which is crucial for the mousse’s light and airy texture. Be patient, as this step is key to a successful mousse.
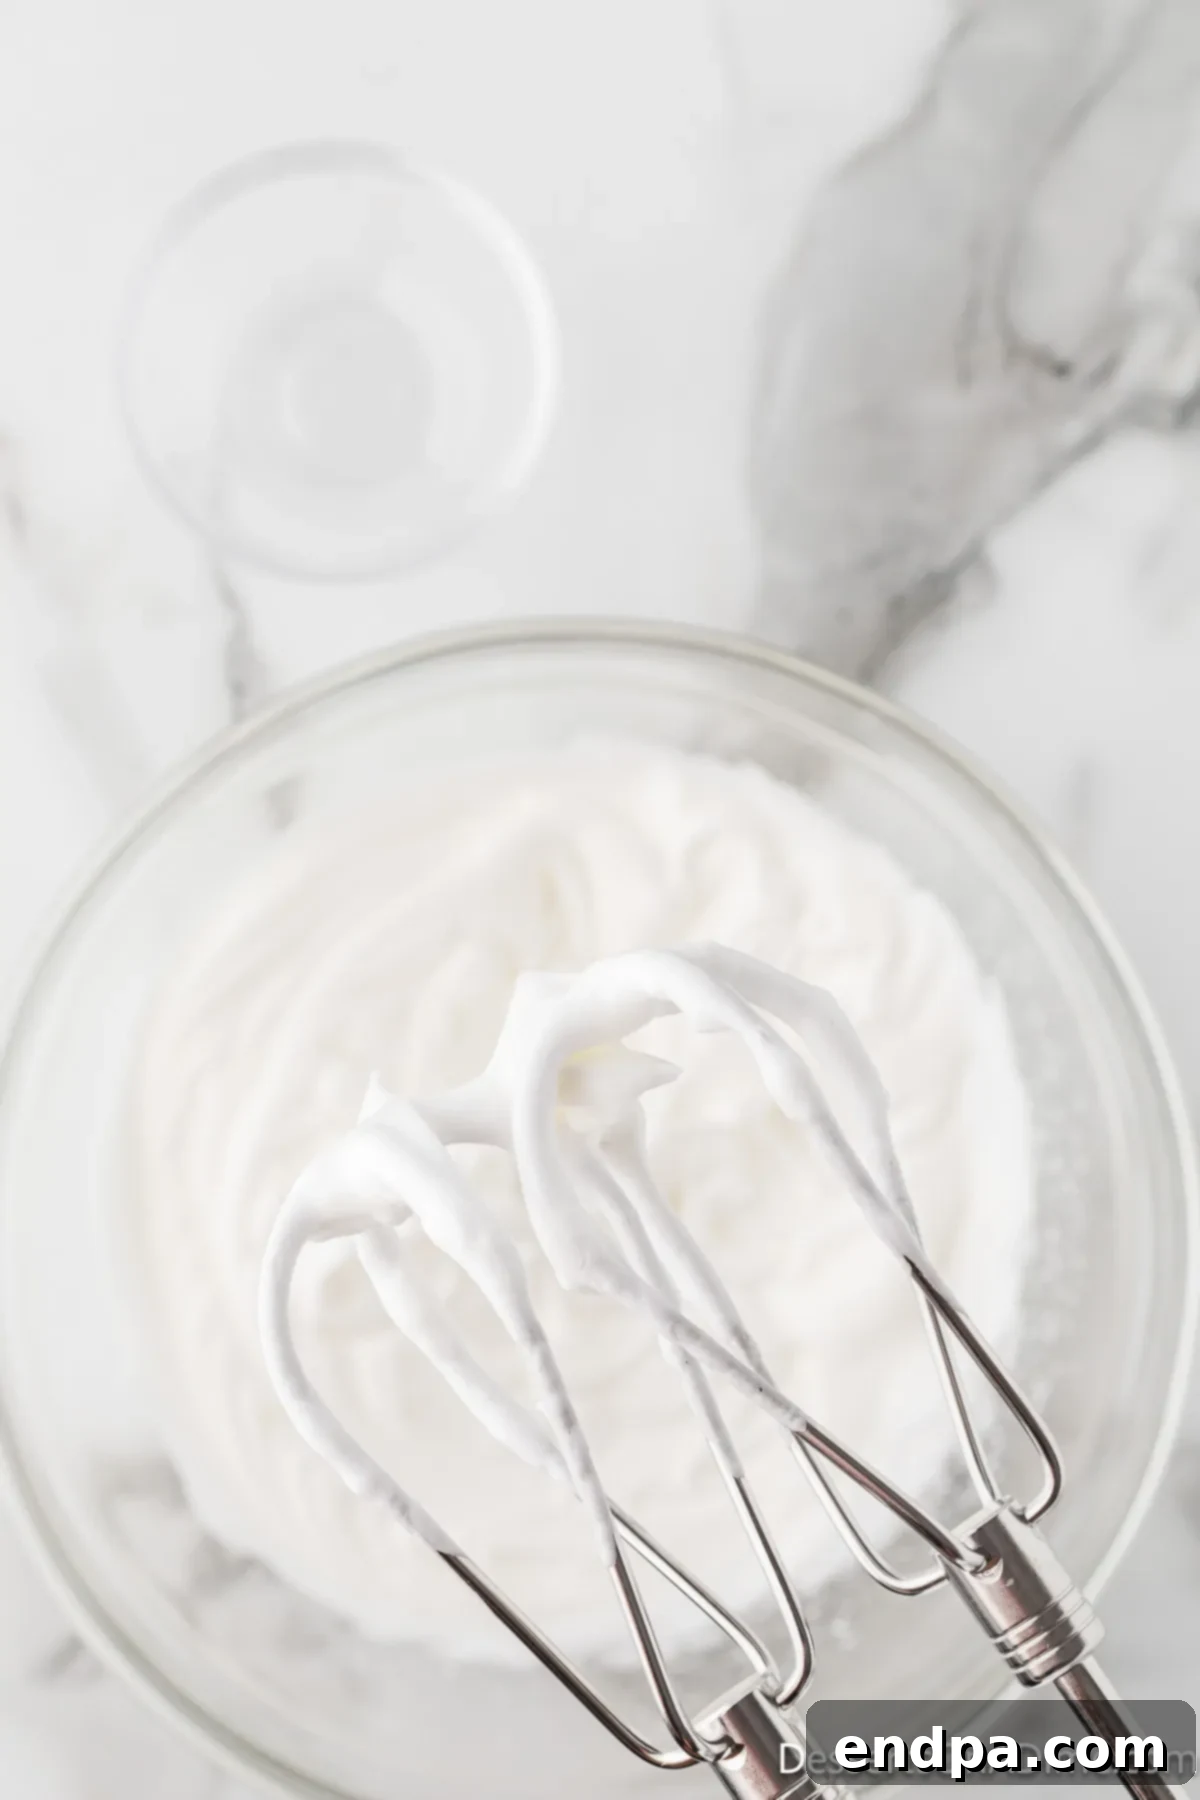
Step 8: Check for Stiff Peaks. You’ll know the egg whites are ready when you lift the beaters from the mixture and the peaks stand straight up without collapsing. They should be firm and hold their shape beautifully. Be careful not to overbeat, as they can become dry and grainy.
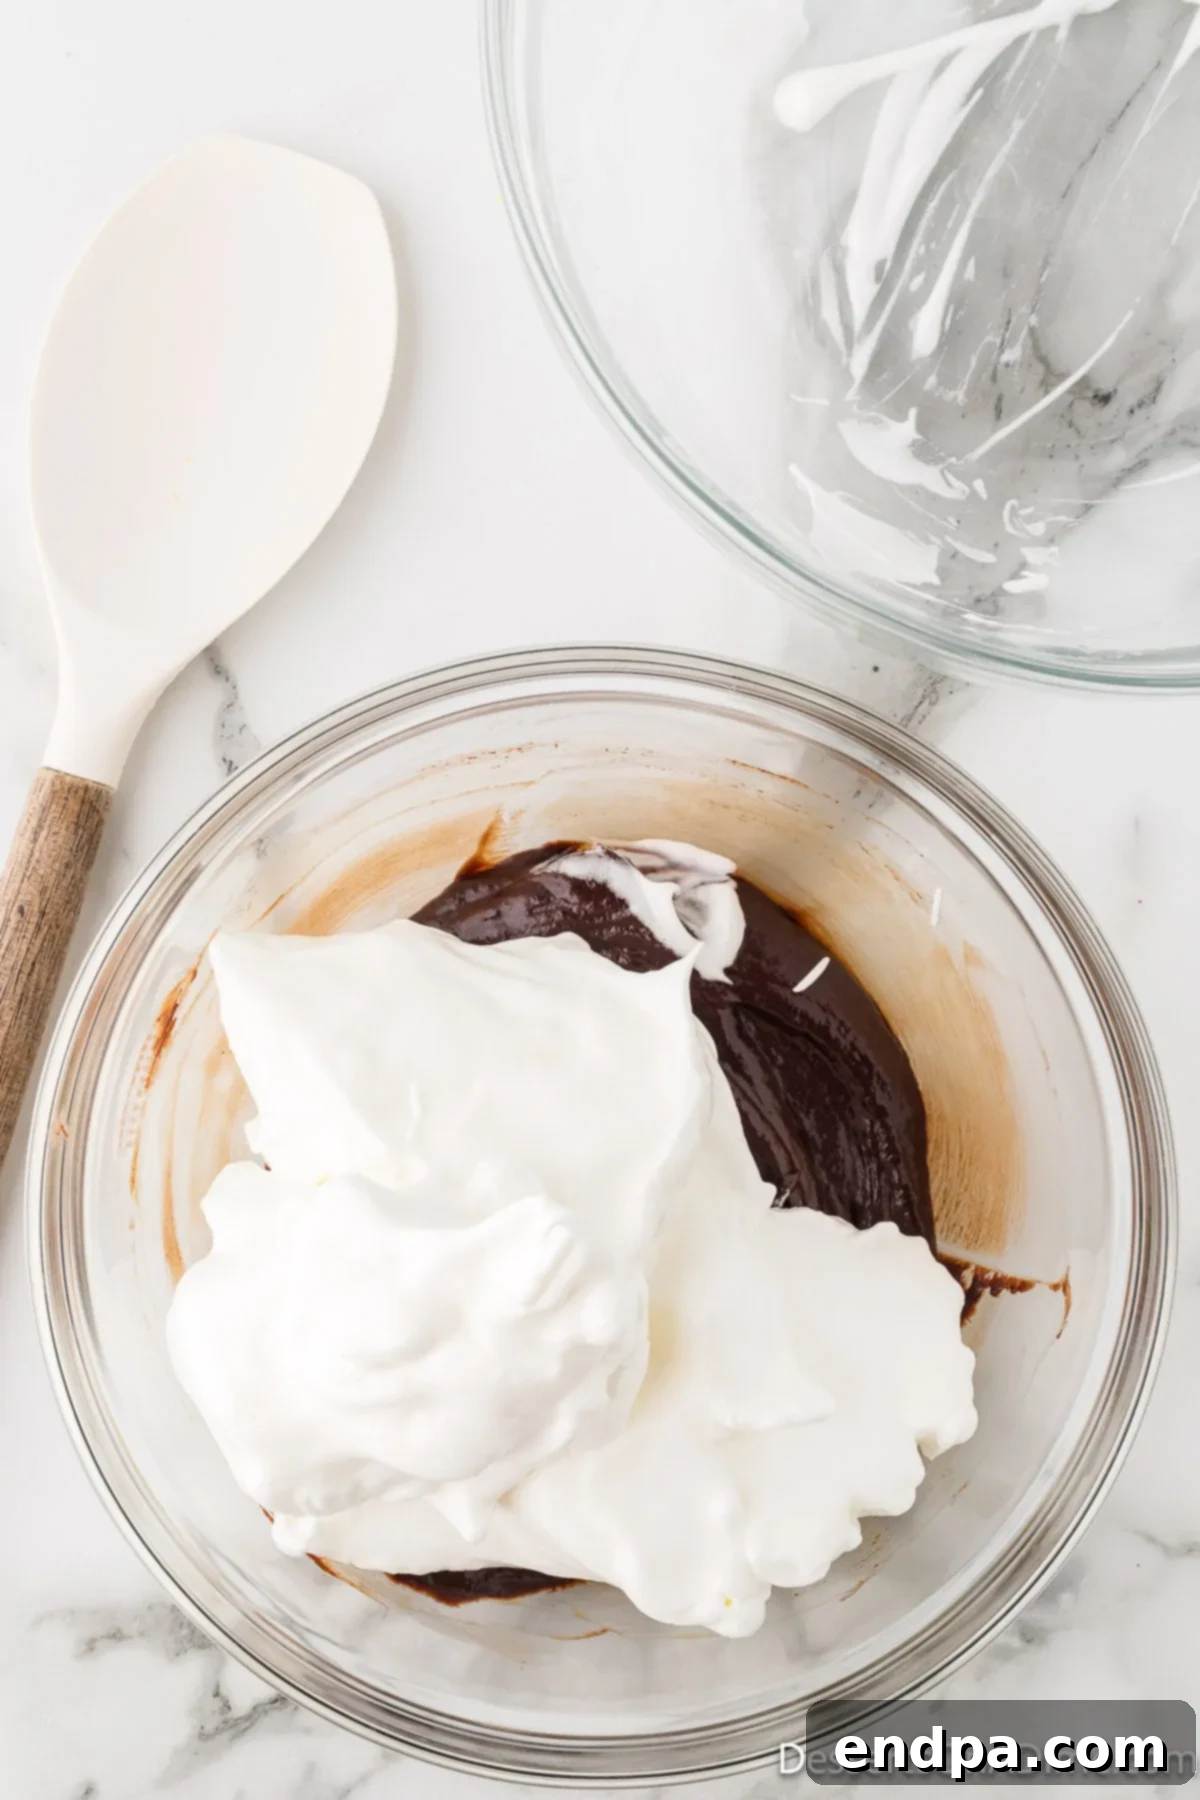
Step 9: Fold Meringue into Chocolate. Using a spatula, gently fold a third of the stiff egg white mixture into the chocolate base. This initial addition lightens the chocolate mixture. Then, gently fold in the remaining egg whites in two additions. The key here is to be very delicate, preserving as much of the air as possible that you painstakingly incorporated into the egg whites.
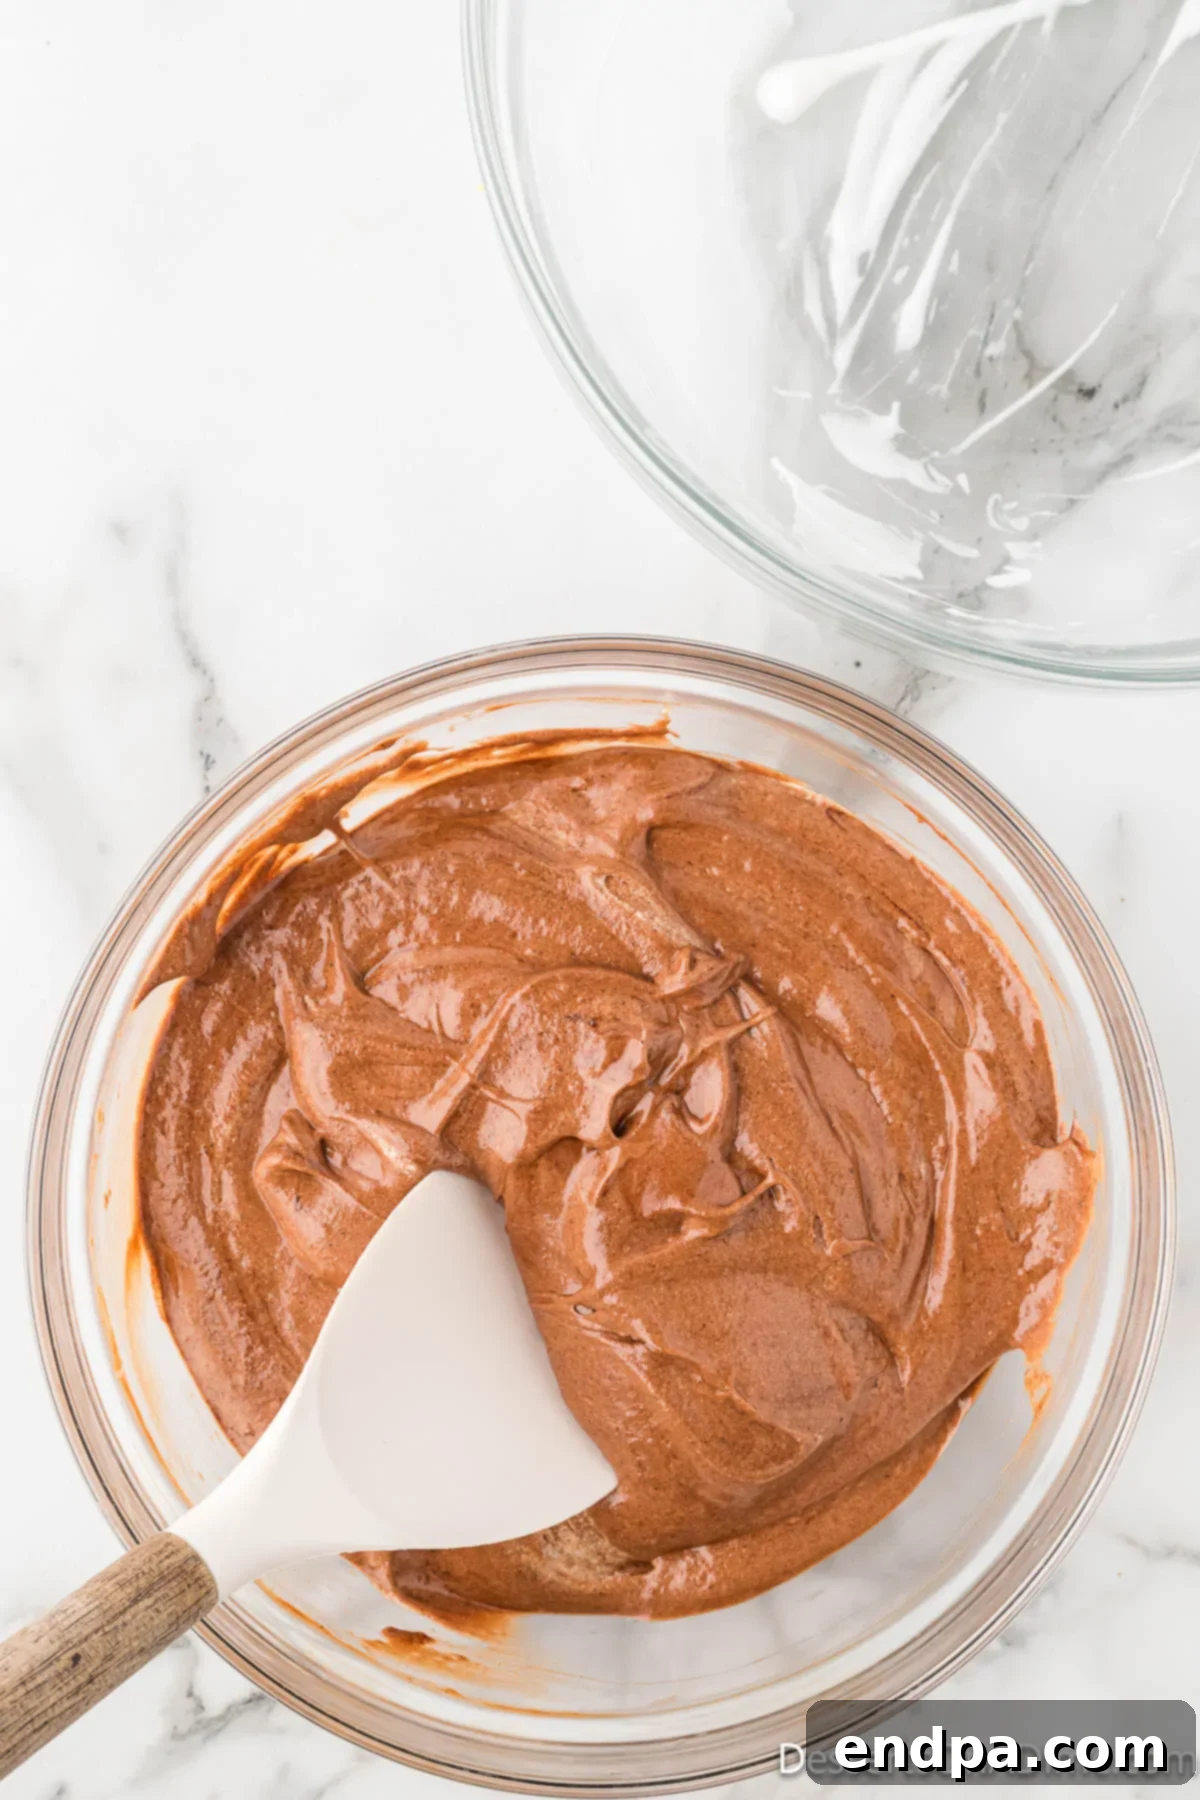
Step 10: Avoid Overmixing. It’s crucial not to overmix at this stage. Stop folding as soon as the egg whites are just combined with the chocolate mixture, ensuring no white streaks remain. Overmixing will deflate the mousse, resulting in a denser texture.
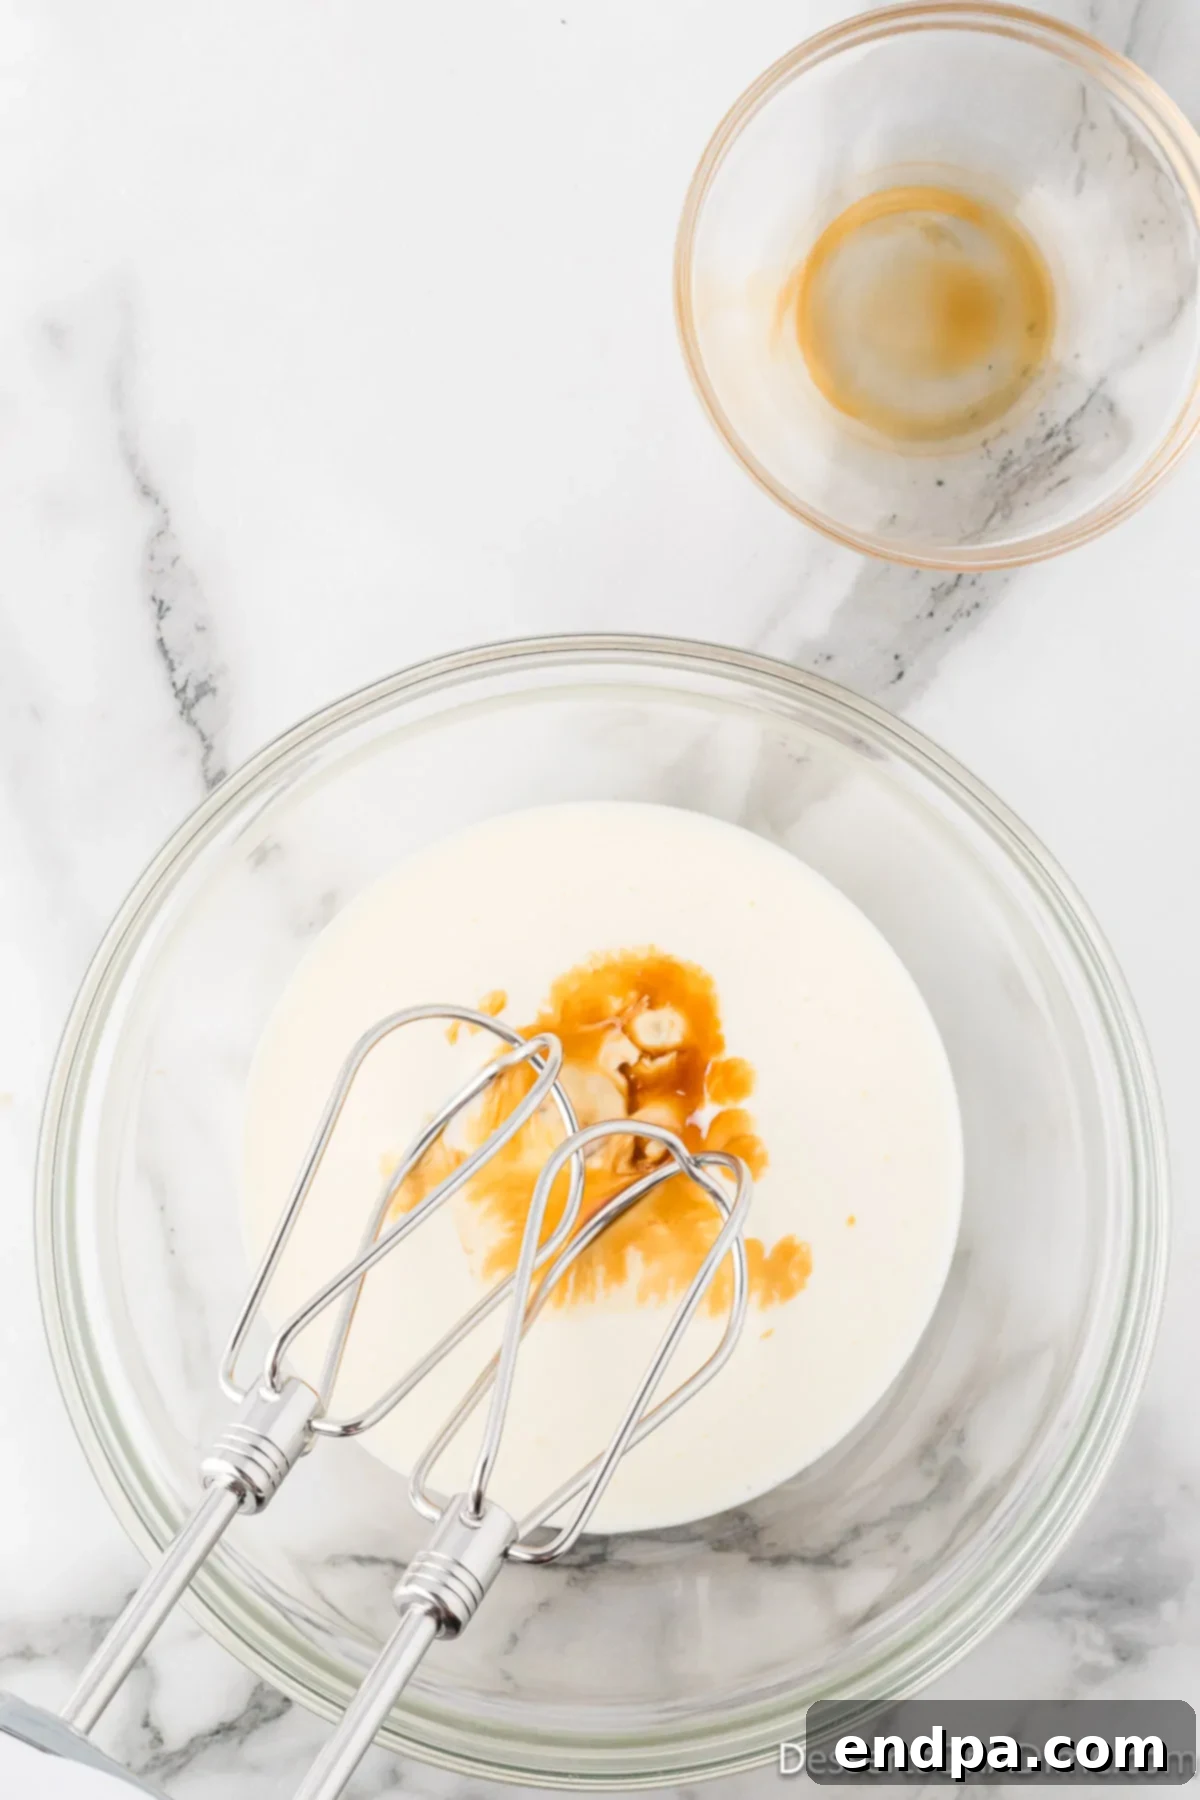
Step 11: Whip the Cream. In another separate, chilled bowl, combine the heavy whipping cream and vanilla extract. Beat this mixture on medium speed until it begins to thicken and hold its shape. A cold bowl and cold cream are essential here for optimal whipping.
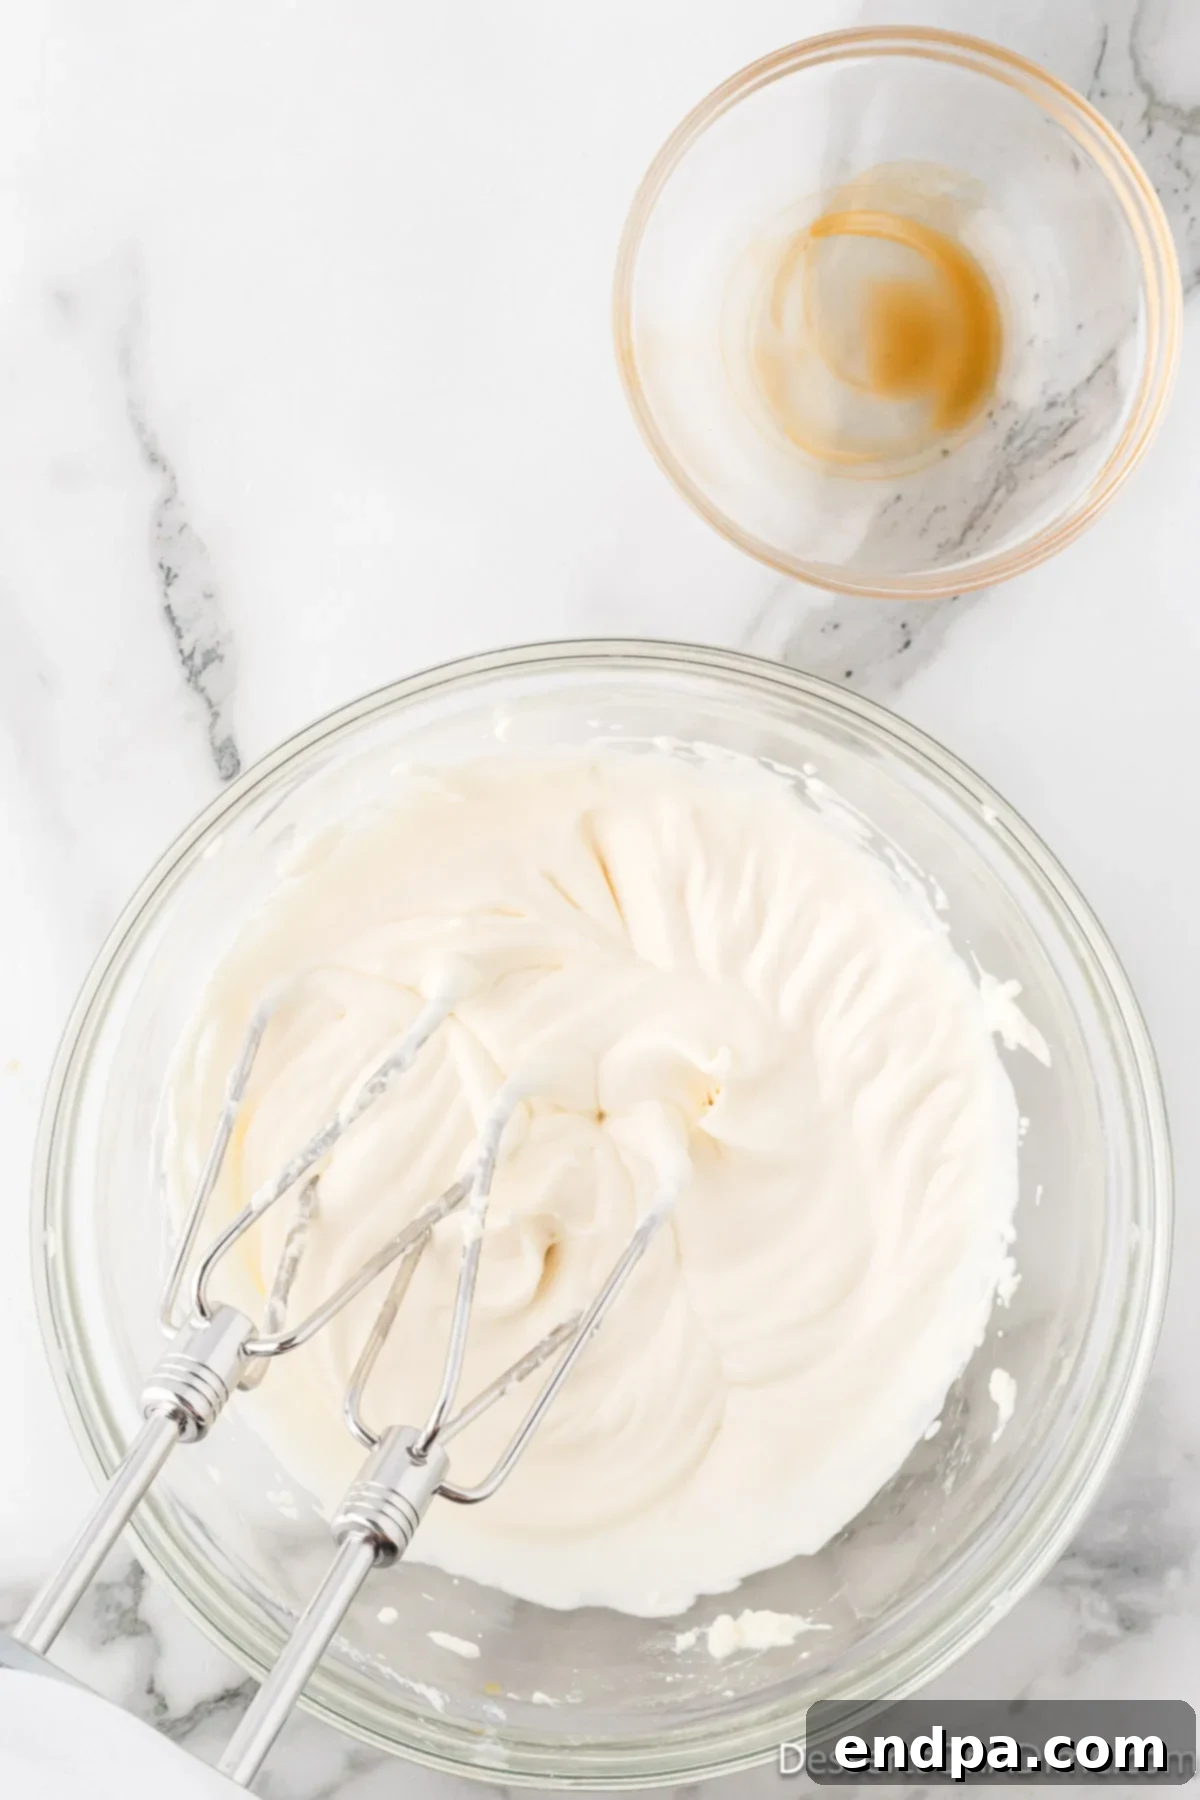
Step 12: Achieve Stiff Peaks. Continue beating the cream until firm, stiff peaks are formed. When you lift the beaters, the cream should stand upright without drooping. This beautifully whipped cream will add the final touch of lightness and luxuriousness to your mousse.
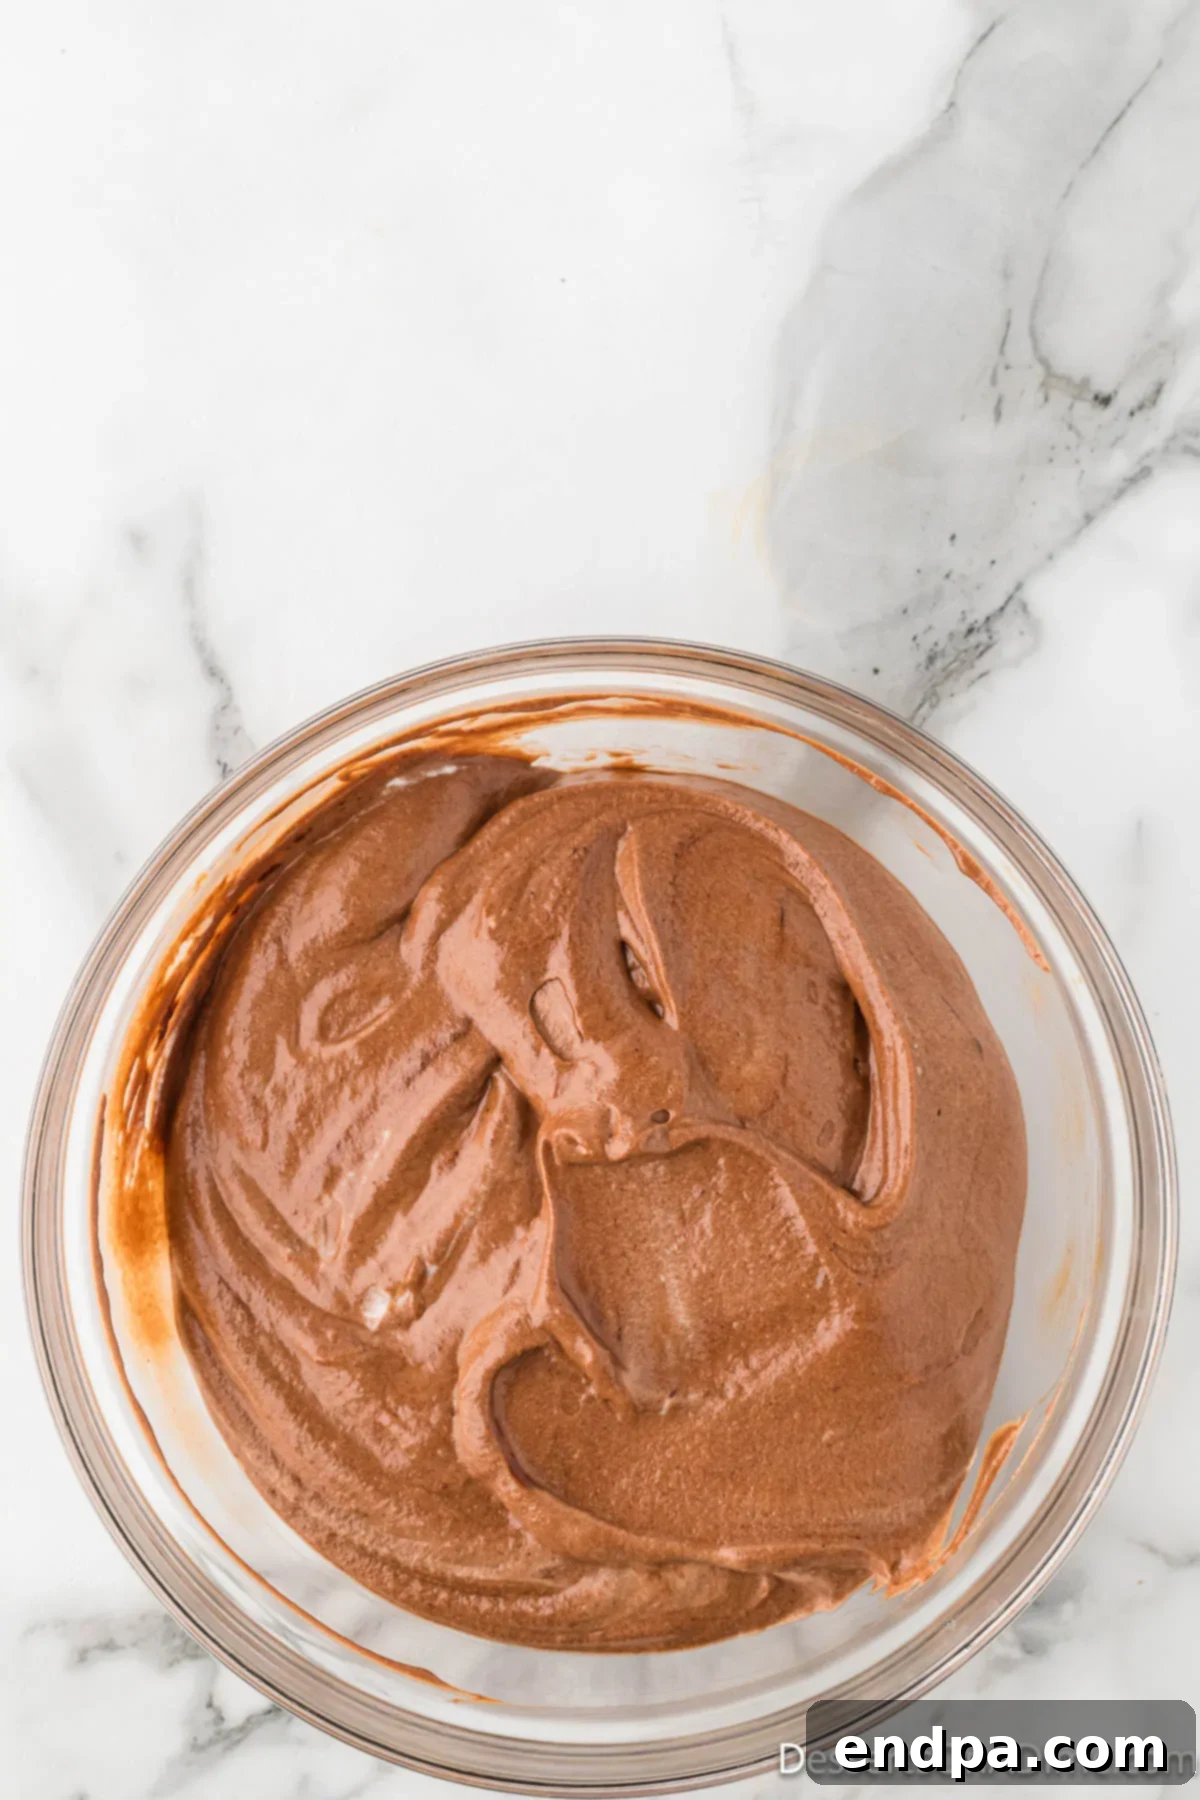
Step 13: Fold Cream into Mousse. Gently fold the whipped cream into the chocolate mixture using your spatula. Again, be incredibly gentle, folding just until no white streaks of cream are visible. The goal is to maintain the airy texture you’ve worked so hard to create. Do not overmix!
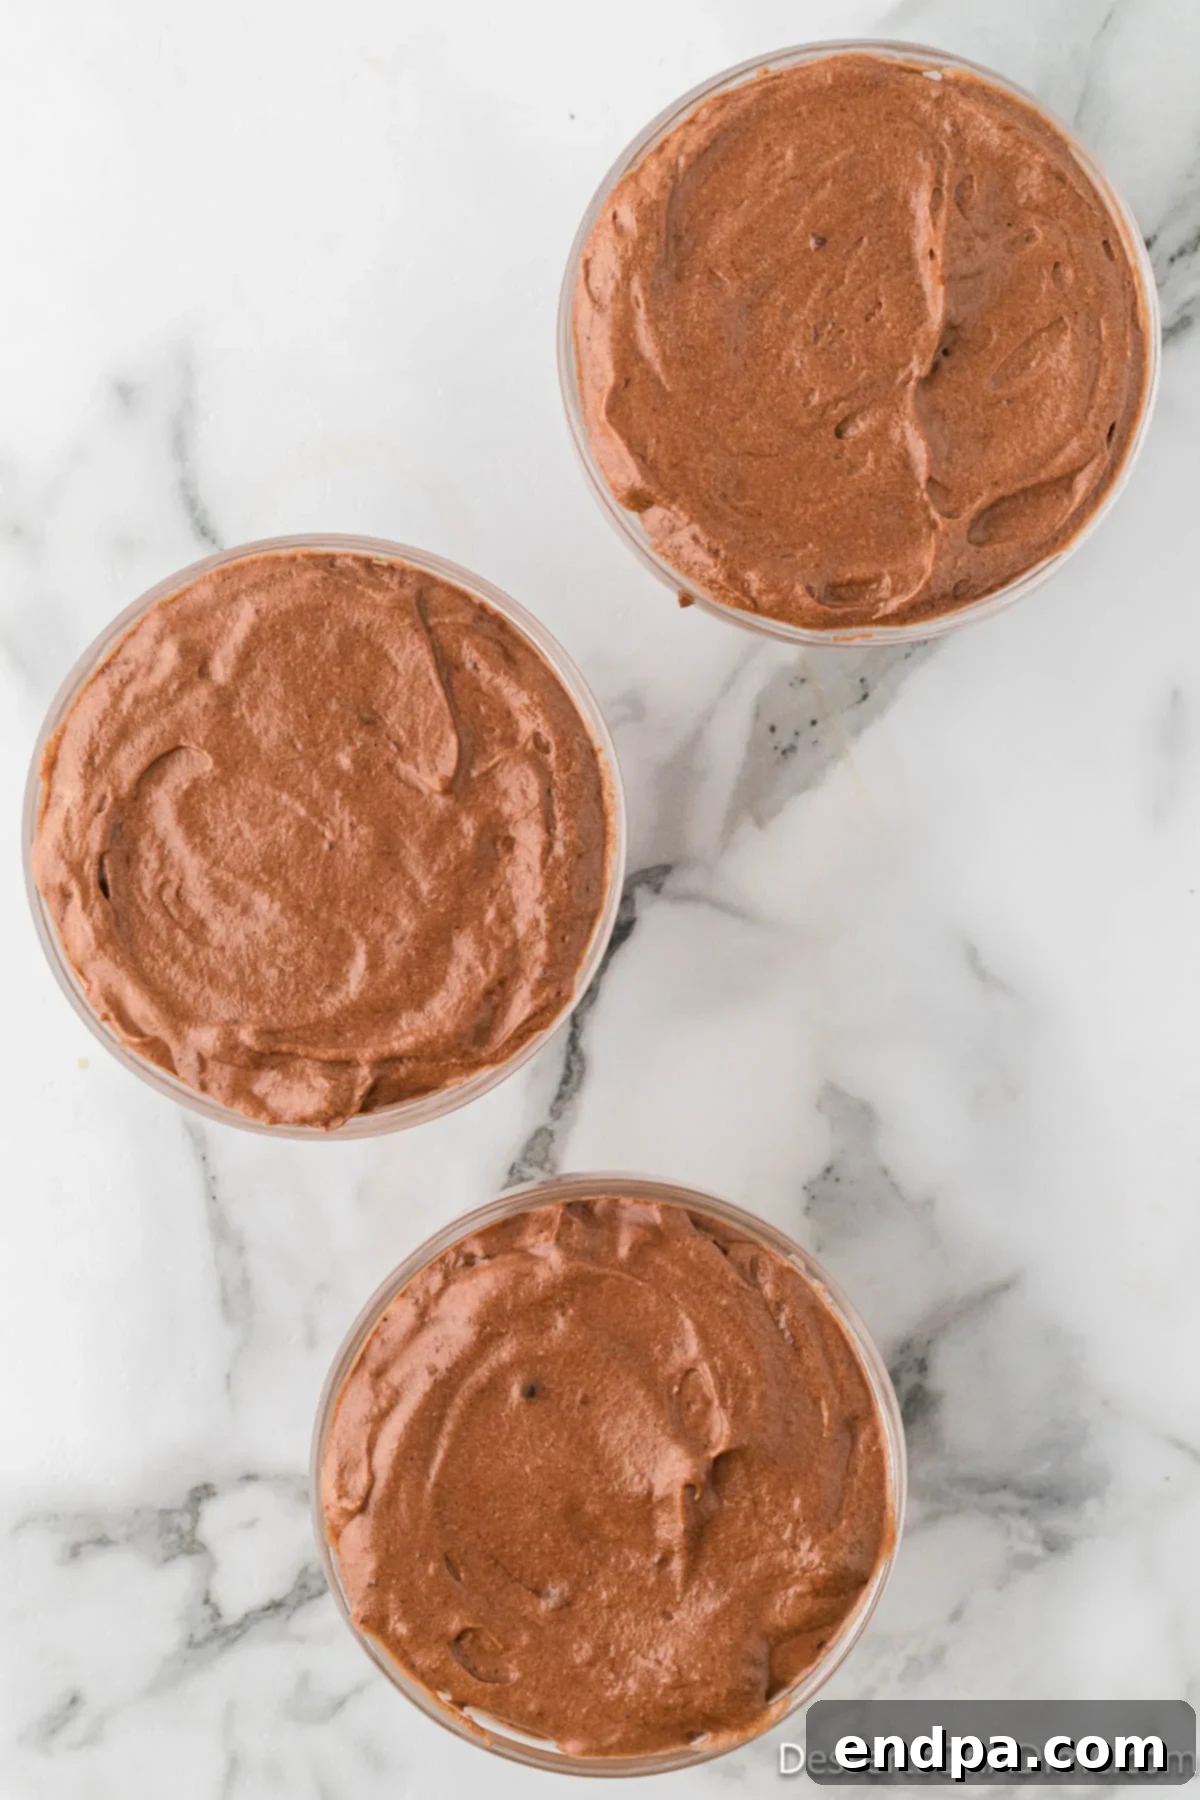
Step 14: Chill and Serve. Divide the delicate mousse mixture evenly among 6 individual serving bowls or glasses. Cover them carefully and chill in the refrigerator for at least 2 hours, or until thoroughly set and perfectly cold. This chilling time is essential for the flavors to meld and for the mousse to achieve its firm yet ethereal texture. Enjoy the anticipation!
Crafting the Perfect Whipped Cream Topping
A luxurious chocolate mousse deserves an equally exquisite topping, and homemade whipped cream is the ultimate accompaniment. Its light, sweet creaminess provides a beautiful contrast to the rich chocolate, both in flavor and texture. To prepare your topping:
- Just before serving, take your remaining heavy cream (ensuring it’s well-chilled) and place it in a cold mixing bowl. Add the powdered sugar and vanilla extract.
- Beat on medium-high speed until the cream forms stiff peaks. The consistency should be fluffy and hold its shape firmly.
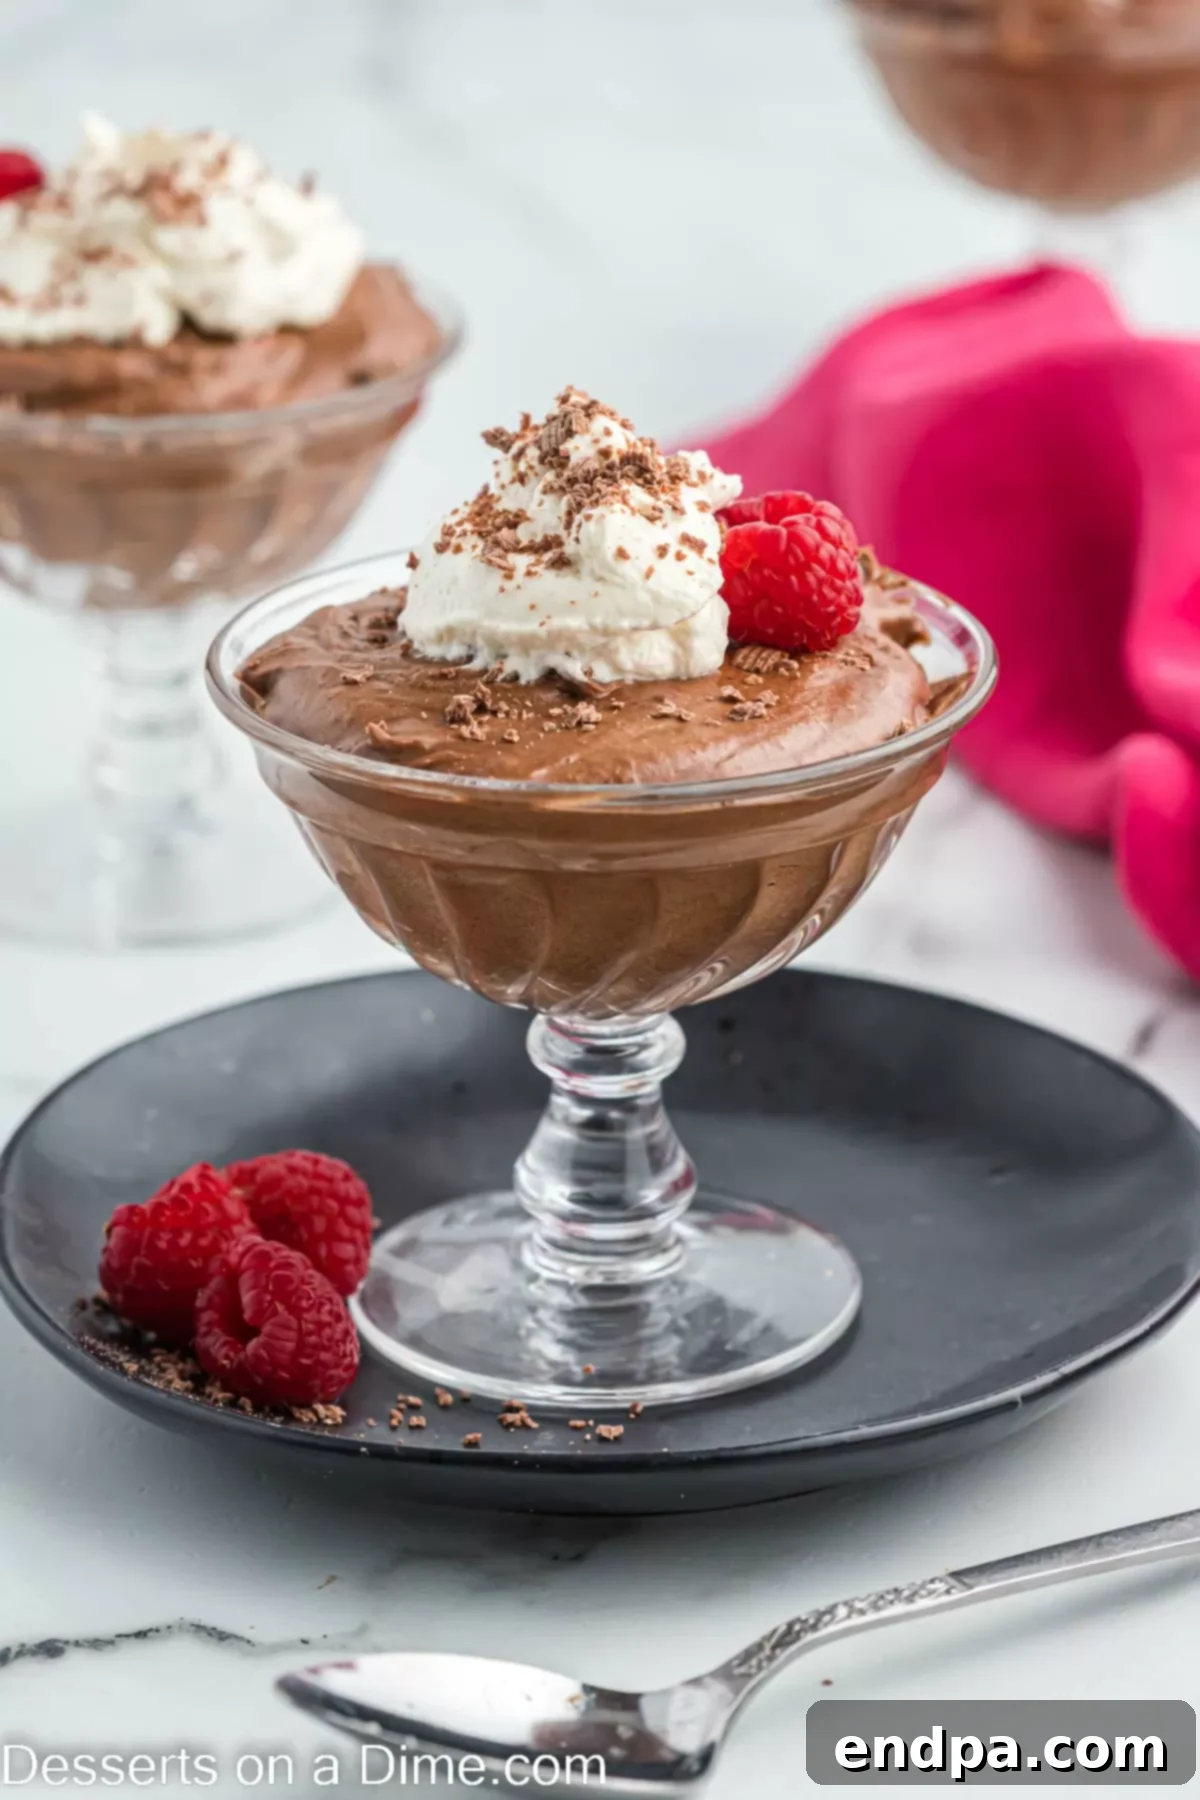
- Carefully dollop generous amounts of this freshly whipped cream onto each serving of chocolate mousse.
- For an extra touch of elegance and chocolate intensity, sprinkle a pinch of chocolate shavings on top of the whipped cream.
- Serve immediately and savor the delightful combination of textures and flavors. Enjoy your homemade masterpiece!
Storage and Make-Ahead Tips
One of the many appealing aspects of chocolate mousse is its ability to be prepared in advance, making it a fantastic choice for entertaining. You can easily make this decadent dessert the day before your event, allowing the flavors to deepen and the mousse to perfectly set.
To store your chocolate mousse, simply cover individual servings with plastic wrap or transfer any leftovers to an airtight container. Keep it refrigerated for up to 4 days. While it will still taste absolutely amazing, be aware that the longer it is stored, the mousse may gradually lose some of its initial airy volume and become slightly denser. For the most delicate, cloud-like texture, it’s best enjoyed within 1-2 days of preparation. However, even on day 4, the rich chocolate flavor remains wonderfully satisfying.
Freezing chocolate mousse is also an option for longer storage, transforming it into a delightful frozen treat similar to a semi-freddo. Transfer the mousse into freezer-safe containers or individual portions. It can be frozen for up to 1 month. When ready to enjoy, thaw it in the refrigerator for a few hours until it reaches your desired consistency. The texture will be slightly different after freezing and thawing, but it will still be a delicious, chilled dessert.
Creative Topping and Serving Ideas
While classic chocolate shavings and whipped cream are undeniably perfect, don’t hesitate to get creative with your chocolate mousse toppings to suit different occasions or personal preferences. Here are some inspiring ideas to elevate your dessert:
- Elegant Chocolate Shavings: The ultimate classic! Use leftover chocolate from your baking or a high-quality bar. A vegetable peeler or microplane makes perfect curls or fine dust. This not only adds more intense chocolate flavor but also a sophisticated visual appeal.
- Homemade Whipped Cream: Our recipe for light and airy homemade whipped cream is absolutely divine. It’s incredibly easy to prepare and adds a contrasting creamy texture that beautifully complements the rich mousse.
- Mini Chocolate Chips: For a delightful texture contrast, sprinkle mini chocolate chips over the whipped cream just before serving. They add a tiny crunch and an extra burst of chocolate. Dark, milk, or even white chocolate chips can be used.
- Fresh Fruit Medley: The tartness of fresh berries cuts through the richness of the chocolate beautifully. Garnish each bowl with a few fresh raspberries, sliced strawberries, blueberries, or even a few tart cherries. A sprig of mint can add a fresh aroma and color.
- Crushed Peppermint: For a festive holiday treat, especially during winter months, lightly crush some candy canes or peppermint candies and sprinkle them over the whipped cream. The cool, minty flavor pairs wonderfully with chocolate.
- Oreo Cookie Crumbs: A surefire kid-favorite and a delightful adult indulgence! Crush Oreo cookies (or similar chocolate sandwich cookies) and sprinkle them generously on top for an added layer of texture and flavor.
- Toasted Nuts: For a nutty crunch, finely chop and lightly toast almonds, hazelnuts, or pecans. Sprinkle them over the mousse for an elevated flavor and texture profile.
- Caramel or Chocolate Sauce Drizzle: A delicate drizzle of warm caramel sauce or an extra swirl of dark chocolate ganache can add another layer of indulgence and visual flair.
- Espresso Powder Dust: For an intense, sophisticated flavor, lightly dust the top of the whipped cream or mousse with a touch of unsweetened cocoa powder or fine espresso powder. This enhances the chocolate’s depth.
Pro Tips for Flawless Chocolate Mousse
While this recipe simplifies the process, paying attention to these expert tips will guarantee your chocolate mousse turns out perfectly every time: light, airy, and bursting with rich flavor.
- Room Temperature Ingredients (Mostly): With the critical exception of the heavy whipping cream, ensure all your ingredients, especially the eggs and chocolate, are at room temperature. Room temperature eggs separate more easily and whip to greater volume, while chocolate melts more smoothly and incorporates better into other ingredients without seizing. Cold heavy cream, however, is paramount for whipping to stiff peaks.
- Invest in High-Quality Chocolate: Since chocolate is the star of this dessert, its quality directly impacts the final taste. Opt for a good quality semi-sweet or bittersweet chocolate bar (around 60-70% cocoa solids) rather than chocolate chips. Better chocolate melts more smoothly and provides a richer, more complex flavor. Real chocolate is a must for a truly authentic mousse.
- The Essential Role of Eggs: Eggs are not just for richness; they are the foundation of the mousse’s airy structure. The egg yolks add body and flavor, while the stiffly beaten egg whites (meringue) incorporate the air that makes mousse light and fluffy. While egg-free versions exist, they often result in a denser, pudding-like texture rather than the desired ethereal lightness. Important Note: This recipe uses raw eggs. Consuming raw or undercooked eggs carries a risk of foodborne illness. Pregnant women, young children, older adults, and individuals with weakened immune systems should avoid consuming raw eggs.
- Gentle Folding of Egg Whites and Cream: This is arguably the most critical step for achieving the perfect mousse texture. Once the egg whites are beaten to stiff peaks, they must be folded into the chocolate mixture with extreme care. Use a spatula and a gentle “cut-and-fold” motion, aiming to preserve as much air as possible. Overmixing will deflate the meringue and whipped cream, leading to a flat, dense mousse. Always fold until just combined, with no visible streaks.
- Choosing the Right Chocolate Type: Bittersweet chocolate (50-70% cocoa) often yields the best mousse, offering a deep chocolate flavor that isn’t overly sweet. It also melts beautifully without seizing. If you prefer a bolder, less sweet taste, dark chocolate (70% cocoa or higher) is an excellent choice. Avoid milk chocolate, as it can be too sweet and lack the depth required.
- Heavy Whipping Cream is Non-Negotiable: For the light, rich, and stable texture of both the mousse and its topping, you absolutely need full-fat heavy whipping cream (often labeled 36% or higher fat content). Lighter creams or milk will not whip to the necessary consistency. Ensure it is very cold for best results.
- Chill Thoroughly Before Serving: Patience is a virtue when making mousse! Chilling for at least 2 hours (and preferably longer, up to 4 hours or overnight) is crucial. This allows the chocolate and cream to firm up, the flavors to meld, and the mousse to set into its perfect, scoopable consistency.
- Use a Chilled Bowl for Whipped Cream: For the fluffiest, most stable whipped cream topping, chill your mixing bowl and beaters in the refrigerator or freezer for 10-15 minutes before whipping. Cold surfaces help the cream whip faster and achieve better volume.
- Precision Matters: While the recipe is simple, it’s a precise one. Follow the measurements and instructions carefully, especially when it comes to whipping times and folding techniques. Small deviations can impact the delicate balance of texture that defines a great chocolate mousse.
Explore More Easy Chocolate Desserts
If you’re a chocolate lover, there’s always another delightful treat to discover! After mastering this decadent chocolate mousse, why not try your hand at these other incredibly easy and satisfying chocolate desserts:
- Chocolate Trifle Recipe: Layers of rich chocolate cake, creamy pudding, and whipped cream combine to create an impressive yet simple dessert that’s perfect for a crowd.
- 2 Ingredient Chocolate Bark: The ultimate quick fix for a chocolate craving! This customizable bark can be made with your favorite chocolate and a variety of toppings in minutes.
- Chocolate Covered Peanut Butter Balls Recipe: A beloved no-bake classic, these sweet and salty bites are incredibly addictive and surprisingly easy to make.
This Chocolate Mousse Recipe is truly simple enough to whip up on any given weekday, yet it possesses an undeniable elegance that makes it perfectly suited for special occasions like birthdays, holidays, or romantic dinners. This easy recipe consistently delivers the best chocolate mousse experience, guaranteed to impress without the stress. Give it a try today and let us know your thoughts in the comments below!
Pin
Chocolate Mousse Recipe
Ingredients
For the Mousse:
- 6 oz Semi-Sweet Chocolate good Quality
- 1 Tablespoon Unsalted Butter
- 3 Large Eggs yolks and white separated
- 1/4 cup Granulated Sugar
- 1/2 cup Heavy Whipping Cream chilled
- 1/2 teaspoon Vanilla Extract
For the Topping:
- 1/2 cup Heavy Whipping Cream chilled
- 2 Tablespoons Powdered Sugar
- 1/2 teaspoon Vanilla Extract
- Chocolate Shavings
Instructions
- Place the butter and chocolate (broken into pieces) in a microwave safe bowl. Heat in 20-second intervals, stirring after each interval until the chocolate is approximately 80% melted. The heat from the chocolate should melt the remaining chocolate, creating a smooth mixture. Set aside to cool slightly to ensure it doesn’t cook the eggs in the next step.
- In a separate bowl, whisk the egg yolks until uniform. Stir the beaten egg yolks into the slightly cooled melted chocolate mixture until well combined.
- In a clean mixing bowl, beat the egg whites and granulated sugar on medium-high speed until they are foamy and then form stiff, glossy peaks. The peaks should stand straight up when the beaters are lifted. Gently fold this meringue mixture into the chocolate mixture with a spatula, being careful not to overmix and deflate the air.
- In a separate, chilled bowl, beat the remaining heavy whipping cream and vanilla extract on medium speed until stiff peaks are formed. Gently fold this whipped cream into the chocolate mixture with the spatula until just combined. Divide the mixture evenly into 6 serving glasses or bowls. Chill for at least 2 hours, or until thoroughly set, before serving.
- When you are ready to serve, whip the heavy cream with the powdered sugar and vanilla extract (for the topping) until stiff peaks are formed. Dollop the freshly whipped cream on top of each mousse serving and garnish with chocolate shavings. Enjoy immediately!
Recipe Notes
Store any leftovers in an airtight container in the refrigerator for up to 4 days. While it remains delicious, the airy texture may diminish slightly over time.
Ensure that all ingredients, except for the heavy whipping cream, are at room temperature for optimal mixing and whipping results.
Nutrition Facts
Pin This Now to Remember It Later
Pin Recipe
