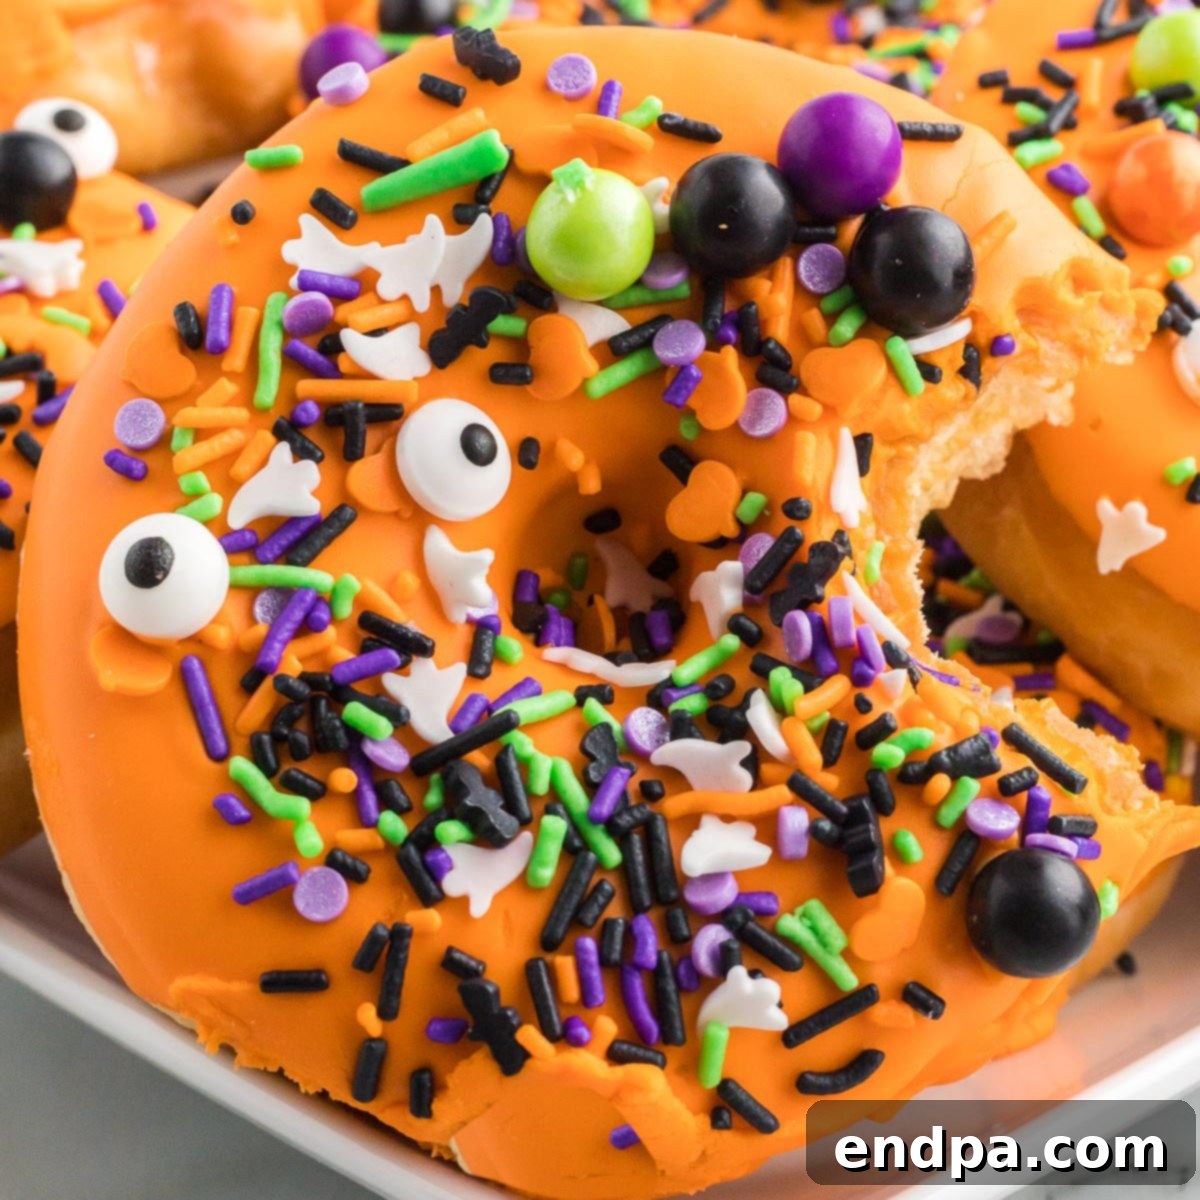
Transform ordinary glazed donuts into extraordinary, festive Halloween Donuts with incredible ease! This super simple Halloween treat is the ultimate solution for adding a touch of spooky fun to your celebrations without spending hours in the kitchen. With just a few basic ingredients and minimal effort, you can create a delightful array of colorful, sprinkle-laden donuts that are perfect for parties, school events, or a cozy autumn evening at home. Get ready to impress your family and friends with these charmingly decorated donuts that taste as good as they look.
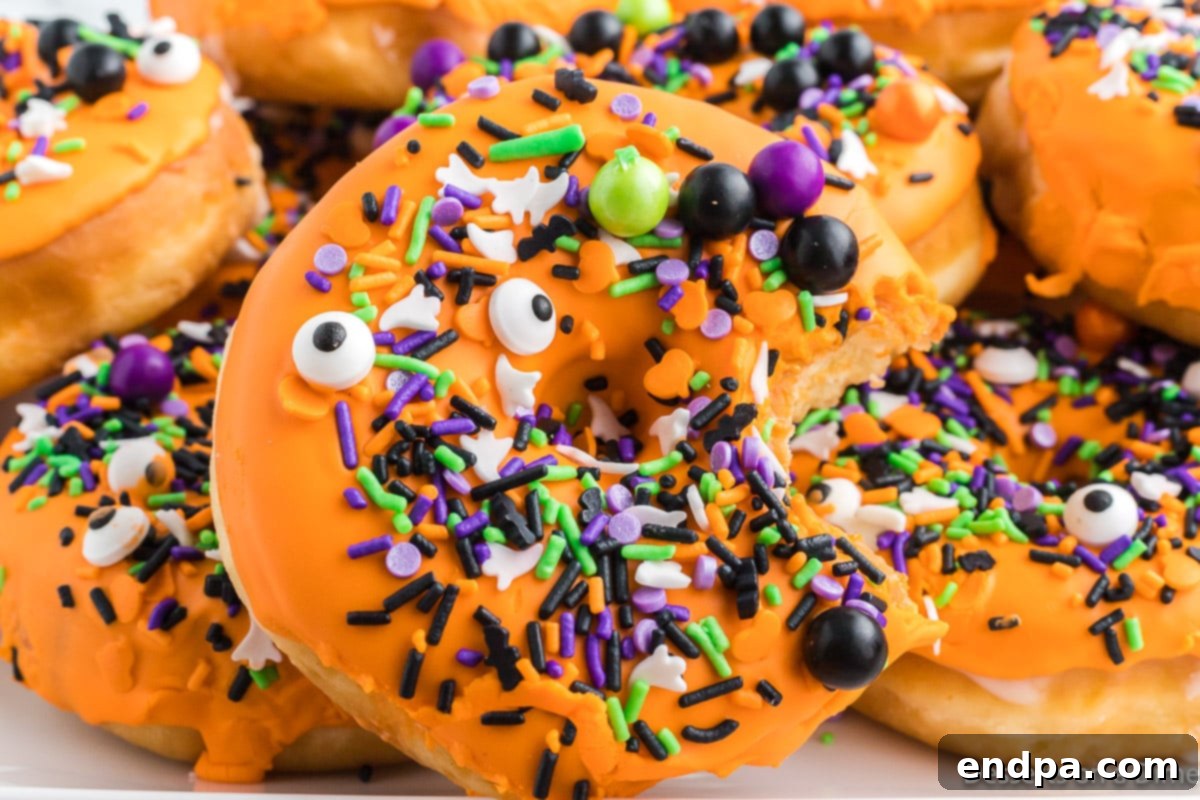
This fantastic donut recipe is a cherished tradition in our household, a staple among the cute and creative Halloween Desserts we lovingly prepare each year. If you’re on the hunt for a festive, crowd-pleasing treat for upcoming Halloween parties, or simply a fun, seasonally appropriate snack to enjoy throughout October, then this homemade Halloween recipe is an absolute must-try. It’s the ideal way to infuse some vibrant, spooky spirit into your dessert table without the stress of intricate baking techniques.
These decorated donuts are utterly perfect for a Halloween party spread, beautifully complementing other themed delights such as Spider Web Cupcakes, Halloween Cake Pops, and Jack-O-Lantern Cupcakes. We also adore whipping up a batch of these alongside our favorite 49 No Bake Halloween Treats and the ever-popular Halloween Dirt Cups for a truly epic dessert experience. The vibrant colors and playful toppings make them an instant hit with both kids and adults, ensuring your Halloween gathering is memorable and delicious.
Why You’ll Love Making These Easy Halloween Donuts!
There’s so much to love about these Halloween donuts, especially how they check every festive box without demanding bakery-level effort! The secret to their effortless charm lies in using store-bought glazed donuts as your base. This smart shortcut means you completely bypass the complexities of dough making, proofing, and frying, saving you valuable time and a significant amount of kitchen cleanup.
Because the base donuts are already perfectly glazed and ready, all your creative energy can be directed toward the truly fun part: decorating them! You’ll transform plain donuts into miniature works of Halloween art with colorful frosting and an assortment of playful Halloween sprinkles. It’s an instant, kid-friendly decorating party that doubles as both festive Halloween décor and a scrumptious dessert in one delightful package. Imagine the joy and excitement as little hands dip, swirl, and sprinkle, creating their unique spooky masterpieces!
Best of all, these shortcut donuts keep your kitchen sparkling clean, your budget happily intact, and your schedule wide open for other beloved Halloween traditions. Instead of being tied to the oven, you’re free to carve pumpkins, queue up a scary movie marathon, or simply enjoy the crisp autumn air. It’s undeniable proof that a smart store-bought head start can still deliver all the magic and charm of a homemade Halloween treat. These donuts embody convenience without sacrificing any of the holiday spirit or deliciousness.
Essential Ingredients for Spooky Donuts
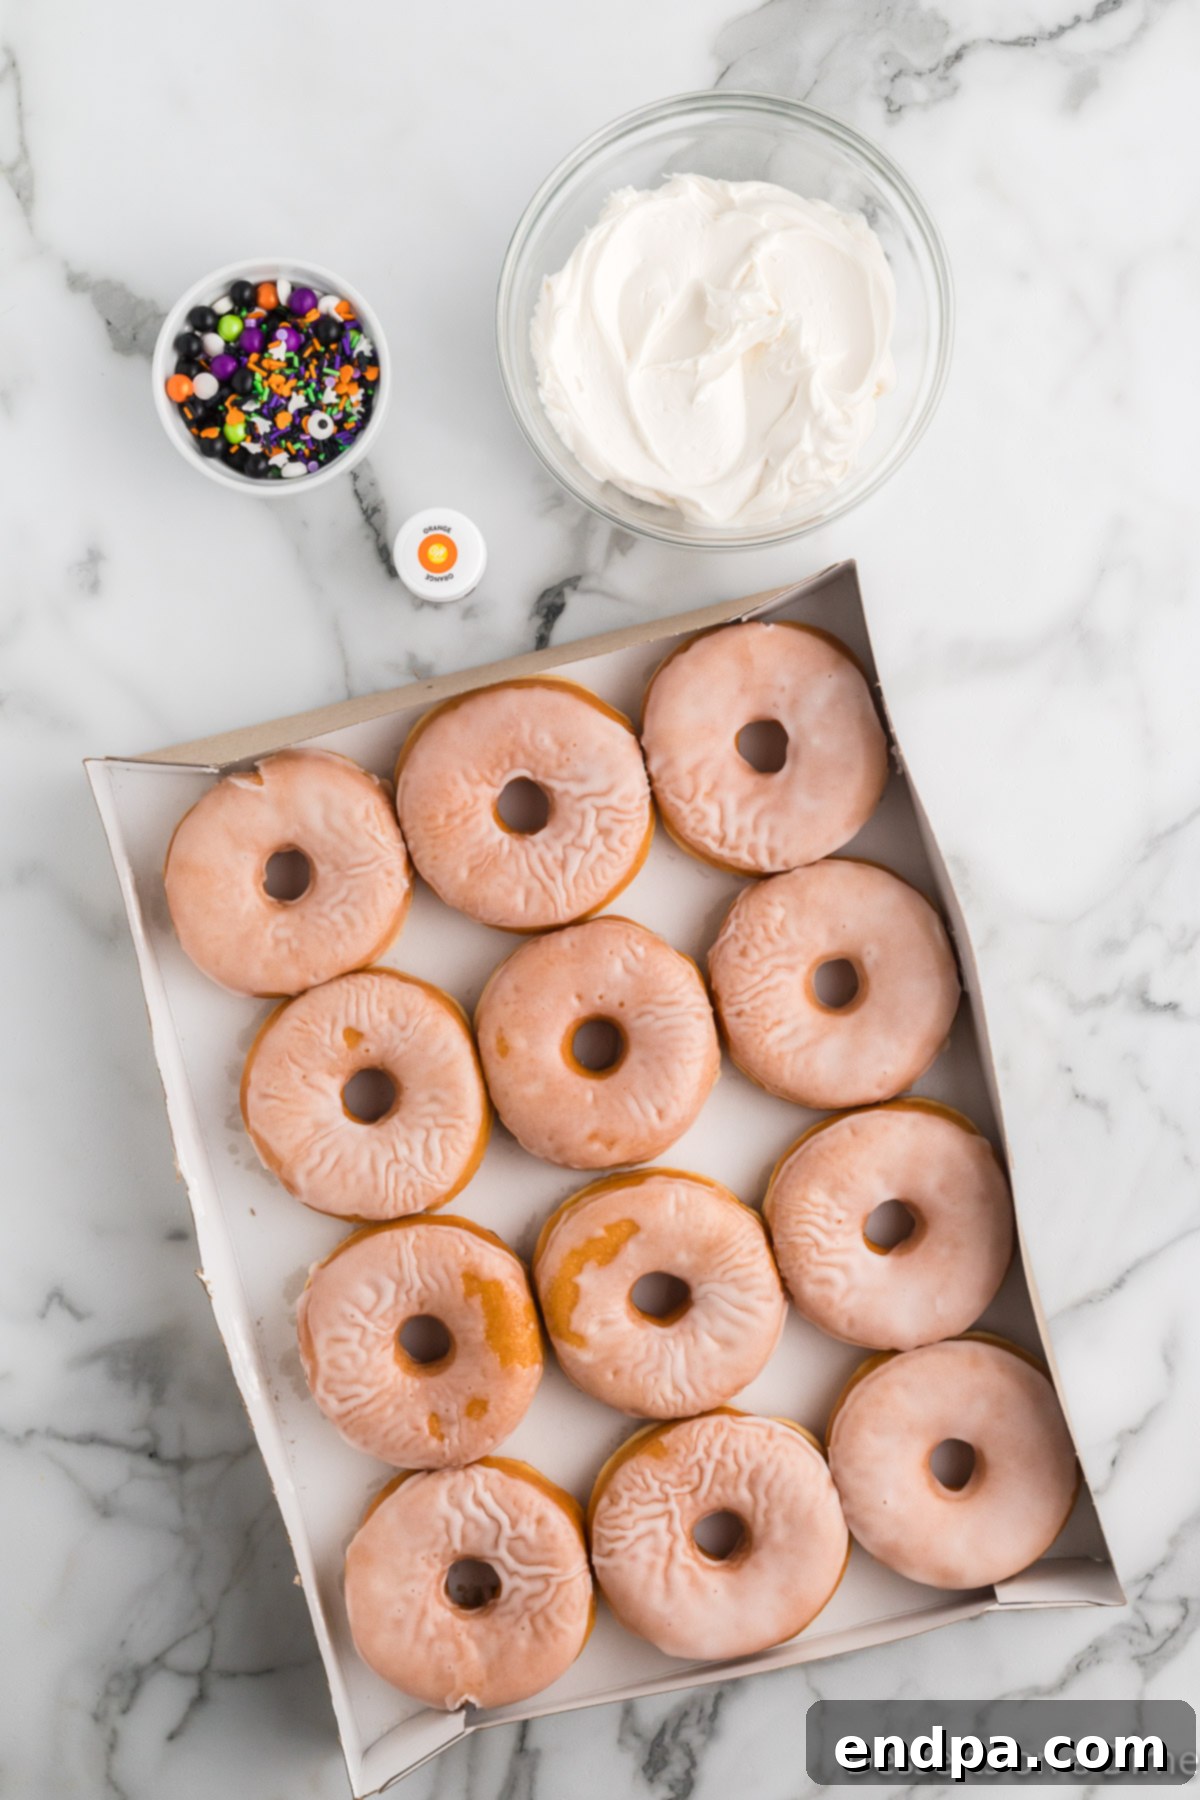
One of the best aspects of this recipe is its minimal ingredient list, making it incredibly accessible and budget-friendly. You only need a handful of items to create these spooktacular treats. Remember that the full, detailed ingredient list can always be found in the comprehensive recipe card located at the very bottom of this page.
- Glazed Donuts: These form the perfect foundation for our Halloween creations. Store-bought glazed donuts offer a wonderfully smooth surface for the frosting to adhere to and save you considerable time. While any plain donut will work, the classic glazed variety provides a sweet, familiar taste that everyone loves. If you’re feeling ambitious and prefer a completely homemade touch, you can also try our Homemade Glazed Donuts Recipe.
- Pre-Made White Frosting: Convenience is key, and using a pre-made white frosting simplifies the process immensely. White frosting is ideal because it acts as a blank canvas, allowing you to easily tint it with your desired Halloween colors. Feel free to use your favorite brand; most store-bought vanilla or white frostings will work beautifully.
- Orange Gel Food Coloring: To achieve that iconic, vibrant Halloween orange, gel food coloring is highly recommended. Unlike liquid food coloring, gel provides intense color without significantly altering the frosting’s consistency, ensuring a rich, eye-catching hue. You’ll be amazed at how quickly and beautifully the frosting transforms.
- Halloween Sprinkles: These are the magical finishing touch that truly brings your Halloween donuts to life! A variety of Halloween-themed sprinkles – think black, orange, purple, green jimmies, nonpareils, spooky shapes like bats or pumpkins, or even edible candy eyeballs – will instantly make your donuts look incredibly festive and fun.
Step-by-Step: How to Make Halloween Donuts
Creating these festive Halloween donuts is incredibly straightforward and a fantastic activity for all ages. Follow these simple steps to transform plain donuts into spooky delights in no time!
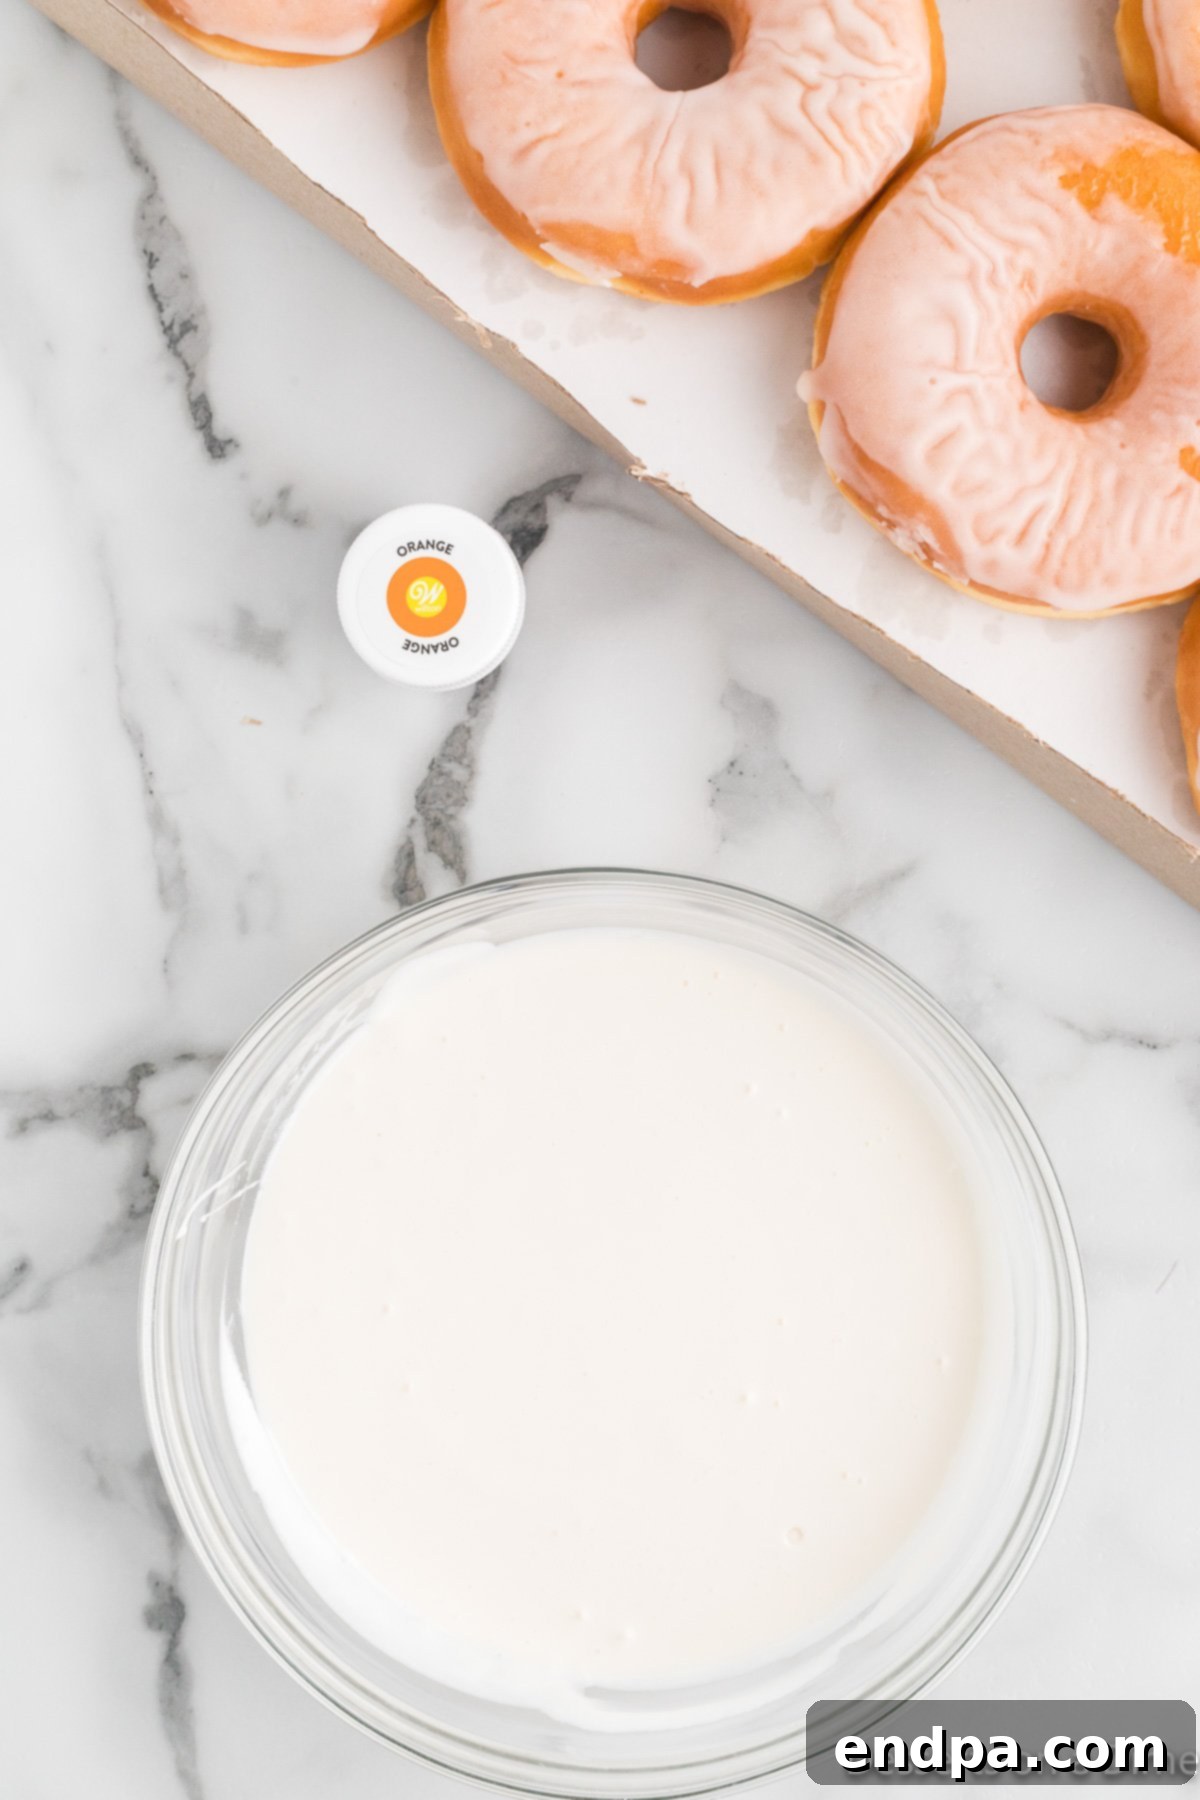
Step 1 – Prepare the Frosting: Begin by transferring your pre-made white frosting into a microwave-safe bowl. Heat the frosting in the microwave for approximately 30 seconds. This brief heating period helps to thin the frosting slightly, making it smoother and easier to dip the donuts evenly. After heating, give it a good stir to ensure it’s well combined and has a consistent, pourable texture.
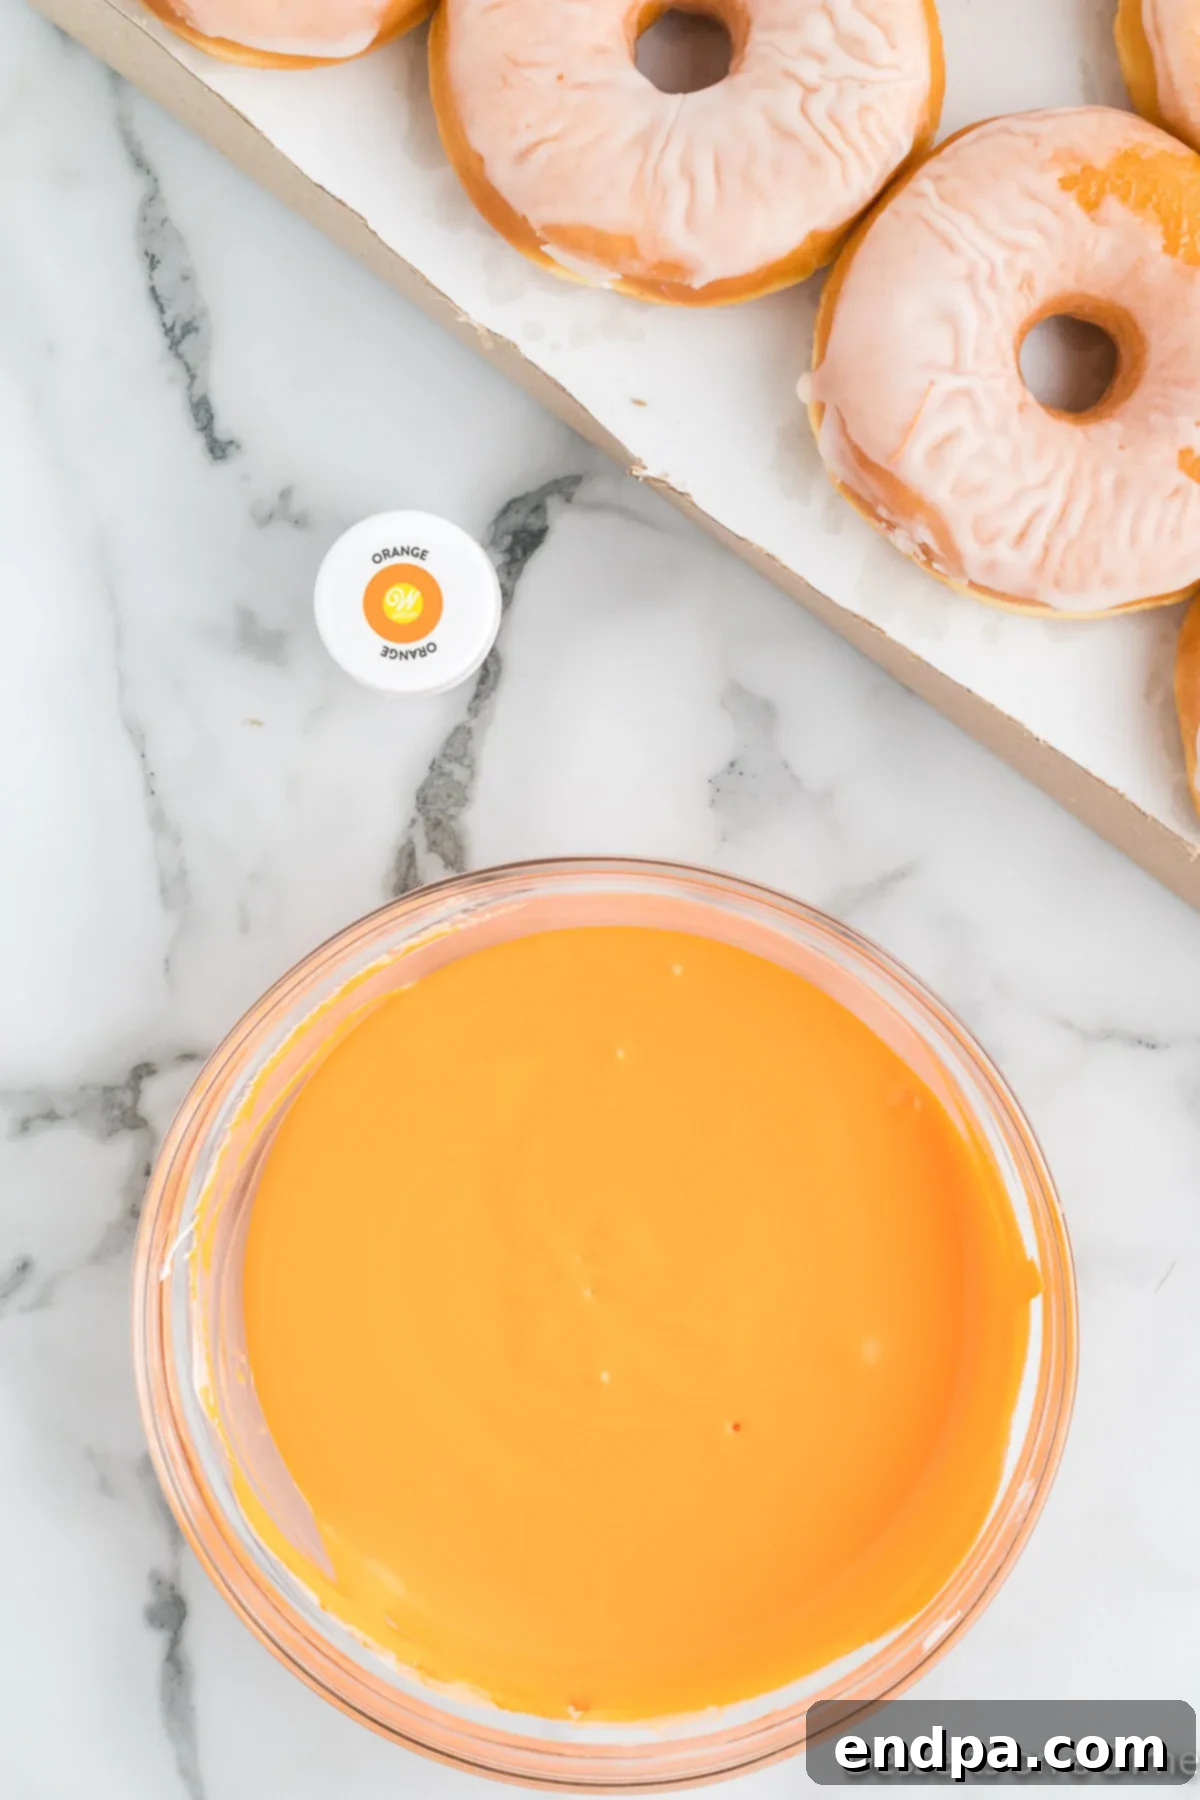
Step 2 – Color the Frosting: Now for the fun part! Add the orange gel food coloring to the warmed frosting. Start with a small amount and gradually add more, stirring continuously, until you achieve a vibrant, rich orange color that truly pops. Gel food coloring is fantastic because a little goes a long way to produce intense hues without thinning your frosting too much.
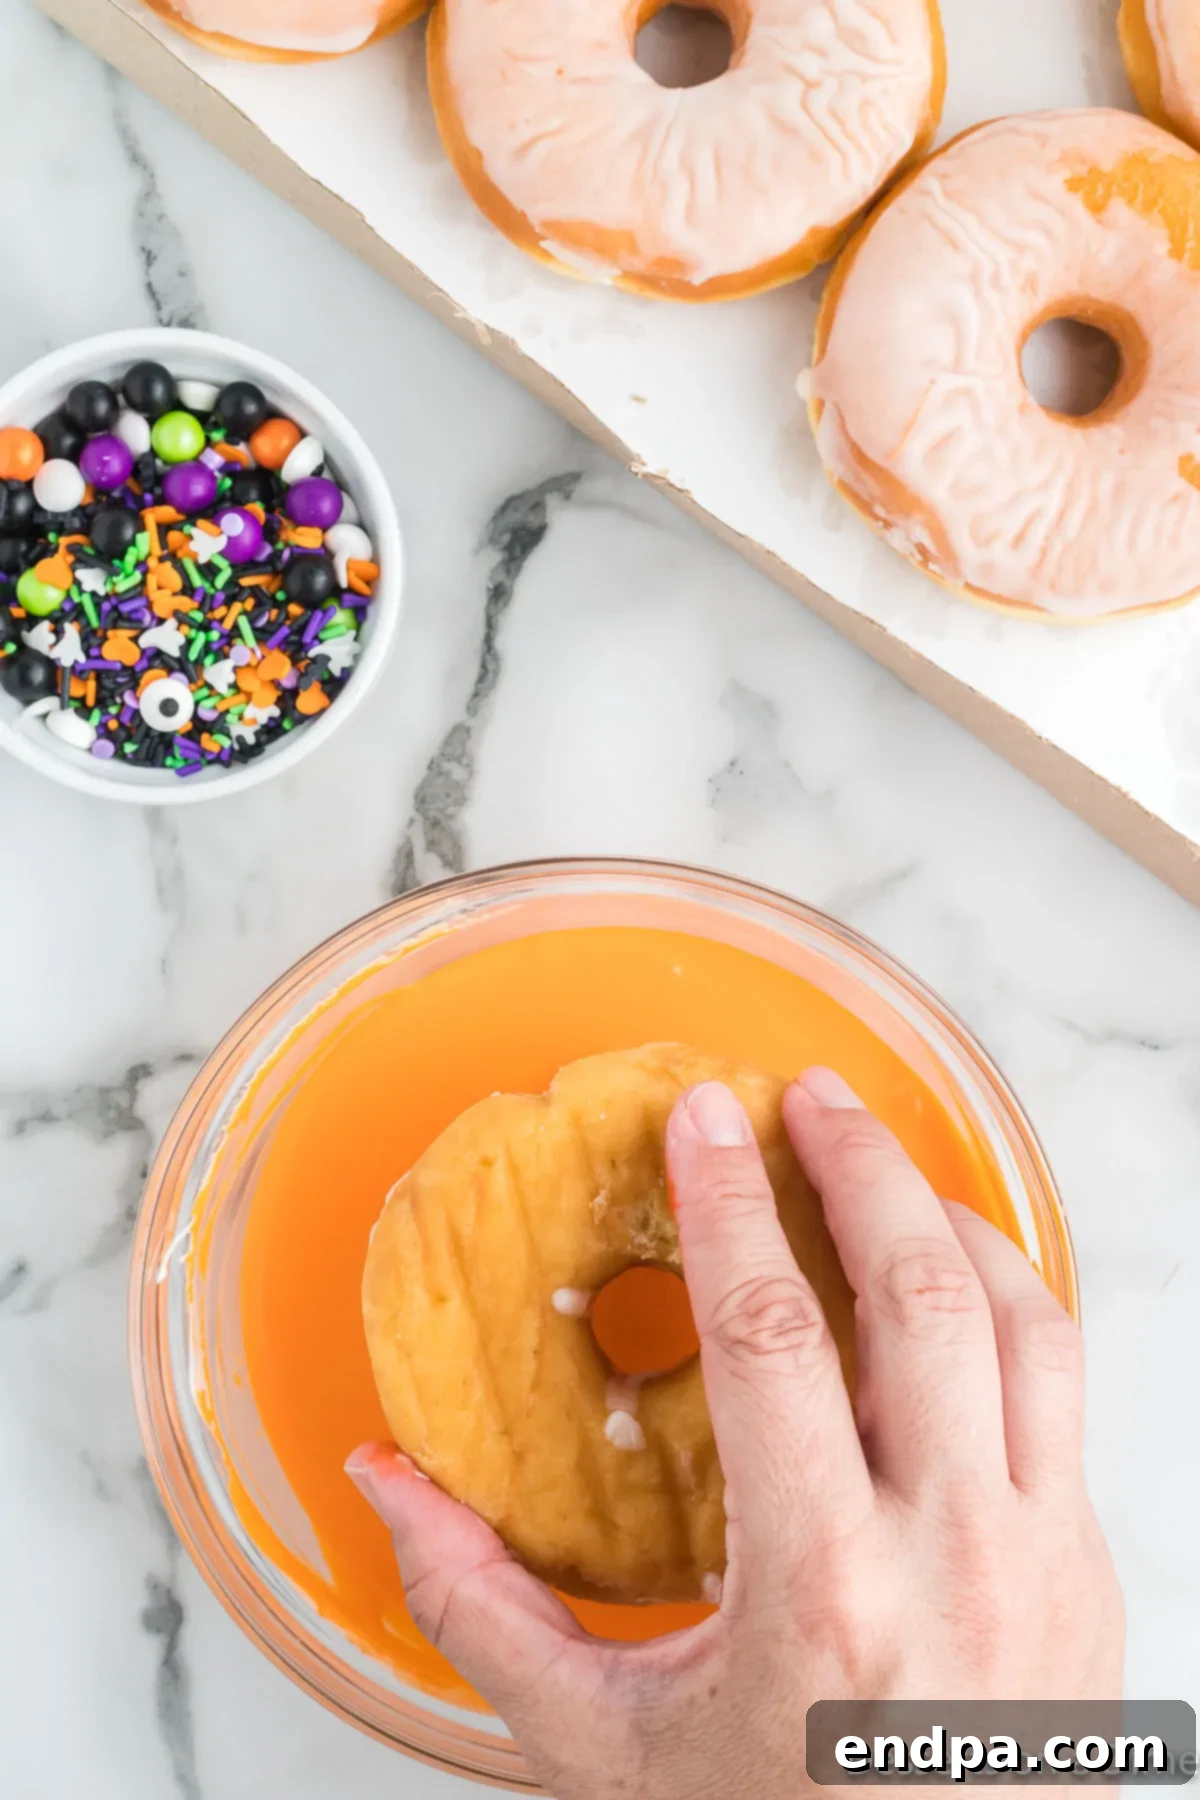
Step 3 – Dip the Donuts: Take each glazed donut and gently dip its top into the orange frosting. As you dip, subtly twist and swirl the donut to ensure the entire top surface is evenly coated with the vibrant frosting. Lift the donut, allowing any excess frosting to drip back into the bowl for a cleaner finish and less mess.
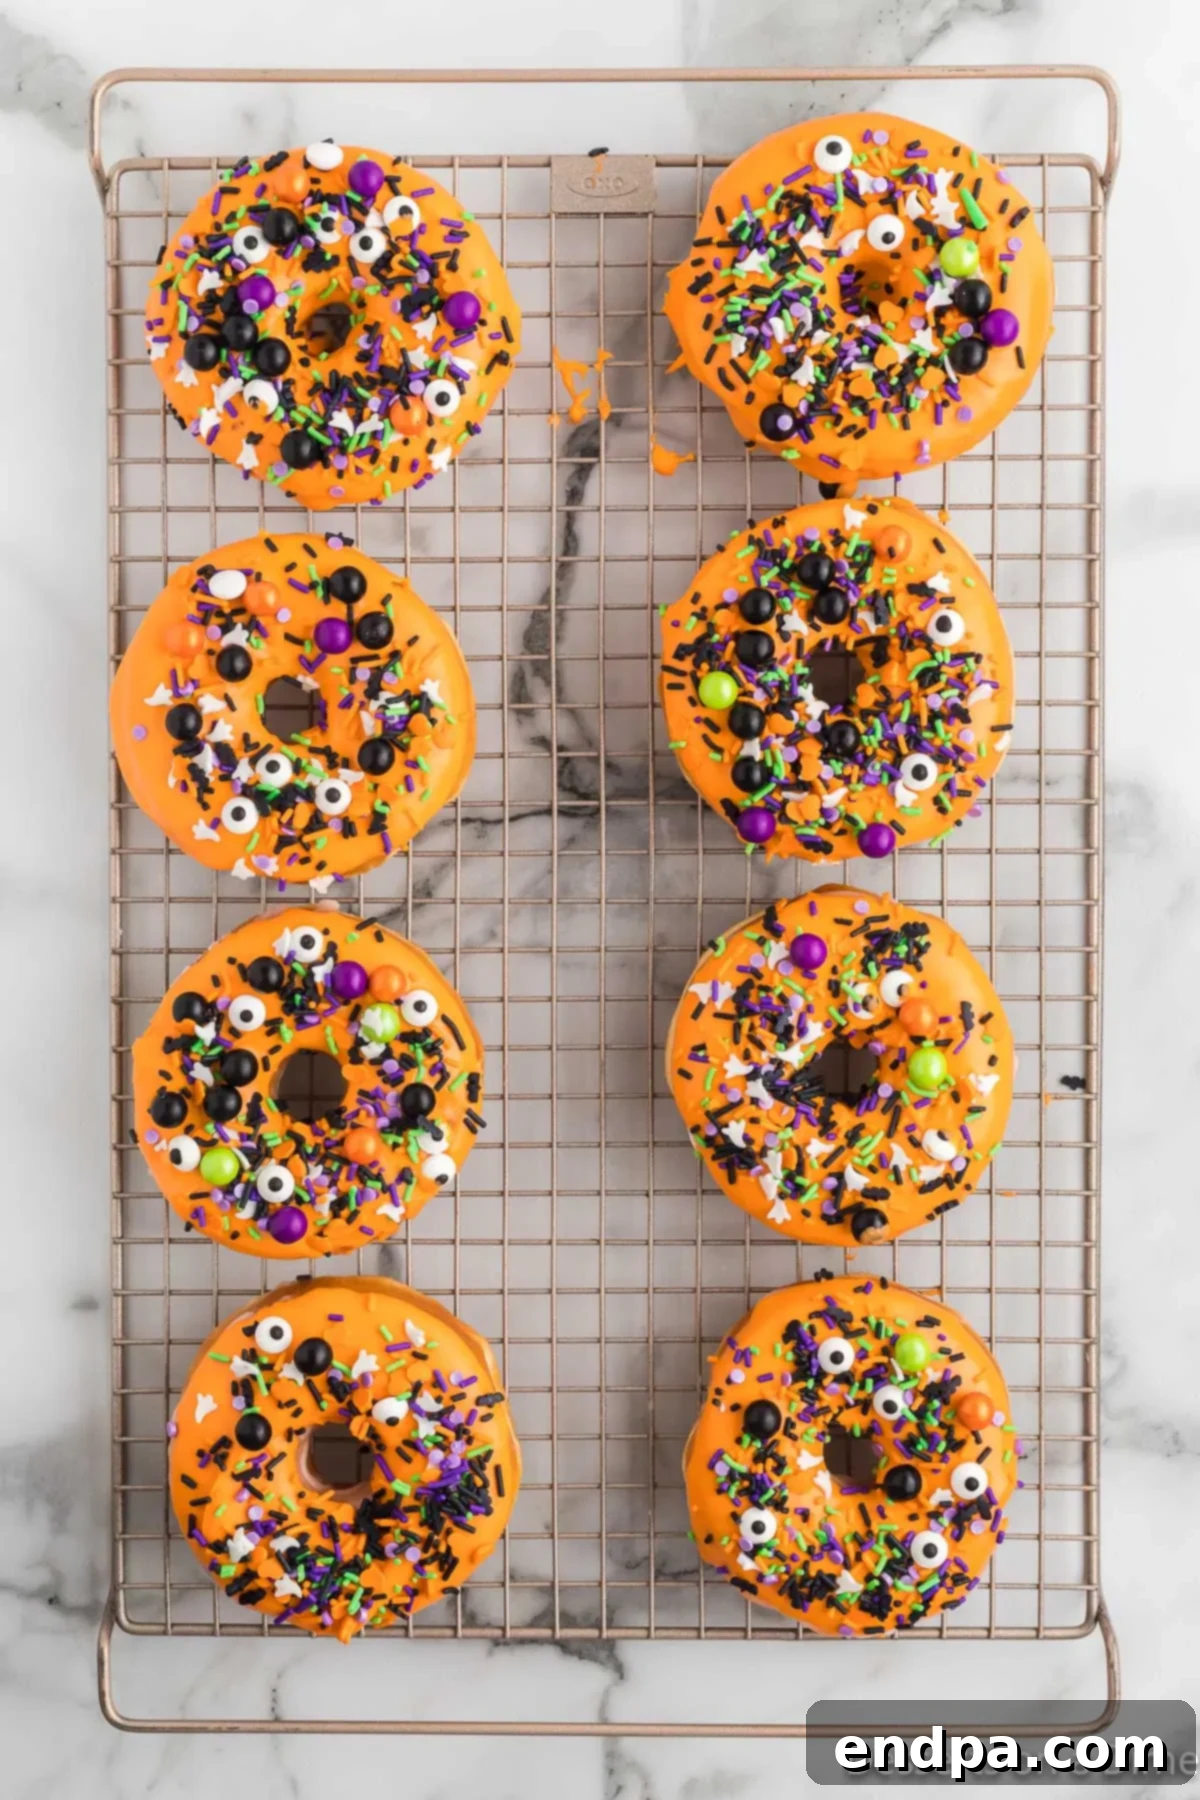
Step 4 – Decorate and Set: Immediately after dipping each donut, place it on a wire cooling rack. While the frosting is still wet and tacky, generously top each donut with your chosen Halloween sprinkles. For an extra adorable and spooky touch, consider adding edible candy eyes at this stage. The wire rack is crucial as it allows air to circulate, helping the frosting set without sticking to any surface. Once the frosting has fully set, your festive Halloween donuts are ready to be served and enjoyed!
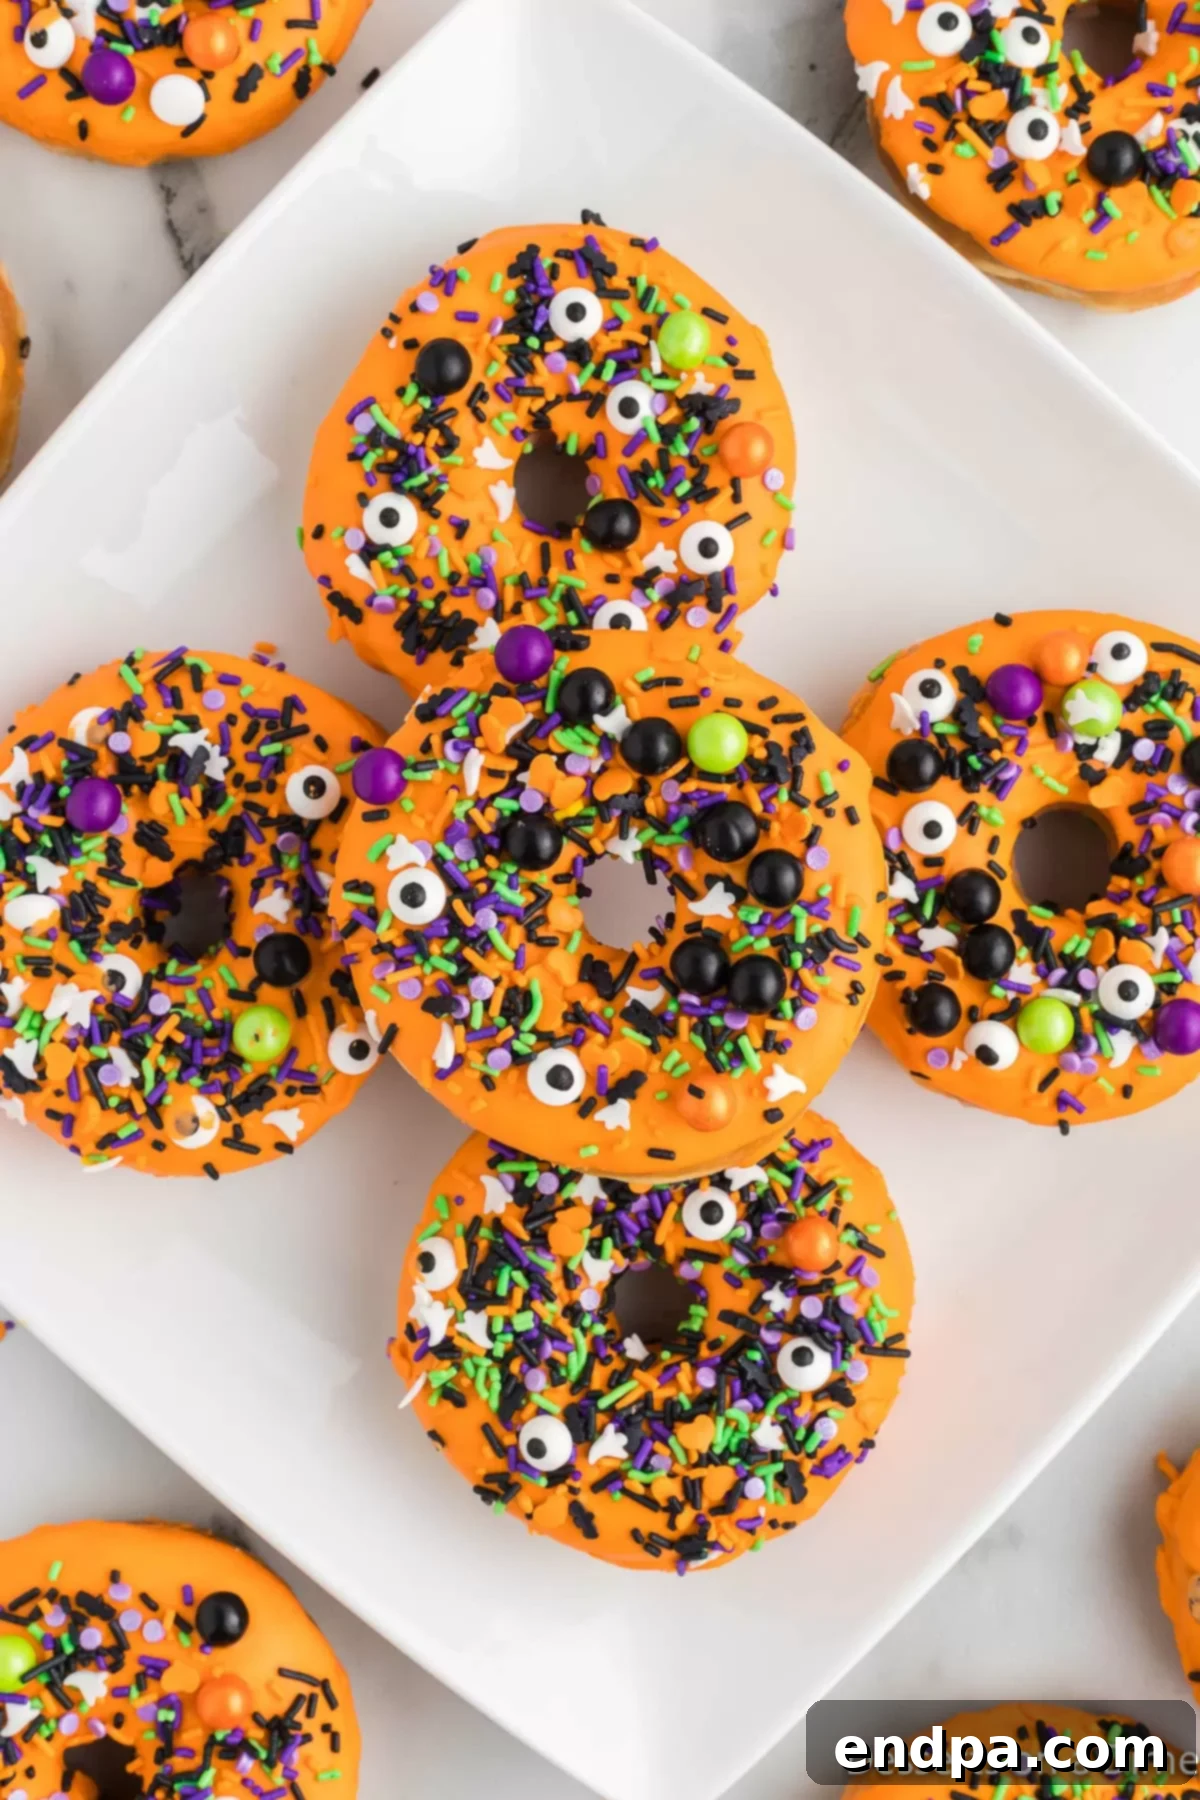
Pin
Easy Halloween Donuts
Ingredients
- 12 Glazed Donuts
- 16 ounces Pre-Made White Frosting
- Orange Gel Food Coloring
- Halloween Sprinkles
Instructions
- Heat the frosting in a microwave safe bowl for approximately 30 seconds. Stir until well combined and smooth.
- Add the orange gel food coloring to the frosting. Mix thoroughly until it reaches a vibrant orange color, adding more coloring if a deeper hue is desired.
- Carefully dip the tops of the glazed donuts into the orange frosting. Twist them slightly as you dip to ensure the entire top surface is coated with the frosting. Allow any excess to drip off before moving to the next step.
- Transfer the frosted donuts to a wire cooling rack. This allows the frosting to set evenly and prevents it from sticking to flat surfaces.
- While the frosting is still wet, immediately top each donut with your favorite Halloween sprinkles and optional edible candy eyes. Once the frosting is fully set, your beautifully decorated Halloween donuts are ready to serve and enjoy!
Recipe Notes
Creative Substitutions and Spooky Variations
This simple Halloween donut recipe is wonderfully versatile, allowing for numerous substitutions and variations to match your taste and creative vision. Don’t be afraid to experiment and personalize your treats!
- Dipped in Chocolate: For a rich, decadent alternative, consider melting chocolate chips or candy wafers. Dip each donut in the melted chocolate instead of frosting, ensuring a smooth, even coat. Once dipped, you can still get creative with orange icing or other colored frostings using piping bags to draw intricate spiderwebs, spooky faces, or drizzle patterns. Dark chocolate offers a stark contrast that makes colorful decorations truly pop!
- Powdered Sugar Donuts: If you prefer a less overtly sweet base or a different texture, powdered sugar donuts make an excellent alternative to original glazed donuts. You can easily transform these into “Monster Donuts” by applying frosting and sprinkles, or even dust them with cocoa powder for a “dirt” effect before adding edible elements. The possibilities are endless for creating unique spooky creatures.
- Candy Melts Galore: Beyond traditional frosting, candy melts offer an exciting palette of colors and flavors. Melt various colors of candy melts (such as vibrant green, eerie purple, or classic black) and drizzle them over your frosted donuts for intricate patterns. You could also fully dip donuts in different colored candy melts for a striking, multi-hued display.
- Donut Holes for Mini Treats: This recipe can be effortlessly scaled down using donut holes instead of regular-sized donuts. Donut holes are perfect for smaller appetites, school parties, or creating an impressive platter with many mini-treats. Simply dip the tops of each donut hole as instructed in the recipe and decorate these mini donuts with sprinkles and eyes for adorable, bite-sized spooky snacks.
- Adapt for Other Holidays and Occasions: The fundamental technique of this recipe is incredibly adaptable for any celebration beyond Halloween. By simply changing the color of the frosting and selecting sprinkles that coordinate with the theme, you can create festive donuts for birthday parties, Christmas, Valentine’s Day, Easter, or any special occasion. Imagine red and pink for Valentine’s, pastels for Easter, or red and green for Christmas!
- Elevated Toppings: Take your decorations to the next level with a variety of exciting toppings. Crush chocolate sandwich cookies (like Oreos) to create a “dirt” topping, reminiscent of a graveyard. Halloween-themed M&M’s, mini chocolate chips, chopped nuts, pretzel pieces (for spider legs), or even edible glitter can add extra texture, flavor, and visual appeal to your spooky season treats.
Expert Tips for Perfect Halloween Donuts
Achieving perfectly festive and delicious Halloween donuts is easy with a few insider tips:
- Add Toppings Before the Frosting Sets: This is a crucial step! As soon as you dip a donut into the frosting, immediately add your sprinkles, candy eyes, or any other toppings. The frosting begins to set quite quickly, so working efficiently ensures that all your delightful decorations adhere securely to each donut, preventing them from falling off later.
- Master the Dip and Swirl: When dipping the donuts, use a gentle dip-and-swirl motion to completely coat the top surface. You want good coverage, but avoid pressing down too hard or getting too much frosting on the sides, as this can lead to excessive drips. A quick, smooth motion is best. Let any excess frosting drip off back into the bowl before transferring the donut to the rack.
- Alternate Colors for a Festive Display: If you’re preparing these for a party or a larger gathering, consider making an assortment of colored donuts. You can easily divide your white frosting into multiple bowls and tint them orange, black, green, or purple using gel food coloring. This creates a visually stunning and truly festive display that guests will love.
- Allow Ample Setting Time: Patience is a virtue, especially when it comes to frosted treats. Ensure you allow the frosting and sprinkles to fully set on the wire rack before handling or stacking the donuts. This prevents smudges, keeps your decorations intact, and ensures a clean, professional-looking finish. Rushing this step can lead to a sticky mess.
- Use a Shallow Bowl for Dipping: Instead of a deep bowl, opt for a shallow, wide bowl for your frosting. This makes it much easier to dip the donut tops evenly without submerging the entire donut or getting frosting all over your hands.
- Prepare Your Workspace: Lay down parchment paper or wax paper under your wire cooling rack before you begin decorating. This will catch any stray sprinkles or frosting drips, making cleanup incredibly quick and easy.
- Involve the Kids (Safely!): These donuts are a fantastic kid-friendly activity. Assign them tasks like adding sprinkles or placing candy eyes. Supervise closely, especially during the dipping process, to ensure safety and minimize mess. It’s a wonderful way to create lasting Halloween memories!
- Creative Presentation: Once set, arrange your Halloween donuts on a themed platter, a tiered stand, or even a spooky serving board. Add some plastic spiders, cobwebs, or small Halloween figurines around them for an extra touch of seasonal charm.
Nutrition Facts
Pin This Now to Remember It Later
Pin Recipe
Frequently Asked Questions About Halloween Donuts
While you can freeze plain donuts, we generally do not recommend freezing them once they have been decorated with frosting and sprinkles. The frosting’s texture can change upon thawing, becoming watery or sticky, and the sprinkles may bleed their colors. For best results, if you need to prepare in advance, freeze the plain donuts without any decorations. When you’re ready to serve, simply allow them to thaw completely at room temperature, then decorate them as normal following the recipe instructions.
Absolutely! These Halloween donuts are an excellent make-ahead treat, which is perfect for busy party preparations. You can easily prepare and decorate them a day in advance without compromising their taste or texture. Just ensure they are stored correctly (see storage tips below) to keep them fresh and delicious for your gathering.
No, you absolutely do not have to stick to glazed donuts! While glazed donuts provide a classic, smooth base, you have the flexibility to use any variety of plain donuts you prefer to make these festive treats. Some popular ideas include powdered sugar donuts for a “ghostly” effect, chocolate donuts for a richer base, or even plain cake donuts. Feel free to experiment with different types to find your favorite spooky combination!
The best sprinkles are typically those labeled “Halloween mix,” as they often include classic colors like orange, black, purple, and green, along with fun shapes such as bats, pumpkins, ghosts, or skulls. Edible candy eyeballs are also a fantastic addition for creating spooky characters. Jimmies (long, thin sprinkles) and nonpareils (tiny, round sprinkles) work well for adding texture and vibrant color. Choose sprinkles that contrast with your frosting color for maximum visual impact!
Storage Tips for Freshness
Each vibrant, sprinkle-covered Halloween donut is undoubtedly best enjoyed fresh, ideally on the day they are made. However, if you have leftovers or need to prepare them a day in advance, they can be kept at room temperature. Simply store them in an airtight container for up to 3 days to maintain their freshness. It’s important to keep them at room temperature, as storing donuts in the refrigerator tends to dry them out over time, affecting their texture and appeal.
As mentioned, these donuts are an excellent choice for making in advance for Halloween parties or other events. I typically prepare and decorate them the night before or early on the day I plan to serve them. This ensures they are perfectly set and ready to delight your guests when the time comes.
More Easy and Delicious Donut Recipes
If you’re a fan of simple yet satisfying donut treats, be sure to explore these other fantastic recipes:
- Air Fryer Donut Holes Recipe
- Homemade Krispy Kreme Donut Recipe
- Rainbow Donuts
More Fun Halloween Recipes You’ll Love
Easy Halloween Desserts
Halloween Sugar Cookie Recipe
Easy Halloween Desserts
Oreo Spider Cookies
Easy Halloween Desserts
Halloween Bark Recipe
Easy Halloween Desserts
Easy Halloween Spider Cookies Recipe
Once you’ve had the pleasure of making and sharing these wonderfully simple and festive Halloween donuts, we’d be thrilled to hear from you! Please come back and leave a star recipe rating and a comment below to share your experience and any creative twists you added. Your feedback helps us and other readers discover new ways to make Halloween even sweeter!
