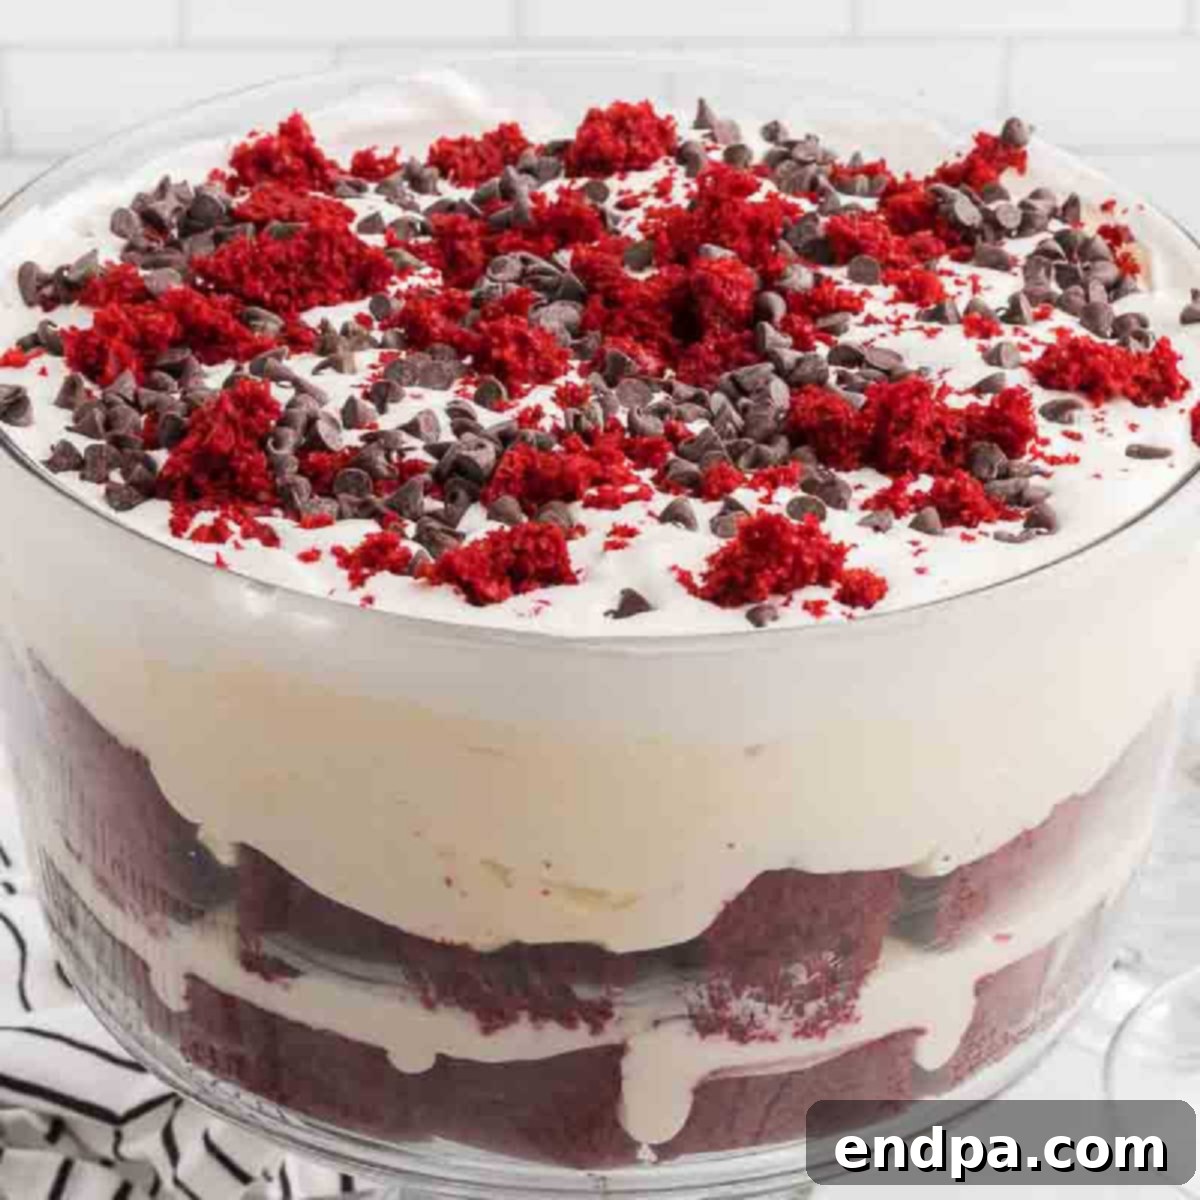
Red Velvet Trifle is a show-stopping dessert that effortlessly combines the rich, distinctive flavor of red velvet cake with a luscious, creamy cheese mixture. This easy-to-make dessert is not only gorgeous to look at with its vibrant layers but is also incredibly delicious, making it the perfect centerpiece for any holiday gathering or special occasion.
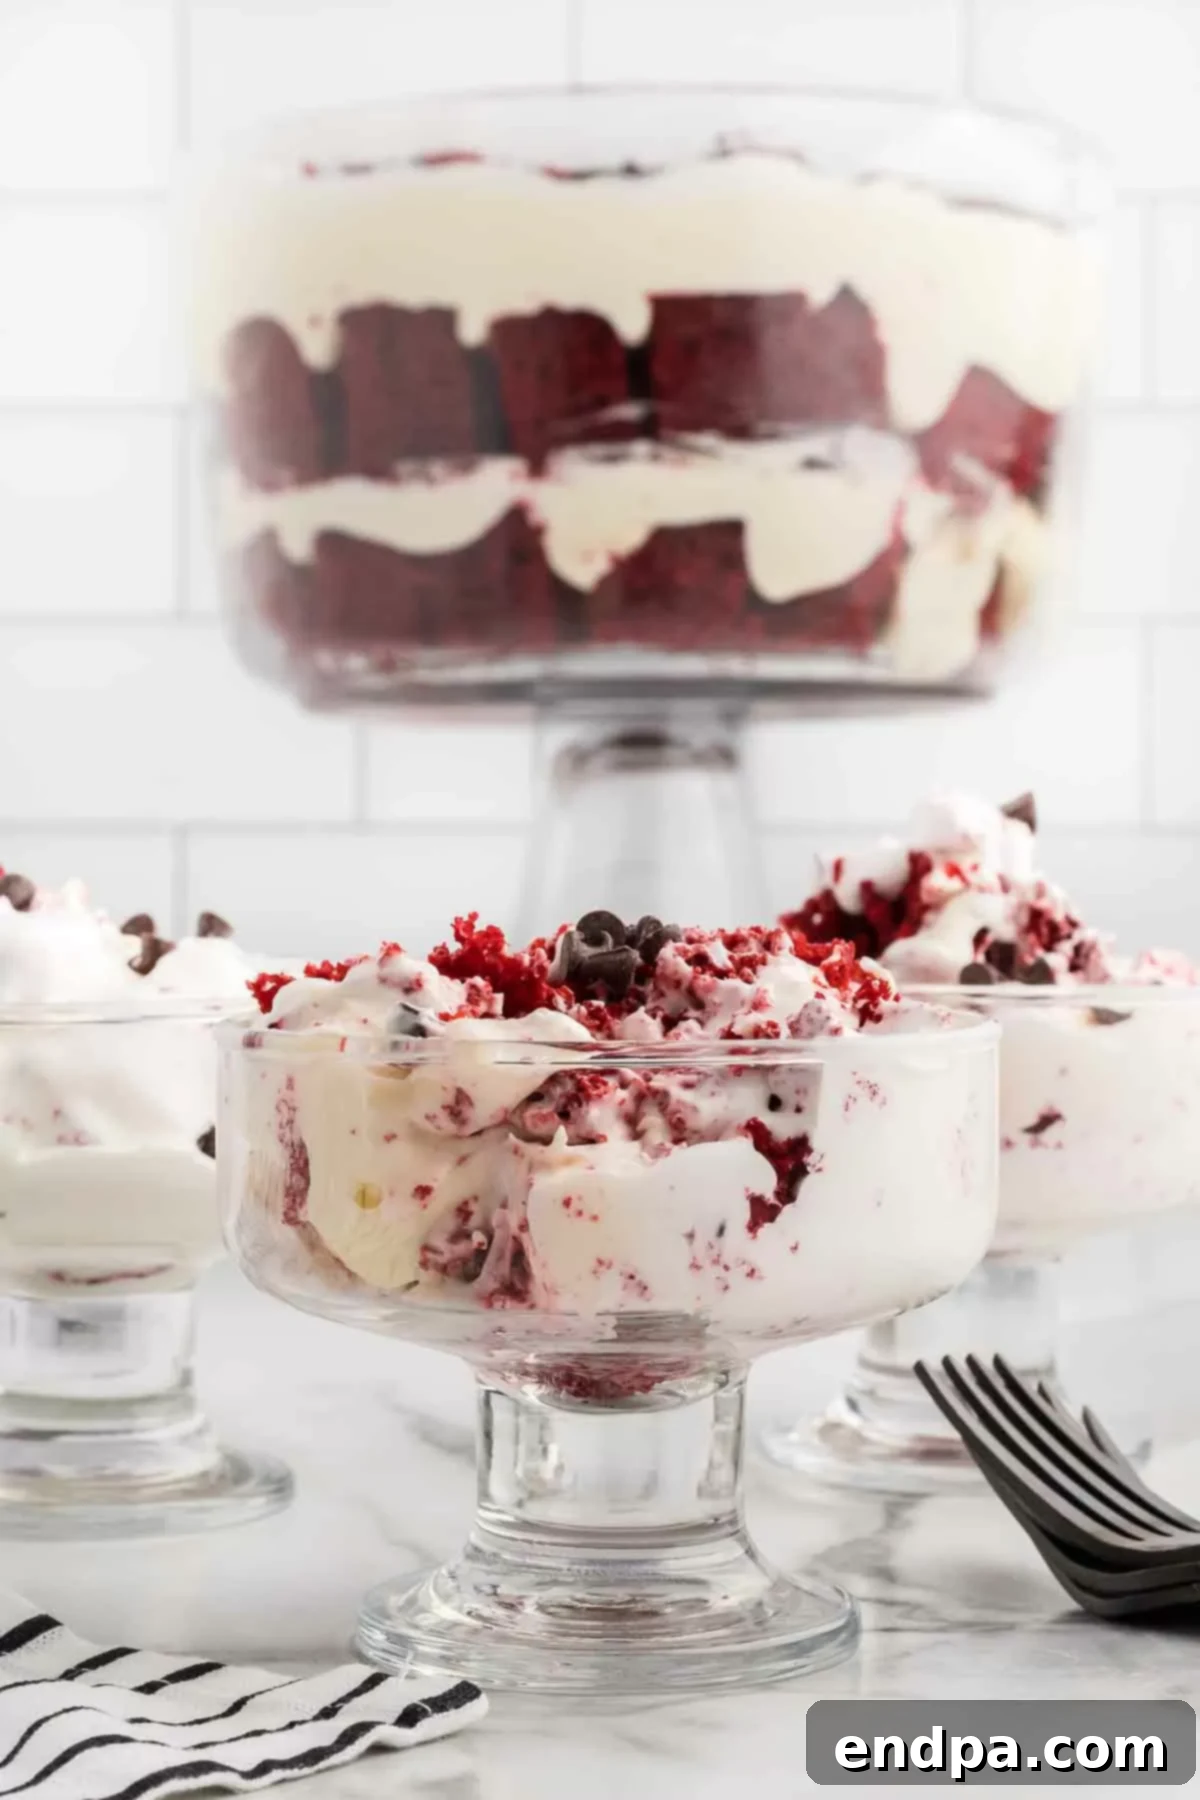
Craving the indulgent taste of classic Red Velvet Cake but short on time? This ingenious trifle recipe offers all the beloved flavors without the extensive baking. By starting with a convenient cake mix, the preparation becomes remarkably simple, transforming a potentially complex dessert into an effortless culinary masterpiece. Generous cubes of moist red velvet cake are meticulously layered in a elegant trifle dish, alternating with a decadent, rich cream cheese and pudding mixture. The result is a dessert that delights both the eyes and the palate, delivering a symphony of textures and tastes in every spoonful.
The unique, slightly chocolatey, and tangy flavor of red velvet is truly irresistible. If you’re a fan of this classic, you might also enjoy exploring other delightful red velvet creations, such as Red Velvet Fudge. The versatility of red velvet lends itself to numerous tempting treats, each offering a distinct take on this iconic flavor profile.
Trifles are renowned for their ease of assembly and impressive presentation, making them a go-to choice for entertaining. We adore creating a variety of trifle desserts that are always met with rave reviews. From individual portions like Red Velvet Trifle Cups and festive Red White and Blue Mini Trifles to refreshing fruit-based options like Lemon Strawberry Trifle and classic Strawberry Trifle, there’s a trifle for every taste and occasion. For dedicated chocolate enthusiasts, our Chocolate Trifle Recipe and Oreo Trifle are absolute must-tries, promising rich, satisfying flavors.
Table of contents
- Why This Recipe Works
- Ingredients for the Perfect Red Velvet Trifle
- Creative Variations & Delicious Additions
- Step-By-Step Assembly Guide
- Storage & Make-Ahead Tips
- Pro Tips for Trifle Perfection
- More Red Velvet Dessert Recipes to Love
Why This Recipe Works for Any Occasion
This Red Velvet Trifle recipe is a true marvel, bringing together incredible flavors and textures with surprisingly minimal effort. It’s a dessert that consistently impresses, making you look like a seasoned baker even if you’re using a shortcut or two. Here’s why this recipe deserves a spot in your rotation:
- **Effortless Elegance:** By starting with a box cake mix, you significantly cut down on prep time without sacrificing flavor. The assembly process is straightforward, perfect for beginner bakers or those with busy schedules.
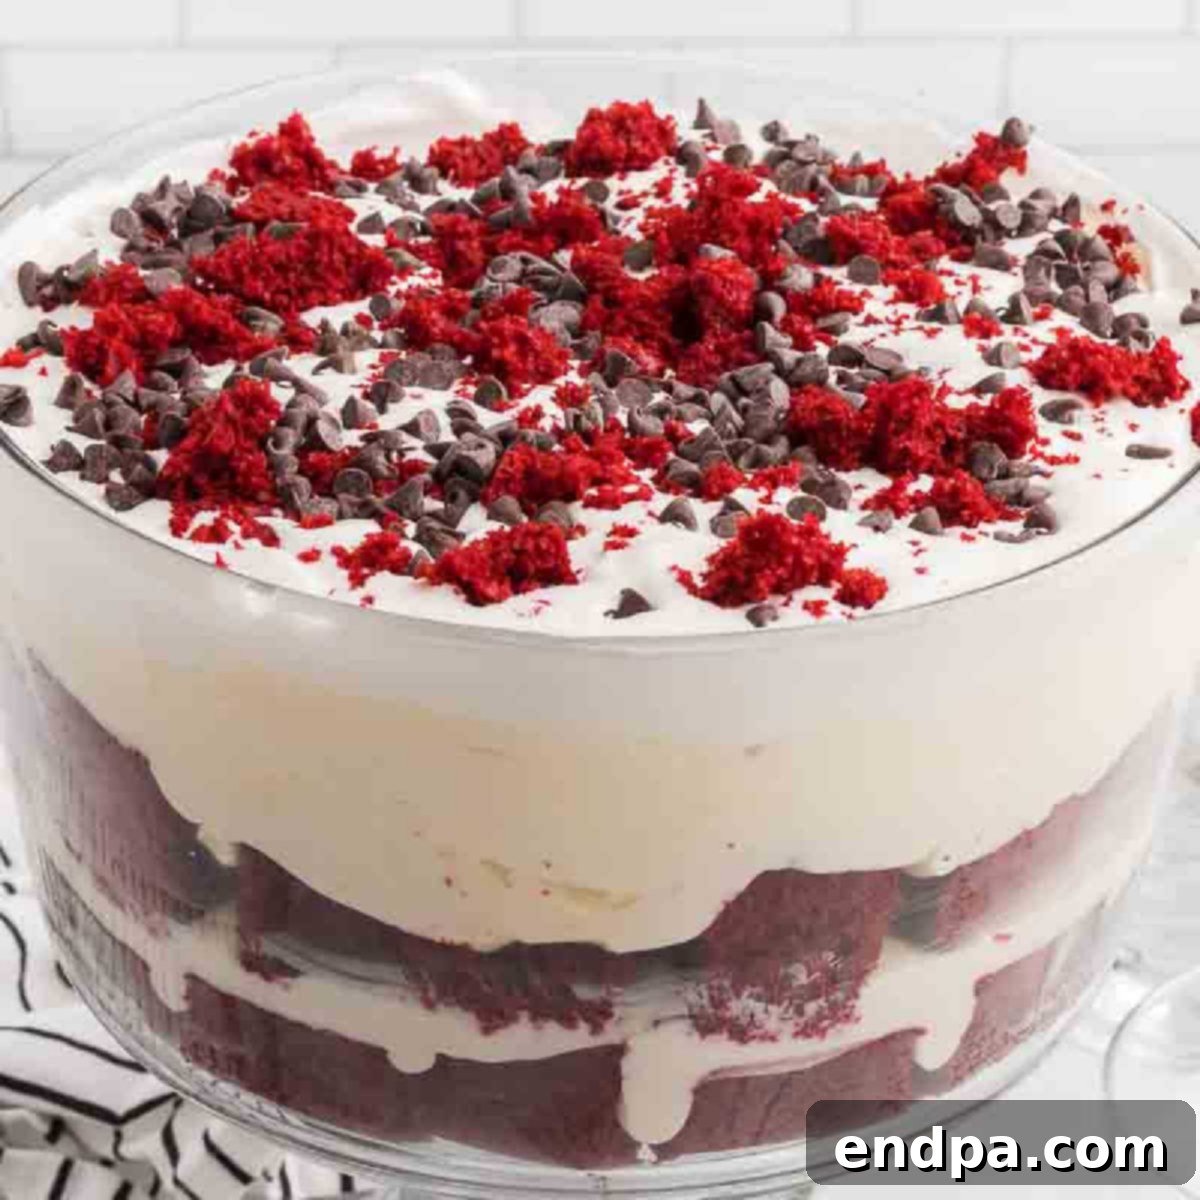
- **Stunning Visual Appeal:** Served in a clear trifle bowl, the vibrant red cake layers beautifully contrast with the creamy white filling, creating a dramatic and inviting display. It’s a guaranteed showstopper that will draw oohs and aahs from your guests.
- **Irresistible Flavor Combination:** The unique, subtle cocoa notes and slight tang of red velvet cake perfectly complement the sweet, tangy, and smooth cream cheese and pudding mixture. Each bite is a delightful balance of flavors that keeps you coming back for more.
- **Perfect for Holidays & Gatherings:** The striking red and white layers make it an ideal dessert for Christmas, Valentine’s Day, or any festive celebration. Its large serving size makes it excellent for feeding a crowd. For another fantastic holiday option, consider our Christmas Trifle.
- **Versatile & Customizable:** While red velvet is a classic, the trifle concept is incredibly adaptable. You can easily switch out cake flavors, pudding types, and toppings to create endless variations that suit any taste preference or season.
This dessert isn’t just about taste; it’s about creating a memorable experience with minimal stress. Its simple construction allows for maximum enjoyment, ensuring you spend less time in the kitchen and more time with your loved ones.
Ingredients for the Perfect Red Velvet Trifle
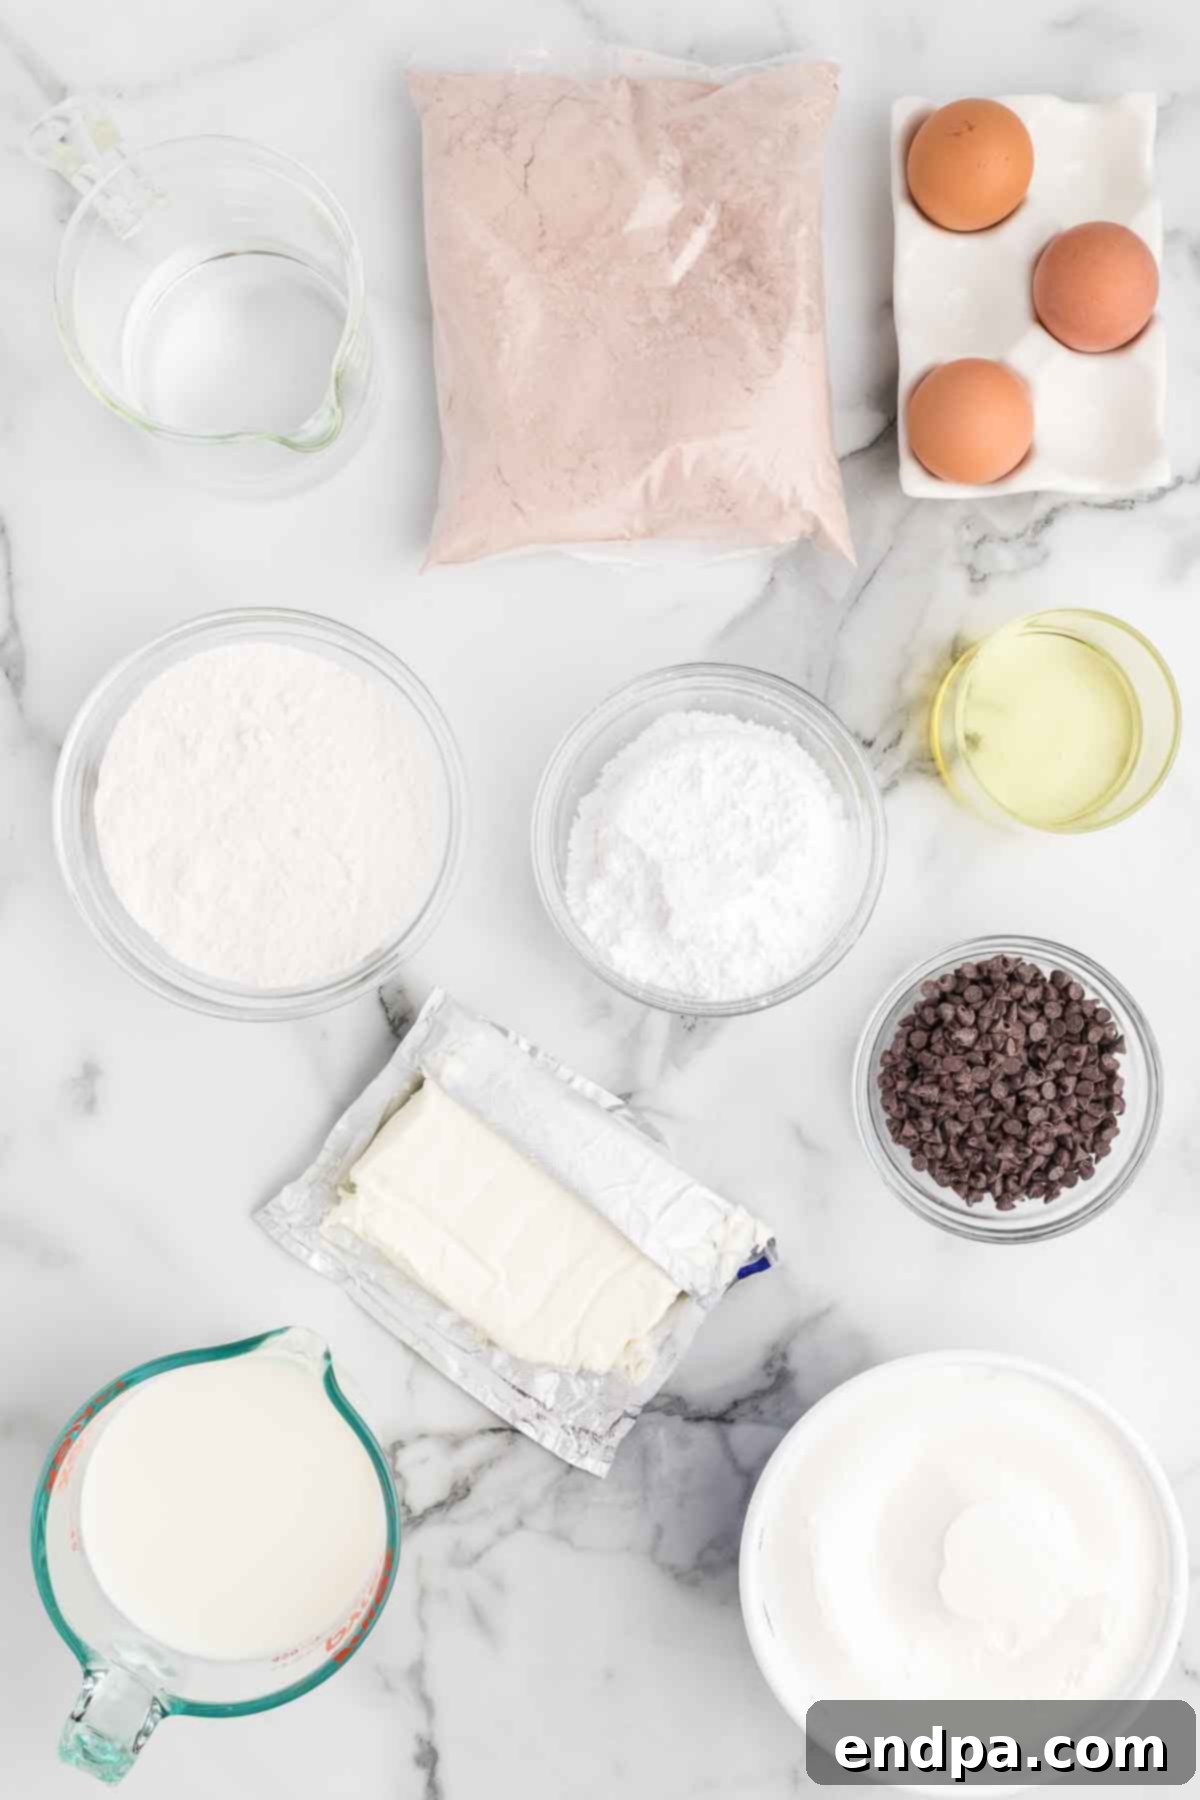
Crafting this delightful Red Velvet Trifle requires a handful of accessible ingredients that come together to form layers of pure indulgence. Each component plays a vital role in creating the perfect balance of flavor and texture:
- Red Velvet Cake Mix: This is our secret weapon for speed and simplicity. While you can certainly bake a red velvet cake from scratch, a quality cake mix ensures consistent results and significantly reduces preparation time. Remember to also gather the additional ingredients (eggs, oil, water, etc.) required to prepare the cake according to the package instructions.
- White Chocolate Instant Pudding Mix: The pudding forms a crucial part of our creamy layer, adding a subtle sweetness and helping to stabilize the cream cheese mixture. White chocolate pudding enhances the overall richness, but for a tangier profile that complements red velvet beautifully, a Cheesecake flavor pudding mix is an excellent alternative. Ensure it’s an *instant* pudding mix for quick setting.
- Cold Milk: Essential for preparing the instant pudding, cold milk helps the pudding set quickly and achieve the desired firm consistency. Whole milk or 2% milk will yield the creamiest result.
- Cream Cheese: The heart of our decadent cream cheese layer. It’s vital that your cream cheese is softened at room temperature before mixing. This ensures a smooth, lump-free texture and allows it to incorporate easily with the other ingredients, creating a light and airy consistency. Opt for full-fat block cream cheese for the best flavor and structure.
- Powdered Sugar: Also known as confectioners’ sugar, this fine sugar blends seamlessly into the cream cheese mixture, providing sweetness without a grainy texture. Its delicate nature helps achieve that fluffy, smooth consistency we’re looking for.
- Cool Whip (Whipped Topping): Divided into two portions, Cool Whip contributes to both the cream cheese filling and the final topping. It adds a light, airy volume and a delicate sweetness, making the trifle feel incredibly luxurious. Using a pre-made whipped topping saves time and ensures stability compared to homemade whipped cream, though fresh whipped cream can be used if preferred.
- Mini Chocolate Chips: These tiny morsels are a delightful addition, scattered throughout the layers and on top. Their small size means you get a touch of chocolatey goodness in every bite without overwhelming the other flavors. They also add a pleasing textural contrast.
These carefully chosen ingredients promise a harmonious blend, resulting in a Red Velvet Trifle that is both easy to make and utterly unforgettable.
Creative Variations & Delicious Additions
One of the joys of making a trifle is its inherent flexibility. While the classic Red Velvet Trifle is a masterpiece on its own, don’t hesitate to get creative with these variations and additions to customize it to your taste or occasion:
- Flavorful Add-ins for Layers: Elevate each layer by sprinkling in additional textures and flavors. Consider adding chopped toasted pecans or walnuts for a nutty crunch, extra chocolate chunks or curls for more indulgence, or shredded coconut for a tropical twist. You could even fold in a layer of crushed Oreos for an extra cookie crunch.
- Delightful Toppings: The top layer is your canvas! Beyond the traditional mini chocolate chips and cake crumbs, you can add a festive touch with colorful sprinkles, a drizzle of chocolate or caramel sauce, or a scattering of your favorite candies. For a fresh and elegant finish, fresh berries like raspberries, strawberries, or even a mix of red and black berries are fantastic choices. If preparing the trifle ahead of time, it’s best to add fresh fruit and delicate toppings just before serving to maintain their freshness and appearance.
- Pudding Power-Ups: As mentioned, white chocolate and cheesecake pudding mixes are excellent choices. However, don’t limit yourself! Vanilla, French vanilla, or even a rich dark chocolate pudding can create different flavor dynamics that are equally delicious. Experiment to find your favorite combination.
- Explore Different Cake & Pudding Pairings: The beauty of a trifle lies in its adaptability. This recipe can easily be a year-round delight by simply swapping the cake and pudding flavors. Imagine a rich chocolate cake paired with creamy vanilla pudding, or a zesty lemon cake with a light lemon pudding for a summery treat. Yellow cake with butterscotch pudding or even a spiced pumpkin cake with cream cheese pudding for fall are also wonderful ideas.
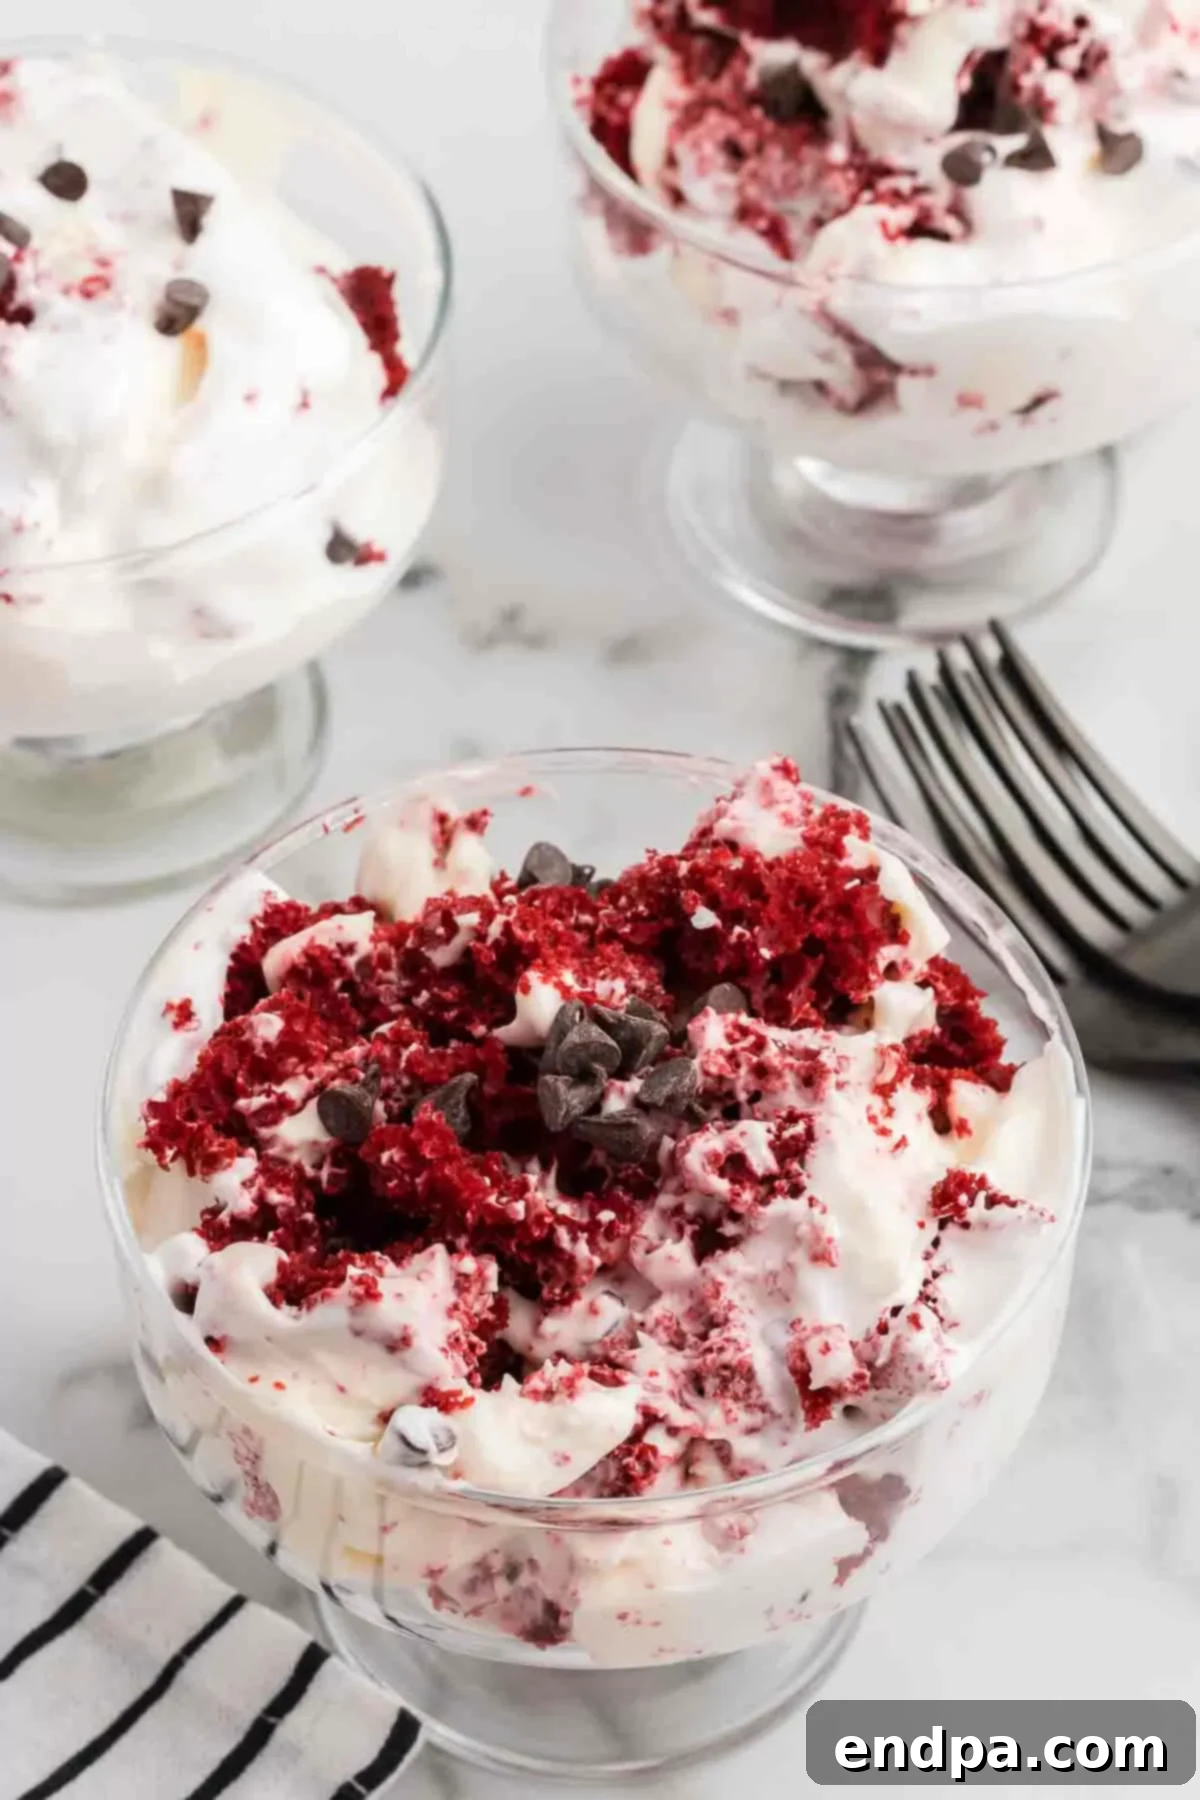
- Individual Trifle Cups: For elegant portion control or a charming presentation, divide the ingredients among individual clear glass jars or cups. This makes serving a breeze and adds a personalized touch, perfect for parties or as grab-and-go desserts. The layering technique remains the same, just on a smaller scale.
With these simple adjustments, your Red Velvet Trifle can transform into a new and exciting dessert every time you make it!
Step-By-Step Assembly Guide for Your Red Velvet Trifle
Creating this visually stunning and incredibly delicious Red Velvet Trifle is a straightforward process when broken down into simple steps. Follow this guide to ensure perfect layers and a harmonious blend of flavors:
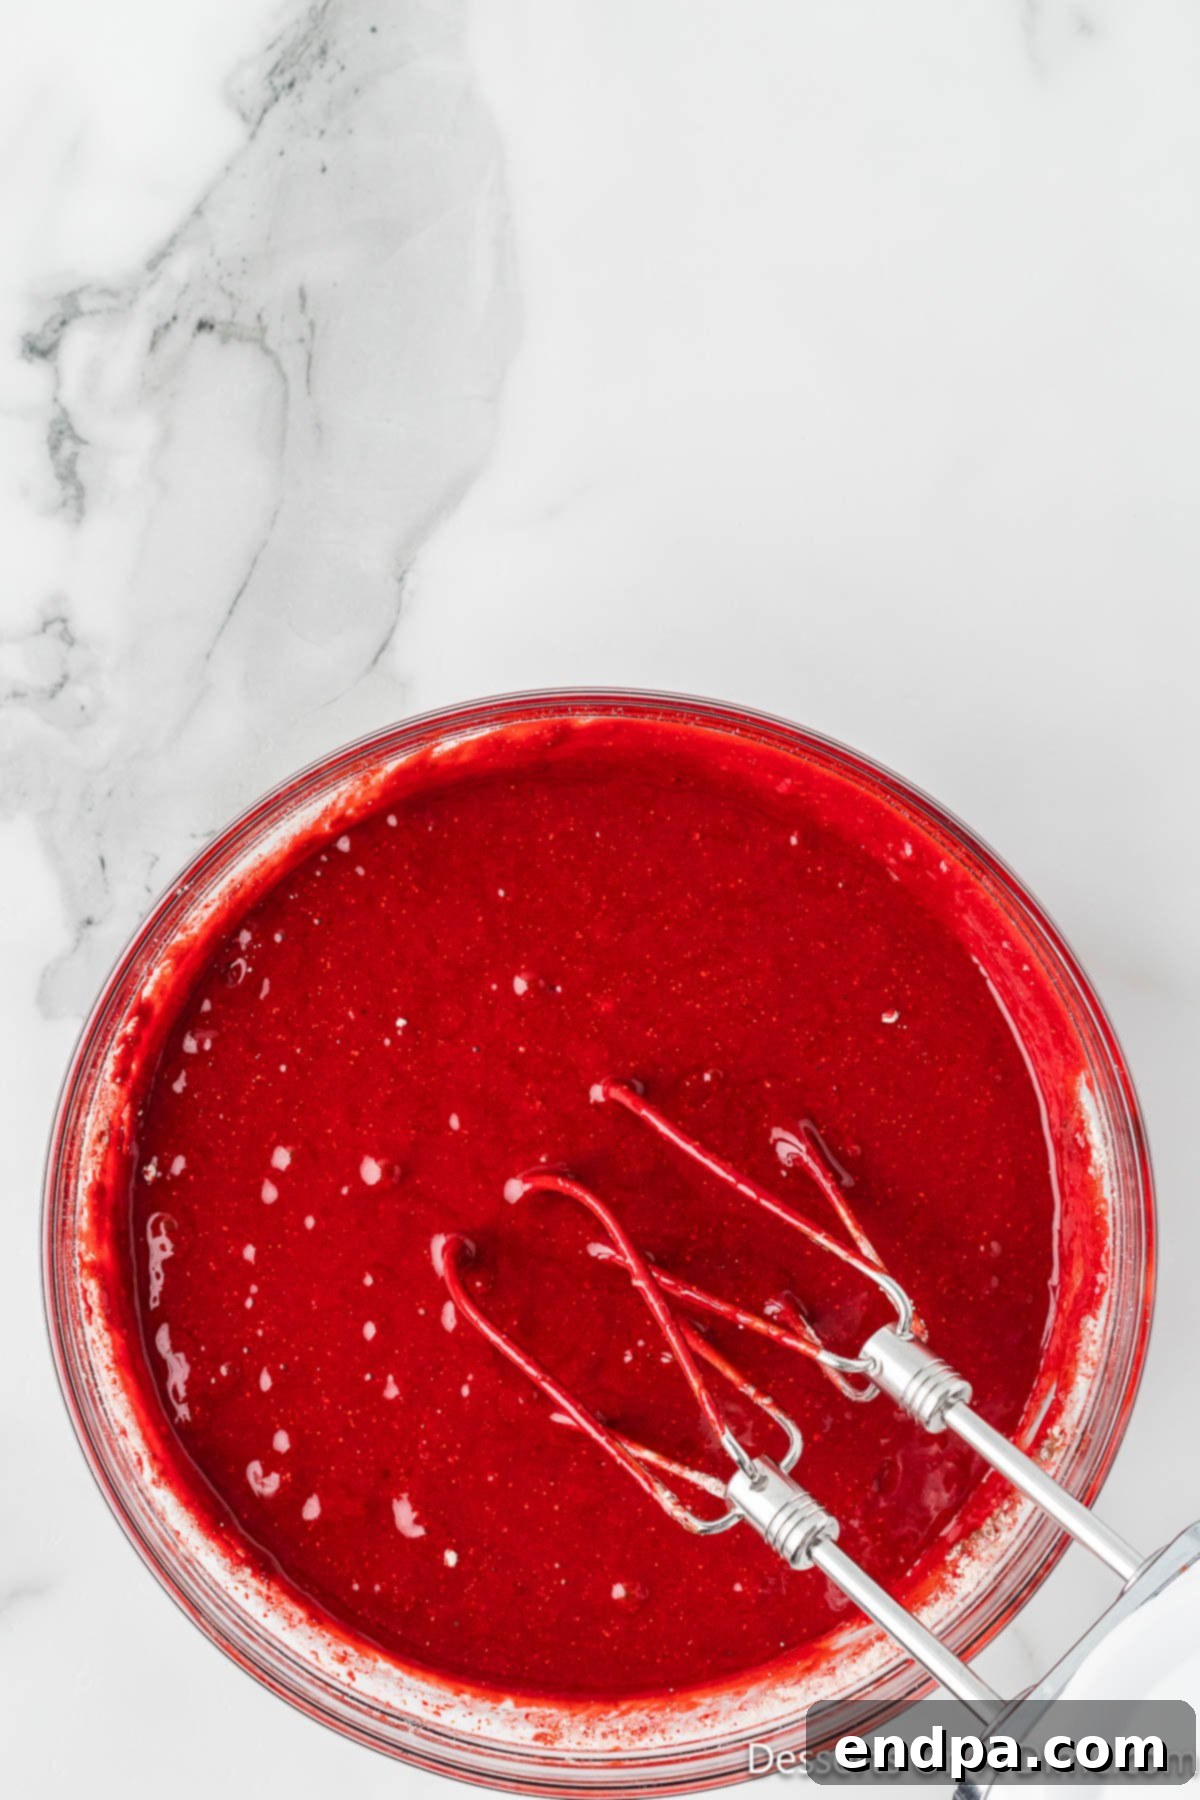
Step 1: Prepare the Red Velvet Cake. Begin by preparing your red velvet cake mix according to the package directions. Pour the batter into a 9×13 inch cake pan, ensuring an even layer. Bake as instructed until a toothpick inserted into the center comes out clean. This forms the delicious foundation of your trifle.
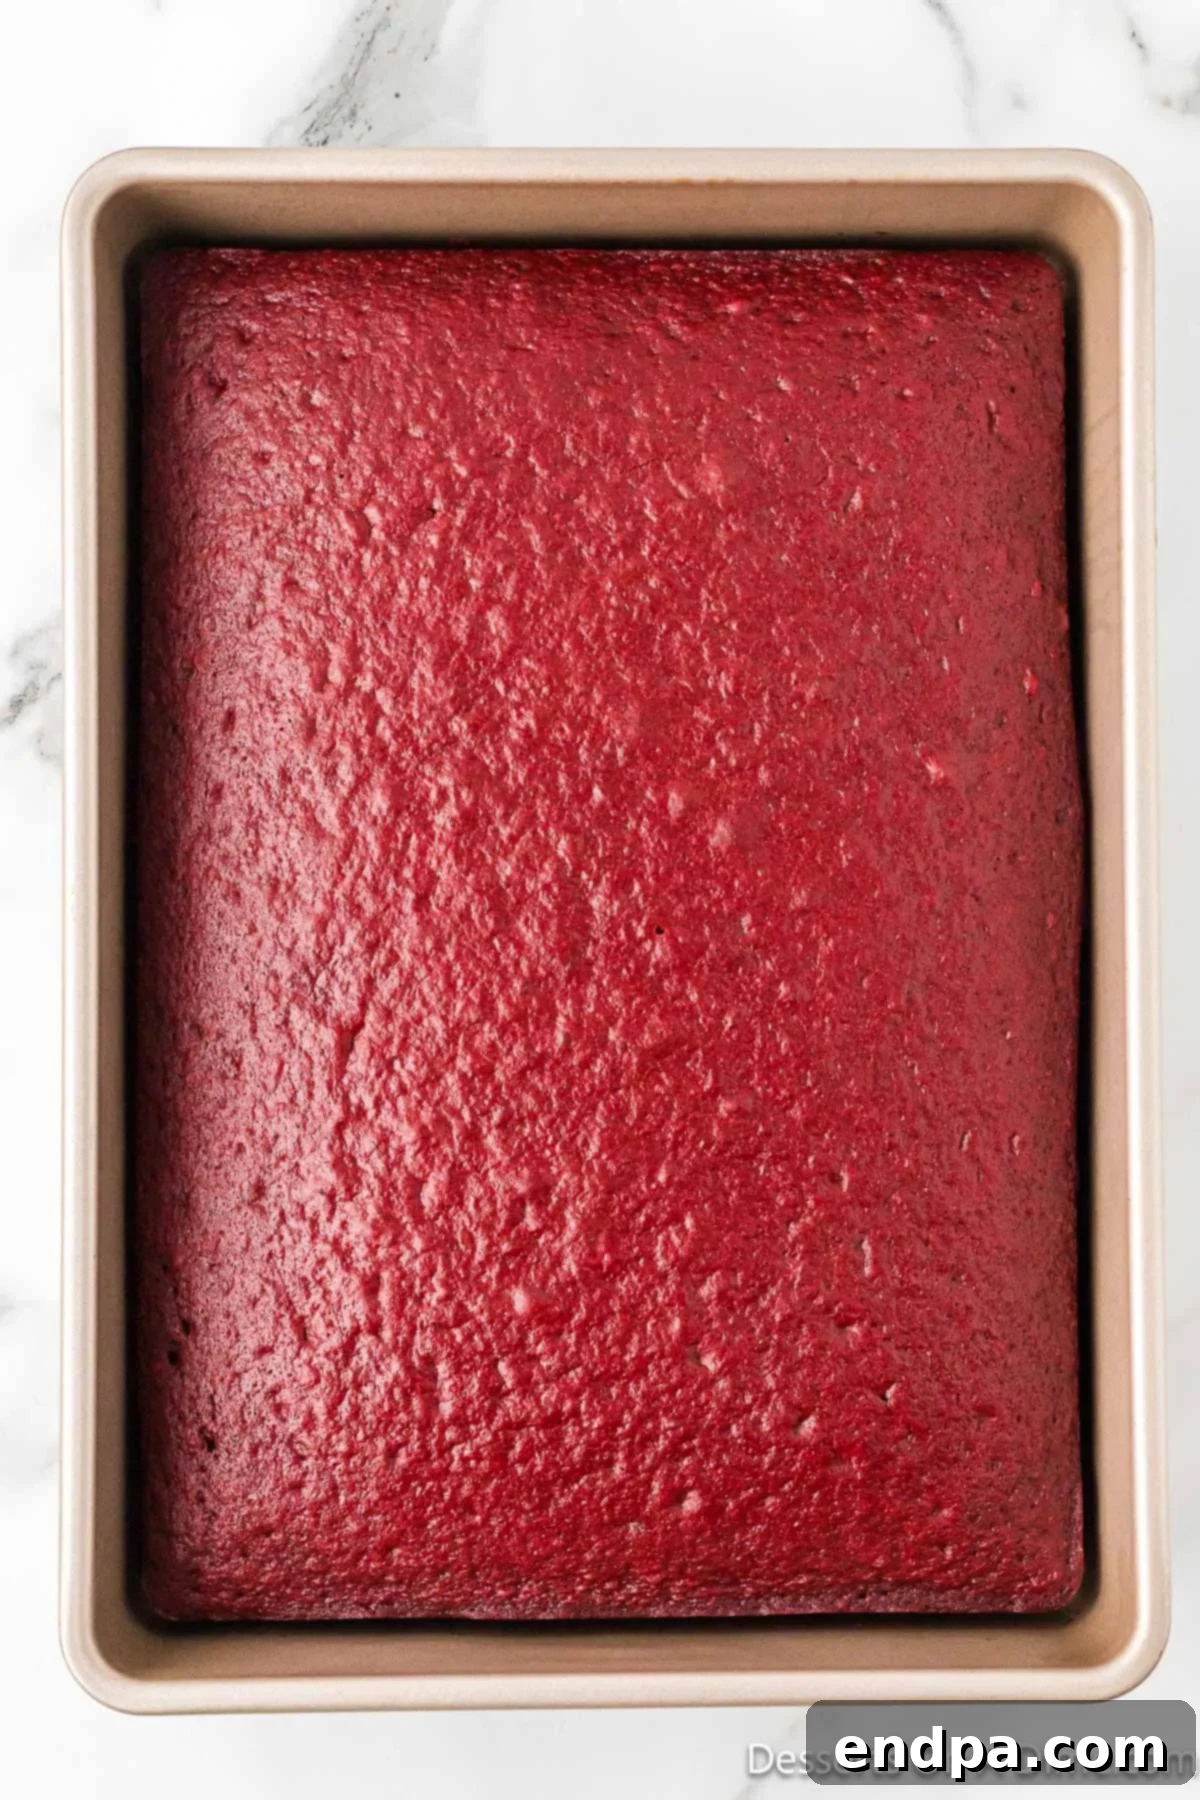
Step 2: Cool the Cake Completely. Once baked, remove the cake from the oven and allow it to cool completely at room temperature. This is a crucial step; attempting to layer warm cake will cause the creamy filling to melt and your trifle to lose its beautiful structure. Patience here is key!
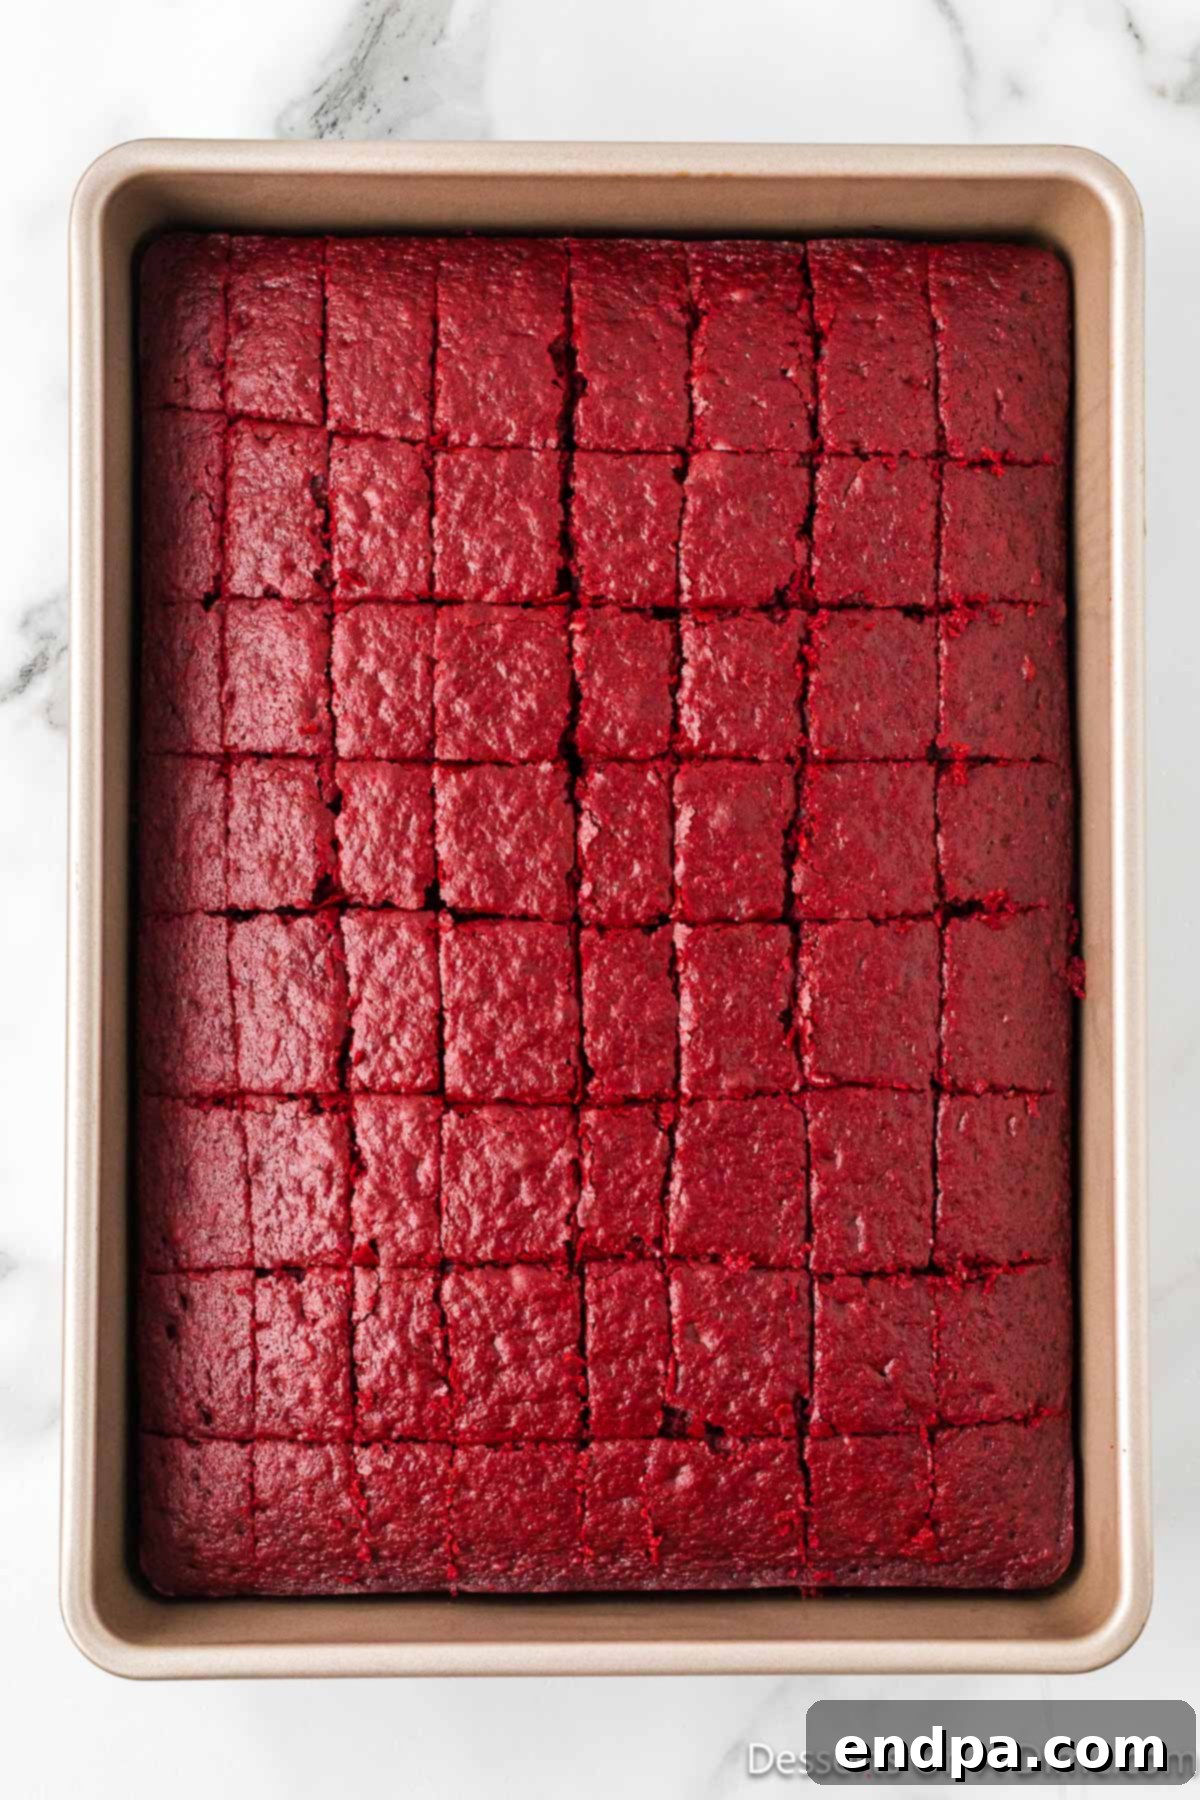
Step 3: Cube the Cake and Reserve Crumbs. Once the cake is fully cooled, carefully cut it into approximately 1-inch cubes. These cubes will form the distinct cake layers within your trifle. As you cut, reserve a small handful of cake for the topping. Crumble this reserved cake into fine crumbs for a decorative and flavorful garnish.
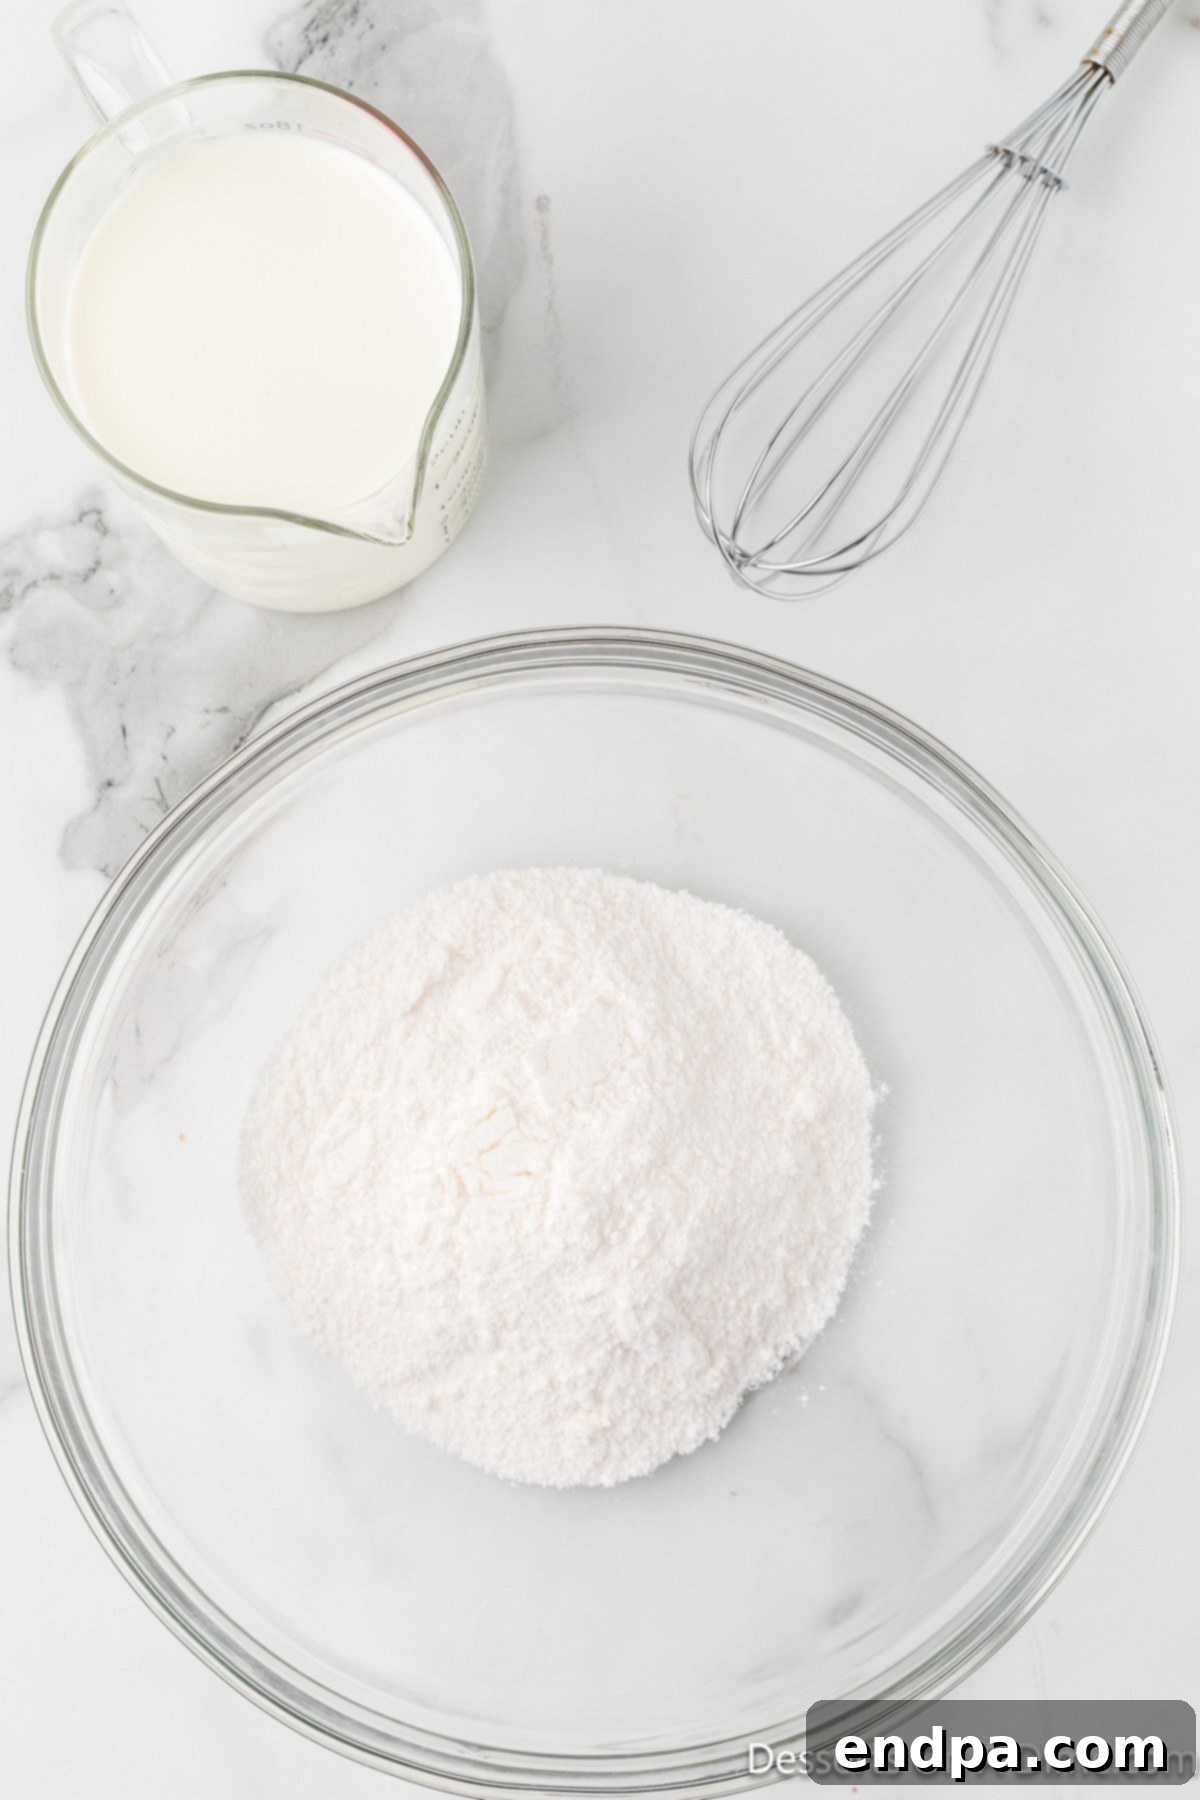
Step 4: Prepare the Instant Pudding. In a small mixing bowl, whisk together the white chocolate (or cheesecake) instant pudding mix with the cold milk. Continue whisking vigorously for at least two minutes until the mixture begins to thicken. Once combined and slightly thickened, set the pudding aside to allow it to set further while you prepare the cream cheese layer.
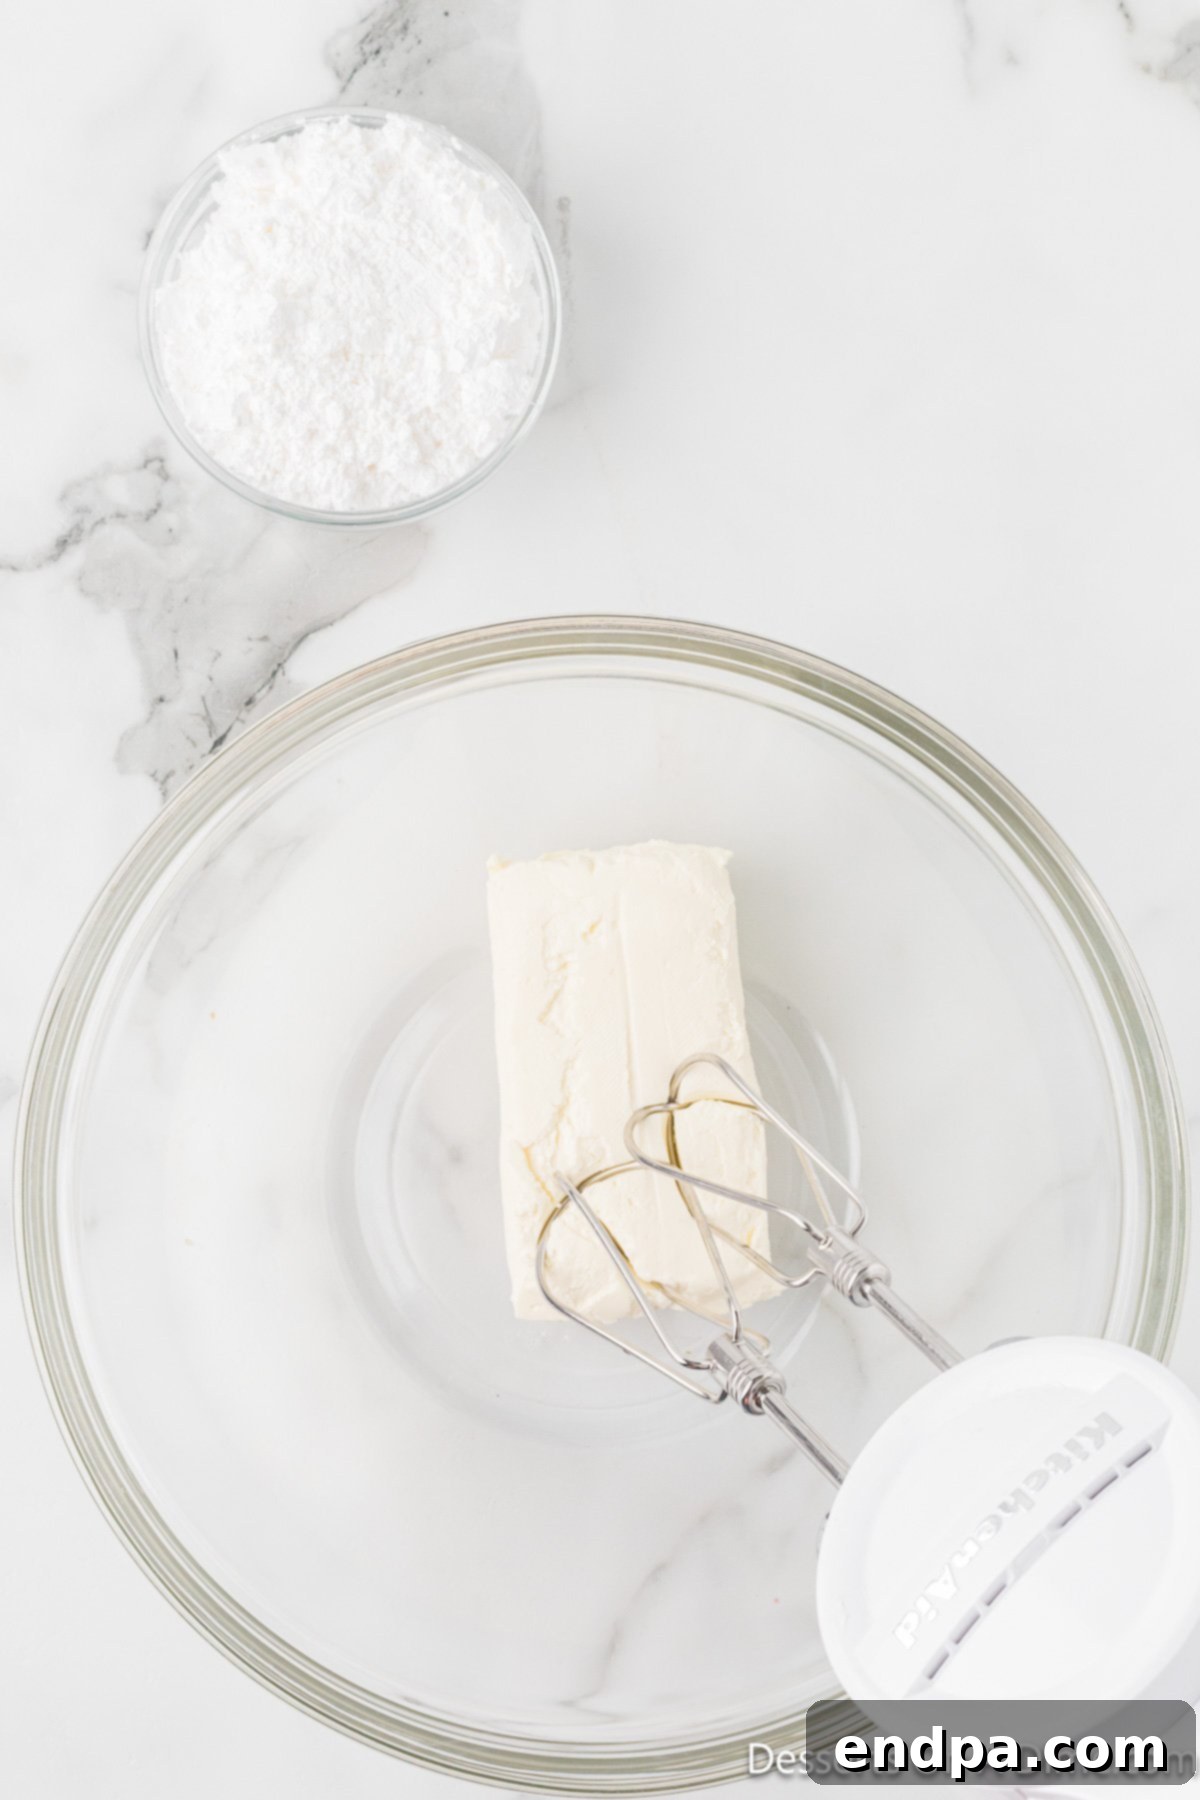
Step 5: Beat the Cream Cheese. In a large mixing bowl, place the softened cream cheese. Using an electric hand mixer or a stand mixer, beat the cream cheese on medium-high speed for 2-3 minutes. Beat until it becomes light, smooth, and fluffy, ensuring no lumps remain. This aeration is key to a perfectly creamy filling.
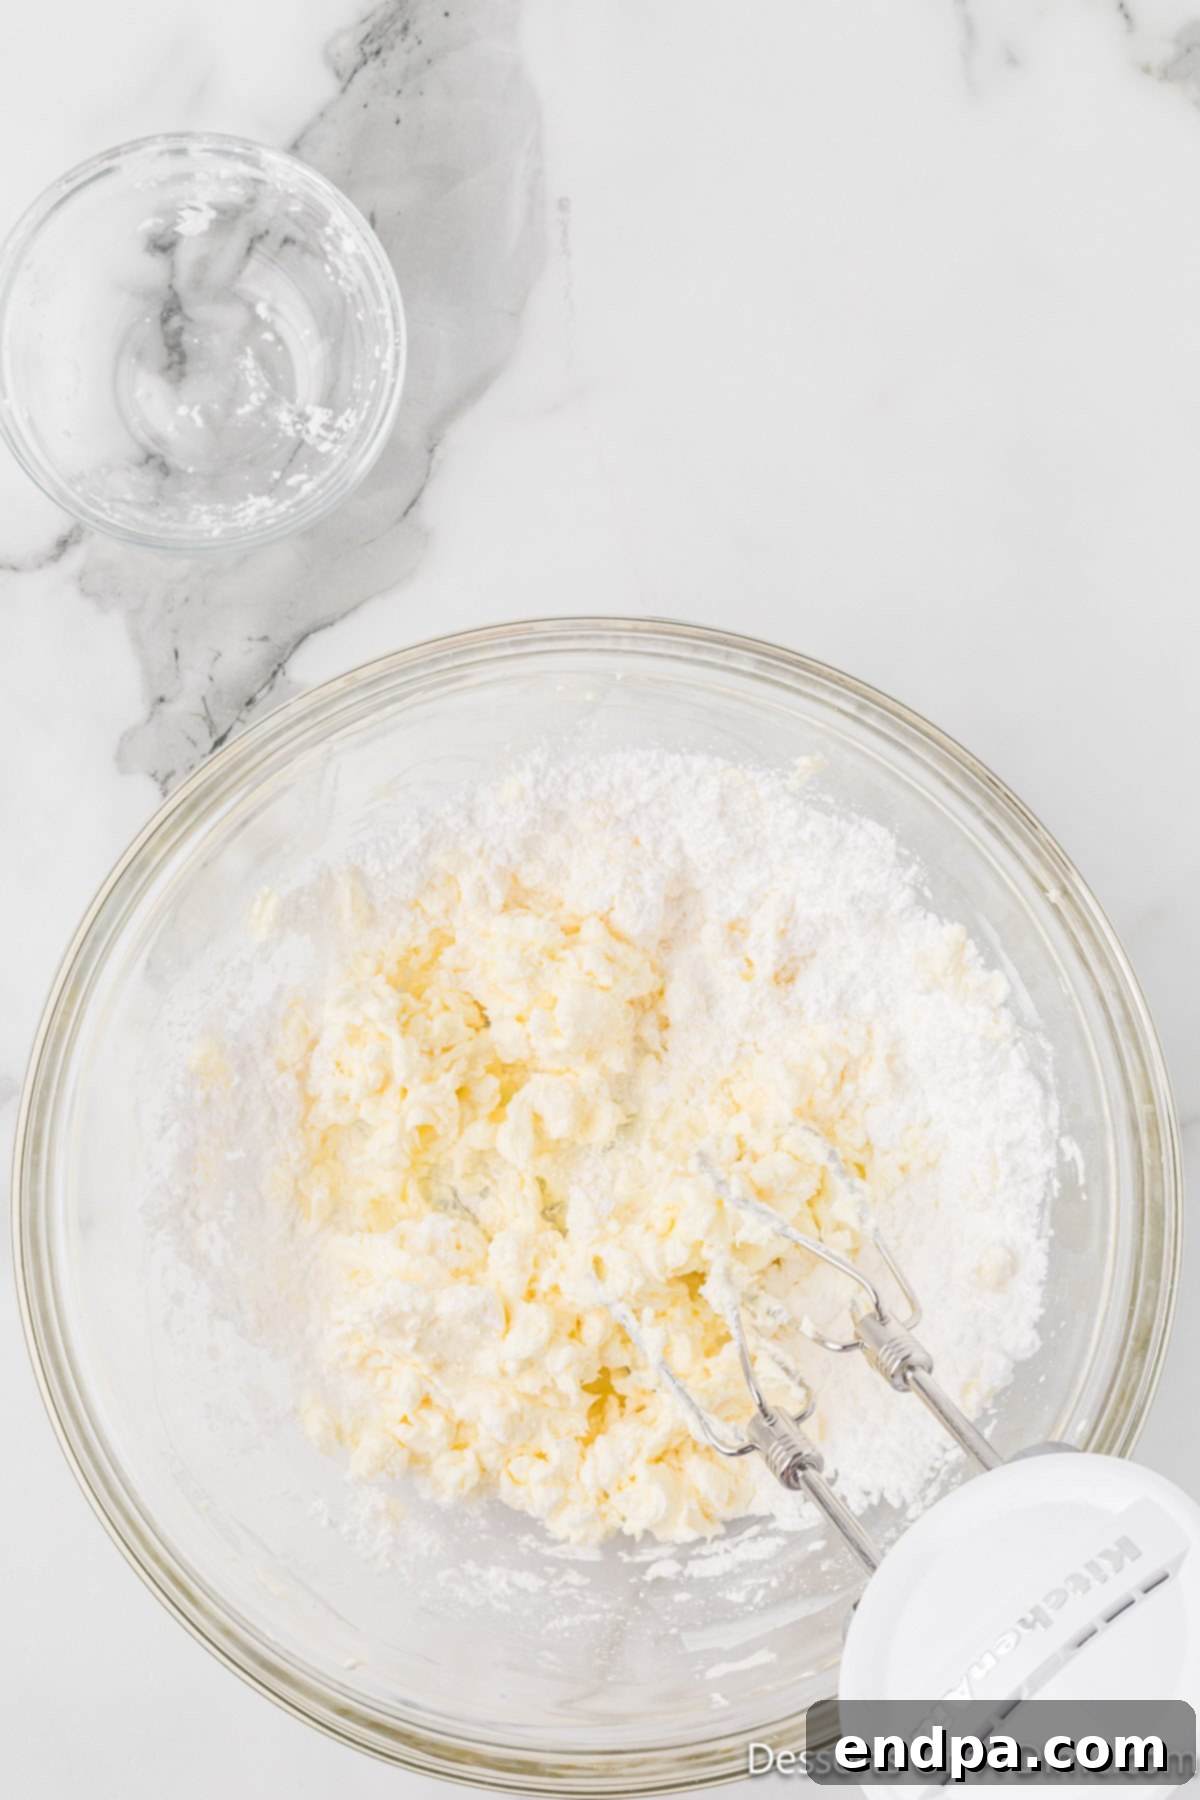
Step 6: Gradually Add Powdered Sugar. Reduce the mixer speed to low. Gradually add the powdered sugar to the beaten cream cheese, a little at a time, allowing it to fully incorporate. Once all the sugar is added, increase the speed to medium and continue beating for another minute until the mixture is completely smooth and well combined.
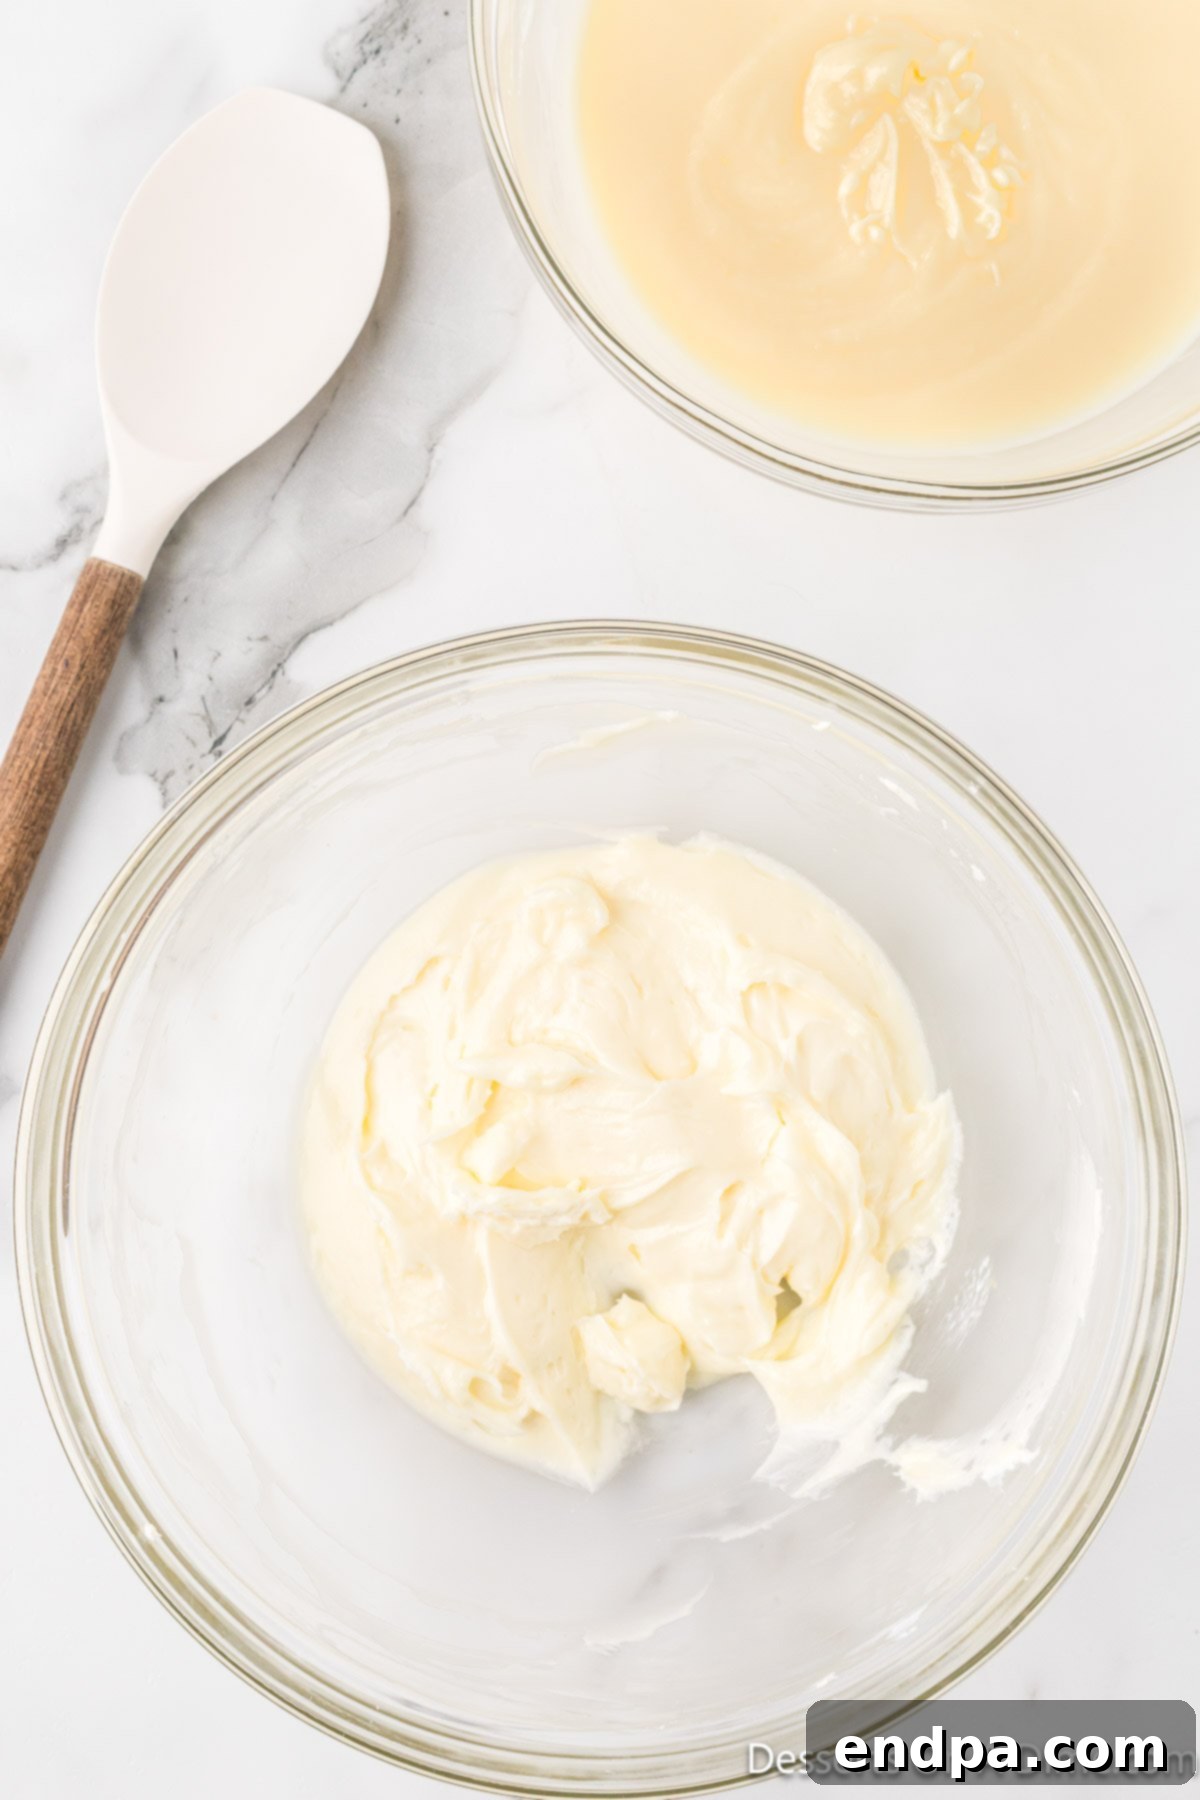
Step 7: Combine Pudding and Cream Cheese. Add the prepared instant pudding (which should now be slightly firmer) to the cream cheese mixture. Using a rubber spatula, gently fold the pudding into the cream cheese until they are fully combined. Be careful not to overmix, as this can deflate the fluffy texture.
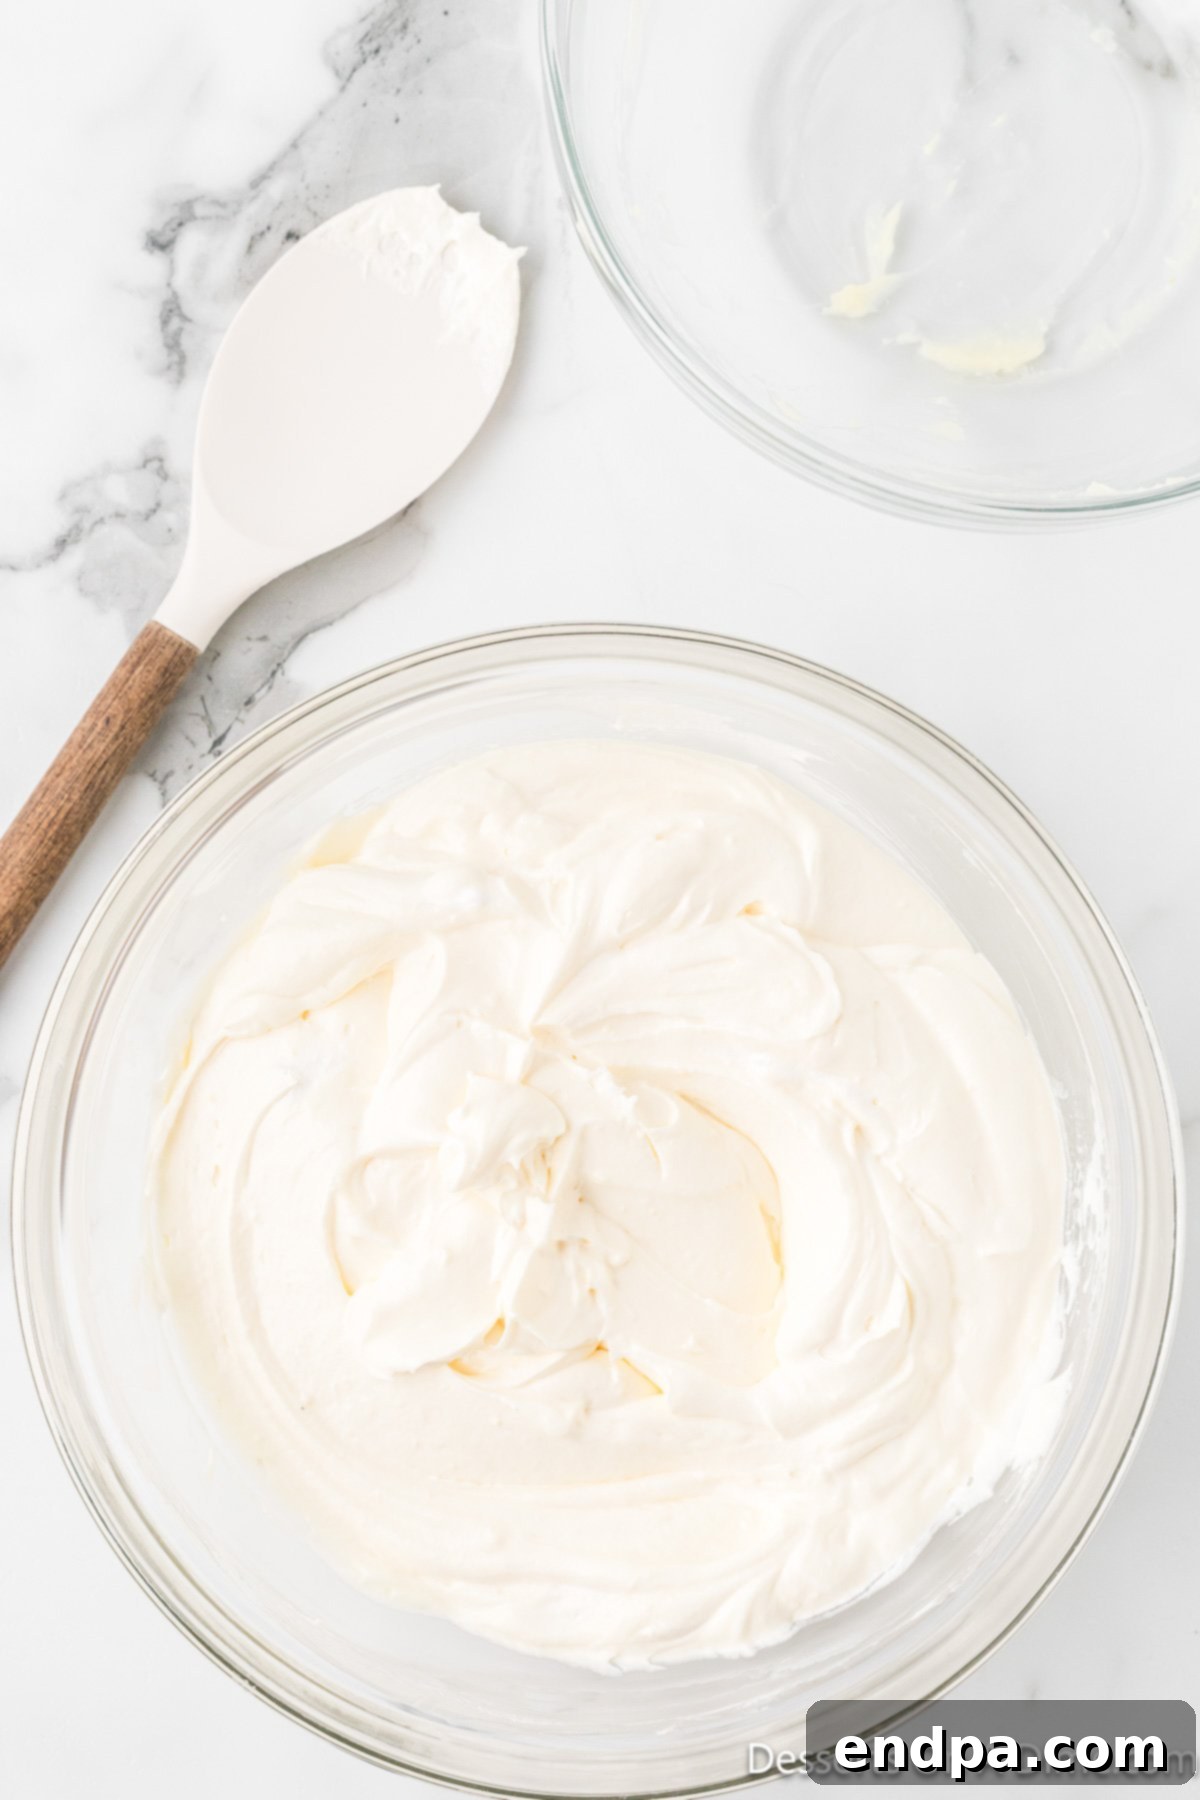
Step 8: Fold in Cool Whip. Now, gently fold 8 ounces (half) of the Cool Whip into the cream cheese and pudding mixture. Use a soft, scooping motion with your spatula until no white streaks of Cool Whip remain and the mixture is uniformly smooth and airy. This adds incredible lightness to the filling.
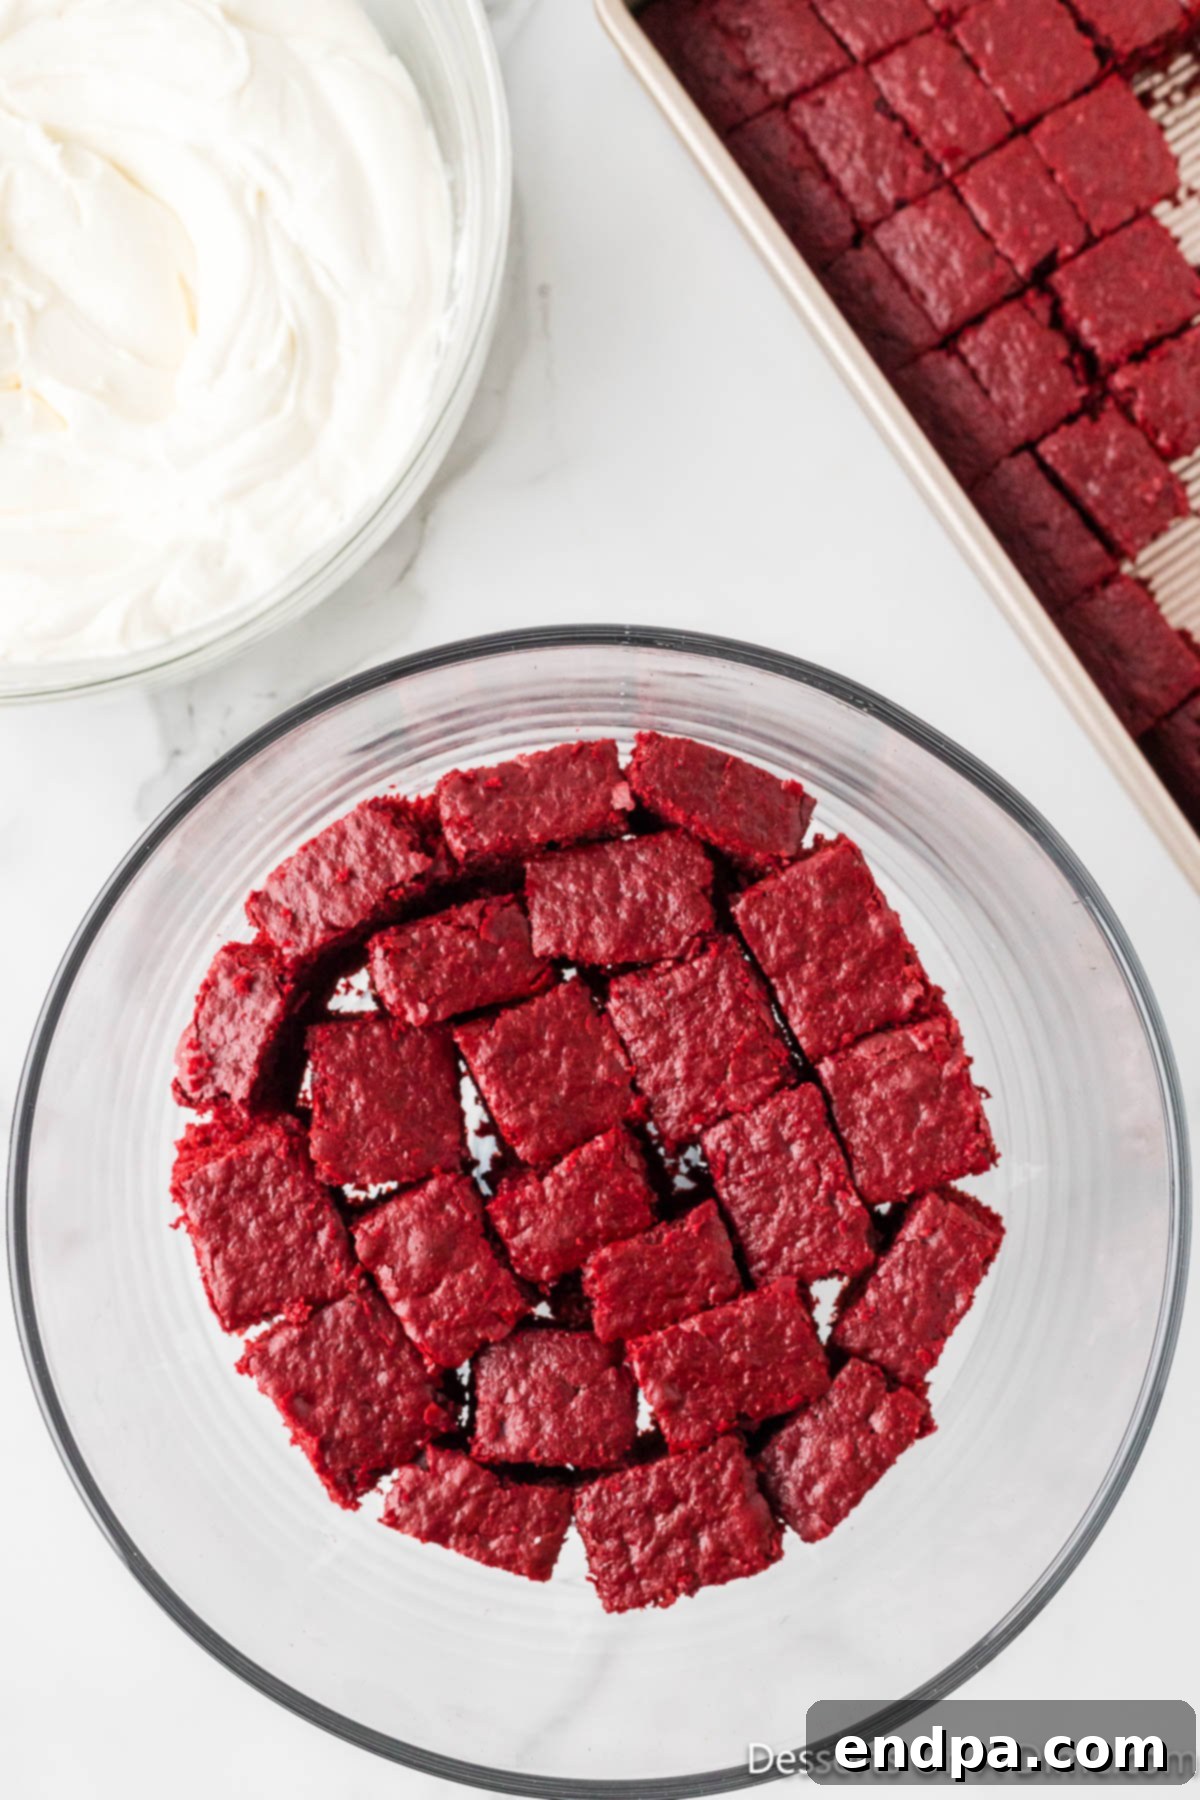
Step 9: First Cake Layer. Take your trifle dish or clear glass bowl. Gently arrange a layer of red velvet cake cubes in the bottom, covering the entire base. Use just enough to create an even, single layer. A clear dish is essential to showcase the beautiful layers.
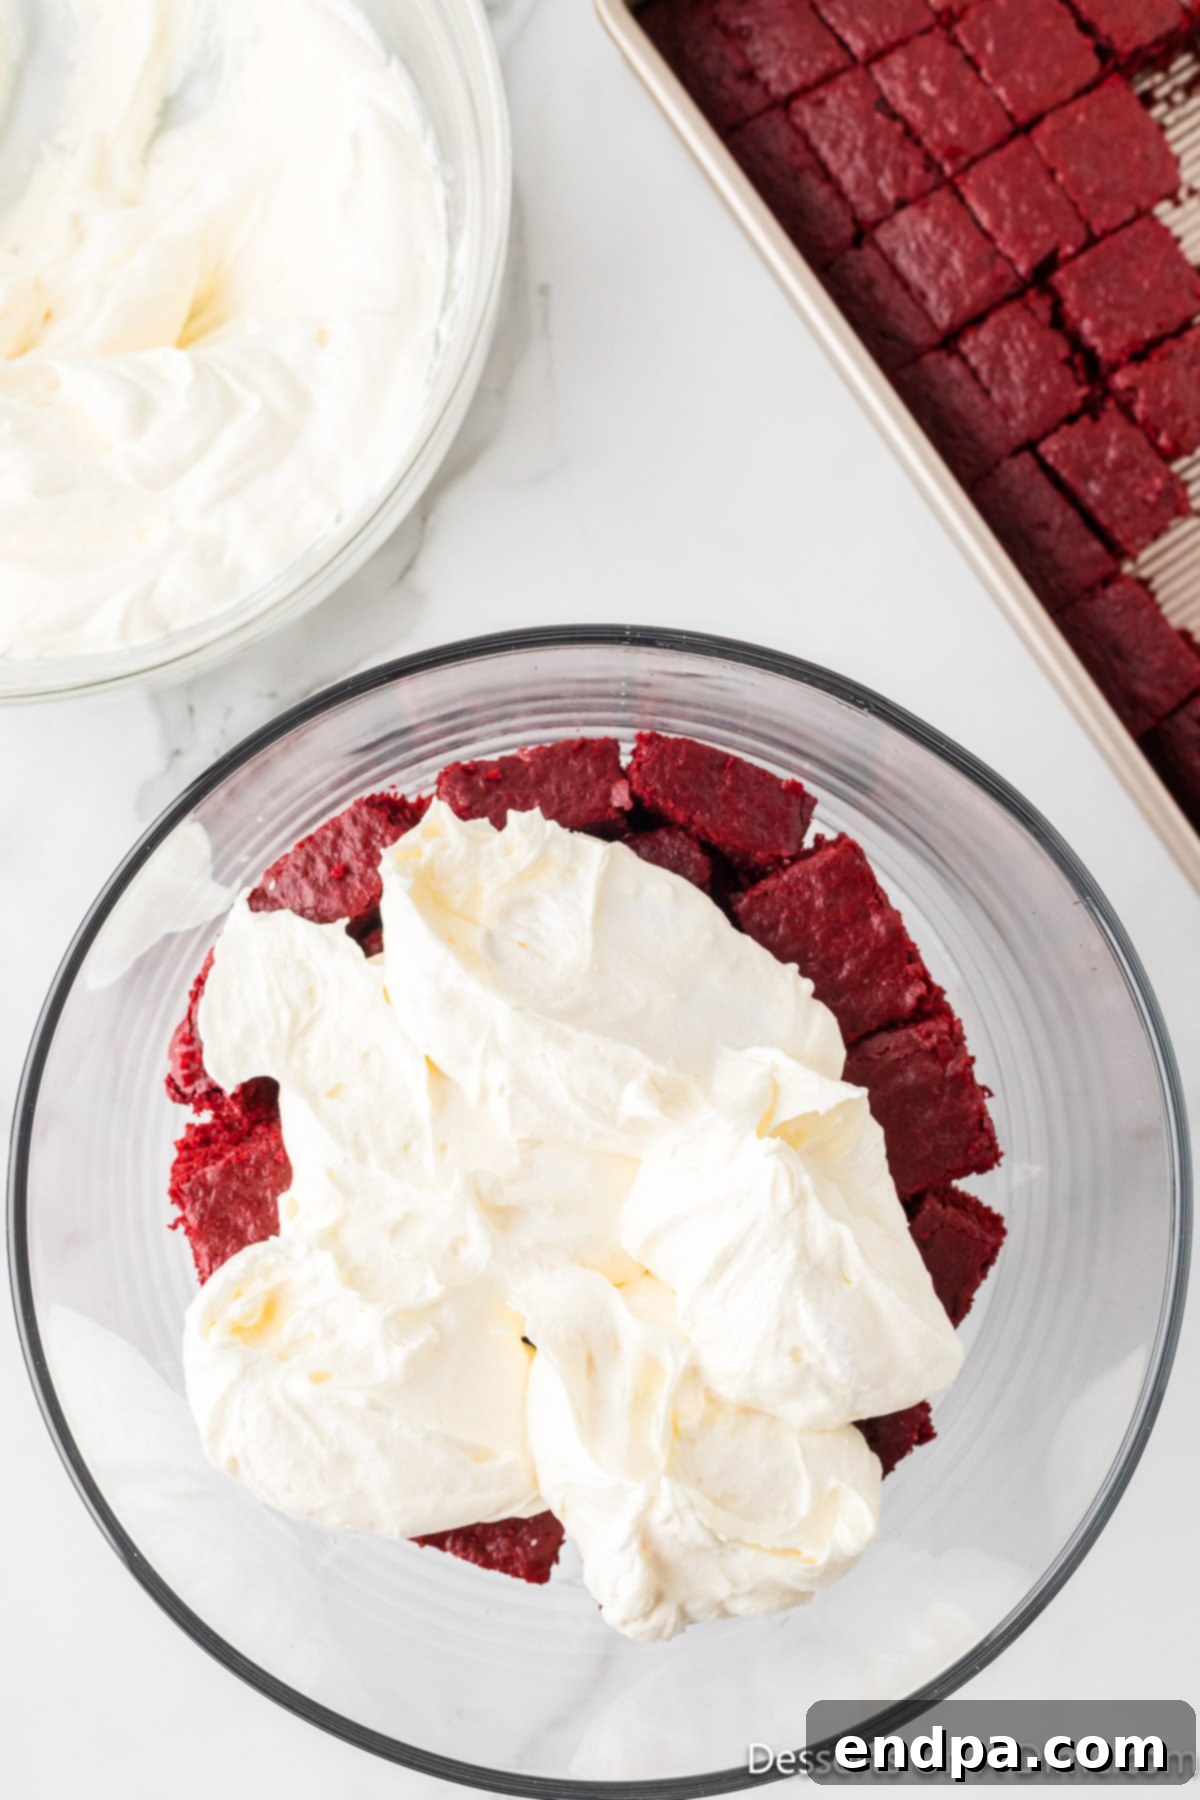
Step 10: First Cream Cheese Layer. Carefully spoon about half of the prepared cream cheese mixture over the first cake layer. Gently spread it out evenly to create a smooth, distinct white layer. Ensure the cake cubes are mostly covered.
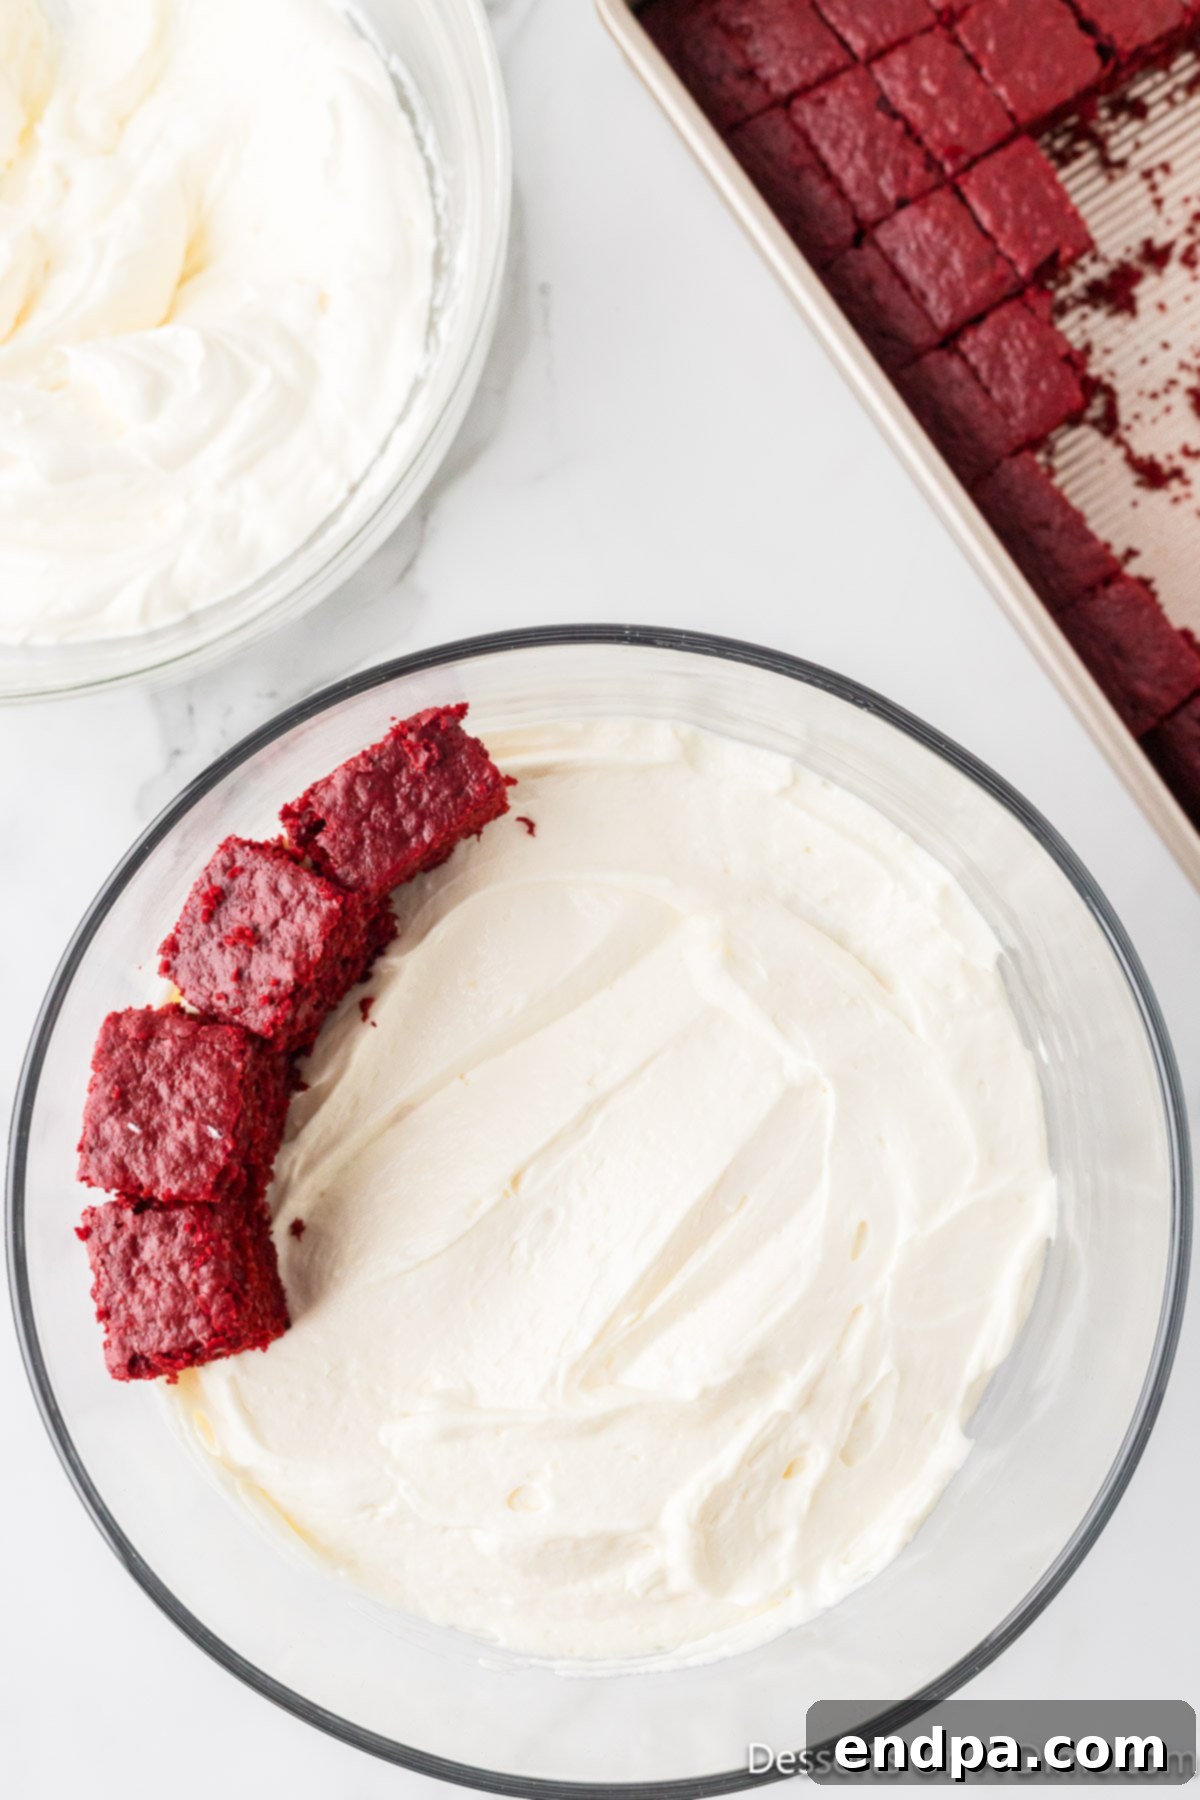
Step 11: Second Cake Layer. Add another layer of red velvet cake cubes on top of the cream cheese mixture. Arrange them as before, aiming for an even coverage to prepare for the next creamy layer.
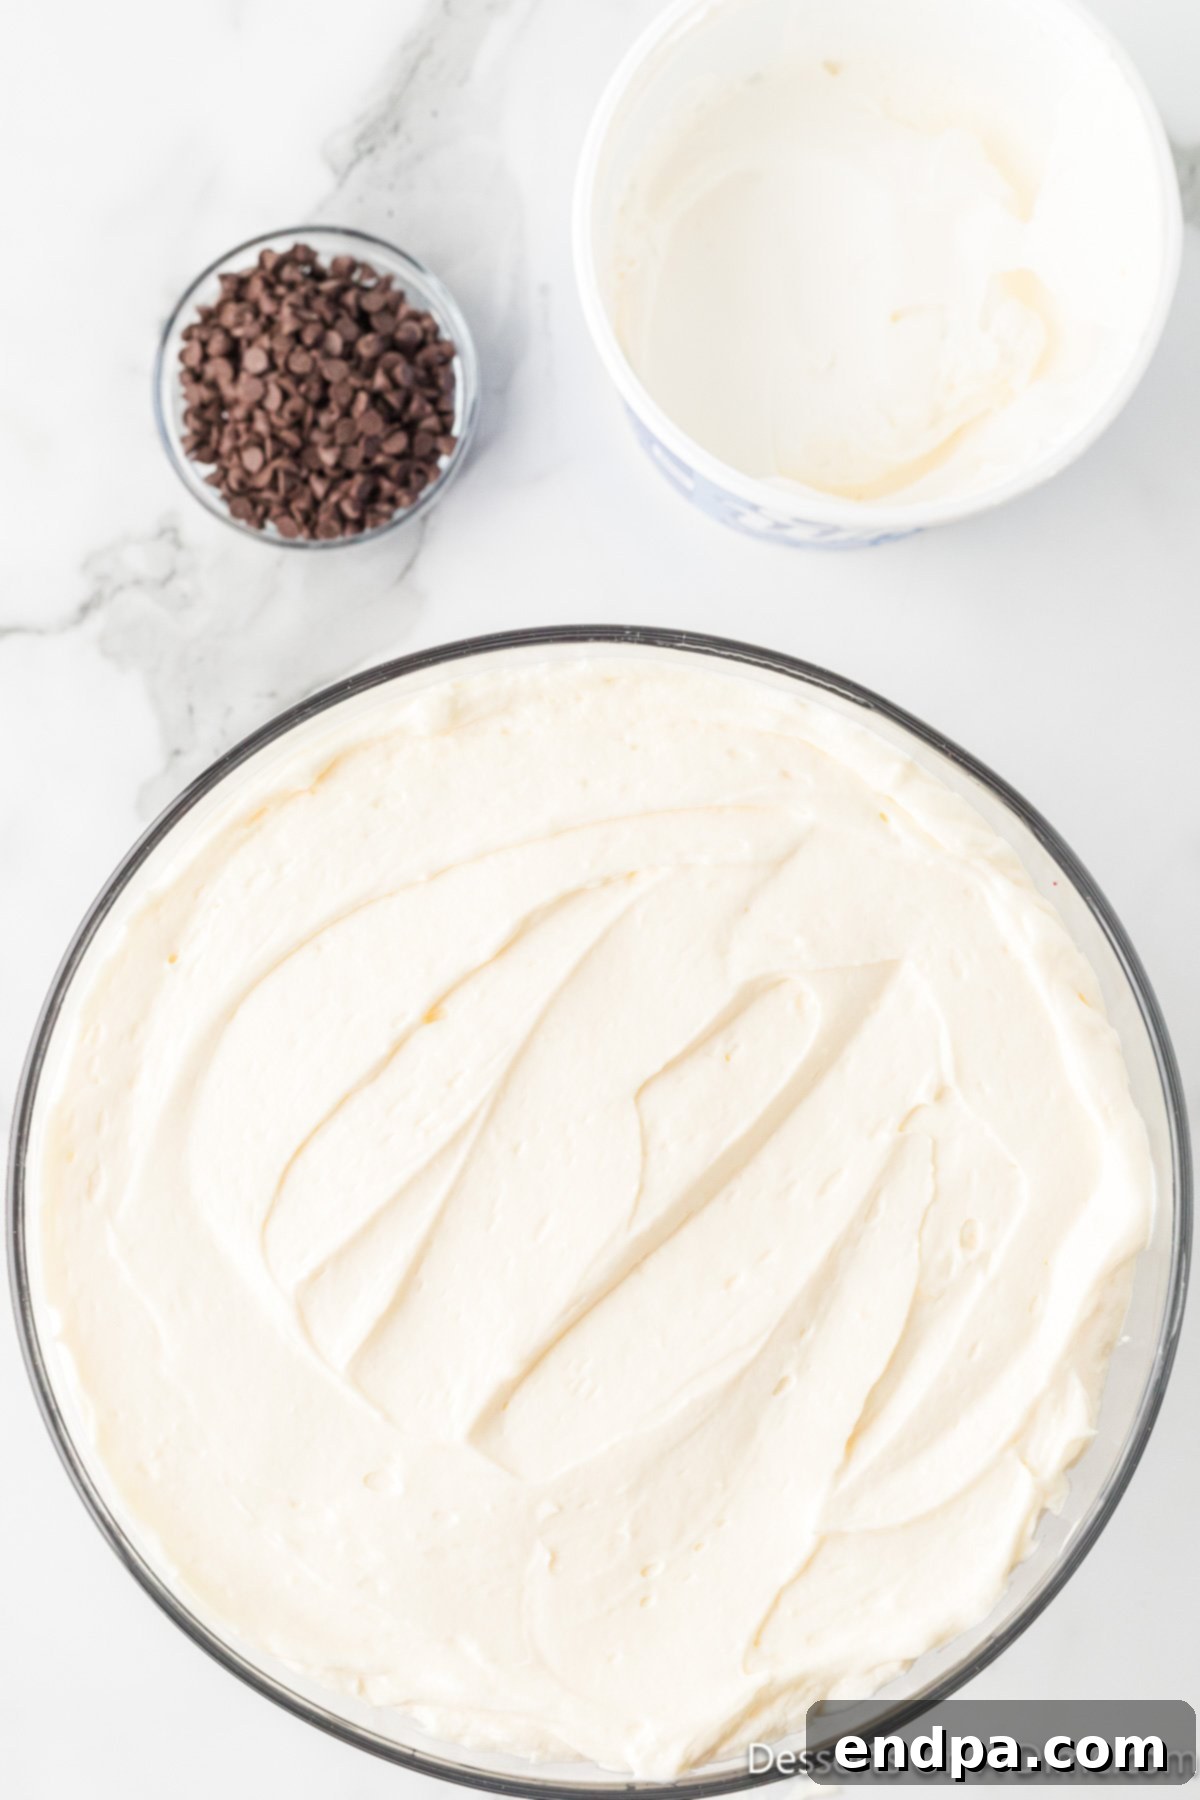
Step 12: Second Cream Cheese Layer. Spread the remaining cream cheese mixture over the second cake layer. Smooth it out carefully to create the final white layer of your trifle’s body. You can make it slightly mounded in the center for visual interest.
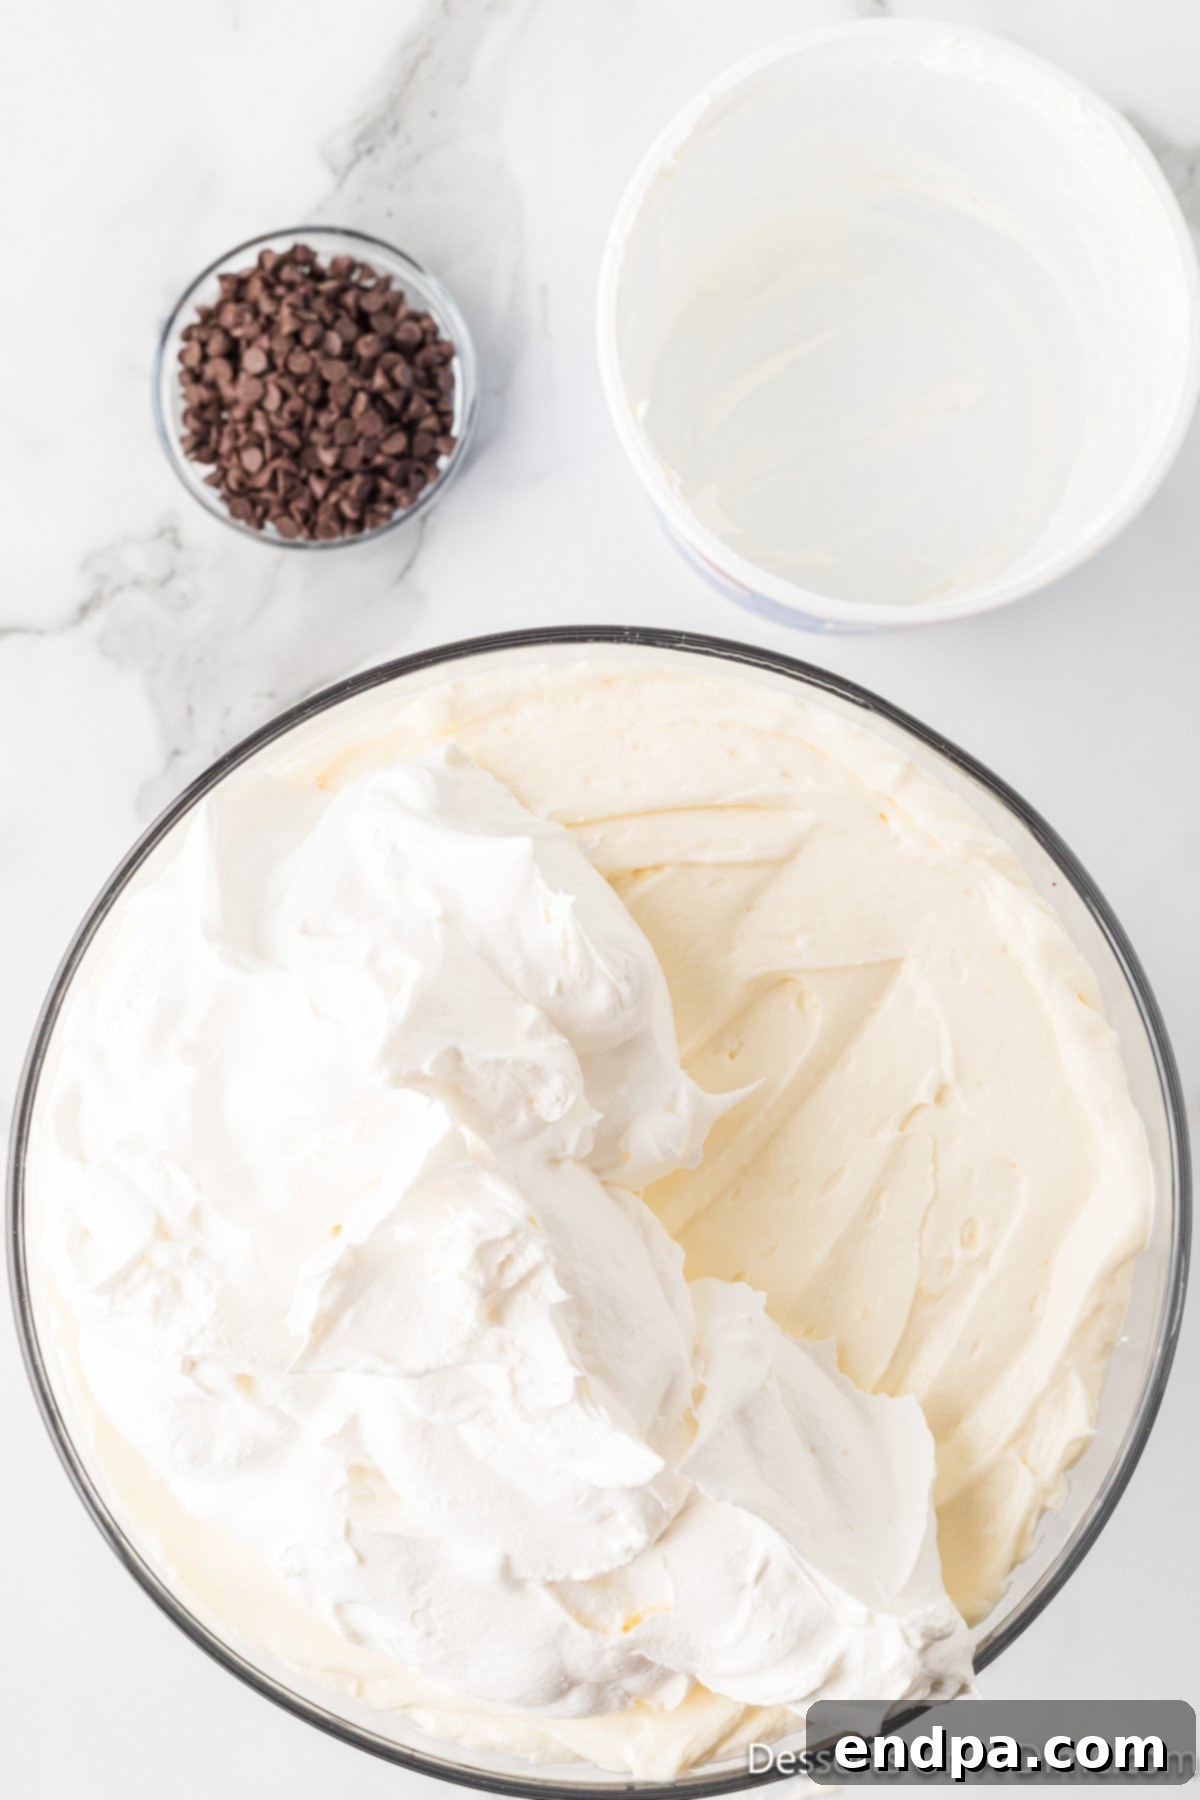
Step 13: Top with Remaining Cool Whip. Finish your trifle by spreading the remaining 8 ounces of Cool Whip over the top cream cheese layer. You can create soft swirls or a smooth surface, depending on your preference. This forms a beautiful, cloud-like crown for your dessert.
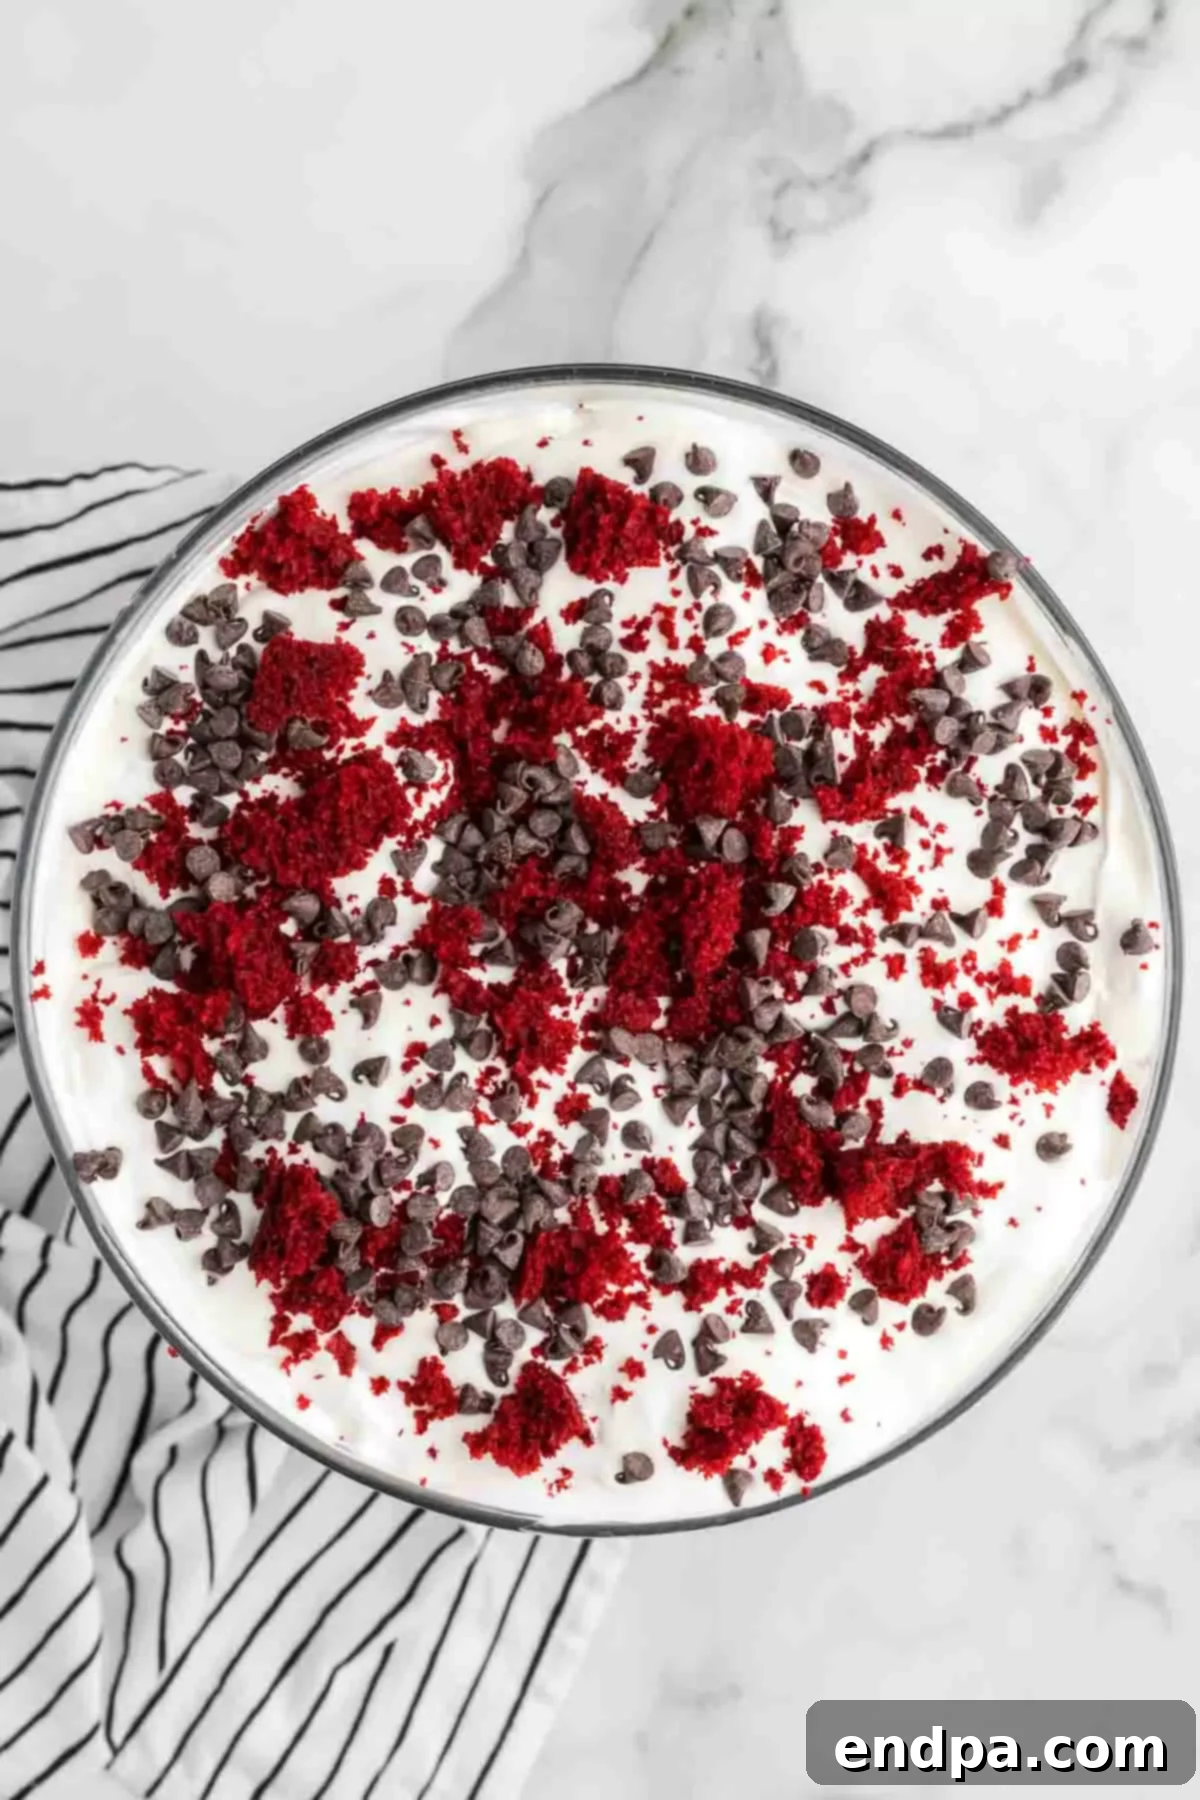
Step 14: Garnish and Chill. Generously sprinkle the reserved cake crumbs and mini chocolate chips over the Cool Whip topping. For the best flavor and texture, cover the trifle with plastic wrap and refrigerate for at least 4 hours, or ideally overnight, to allow the flavors to meld and the layers to set. Serve chilled and enjoy!
Storage & Make-Ahead Tips for Your Trifle
One of the many benefits of a trifle is that it’s an excellent make-ahead dessert, making it perfect for entertaining or when you want to enjoy a sweet treat throughout the week. Proper storage ensures your Red Velvet Trifle remains fresh, delicious, and visually appealing.
- Refrigeration is Key: Always store your Red Velvet Trifle in the refrigerator. The dairy-based components (cream cheese, pudding, Cool Whip) require consistent chilling to maintain their quality and prevent spoilage.
- Airtight Coverage: For leftovers, cover the trifle dish tightly with plastic wrap. If your trifle dish comes with a lid, even better! An airtight seal prevents the cake from drying out, absorbs refrigerator odors, and keeps the creamy layers fresh. Store any individual portions in their own airtight containers.
- How Long Will It Last? When stored correctly in an airtight container in the refrigerator, your Red Velvet Trifle will remain fresh and delicious for up to 5 days. In fact, many people find that the flavors deepen and meld beautifully after a day or two, making it even more enjoyable.
- Make-Ahead Advantage: You can assemble this entire trifle one to two days in advance. This allows ample time for the cake to soften slightly from the creamy layers and for all the flavors to fully develop, resulting in a more cohesive and delightful dessert. If you plan to add fresh fruit or delicate garnishes (like fresh mint or large chocolate curls), wait to add these until just before serving to maintain their pristine appearance.
With these storage tips, you can confidently prepare your Red Velvet Trifle ahead of time, ensuring a stress-free and delicious dessert experience.
Pro Tips for Trifle Perfection
Achieving a truly exceptional Red Velvet Trifle goes beyond simply following the steps. These expert tips will help you elevate your dessert, ensuring perfect texture, vibrant colors, and maximum flavor:
- Choose the Right Cream Cheese: For the best texture in your cream cheese mixture, always opt for full-fat block cream cheese that comes in a rectangular package. Avoid using cream cheese that comes in a tub, as these often have a softer consistency and added ingredients that can affect the final texture of your filling. Ensure it’s softened to room temperature for smooth, lump-free mixing.
- Enhance the Red Color: While red velvet cake mix typically provides a good color, if you desire an even deeper, more vibrant red hue, you can add a few drops of red food coloring (gel food coloring works best for intense color) to the cake batter before baking. This will make your red layers pop even more, especially for festive occasions.
- Patience with Cooling: As highlighted in the instructions, allowing the cake to cool completely is non-negotiable. Any residual warmth in the cake will cause the cream cheese and pudding layers to melt, resulting in a runny, messy trifle rather than distinct, beautiful layers. Plan ahead and ensure your cake is fully chilled.
- The Right Trifle Dish: A clear glass trifle bowl is highly recommended. The visual appeal of the alternating red cake and white cream layers is a significant part of this dessert’s charm. If you don’t have a traditional trifle bowl, a large, clear glass salad bowl or even a tall, straight-sided glass vase can work wonders.
- Gentle Folding for Airiness: When combining the pudding with the cream cheese, and especially when incorporating the Cool Whip, use a gentle folding technique with a rubber spatula. Avoid aggressive whisking or beating, as this can deflate the airy texture you’ve worked to create, resulting in a denser filling.
- Chill Time is Crucial: While the trifle is enjoyable immediately, it truly shines after several hours of chilling, or even better, overnight. This allows the cake layers to absorb moisture from the creamy filling, making them incredibly moist, and gives all the flavors a chance to meld together for a more harmonious and pronounced taste.
More Red Velvet Dessert Recipes to Love
If you’re captivated by the unique flavor of red velvet, there’s a whole world of delightful desserts waiting to be explored! This distinct flavor profile, characterized by a subtle cocoa note, a hint of tang, and its signature crimson hue, lends itself beautifully to a variety of treats. Here are some more irresistible red velvet dessert recipes that are sure to satisfy your cravings:
- Red Velvet Brownies: Fudgy, rich, and intensely chocolatey with that classic red velvet twist.
- Easy Red Velvet Cookies Recipe: Soft, chewy cookies with a beautiful red color and a hint of cocoa, often topped with a cream cheese frosting drizzle.
- Red Velvet Cake Pops Recipe: Bite-sized balls of red velvet cake and cream cheese frosting, coated in chocolate – perfect for parties!
- The Best Red Velvet Funnel Cake Recipe: A carnival classic with a gourmet twist, crispy on the outside and tender within, finished with a sweet glaze.
- Red Velvet Popcorn: A surprisingly addictive snack, crunchy popcorn coated in a sweet, red velvet-flavored glaze.
- Red Velvet Ice Cream: A creamy, dreamy frozen treat infused with the taste of red velvet and often studded with cake pieces.
These recipes offer fantastic ways to enjoy the beloved red velvet flavor in different forms and textures. They’re perfect for expanding your baking repertoire or simply indulging in a favorite taste.
Red Velvet Trifle Recipe
This effortless Red Velvet Trifle combines layers of moist red velvet cake with a rich, creamy cheese and pudding mixture. It’s a gorgeous, impressive, and simple dessert perfect for any occasion.
A classic layered dessert, perfect for holidays and celebrations, featuring rich red velvet cake and a luscious cream cheese filling.
Key Details:
- Prep Time: 20 minutes
- Cook Time: 25 minutes
- Total Time: 45 minutes (plus chilling)
- Servings: 8
- Cuisine: American
- Course: Dessert
- Calories: 655 kcal per serving
- Author: Carrie Barnard
Ingredients:
- 1 box Red Velvet Cake Mix (plus ingredients as per package instructions)
- 2 boxes White Chocolate Instant Pudding Mix (3.4 oz each, or Cheesecake flavor)
- 2 cups Cold Milk
- 8 oz Cream Cheese, softened at room temperature
- 1 cup Powdered Sugar
- 16 oz Cool Whip, divided
- ½ cup Mini Chocolate Chips
Instructions:
- Prepare the red velvet cake according to the package instructions in a 9×13 inch pan. Allow the cake to cool completely at room temperature. Once cooled, cut the cake into cubes. Reserve a small amount of the cake (about ¼ cup) for the topping and crumble it into fine cake crumbs.
- In a small bowl, combine the white chocolate pudding mix with the cold milk. Whisk vigorously for two minutes until the mixture begins to thicken. Set aside.
- Place the softened cream cheese into a large mixing bowl. Beat the cream cheese with a hand-held mixer for 2-3 minutes until it’s light and fluffy. Reduce the mixer speed to low and gradually add the powdered sugar. Once all the sugar is incorporated, increase the speed to medium and beat for 1 minute, or until smooth.
- Add the prepared instant pudding to the cream cheese mixture. Gently fold and stir with a rubber spatula until completely combined, ensuring not to overmix.
- Then, add 8 oz (half) of the Cool Whip to the bowl. Gently fold it into the mixture until no white streaks remain and the filling is uniformly combined and airy.
- Arrange a layer of red velvet cake cubes in the bottom of a trifle dish or a clear glass bowl. Add just enough cubes to cover the bottom evenly.
- Spoon about half of the prepared creamy white chocolate mixture over the cake cubes, ensuring the cake is covered.
- Add another layer of cake cubes on top of the cream cheese mixture.
- Spread the remaining cream cheese mixture over the second cake layer.
- Top the trifle with the remaining 8 oz of Cool Whip, spreading it evenly or creating decorative swirls.
- Finally, sprinkle the reserved cake crumbs and mini chocolate chips over the Cool Whip topping.
- Cover the trifle and refrigerate for at least 4 hours, or ideally overnight, before serving. This allows the flavors to meld beautifully and the layers to set. Serve chilled.
Recipe Notes:
Refrigerate any leftovers in a covered airtight container for up to 5 days. The flavors continue to develop and combine as the trifle sits, often making it taste even better the next day.
Nutrition Facts (per serving):
- Calories: 655 kcal
- Carbohydrates: 102g
- Protein: 9g
- Fat: 26g
- Saturated Fat: 12g
- Polyunsaturated Fat: 3g
- Monounsaturated Fat: 7g
- Trans Fat: 0.02g
- Cholesterol: 47mg
- Sodium: 1705mg
- Potassium: 369mg
- Fiber: 2g
- Sugar: 55g
- Vitamin A: 606 IU
- Vitamin C: 0.1mg
- Calcium: 258mg
- Iron: 3mg
Make this rich and luscious Red Velvet Trifle today for an unforgettable dessert experience. We’d love to hear your thoughts – please come back and leave a comment with your review!
Pin This Now to Remember It Later
Pin Recipe
