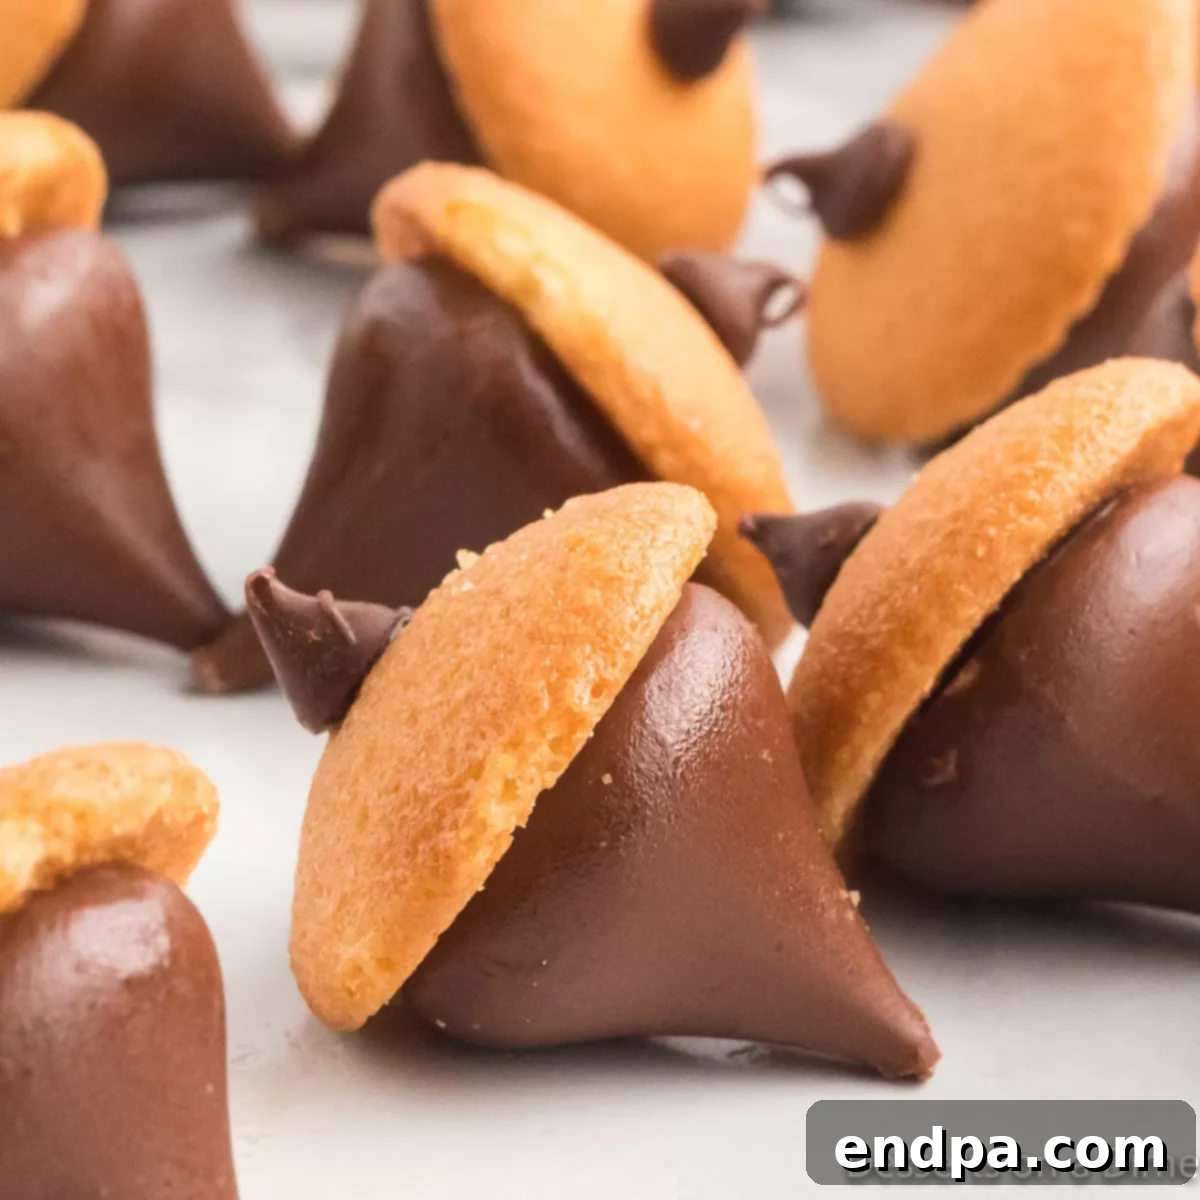
As the leaves begin to turn vibrant hues of red, orange, and gold, and the air carries a crisp, refreshing chill, there’s no better time to embrace the spirit of autumn with delightful treats. These enchanting Chocolate Acorns are the quintessential bite-sized indulgence, perfect for a cozy fall snack, a festive dessert, or a charming addition to any autumn gathering. What makes them truly special is their incredible simplicity: this is a no-bake dessert recipe that comes together effortlessly with just four core ingredients, promising a hassle-free experience even for novice bakers. Children and adults alike will fall in love with their adorable appearance and irresistible combination of rich chocolate and delicate vanilla wafers.
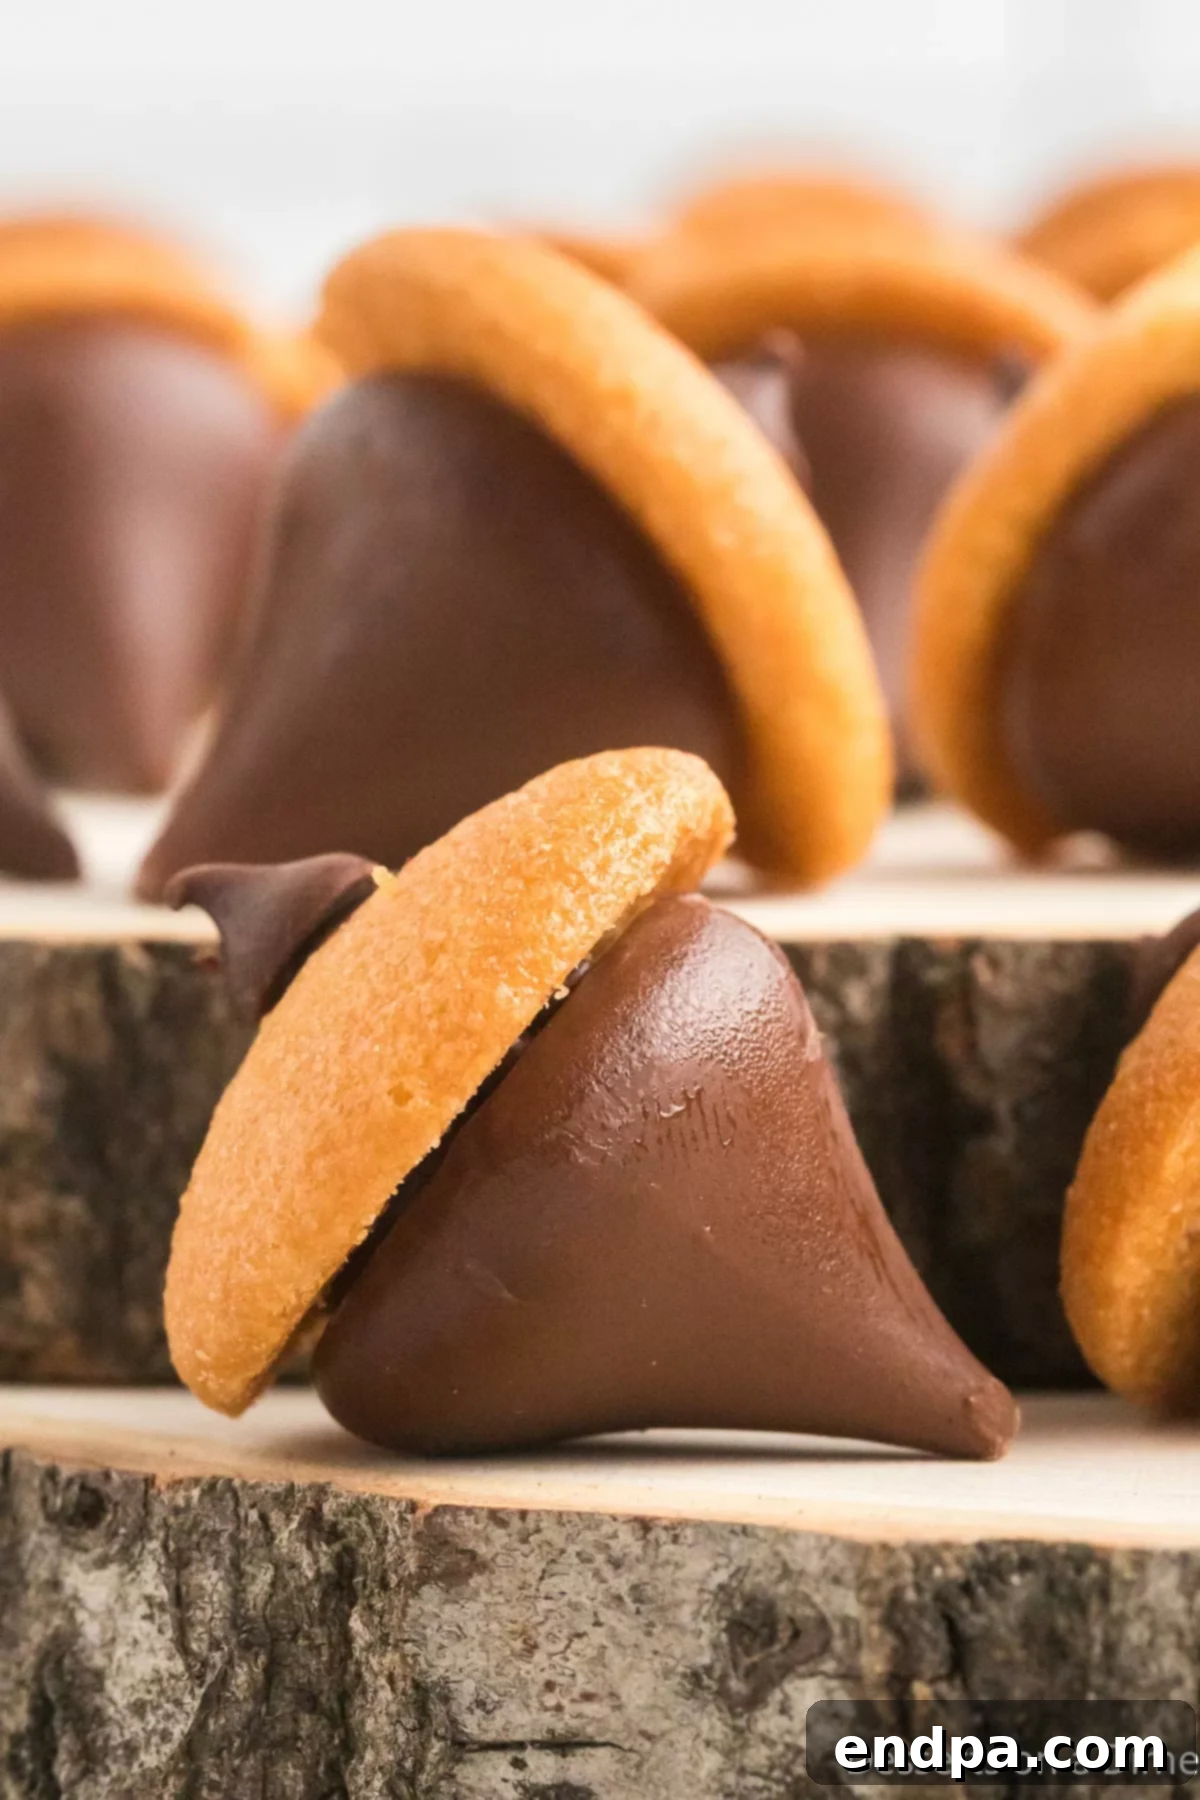
Crafting these charming Chocolate Kiss Acorns is surprisingly quick, making them an ideal choice for an easy fall dessert when time is of the essence. The harmonious blend of creamy chocolate and crisp vanilla wafers creates a flavor profile that is both comforting and utterly delicious. Whether you’re planning a Halloween party, a Thanksgiving feast, or simply looking for a fun kitchen project with the little ones, this recipe is perfectly suited for all ages. We also cherish the tradition of making Oreo Turkey Cookies and Turkey Cupcakes every year, but these chocolate acorns have quickly become a new family favorite. And if you happen to have any leftover Hershey Kisses from this delightful endeavor, why not whip up a batch of classic Chocolate Kiss Cookies?
Table of Contents
- Why We Love This Recipe
- A Closer Look at the Ingredients
- Unleashing Creativity: Delicious Variations
- Crafting Your Chocolate Acorns: Step-by-Step Guide
- Storage and Longevity
- Can You Freeze Chocolate Acorns?
- Mastering Your Acorns: Expert Tips for Perfection
- More Easy Fall Treats
Why We Love This Recipe
There are countless reasons to adore these charming chocolate acorns, making them a staple in our fall dessert repertoire. First and foremost, they are incredibly fun to make, transforming a simple baking session into a playful activity that the whole family can enjoy. Their delightful appearance makes them a fantastic addition to lunchboxes, adding a touch of seasonal cheer to midday meals, or as an eye-catching centerpiece on any dessert tray at parties. The ease of preparation means you can whip up a large batch without stress, perfect for entertaining or when you need a quick, sweet fix.
Beyond their ease and visual appeal, these chocolate acorns capture the essence of the fall season. They offer a nostalgic, comforting taste that brings smiles to everyone’s faces. They’re a fantastic way to celebrate the changing seasons, providing a sweet escape into the simple joys of autumn. Whether it’s for a school bake sale, a neighborhood potluck, or just a special treat for movie night, these chocolate acorns are guaranteed to be a hit and become a cherished part of your fall traditions.
A Closer Look at the Ingredients
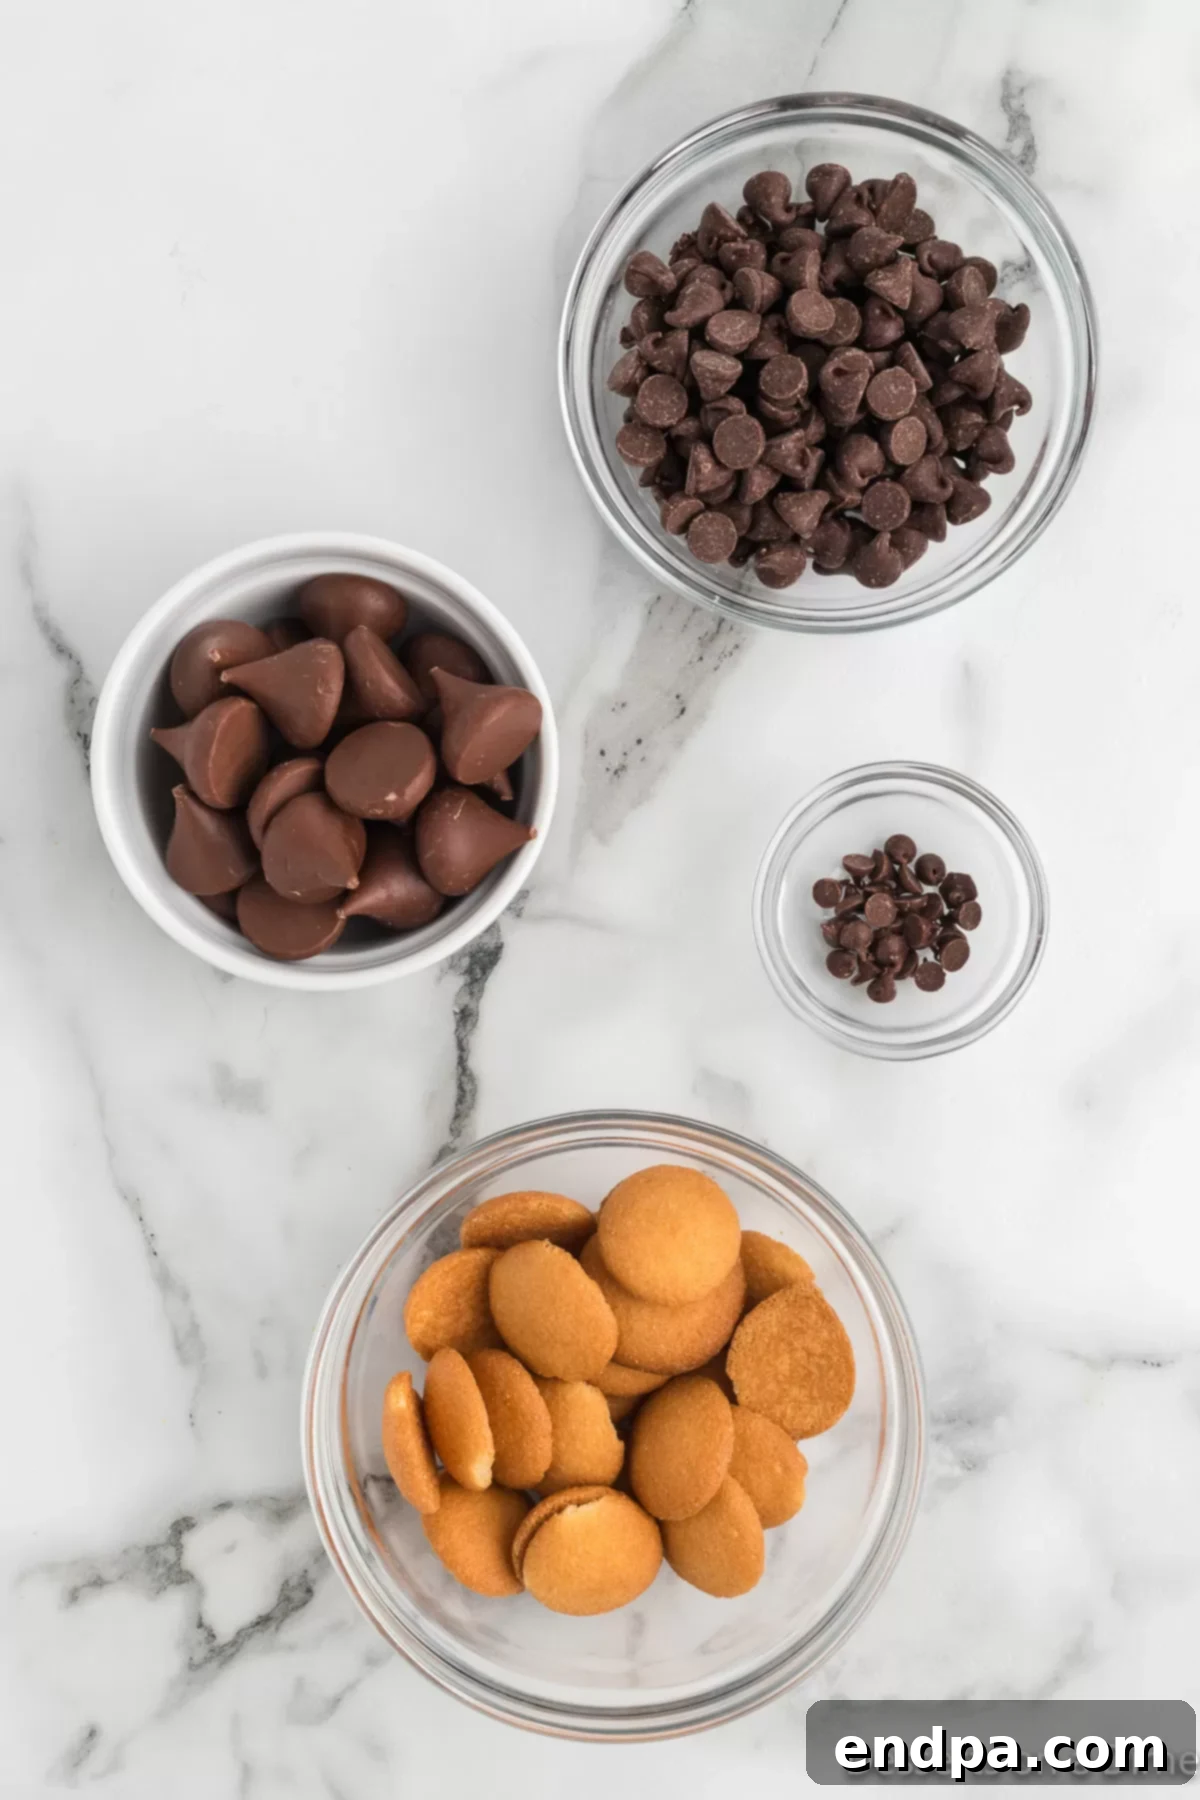
The beauty of this recipe lies in its simplicity, utilizing just a handful of readily available ingredients to create something truly special. Each component plays a crucial role in both the flavor and the iconic acorn shape:
- Semi-Sweet Chocolate Chips: These form the “glue” and the rich chocolate flavor base for your acorns. Opting for a good quality semi-sweet chocolate ensures a smoother melt and a more luxurious taste. While milk chocolate could be used for a sweeter profile, semi-sweet provides a nice balance that prevents the treat from being overly saccharine, especially when combined with the other sweet elements.
- Mini Nilla Wafer Cookies: The flat, round base of the Nilla wafer perfectly mimics the cap of an acorn. Their delicate vanilla flavor complements the chocolate beautifully, and their crisp texture adds a satisfying crunch. The miniature size is key here for achieving that adorable, bite-sized acorn aesthetic.
- Hershey Kisses: These classic chocolate candies are the star of the show, forming the distinctive body of the acorn. Their signature conical shape and creamy texture make them the ideal choice. Make sure they are unwrapped and ready to be assembled.
- Mini Chocolate Chips: These tiny chips serve as the perfect little “stem” for your chocolate acorns, adding that final, authentic touch. Their small size and firm structure ensure they stand upright, completing the whimsical look.
For the complete detailed list of ingredients with precise measurements, please refer to the comprehensive recipe card located further down the page.
Unleashing Creativity: Delicious Variations
While the classic Chocolate Acorns are undeniably delightful, this recipe is wonderfully versatile, inviting you to experiment with various flavors and textures. Don’t hesitate to get creative and tailor these treats to your personal preferences or what you have available in your pantry:
- Nutter Butter Bites: For peanut butter lovers, this variation is a dream come true. Simply substitute the Mini Nilla Wafer cookies with Mini Nutter Butter cookies. The irresistible combination of peanut butter and chocolate creates a flavor explosion that is truly fabulous and adds another layer of complexity to your acorns.
- Butterscotch Bliss: Introduce a different sweet note by using butterscotch chips instead of semi-sweet chocolate chips for melting and adherence. The rich, caramel-like flavor of butterscotch pairs wonderfully with the vanilla wafers and Hershey Kisses, offering a unique and delicious twist.
- Peanut Butter Chocolate Acorns: If you’re a fan of the classic chocolate and peanut butter pairing, try swapping out the semi-sweet chocolate for peanut butter chips. This creates a deeply satisfying, nutty version of the acorn that is incredibly addictive. You can even use a mix of both semi-sweet and peanut butter chips for a marbled effect or a two-toned acorn.
- Pretzel Stems: For an added touch of salty crunch, consider using broken pretzel sticks as an alternative to mini chocolate chips for the stems. Carefully snap pretzel sticks into small, uniform pieces that are roughly the size of a mini chocolate chip. The saltiness of the pretzel will beautifully contrast with the sweetness of the chocolate, adding another dimension to this delightful treat.
- White Chocolate Drizzle or Dip: After your acorns have set, melt some white chocolate and drizzle it over the caps for an elegant finish. You could also dip the entire wafer cap (before adding the stem) into melted white chocolate for a “snow-capped” acorn effect, perfect for a winter wonderland theme.
- Coconut Flakes: Lightly toast some shredded coconut and press it onto the chocolate-coated wafer cap before it sets. This adds a lovely texture and a tropical hint that complements the chocolate.
- Sprinkle Fun: Before the melted chocolate on the wafer caps fully sets, gently press autumn-themed sprinkles onto the chocolate for a burst of color and a playful texture. This is especially fun when making them with kids.
- Flavored Kisses: Hershey offers a wide array of flavored Kisses, such as caramel, mint, or cookies ‘n’ creme. Experiment with these different flavors to create unique acorn combinations that will surprise and delight your guests.
These variations offer endless possibilities, allowing you to customize your chocolate acorns to perfectly suit any occasion or palate.
Crafting Your Chocolate Acorns: Step-by-Step Guide
Making these delightful chocolate acorns is a straightforward process that requires minimal effort and no baking, making it perfect for an afternoon activity or a last-minute dessert.
- Step 1: Prepare Your Workspace. Begin by lining a large baking sheet with baking parchment paper. This crucial step prevents the chocolate from sticking and ensures easy cleanup, making the entire process much smoother. Set this aside as your assembly station.
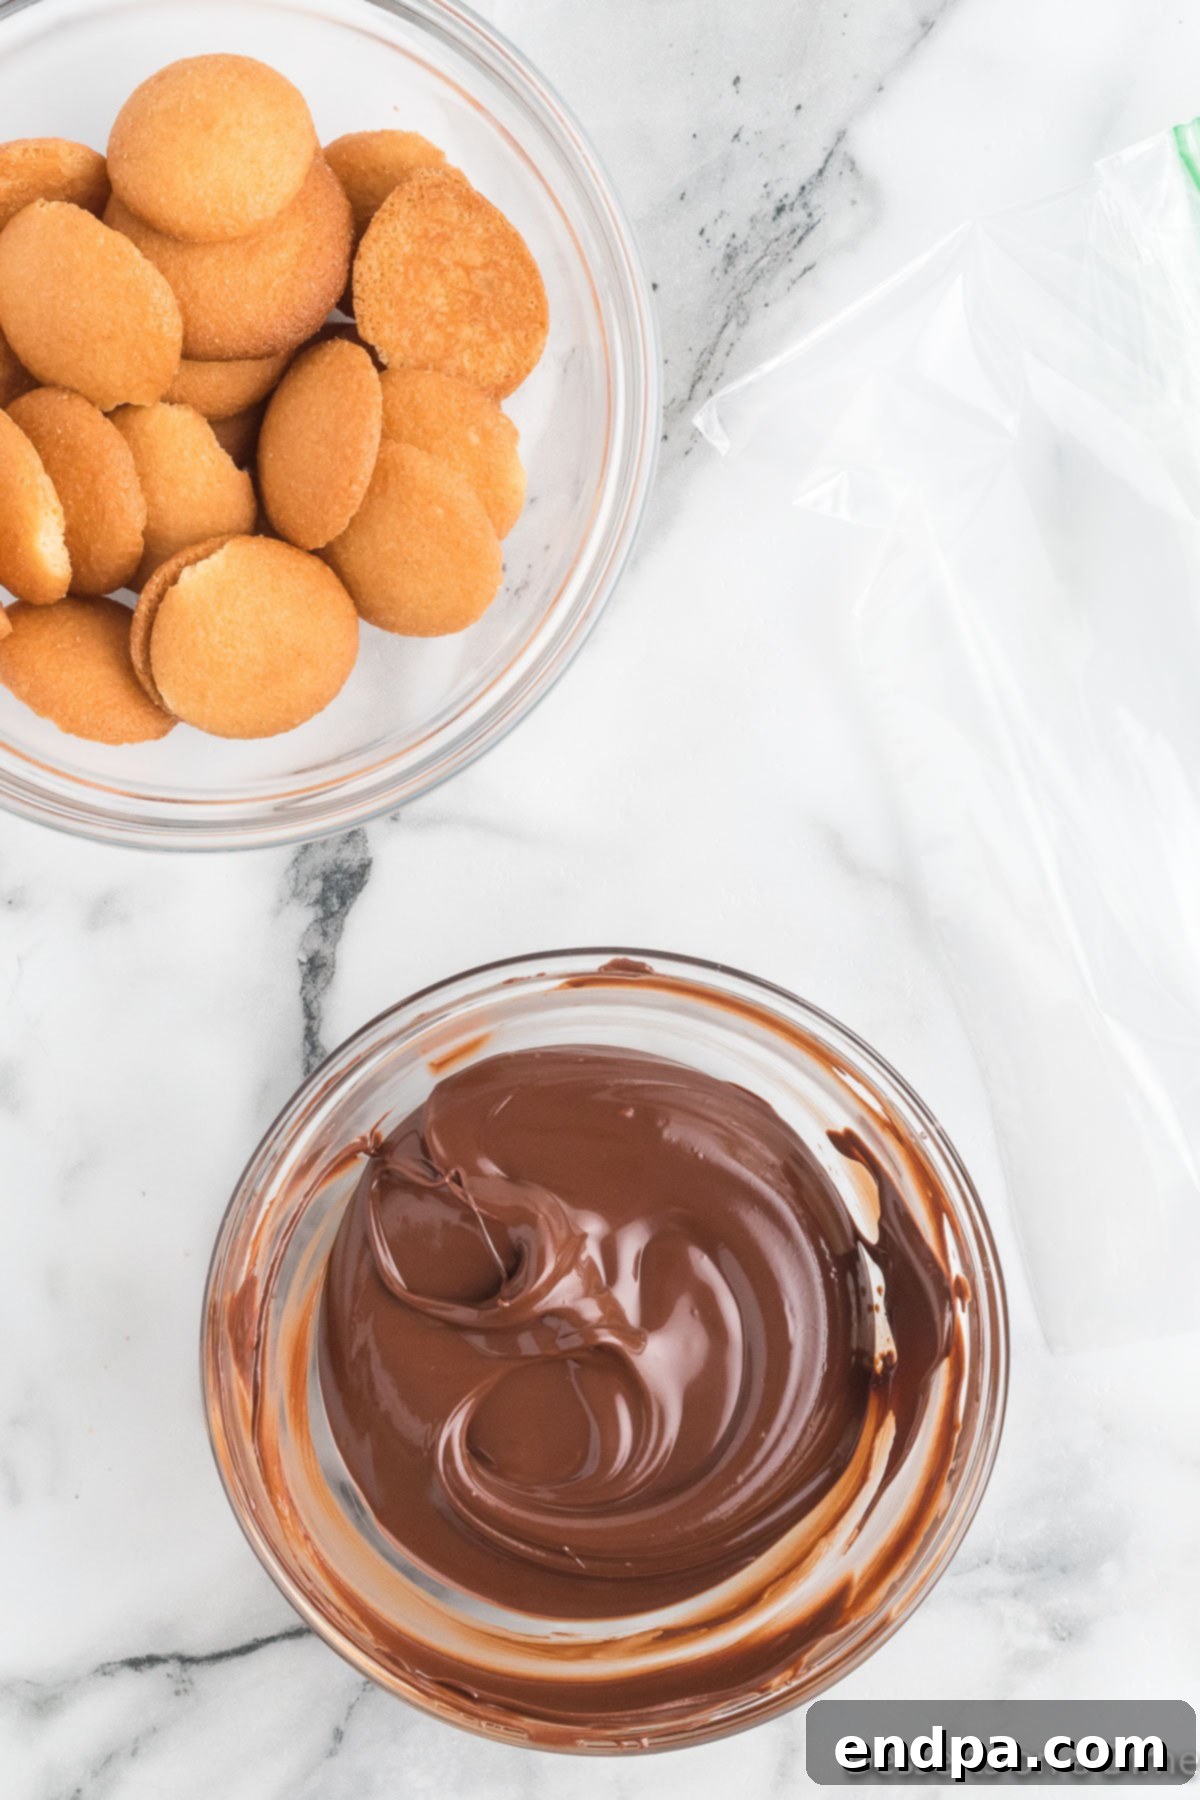
Step 2: Melt the Chocolate. Place your semi-sweet chocolate chips into a microwave-safe bowl. Heat the chocolate in short, 30-second intervals. After each interval, remove the bowl and stir the chocolate thoroughly. Continue this process until the chocolate chips are completely melted and smooth, with no lumps remaining. Be careful not to overheat the chocolate, as it can burn easily.
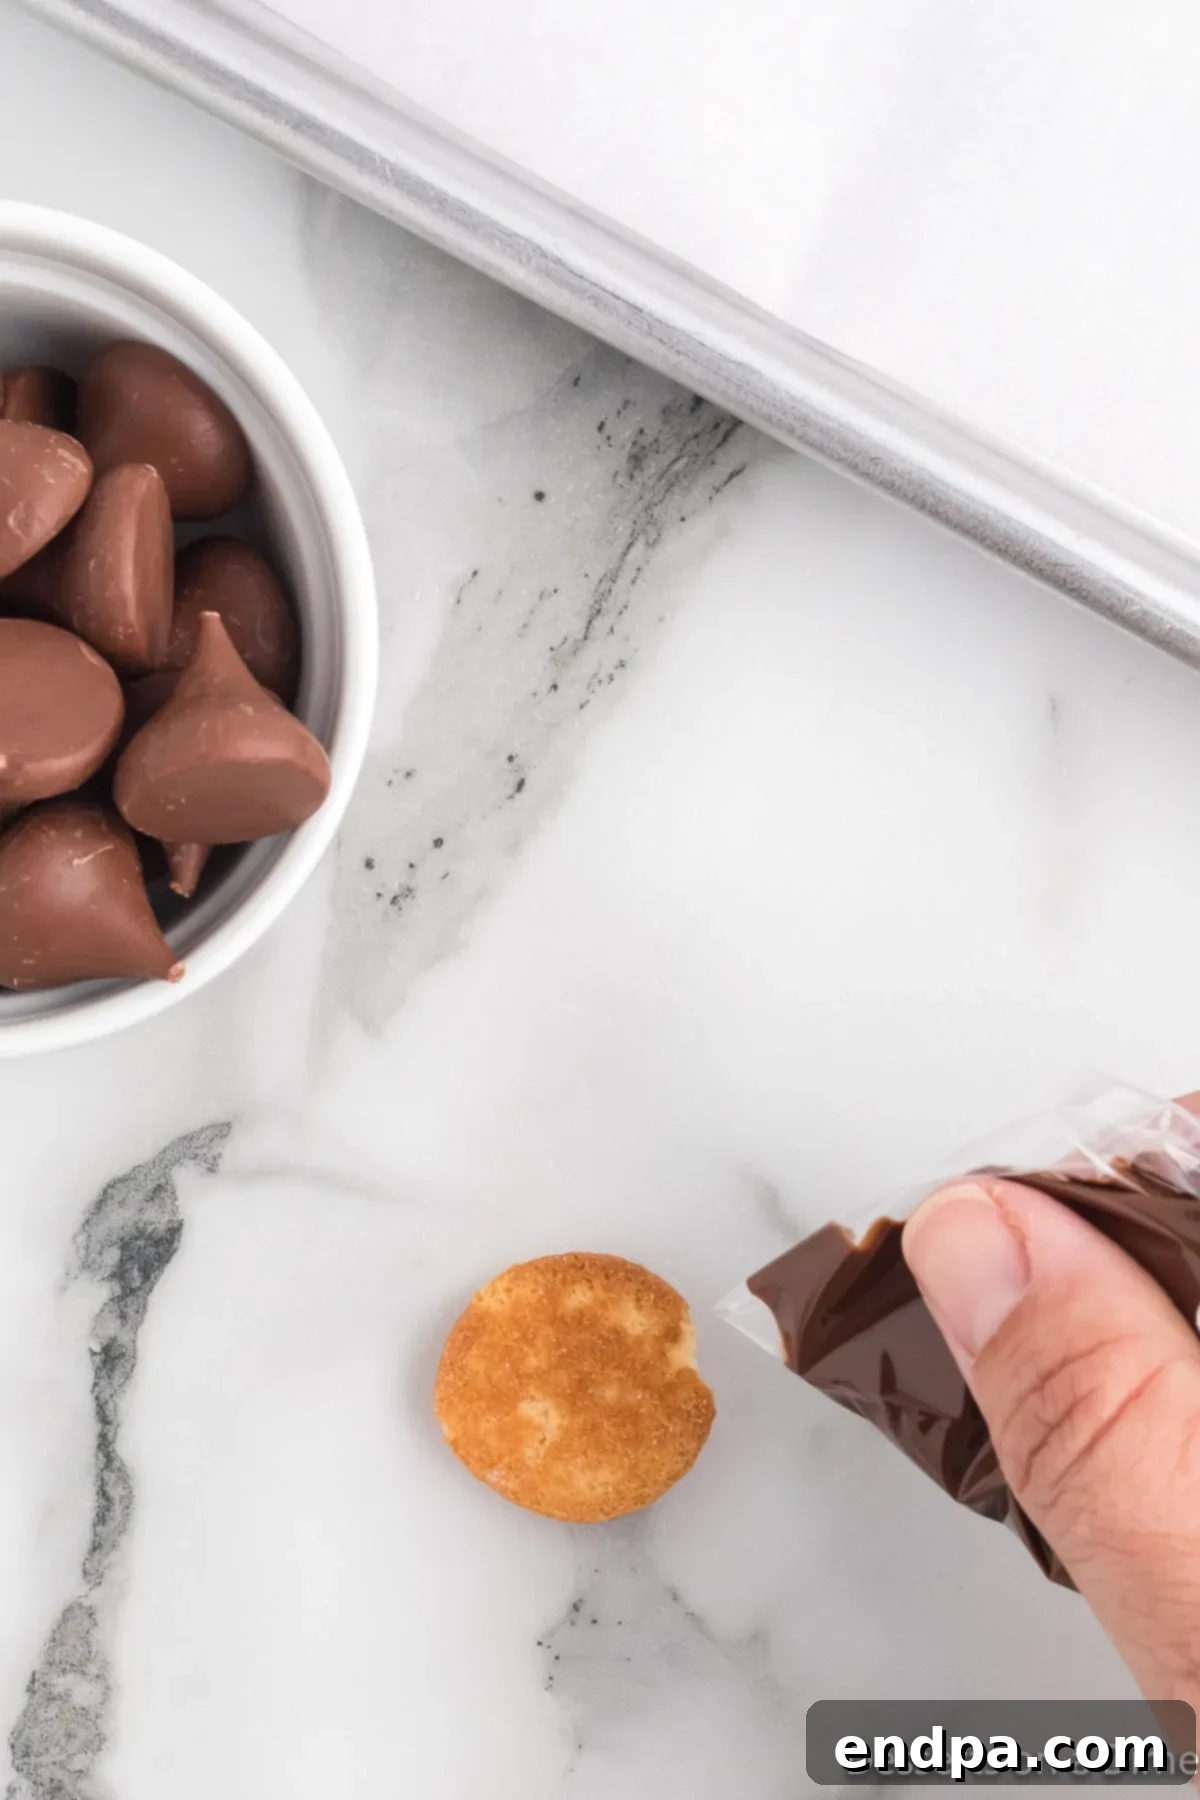
Step 3: Prepare for Piping. Carefully transfer the melted chocolate into a ziploc bag. If you have a pastry bag, that works even better. Once the chocolate is in the bag, snip off a tiny corner from one end. This will create a makeshift piping bag, allowing you to precisely dispense the chocolate.
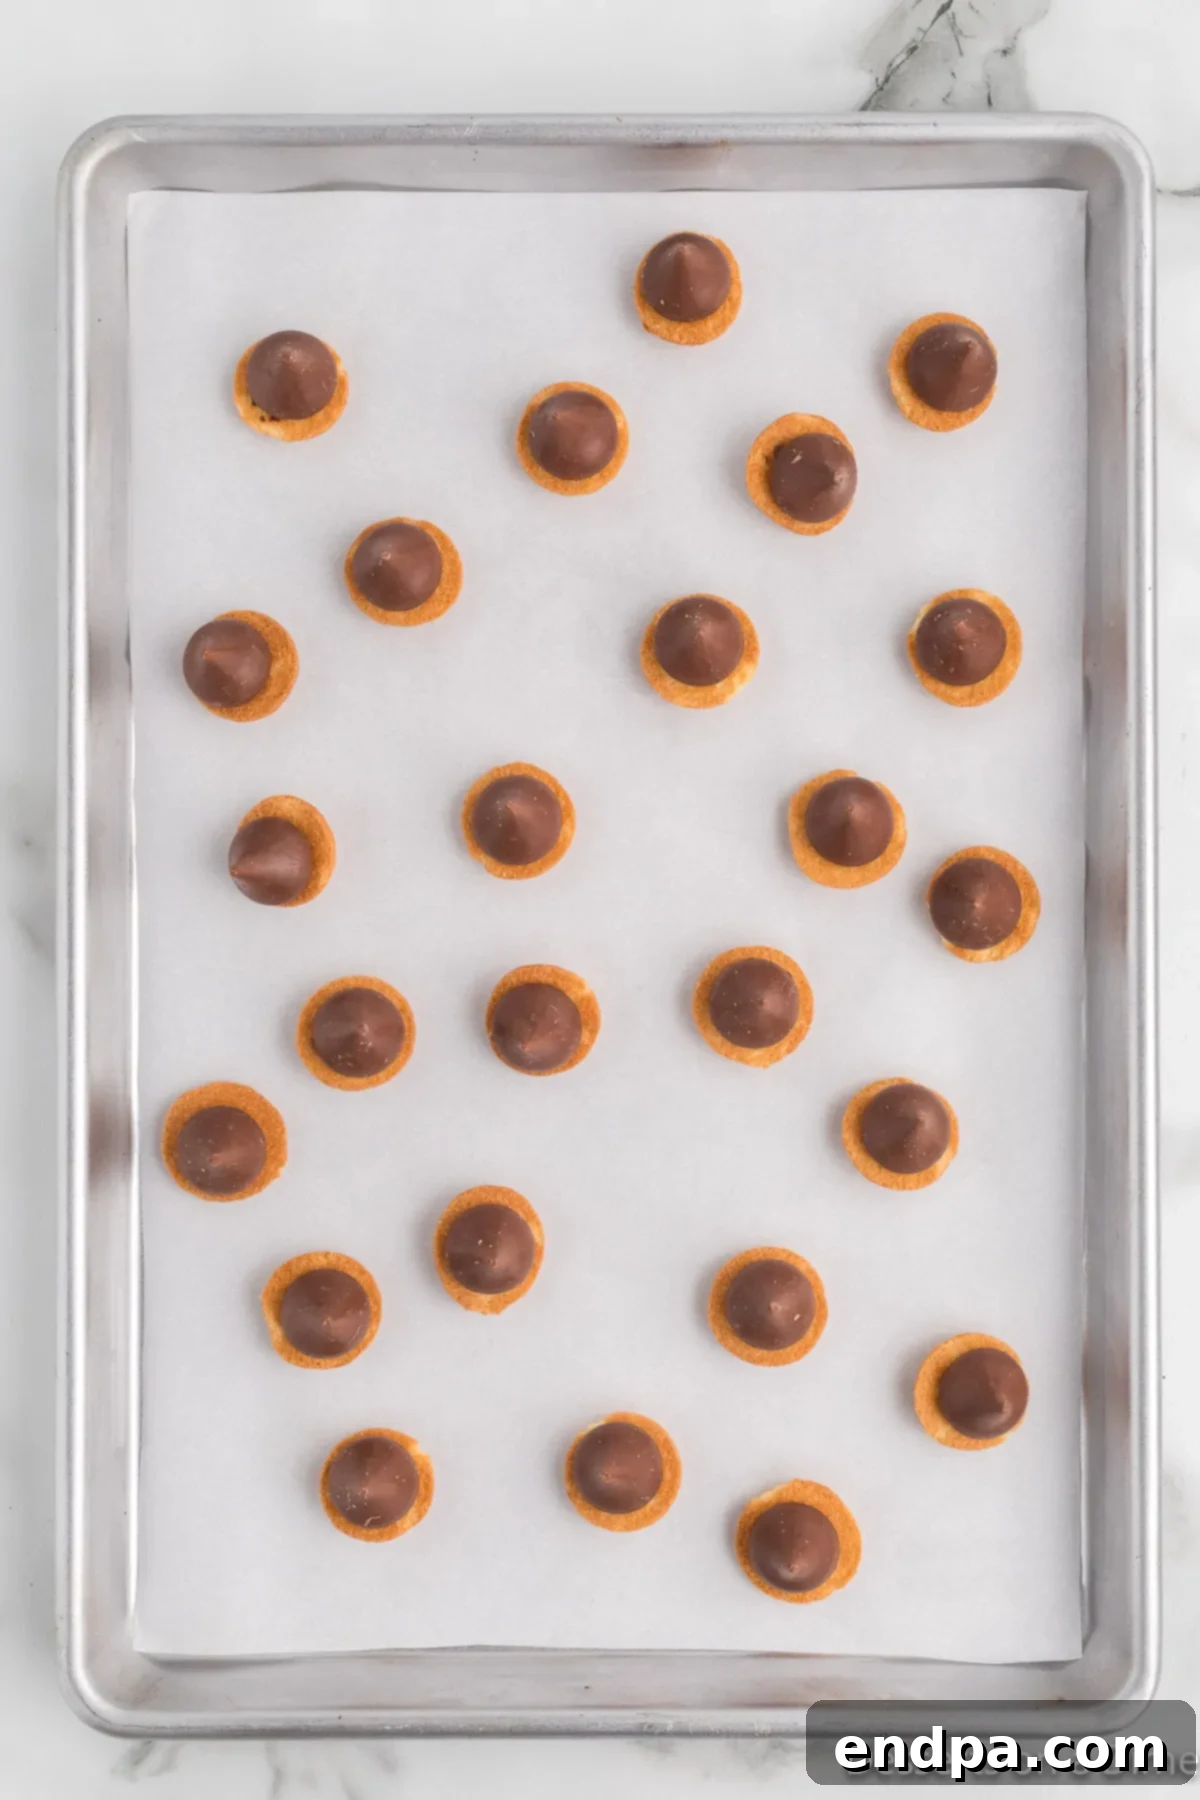
Step 4: Assemble the Acorn Base. Using your prepared piping bag, squeeze a small dollop of melted chocolate onto the flat side of each mini vanilla wafer. This chocolate acts as the adhesive. Immediately, firmly press the flat base of an unwrapped Hershey Kiss onto the chocolate dollop on each cookie. Place these assembled cookies onto your prepared baking sheet.
Step 5: Allow the Chocolate to Set. To ensure the Hershey Kisses are securely attached to the vanilla wafers, place the baking sheet into the freezer for approximately 5 minutes. This quick chill will cause the melted chocolate to harden, creating a solid bond between the two components.
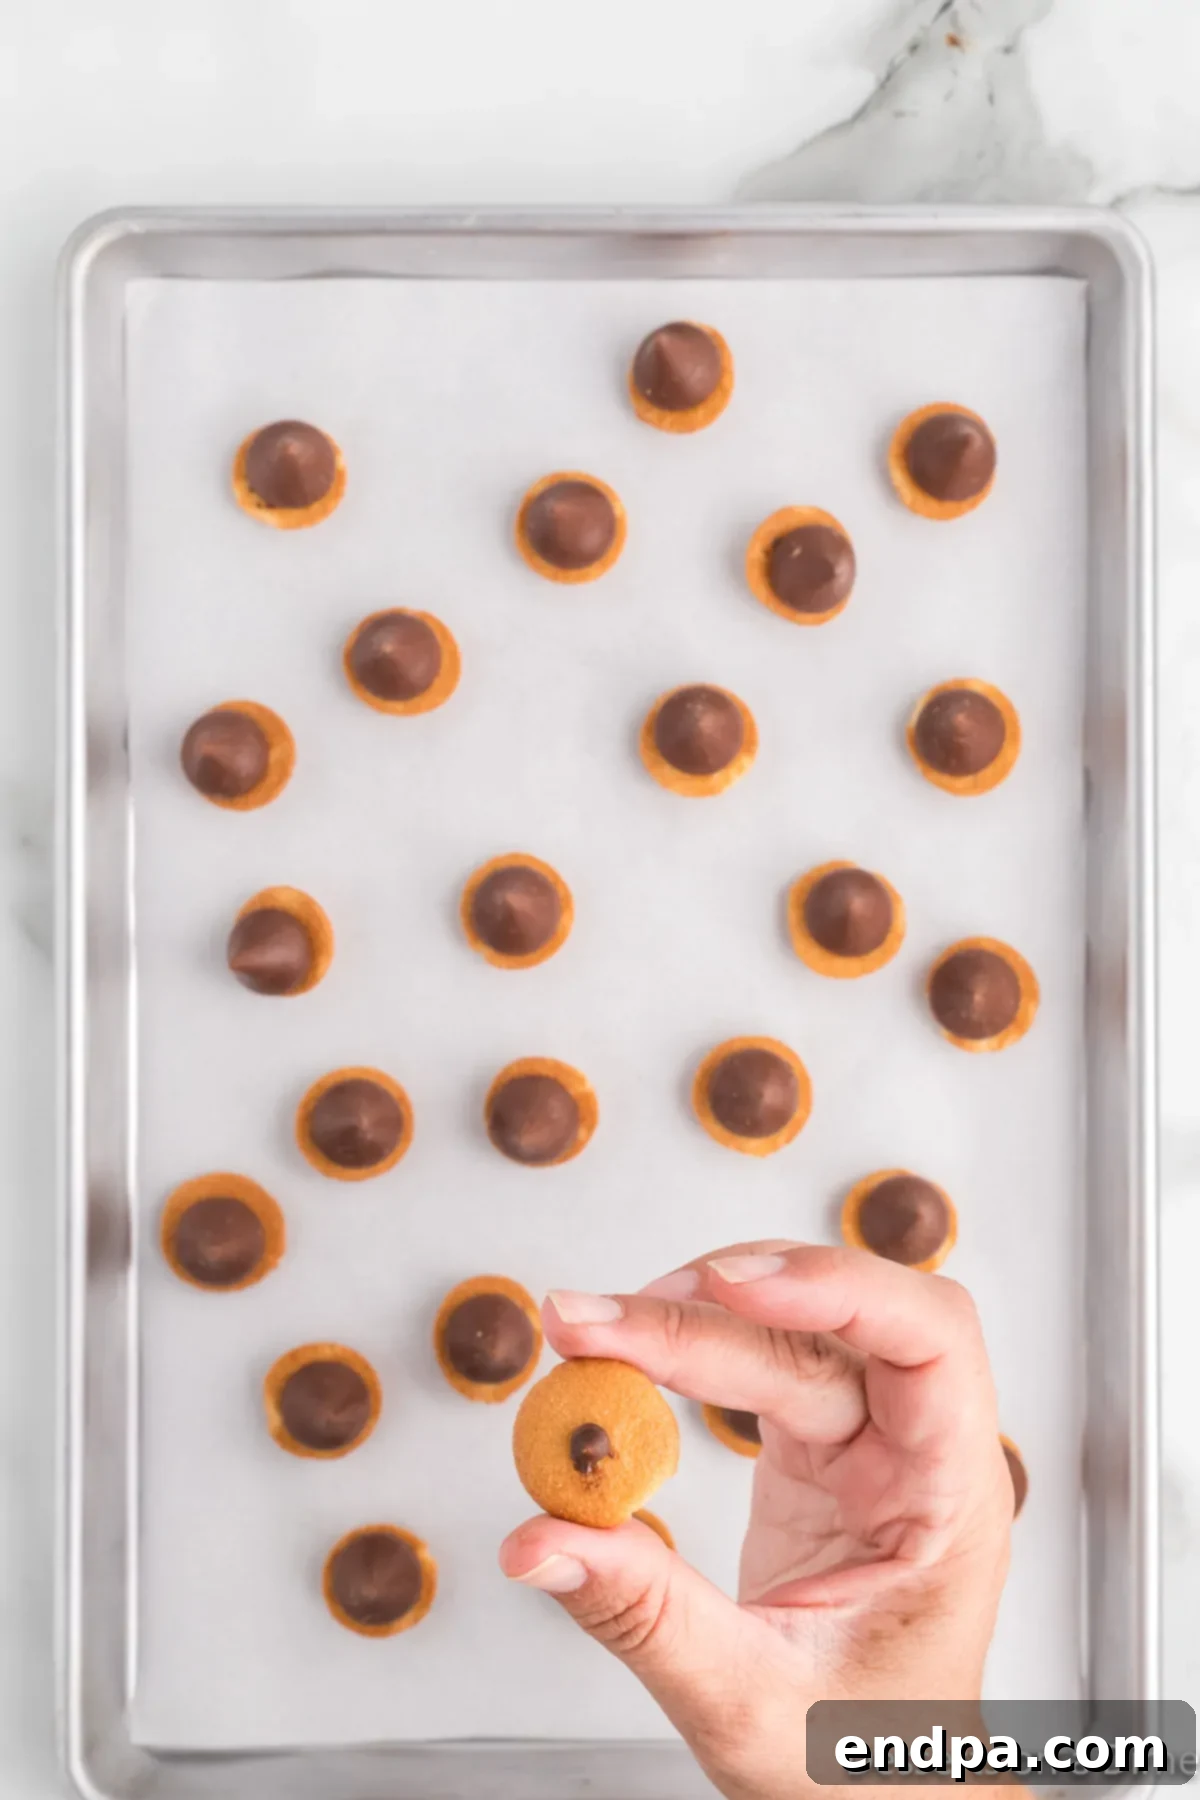
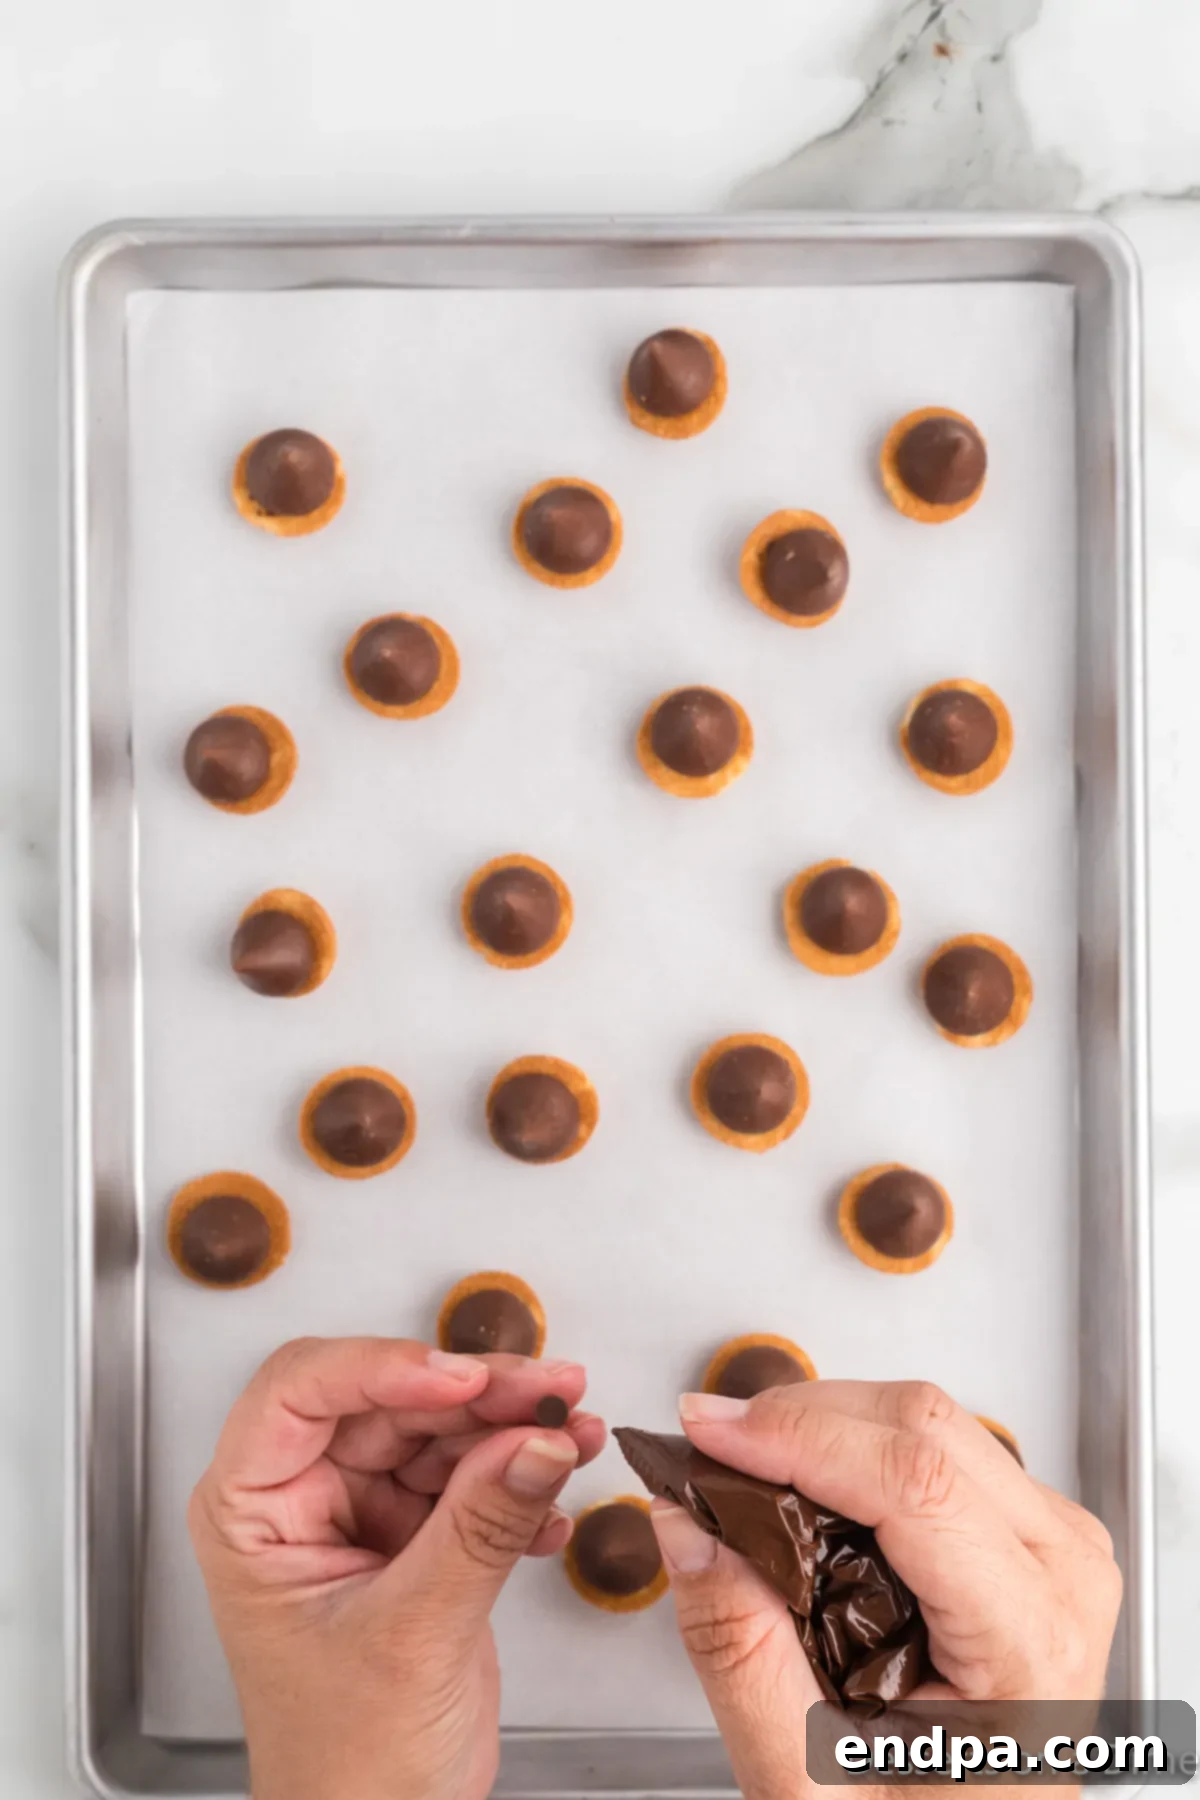
Step 6: Add the Stems. Once the initial chocolate has set, retrieve the baking sheet. Take a mini chocolate chip and, using the remaining melted chocolate (you might need to warm it slightly if it’s hardened), apply a tiny dab of chocolate to the flat side of the mini chip. Then, gently press this chocolate-coated flat side onto the top of the vanilla wafer (the “cap” of the acorn) to create the stem. Repeat for all acorns, aiming for a consistent placement.
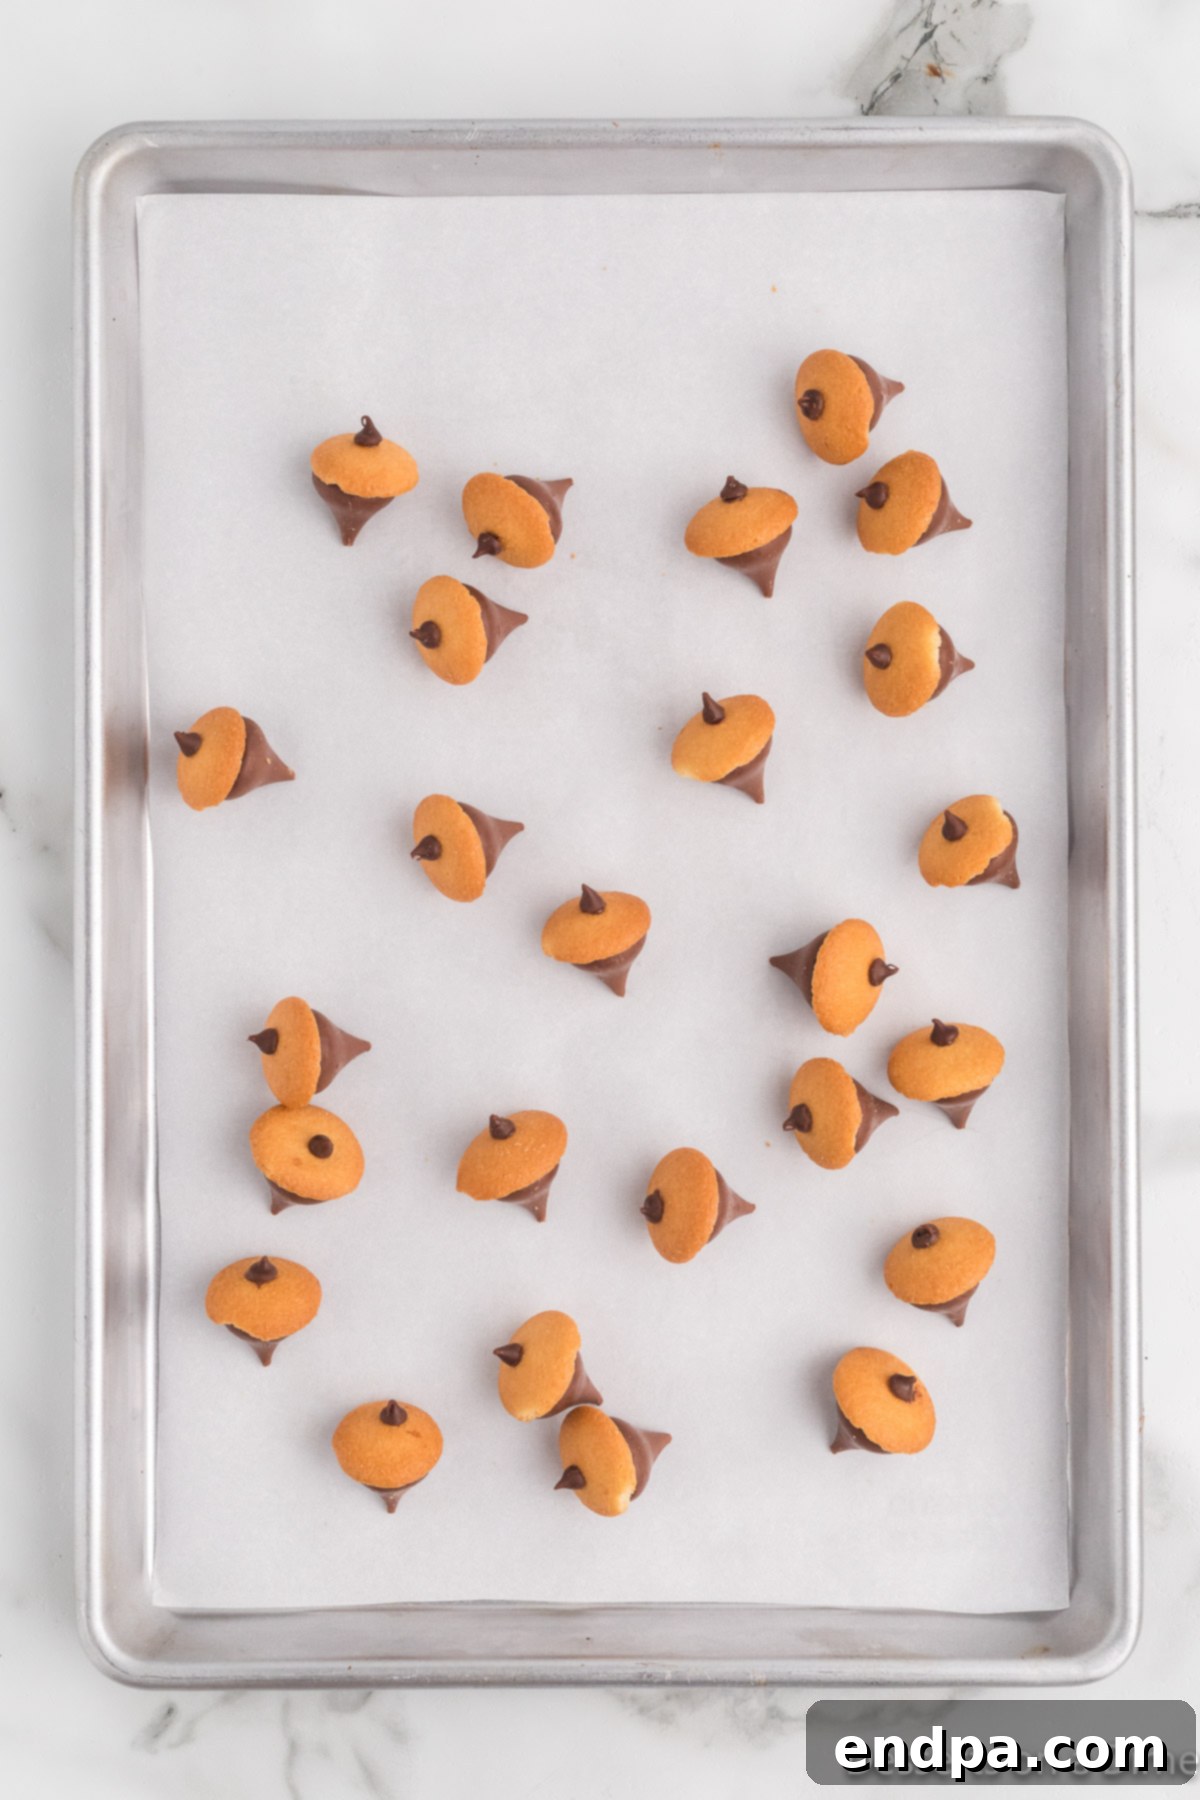
Step 7: Final Setting and Serving. After all the mini chocolate chip stems have been attached, return the baking sheet to the freezer for another 5 minutes. This final freezing step is crucial to ensure that the stems are perfectly secured and the entire chocolate acorn is fully set. Do not skip this step! Once firm, your delightful chocolate acorns are ready to be served and enjoyed.
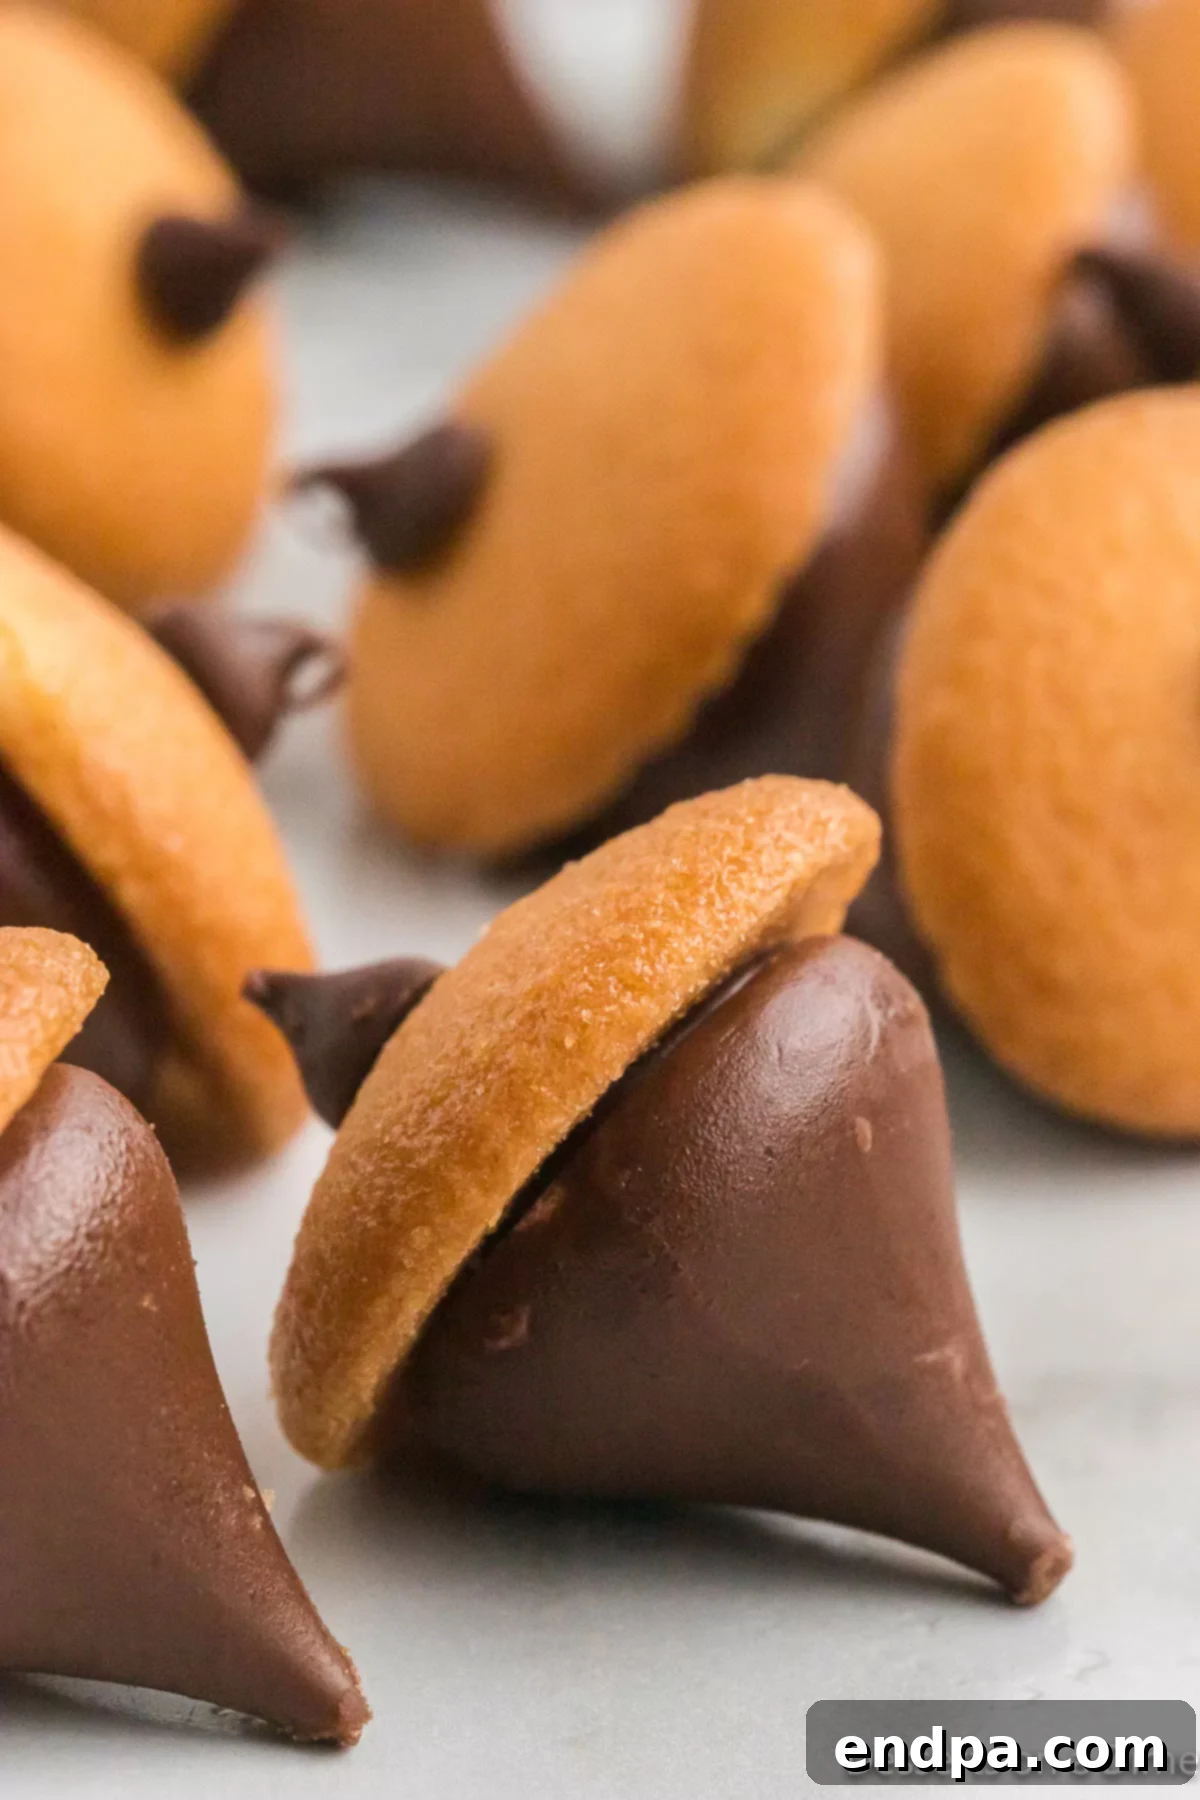
Storage and Longevity
Proper storage is key to maintaining the freshness and integrity of your delicious chocolate acorns. Once they have fully set and the chocolate is completely dry and firm to the touch, transfer any leftovers to an airtight container or a resealable plastic bag. Store them at room temperature, ideally in a cool, dry place away from direct sunlight or heat sources. Stored correctly, these treats will remain fresh and delicious for up to 2-3 weeks, making them an excellent make-ahead option for parties or holiday events. Be sure to layer them carefully in the container, perhaps with parchment paper in between, to prevent them from sticking together or becoming damaged.
Can You Freeze Chocolate Acorns?
Absolutely! Chocolate acorns are perfect for freezing, allowing you to prepare them well in advance or store any leftover treats for an extended period. To freeze them, ensure that the acorns are completely set and dry. Arrange them in a single layer on a parchment-lined baking sheet and freeze for about an hour, or until they are solid. This step, known as “flash freezing,” prevents them from sticking together. Once flash-frozen, transfer the solid acorns to an airtight, freezer-safe container or a heavy-duty freezer bag. Make sure the container is large enough to hold them without crushing or breaking any cookies. Properly frozen, these chocolate acorns can be stored for up to 6 months. When you’re ready to enjoy them, simply remove them from the freezer and let them thaw at room temperature for about 15-30 minutes before serving. They will retain their delightful taste and texture.
Mastering Your Acorns: Expert Tips for Perfection
Achieving perfectly crafted chocolate acorns is simple with a few insider tips:
- Melt Chocolate with Care: The most crucial step when working with chocolate is melting it correctly. Always melt your chocolate chips in short, controlled intervals (30 seconds at a time in the microwave) and stir thoroughly after each burst. This prevents the chocolate from overheating, seizing, or burning, ensuring a smooth, workable consistency. A double boiler method also works wonderfully for a more gentle melt.
- Ensure Complete Setting: Patience is a virtue, especially in no-bake desserts. Allowing the chocolate to fully harden and set in the freezer between steps is vital. This ensures that the components are securely bonded and the acorns maintain their structural integrity. Rushing this step can lead to messy, falling-apart treats.
- Line Your Baking Sheet: Do not skip lining your baking sheet with parchment paper. This simple step is a game-changer for easy cleanup and ensures that your delicate chocolate acorns can be lifted effortlessly without sticking, tearing, or leaving a chocolate residue behind.
- Mind the Chocolate Quantity: When attaching the Hershey Kisses and the mini chocolate chip stems, use just enough melted chocolate to create a firm bond. An excessive amount of chocolate can ooze out, making the acorns look less tidy and potentially harder to handle. A small dab is usually sufficient.
- Leverage the Freezer: The freezer is your best friend in this recipe. Using it to quickly set the chocolate not only speeds up the process but also prevents the components from shifting or sliding, resulting in perfectly aligned and sturdy acorns. This is especially important for the initial bond of the Kiss to the wafer and the final attachment of the stem.
- Quality Ingredients Matter: While simple, the quality of your ingredients can significantly impact the final taste. Choose good quality semi-sweet chocolate chips and fresh vanilla wafers for the best flavor and texture.
- Kids in the Kitchen: These acorns are a fantastic project for kids! Let them help unwrap the Hershey Kisses, pipe the chocolate (with supervision), and press on the stems. It’s a fun, hands-on activity that yields delicious rewards.
- Creative Presentation: Arrange your finished chocolate acorns on a platter with real fall leaves, small gourds, or other autumn decorations for a stunning display. They also look wonderful in small decorative bowls or cellophane bags tied with rustic twine as edible gifts.
More Easy Fall Treats
- Pumpkin Pie Rice Krispie Treats
- Candy Corn Cookies
- Harvest Puppy Chow Recipe
- 51 Easy Thanksgiving Cupcakes
- Turkey Cake
This easy recipe for Chocolate Acorns is more than just a dessert; it’s an invitation to celebrate the vibrant flavors and cozy atmosphere of fall. They are incredibly fun to make, surprisingly simple, and undeniably delicious, making them a perfect activity for families and a delightful treat for any occasion. Their charming appearance and irresistible taste ensure they’ll be a hit wherever they are served. We encourage you to make this a cherished annual tradition with your loved ones. Once you try this delightful recipe, please take a moment to leave a comment and a star rating, sharing your experience with our community!
Chocolate Acorns
Ingredients
- 1/2 cup Semi-Sweet Chocolate Chips
- 25 Mini Nilla Wafer Cookies
- 25 Hershey Kisses unwrapped
- 25 Mini Chocolate Chips
Instructions
- Line a baking sheet with baking parchment and set aside.
- Place the semi-sweet chocolate chips in a microwave-safe bowl. Heat in 30-second intervals, stirring after each interval, until the chips are fully melted and smooth.
- Pour the melted chocolate into a ziploc bag and cut off a small corner on the bag to create a piping tool.
- Use the bag to pipe a small amount of chocolate onto the flat side of each mini vanilla wafer. Then, gently press an unwrapped Hershey Kiss onto the chocolate dollop on each cookie. Place them on the prepared baking sheet.
- Freeze the assembled cookies for 5 minutes to allow the chocolate to set firmly.
- Apply a tiny amount of the melted chocolate onto the flat side of each mini chocolate chip, then place them on the tops of the vanilla wafers to serve as the acorn stems.
- Once all mini chocolate chips have been added, freeze for another 5 minutes to fully set the stems.
- Your beautiful chocolate acorns are now ready to serve and enjoy!
Recipe Notes
Nutrition Facts
Pin This Now to Remember It Later
Pin Recipe
