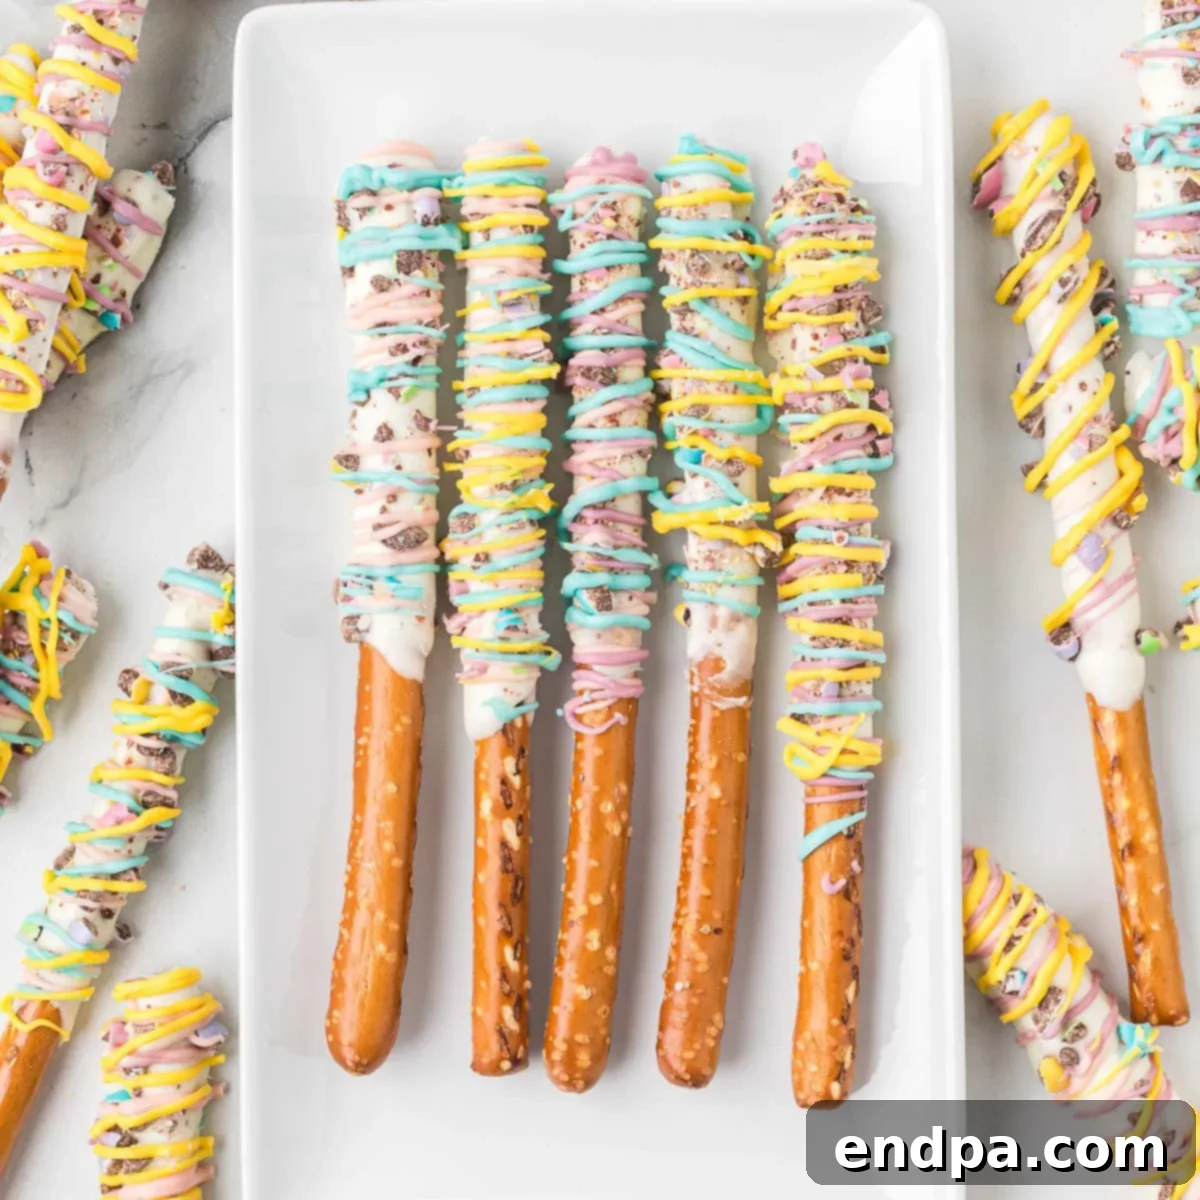
Irresistible Easter Chocolate Covered Pretzel Rods: Your Easy Guide to Sweet and Salty Perfection
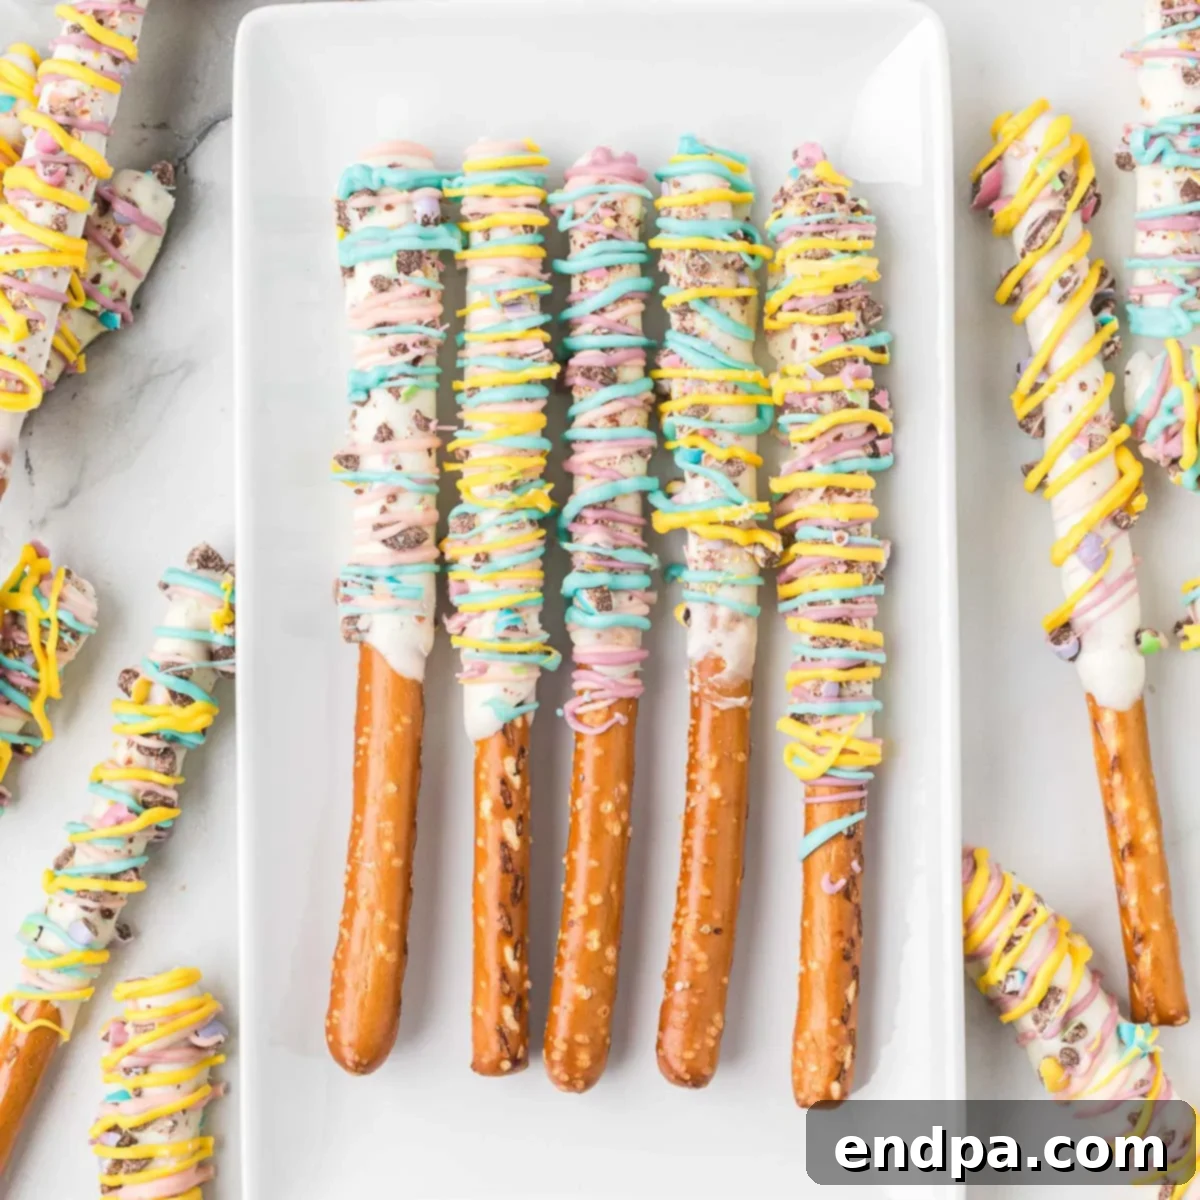
As spring gently ushers in vibrant colors and festive moods, get ready to embrace the joy of crafting these delightful Easter chocolate covered pretzel rods! A true celebration of the sweet and salty combination, this recipe is incredibly fun to make and boasts a delicious flavor profile, all while requiring just four simple ingredients. Perfect for adding a touch of homemade charm to your Easter festivities, these pretzel rods are guaranteed to be a crowd-pleaser.
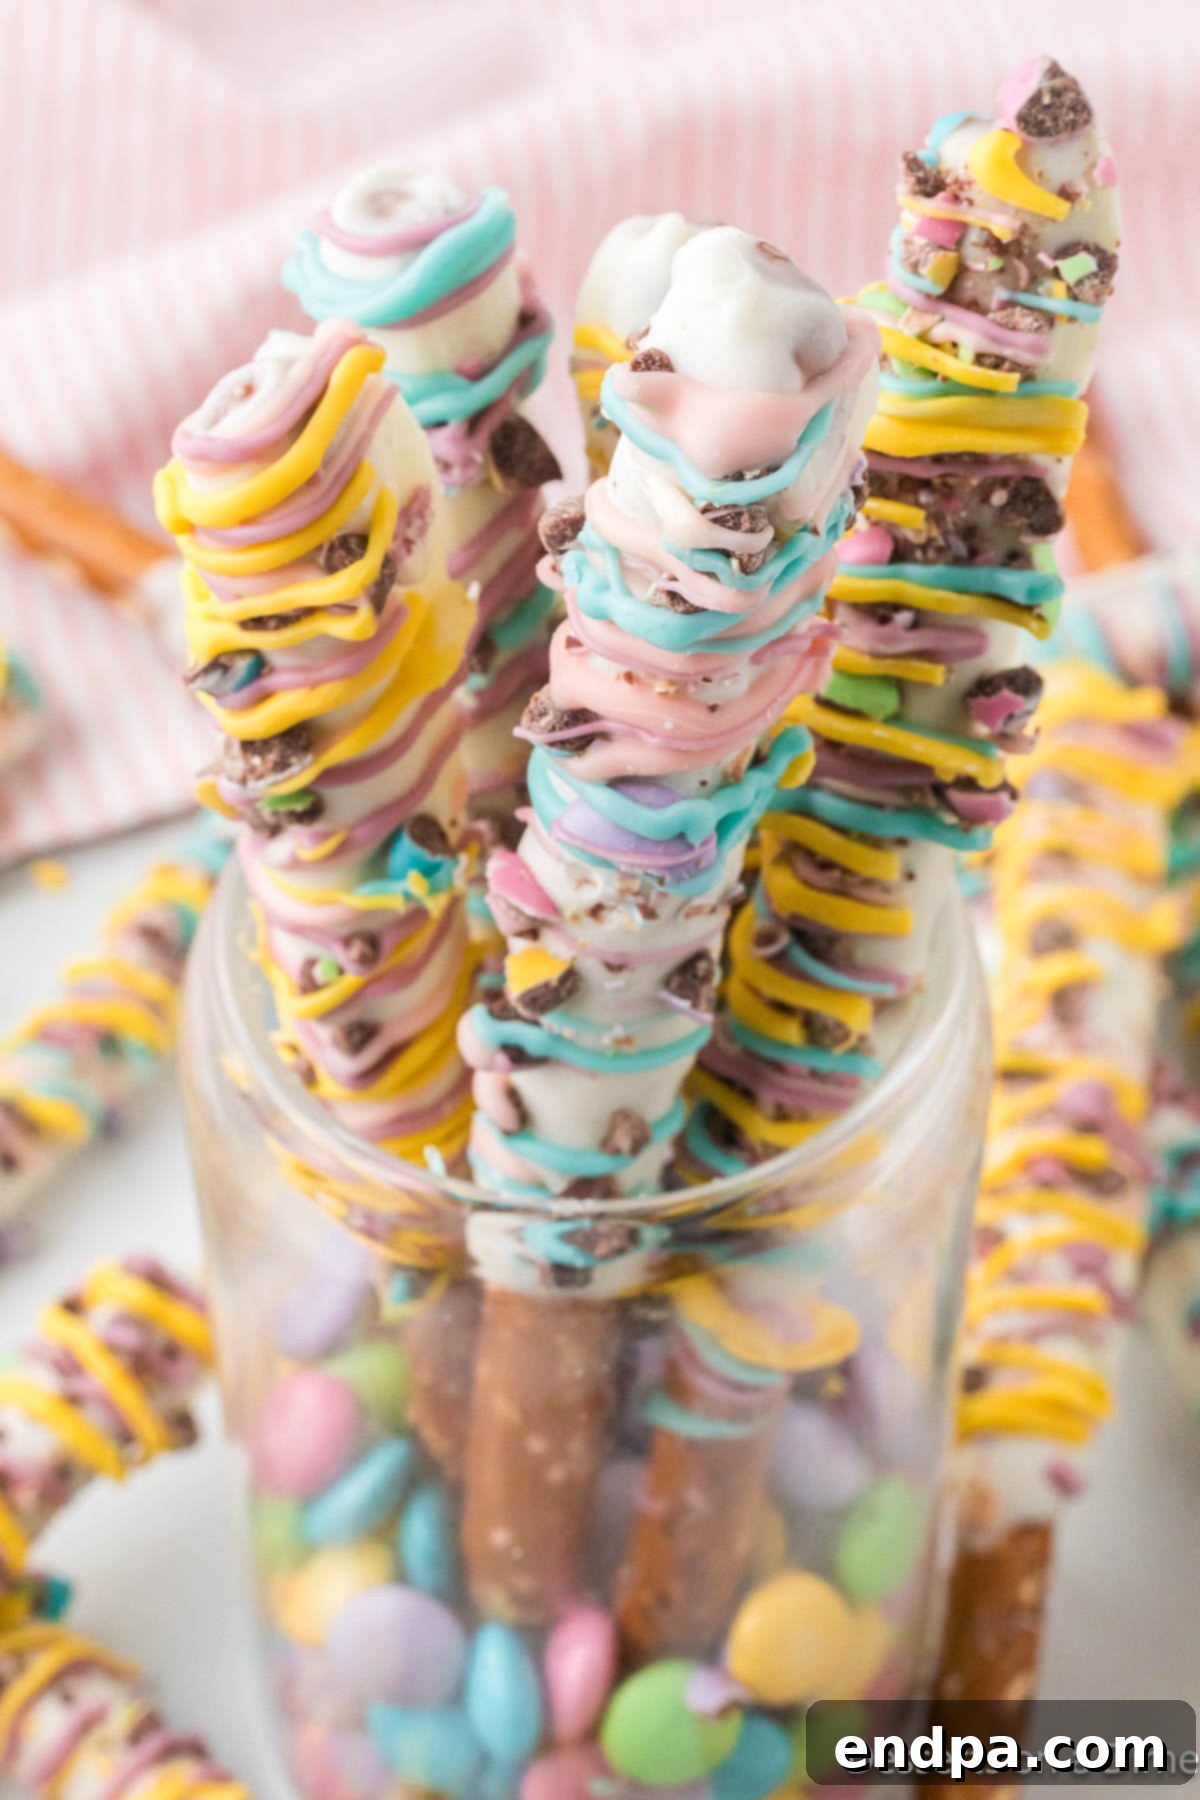
If you’re a fan of treats that perfectly balance contrasting flavors, this recipe is an absolute must-try. While these beautifully decorated pretzel rods are ideal for Easter, their versatility means they can be enjoyed any time of the year. We’ve even personalized them for birthday parties by simply swapping out the colors to match any theme. Imagine vibrant hues transforming these simple snacks into a special birthday surprise!
Involving children in the kitchen can be a truly rewarding experience, especially when preparing Easter desserts. That’s why easy-to-follow recipes like this one are essential. Beyond these fabulous pretzel rods, we also love making other no-fuss, no-bake delights such as Easter Egg Rice Krispie Treats and Easy Easter Chocolate Covered Pretzels. For more delicious pretzel-based snacks, be sure to explore recipes like Cinnamon Sugar Pretzels, Football Pretzels, and Football Chocolate Covered Pretzel Cookies. Each offers a unique twist on this beloved crunchy snack.
Table of Contents
- Why We Love This Recipe
- Essential Ingredients
- Creative Variation Ideas
- Step-by-Step Guide to Making Easter Pretzel Rods
- Storage Tips
- Expert Tips for Perfect Pretzel Rods
- More Easy Easter Treats
Why We Love This Recipe
These Easter chocolate covered pretzel rods aren’t just easy to make; they’re genuinely enjoyable to prepare and even more delightful to eat. Here’s why they’ve become a family favorite and a staple for holiday gatherings:
- The Ultimate Sweet and Salty Combination: There’s something undeniably captivating about the interplay of crunchy, salty pretzels with smooth, sweet chocolate. This timeless pairing creates a flavor explosion that satisfies every craving. The saltiness of the pretzel enhances the sweetness of the chocolate, making each bite incredibly addictive.
- Incredibly Simple with Only 4 Ingredients: You read that right! With just pretzel rods, white chocolate chips, candy melts, and pastel M&Ms, you can create a professional-looking dessert without any fuss. This minimal ingredient list makes it a perfect last-minute treat or an ideal project for beginner bakers and cooks.
- Perfect for Any Party or Celebration: These decorated pretzel rods are not only delicious but also visually appealing. Their festive look makes them a fantastic addition to Easter brunches, holiday buffets, school parties, or even as homemade gifts. They are designed to impress without demanding hours of intricate work, allowing you more time to enjoy the celebration.
- Kid-Friendly Fun: Little hands love to help, and this recipe is perfect for them. From crushing M&Ms to sprinkling toppings, there are plenty of safe and fun tasks for children to participate in, fostering their creativity and love for cooking.
- Highly Customizable: As you’ll see in our variation ideas, this recipe is a blank canvas for your creativity. Change the chocolate, alter the toppings, or switch up the colors to suit any occasion, theme, or personal preference.
Essential Ingredients
One of the best aspects of this recipe is its simplicity, relying on just a few easily accessible ingredients. Each component plays a crucial role in creating the perfect balance of flavor and texture, making these pretzel rods a standout treat. You’ll find these items readily available at most grocery stores or craft supply shops.
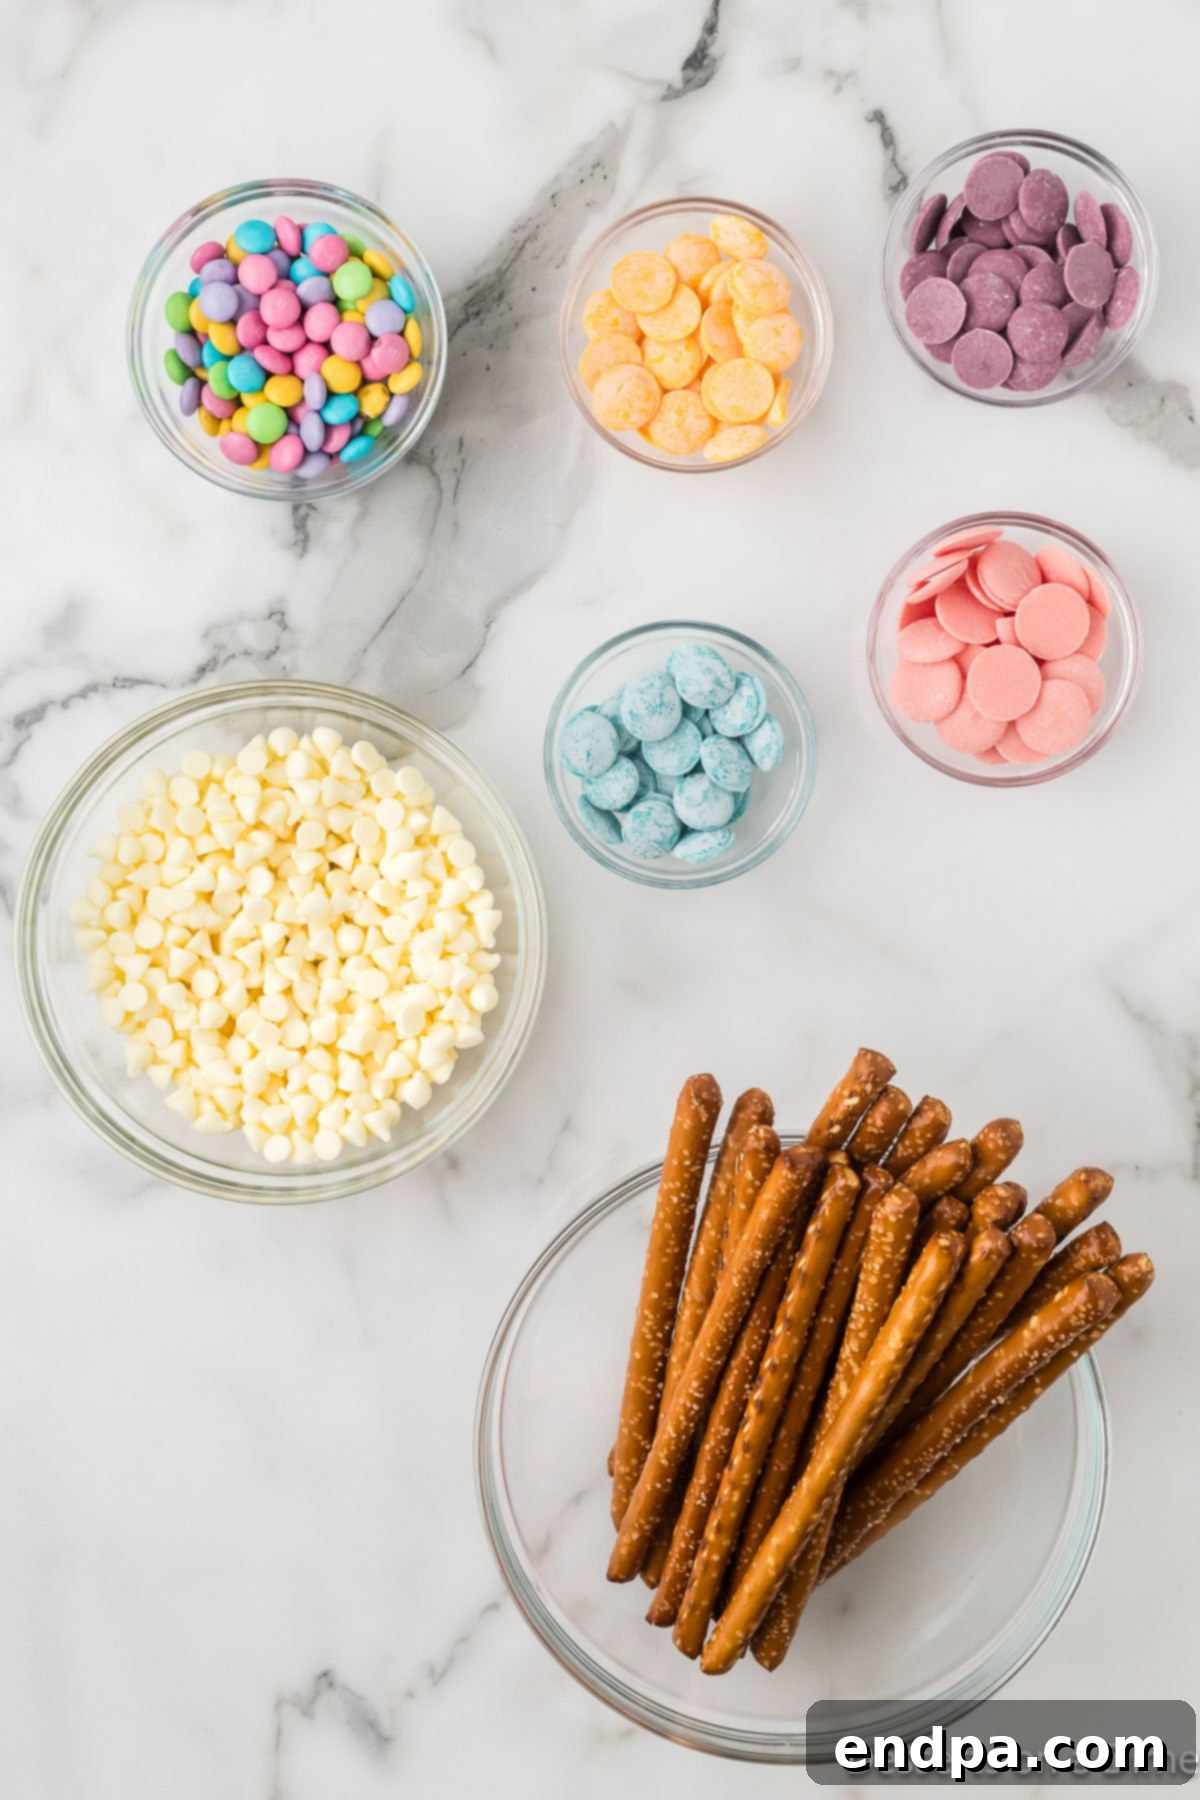
- Pretzel Rods: Opt for sturdy, long pretzel rods as they provide the best canvas for dipping and decorating. Their robust structure ensures they won’t break easily and offer a satisfying crunch.
- White Chocolate Chips: These form the primary coating for your pretzel rods, providing a rich, creamy sweetness. Quality white chocolate will melt smoothly and set beautifully, creating a perfect base for your decorations.
- Candy Melts (Pastel Colors): Candy melts are fantastic for their vibrant colors and smooth melting consistency. They are ideal for drizzling and creating eye-catching patterns, adding an extra layer of sweetness and visual appeal. For Easter, pastel shades like pink, blue, yellow, and green work wonderfully.
- Pastel M&Ms: These add a delightful crunch and a burst of color. Crushing them slightly before sprinkling ensures a varied texture and allows their cheerful pastel hues to truly shine, making the pretzel rods extra festive.
For detailed measurements and the complete, printable recipe instructions, please refer to the recipe card located at the bottom of this article.
Creative Variation Ideas
The beauty of these chocolate covered pretzel rods lies in their incredible adaptability. While the classic Easter version is a delight, don’t hesitate to get creative and personalize them for any occasion or to suit various taste preferences. Here are some ideas to inspire your next batch:
- Experiment with Different Chocolate Types:
- Milk Chocolate or Dark Chocolate: Instead of white chocolate, try using milk chocolate for a classic, rich flavor, or dark chocolate for a more intense, sophisticated treat.
- Combination Drizzle: For a truly stunning effect, use both white chocolate and milk chocolate. Dip the pretzels in white chocolate, and once set, drizzle with melted milk chocolate for a beautiful contrasting swirl. The combination of flavors is equally delightful.
- Explore Other Toppings:
- Colorful Sprinkles: A timeless favorite, sprinkles come in an endless array of colors and shapes. Easter-themed sprinkles, pastel jimmies, or even edible glitter can transform your pretzel rods into adorable, whimsical treats.
- Chopped Nuts: For those who love a nutty crunch, finely chopped almonds, pecans, or pistachios can add a wonderful texture and flavor dimension.
- Crushed Cookies: Consider crushing Oreo cookies, graham crackers, or shortbread cookies to sprinkle over the chocolate for an extra layer of flavor and texture.
- Toffee Bits or Caramel Drizzle: Elevate the indulgence with sticky toffee bits or a delicate drizzle of melted caramel over the chocolate.
- Coconut Flakes: Toasted or plain coconut flakes can add an exotic touch and a chewy texture.
- Seasonal and Holiday Themes:
This recipe is incredibly versatile for year-round celebrations. Simply adjust the candy melt colors and toppings to match the season or holiday:
- Christmas: Use red and green candy melts, crushed candy canes, or festive sprinkles for a joyous holiday treat.
- Halloween: Opt for orange and black (or purple and green) candy melts, and top with spooky sprinkles, edible googly eyes, or crushed oreos for a dirt-like effect.
- St. Patrick’s Day: Green candy melts and green or gold sprinkles will bring luck to your celebration.
- Valentine’s Day: Pink and red candy melts, heart-shaped sprinkles, or even a hint of strawberry flavoring in the white chocolate can create a romantic gesture.
- Fall/Thanksgiving: Orange, brown, and yellow candy melts, perhaps with a sprinkle of cinnamon sugar or chopped pecans, would be perfect for autumn gatherings.
- Birthday Parties: As mentioned, matching the candy melts and sprinkles to the birthday party’s color scheme is an easy way to customize these treats for any age.
Step-by-Step Guide to Making Easter Pretzel Rods
Creating these delightful Easter pretzel rods is a straightforward and enjoyable process. Follow these simple steps to achieve perfectly coated and decorated treats every time. Gather your ingredients and let’s get started!
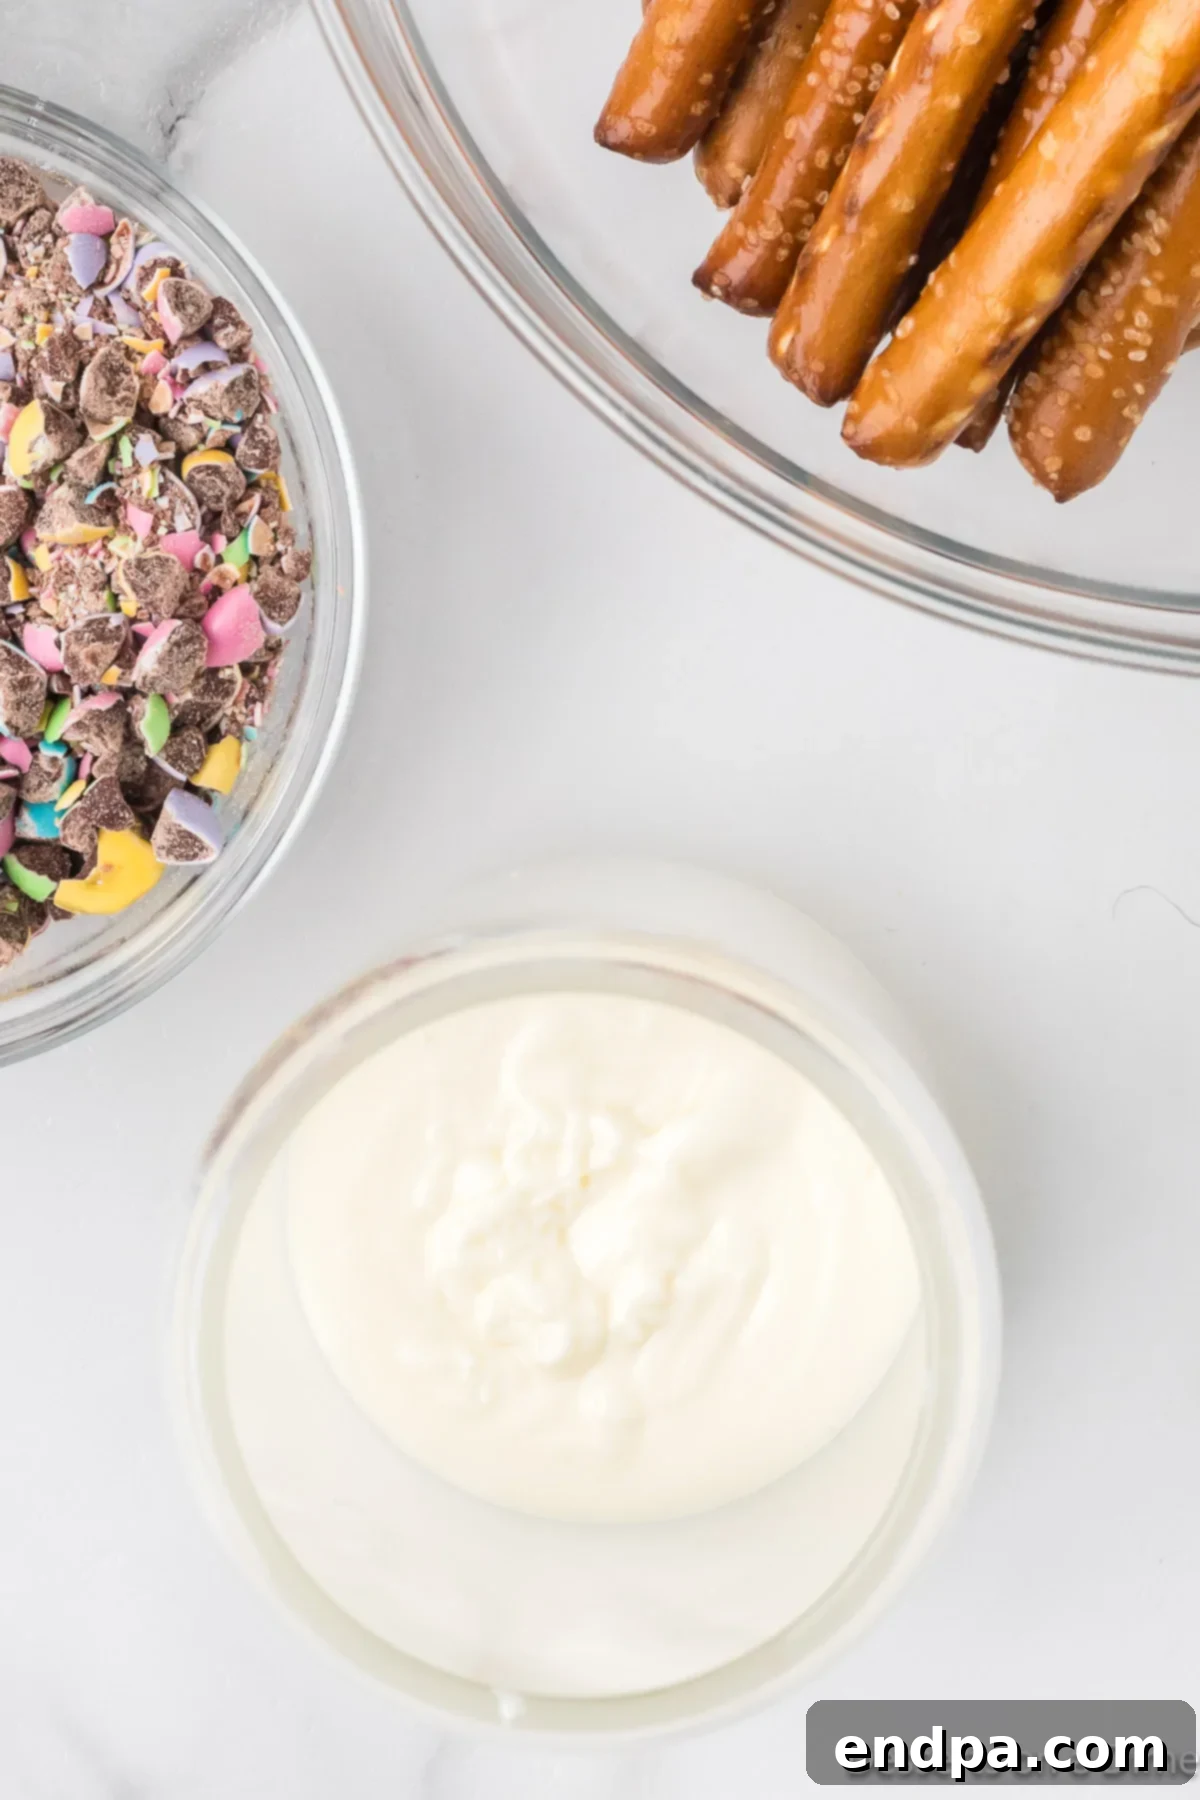
Step 1: Melt the White Chocolate. Begin by placing your white chocolate chips in a tall, microwave-safe glass or bowl. A tall glass is particularly useful for easier dipping. Microwave the chocolate in short, 30-second increments, stirring thoroughly after each interval. This prevents the chocolate from burning and ensures a smooth, luscious consistency. Continue until the chocolate is fully melted and silky smooth.
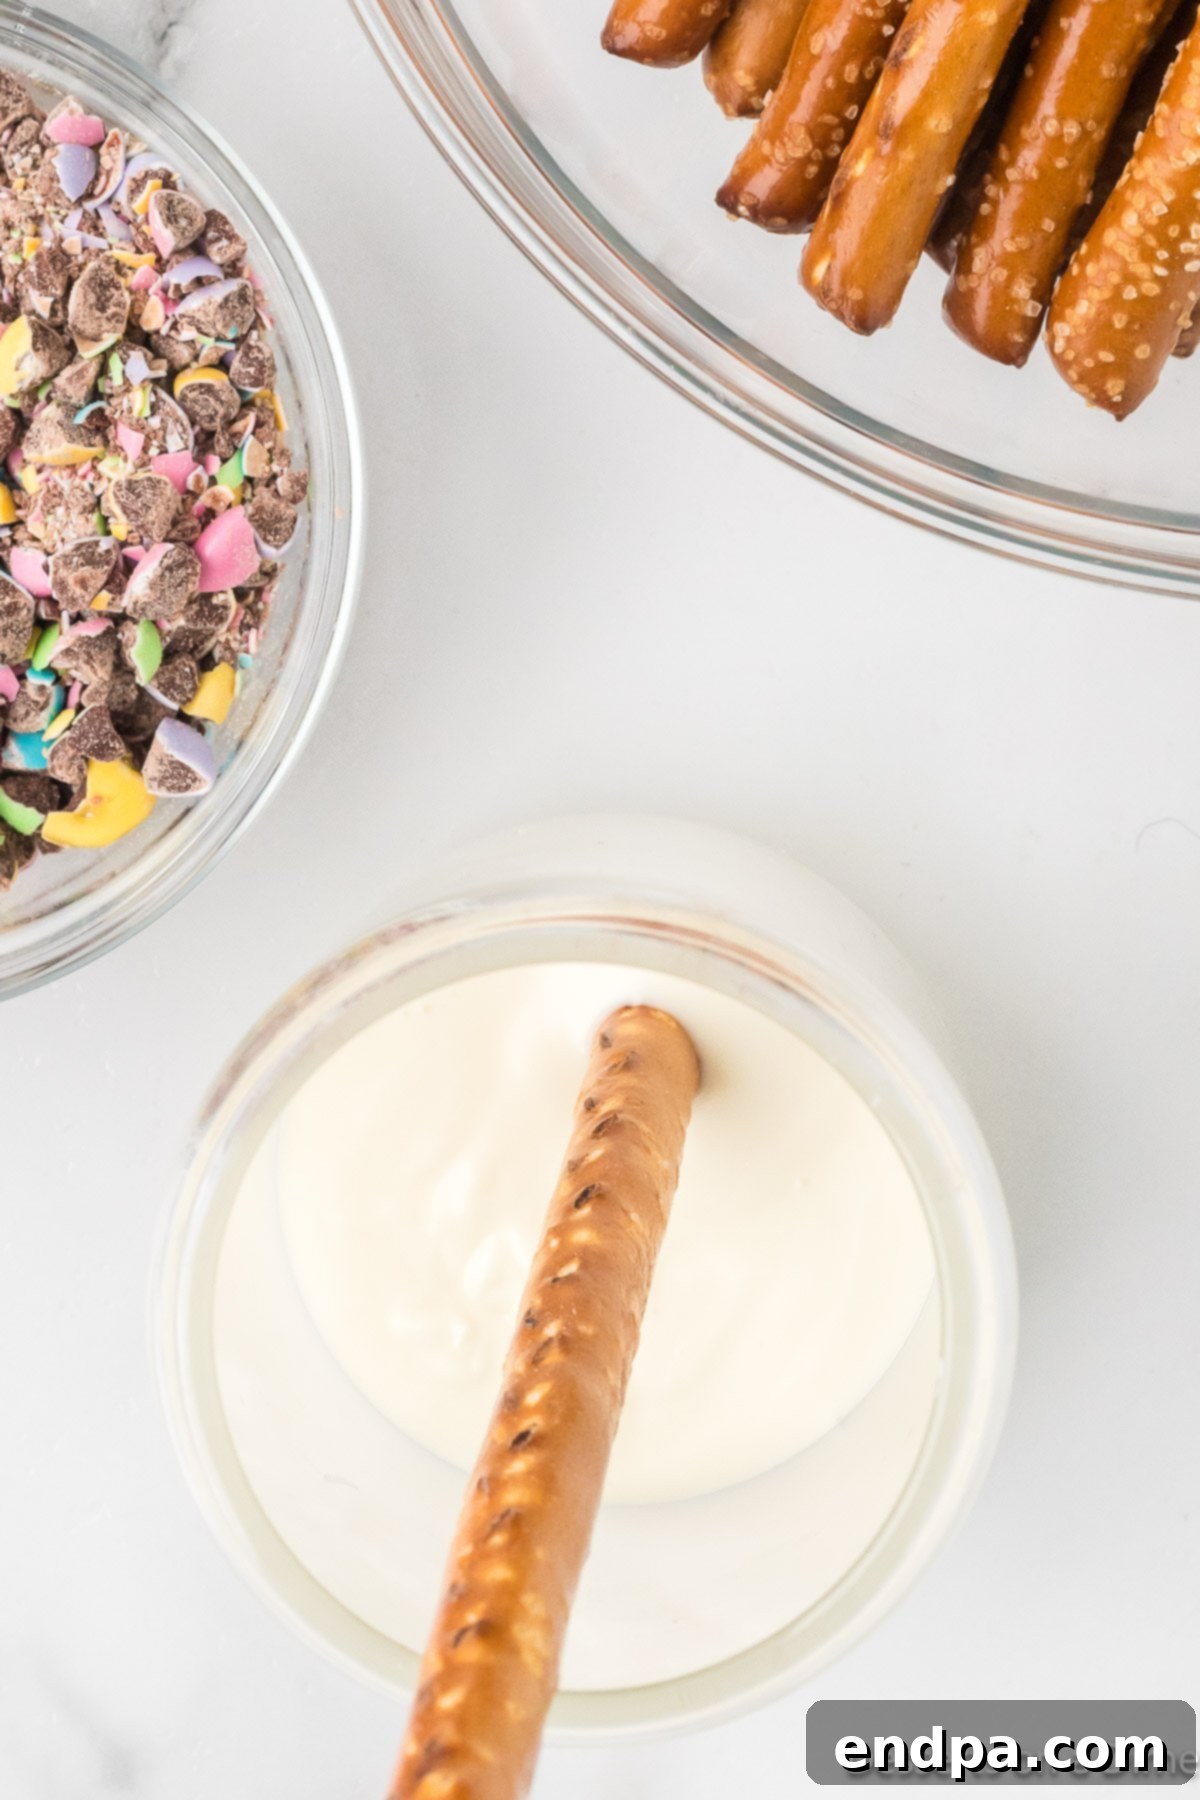
Step 2: Dip the Pretzel Rods. Carefully dip each pretzel rod into the melted white chocolate. Rotate the pretzel to coat about two-thirds of its length, leaving a small portion at the top for easy handling. Gently tap the rod against the edge of the glass to allow any excess chocolate to drip off, ensuring a clean and even coating.
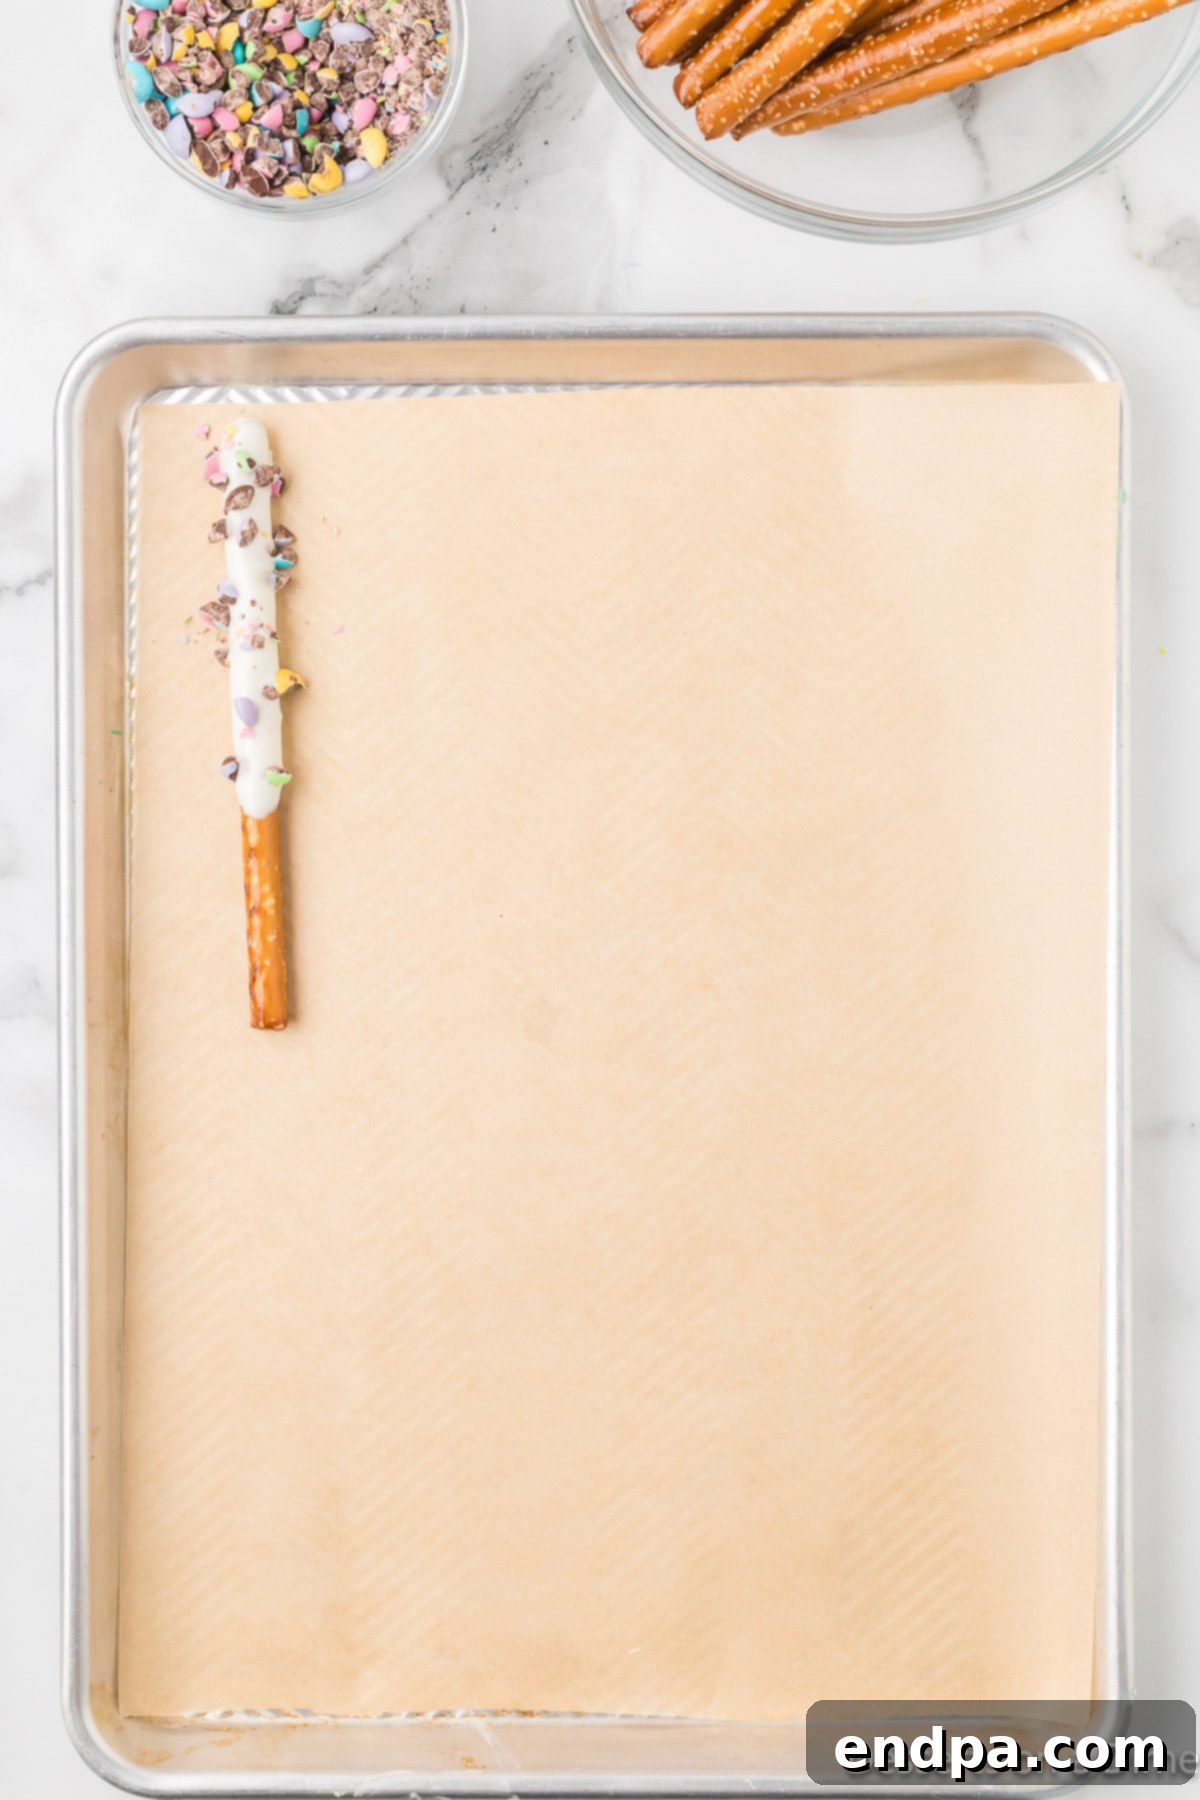
Step 3: Arrange on a Lined Baking Sheet. After dipping, carefully place the chocolate-covered pretzel rods onto a baking sheet that has been lined with parchment paper. Parchment paper prevents sticking and makes for easy cleanup. Arrange them in a single layer, ensuring they don’t touch each other, to allow the chocolate to set properly.
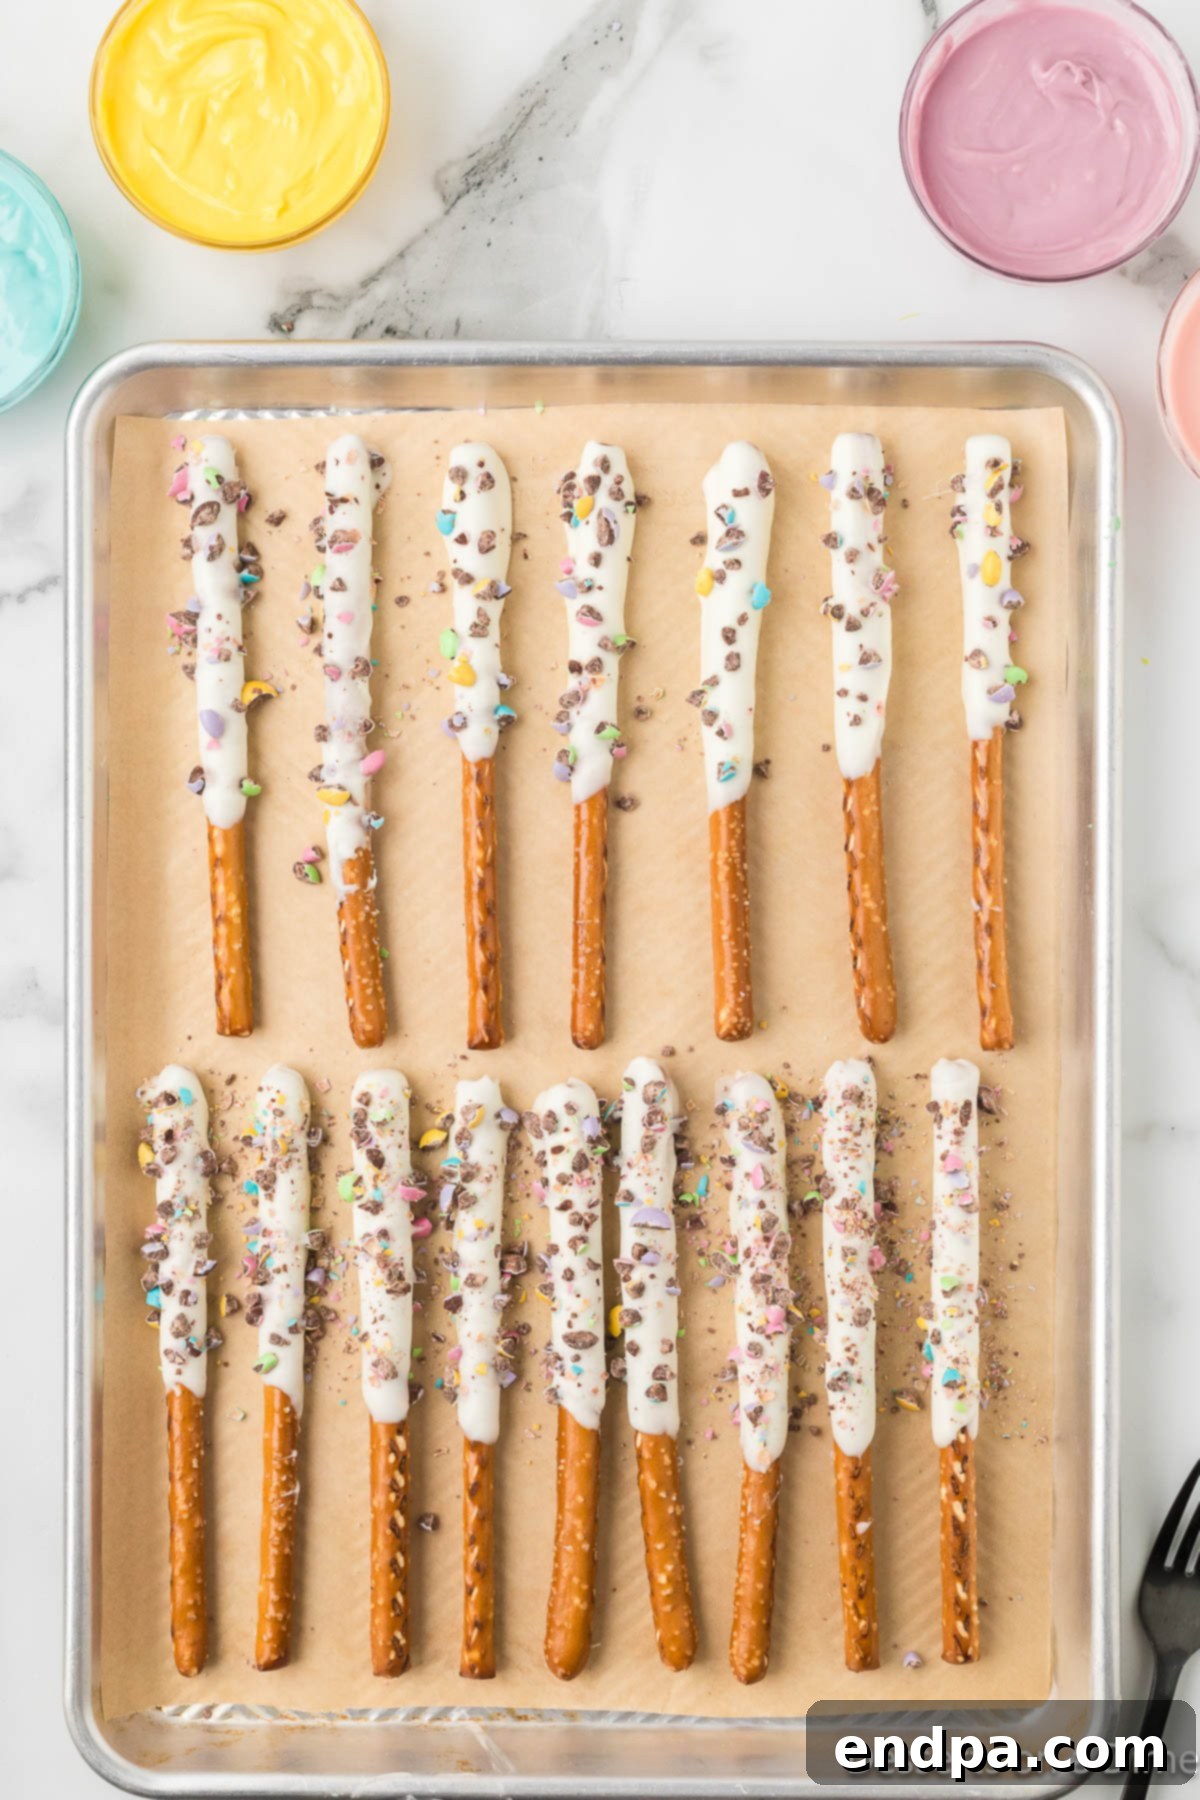
Step 4: Sprinkle with Crushed M&Ms. While the white chocolate is still wet, gently crush your pastel M&Ms. You can use a rolling pin or even the back of a spoon in a plastic bag. Evenly sprinkle the crushed M&Ms over the white chocolate coating. The wet chocolate will act as an adhesive, securing the candy bits in place.
Step 5: Melt the Candy Melts. In a separate microwave-safe dish, melt your chosen pastel candy melts. Similar to the white chocolate, heat them in 30-second intervals, stirring diligently between each burst. Continue until the candy melts are completely smooth and free of lumps. This creates the vibrant drizzle for your pretzels.
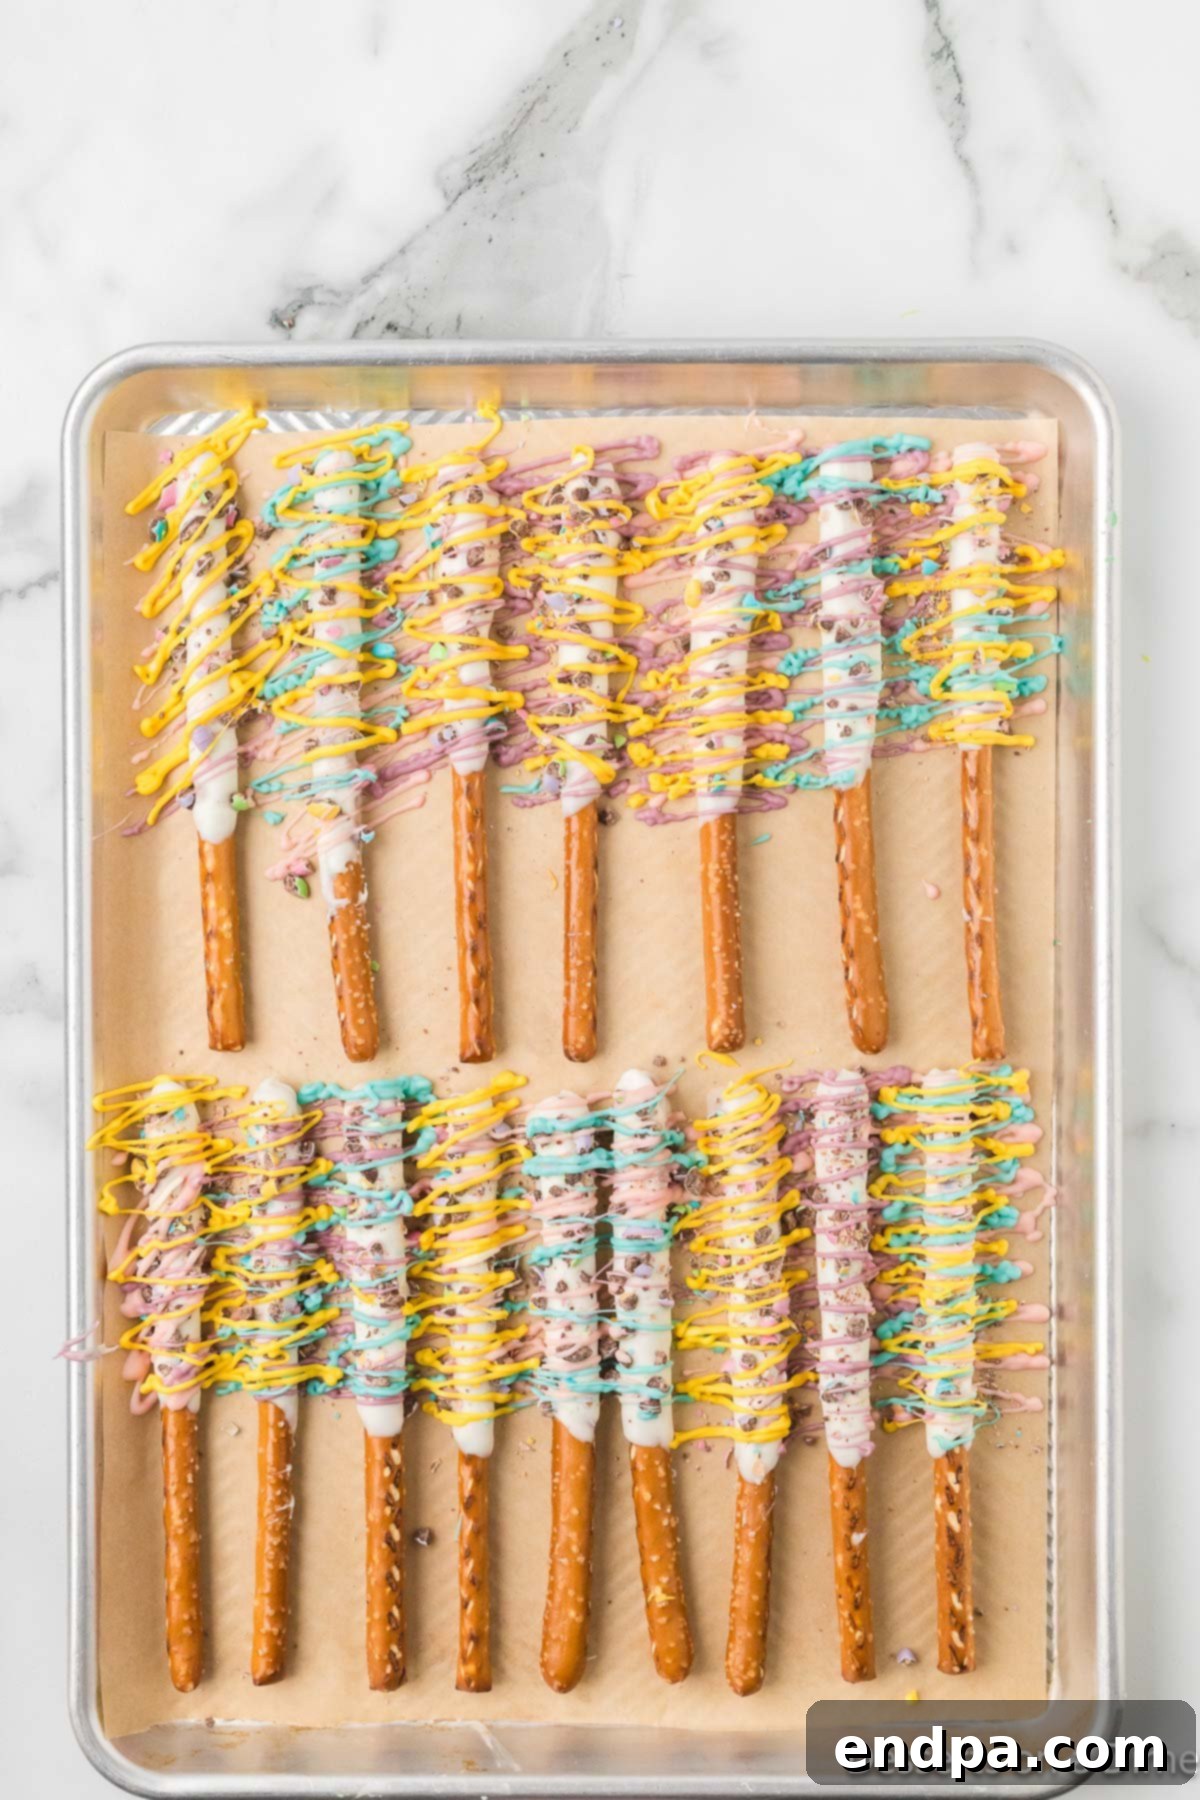
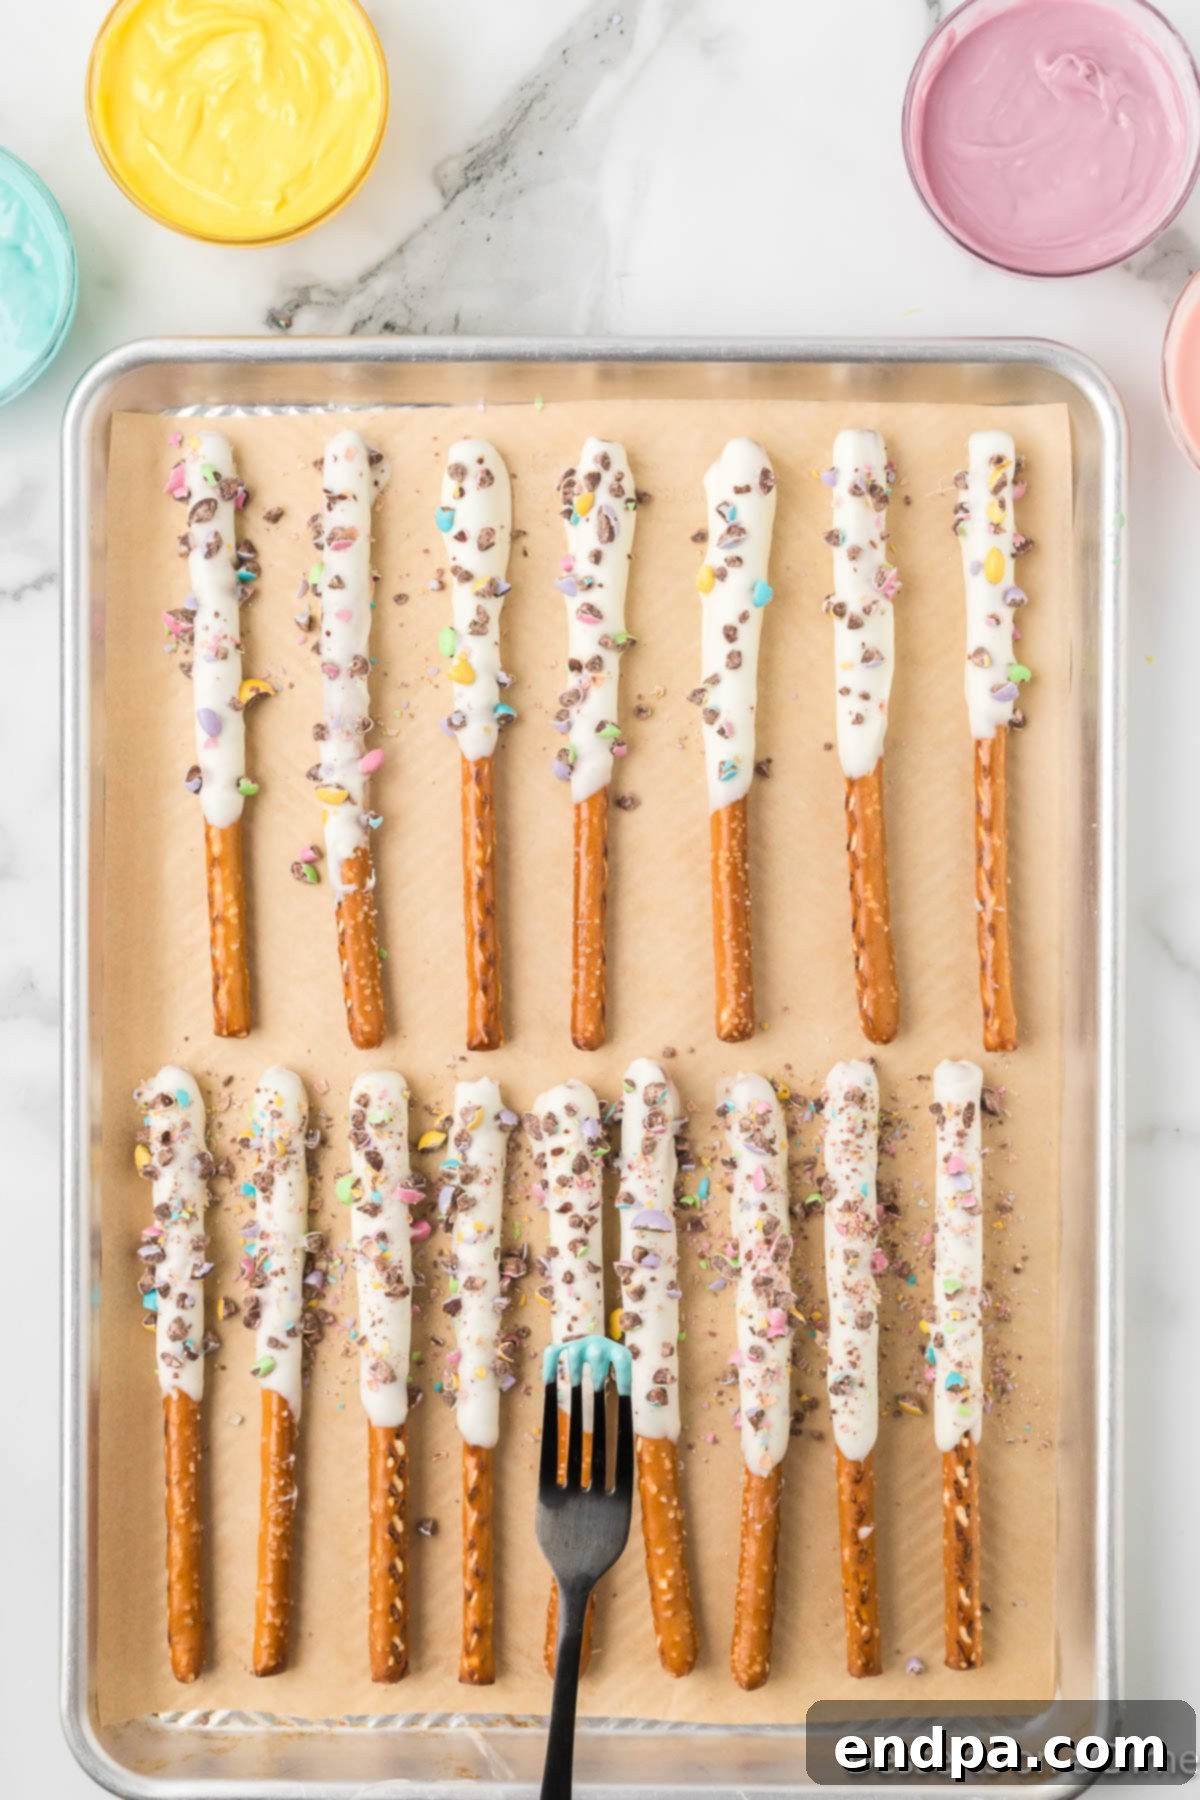
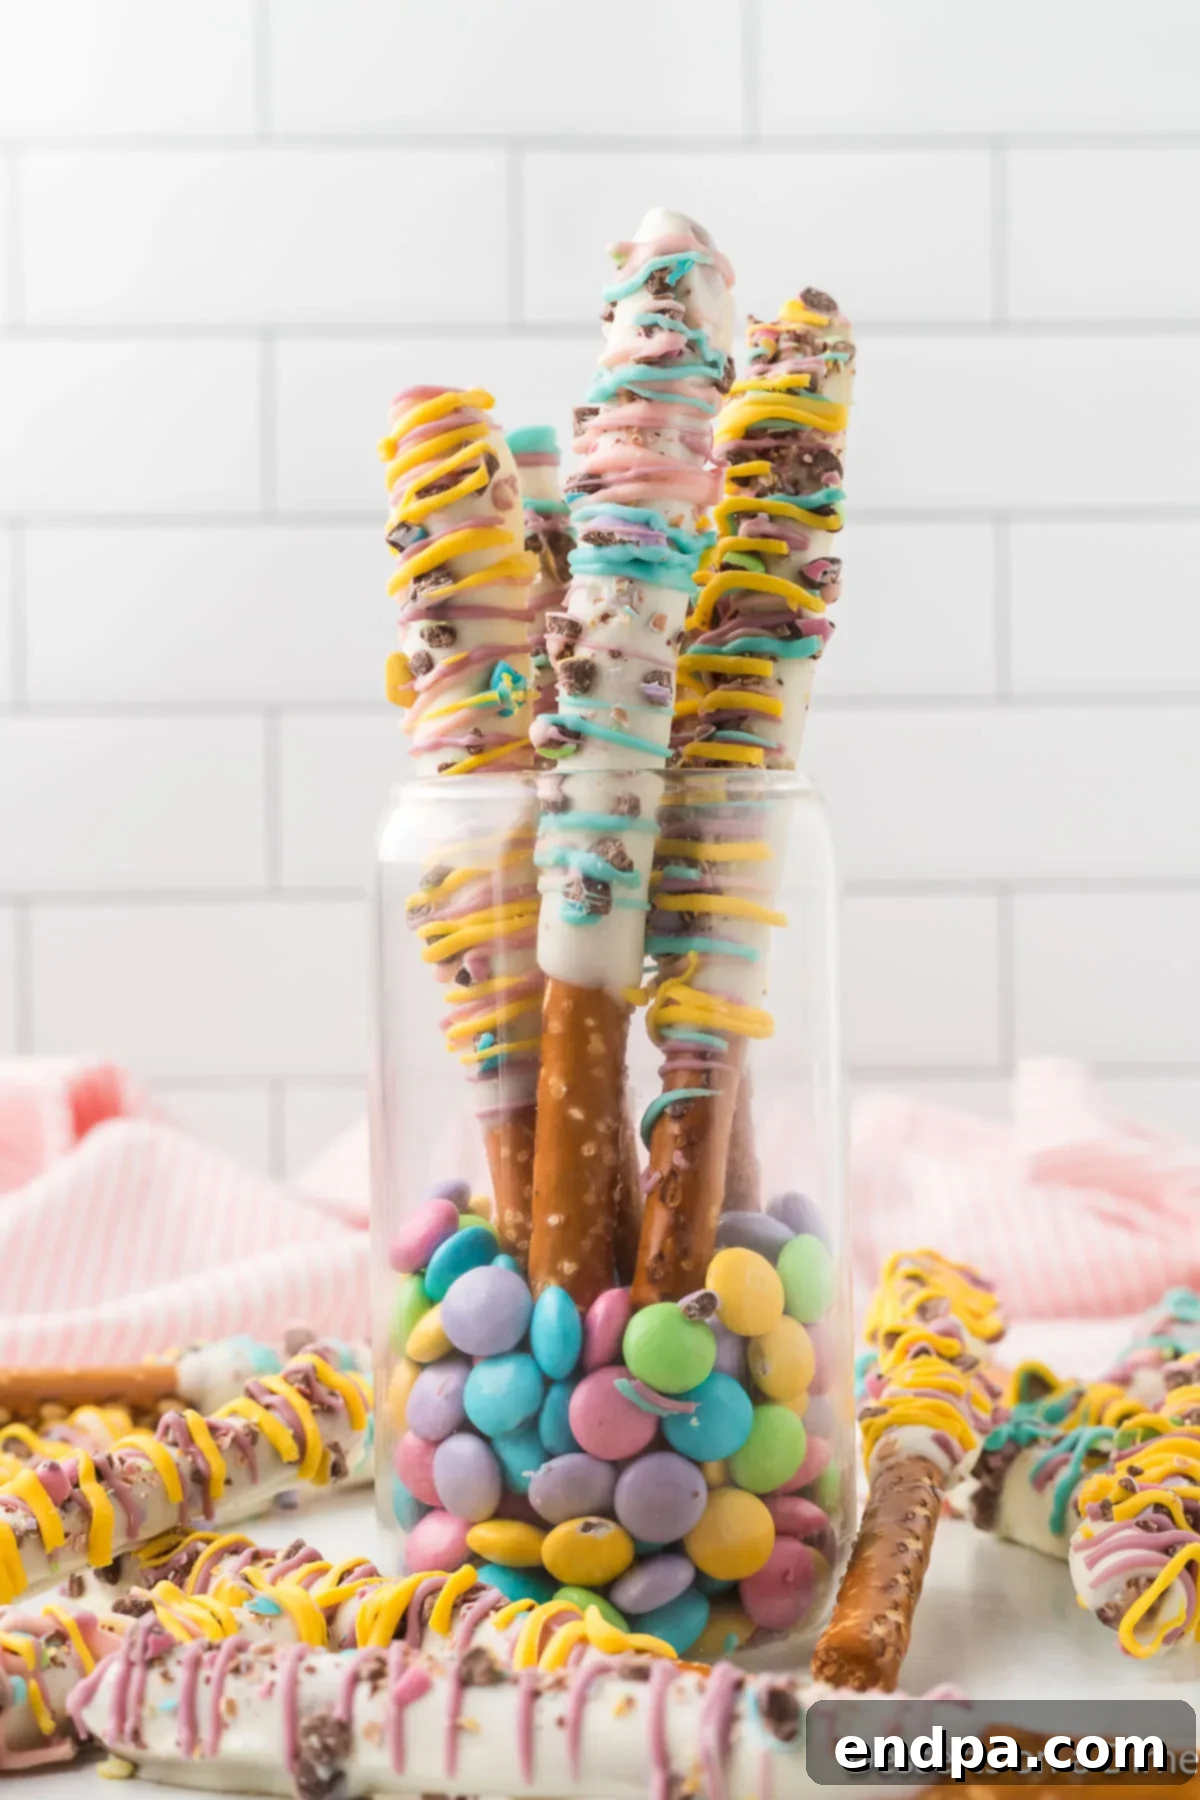
Step 6: Drizzle and Cool. Using a spoon, fork, or a piping bag with a very small snip at the corner, artfully drizzle the melted candy melts over the white chocolate and M&Ms. Create zigzags, straight lines, or abstract patterns for a beautiful finish. Once decorated, allow the pretzel rods to cool completely at room temperature until all the chocolate and candy melts are fully set. This can take about 1 hour. Once firm, they are ready to be served on a pretty tray or packaged for gifting!
Storage Tips
Proper storage is key to maintaining the freshness, crunch, and delicious flavor of your Easter chocolate covered pretzel rods. Follow these guidelines to ensure they remain delightful for as long as possible:
- Airtight Container: Always store your finished pretzel rods in an airtight container. This protects them from moisture and air, which can cause them to become stale or sticky.
- Room Temperature is Best: Keep the container at cool room temperature, away from direct sunlight or heat sources. A pantry or countertop is ideal.
- Avoid the Refrigerator: It might seem counterintuitive, but placing chocolate-covered pretzels in the refrigerator is generally not recommended. The humidity inside a fridge can cause the pretzels to soften and lose their desired crunch. It can also cause condensation on the chocolate, leading to a dull, white film (known as “sugar bloom” or “fat bloom”) as it returns to room temperature.
- Shelf Life: When stored correctly at room temperature in an airtight container, these chocolate-covered pretzel rods can last for up to 1-2 weeks. However, for the best taste and texture, we recommend enjoying them within the first few days.
- Separate Layers: If you need to stack the pretzel rods in your container, place a piece of parchment paper or wax paper between the layers to prevent them from sticking to each other and smudging the decorations.
Expert Tips for Perfect Pretzel Rods
Achieving bakery-worthy results with your Easter chocolate covered pretzel rods is easier than you think with a few simple tricks. These expert tips will help ensure your treats are perfectly coated, beautifully decorated, and utterly delicious every single time:
- Mastering the Melt:
- Low and Slow for Chocolate: When melting chocolate chips or candy melts, patience is key. Always use the microwave in short bursts (30 seconds at a time) and stir well after each interval. Chocolate can easily seize or burn if overheated, becoming grainy and unusable. Stirring distributes the heat evenly and helps the chocolate melt smoothly. If you prefer, a double boiler method (a heatproof bowl set over a pot of simmering water) also works beautifully for a gentler melt.
- Tall Glass Advantage: Using a tall, narrow glass for melting your dipping chocolate makes the dipping process significantly easier. It allows you to submerge more of the pretzel rod without wasting chocolate or making a mess.
- Prepare Your Workspace:
- Lined Baking Sheet is a Must: Always line your baking sheets with parchment paper or wax paper before you start dipping. This prevents the chocolate-covered pretzels from sticking to the tray, making them easy to lift off once set. A wire rack placed over parchment paper can also be used, allowing excess chocolate to drip off for a cleaner finish, though it’s often not strictly necessary for pretzel rods.
- Have Toppings Ready: Before you even start dipping, have all your sprinkles, crushed M&Ms, or other toppings ready and within arm’s reach. The chocolate sets quickly, so you’ll want to apply your decorations immediately after dipping to ensure they adhere properly.
- Crushing Candy Made Easy:
- The Ziplock Bag Method: The easiest way to crush M&Ms or other hard candies is to place them in a resealable plastic bag (like a Ziplock bag) and use a rolling pin, the back of a heavy spoon, or a meat tenderizer to gently crush them. This contains the mess and allows you to achieve your desired consistency, from coarse chunks to fine crumbs.
- Allow for Complete Setting:
- Patience Pays Off: It’s crucial that the chocolate and any drizzled toppings are completely set and firm before you handle, store, or package the pretzel rods. Rushing this step can lead to smudged decorations, sticky treats, or melted chocolate. Depending on your room temperature, this could take an hour or more. You can gently place the baking sheet in the refrigerator for 10-15 minutes to speed up the setting process if you’re in a hurry, but avoid leaving them in for too long to prevent the pretzels from softening.
- Even Coating for Best Results:
- Shake Off Excess: After dipping, gently shake or tap the pretzel rod against the side of your melting bowl. This helps to remove any excess chocolate, resulting in a thinner, more even coating that isn’t overly thick or prone to cracking.
More Easy Easter Treats
If you loved making these Easter chocolate covered pretzel rods, you’ll certainly enjoy exploring other simple and festive treats perfect for the holiday. Here are some more easy Easter recipes that are sure to bring joy to your celebration:
- Easter Chocolate Covered Oreos: Another classic treat transformed with festive colors and sprinkles.
- Adorable Peeps Cupcakes: Fun and colorful cupcakes topped with the iconic marshmallow Peeps.
- Easy Easter Cupcakes Recipe: Simple yet charming cupcakes that resemble mini Easter baskets.
- Easter Puppy Chow: A delightful and addictive snack mix, perfect for sharing.
- Easter Chocolate Bark: A quick and customizable chocolate slab loaded with Easter candies.
- Easter Candy Charcuterie Board: A visually stunning and fun way to display a variety of Easter sweets.
Pin
Easter Pretzel Rods
Ingredients
- 24 Pretzel Rods
- 1 bag of 15 oz white chocolate chips
- 1/4 of a bag of 12 oz candy melts
- 1/2 cup of pastel M&M
Instructions
- Melt the white chocolate chips in a tall glass. Melt them in the microwave in 30 second increments, stirring in between.
- Dip each pretzel rod into the melted white chocolate. Place on a cookie sheet lined with parchment paper, foil or wire rack.
- Crush the M&M and sprinkle them over the top of the white chocolate.
- Melt the candy melts in your microwave safe dish. Melt them in the microwave in 30 second intervals, stirring in between.
- Drizzle the melted candy over the white chocolate and the M&Ms.
- Allow to cool completely and enjoy!
Nutrition Facts
Pin This Now to Remember It Later
Pin Recipe
Whether you’re crafting these for a special Easter surprise to tuck into baskets or preparing a large batch for a festive party, these Easter chocolate covered pretzel rods are sure to be a hit. Their effortless preparation and delightful taste make them a perfect choice for any celebration. We encourage you to try them out and discover just how easy and rewarding it is to create such a charming and tasty treat.
Don’t forget to come back and share your experience by leaving a comment and a star rating on the recipe!
