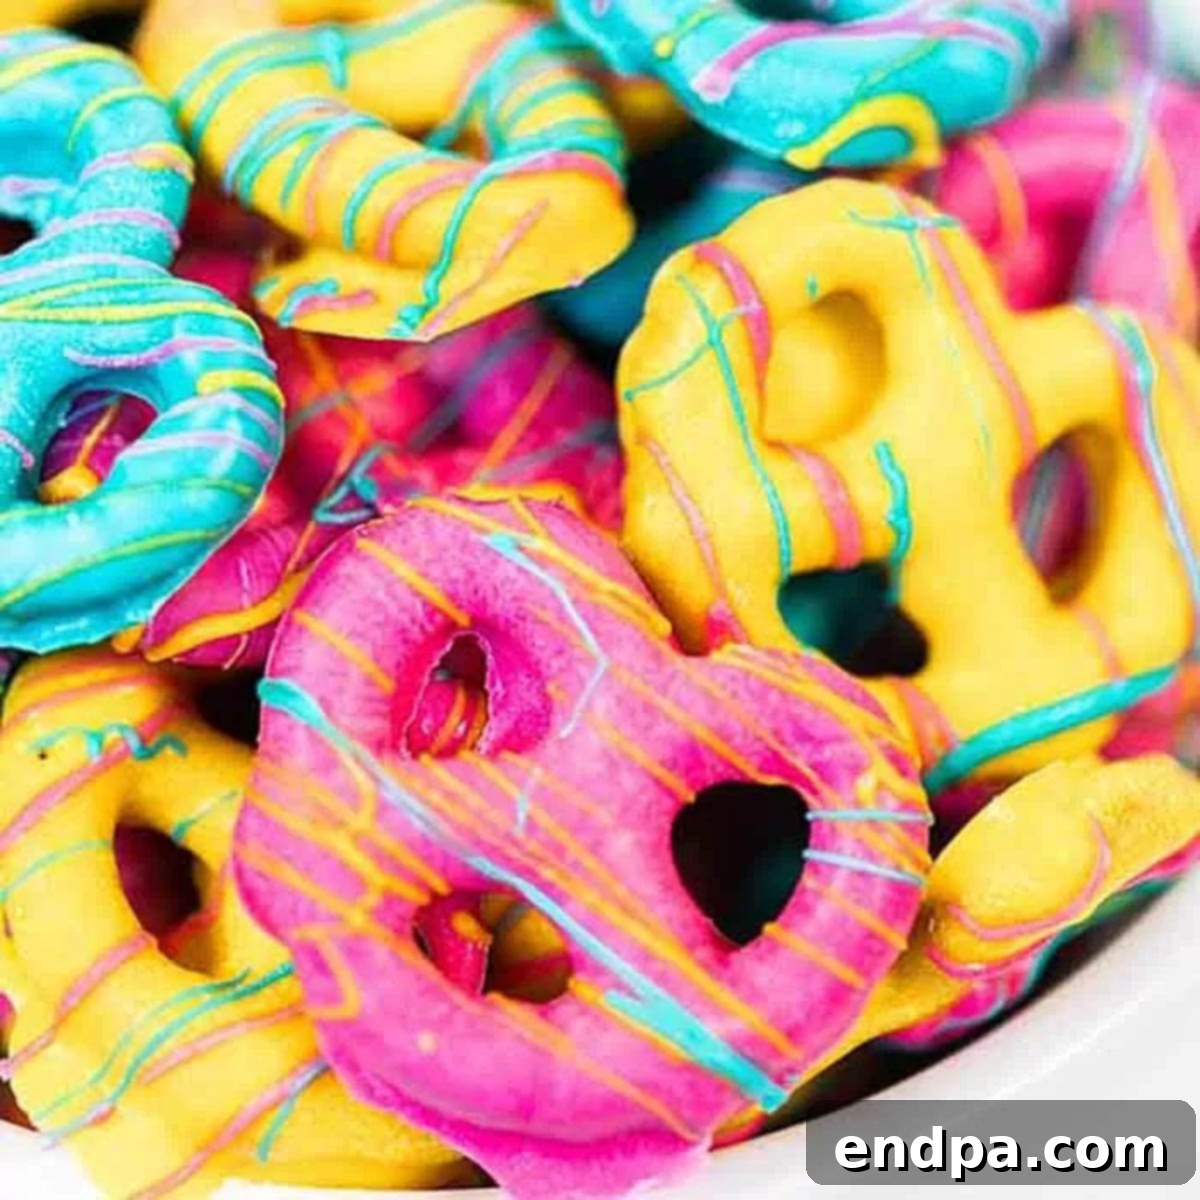
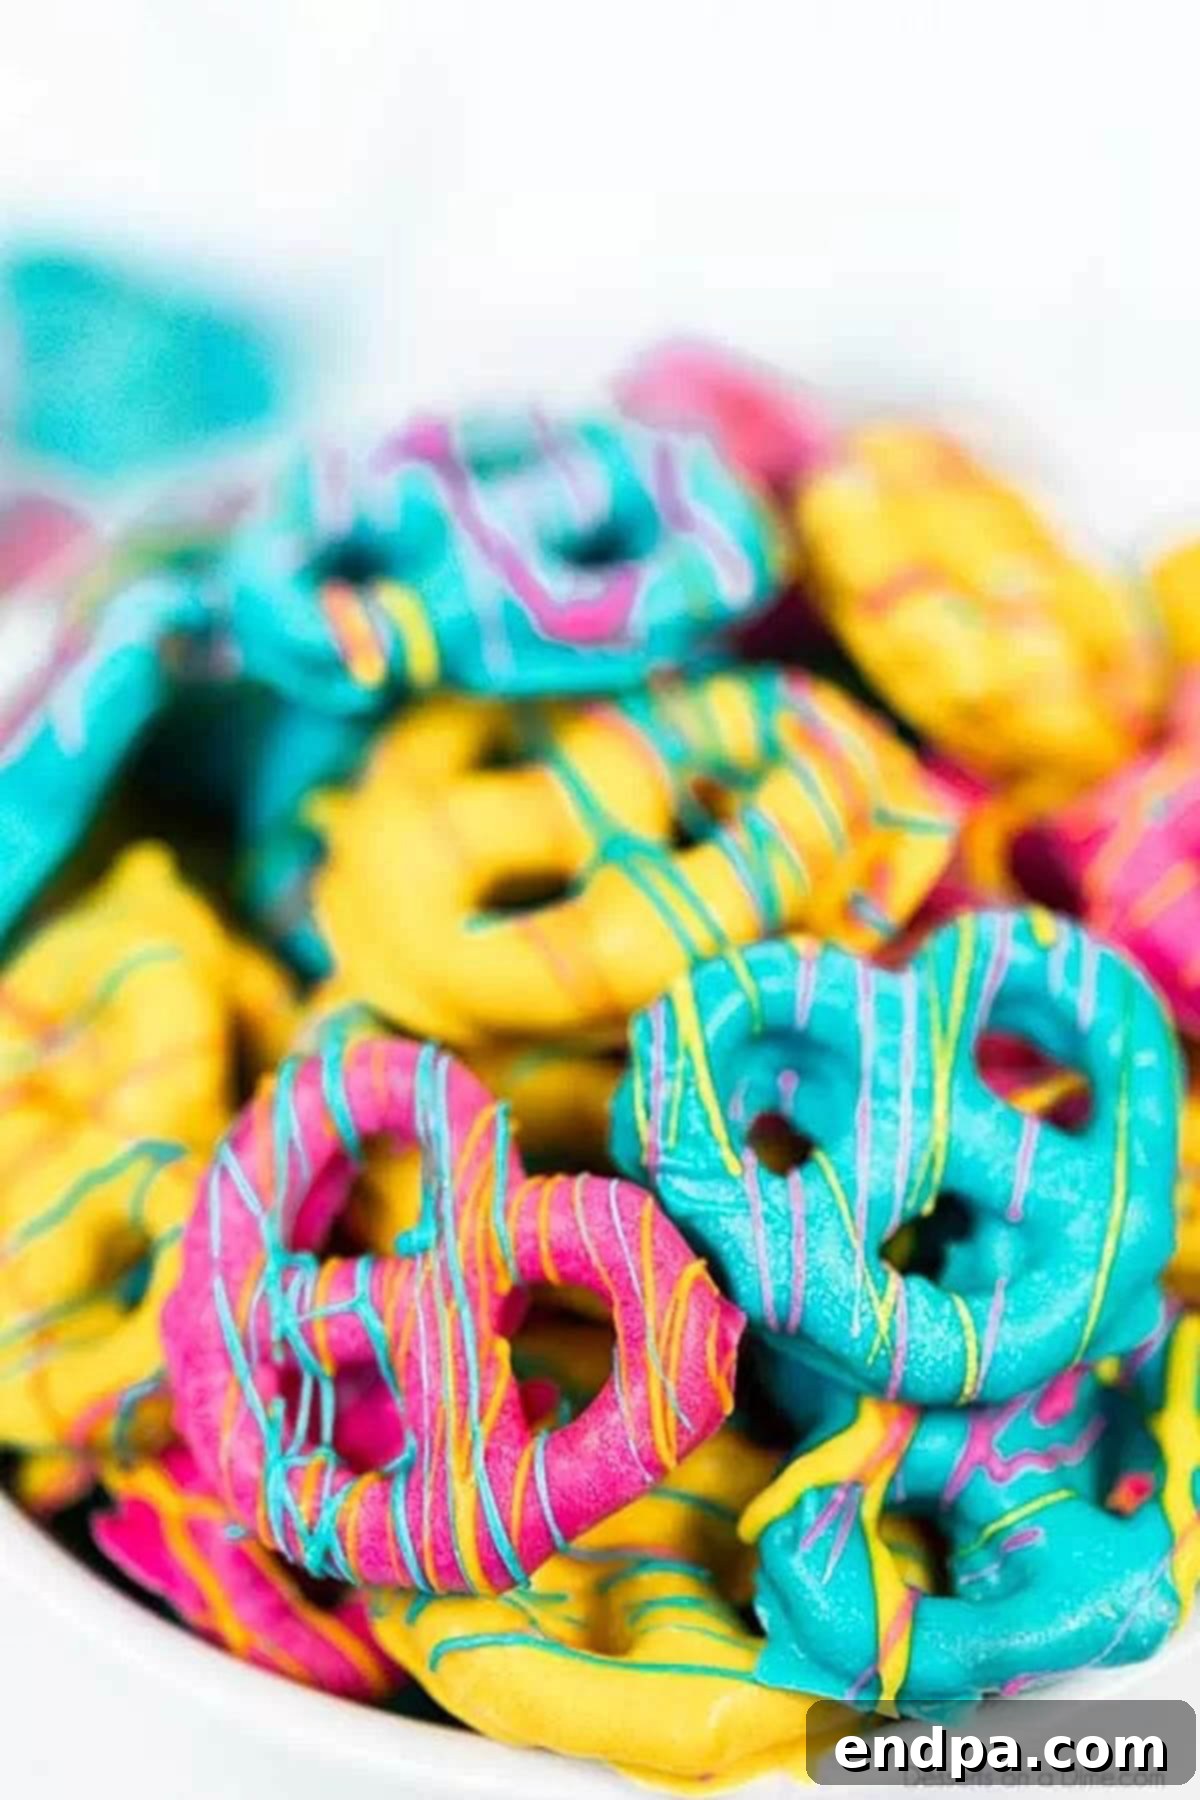
Easter Chocolate Covered Pretzels are the ultimate delightful treat, perfectly blending the irresistible charm of salty crunch with the sweet decadence of chocolate. This incredibly simple recipe has become a cherished annual tradition in countless homes, including mine, where these festive pretzels are devoured almost as quickly as they’re made. They are not just delicious; they are a vibrant and fun addition to any Easter celebration or Spring gathering, promising smiles with every bite.
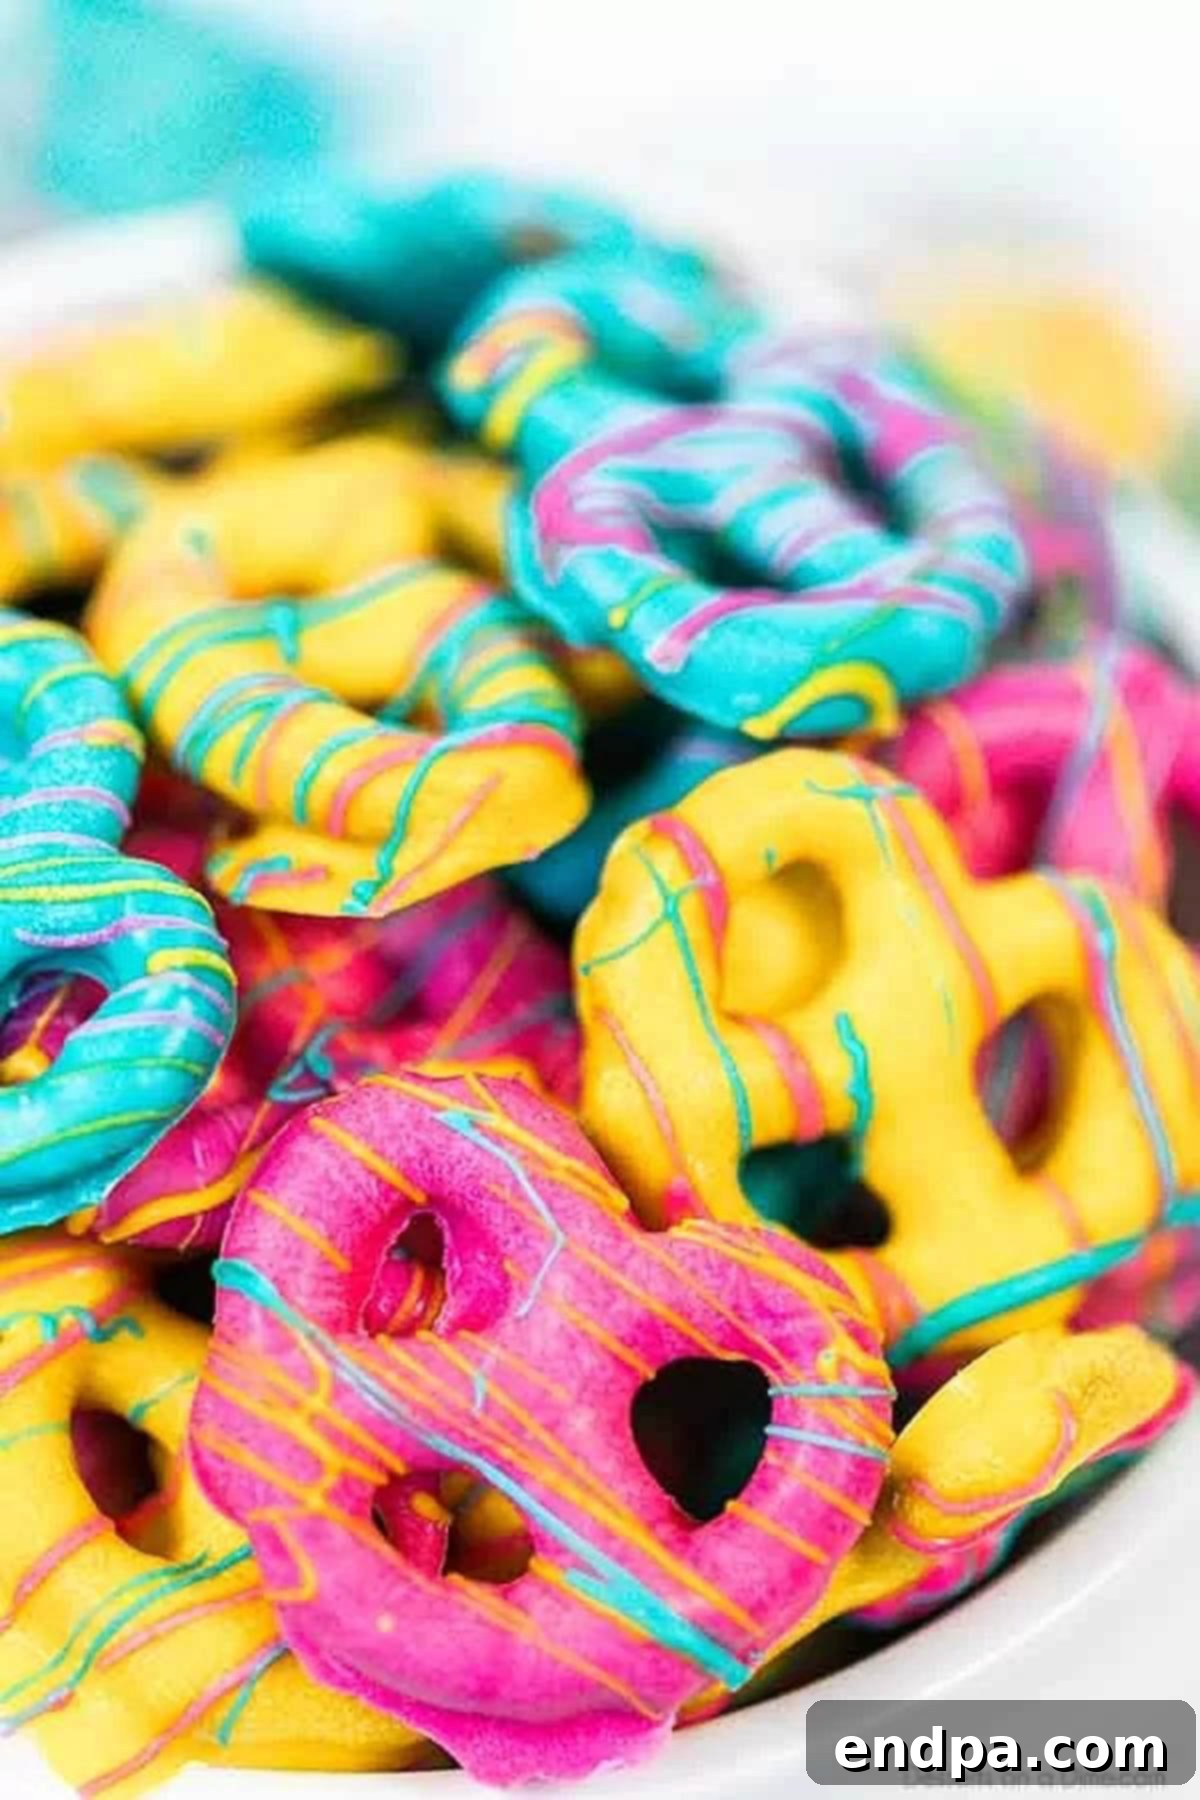
Easter is a time for joy, family, and, of course, an abundance of sweet treats! Among our family’s favorites, these chocolate covered pretzels hold a special place. The classic salty and sweet combination is truly addictive, making them a standout among our go-to Spring Desserts. What makes them even better is how effortlessly they come together, often requiring just two or three ingredients, depending on how many festive colors you choose to incorporate.
These Easter Pretzels are renowned for their simplicity, fantastic taste, and appealing presentation. They are an absolute must-have for your upcoming Easter menu or any Spring-themed party. The preparation is so straightforward that you’ll have ample time to whip up other delightful Easy Easter Desserts like the adorable Easter Bunny Bait Recipe and charming Birds Nest Cookies. If you’re a connoisseur of the sweet and salty flavor profile, you might also adore the Strawberry Pretzel Dessert, but these chocolate-covered versions are truly something special.
The beauty of this recipe lies in its adaptability and quick preparation, making it suitable for even the busiest holiday schedules. Whether you’re planning a large Easter brunch or a small family gathering, these pretzels add a touch of homemade charm without demanding hours in the kitchen. Plus, they’re a fantastic project for involving little helpers, fostering fun family memories while creating something delicious.
Table of Contents
- The Magic of Candy Melts
- Gathering Your Simple Ingredients
- Endless Variations for Your Chocolate Covered Pretzels
- How to Make Irresistible Easter Chocolate Covered Pretzels
- Pro Tips for Perfect Pretzels
- Storage and Freshness
- Can You Freeze Chocolate Covered Pretzels?
- More Delightful Chocolate Covered Treats
- More Easy Easter Desserts
The Magic of Candy Melts
One of the secrets to the effortless charm of these Easter treats is the use of candy melts. I absolutely adore working with candy melts for crafting easy candy recipes. They offer a vibrant spectrum of colors that instantly elevate the festive appeal of any dessert, and their delightful chocolatey flavor is always a hit. Unlike traditional chocolate, candy melts are specifically designed to melt smoothly and harden beautifully, making them a dream to work with for dipping and decorating.
Finding candy melts has become increasingly easy over the years. You can often spot them in the baking aisle of your local grocery store. If not, craft stores typically carry an extensive selection of colors and brands, making it simple to find exactly what you need for your Easter palette. For ultimate convenience, they are also readily available online, with a fantastic selection of options on platforms like Amazon. Stocking up on a few different colors allows for endless creative possibilities, from pastel drizzles to bold, contrasting designs, ensuring your Easter chocolate covered pretzels are as unique as they are delicious.
Gathering Your Simple Ingredients
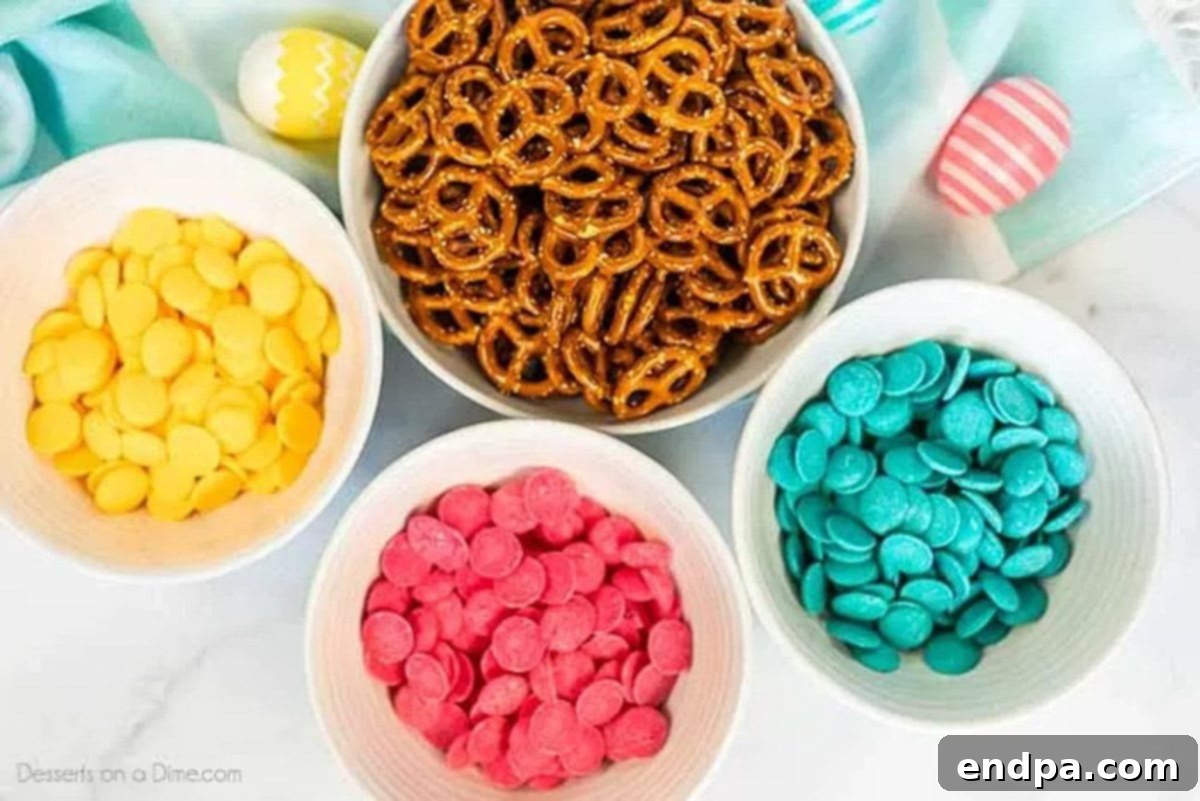
Preparing these charming Easter Chocolate Covered Pretzels requires a minimal ingredient list, making them perfect for a last-minute treat or a fun activity with the kids. Here’s what you’ll need to get started:
- Miniature Pretzel Twists or Pretzel Rods: The classic mini pretzel twists are perfect for bite-sized delights, offering a great surface for the chocolate coating. Pretzel rods are also an excellent choice, providing a longer canvas for decorating and making them feel more substantial. Choose your favorite shape for dipping.
- Candy Melts or Chocolate Chips: The vibrant colors of candy melts (such as yellow, pink, and blue, as used in this recipe with 4 ounces of each) truly bring the Easter spirit to life. However, you can absolutely use your favorite colors or even opt for standard chocolate chips (milk, dark, or white) if you prefer. The key is to ensure they are high-quality and melt smoothly for a beautiful finish.
The complete, detailed ingredient list with exact measurements can be found at the bottom of this page in the recipe card.
Endless Variations for Your Chocolate Covered Pretzels
While the basic Easter Chocolate Covered Pretzel recipe is fantastic on its own, it also serves as a wonderful canvas for creativity. Don’t hesitate to experiment with different coatings and toppings to customize these treats for any occasion or simply to suit your taste. Here are some delightful variations to inspire you:
- Alternate Chocolate Coatings: Instead of colored candy melts, you can use various types of melting chocolate for your base. Rich dark chocolate, creamy milk chocolate, or elegant white chocolate would all make superb coatings. White Chocolate Covered Pretzels, for instance, offer a classic look and provide a neutral base if you want your sprinkles or drizzles to truly pop.
- Sprinkle Extravaganza: Elevate the festive factor by topping your pretzels with an array of your favorite sprinkles. Easter-themed sprinkles, pastel jimmies, nonpareils, or even edible glitter can transform your pretzels into miniature works of art. There are some truly adorable sprinkle options available here that are perfect for Spring!
- Pretzel Shape Play: While mini twists are featured in this recipe, feel free to use any kind of pretzels you love. Pretzel rods are fantastic for holding and decorating, offering a larger surface area for swirls and designs. Regular-sized twists or even pretzel snaps (the square lattice-shaped pretzels) would also work wonderfully and create unique visual appeal.
- Candy Toppings Galore: For an extra layer of flavor and texture, press your favorite small candies onto the wet chocolate coating before it sets. M&M’s (especially pastel Easter colors), crushed Oreos, bits of Heath bars, or Butterfingers would add an incredible dimension of taste and crunch to these already delicious pretzels. Chopped nuts like pecans or walnuts also make a great addition for a more sophisticated treat.
- Flavor Extracts: Add a few drops of food-grade flavor extract (like peppermint, almond, or orange) to your melted chocolate or candy melts for a subtle yet delightful flavor boost. Just be sure to use oil-based extracts when working with chocolate to avoid seizing.
The possibilities are truly endless, so have fun with it and create your own signature Easter pretzel variations!
How to Make Irresistible Easter Chocolate Covered Pretzels
Creating these beautiful and delicious Easter Chocolate Covered Pretzels is a straightforward process that anyone can master. Follow these simple steps for a perfect batch:
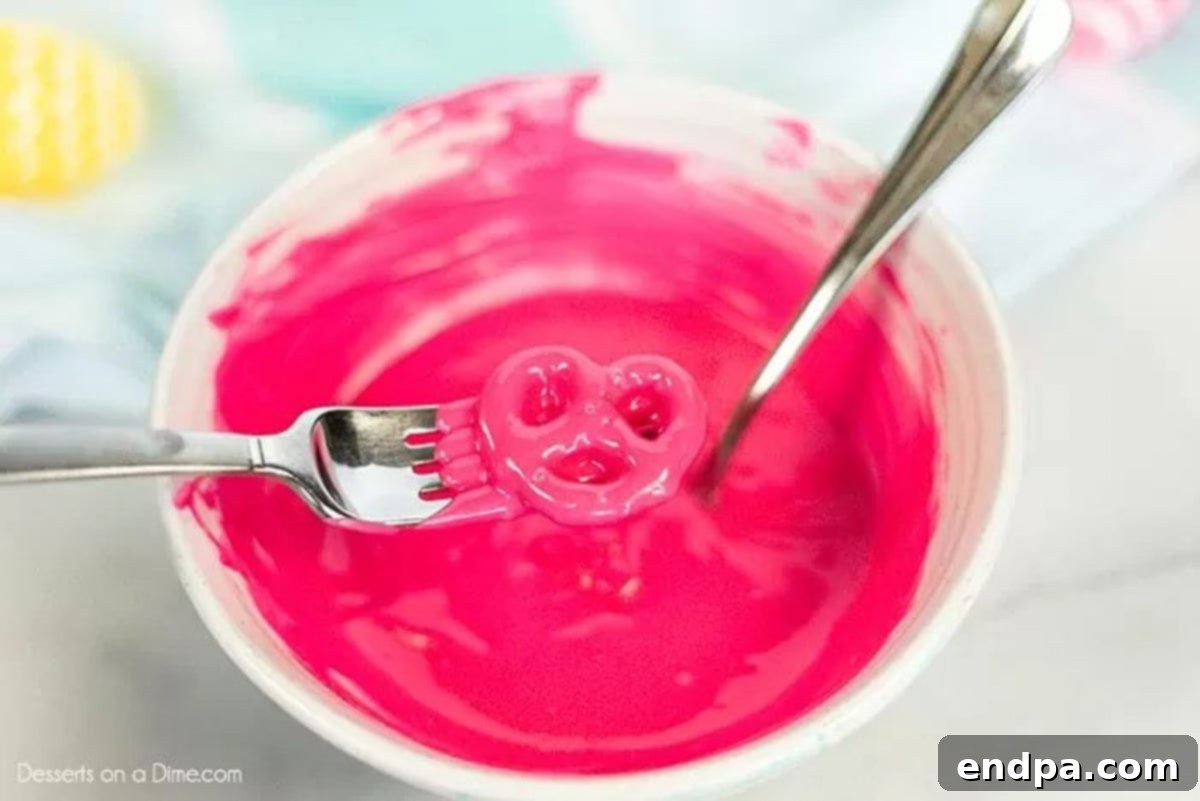
Step 1: Melt the Candy Melts. Begin by placing your chocolate or candy melts in separate microwave-safe bowls, one bowl for each color you plan to use. Microwave each bowl in 30-second intervals, stirring thoroughly between each interval, until the chocolate is completely melted and smooth. Once melted, immediately dip your miniature pretzel twists or pretzel rods into the candy melt or chocolate, ensuring they are evenly coated.
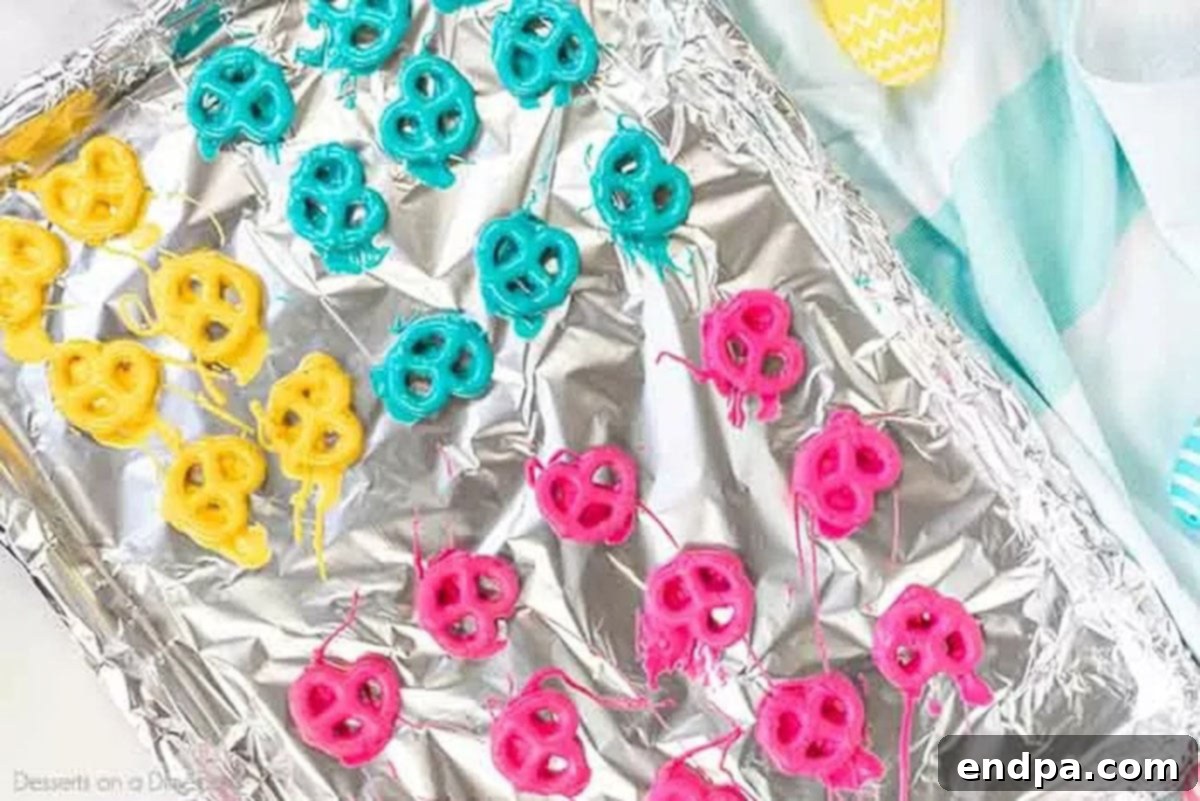
Step 2: Arrange on Baking Sheet. Carefully place the chocolate-covered pretzels onto a baking sheet that has been lined with parchment paper or foil. This non-stick surface is crucial for easy removal once the chocolate has set. Leave a little space between each pretzel to prevent them from sticking together as they dry.
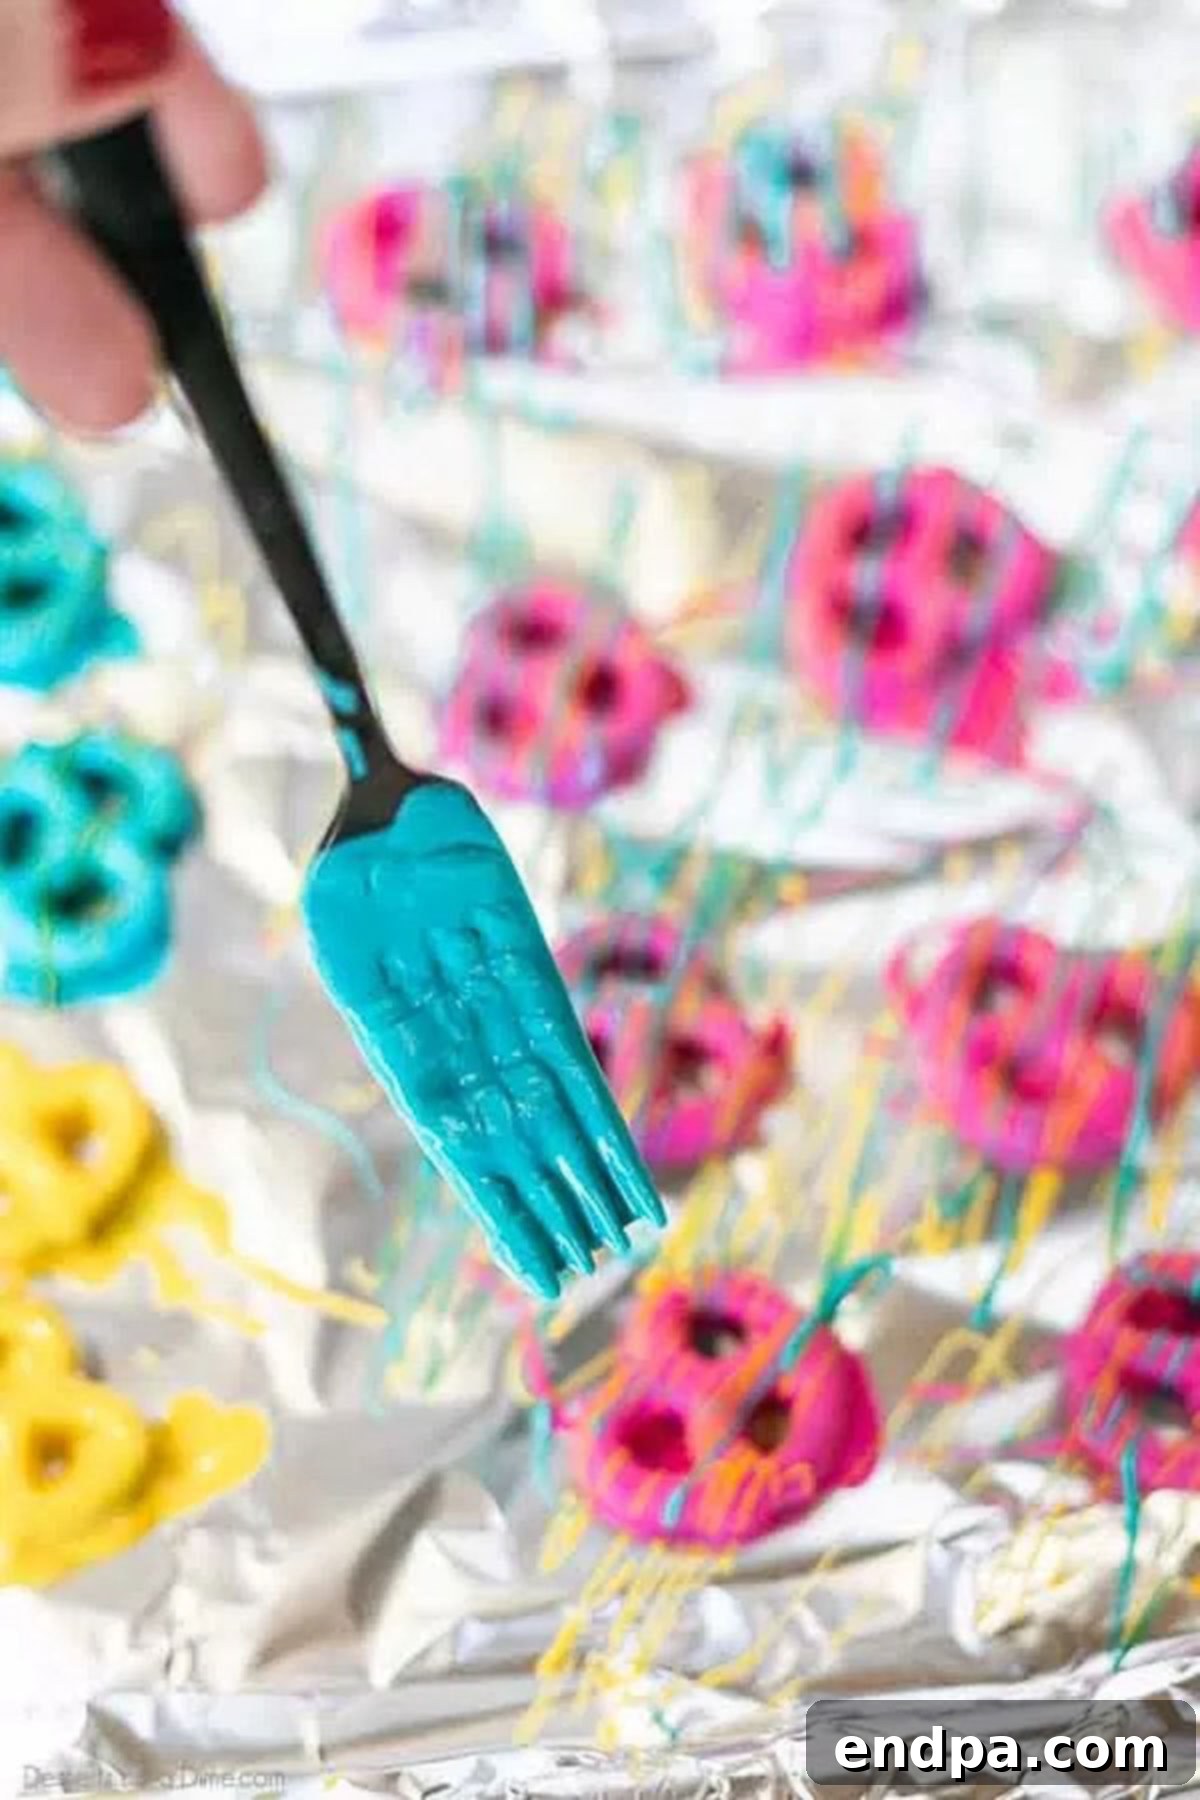
Step 3: Drizzle with Contrasting Colors. If desired, once your base layer of chocolate has slightly set (after about 10-15 minutes), drizzle with other melted candy melt colors. Use a fork or a piping bag with a small tip to create beautiful, artistic patterns. This step adds visual interest and a burst of contrasting flavor.

Step 4: Allow to Dry and Set. Let the pretzels sit undisturbed at room temperature until the chocolate is completely dry and firm to the touch. This usually takes about an hour. To significantly speed up the setting process, you can carefully place the baking sheet in the refrigerator for about 15-20 minutes. Once firm, they are ready to serve or store.
Pro Tips for Perfect Pretzels
Achieving perfectly coated and beautifully decorated chocolate pretzels is easier than you think with a few expert tips. These pointers will help ensure your Easter treats turn out professional-looking and absolutely delicious:
- Thorough Melting for Smooth Coating: It’s paramount to ensure your chocolate or candy melts are entirely melted and smooth before you begin dipping the pretzels. While microwaving in short 30-second bursts, stirring diligently after each, is quick and convenient, a double boiler method offers more control and can prevent scorching. Regardless of the method, a silky-smooth consistency is key for an even, attractive coating.
- Achieving Silky Smooth Chocolate: If, after melting, your candy melts or chocolate appear too thick or are not as smooth as desired, don’t fret! Add about ½ teaspoon of vegetable oil or coconut oil to the mixture. Stir it in thoroughly, and you’ll notice the chocolate becoming much more pliable and easy to work with. Avoid adding water, as this can cause the chocolate to seize.
- Preventing Overheating: Be very careful not to overheat the chocolate or candy melts. Overheated chocolate can become grainy, seize, or lose its glossy finish, making it challenging to spread and dip. This is why using 30-second intervals and constant stirring, especially when microwaving, is crucial. Stop heating as soon as the last lumps disappear with stirring, even if it’s slightly before the timer.
- Immediate Use for Best Results: Melted chocolate hardens relatively quickly. Therefore, it’s best to have all your pretzels and a lined baking sheet ready before you start melting the chocolate. Once melted, use the chocolate or candy melts immediately for dipping to ensure the best coating experience.
- The Fork Dipping Technique: For an optimal coating with minimal mess, I highly recommend using a fork for dipping your pretzels. Submerge the pretzel in the melted chocolate, then gently tap the fork against the side of the bowl. This technique allows excess chocolate to drip off through the tines of the fork, resulting in a cleaner, more evenly coated pretzel than using a spoon.
- Prepare Your Drying Surface: Always cover your baking sheet with either parchment paper, wax paper, or aluminum foil. This prevents the chocolate-covered pretzels from sticking to the tray as they set, making them easy to remove without damaging their beautiful coating.
- Timing for Additional Colors: If you plan to drizzle your pretzels with additional colors, allow the initial chocolate coating to set for approximately 10-15 minutes at room temperature. This brief setting period ensures that the drizzled colors sit on top rather than blending into the base coat, creating crisp, defined lines and designs.
- Consider Your Workspace: Set up your workspace before you begin. Have all ingredients, bowls, utensils, and lined baking sheets within easy reach. This streamlines the process and helps avoid last-minute scrambling when the chocolate is ready to go.
By following these expert tips, you’ll be well on your way to creating stunning and delicious Easter Chocolate Covered Pretzels that are sure to impress!
Storage and Freshness
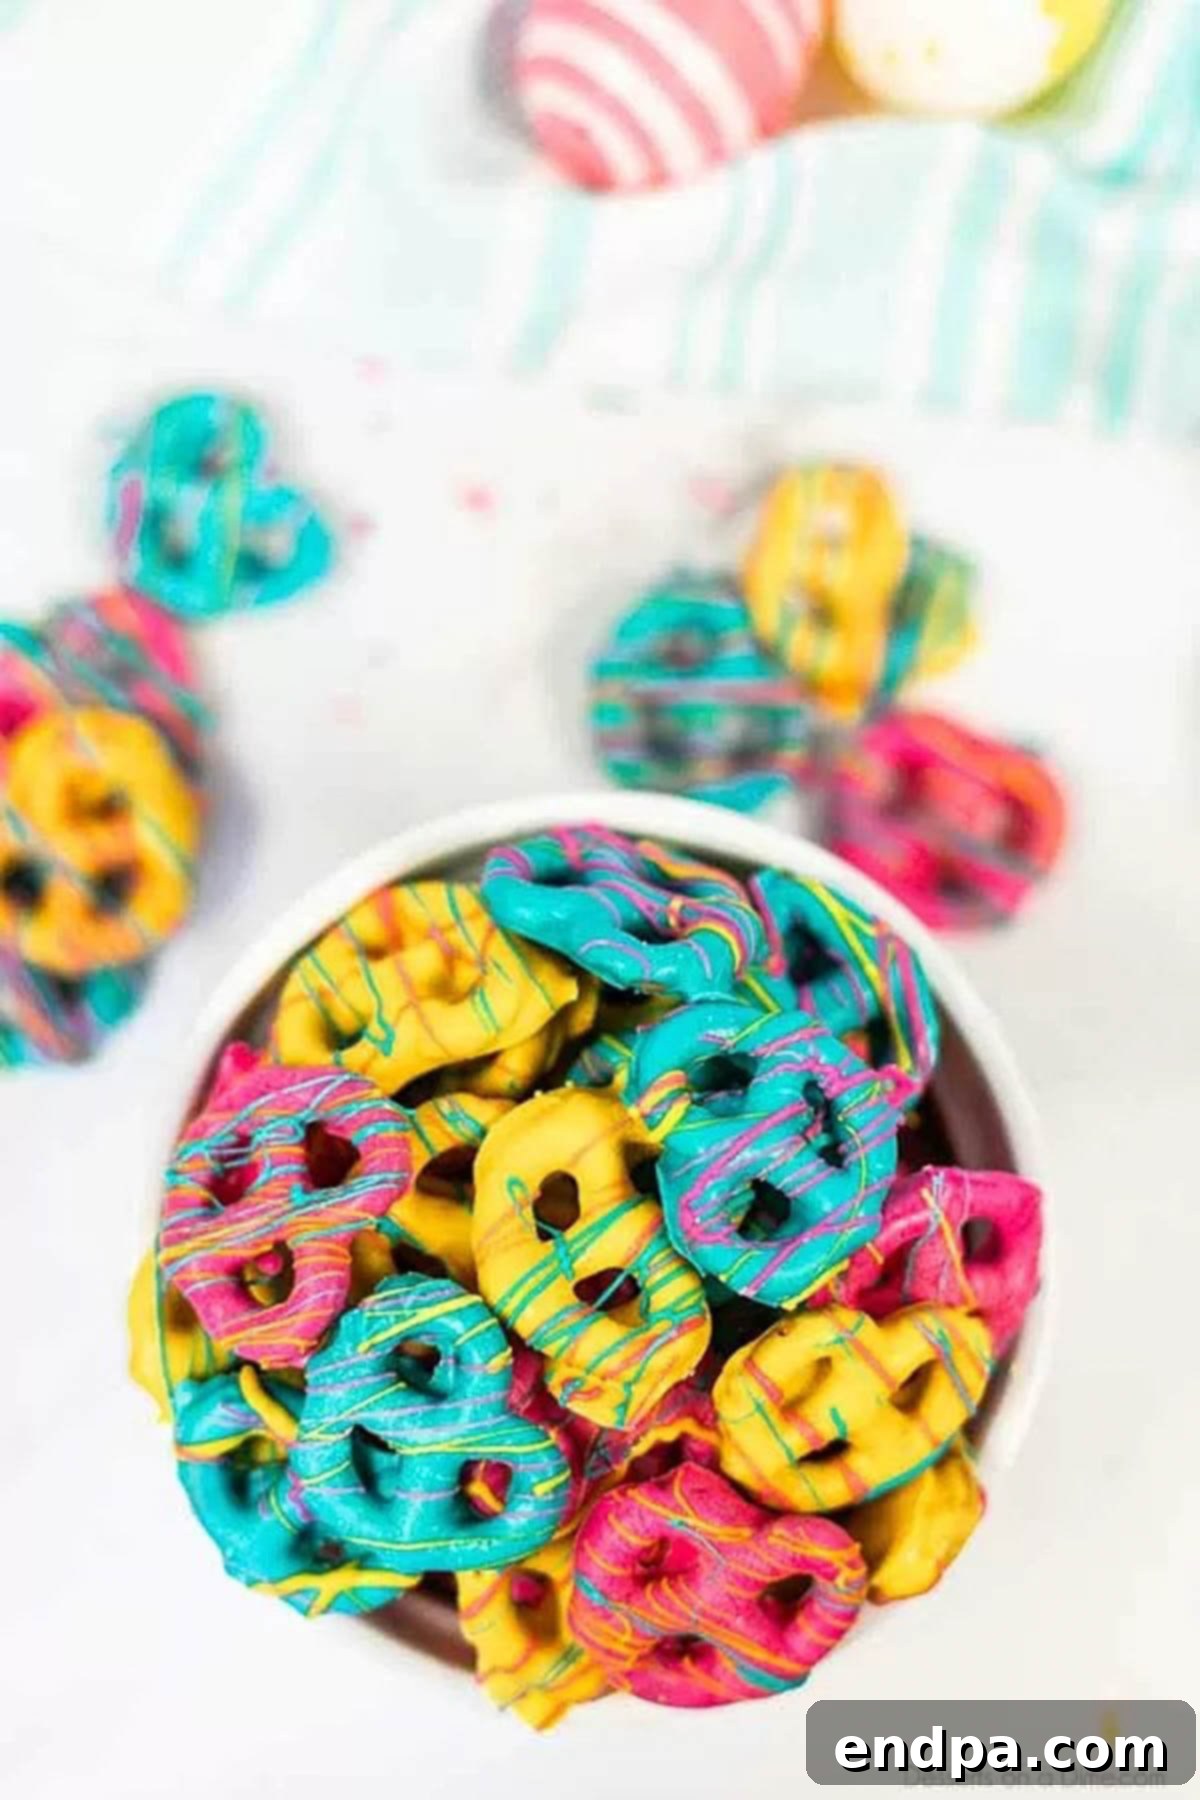
Once your beautiful Easter Chocolate Covered Pretzels have fully dried and set, proper storage is key to maintaining their freshness and crisp texture. I typically store these delightful treats at room temperature in a sealed Ziploc bag or an airtight container. Stored this way, they remain perfectly fresh and delicious for up to two weeks. However, in my household, they rarely last that long – they’re just too irresistible! For optimal flavor and texture, keep them away from direct sunlight and excessive heat, which can cause the chocolate to melt or become sticky. You can also layer them between sheets of parchment paper in the container to prevent them from sticking to each other, especially if you’ve added sprinkles or other delicate toppings.
Can You Freeze Chocolate Covered Pretzels?
Absolutely, you can freeze chocolate covered pretzels! Freezing is a fantastic way to extend their shelf life and prepare them in advance for future events or simply to enjoy later. To freeze them effectively, ensure the chocolate coating is completely set and hardened. Then, arrange the pretzels in a single layer on a baking sheet and freeze for about 30 minutes, or until solid. This pre-freezing step prevents them from sticking together. Once solid, transfer the pretzels to a freezer-safe container or a heavy-duty freezer bag. If layering, place parchment paper between each layer to avoid sticking. They can be stored in the freezer for up to 2-3 months. When you’re ready to enjoy them, simply take them out of the freezer and let them thaw at room temperature for about 15-30 minutes before serving. They will be just as crunchy and delicious as when they were first made!
More Delightful Chocolate Covered Treats
If you’ve fallen in love with these Easter Chocolate Covered Pretzels, you’re in for a treat! The world of chocolate-covered delights is vast and wonderfully delicious. Here are a few more recipes that embrace that irresistible chocolate coating, perfect for expanding your dessert repertoire:
- Peeps Chocolate Covered Pretzel Rods
- Peanut Butter Balls
- Chocolate Covered Rice Krispie Treats
More Easy Easter Desserts
Easter is a holiday brimming with opportunities for delicious and festive desserts. If you’re looking for more simple yet show-stopping treats to complement your Easter Chocolate Covered Pretzels, explore these other easy recipes:
- Easter Dirt Cups Recipe
- Easter White Chocolate Bark Recipe
- Easter Basket Cupcakes
- How to Make an Easter Bunny Cake
- Adorable Peeps Cupcakes
- Easter Chocolate Bark
Make these yummy treats today for a fun surprise that friends and family will adore. They’re perfect for sharing, gifting, or simply enjoying as a sweet reward. After you’ve tried them, please come back and leave a star recipe rating and comment to let us know how much you loved them!
Pin
Easter Chocolate Covered Pretzels
15
mins
1
hr
1
hr
15
mins
6
American
Dessert
304
Carrie Barnard
Ingredients
-
50
miniature pretzel twists -
4
ounces
Pink Candy Melts -
4
ounces
Blue Candy Melts -
4
ounces
Yellow Candy Melts
Instructions
- Place the candy melts in a microwave safe bowl. Use different bowls for each color.
- Microwave each bowl in 30 second increments or until the candy is melted. Stir between each interval until the candy is smooth.
- Dip the pretzel twists in the candy melt or the chocolate, use a fork to coat each pretzel in the candy, then tap the fork against the side of the bowl to remove excess chocolate.
- Then place the pretzel on a baking sheet lined with parchment paper, wax paper or foil. Then drizzle with the other colors.
- Let the pretzels sit until dry. They will need to sit at room temperature for approximately 1 hour or you can put them in the refrigerator to speed up the process.
- Serve or store!
Recipe Notes
Nutrition Facts
304
kcal
,
Carbohydrates
53
g
,
Protein
5
g
,
Fat
8
g
,
Saturated Fat
6
g
,
Sodium
624
mg
,
Potassium
64
mg
,
Fiber
1
g
,
Sugar
17
g
,
Calcium
9
mg
,
Iron
2
mg
Pin This Now to Remember It Later
Pin Recipe
