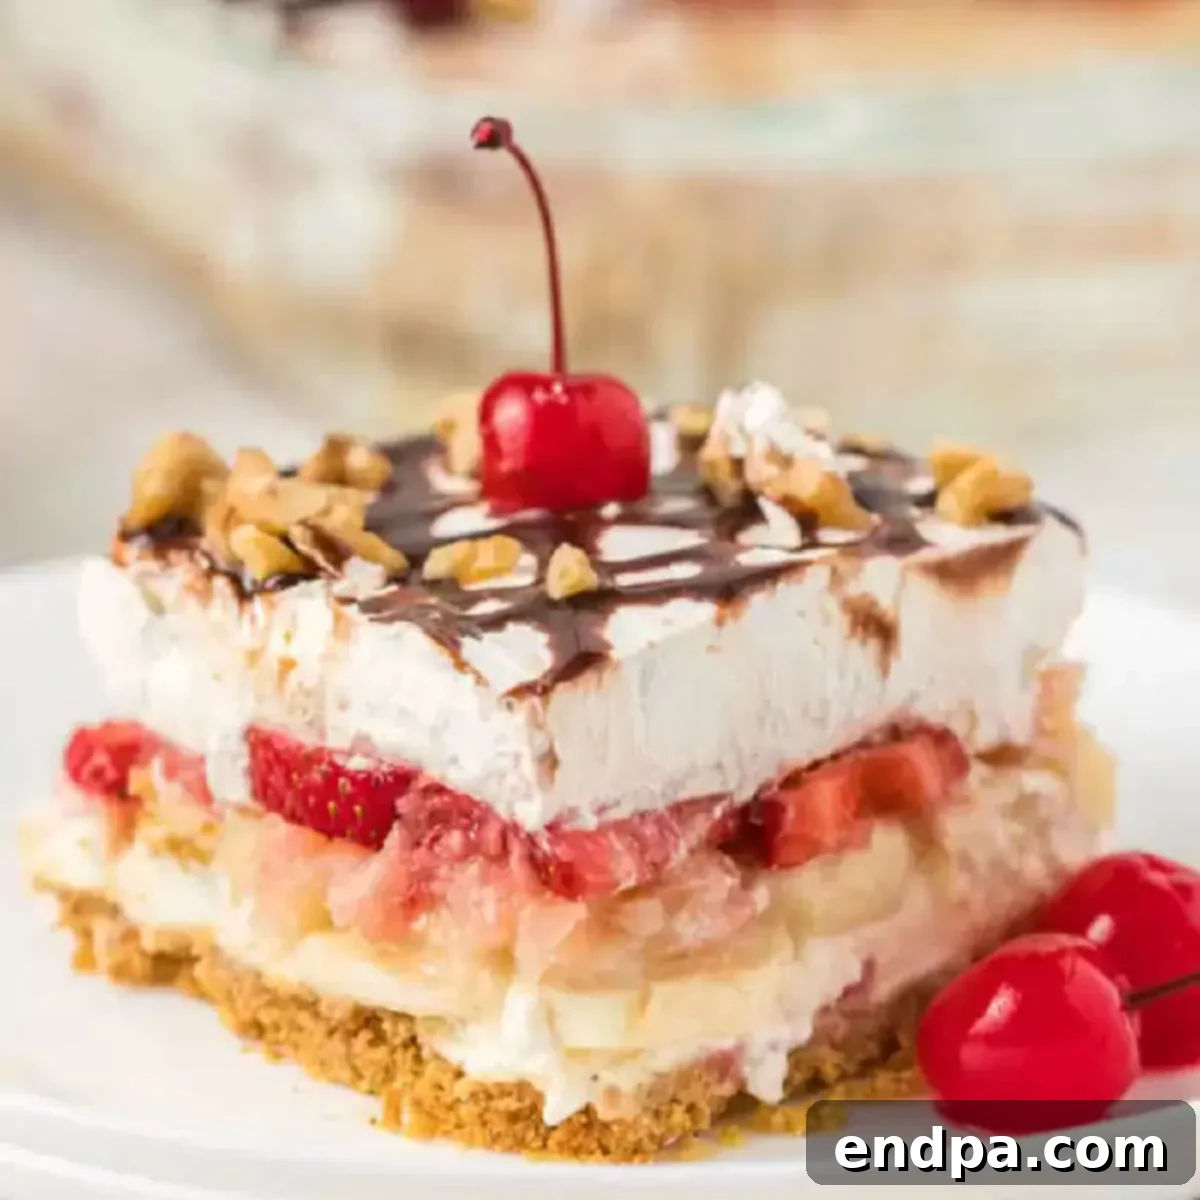
Irresistible No-Bake Banana Split Cake: An Effortlessly Decadent Dessert
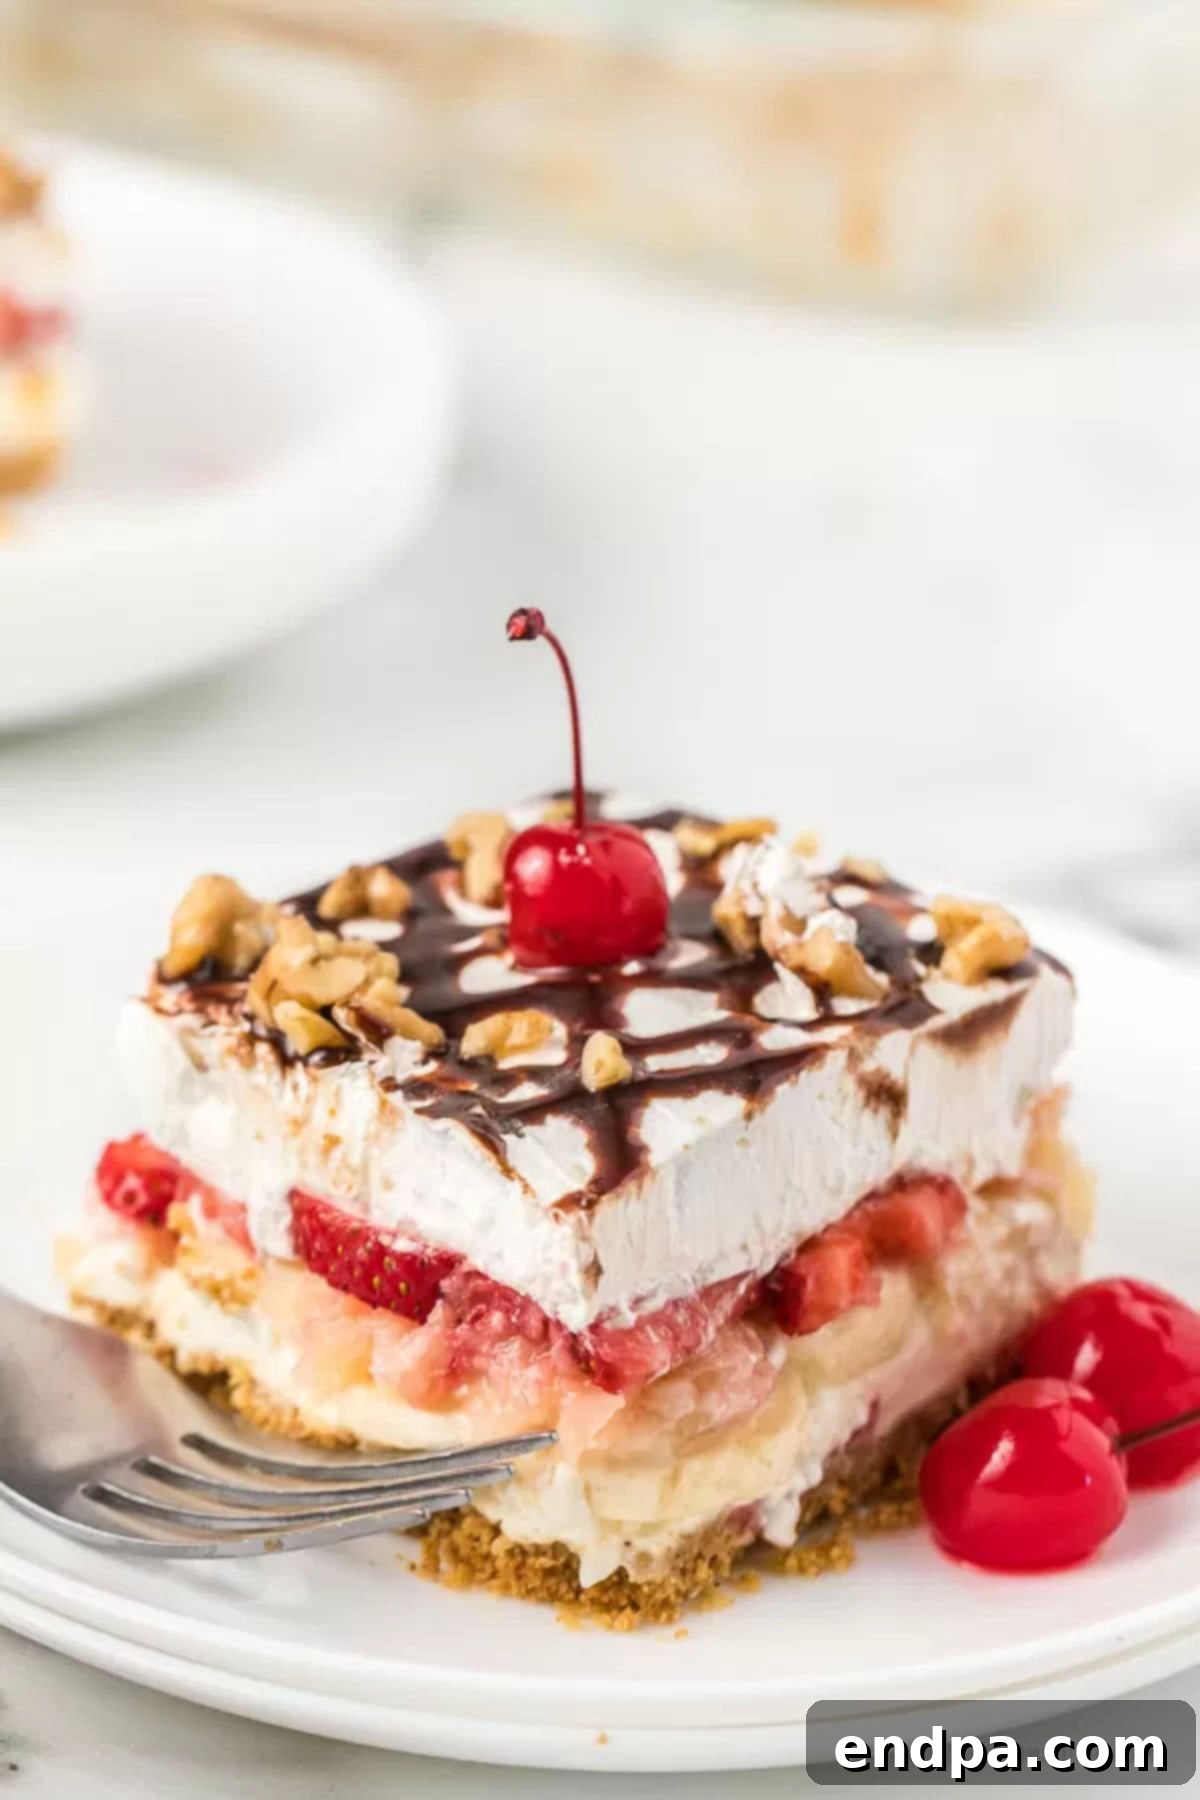
Craving the nostalgic joy of a classic banana split but looking for an easier, crowd-pleasing dessert that doesn’t require an oven? This No-Bake Banana Split Cake is your perfect solution! It masterfully captures all the vibrant flavors and delightful textures of the beloved ice cream parlor treat, reimagined in a simple, layered cake format. Picture layers of sweet, ripe bananas, fresh, juicy strawberries, tangy crushed pineapple, and a smooth, creamy no-bake filling, all nestled atop a crisp graham cracker crust. This magnificent creation is then lavishly crowned with fluffy whipped topping, rich chocolate syrup, satisfyingly crunchy walnuts, and bright maraschino cherries. It’s a true showstopper that comes together with minimal effort, making it an ideal choice for potlucks, family gatherings, summer barbecues, or any occasion where you desire a spectacularly delicious and refreshingly cool dessert.
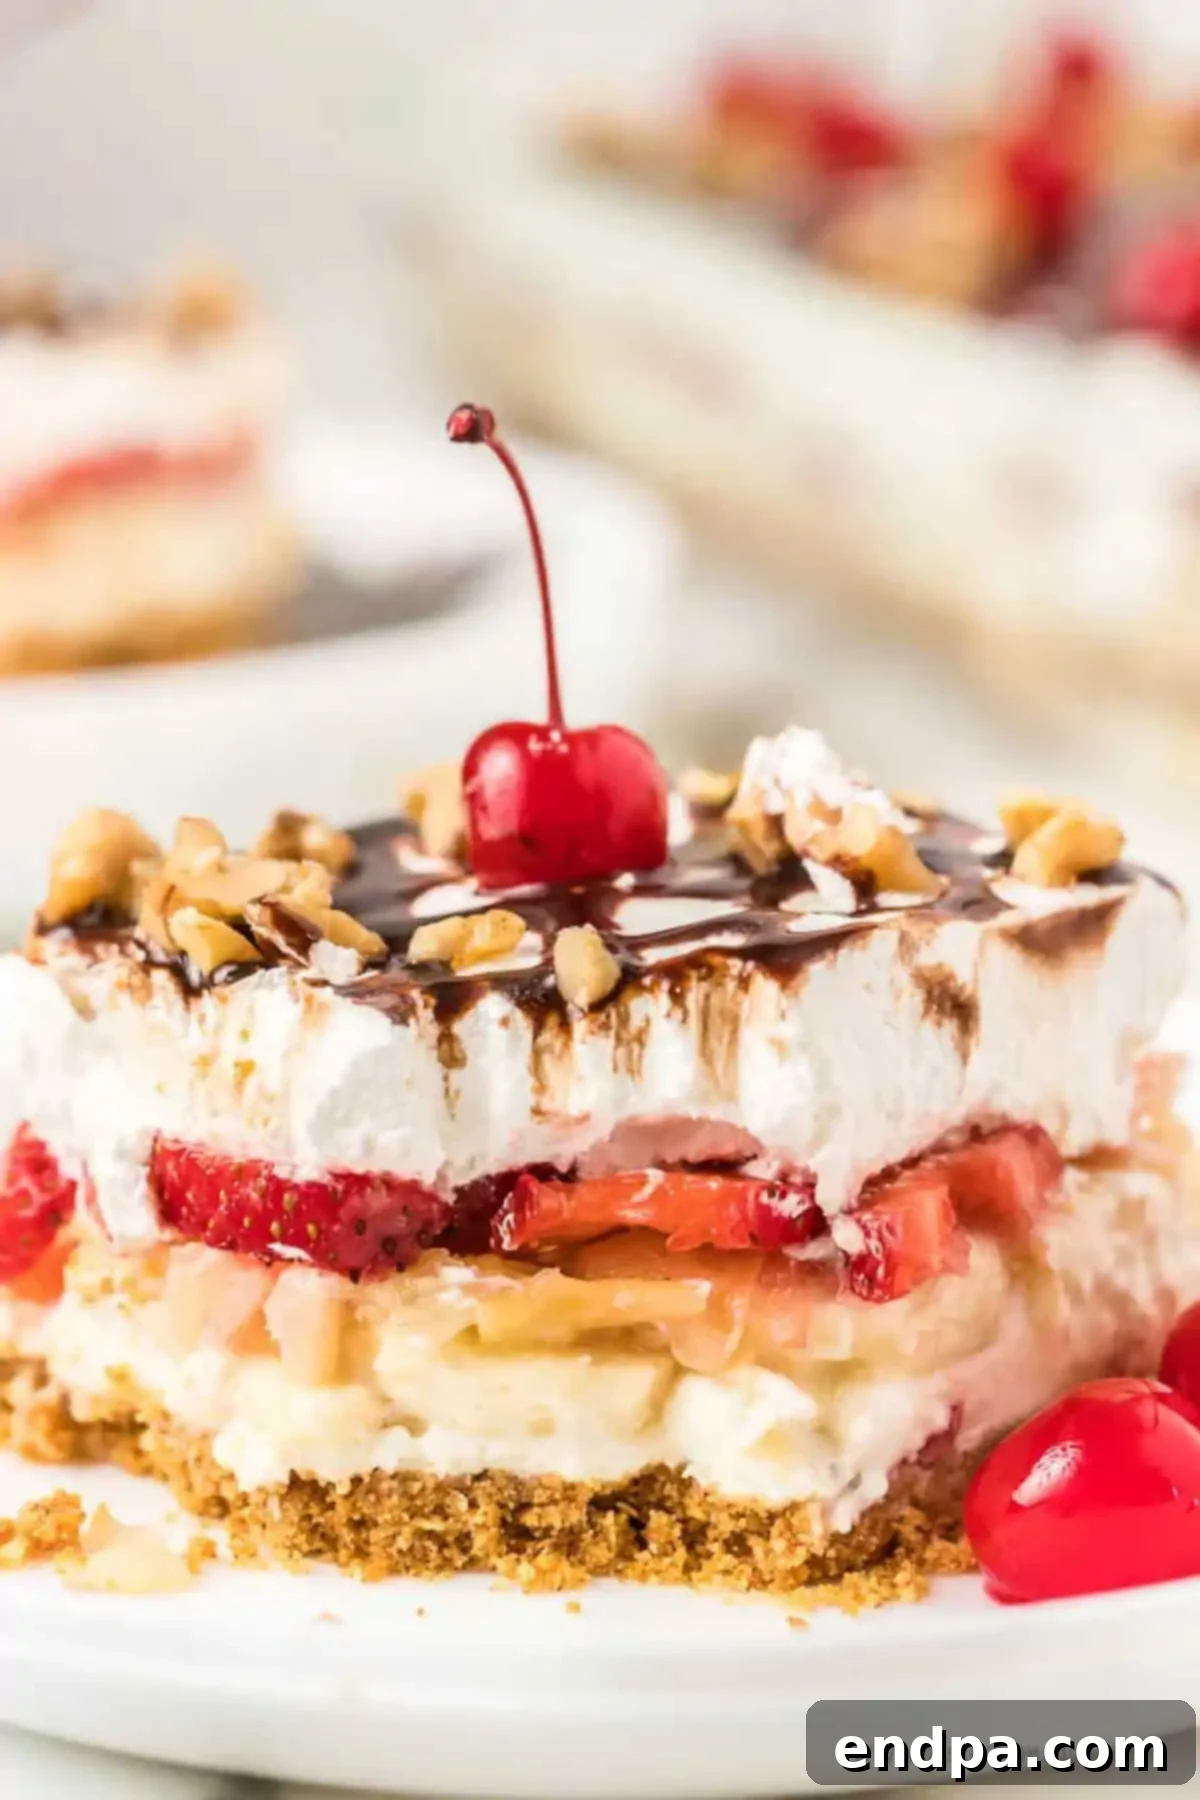
The inspiration for this easy no-bake dessert recipe comes directly from everything you adore about a traditional banana split. We’ve translated those iconic components into a dessert that’s not only incredibly simple to assemble but also delivers an explosion of flavor with every spoonful. If you’re a devoted fan of banana-infused treats, you might also enjoy our Banana Cream Cheesecake Bars for another delightful experience.
Beyond this sensational no-bake cake, we also cherish other effortless desserts like our rich Eclair Cake, the delightful Strawberry Crunch Poke Cake Recipe, or for another banana-split inspired treat, the easy Banana Split Dump Cake. And if you happen to have any leftover crushed pineapple from this recipe, consider whipping up our equally simple Pineapple Angel Food Dump Cake Recipe.
Table of Contents
- Why This No-Bake Banana Split Cake Recipe Works
- Key Ingredients for Success
- The Perfect No-Bake Crust
- Creamy Dreamy Filling
- Classic Banana Split Toppings
- How to Make Banana Split Cake: Step-by-Step Instructions
- Expert Tips for the Best No-Bake Banana Split Cake
- Storage Guidelines
- Frequently Asked Questions (FAQs)
- Explore More Delicious Banana Recipes
Why This No-Bake Banana Split Cake Recipe Works
This No-Bake Banana Split Cake is much more than just a dessert; it’s a guaranteed crowd-pleaser that simplifies entertaining and delivers incredible flavor without any fuss. Its popularity stems from several key benefits:
- Effortless Preparation: As the name suggests, there’s absolutely no baking required. This makes it perfect for hot summer days when you want a cool treat without heating up your kitchen. The steps are straightforward, making it accessible even for novice bakers.
- Make-Ahead Convenience: This dessert is ideal for preparing in advance. In fact, it tastes even better when given ample time to chill and allow the flavors to meld, making it a stress-free option for parties, potlucks, or holiday gatherings. Simply assemble the day before, refrigerate, and serve when ready!
- Irresistible Flavor Profile: It perfectly balances the sweetness of the fruit and cream cheese with the slight tartness of pineapple and the richness of chocolate. The combination of textures—crisp crust, creamy filling, soft fruit, and crunchy nuts—creates a truly satisfying dessert experience.
- Universal Appeal: Banana splits are a beloved classic for a reason, and this cake version carries that same broad appeal. Kids and adults alike will delight in its familiar yet elevated taste.
- Versatile and Customizable: While the classic toppings are fantastic, this recipe provides a wonderful canvas for creativity. Easily swap out nuts, add sprinkles, or incorporate other sauces to match your personal preferences.
If you’re a fan of simple yet impressive desserts, you’ll find this recipe to be a fantastic addition to your repertoire. For more easy dessert inspiration, you might also like these Dump Cake Recipes. We also love making classic comfort desserts like our Better Than Sex Cake Recipe and festive treats like these 4th of July Cake Ideas.
Key Ingredients for Success
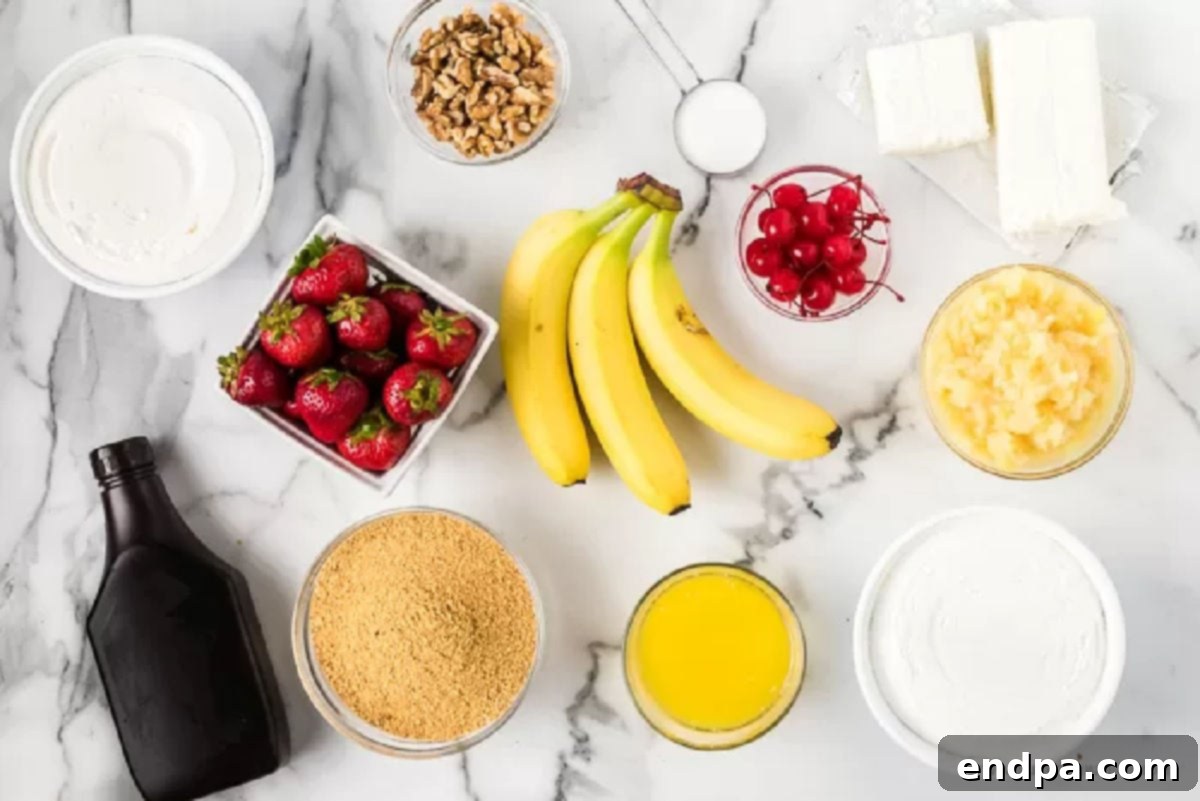
Crafting this delightful No-Bake Banana Split Cake requires a handful of simple, readily available ingredients. Each component plays a vital role in building the layers of flavor and texture that make this dessert so special.
The Perfect No-Bake Crust
- Graham Cracker Crumbs: These form the sweet, buttery foundation of our cake. You can either purchase them pre-crushed for ultimate convenience or crush whole graham crackers yourself using a food processor or a rolling pin.
- Unsalted Butter (melted): Real butter is essential here for binding the crumbs and imparting a rich, irresistible flavor to the crust. Melt it gently until just liquid.
Creamy Dreamy Filling
- Cream Cheese: Softened at room temperature, cream cheese provides the luscious, tangy base for our creamy layer, balancing the sweetness of the other ingredients. Ensure it’s fully softened for a smooth, lump-free mixture.
- Granulated Sugar: A touch of sugar sweetens the cream cheese, creating a perfectly balanced flavor.
- Cool Whip: This light and airy whipped topping is folded into the cream cheese mixture, adding volume and a delicate sweetness. For a homemade touch, you can also opt for our Homemade Whipped Cream Recipe.
Classic Banana Split Toppings
- Sliced Bananas: Choose ripe but firm bananas for optimal flavor and texture. Slice them thinly to ensure even distribution and easy slicing of the cake.
- Crushed Pineapple: Canned crushed pineapple is a classic banana split component. It’s crucial to drain the pineapple exceptionally well to prevent any excess moisture from making the crust soggy. Press out as much pineapple juice as possible.
- Fresh Strawberries: Hulled and thinly sliced, fresh strawberries add a burst of color and natural sweetness, complementing the other fruits beautifully.
- Chopped Walnuts: These provide a delightful crunch and nutty flavor. Feel free to substitute with other types of nuts if you prefer, such as chopped peanuts for a more traditional sundae feel, or pecans for a different note.
- Chocolate Syrup: A generous drizzle of chocolate syrup is non-negotiable for a banana split experience. For an extra indulgent touch, consider using our Homemade Hot Fudge Sauce Recipe.
- Maraschino Cherries: The iconic bright red cherries from a jar provide the quintessential finishing touch, adding a pop of color and a sweet, fruity accent.
The full list of ingredients with precise measurements can be found in the recipe card below.
How to Make Banana Split Cake: Step-by-Step Instructions
Creating this stunning No-Bake Banana Split Cake is a straightforward process, involving simple layering that anyone can master. Follow these easy steps to assemble your decadent dessert:
- Step 1: Prepare Your Pan. Begin by lightly greasing a standard 9×13-inch baking dish. This will help ensure your cake can be easily removed and served later. Set the prepared pan aside.
- Step 2: Create the Graham Cracker Crust. In a medium-sized mixing bowl, combine the graham cracker crumbs and the melted unsalted butter. Use a fork to mix thoroughly until all the crumbs are evenly moistened and resemble wet sand. This can also be done in the microwave for convenience.
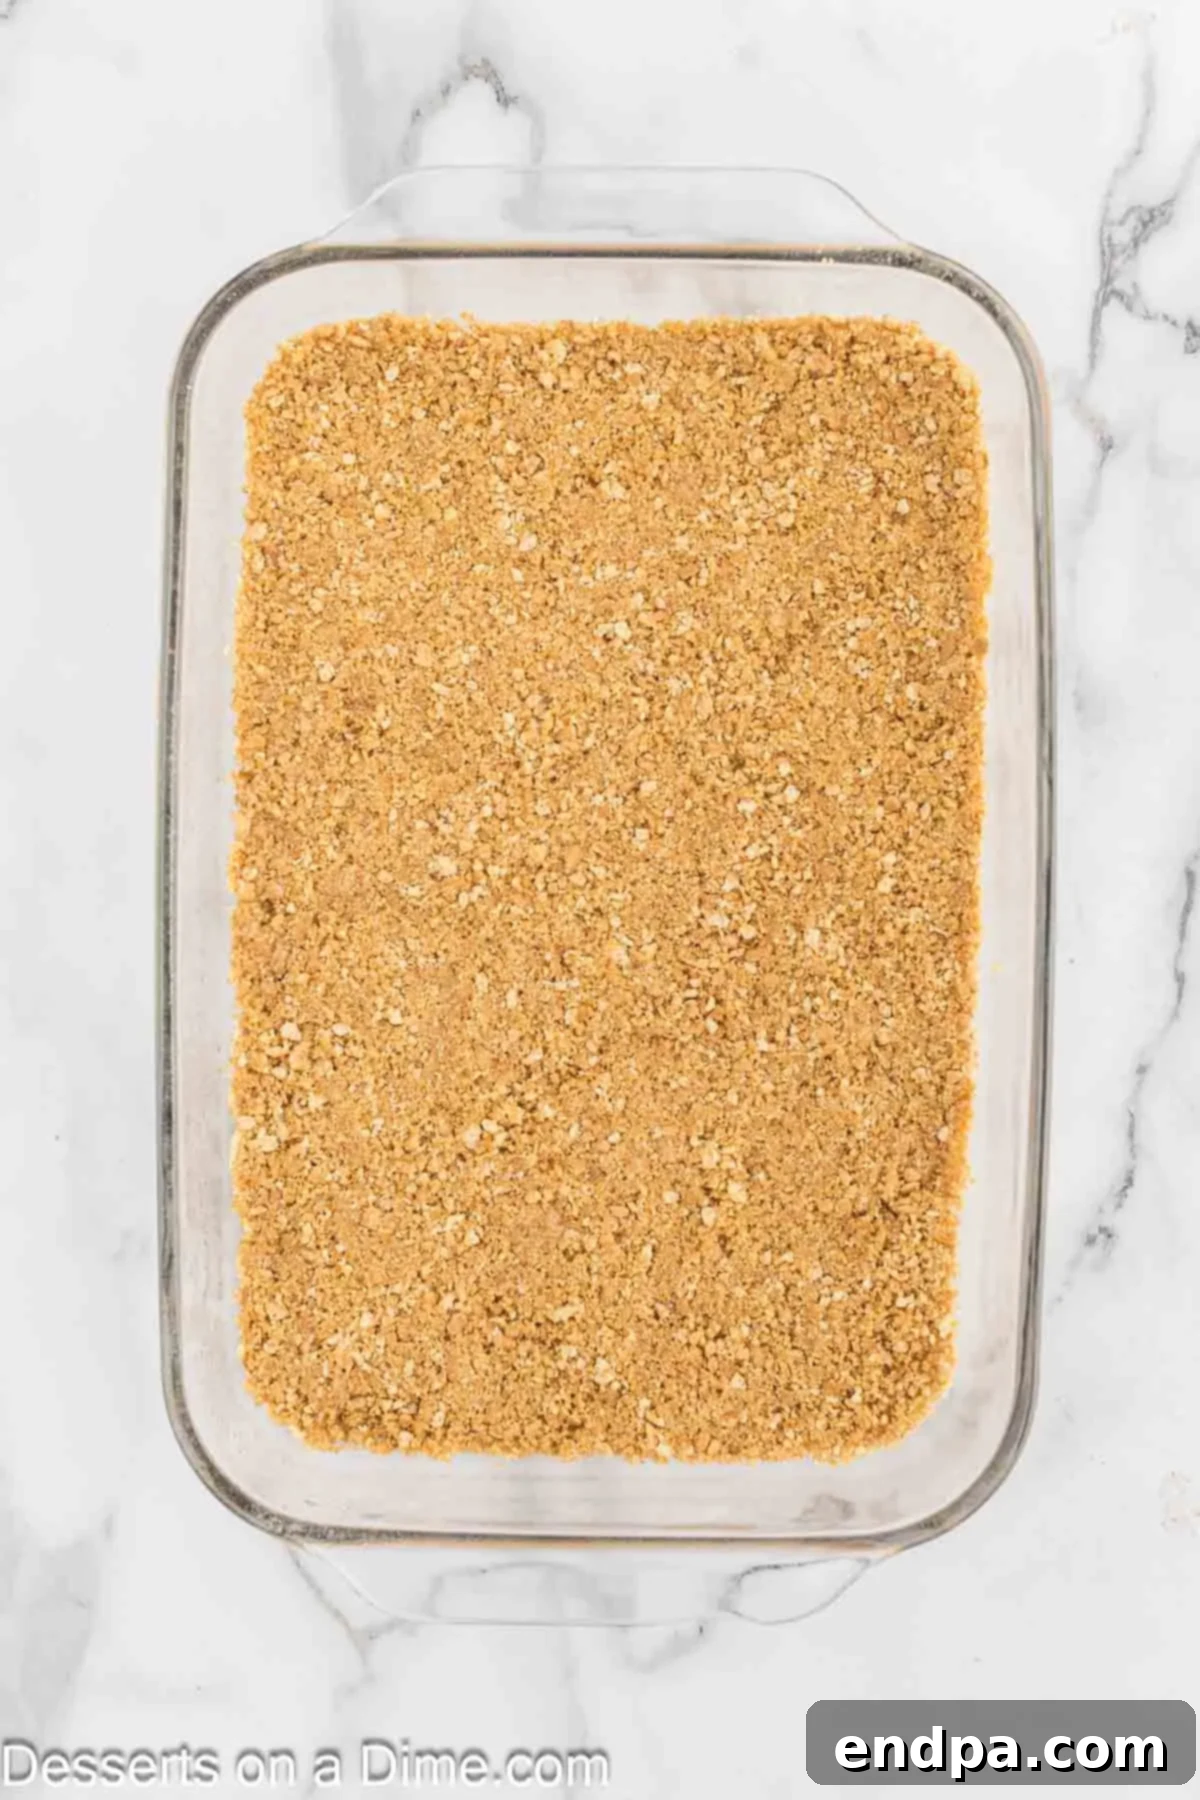
Step 3: Press the Crust and Chill. Transfer the moistened graham cracker crumbs into your prepared 9×13-inch pan. Using the bottom of a glass or your clean hands, firmly press the crumbs into an even, compact layer across the bottom of the dish. This ensures a sturdy base for your cake. Place the pan in the refrigerator to chill while you prepare the next layer.
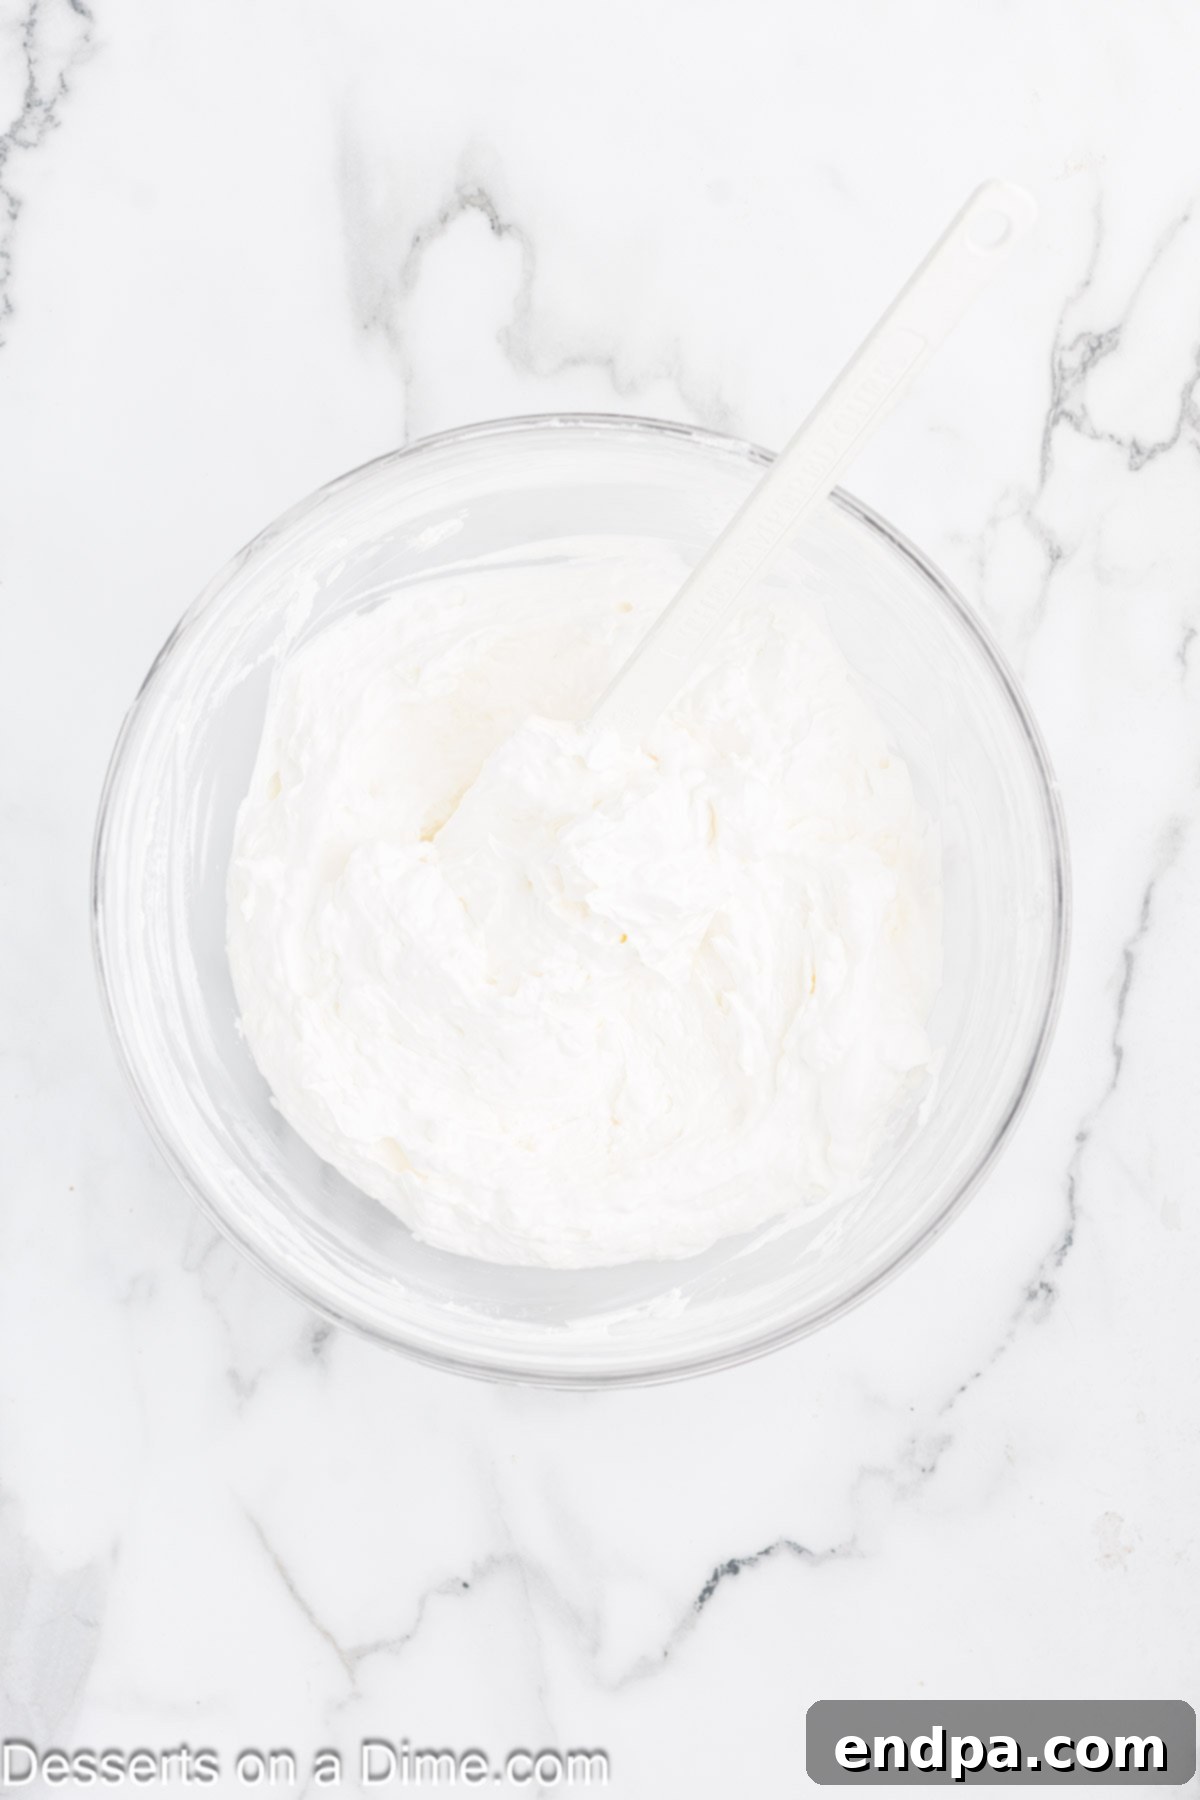
Step 4: Prepare the Cream Cheese Layer. In a separate medium bowl, use an electric mixer to combine the softened cream cheese and granulated sugar. Beat on medium speed for about 2-3 minutes until the mixture is light, fluffy, and smooth. Once combined, gently fold in the whipped topping (Cool Whip) by hand with a rubber spatula until the mixture is thoroughly combined and uniform in consistency. Be careful not to overmix, as this can deflate the whipped topping.
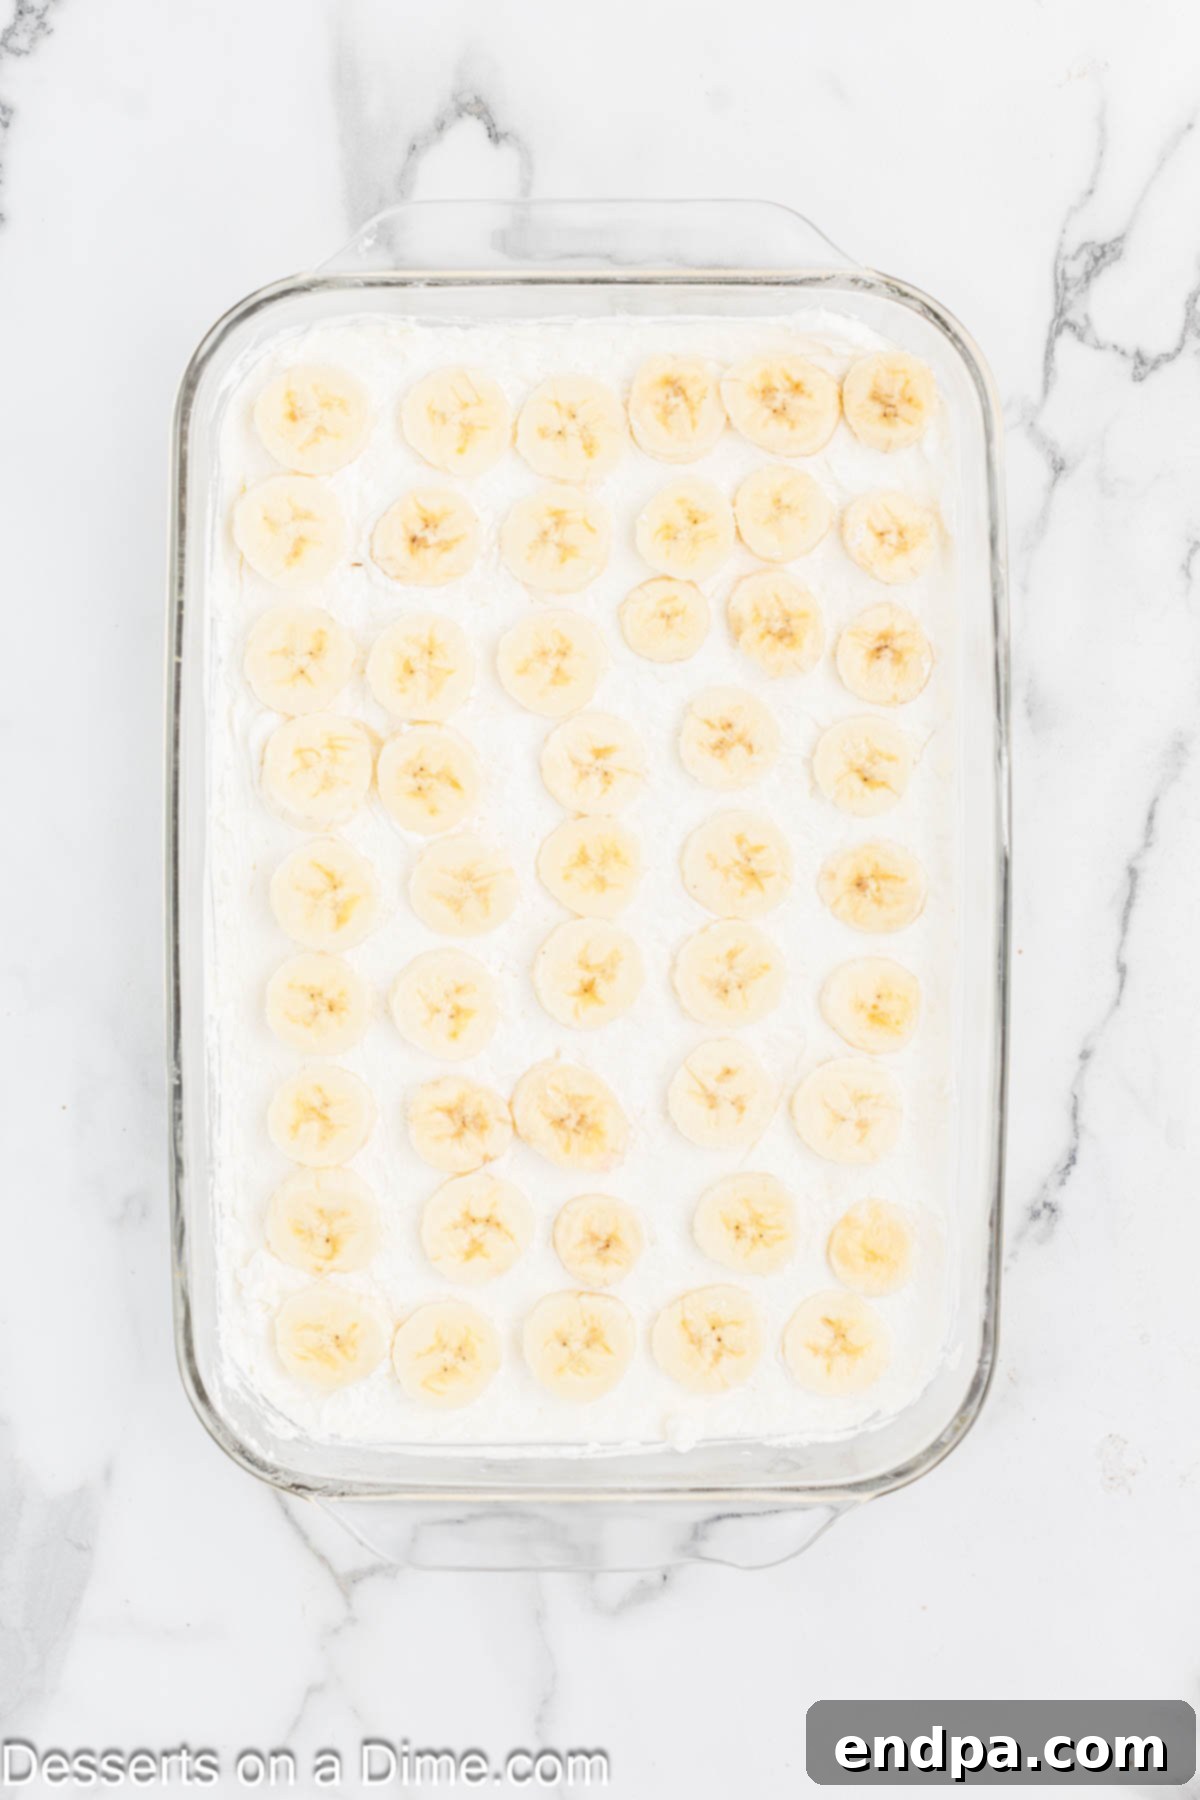
Step 5: Add Cream Cheese and Banana Layers. Retrieve your chilled graham cracker crust from the refrigerator. Carefully spread the prepared cream cheese mixture evenly over the crust. Once the cream cheese layer is smooth, arrange the thinly sliced bananas in a single, neat layer on top of the cream cheese filling. This creates a beautiful and flavorful base for the fruit layers.
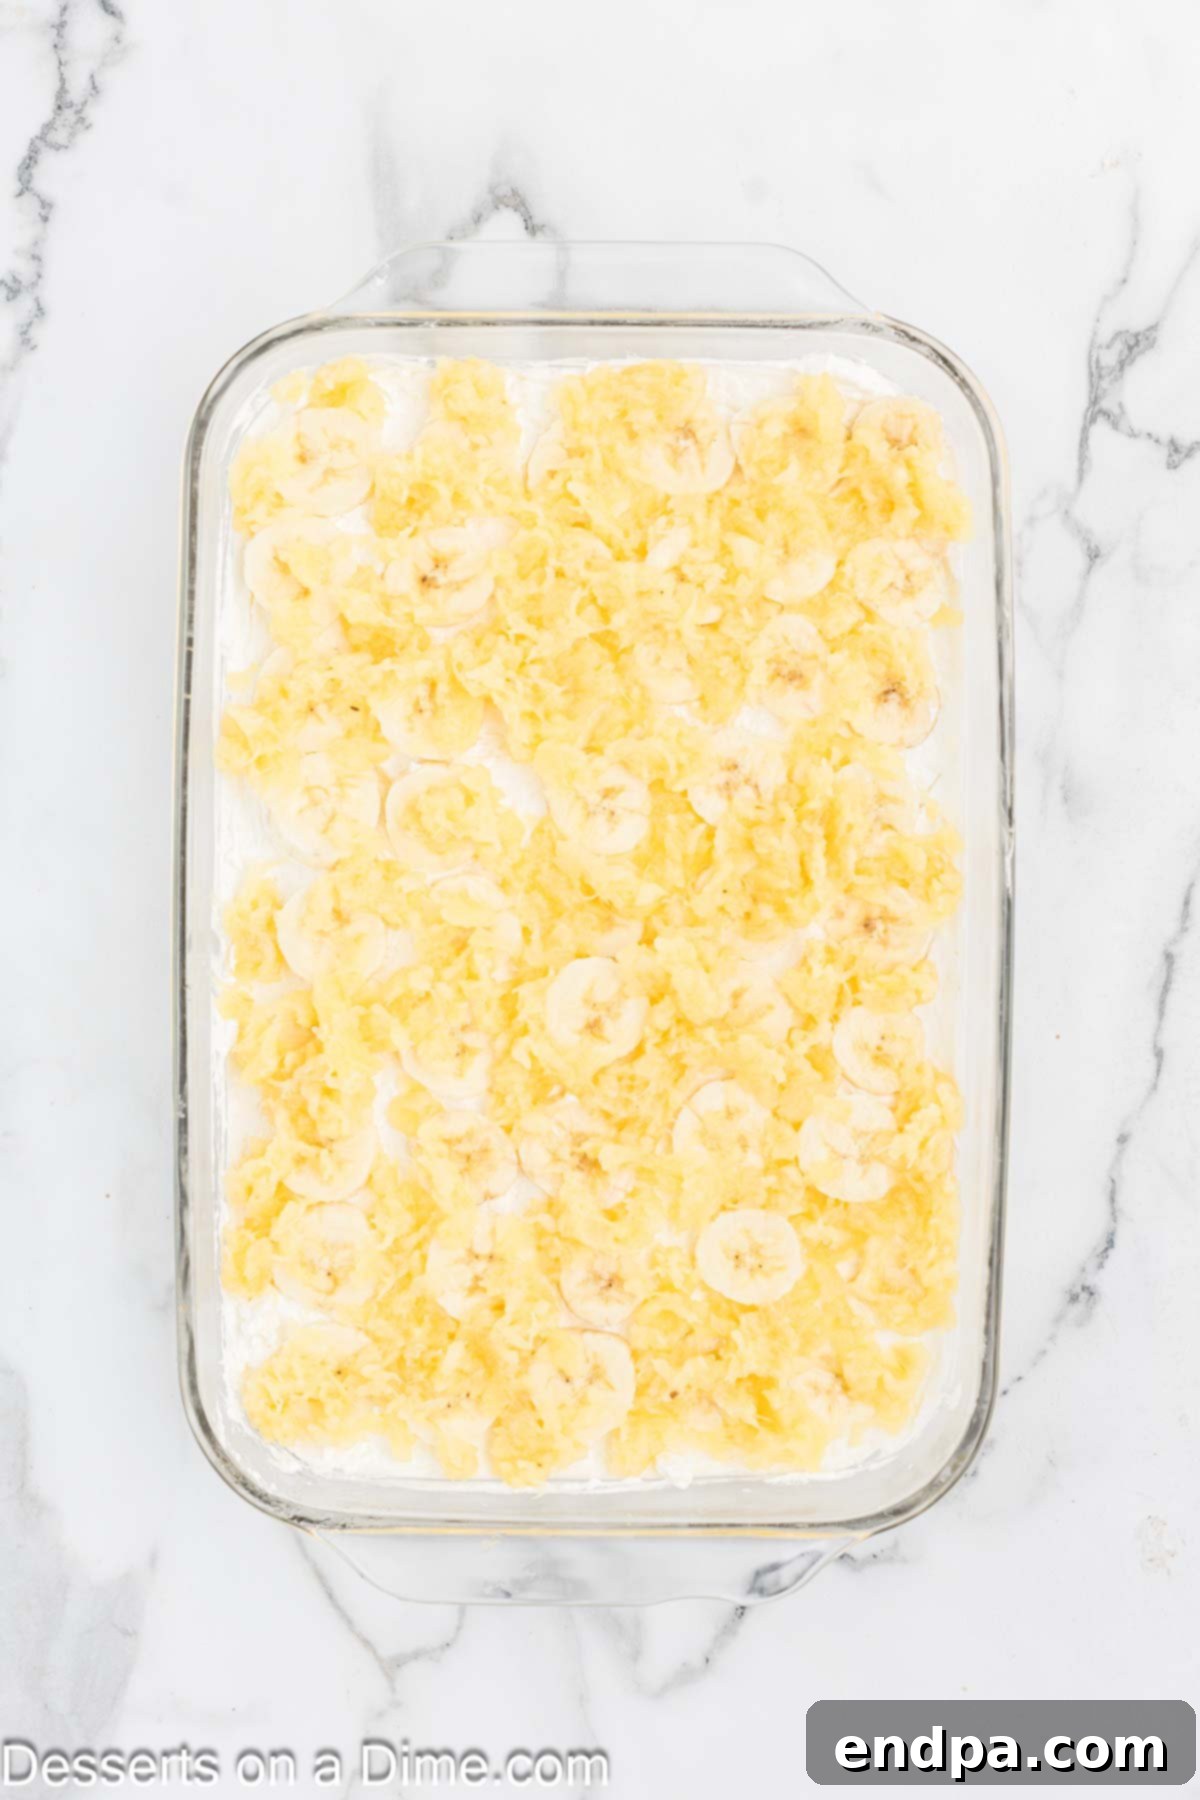
Step 6: Layer with Crushed Pineapple. Next, take your well-drained crushed pineapple and spread it evenly over the banana layer. Ensure the pineapple is as dry as possible to prevent any excess moisture from affecting the texture of your cake.
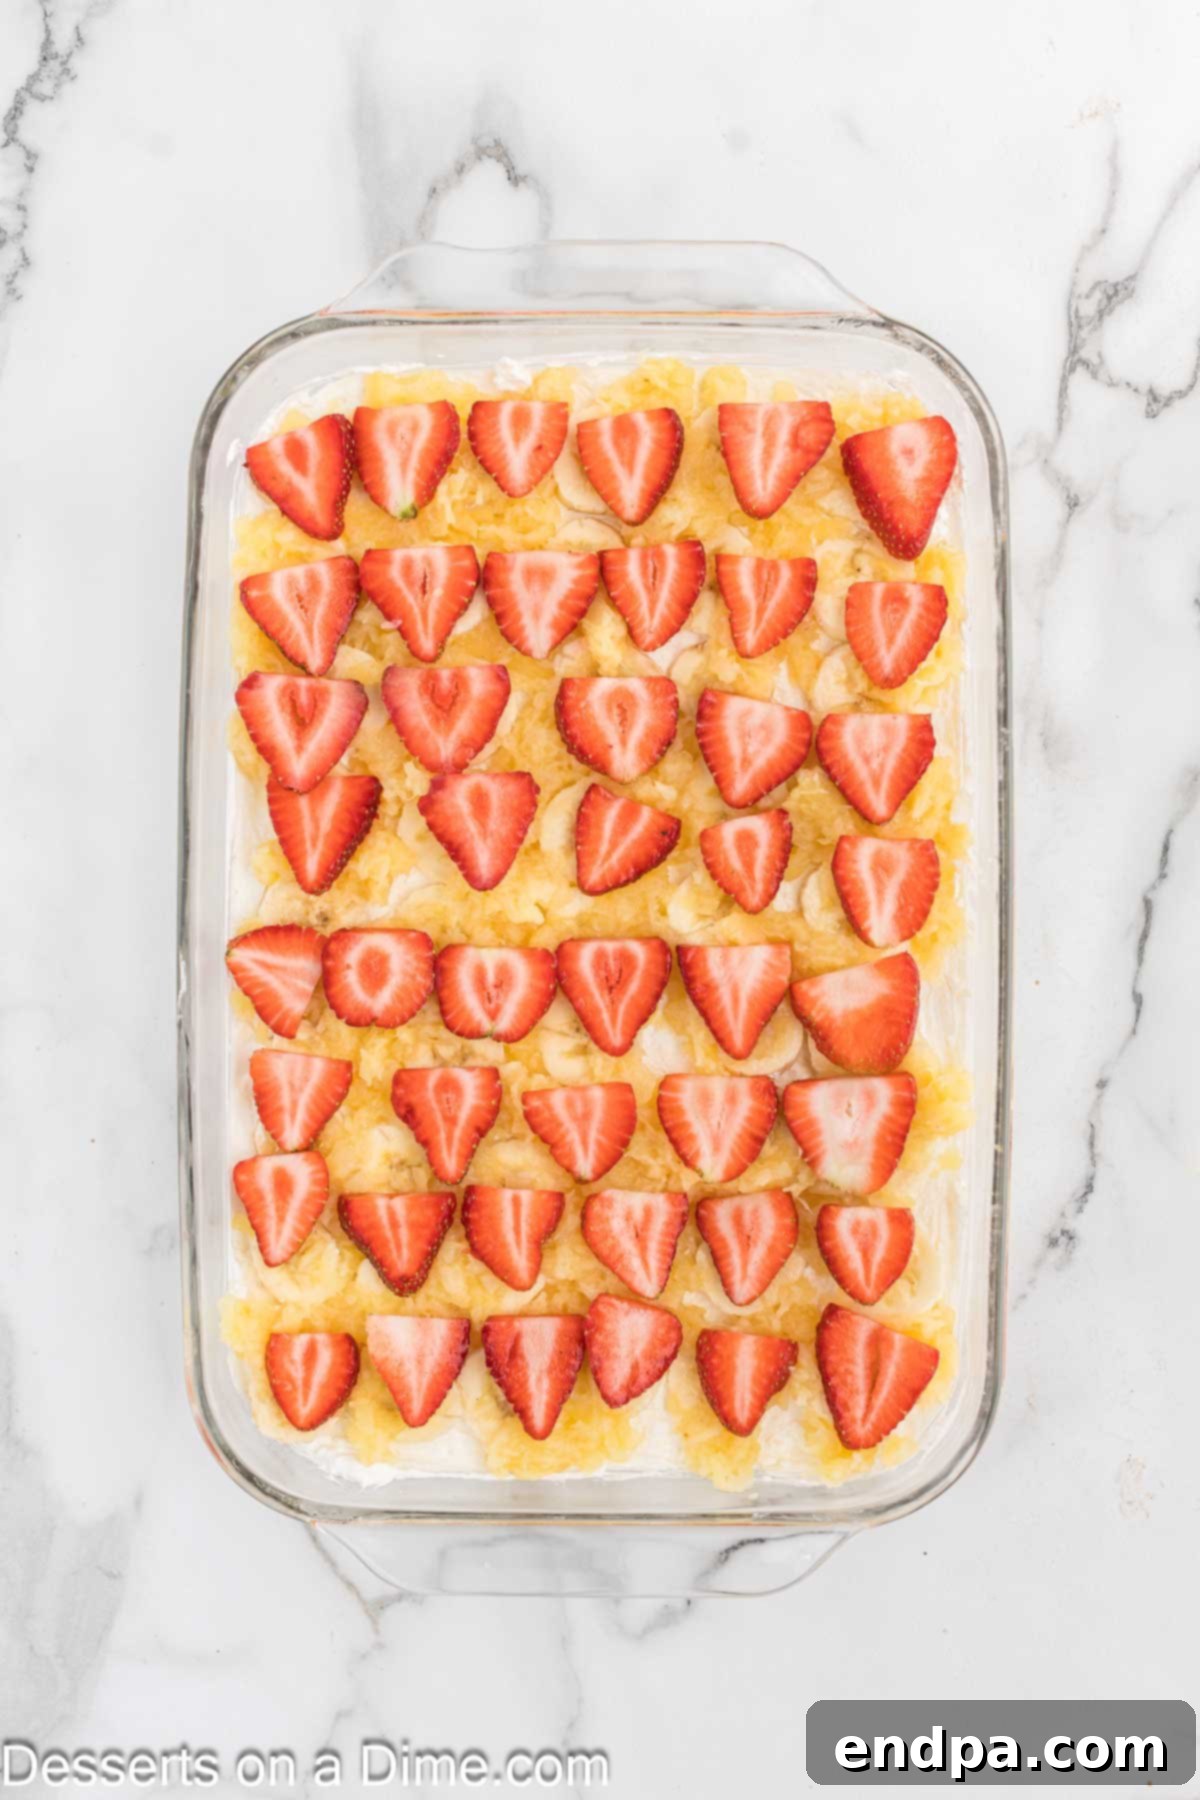
Step 7: Add the Strawberry Layer. Evenly layer your fresh, sliced strawberries on top of the crushed pineapple. The vibrant red of the strawberries adds a beautiful visual appeal and a fresh, sweet flavor to the cake.
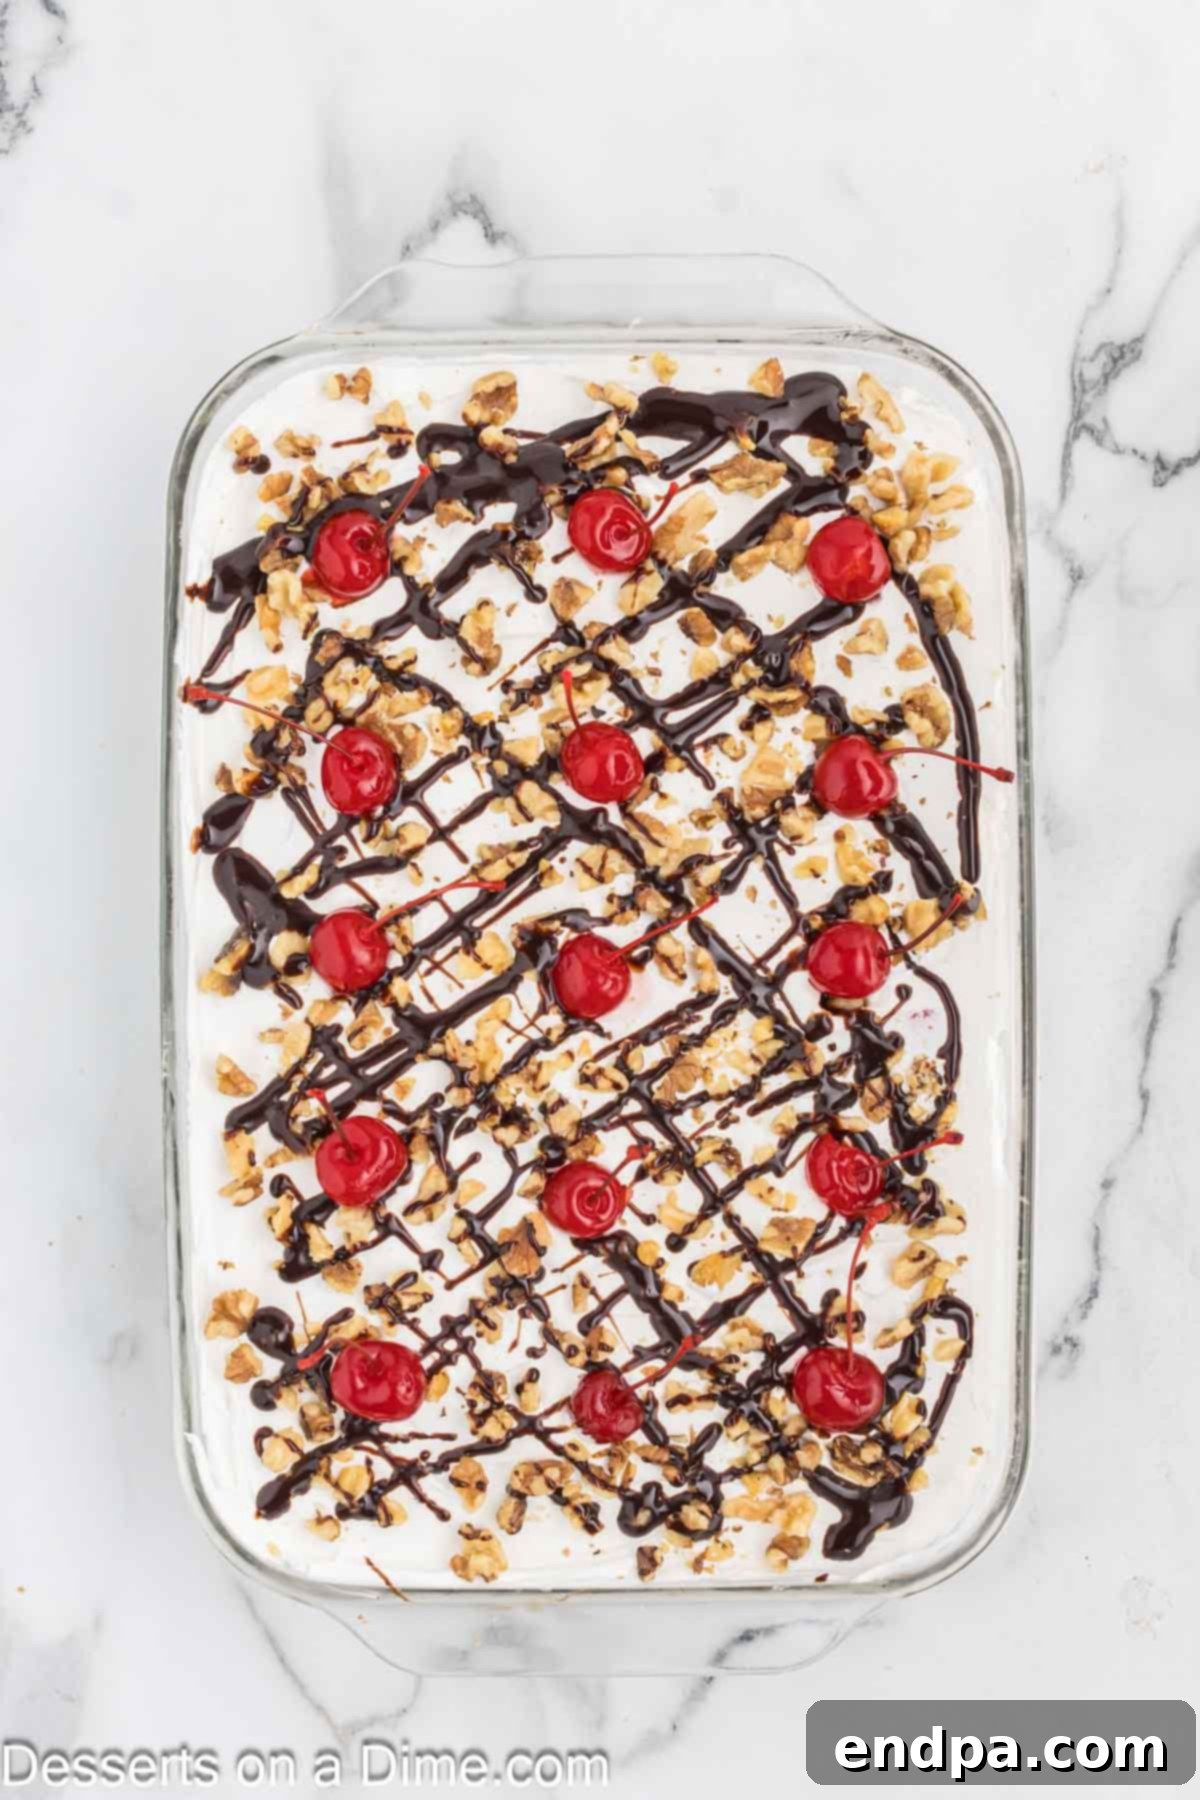
Step 8: Final Toppings and Chill. Gently spread the remaining whipped topping (Cool Whip) over the strawberry layer, smoothing the top to create a clean finish. Finally, generously sprinkle the chopped walnuts over the whipped topping, then drizzle with rich chocolate syrup, and crown with the bright maraschino cherries. Cover the pan tightly with plastic wrap and place it in the refrigerator for at least 4 hours, or preferably overnight, to allow the cake to set properly and flavors to meld beautifully. This chilling time is crucial for a firm, easy-to-slice dessert.
Expert Tips for the Best No-Bake Banana Split Cake
Achieving a truly spectacular No-Bake Banana Split Cake is simple with a few key tips and tricks. These pointers will help ensure your dessert is perfect every time:
- Ensure Cream Cheese is Room Temperature: This is critical for a smooth, lump-free cream cheese layer. If your cream cheese is too cold, it won’t blend properly, resulting in a lumpy texture. Take it out of the refrigerator at least 30-60 minutes before you plan to mix.
- Drain Pineapple Thoroughly: Excess moisture from the crushed pineapple is the arch-nemesis of a firm crust. After draining the canned pineapple, press it firmly with the back of a spoon or squeeze it in a paper towel to remove as much liquid as possible. This step prevents a soggy crust.
- Prevent Bananas from Browning: Bananas can oxidize and turn brown relatively quickly. To minimize this, slice your bananas just before assembling and consider tossing them lightly with a tiny amount of lemon juice or pineapple juice. This trick helps preserve their fresh color.
- Gentle Folding for Whipped Topping: When incorporating the Cool Whip into the cream cheese mixture, fold it in gently with a rubber spatula. Overmixing can deflate the whipped topping, leading to a less airy and fluffy cream cheese layer.
- Chill Time is Non-Negotiable: The “no-bake” aspect relies heavily on proper chilling. A minimum of 4 hours is essential for the layers to set and firm up, but overnight chilling is truly recommended for the best results and easiest slicing. Don’t rush this step!
- Customize Your Toppings: While the classic toppings are fantastic, don’t hesitate to personalize your cake. Consider adding toasted coconut, mini chocolate chips, sprinkles, or even a drizzle of caramel syrup for an extra layer of flavor and visual appeal.
- Serving Temperature: This cake is best served chilled. Take it out of the refrigerator just before serving to ensure the layers hold their shape and the flavors are at their peak freshness.
Storage Guidelines
To keep your leftover No-Bake Banana Split Cake fresh and delicious, cover the baking dish tightly with plastic wrap. It will remain fresh and tasty when refrigerated for up to 4 days. However, for the best visual appeal and flavor, we recommend enjoying it within 2-3 days, as bananas can start to brown and soften over time.
Frequently Asked Questions (FAQs)
Absolutely! Customizing the crust is a fantastic way to add your unique touch. While graham cracker crumbs are traditional, an Oreo cookie crust would be incredibly delicious, imparting a rich chocolate flavor that complements the banana split profile perfectly. You could also experiment with vanilla wafers, shortbread cookies, or even crushed pretzels for a sweet and salty twist. Get creative with cookies you might have in your pantry to come up with exciting variations for your banana split cake!
The beauty of a banana split, and this cake, is its versatility with toppings! Beyond the classic walnuts, chocolate syrup, and cherries, consider these delicious additions:
- Confectioners’ Sugar: A light dusting adds a touch of elegance and extra sweetness.
- Caramel Syrup: A drizzle of caramel takes the decadence up a notch.
- Sprinkles: Add a festive and fun touch, especially for birthdays or celebrations.
- Different Chopped Nuts: Pecans, almonds, or even peanuts (if not already using) offer different textures and flavors.
- Mini Chocolate Chips: Sprinkle them over the whipped topping for an extra dose of chocolate.
- Toasted Coconut Flakes: For a tropical twist and added texture.
- Extra Sliced Fresh Strawberries: More fruit is always welcome!
Store any leftover Banana Split Cake in the refrigerator, ensuring it’s well-covered with plastic wrap to prevent it from drying out or absorbing other odors. For optimal freshness and appearance, we recommend consuming the cake within 3 days. After about 3 to 4 days, the banana slices tend to start turning brown, and the overall layers might not look as vibrant or appealing, though it would likely still be safe to eat.
Yes, you can absolutely use fresh pineapple for a brighter, more intense flavor. However, just like with canned pineapple, it is critically important to remove excess moisture. After chopping the fresh pineapple into small, crushed pieces, make sure to pat it very dry with paper towels. Any residual moisture can seep into the graham cracker crust, making it soggy and compromising the texture of your no-bake cake. A dry pineapple layer ensures a perfect balance of textures.
We generally do not recommend freezing this cake. While it is technically possible, the texture of the bananas, pineapple, and whipped topping can change significantly upon thawing, often becoming mushy or watery. If you must freeze it, ensure it’s wrapped very tightly first in plastic wrap, then in aluminum foil, to minimize freezer burn. It can be frozen for up to 2 months, but be prepared for a potential change in texture when defrosted.
Explore More Delicious Banana Recipes
If you’ve fallen in love with the sweet, creamy goodness of bananas in this cake, you’ll be thrilled to discover these other fantastic banana-centric recipes. They’re perfect for any occasion and celebrate the versatile flavor of this beloved fruit:
- Banana Pudding Cookies Recipe
- Banana Pudding Poke Cake Recipe
- Homemade Banana Pudding Recipe
- The Best Banana Dessert Recipes
- Banana Bundt Cake
We are incredibly excited for you to try this amazing No-Bake Banana Split Cake recipe. It’s a delightful, easy-to-make dessert that’s sure to become a family favorite. Please do come back and leave a comment once you’ve had a chance to whip it up – we’d love to hear how it turned out for you!
Pin
No-Bake Banana Split Cake
Ingredients
- FOR THE CRUST:
- 2 cups graham cracker crumbs
- ½ cup unsalted butter melted
- FOR THE CREAM CHEESE LAYER:
- 12 oz cream cheese at room temperature
- ¼ cup granulated sugar
- 8 ounces Cool Whip
- FOR THE FRUIT & TOPPINGS:
- 3 bananas sliced
- 20 oz canned crushed pineapple drained well
- 16 oz strawberries hulled and sliced
- 8 oz Cool Whip (for topping)
- ½ cup walnuts chopped
- Chocolate syrup
- Maraschino cherries
Instructions
- Grease a 9×13-inch baking dish; set aside.
- In a medium bowl, mix the graham cracker crumbs and melted butter with a fork, stirring until all of the crumbs are evenly moistened. Dump the crumbs into the prepared pan and press into an even layer. Refrigerate while you prepare the next layer.
- In a medium bowl, mix together the cream cheese and sugar on medium speed until light and fluffy, about 3 minutes. Using a rubber spatula, fold in the Cool Whip until thoroughly combined. Spread the cream cheese mixture on top of the graham cracker crust.
- Arrange the banana slices in a single layer on top of the cream cheese filling, top with an even layer of the crushed pineapple, and then an even layer of the sliced strawberries.
- Cover with the Cool Whip, smoothing the top. Sprinkle with the chopped walnuts, then drizzle with chocolate syrup and top with maraschino cherries. Refrigerate for at least 4 hours, or overnight. Leftovers can be stored, covered, in the refrigerator for up to 4 days.
Nutrition Facts
Pin This Now to Remember It Later
Pin Recipe
