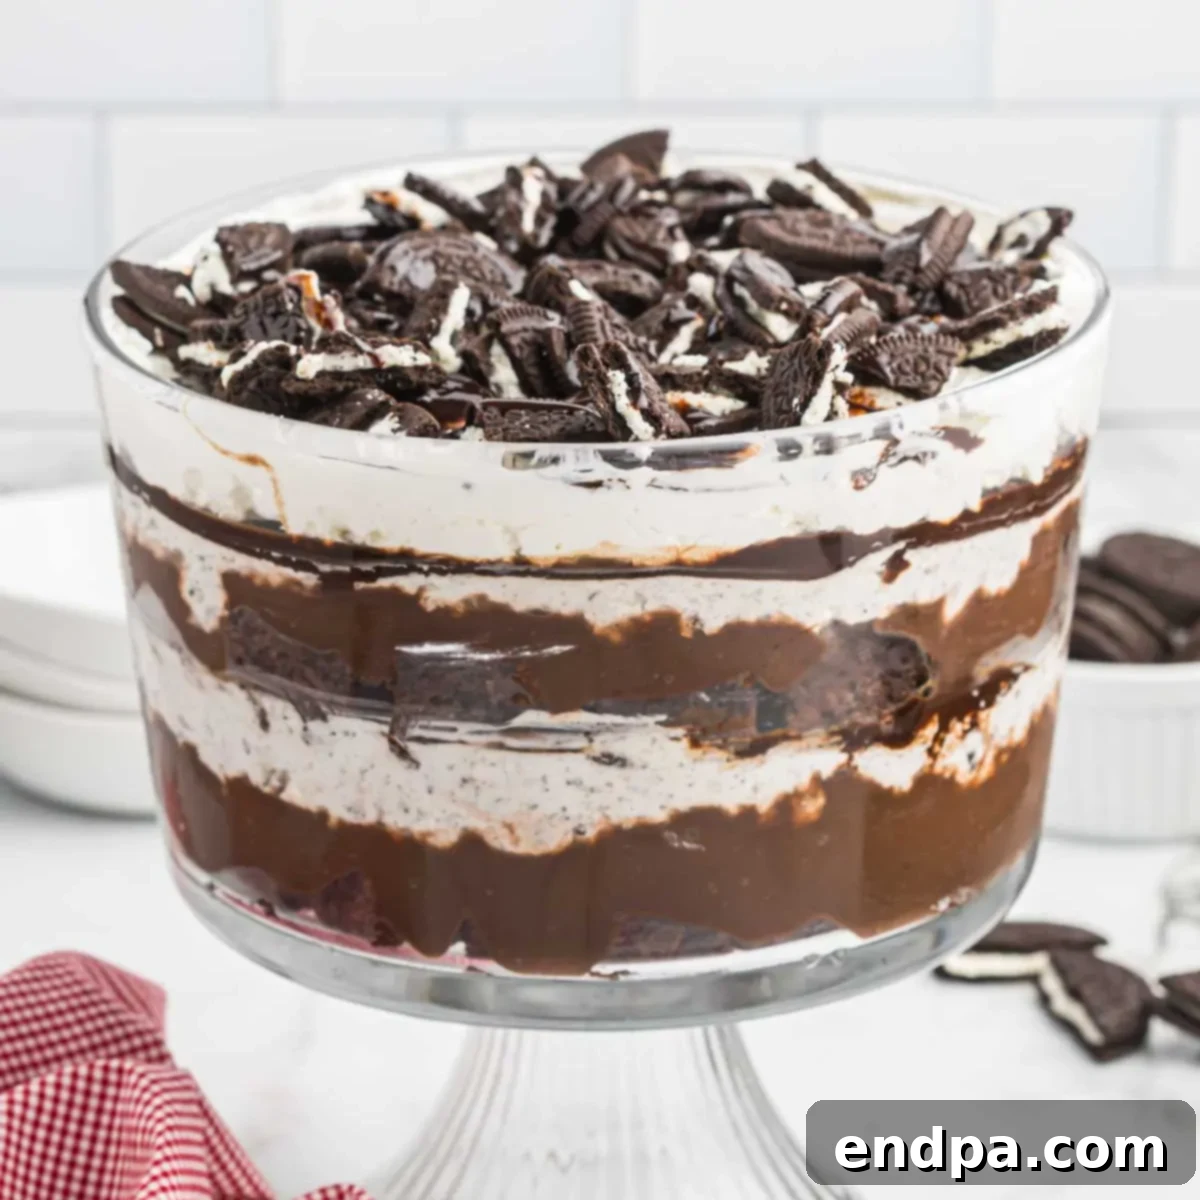
Indulgent Oreo Trifle: The Ultimate Layered Dessert for Chocolate Lovers
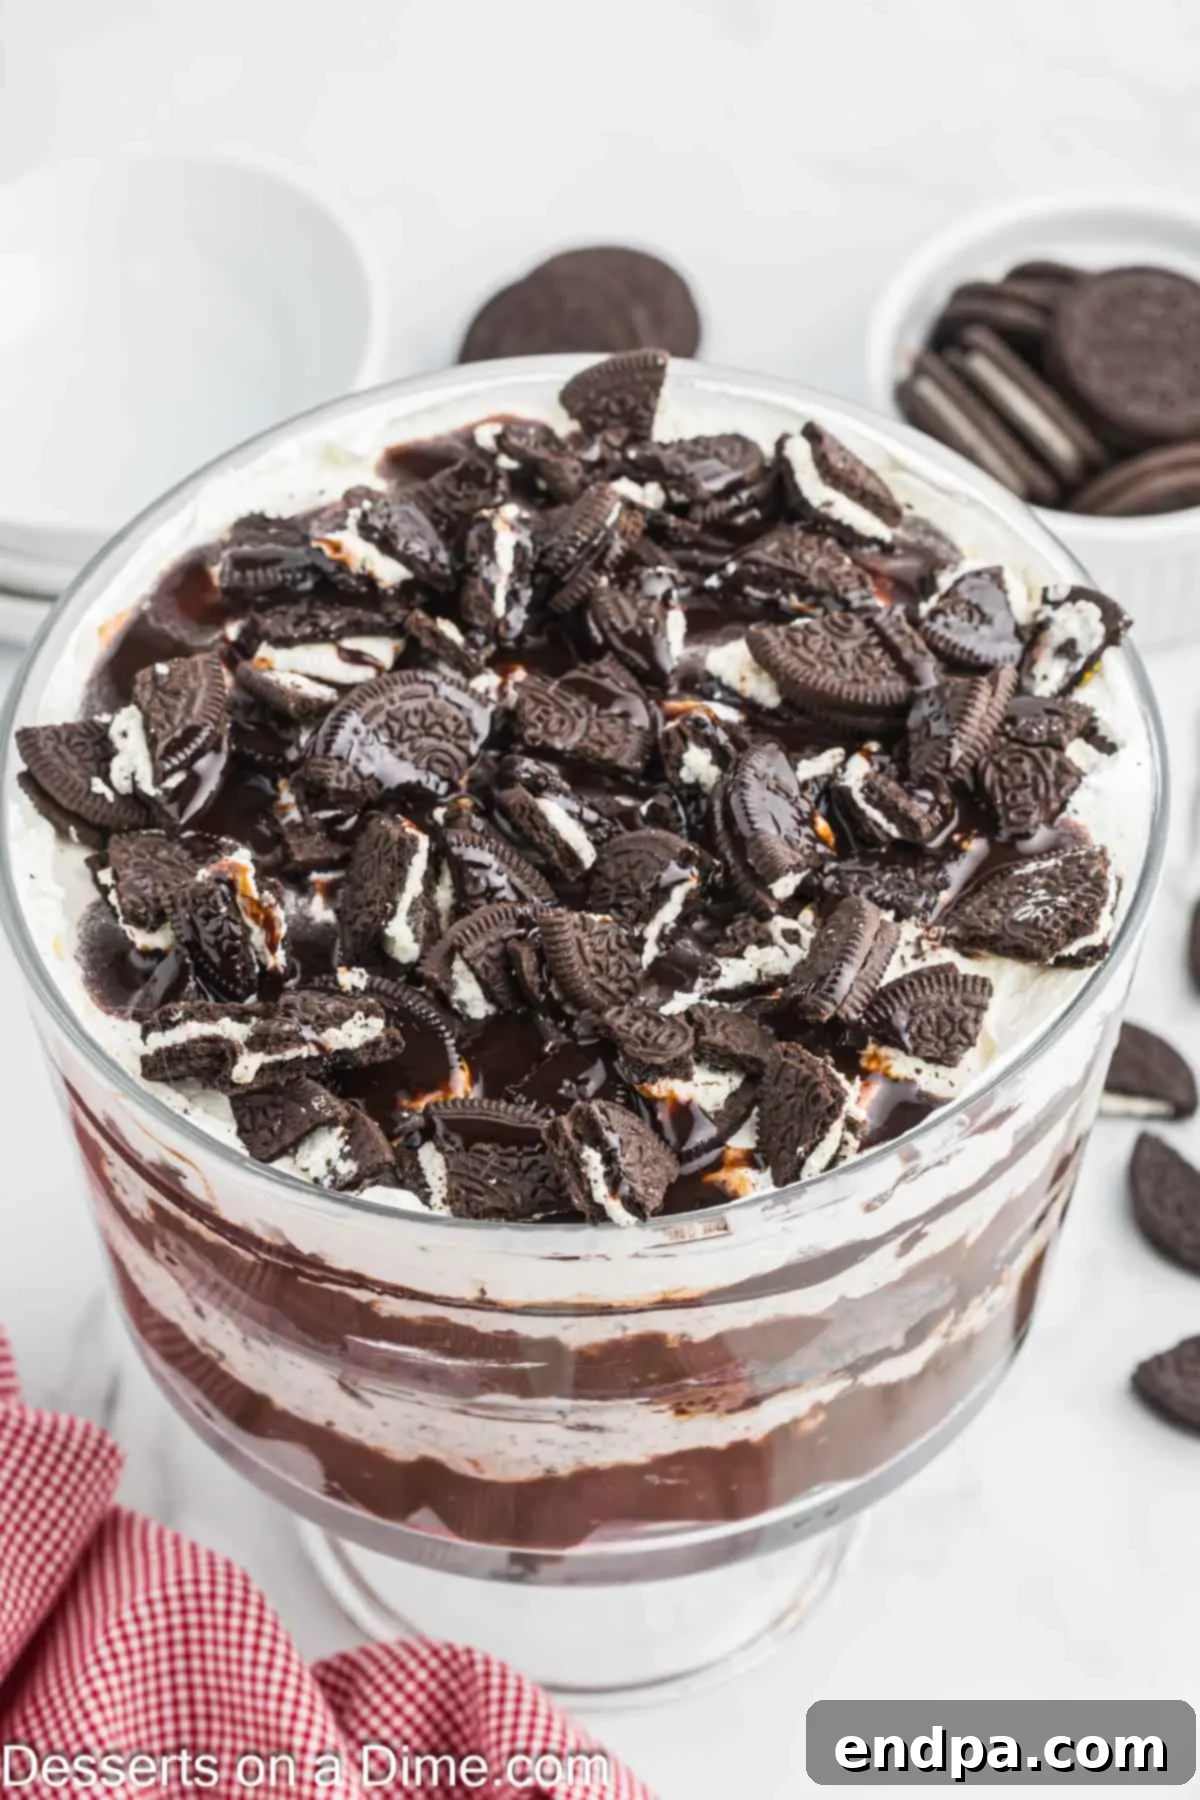
Prepare to be enchanted by the Oreo Trifle, a truly captivating layered dessert that combines the rich indulgence of fudgy brownies, the creamy texture of cheesecake filling, and an abundance of iconic Oreo cookies. This isn’t just a dessert; it’s a decadent symphony of chocolate and cream, meticulously crafted to be a dream come true for every chocolate enthusiast.
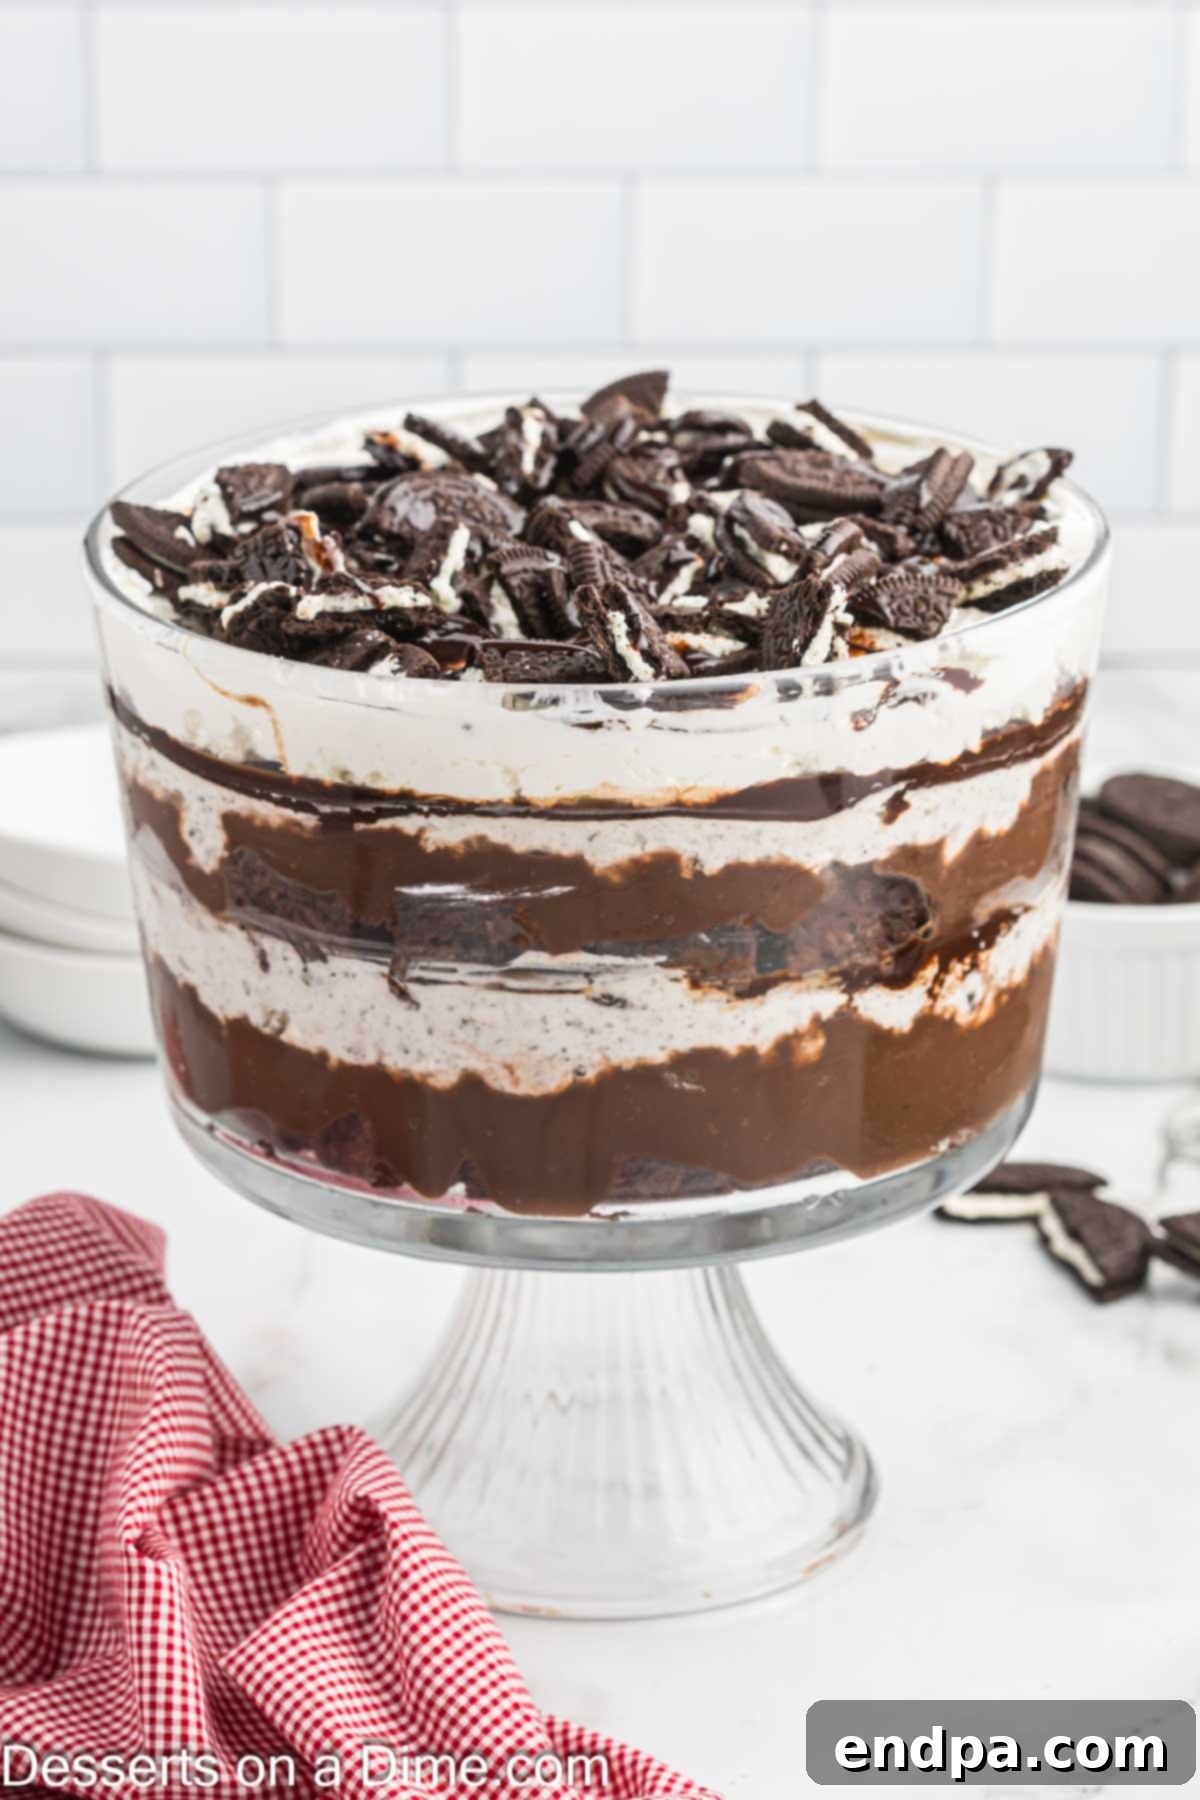
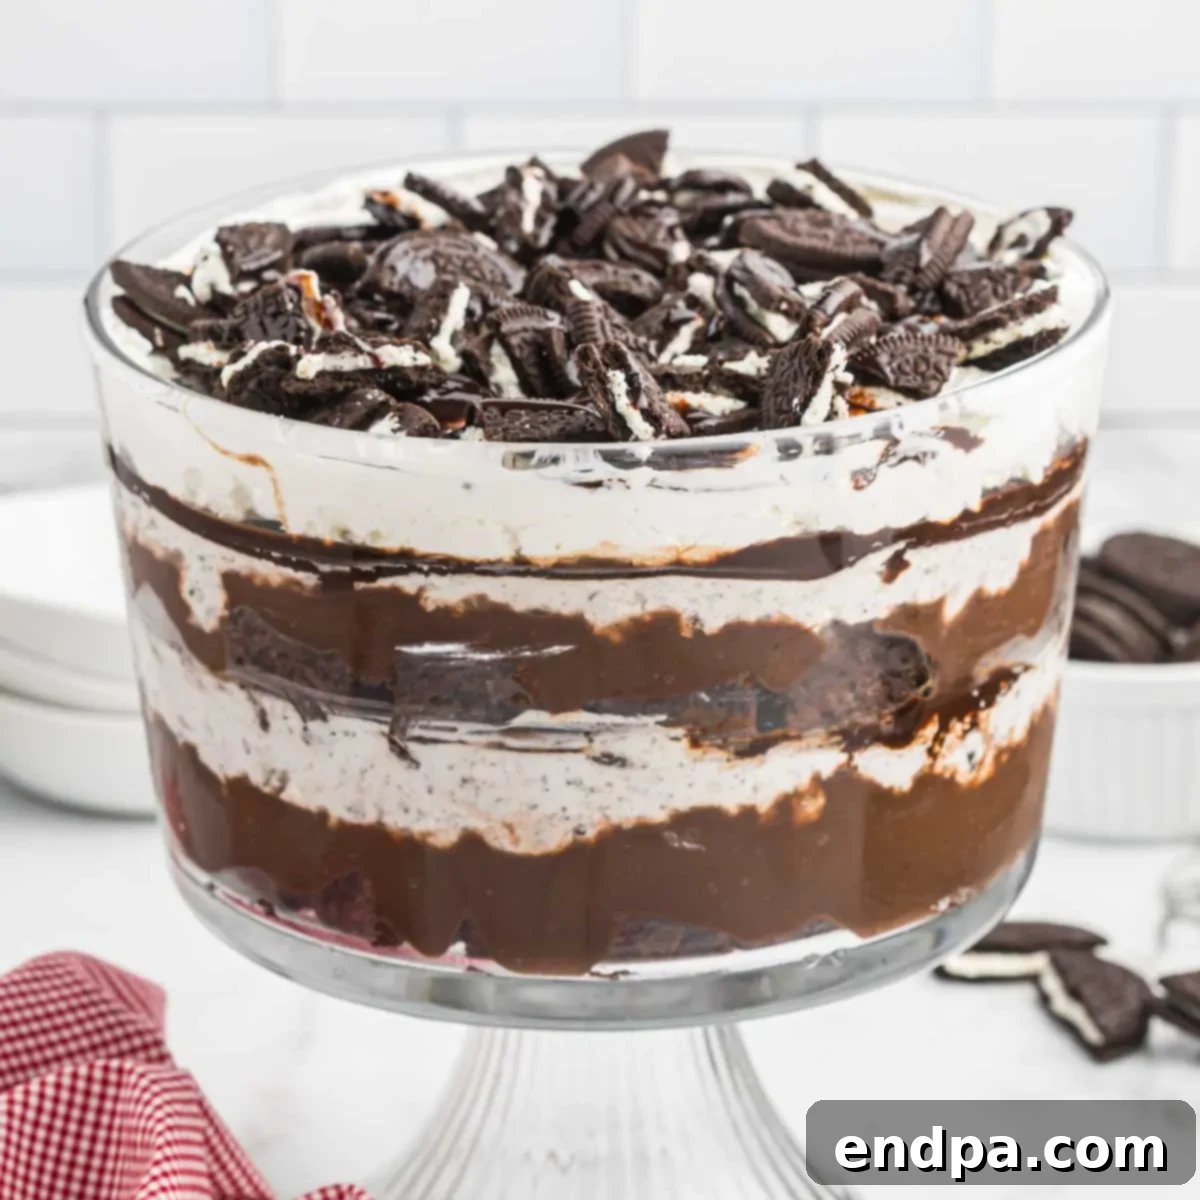
With just one spoonful, you’ll understand why this easy Oreo dessert recipe consistently ranks as a favorite for any occasion. Each layer is designed to deliver a burst of flavor and a delightful texture, ensuring that every bite is as satisfying as the last. From its visually stunning presentation in a clear trifle dish to its irresistible blend of sweet and creamy components, the Oreo Trifle is a true showstopper.
The magic begins with a foundation of rich, moist brownies, which perfectly complement the luxurious cheesecake filling and velvety chocolate pudding. The dessert is then generously crowned with additional crushed Oreo cookies, a swirl of fluffy whipped cream, and a drizzle of decadent chocolate sauce. The distinct layers are not only a feast for the palate but also a visual masterpiece, making it an ideal centerpiece for any gathering.
Having perfected trifle desserts over more than 15 years, I’ve seen firsthand how beloved these creations are. Whether it’s a classic Chocolate Trifle, a vibrant Punch Bowl Cake, or a refreshing Strawberry Trifle, they consistently prove to be the perfect crowd-pleasing dessert for potlucks, birthdays, holiday celebrations, and so much more. This Oreo Trifle takes that appeal to an entirely new level, marrying simplicity with an absolutely unforgettable taste.
Table of contents
- Why You’ll Adore This Oreo Trifle
- Essential Equipment
- Ingredients for a Spectacular Oreo Trifle
- For the Fudgy Brownies
- For the Creamy Oreo Cheesecake Filling
- For the Velvety Pudding
- For the Irresistible Topping
- Unleash Your Creativity with Variations
- Step-by-Step Guide to Assemble Your Oreo Trifle
- Storage and Make-Ahead Tips
- Expert Tips for Trifle Perfection
- Frequently Asked Questions (FAQ)
- More Oreo Dessert Recipes
- Printable Oreo Trifle Recipe Card
Why You’ll Adore This Oreo Trifle
There are countless reasons to fall in love with our Oreo Trifle recipe. Beyond its stunning appearance, it offers an unparalleled combination of convenience, flavor, and versatility, making it a go-to dessert for any occasion.
- Effortless Preparation: Despite its impressive look, this trifle is surprisingly simple to assemble. Using a brownie mix and instant pudding significantly cuts down on prep time, allowing you to create a gourmet-looking dessert without the gourmet effort.
- A Visual Feast: The transparent layers of deep chocolate brownies, light chocolate pudding, rich white cheesecake, and dark crushed Oreos create an absolutely gorgeous presentation. It’s a guaranteed showstopper that will earn gasps of admiration from your guests.
- Decadent Flavor Profile: Each spoonful is a harmonious blend of textures and tastes. You get the chewiness of the brownies, the smooth creaminess of the cheesecake and pudding, and the satisfying crunch of Oreo cookie pieces. It truly is a dream dessert for anyone who loves chocolate and cookies.
- Perfect for Any Occasion: Whether it’s a casual family dinner, a festive holiday gathering, a potluck with friends, or a special birthday celebration, this Oreo Trifle fits right in. Its generous servings make it ideal for feeding a crowd, and its universal appeal ensures everyone will find something to love. During the holidays, you might also enjoy our delightful Christmas Trifle for a festive twist!
- Highly Customizable: As you’ll discover in our variations section, this recipe provides a fantastic base for experimentation. You can easily adapt it to suit different tastes or dietary preferences.
Essential Equipment
To ensure a smooth and enjoyable trifle-making experience, having the right tools on hand can make all the difference. Here’s what you’ll need:
- Trifle Dish: A large, clear glass trifle dish (typically 3-4 quarts) is essential for showcasing those beautiful layers. If you don’t have one, a large glass punch bowl or a deep glass serving bowl can work in a pinch.
- 9×9 Inch Baking Pan: For baking the brownies.
- Parchment Paper: To line the baking pan, making brownie removal and cutting effortless.
- Large Mixing Bowls (2-3): For preparing the brownie batter, pudding, and cheesecake filling.
- Electric Mixer (Handheld or Stand Mixer): Highly recommended for easily beating the cream cheese until smooth and creamy.
- Whisk: For combining the pudding mix and milk.
- Rubber Spatula: Ideal for scraping down bowls and gently folding in ingredients.
- Offset Spatula (Optional but Recommended): This tool helps in smoothing out each layer in the trifle dish, ensuring a neat and professional appearance.
- Food Processor or Ziploc Bag: For crushing the Oreo cookies. A rolling pin is useful if using a Ziploc bag.
- Measuring Cups and Spoons: For accurate ingredient measurements.
Ingredients for a Spectacular Oreo Trifle
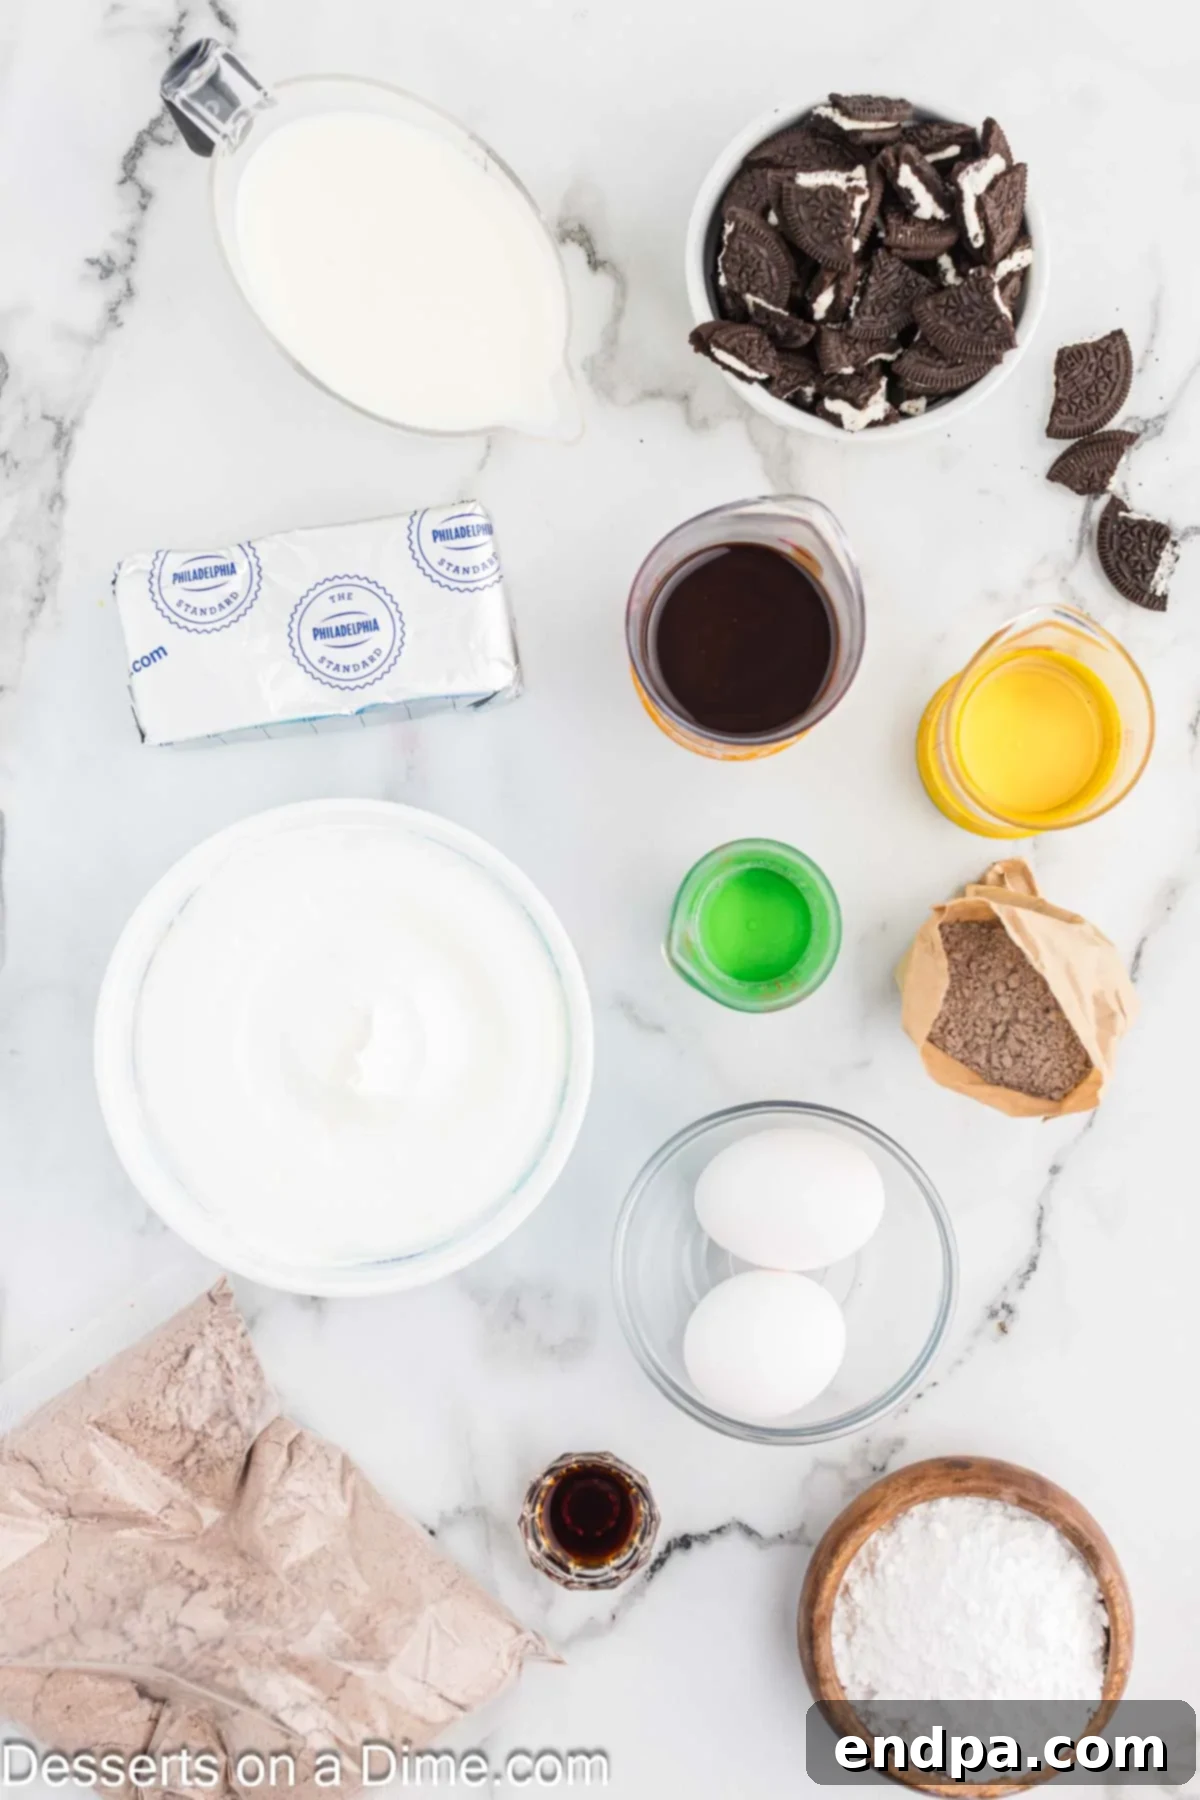
Creating this irresistible Oreo Trifle requires a few simple, readily available ingredients. The key to its amazing flavor lies in the quality and preparation of each component.
For the Fudgy Brownies
- Brownie Mix (approx. 18 ounces): A quality boxed brownie mix is your secret weapon for speed and consistency. Choose your favorite brand for the best results.
- Large Eggs: Essential for binding the brownie batter and contributing to its moist texture. Always use fresh, large eggs.
- Vegetable Oil: Adds moisture and richness to the brownies, helping them achieve that coveted fudgy consistency.
- Water: The liquid component that helps bring the brownie batter together.
For the Creamy Oreo Cheesecake Filling
- Cream Cheese (8 ounces, room temperature): This is crucial! Softened cream cheese blends smoothly, preventing lumps and ensuring a velvety, luscious filling. Take it out of the fridge at least 30 minutes to an hour before you plan to mix.
- Powdered Sugar (1 cup): Also known as confectioners’ sugar, it dissolves beautifully into the cream cheese, providing sweetness and a smooth texture. Sifting can help eliminate any stubborn lumps.
- Pure Vanilla Extract (1 teaspoon): A touch of high-quality vanilla enhances all the other flavors, adding a warm, aromatic depth to the cheesecake.
- Cool Whip (8 ounces): This light and airy whipped topping forms the base of your fluffy cheesecake filling. Feel free to use a store-brand whipped topping for a more budget-friendly option.
- Crushed Oreos (1/2 cup): The star of the show! These add texture, flavor, and that signature Oreo appeal to your cheesecake layer. Crush them finely in a food processor or by hand in a Ziploc bag.
For the Velvety Pudding
- Instant Chocolate Pudding Mix (3.4 ounces): Make sure it’s *instant* pudding for quick setting. The rich chocolate flavor pairs perfectly with the Oreos.
- Cold Milk (2 cups): Cold milk is key for instant pudding to set properly and quickly, resulting in a firm, smooth texture. Whole milk often yields the creamiest result.
For the Irresistible Topping
- Chocolate Sauce (1/2 cup): A generous drizzle of chocolate sauce elevates the visual appeal and adds another layer of chocolatey goodness. Store-bought is convenient, or you can make your own with our Homemade Hot Fudge Sauce Recipe.
- Oreos (12 cookies, crushed into large pieces): These are for the final garnish, providing a beautiful textural contrast and a clear indication of the dessert’s main star. Crushing them into larger pieces offers more visual interest and a satisfying crunch.
Unleash Your Creativity with Variations
While the classic Oreo Trifle is a masterpiece in itself, this recipe is incredibly versatile and can be customized to suit your preferences or seasonal themes. Don’t hesitate to experiment with these delicious variations:
- Brownie Base Alternatives: Instead of a boxed mix, create your base from scratch using our Easy One Bowl Brownies recipe for an extra homemade touch. For a different texture, swap the brownies for slices of rich chocolate cake or even a dark chocolate pound cake.
- Oreo Cookie Twists: Unleash your inner cookie monster! Experiment with different Oreo flavors like Peanut Butter Oreos, Mint Oreos (especially great for holidays!), Golden Oreos (for a vanilla twist), or even seasonal flavors. Each variation will lend a unique character to your trifle.
- Pudding Perfection: While chocolate pudding is classic, consider other instant pudding flavors. Vanilla, white chocolate, or even a banana cream pudding could offer an interesting contrast. For a truly homemade experience, our Homemade Chocolate Pudding is a fantastic option.
- Add Fresh Fruit: For a touch of freshness and color, layer in some sliced strawberries, raspberries, or even banana slices. The fruit adds a bright counterpoint to the rich chocolate and cream.
- Caramel Drizzle: Instead of or in addition to chocolate sauce, a luscious caramel drizzle would be an incredible addition, especially if you’re using a vanilla-flavored pudding or Golden Oreos.
- Nutty Crunch: Sprinkle chopped pecans, walnuts, or almonds between layers for an added crunch and nutty flavor. Toasted nuts will offer even more depth.
- Espresso Boost: For coffee lovers, a subtle hint of espresso powder can intensify the chocolate flavor in the brownies or pudding. You can also lightly brush the brownies with cooled, strong coffee for a tiramisu-like essence.
- Cream Cheese Flavorings: Infuse your cream cheese layer with a different flavor. A teaspoon of almond extract, orange zest, or even a dash of liqueur (like Kahlua or Bailey’s for adults) can create a sophisticated twist.
Step-by-Step Guide to Assemble Your Oreo Trifle
Assembling this magnificent Oreo Trifle is a straightforward process, making it enjoyable for even novice bakers. Follow these detailed steps to create your layered masterpiece:
- Step 1: Prepare Your Brownies. Begin by preheating your oven to 350 degrees Fahrenheit (175°C). Line a 9×9 inch baking dish with parchment paper, leaving an overhang on the sides to easily lift the brownies out later. This step is crucial for preventing sticking and ensuring clean cuts.
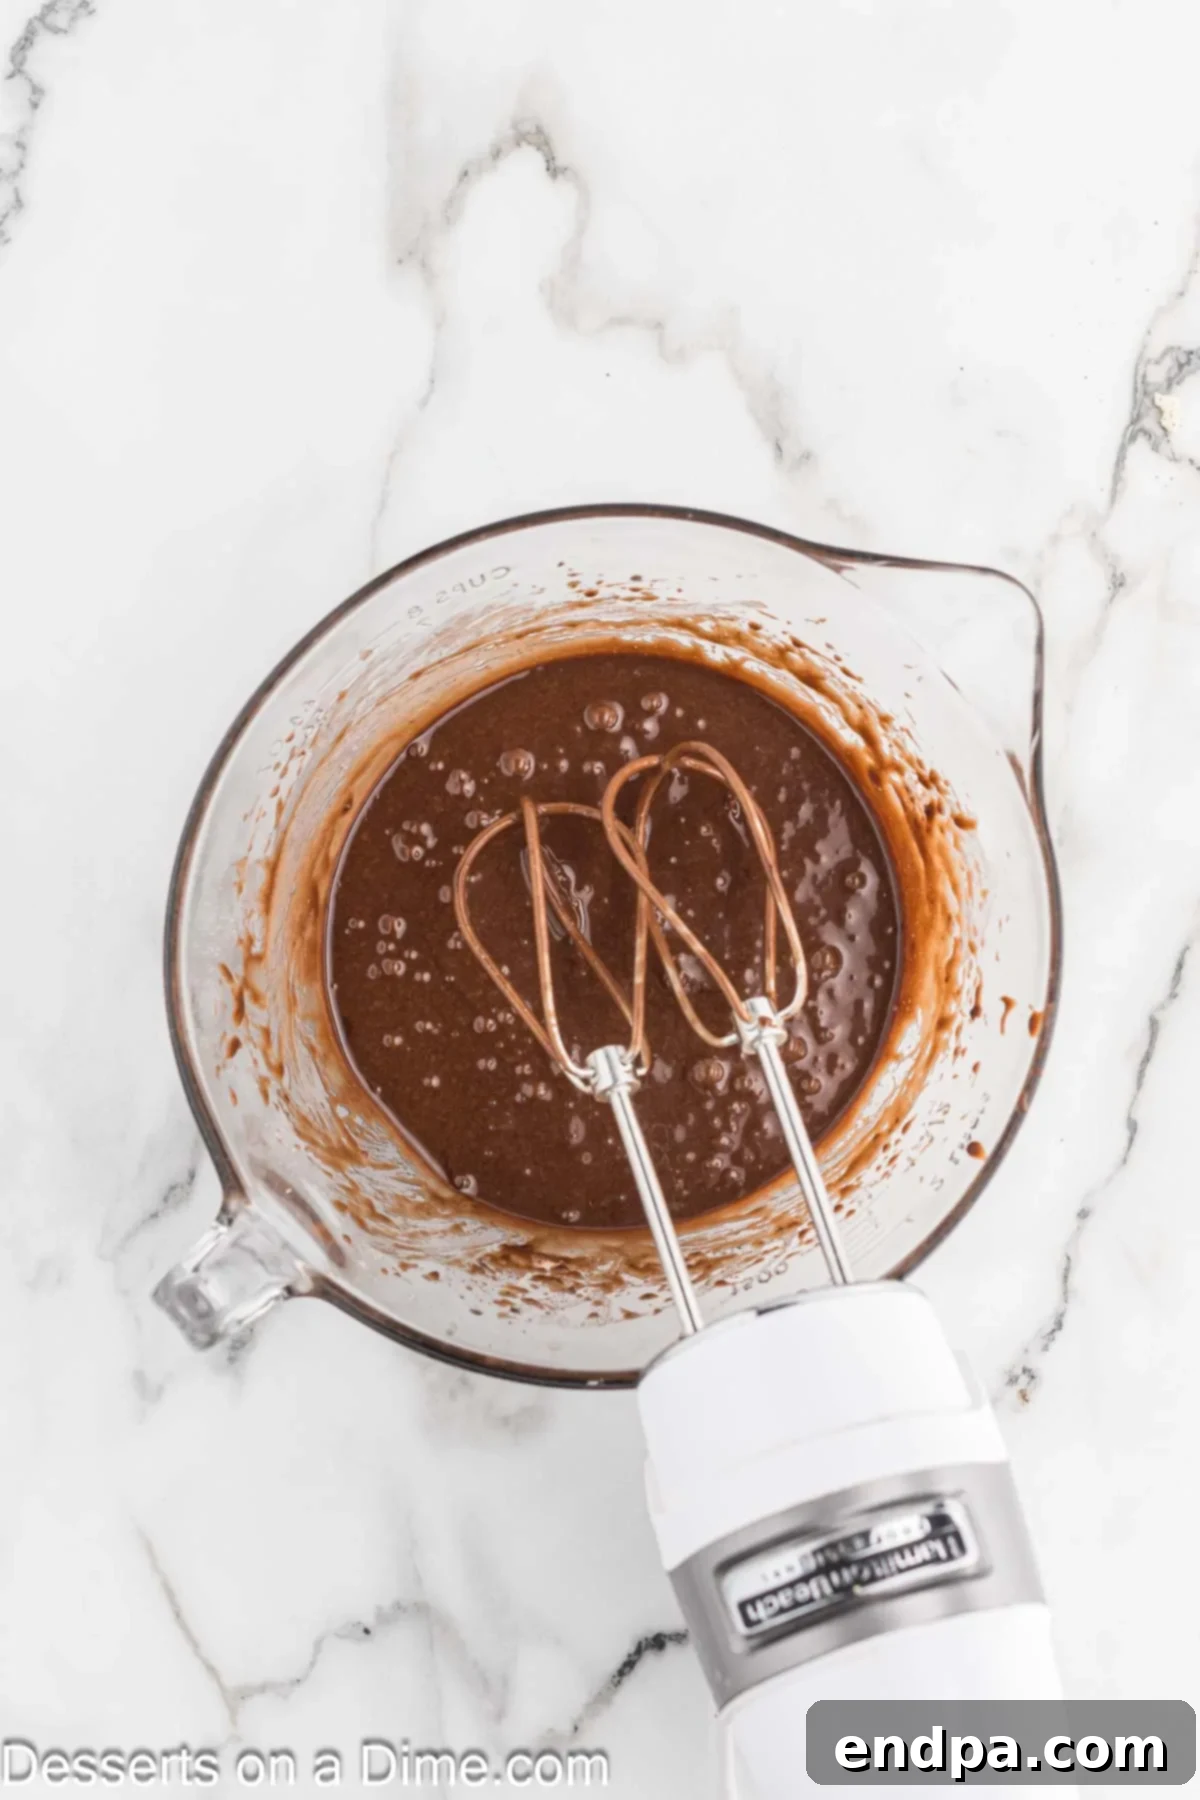
Step 2: Mix the Brownie Batter. In a large mixing bowl, combine the brownie mix, eggs, vegetable oil, and water. Stir until just combined; be careful not to overmix, as this can lead to tough brownies. A few streaks of flour are acceptable.
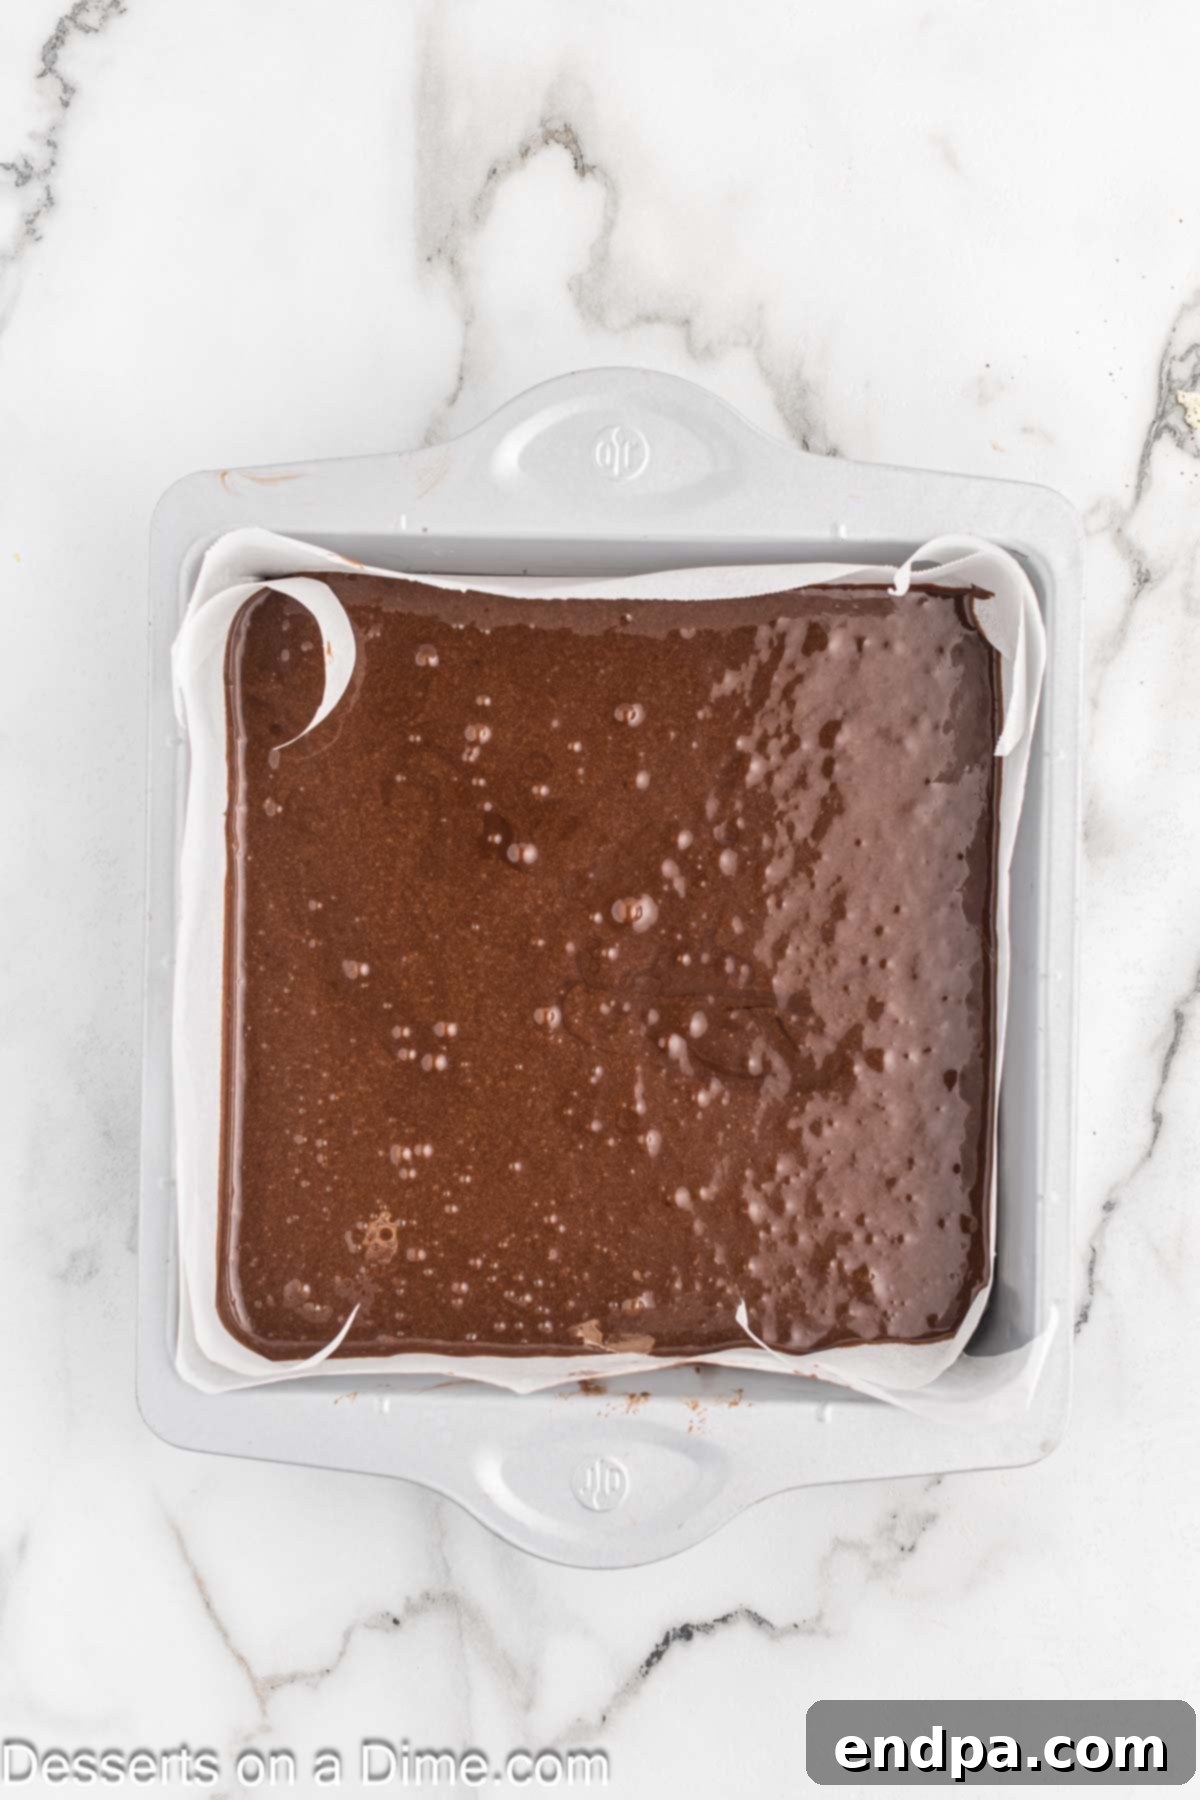
Step 3: Bake the Brownies. Spread the prepared batter evenly into your lined 9×9 inch baking pan. Bake for 30-35 minutes, or until a toothpick inserted into the center comes out with moist crumbs, but not wet batter. Avoid overbaking to ensure fudgy brownies, not dry ones.
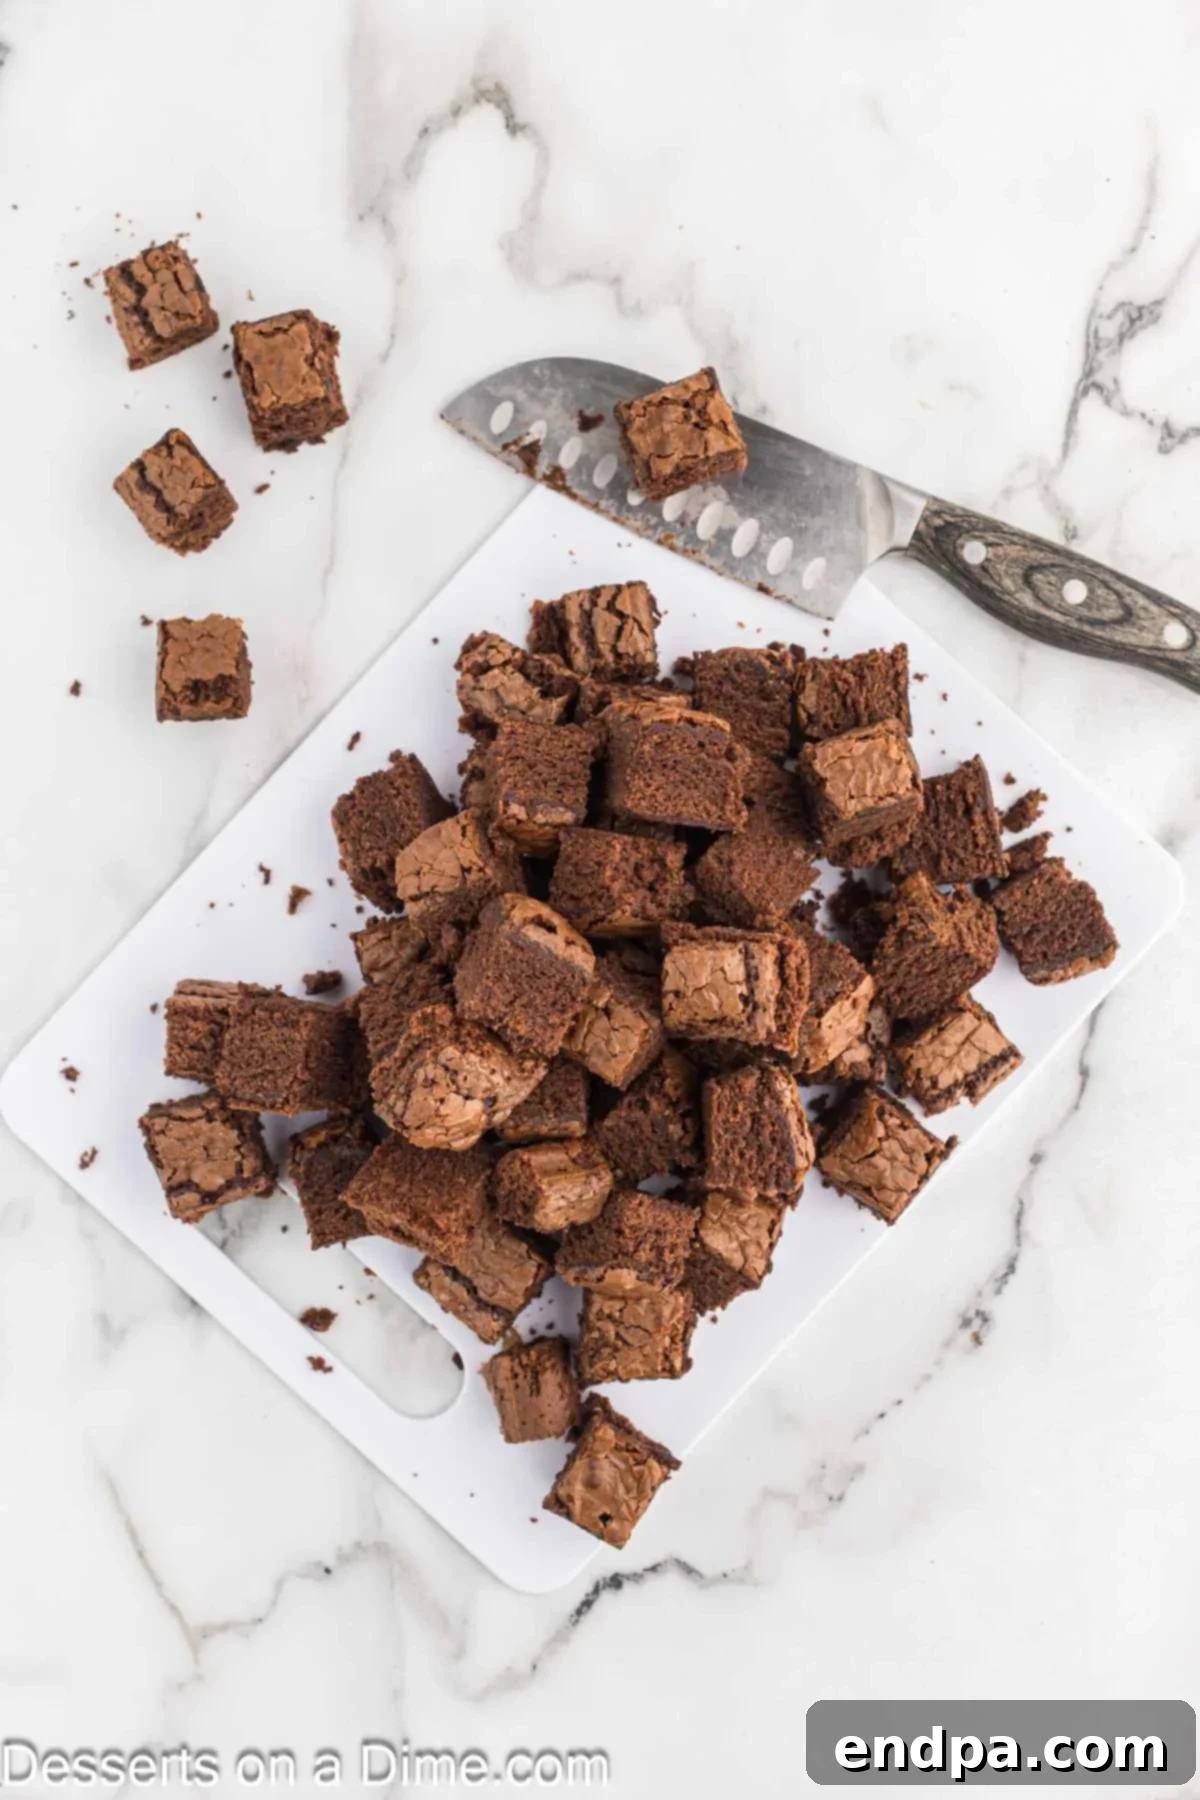
Step 4: Cool and Cube Brownies. Once baked, let the brownies cool completely in the pan before cutting them into approximately 1-inch bite-sized cubes. Cooling thoroughly is essential to prevent them from crumbling when handled and to maintain the integrity of your trifle layers.
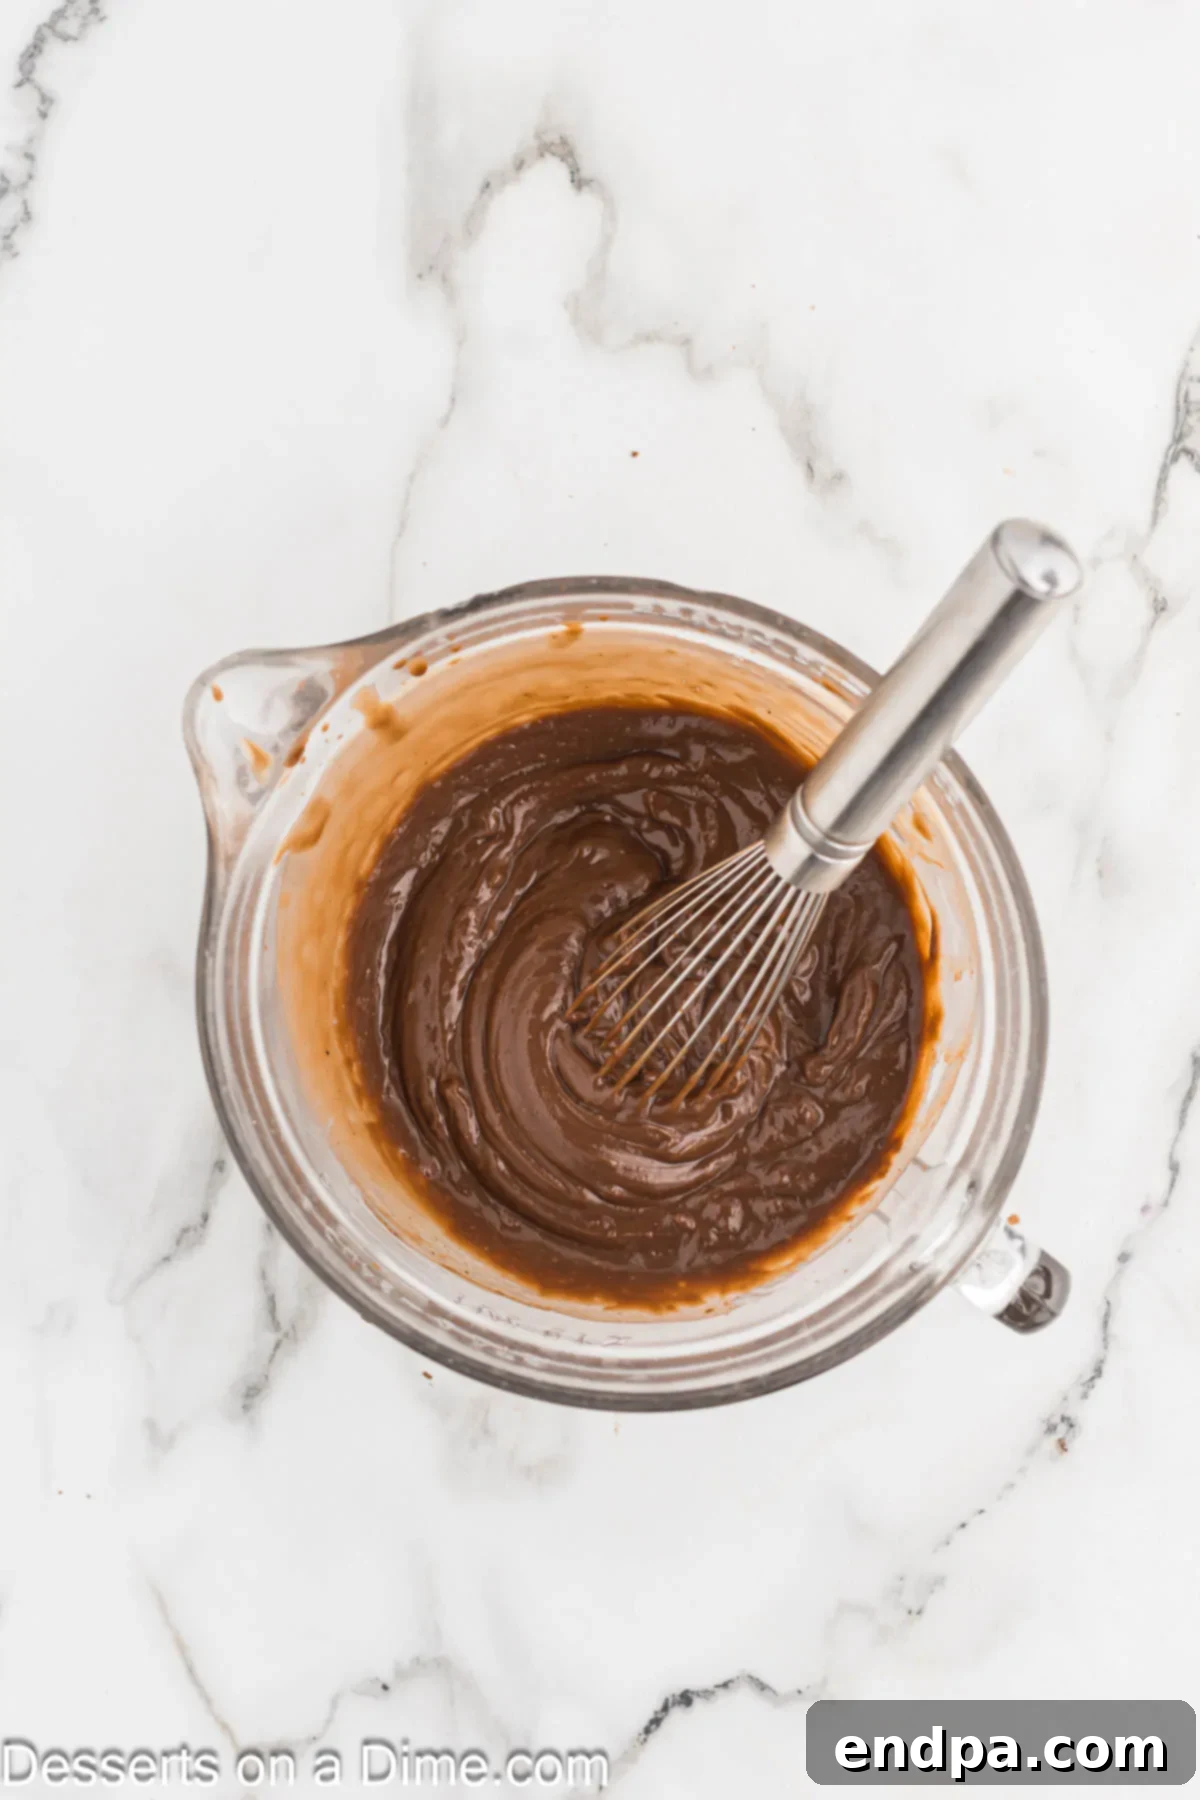
Step 5: Prepare the Pudding. In a small bowl, whisk together the instant chocolate pudding mix with the cold milk for two minutes until it starts to thicken. Place the bowl in the refrigerator to allow the pudding to set completely while you prepare the other components. This typically takes about 5-10 minutes.
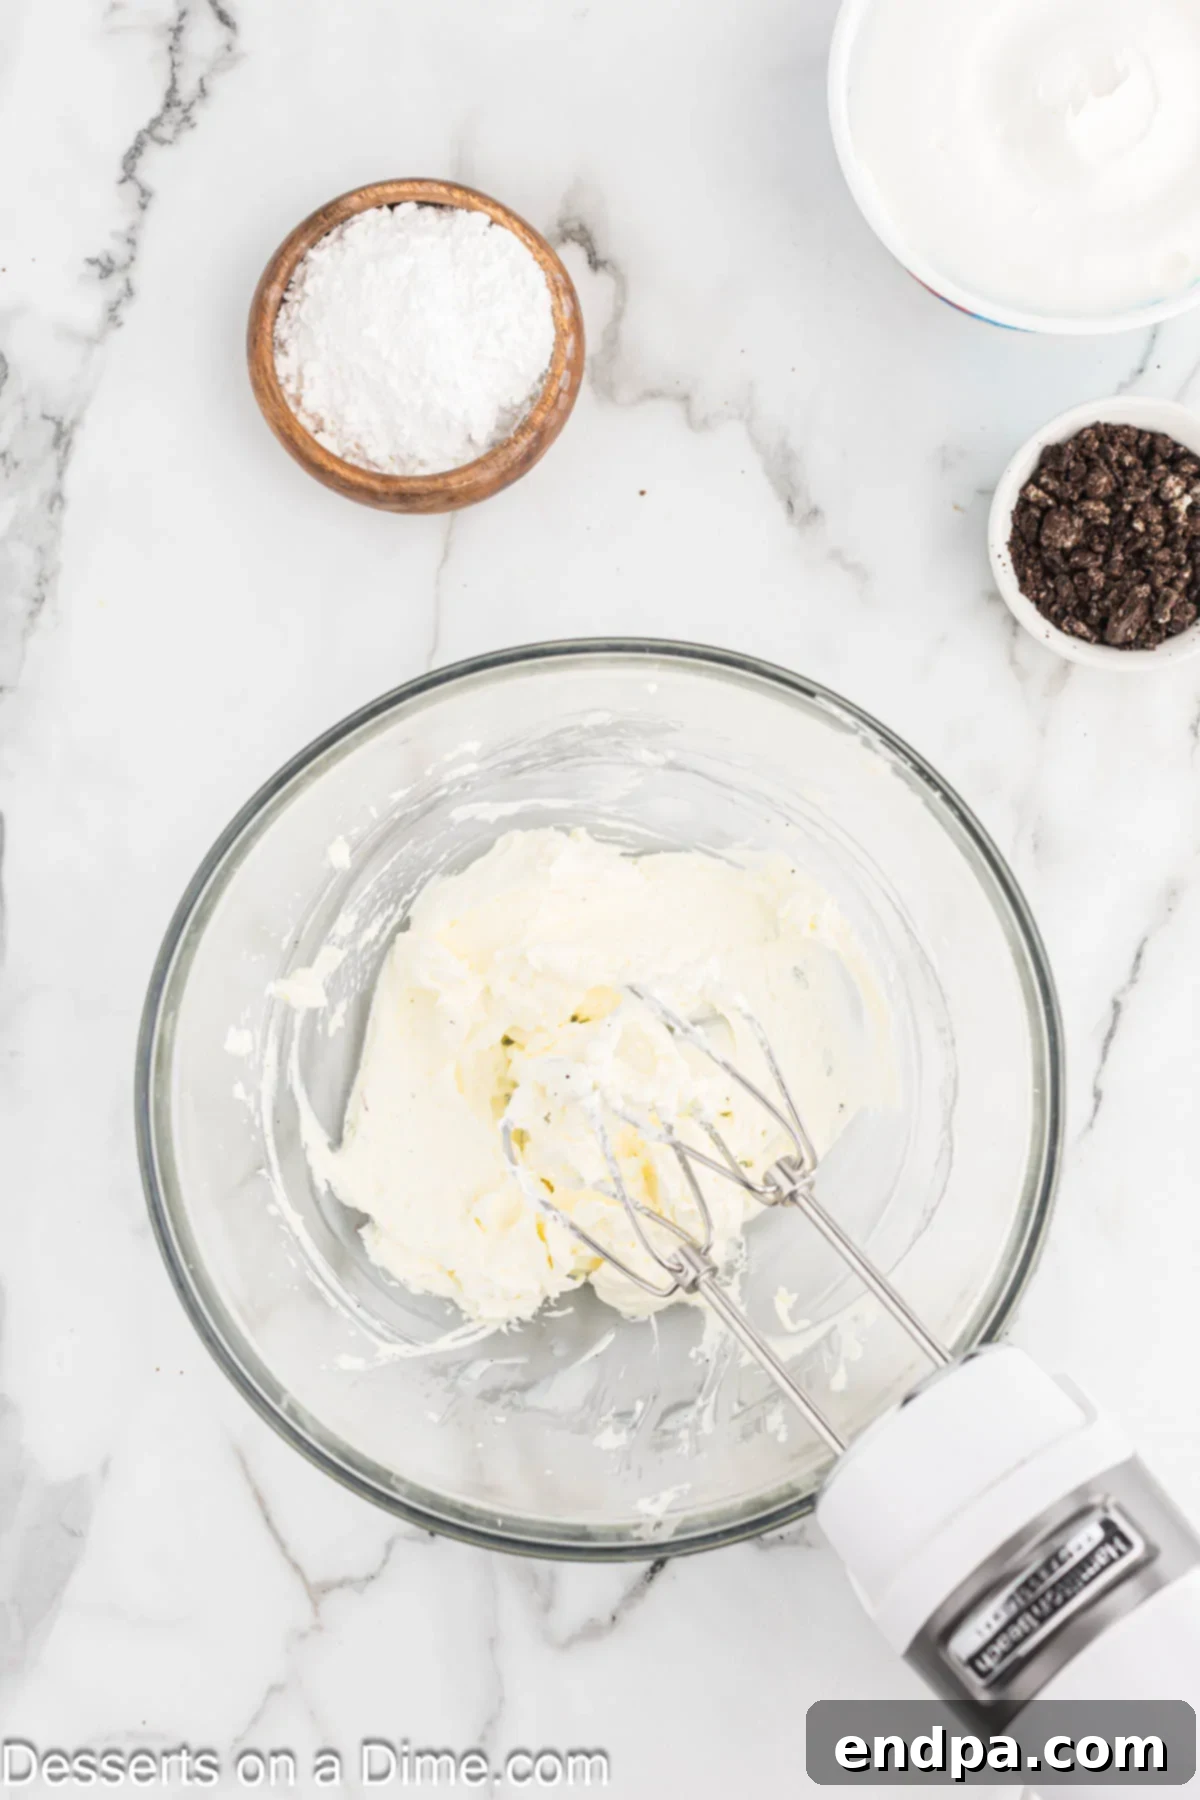
Step 6: Create the Oreo Cheesecake Filling. In a separate large bowl, beat the softened cream cheese with an electric mixer on medium speed for about 2-3 minutes, until it is wonderfully smooth and creamy. Reduce the speed to low and gradually add the powdered sugar until fully incorporated. Increase the speed to medium and beat for another minute, ensuring a silky consistency. Gently fold in 8 ounces of Cool Whip and the 1/2 cup of crushed Oreo crumbs until just combined. Be careful not to overmix, as this can deflate the whipped topping and make the filling less airy.
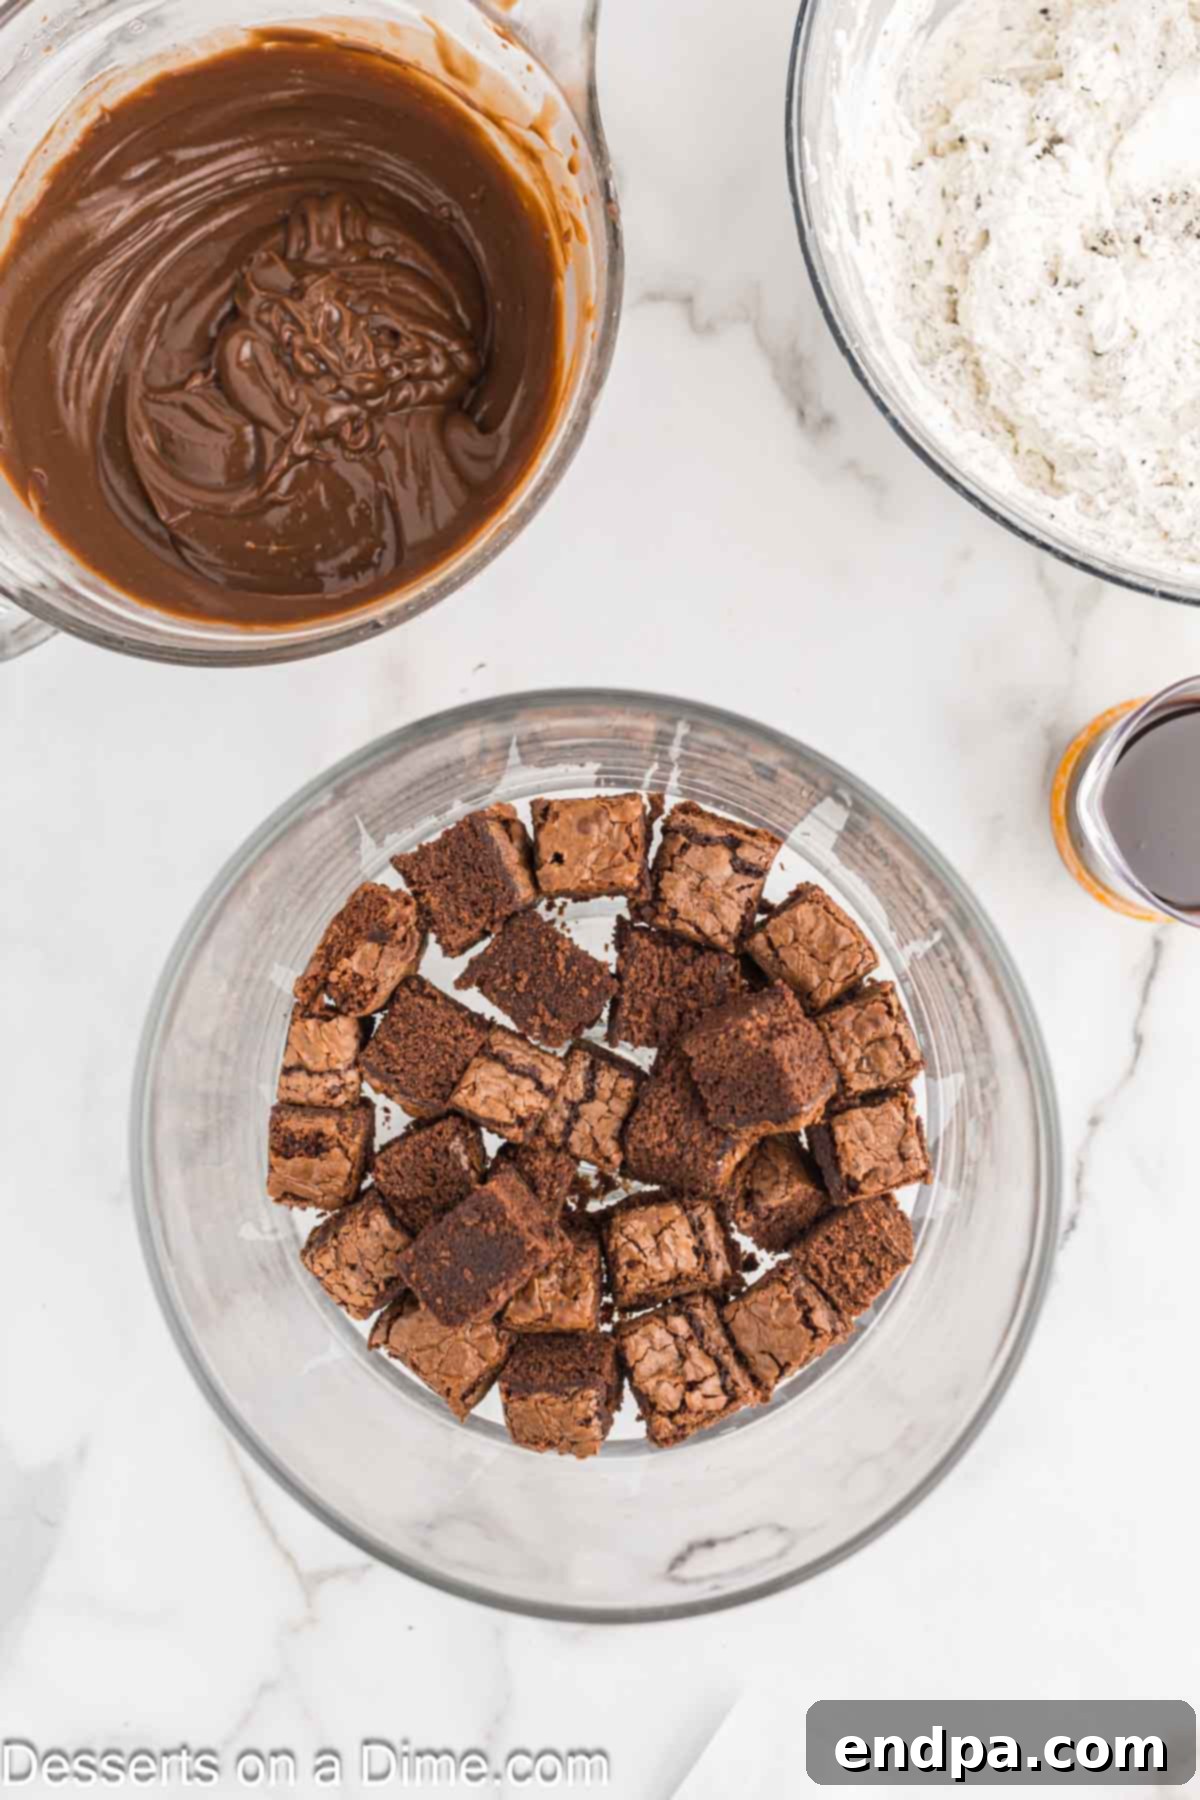
Step 7: Assemble the Trifle Layers. Now for the exciting part – building your trifle! In your clear trifle dish, begin by arranging about half of the brownie cubes at the bottom. Next, spread half of the chocolate pudding mixture evenly over the brownies. Follow with half of the Oreo cheesecake filling, spreading it gently to cover the pudding layer. Drizzle with a portion of the chocolate syrup. Repeat these layers with the remaining ingredients, creating a stunning visual effect.
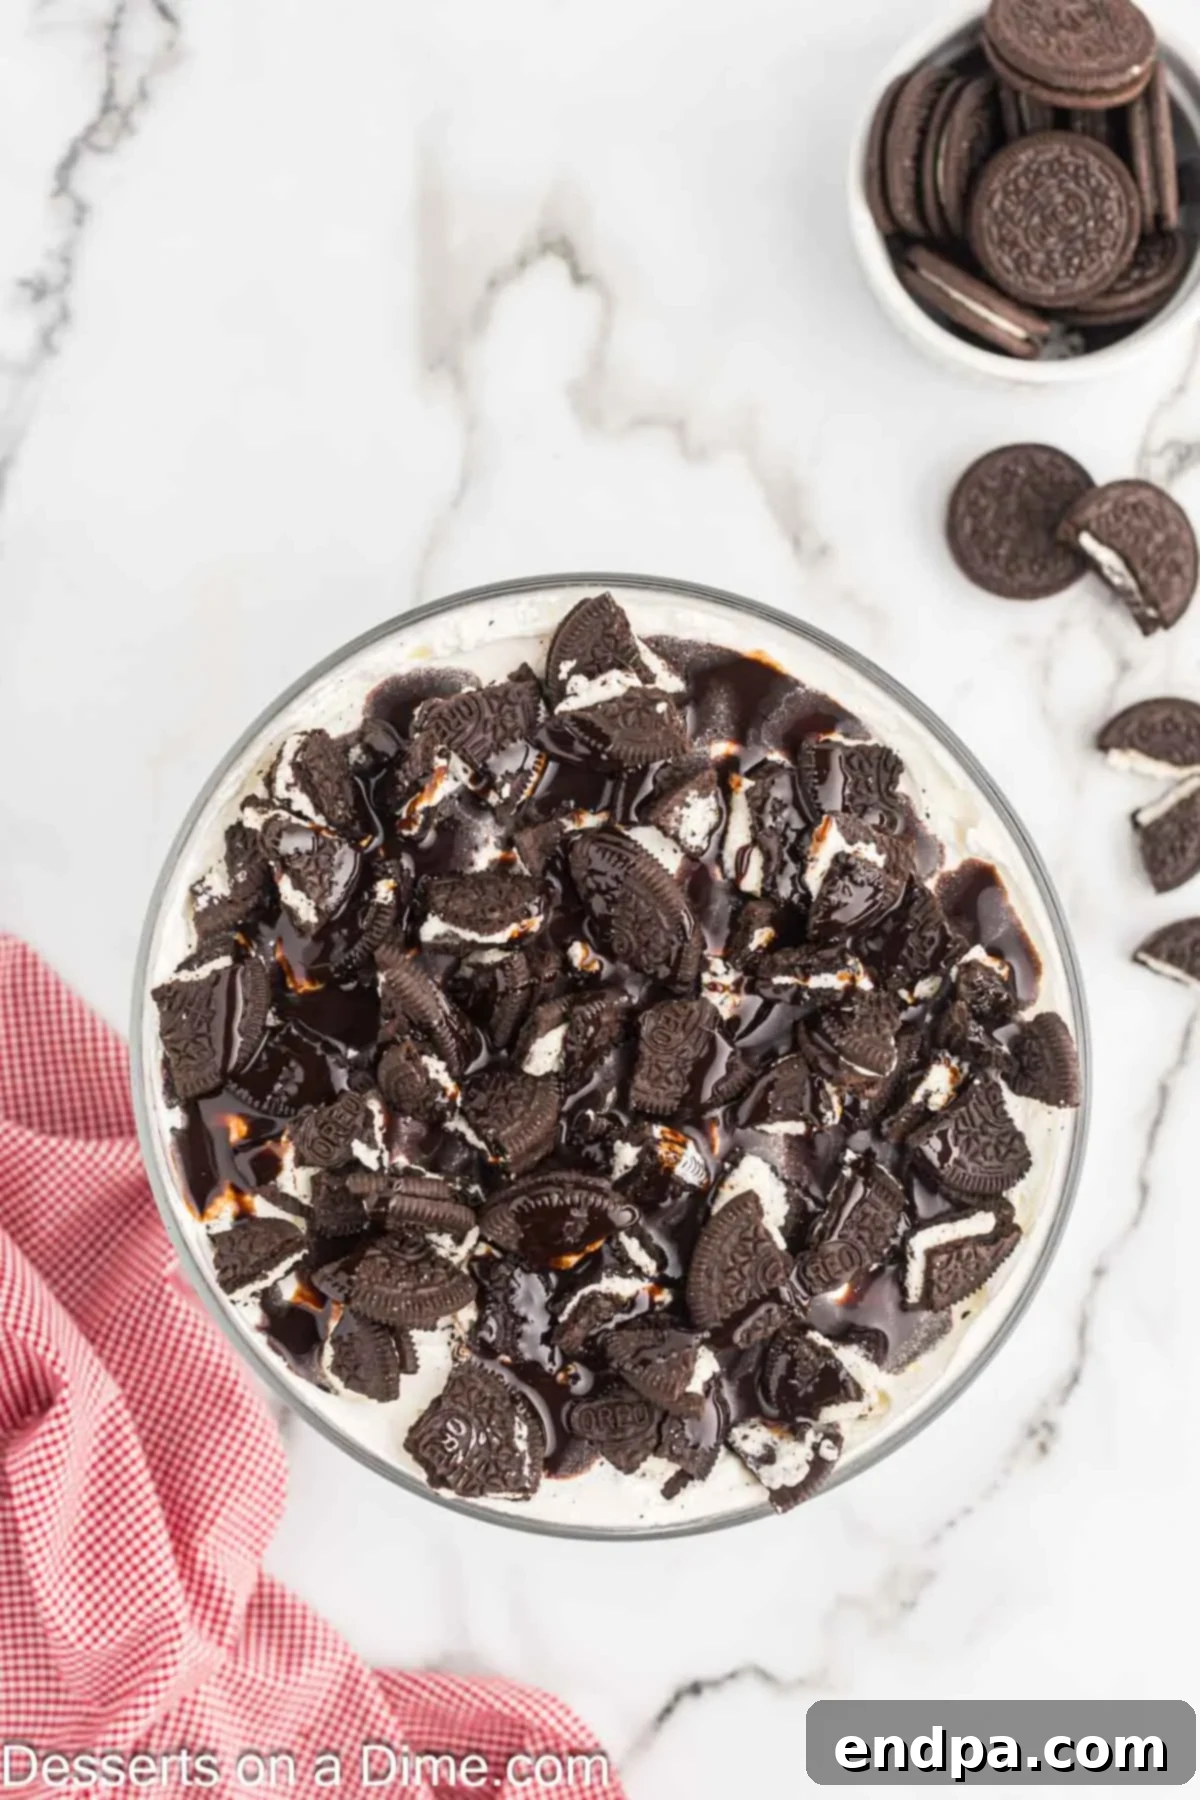
Step 8: Final Touches. Once all your layers are in place, top the trifle with the remaining Cool Whip, spreading it smoothly over the final cheesecake layer. Drizzle generously with the remaining chocolate sauce, allowing some to cascade down the sides for an artistic look. Finally, sprinkle the coarsely crushed Oreos over the top for a beautiful and delicious garnish.
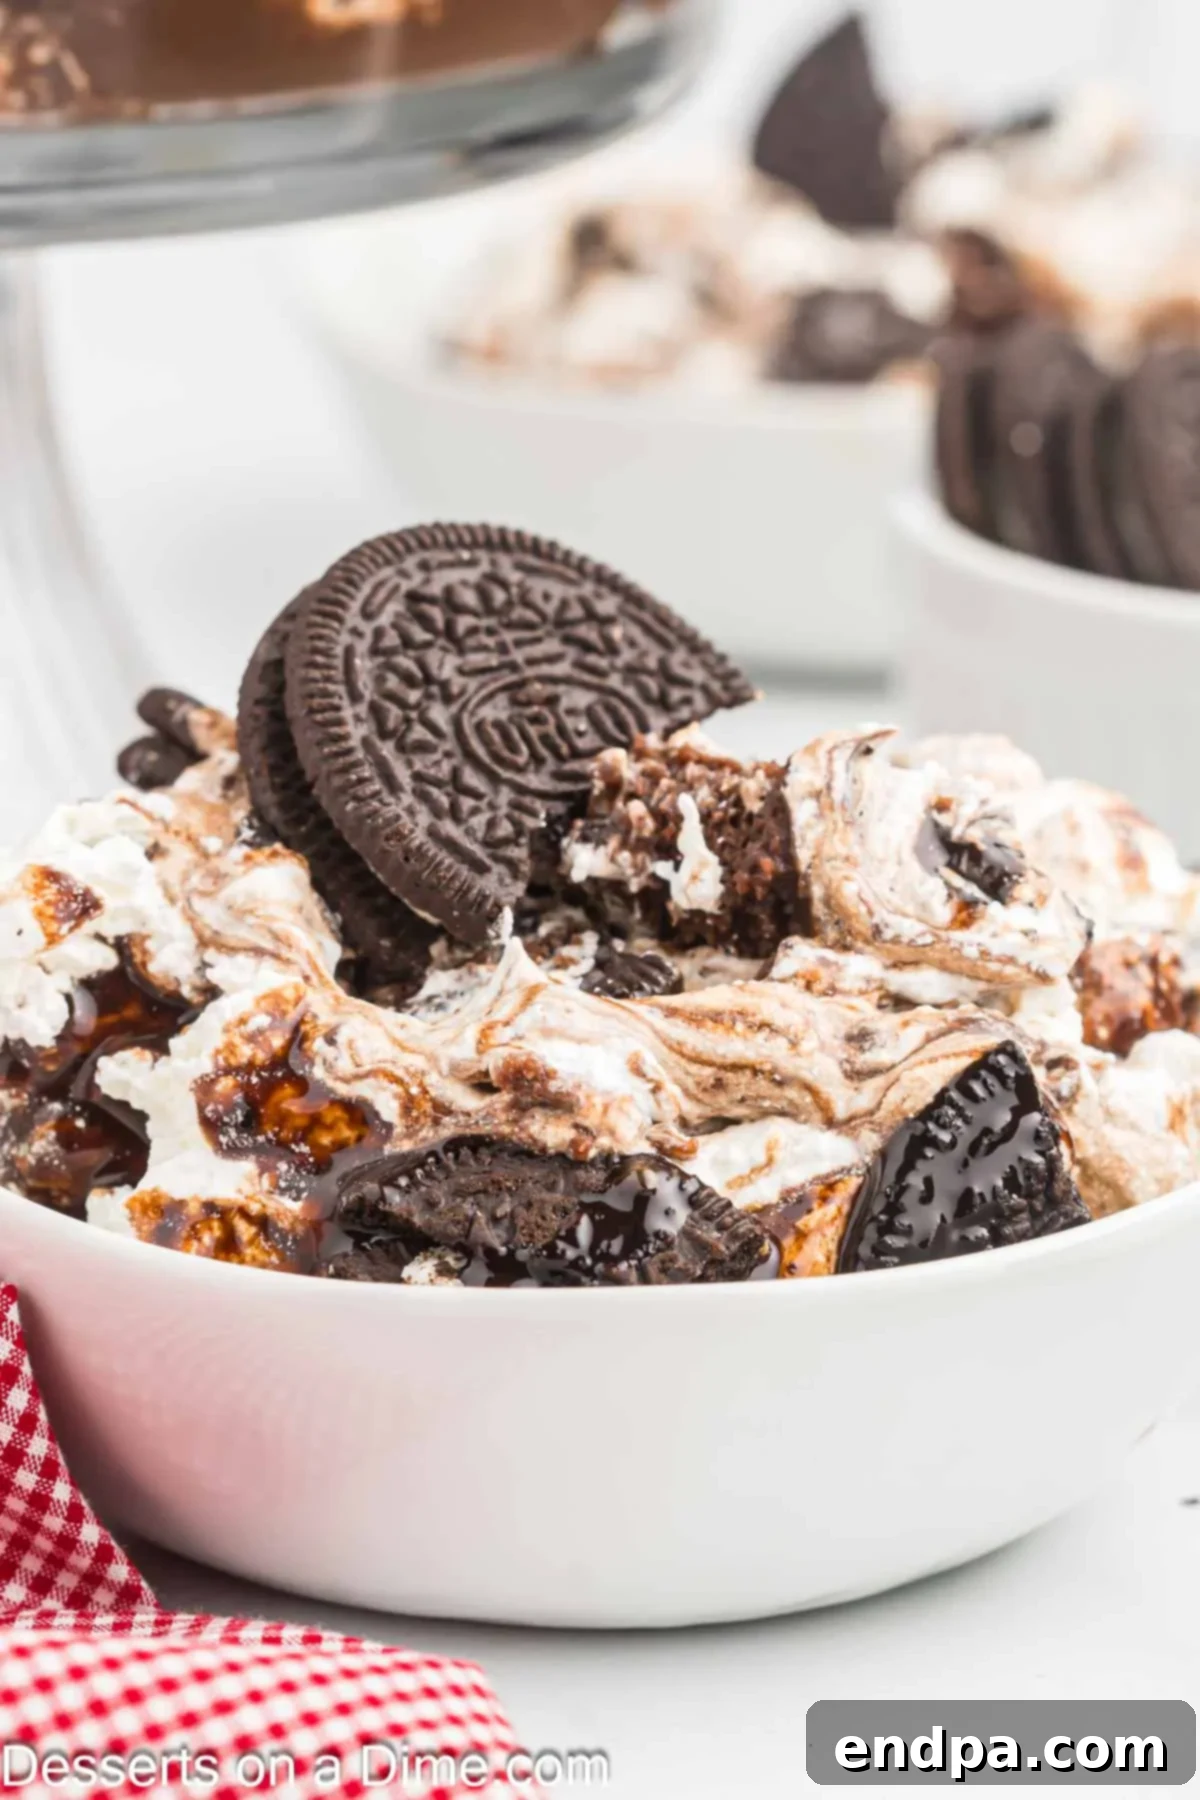
Step 9: Chill and Serve. For best results and to allow the flavors to meld beautifully, cover the trifle tightly with plastic wrap and refrigerate for at least 2-4 hours before serving. This chilling time also helps the layers set firmly. Serve chilled and enjoy your magnificent Oreo Trifle!
Storage and Make-Ahead Tips
Proper storage is key to enjoying your Oreo Trifle at its best. Here’s what you need to know:
- Refrigeration: The Oreo Trifle should always be stored in the refrigerator due to its dairy components (cream cheese, pudding, whipped topping). Cover the trifle dish tightly with plastic wrap to prevent it from absorbing odors from other foods and to keep the top fresh.
- Shelf Life: When stored properly, your Oreo Trifle will remain delicious for up to 3 days in the refrigerator. Beyond this, the brownies and Oreos may start to become soggy from absorbing moisture from the other layers, affecting the texture.
- Preventing Soggy Layers: One common concern with trifles is soggy layers. To minimize this, ensure your brownies are completely cooled before assembling. Also, consider placing a slightly thicker layer of whipped topping or cream cheese directly over the brownies to act as a barrier to the pudding.
- Making Ahead: This trifle is an excellent make-ahead dessert! You can fully assemble it the day before you plan to serve it. In fact, a good overnight chill often allows the flavors to meld and deepen, enhancing the overall taste experience. If you’re making it more than 24 hours in advance, you might want to hold off on adding the final crushed Oreo topping until just before serving to maintain maximum crunch.
- Freezing: Trifle desserts, especially those with whipped cream and pudding, generally do not freeze well. The textures tend to change significantly upon thawing, becoming watery and grainy. It’s best to enjoy this trifle fresh from the refrigerator within its recommended shelf life.
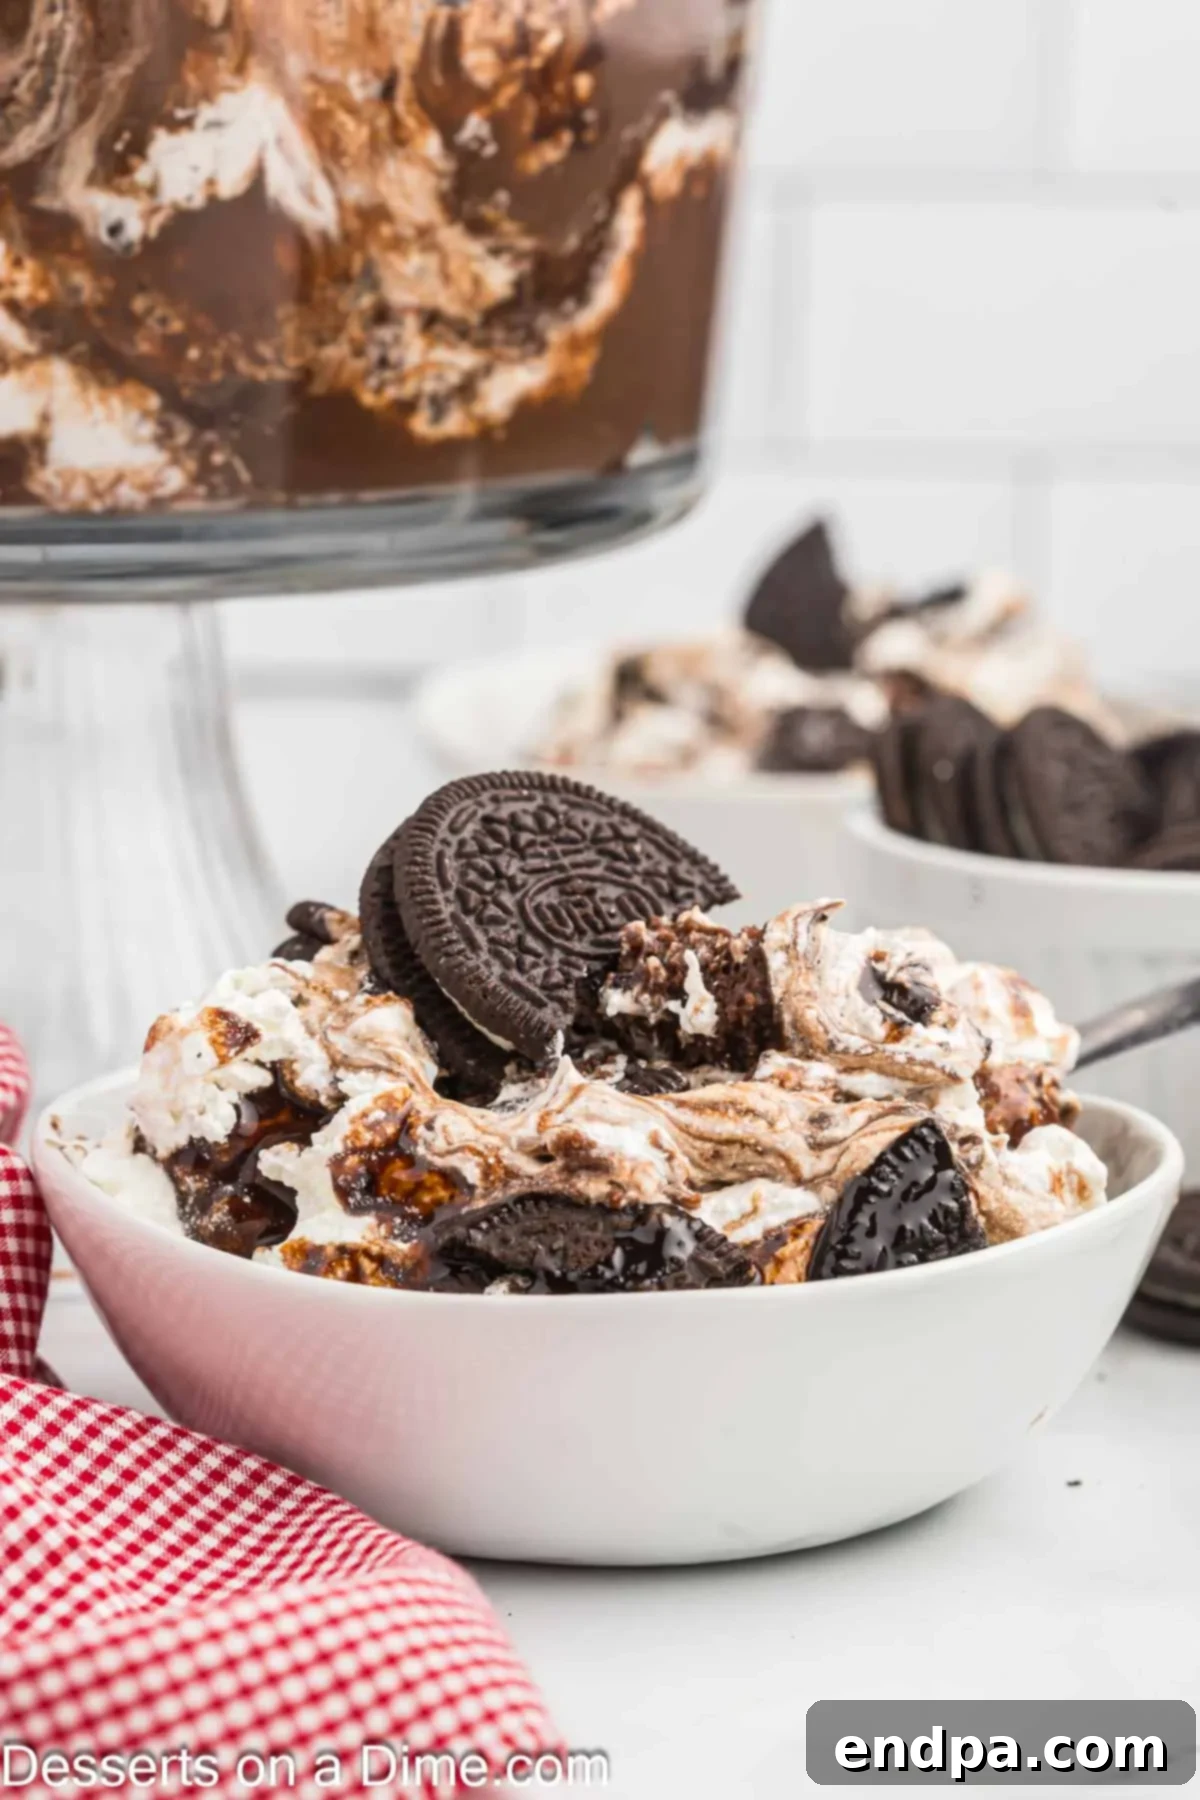
Expert Tips for Trifle Perfection
Achieving a truly stunning and delicious Oreo Trifle is easy with a few insider tricks. These expert tips will help you elevate your dessert from great to absolutely unforgettable:
- Cool Brownies Completely: This cannot be stressed enough! Warm brownies will melt the pudding and cheesecake layers, leading to a messy, unappealing trifle. Allow them to cool entirely before cutting and layering.
- Cut Brownies Evenly: Strive to cut your brownies into uniform 1-inch cubes. This not only makes for a neater presentation but also ensures an even distribution of brownie in every bite.
- Smooth Each Layer Carefully: For those picture-perfect layers, use an offset spatula or the back of a spoon to gently spread and smooth each component (pudding, cheesecake, whipped cream). Take your time to create crisp lines between layers, especially against the glass dish.
- Don’t Overmix the Cream Cheese Filling: When combining the Cool Whip and crushed Oreos with the cream cheese mixture, stir gently until *just* combined. Overmixing can cause the whipped topping to lose its airiness, resulting in a denser, less fluffy filling.
- Instant Pudding, Instant Success: Ensure you are using *instant* pudding mix, not cook-and-serve. Instant pudding sets quickly and firmly, which is essential for stable layers in a trifle. Always use cold milk to help it set optimally.
- Individual Dessert Portions: For parties or controlled serving sizes, consider assembling the trifle mixture into clear individual cups or jars. This creates adorable, portable desserts that are easy to serve and impressive to look at.
- Plan Your Layers: Before you start layering, visualize or even sketch out your desired order. Generally, starting and ending with brownies or whipped cream works well, but alternating colors and textures is key for visual appeal.
- Chill Time is Crucial: Allow adequate chilling time (at least 2-4 hours, or preferably overnight) for the flavors to meld and the layers to set properly. This also ensures the trifle is refreshingly cold when served.
- Experiment with Flavors: Don’t be afraid to try variations! Consider using Golden Oreos with vanilla pudding and a white chocolate cheesecake layer, or adding a layer of fresh berries for a fruity contrast. Our Easy Blondie Recipe with Homemade Vanilla Pudding Recipe and Golden Oreos would make a fantastic alternative!
Frequently Asked Questions (FAQ)
Can I make this Oreo Trifle completely from scratch?
Absolutely! While this recipe uses a brownie mix and instant pudding for convenience, you can certainly bake your favorite homemade fudgy brownies and prepare a homemade chocolate pudding. Just ensure all components are cooled completely before assembly.
What kind of trifle dish should I use?
A standard 3 to 4-quart clear glass trifle dish is ideal, as it beautifully showcases the distinct layers. If you don’t have one, a large glass punch bowl or any deep, clear glass serving bowl will work just fine.
Can I substitute Cool Whip with homemade whipped cream?
Yes, you can! For a truly decadent touch, homemade whipped cream made from heavy cream and a little powdered sugar can be used. Just be aware that homemade whipped cream might not hold up quite as long as Cool Whip, especially in the cheesecake filling, so it’s best to serve the trifle within 24 hours if using homemade whipped cream throughout.
How do I crush the Oreos?
You have a couple of options: place them in a food processor and pulse until you reach your desired crumb size, or put them in a sturdy Ziploc bag and crush them with a rolling pin or the bottom of a heavy pan.
Can I add other candies or toppings?
Definitely! Feel free to customize your trifle with additional toppings. Mini chocolate chips, chocolate shavings, chopped candy bars (like Reese’s or Kit Kat), or even a sprinkle of cocoa powder would all be delicious additions.
Is this trifle suitable for large gatherings?
Yes, this recipe yields about 12 servings, making it perfect for most gatherings. If you need to feed a very large crowd, you can easily double the recipe and use a larger trifle dish or divide it into two standard trifle dishes.
More Oreo Dessert Recipes
Easy Pie
No Bake Oreo Pie
Homemade Pudding
Oreo Lasagna Recipe
Easy Pie
Oreo Pudding Pie Recipe
Cookies
Oreo Cheesecake Cookies
Printable Oreo Trifle Recipe Card
This Oreo Trifle is a simply divine, layered dessert that promises to satisfy any chocolate lover’s craving. Its ease of preparation combined with its stunning presentation makes it an ideal choice for any gathering or a special treat at home. We encourage you to try this recipe for an indulgent dessert that everyone will rave about!
If you make this recipe, we would love to hear from you. Please come back and leave a star rating and comment below. Your feedback helps us and other readers discover new favorites!
Pin
Oreo Trifle
25 mins
30 mins
55 mins
12
American
Dessert
626
Carrie Barnard
Ingredients
For the Brownies:
- 1 package Brownie Mix approximately 18 ounces
- 2 Large Eggs
- 1/2 cup Vegetable Oil
- 1/4 cup Water
For the Oreo Cheesecake Filling:
- 8 ounces cream cheese at room temperature
- 1 cup Powdered Sugar
- 1 teaspoon Vanilla extract
- 8 ounces Cool Whip
- 1/2 cup Crushed Oreos
For the Pudding:
- 3.4 ounces Box Instant Chocolate Pudding Mix
- 2 cups Cold Milk
- For the Trifle:
- 1/2 cup Chocolate Sauce
- 12 Oreos crushed into large pieces
- 8 ounces Cool Whip
Instructions
- Preheat the oven to 350 degrees Fahrenheit and line a 9X9 baking dish with parchment paper.
- Mix together the brownie mix, eggs, vegetable oil and water until combined.
- Pour into the prepared baking dish. Bake for 30-35 minutes until a toothpick inserted into the brownies comes out clean.
- Let the brownies cool and then cut the brownies into approximately 1 inch bite size pieces.
- In a small bowl, combine the chocolate pudding mix with the milk. Whisk for two minutes and refrigerate until the pudding is set.
- In a large bowl, beat the cream cheese on medium speed for about 2-3 minutes or until smooth and creamy.
- Reduce the speed to low and gradually add the powdered sugar. Once all of the sugar is incorporated, increase the speed to medium and beat for 1 minute, or until smooth.
- Add 8 ounces of cool whip and crushed Oreos to the cream cheese mixture and gently stir until just combined. Be careful not to over mix.
- To assemble the trifle, alternate layers of brownies, the pudding mixture, Oreo cheesecake filling and chocolate syrup until you get to the top.
- Top with the remaining cool whip. Drizzle chocolate on top and sprinkle the crushed Oreos on top.
- Serve immediately or cover and refrigerate until ready to serve.
Nutrition Facts
Carbohydrates 84g,
Protein 8g,
Fat 29g,
Saturated Fat 10g,
Polyunsaturated Fat 7g,
Monounsaturated Fat 10g,
Trans Fat 0.1g,
Cholesterol 57mg,
Sodium 468mg,
Potassium 236mg,
Fiber 1g,
Sugar 57g,
Vitamin A 426IU,
Vitamin C 0.02mg,
Calcium 125mg,
Iron 4mg
Pin This Now to Remember It Later
Pin Recipe
