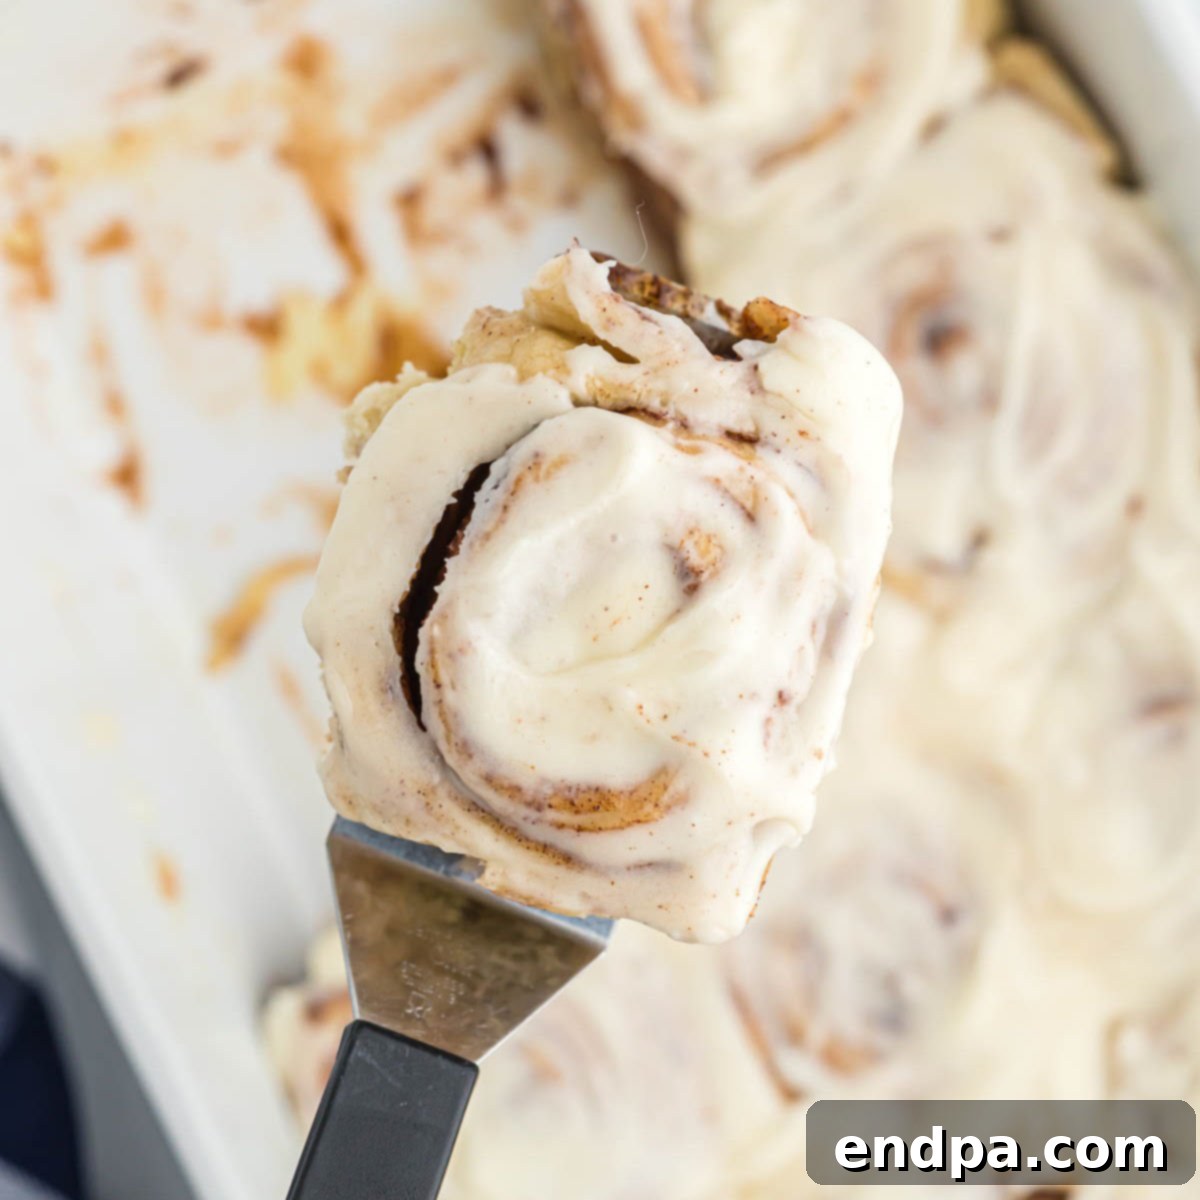
The Ultimate Cinnabon Cinnamon Rolls Copycat Recipe: A Homemade Dream
Craving those irresistibly warm, soft, and gooey cinnamon rolls from Cinnabon? Imagine indulging in that heavenly aroma and decadent flavor right from your own kitchen! Our **Cinnabon Cinnamon Rolls Recipe** is a meticulously crafted easy copycat recipe that brings the magic of the famous bakery treat directly to your home. These homemade cinnamon rolls boast an incredibly rich and tender dough, generously swirled with a sweet, spiced filling, and crowned with a luscious, tangy cream cheese frosting that melts into every bite.
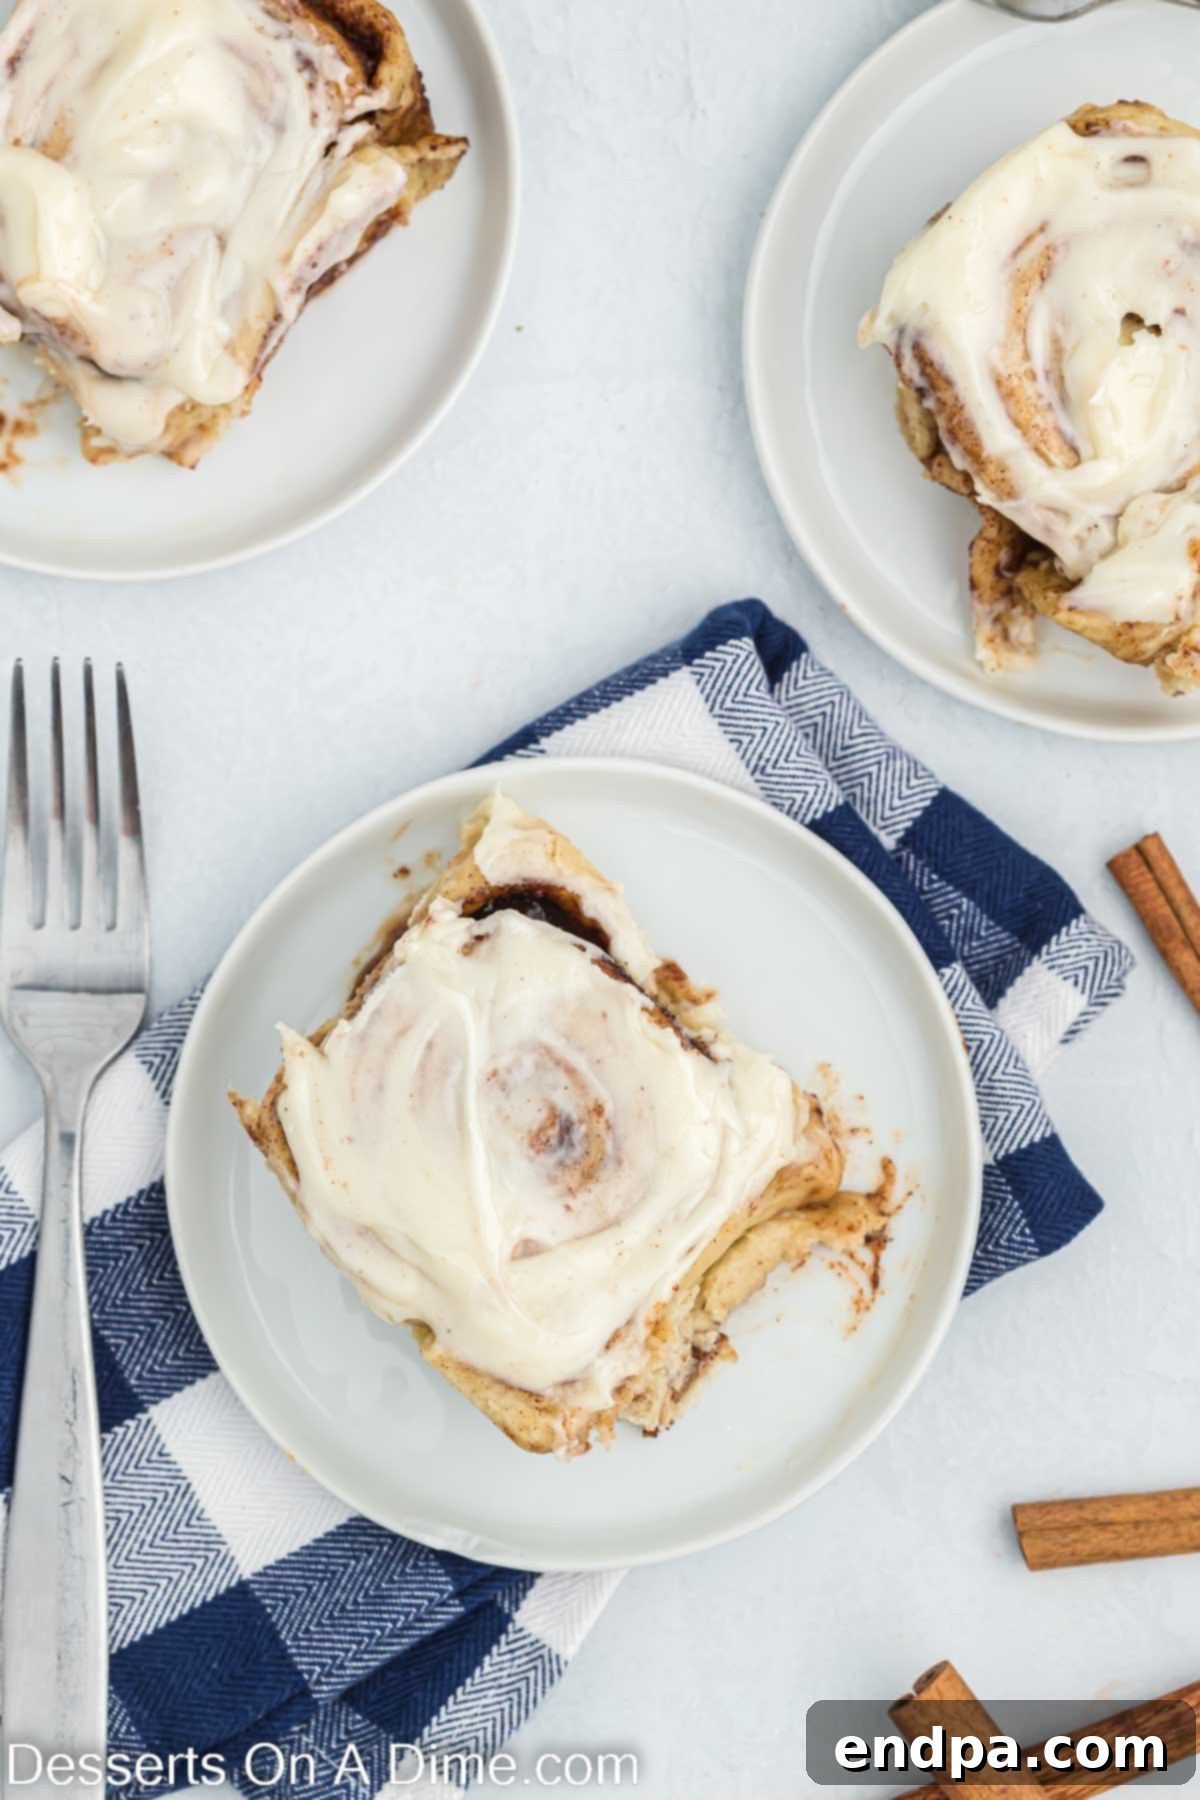
For many, the scent of Cinnabon cinnamon rolls instantly transports them to a place of comfort and joy. Now, you don’t need to visit a mall to experience that delight. We’ve spent countless hours perfecting this recipe, ensuring that every homemade roll rivals its store-bought counterpart. Prepare to impress your family and friends with these exceptional cinnamon buns, perfect for breakfast, brunch, or a special dessert. If you adore the classic cinnamon roll flavor, be sure to explore other delightful creations like our Cinnamon Roll Poke Cake and Chocolate Chip Cinnamon Rolls.
What truly sets these rolls apart is the harmonious blend of textures and tastes. Each bite offers a blissful combination of the pillowy soft dough, the sweet embrace of brown sugar, and the aromatic warmth of ground cinnamon, creating an utterly delicious filling. The crowning glory is undoubtedly the creamy, amazing, and undeniably decadent cream cheese frosting, which adds a perfect balance of sweetness and tang. Despite their impressive appearance and incredible flavor, these rolls are surprisingly simple to make at home, even for novice bakers!
Table of Contents
- Why This Recipe Stands Out
- Essential Ingredients for Perfect Cinnabon Rolls
- The Dough
- The Flavorful Filling
- The Decadent Frosting
- Creative Additions and Variations
- Step-by-Step Guide to Homemade Cinnabon Cinnamon Rolls
- Storage and Reheating Tips
- Expert Baking Pro Tips
- Frequently Asked Questions
- Explore More Cinnamon Roll Recipes
Why This Recipe Stands Out
Many home bakers shy away from making cinnamon rolls from scratch, often intimidated by the yeast dough process. However, this Cinnabon copycat recipe is designed to be surprisingly straightforward and incredibly rewarding. You’ll be pleasantly surprised by just how accessible and easy it is to achieve bakery-quality results right in your kitchen. Our step-by-step instructions break down the process into manageable, simple stages, making it achievable for anyone, regardless of their baking experience.
These delicious cinnamon buns are versatile enough for any occasion. They are special enough to be the star of a Christmas morning breakfast or a festive holiday brunch, yet simple enough to whip up for a delightful weekend treat or a comforting weeknight dessert. The satisfaction of pulling a pan of warm, fragrant, homemade Cinnabon-style rolls from the oven is unmatched, and the taste is truly a testament to the joy of baking from scratch.
Essential Ingredients for Perfect Cinnabon Rolls
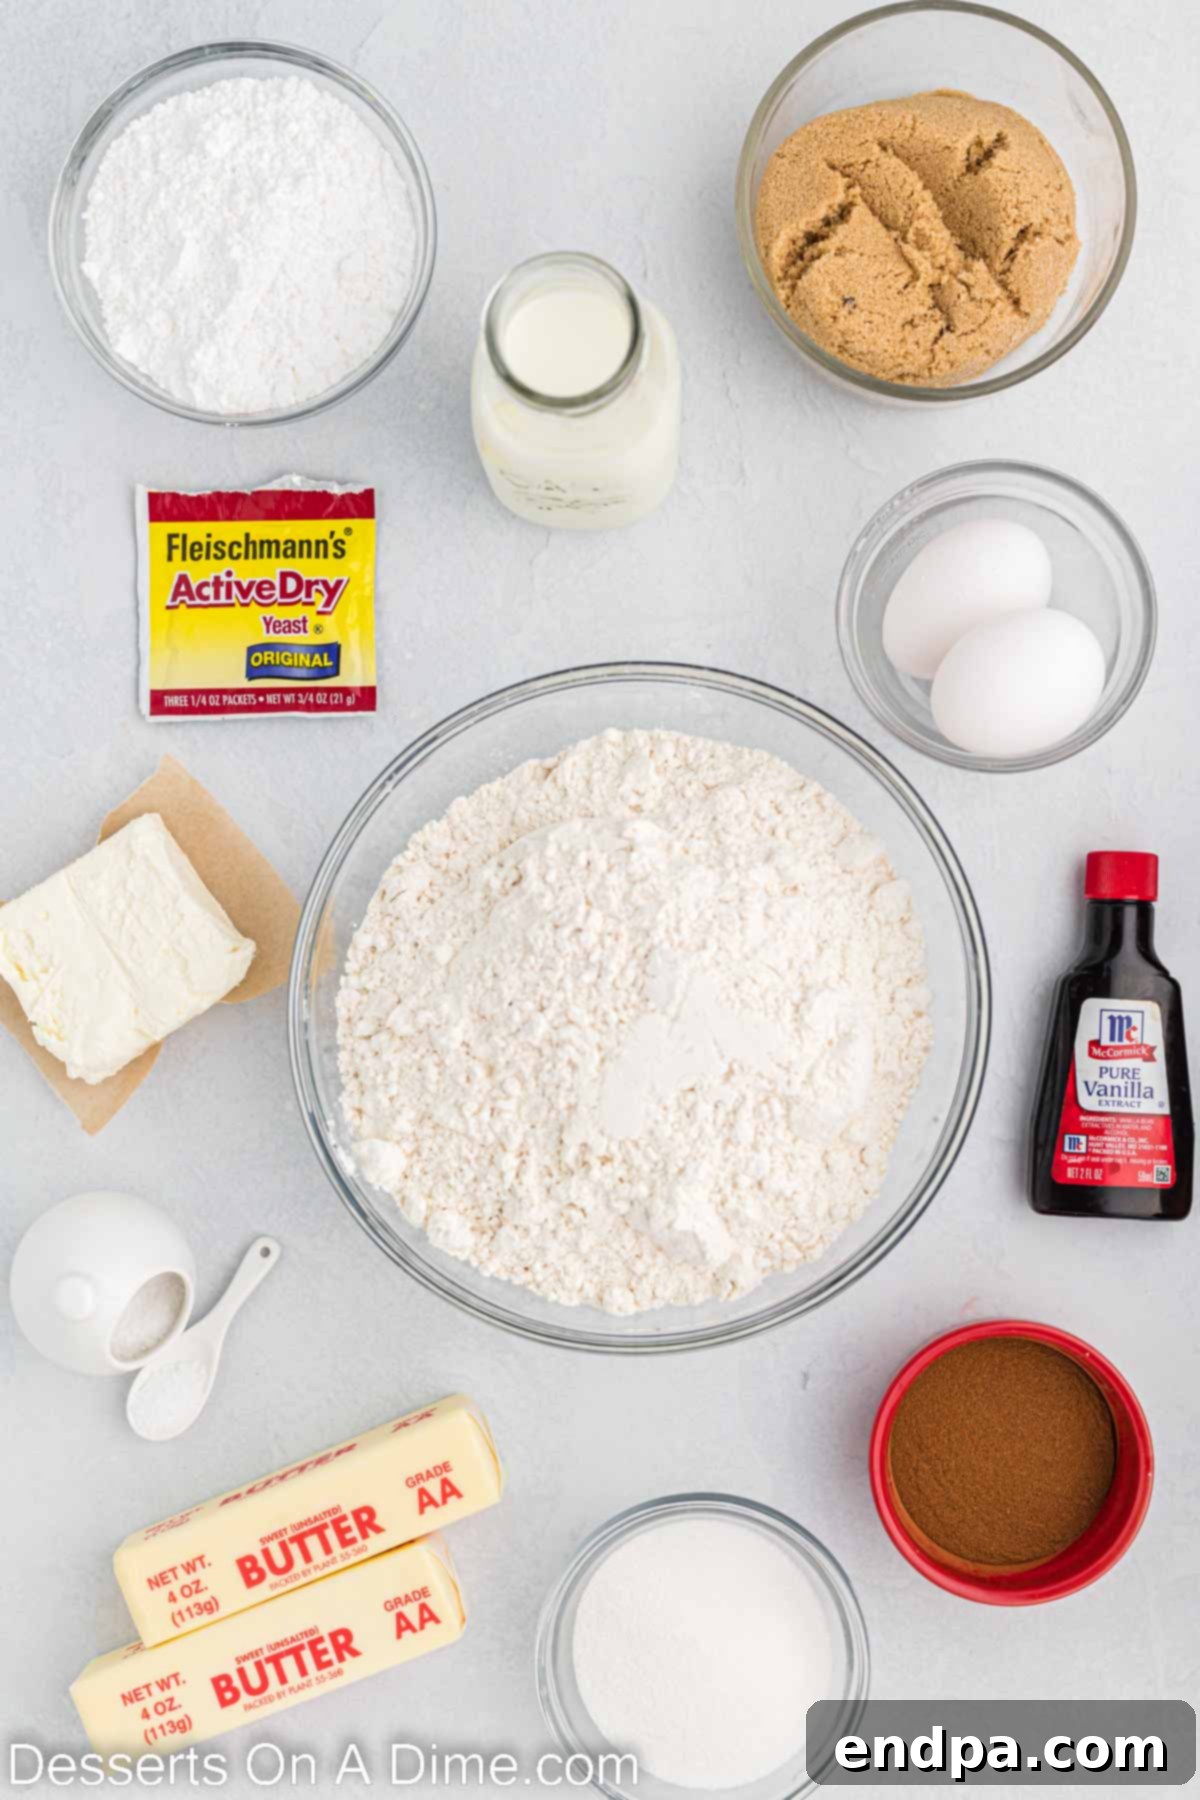
Achieving that signature Cinnabon taste and texture begins with selecting the right ingredients and understanding their role. Here’s a closer look at what you’ll need for each component of these sensational rolls:
The Dough
- Warm Milk: The ideal temperature is crucial for activating the yeast. It should feel comfortably warm to the touch, like a baby’s bath – around 105-115°F (40-46°C). Too hot, and you’ll kill the yeast; too cold, and it won’t activate properly.
- Active Dry Yeast: This is the leavening agent that gives our rolls their incredible fluffiness. Always double-check the expiration date to ensure your yeast is active and will produce a good rise.
- Unsalted Butter: Using unsalted butter allows you to control the salt content in the recipe. Ensure it’s softened to room temperature for smooth incorporation into the dough, leading to a tender crumb.
- Large Eggs: Room temperature eggs blend more easily into the dough mixture, creating a more uniform and enriched dough. They add richness, moisture, and help with the dough’s structure.
- All-Purpose Flour: For best results, measure your flour by spooning it into the measuring cup and then leveling it off with a straight edge, rather than scooping directly from the bag. This prevents over-packing and ensures the correct flour-to-liquid ratio, leading to a perfectly soft dough.
- Granulated Sugar & Salt: These balance the flavors and contribute to the dough’s structure and taste.
The Flavorful Filling
- Brown Sugar: Packed brown sugar provides a deep, molasses-rich sweetness and contributes to the gooey texture of the filling. Both light brown sugar and dark brown sugar work wonderfully, with dark brown sugar offering a slightly more intense flavor.
- Ground Cinnamon: This is the star spice! Feel free to adjust the amount of cinnamon to your personal taste – some prefer a milder spice, while others love an extra kick.
- Unsalted Butter: Softened to room temperature, the butter acts as a binder for the cinnamon sugar and ensures it spreads evenly across the dough, melting into a luscious layer during baking.
The Decadent Frosting
- Cream Cheese: Softened cream cheese is essential for a smooth, lump-free frosting. Its tangy flavor perfectly complements the sweetness of the rolls.
- Unsalted Butter: Also softened, butter contributes to the rich and creamy consistency of the frosting.
- Powdered Sugar: Also known as confectioners’ sugar, this fine sugar creates a smooth frosting texture. Sifting it before use can help remove any lumps, ensuring a silky finish.
- Vanilla Extract: Pure vanilla extract enhances all the flavors in the frosting, adding a warm, aromatic note.
- Pinch of Salt: A tiny bit of salt balances the sweetness and brings out the depth of flavor in the frosting.
Creative Additions and Variations
While these Cinnabon copycat rolls are perfect on their own, you can easily customize them to suit your preferences or seasonal cravings. Consider these delightful additions:
- Raisins: For a classic touch, sprinkle some plump raisins into the cinnamon filling before rolling the dough.
- Nuts: Chopped pecans or walnuts add a wonderful crunch and nutty flavor. Toast them lightly before adding for an enhanced taste.
- Chocolate Chips: A sprinkle of mini chocolate chips in the filling can turn these into an even more decadent treat.
- Orange Zest: Add a teaspoon of finely grated orange zest to the dough or the frosting for a bright, citrusy note that beautifully complements the cinnamon.
- Maple Extract: A few drops of maple extract in the frosting can introduce a cozy, autumnal flavor.
Step-by-Step Guide to Homemade Cinnabon Cinnamon Rolls
Follow these detailed instructions to create your own batch of irresistible Cinnabon-style cinnamon rolls. Patience is key, especially when working with yeast dough, but the results are absolutely worth it!
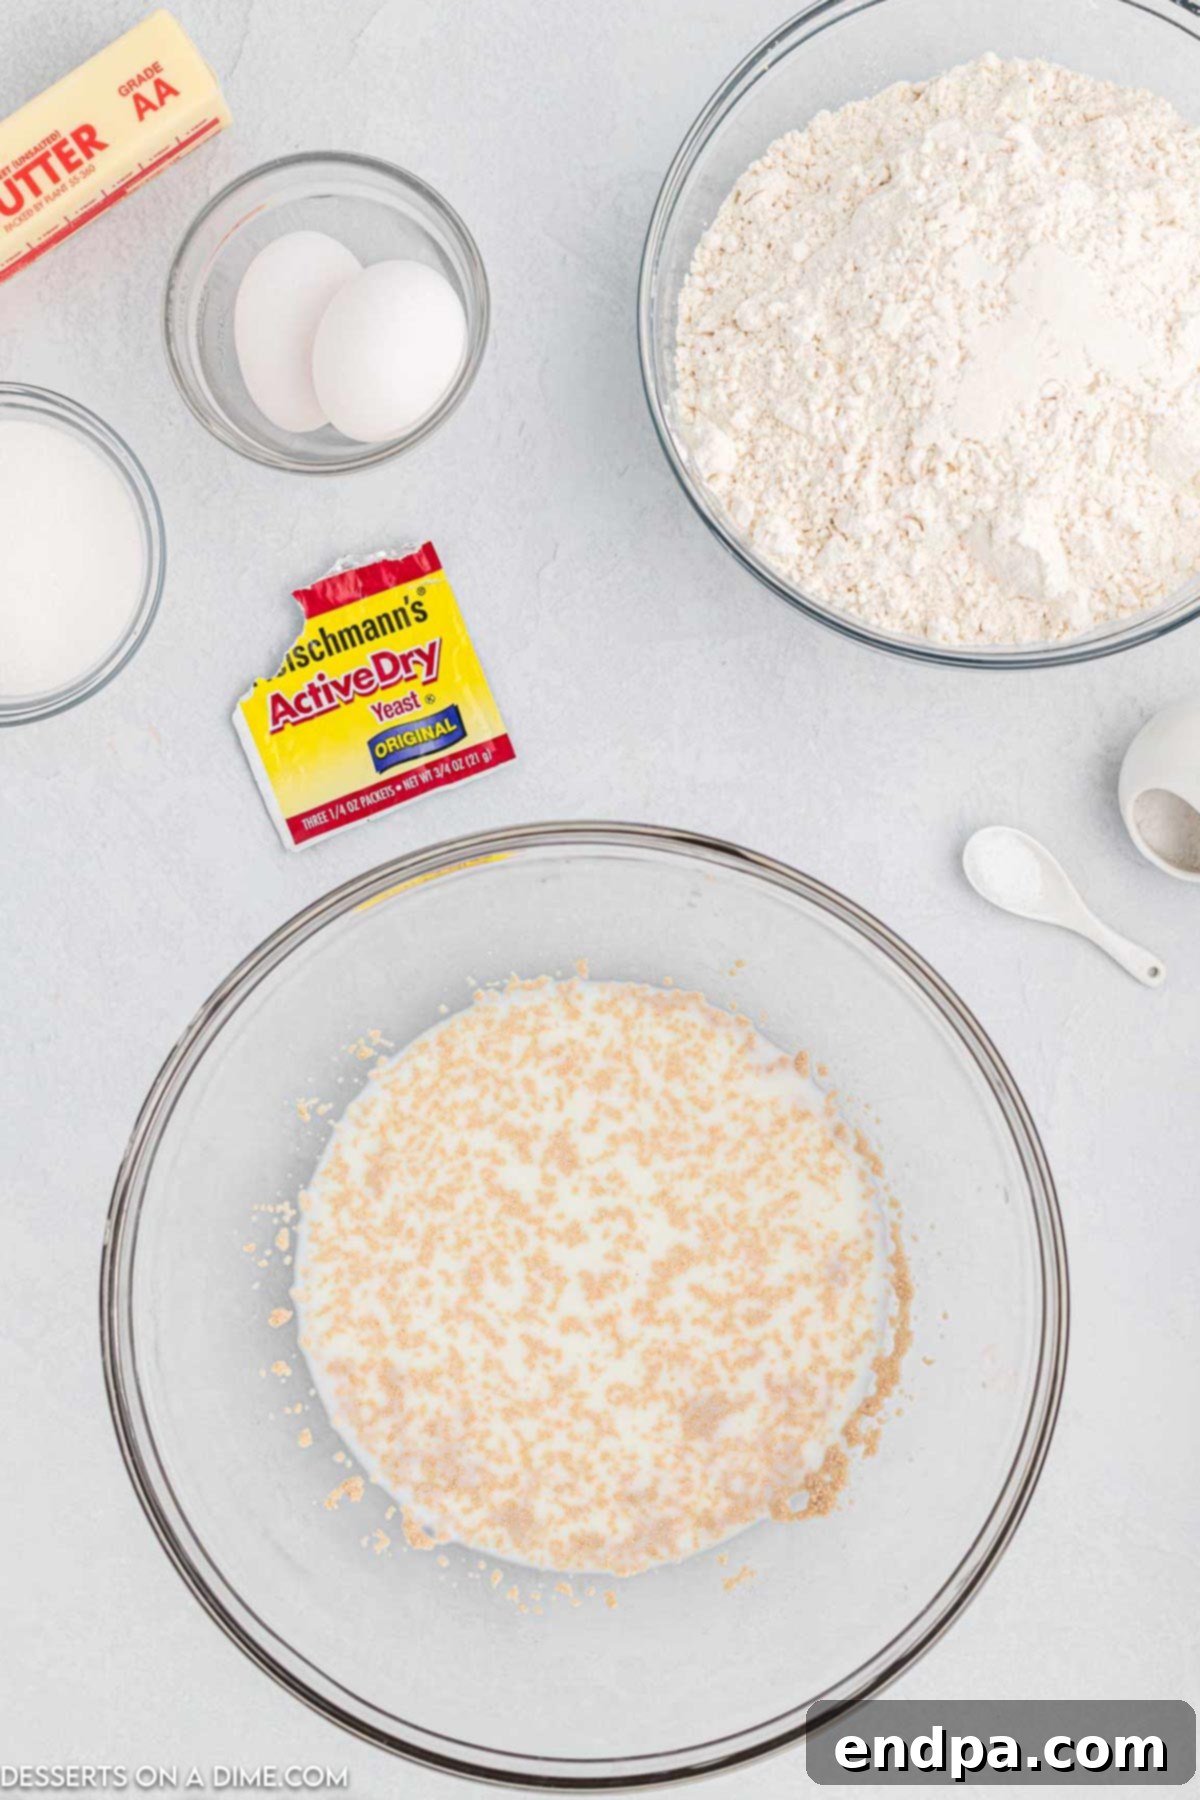
Step 1: Activate the Yeast. In a large mixing bowl, gently pour the warm milk. Stir in the active dry yeast with a wooden spoon. Allow this mixture to sit undisturbed for about 5 minutes. You’ll know the yeast is active and healthy when it starts to froth and bubble on the surface, indicating it’s ready to bring life to your dough.
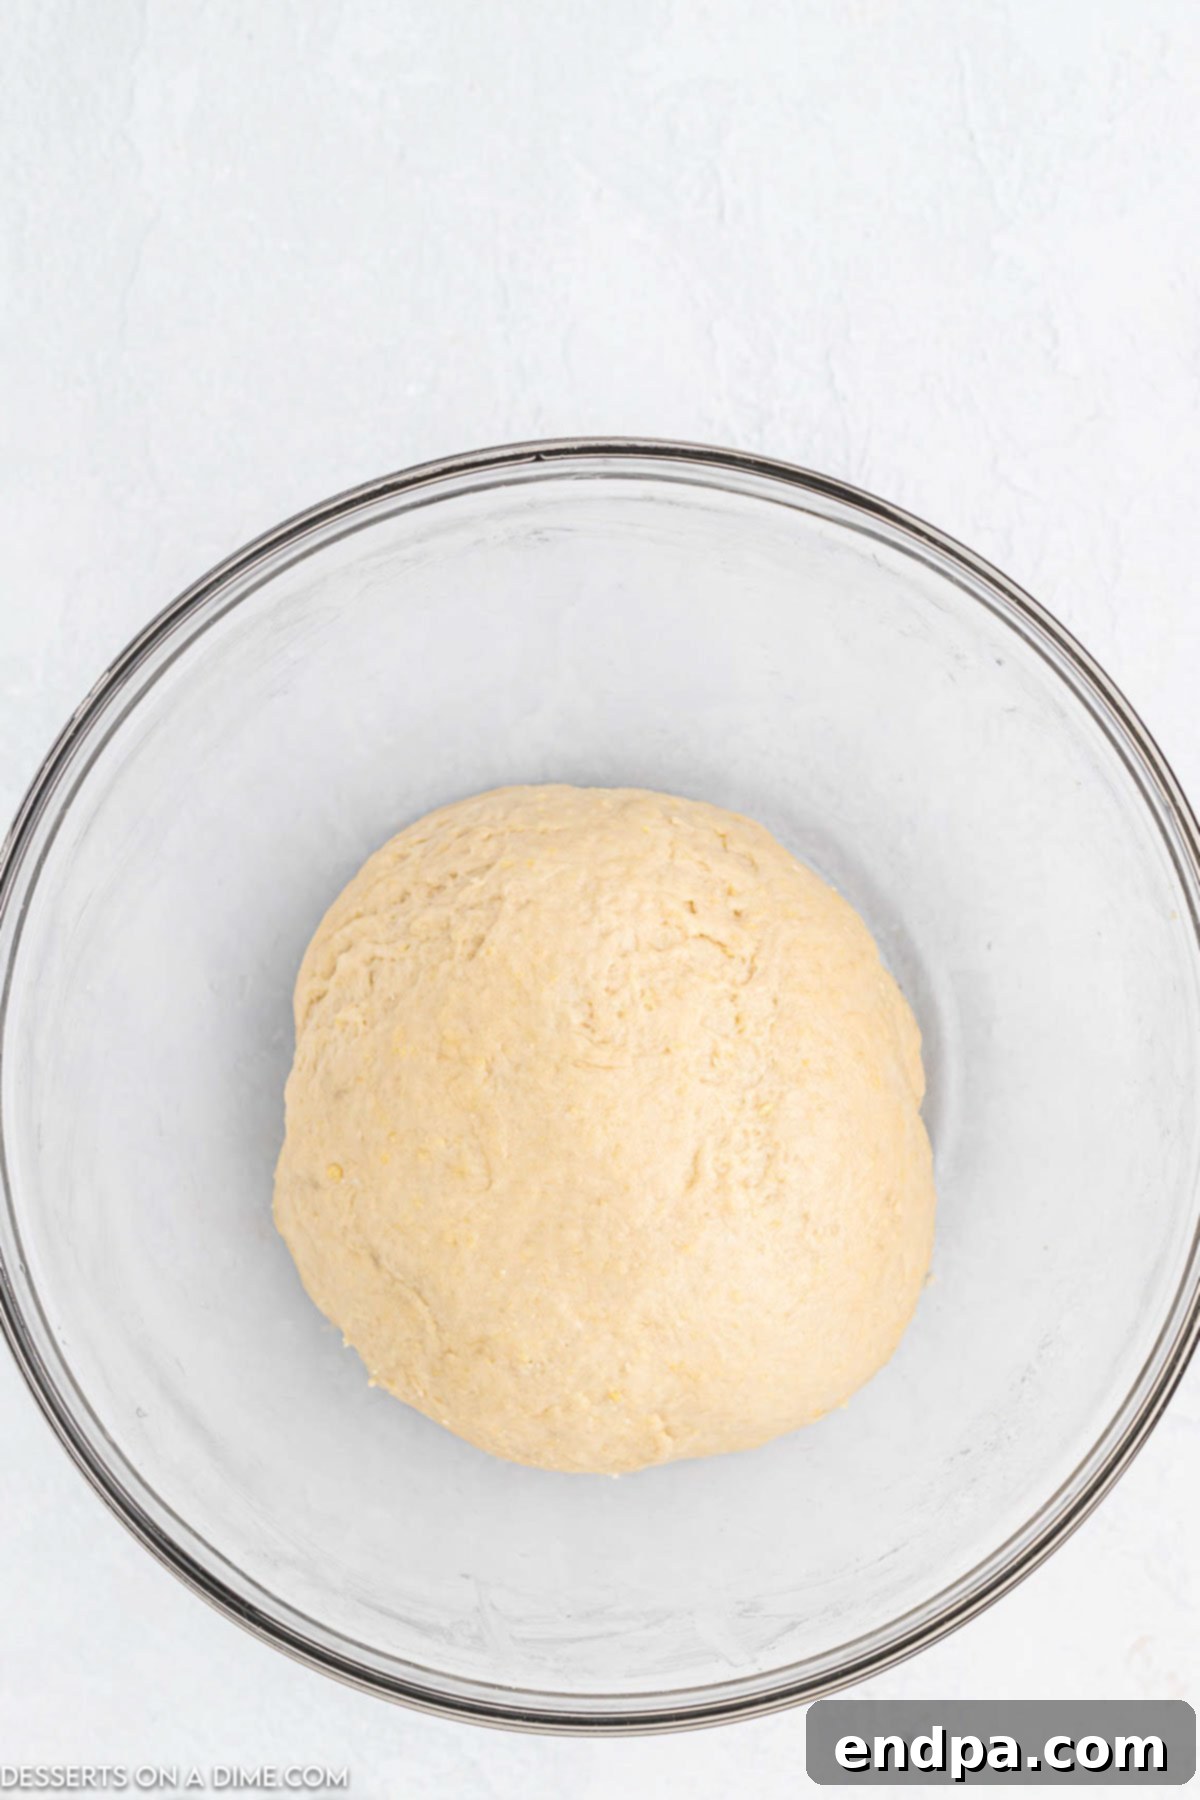
Step 2: Prepare the Dough. Get out your stand mixer, fitted with a dough hook attachment. In the mixer’s bowl, combine the granulated sugar, softened butter, large room-temperature eggs, salt, and all-purpose flour. Beat these ingredients until they are thoroughly combined. Next, add the activated milk and yeast mixture to the bowl. Mix on a low speed until all the wet and dry ingredients come together and the dough pulls cleanly away from the sides of the bowl, forming a cohesive ball.
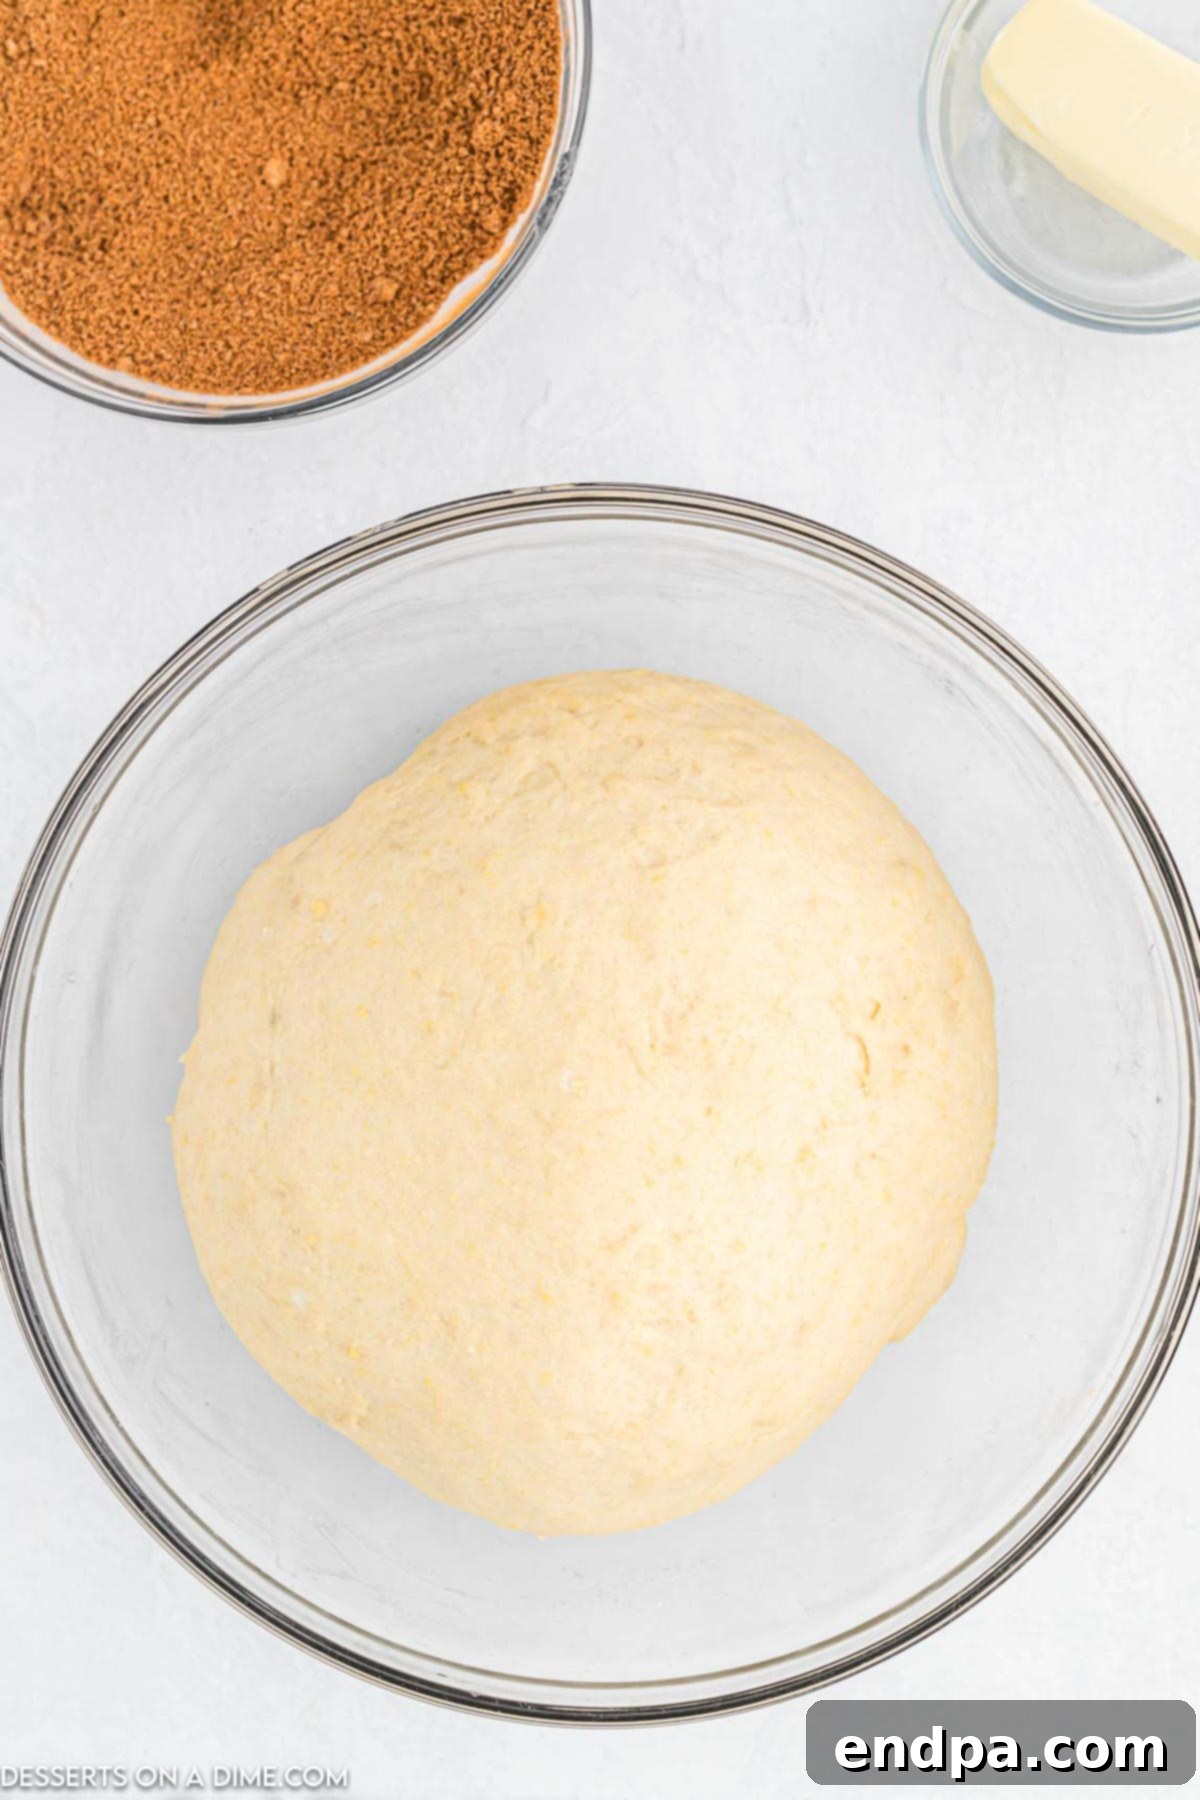
Step 3: First Rise & Filling Prep. Transfer the prepared dough to a lightly oiled bowl, turning it once to coat. Cover the bowl with a clean kitchen towel or plastic wrap and let it rise in a warm, draft-free place until it has doubled in size. This process typically takes about 1 to 1.5 hours, depending on your room temperature. While the dough is rising, take a small bowl and combine your brown sugar and ground cinnamon for the irresistible filling.
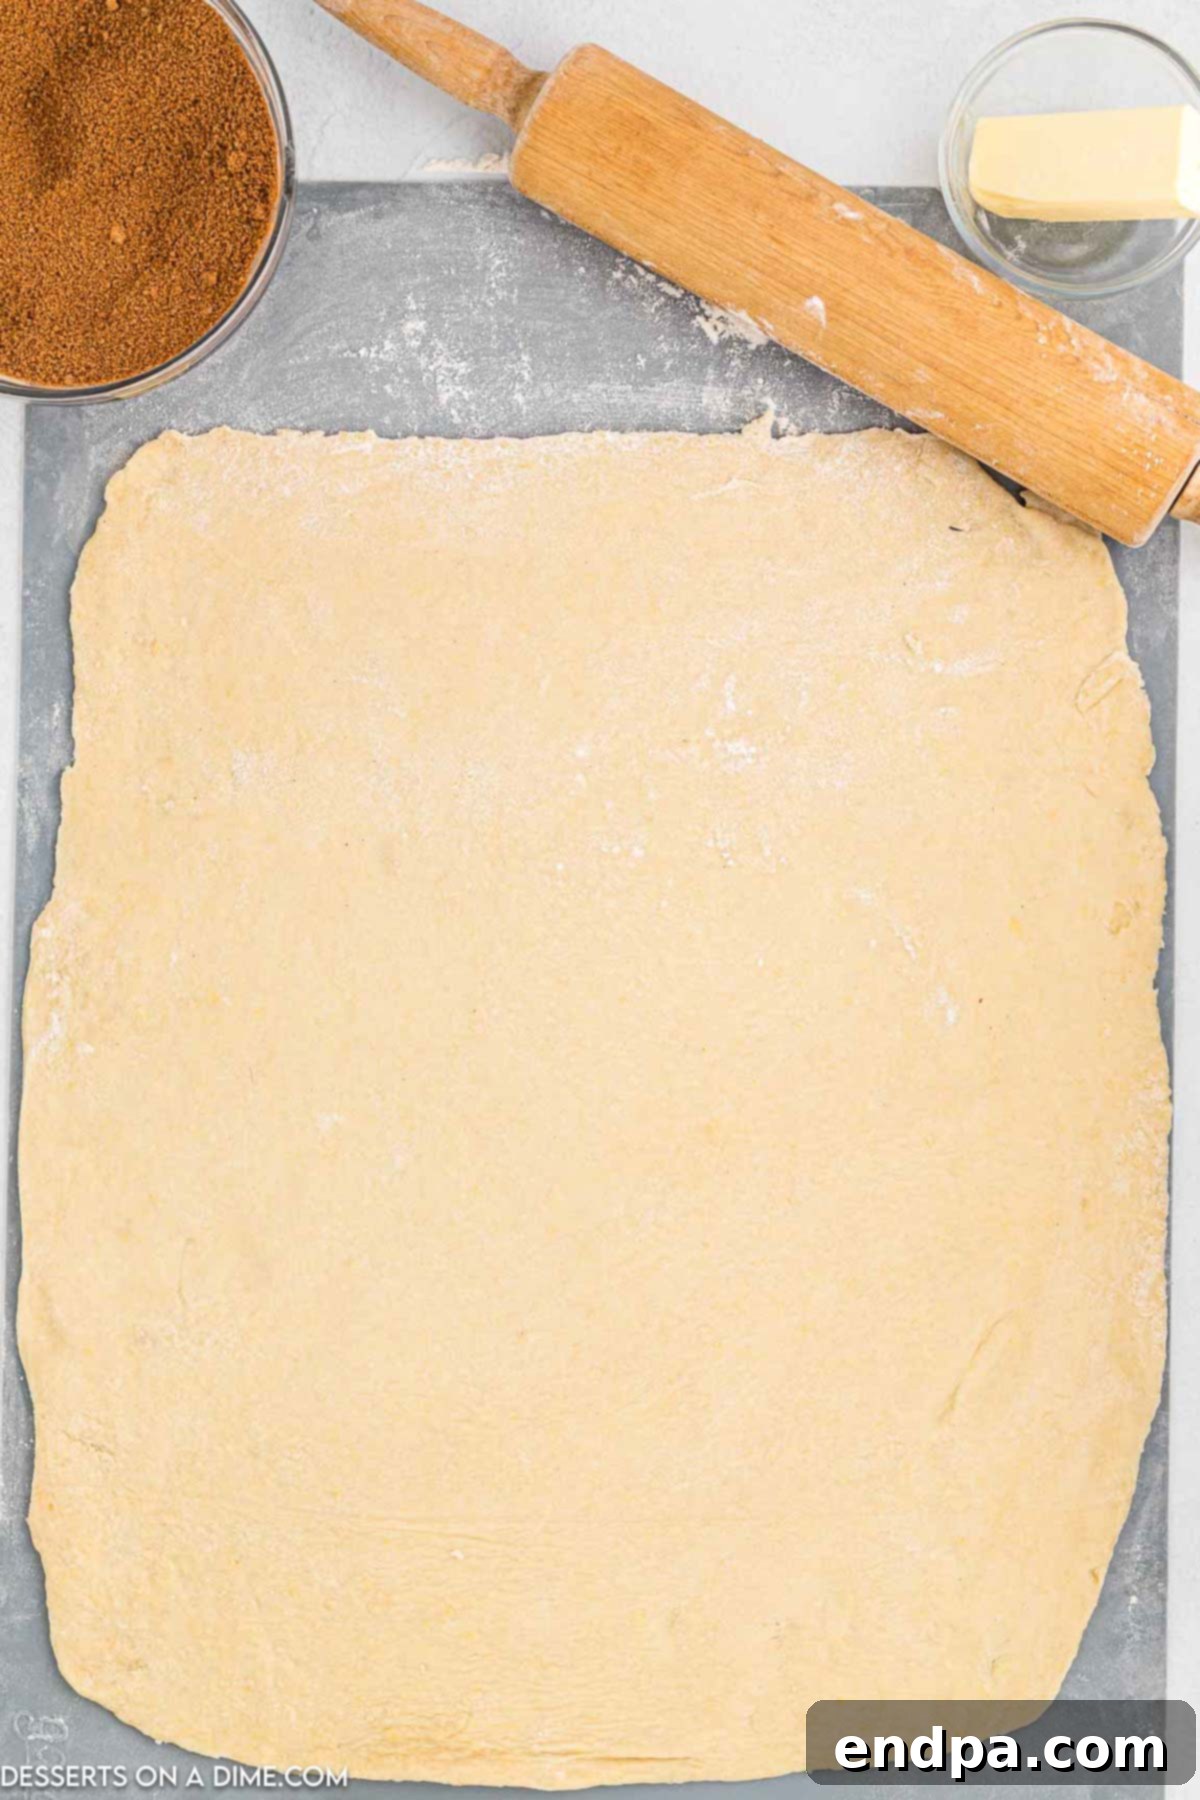
Step 4: Roll the Dough. Once the dough has completed its first rise, gently punch it down to release the air. Lightly flour a clean work surface and roll the dough out into a large rectangle, approximately 16×21 inches and about ¼ inch thick. Aim for an even thickness across the entire surface to ensure uniform rolls.
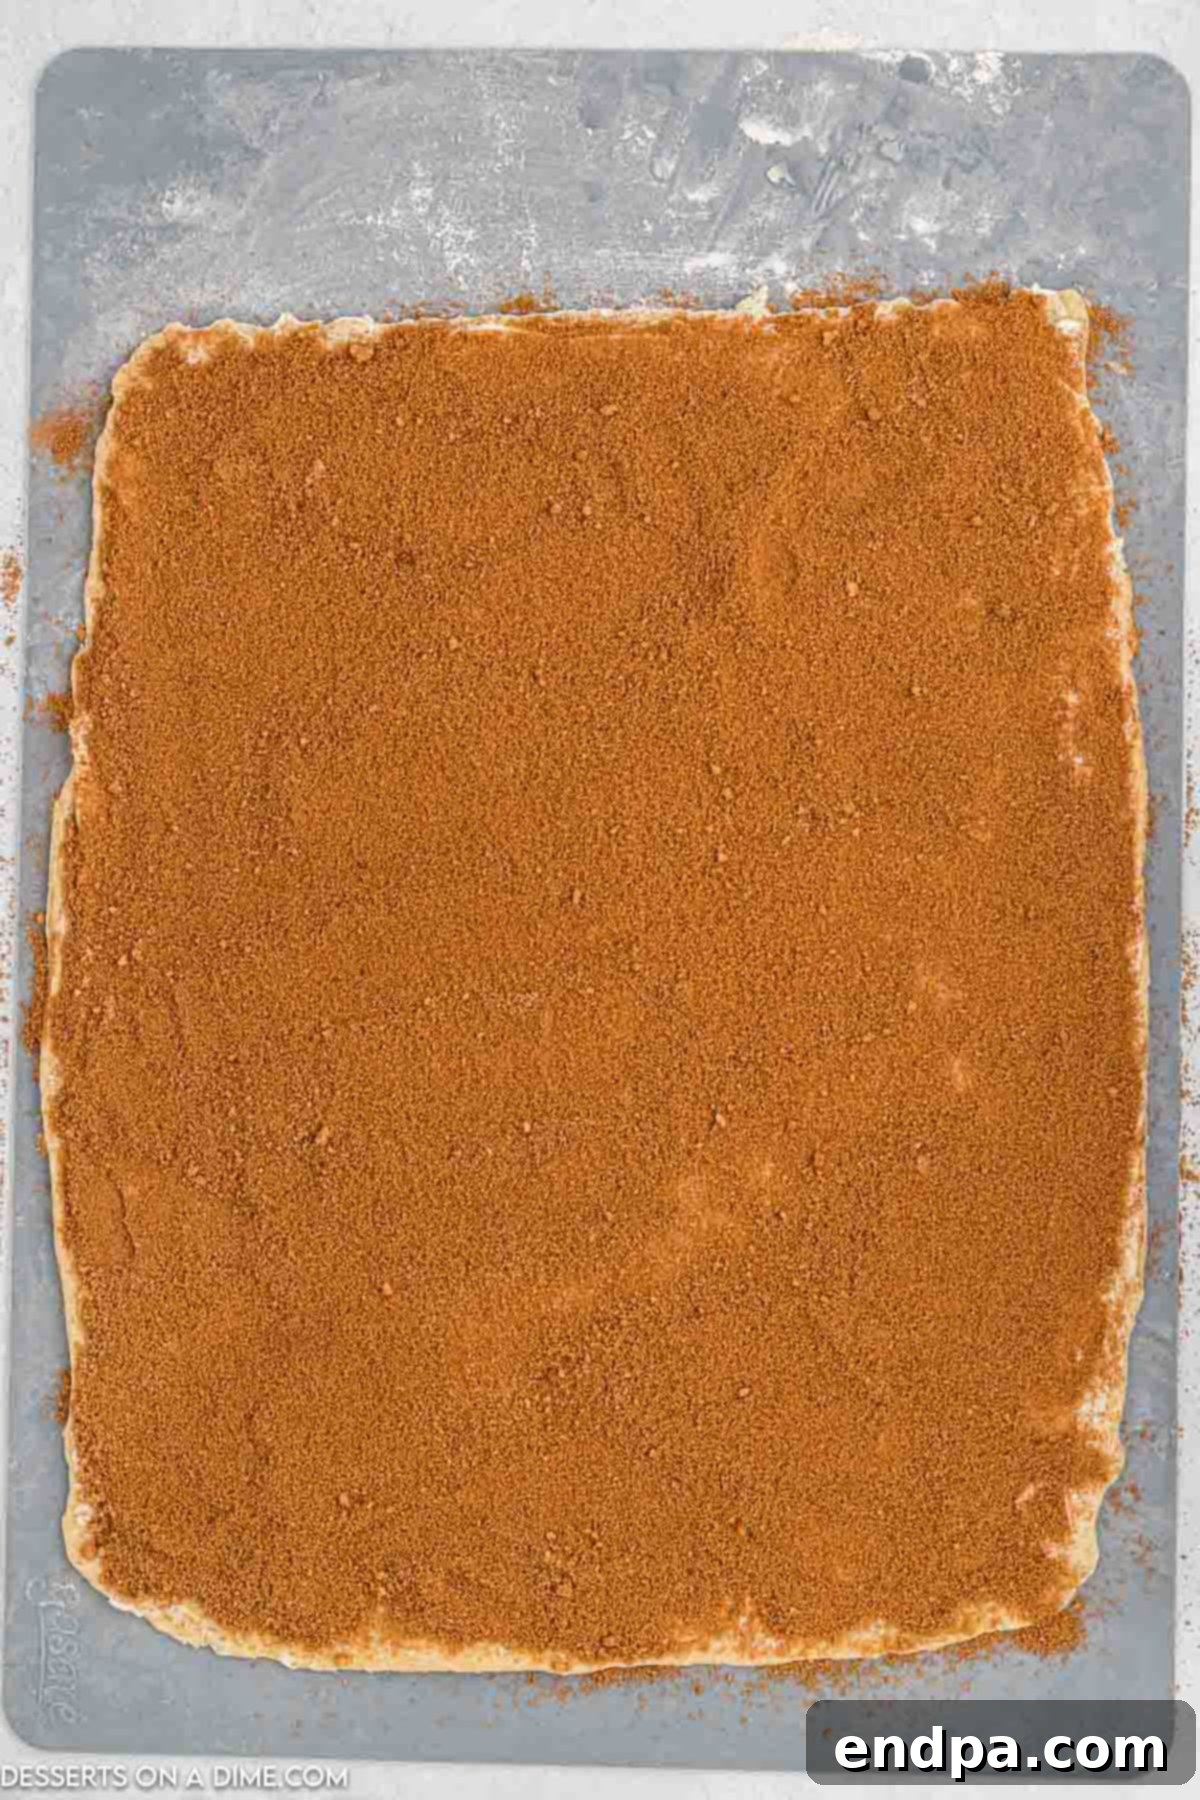
Step 5: Apply Filling. Evenly spread the softened butter over the entire surface of the rolled-out dough, leaving a small border free on one long edge. Then, generously sprinkle the brown sugar and cinnamon mixture over the butter, making sure to cover the dough completely for maximum flavor.
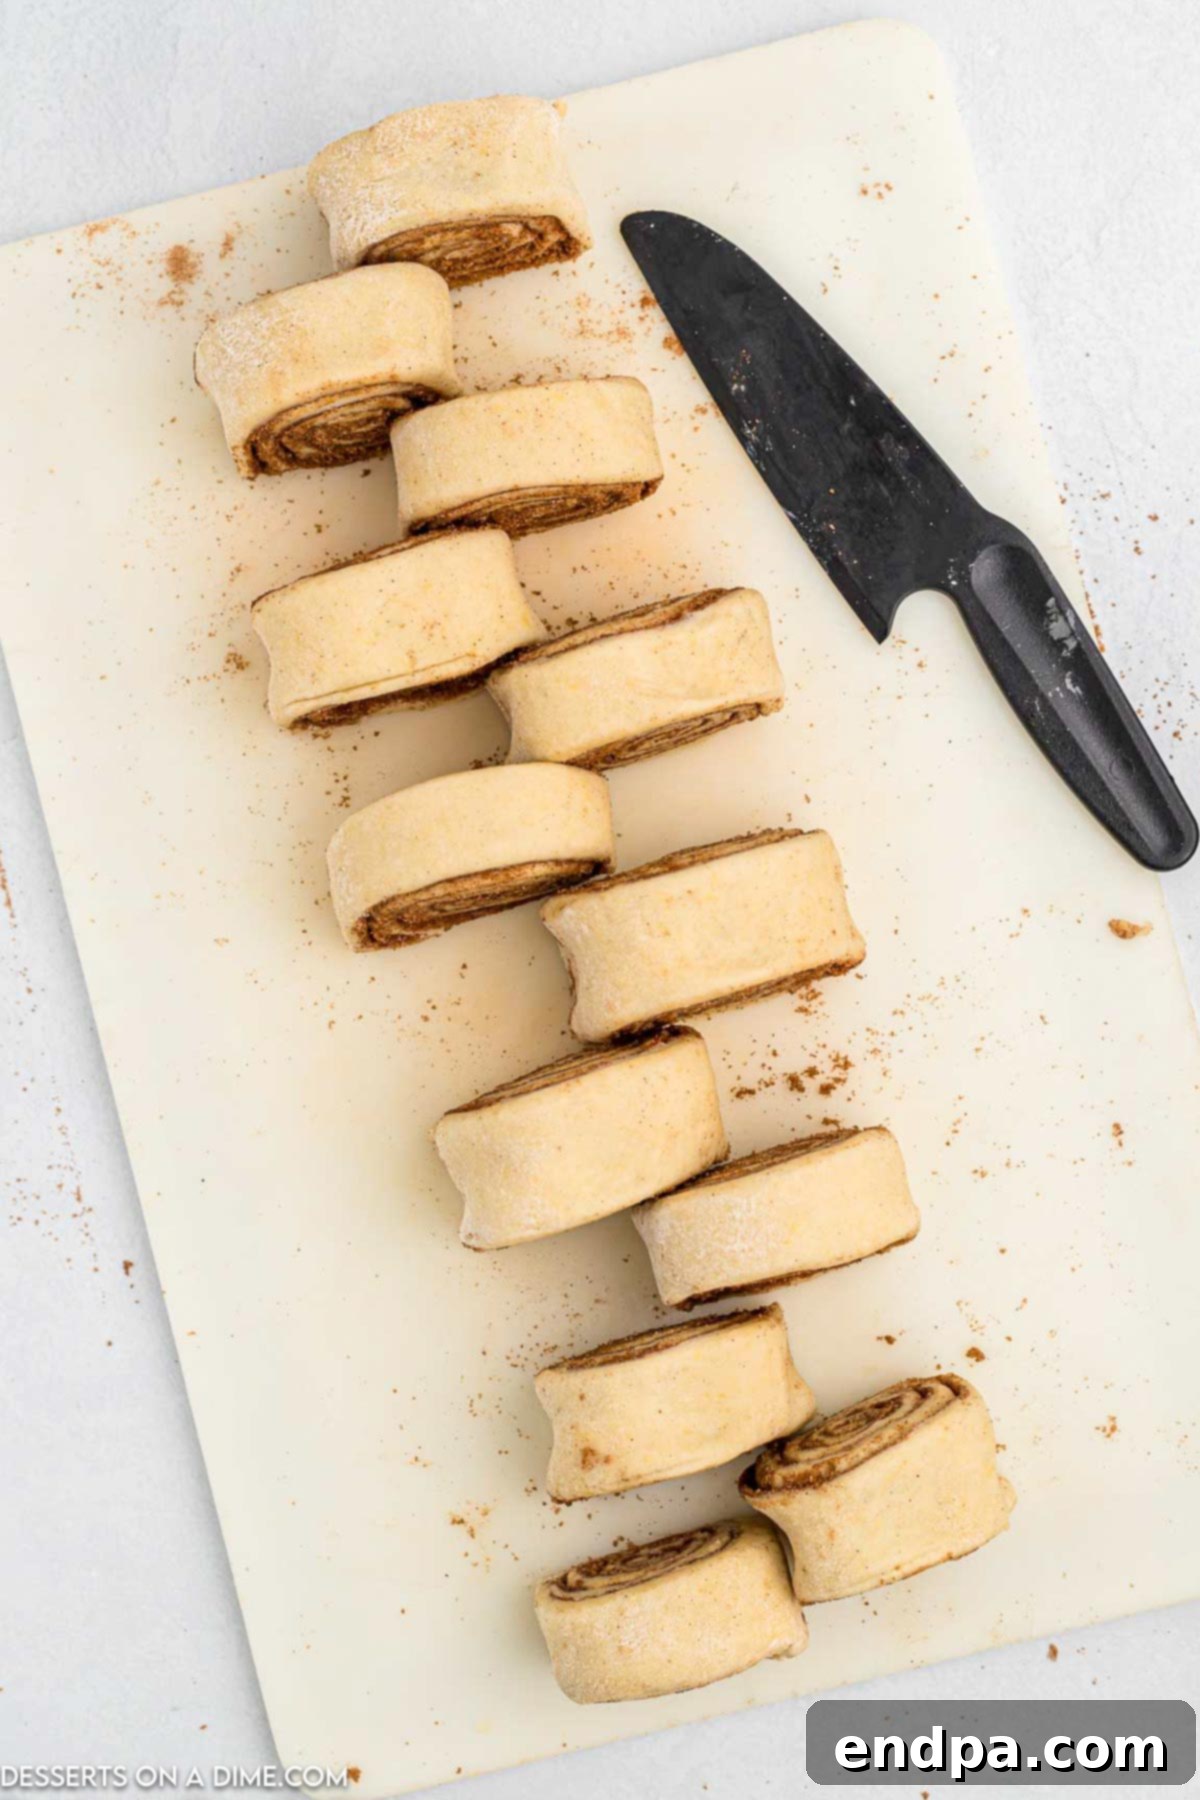
Step 6: Roll and Slice. Starting from one of the long ends, tightly roll the dough into a log. Once rolled, use either a sharp, serrated knife or unflavored dental floss to cut the log into approximately 12 even slices. A serrated knife helps prevent squishing the layers, while dental floss (wrapped around and crossed to slice) can create perfectly round rolls without distortion.
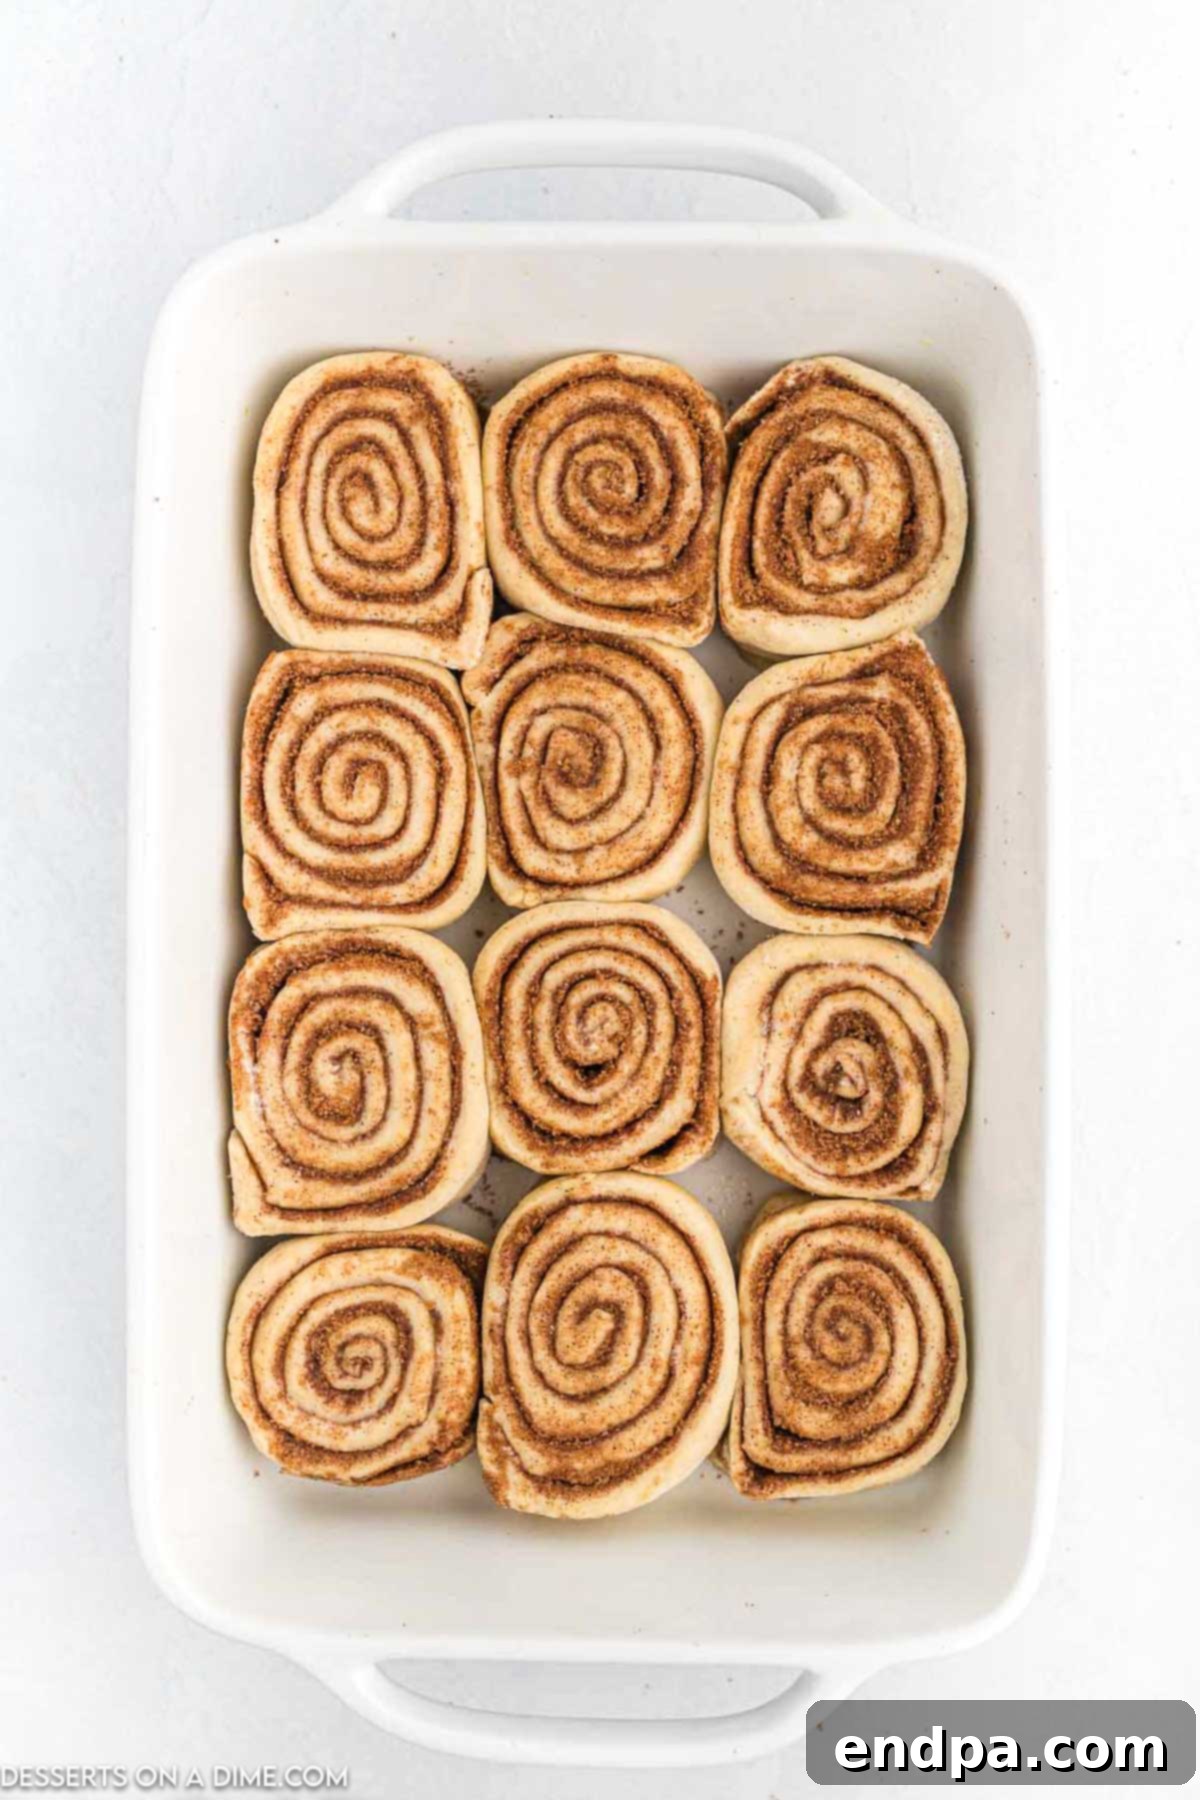
Step 7: Second Rise & Bake. Lightly grease a 9×13 inch baking pan with non-stick spray or butter. Arrange the sliced cinnamon rolls in the prepared pan, leaving a little space between them (they will expand). Cover the pan with a towel and allow the rolls to rise again in a warm place until they have visibly doubled in size, usually about 30-60 minutes. While they are rising, preheat your oven to 350°F (175°C). Bake the rolls for 18 to 25 minutes, or until the tops are golden brown and the rolls are cooked through. Baking times can vary, so keep an eye on them.
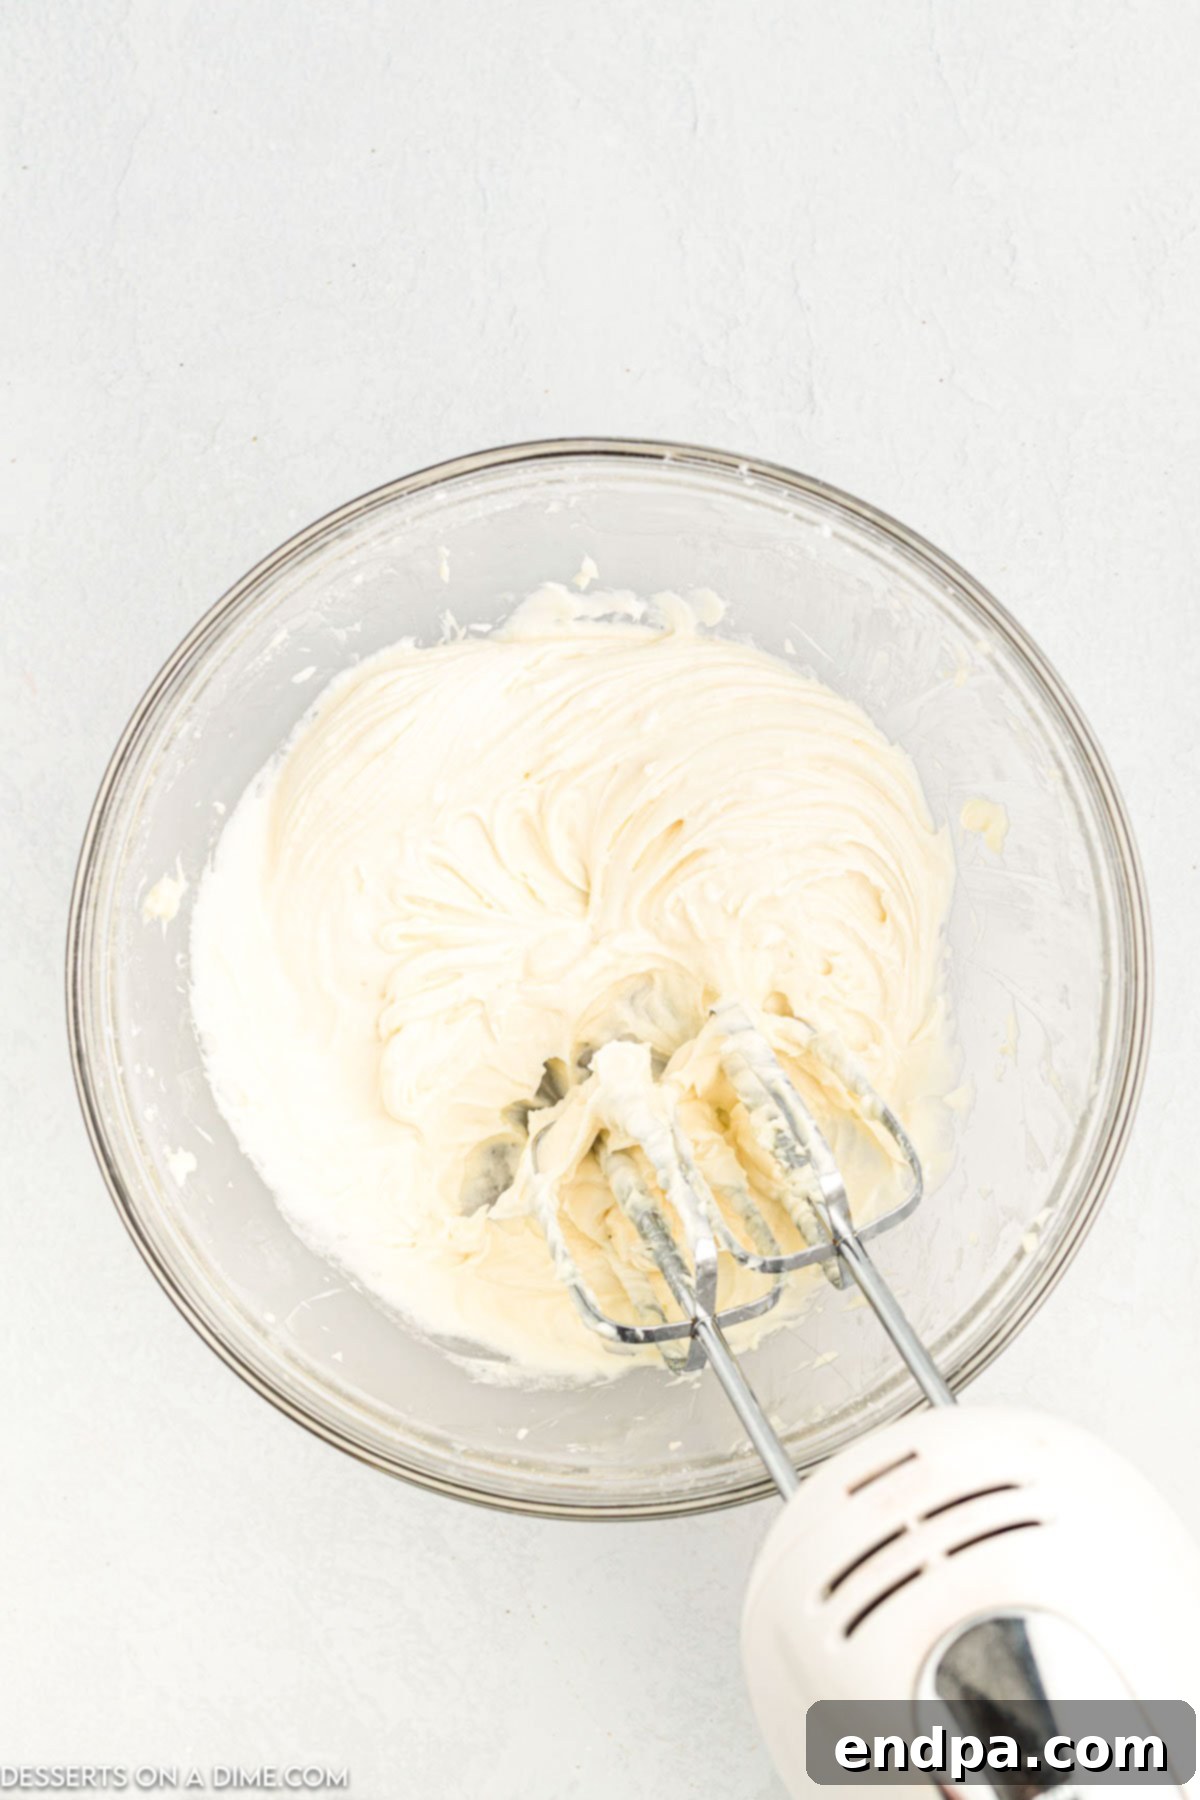
Step 8: Prepare the Frosting. While your rolls are baking, it’s time to whip up the luxurious cream cheese frosting. In a large mixing bowl, using either a hand mixer or a stand mixer, beat together the softened cream cheese, softened unsalted butter, sifted powdered sugar, pure vanilla extract, and a pinch of salt until the mixture is completely smooth, creamy, and lump-free. Be sure all ingredients are at room temperature for the best consistency.
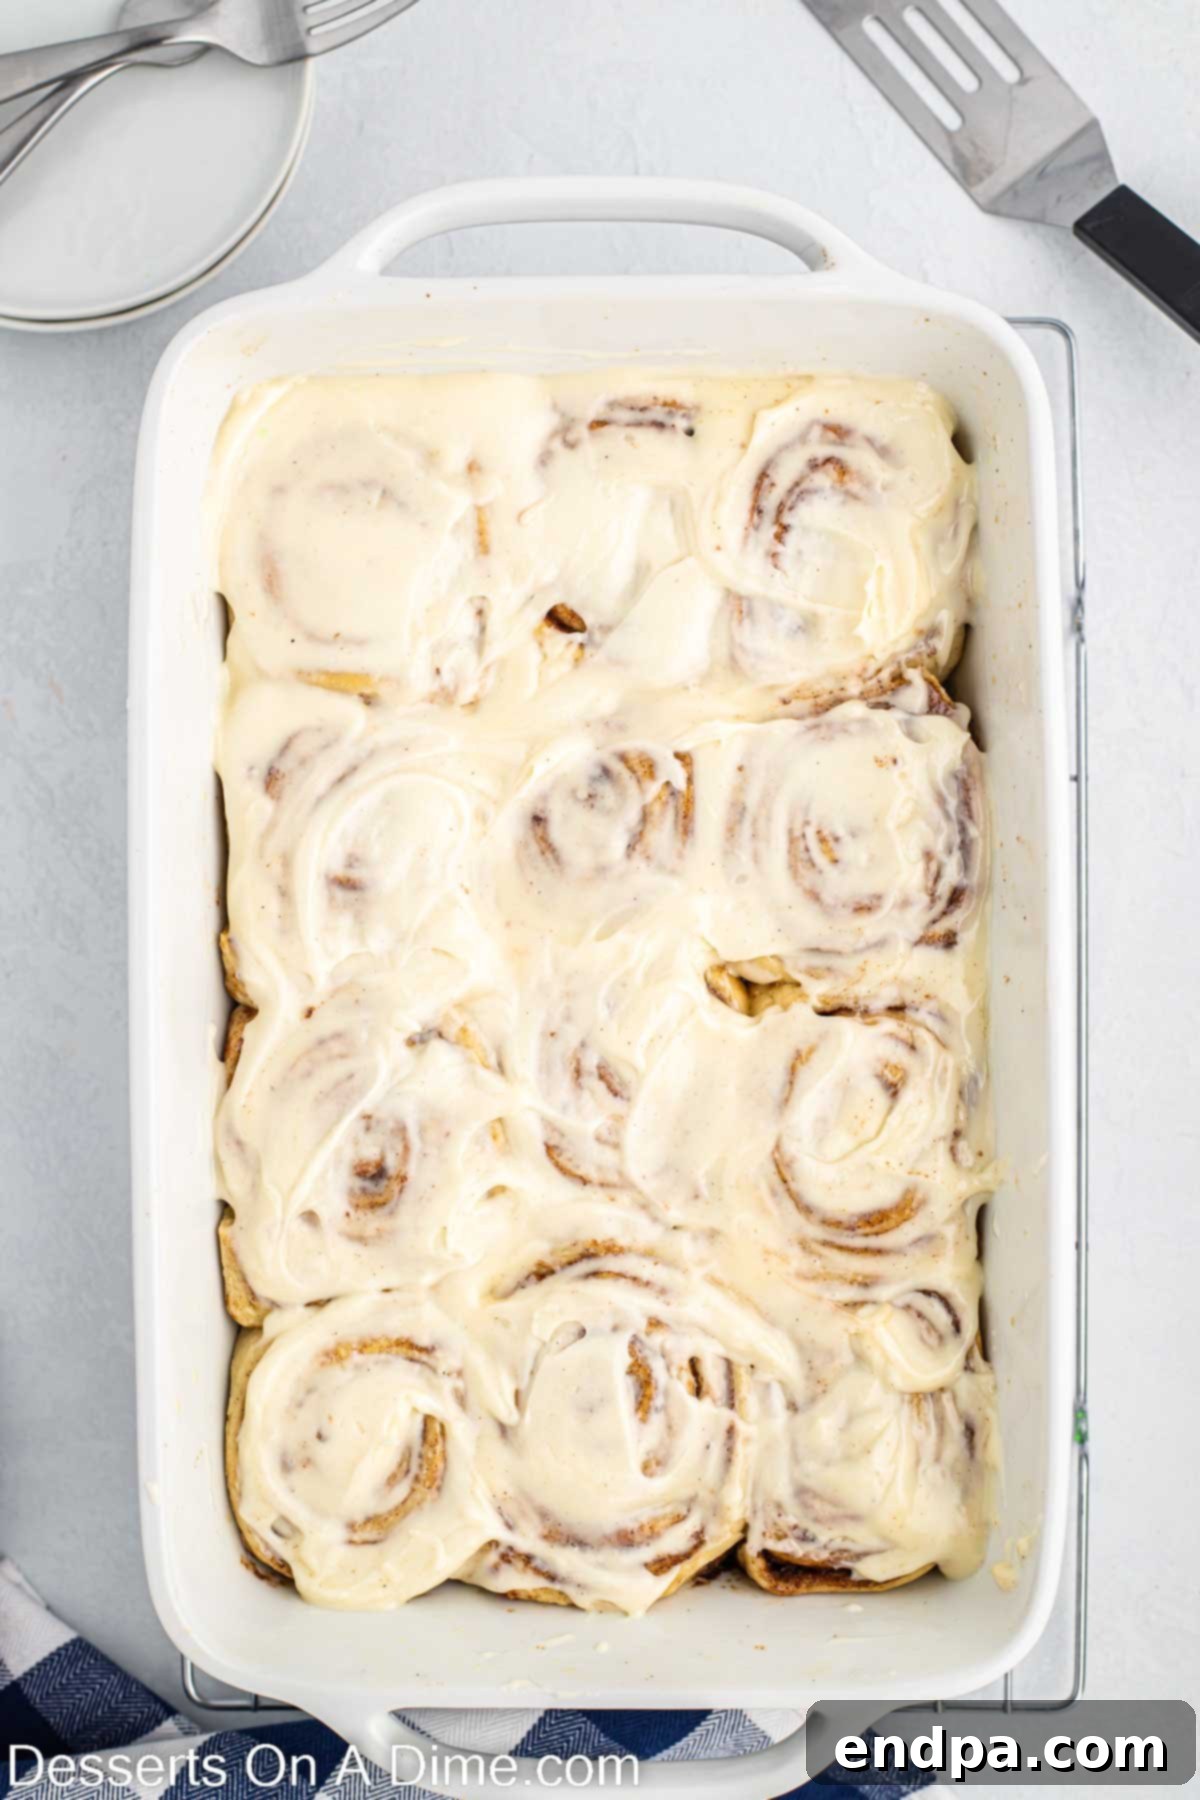
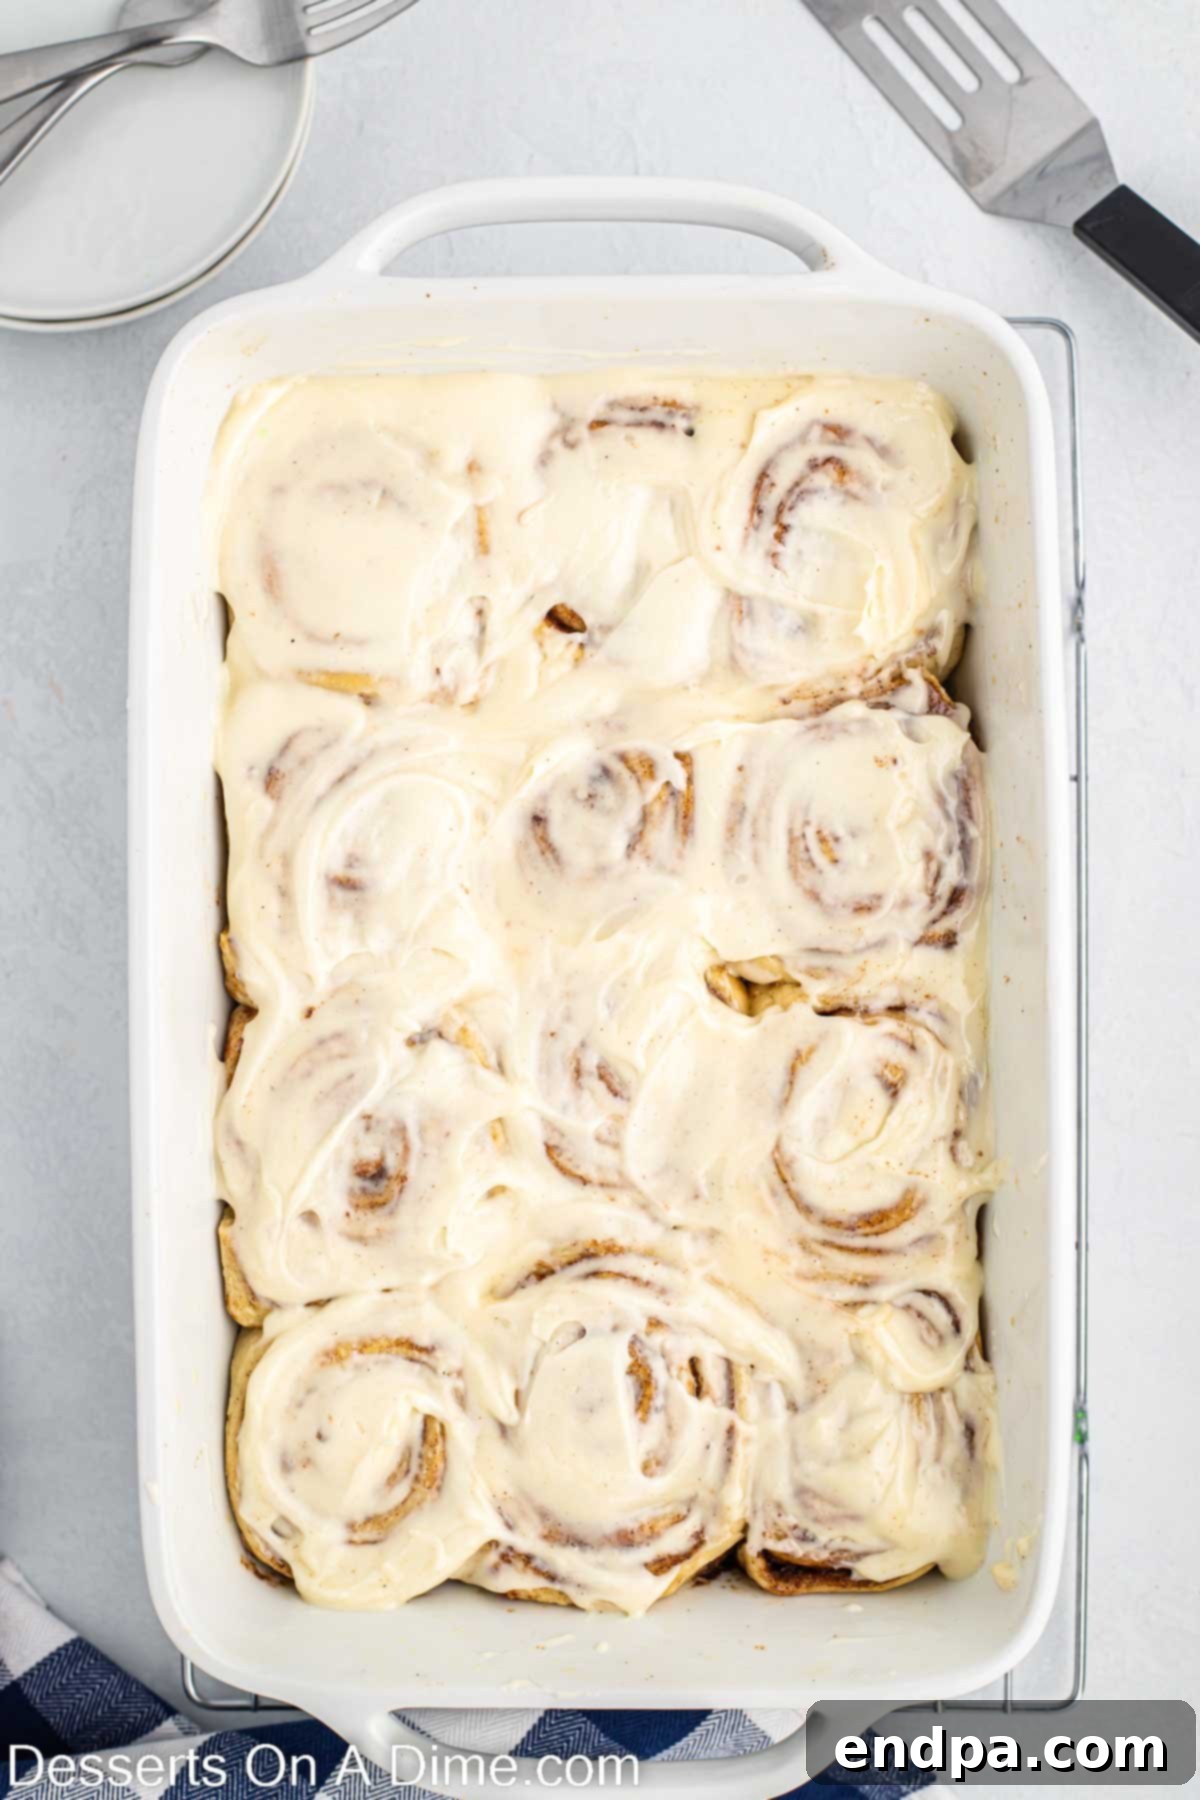
Step 9: First Frosting Layer. As soon as you remove the beautifully golden cinnamon rolls from the oven, immediately spread about half of the prepared cream cheese frosting evenly over the warm rolls. The warmth of the rolls will cause the frosting to slightly melt and seep down into the tender layers, creating an incredibly gooey and flavorful experience.
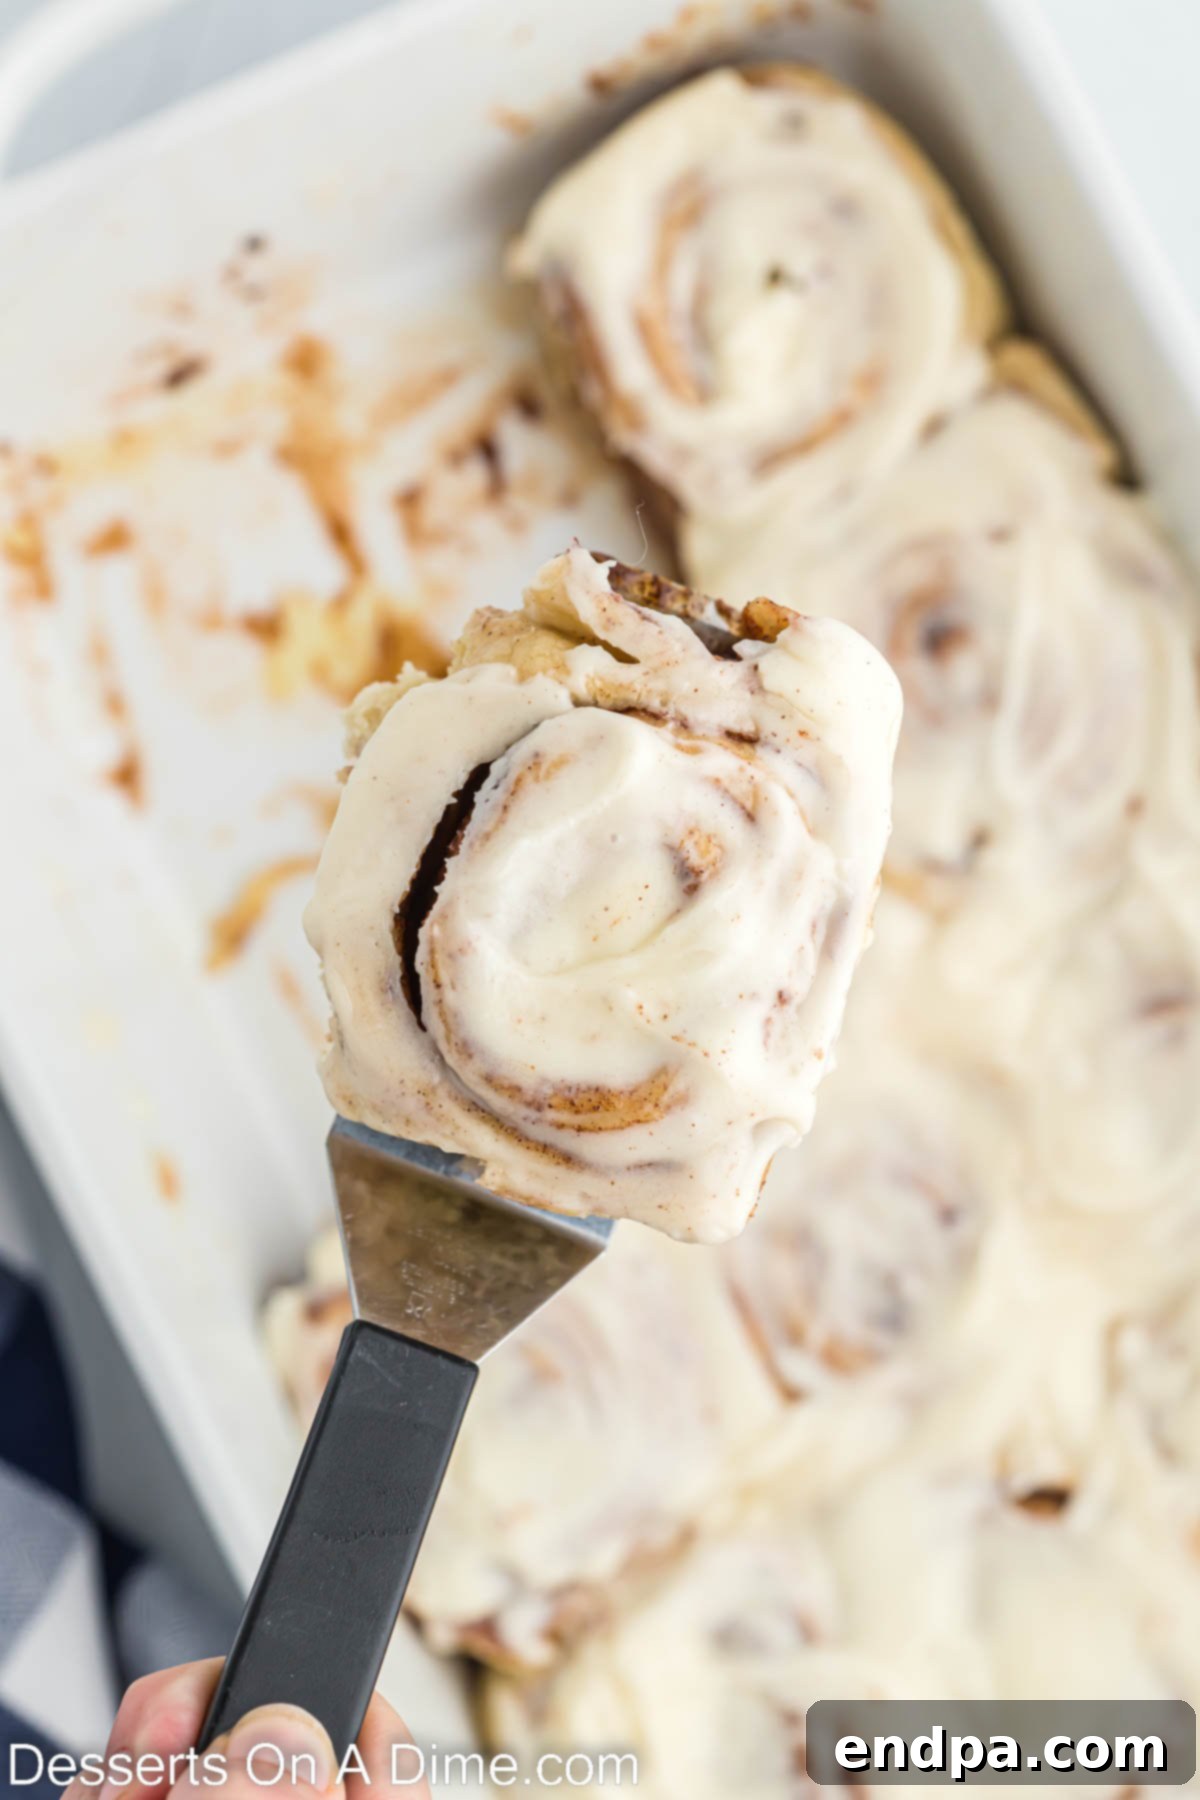
Step 10: Final Frosting & Serve. Allow the rolls to cool for about 10-15 minutes after applying the first layer of frosting. This allows the rolls to set slightly. Then, generously spread the remaining frosting over the now slightly cooler rolls. This two-step frosting method ensures both a melted, absorbed layer and a beautifully thick, visible layer on top. Serve your homemade Cinnabon cinnamon rolls warm and enjoy every single decadent bite!
Storage and Reheating Tips
While these homemade cinnamon rolls are best enjoyed fresh from the oven, any leftovers can be stored and savored later. To keep them fresh, cover any remaining cinnamon rolls tightly with plastic wrap or transfer them to an airtight container and refrigerate for up to 1 week. This prevents them from drying out and maintains their soft texture.
When you’re ready to enjoy a leftover roll, simply place it on a microwave-safe plate and heat for 20-30 seconds, or until warmed through and gooey again. The microwave revives the soft dough and melts the frosting slightly, making them almost as good as fresh. While they’re easy to reheat and always a hit with my family, they rarely last long because everyone loves them so much!
Expert Baking Pro Tips
Achieving consistently perfect homemade Cinnabon cinnamon rolls is easy with a few expert tips:
- Check Your Yeast: Yeast is a living organism, and its activity diminishes over time. Always ensure your active dry yeast is fresh and not expired. An easy way to test it is by performing the activation step (Step 1) – if it doesn’t froth or bubble, your yeast may be dead, and it’s best to start with a new packet.
- Perfect Milk Temperature: The temperature of your warm milk is critical. Aim for 105-115°F (40-46°C). Use a kitchen thermometer for accuracy. If the milk is too hot, it will kill the yeast, preventing your dough from rising. If it’s too cold, the yeast won’t activate efficiently, leading to a sluggish rise.
- Two-Step Frosting Application: For that ultimate Cinnabon experience, we highly recommend applying the frosting in two stages. First, spread half of the frosting immediately after the rolls come out of the oven while they are still piping hot. This allows it to melt into the warm dough, creating an incredibly moist and gooey interior. Then, let the rolls cool for 10-15 minutes before applying the remaining frosting. This second layer will set beautifully, giving your rolls a perfect, finished, and visibly generous coating.
- Optimal Dough Mixing: The dough for these cinnamon rolls is easiest to mix using a stand mixer equipped with a dough hook attachment. This ensures thorough kneading and proper gluten development, leading to a wonderfully soft and elastic dough. If you don’t have a stand mixer, a bread machine on the dough cycle is a convenient alternative. As a last resort, you can knead the dough by hand, which will require more time and effort to achieve the desired texture.
- Avoid Excess Flour: When rolling out the dough, be cautious not to incorporate too much extra flour onto your work surface. The dough should remain slightly tacky but easy to handle. Adding too much flour can make the dough dry, tough, and less pliable, resulting in dense cinnamon rolls rather than light and fluffy ones.
- Achieving Even Slices: For uniform rolls that bake consistently, ensure your dough log is rolled tightly and evenly before slicing. Using dental floss is a secret trick many bakers swear by: slide a piece of unflavored floss under the log, cross the ends over the top, and pull to slice through without squishing the delicate layers.
Frequently Asked Questions
Yes, this recipe is wonderfully adaptable for make-ahead convenience, perfect for busy mornings or when hosting. You can prepare the cinnamon rolls up to the point of the second rise. After arranging them in the baking pan (Step 7), cover the pan tightly with plastic wrap and refrigerate overnight (up to 12-18 hours). The next morning, remove the pan from the refrigerator and let the rolls sit at room temperature for 1-2 hours (or longer, depending on your kitchen’s warmth) until they have visibly risen and doubled in size. Then, bake as directed. This method significantly cuts down on morning preparation time, allowing you to enjoy fresh, warm cinnamon rolls even on hectic days or holidays like Christmas.
Absolutely! Freezing cinnamon rolls is an excellent way to enjoy them anytime without all the work. There are two main methods:
- Freezing Unbaked Rolls: After rolling out the dough and cutting it into individual rolls (Step 6), arrange them in a freezer-safe baking pan. Wrap the pan securely with plastic wrap, then an additional layer of aluminum foil, and freeze for up to 1-2 months. When ready to bake, transfer the frozen rolls to the refrigerator to thaw overnight. The next morning, let them come to room temperature and rise in a warm spot until doubled in size, then bake as normal.
- Freezing Baked Rolls: Bake the cinnamon rolls as normal (Steps 7-10) but allow them to cool completely before frosting. Once cooled, wrap individual rolls tightly in plastic wrap, then place them in an airtight freezer bag or container. Freeze for up to 2-3 months. To reheat, thaw overnight in the refrigerator (or microwave directly from frozen on a lower power setting), then warm in the microwave or a low oven until heated through. Frost after reheating for the best taste and appearance.
After the dough has completed its first rise, gently deflate it and transfer it to a lightly floured surface. It’s crucial to use just enough flour to prevent sticking, but not so much that the dough becomes dry. Roll the dough into a consistent rectangular shape, aiming for even thickness across the entire surface. Once you’ve spread the softened butter and cinnamon sugar filling, begin rolling the dough tightly from one of the long ends, creating a uniform log. To slice, you have two excellent options:
- Sharp Knife: A good quality, sharp serrated knife can cut through the layers with minimal squishing.
- Unflavored Dental Floss: This is a favorite trick among bakers! Slide a long piece of unflavored, unwaxed dental floss underneath the rolled dough log at your desired cutting point. Cross the ends of the floss over the top of the log and pull them in opposite directions. The floss will cleanly slice through the dough without distorting the beautiful spiral shape, creating perfectly round cinnamon rolls.
There are a few common reasons for yeast dough failing to rise. The most frequent culprit is inactive or dead yeast, usually due to expiration or improper storage. Always check the expiration date and ensure your yeast is active by testing it in warm milk (Step 1). Another reason is the milk temperature being too hot, which can kill the yeast. Conversely, if the milk is too cold, the yeast won’t activate effectively. Finally, drafts can hinder rising; ensure your dough is covered and placed in a consistently warm, draft-free environment during both proofing stages.
Explore More Cinnamon Roll Recipes
If you’ve fallen in love with the process of making homemade cinnamon rolls, there’s a whole world of variations to explore! From decadent twists to unique flavor combinations, these recipes will keep your baking adventures exciting and your kitchen smelling divine:
- Caramel Pecan Cinnamon Rolls: A rich and nutty variation with a gooey caramel topping.
- Cinnamon Roll Apple Pie: A creative dessert combining two comfort food favorites.
- Chocolate Chip Cinnamon Rolls: The classic roll gets a delightful upgrade with melted chocolate chips.
- Easy Cinnamon Roll Poke Cake Recipe: All the flavors of a cinnamon roll in an easy, moist cake form.
- Homemade Cinnamon Rolls: A foundational recipe for classic, fluffy cinnamon rolls.
- Bacon Cinnamon Rolls: An intriguing sweet and savory combination for the adventurous palate.
Forget the long lines and save yourself a trip to Cinnabon. With this ultimate copycat recipe, you can make the absolute best, most authentic cinnamon rolls at home, any day of the week. Get ready to fill your home with an irresistible aroma and your taste buds with pure bliss!
Cinnabon Cinnamon Rolls Recipe
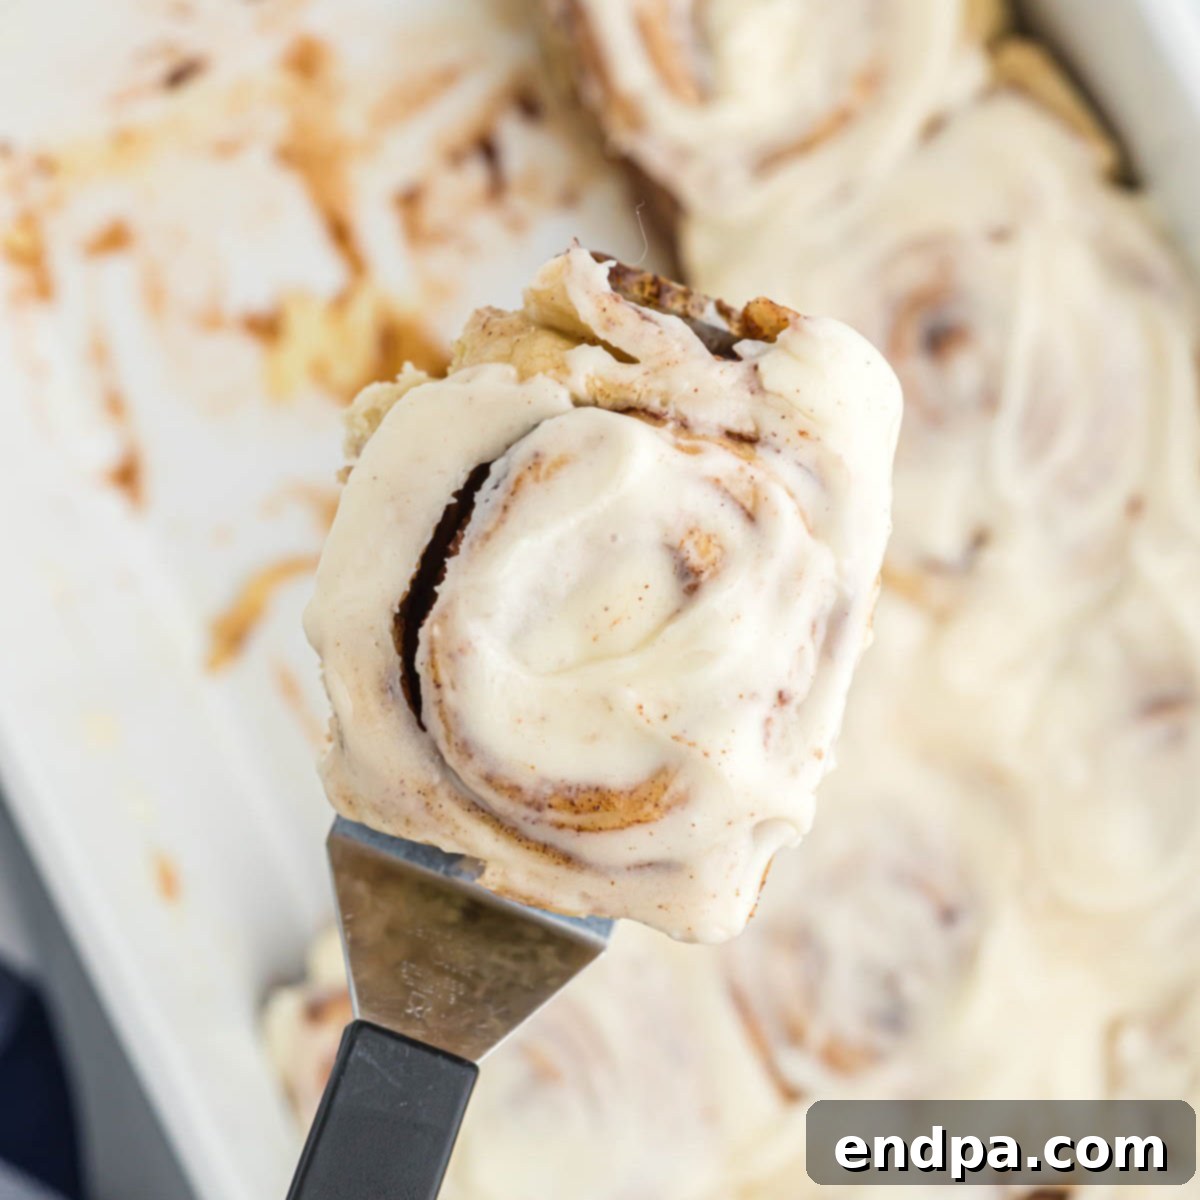
Our easy copycat recipe for the best homemade cinnamon rolls, featuring a rich, gooey texture and decadent cream cheese frosting. Perfect for breakfast or dessert!
Prep Time: 1 hr 45 mins
Cook Time: 20 mins
Cool Time: 10 mins
Total Time: 2 hrs 15 mins
Servings: 12 rolls
Cuisine: American
Course: Breakfast, Dessert
Author: Carrie Barnard
Ingredients
FOR THE DOUGH:
- 1 cup Warm Milk (105-115°F)
- 1 packet Active Dry Yeast (¼ oz)
- ½ cup Granulated Sugar
- ⅓ cup Unsalted Butter, softened
- 2 Large Eggs, room temperature
- 1 tsp Salt
- 4 ½ cups All-Purpose Flour (spooned and leveled)
FOR THE FILLING:
- 1 cup Brown Sugar, packed
- 3 Tbsp Ground Cinnamon
- ⅓ cup Unsalted Butter, softened
FOR THE FROSTING:
- 4 oz Cream Cheese, softened
- ¼ cup Unsalted Butter, softened
- 1 cup Powdered Sugar, sifted
- 1 tsp Vanilla Extract (pure is best)
- ⅛ tsp Salt
Instructions
- Activate Yeast: Pour warm milk into a large bowl. Stir in yeast and let sit for 5 minutes until frothy and bubbly.
- Mix Dough: In the bowl of a stand mixer (with dough hook), beat granulated sugar, ⅓ cup softened butter, eggs, 1 tsp salt, and flour until combined. Add milk/yeast mixture and mix until dough pulls away from the sides of the bowl.
- First Rise: Transfer dough to an oiled bowl, cover, and let rise in a warm place until doubled in size (approx. 1 hour).
- Prepare Pan: Lightly spray a 9×13 inch baking dish with non-stick cooking spray.
- Prepare Filling: In a separate small bowl, mix together 1 cup brown sugar and ground cinnamon.
- Roll & Fill Dough: On a lightly floured surface, roll dough into a 16×21 inch rectangle, about ¼ inch thick. Spread ⅓ cup softened butter evenly over the dough, then sprinkle the cinnamon sugar mixture evenly on top, leaving a small border on one long edge.
- Roll & Slice: Tightly roll the dough into a log starting from the long end. Cut into approximately 12 slices using a sharp knife or unflavored dental floss.
- Second Rise: Place rolls in the prepared 9×13 inch baking pan. Cover with a towel and let rise again until doubled in size (at least 30 minutes, or overnight in the fridge).
- Preheat Oven: Preheat oven to 350°F (175°C).
- Bake: Bake for 18-25 minutes, until tops are golden brown and rolls are cooked through.
- Prepare Frosting: While rolls are baking, in a large mixing bowl (with hand or stand mixer), beat together cream cheese, ¼ cup softened butter, powdered sugar, vanilla extract, and ⅛ tsp salt until smooth and creamy.
- First Frosting Layer: Immediately remove rolls from oven and spread half of the frosting over the warm rolls. This allows it to melt and soak into the layers.
- Final Frosting & Serve: Let rolls cool for 10-15 minutes, then spread the remaining frosting on top. Serve warm and enjoy!
Recipe Notes
- Ensure yeast is fresh and active; warm milk should be 105-115°F (40-46°C).
- Store leftover rolls in an airtight container in the refrigerator for up to 1 week. Reheat in the microwave for 20-30 seconds.
- For make-ahead, prepare rolls up to the second rise, cover, and refrigerate overnight. Let rise at room temperature before baking.
Nutrition Facts (per serving)
- Calories: 499kcal
- Carbohydrates: 75g
- Protein: 8g
- Fat: 19g
- Saturated Fat: 12g
- Polyunsaturated Fat: 1g
- Monounsaturated Fat: 5g
- Trans Fat: 1g
- Cholesterol: 77mg
- Sodium: 275mg
- Potassium: 147mg
- Fiber: 2g
- Sugar: 37g
- Vitamin A: 639IU
- Vitamin C: 0.1mg
- Calcium: 85mg
- Iron: 3mg
(Nutritional information is an estimate and may vary based on specific ingredients and preparation.)
