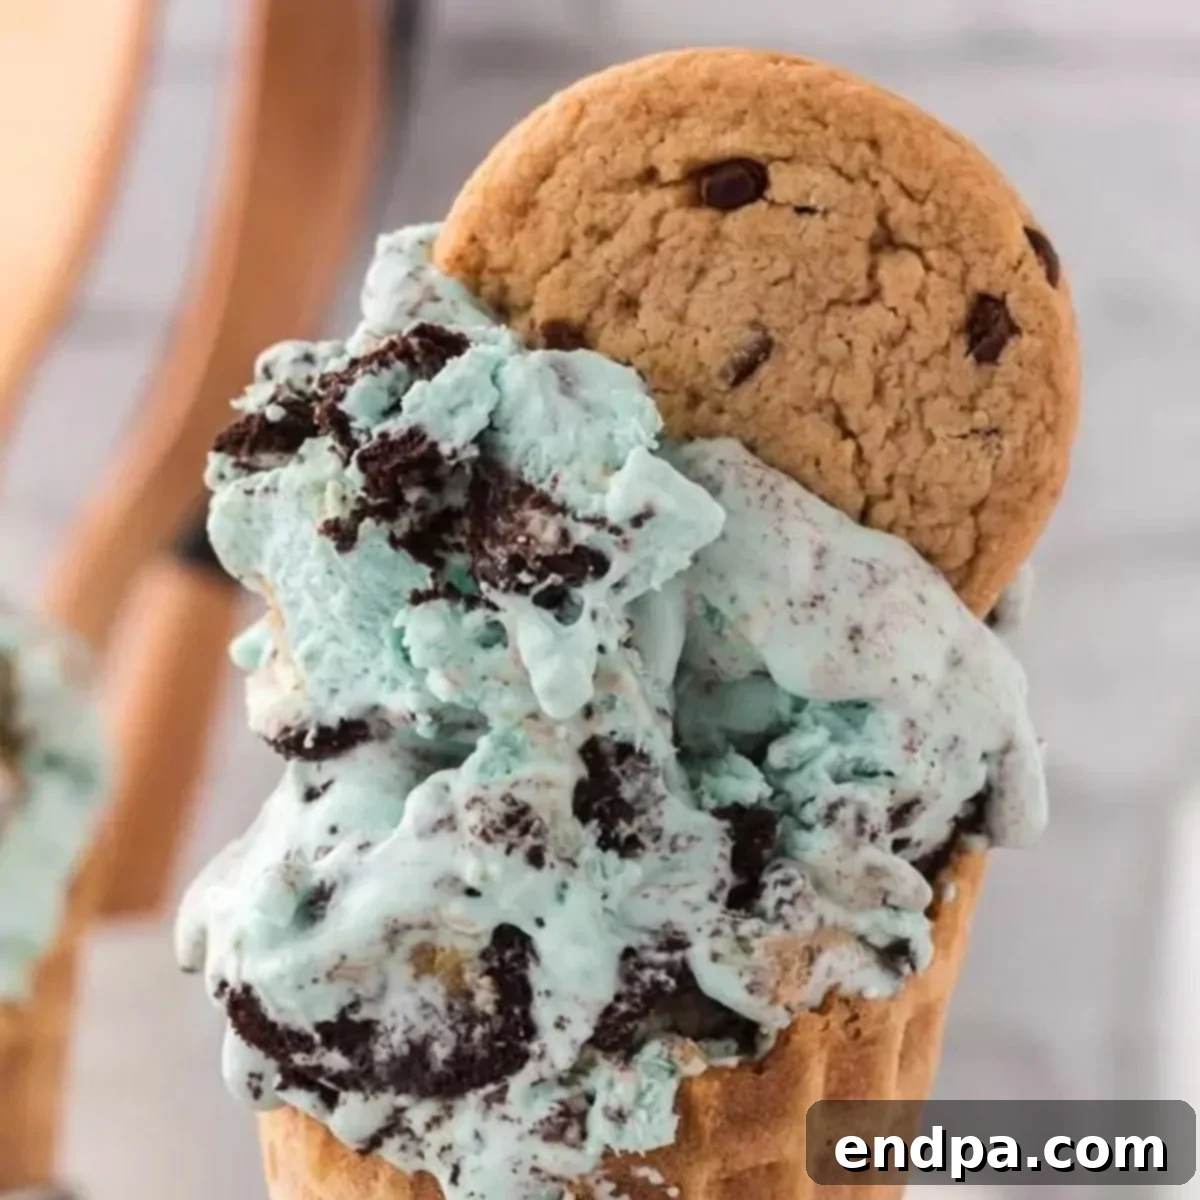
Easy No-Churn Cookie Monster Ice Cream Recipe: A Whimsical Homemade Treat
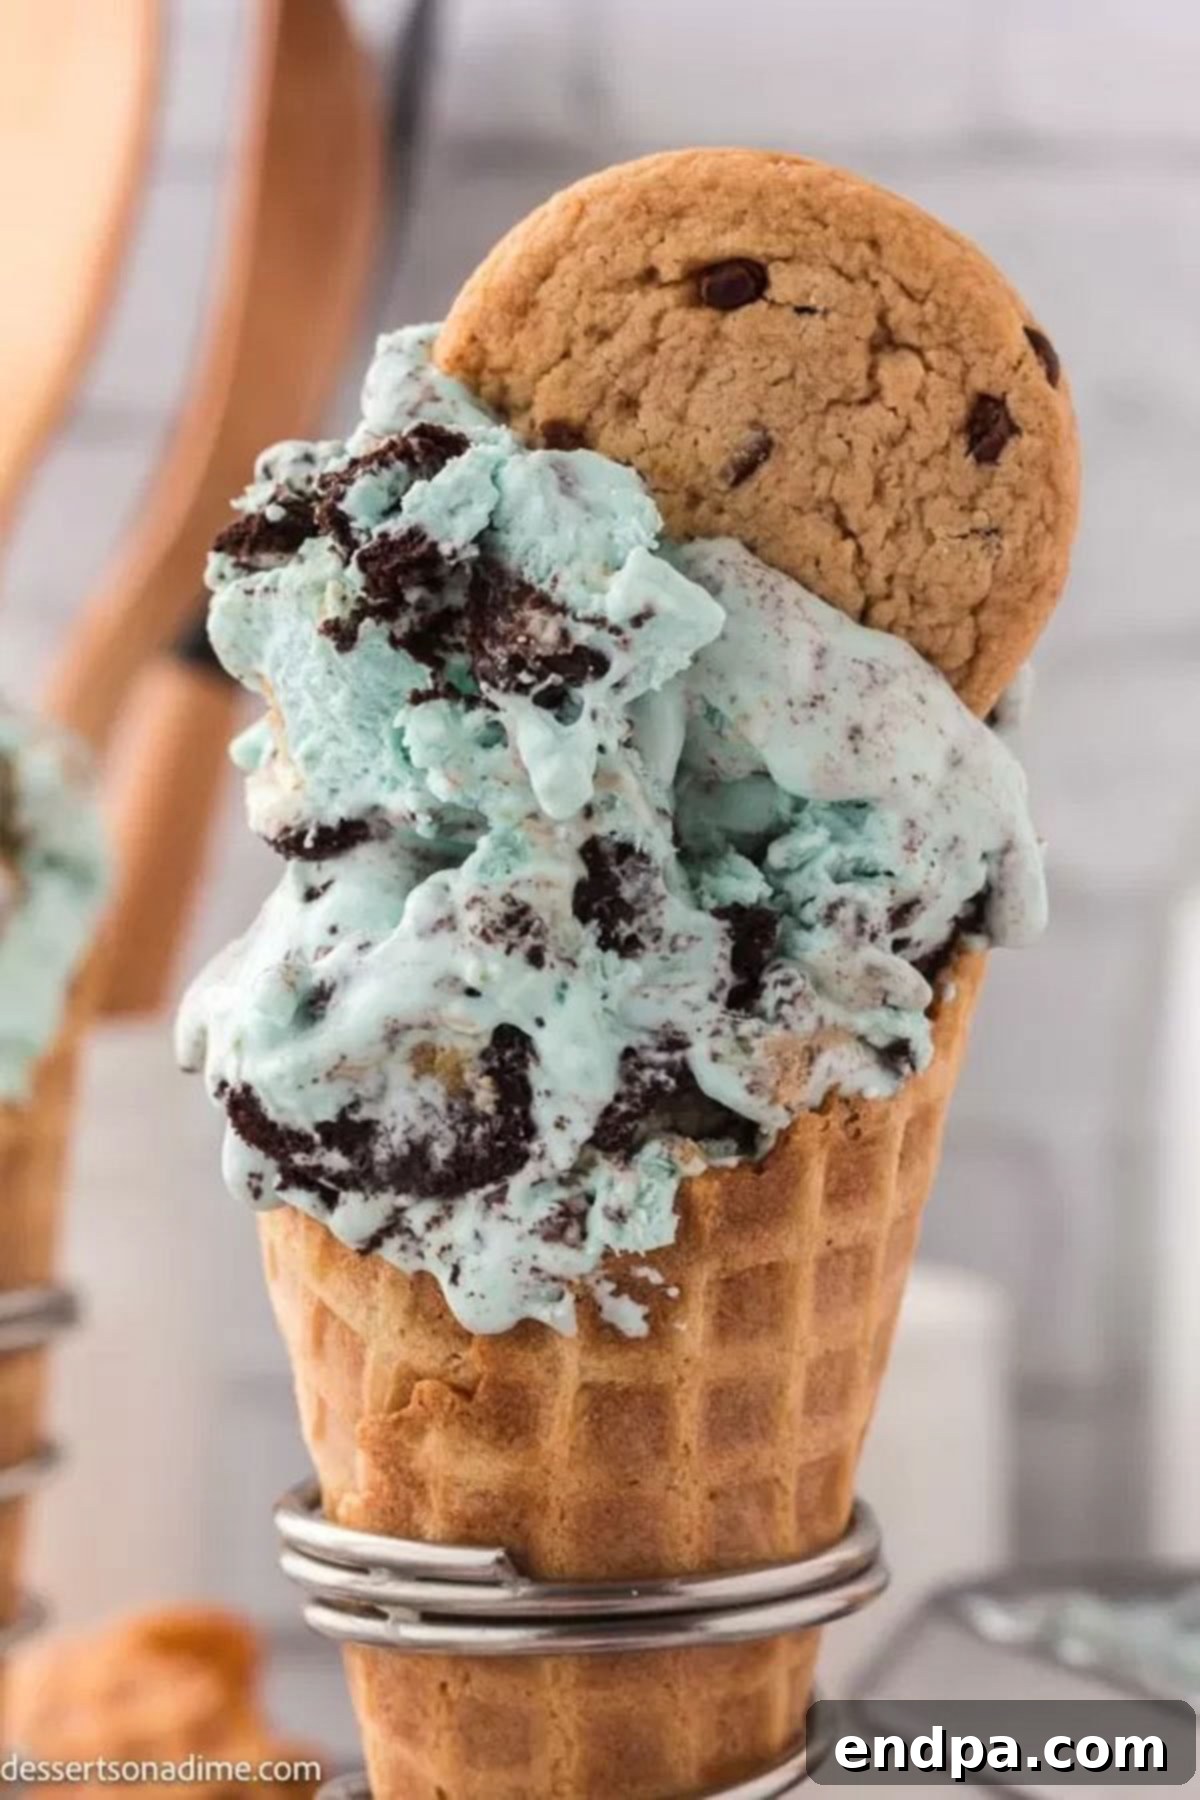
Dive into a world of vibrant blue and crunchy cookie goodness with this incredibly easy no-churn Cookie Monster Ice Cream recipe. You don’t need a fancy ice cream maker to create this delightful dessert that’s bursting with the flavors of both chocolate chip cookies and classic Oreo cookies. This homemade ice cream is guaranteed to be a huge hit with both children and adults, bringing a touch of whimsical fun to any occasion.
Forget the complexities of traditional ice cream making. Our simple recipe combines a creamy vanilla ice cream base with a generous medley of your favorite cookies, all tinted with that iconic electric blue hue. The result is a smooth, rich, and utterly irresistible frozen treat that requires minimal effort but delivers maximum flavor and fun. It’s the perfect dessert for family gatherings, birthday parties, or simply a sweet indulgence on a warm day.
Our family adores homemade ice cream, and we’re always on the lookout for hassle-free recipes. We frequently whip up favorites like Mint Chocolate Chip Ice Cream Cake, classic No-Churn Vanilla Ice Cream, festive Peppermint Ice Cream, and decadent No-Churn Cheesecake Ice Cream. You’ll quickly fall in love with these easy recipes that consistently deliver fantastic results without the need for an expensive ice cream machine. We even enjoy seasonal delights like our Pumpkin Ice Cream Recipe during the fall months.
Table of Contents
- What is Cookie Monster Ice Cream?
- Why Choose No-Churn Ice Cream?
- Essential Ingredients for Success
- Creative Variation Ideas
- Step-by-Step Guide: How to Make Cookie Monster Ice Cream
- Storage Tips for Freshness
- Pro Tips for Perfect Ice Cream
- More Delicious No-Churn Recipes
What is Cookie Monster Ice Cream?
At its heart, Cookie Monster Ice Cream is a playful and incredibly delicious take on a classic dessert, inspired by everyone’s favorite blue, cookie-loving monster. It’s not just a treat; it’s an experience! This delightful flavor is instantly recognizable by its vibrant blue hue, which mimics the fur of the beloved Sesame Street character. Beyond its captivating appearance, it’s a symphony of textures and flavors.
This scrumptious dessert features a rich and creamy vanilla ice cream base, generously loaded with two types of cookies: crunchy chocolate chip cookies and iconic Oreo cookies. The combination of creamy sweetness from the base and the delightful crunch and distinct flavor of the cookie pieces creates a truly satisfying bite every time. It’s a dream come true for cookie lovers, offering a double dose of their favorite treats in a cool, refreshing form. For another loaded ice cream treat, try our Homemade Butterfinger Ice Cream.
Why Choose No-Churn Ice Cream?
If you’ve ever dreamt of making homemade ice cream but felt intimidated by specialized equipment or complex processes, no-churn ice cream is your perfect solution. The primary advantage, as its name suggests, is that it requires absolutely no ice cream maker! This makes it incredibly accessible for home cooks and dessert enthusiasts of all skill levels.
The magic behind no-churn ice cream lies in the combination of whipped heavy cream and sweetened condensed milk. When whipped cream is folded into sweetened condensed milk, it creates a light, airy base that freezes beautifully into a smooth, creamy consistency, remarkably similar to traditional churned ice cream. This method eliminates the need for rock salt, ice baths, or cumbersome churning, saving you time, effort, and kitchen space. It’s a fantastic way to enjoy gourmet-quality ice cream with minimal fuss, allowing you to experiment with endless flavor combinations like this fun Cookie Monster version.
Essential Ingredients for Success
Creating this irresistible Cookie Monster Ice Cream requires just a few simple ingredients, easily found at any grocery store. The beauty of this recipe lies in its simplicity and the way these core components come together to form a truly spectacular dessert.

- Heavy Whipping Cream: This is the foundation of our creamy ice cream base. When whipped, it incorporates air, giving the ice cream its light and fluffy texture.
- Vanilla Extract: A classic flavor enhancer, vanilla extract adds a warm, sweet aroma and deepens the overall taste of the ice cream base, complementing the cookies perfectly.
- Sweetened Condensed Milk: This magical ingredient not only provides the perfect level of sweetness but also contributes significantly to the smooth, rich texture of the no-churn ice cream. It prevents ice crystals from forming, ensuring a delightfully creamy result.
- Oreo Cookies, chopped: We recommend 10-15 Oreos, chopped into delightful chunks. These add a distinctive chocolatey crunch and iconic flavor.
- Chocolate Chip Cookies, chopped: 10-15 chocolate chip cookies, such as Chips Ahoy, provide another layer of texture and that comforting, classic cookie flavor. Ensure they are crunchy, not soft, for the best outcome.
- Blue Food Coloring: This is what gives our Cookie Monster Ice Cream its signature vibrant blue color, making it visually appealing and true to its inspiration.
The complete ingredient list and detailed recipe instructions can be found in the dedicated recipe section further below.
Creative Variation Ideas
While the classic Cookie Monster Ice Cream is fantastic on its own, this recipe is incredibly versatile, offering endless possibilities for customization. Get creative and make it your own!
- Add Edible Cookie Dough: For the ultimate cookie experience, fold in about 1 cup of your favorite edible cookie dough pieces into the mixture. The soft, chewy chunks will provide an amazing contrast to the crunchy cookies.
- Experiment with Different Oreo Flavors: Don’t limit yourself to original Oreos! Try seasonal or specialty flavors like peanut butter, birthday cake, mint, or golden Oreos for a unique twist. Each flavor will add a distinct character to your ice cream.
- Substitute Different Chocolate Chip Cookies: Explore various types of chocolate chip cookies. Kids often love when we use Chips Ahoy with M&Ms inside for an extra burst of candy color and flavor. You could also try double chocolate chip cookies or white chocolate macadamia nut cookies for a different profile.
- Play with Colors: While electric blue is traditional for Cookie Monster, feel free to use other food coloring shades. Green could make it a “Hulk” ice cream, or a mix of colors for a rainbow effect. The possibilities are limitless!
- Make Ice Cream Sandwiches: Elevate your dessert by saving a few whole chocolate chip cookies and using them to create delicious ice cream sandwiches. Simply scoop a generous amount of the frozen ice cream between two cookies for a handheld delight.
- Use Only One Type of Cookie: If you have a strong preference, you don’t have to use both Oreo and chocolate chip cookies. The recipe works perfectly well with just one type of cookie, allowing that specific flavor to shine through.
- Sprinkle on Some Fun: Jazz up your ice cream even more by adding sprinkles on top before freezing, or as a garnish when serving. Rainbow sprinkles add a festive touch that kids adore.
- Boost the Chocolate Factor with Mini Chocolate Chips: If you’re a true chocolate lover, toss in a handful of mini chocolate chips (about ¼ to ½ cup) into the ice cream mixture along with the chopped cookies. This adds extra pockets of chocolatey goodness throughout.
- Incorporate Crushed Candy: For added texture and sweetness, mix in crushed candy bars like Butterfingers, Heath bars, or Snickers. Just chop them finely and fold them in.
- Add a Swirl of Sauce: Before freezing, swirl in some chocolate fudge, caramel, or even a berry compote for an extra layer of flavor and visual appeal.
Step-by-Step Guide: How to Make Cookie Monster Ice Cream
Making this incredible no-churn ice cream is surprisingly simple. Follow these steps for a perfectly creamy and delicious result.
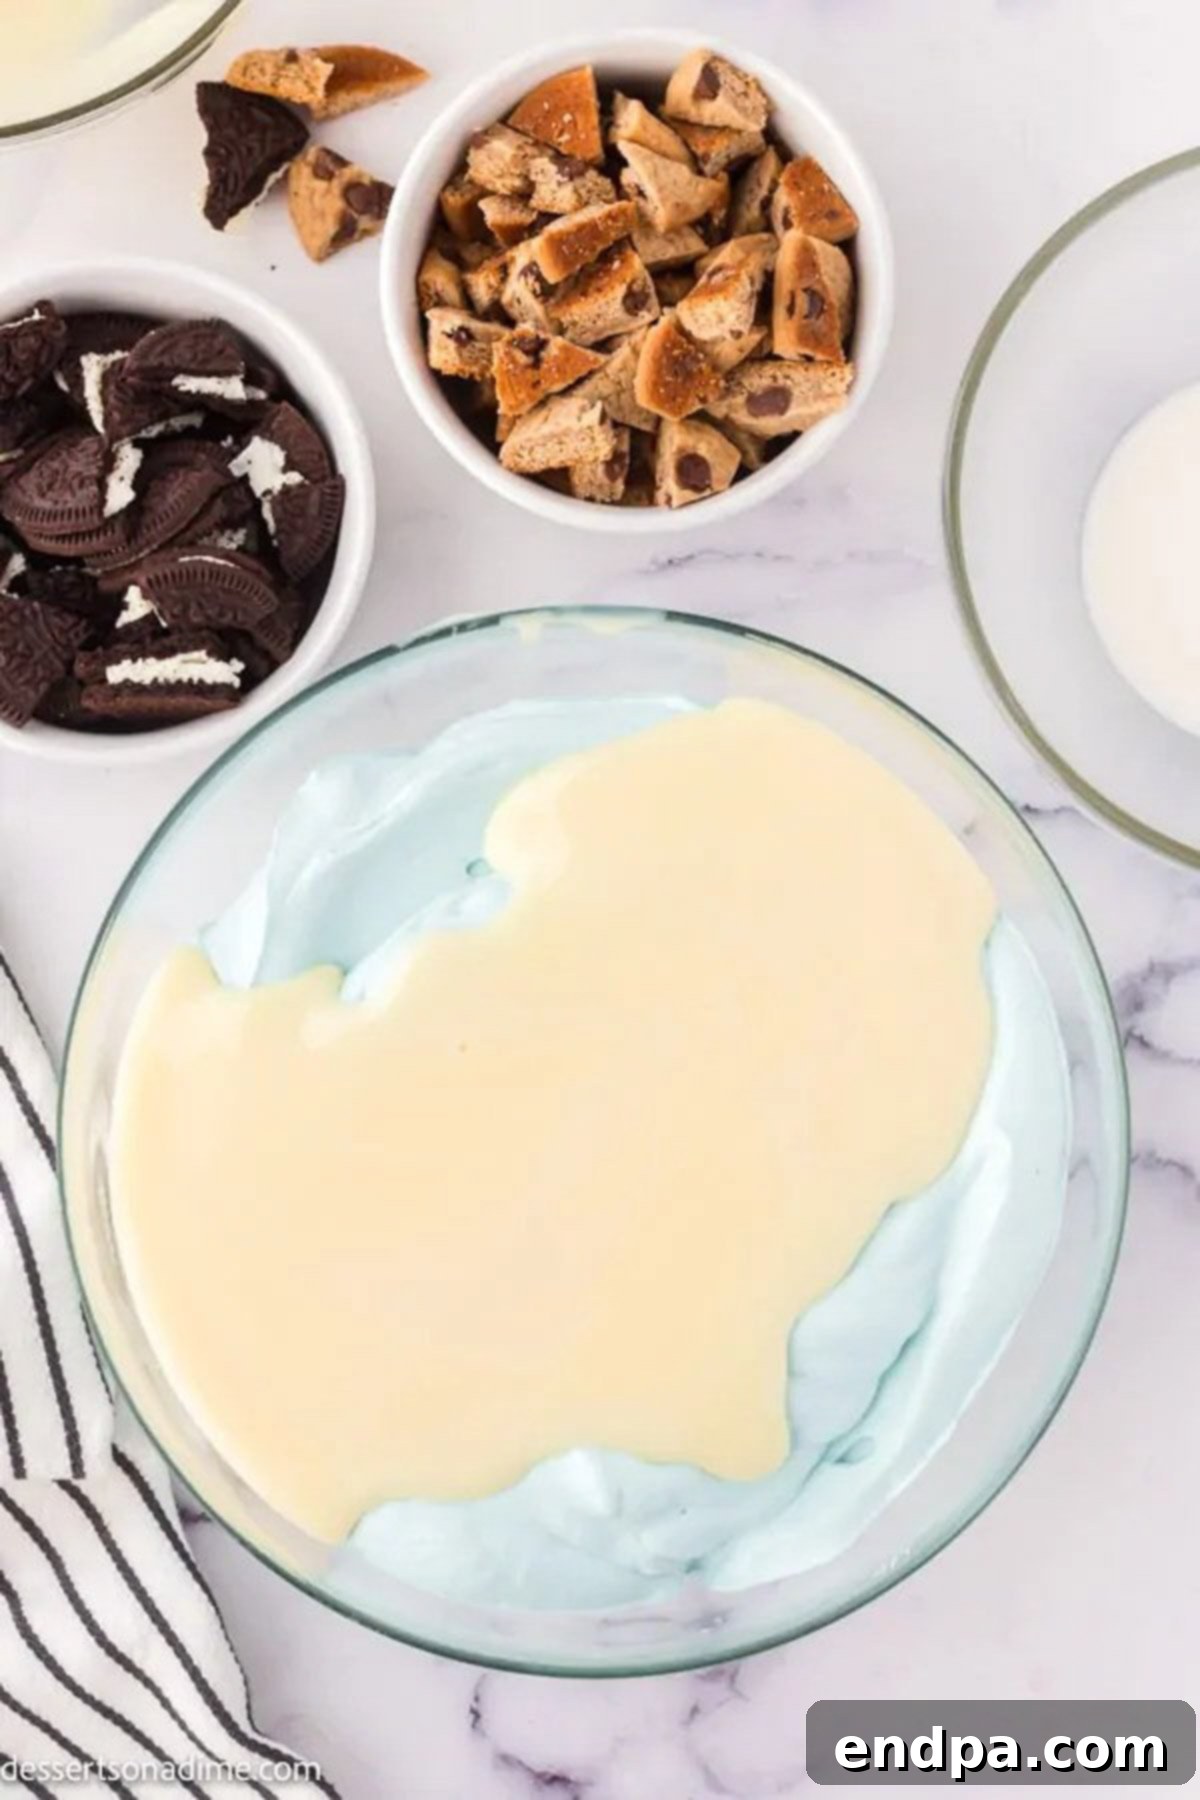
Step 1: Create the Whipped Cream Base. In a large mixing bowl, using either a stand mixer with a whisk attachment or a handheld electric mixer, combine the heavy whipping cream, vanilla extract, and several drops of blue food coloring. Begin mixing on low speed and gradually increase to high. Continue to beat until stiff peaks form. The mixture should hold its shape when the beater is lifted. Ensure the color is a vibrant blue – you might need to add a few more drops to achieve the desired Cookie Monster hue. Once stiff peaks are achieved, gently fold in the sweetened condensed milk until it is fully combined, ensuring not to deflate the whipped cream too much.
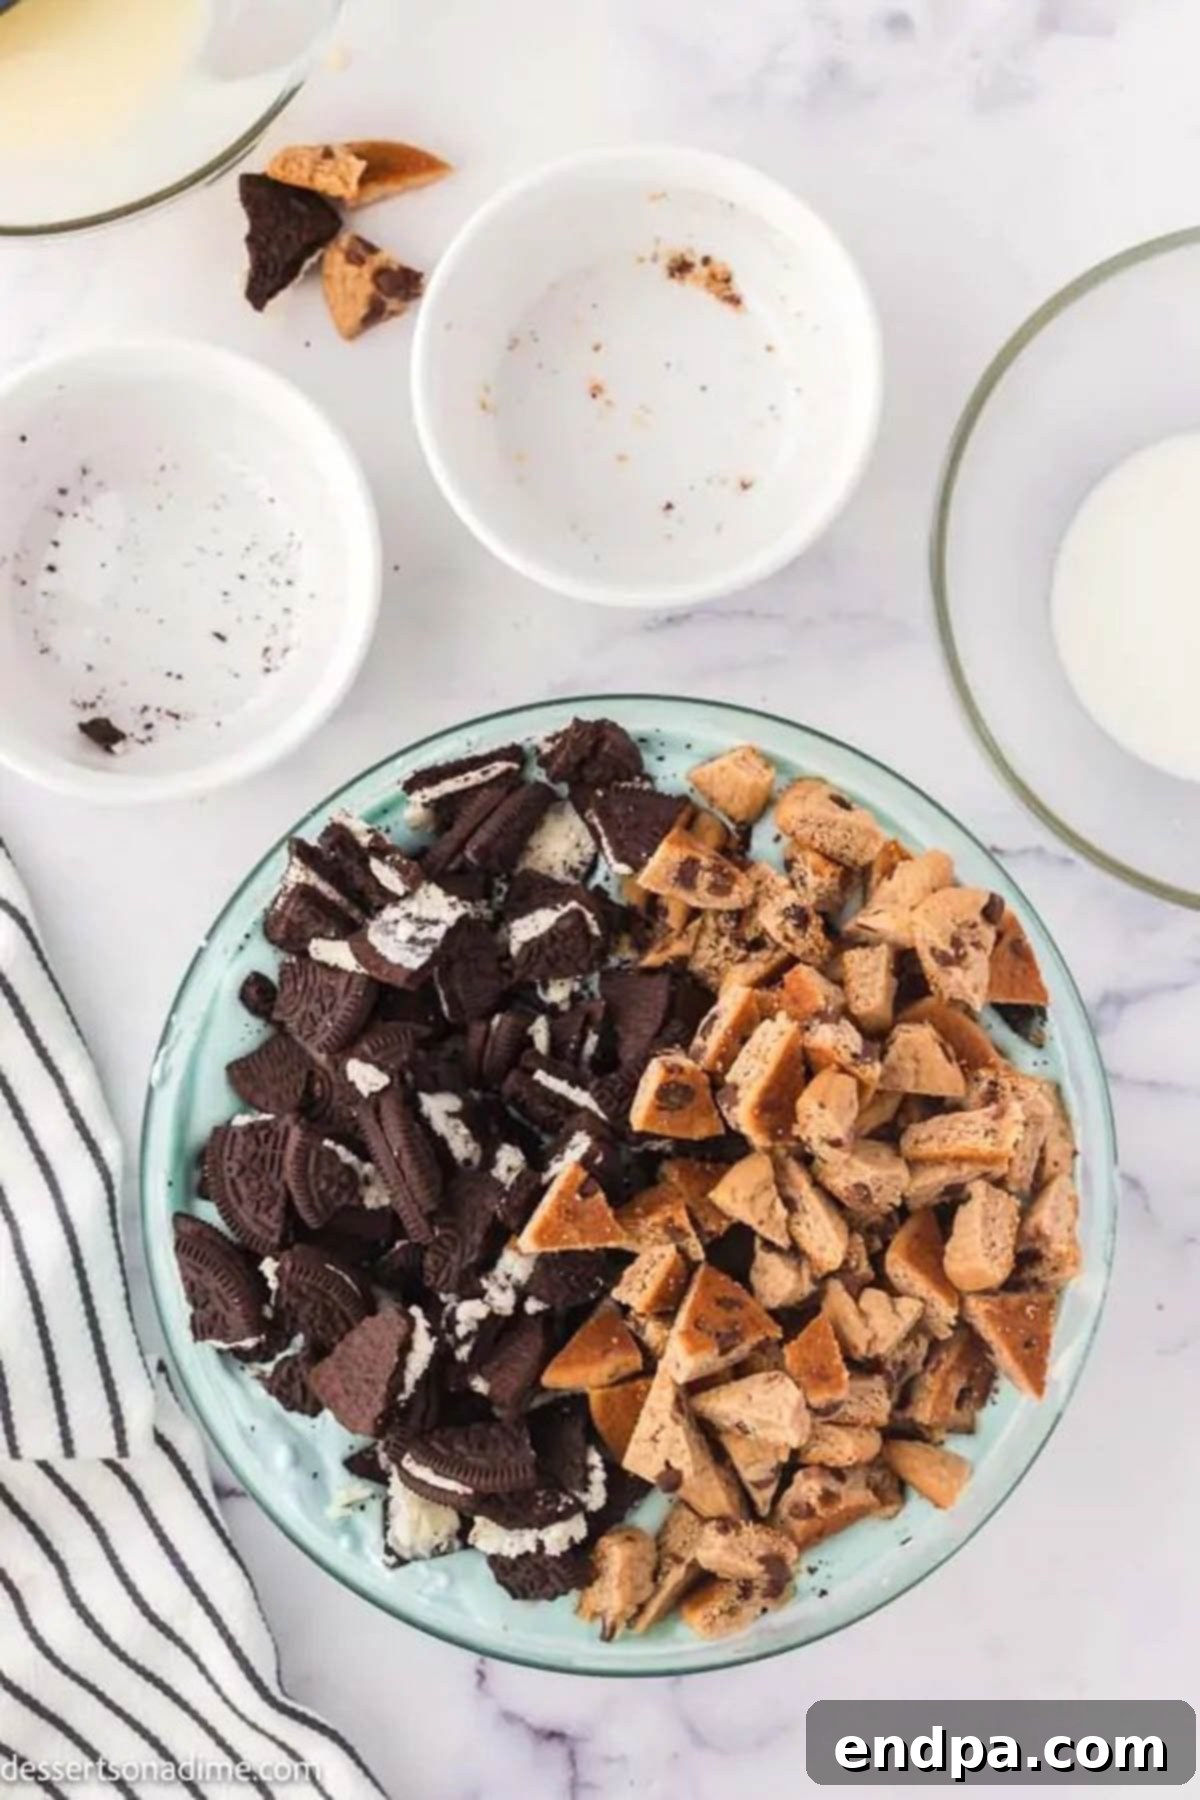
Step 2: Incorporate the Cookies. While your cream is whipping, finely chop your Oreo cookies and chocolate chip cookies into small, manageable pieces. You can do this with a knife or by pulsing them briefly in a food processor. Once the base mixture is ready, gently fold the majority of the chopped cookies into the blue cream. Reserve a small handful of chopped cookies to sprinkle on top later for an attractive garnish.
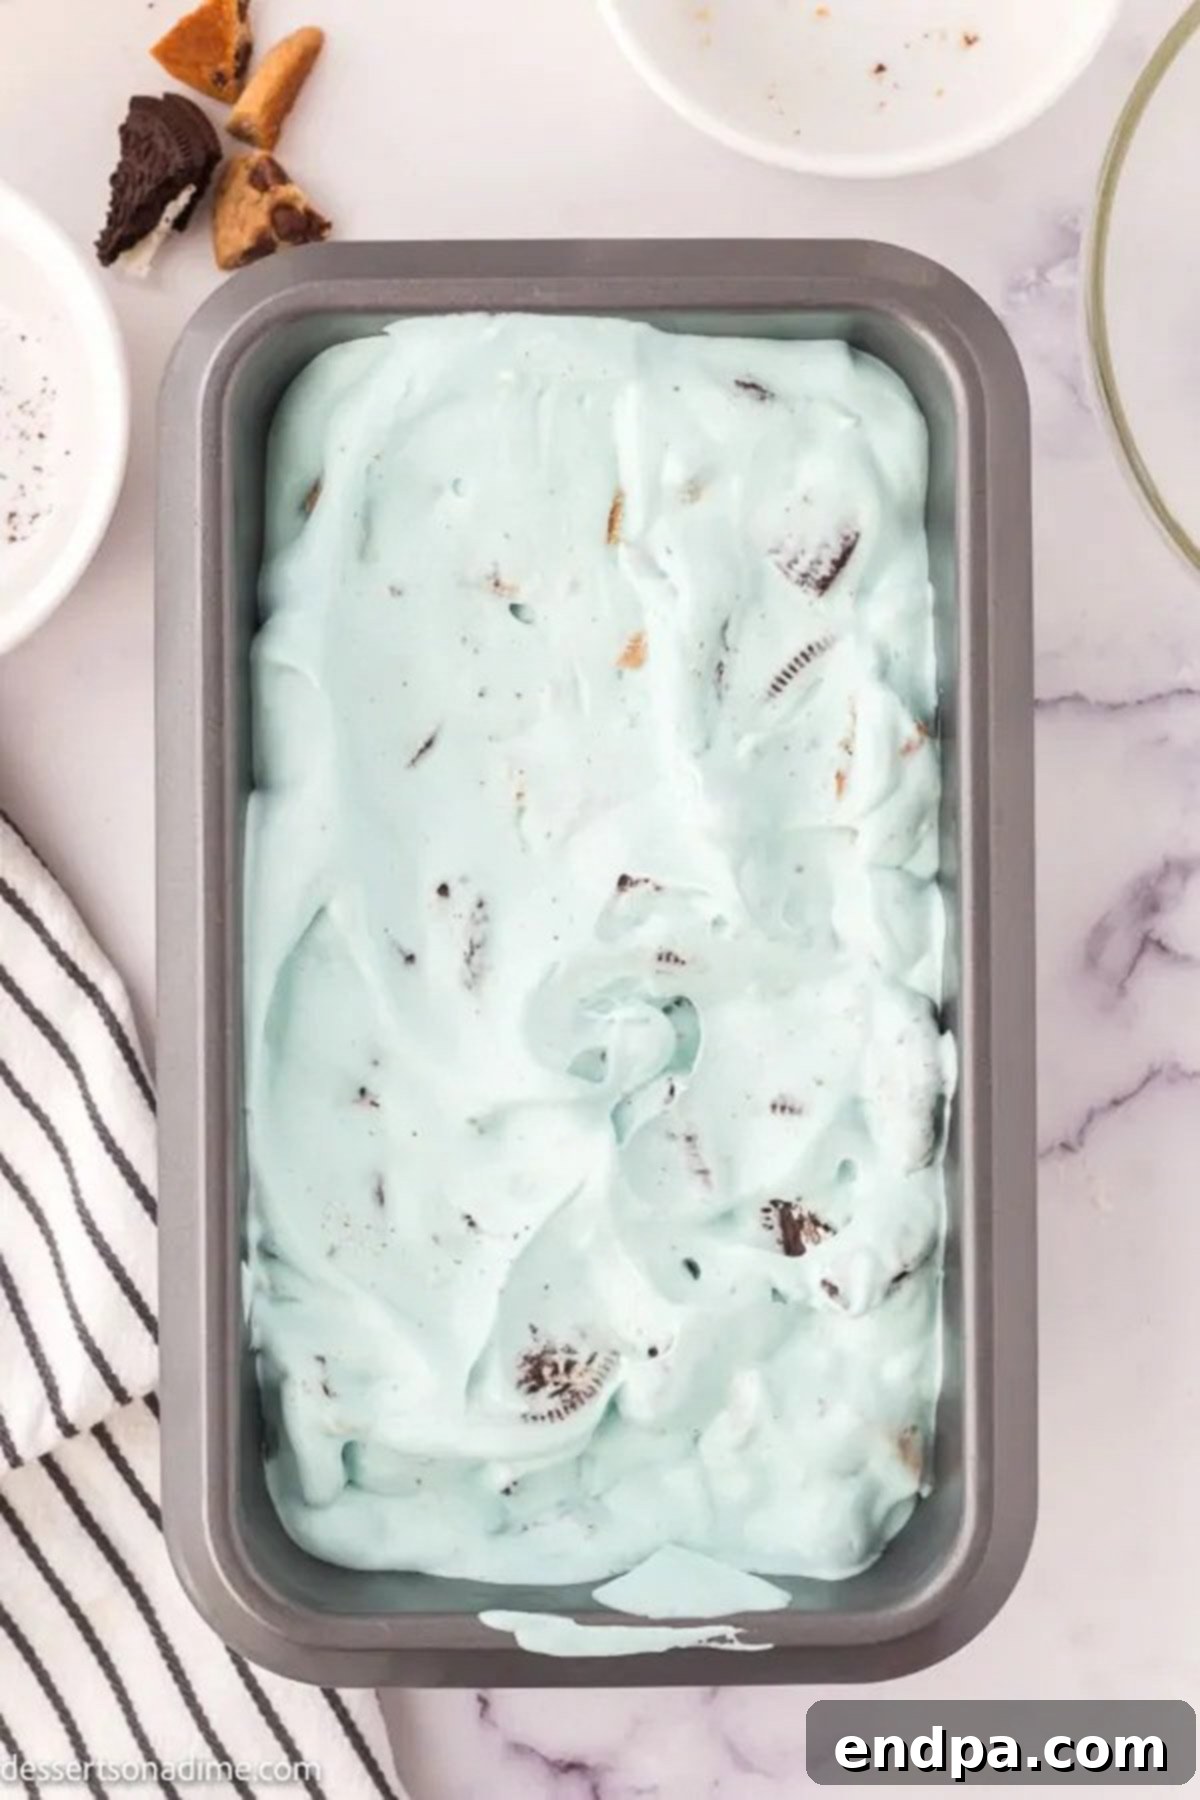
Step 3: Prepare for Freezing. Carefully pour or spoon the Cookie Monster ice cream mixture into a standard loaf pan or any other similar freezer-safe container. Smooth the top with a spatula to ensure even freezing. Then, take the reserved chopped cookies and generously sprinkle them over the surface of the ice cream mixture. This not only looks appealing but also provides extra crunch with every scoop.
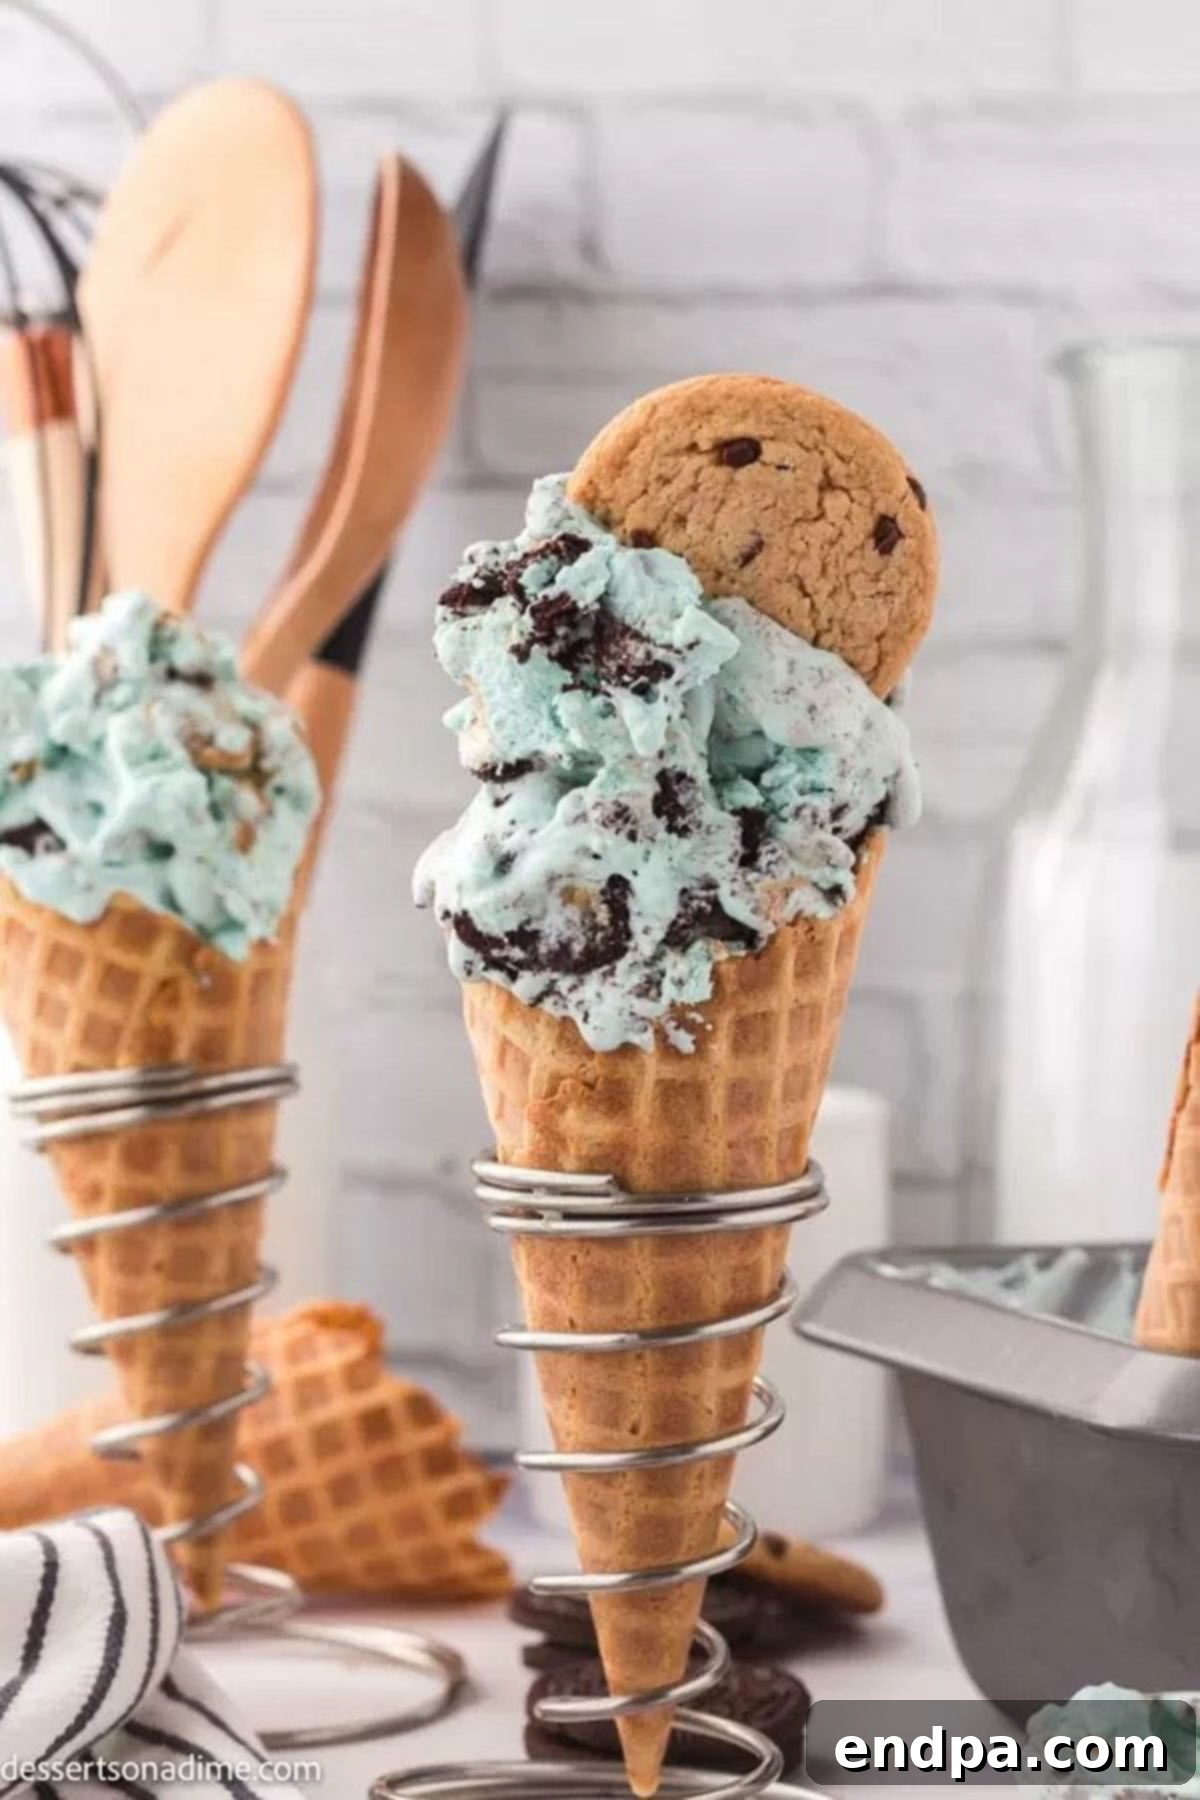
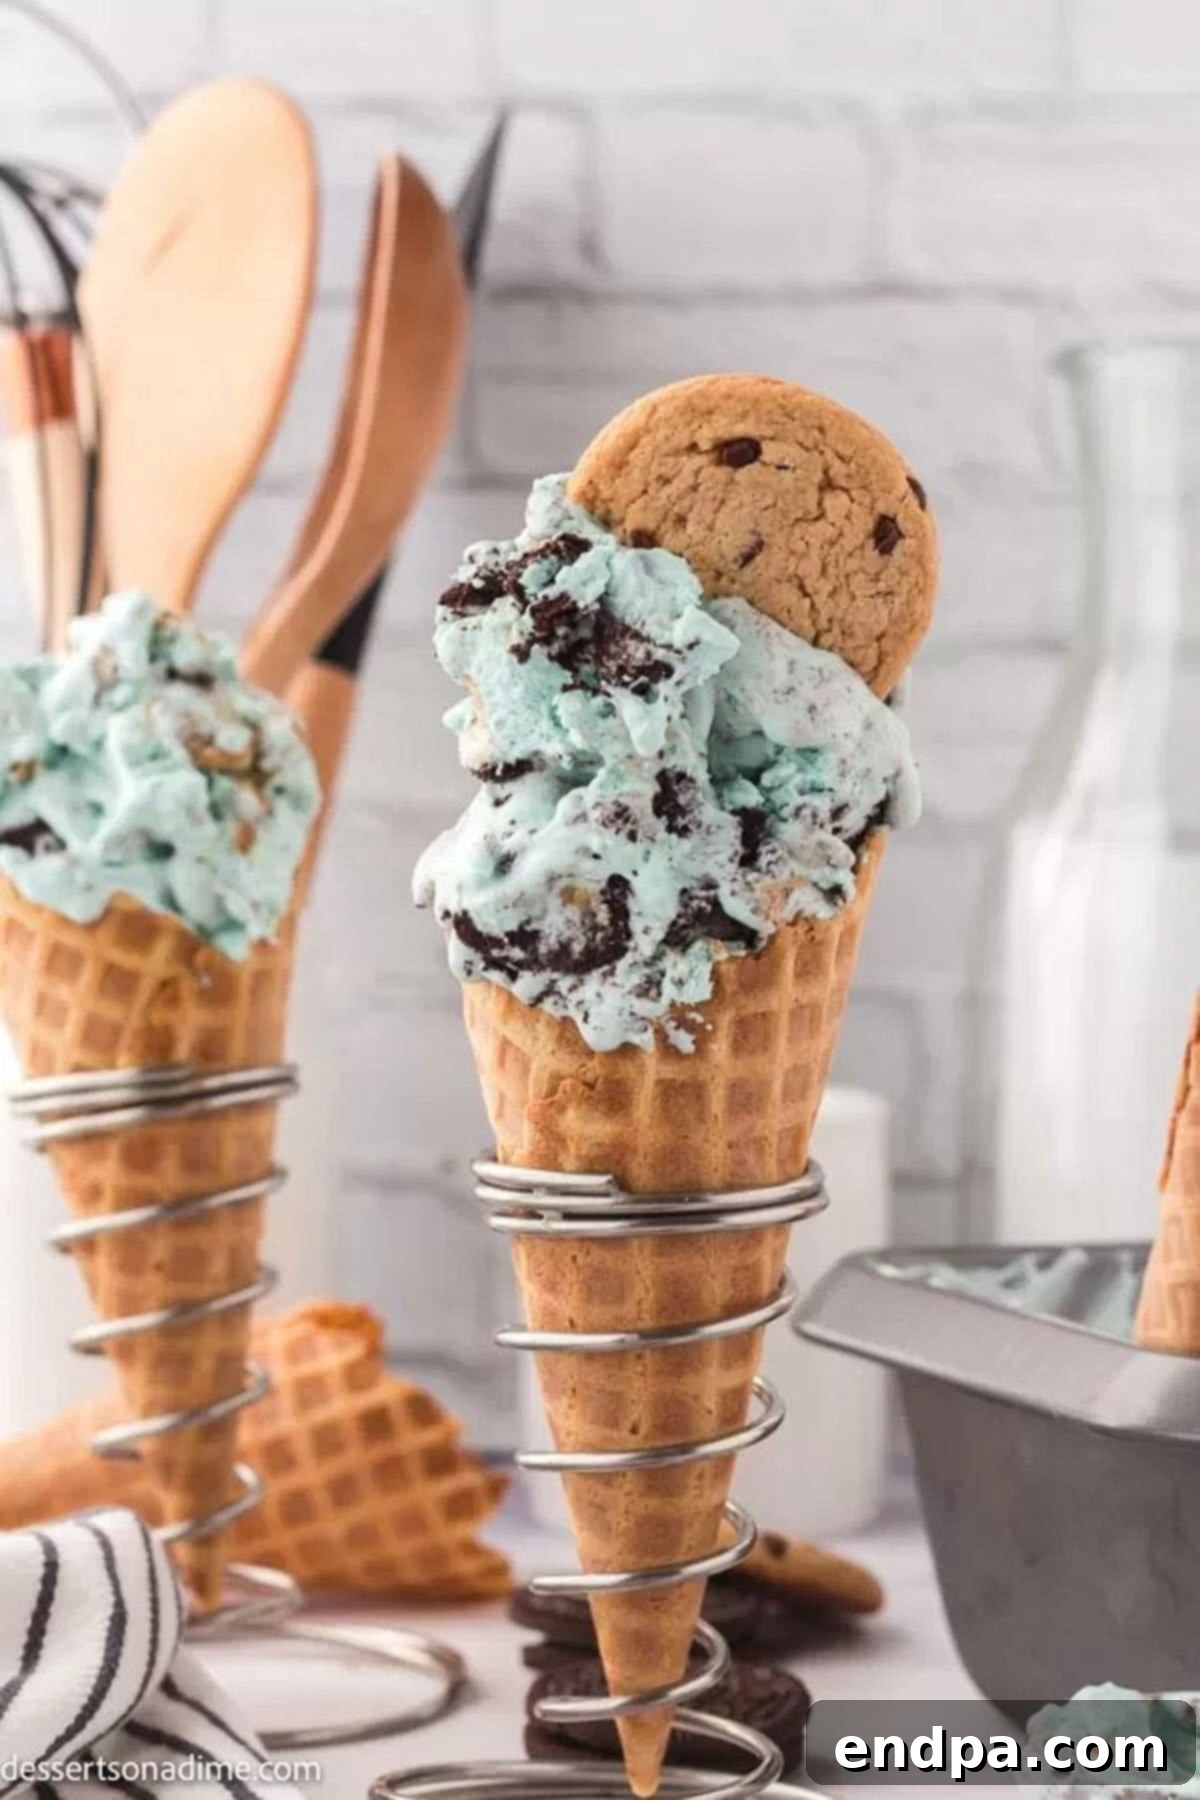
Step 4: Freeze and Serve. Place the loaf pan, uncovered, into the freezer for at least 6 hours, or preferably overnight, to allow the ice cream to firm up completely. Once it’s solidly frozen, scoop out generous portions into ice cream cones, bowls, or use it to create amazing sundaes. Enjoy this wonderfully creamy and fun homemade treat!
Storage Tips for Freshness
Proper storage is key to keeping your homemade Cookie Monster Ice Cream fresh, creamy, and free from pesky ice crystals. Once your ice cream has fully firmed up, ensure it’s well-protected in the freezer.
First, wrap the loaf pan tightly with plastic wrap, pressing it directly onto the surface of the ice cream to minimize air exposure. For an extra layer of protection, we recommend placing a piece of parchment paper directly on top of the ice cream before sealing it with plastic wrap. This dual-layer method significantly helps to prevent ice crystals from forming on the surface, which can detract from the creamy texture. For the best results, transfer the plastic-wrapped loaf pan into an airtight freezer-safe container. This comprehensive sealing ensures maximum freshness and prevents freezer burn, allowing your homemade ice cream to remain delicious for up to one month. Always scoop from the center to maintain an even surface.
Pro Tips for Perfect Ice Cream
Achieving the perfect scoop of homemade ice cream is easy with a few expert tricks up your sleeve. These simple tips will ensure your Cookie Monster Ice Cream turns out flawlessly every time, with that coveted creamy texture and satisfying cookie crunch.
- Ensure Cookies are Crunchy: For the best texture contrast, use crunchy cookies, not soft ones. Crunchy chocolate chip cookies and firm Oreos will hold their integrity better within the ice cream, providing a delightful bite rather than becoming soggy.
- Chill Your Mixing Bowl and Whisk: A cold environment is crucial for whipping heavy cream to maximum volume. Place your large mixing bowl and whisk attachment (or electric mixer beaters) in the freezer for about 10-15 minutes before you start. This simple step helps the cream whip up faster and achieve stiffer, more stable peaks, which translates to a lighter, airier ice cream.
- Store in an Airtight Container: To maintain optimal freshness and prevent freezer burn, always store your finished ice cream in an airtight container. This protection against air exposure is vital for preserving the creamy texture and flavor. Stored properly, homemade ice cream can last in the freezer for up to one month, though it’s often too delicious to last that long!
- Consider Using Mini Cookies: If you want to skip the chopping step, or prefer smaller cookie pieces distributed more evenly, opt for mini chocolate chip cookies and mini Oreo cookies. This is a convenient shortcut that still delivers all the fantastic flavor and texture.
- Don’t Overmix After Adding Condensed Milk: Once you’ve achieved stiff peaks with the heavy cream, gently fold in the sweetened condensed milk. Overmixing at this stage can deflate the whipped cream, leading to a less airy and less creamy final product. Mix just until combined.
- Gradually Add Food Coloring: Start with a few drops of blue food coloring and add more gradually until you reach your desired vibrant blue. Gel food coloring often provides a more intense color with less liquid, which is ideal for ice cream.
- Allow to Soften Slightly Before Serving: For the creamiest scoops, take the ice cream out of the freezer about 5-10 minutes before serving. This allows it to soften just enough to be easily scooped, enhancing its delightful texture.
More Delicious No-Churn Ice Cream Recipes
The world of no-churn ice cream is vast and exciting! Once you master this Cookie Monster recipe, you’ll be eager to explore other easy variations. Here are some of our favorite no-churn ice cream recipes that you can effortlessly make at home:
- Salted Caramel Ice Cream: A perfect blend of sweet and salty.
- Mint Chocolate Chip Ice Cream Recipe: A refreshing classic.
- Pistachio Ice Cream Recipe: Nutty and delightfully green.
- Homemade Cookies and Cream Ice Cream: Simple, yet universally loved.
- Chocolate Ice Cream: The ultimate comfort flavor.
- S’mores Ice Cream Recipe: All the campfire flavors in a frozen treat.
Cookie Monster Ice Cream Recipe
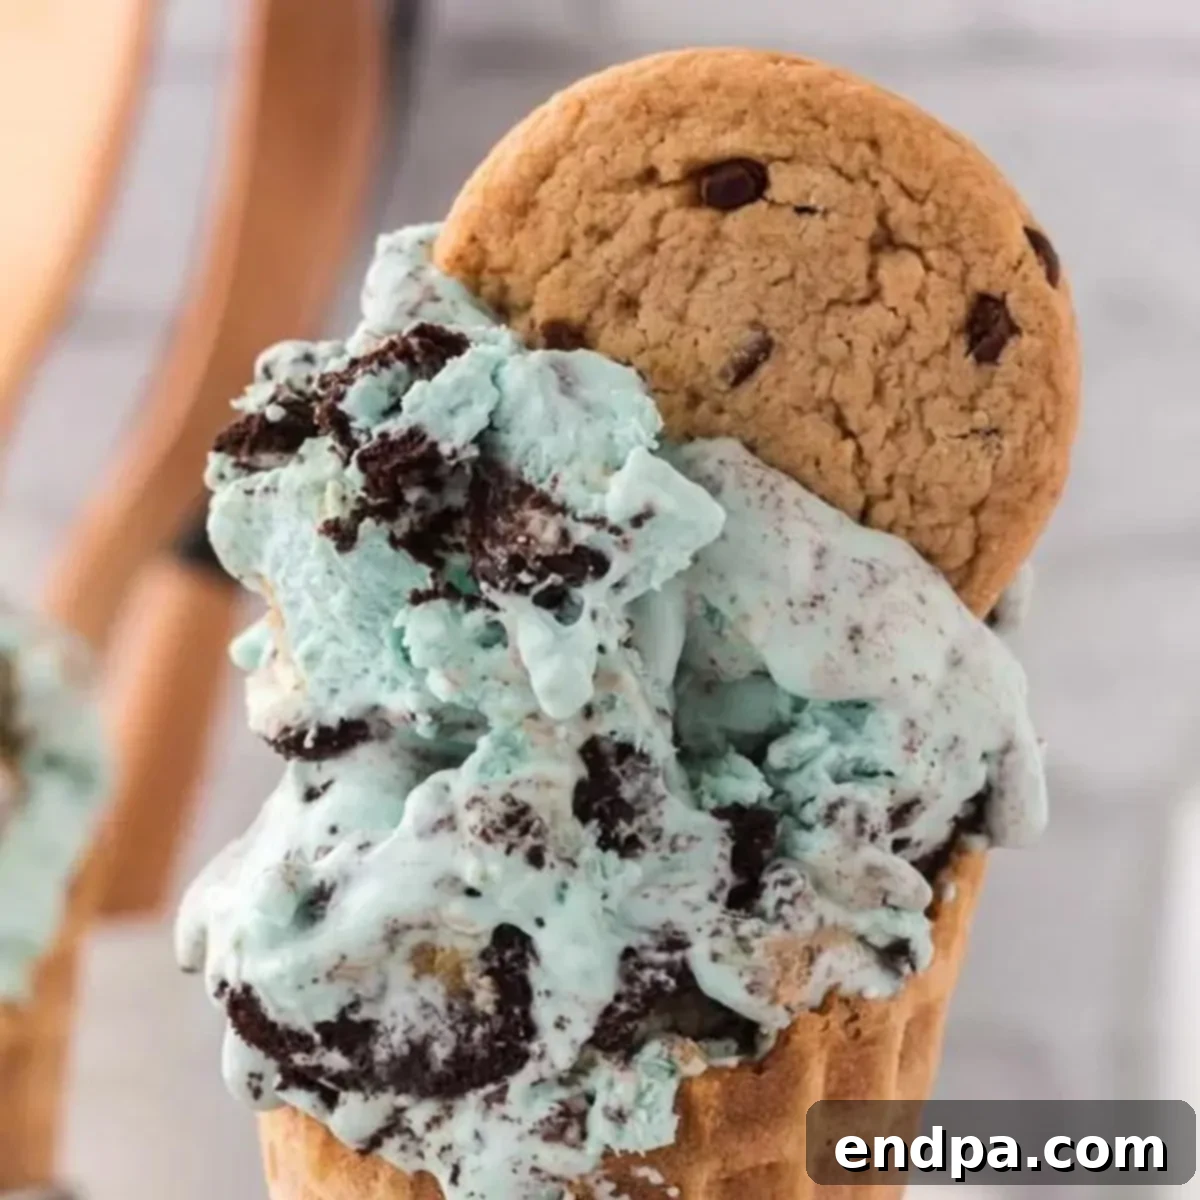
This Cookie Monster Ice Cream recipe is an easy no-churn treat that will become an instant family favorite. With two different types of cookies, this vibrant homemade ice cream is truly a hit!
Recipe Details:
- Prep Time: 15 minutes
- Freeze Time: 6 hours
- Total Time: 6 hours 15 minutes
- Servings: 8
- Cuisine: American
- Course: Dessert
- Calories: 463 kcal per serving
- Author: Carrie Barnard
Ingredients
- 2 cups heavy whipping cream
- 1 tablespoon vanilla extract
- 10 oz sweetened condensed milk
- 10-15 Oreos, chopped
- 10-15 chocolate chip cookies, chopped (such as Chips Ahoy)
- Blue food coloring
Instructions
- Using a stand mixer or hand mixer, beat the heavy whipping cream, vanilla extract, and blue food coloring in a large bowl until stiff peaks form. Aim for a bright, vibrant blue color.
- Gently add the sweetened condensed milk to the whipped cream mixture and stir carefully until thoroughly combined, being careful not to deflate the cream.
- Carefully fold in the majority of the chopped Oreos and chocolate chip cookies, reserving a small amount to garnish the top.
- Pour the ice cream mixture into a bread pan or another freezer-safe container.
- Sprinkle the remaining chopped cookies over the top of the ice cream.
- Place the container in the freezer for at least 6 hours, or ideally overnight, until the ice cream is firm.
- Scoop and serve this creamy ice cream in cones, cups, or as part of a fun dessert. Enjoy!
Nutrition Facts (per serving)
- Calories: 463 kcal
- Carbohydrates: 41g
- Protein: 5g
- Fat: 31g
- Saturated Fat: 18g
- Polyunsaturated Fat: 2g
- Monounsaturated Fat: 9g
- Trans Fat: 1g
- Cholesterol: 95mg
- Sodium: 186mg
- Potassium: 236mg
- Fiber: 1g
- Sugar: 30g
- Vitamin A: 970 IU
- Vitamin C: 1mg
- Calcium: 143mg
- Iron: 2mg
