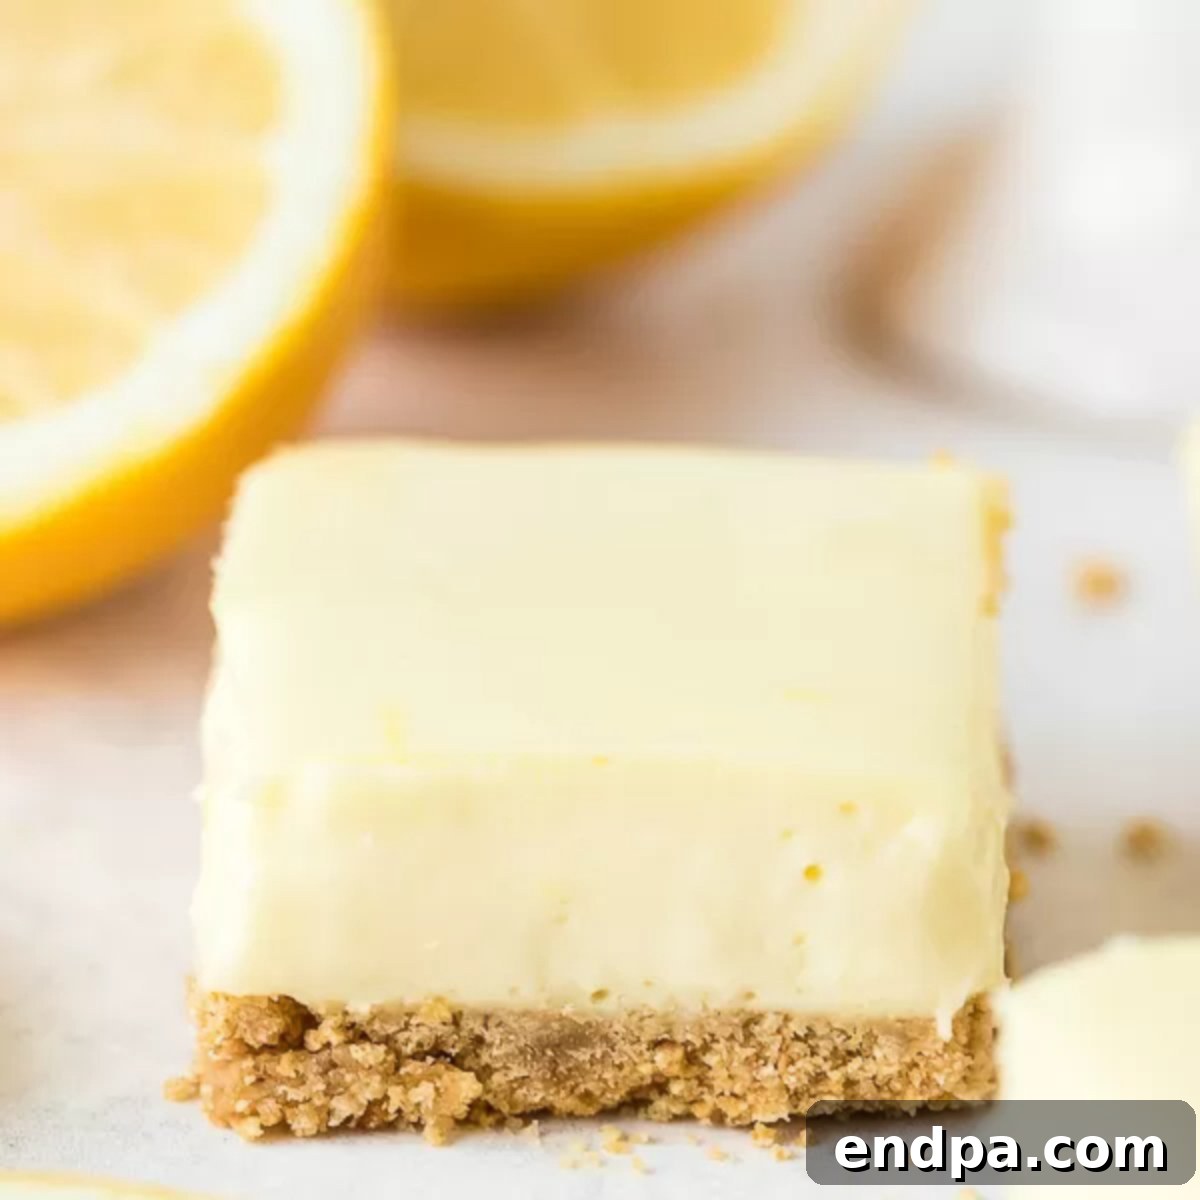
Zesty Lemon Cheesecake Bars: Your Ultimate Guide to a Perfect Citrus Dessert
Indulge in the bright and luscious flavors of our homemade Lemon Cheesecake Bars, a dessert that promises a creamy, tangy, and utterly delicious experience in every bite. This recipe artfully combines the vibrant essence of fresh lemon zest with the rich, smooth texture of cream cheese, creating a dessert that is both light and incredibly satisfying. If you’re searching for an effortlessly elegant sweet treat that’s perfect for any occasion, look no further. These bars are not just easy to make; they are a true celebration of refreshing citrus notes balanced with a classic cheesecake foundation.
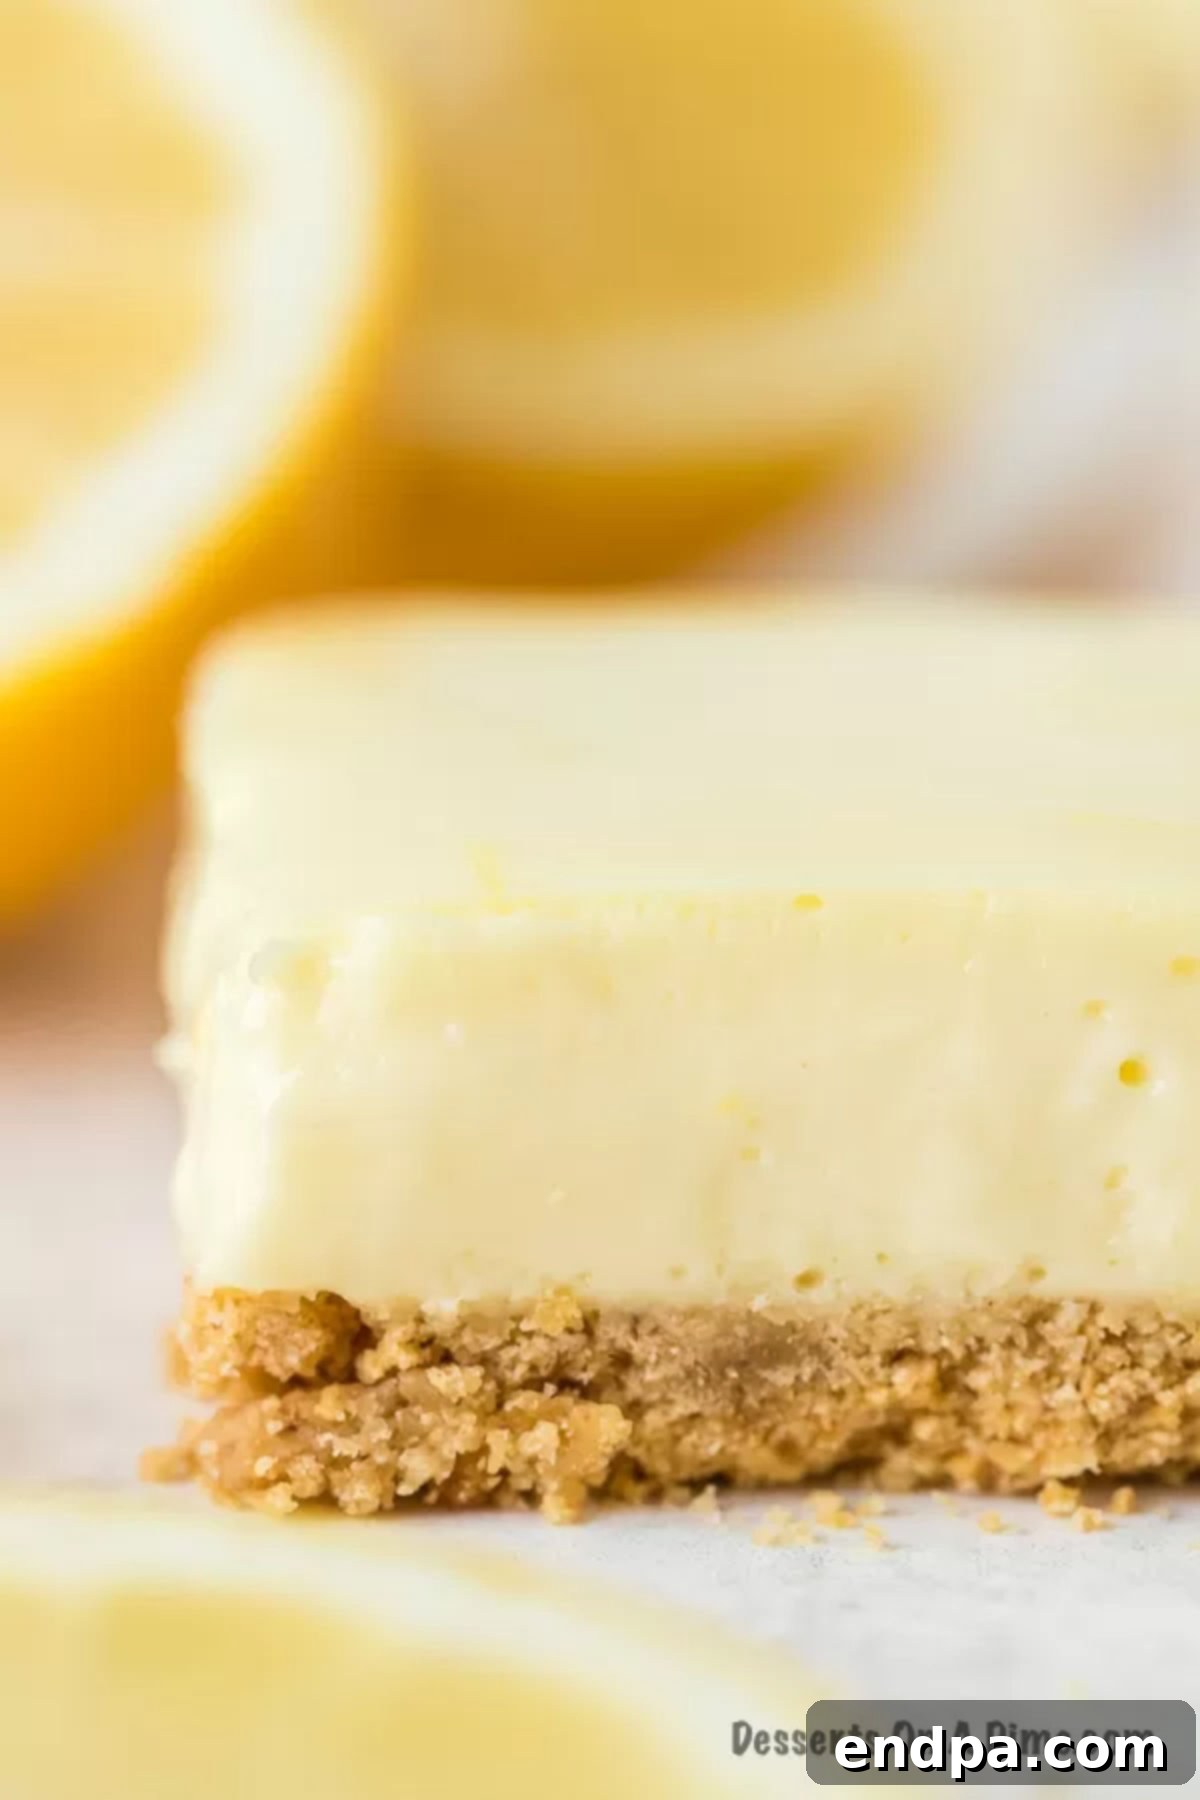
Lemon desserts hold a special place in the hearts of many, offering a delightful counterpoint of tangy and sweet that awakens the palate. From pies to cookies, the versatile lemon shines in countless confections. Our rendition of lemon cheesecake bars is no exception, designed to deliver maximum flavor with minimal fuss. With just a handful of simple ingredients, you can whip up a dessert that tastes gourmet but comes together with surprising ease. For those who adore the bright zest of lemon, be sure to explore other favorites like our 2 Ingredient Lemon Bars Recipe or the classic Lemon Squares Recipe.
Table of contents
- Why You’ll Love These Lemon Cheesecake Bars
- Essential Ingredients for Perfection
- Creative Variations and Substitutions
- Step-by-Step Guide: How to Make Lemon Cheesecake Bars
- Pro Tips for Flawless Lemon Cheesecake Bars
- Delightful Topping Ideas
- Storage and Make-Ahead Convenience
- Freezing for Future Enjoyment
- Discover More Irresistible Cheesecake Bar Recipes
- Printable Lemon Cheesecake Bars Recipe
Why You’ll Love These Lemon Cheesecake Bars
There’s something truly magical about the combination of creamy cheesecake and bright, citrusy lemon, and these bars capture that magic perfectly. They bring together everything you adore about a classic cheesecake with a refreshing burst of lemon, making them an amazing treat that consistently ranks as a crowd favorite. Their versatility is unmatched; you can effortlessly cut them into small, dainty squares perfect for a elegant bridal shower or a sophisticated brunch spread, or opt for larger, more generous portions to satisfy a hearty craving after dinner. These must-try cheesecake lemon bars are equally at home at festive holiday gatherings, intimate celebrations, or simply as a delightful indulgence on any given day. Their charming presentation and irresistible taste make them a standout on any dessert table.
Beyond their delightful flavor, these bars are a fantastic option for hosts and home bakers due to their ease of preparation and stunning visual appeal. They don’t require complicated techniques or exotic ingredients, making them accessible to bakers of all skill levels. Plus, their make-ahead potential allows you to prepare them in advance, freeing up your time to enjoy your guests or other activities. The bright yellow hue, often enhanced with a dusting of powdered sugar or fresh fruit, makes them a feast for the eyes as well as the palate, promising a memorable dessert experience for everyone.
Essential Ingredients for Perfection
Crafting these delectable lemon cheesecake bars begins with selecting high-quality ingredients, each playing a crucial role in achieving the perfect texture and flavor profile. You’ll be delighted to find that the list is short and sweet, comprising common pantry staples.
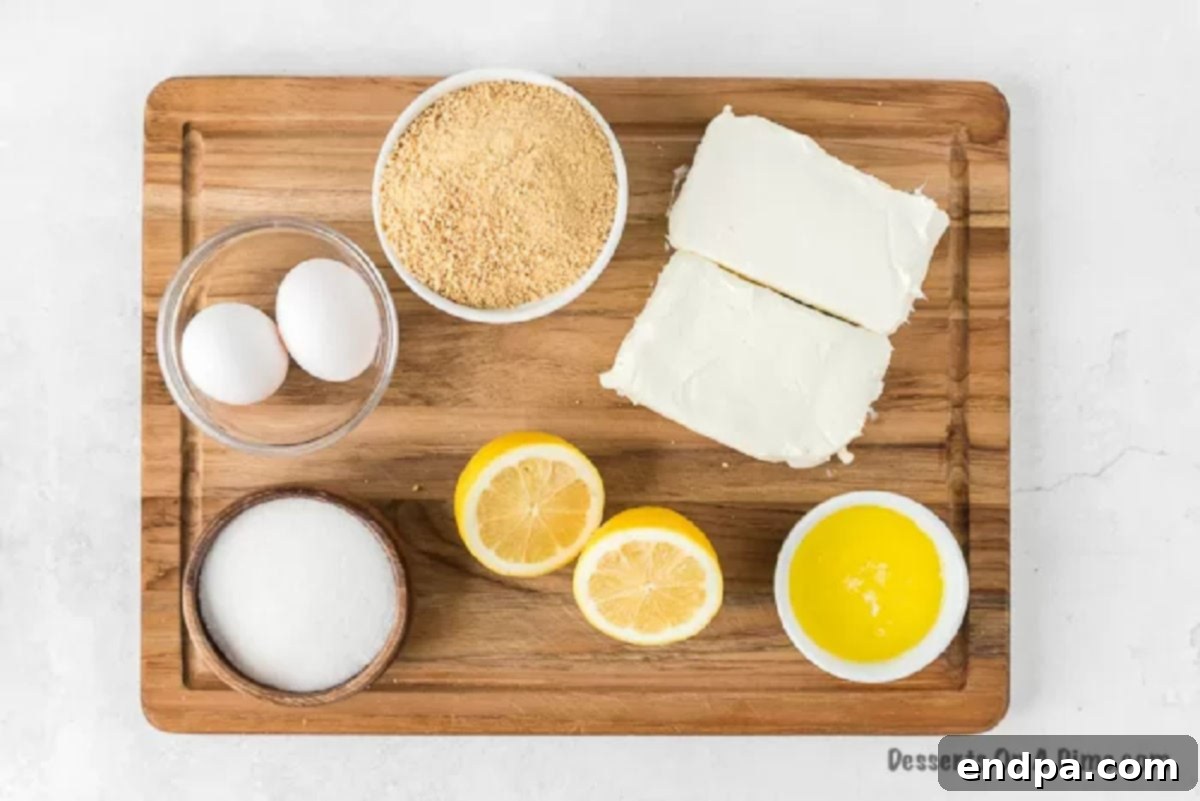
- Finely Crushed Graham Crackers: These form the foundation of our crust, providing a subtly sweet and slightly nutty base that complements the tangy cheesecake filling. You can either purchase pre-crushed graham cracker crumbs for convenience or crush whole graham cracker sheets yourself using a food processor or a Ziploc bag and a rolling pin for a truly fresh flavor.
- Unsalted Butter: Melted unsalted butter binds the graham cracker crumbs together, creating a firm, golden-brown crust. Using unsalted butter gives you better control over the overall saltiness of the dessert.
- Cream Cheese: The heart of any cheesecake, ensure your cream cheese is at room temperature before you begin. This is crucial for achieving a smooth, lump-free cheesecake batter that bakes evenly and has that signature creamy consistency. Full-fat cream cheese is recommended for the richest flavor and best texture.
- Fresh Lemon Zest: The true star of the show! Fresh lemon zest is where much of the intense lemon flavor and aroma resides. Don’t skip this; it adds a bright, essential tang that lemon juice alone cannot replicate.
- Lemon Juice: Complementing the zest, fresh lemon juice provides the necessary acidity and a refreshing citrus punch to the cheesecake filling. Always opt for freshly squeezed lemon juice over bottled for the best taste.
- Granulated Sugar: Sweetens both the crust (if adding) and the creamy filling, balancing the tartness of the lemon and creating a perfectly palatable dessert.
- Large Eggs: Eggs act as a binder and provide structure to the cheesecake filling, ensuring it sets properly and has a custardy texture. Make sure they are also at room temperature for optimal mixing.
For precise measurements, refer to the complete recipe card found at the bottom of this page.
Substitutions and Additions
While the classic Lemon Cheesecake Bar recipe is undoubtedly perfect as is, don’t hesitate to get creative in your kitchen! There are many ways to customize these bars to suit your taste preferences or to adapt them to ingredients you have on hand.
- Crust Alternatives: The graham cracker crust is a timeless choice, but you can easily switch things up.
- Oreo Cookie Crust: For a chocolatey twist, crush Oreo cookies (filling and all) and combine with melted butter to create a rich, dark crust.
- Vanilla Wafer or Shortbread Crust: These offer a buttery, less sweet alternative that still holds up beautifully.
- Ginger Snap Crust: For a hint of spice, especially around the holidays, a crushed ginger snap crust can be wonderfully aromatic and delicious.
- Pre-made Crusts: While not a crushed cookie, a crescent dough crust offers a unique, softer base if you’re looking for something different.
- Enhance the Crust: Regardless of the cookie choice, you can add a hint of warmth by mixing in a tablespoon or two of brown sugar with the melted butter for an extra depth of flavor.
- Flavor Boost with Vanilla Extract: To add a subtle hint of warmth and depth that beautifully complements the bright lemon, consider incorporating a teaspoon of pure vanilla extract into your cheesecake filling. It helps to round out the flavors without overpowering the citrus.
- Extra Zest or Juice: If you’re a true lemon aficionado, feel free to slightly increase the amount of lemon zest or juice in the filling for an even more pronounced citrus kick.
- Cream Cheese Variations: While full-fat cream cheese is recommended for richness, you can experiment with reduced-fat versions if preferred, though the texture might be slightly less decadent.
Step-by-Step Guide: How to Make Lemon Cheesecake Bars
Making these luscious lemon cheesecake bars is a straightforward process that yields impressive results. Follow these simple steps for a perfect batch every time.
- Step 1: Prepare Oven and Baking Dish – Begin by preheating your oven to 350°F (175°C). Next, line an 8-inch square baking pan with aluminum foil, ensuring it overhangs on the sides to create “handles.” This will make it much easier to lift the cooled bars out of the pan. Lightly spray the foil with cooking spray to prevent sticking.
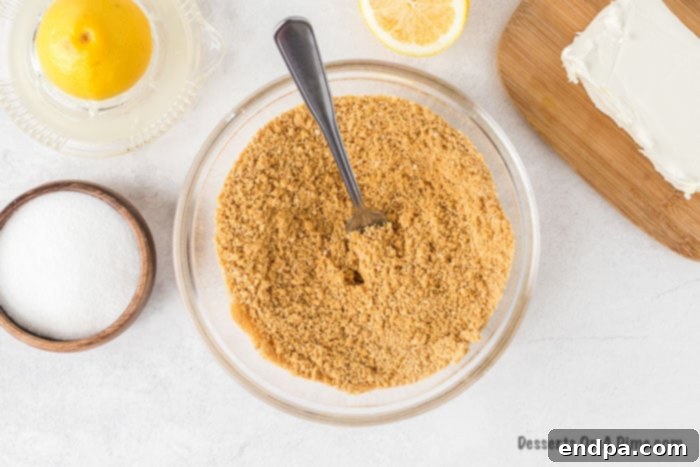
Step 2: Make the Crust. In a medium-sized mixing bowl, combine the finely crushed graham crackers and the melted unsalted butter. Stir them together until the crumbs are evenly moistened and resemble wet sand. This ensures a cohesive crust.
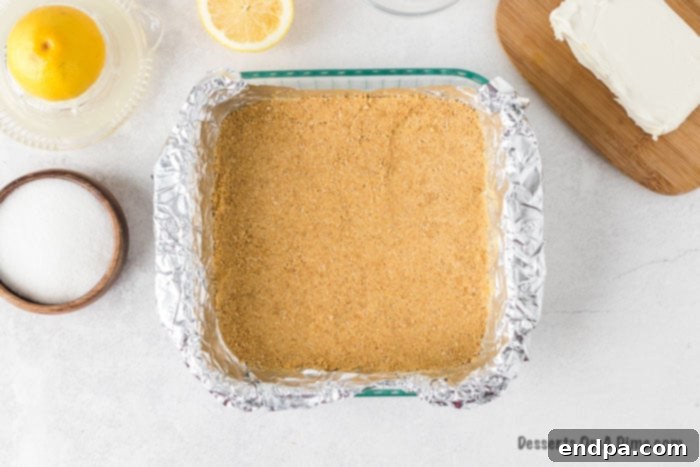
Step 3: Press the Crust. Transfer the graham cracker mixture into the prepared baking pan. Using the bottom of a glass or your fingers, press the mixture firmly and evenly across the bottom of the pan to form a compact crust. This even layer is crucial for the bars to hold their shape.
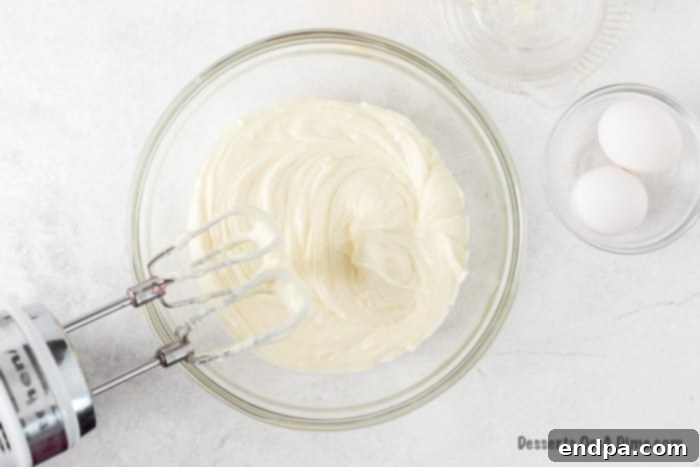
Step 4: Prepare the Cheesecake Lemon Layer Filling. In a large mixing bowl, using an electric stand mixer or a hand mixer, beat together the room temperature cream cheese, granulated sugar, fresh lemon juice, and fresh lemon zest. Mix until the mixture is perfectly smooth and well combined, scraping down the sides of the bowl as needed to ensure all ingredients are incorporated.
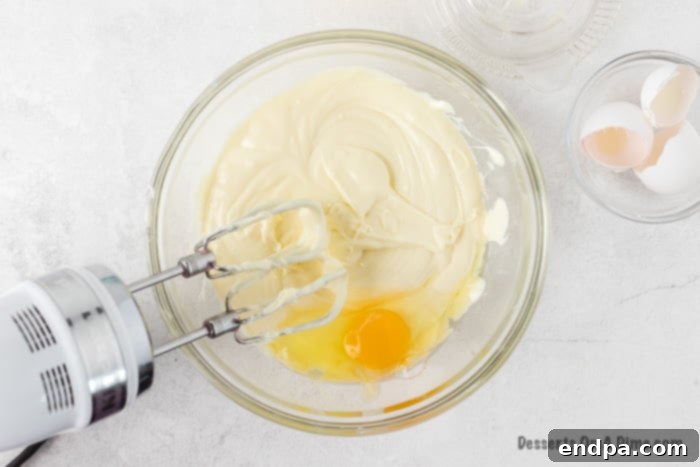
Step 5: Incorporate the Eggs. Add the large eggs to the cream cheese mixture one at a time. After each egg addition, beat just until it is incorporated into the batter. Be careful not to overmix the eggs, as this can introduce too much air, leading to cracks in your cheesecake.
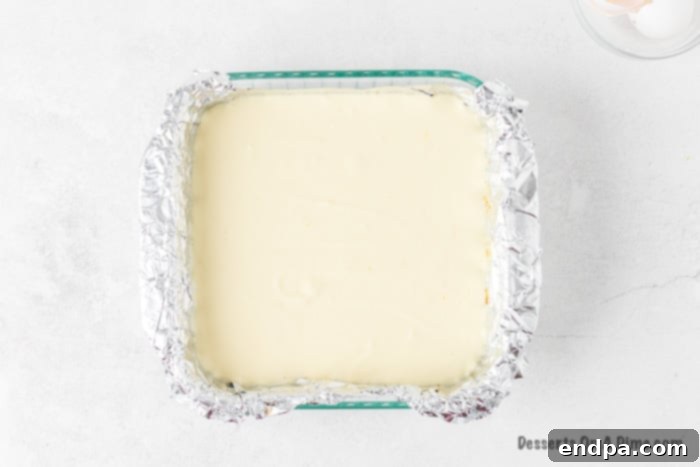
Step 6: Bake the Cheesecake. Gently pour the smooth cheesecake filling over the prepared graham cracker crust in the pan. Use an offset spatula or the back of a spoon to spread it into an even layer. Bake for 20 to 25 minutes, or until the edges are set and the center is almost set with a slight jiggle. Avoid overbaking, as this can result in a dry texture.
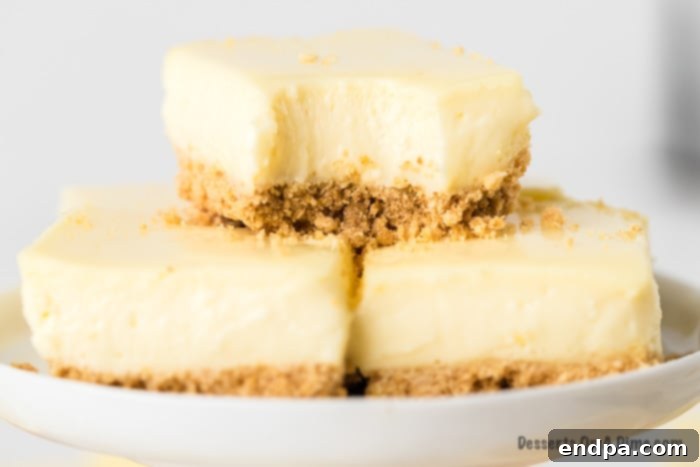
Step 7: Cool, Chill, and Serve. Remove the cheesecake from the oven and allow it to cool completely on a wire rack at room temperature. Once cooled, cover the pan with plastic wrap and refrigerate for at least 3 hours, or preferably overnight. This chilling period is essential for the cheesecake to firm up and for the flavors to meld beautifully. Once thoroughly chilled, use the foil overhang to lift the cheesecake out of the pan, slice into bars, and enjoy your delicious creation!
Pro Tips for Flawless Lemon Cheesecake Bars
Achieving bakery-quality lemon cheesecake bars is easier than you think with a few simple tricks up your sleeve. These tips will help ensure your bars are perfectly set, beautifully sliced, and bursting with flavor.
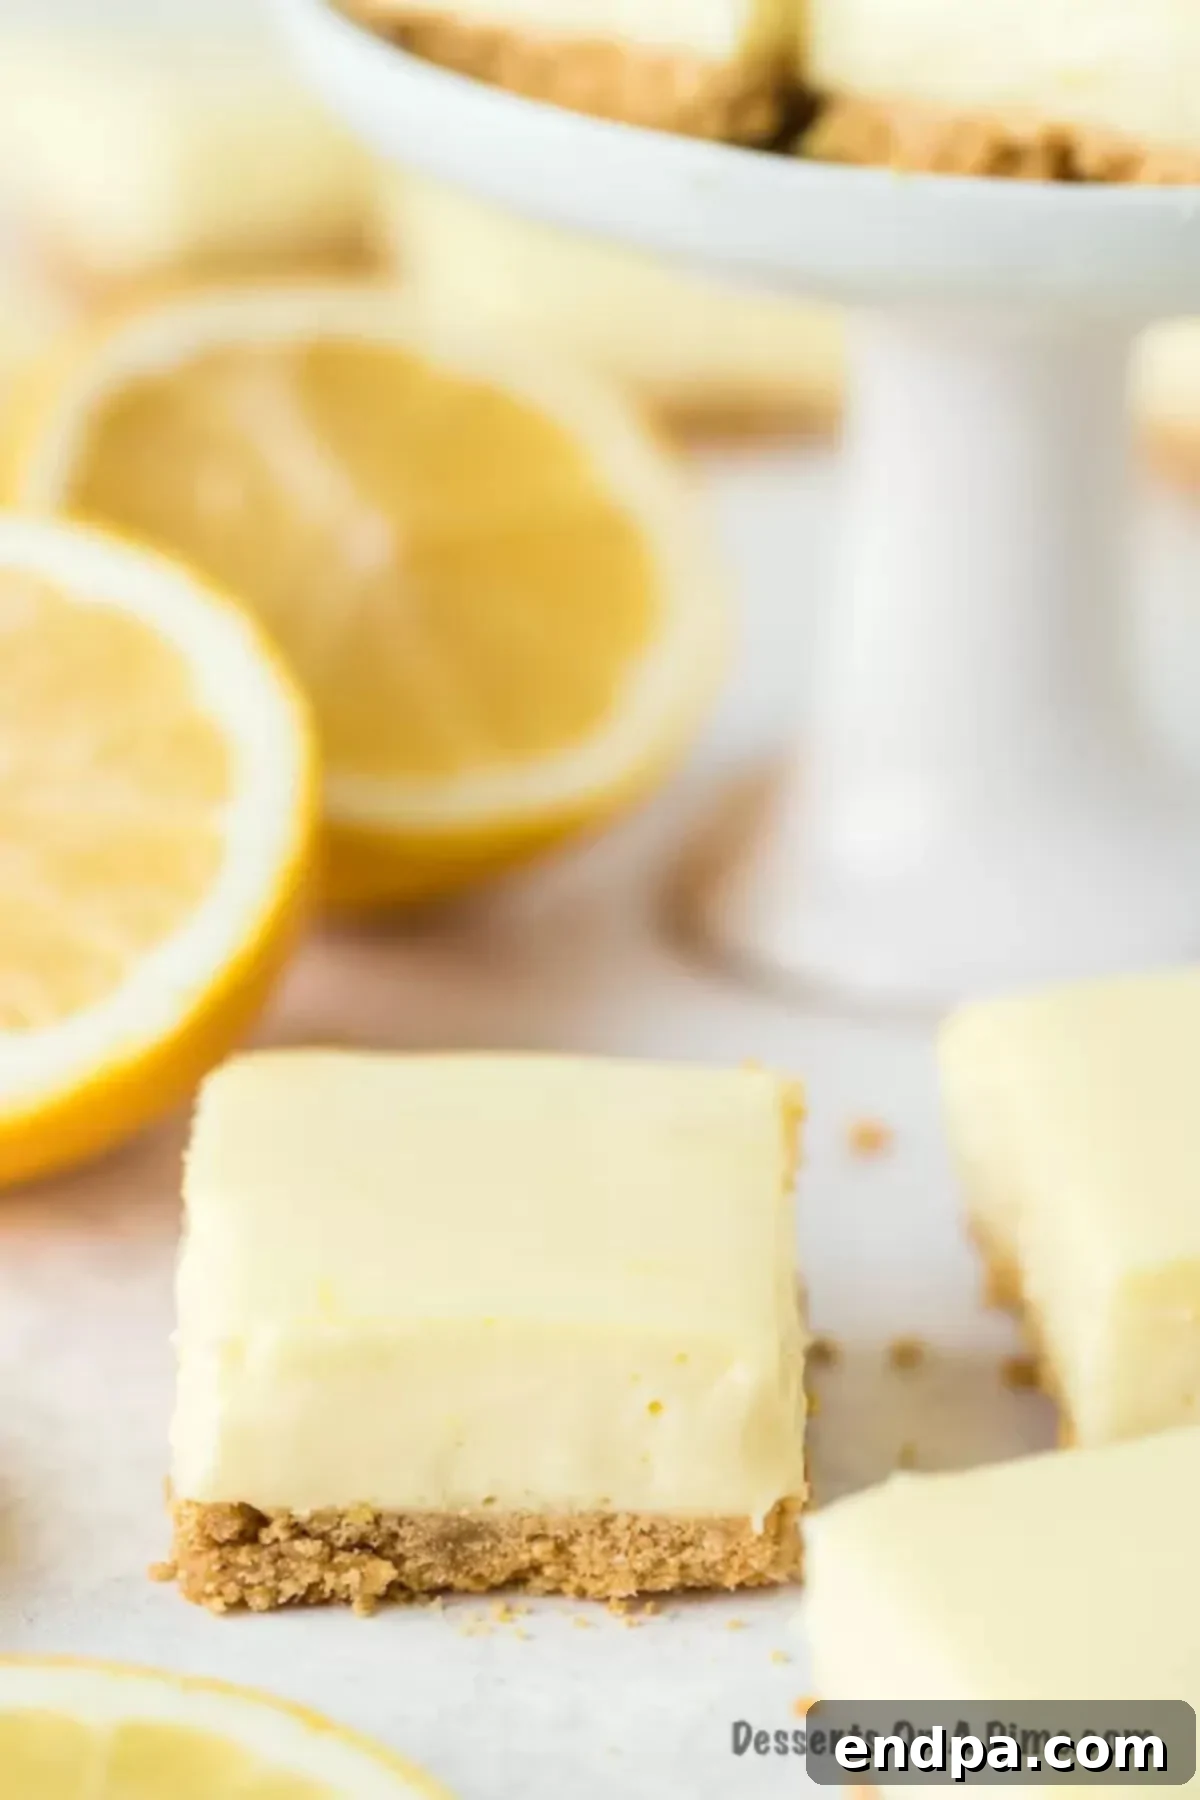
- Cool Cheesecake Before Cutting: Patience is key! Resist the urge to cut into the lemon bars immediately after baking. Allowing the cheesecake to cool completely at room temperature, and then chilling it in the refrigerator for at least 3 hours (preferably overnight), is crucial. This firming-up period ensures the bars set properly, preventing crumbling and allowing for clean, crisp cuts.
- The Plastic Knife Secret: For those coveted clean, sharp edges that make your dessert trays look professional, reach for a plastic knife. A plastic knife glides through the chilled cheesecake more smoothly than a metal one, preventing dragging and sticking. Wipe the knife clean between each cut for the best results.
- Homemade vs. Store-Bought Graham Cracker Crust: You have options for your crust! While buying pre-crushed graham cracker crumbs saves time, making your own from whole graham cracker sheets can offer a fresher taste. If you’re going homemade, a food processor is your best friend for achieving uniform, fine crumbs.
- Portion Control for Richness: These cheesecake bars are wonderfully rich and decadent. Cutting them into smaller portions is a smart move, especially if serving a crowd or alongside other desserts. Smaller bars allow everyone to enjoy a taste without feeling overwhelmed by the richness.
- Baking Cheesecake with Care:
- Don’t Overmix Eggs: When adding eggs to your cheesecake batter, mix them just until they are incorporated. Overmixing introduces too much air, which can cause the cheesecake to puff up in the oven and then crack as it cools.
- Avoid Sudden Temperature Changes: Cheesecakes are sensitive to abrupt temperature shifts. After baking, turn off the oven and leave the cheesecake inside with the oven door slightly ajar for a few minutes. This gradual cooling helps prevent cracks and ensures a smooth, even texture.
- Utilize Your Mixer: For a silky-smooth cheesecake filling, a stand mixer or a hand mixer is invaluable. Ensure you scrape the sides and bottom of the bowl frequently while mixing to guarantee all ingredients are thoroughly combined and there are no lumps of cream cheese.
- Room Temperature Ingredients are Non-Negotiable: This is a golden rule for cheesecake. Make sure your cream cheese and eggs are at room temperature. Cold ingredients don’t emulsify properly, leading to a lumpy batter and a less-than-perfect texture. Plan ahead and take them out of the refrigerator an hour or two before you start baking.
- Line Your Pan: For effortless removal and perfectly intact bars, always line your baking pan with parchment paper or aluminum foil, leaving an overhang on two sides. Once the cheesecake is completely cooled and chilled, you can simply lift the entire block out of the pan before slicing.
- Full-Fat Cream Cheese for Best Results: While light cream cheese might be tempting, full-fat cream cheese is highly recommended for this recipe. It contributes significantly to the signature rich, creamy texture and superior flavor that makes these lemon cheesecake bars so irresistible.
Toppings for Lemon Cheesecake Bars
While these Lemon Cheesecake Bars are absolutely divine on their own, adding a topping can elevate them to an even more spectacular dessert. Here are some delightful ideas to complement their vibrant citrus flavor and creamy texture:
- Fresh Fruit Medley: Top the cooled and chilled lemon cheesecake bars with an assortment of fresh berries like raspberries, blueberries, or sliced strawberries. The natural sweetness and slight tartness of the fruit beautifully enhance the lemon flavor and add a pop of color. Sliced kiwi or mango can also provide an exotic touch.
- Sweetened Whipped Cream: A dollop of freshly made, lightly sweetened whipped cream is a classic and elegant topping. It adds an extra layer of creaminess and a light sweetness that pairs perfectly with the tangy cheesecake.
- Fruit Pie Filling: For a quick and easy topping, spoon a layer of strawberry, cherry, or even lemon pie filling over the bars before serving. This adds a burst of fruit flavor and a glossy finish.
- Decadent Syrups: Drizzle your chilled cheesecake bars with a rich Homemade Hot Fudge Sauce or a velvety Homemade Caramel Sauce for an indulgent twist. The combination of citrus with chocolate or caramel creates an unexpected yet harmonious flavor profile.
- Simple Powdered Sugar Dusting: For a minimalist yet elegant presentation, a light dusting of powdered sugar (confectioners’ sugar) adds a touch of sweetness and a beautiful finish, making the bars look even more inviting. You can use a small sieve for an even distribution.
- Candied Lemon Peel: For an extra burst of lemon flavor and a sophisticated garnish, sprinkle homemade candied lemon peel over the bars.
- Toasted Coconut Flakes: A sprinkle of lightly toasted coconut flakes can add a lovely texture and a tropical note that complements the lemon.
Storage and Make-Ahead Convenience
One of the many appealing aspects of these Lemon Cheesecake Bars is their excellent storage capability, making them an ideal candidate for meal prepping or preparing ahead of a busy event. Proper storage ensures they remain fresh, creamy, and flavorful for days.
To store your cheesecake bars, allow them to cool completely at room temperature after baking and chilling. Once thoroughly chilled and firm, cut them into individual bars. Place the cut bars in an airtight container. You can arrange them in a single layer or separate layers with parchment paper to prevent sticking. Store the container in the refrigerator, and your lemon cheesecake bars will maintain their deliciousness for up to 5 days. This makes them a perfect dessert to prepare a day or two in advance for holidays, potlucks, bake sales, or simply to have a delightful treat ready when cravings strike. Their robust structure also makes them great for transporting to gatherings without worry.
How to Freeze?
Yes, these Lemon Cheesecake Bars are wonderfully freezer-friendly, offering an excellent option for long-term storage or preparing a batch well in advance for future enjoyment. Freezing is particularly useful during holiday baking seasons when you want to get a head start on your dessert preparations.
When properly stored, frozen cheesecake bars can last for approximately 3 months in the freezer without a significant loss of quality or flavor. Here’s how to freeze them effectively:
- Cool Completely and Slice: Ensure your cheesecake bars are completely cooled and chilled in the refrigerator before freezing. Slice them into individual bars before wrapping.
- Initial Wrap with Wax Paper: Take each individual bar and wrap it tightly in wax paper. This first layer helps prevent freezer burn and keeps the surface from getting icy.
- Second Layer of Protection: For an extra layer of protection against freezer burn and to seal out any air or moisture, wrap the wax-paper-wrapped bars again, this time in aluminum foil or plastic wrap. Make sure they are sealed as tightly as possible.
- Freeze in a Container: Place the double-wrapped bars into a freezer-safe airtight container or a heavy-duty freezer bag. Arranging them in a single layer or separating layers with parchment paper can help maintain their shape.
- Strategic Freezer Placement: Store the container in the back of your freezer, where temperatures tend to be more consistent. Frequent opening and closing of the freezer door can cause temperature fluctuations near the front, which might affect the quality of your frozen goods.
- Serving from Frozen: When you’re ready to enjoy your frozen lemon cheesecake bars, remove them from the freezer. Unwrap them and let them thaw on the kitchen counter for about 2 hours. If you prefer a slightly firmer texture, you can transfer them to the refrigerator to finish thawing. Serve at room temperature for the best creamy consistency and flavor, or slightly chilled if you prefer.
This method ensures that your lemon cheesecake bars taste just as fresh and delicious as the day they were baked, providing a convenient and delightful dessert whenever you desire.
More Cheesecake Bars
If you’ve fallen in love with the convenience and deliciousness of cheesecake bars, there’s a whole world of flavors waiting for you to explore! Here are some other fantastic cheesecake bar recipes that are sure to become new favorites:
- Oreo Cheesecake Bars Recipe: A delightful treat for chocolate and cookie lovers, featuring a rich Oreo crust and creamy cheesecake studded with more cookie pieces.
- Slutty Cheesecake Bars: An indulgent, layered dessert combining chocolate chip cookies, Oreos, and a decadent cheesecake layer.
- Chocolate Chip Cookie Cheesecake Bars: The ultimate hybrid dessert, merging the chewy goodness of chocolate chip cookies with the creamy tang of cheesecake.
- Easy Peanut Butter Cheesecake Bites Recipe: Perfect for peanut butter enthusiasts, these bite-sized treats pack a powerful flavor punch in a convenient format.
- German Chocolate Cake Cheesecake Bars Recipe: A sophisticated blend of rich German chocolate cake flavors with a creamy cheesecake twist, topped with classic coconut-pecan frosting.
These recipes offer a fantastic variety, from classic comforts to innovative flavor combinations, ensuring there’s a cheesecake bar for every taste and occasion. Happy baking!
We truly adore the bright, refreshing flavor that lemon imparts to these cheesecake bars. They are the perfect dessert to make ahead of time, crafted with easy-to-find ingredients, and always bring a smile to everyone’s face. We encourage you to try this recipe today and share your thoughts in the comments once you do. We can’t wait to hear how much you love them!
Printable Lemon Cheesecake Bars Recipe
Lemon Cheesecake Bars Recipe
These Lemon Cheesecake Bars are so luscious, and each bite is creamy and delicious. The lemon zest combines with cream cheese for such a light and delicious dessert.
Cook Time: 20 mins
Chill Time: 3 hrs
Total Time: 3 hrs 35 mins
Servings: 16
Course: Dessert
Calories: 184
Author: Carrie Barnard
Ingredients
- 1 1/2 cups finely crushed graham crackers
- 3 Tablespoons unsalted butter, melted
- 2 8-oz. packages cream cheese, at room temp
- 1/2 cup sugar
- 1 teaspoon fresh lemon zest
- 1 Tablespoon lemon juice
- 2 large eggs
Instructions
- Preheat the oven to 350°F. Line an 8-inch square baking pan with foil then grease it with cooking spray.
- In a medium bowl, stir together the crushed graham crackers and melted butter. Transfer the mixture into the prepared pan and press it firmly into an even layer.
- Beat together the cream cheese, sugar, lemon zest, and lemon juice until well combined.
- Add the eggs one at a time, beating between each addition, then pour the cheesecake mixture atop the crust, spreading it into an even layer.
- Bake the cheesecake for 20 to 25 minutes until the center is almost set.
- Remove the cheesecake from the oven and let them cool completely before covering the pan with plastic wrap and refrigerating the cheesecake for 3 hours.
- Remove the cheesecake from the fridge, slice it into bars and serve.
Recipe Notes
I slice these with a plastic knife to help make clean lines to create perfect lemon bars.
Nutrition Facts
Carbohydrates: 14g
Protein: 3g
Fat: 13g
Saturated Fat: 7g
Cholesterol: 57mg
Sodium: 155mg
Potassium: 62mg
Fiber: 1g
Sugar: 9g
Vitamin A: 476IU
Vitamin C: 1mg
Calcium: 38mg
Iron: 1mg
