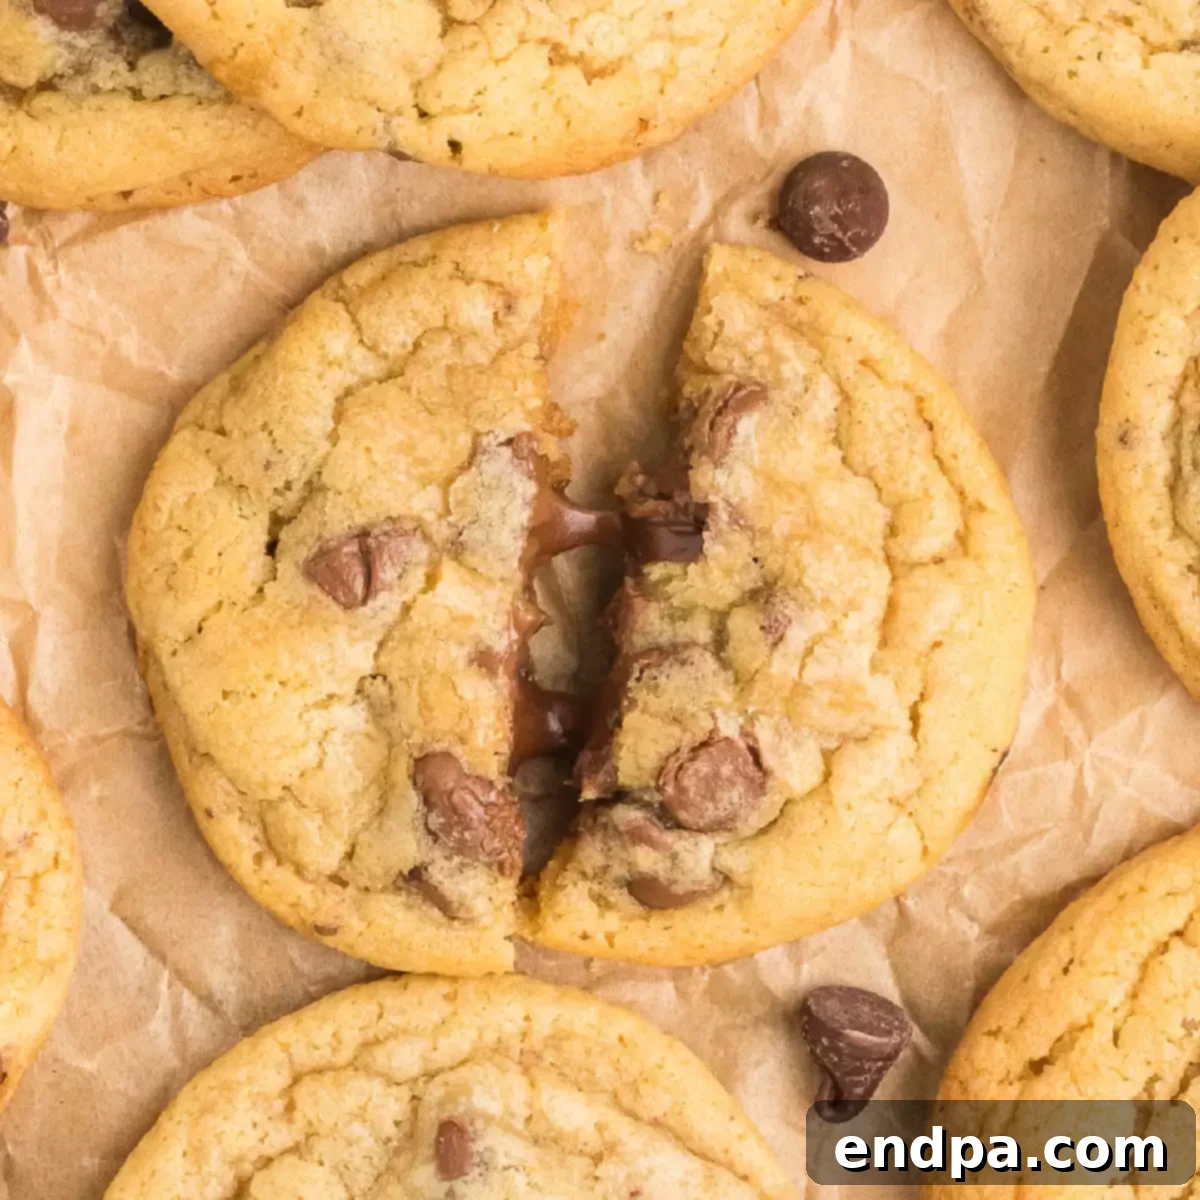
There’s a special magic to a perfectly baked chocolate chip cookie. That comforting aroma, the delightful combination of crispy edges and a soft, chewy center, and the generous pockets of melted chocolate. For many, this nostalgic experience is synonymous with the iconic cookies from Mrs. Fields. Imagine recreating that beloved taste, the rich, buttery flavor, and the abundance of chocolate right in your own kitchen! With this easy-to-follow copycat recipe, you can unlock the secret to Mrs. Fields Chocolate Chip Cookie Recipe at home, saving money and enjoying freshly baked treats whenever the craving strikes.
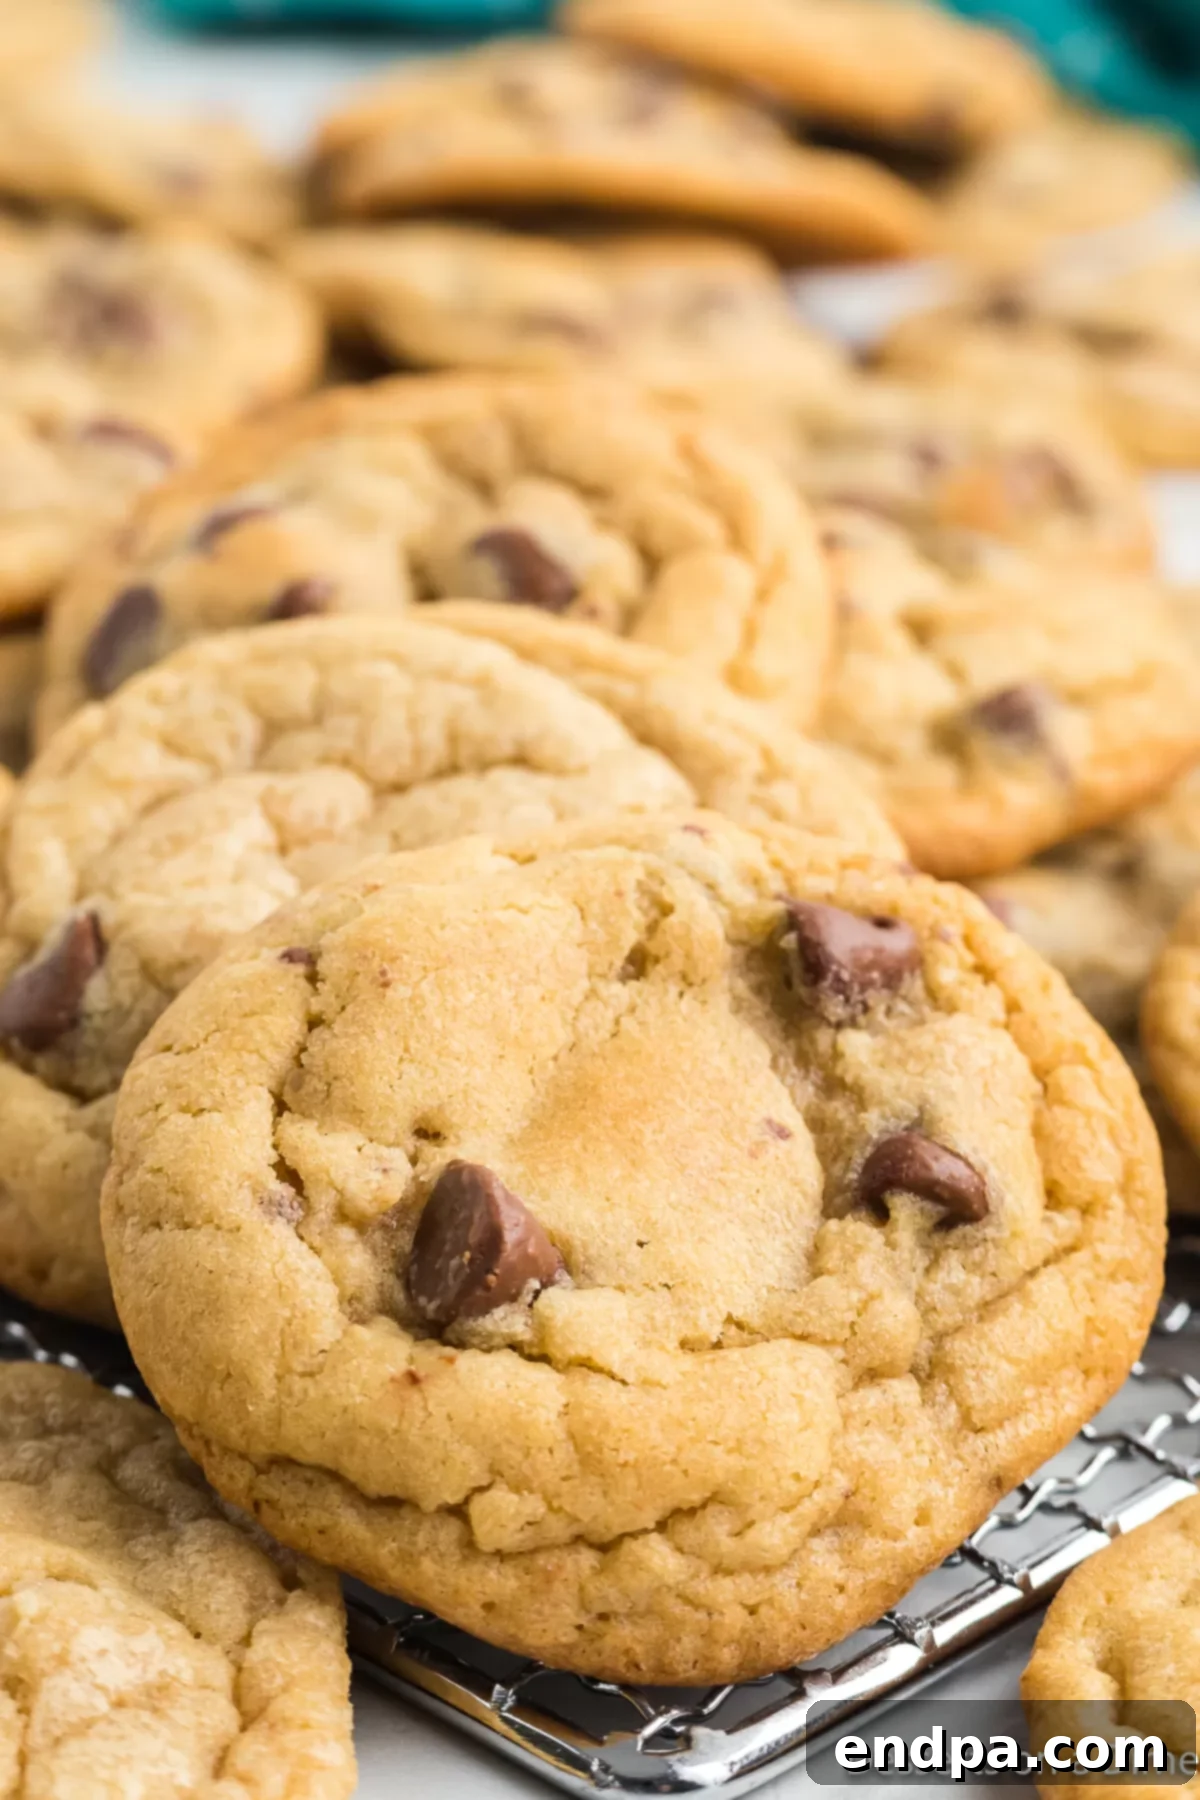
Growing up, a trip to the mall wasn’t complete without a stop at Mrs. Fields. The warm, inviting scent of their cookies would draw you in, and biting into that perfectly sweet, gooey treat was always the highlight. Now, you don’t need to visit a mall to indulge in that delightful experience. This meticulously crafted copycat recipe brings the authentic taste and texture of those legendary cookies directly to your home. It’s a fantastic addition to your baking repertoire, alongside other favorites like Cowboy Cookies, the indulgent Chocolate Chip Pizookie, and the unique Snickers Cookies.
If you’re on a quest for more delightful cookie adventures, you might also enjoy making classic Toll House Chocolate Chip Cookie Bars. For those seeking a low-carb indulgence, consider trying our Keto Chocolate Chip Mug Cake. This recipe is more than just a list of ingredients; it’s an invitation to create lasting memories and enjoy incredible flavor with every bite.
Table of Contents
- Why These Mrs. Fields Cookies Are Irresistible
- The Essential Ingredients for Mrs. Fields Chocolate Chip Cookies
- Creative Variations to Customize Your Mrs. Fields Cookies
- Step-by-Step Guide to Make Mrs. Fields Chocolate Chip Cookies
- How to Reheat Mrs. Fields Cookies for That Fresh-Baked Feel
- Pro Tips for Baking Perfect Mrs. Fields-Style Cookies
- Frequently Asked Questions About Mrs. Fields Chocolate Chip Cookies
- Explore More Delectable Chocolate Chip Cookie Recipes
Why These Mrs. Fields Cookies Are Irresistible
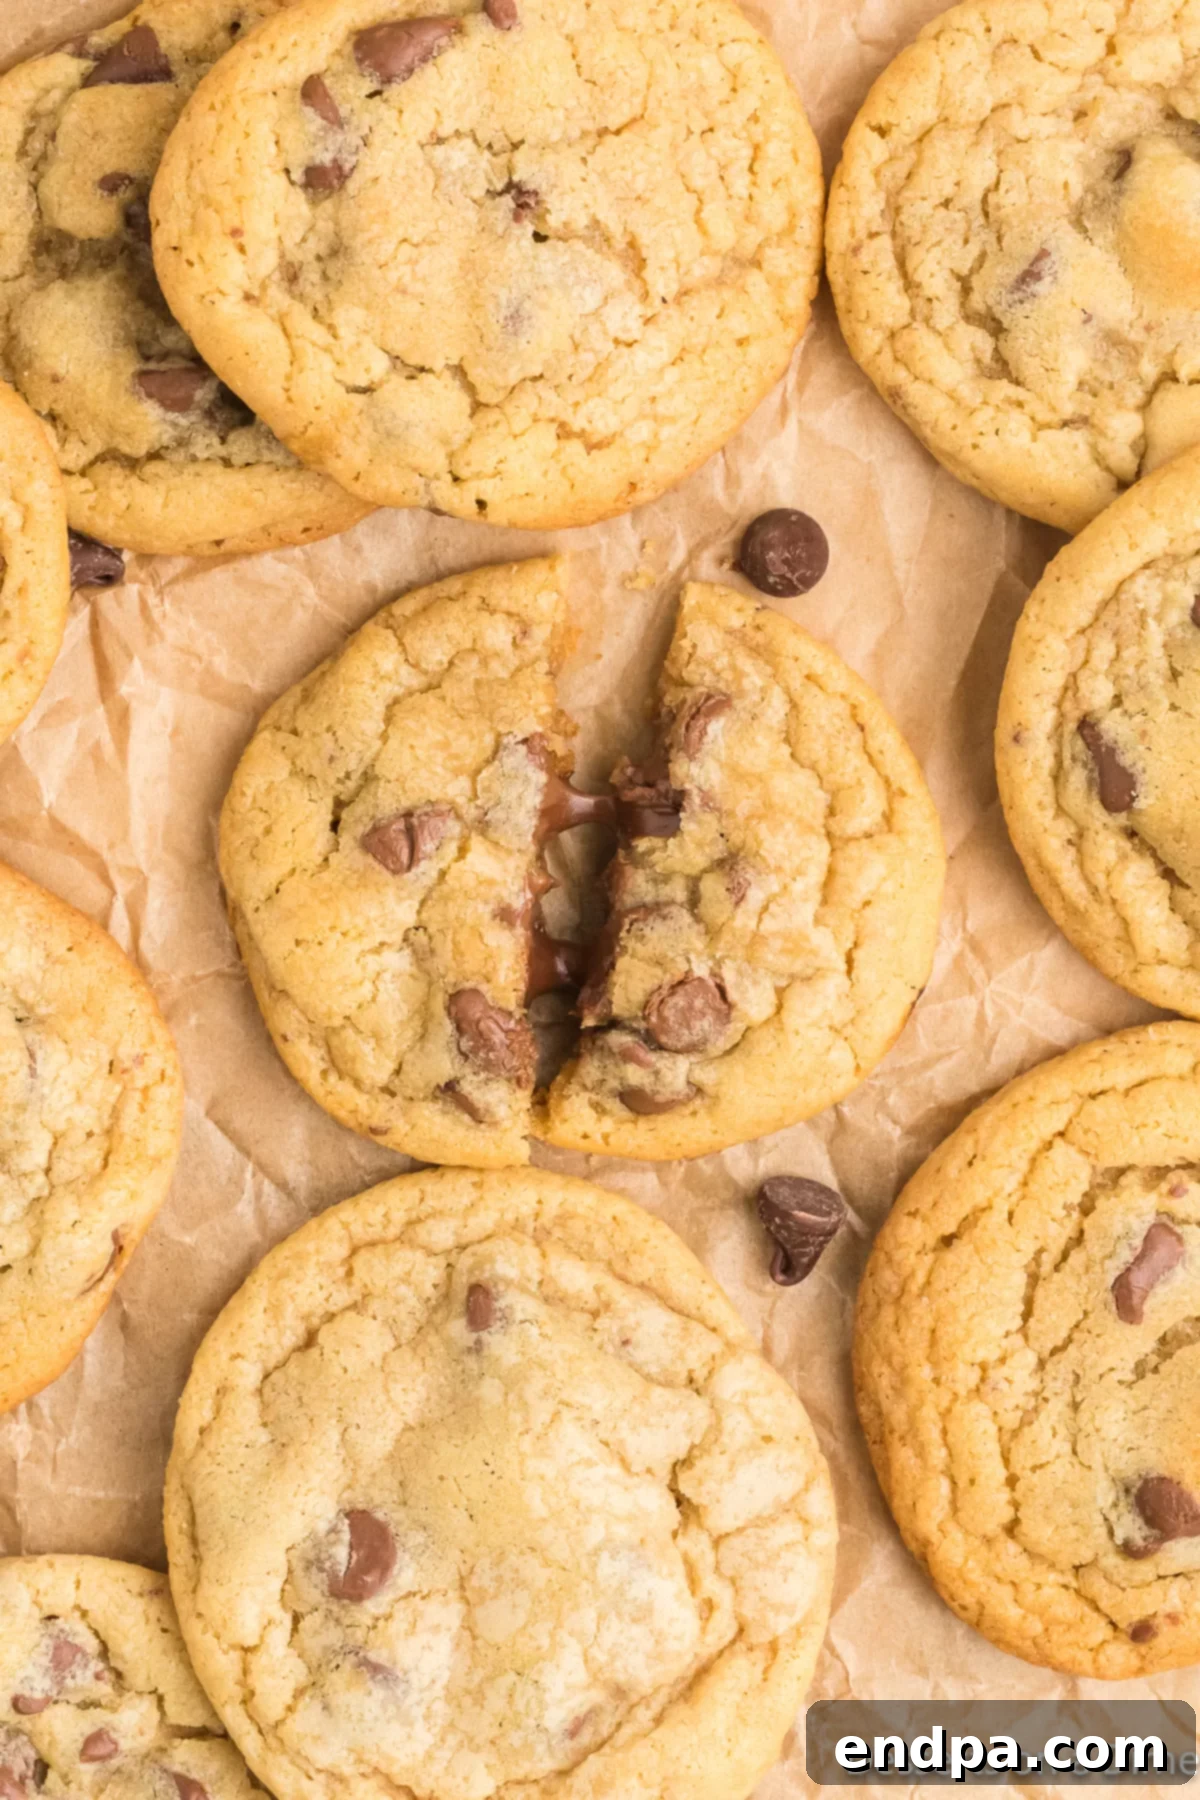
What makes a Mrs. Fields chocolate chip cookie so legendary? It’s the perfect harmony of textures and flavors. Each cookie is thick, soft, and served warm, delivering an unparalleled melt-in-your-mouth experience. This recipe ensures that coveted soft center, complemented by just the right amount of crispy, golden-brown edges. The chocolate chips are generously distributed, guaranteeing a rich, gooey chocolatey burst with every single bite. It’s not just a cookie; it’s a decadent treat that satisfies every sweet craving. The chewy texture and incredible taste make this secret recipe a true game-changer for any dessert lover. Once you try these, you’ll understand why they are a beloved classic. You might also want to try our Chocolate Crinkle Cookies for another irresistible treat.
Essential Ingredients for Mrs. Fields Chocolate Chip Cookies
Crafting the perfect copycat Mrs. Fields chocolate chip cookie starts with understanding the role of each ingredient. Quality and proper measurement are key to achieving that signature flavor and texture.
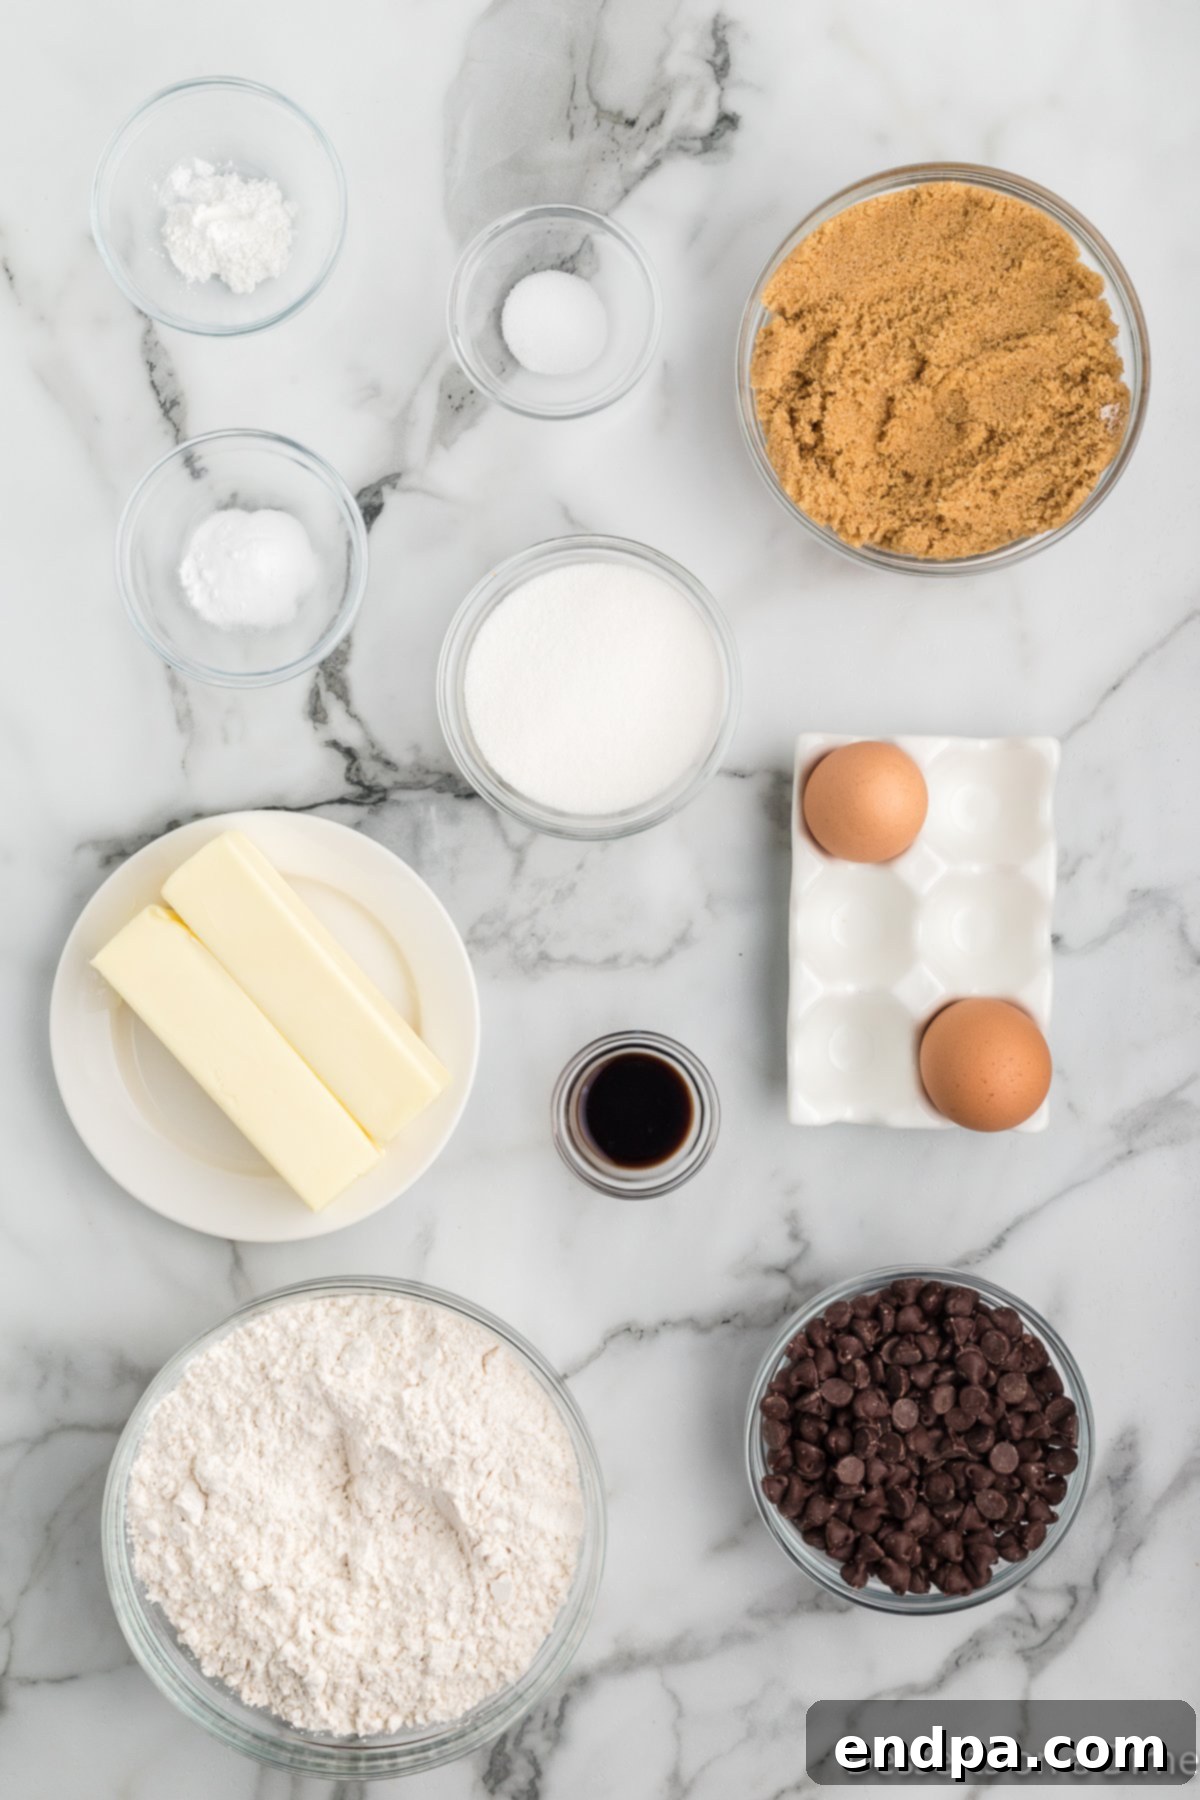
- Unsalted Butter: Using unsalted butter allows you to control the exact amount of salt in your recipe. It’s crucial that the butter is softened to room temperature, not melted. Softened butter creams beautifully with sugars, creating a smooth, airy base for your cookie dough, preventing any lumps and ensuring an even mix.
- Brown Sugar: This is a star ingredient that contributes to the chewy texture and deep, caramel-like flavor unique to Mrs. Fields cookies. Always remember to pack brown sugar firmly into your measuring cup to ensure accurate quantity. If you’re feeling ambitious, you can even try our Homemade Brown Sugar Recipe.
- Granulated Sugar: While brown sugar provides chewiness and flavor, granulated sugar contributes to the crispness of the cookie’s edges and helps spread during baking. The combination of both sugars creates a balanced texture.
- Pure Vanilla Extract: Vanilla extract is essential for enhancing the overall flavor profile of the cookies. Always opt for pure vanilla extract over imitation vanilla. Pure vanilla offers a richer, more complex aroma and taste that significantly impacts the final product.
- Large Eggs: Eggs act as a binding agent, holding the ingredients together, and contribute to the rich, moist texture of the cookies. Using large, room-temperature eggs is best for emulsification with the butter and sugar mixture.
- All-Purpose Flour: The foundation of your cookie dough. When measuring flour, always spoon it lightly into the measuring cup and level it off with a straight edge. Scooping directly from the bag can compact the flour, leading to too much flour and a dry, crumbly cookie.
- Baking Soda: This leavening agent reacts with the acidic brown sugar to help the cookies spread and become tender. It contributes to that desirable chewy texture and golden-brown hue. For alternatives, check out the Best Baking Soda Substitutes.
- Baking Powder: Working in conjunction with baking soda, baking powder provides an additional lift, ensuring your cookies are thick and slightly puffed, preventing them from being too dense.
- Salt: A pinch of salt is vital to balance the sweetness and enhance all the other flavors in the cookie. It brings out the richness of the chocolate and butter, making the cookies taste more complex.
- Semi-Sweet Chocolate Chips: The classic choice for chocolate chip cookies, semi-sweet chips offer a balanced sweetness that pairs perfectly with the rich dough. They melt beautifully, creating those irresistible gooey pockets of chocolate. You can also experiment with other types, as discussed in the variations.
The complete ingredient list with precise measurements can be found in the recipe card below, ensuring you have everything you need for these delectable homemade Mrs. Fields cookies.
Creative Variations to Customize Your Mrs. Fields Cookies
While the classic Mrs. Fields chocolate chip cookie is perfect as is, there’s always room to get creative and personalize your batch. These variations can add exciting new dimensions to your homemade treats:
- Nuts: For an added crunch and nutty flavor, consider folding in 1 cup of chopped walnuts or macadamia nuts into the flour mixture before combining with the wet ingredients. Pecans or even sliced almonds can also be delightful additions. Toasting the nuts lightly before adding them can enhance their flavor significantly.
- Chocolate: Don’t limit yourself to just semi-sweet chocolate chips! Experiment with different types of chocolate for a unique twist.
- White Chocolate Chips: Add a sweet, creamy contrast to the rich dough.
- Dark Chocolate Chips: For a more intense, less sweet chocolate experience, dark chocolate (60% cocoa or higher) chips or chunks are an excellent choice.
- Milk Chocolate Chips: If you prefer a sweeter, creamier chocolate, milk chocolate chips work wonderfully.
- Chocolate Chunks: Chopping up your favorite chocolate bar into irregular chunks will create pockets of melty, rich chocolate throughout the cookie, offering a more gourmet feel. A mix of different chocolate types can also create a dynamic flavor profile.
- Extracts & Spices: A small amount of almond extract can add a subtle, sophisticated flavor. For a cozy, warm cookie, try adding a pinch of cinnamon or a dash of nutmeg to the dry ingredients.
- Candy & Mix-ins: Get playful by adding M&M’s, butterscotch chips, or chopped toffee bits to the dough. For a salty-sweet combination, mini pretzels can be crushed and folded in.
These variations allow you to tailor the Mrs. Fields cookie experience to your personal preferences, making each batch uniquely yours while retaining that irresistible chewy texture.
How to Make Mrs. Fields Chocolate Chip Cookies
Follow these detailed steps to achieve perfect, bakery-style Mrs. Fields chocolate chip cookies right in your home. Precision and patience are your best tools!
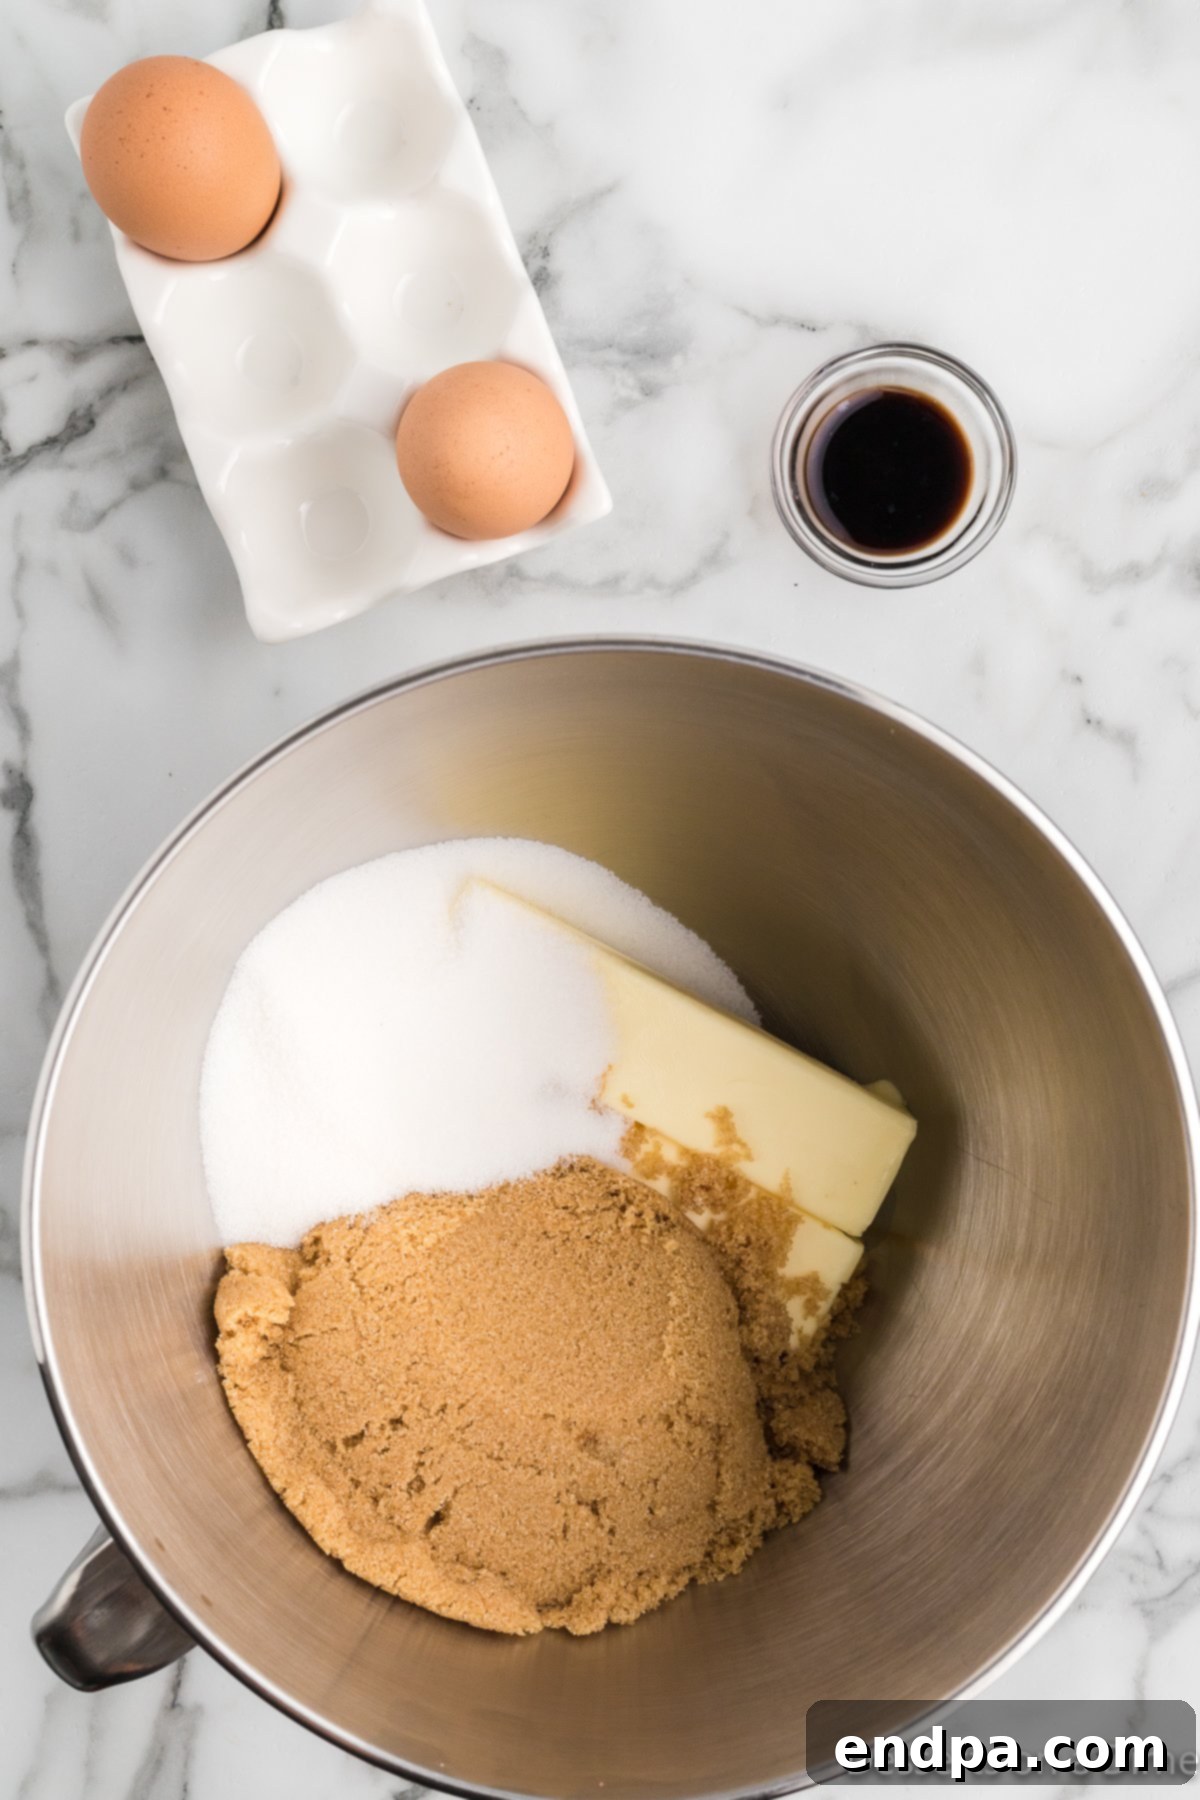
Step 1. Cream Wet Ingredients: In a large mixing bowl, combine the softened unsalted butter, granulated sugar, packed brown sugar, large eggs, and pure vanilla extract. Use a stand mixer fitted with a paddle attachment, or a high-quality handheld electric mixer, to cream these ingredients together until the mixture is light, fluffy, and pale in color. This process typically takes about 2-3 minutes on medium speed and is crucial for incorporating air, which contributes to the cookies’ soft texture.
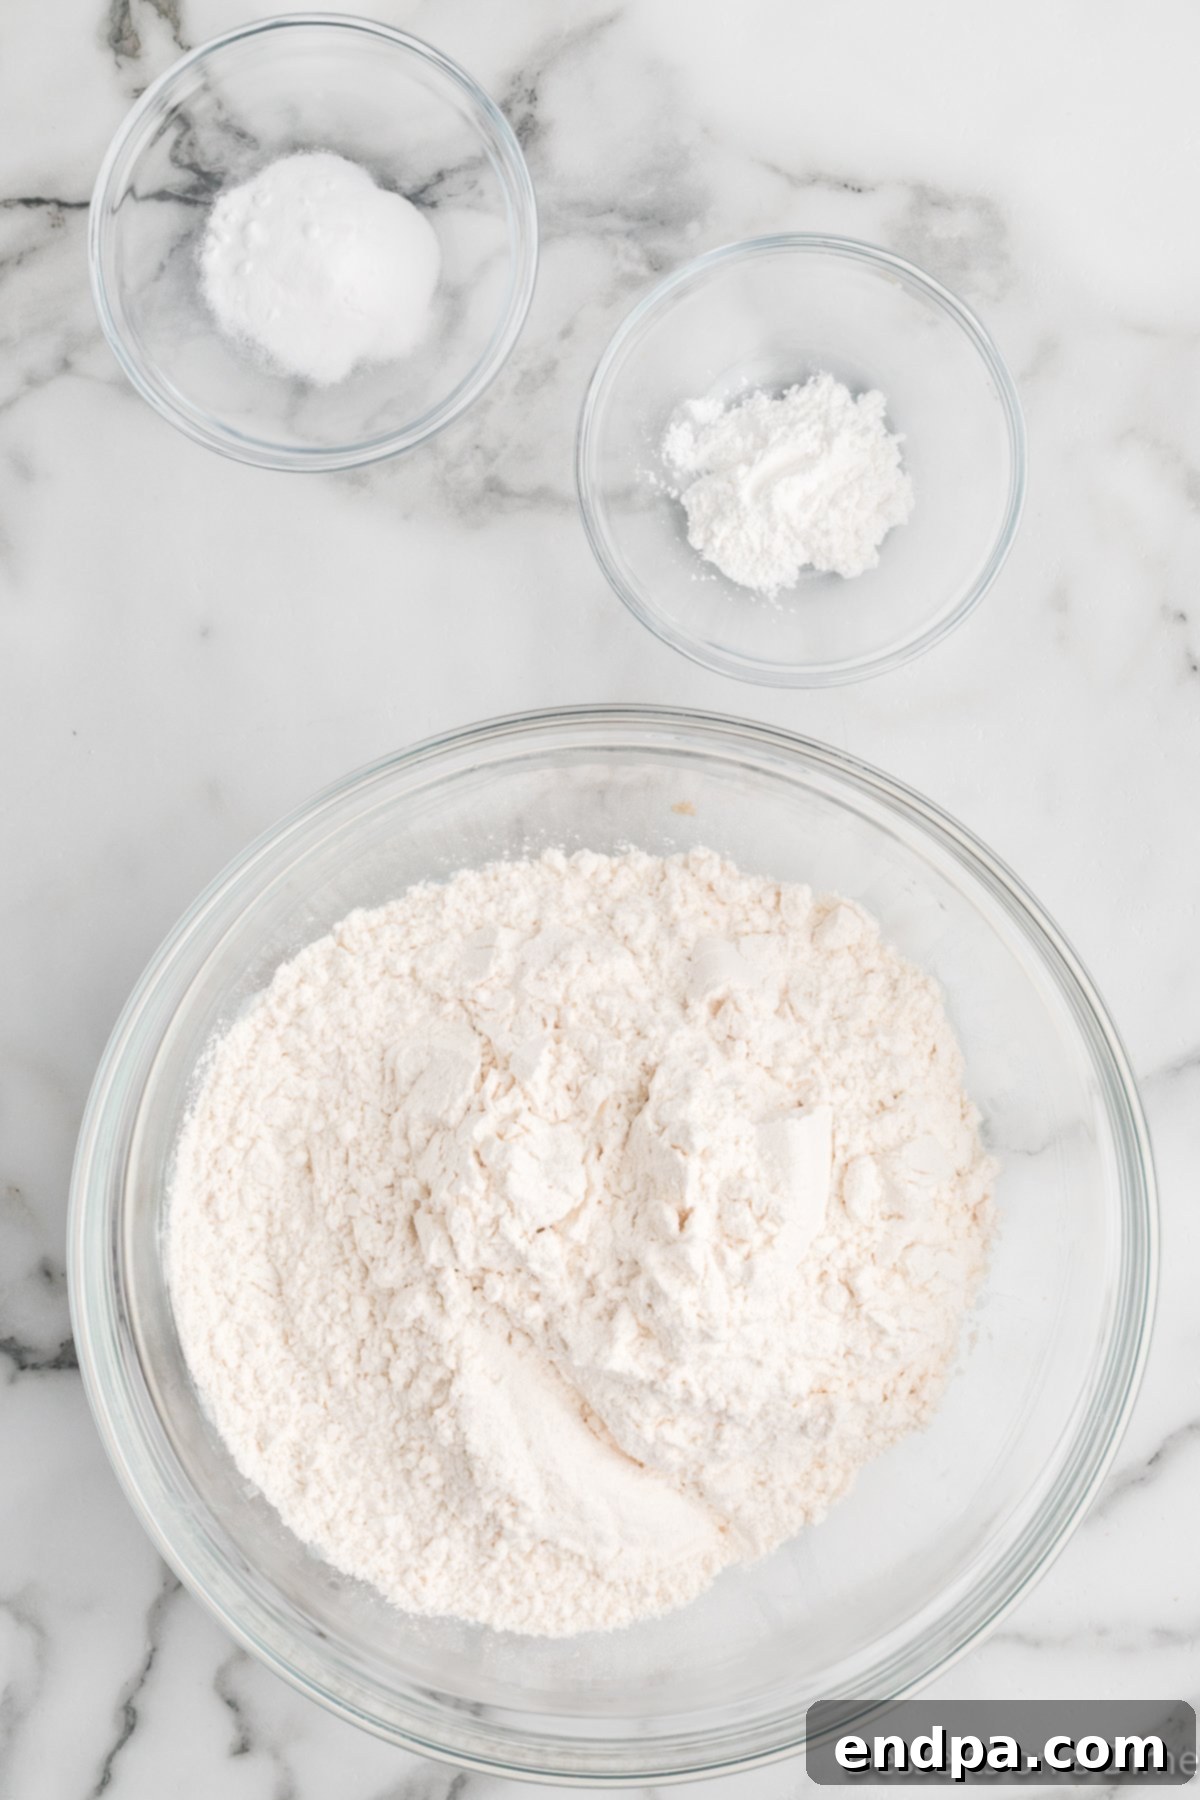
Step 2. Whisk Dry Ingredients: In a separate medium-sized bowl, whisk together the all-purpose flour, salt, baking soda, and baking powder. Whisking ensures that the leavening agents and salt are evenly distributed throughout the flour, which is vital for uniform rising and flavor in every cookie.
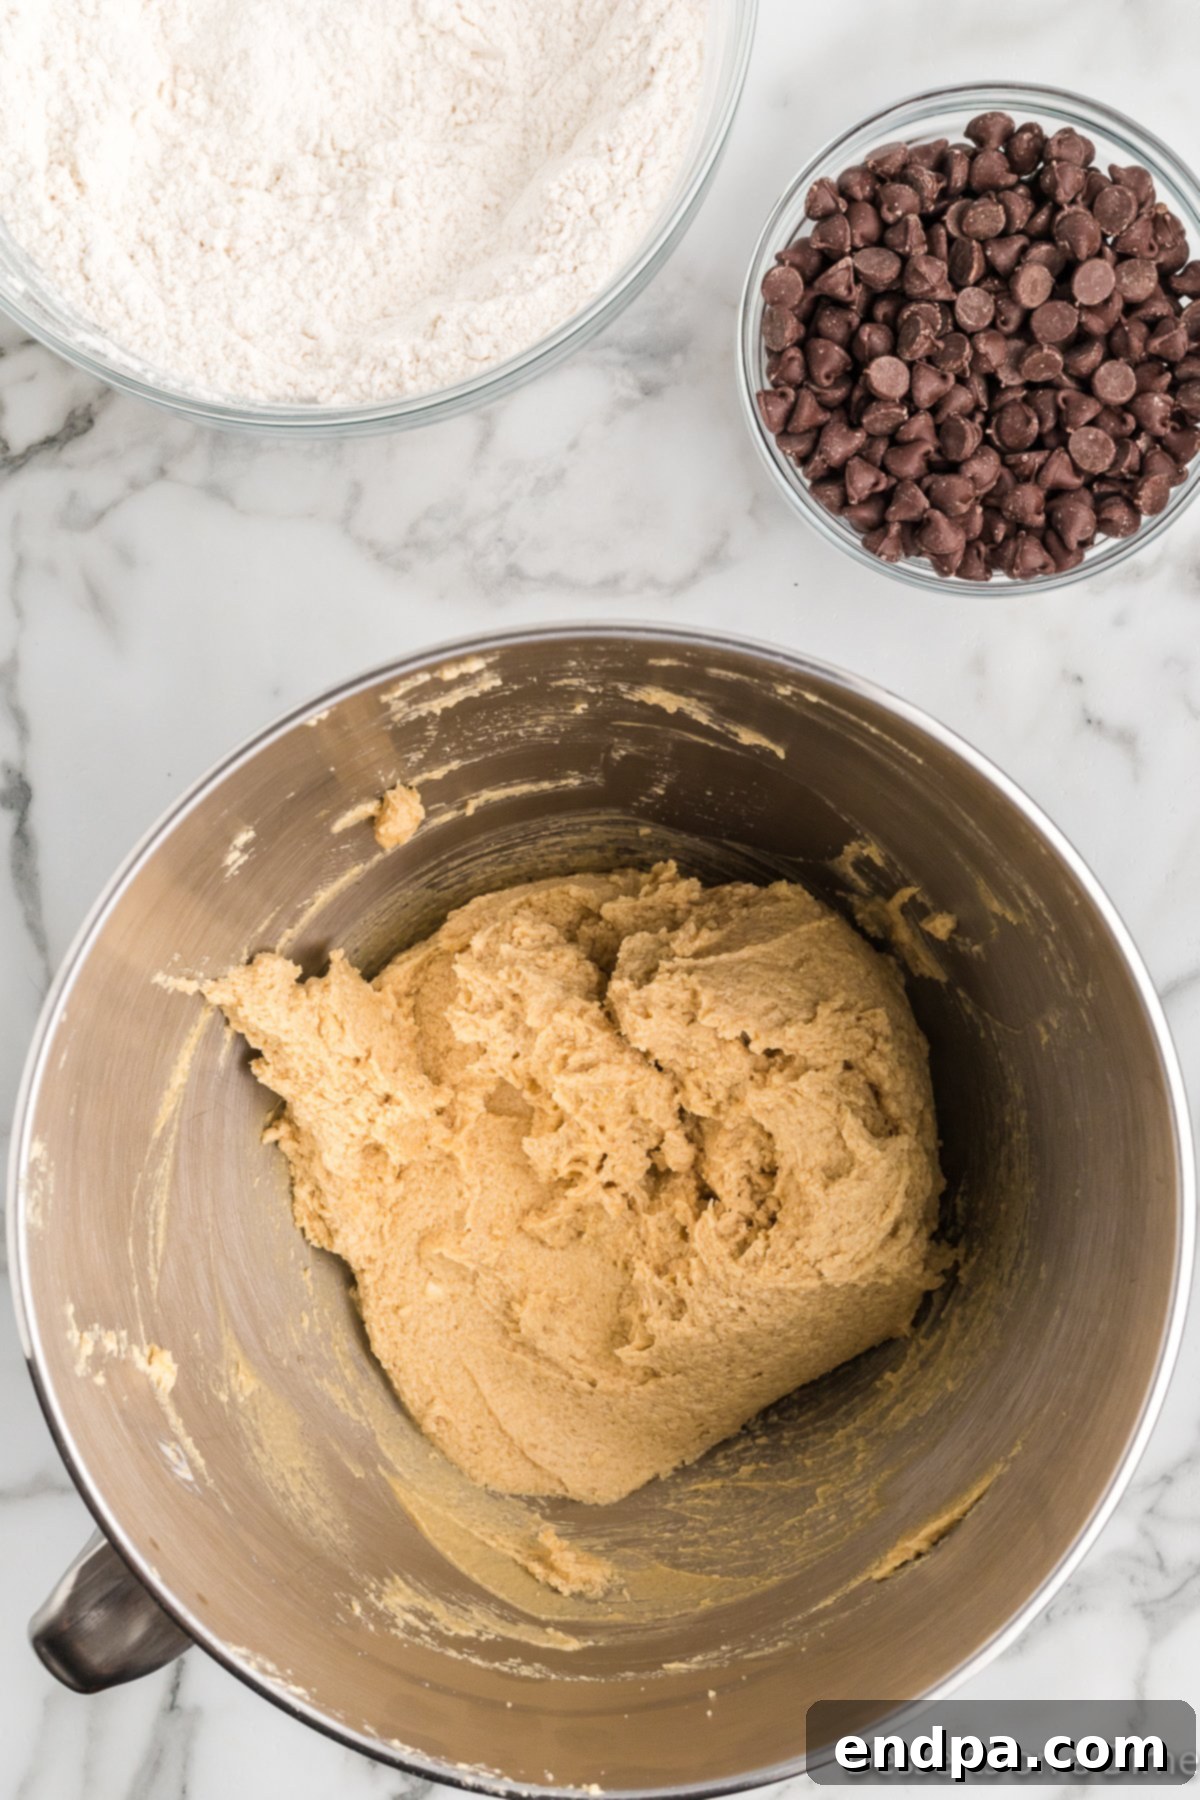
Step 3. Combine Wet and Dry: Gradually add the whisked dry ingredients into the wet ingredients mixture in the large mixing bowl. Beat on low to medium speed with your electric mixer. Mix only until the flour streaks have just disappeared. Be extremely careful not to over-mix the dough; over-mixing can develop the gluten in the flour, leading to tough, dense cookies.
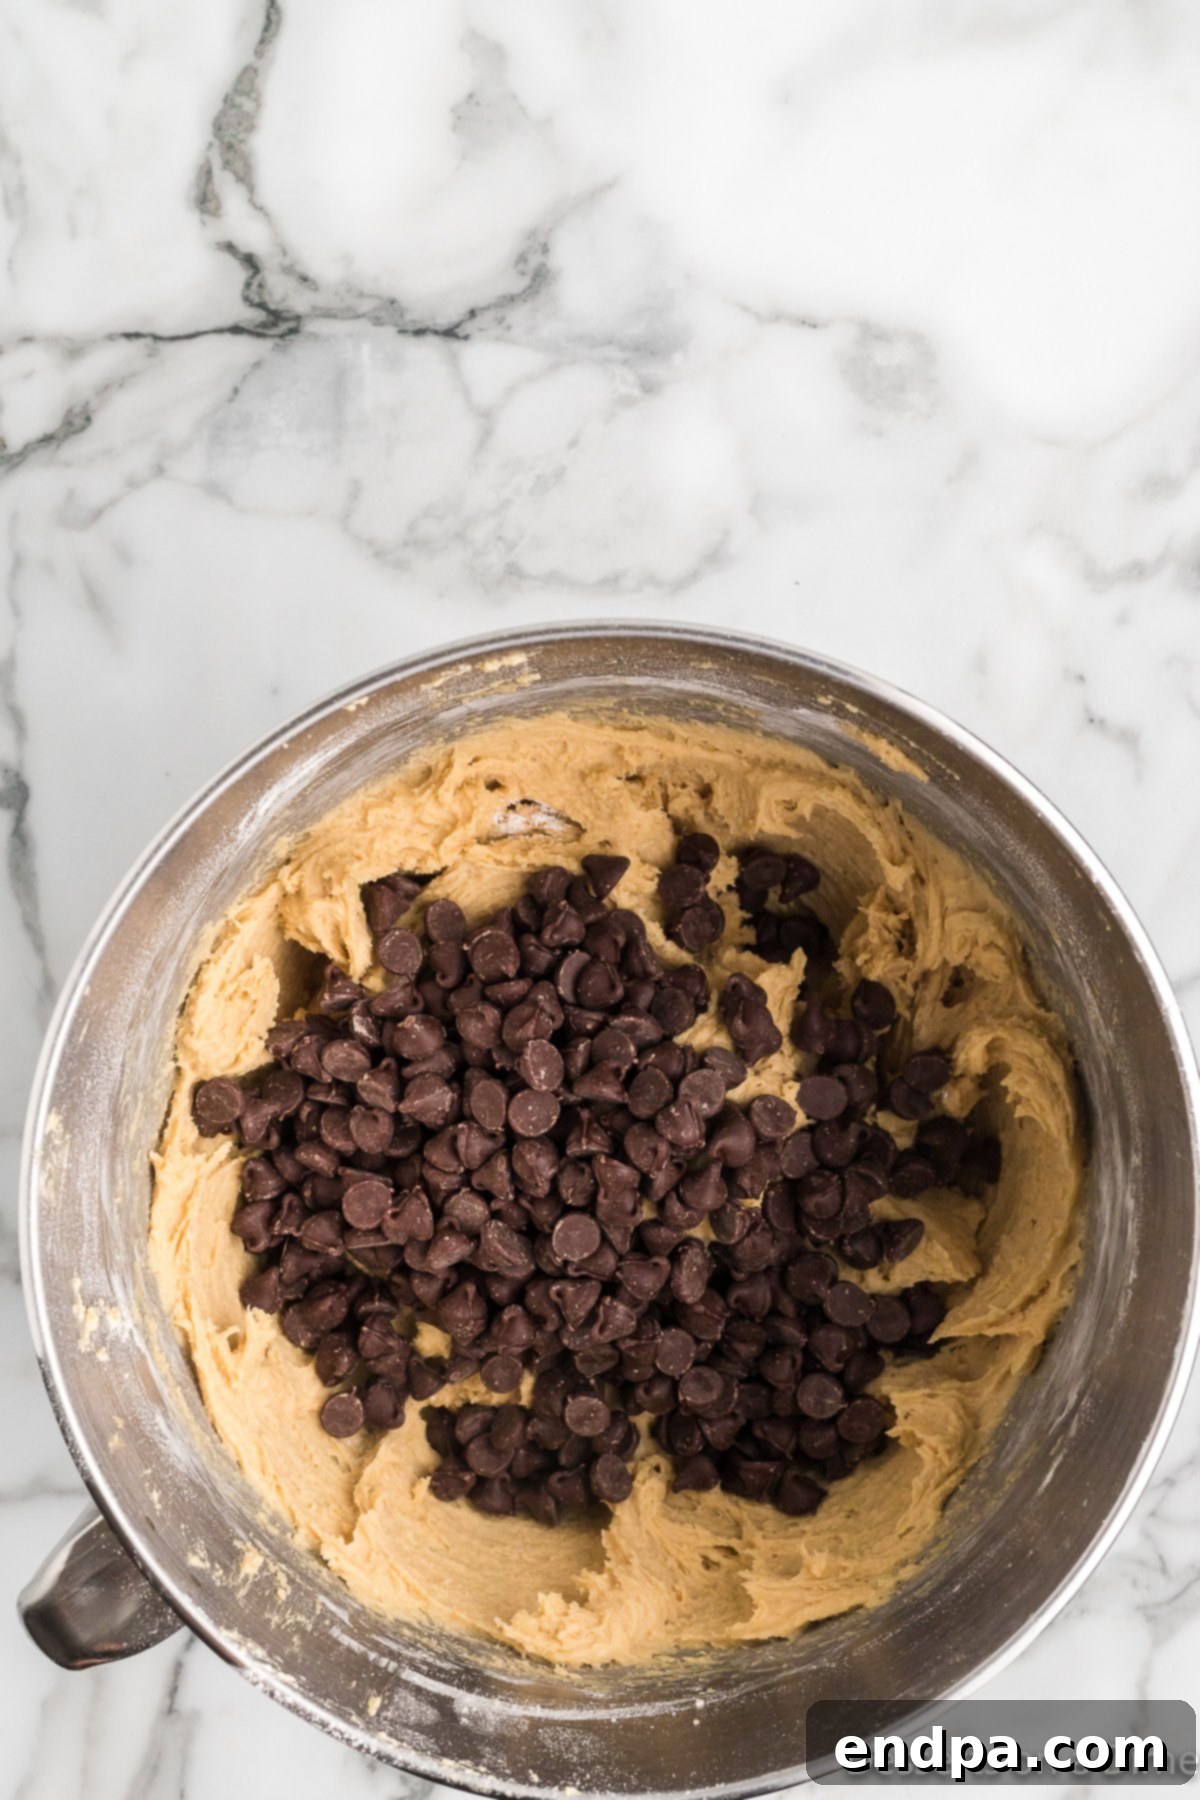
Step 4. Fold in Chocolate Chips and Chill Dough: Remove the bowl from the mixer and, using a sturdy spatula or wooden spoon, gently fold in the semi-sweet chocolate chips by hand. Once the chips are evenly distributed, cover the bowl with plastic wrap and refrigerate the cookie dough for at least 1 hour, or ideally 2-4 hours. Chilling is a critical step that prevents the cookies from spreading too much during baking, ensuring they retain their thick, chewy texture and rich flavor.
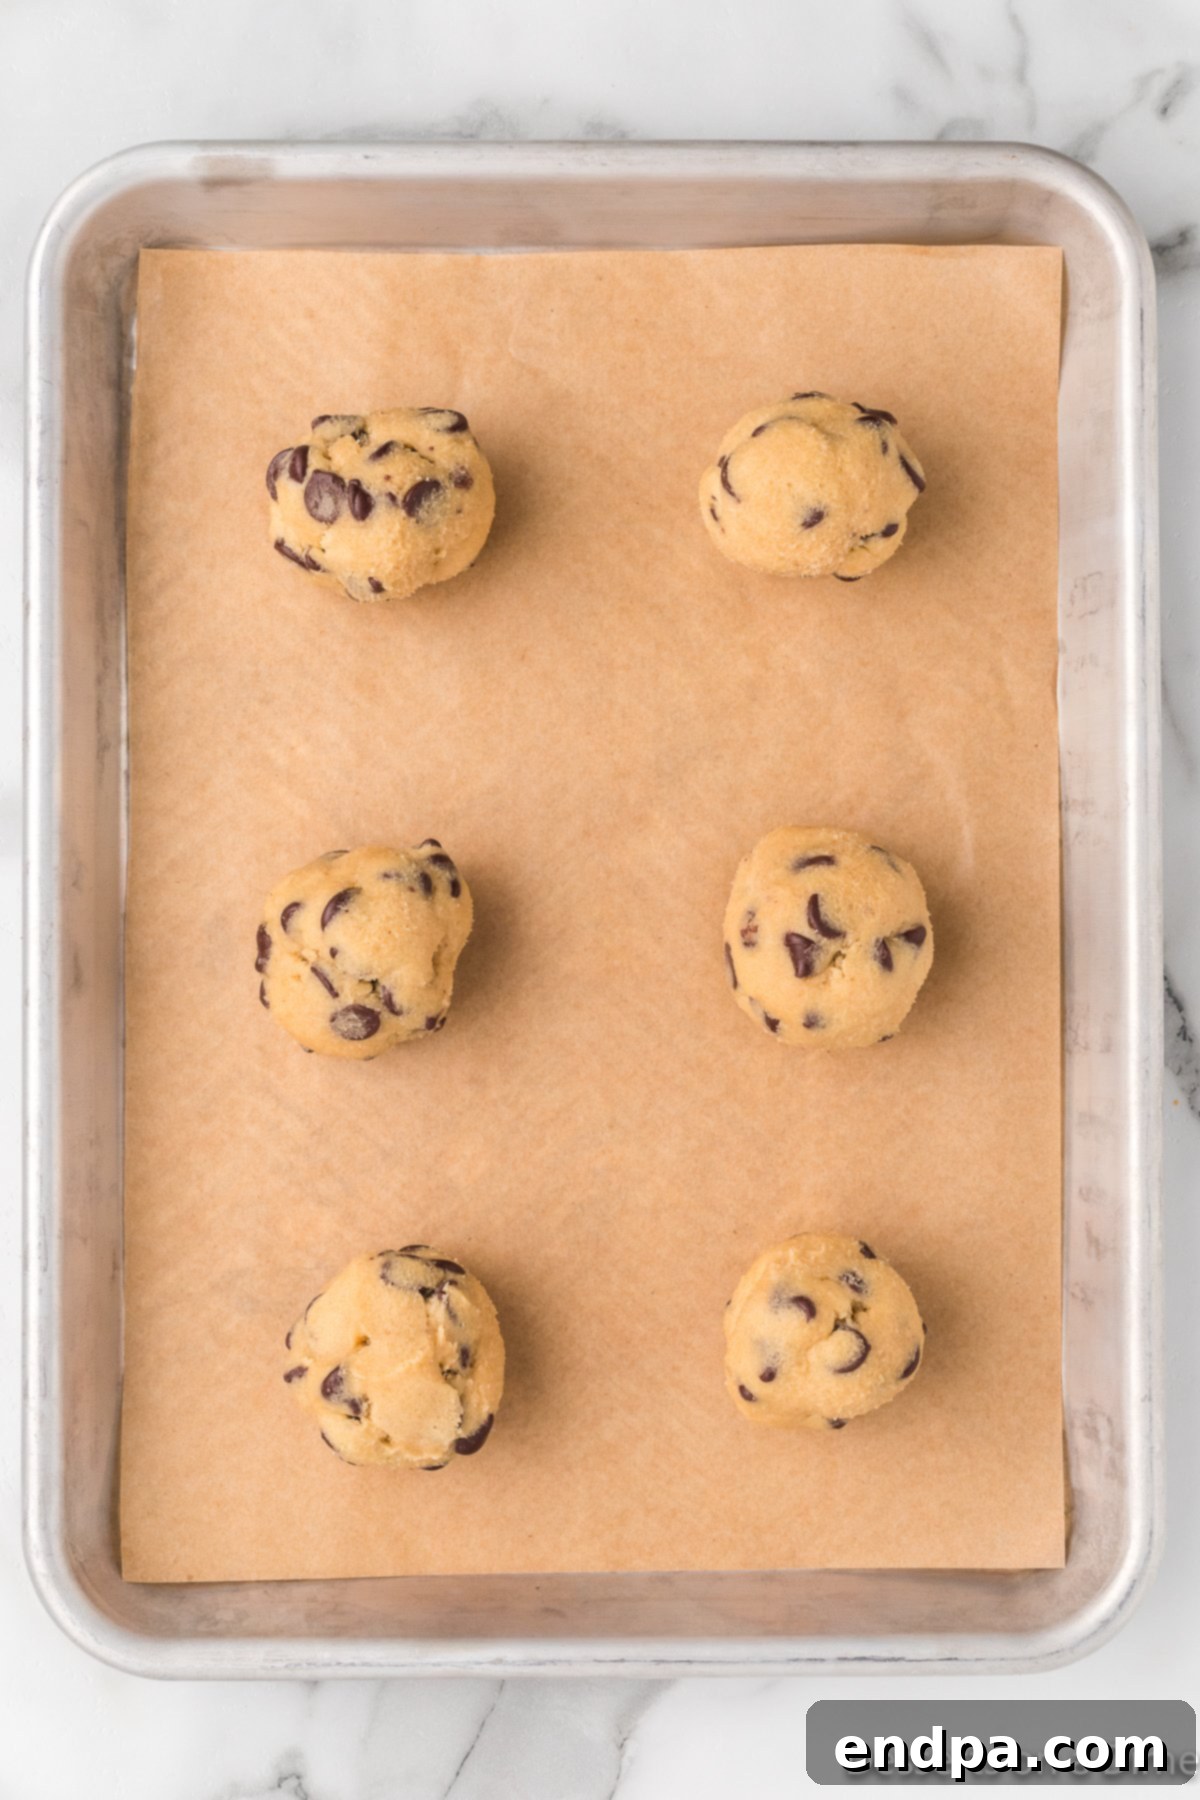
Step 5. Scoop and Prepare for Baking: Once the dough is properly chilled, preheat your oven to 350°F (175°C). Line a baking sheet with parchment paper or a silicone baking mat. Using a large cookie scoop (about ¼ cup capacity) or your hands, form the dough into balls approximately the size of golf balls. Place these dough balls on the prepared baking sheet, ensuring they are spaced about 2 inches apart to allow for proper spreading.
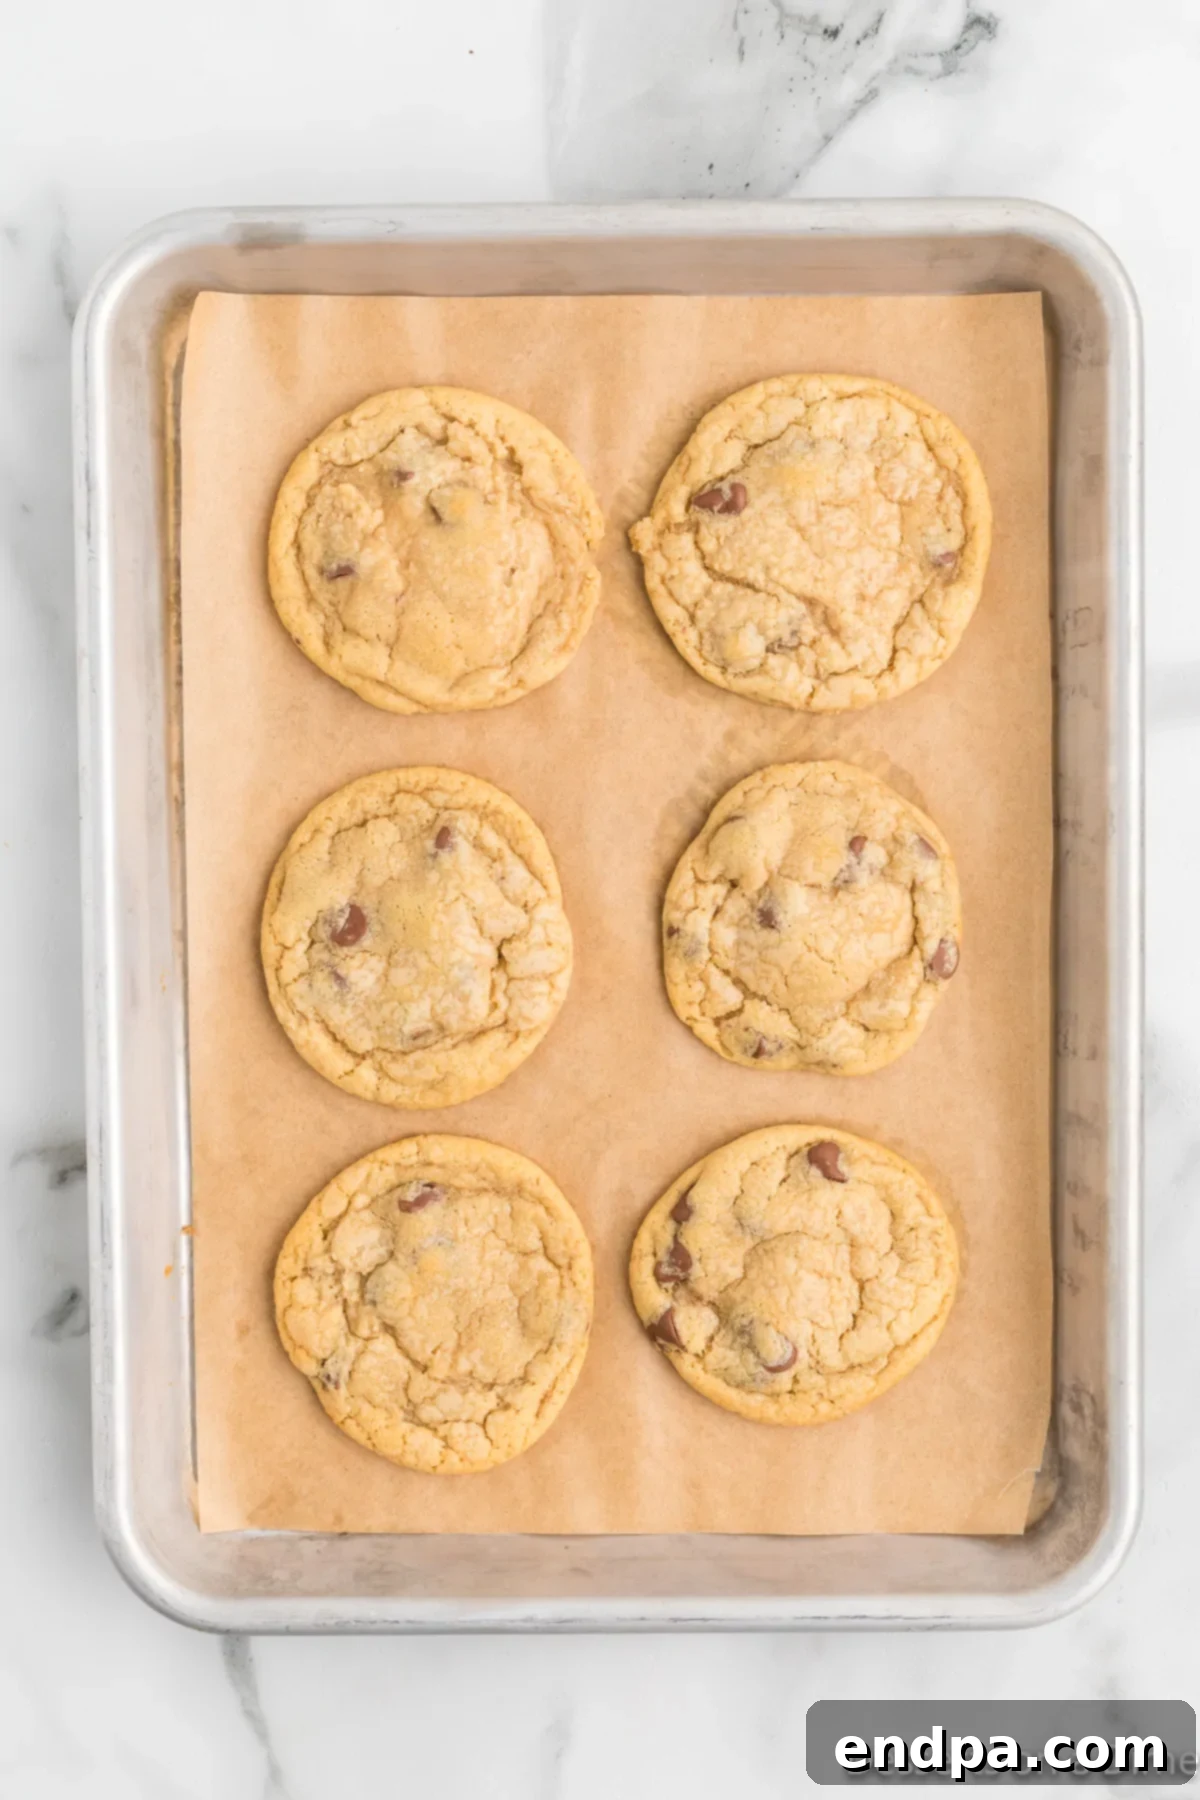
Step 6. Bake and Cool: Bake the cookies in the preheated oven for 10-13 minutes. Keep a close eye on them; you want the edges to be golden brown while the centers still look slightly soft and gooey. Crucially, do not overbake! The cookies will continue to cook and set on the baking sheet after being removed from the oven. Let them rest on the baking sheet for 5 minutes before carefully transferring them to a wire rack to cool completely. This resting period helps them firm up without becoming brittle.
How to Reheat Mrs. Fields Cookies for That Fresh-Baked Feel
While fresh from the oven is always best, sometimes you have leftovers, and nothing beats a warm chocolate chip cookie. If you want to bring back that delightful warmth and gooey center, follow these simple tips:
- Microwave: This is the quickest method for a soft, warm cookie. Place a single chocolate chip cookie on a microwave-safe plate. Microwave for about 10-15 seconds on high. Be careful not to over-microwave, as it can make the cookie tough or dry. The goal is just to warm it through and melt the chocolate slightly.
- Oven or Air Fryer: If you prefer your cookie to have slightly crispy edges and an overall warmer texture, reheating in the oven or air fryer is an excellent choice.
- Oven Method: Preheat your oven to about 325°F (160°C). Place cookies on a baking sheet. Heat for approximately 2-5 minutes, depending on your oven and how warm you want them. Keep an eye on them to prevent over-browning.
- Air Fryer Method: Preheat your air fryer to 325°F (160°C). Place cookies in a single layer in the air fryer basket. Heat for about 1-3 minutes. This method often yields a wonderfully crispy exterior with a warm, soft interior.
No matter which method you choose, a reheated Mrs. Fields cookie can almost rival the fresh-out-of-the-oven experience, making those leftovers just as enjoyable!
Pro Tips for Baking Perfect Mrs. Fields-Style Cookies
Achieving that iconic Mrs. Fields cookie perfection involves a few key techniques and insider tricks. Incorporating these pro tips will elevate your homemade batch from good to absolutely outstanding:
- Room Temperature Ingredients: This is fundamental for the best cookie texture. Ensure your unsalted butter and large eggs are at true room temperature. Softened butter (not melted!) creams smoothly with sugars, creating an emulsified base that holds air, leading to a lighter, more tender cookie. Room temperature eggs also integrate better into the mixture, preventing a curdled appearance and ensuring a uniform dough.
- Proper Mixing Techniques: For best results, utilize a stand mixer with a paddle attachment or a robust hand-held mixer. Cream the butter and sugars until they are light, fluffy, and noticeably paler, indicating sufficient air incorporation. When adding dry ingredients, mix only until just combined – flour streaks should barely disappear. Overmixing develops gluten, resulting in tough, dense cookies instead of the desired soft and chewy texture.
- The Power of Chilling the Dough: Do not skip the chilling step! Refrigerating the cookie dough for at least 1-2 hours (or even up to 24 hours for deeper flavor) is crucial. This allows the butter to re-solidify, preventing excessive spreading during baking and ensuring thick, chewy cookies. It also gives the flour time to fully hydrate, enhancing the cookie’s flavor and texture.
- Large Scoops for Authentic Size: To truly replicate the generously sized Mrs. Fields cookies, use a large cookie scoop, approximately ¼ cup (60ml) capacity, or roll the dough into balls about the size of a golf ball. Larger cookies tend to have that desirable gooey center, while smaller ones might bake through too quickly and become crispier.
- Baking to Perfection: Bake cookies until their edges are golden brown and set, but the centers still look slightly soft and underbaked. This underbaked center is the secret to a chewy interior. Remember, the cookies will continue to cook and firm up on the hot baking sheet after being removed from the oven. Resist the urge to overbake!
- Prepare Baking Sheets Properly: Always line your baking sheets with parchment paper or a silicone baking mat. This prevents sticking, ensures even baking, and simplifies cleanup immensely. It also helps regulate the cookie’s spread, contributing to a consistently shaped cookie. Avoid using just cooking spray directly on the pan, as it can cause cookies to spread too much.
- Don’t Overcrowd the Pan: Place cookie dough balls about 2 inches apart on the baking sheet. Overcrowding can lead to uneven baking as steam gets trapped, and cookies may merge into one another. Bake in batches if necessary.
- Rotate Baking Sheets: For even baking, especially if your oven has hot spots, rotate your baking sheet halfway through the baking time. This ensures all cookies achieve a uniform golden color and texture.
- A Sprinkle of Sea Salt: For an extra gourmet touch, lightly sprinkle a few flakes of flaky sea salt on top of the warm cookies immediately after they come out of the oven. This enhances the chocolate flavor and adds a delightful salty contrast.
By following these expert tips, you’ll be well on your way to baking a batch of Mrs. Fields-style chocolate chip cookies that will impress everyone!
Frequently Asked Questions About Mrs. Fields Chocolate Chip Cookies
Here are some common questions about making and enjoying these delightful Mrs. Fields copycat cookies:
Yes, chilling the cookie dough is a non-negotiable step for achieving the signature thick, chewy texture of Mrs. Fields cookies. Refrigerating the dough for at least 1 hour (and preferably longer, up to 24-48 hours) allows the butter to firm up, preventing the cookies from spreading too much and becoming thin during baking. It also allows the flavors to meld and the flour to fully hydrate, resulting in a more flavorful and tender cookie. Don’t skip this step for the best results!
To maintain their freshness and softness, store leftover Mrs. Fields chocolate chip cookies in an airtight container at room temperature for up to 1 week. For an extra tip to keep them exceptionally soft, place half a slice of plain bread in the container with the cookies. The cookies will absorb moisture from the bread, keeping them wonderfully moist and chewy for longer.
Absolutely! These chocolate chip cookies freeze exceptionally well, offering two convenient options for enjoying fresh-baked goodness anytime:
1. Freezing the Cookie Dough (Preferred Method): This method is fantastic for having freshly baked cookies on demand. After forming your dough balls (about golf-ball size), arrange them in a single layer on a baking sheet and flash freeze for 1 to 2 hours until solid. Once frozen, transfer the dough balls to a freezer-safe bag or airtight container. They can be stored for up to 3 months. When ready to bake, place the frozen dough balls directly on a prepared baking sheet and bake as directed, adding a few extra minutes to the baking time since they are frozen. This makes enjoying warm, homemade cookies incredibly easy any day of the week.
2. Freezing Baked Cookies: If you’ve already baked a batch and have leftovers, you can freeze the baked cookies. Allow the cookies to cool completely before freezing. To prevent them from sticking together, place parchment paper between layers of cookies in a freezer container or bag. They can be frozen for up to 3 months. Thaw at room temperature or briefly warm them using one of the reheating methods described above.
For more detailed, step-by-step instructions on freezing cookie dough, you can refer to our comprehensive guide on how to freeze cookie dough.
Definitely! This recipe is incredibly versatile and welcomes customization with various mix-ins. While we suggest semi-sweet chocolate chips for the classic Mrs. Fields experience, feel free to adapt it to your preferences. You can easily swap them for dark chocolate chips, milk chocolate chips, or even a combination of different chocolate types. Beyond chocolate, consider folding in colorful sprinkles for a festive touch, chopped nuts like walnuts or pecans for extra crunch, or even dried cranberries or white chocolate for a fruitier twist. Just be mindful not to add too many wet mix-ins, as this can alter the dough’s consistency. Let your creativity guide you!
More Delectable Chocolate Chip Cookie Recipes
If you’ve fallen in love with these Mrs. Fields copycat cookies, you’ll be thrilled to discover more variations and takes on the beloved chocolate chip cookie:
- Air Fryer Chocolate Chip Cookies: A quick and easy way to get warm cookies with less fuss.
- Cherry Chocolate Chip Cookies: A delightful combination of sweet cherries and rich chocolate.
- Crumbl Chocolate Chip Cookie Recipe: Recreate the popular oversized, super-soft cookies from Crumbl.
- Strawberry Chocolate Chip Cookies: A unique and fruity twist on the classic.
- Chocolate Chip Walnut Cookies: The timeless addition of crunchy walnuts for extra texture and flavor.
- Chocolate Chip Cake Mix Cookies: An incredibly simple recipe using a cake mix for quick and easy baking.
More Copycat Desserts You’ll Love
All Recipes Dessert
Copycat Thin Mint Cookies
Cakes
Swiss Roll Cake Recipe
Cakes
Starbucks Lemon Loaf Recipe
These decadent homemade Mrs. Fields chocolate chip cookies are not just a treat, but an experience. We invite you to try this recipe today and discover the joy of baking your own bakery-quality cookies. Please share your thoughts and leave a comment once you’ve made them!
Pin
Mrs. Fields Chocolate Chip Cookie Recipe
Ingredients
- 1 cup Unsalted Butter softened
- 1/2 cup Granulated Sugar
- 1 1/2 cup Brown Sugar packed
- 2 Large Eggs
- 2 teaspoons Vanilla Extract
- 2 1/2 cups All Purpose Flour
- 1/2 teaspoon Salt
- 1 teaspoon Baking Soda
- 1 teaspoon Baking Powder
- 12 ounces Semi-Sweet Chocolate Chips
Instructions
- In a large mixing bowl, cream together the softened butter, granulated sugar, brown sugar, eggs, and vanilla extract until the mixture is light, fluffy, and well combined. This can be done using a stand mixer or a powerful handheld electric mixer.
- In a separate medium-sized bowl, whisk together the all-purpose flour, salt, baking soda, and baking powder. Ensure all dry ingredients are thoroughly combined to guarantee even distribution in the dough.
- Gradually add the dry ingredients to the wet ingredients mixture. Beat on low speed until the ingredients are just combined and no streaks of dry flour remain. Be very careful not to over-mix the dough, as this can lead to tough cookies.
- Gently fold the semi-sweet chocolate chips into the cookie dough by hand using a spatula until they are evenly distributed throughout the dough.
- Cover the bowl with plastic wrap and refrigerate the cookie dough for at least 1 hour. This crucial step helps prevent the cookies from spreading too much during baking, ensuring a thick, chewy texture.
- Preheat your oven to 350°F (175°C) and line a baking sheet with parchment paper or a silicone baking mat.
- Using a large cookie scoop (approximately ¼ cup capacity) or by hand, roll the chilled cookie dough into balls roughly the size of golf balls. Place them on the prepared baking sheet, ensuring about 2 inches of space between each cookie to allow for proper spreading.
- Bake in the preheated oven for 10-13 minutes. The cookies are done when the edges are golden brown, but the centers still appear slightly soft and gooey. Avoid overcooking, as they will continue to set as they cool.
- Once baked, remove the cookies from the oven and let them rest on the hot baking sheet for 5 minutes. This allows them to firm up without becoming brittle. After 5 minutes, carefully transfer them to a wire rack to cool completely.
Nutrition Facts
Pin This Now to Remember It Later
Pin Recipe
