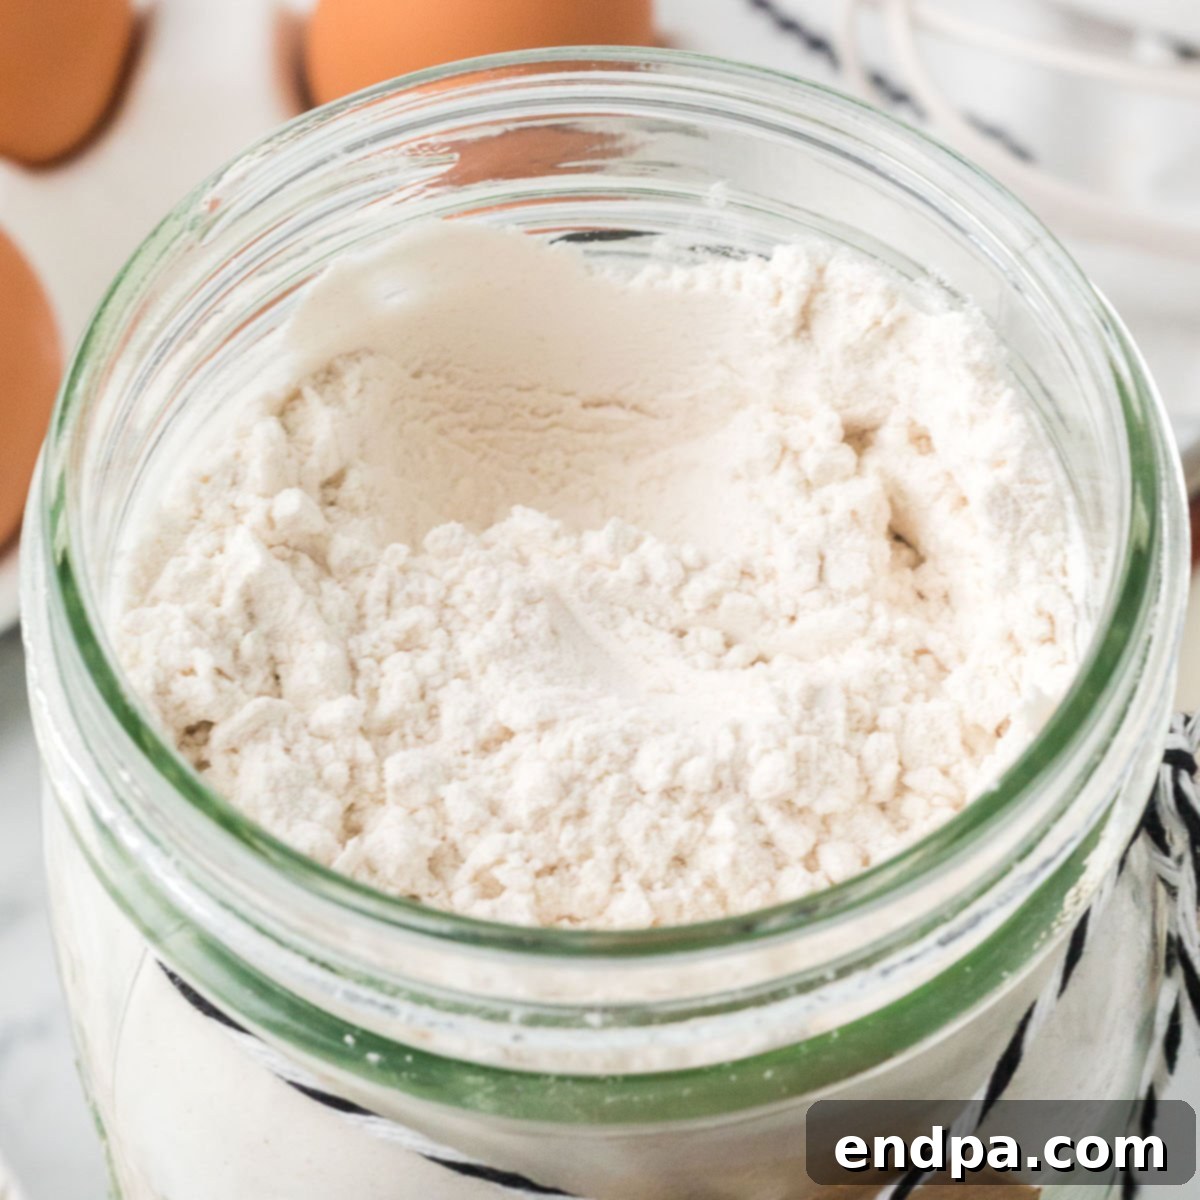
Homemade cake mix is an incredibly simple and rewarding way to elevate your baking. Learn how to create your very own DIY cake mix from scratch, ideal for convenient storage in a jar. Crafted with simple, wholesome ingredients, this versatile mix is not only perfect for everyday baking but also makes a thoughtful and personal gift for the holidays or any special occasion.
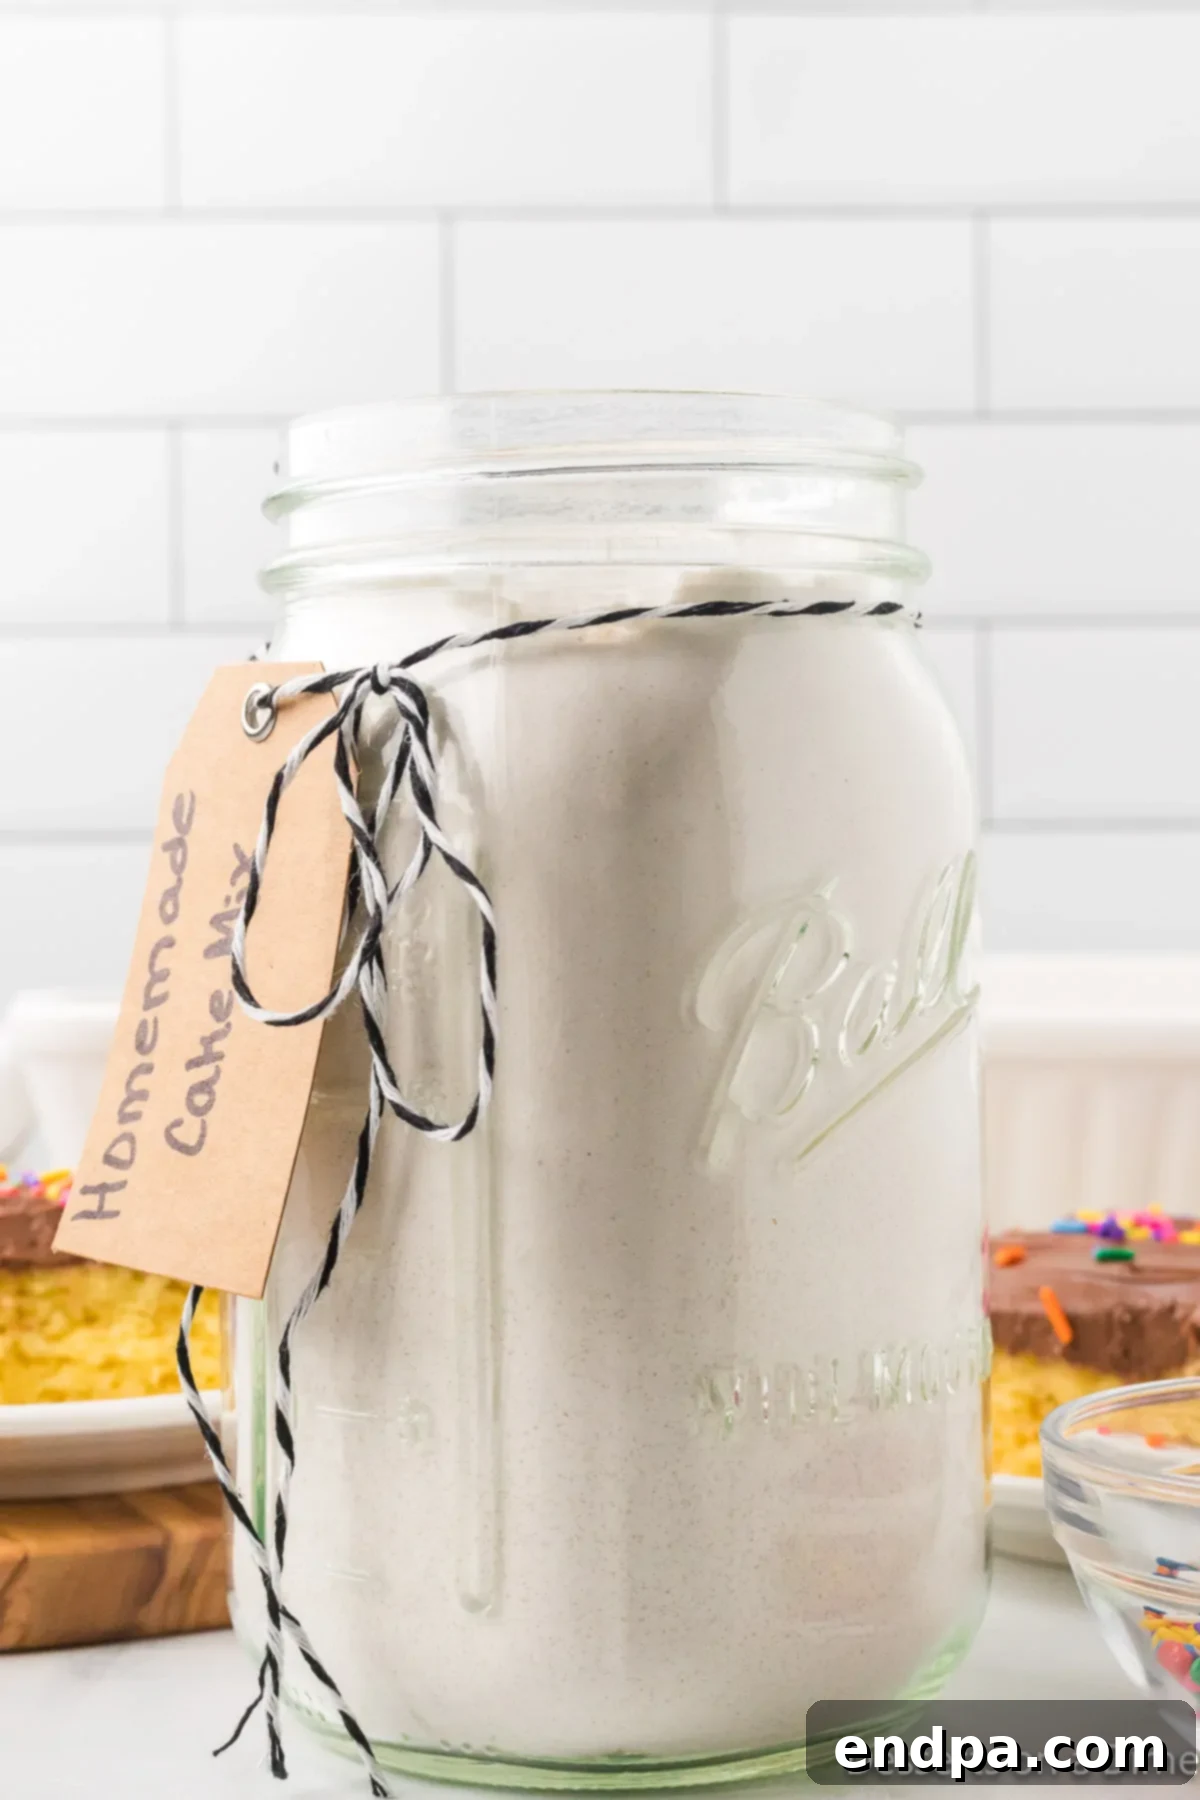
Imagine the ease of whipping up a delicious, homemade cake anytime the craving strikes, without the artificial flavors or preservatives often found in store-bought options. This homemade cake mix offers the best of both worlds: the unparalleled taste of a dessert made entirely from scratch combined with the grab-and-go convenience of a boxed mix. By preparing the dry ingredients ahead of time and storing them in an airtight container, you’re always just a few steps away from a fresh, flavorful treat. Whether you’re celebrating a birthday, preparing a comforting vanilla cake, or crafting a batch of delightful cupcakes, this DIY mix simplifies the baking process beautifully.
Table of Contents
- Why Make Your Own Cake Mix?
- Essential Ingredients for Homemade Cake Mix
- Crafting Your Homemade Cake Mix: A Step-by-Step Guide
- Baking Your Masterpiece from Homemade Mix
- Elevate Your Creation: Frosting and Topping Ideas
- Expert Tips for Baking Success
- Frequently Asked Questions About Homemade Cake Mix
- More Delightful Homemade Desserts
Why Make Your Own Cake Mix?
Beyond simple convenience, preparing your own cake mix at home brings a host of advantages that will transform your baking experience. It’s a smart choice for anyone seeking better flavor, healthier ingredients, and greater control in the kitchen.
- Superior Taste and Texture: The most compelling reason to go homemade is the taste. Using fresh, quality ingredients free from artificial additives results in a cake that is undeniably more delicious, with a tender crumb and rich flavor that store-bought mixes simply can’t match. You’ll notice the difference immediately.
- Ingredient Control and Healthier Choices: When you make your own mix, you know exactly what’s in it. You can select organic flours, reduce sugar content, or avoid specific preservatives and artificial colors. This level of control is invaluable for managing dietary preferences or restrictions.
- Budget-Friendly Baking: Purchasing baking staples like flour, sugar, and leavening agents in larger quantities is often more economical than repeatedly buying pre-made mixes. This recipe allows you to bake delightful desserts more frequently without breaking the bank, proving that quality doesn’t have to come at a premium.
- Always Ready for Baking Emergencies: With a jar of homemade cake mix in your pantry, you’re always prepared. Unexpected guests, sudden cravings, or last-minute celebrations become stress-free occasions. Just add the wet ingredients, and you’re on your way to a freshly baked treat.
- A Thoughtful and Personalized Gift: A beautifully layered mason jar of homemade cake mix makes an incredibly charming and personal gift. It’s perfect for housewarmings, teacher appreciation, holiday exchanges, or as a sweet gesture for friends and family. This gift allows recipients to enjoy the joy of baking a delicious cake with minimal effort.
Embracing scratch baking doesn’t have to be complicated or time-consuming. Much like our popular 3-Ingredient Pie Crust Recipe and Homemade Cherry Pie Filling, this cake mix recipe demonstrates that delightful desserts can easily be created from basic, wholesome components.
Essential Ingredients for Homemade Cake Mix
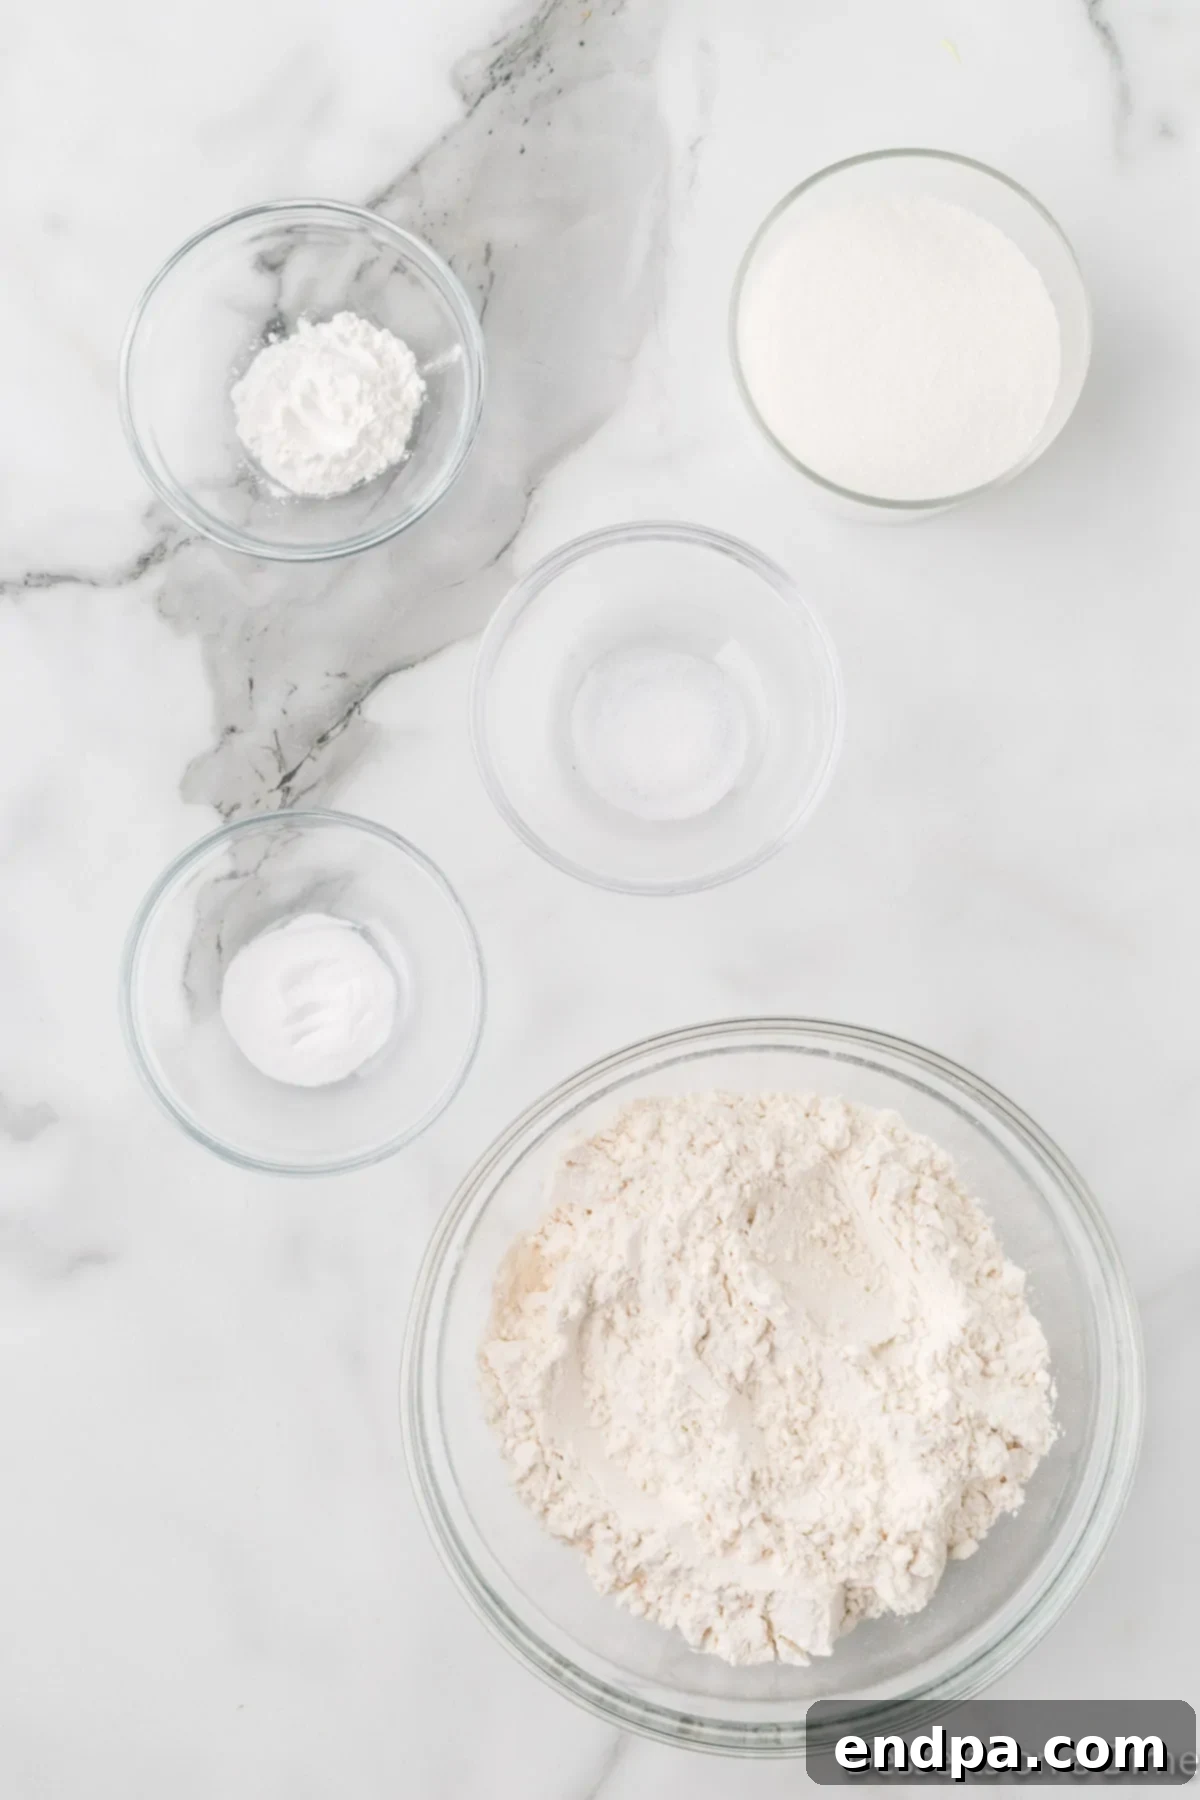
The beauty of this homemade cake mix recipe lies in its simplicity and reliance on common pantry staples. Using fresh, good-quality ingredients is key to achieving the best possible flavor and texture in your finished cake.
Dry Ingredients for Your Cake Mix:
These are the components you’ll combine and store for later use.
- All-Purpose Flour: This forms the primary structure of your cake. Ensure your flour is fresh and stored in a cool, dry place to maintain its quality and prevent it from becoming stale.
- Granulated Sugar: Not only does sugar provide sweetness, but it also contributes significantly to the cake’s moisture content, tender crumb, and beautiful golden crust.
- Baking Powder: A crucial leavening agent that helps the cake rise, creating a light and airy texture. Always check its expiration date; old baking powder can lead to a dense, flat cake.
- Baking Soda: This acts as another leavening agent, particularly effective when combined with acidic ingredients like buttermilk (if chosen). It helps produce carbon dioxide, giving the cake extra lift and a delicate crumb.
- Salt: A small amount of salt is vital for balancing the sweetness of the sugar and enhancing all the other flavors in the cake. It’s a flavor enhancer you shouldn’t omit.
Wet Ingredients to Add When Baking:
These fresh ingredients will be incorporated into your dry mix when you’re ready to bake. Using them at room temperature is a chef’s secret for a consistently smooth batter and a perfectly baked cake.
- Milk or Buttermilk: Provides essential moisture and richness to the cake. Buttermilk will react wonderfully with the baking soda, adding a subtle tang and extra tenderness. Whole milk will yield a richer, denser crumb.
- Oil (Vegetable or Canola): Vegetable or canola oil are excellent choices due to their neutral flavor, which allows the vanilla to shine through. Oil contributes significantly to the cake’s moistness and tenderness, keeping it fresh for longer than butter-based cakes.
- Large Eggs (Room Temperature): Eggs bind all the ingredients together, provide structure, add moisture, and contribute to the cake’s richness. Bringing eggs to room temperature before mixing helps them emulsify better with other ingredients, resulting in a smoother, more uniform batter and a finer-textured cake.
- Vanilla Extract: A fundamental flavoring agent that imparts a warm, sweet aroma and deepens the overall taste of your cake. Opt for pure vanilla extract for the most authentic and robust flavor.
The precise measurements for each of these ingredients can be found in the comprehensive recipe card located at the bottom of this page.
Crafting Your Homemade Cake Mix: A Step-by-Step Guide
Preparing the dry component of your homemade cake mix is incredibly simple and requires just a few minutes of your time. The primary goal here is to ensure all the dry ingredients are thoroughly combined and then stored correctly to maintain their freshness and potency.
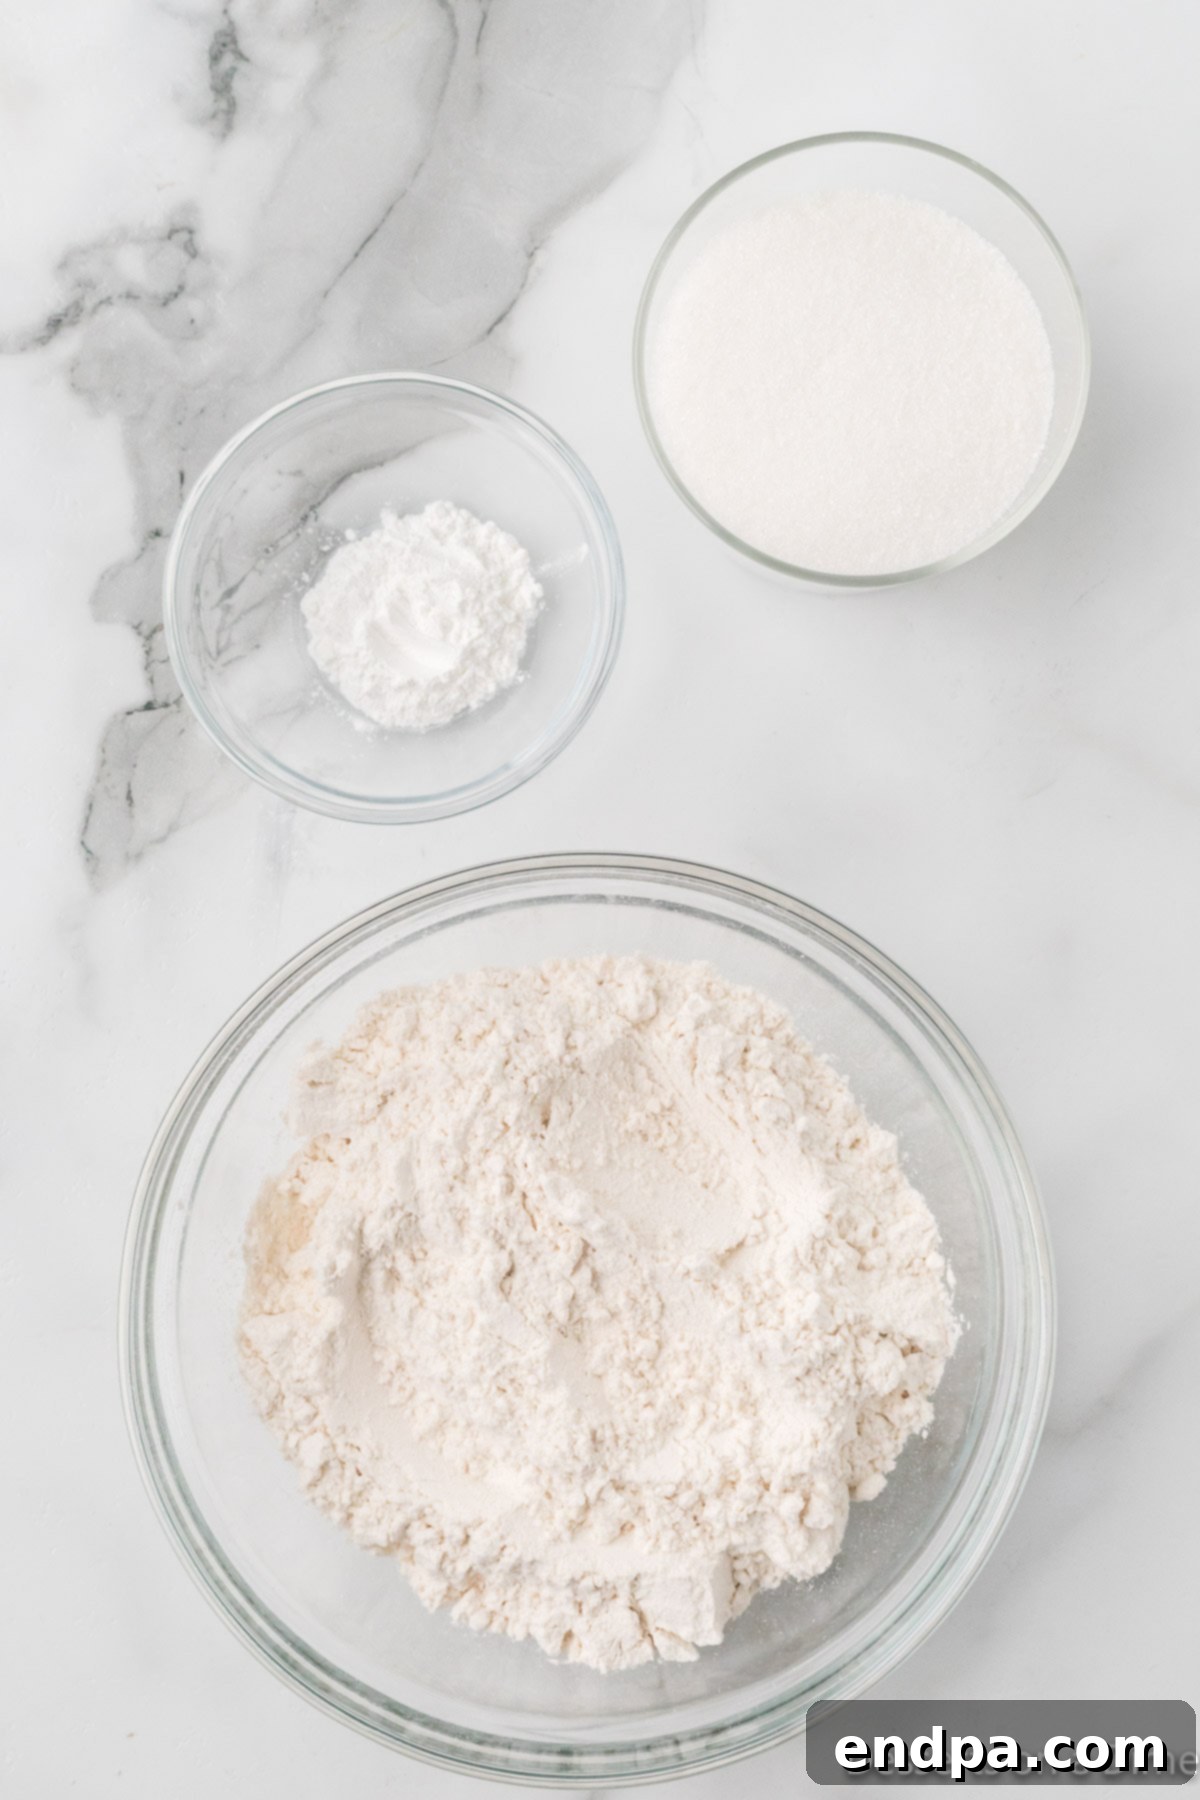
Step 1: Combine Dry Ingredients. In a spacious mixing bowl, carefully measure out all of your dry ingredients: the specified amounts of all-purpose flour, granulated sugar, baking powder, baking soda, and salt. To ensure a perfectly smooth and lump-free cake batter later on, we highly recommend sifting these dry ingredients together. This process not only aerates the flour but also guarantees that the leavening agents and sugar are evenly distributed throughout the mix, which is essential for a consistent rise and tender texture in your final baked product.
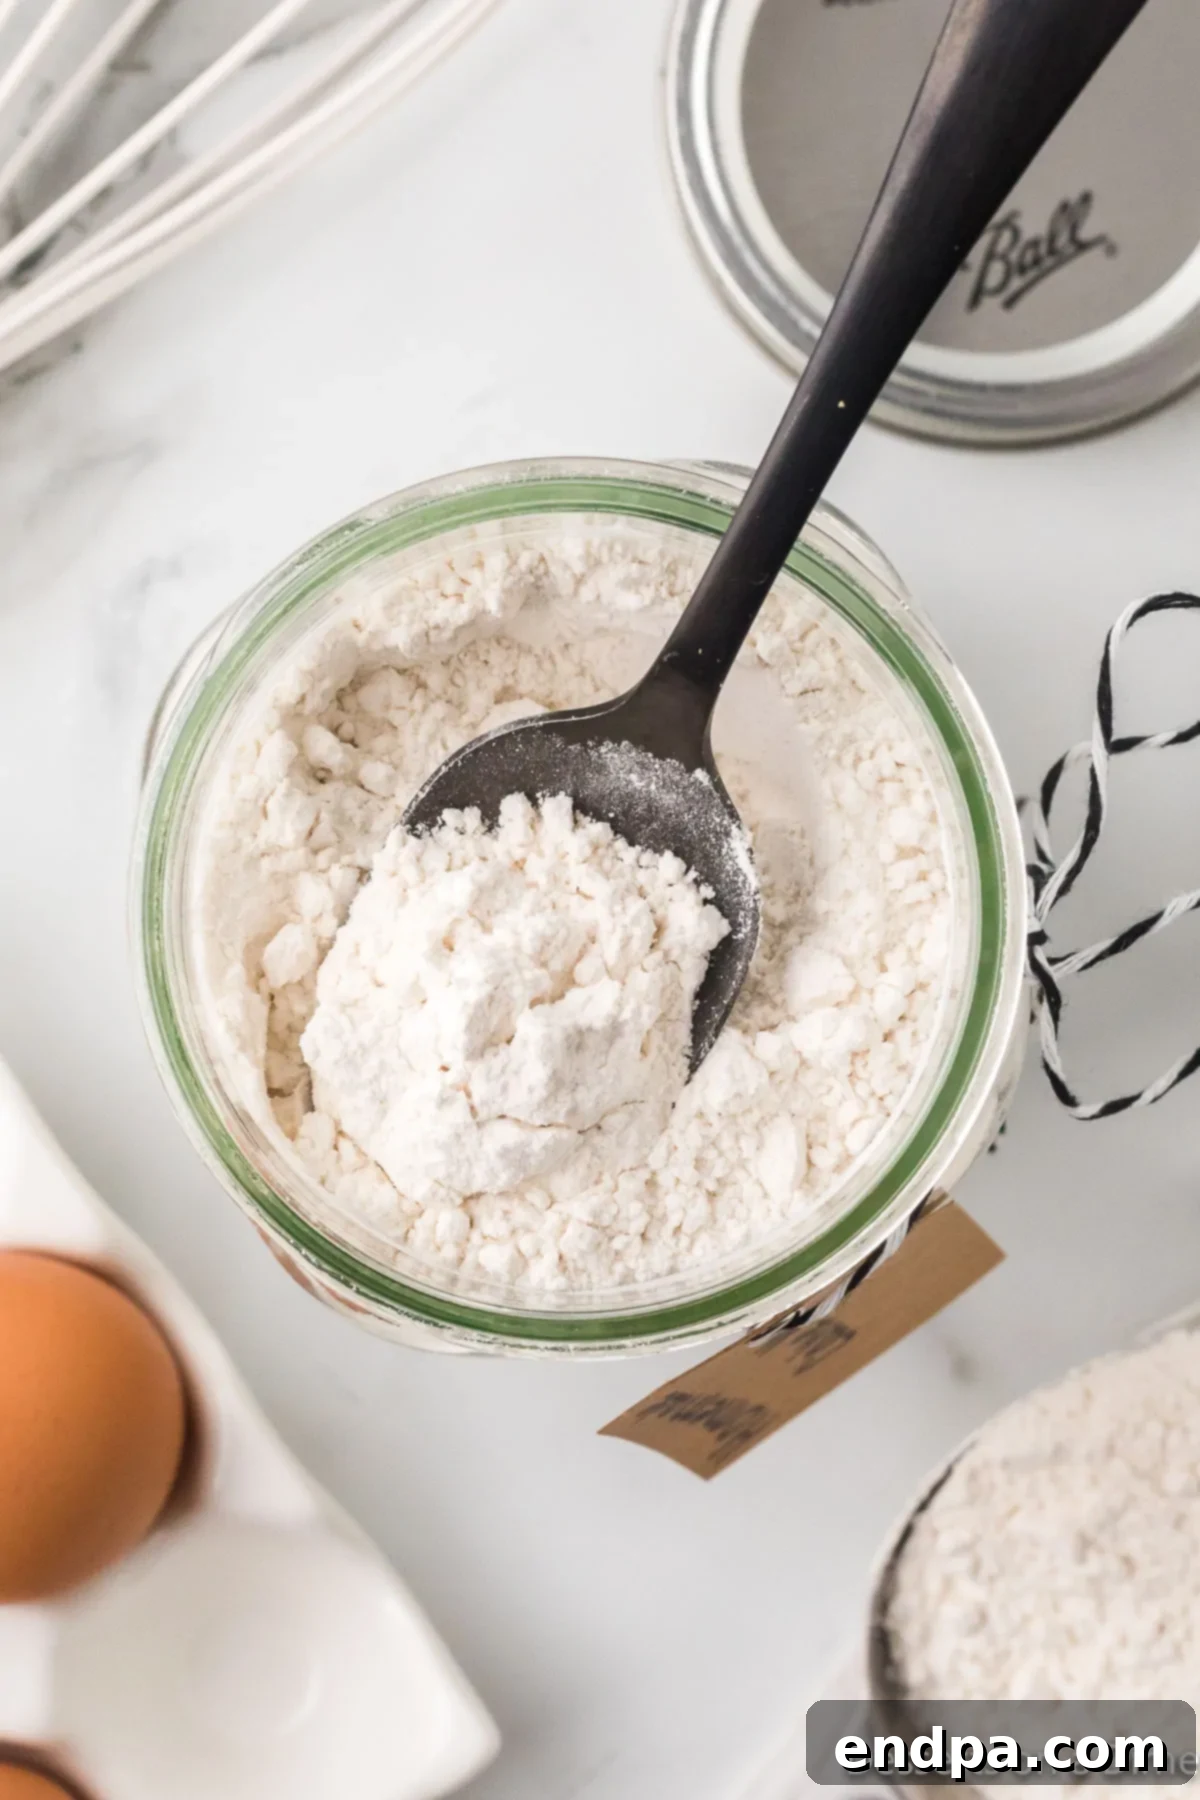
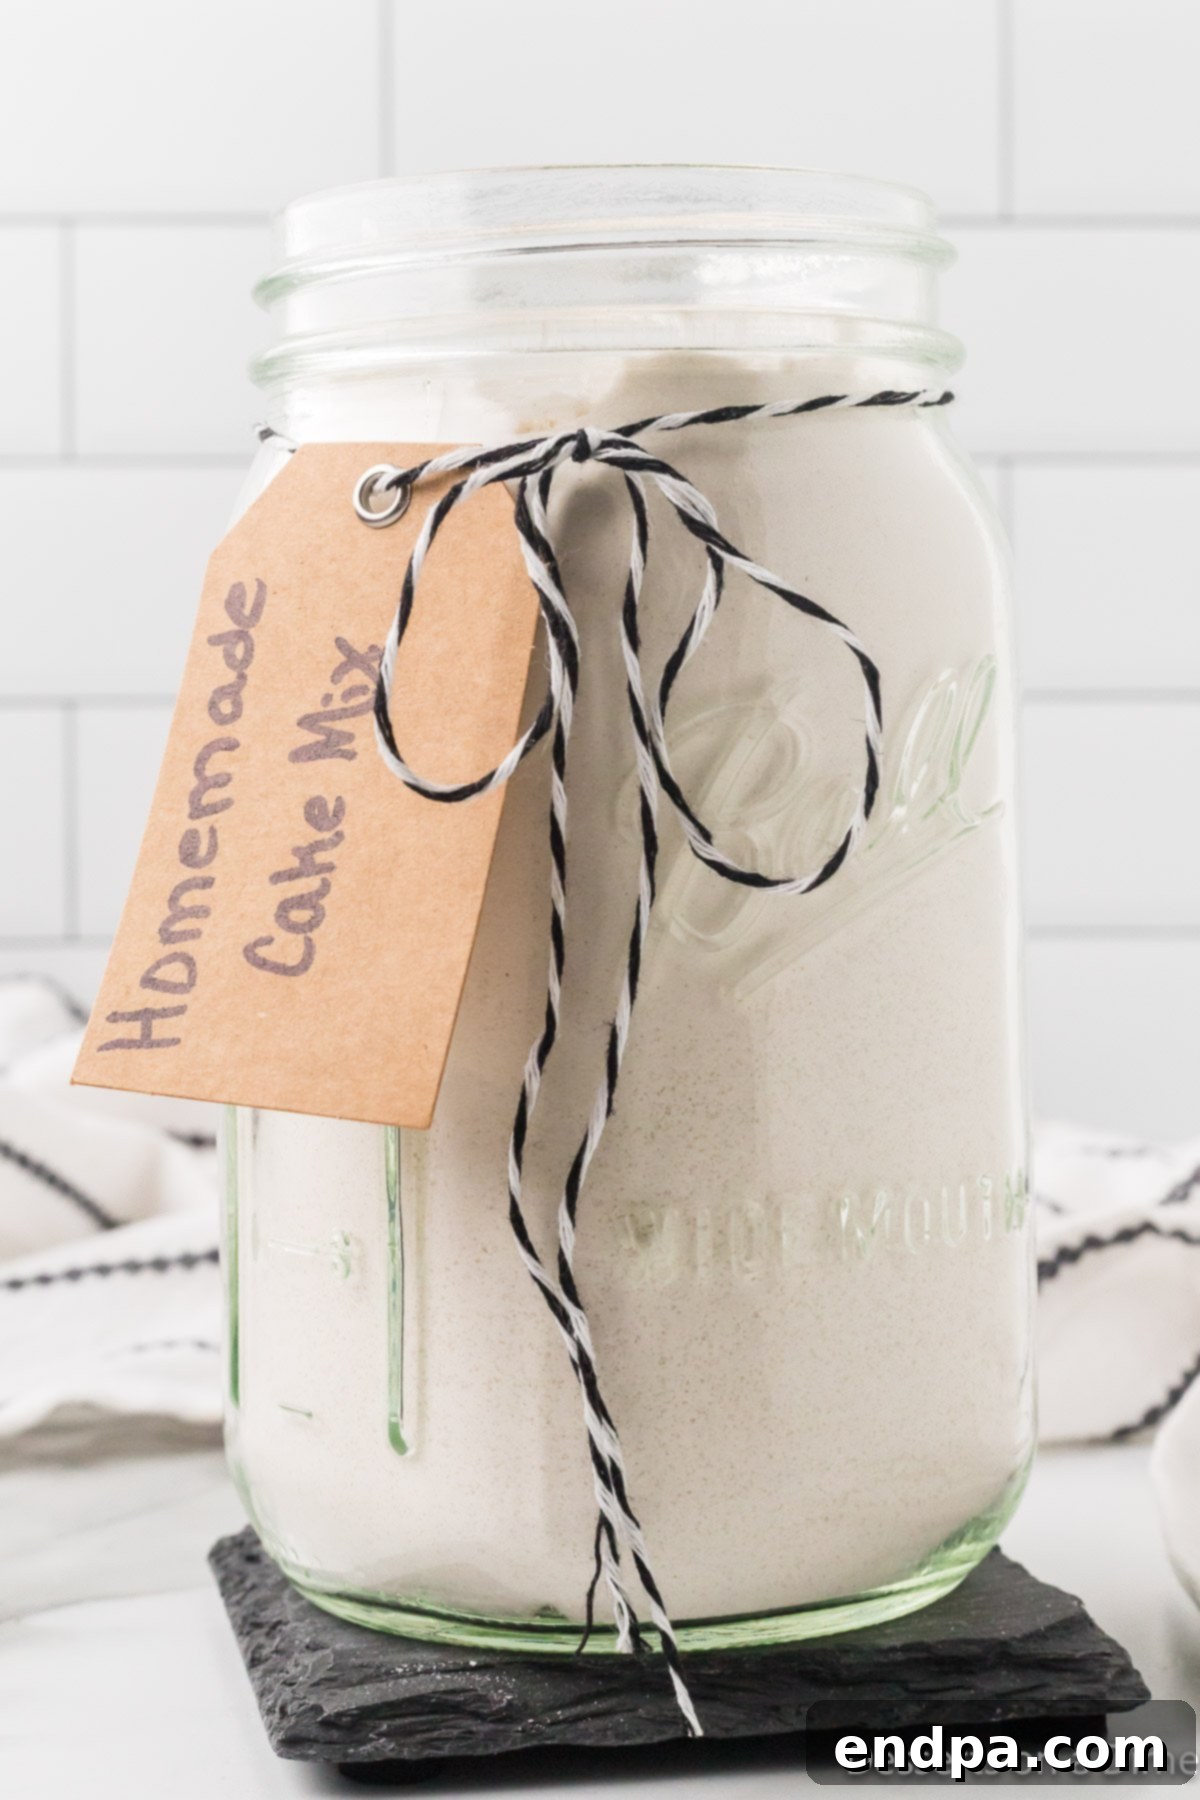
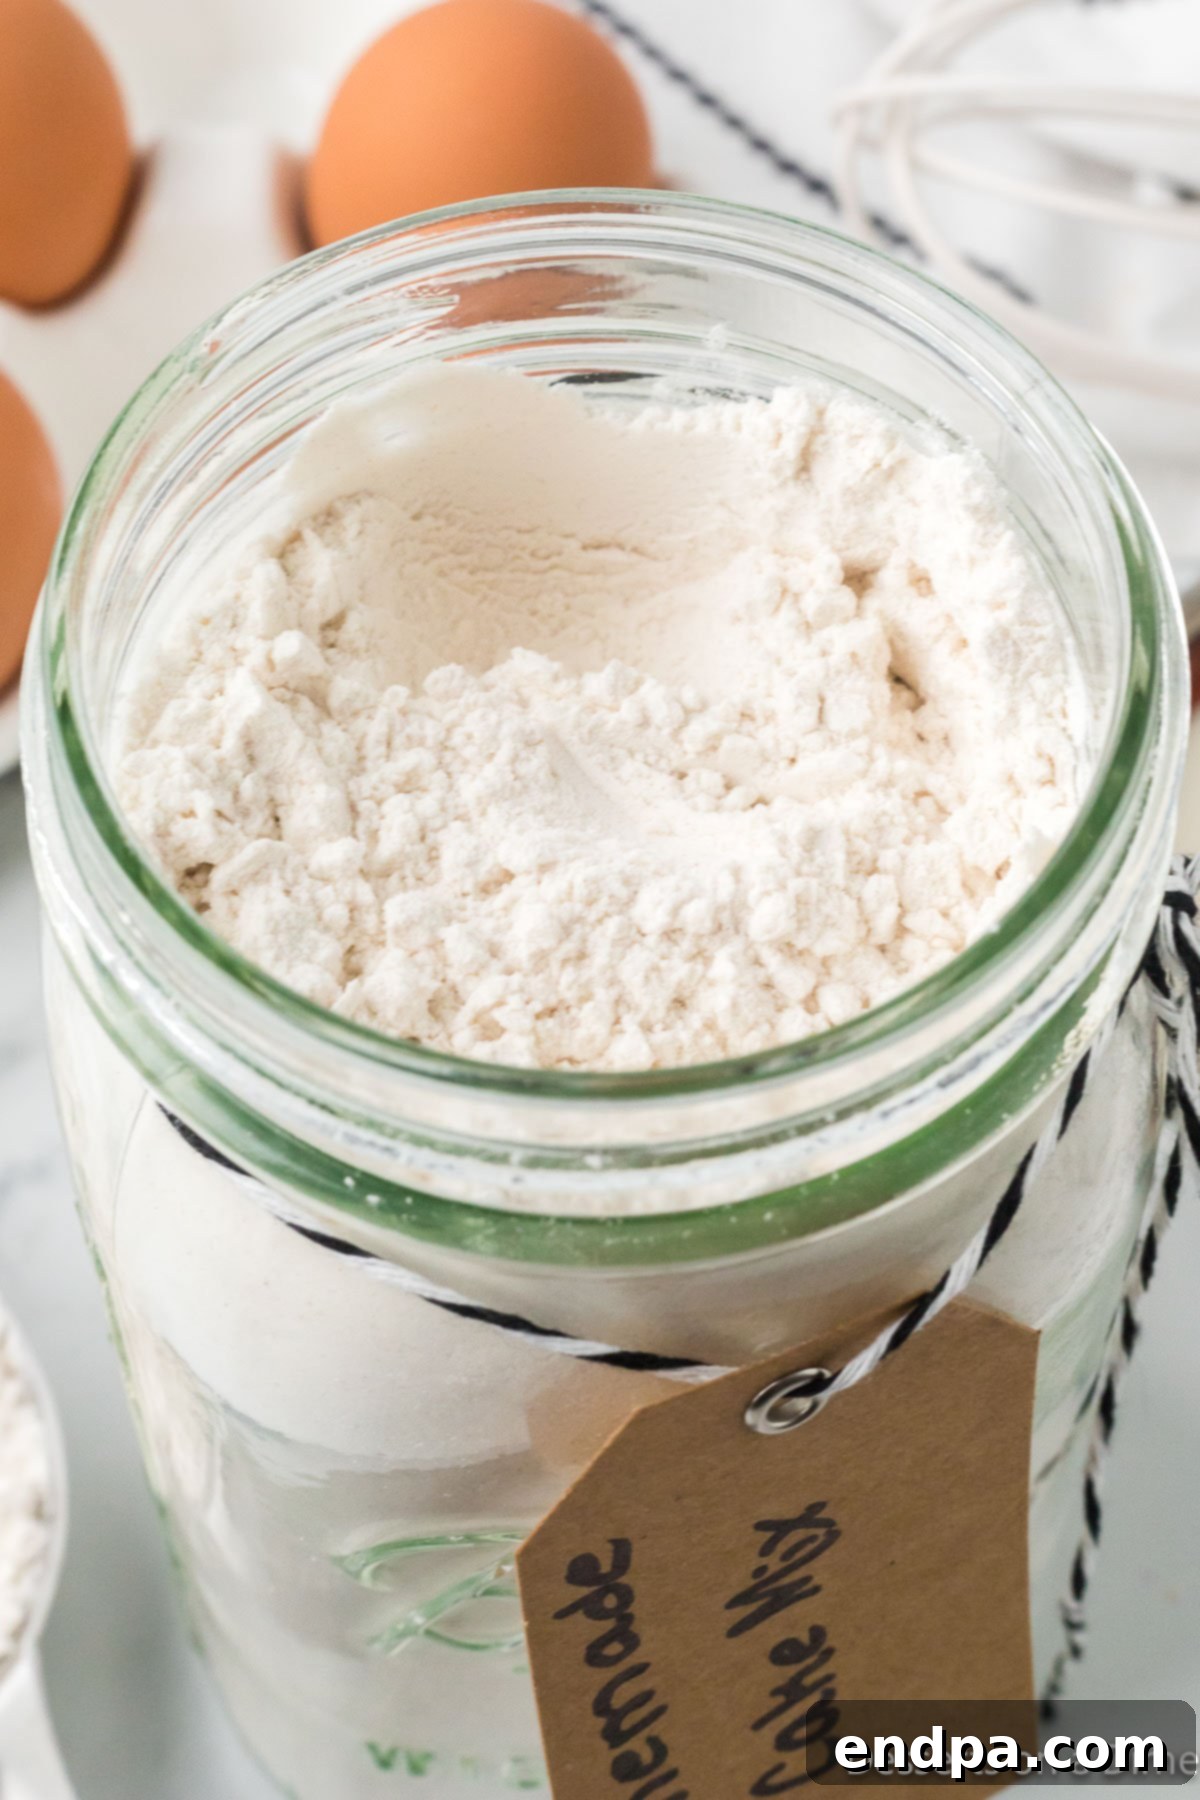
Step 2: Store Your Mix. Once you are satisfied that all the dry ingredients are impeccably mixed, gently transfer the mixture into an airtight container. A large mason jar with a secure, tight-fitting lid is an excellent choice, particularly if you envision gifting this homemade mix. Alternatively, a sturdy zip-top bag, with as much air pressed out as possible, or any other airtight food storage container will serve the purpose effectively. Don’t forget to label your container clearly with the contents (e.g., “Vanilla Cake Mix”) and the date it was prepared to keep track of its freshness.
Your perfectly crafted dry cake mix is now ready for storage! For optimal longevity and to preserve the active properties of the leavening agents, ensure it is kept in a cool, dry, and dark place within your pantry. This preparation makes future baking sessions wonderfully quick and fuss-free.
Baking Your Masterpiece from Homemade Mix
The moment you’ve been waiting for: transforming your convenient homemade mix into a warm, fragrant, and utterly delicious cake or batch of cupcakes! Follow these straightforward steps to achieve baking perfection.
- Preheat Oven and Prepare Pan: Begin by preheating your oven to 350°F (175°C). For a cake, generously grease and flour a 13×9 inch cake pan. If you’re making cupcakes, line a standard muffin tin with 18 paper liners. Proper pan preparation is crucial to prevent sticking and ensure your baked goods release easily.
- Combine Wet and Dry Ingredients: In a large mixing bowl, empty the entire contents of your homemade dry cake mix. To this, add your pre-measured wet ingredients: ½ cup of milk (or buttermilk), ½ cup of vegetable or canola oil, 2 large eggs (at room temperature), and 1 ½ teaspoons of pure vanilla extract.
- Mix the Batter Carefully: Using a stand mixer fitted with the paddle attachment or a handheld electric mixer, start by beating the ingredients on low speed until they are just combined and no dry streaks of flour remain. Then, increase the speed to medium and continue mixing for 1 to 2 minutes until the batter appears smooth and well-incorporated. Remember to scrape down the sides of the bowl with a spatula occasionally to ensure everything is evenly mixed. Be vigilant not to overmix the batter, as this can develop the gluten in the flour too much, leading to a tough and chewy cake rather than a tender one.
- Bake the Cake: If making a sheet cake, carefully pour the prepared batter into your greased and floured 13×9 inch cake pan. Place it in the preheated oven and bake for approximately 20-25 minutes. The cake is done when a wooden toothpick inserted into the center comes out clean, with no wet batter attached.
- Bake the Cupcakes: For cupcakes, divide the batter evenly among the 18 lined cupcake cavities, filling each about two-thirds full. Bake for a slightly shorter duration, typically 15-20 minutes, or until a toothpick inserted into the center of a cupcake comes out clean.
- Cool Completely Before Frosting: Once baked, remove the cake or cupcakes from the oven. Allow them to cool in their pans on a wire rack for about 10-15 minutes. This allows the cake to set and prevents it from crumbling. After this initial cooling, carefully invert the cake onto the wire rack (or transfer cupcakes) to cool completely to room temperature. It is absolutely essential for the cake to be entirely cool before you attempt to frost it; otherwise, the frosting will melt and slide right off. For additional insights into proper storage and shelf life, you might want to read Does Cake Mix Go Bad?
Following these steps will ensure your homemade cake or cupcakes turn out perfectly every time, ready for your favorite frosting!
Elevate Your Creation: Frosting and Topping Ideas
While a freshly baked cake is wonderful on its own, a luscious frosting takes it from great to truly unforgettable. The right topping can complement and enhance the flavors of your homemade cake mix. Here are some delectable frosting and topping ideas to inspire you:
- Classic Vanilla Buttercream Frosting: This is a universally loved choice for a reason. Its smooth, creamy texture and sweet, rich vanilla flavor pair beautifully with almost any cake. It’s perfect for piping intricate designs or simply spreading generously.
- Tangy Cream Cheese Frosting: For a frosting with a delightful tang and incredible richness, cream cheese frosting is a fantastic option. It provides a wonderful balance to the sweetness of the cake and is particularly exquisite on vanilla, red velvet, or carrot cake variations.
- Rich Chocolate Ganache: For the ultimate chocolate indulgence, a homemade chocolate ganache is surprisingly simple to make. Poured over a cooled cake, it creates a shiny, decadent glaze that hardens slightly, offering a luxurious finish.
- Lemon Glaze: If you’ve adapted your mix for a lemon cake, a simple lemon glaze (made with powdered sugar and fresh lemon juice) can provide a bright, zesty counterpoint.
- Convenient Store-Bought Frosting: Don’t feel pressured to make everything from scratch! High-quality store-bought frostings are a fantastic time-saver and a perfectly acceptable option. Choose your favorite flavor and enjoy the simplicity.
Beyond the frosting, consider adding decorative flourishes and extra textures. Colorful sprinkles are perfect for birthday cakes, while chocolate shavings, fresh berries, or a scattering of chopped nuts can add sophistication and flavor. Let your creativity guide you in making your cake a true masterpiece!
Expert Tips for Baking Success
Even with the convenience of a homemade mix, a few expert tips can make all the difference, ensuring your cakes consistently turn out moist, tender, and utterly delicious. These insights will help you avoid common pitfalls and achieve baking perfection every time.
- Always Check Ingredient Freshness: The freshness of your leavening agents (baking powder and baking soda) is critical. Expired or stale baking powder/soda will not react properly, leading to a dense, flat cake. Always verify their expiration dates before incorporating them into your mix. Similarly, fresh flour and high-quality sugar contribute significantly to the cake’s overall texture and flavor.
- The Importance of Sifting Dry Ingredients: When you initially prepare your dry cake mix, taking the extra step to sift all the dry ingredients together is highly recommended. Sifting aerates the flour, eliminates any lumps, and ensures that the baking powder, baking soda, and salt are uniformly distributed. This even distribution is key for a consistent rise and a tender, uniform crumb in your finished cake.
- Optimal Storage for Your Dry Mix: To preserve the potency of your leavening agents and prevent moisture absorption, always store your dry homemade cake mix in a truly airtight container. A sturdy mason jar with a tight-fitting lid or a heavy-duty zip-top bag is ideal. Keep the container in a cool, dry, and dark location, such as a pantry cupboard, away from heat and humidity. While convenient, it is generally recommended to use the dry mix within 2 to 3 days of preparation for the best results, as the effectiveness of baking powder and soda can diminish over time.
- Room Temperature Wet Ingredients are Key: When it’s time to bake, ensure all your wet ingredients—eggs, milk, and any other liquids—are at room temperature. This isn’t just a suggestion; it’s a critical step. Room temperature ingredients emulsify much more easily with each other and with the dry mix, creating a smooth, uniform batter. This leads to a cake with a finer, more consistent crumb and a noticeably more tender texture.
- For a Pure White Cake: If you’re aiming for a brilliantly white cake, such as for a wedding or special occasion, use only egg whites instead of whole eggs in your wet ingredients. The yolks can impart a slight yellow tint, which would detract from a pristine white appearance.
- Versatile Flavor Options for Your Mix: This recipe provides a superb base for a classic vanilla cake, but its true beauty lies in its adaptability. Don’t hesitate to experiment!
- Chocolate Cake: Easily transform it by adding ¼ to ½ cup of unsweetened cocoa powder to the dry mix.
- Spice Cake: Incorporate warm spices like ground cinnamon, nutmeg, cloves, and ginger into the dry blend.
- Citrus Zest Cake: For a bright, fresh flavor, add finely grated lemon, orange, or lime zest to the dry mix.
- Funfetti Cake: Mix in colorful sprinkles with the dry ingredients or directly into the wet batter for a festive touch.
This base mix is perfectly suited for baking cupcakes, round layer cakes, or practical sheet cakes.
- Mastering Layer Cakes: This single batch of homemade cake mix is designed for a 13×9 inch sheet cake or a standard batch of 18 cupcakes. If your ambition is a beautiful double-layer round cake, simply double all the dry ingredients when preparing your homemade mix, and then double the wet ingredients when you’re ready to bake. You’ll consistently achieve a light, fluffy, and perfectly structured layer cake.
- Choosing the Right Flour: While readily available all-purpose flour yields excellent results in this recipe, for an even finer, more delicate crumb, consider using cake flour. Cake flour has a lower protein content compared to all-purpose flour, which contributes to a softer and more tender cake texture. If you choose to substitute, be aware that cake flour absorbs liquids slightly differently, so you might need minor adjustments to your wet ingredients.
Frequently Asked Questions About Homemade Cake Mix
Yes, absolutely! It’s incredibly easy to adapt this homemade vanilla cake mix into a rich chocolate version. When you’re preparing the dry mix, simply add about ¼ to ½ cup of unsweetened cocoa powder along with the other dry ingredients. Ensure it’s thoroughly mixed into the flour and sugar, then store as usual. When you’re ready to bake, just add your wet ingredients as instructed, and you’ll have a fantastic chocolate cake or cupcakes.
The versatility of homemade cake mix means you can personalize it with a wide array of delicious mix-ins to suit any preference or occasion:
- Chocolate Chips: Whether you prefer mini, dark, or semi-sweet chocolate chips, they are a superb addition. They melt wonderfully into any cake, enhancing its texture and flavor.
- Chopped Nuts: For a lovely crunch and nutty depth, fold in some chopped pecans, walnuts, or sliced almonds directly into your batter just before baking.
- Candy Pieces: Introduce a playful element by mixing in M&M’s, crushed candy bars, or other small, bake-stable candy pieces. This is particularly popular for festive and fun birthday cakes.
- Sprinkles: If you’re baking a homemade birthday cake, colorful sprinkles are a must! Mix them into the batter for a joyful “funfetti” effect, and don’t forget to add more on top of your frosting for an extra celebratory touch.
- Citrus Zest: For a bright, aromatic lift, finely grate lemon, orange, or lime zest and mix it into the dry ingredients.
- Dried Fruit: Adding ingredients like raisins, dried cranberries, or finely chopped apricots can introduce a chewy texture and natural sweetness.
When stored correctly in an airtight container, your dry homemade cake mix will remain fresh and its leavening agents active for approximately 2 to 3 days. It is crucial to use the mix within this timeframe to ensure that the baking powder and baking soda still have their full potency, which is essential for achieving a good rise in your cake. Once you’ve combined the dry mix with wet ingredients and baked your cake, any leftovers can be stored at room temperature for 2-3 days or in the refrigerator for up to a week, ensuring it’s tightly covered to prevent drying out.
To maintain the freshness and effectiveness of your homemade cake mix, the key is airtight storage. Place the thoroughly mixed dry ingredients into an airtight glass jar (like a mason jar), a sealed food storage container, or a heavy-duty zip-top bag. Ensure that as much air as possible is expelled from bags to prevent oxidation. Store the container in a cool, dry, and dark location, such as a pantry or cupboard. Protection from moisture and air is paramount, as these can quickly deactivate the leavening agents. As previously mentioned, it is generally recommended to bake with the mix within 2 to 3 days of its preparation for optimal results.
Yes, you absolutely can scale up this recipe to create a larger batch of homemade cake mix. Simply multiply all the dry ingredient measurements by your desired factor (e.g., double them for two cakes, triple for three). Just ensure you have a sufficiently large mixing bowl to combine everything thoroughly and enough appropriate airtight containers for storage. While you can make a larger quantity of the mix, please remember that the recommended shelf life for the dry mix, to guarantee the activity of the baking powder and baking soda, remains approximately 2-3 days.
More Delightful Homemade Desserts
If you’ve discovered the joy and simplicity of preparing your own cake mix, you’re likely to enjoy exploring these other fantastic homemade dessert recipes that offer similar satisfaction and delicious results:
- Homemade Gingerbread Cake: A beautifully spiced and incredibly moist cake, perfect for comforting cool evenings or festive holiday gatherings. Its warm flavors are truly inviting.
- Banana Bundt Cake: An wonderfully moist and flavorful cake that’s an excellent way to utilize ripe bananas. Its elegant bundt shape makes it an impressive and easy centerpiece for any occasion.
- Easy Homemade Zucchini Cake: A surprisingly delicious and incredibly moist cake that cleverly incorporates vegetables. It boasts a tender crumb and a delightful hint of spice, making it a healthy-ish treat.
We encourage you to try this homemade cake mix recipe for an effortlessly delicious and time-saving baking experience. You’ll love the convenience and the superior taste of your homemade creations! Once you’ve baked your masterpiece, please take a moment to leave a comment below and share your thoughts and any personal touches you added.
Homemade Cake Mix
Rating: 4.87 out of 5 stars from 22 votes
This homemade cake mix is incredibly easy to prepare from scratch. Learn how to make a DIY cake mix that’s perfect for convenient baking or as a thoughtful gift in a jar.
Prep Time: 5 minutes
Total Time: 5 minutes (for mix preparation)
Yield: 1 cake or 18 cupcakes
Cuisine: American
Course: Dessert
Calories: 197 kcal
Author: Carrie Barnard
Ingredients
For the Dry Mix:
- 1 ¼ cups all-purpose flour
- ¾ cups granulated sugar
- 1 ¼ teaspoons baking powder
- ½ teaspoon baking soda
- ½ teaspoon salt
For Baking (Wet Ingredients to Add Later):
- ½ cup milk or buttermilk
- ½ cup oil (vegetable or canola)
- 2 large eggs (room temperature)
- 1 ½ teaspoons vanilla extract
Instructions
- In a medium bowl, thoroughly combine all the dry ingredients. Sifting is recommended for best results.
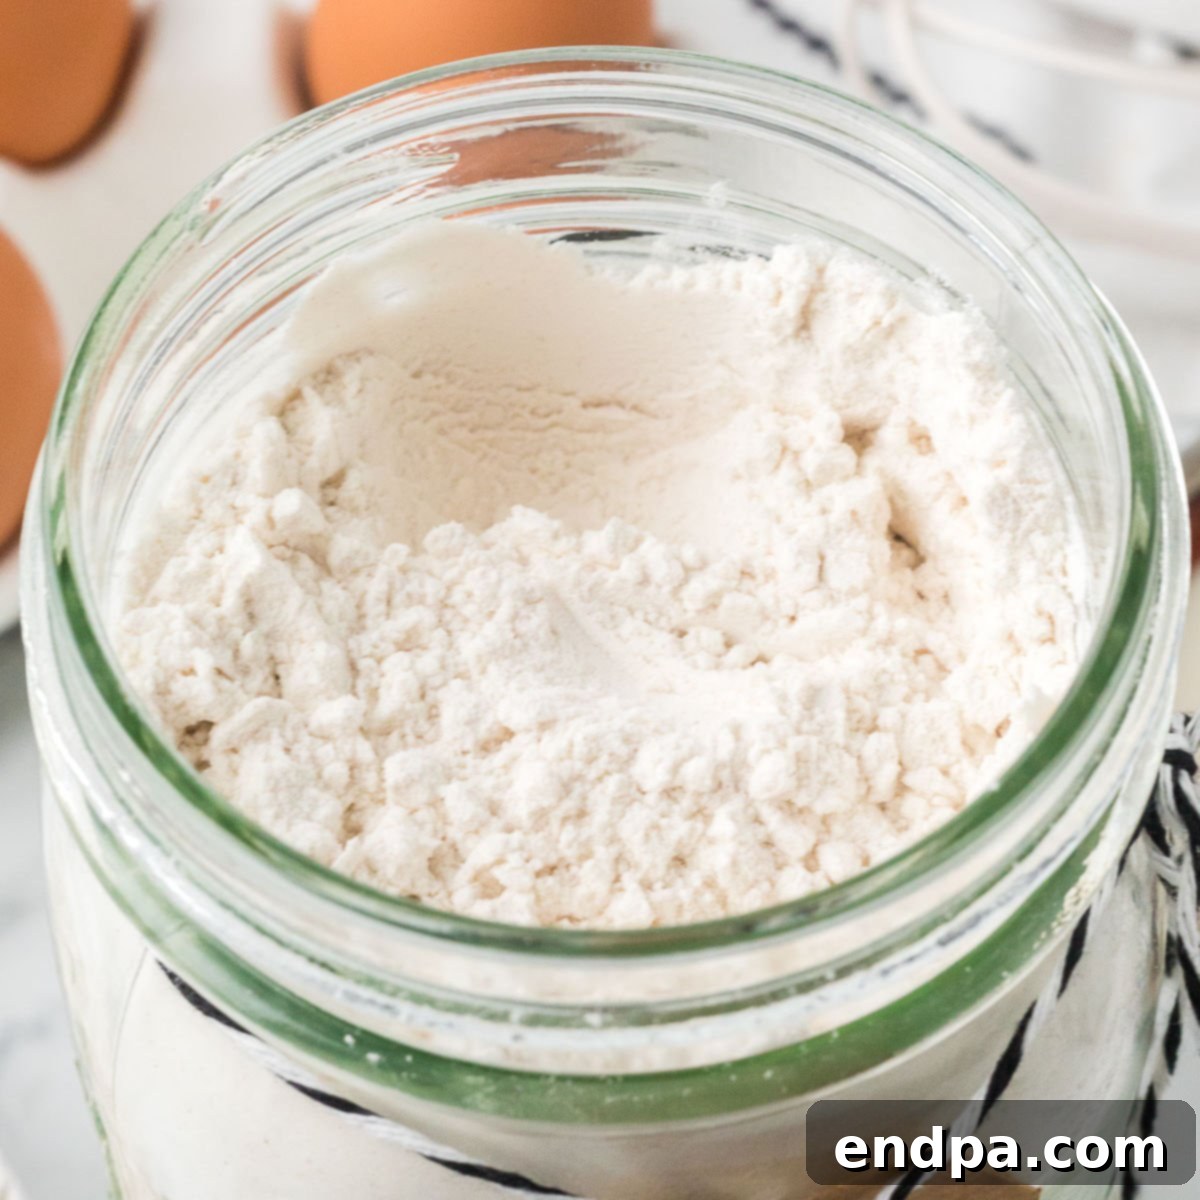
- Transfer the mixed dry ingredients into an airtight jar with a lid or another suitable airtight container for storage.
- To bake a cake or cupcakes: When ready to bake, add the wet ingredients (milk/buttermilk, oil, eggs, vanilla extract) to the homemade dry cake mix in a large mixing bowl.
- Using a mixer (stand or handheld), combine the cake mix and wet ingredients until just well combined and smooth, making sure to scrape down the sides of the bowl. Avoid overmixing.
- Pour the prepared batter into a greased 13×9 inch cake pan or divide it evenly among 18 cupcake liners.
- Bake the cake in a preheated oven at 350°F (175°C) for 20-25 minutes, or until a wooden toothpick inserted into the center comes out clean.
- If baking cupcakes, bake them at 350°F (175°C) for 15-20 minutes, or until a toothpick inserted into the center comes out clean.
- Allow the cake or cupcakes to cool completely on a wire rack before frosting as desired.
Nutrition Facts
Calories: 197 kcal, Carbohydrates: 23g, Protein: 3g, Fat: 10g, Saturated Fat: 1g, Cholesterol: 28mg, Sodium: 158mg, Potassium: 80mg, Fiber: 1g, Sugar: 13g, Vitamin A: 56IU, Calcium: 36mg, Iron: 1mg
Pin This Now to Remember It Later
Pin Recipe
