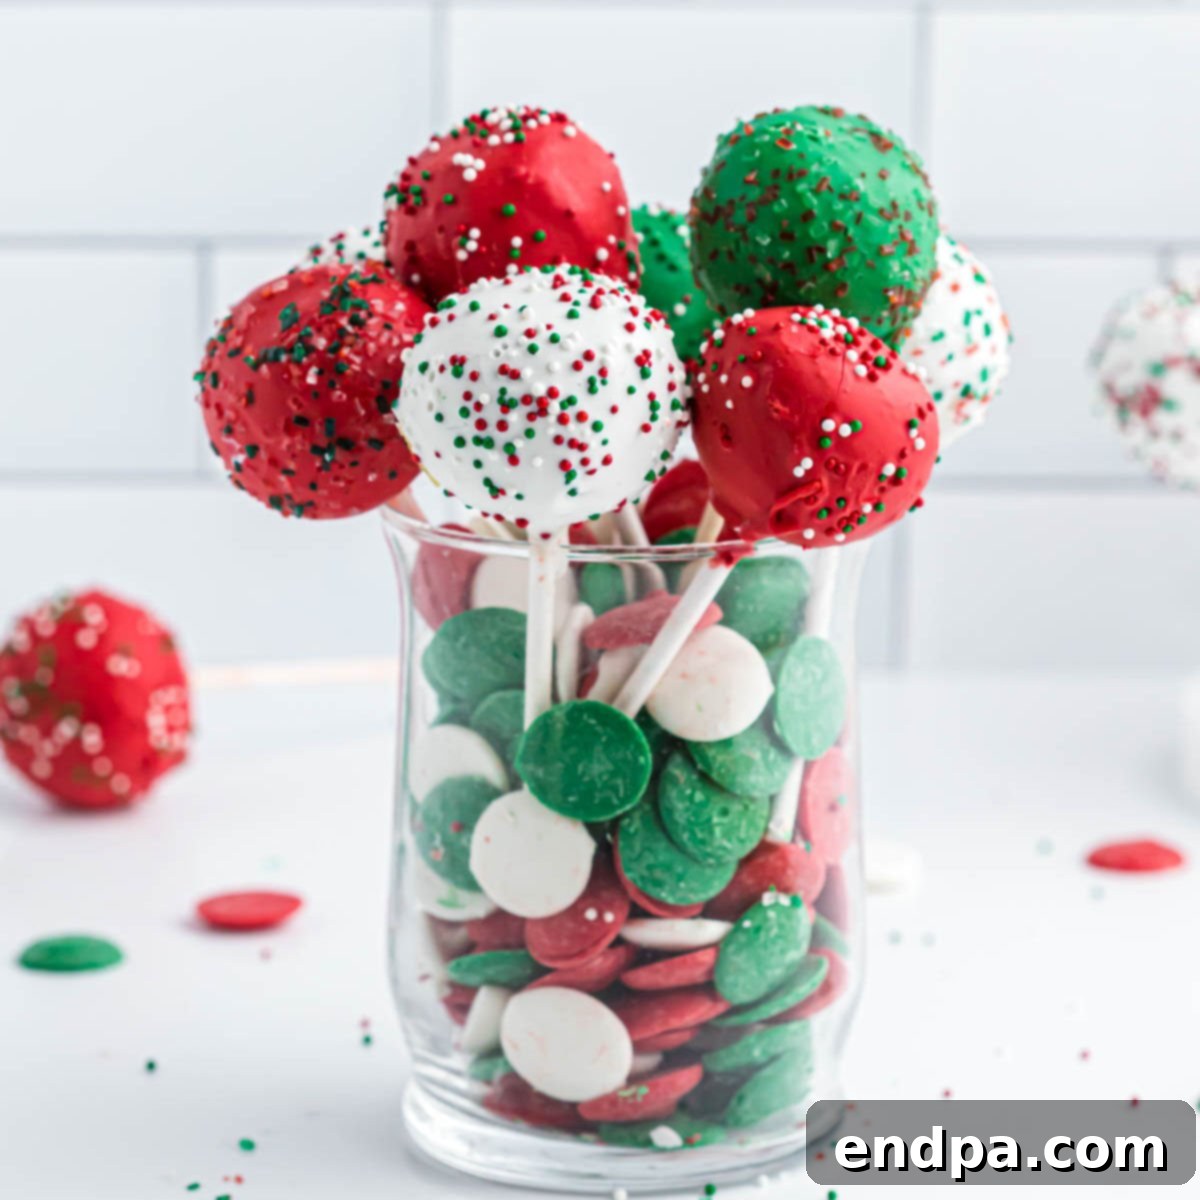
Delightful Christmas Cake Pops: Your Ultimate Guide to Festive Bite-Sized Desserts
Embrace the holiday spirit with these incredibly delightful Christmas Cake Pops! These bite-sized desserts are not only rich and creamy but also surprisingly simple to prepare, making them an ideal treat for any festive gathering. Imagine the joy on everyone’s faces as they spot these vibrant red and green cake pops, adorned with sparkling Christmas sprinkles, taking center stage on your dessert table. They are a true embodiment of holiday cheer, and it’s no wonder they become a requested tradition in many homes year after year.
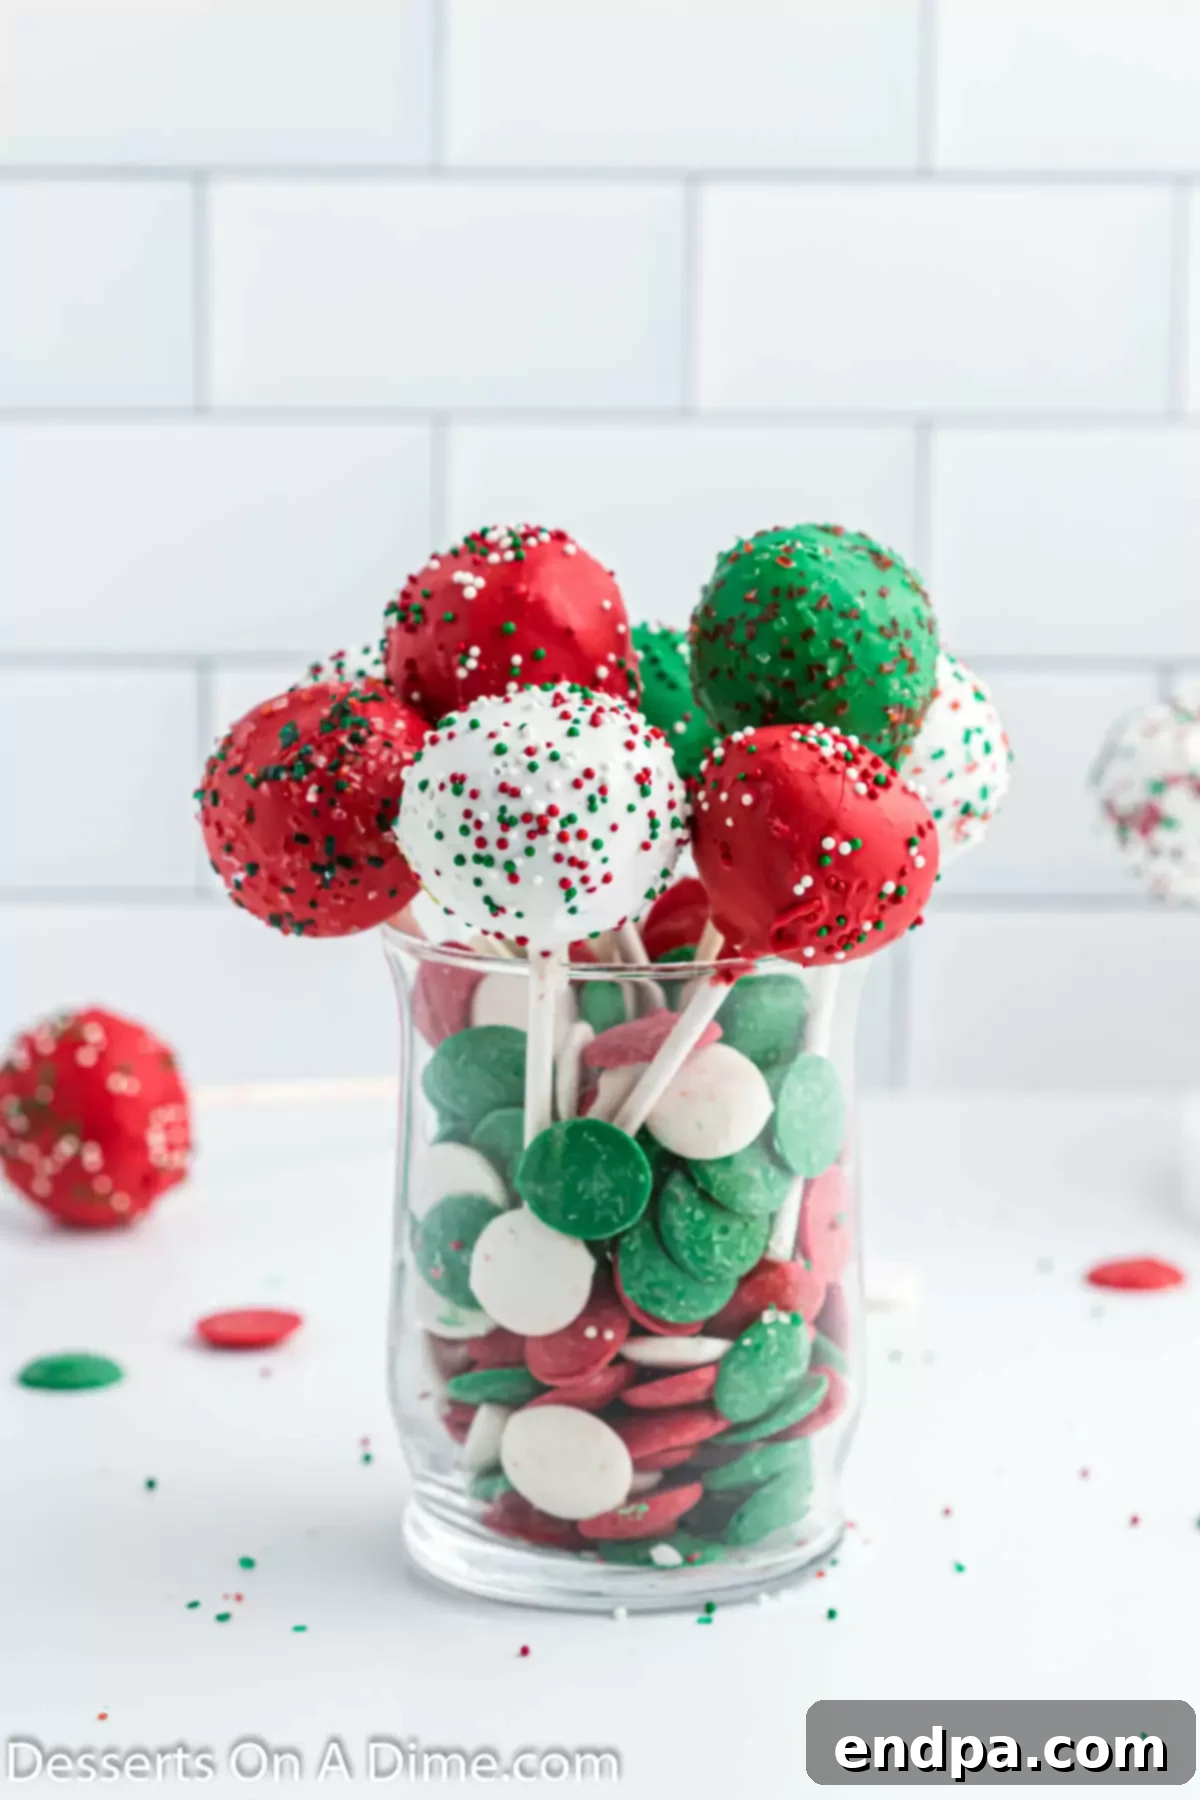
Beyond their charming appearance, these cake pops offer an irresistible combination of moist cake and luscious frosting, coated in a sweet candy shell. They’re a fantastic addition to your collection of Christmas desserts, offering a unique texture and flavor profile that stands out from traditional cookies and pies. If you love exploring the versatility of cake pops, you might also enjoy our classic Cake Pop Recipe or the whimsically themed Grinch Cake Pops. The possibilities for customization are endless, allowing you to tailor them to any occasion.
What’s in this post: Christmas Cake Pops
- Why We Love This Recipe
- Essential Ingredients for Christmas Cake Pops
- Creative Variation Ideas
- Step-by-Step Guide to Making Christmas Cake Pops
- Expert Tips for Perfect Cake Pops
- Frequently Asked Questions (FAQs)
- More Irresistible Cake Pop Recipes
- More Festive Christmas Desserts to Try
- Christmas Cake Pops Recipe Card
Why We Love This Recipe
There are countless reasons why these Christmas Cake Pops have become a beloved holiday tradition. Firstly, their simplicity makes them incredibly appealing for home bakers of all skill levels. You don’t need to be a pastry chef to create these beautiful and delicious treats!
- Effortless Elegance for Parties: These cake pops are perfect for holiday parties. They’re inherently portion-controlled, easy to serve, and require no utensils, making them a mess-free and convenient dessert option for guests to enjoy while mingling.
- Budget-Friendly Indulgence: Instead of spending a small fortune at a bakery for custom holiday treats, you can create a large batch of these festive cake pops at a fraction of the cost. Making them at home allows you to control the ingredients and quantity, providing excellent value without compromising on quality or taste.
- Minimal Ingredients, Maximum Flavor: With just a few staple ingredients, you can transform a simple cake mix into something truly spectacular. This recipe proves that you don’t need a long list of obscure items to achieve a visually stunning and incredibly flavorful dessert. The combination of moist cake, creamy frosting, and a sweet candy shell is simply irresistible.
- A Fun Family Activity: Making cake pops is a wonderful activity to share with family, especially children. Kids love helping with crumbling the cake, rolling the balls, and, of course, adding the colorful sprinkles. It’s a fantastic way to create lasting holiday memories together in the kitchen.
- Customizable for Any Occasion: While designed for Christmas, the base recipe is incredibly versatile. By simply changing the colors of your candy melts and the type of sprinkles, you can adapt these cake pops for birthdays, Easter, Valentine’s Day, or any other celebration throughout the year.
Essential Ingredients for Christmas Cake Pops
Crafting the perfect Christmas Cake Pops begins with selecting the right ingredients. Each component plays a vital role in achieving that sought-after rich, creamy texture and festive appearance.
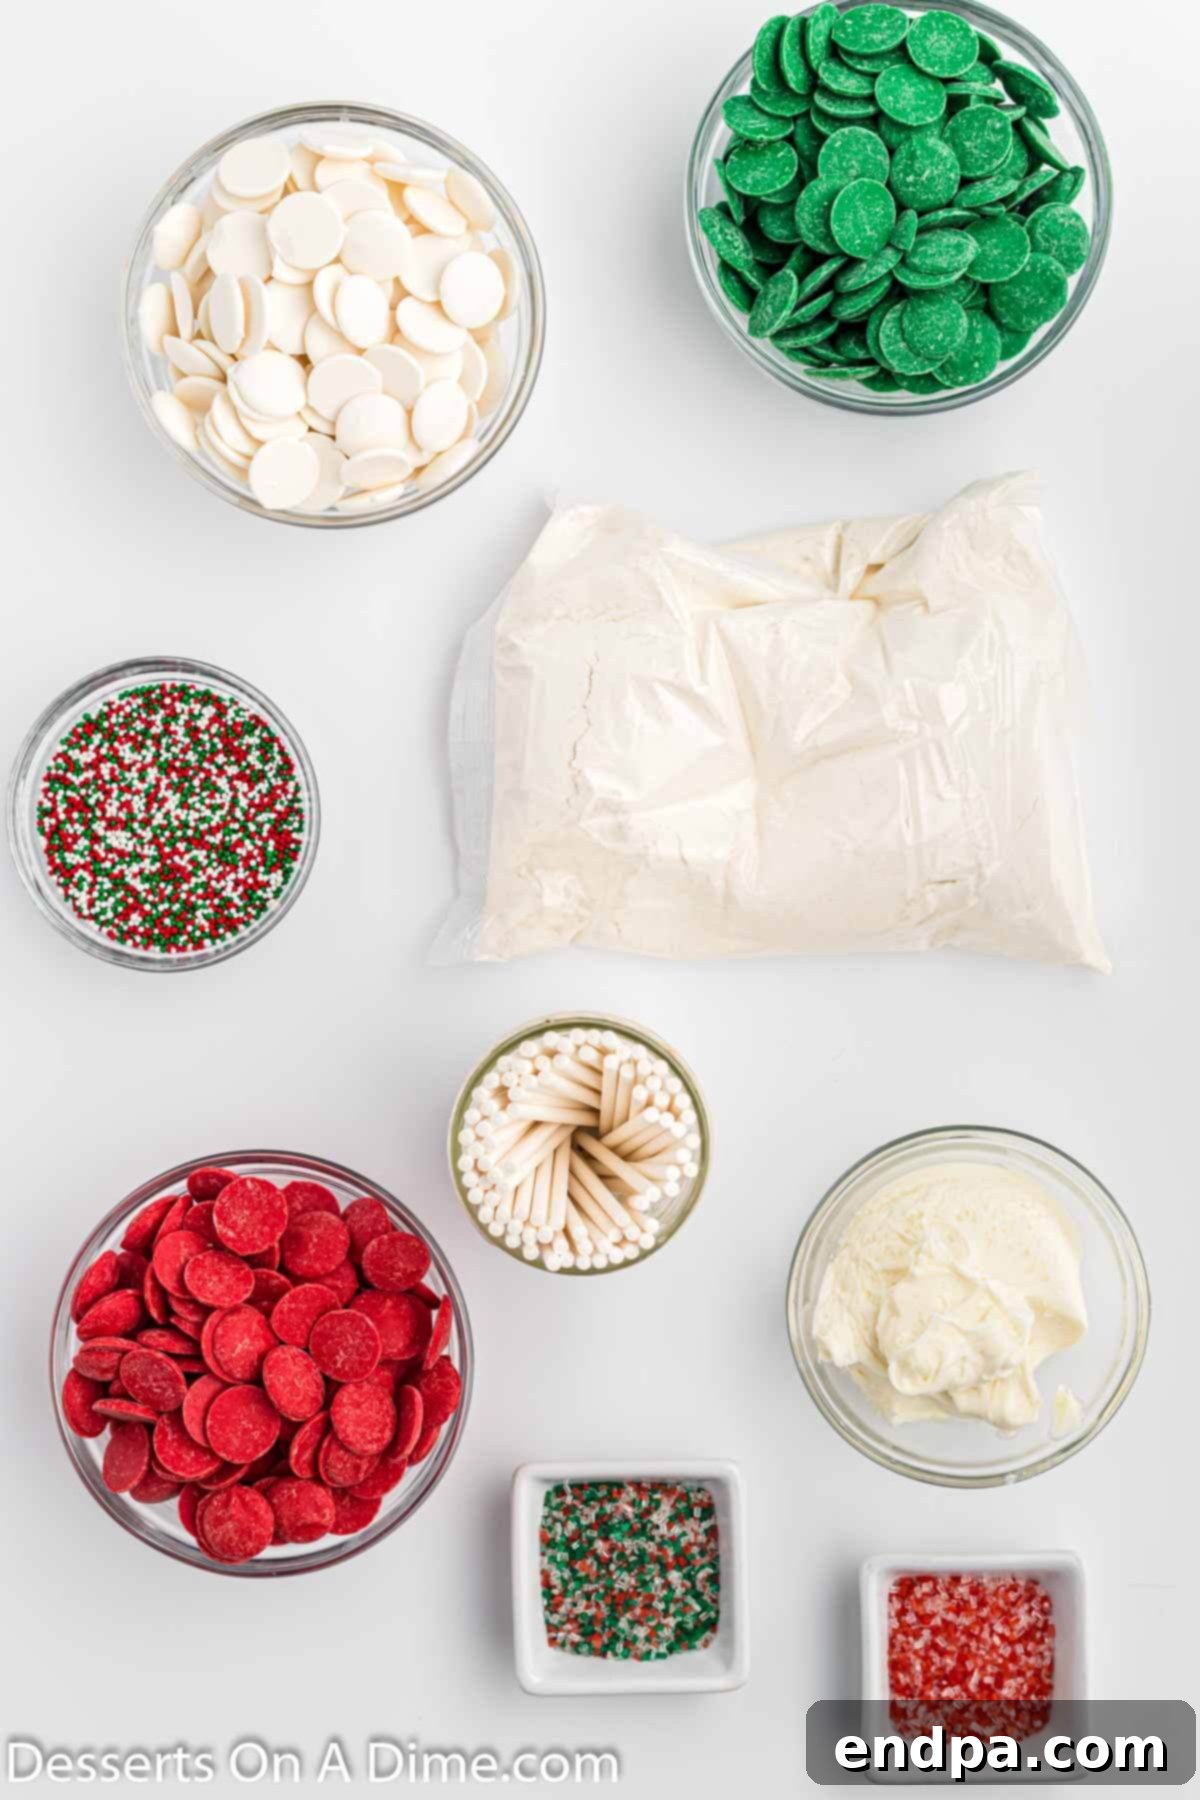
- Super Moist Yellow Cake Mix: We recommend a “super moist” variety because it helps achieve the ideal cake pop consistency – tender and flavorful without being dry. A 16.5 oz box is typically sufficient. Remember to also gather the additional ingredients required on the back of your specific cake mix box, such as eggs, oil, and water.
- Cream Cheese Frosting: A touch of cream cheese frosting is the secret to binding the crumbled cake into a rich, pliable dough. Its tangy sweetness perfectly complements the cake and candy coating. Use about 1/3 cup, but adjust slightly as needed to reach the desired consistency for rolling.
- White Candy Melts: These provide a smooth, versatile base for your festive colors or can be used on their own for elegant white cake pops. Approximately 8 oz will be needed.
- Red Candy Melts: Essential for that vibrant Christmas red! These add a festive splash of color and a sweet, vanilla-like coating. You’ll need about 8 oz.
- Green Candy Melts: Completing the traditional Christmas palette, green candy melts provide another bright and cheerful layer. Plan for about 8 oz.
- Christmas Sprinkles: The crowning glory! Choose a festive mix of red, green, and white sprinkles, or opt for specific shapes like stars, trees, or snowflakes to enhance the holiday theme.
- Lollipop Sticks: These are crucial for creating the “pop” effect, making them easy to hold and eat. Standard 4-inch or 6-inch lollipop sticks work best.
For detailed measurements and step-by-step instructions, please scroll down to the full recipe card at the bottom of this post.
Creative Variation Ideas
One of the best aspects of making cake pops is how easily you can customize them. These variations allow you to experiment with flavors and aesthetics, ensuring your Christmas Cake Pops are unique and perfectly suited to your taste or party theme.
- Cake Flavor Exploration: Don’t limit yourself to just yellow cake!
- Red Velvet Cake: For a decadent and visually striking cake pop, red velvet cake adds a rich cocoa flavor and a beautiful deep red hue even before coating.
- Vanilla Cake: A classic choice, vanilla cake provides a neutral base that truly lets the candy melt flavors shine. It’s perfect if you want a lighter, traditional taste.
- Chocolate Cake: Indulge chocolate lovers with a rich chocolate cake base. This pairs wonderfully with white, red, or green candy melts, creating a striking contrast.
- Lemon Cake: For a brighter, zesty twist, try a lemon cake mix. The slight tartness offers a refreshing counterpoint to the sweet candy coating, perfect for those who enjoy a hint of citrus.
- Endless Decoration Possibilities: The sprinkles are just the beginning!
- Seasonal Sprinkles: Beyond Christmas, adapt your cake pops for any holiday. Use pastel sprinkles for Easter, pink and red for Valentine’s Day, orange and black for Halloween, or blue and white for Hanukkah.
- Edible Glitter or Dust: Add a touch of magic with edible glitter or shimmering dust in gold, silver, or pearl. Apply it while the coating is still slightly tacky.
- Drizzle Designs: Once the main coating is dry, use a contrasting color of melted candy (or melted chocolate) to drizzle patterns or stripes over the cake pops for an artistic touch.
- Crushed Candies: Roll the wet cake pops in crushed peppermints, M&M’s, or other small candies for added texture and flavor.
- Gluten-Free Option: Making these treats accessible is easy!
- You can readily use a gluten-free cake mix to cater to dietary needs. Ensure all other ingredients (frosting, candy melts, sprinkles) are also certified gluten-free if strict adherence is required.
- Coating Choices: While candy melts offer vibrant colors, other options exist.
- Melted Chocolate: Instead of candy melts, you can use high-quality melted chocolate. White chocolate is particularly popular for its smooth texture and neutral color, making it easy to tint with oil-based food colorings (water-based colors will seize chocolate). Milk or dark chocolate can also be used for a richer, more intense flavor.
- Compound Chocolate: Often sold as “chocolate coating” or “confectionery coating,” this is similar to candy melts and is easier to work with than true chocolate as it doesn’t require tempering.
Step-by-Step Guide to Making Christmas Cake Pops
Creating these festive Christmas Cake Pops is a fun and rewarding process. Follow these simple steps for perfect results every time!
Expert Tips for Perfect Cake Pops
Achieving bakery-quality cake pops at home is easier than you think with a few simple tricks. These tips will help you avoid common pitfalls and ensure your Christmas Cake Pops are a resounding success!
- Prepare Baking Sheets with Parchment Paper: Always line your baking sheets with parchment paper or wax paper. This prevents the cake balls from sticking and makes for incredibly easy cleanup, saving you time and effort.
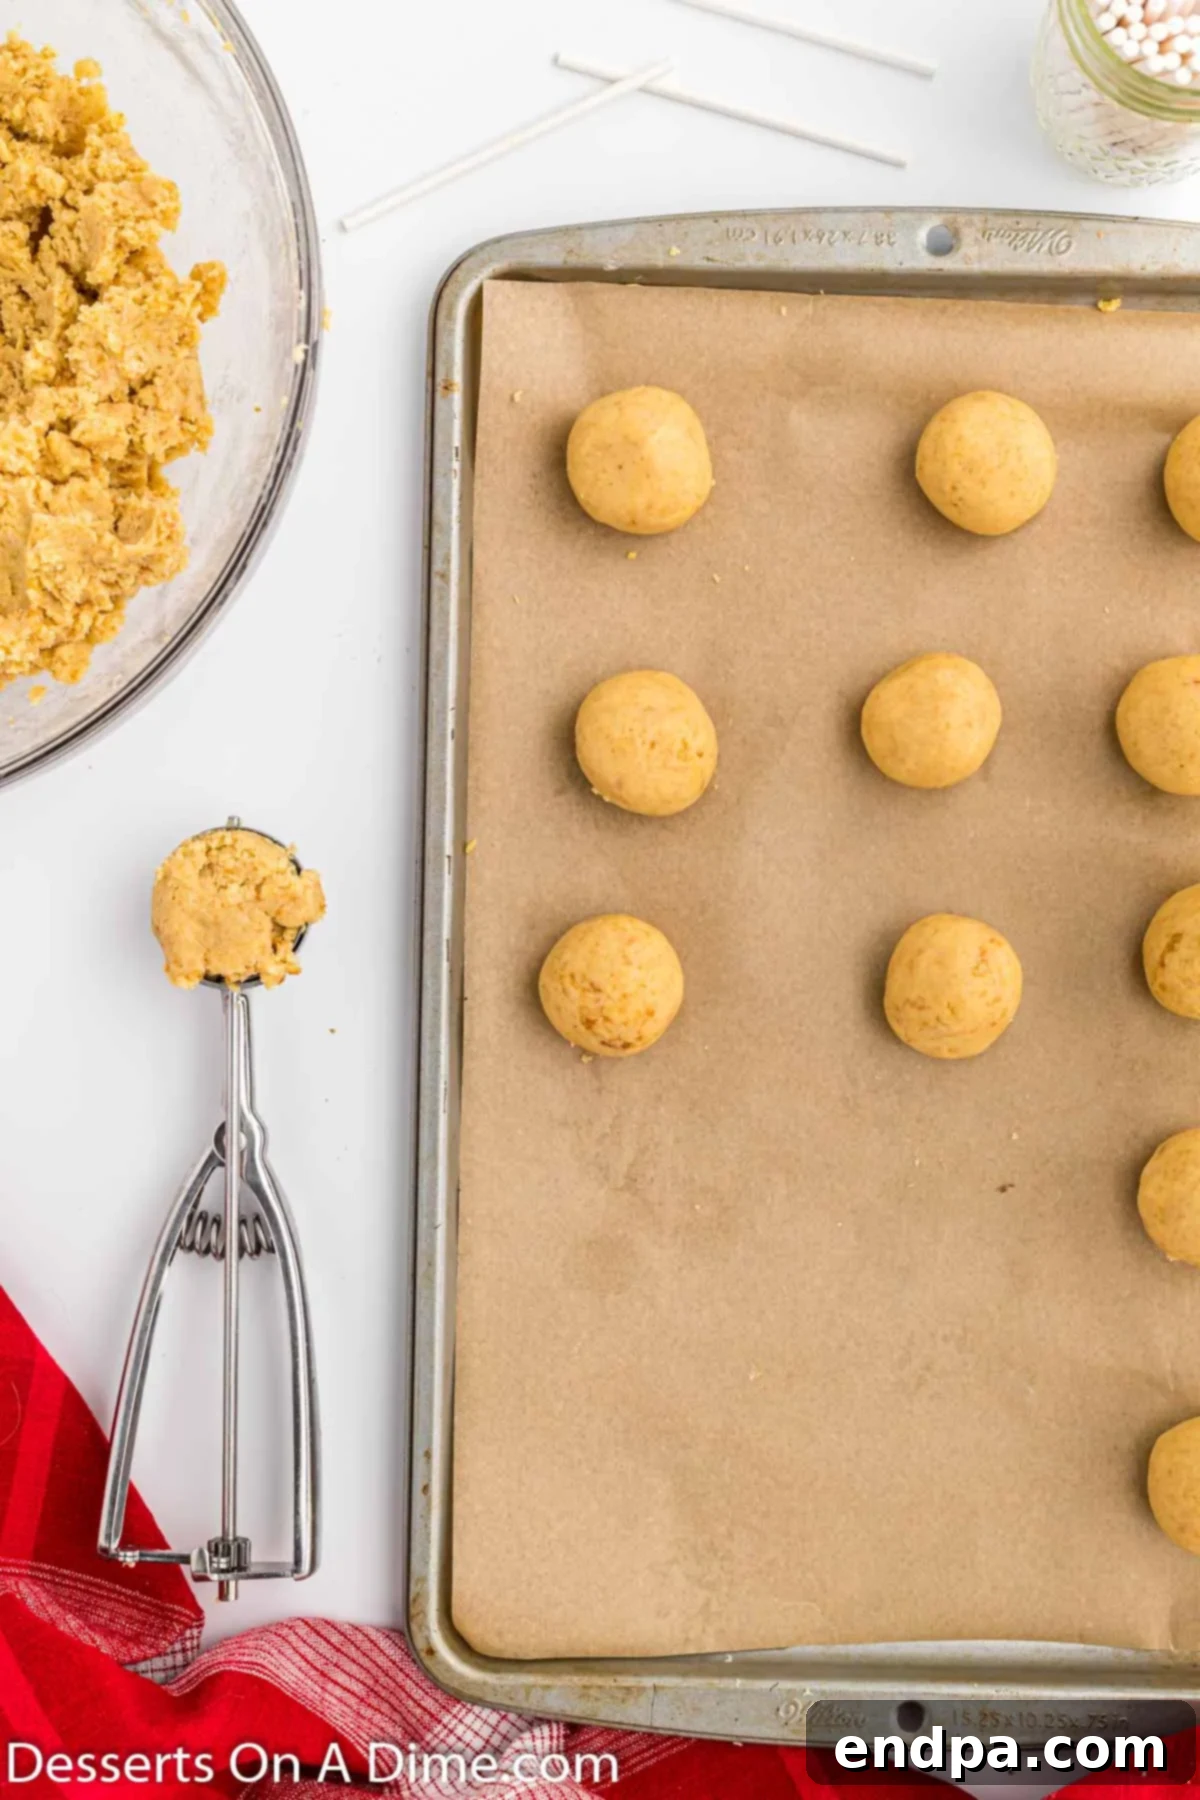
- Ensure Uniformity with a Cookie Scoop: Using a cookie scoop (or even a melon baller) for portioning the cake mixture is a game-changer. It helps create cake balls that are all roughly the same size, which is essential for consistent baking and dipping, leading to a more professional appearance.
- Melt Coating in Short Intervals: Candy melts and chocolate can be finicky. To prevent burning or seizing, always melt them in the microwave in 30-second intervals. Stir well after each interval, even if they don’t look melted yet. The residual heat will continue to melt them. This gradual approach ensures a smooth, workable consistency.
- Measure Frosting Precisely: The amount of frosting is critical for the consistency of your cake mixture. Resist the temptation to add extra frosting, as too much will make the cake balls too soft and sticky. This can cause them to slip off the lollipop stick when dipping. Stick to the recipe’s measurements or add very small amounts if adjustments are needed.
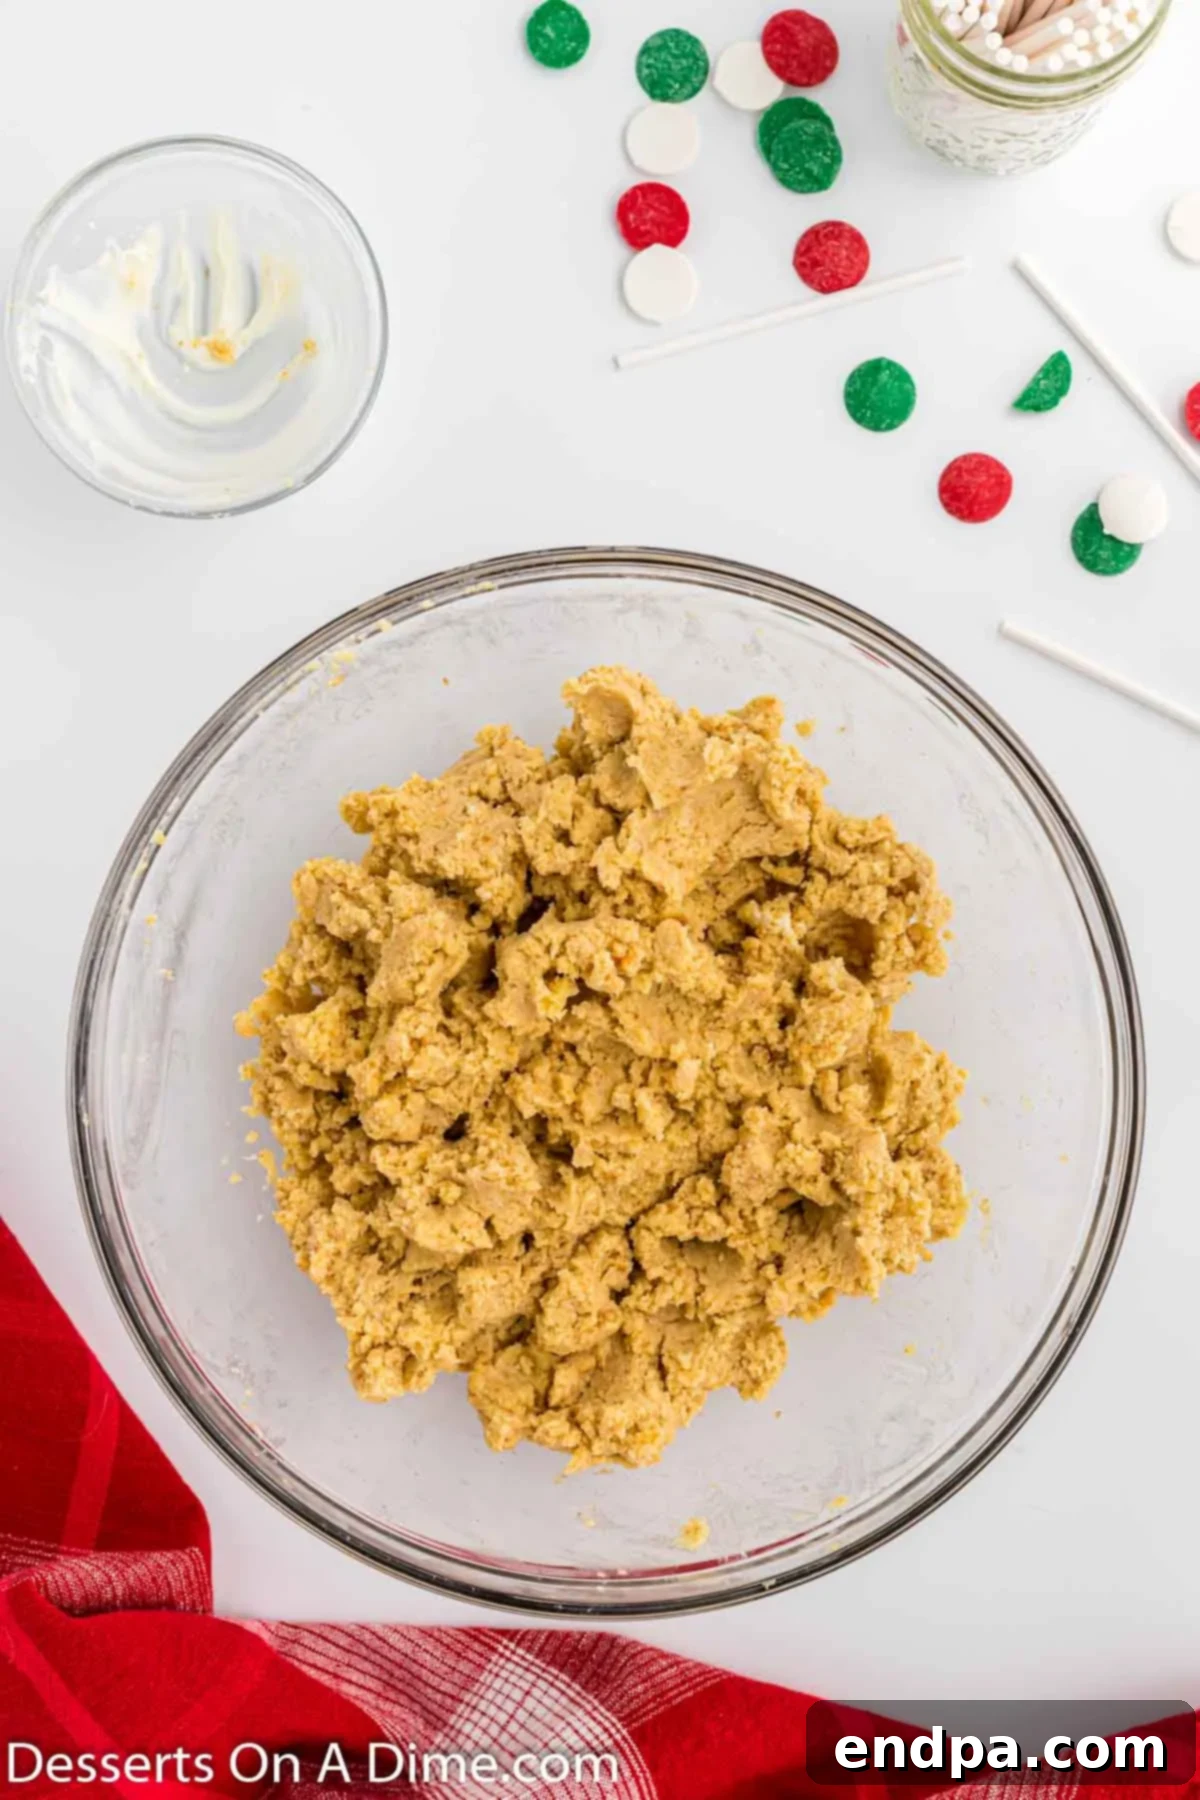
- Chill Sticky Cake Mixture: If, after mixing with frosting, your cake batter feels too sticky or soft to roll, don’t despair! Simply cover the bowl and place it in the refrigerator for about 15-30 minutes. This chilling period will firm up the mixture, making it much easier to handle and roll into perfect balls.
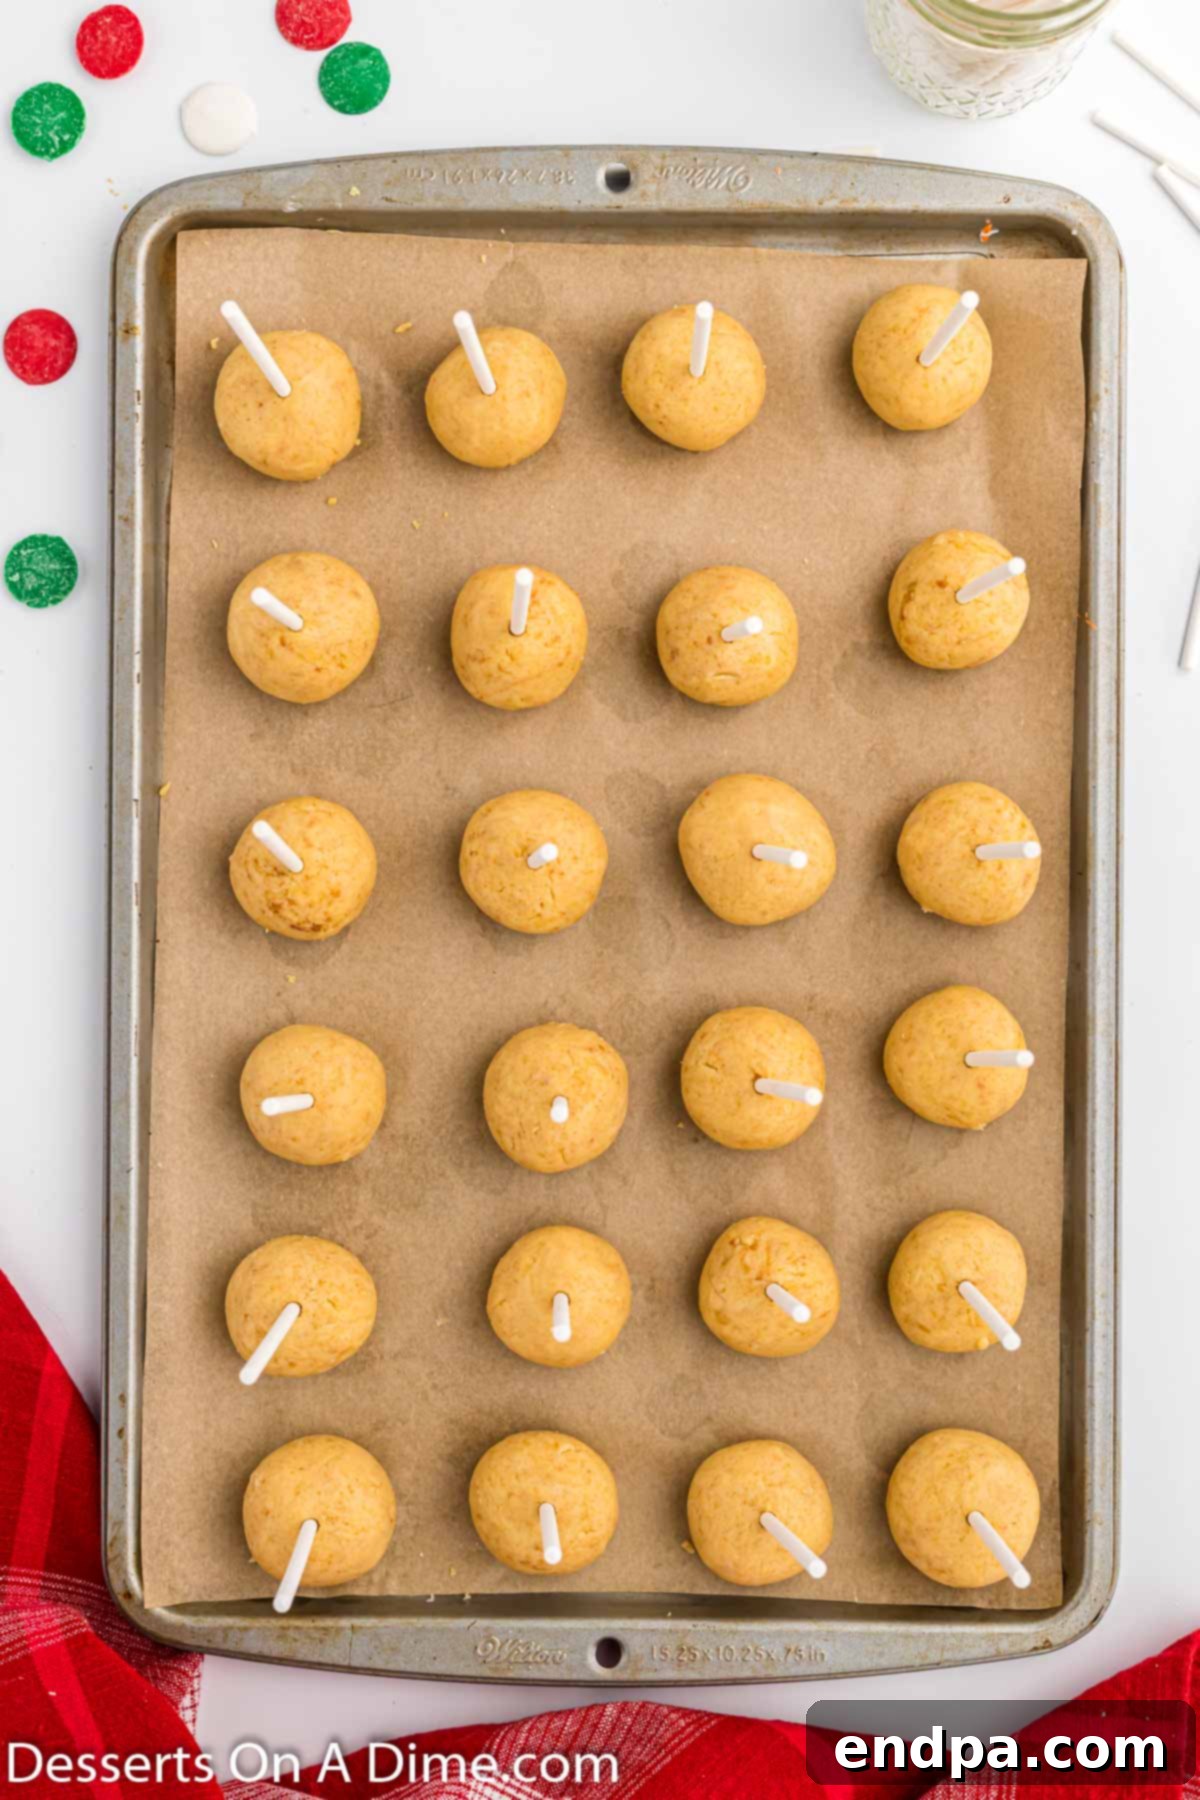
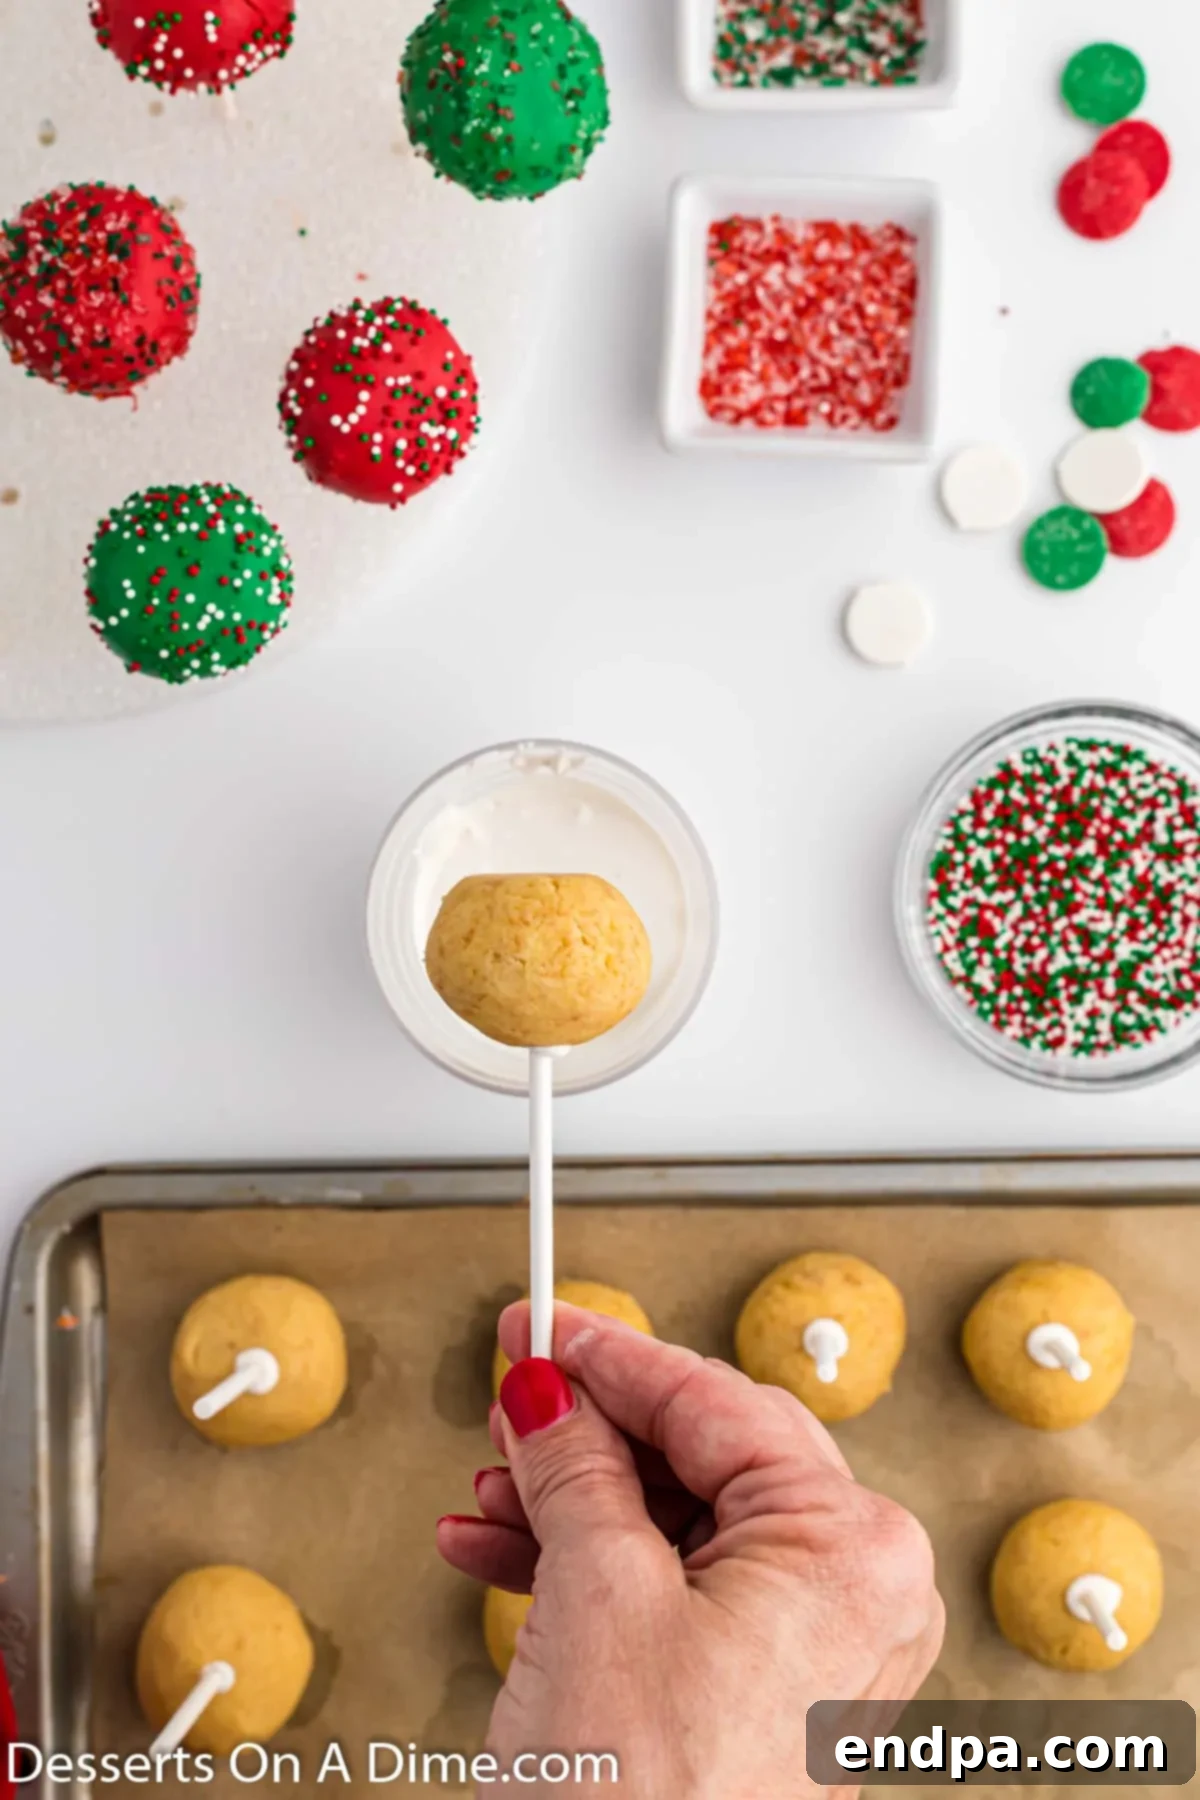
- Secure Sticks with Melted Candy: For maximum stability, dip the tip of each lollipop stick into a small amount of melted candy coating before inserting it into the cake ball. This creates a strong adhesive bond, preventing the cake pop from falling off the stick during the dipping process.
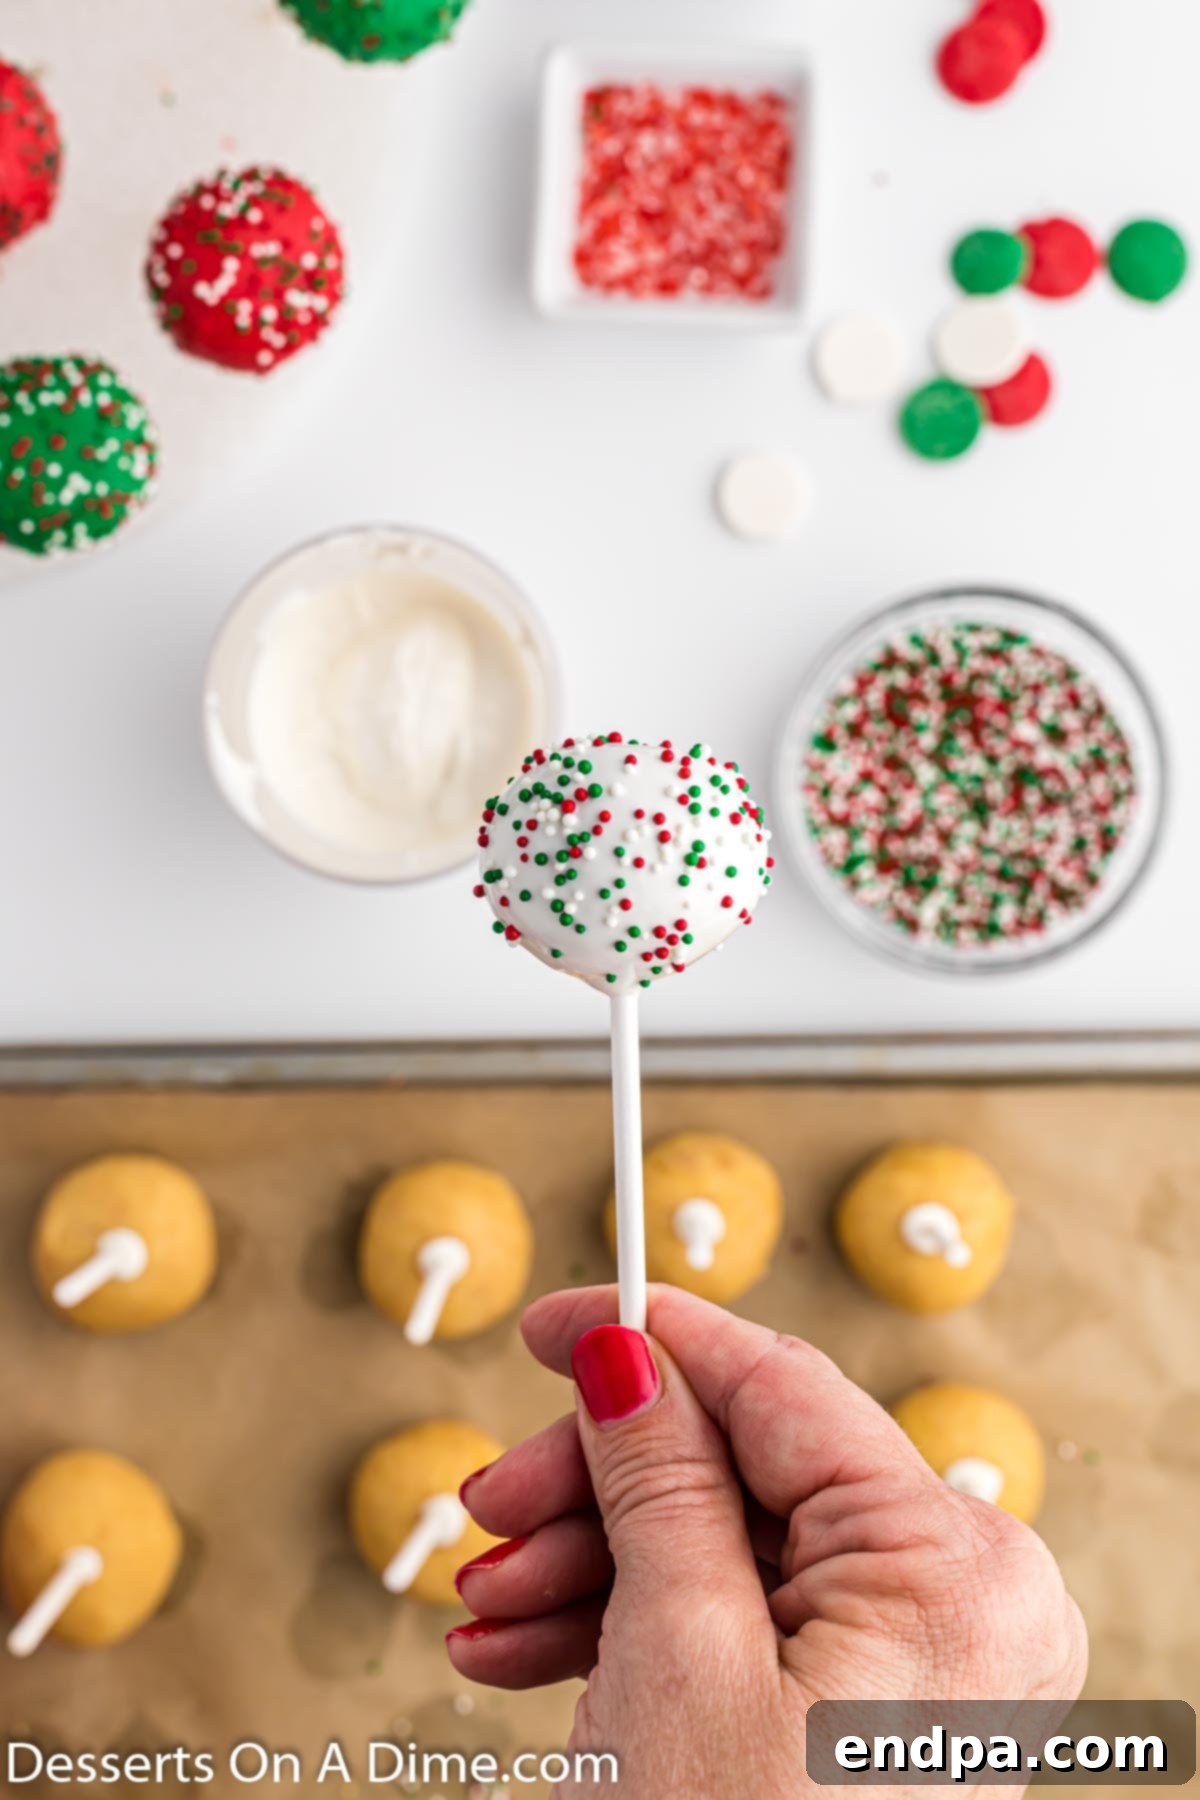
- Apply Sprinkles Immediately: Timing is key for decoration! Sprinkles must be applied while the candy coating is still wet and tacky. If you wait too long, the coating will set, and the sprinkles won’t adhere properly to your beautiful Christmas tree cake pops.
Frequently Asked Questions (FAQs)
Got questions about making or storing your Christmas Cake Pops? Here are some common queries and their answers to help you along the way.
Absolutely! Making cake pops in advance is an excellent way to save time when preparing for a party. You can prepare the cake balls (after mixing with frosting) and refrigerate them overnight or even for up to 2-3 days. Then, coat and decorate them with melted candy on the day you plan to serve them. Alternatively, you can bake the cake a day ahead, let it cool completely, and then proceed with crumbling and mixing on the next day, further streamlining the process.
Cake pops are surprisingly durable! At room temperature (in an airtight container), they will stay fresh for 1 to 2 weeks. If you store them in the refrigerator, they can last even longer, typically up to 3 weeks. Always keep them in an airtight container to maintain their freshness and prevent them from drying out.
Yes, cake pops freeze beautifully! You can freeze them for up to a month. To do so, arrange the finished (and dried) cake pops in a single layer on a baking sheet lined with wax paper and flash freeze them for about an hour. Once firm, transfer them to an airtight freezer-safe container, separating layers with wax paper to prevent sticking. When you’re ready to serve, simply thaw them overnight in the refrigerator. For more detailed information, you can read our guide on Can You Freeze Cake Pops.
This is a common issue, usually due to the cake mixture being too soft or the stick not being properly secured. Ensure you measure the frosting precisely (don’t add too much!), and if the mixture is still too soft, chill it thoroughly in the refrigerator before rolling. Also, always dip the tip of your lollipop stick into melted candy before inserting it into the cake ball; this acts as a “glue” to hold it in place.
Cracking can occur for a few reasons. The most common is a significant temperature difference between the cold cake pop and the warm candy coating. Ensure your cake pops are thoroughly chilled but not frozen solid, and that your candy coating isn’t too hot. Overheating the candy melts can also make them brittle. Additionally, if the coating is applied too thinly, it might crack as it dries.
More Irresistible Cake Pop Recipes
If you’ve fallen in love with making cake pops, there’s a whole world of flavors and themes to explore! Here are some other fantastic cake pop recipes that are sure to become new favorites:
- Pumpkin Cake Pops: A delightful treat perfect for autumn gatherings and Thanksgiving, capturing the warm flavors of fall.
- Reindeer Cake Pops with Pretzel Antlers: These adorable reindeer-themed cake pops are a whimsical and fun Christmas dessert, complete with edible pretzel antlers.
- Chocolate Cake Pops: Recreate a coffee shop favorite at home with these rich and decadent chocolate cake pops, a hit with chocoholics.
- Birthday Cake Pops: Celebrate any occasion with these funfetti-inspired birthday cake pops, bursting with sprinkles and joy.
- Vanilla Cake Balls Recipe: Simple yet elegant, these vanilla cake balls are a versatile base for any decoration or flavor pairing you can imagine.
More Festive Christmas Desserts to Try
Looking to expand your holiday baking repertoire? Here are more festive Christmas desserts that will bring joy and sweetness to your celebrations:
- Christmas Truffles Recipe: Elegant and easy, these truffles are a delightful, rich treat that can be customized with various coatings and sprinkles.
- White Chocolate Peppermint Cookies: A classic holiday flavor combination, these cookies are soft, chewy, and loaded with festive peppermint and sweet white chocolate.
- Christmas Bundt Cake: A show-stopping centerpiece, this beautiful bundt cake is often flavored with holiday spices and topped with a festive glaze.
- Ice Cream Cones Christmas Trees: A fun and creative edible craft for kids, transforming simple ice cream cones into adorable mini Christmas trees.
- Christmas Light Cookies: Decorate simple sugar cookies to look like colorful Christmas lights for a charming and delicious treat.
- Christmas Candy Desserts: A collection of quick and easy desserts that feature your favorite holiday candies, perfect for last-minute treats.
We hope this comprehensive guide inspires you to create your own batch of easy and enchanting Christmas Cake Pops this holiday season. They are truly a special treat that captures the magic of Christmas in every bite. Once you’ve made them, please come back and share your experience!
Christmas Cake Pops Recipe Card
Christmas Cake Pops
Christmas Cake Pops make a festive bite-sized dessert. They are rich and creamy while being simple to prepare.
15 mins
25 mins
15 mins
55 mins
24
American
Dessert
183
Carrie Barnard
Ingredients
- 1 box Super Moist Yellow Cake Mix (16.5 oz box)
- *Plus ingredients to prepare the cake on the back of the box (e.g., eggs, oil, water)
- 1/3 cup Cream Cheese Frosting
- 8 oz. White Candy Melts
- 8 oz. Red Candy Melts
- 8 oz. Green Candy Melts
- Christmas Sprinkles
- Lollipop Sticks
Instructions
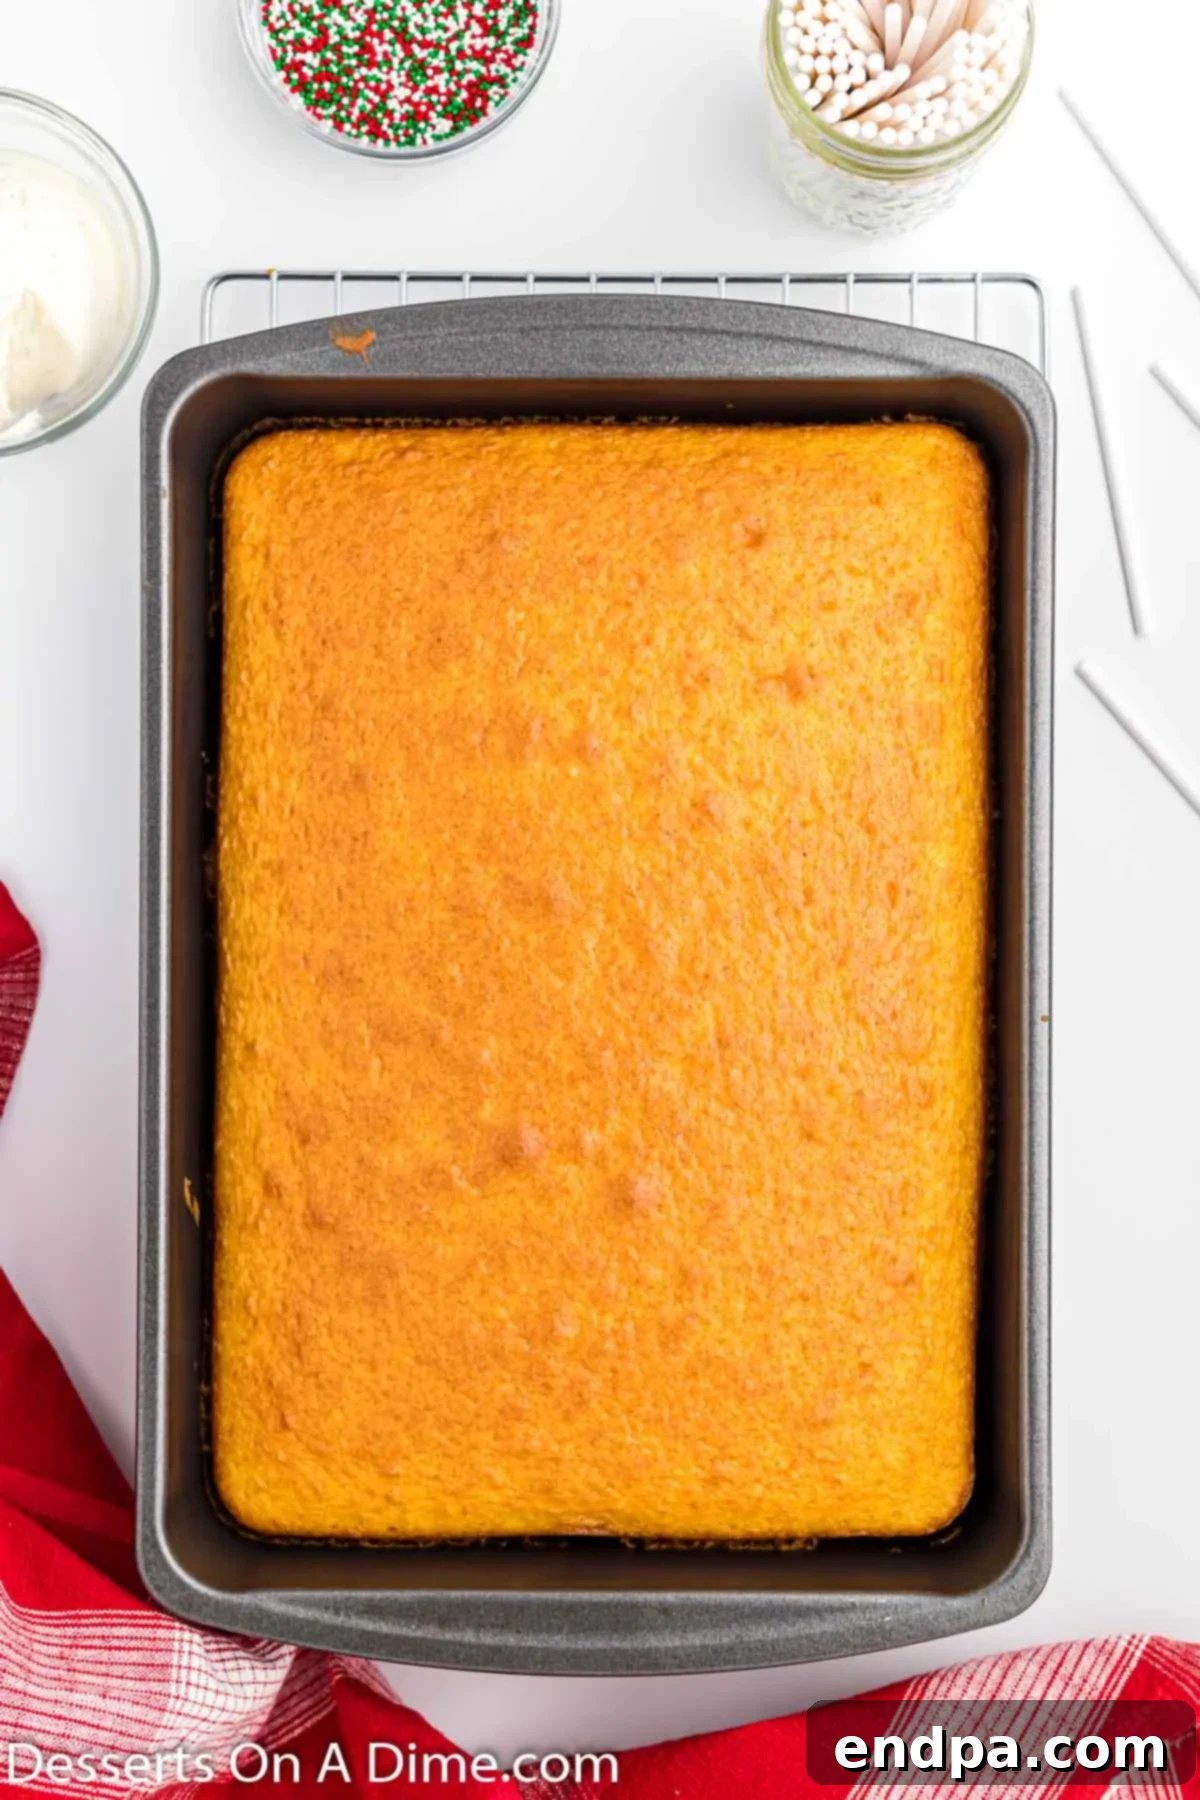
- Make the cake and bake according to box instructions in a 9×13 inch pan. Allow the cake to cool completely at room temperature.
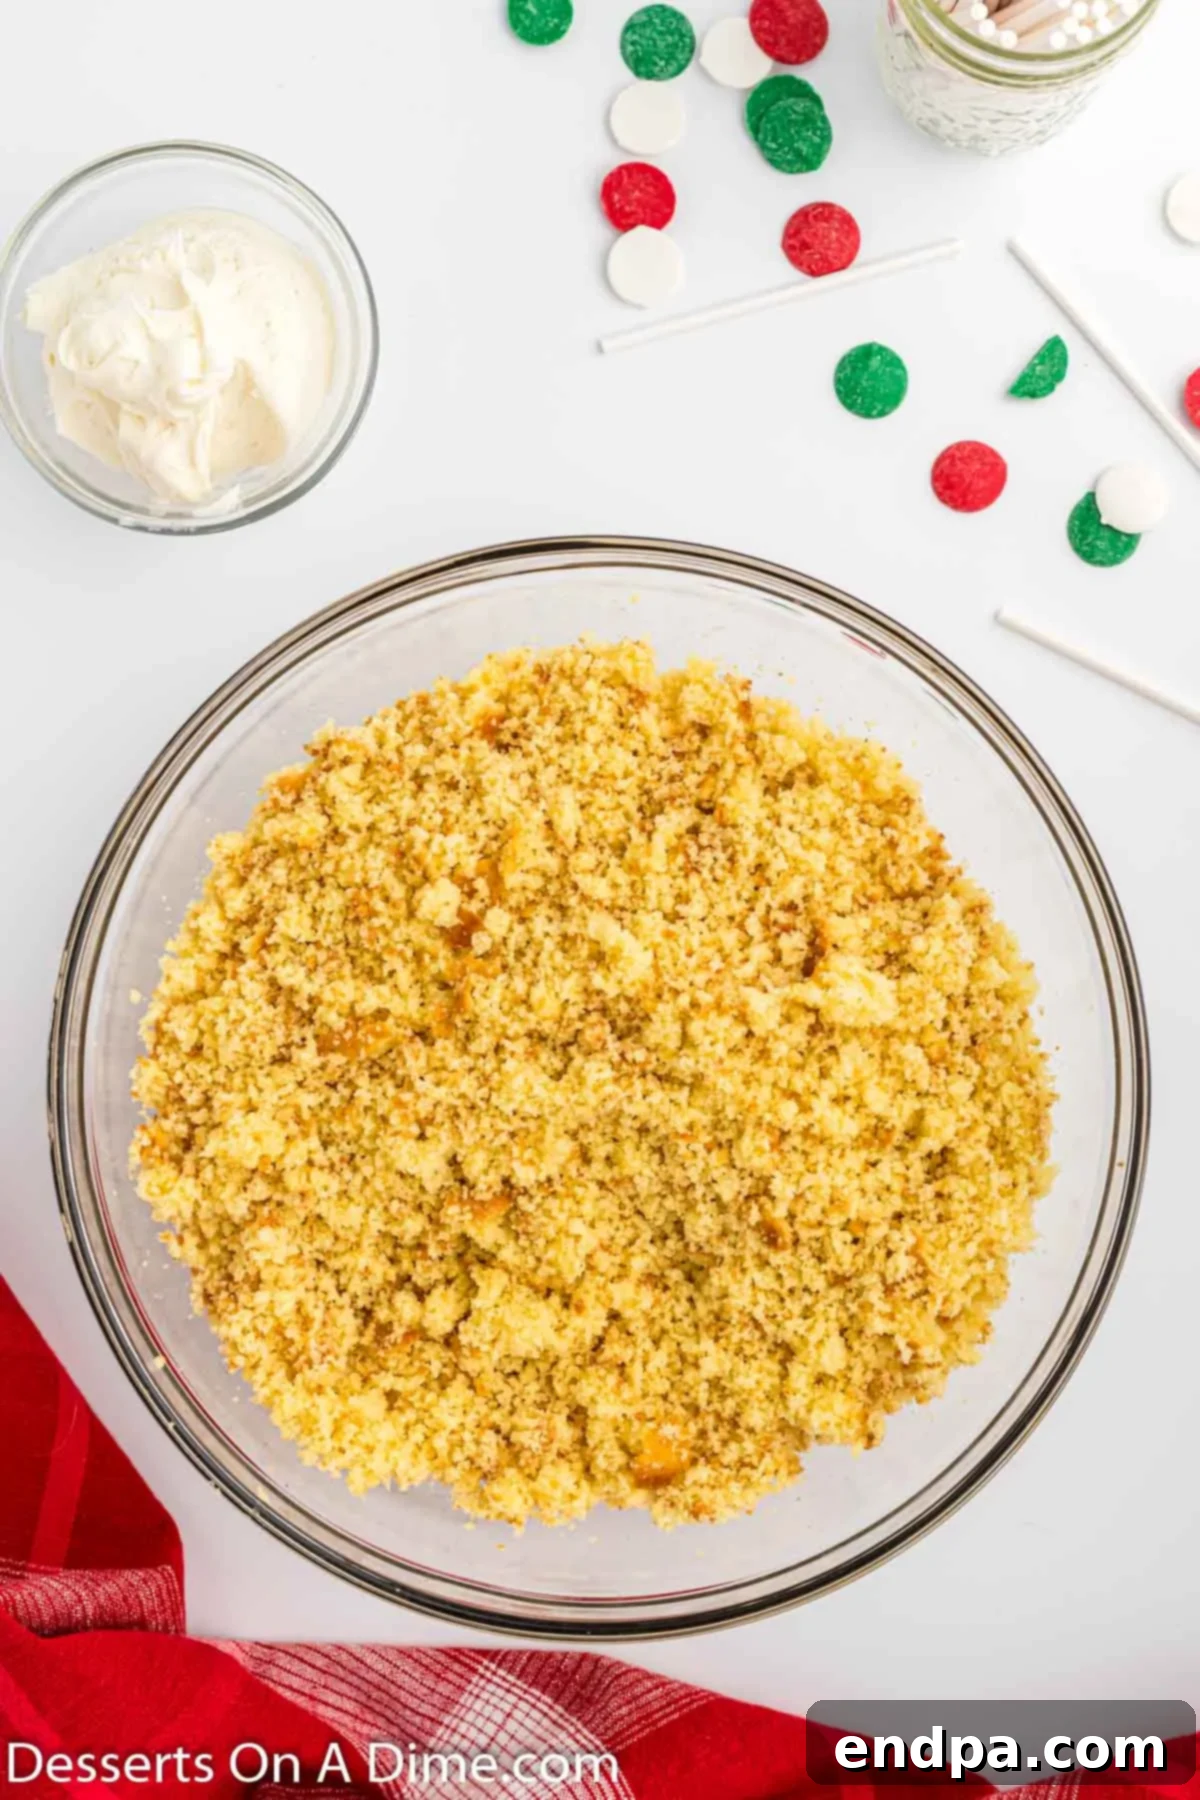
- Remove the cake from the pan. Carefully remove and discard the browned outside layer from the cake. Crumble the remaining soft cake into a large bowl.
- Add the cream cheese frosting to your crumbled cake and stir everything together until well combined and forms a dough-like consistency.
- Shape the mixture into approximately 24-36 uniform cake balls (depending on desired size). Place them on a baking sheet lined with parchment paper.
- Gently dip each lollipop stick into a small amount of melted candy, then insert it about halfway into the cake balls. Place the baking sheet with the cake pops into the freezer for 10-15 minutes to chill.
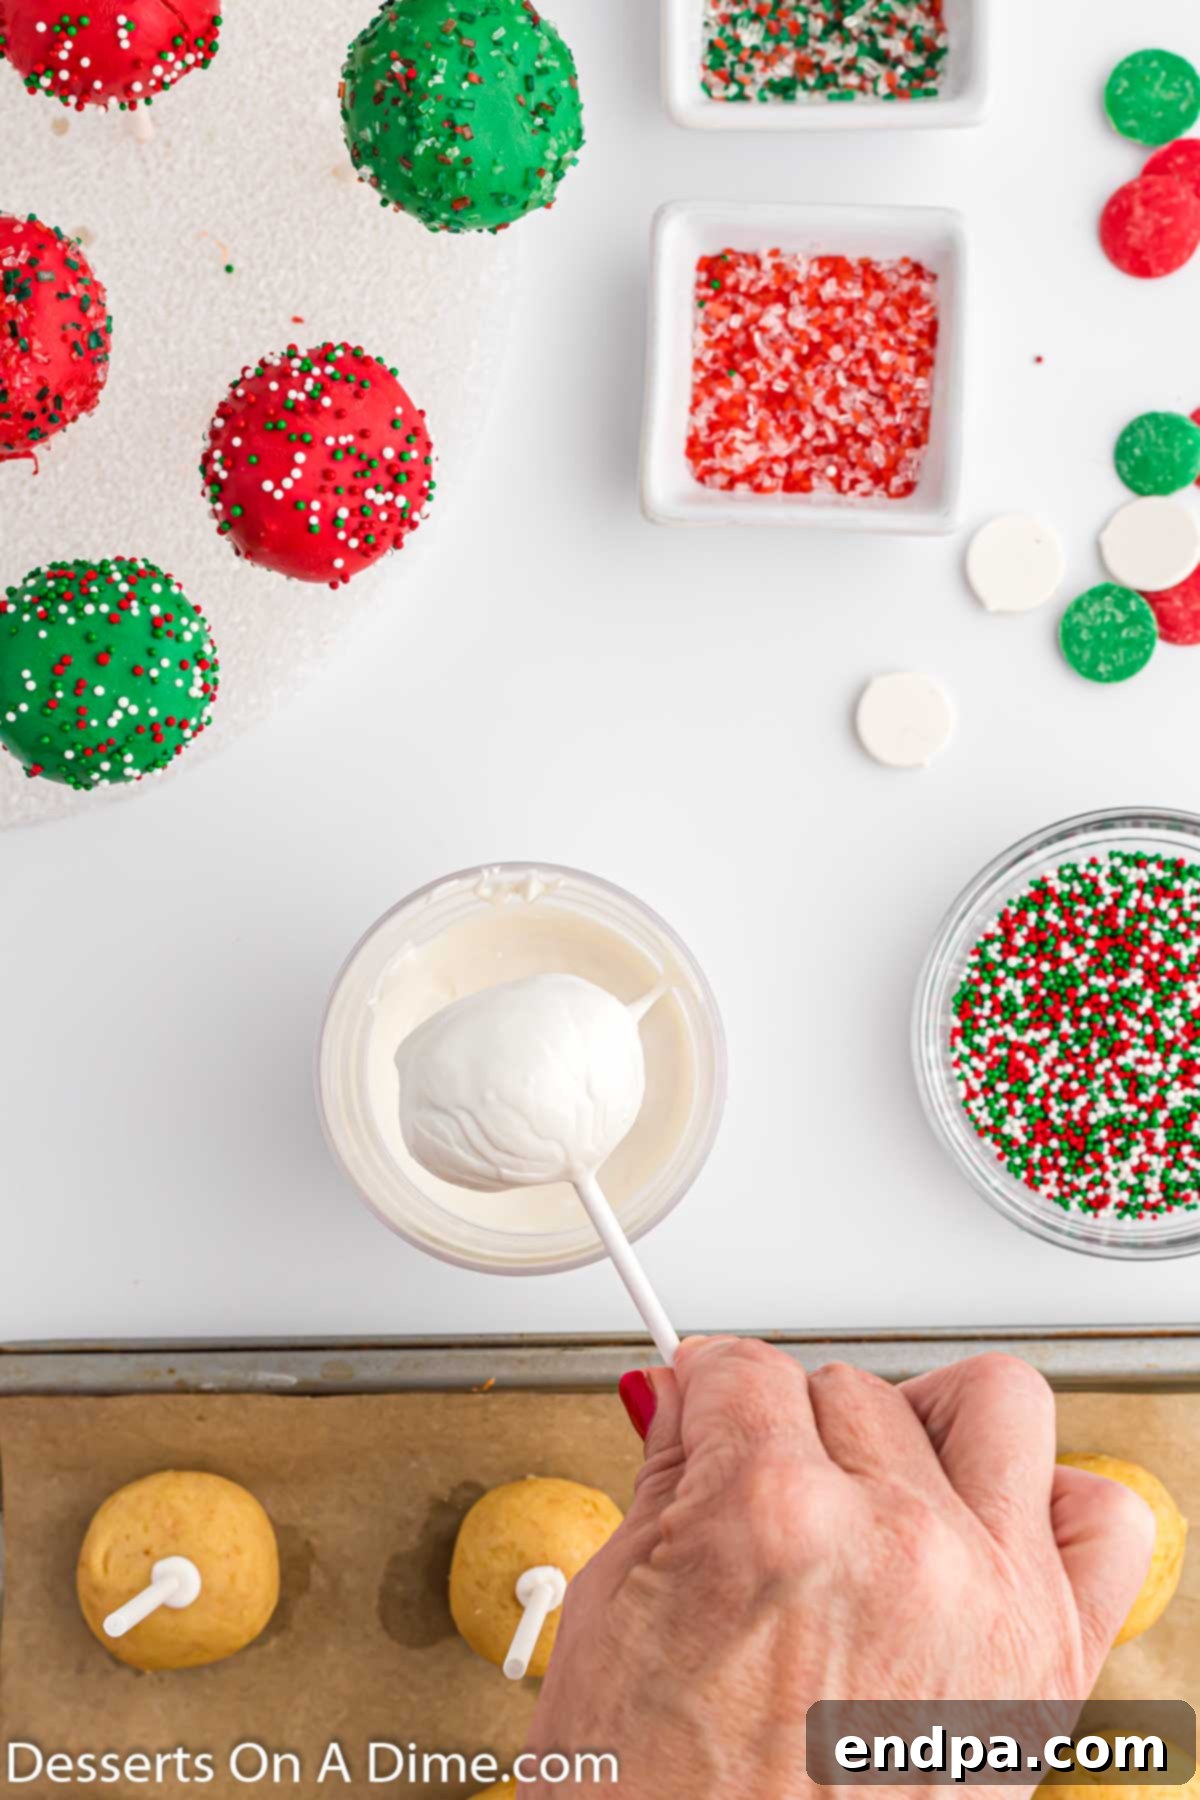
- Place each color of candy melts into separate microwave-safe bowls. Heat in 30-second intervals, stirring after each interval until fully melted and smooth. Be careful not to overheat.
- Dip each chilled cake pop into one color of the melted candy melts. Ensure the candy completely covers the cake pop. Gently tap the stick to allow excess melted candy to drip off back into the bowl.
- Immediately (while the coating is still wet), top the cake pops with Christmas sprinkles. Insert the stick of the decorated cake pop into a block of Styrofoam to dry completely.
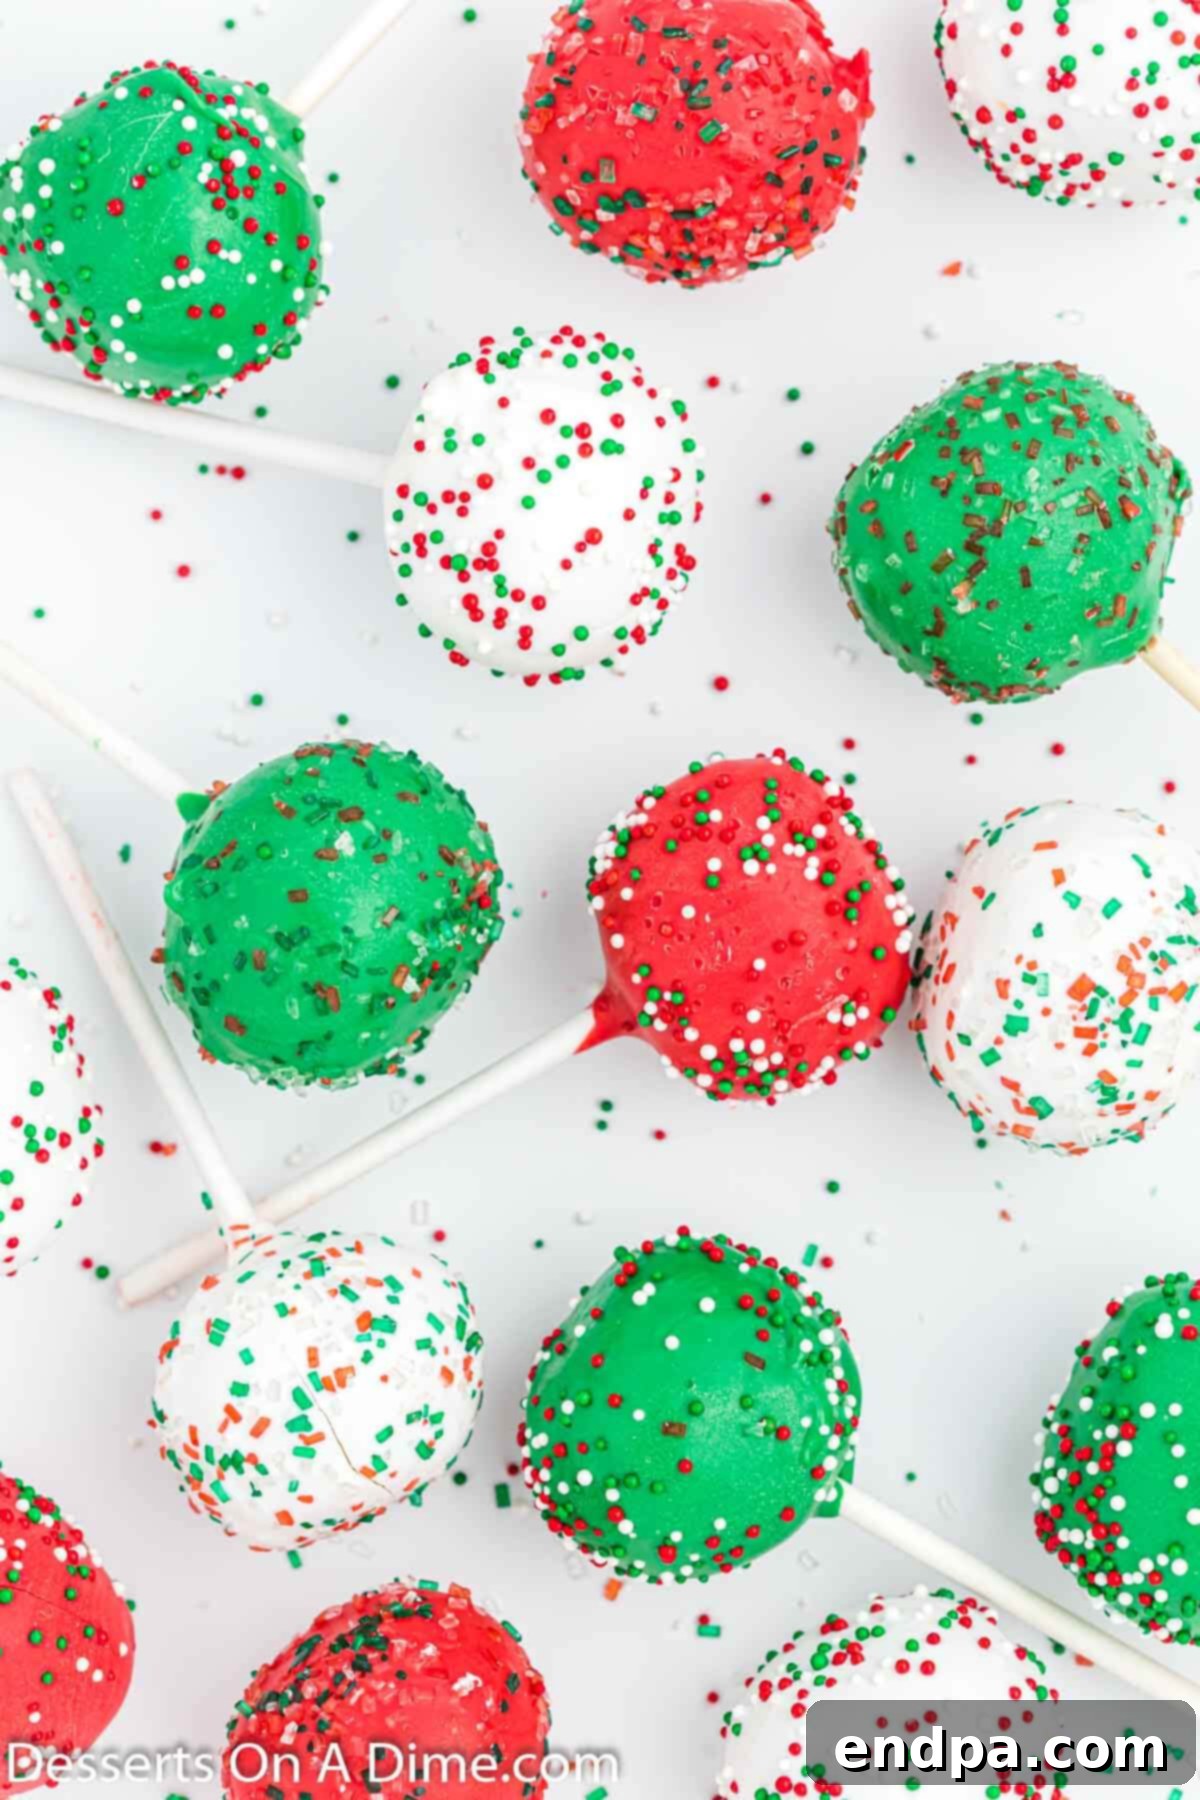
- Continue until all the cake pops have been covered and decorated. Once all the candy coatings are dry and set, they are ready to serve and enjoy!
Nutrition Facts
Calories: 183kcal, Carbohydrates: 28g, Protein: 1g, Fat: 7g, Saturated Fat: 4g, Polyunsaturated Fat: 1g, Monounsaturated Fat: 2g, Trans Fat: 1g, Sodium: 171mg, Potassium: 15mg, Fiber: 1g, Sugar: 20g, Calcium: 47mg, Iron: 1mg
