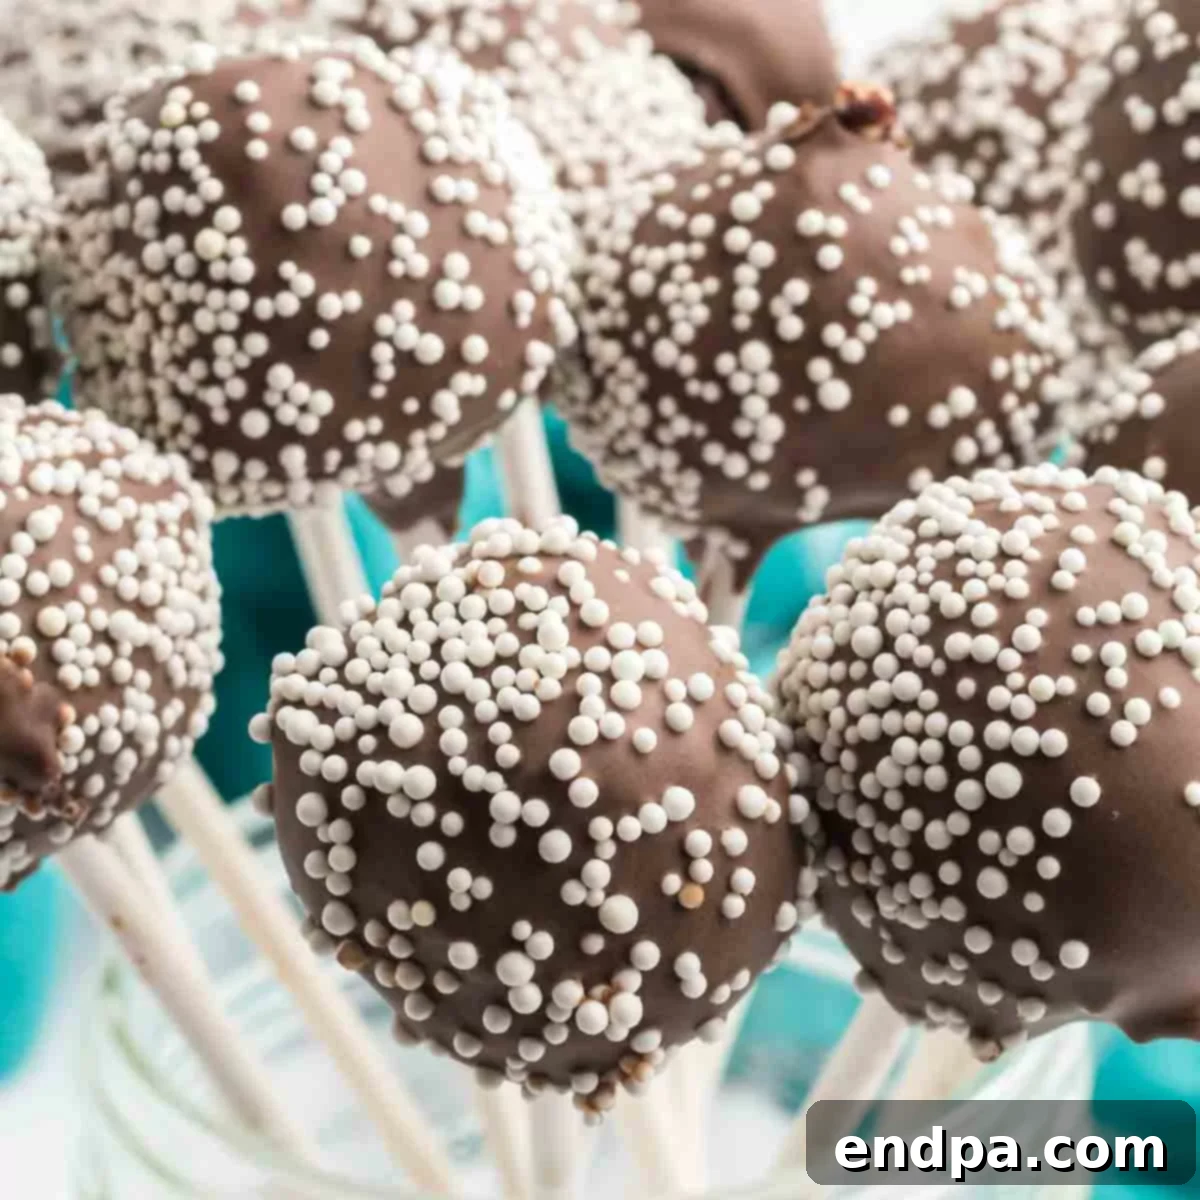
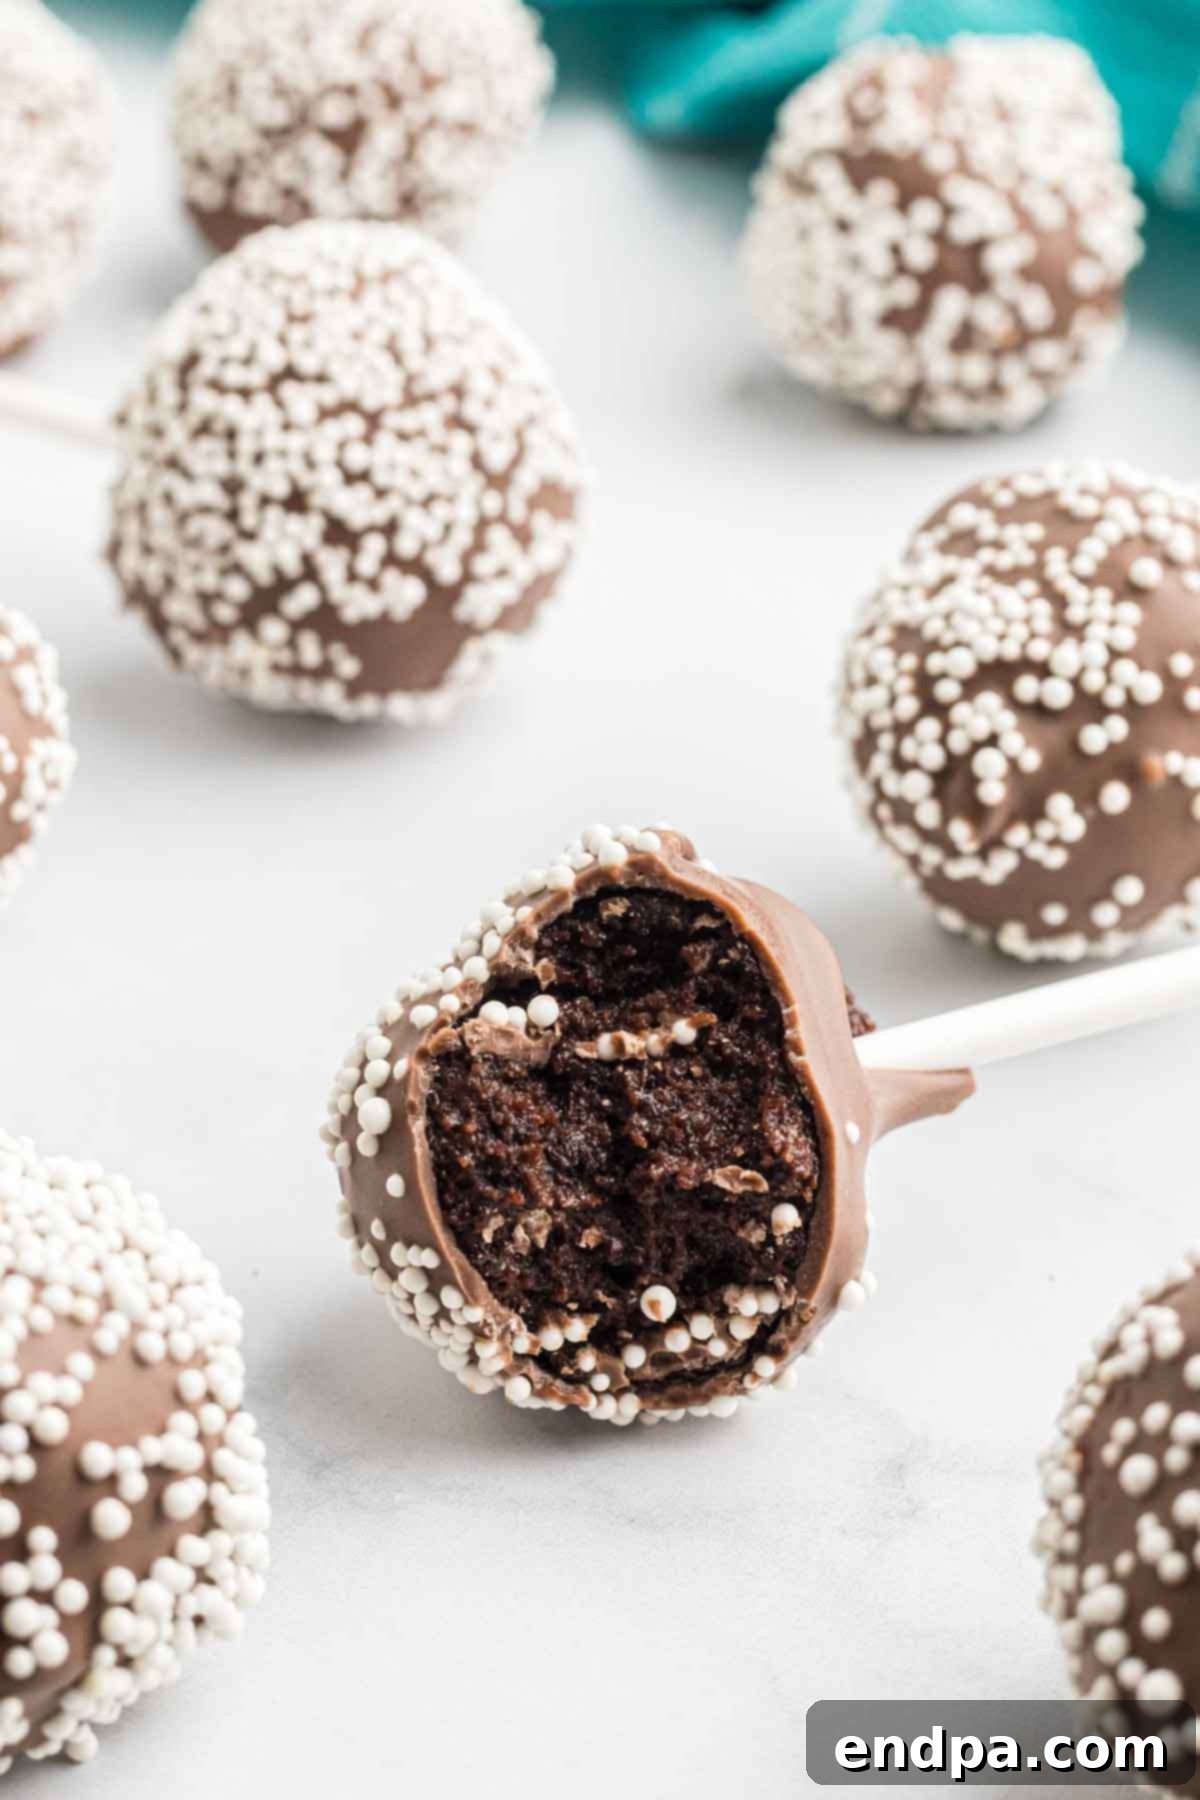
Transform your kitchen into a Starbucks haven with this incredibly easy and utterly delicious Starbucks Chocolate Cake Pops Recipe. Imagine biting into a moist, fudgy chocolate cake, perfectly blended with creamy frosting, and encased in a crisp, rich candy coating. These homemade chocolate cake pops are not just a treat; they’re a delightful experience, delivering that signature Starbucks taste right to your fingertips. Whether you’re a seasoned baker or just starting, our simplified guide ensures flawless, professional-looking cake pops every time, making them the perfect bite-sized indulgence for any occasion.
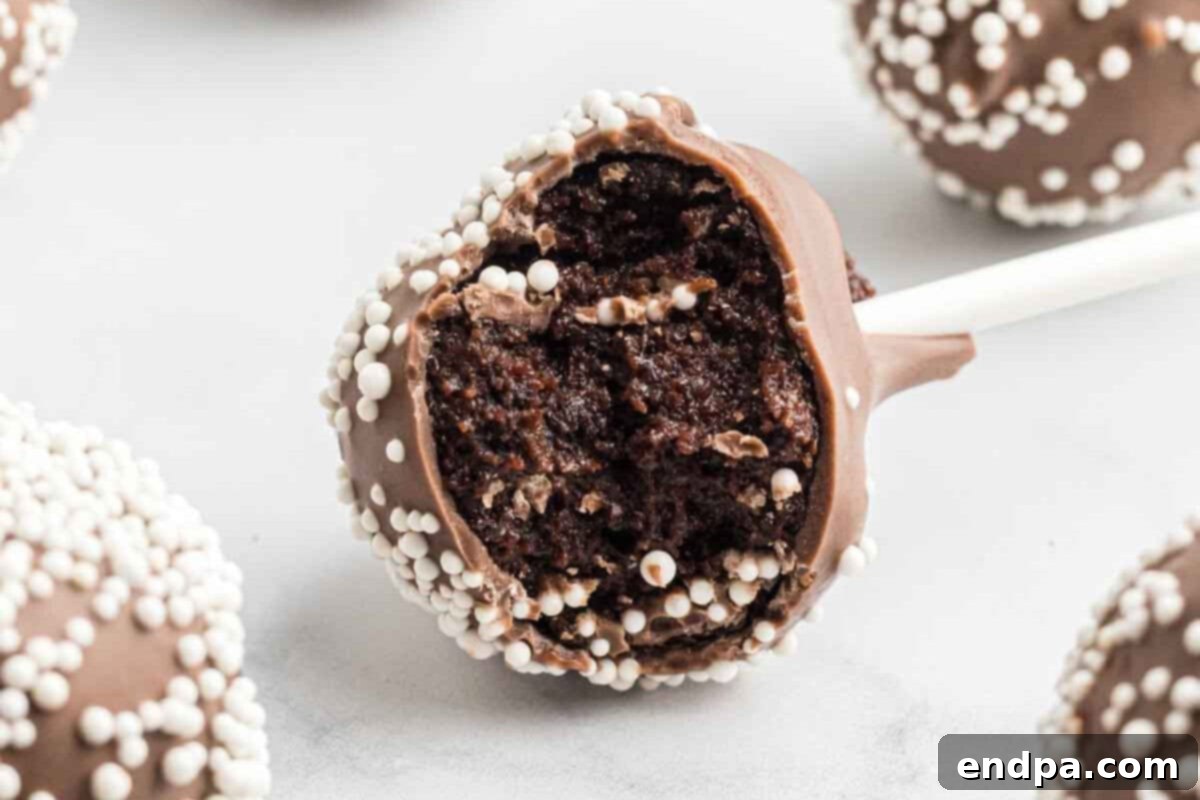
For those who adore the rich, decadent chocolatey treats found at Starbucks, the good news is you can now recreate these beloved Cake Pops right in your own home. This comprehensive recipe takes you through each step, combining tender chocolate cake crumbs with a luxurious creamy frosting, rolling them into perfectly uniform balls, and then dipping them into a smooth, glossy chocolate coating. The result? An irresistible dessert that captures the essence of your favorite coffee shop confection, all at a fraction of the cost.
These homemade delights are versatile enough for any event. Serve them as a charming addition to a birthday party spread, impress guests at a holiday gathering, or simply enjoy them as an everyday sweet snack. Their charming appearance and exquisite taste are guaranteed to leave a lasting impression. Beyond the incredible flavor and satisfying texture, the real win is enjoying these premium treats without the premium price tag. Plus, for more Starbucks-inspired treats, don’t miss our recipe for the Starbucks Marshmallow Dream Bar.
Table of contents
- Why You’ll Adore These Chocolate Cake Pops
- Essential Ingredients for Starbucks Chocolate Cake Pops
- Step-By-Step Guide to Making Chocolate Cake Pops
- Storage Tips for Freshness
- Expert Pro Tips for Perfect Cake Pops
- Creative Variations to Customize Your Cake Pops
- More Copycat Starbucks Recipes
- More Irresistible Cake Pop Recipes
Why You’ll Adore These Chocolate Cake Pops
Making your own Starbucks Chocolate Cake Pops is more than just baking; it’s an experience that delivers pure joy and delicious results. Here’s why this recipe will quickly become a favorite:
- Unforgettable Rich and Fudgy Texture: The combination of finely crumbled chocolate cake and creamy frosting creates an internal texture that is incredibly moist, dense, and deeply fudgy. Each bite is a luxurious experience that melts in your mouth, far exceeding the dryness often found in lesser cake pop recipes. It’s the perfect balance of cake and frosting, delivering intense chocolate flavor.
- Perfectly Bite-Sized and Utterly Fun: These delightful treats are portioned perfectly, making them ideal for effortless snacking, elegant party platters, or thoughtful homemade gifts. Their small size makes them easy to handle and enjoy without any mess, and they’re always a hit with both children and adults. The novelty of a cake on a stick adds an element of playful charm.
- Endlessly Customizable for Any Occasion: This recipe serves as a fantastic base for endless creativity. You have the freedom to dip them in various chocolate coatings – think white chocolate, dark chocolate, or even colored candy melts for a vibrant twist. Decorate with a wide array of sprinkles, drizzles, or edible glitters to match any holiday, birthday, or theme. The possibilities are truly limitless!
- No Fancy Equipment Required for Home Bakers: You don’t need a professional pastry kitchen to create these stunning cake pops. This recipe relies on simple, readily available ingredients and basic kitchen tools. This makes it an accessible project for home bakers of all skill levels, from beginners looking for a fun challenge to experienced cooks wanting a reliable crowd-pleaser.
- An Excellent Make-Ahead Dessert: Planning for a party or a busy week? These copycat Starbucks Cake Pops can be prepared well in advance, saving you time and stress. They store beautifully, allowing you to enjoy fresh, delicious treats without last-minute rush. This convenience makes them perfect for holidays, special events, or simply ensuring you always have a delightful dessert on hand.
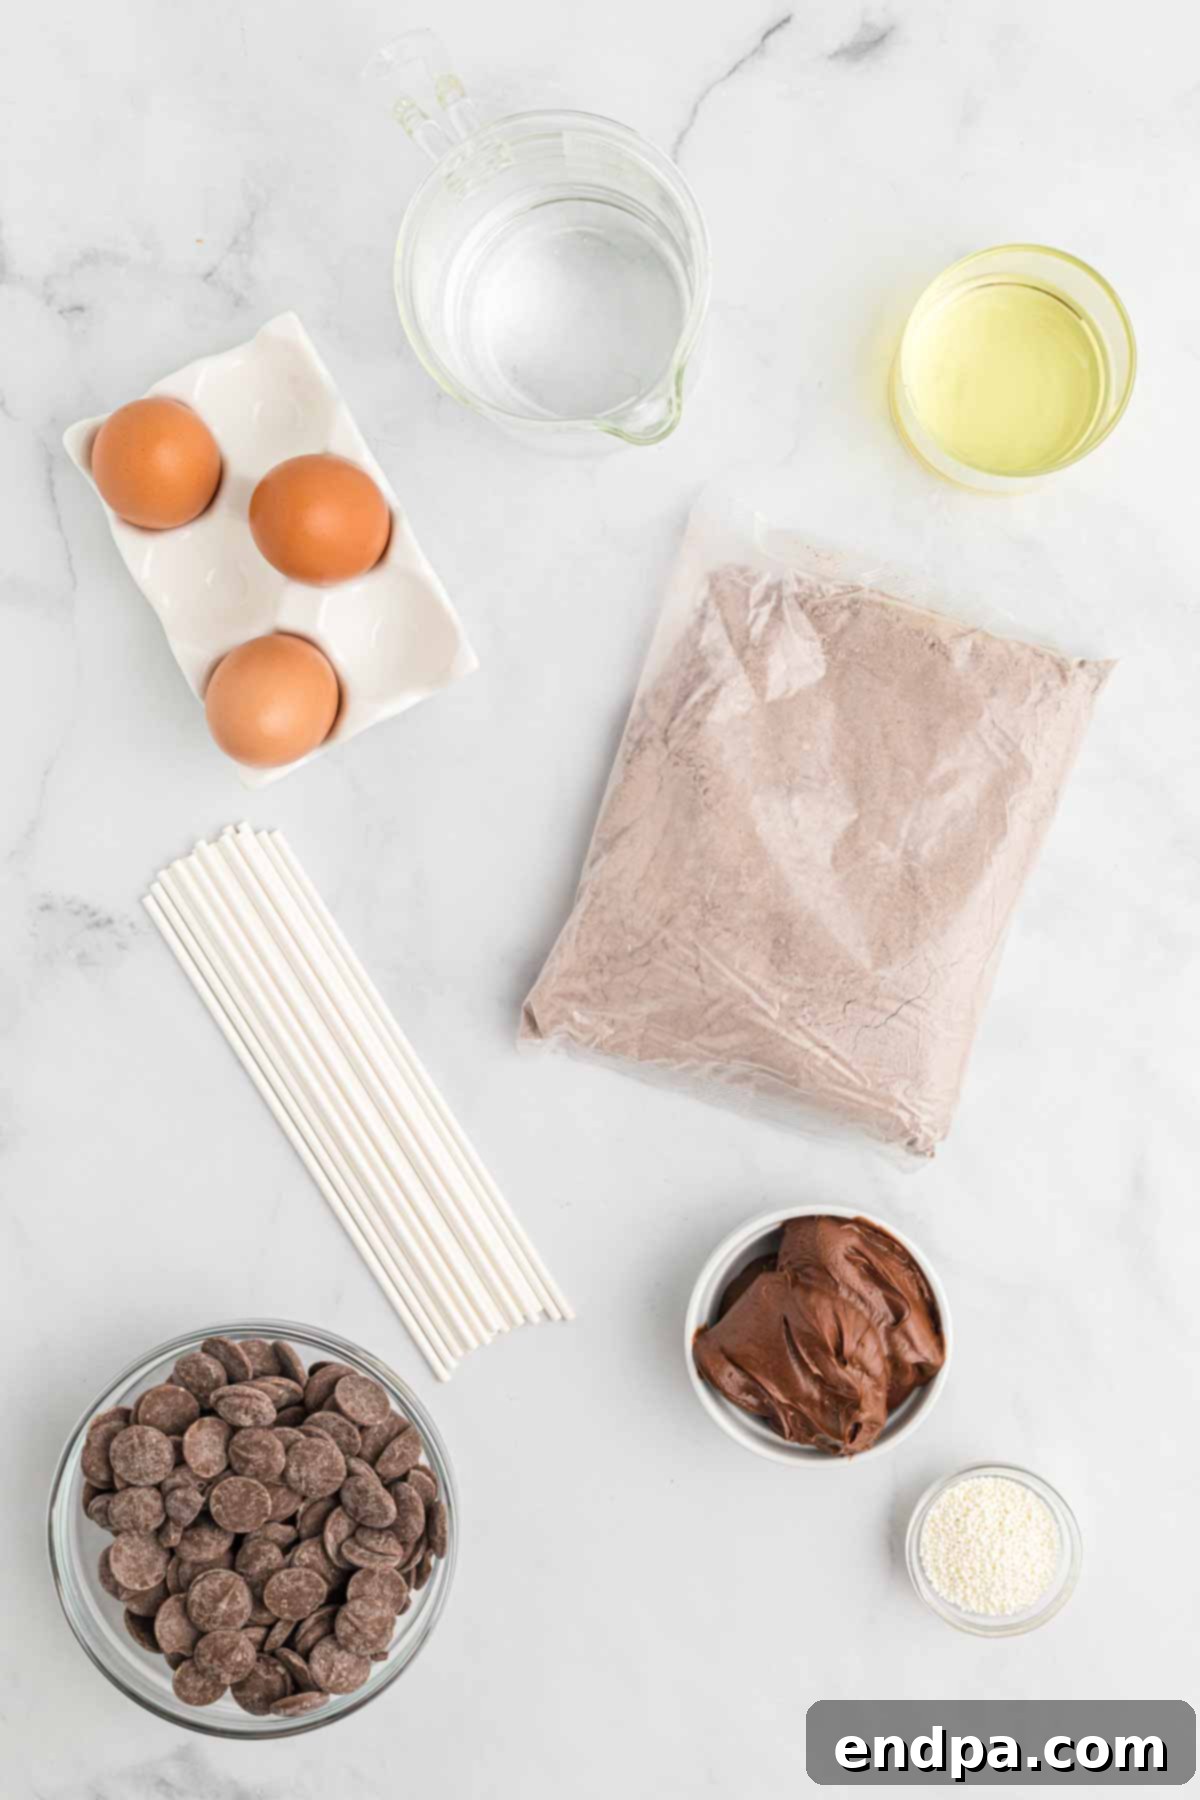
Essential Ingredients for Starbucks Chocolate Cake Pops
Crafting these delectable chocolate cake pops requires just a handful of simple ingredients. The beauty of this recipe lies in its straightforwardness, using components that are easy to find and assemble.
- Chocolate Cake Mix: The foundation of our cake pops. Feel free to use your absolute favorite boxed chocolate cake mix. You’ll need to prepare and bake the cake batter according to the specific instructions provided on the package. A good quality mix ensures a moist and flavorful base for your pops.
- Chocolate Frosting: This is the magical binder that transforms cake crumbs into delightful, shapable balls. Store-bought chocolate fudge frosting works wonderfully, providing both moisture and an extra layer of rich flavor. It’s a convenient shortcut that doesn’t compromise on taste, creating that signature moist, fudgy texture.
- Chocolate Candy Melts: These are crucial for creating the smooth, glossy, and firm outer shell of your cake pops. Candy melts are designed to melt smoothly and set quickly, giving your cake pops a professional finish and a satisfying crunch. While chocolate-flavored, they are different from regular chocolate chips, offering a better coating consistency.
- Sprinkles: (Optional but highly recommended!) White sprinkles are a classic choice and add a festive, eye-catching touch, reminiscent of the Starbucks originals. However, don’t limit yourself! Feel free to use any color, shape, or style of sprinkles you like to match your event or mood. Edible glitter or other decorative elements can also be used.
- Lollipop Sticks: These are absolutely essential for making your cake pops truly “pops.” They provide a convenient handle for dipping, decorating, and, most importantly, enjoying your bite-sized treats. Ensure they are sturdy enough to hold the cake balls securely.
The complete list of ingredients with precise measurements and the full recipe instructions can be found in the detailed recipe card at the very bottom of this post.
Step-By-Step Guide to Making Chocolate Cake Pops
Follow these detailed steps to create your own irresistible Starbucks-style chocolate cake pops. Each stage is crucial for achieving that perfect, fudgy texture and glossy finish.
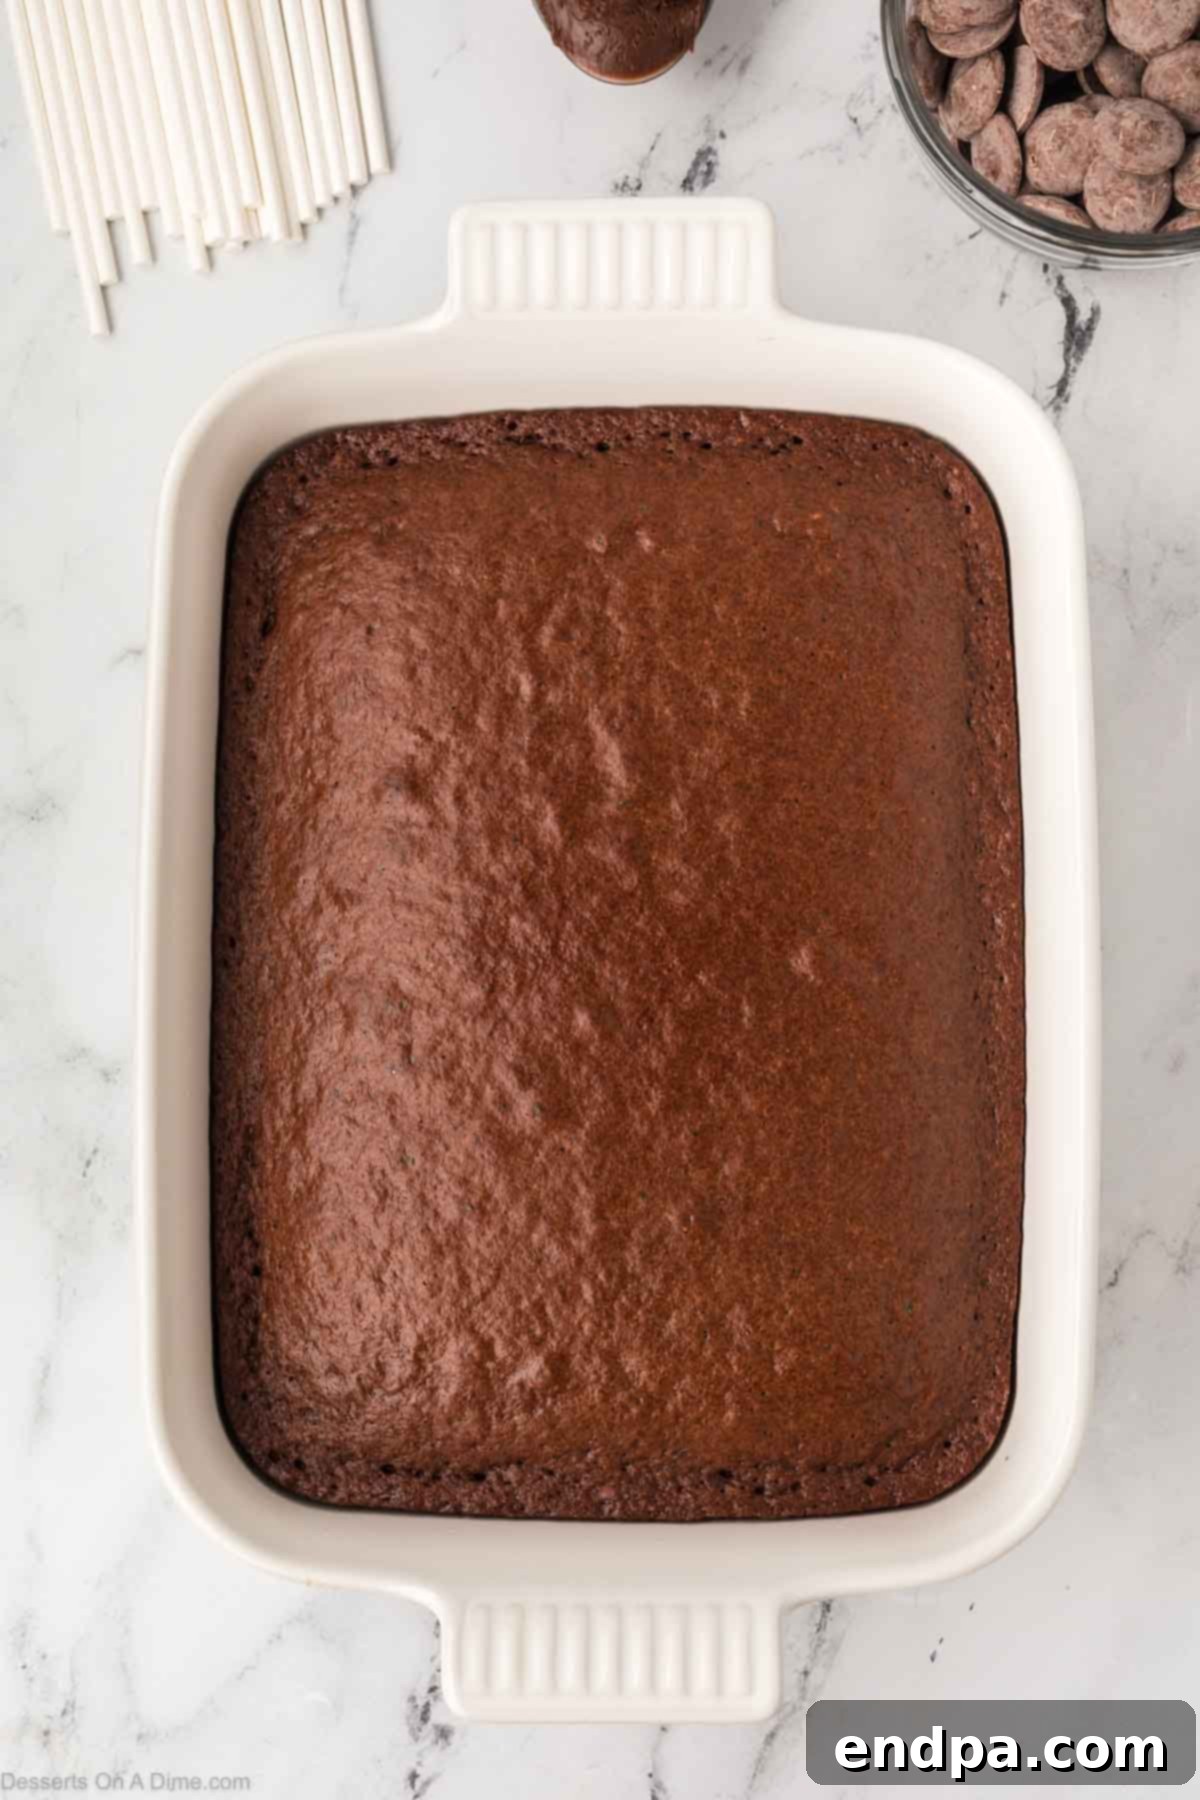
Step 1: Bake the Cake. Begin by preparing your favorite chocolate cake mix. Follow the instructions on the cake mix box precisely to bake the cake batter in a standard 9×13 inch baking pan. Once baked, remove the pan from the oven and allow the cake to cool completely at room temperature. This cooling step is vital before moving on, as a warm cake will not crumble correctly.
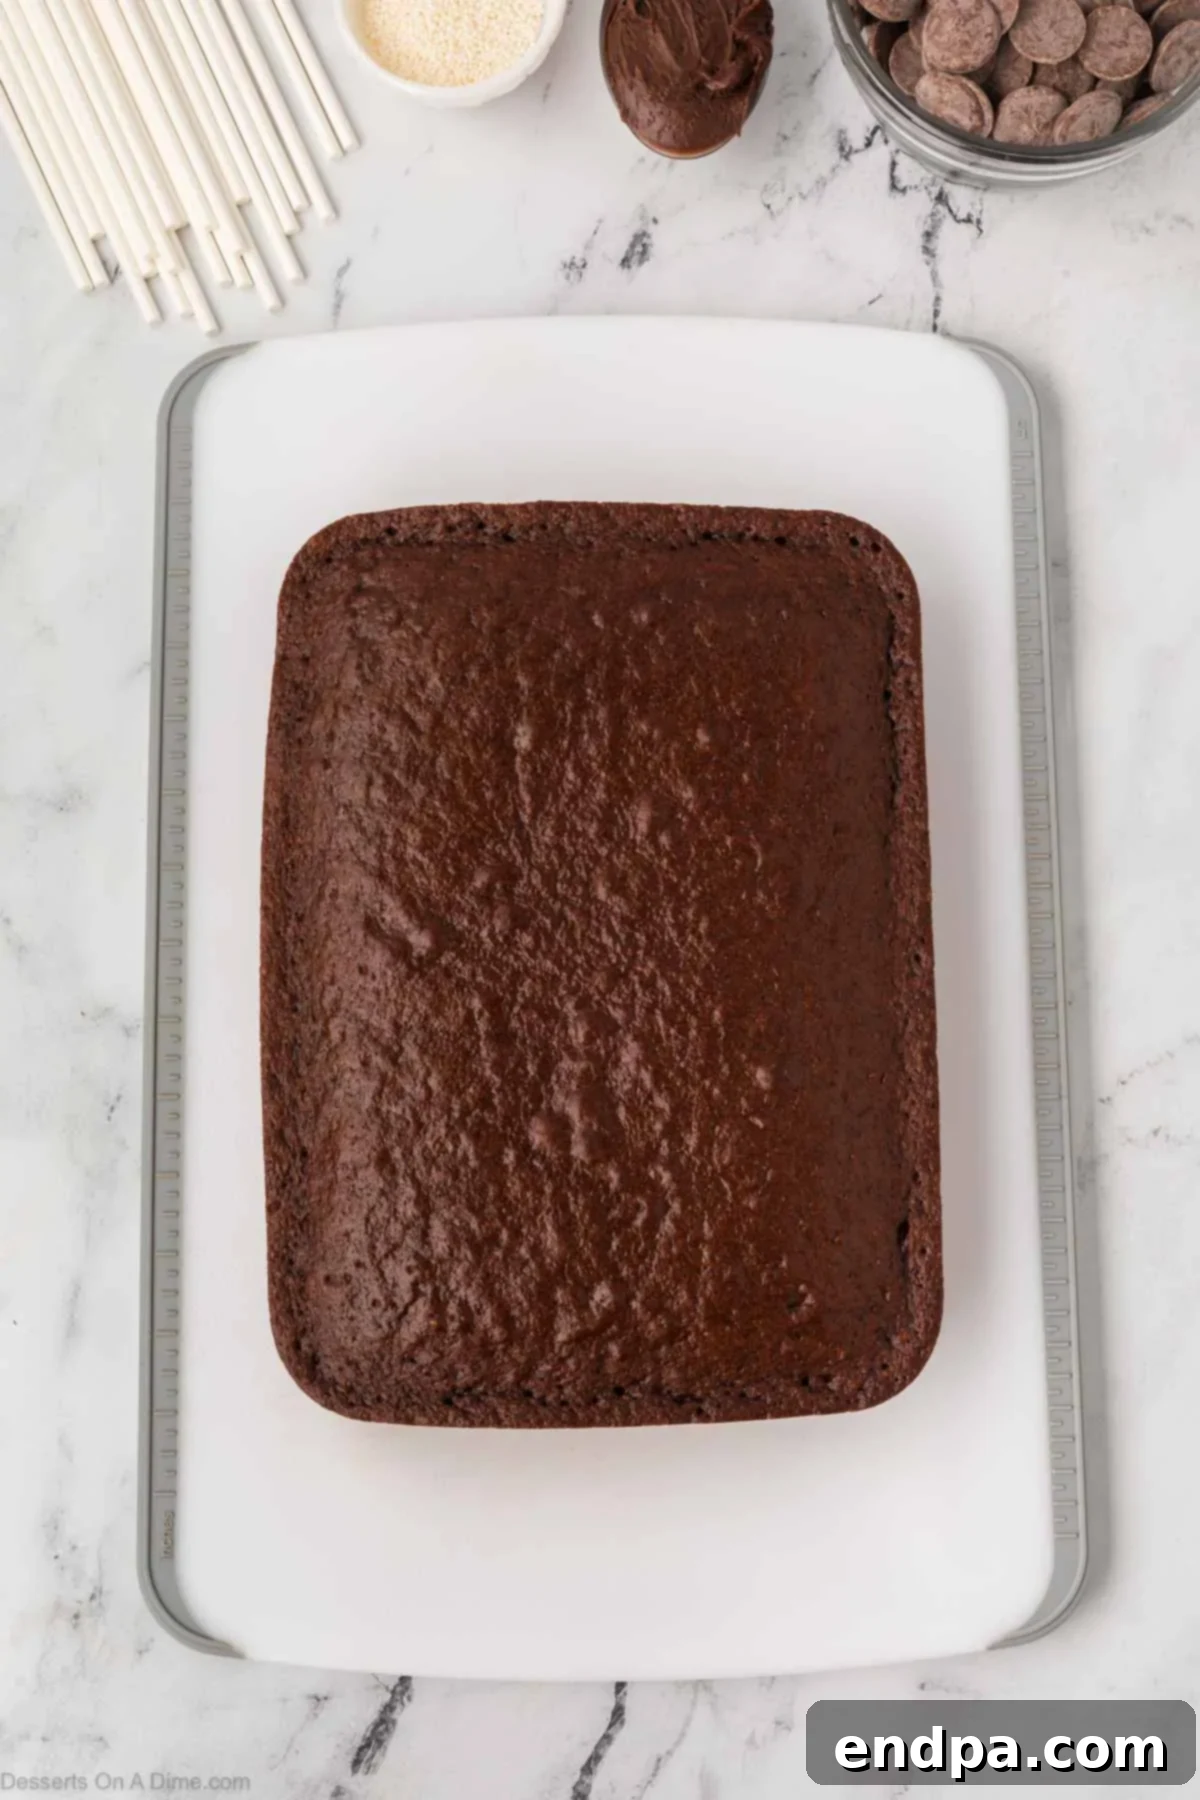
Step 2: Remove from Pan. Once the cake has reached room temperature and is fully cooled, carefully remove it from the baking dish. You can gently invert the pan onto a large cutting board or a clean surface to release the cake. Be gentle to keep the cake intact as much as possible at this stage.
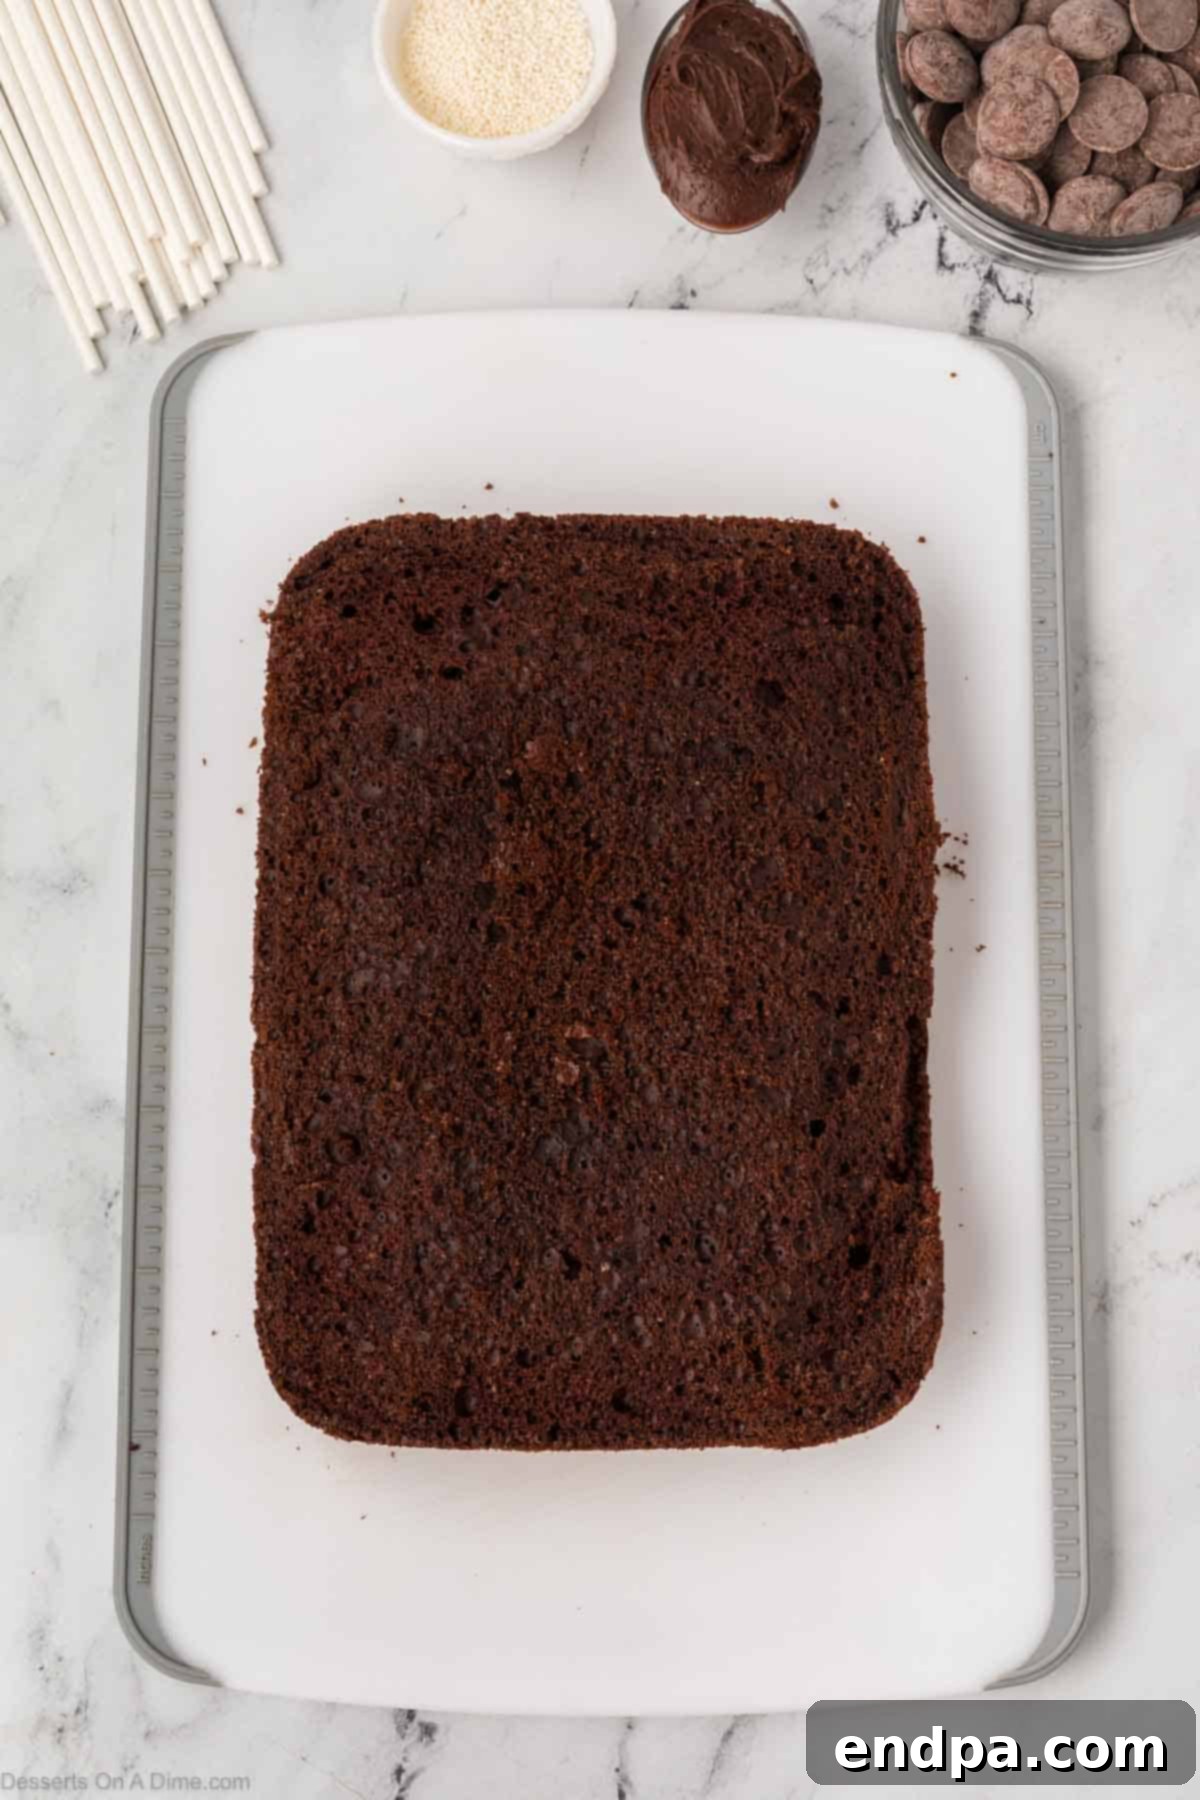
Step 3: Discard Outer Layer. Gently remove the slightly firmer outside layer or crust from the cake. This step is important as the crust can alter the smooth texture of the cake pops. Discard this outer portion, focusing on using only the soft, moist interior of the cake for your pops.
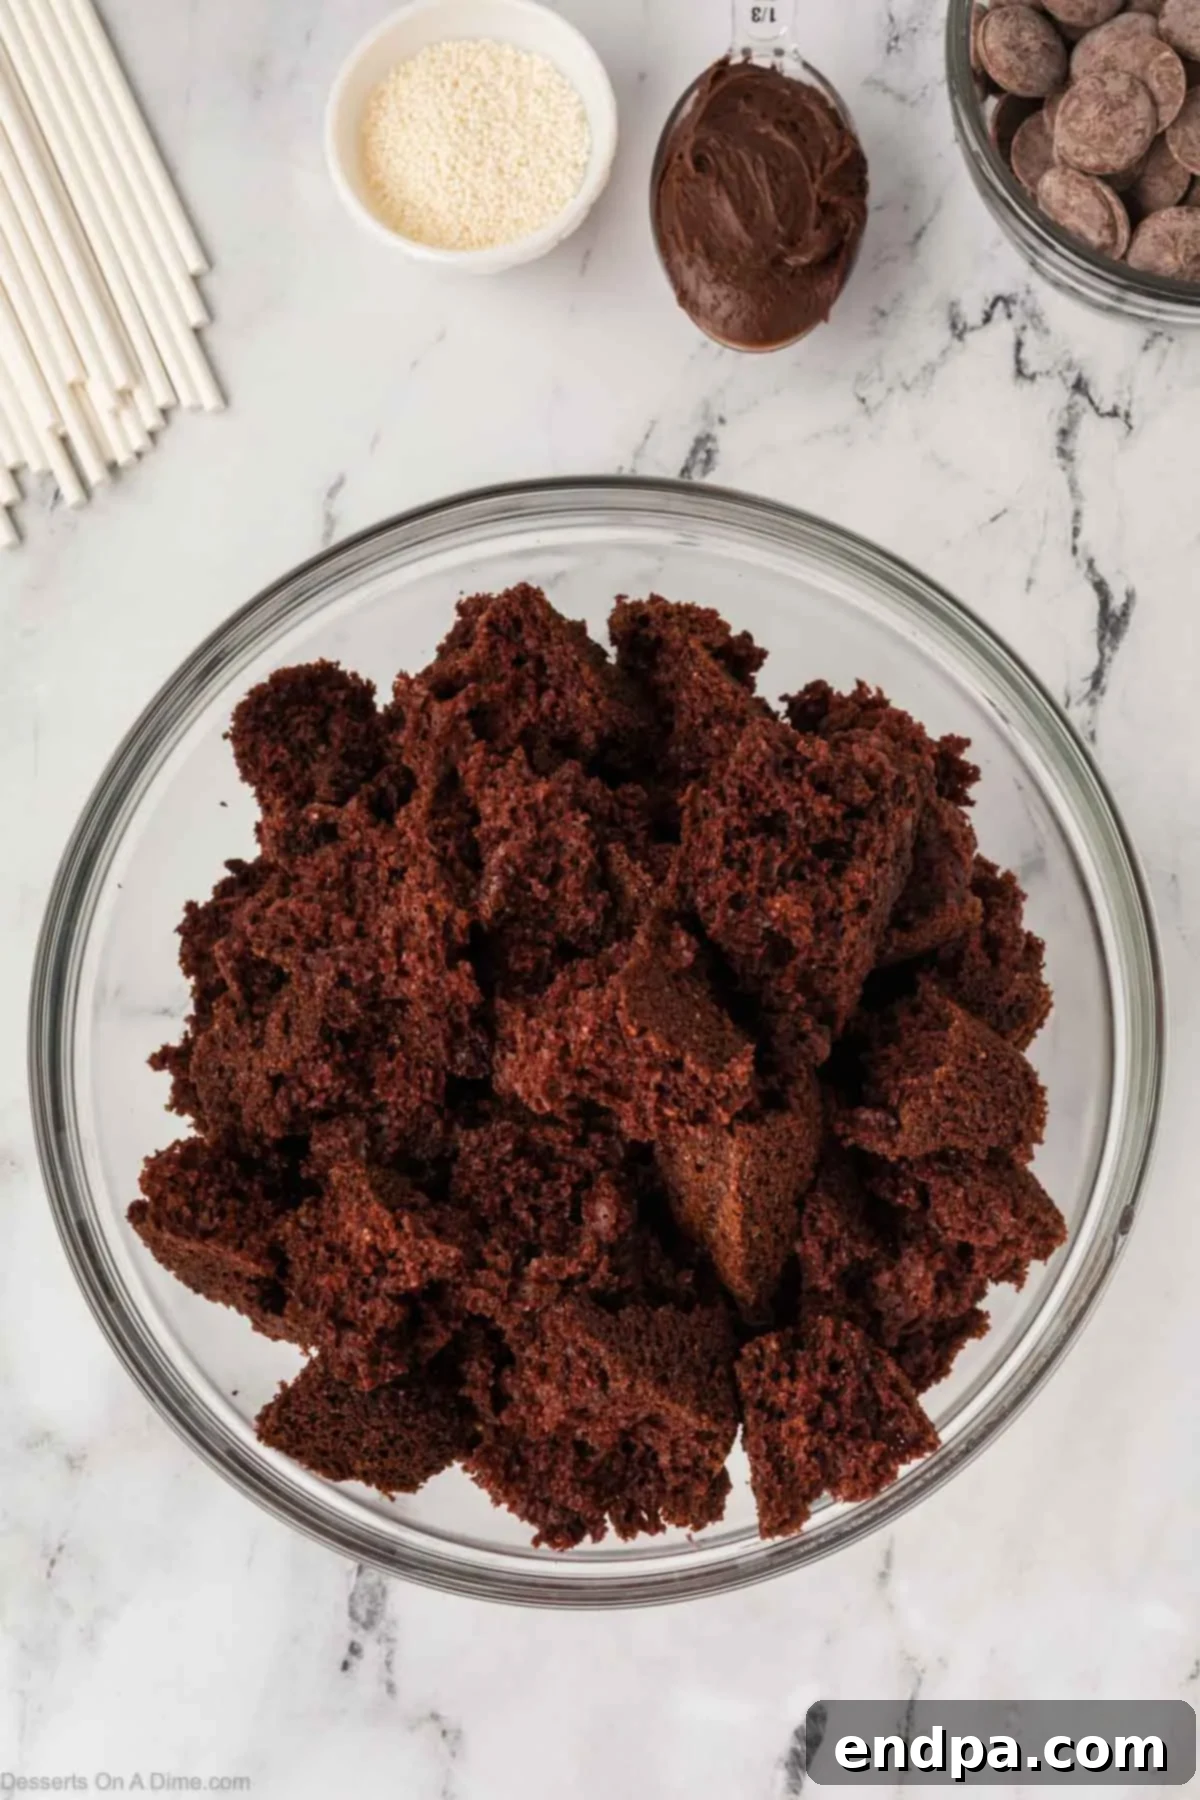
Step 4: Crumble the Cake. Take the remaining, crust-free cake and crumble it thoroughly into a large mixing bowl. You can do this by hand, breaking it into fine crumbs, or use a fork to achieve a consistent texture. The finer the crumbs, the smoother your cake pops will be, so ensure no large chunks remain.
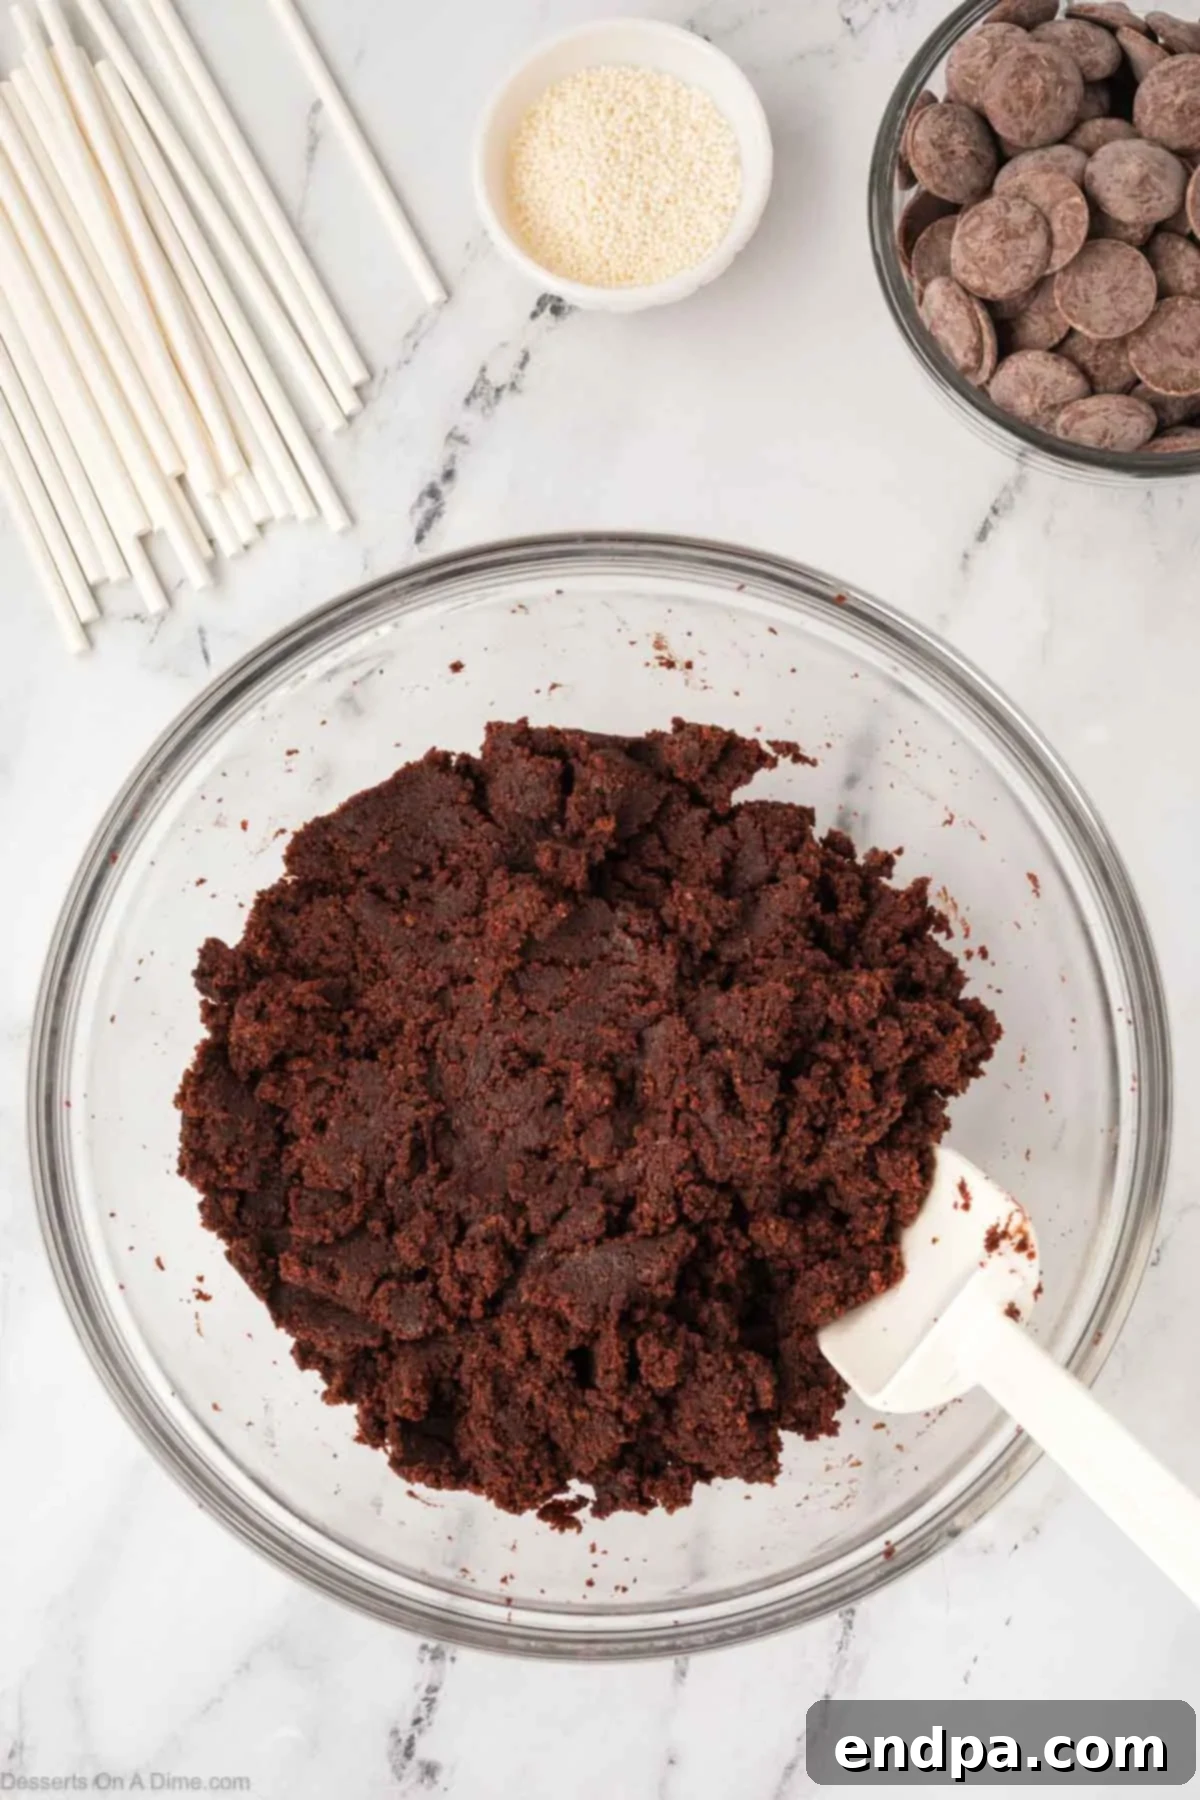
Step 5: Add Frosting and Mix. Now, add the chocolate frosting to your bowl of crumbled cake. Using your hands or a sturdy spoon, thoroughly mix everything together until it is well combined. Continue mixing until the mixture achieves a smooth, creamy, and uniform texture, similar to dough. It should be pliable enough to roll into balls without falling apart.
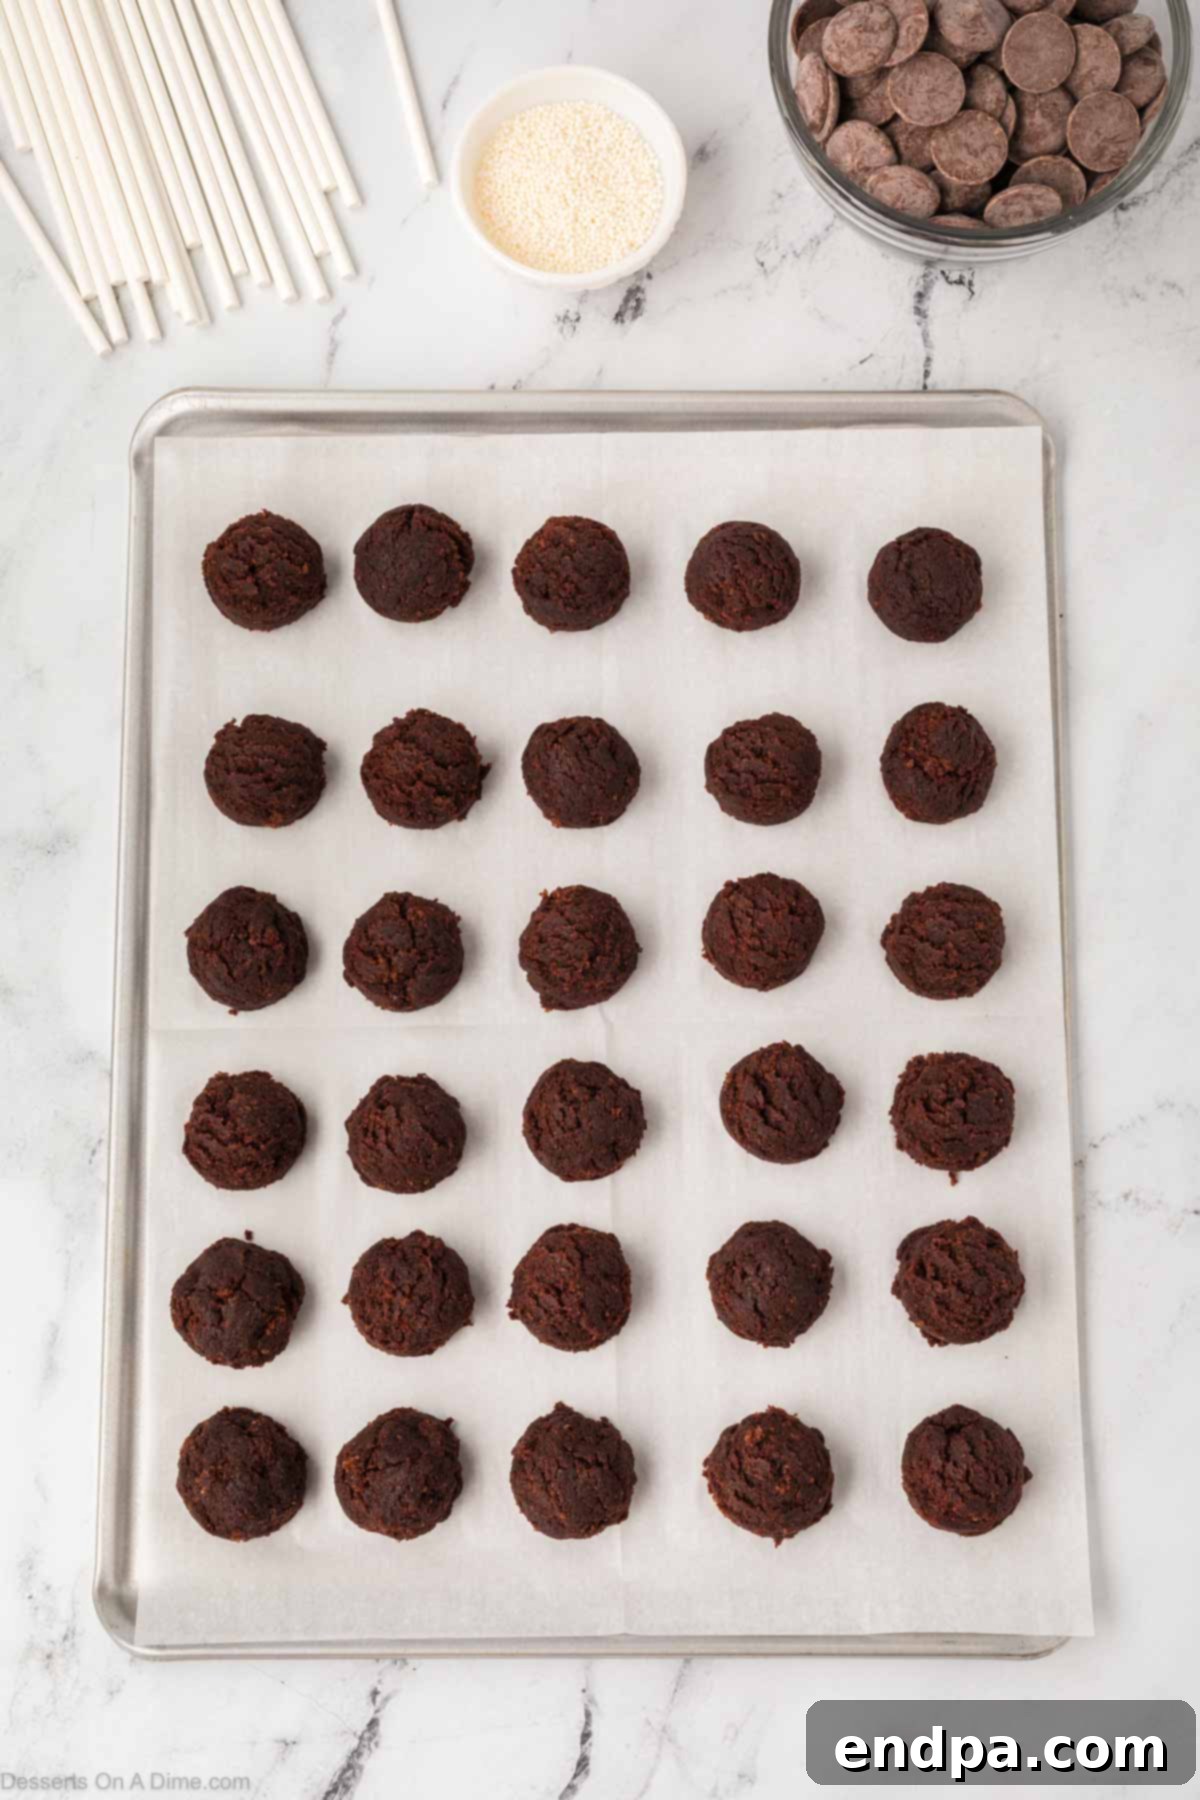
Step 6: Shape Cake Balls. Begin shaping the mixture into small, uniform cake balls. Depending on your desired size, you should yield approximately 24-36 cake balls. For consistency, a small cookie scoop (about 1.5 tablespoons) works wonders. Place the formed cake balls onto a cookie sheet lined with parchment paper or wax paper. This prevents sticking and makes transfer easier.
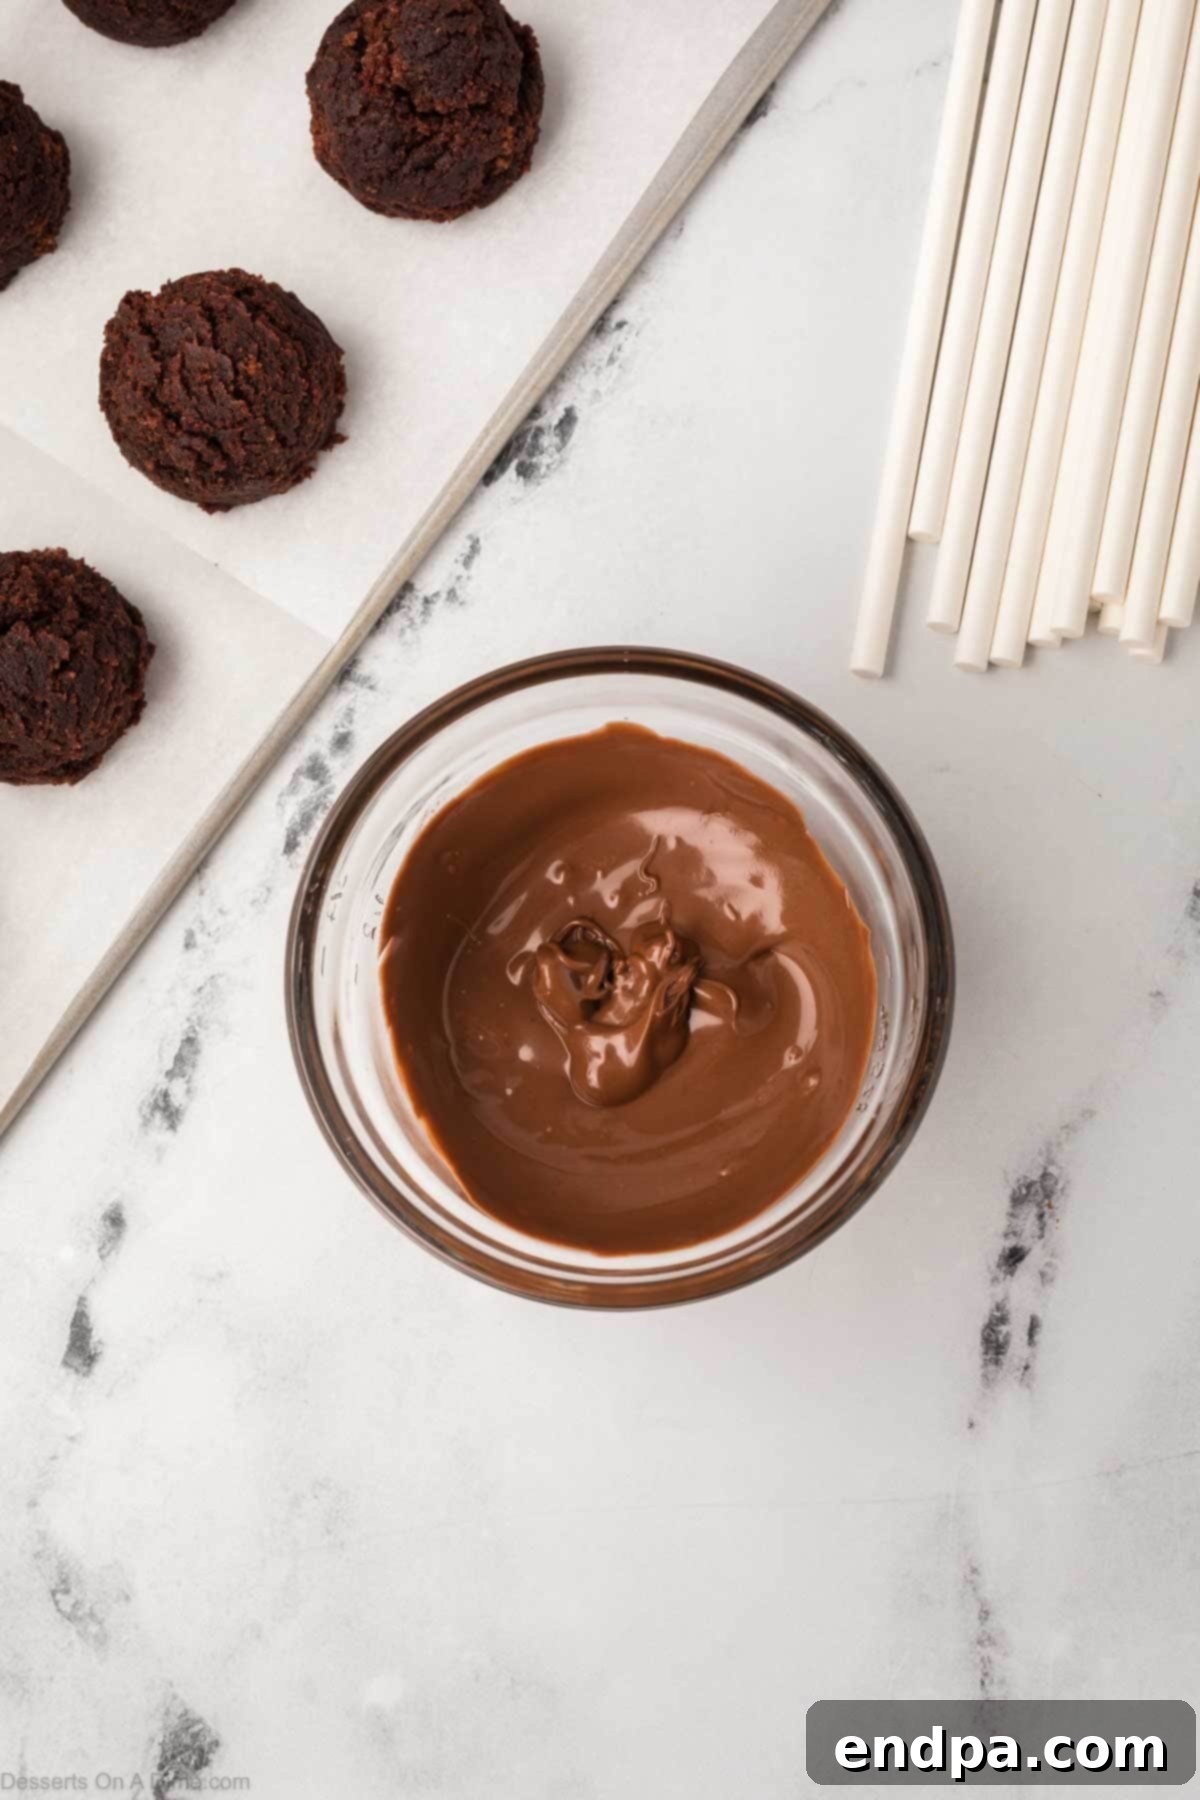
Step 7: Melt Candy Melts. Place your chocolate candy melts into a small, microwave-safe bowl. Microwave for 30 seconds, then remove and stir well. Continue heating in 15-30 second intervals, stirring thoroughly after each interval, until the candy melts are completely smooth and creamy with no lumps. Be careful not to overheat, as this can cause the chocolate to seize.
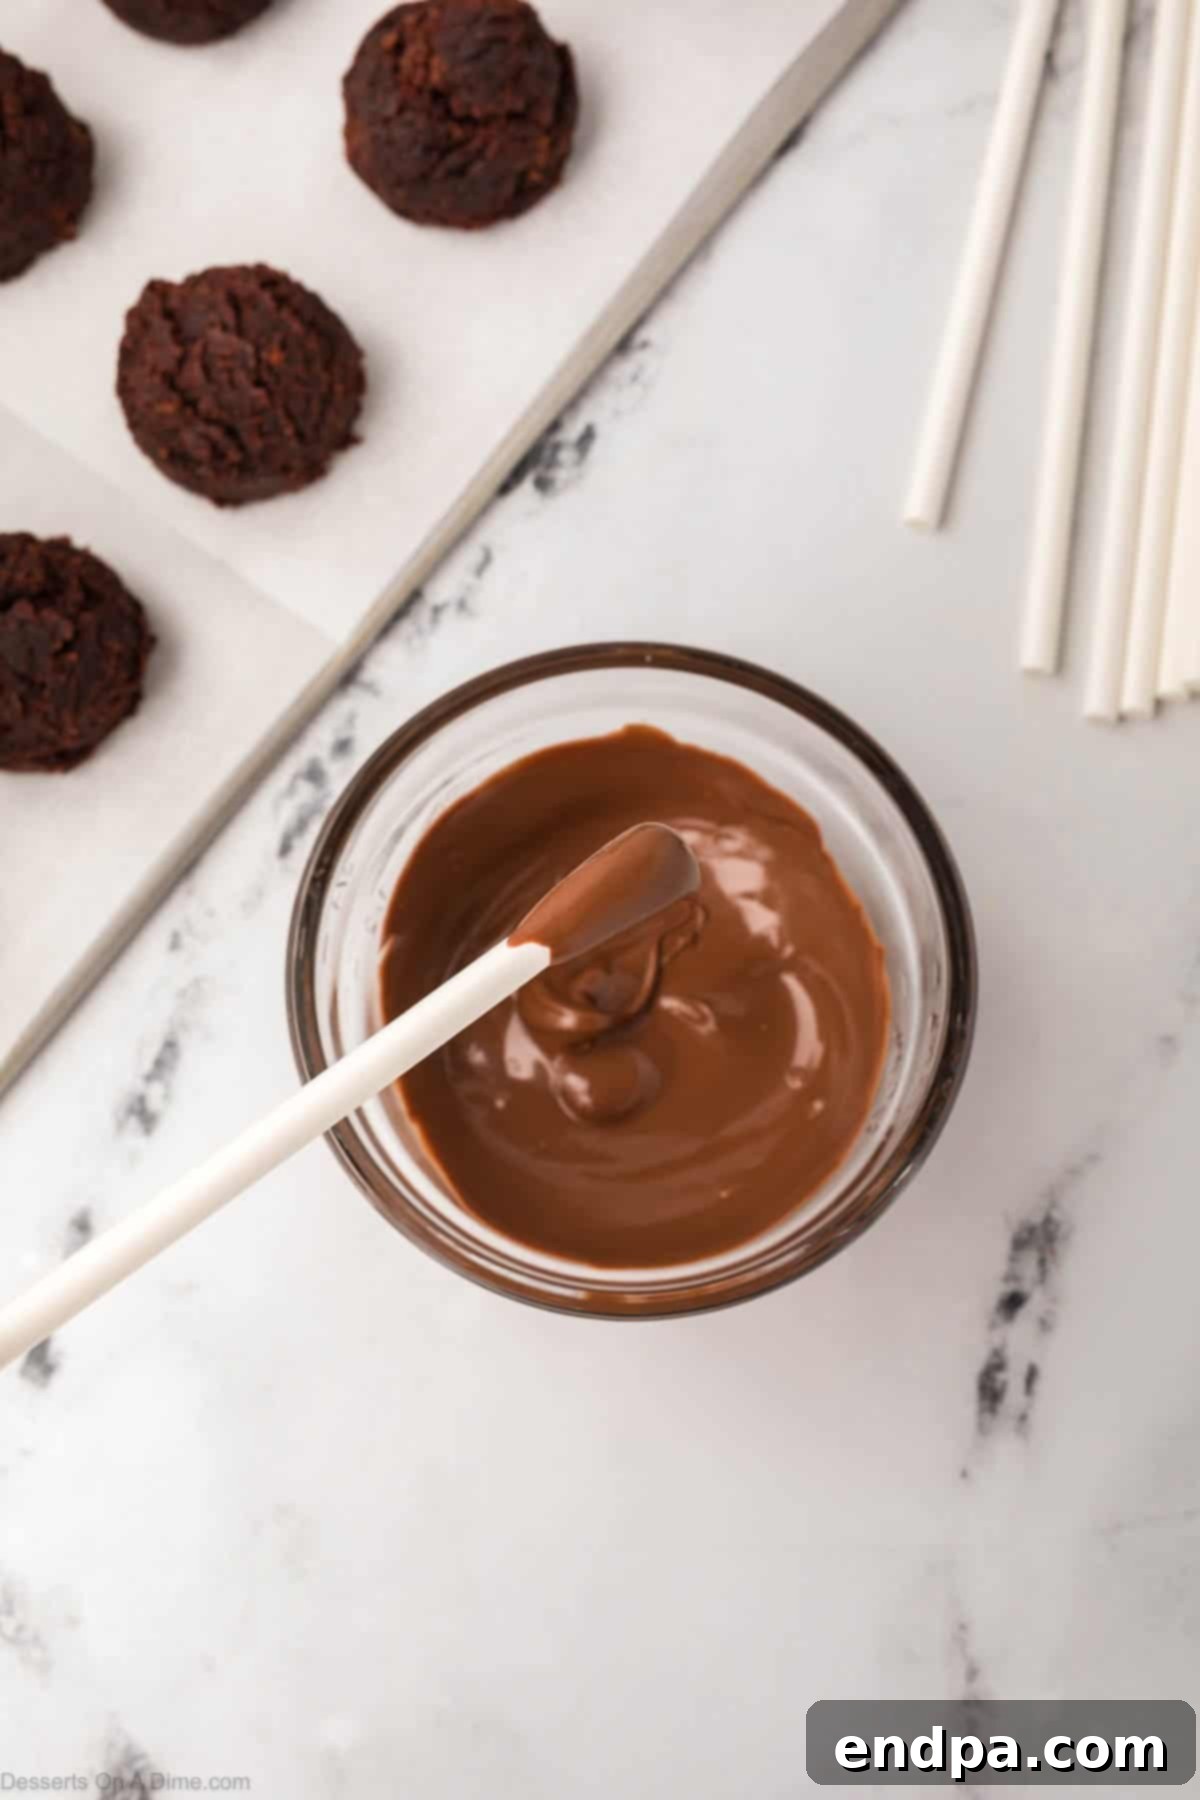
Step 8: Prep Sticks. Take each lollipop stick and dip one end into the melted chocolate candy about half an inch deep. This melted chocolate will act as an adhesive to secure the stick firmly to the cake ball, preventing it from detaching when you dip the entire pop.
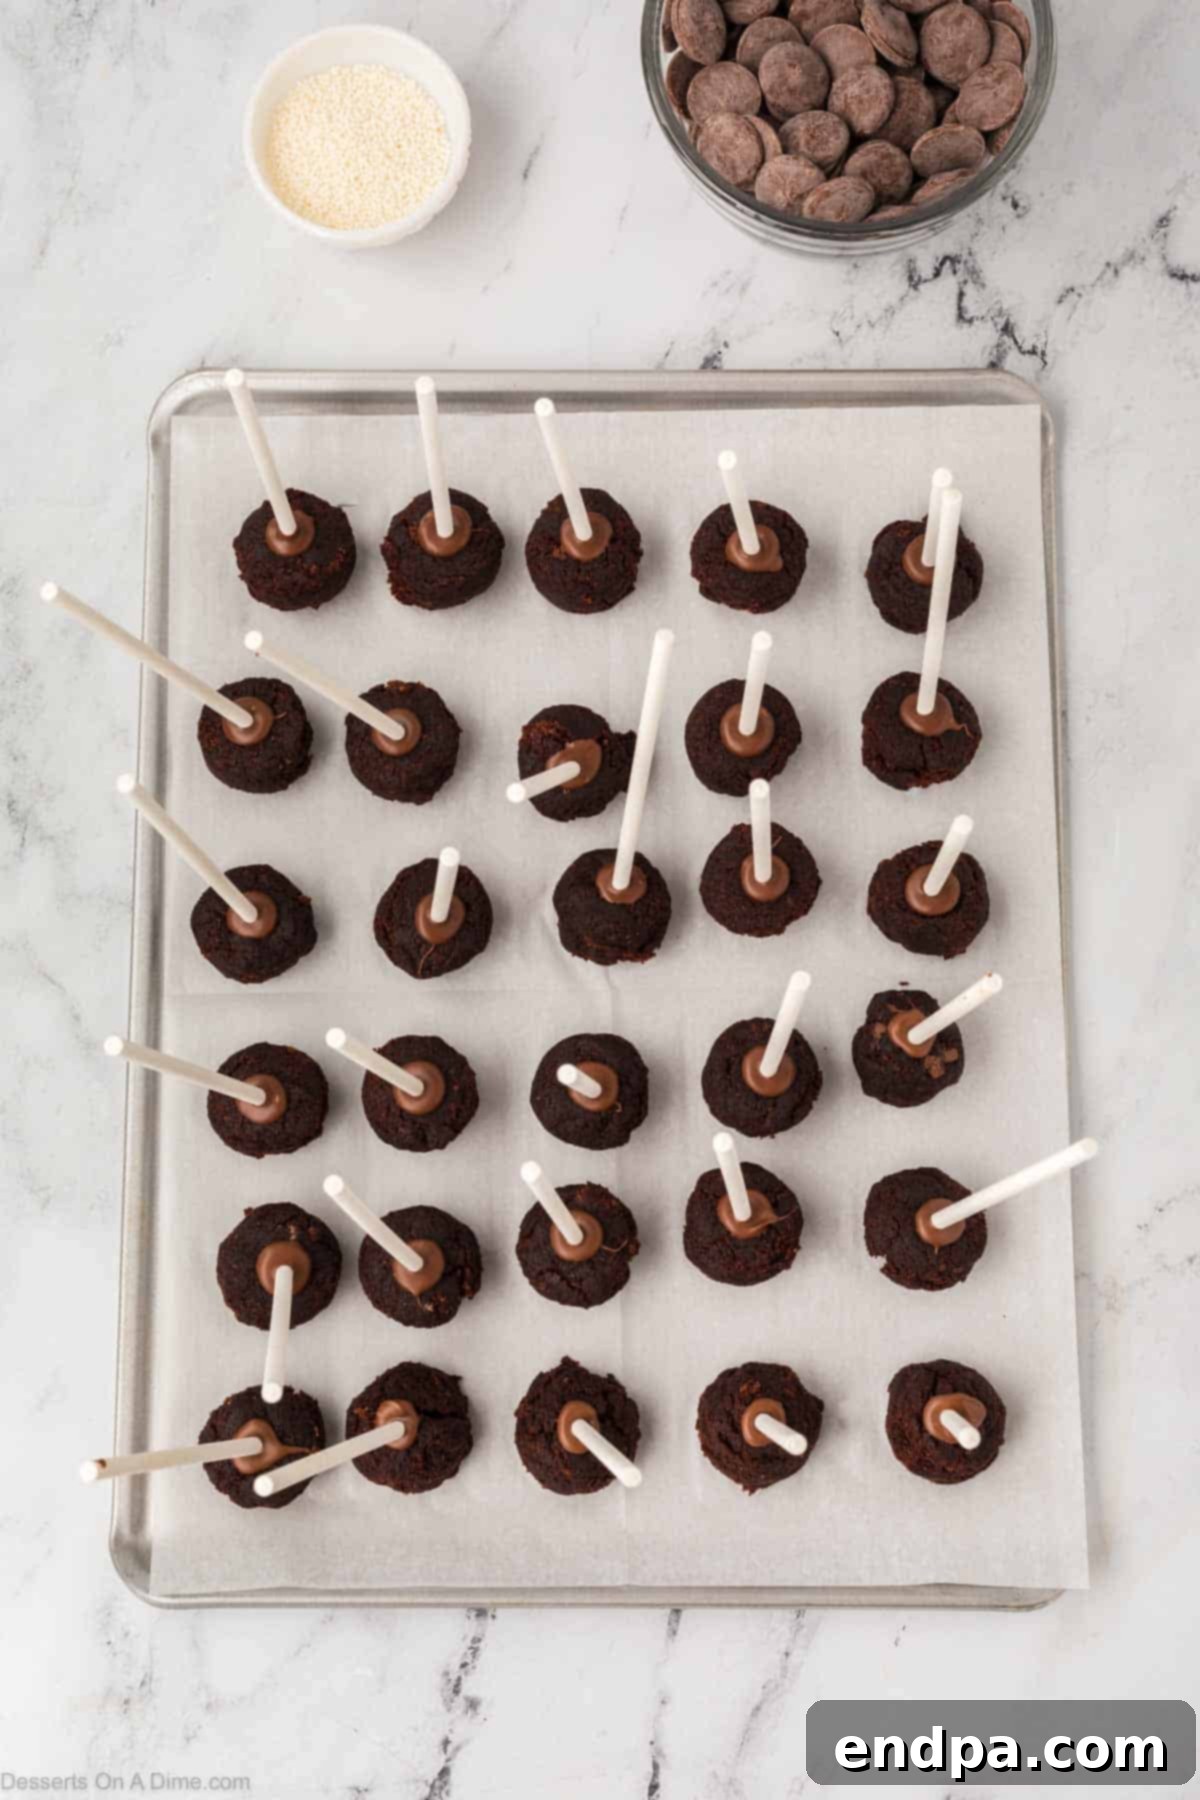
Step 9: Insert Sticks and Chill. Immediately after dipping the stick in chocolate, insert it into the center of a cake ball, pushing it about halfway through the ball. This ensures a strong hold. Repeat for all cake balls. Then, place the entire tray of cake pops into the freezer for 10-15 minutes. This chilling step is crucial to firm up the cake balls and solidify the chocolate “glue.” Do not freeze for longer than 15 minutes, as excessive cold can cause the cake pops to crack when dipped in warm coating, and sprinkles won’t adhere well.
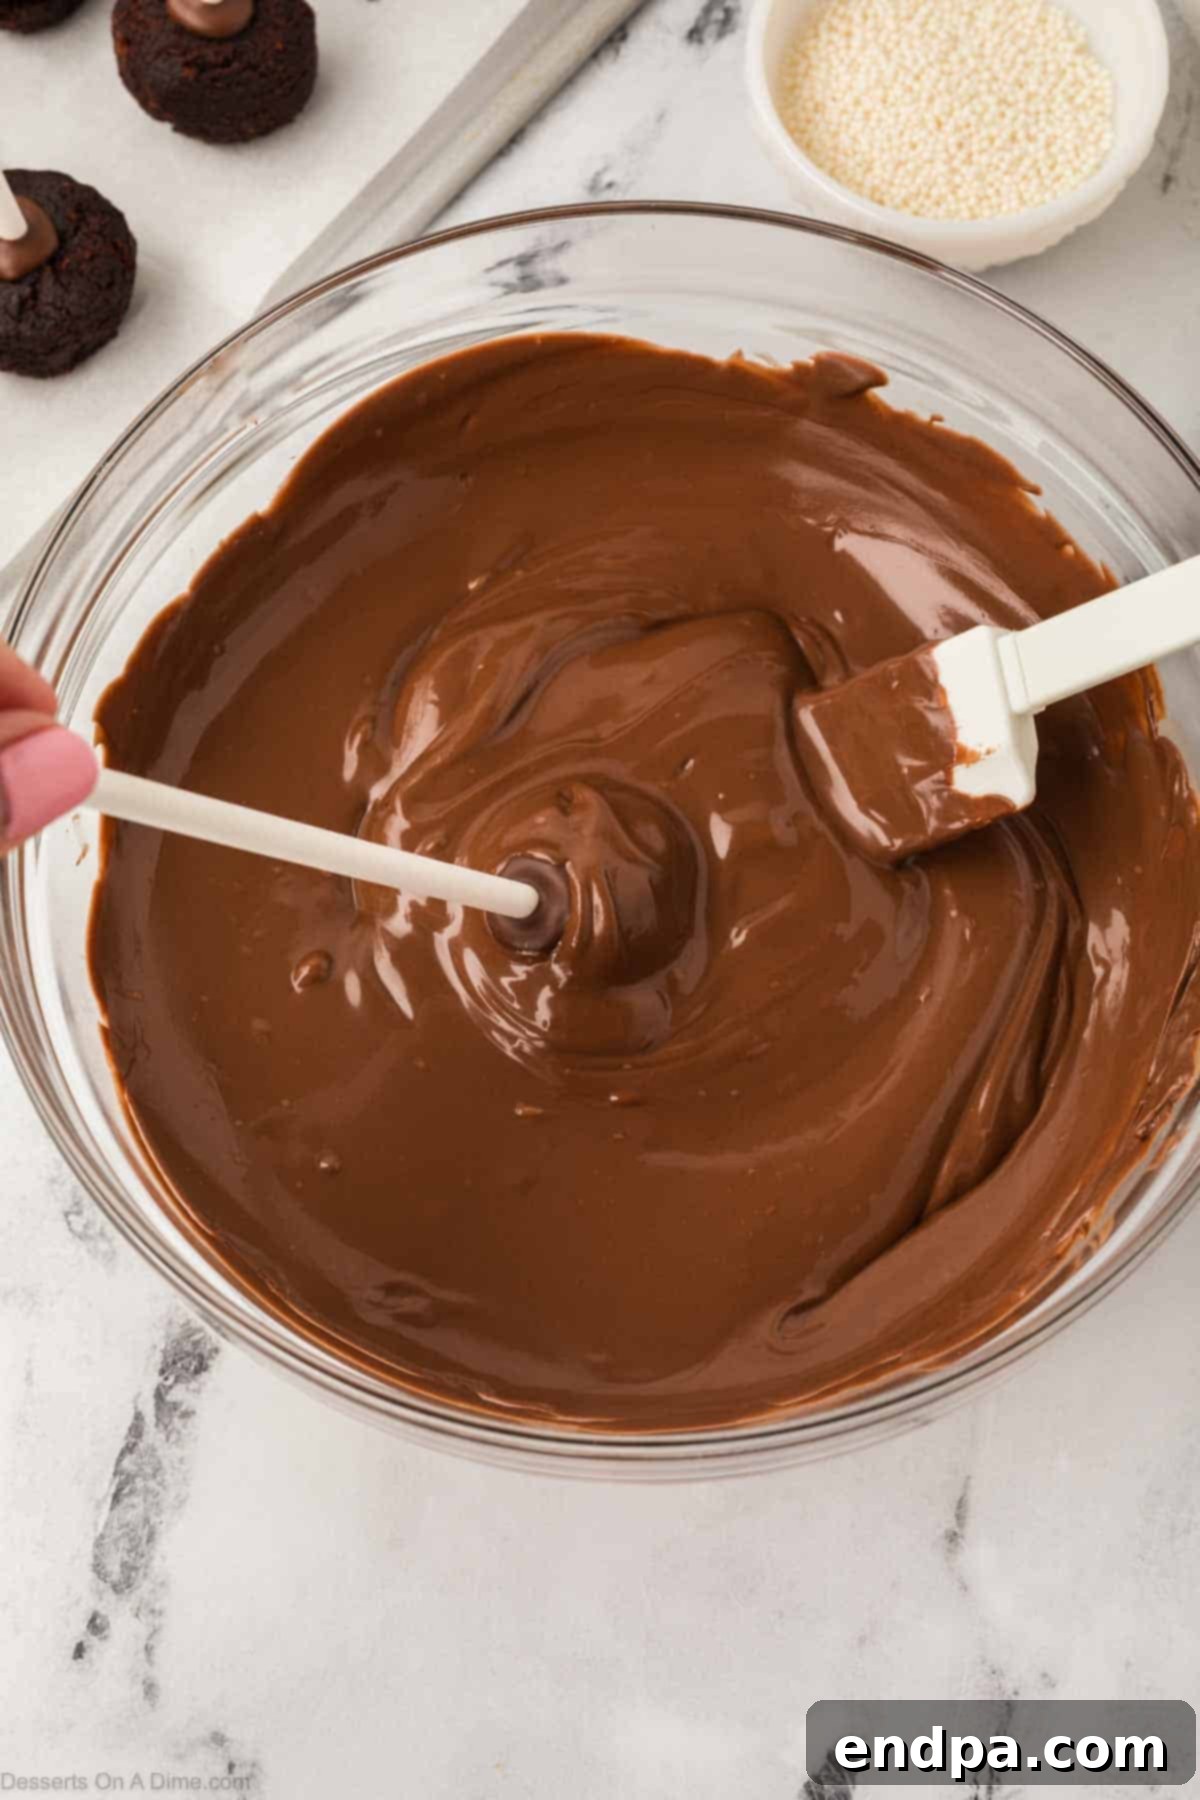
Step 10: Dip Cake Pops. After the cake pops are thoroughly chilled (and your candy melts might need a quick re-melt if they’ve cooled too much), it’s time to dip! Hold a cake pop by its stick and submerge the entire cake ball into the melted candy melts. Ensure the coating fully covers the cake pop. Gently tap the stick against the edge of the bowl to allow any excess chocolate to drip off, creating a smooth, even finish.
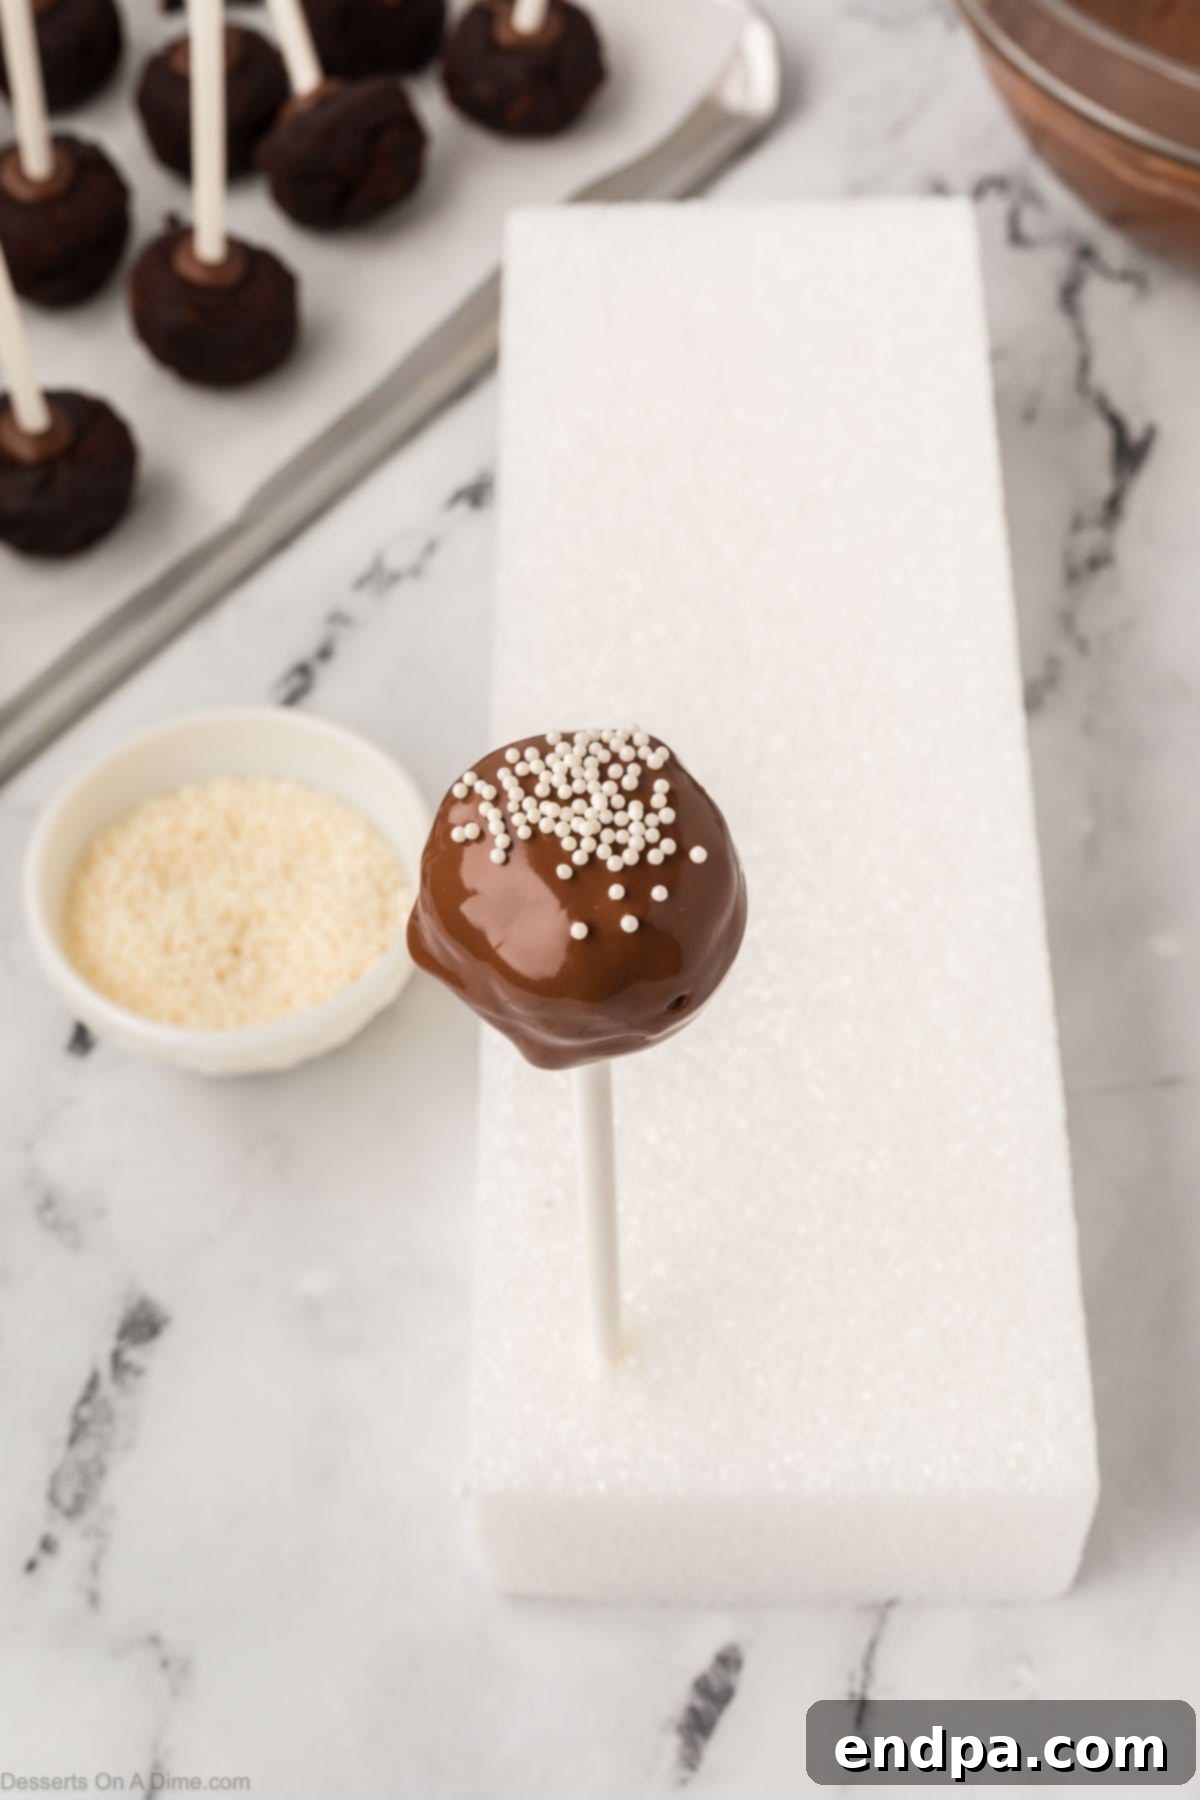
Step 11: Decorate and Set. Immediately after dipping, and while the candy coating is still wet, add your desired sprinkles or decorations. Work quickly, as the coating sets fast. Insert the stick of the decorated cake pop upright into a styrofoam block or a specialized cake pop stand. This allows the candy coating to dry and solidify evenly without smudging or sticking. Ensure they are completely dry before handling further.
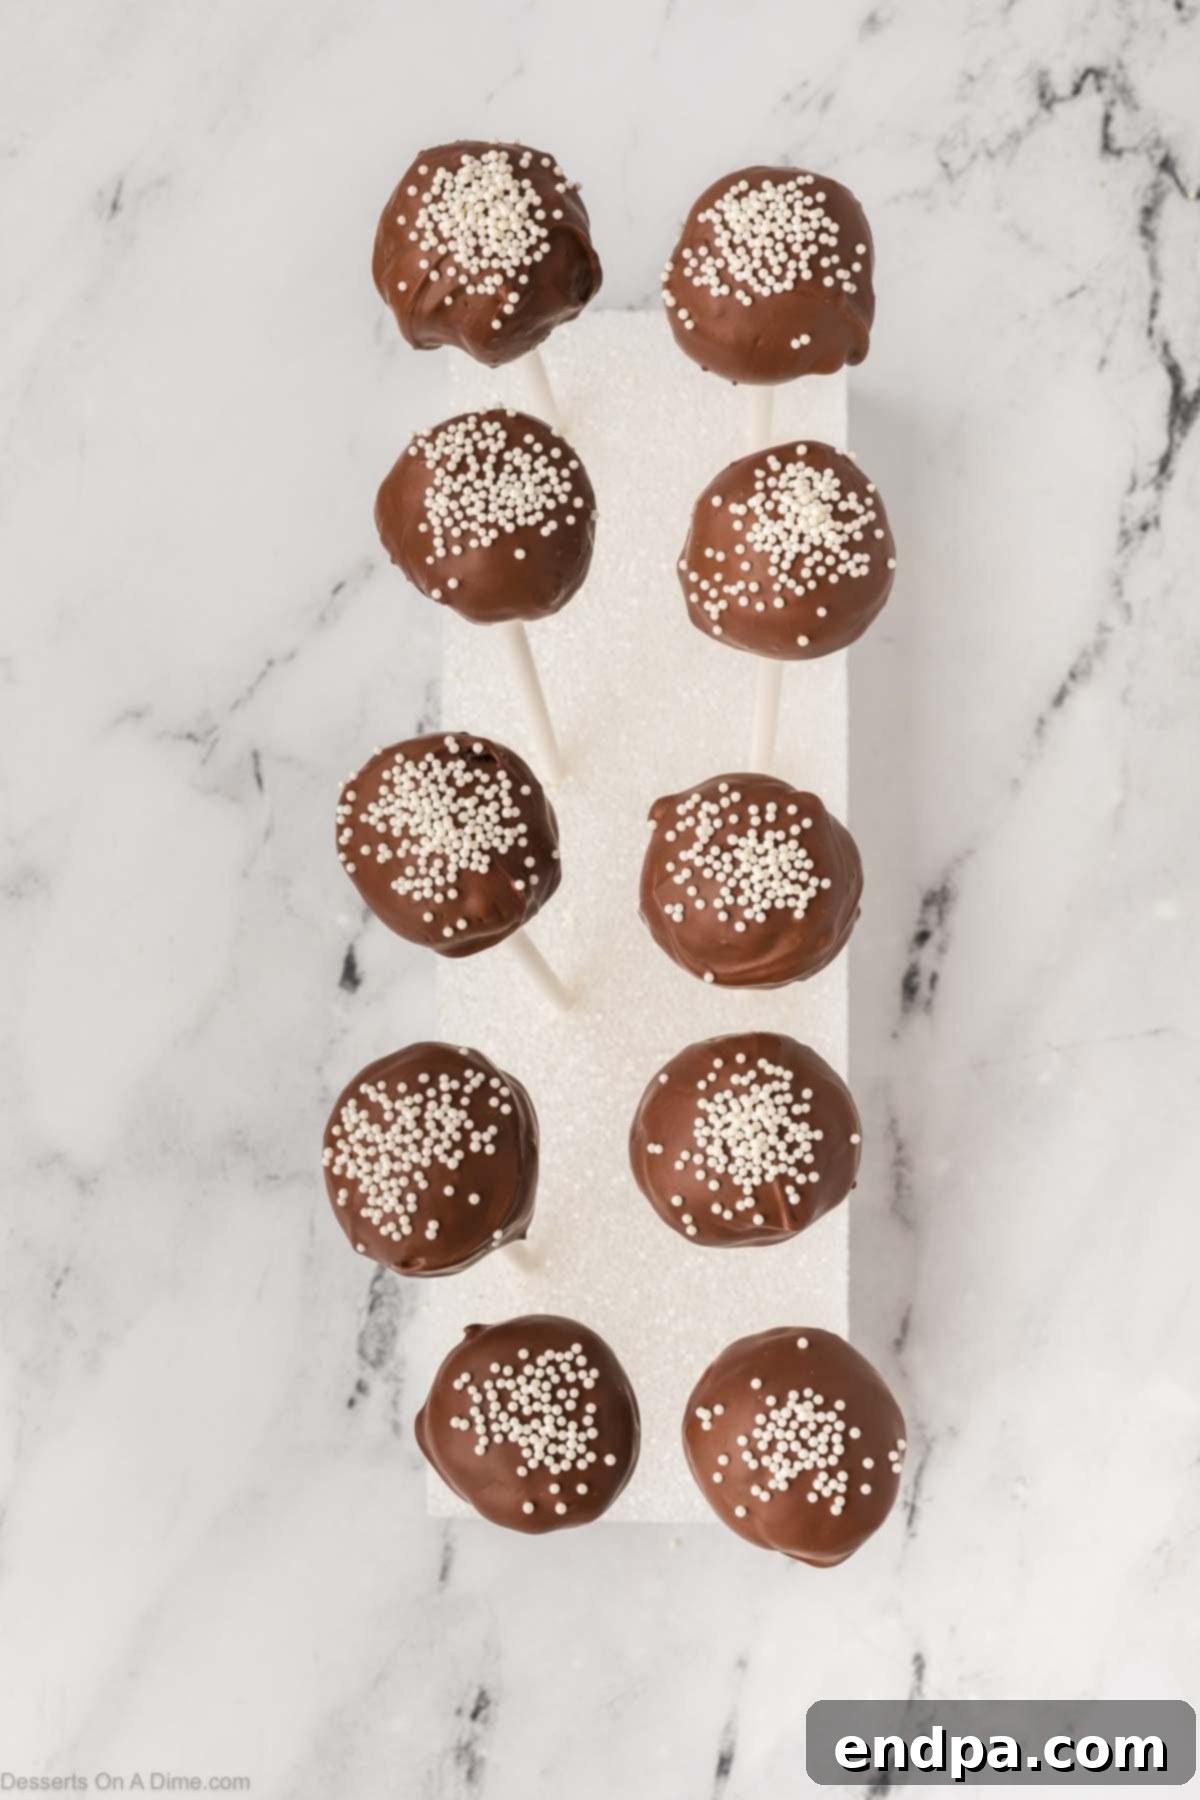
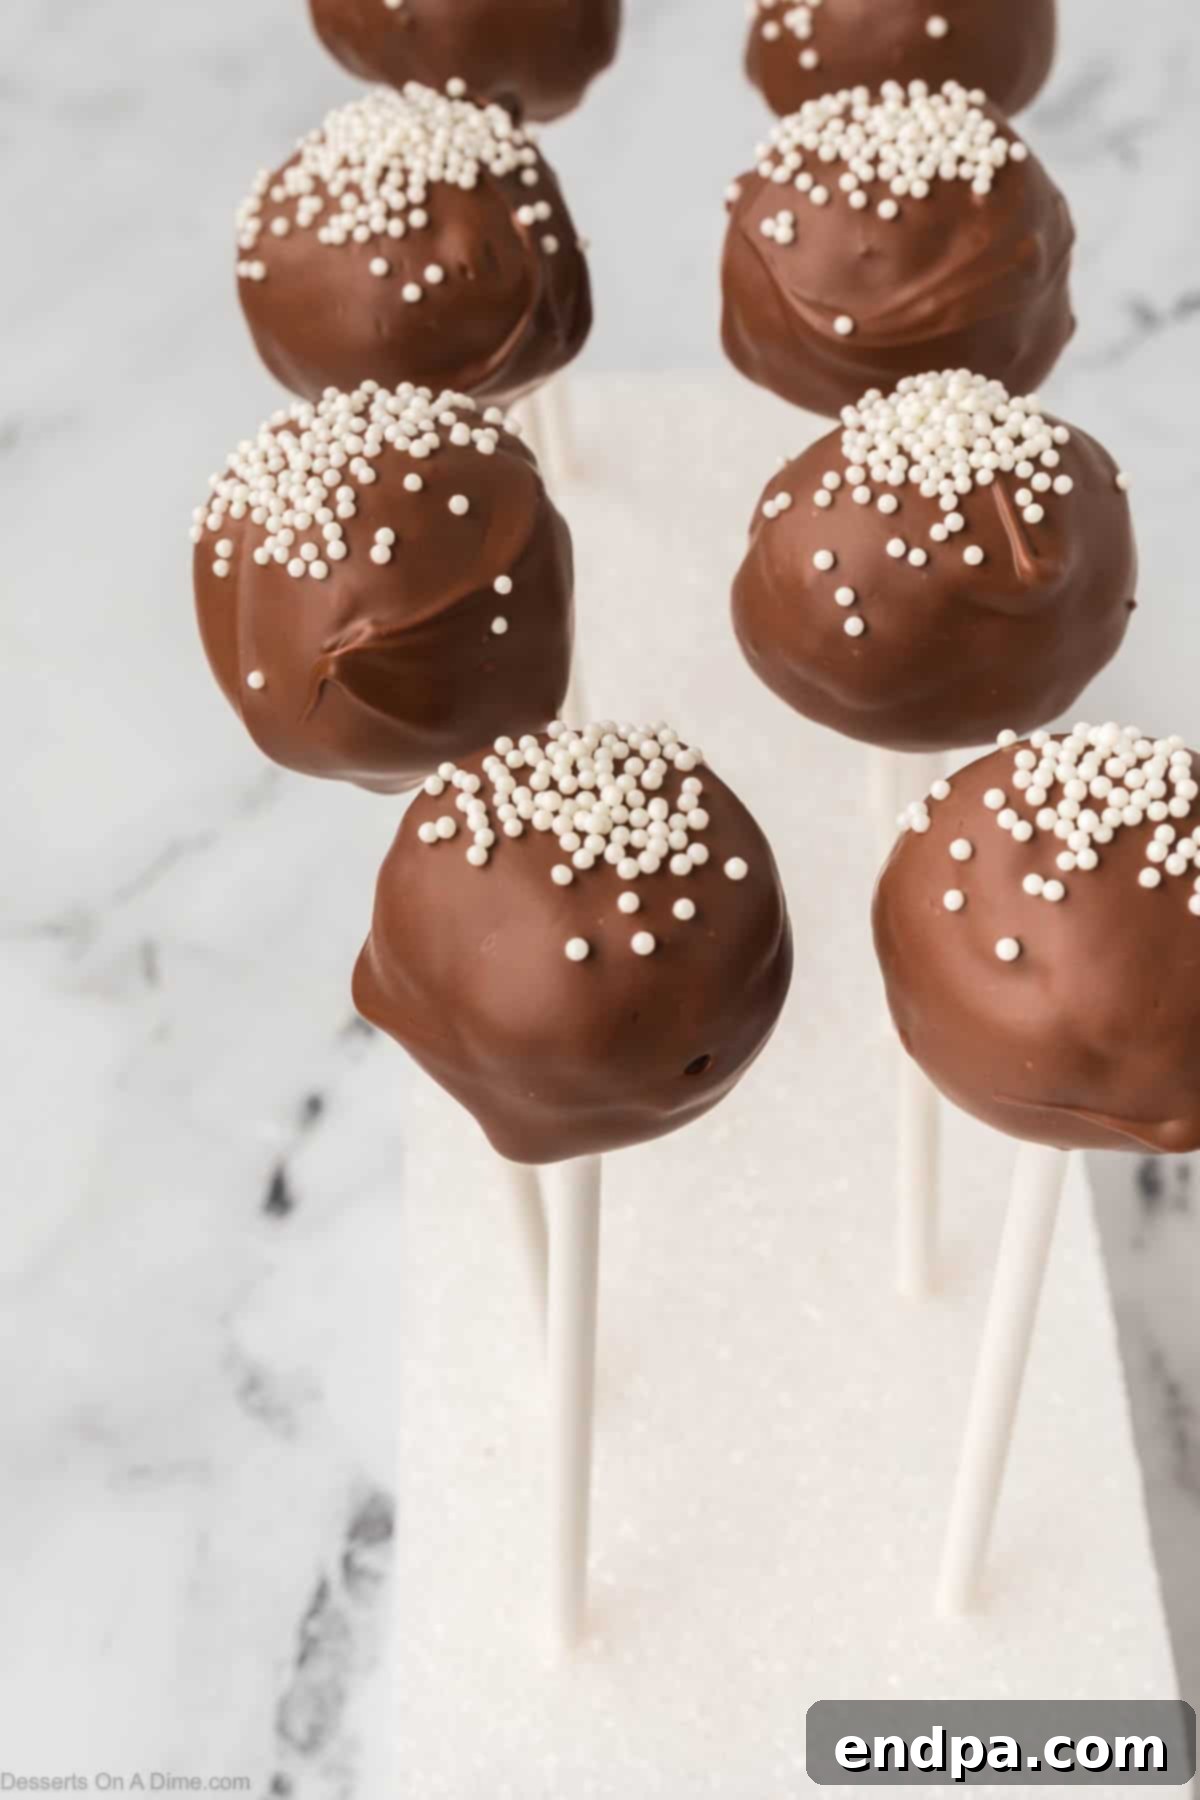
Step 12: Repeat and Enjoy! Continue the dipping and decorating process for all remaining cake pops until they are all beautifully coated and sprinkled. Once every cake pop has been decorated and the candy coating is completely dry and solid, they are ready to be served and thoroughly enjoyed! Arrange them on a platter or continue to display them in your stand for a stunning presentation.
Storage Tips for Freshness
To ensure your homemade Starbucks Chocolate Cake Pops remain fresh, delicious, and retain their perfect texture, proper storage is key. Here’s how to keep them at their best:
- Room Temperature Storage: If your cake pops have a fully set candy coating, they can be stored at room temperature for up to 7 days. Place them in an airtight container to protect them from air exposure, which can cause them to dry out. Keeping them in a cool, dry place away from direct sunlight is ideal.
- Freezing for Long-Term Storage: For longer storage, you can freeze the uncoated cake balls (before dipping them in chocolate) for up to 6 weeks. Simply place them on a parchment-lined baking sheet and freeze until solid, then transfer them to a freezer-safe airtight container or bag. When ready to serve, thaw the cake balls in the refrigerator for a few hours or overnight, then proceed with dipping them in chocolate and decorating as usual.
- Avoiding Moisture and Sticking: When storing multiple layers of cake pops in a container, always place a sheet of parchment paper or wax paper between each layer. This prevents the delicate coating and sprinkles from sticking to each other, maintaining their pristine appearance. Avoid storing them in overly humid environments, as condensation can make the coating sticky or dull.
Expert Pro Tips for Perfect Cake Pops
Achieving bakery-quality cake pops at home is easy with a few insider tricks. These pro tips will help you navigate common challenges and ensure your Starbucks-style treats are perfect every time:
- Start with Cold Cake: After baking, make sure your cake is completely chilled before you start crumbling it and mixing it with frosting. A cold cake is much easier to crumble evenly and combine with frosting, resulting in a firmer, more manageable mixture that’s simpler to shape.
- Ensure Consistent Size: Uniformity is key for professional-looking cake pops. Use a small cookie scoop (about 1.5 tablespoons) or a measuring spoon to portion out the cake mixture for each ball. This ensures all your cake pops are roughly the same size, which also helps them to chill and set evenly.
- Chill Thoroughly Before Dipping: This is a non-negotiable step! Refrigerate or freeze your formed cake balls for at least 15-30 minutes before dipping them in the melted chocolate. Chilling prevents the cake balls from crumbling or detaching from the stick when dipped, and also helps the chocolate coating set smoothly without cracks.
- Thin Your Coating if Needed: If your melted chocolate candy coating feels too thick or appears clumpy, it will be difficult to achieve a smooth, even dip. Add a small amount of shortening (like Crisco) or a neutral vegetable oil (such as coconut oil) to the melted candy melts. Add it gradually, a teaspoon at a time, stirring well after each addition until you reach a desirable, pourable consistency.
- Secure the Sticks Carefully: Don’t skip dipping the tip of your lollipop stick into the melted chocolate before inserting it into the cake ball. This creates a strong “glue” that firmly anchors the stick to the cake, preventing the cake pop from falling off the stick during dipping or handling.
- Decorate Promptly: The candy coating sets very quickly, especially on cold cake pops. Have all your sprinkles, drizzles, or other toppings ready and within reach. Apply them immediately after dipping each cake pop, before the chocolate has a chance to harden, to ensure they adhere properly.
Creative Variations to Customize Your Cake Pops
While the classic Starbucks Chocolate Cake Pop is undeniably delicious, this recipe offers a fantastic foundation for experimentation. Don’t be afraid to get creative and customize your cake pops to suit your preferences or the theme of your event:
- Explore Different Cake Flavors: Instead of chocolate, try swapping the cake mix for other exciting flavors. Vanilla cake mix offers a classic, comforting taste, red velvet provides a hint of tang and beautiful color, while funfetti cake mix adds a festive explosion of sprinkles inside!
- Experiment with Frosting Types: The frosting is key to texture and flavor. Beyond chocolate fudge, consider using cream cheese frosting for a rich, tangy twist, peanut butter frosting for a nutty indulgence, or salted caramel frosting for a gourmet touch. Each frosting will impart a unique flavor profile to your cake pops.
- Vary Your Candy Coatings: The outer shell can be just as exciting as the interior! Dip your cake pops in white chocolate for a striking contrast, use dark chocolate for an intensely rich experience, or opt for colored candy melts (available in a rainbow of hues) to match any party decor or theme.
- Add Diverse Toppings: Sprinkles are just the beginning! Elevate your cake pops with crushed nuts (like pecans or almonds), toasted coconut flakes, mini chocolate chips, or even a dusting of cocoa powder. A drizzle of contrasting melted chocolate can also add visual appeal and extra flavor.
- Incorporate Seasonal Themes: Make your cake pops holiday-ready! Use red and green sprinkles for Christmas, orange and black for Halloween, or pastel colors for Easter. You can even drizzle colored candy melts to create intricate patterns or holiday-specific designs. For birthdays, customize with the recipient’s favorite colors!
- Create Mini Pops for Easy Snacking: For a lighter bite or a larger quantity, simply make smaller cake balls. Mini cake pops are perfect for delicate party platters, children’s parties, or when you want to sample multiple flavors without overindulging. Adjust chilling and dipping times accordingly for smaller sizes.
More Copycat Starbucks Recipes
- Starbucks Pumpkin Bread Recipe
- Starbucks Brownies Recipe
- Copycat Starbucks Lemon Loaf Recipe
- Starbucks Cake Pops Recipe
More Irresistible Cake Pop Recipes
- Birthday Cake Pops
- Copycat Starbucks Birthday Cake Pops Recipe
- Brownie Cake Pops Recipe
- Minecraft Cake Pops Recipe
- Red Velvet Cake Balls Recipe
- Vanilla Cake Balls Recipe
We invite you to try this amazing Copycat Starbucks Chocolate Cake Pop Recipe and discover just how incredibly delicious and easy homemade versions can be. We’re confident you’ll love them! Once you’ve whipped up your batch, please come back and share your experience by leaving a comment and a star rating.
Pin
Starbucks Chocolate Cake Pops Recipe
15
30
10
55
24
American
Dessert
158
Carrie Barnard
Ingredients
- 1 box Chocolate Cake Mix 15 oz
- *Plus ingredients to prepare the cake on the back of the box
- 1/3 cup Chocolate Fudge Frosting I use pre-made
- 16 oz. Chocolate Candy Melts
- Sprinkles optional
- Lollipop Sticks
Instructions
- Bake the cake according to the box instructions in a 9×13 inch pan. Allow the cake to cool completely at room temperature before handling.
- Once cooled, remove the cake from the pan. Carefully remove the firmer outside layer or crust from the cake and discard it. Crumble the remaining moist interior of the cake into a large mixing bowl, ensuring it’s in fine, even crumbs.
- Add the chocolate fudge frosting to your crumbled cake. Mix everything together thoroughly until it’s well combined and forms a smooth, creamy, and pliable mixture.
- Shape the mixture into approximately 24-36 uniform cake balls (the exact number depends on your desired size). For consistent sizing, use a small cookie scoop. Place these formed cake balls onto a cookie sheet lined with parchment paper.
- Place the chocolate candy melts in a small microwave-safe bowl. Microwave for 30 seconds, then stir. Continue heating in 15-30 second intervals, stirring well after each, until the candy melts are fully melted and have a smooth, creamy consistency.
- Dip each lollipop stick into the melted candy about half an inch deep. Then, insert the coated end of the stick into the center of a cake ball, pushing it about halfway through. This acts as a “glue” to secure the stick. Place the cake pops on the lined cookie sheet and freeze for 10-15 minutes. Do not freeze for longer than 15 minutes to prevent cracking and ensure sprinkles adhere.
- Once the cake pops are chilled, dip each one completely into the melted candy melts (re-melt if necessary). Gently tap the stick against the bowl’s edge to allow any excess chocolate to drip off, creating a smooth, even coating.
- Immediately after dipping and while the coating is still wet, add your desired sprinkles or other decorations. Insert the stick of the decorated cake pop upright into a styrofoam block or cake pop stand to allow the candy coating to dry and solidify without smudging.
- Continue this process until all the cake pops have been coated and decorated. Once the candy coating on all cake pops is completely dry and firm, they are ready to be served and enjoyed!
Recipe Notes
*If you find the melted candy coating is too thick for dipping, you can thin it out slightly. Add a very small amount of vegetable oil or coconut oil (start with ½ to 1 teaspoon) to the melted chocolate, stirring slowly and thoroughly until you reach a desired, smoother consistency. Be careful not to add too much at once.
Nutrition Facts
Calories
158
kcal
,
Carbohydrates
20
g
,
Protein
2
g
,
Fat
8
g
,
Saturated Fat
3
g
,
Polyunsaturated Fat
2
g
,
Monounsaturated Fat
3
g
,
Trans Fat
1
g
,
Cholesterol
14
mg
,
Sodium
168
mg
,
Potassium
66
mg
,
Fiber
1
g
,
Sugar
14
g
,
Vitamin A
20
IU
,
Calcium
29
mg
,
Iron
1
mg
