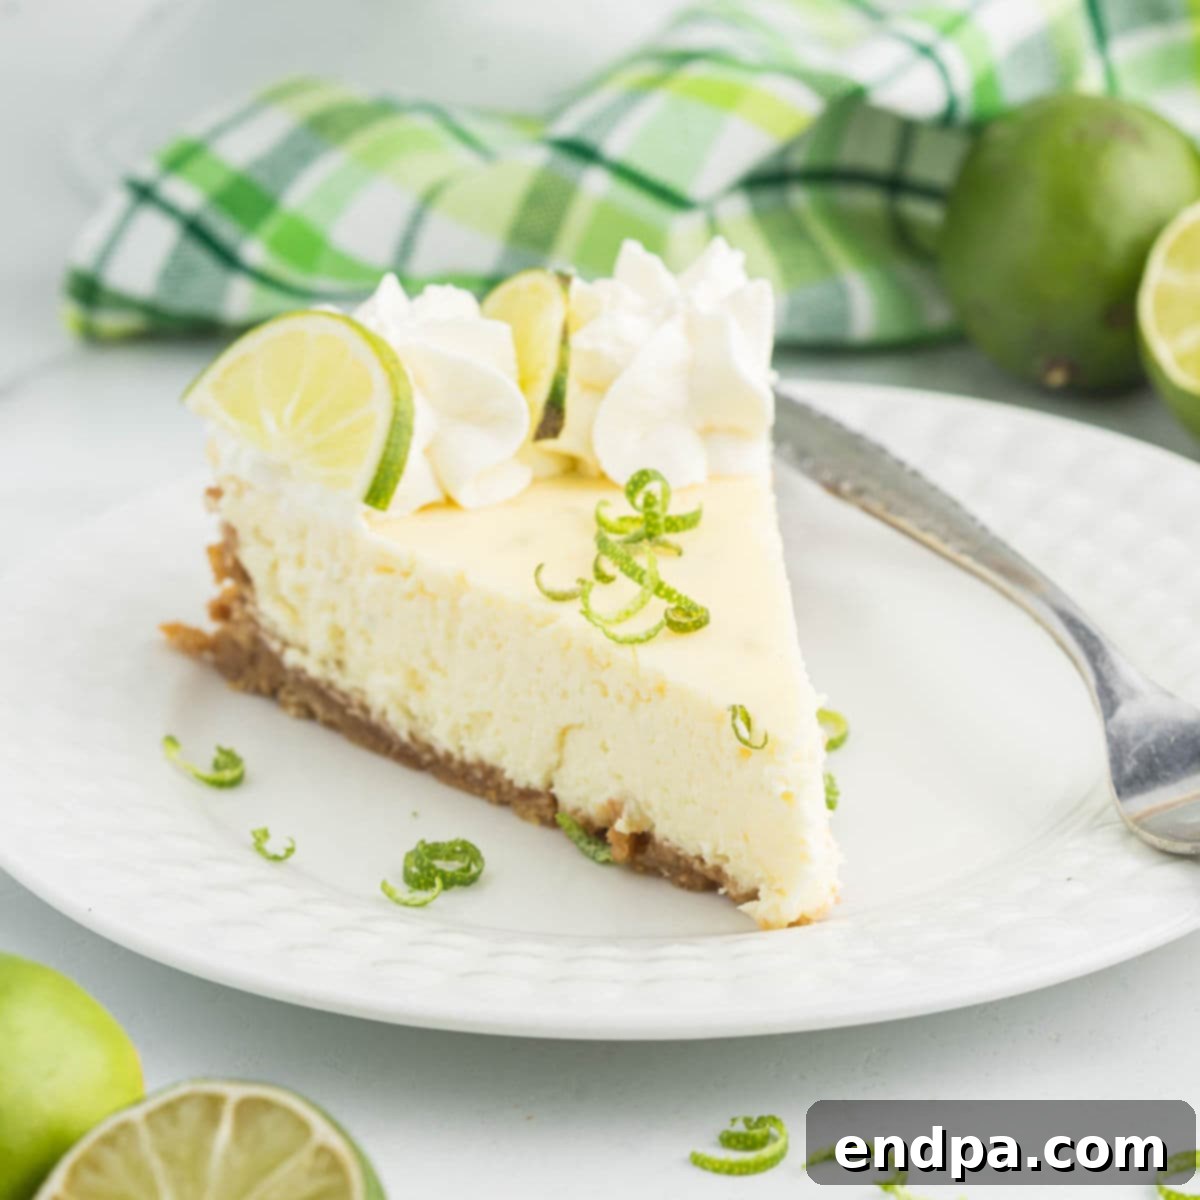
Indulge in the ultimate dessert experience with this **Key Lime Cheesecake**, a masterpiece that perfectly balances rich, creamy texture with an exhilarating tangy citrus burst. This refreshing dessert is an absolute delight, making it the ideal choice for any gathering, holiday celebration, or simply a well-deserved treat after a long day. Prepare to discover the secrets to crafting a show-stopping cheesecake that captures the vibrant essence of Key West in every exquisite bite.
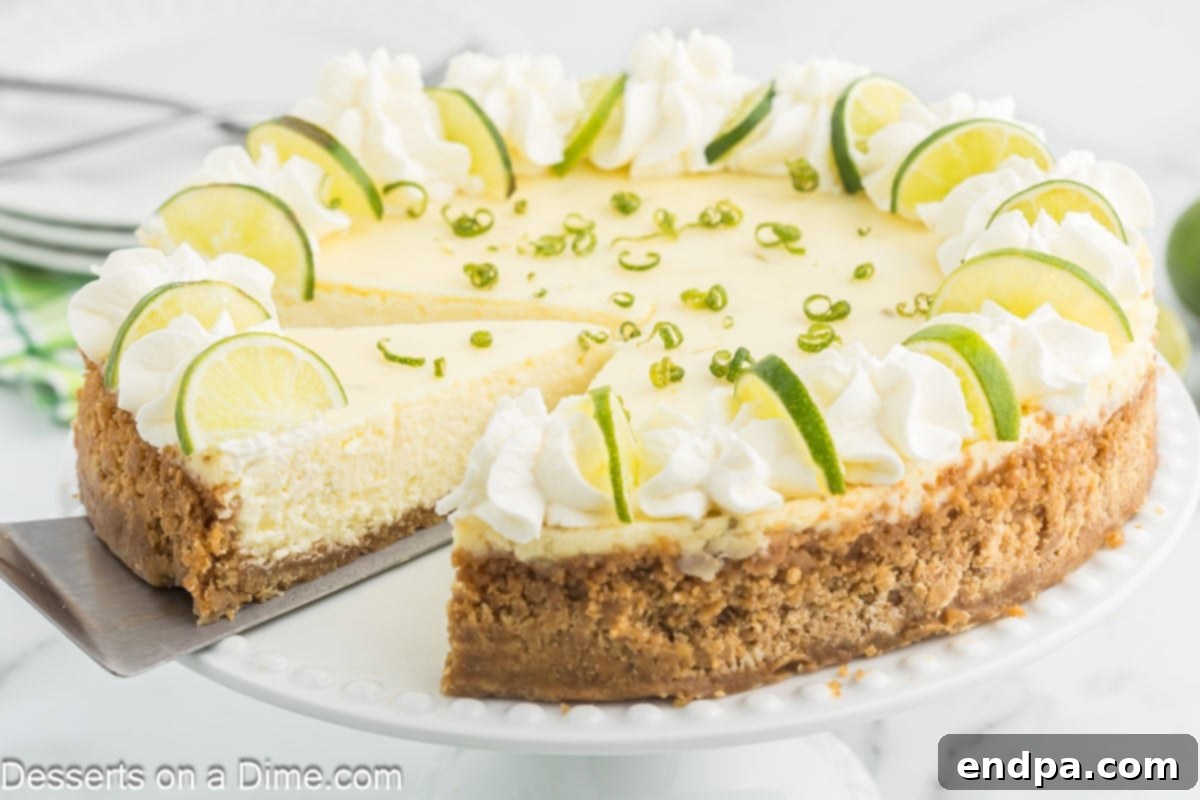
There’s nothing quite like the invigorating flavor of Key Lime, especially when it’s infused into a luxuriously smooth cheesecake. This recipe delivers an unparalleled fusion of sweet and tart, featuring a buttery graham cracker crust, a velvety cream cheese filling brimming with authentic Key Lime juice, and a delicate whipped cream topping. It’s a dessert that not only captivates the taste buds but also offers a refreshing escape, reminiscent of sun-drenched beaches and tropical breezes. Despite its gourmet appeal, this Key Lime Cheesecake is surprisingly straightforward to prepare, promising a crowd-pleasing outcome with minimal fuss.
If you’re a devoted fan of this unique citrus profile, we invite you to explore more of our delightful Key Lime creations. Don’t miss out on our amazing Key Lime Cupcakes for a handheld treat, or our Easy Key Lime Pie Recipe for another classic take on this beloved flavor.
Table of Contents
- Why We Love This Key Lime Cheesecake
- Essential Ingredients
- For the Perfect Crust
- For the Creamy Filling
- For the Luscious Topping
- Step-by-Step Baking Instructions
- Storage Solutions
- Expert Baking Tips for Success
- Frequently Asked Questions
Why We Love This Key Lime Cheesecake
This Key Lime Cheesecake isn’t just a dessert; it’s an experience. Here’s why it’s become a perennial favorite and a must-try for any occasion:
- Unbelievably Creamy Texture: Each bite melts in your mouth, thanks to the incredibly smooth and rich cream cheese base. The texture is consistently velvety, without any lumps, ensuring a luxurious mouthfeel that cheesecake lovers adore.
- Bright & Invigorating Citrus Flavor: This cheesecake is bursting with the authentic, vibrant taste of fresh Key Limes. It’s not just a hint of citrus; it’s a profound, zesty flavor that truly captures the essence of Key West, making it wonderfully refreshing.
- Perfectly Balanced Taste: The delicate interplay between the sweetness of the sugar and the tartness of the Key Limes creates a harmonious flavor profile. This ideal balance prevents the cheesecake from being either overly sweet or too sour, resulting in a perfectly satisfying dessert.
- Refreshing Twist on a Classic: While classic cheesecakes are beloved, this Key Lime version offers a unique and zesty update. It brings a lively, summery vibe to the traditional rich dessert, making it stand out from the crowd and delighting those looking for something a little different.
- Versatile for Any Occasion: Whether you’re hosting an elegant dinner party, a casual backyard barbecue, a festive holiday gathering, or simply want a special treat, this cheesecake fits seamlessly. Its vibrant flavor and beautiful presentation make it suitable for any event, big or small.
- Simple, Accessible Ingredients: You don’t need exotic items to create this magnificent dessert. All the ingredients are readily available at most grocery stores, making it an achievable baking project for home cooks of all skill levels.
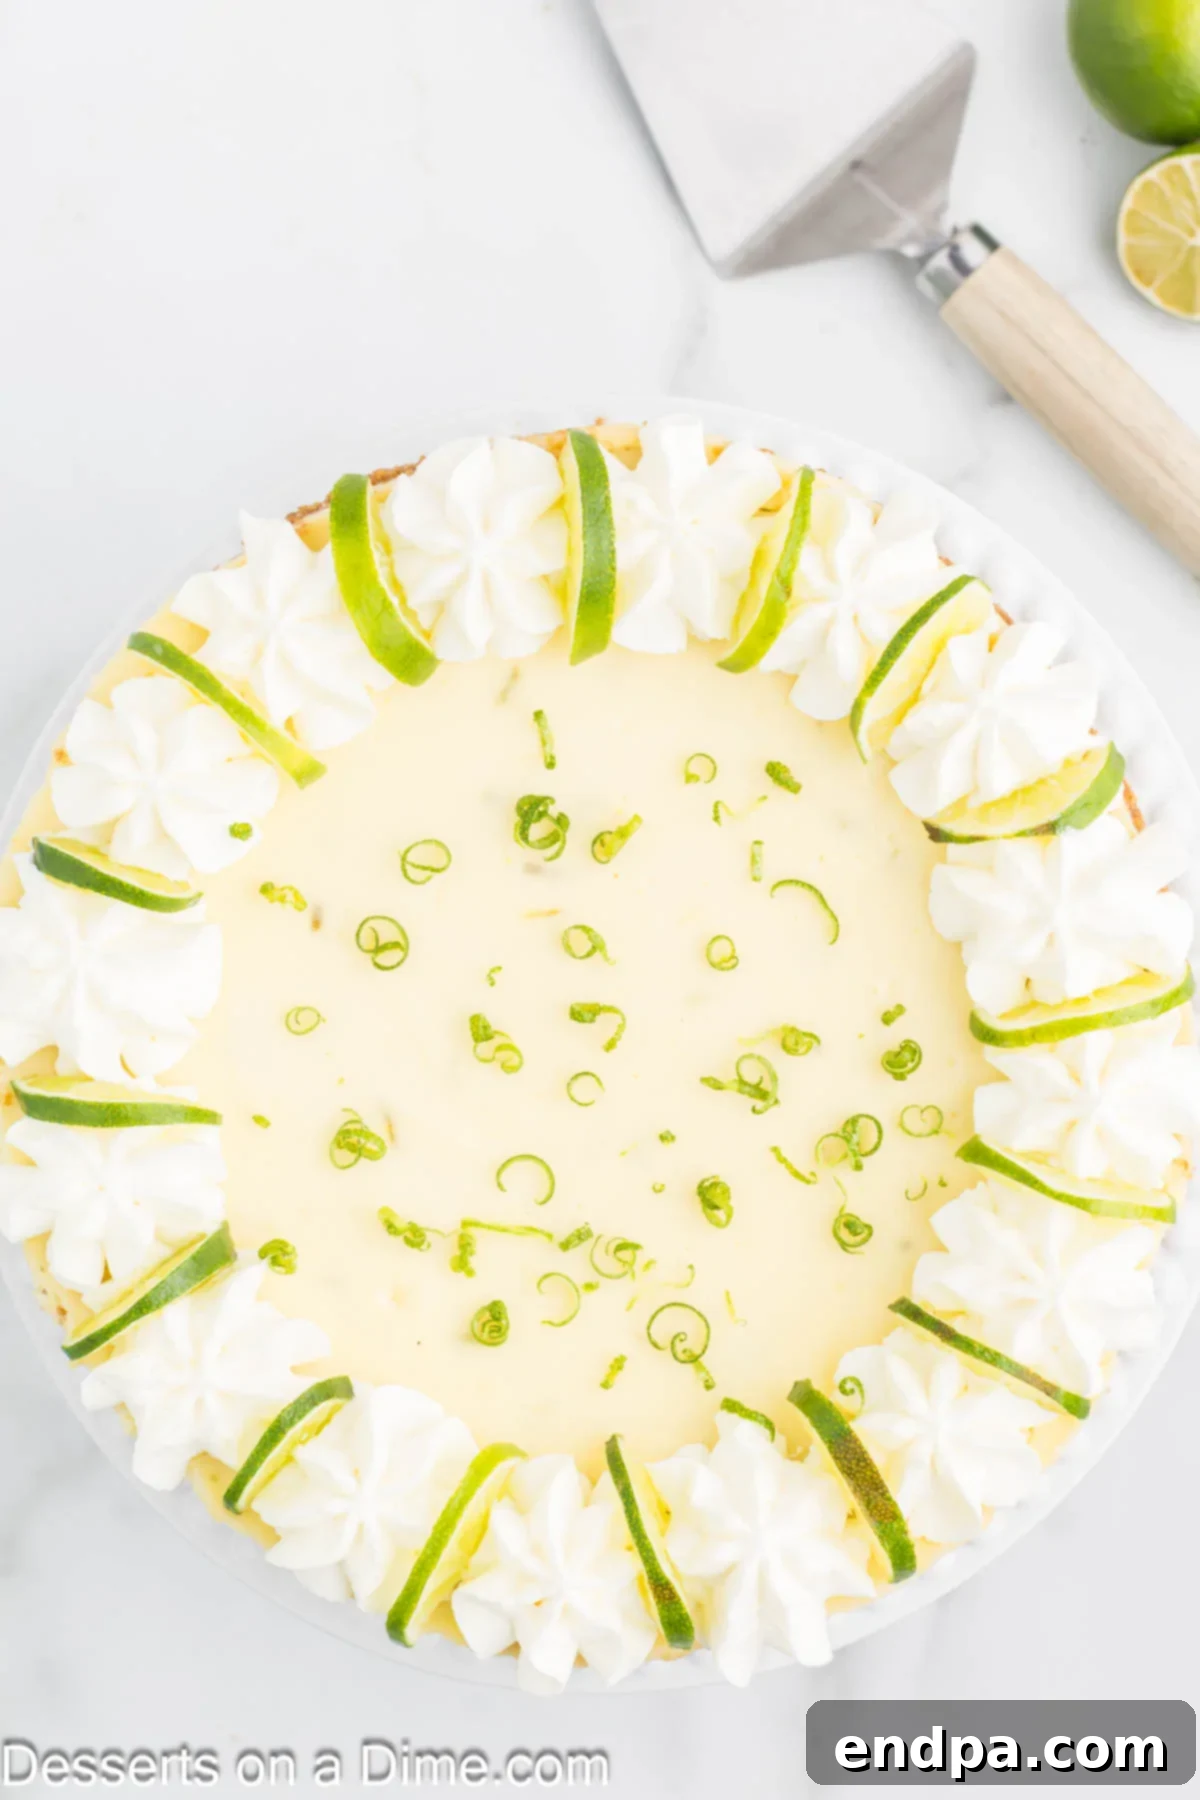
- Stunning Presentation: With its golden crust, pale green filling, and a fluffy white whipped cream topping garnished with fresh lime slices, this cheesecake is as visually appealing as it is delicious. It’s a true centerpiece that promises to impress your guests.
Essential Ingredients
Crafting the perfect Key Lime Cheesecake begins with selecting the right ingredients. Quality makes a noticeable difference in the final flavor and texture of your dessert.
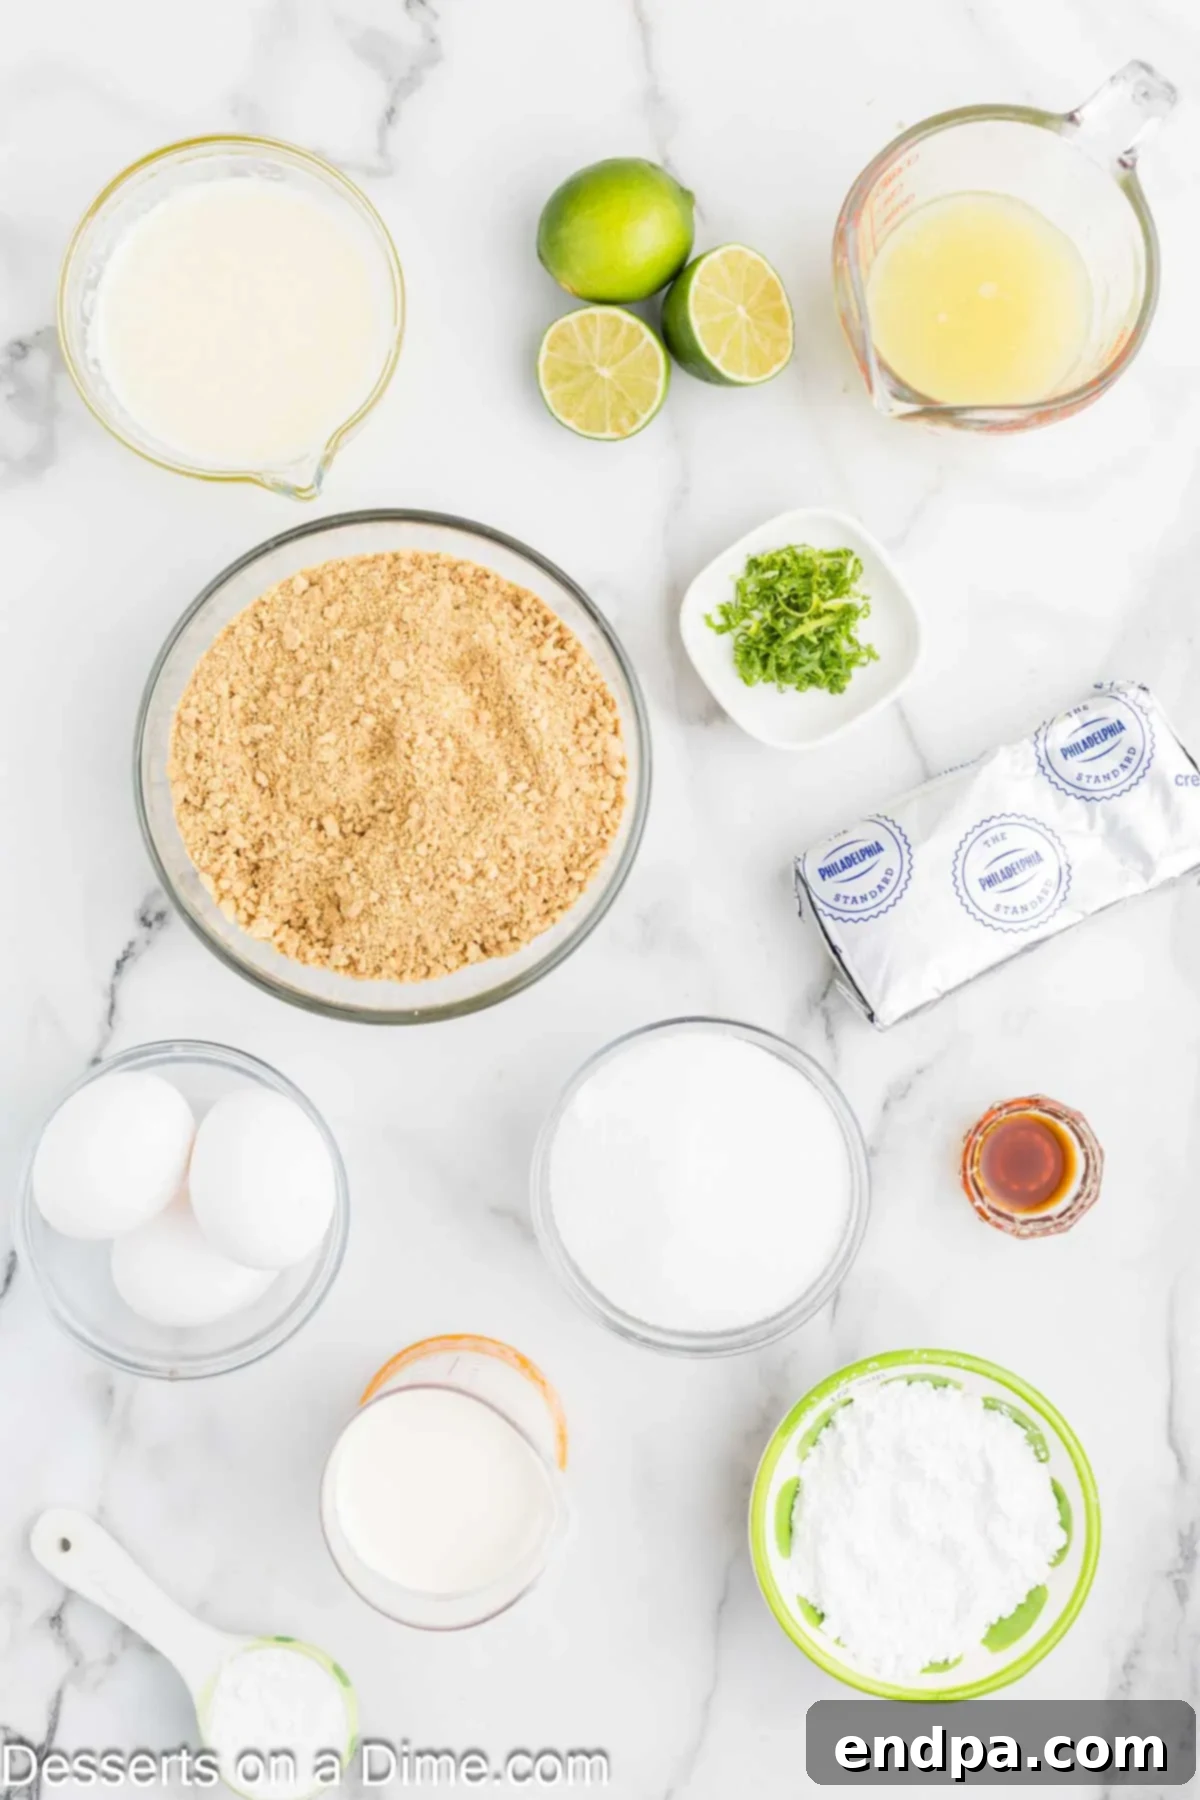
For the Perfect Crust
- Graham Cracker Crumbs: These form the crunchy, buttery foundation of your cheesecake. Ensure they are finely crushed for a uniform texture that binds well.
- Granulated Sugar: A touch of sugar in the crust adds a subtle sweetness, perfectly complementing the tart filling and enhancing the overall flavor profile.
- Salted Butter, Melted: The melted butter is crucial for binding the graham cracker crumbs and sugar together, creating a firm yet tender crust. Salted butter adds an extra depth of flavor, balancing the sweetness.
For the Creamy Filling
- Cream Cheese: Use full-fat cream cheese, softened to room temperature. This is the cornerstone of any great cheesecake, providing the essential creamy, smooth texture and rich flavor. Room temperature cream cheese mixes without lumps, ensuring a silky-smooth batter.
- Sugar: Granulated sugar sweetens the filling, balancing the intense tang of the Key Lime juice and making the cheesecake delightfully palatable.
- Cornstarch: A secret weapon for stability, cornstarch helps to firm up the cheesecake filling, preventing cracks and ensuring a beautifully silky texture that holds its shape when sliced.
- Lime Zest: Freshly grated lime zest provides an aromatic punch and concentrates the bright citrus flavor. Don’t skip this; it significantly enhances the overall Key Lime experience.
- Key Lime Juice: The star ingredient! Use fresh Key Lime juice for the most authentic and vibrant tangy flavor. Bottled Key Lime juice can be a good substitute if fresh are unavailable, but always opt for fresh if possible.
- Large Eggs: Eggs act as a binder, helping the cheesecake set and providing structure. Make sure they are at room temperature to ensure they incorporate smoothly into the cream cheese mixture, yielding a uniform texture.
For the Luscious Topping
- Heavy Cream: Whipped to soft or stiff peaks, heavy cream creates a light, airy, and creamy topping that beautifully contrasts the dense cheesecake. Ensure it’s very cold for optimal whipping.
- Powdered Sugar: Also known as confectioners’ sugar, this fine sugar sweetens the whipped cream without adding any gritty texture, dissolving instantly for a smooth finish.
- Vanilla Extract: A splash of good quality vanilla extract enhances the overall sweetness and adds a warm, subtle aromatic note to the whipped cream, complementing the citrus.
Step-by-Step Baking Instructions
Follow these detailed steps to create a Key Lime Cheesecake that will impress everyone who tries it.
- Step 1: Prepare Your Oven and Pan. Preheat your oven to 300°F (150°C). Lightly coat a 9-inch springform pan with a non-stick cooking spray to ensure easy removal after baking.
- Step 2: Create the Graham Cracker Crust. In a medium mixing bowl, combine the finely crushed graham cracker crumbs and the melted salted butter. Mix thoroughly until the crumbs are evenly moistened. Press this mixture firmly and evenly into the bottom of the prepared springform pan, extending slightly up the sides to create a sturdy crust. Use the bottom of a glass or your knuckles to compact the crust for a solid base.
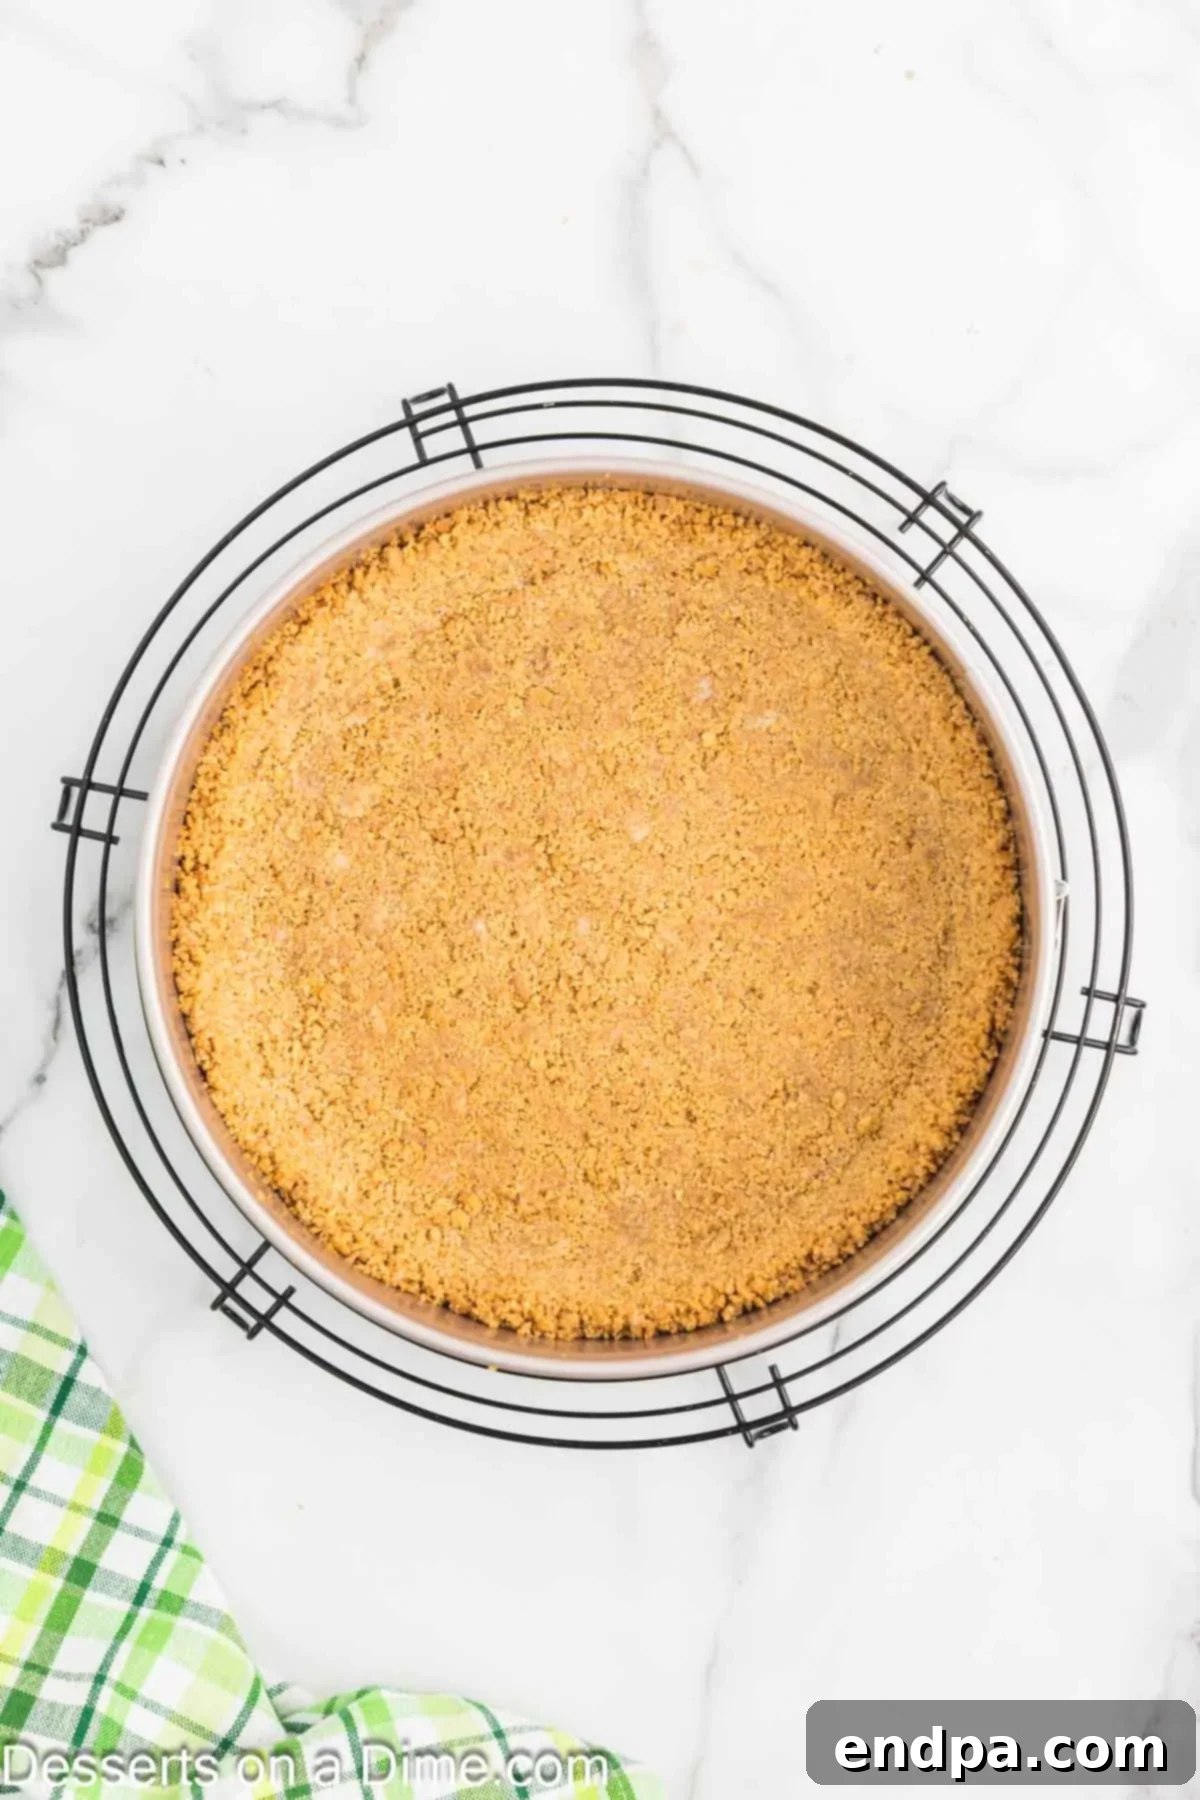
Step 3: Bake and Cool the Crust. Bake the graham cracker crust in the preheated oven for 15 minutes. This step helps to set the crust, making it crispier and preventing it from becoming soggy once the filling is added. Once baked, remove the pan from the oven and allow the crust to cool completely on a wire rack while you prepare the filling. This cooling period is important for stability.
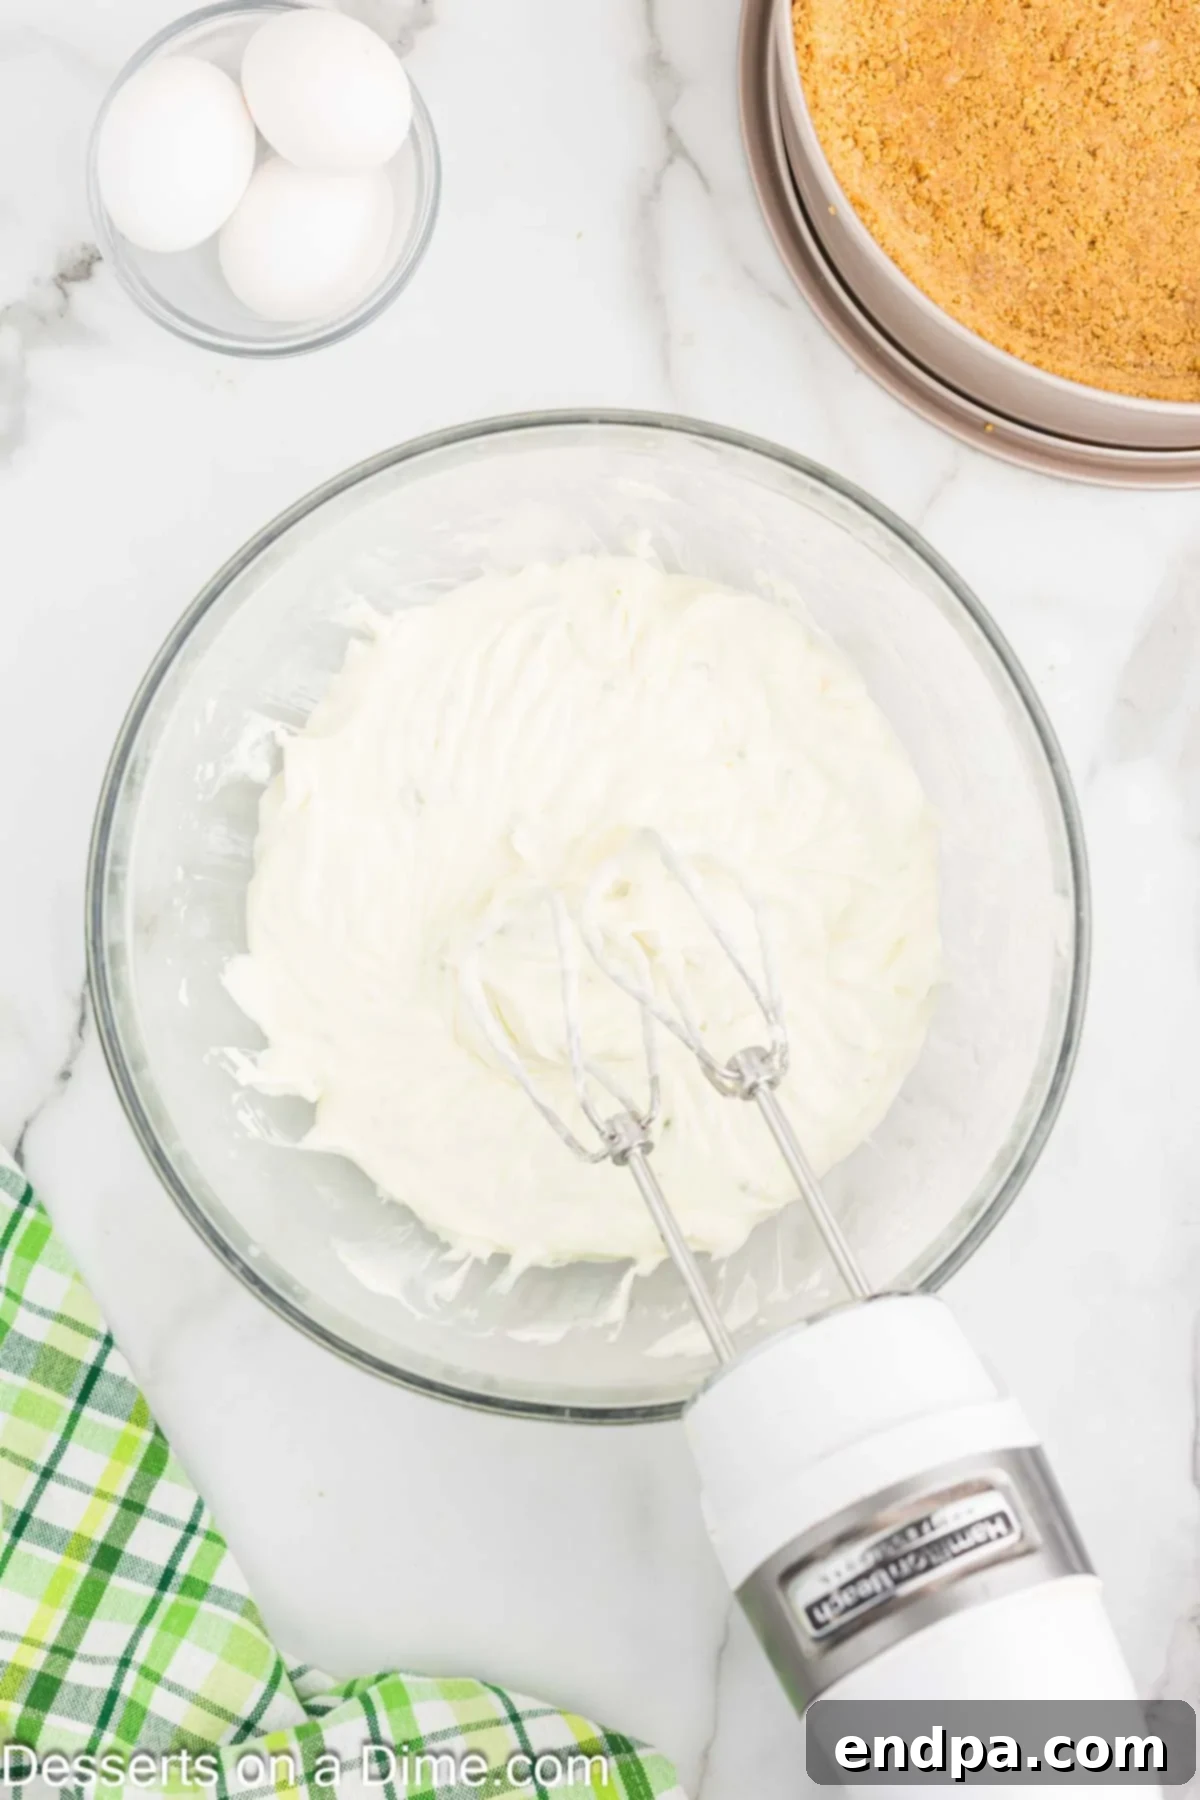
Step 4: Prepare the Silky Filling. In a large mixing bowl, using either a handheld electric mixer or a stand mixer fitted with the paddle attachment, beat the softened cream cheese, cornstarch, granulated sugar, and fresh lime zest together until the mixture is completely smooth and free of any lumps. Scrape down the sides of the bowl as needed. Gradually add the Key Lime juice, mixing on low speed until it is fully incorporated. Finally, gently add the room temperature large eggs, mixing only until just combined. Be careful not to overmix the batter once the eggs are added, as excessive air can lead to cracks during baking.
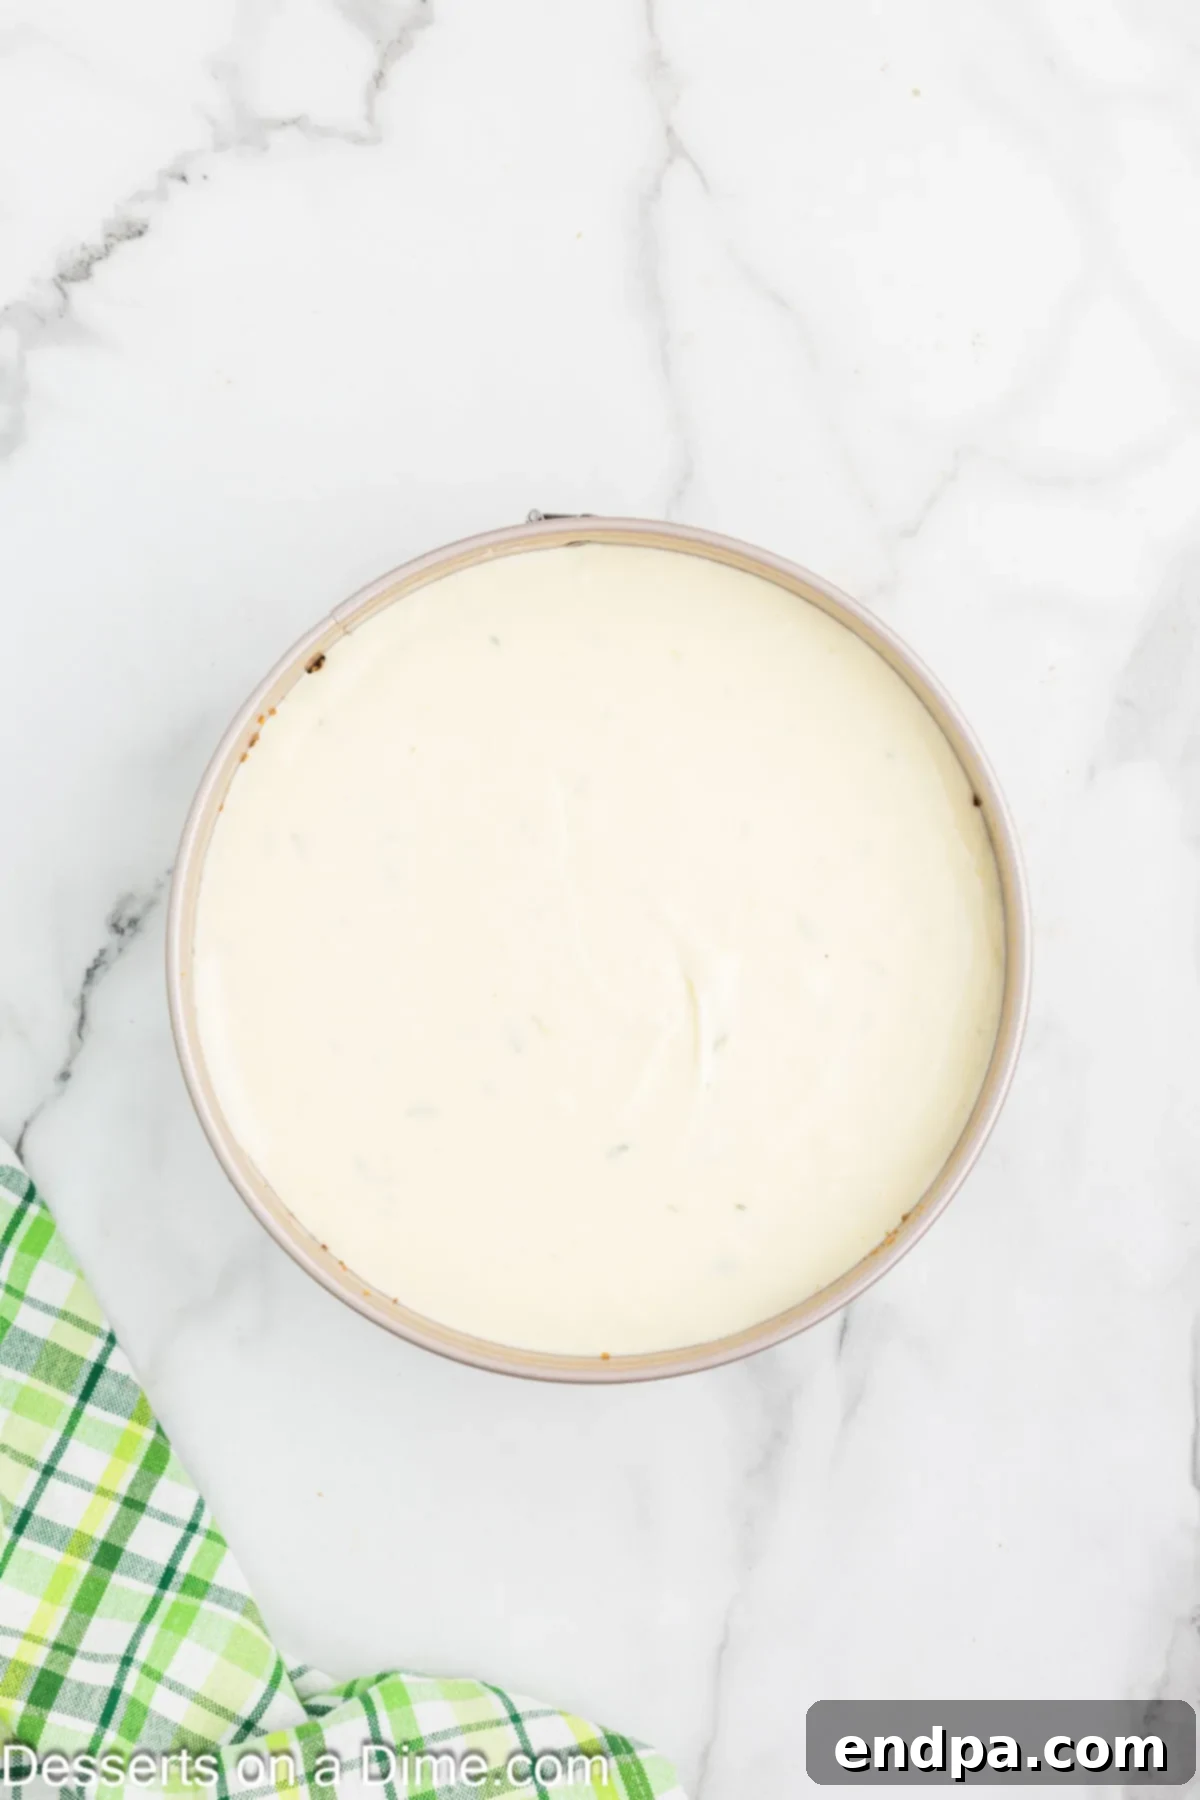
Step 5: Pour Filling and Prepare for Water Bath. Carefully pour the smooth cheesecake batter into the cooled graham cracker crust. To prevent water from seeping into the pan during the water bath, wrap the entire bottom and sides of the springform pan tightly with several layers of heavy-duty aluminum foil. Ensure there are no gaps or tears in the foil seal.
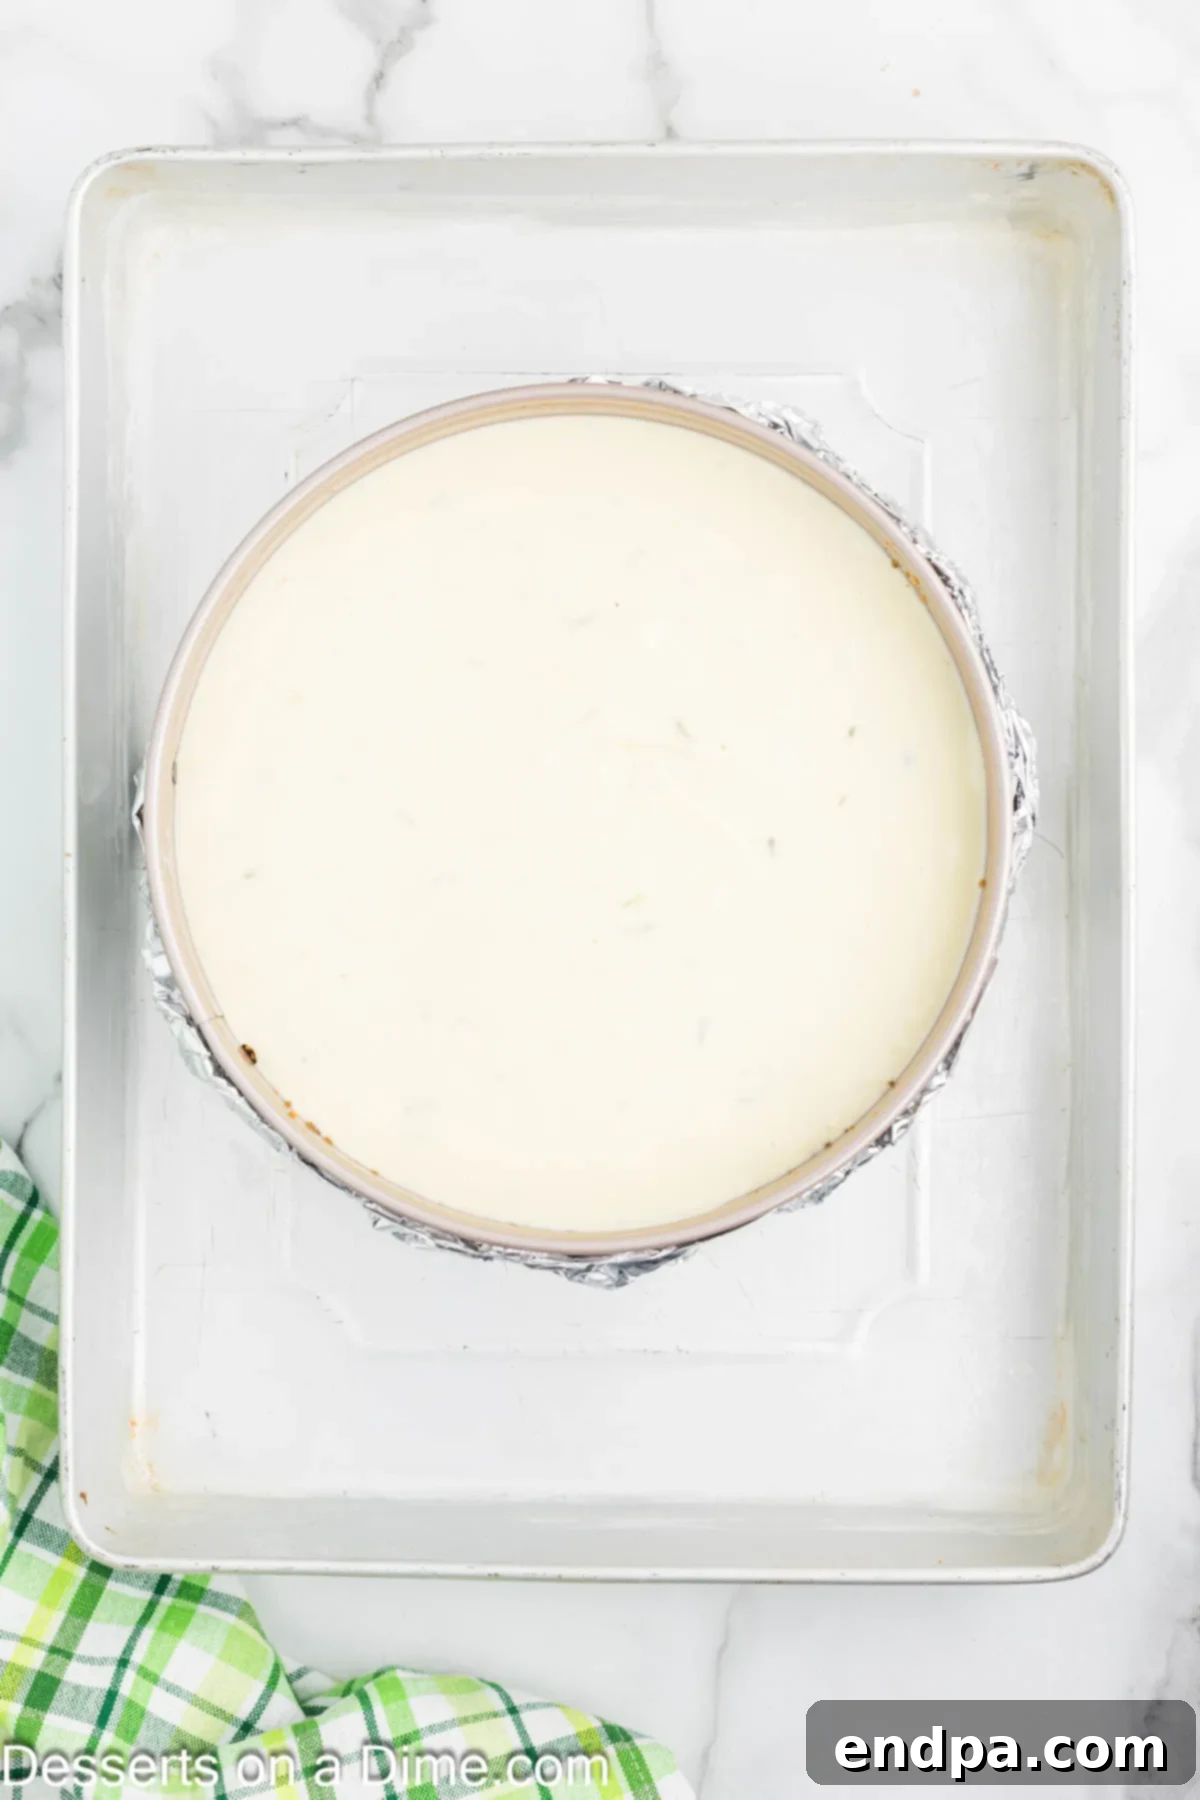
Step 6: Assemble the Water Bath. Place the foil-wrapped springform pan containing the cheesecake batter inside a larger baking dish or roasting pan. Carefully fill the larger pan with about an inch of hot water, ensuring the water level does not reach the top edge of the springform pan. The water bath provides a moist, even heat that helps the cheesecake bake gently and prevents cracking.
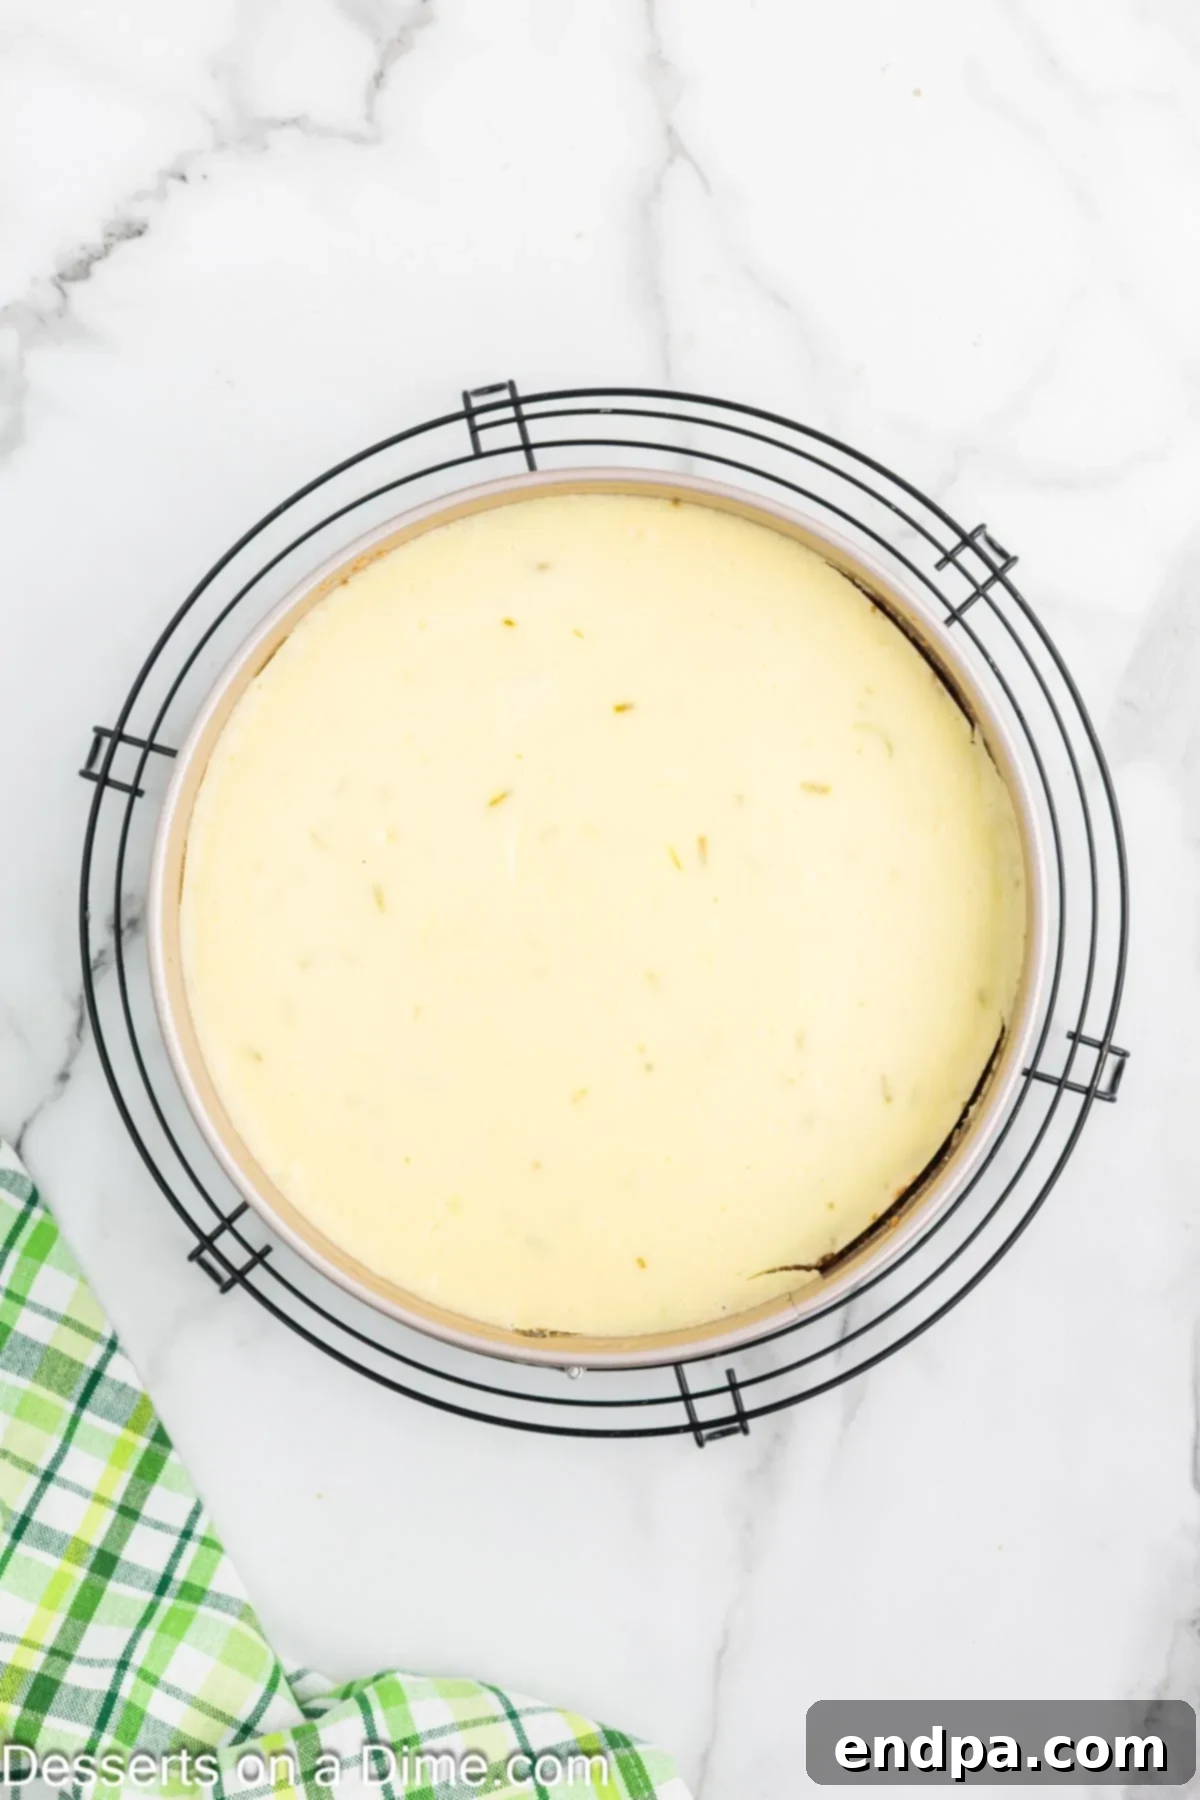
Step 7: Bake and Gradually Cool the Cheesecake. Carefully transfer the roasting pan with the water bath and cheesecake into the preheated oven. Bake for 60-65 minutes, or until the edges of the cheesecake are set and slightly puffed, but the very center still has a slight jiggle when gently nudged. Oven temperatures can vary, so it’s a good practice to check for doneness around the 50-minute mark. My cheesecake typically requires the full 65 minutes for perfect doneness. Once baked, turn off the oven and prop the oven door open a few inches. Allow the cheesecake to cool inside the oven for an additional 30 minutes. This slow, gradual cooling prevents drastic temperature changes that can cause cracking. After this, remove it from the oven and water bath, let it cool completely on a wire rack at room temperature, then transfer it to the refrigerator to chill thoroughly overnight. This extended chilling period is crucial for achieving the perfect firm texture and allowing the flavors to fully develop.
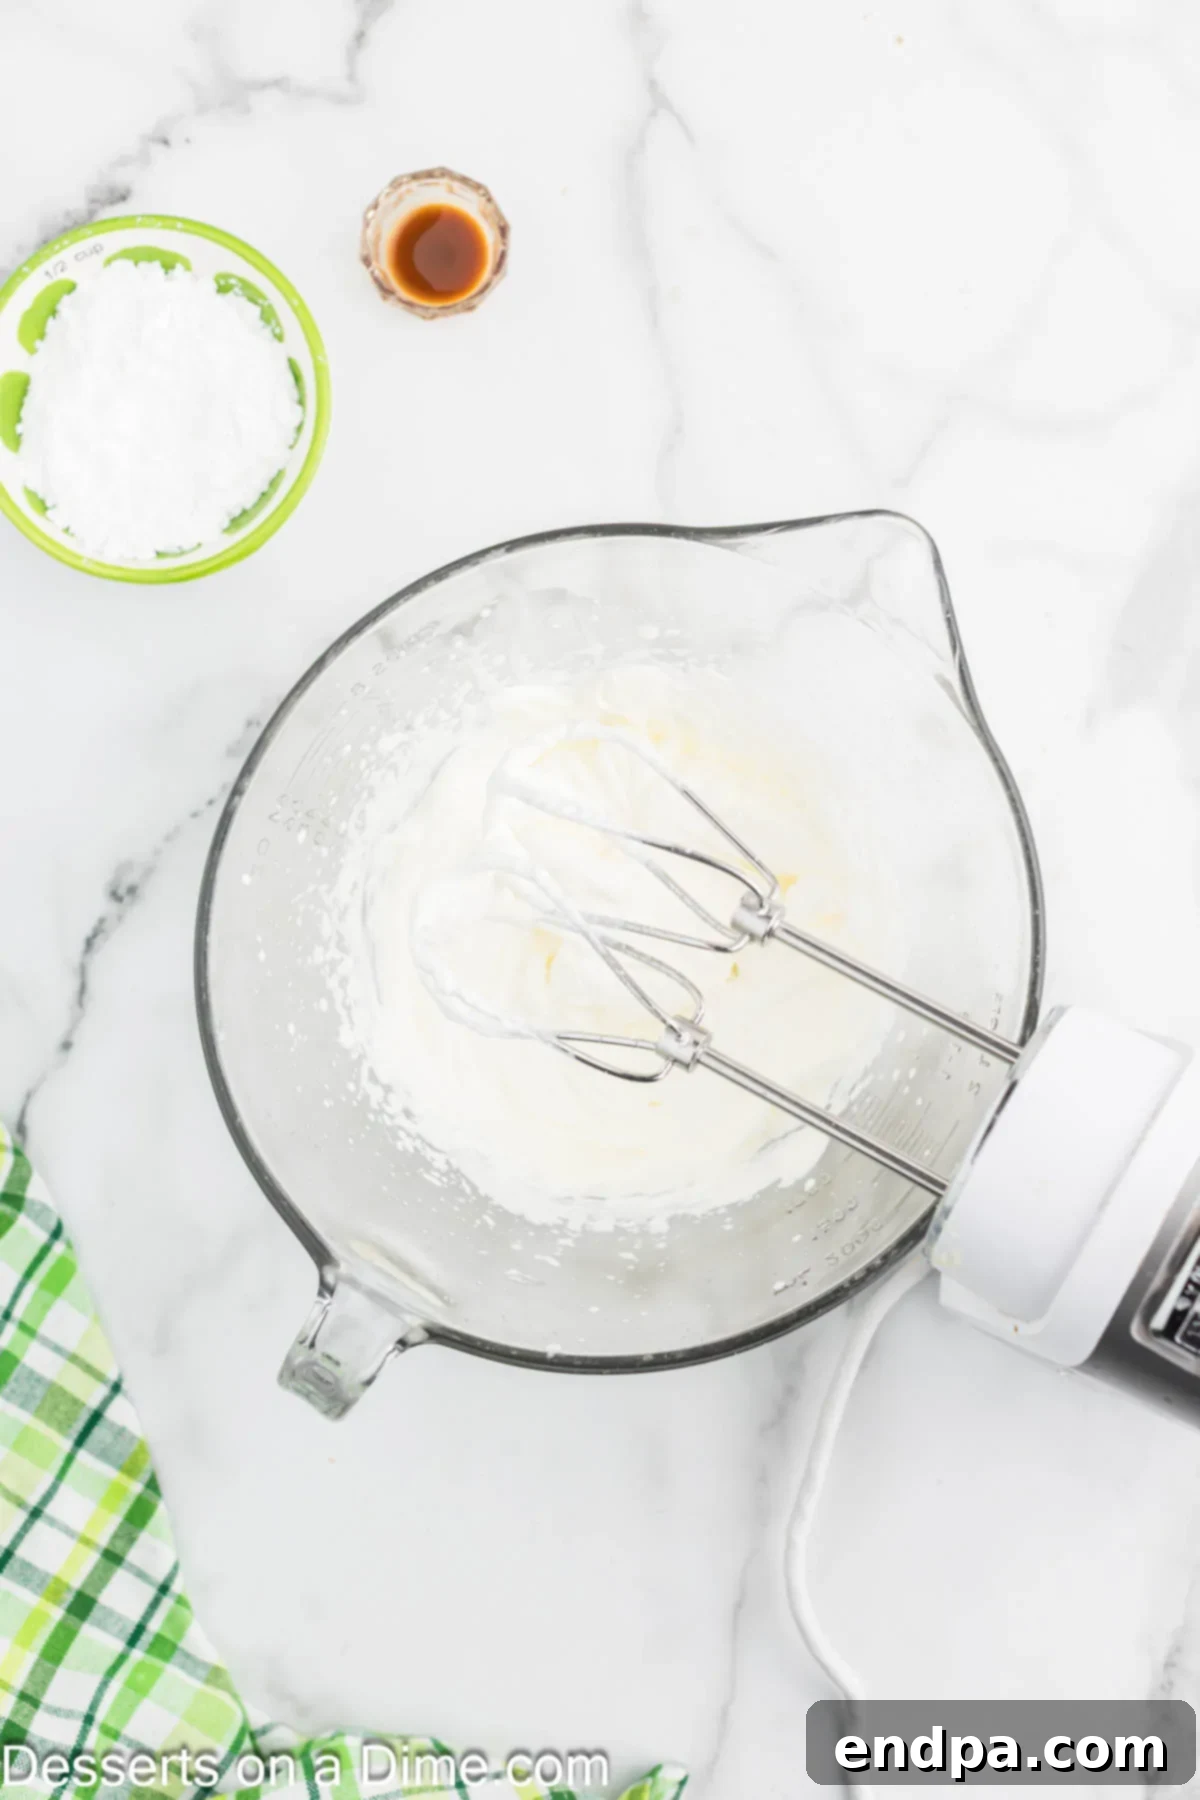
Step 8: Prepare and Serve the Topping. When you’re ready to serve your perfectly chilled cheesecake, it’s time to make the whipped cream topping. Using an electric mixer (either handheld or stand mixer with a whisk attachment), beat the very cold heavy cream on medium-high speed until it begins to thicken and soft peaks form. Gradually add the powdered sugar and vanilla extract, then continue beating until stiff peaks form – the whipped cream should hold its shape firmly. Carefully remove the cheesecake from the springform pan. Pipe or spread the freshly whipped cream generously over the top of the cheesecake. For an elegant finish, garnish with thin slices or wedges of fresh Key Limes. Slice the cheesecake using a sharp, warm knife (wiping it clean between each cut for perfect slices) and serve immediately. Enjoy this bright, creamy, and irresistible dessert!
Storage Solutions
Proper storage is key to enjoying your Key Lime Cheesecake for as long as possible:
- Refrigeration: Any leftover cheesecake should be stored in an airtight container or tightly wrapped in plastic wrap in the refrigerator. It will maintain its best quality for up to 5 days. Ensure it is well-covered to prevent it from absorbing odors from other foods in the fridge and to keep it from drying out.
- Freezing: For longer storage, Key Lime Cheesecake freezes beautifully. To freeze, ensure the cheesecake is completely chilled. You can freeze the entire cheesecake (without the whipped cream topping) or individual slices. Wrap the cheesecake tightly in several layers of plastic wrap, followed by a layer of aluminum foil. This double layer protects it from freezer burn. Label with the date. It can be stored in the freezer for up to 2 months.
- Thawing: When ready to enjoy a frozen cheesecake, transfer it to the refrigerator and allow it to thaw slowly overnight. Avoid thawing at room temperature, as this can affect the texture. Once thawed, you can add a fresh batch of whipped cream topping before serving.
Expert Baking Tips for Success
Achieve cheesecake perfection with these invaluable tips from experienced bakers:
- Room Temperature Cream Cheese and Eggs: This is paramount for a perfectly smooth, lump-free batter. Cold cream cheese will result in a lumpy filling, and cold eggs won’t emulsify properly. Take them out of the refrigerator at least 1-2 hours before you start baking.
- Do Not Overmix the Eggs: Once the eggs are added to the cheesecake batter, mix only until they are just combined. Overmixing incorporates too much air, which can cause the cheesecake to puff up excessively during baking and then collapse, leading to cracks as it cools.
- Secure Foil Wrap for Water Bath: When using a water bath, ensure your springform pan is wrapped very securely with several layers of heavy-duty aluminum foil. Even a small tear can allow water to seep in, resulting in a soggy crust.
- Fresh Ingredients are Key: Always opt for freshly squeezed Key Lime juice and freshly grated zest. The flavor difference compared to bottled juice and pre-packaged zest is significant and will elevate your cheesecake.
- Gradual Cooling is Essential: Drastic temperature changes are the primary cause of cheesecake cracks. Allowing the cheesecake to cool slowly in the oven with the door ajar, then gradually at room temperature, and finally in the refrigerator, minimizes thermal shock and prevents unsightly cracks.
- Overnight Chilling for Optimal Texture: While it’s tempting to dive in sooner, refrigerating the cheesecake overnight (or for at least 6-8 hours) is crucial. This extended chilling time allows the cheesecake to fully set, firm up, and allows the flavors to meld beautifully, resulting in the best possible texture and taste.
- Perfect Whipped Cream: For a stable and fluffy topping, ensure your heavy cream and mixing bowl (and whisk attachment) are very cold. Beat until stiff peaks form, indicating the cream is fully aerated and will hold its shape.
- The Power of the Water Bath: Using a water bath (bain-marie) while baking is not just a suggestion; it’s a vital technique for cheesecake. It provides a humid, even cooking environment, preventing the cheesecake from drying out and virtually guaranteeing a smooth, crack-free top.
- Add Topping Just Before Serving: Homemade whipped cream is delicate. To maintain its fluffy volume and pristine appearance, only pipe or spread it onto the cheesecake right before you plan to serve. Storing the cheesecake with the whipped cream already on top can cause the cream to flatten and lose its fresh texture.
Frequently Asked Questions
Here are some common questions about making Key Lime Cheesecake:
- What exactly are Key Limes, and can I use regular limes?
Key Limes are smaller, more acidic, and have a distinctive floral aroma compared to common Persian limes. While fresh Key Limes offer the most authentic flavor, you can substitute with regular lime juice (Persian limes) if Key Limes are unavailable. The taste will be slightly different, less intense and floral, but still delicious. Bottled Key Lime juice can also be used, but aim for a high-quality brand. - Why is a water bath necessary for baking cheesecake?
A water bath (bain-marie) creates a moist and even heating environment in the oven, which is crucial for cheesecake. It prevents the cheesecake from baking too quickly around the edges (which can lead to a dry texture and cracks) and ensures a creamy, uniform consistency from edge to center. It also helps prevent the top from browning too much. - How can I prevent my cheesecake from cracking?
Several factors contribute to cracks: using room temperature ingredients, not overmixing the batter (especially after adding eggs), using a water bath, and allowing the cheesecake to cool very slowly. Abrupt temperature changes during cooling are a common culprit. - Can I make this Key Lime Cheesecake ahead of time?
Absolutely! Cheesecake is an excellent make-ahead dessert. In fact, it needs to chill for at least 6-8 hours (preferably overnight) for the best texture and flavor. You can bake it a day or two in advance and store it in the refrigerator. Add the whipped cream topping just before serving. - What’s the best way to slice cheesecake cleanly?
For perfectly clean slices, use a sharp, thin knife. Heat the knife under hot running water for a few seconds, then wipe it completely dry. Make one cut, then reheat and wipe the knife again before making the next cut. This prevents the cheesecake from sticking to the knife and tearing the subsequent slices. - Can I use a different type of crust?
While a graham cracker crust is traditional and pairs wonderfully with Key Lime, you can experiment. Crushed shortbread cookies or vanilla wafers mixed with butter make excellent alternatives, offering a slightly different flavor profile.
More Decadent Cheesecake Recipes
Cakes
Cinnamon Roll Cheesecake
Cakes
Brownie Bottom Cheesecake
No bake Dessert
No Bake Blueberry Cheesecake Recipe
We hope you thoroughly enjoy creating and indulging in this delectable Key Lime Cheesecake. Its bright flavors and creamy texture are sure to become a beloved favorite in your home. Please come back and share your star rating and review after you’ve given it a try – we’d love to hear about your experience!
Pin
Key Lime Cheesecake
★
★
★
★
Ingredients
For the Crust:
- 1 1/2 Cups Graham Cracker Crumbs
- 1/4 cup Granulated Sugar
- 6 Tablespoons Salted Butter Melted
For the Filling:
- 24 Ounces Cream Cheese softened to room temperature
- 1 Cup Granulated Sugar
- 1 Tablespoon Cornstarch
- 2 teaspoons Lime Zest
- 1/2 Cup Key Lime Juice
- 3 Large Eggs
For the Topping:
- 3/4 Cup Heavy Cream
- 1/3 Cup Powdered Sugar
- 1 teaspoon Vanilla Extract
Instructions
For the Crust:
- Preheat the oven to 300 degrees F. Spray a 9″ springform pan with cooking spray.
- Stir together the graham cracker crumbs and melted butter in a mixing bowl. Press this mixture into the pan and up the sides slightly.
- Bake the crust for 15 minutes and allow to cool completely.
For the Filling:
- Beat together the cream cheese, cornstarch, sugar and lime zest with a hand held mixer or stand up mixer until smooth. Add the lime juice until combined.
- Add the eggs into the cheesecake mixture. Combine until just blended together. Do not overmix or the cheesecake will crack while baking.
- Pour the cheesecake batter into the pan. Wrap the bottom of the cheesecake in foil.
- Create a water bath for the cheesecake. Place the pan inside a larger baking dish with an inch of hot water.
- Bake the cheesecake for 60-65 minutes until the center of the cheesecake is slightly jiggly, but the rest of the cheesecake is set. Oven times vary so I suggest checking the cheesecake at 50 minutes. My cheesecake needed to bake for 65 minutes to be fully cooked through.
- Turn the oven off and open the oven door a few inches. Allow the cheesecake to cool in the oven for 30 minutes.
- Move the cheesecake to the refrigerator to cool completely overnight.
For the Topping:
- When ready to serve, prepare the whipped cream topping.
- Beat the heavy whipping cream using an electric mixer until thick.
- Add the powdered sugar and vanilla and mix until stiff peaks form.
- Garnish the cheesecake with the whipped cream and lime slices. Slice, serve and enjoy!
Recipe Notes
Refrigerate any leftovers for 5 days in an airtight container. Also, the cheesecake can be frozen for up to 2 months.
Make sure to only add the topping to the cheesecake when serving as the homemade whipped cream will become flat when storing.
Nutrition Facts
Carbohydrates 37g,
Protein 6g,
Fat 27g,
Saturated Fat 16g,
Polyunsaturated Fat 1g,
Monounsaturated Fat 7g,
Trans Fat 0.2g,
Cholesterol 113mg,
Sodium 308mg,
Potassium 123mg,
Fiber 0.4g,
Sugar 29g,
Vitamin A 1002IU,
Vitamin C 3mg,
Calcium 73mg,
Iron 1mg
Pin This Now to Remember It Later
Pin Recipe
