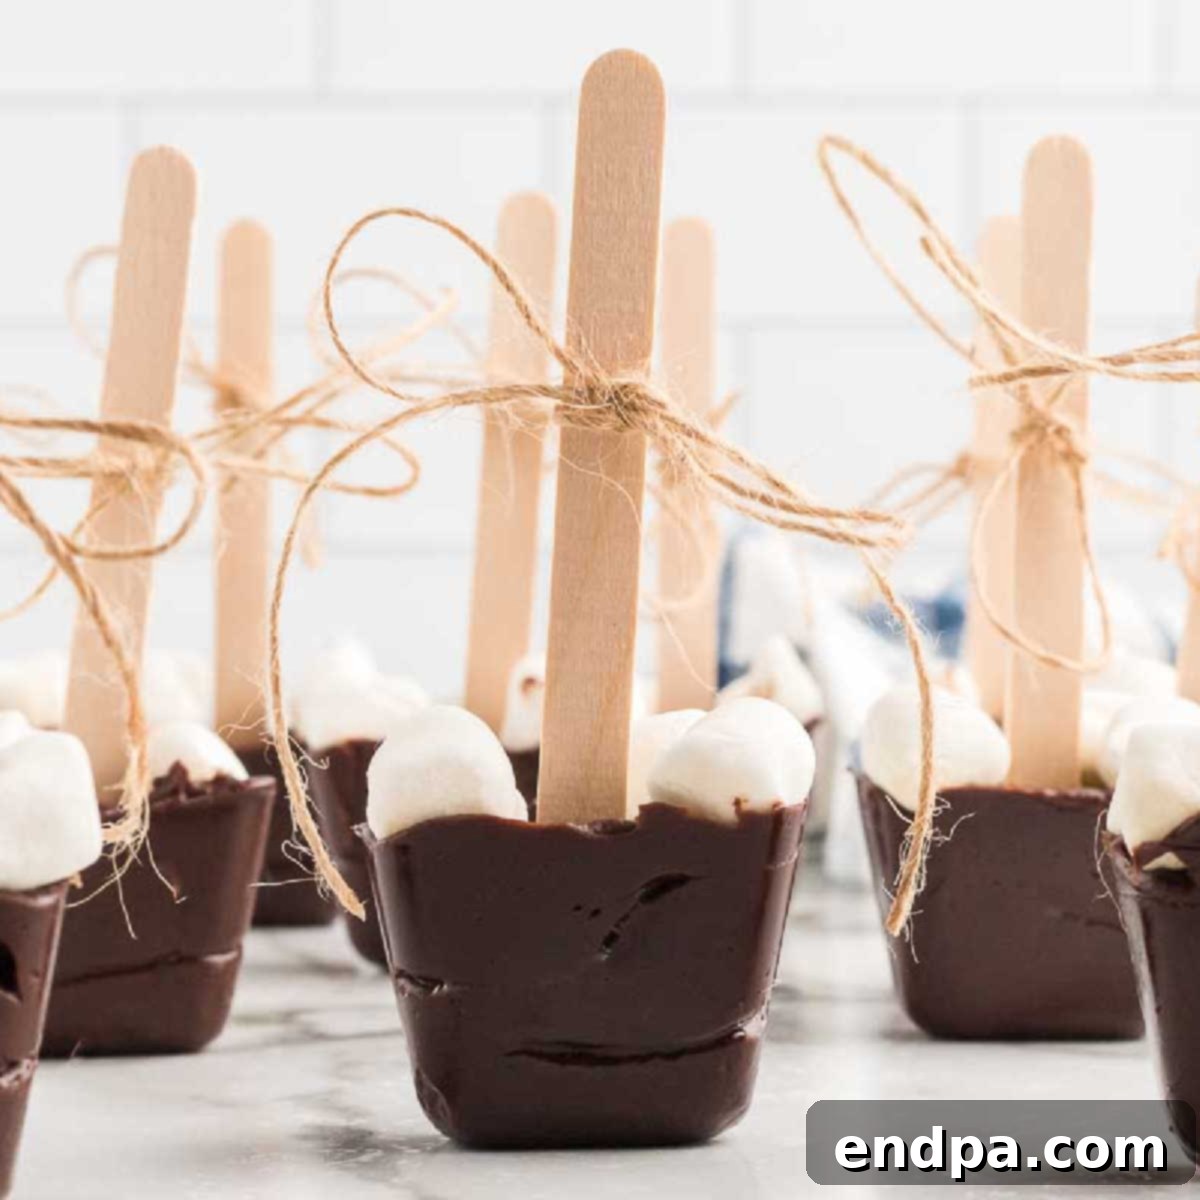
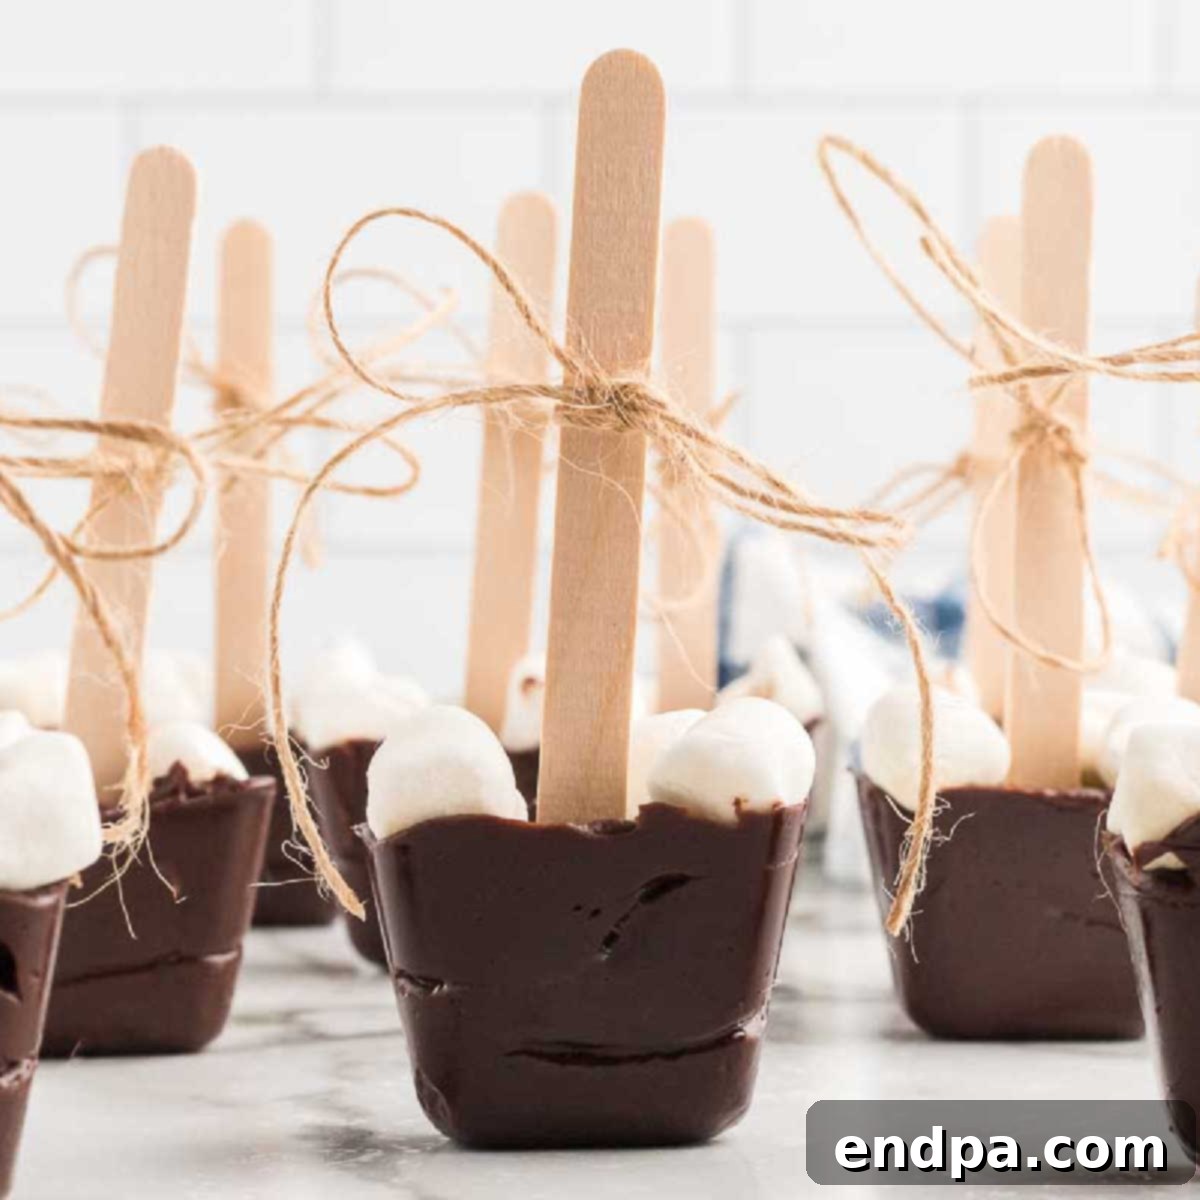
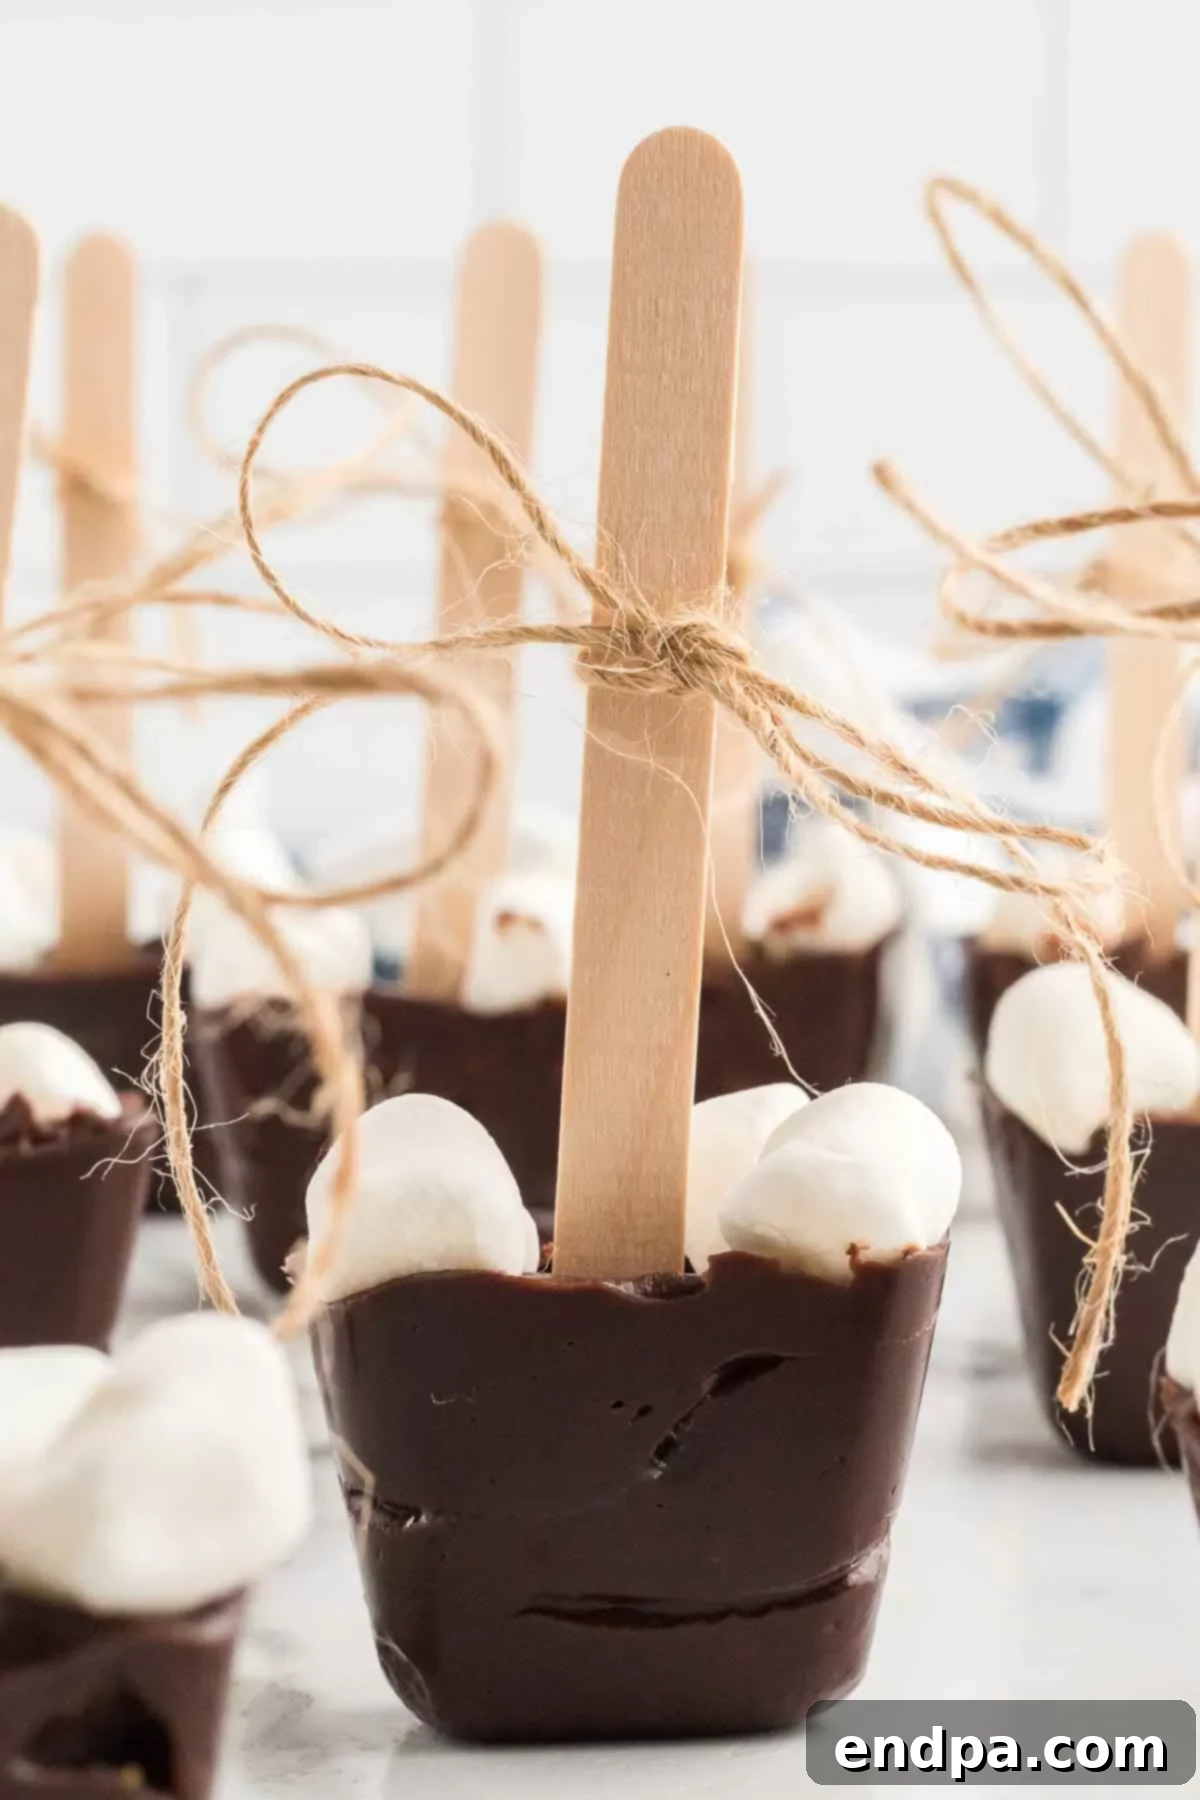
Transform your winter moments into pure bliss with this exquisite Hot Chocolate on a Stick recipe. Imagine a rich, creamy block of decadent chocolate, infused with delightful flavors and topped with fluffy marshmallows, just waiting to melt into a steaming mug of warm milk. This isn’t just hot cocoa; it’s a gourmet experience, beautifully presented and perfect for savoring on a chilly evening or gifting to loved ones.
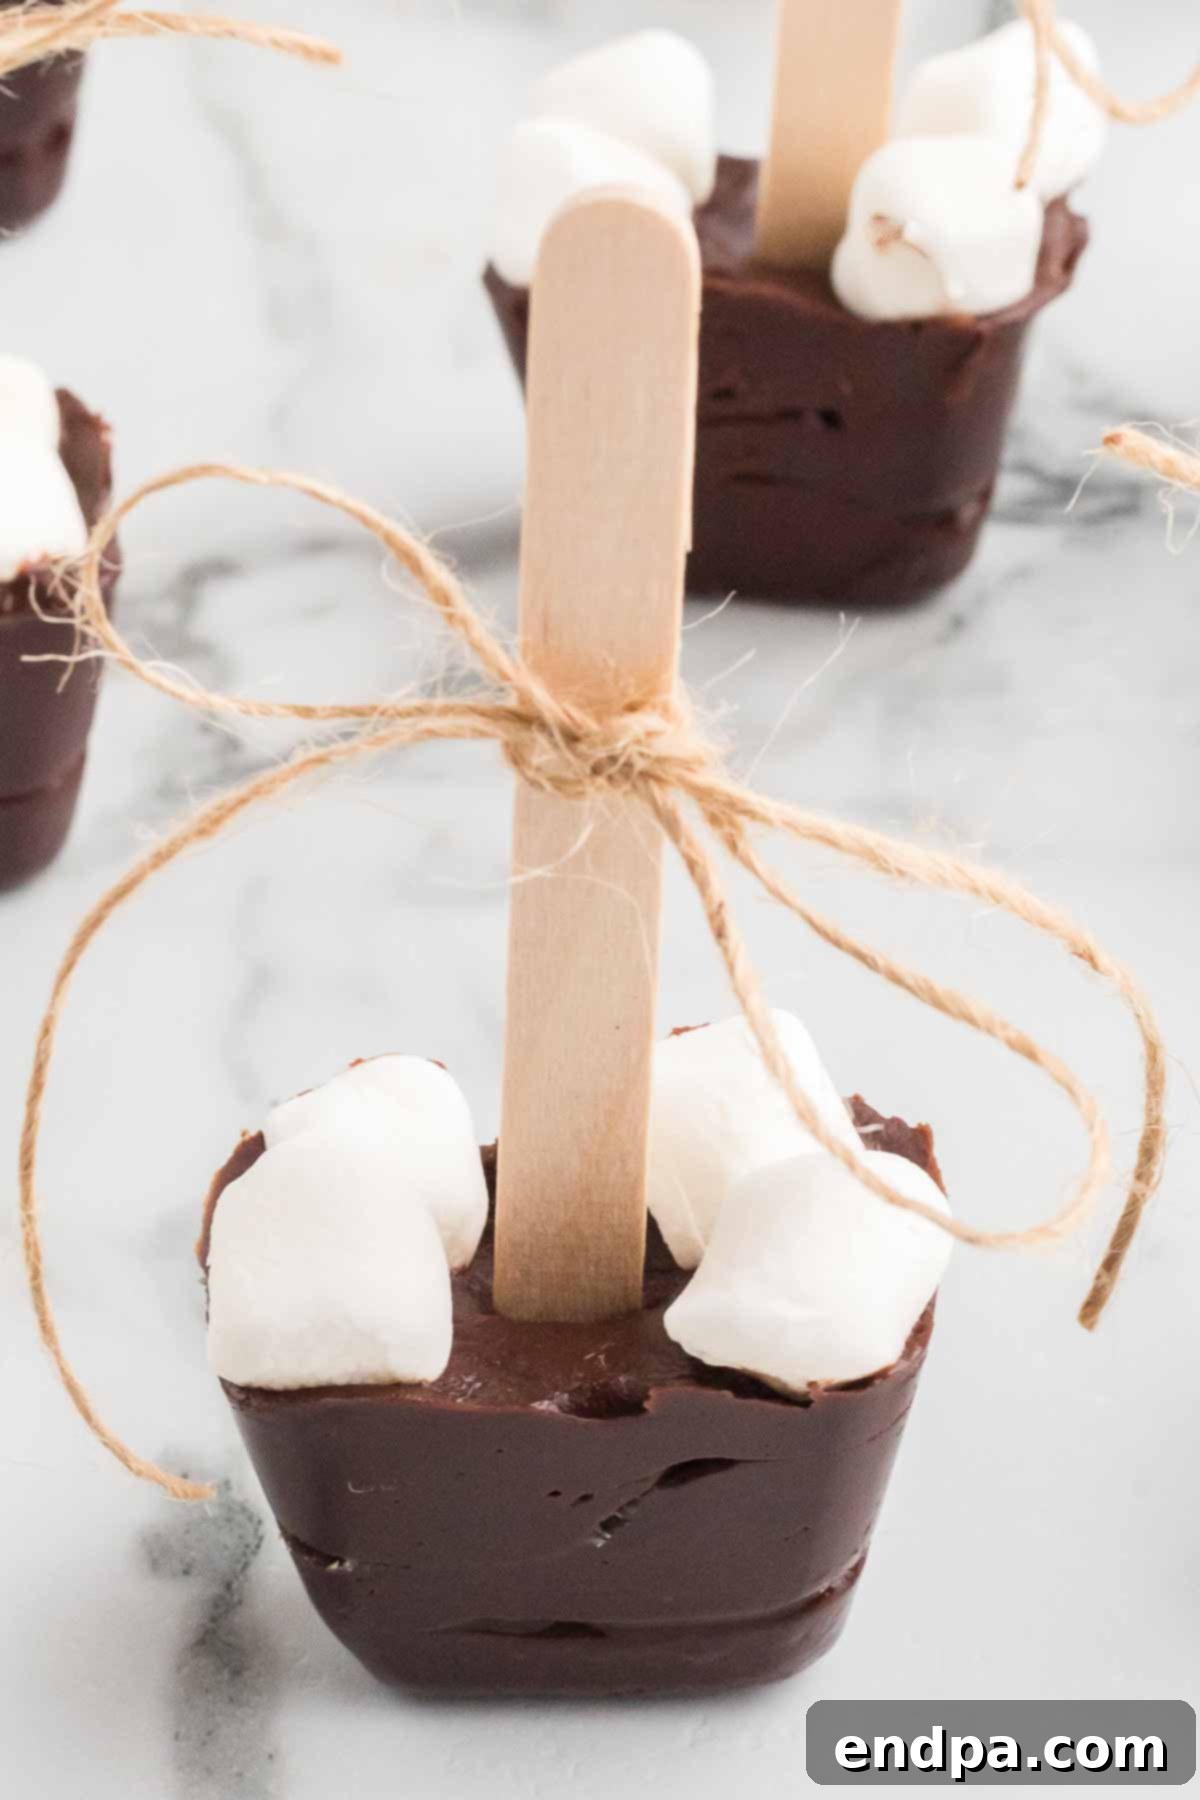
What is Hot Chocolate on a Stick and Why You’ll Love It
Hot chocolate on a stick is a delightful confection consisting of a solid block of premium chocolate mixture, typically molded into a cube or square, with a stick inserted. When submerged in a cup of hot milk, this chocolate block slowly melts, transforming into a luxurious, rich, and creamy cup of homemade hot cocoa. It’s an elevated take on the traditional powdered mix, offering a depth of flavor and a smooth, velvety texture that store-bought packets simply can’t match.
The magic lies in the quality ingredients: a carefully balanced blend of various chocolates, rich sweetened condensed milk, and luscious heavy whipping cream. Unlike cocoa powder, which can sometimes result in a thin or grainy drink, these chocolate sticks dissolve to create an incredibly decadent and satisfying beverage. We’ve even pre-loaded each stick with mini marshmallows, so every cup comes with its own perfect, melty topping. This recipe provides everything you need for the ultimate homemade hot chocolate experience; just add hot milk, and you’re ready to indulge!
Kids and adults alike adore these gourmet hot chocolate sticks for their intensely chocolatey flavor and wonderfully creamy consistency. By avoiding cocoa powder and focusing on real, high-quality chocolate, each sip delivers a truly luxurious and indulgent taste sensation. They are not only a treat to drink but also incredibly fun to make and customize, making them an ideal activity for families and a fantastic gift option for any occasion.
Essential Ingredients for Decadent Hot Chocolate Sticks
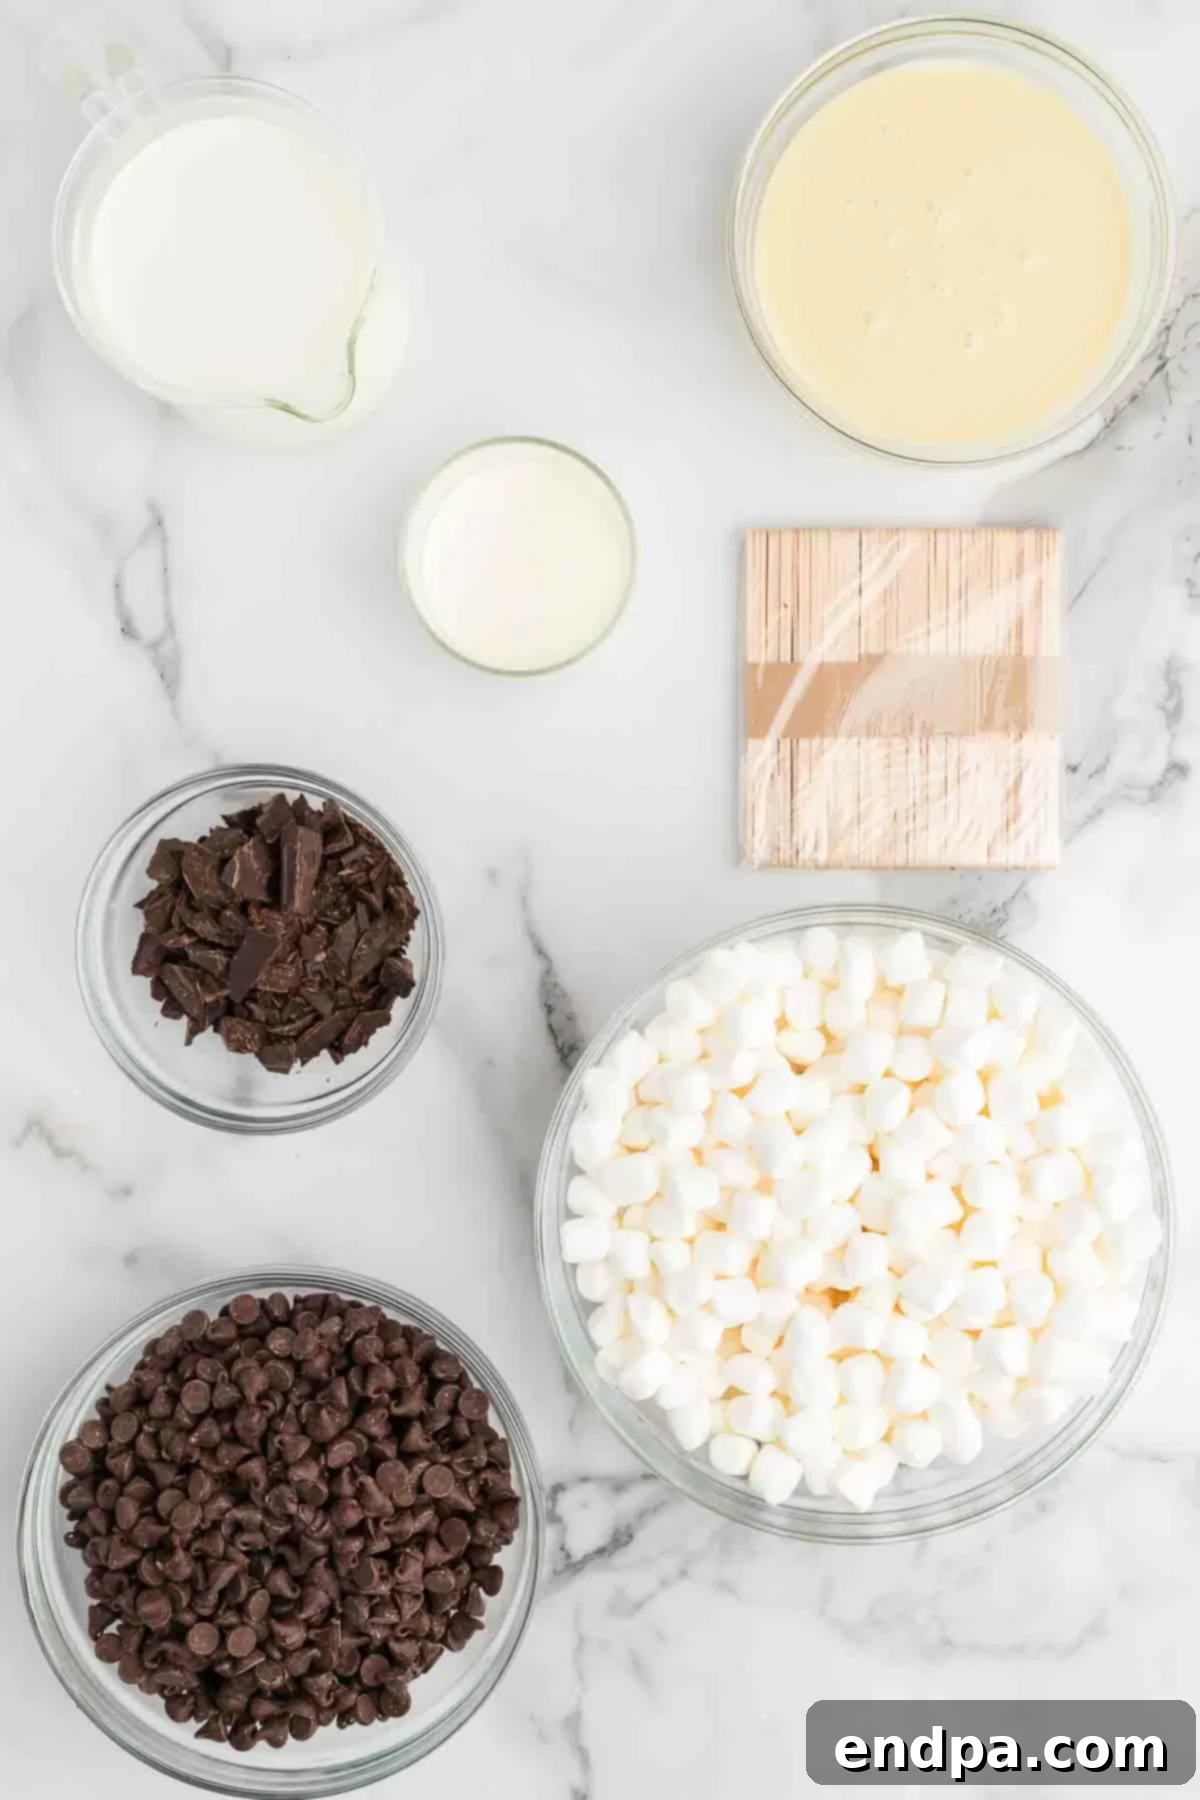
Crafting the perfect hot chocolate on a stick starts with selecting the right ingredients. Each component plays a vital role in achieving that rich, creamy, and undeniably delicious flavor profile that sets these apart from your average hot cocoa.
- Heavy Whipping Cream: This is the secret to an incredibly rich and velvety texture. The high fat content in heavy cream ensures your hot cocoa will be wonderfully smooth and luxurious, rather than watery.
- Sweetened Condensed Milk: Beyond just adding sweetness, condensed milk contributes to the creamy consistency and overall body of the chocolate mixture. It also helps bind the ingredients together, ensuring the sticks set properly.
- Semi-Sweet Chocolate Chips: These provide a balanced chocolate flavor that is neither too bitter nor overly sweet. Semi-sweet chocolate also has a good melting and setting point, which is crucial for forming solid blocks.
- Unsweetened Chocolate Bar (chopped): Incorporating unsweetened chocolate deepens the overall chocolate intensity without adding excessive sugar. Chopping it ensures it melts evenly and incorporates smoothly into the mixture.
- Mini Marshmallows: No hot chocolate is complete without marshmallows! We integrate mini marshmallows directly into each chocolate block, so they are ready to float and melt into gooey perfection when your hot cocoa is made. For an extra special touch, consider Homemade Marshmallows.
For Serving:
- Milk: While any milk will work, whole milk or a combination of whole milk and a splash of heavy cream will yield the richest and most satisfying cup of hot chocolate. The fat content helps emulsify the chocolate for a supremely smooth drink.
Supplies You’ll Need:
- Popsicle sticks or lollipop sticks: These are essential for creating the “stick” aspect of your hot chocolate on a stick. Ensure they are food-grade and sturdy enough to handle stirring.
- Ice Cube Trays or Silicone Molds: These molds help shape your chocolate mixture into uniform, easy-to-use blocks. Standard ice cube trays work perfectly, or you can opt for silicone molds in fun shapes for a more whimsical touch.
Step-by-Step Guide to Making Homemade Hot Chocolate on a Stick
Creating these delightful hot chocolate sticks is surprisingly simple and incredibly rewarding. Follow these detailed steps to ensure your chocolate blocks turn out perfectly rich and ready to enjoy.
- Step 1: Prepare Your Molds. Begin by placing two standard ice cube trays on a sturdy baking sheet. The baking sheet provides stability, making it easier to transfer the filled trays to the refrigerator without spills.
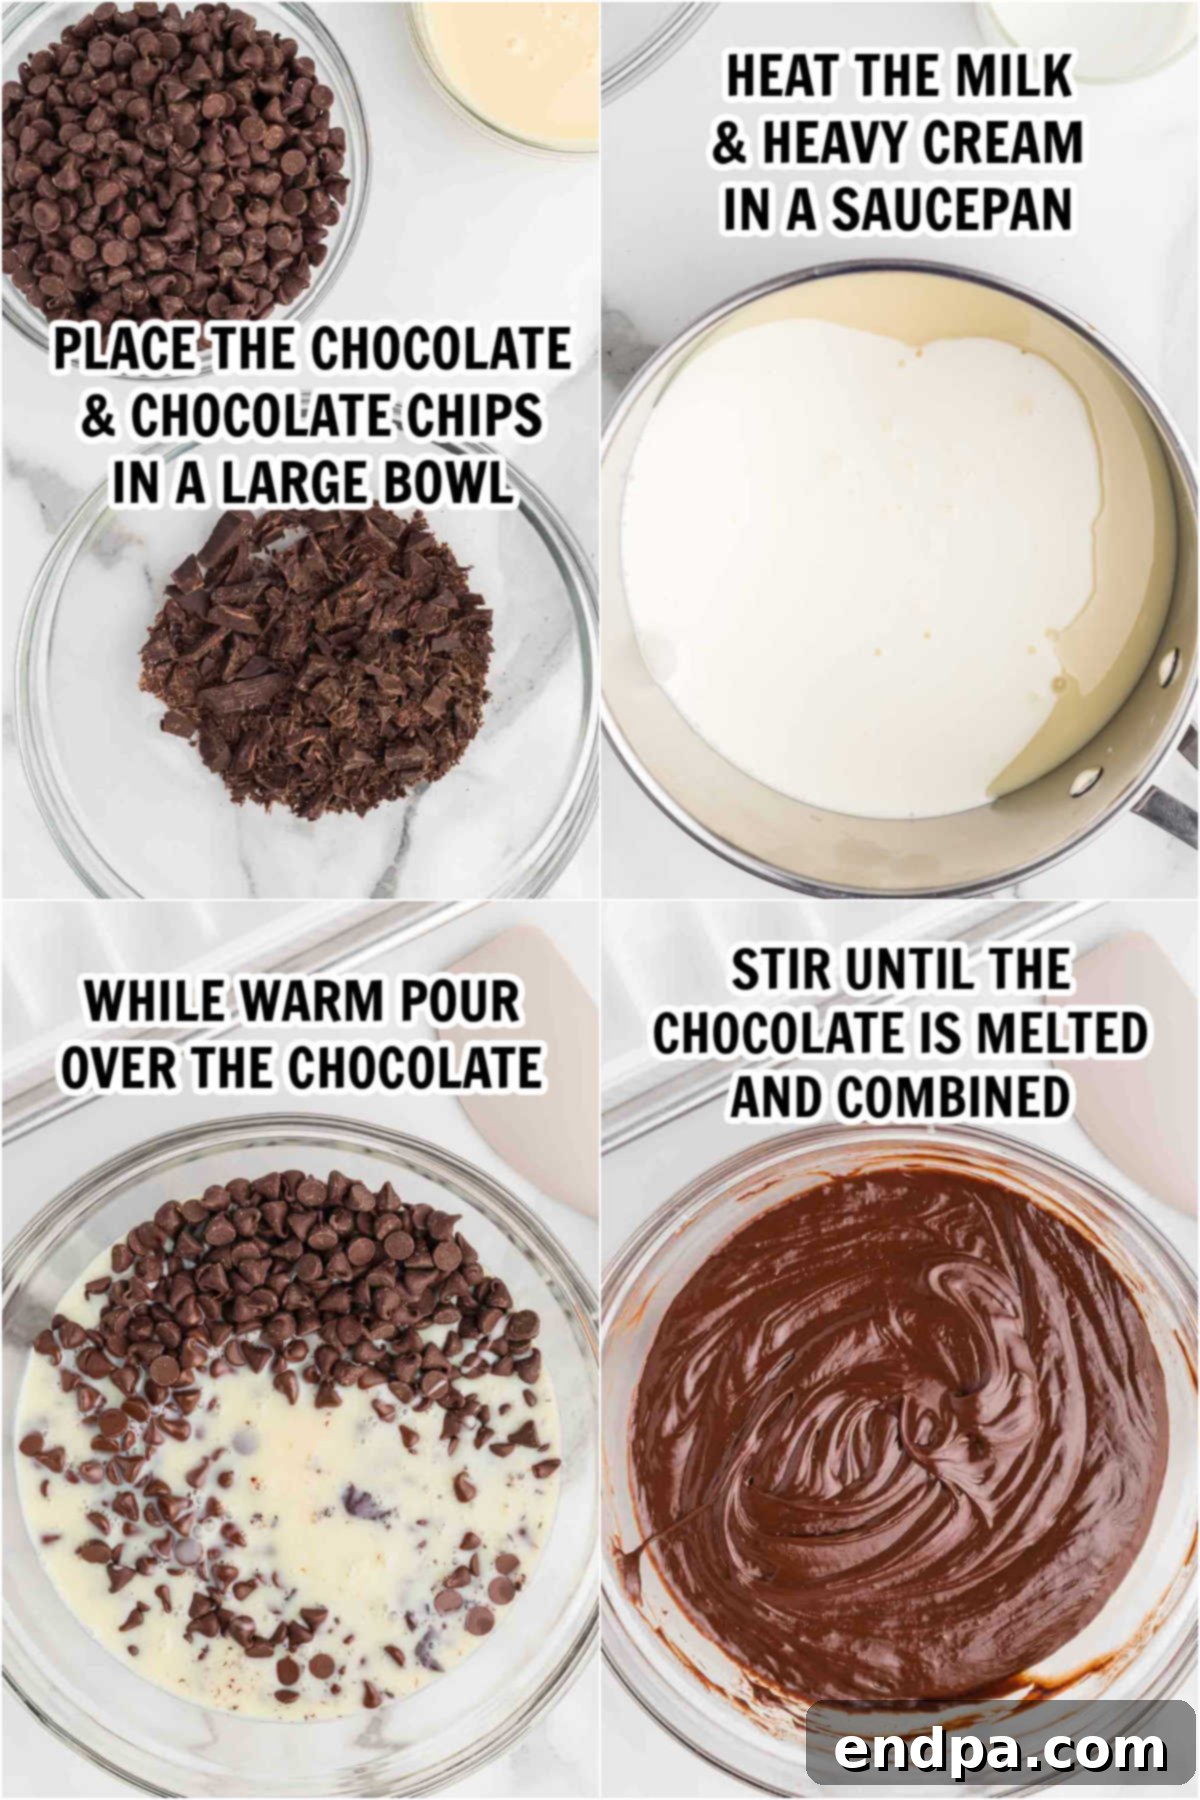
- Step 2: Combine the Chocolates. In a large, heat-resistant bowl, combine your chopped unsweetened chocolate bar and semi-sweet chocolate chips. Having both types of chocolate ensures a balanced depth of flavor and a good setting consistency.
- Step 3: Gently Heat the Cream Mixture. In a medium saucepan, gently heat the sweetened condensed milk and heavy whipping cream together over medium heat. Stir the mixture frequently to prevent it from boiling over or scorching at the bottom of the pan. Bring it to a low simmer – look for small bubbles just starting to form around the edges, but do not allow it to come to a rolling boil. This gentle heat is crucial for smoothly melting the chocolate without burning it.
- Step 4: Melt the Chocolate to Perfection. Once the cream mixture is simmering, carefully pour it directly over the combined chocolates in your heat-resistant bowl. Do not stir immediately. Instead, let the hot liquid sit for 1 to 2 minutes. This allows the heat to penetrate and begin melting the chocolate. After the resting period, stir the mixture gently but consistently until all the chocolate is fully melted and you have a smooth, glossy, and homogeneous chocolate ganache. Ensure there are no lumps remaining.
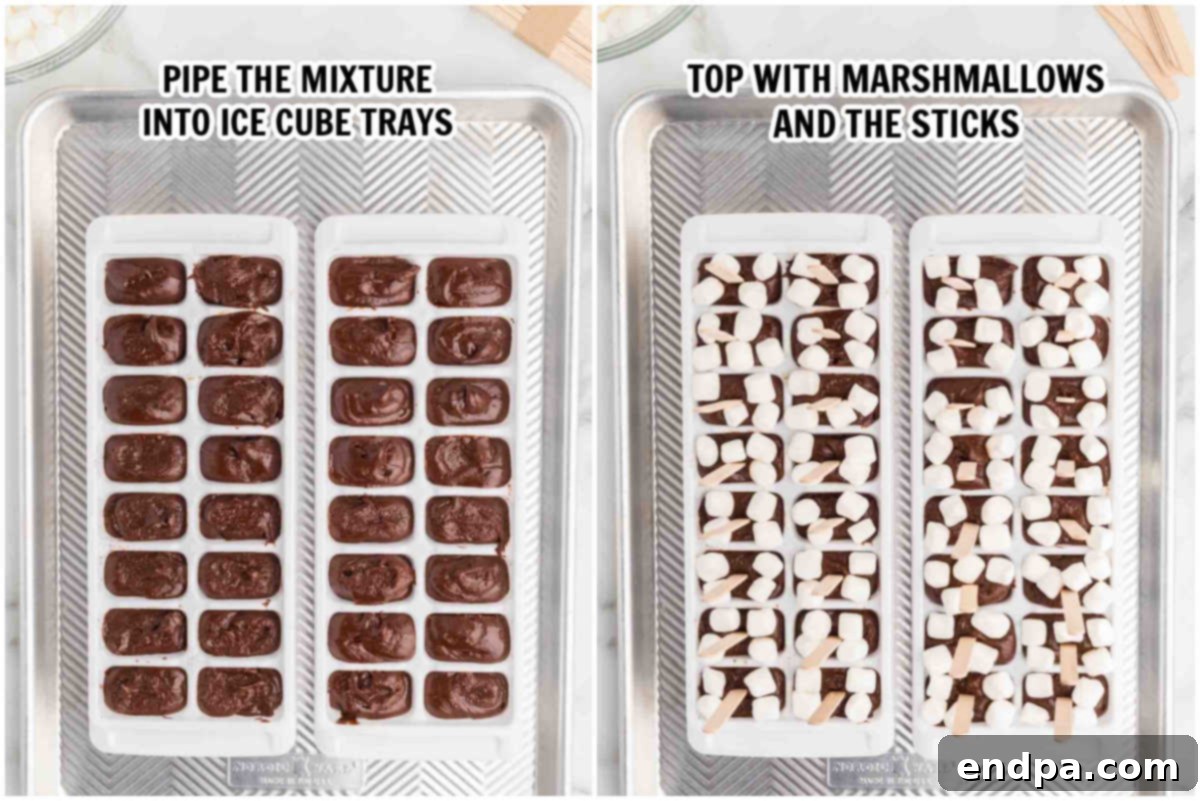
- Step 5: Fill the Molds with Chocolate. Carefully transfer the warm chocolate mixture into a piping bag. This allows for precise and mess-free filling of your ice cube trays. Pipe the chocolate mixture into each cavity of the ice cube trays, filling them approximately three-quarters of the way full. Leave some space for the marshmallows and stick.
- Step 6: Add Marshmallows and Sticks. Immediately after filling with chocolate, gently place 4-5 mini marshmallows on top of the chocolate in each cube. Then, carefully insert one popsicle or lollipop stick into the center of each chocolate square. The warmth of the chocolate will help the marshmallows adhere slightly and the stick stand upright as it cools.
- Step 7: Allow to Set and Enjoy! Place the baking sheet with the filled ice cube trays into the refrigerator. Allow the chocolate cubes to chill and set completely for at least 4 hours, though overnight is truly preferred for the firmest and easiest removal. Once fully set, carefully remove the hot chocolate sticks from the ice cube trays. They are now ready to be served, enjoyed, or packaged as gifts!
How to Make a Delicious Cup of Hot Chocolate Using Your Stick
Once your hot chocolate sticks are perfectly set, the enjoyment is just a warm cup of milk away. Here’s how to prepare a comforting and rich mug of cocoa:
- Heat the Milk: When you’re ready to indulge, gently warm your desired amount of milk in a saucepan over medium heat or in the microwave. The ideal temperature is hot but not boiling. For the best experience, aim for approximately ½ cup of hot milk per hot chocolate stick.
- Choose Your Milk Wisely: For an exceptionally rich and creamy hot chocolate, we highly recommend using whole milk or even a blend of whole milk with a splash of heavy cream. Reduced-fat milk options may not yield the same luscious texture.
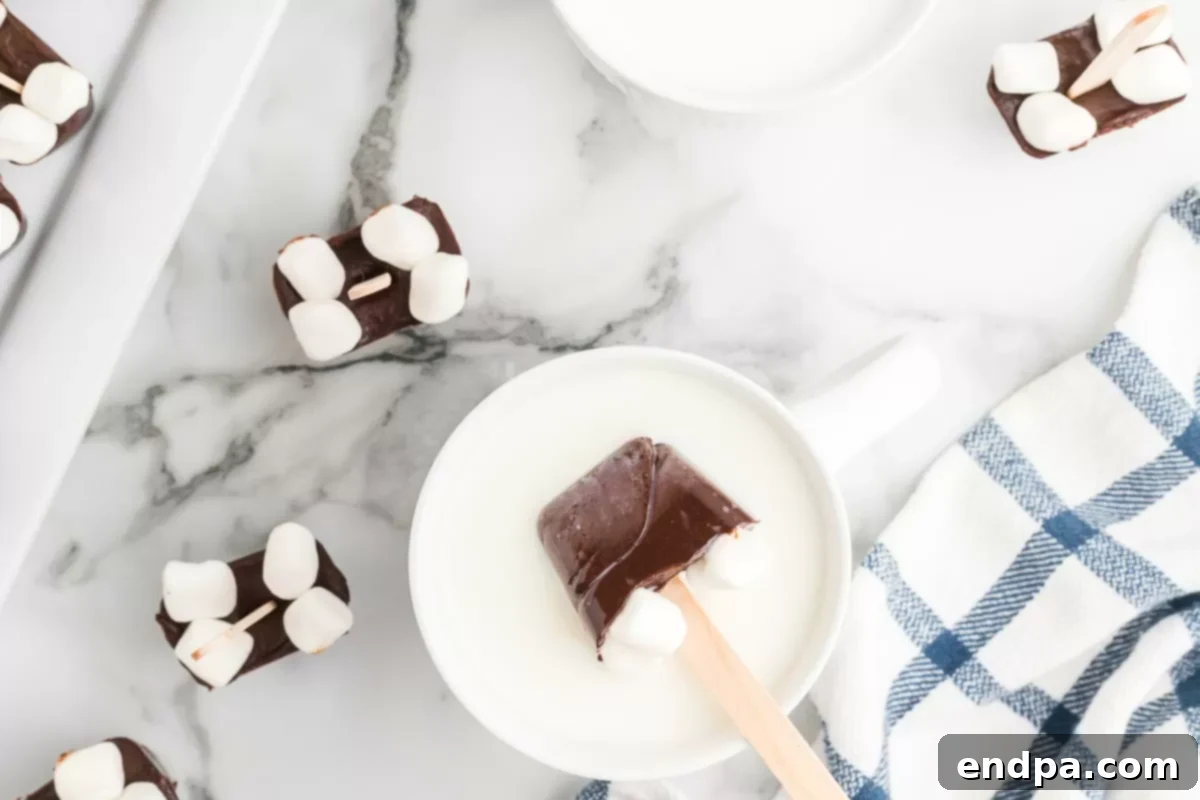
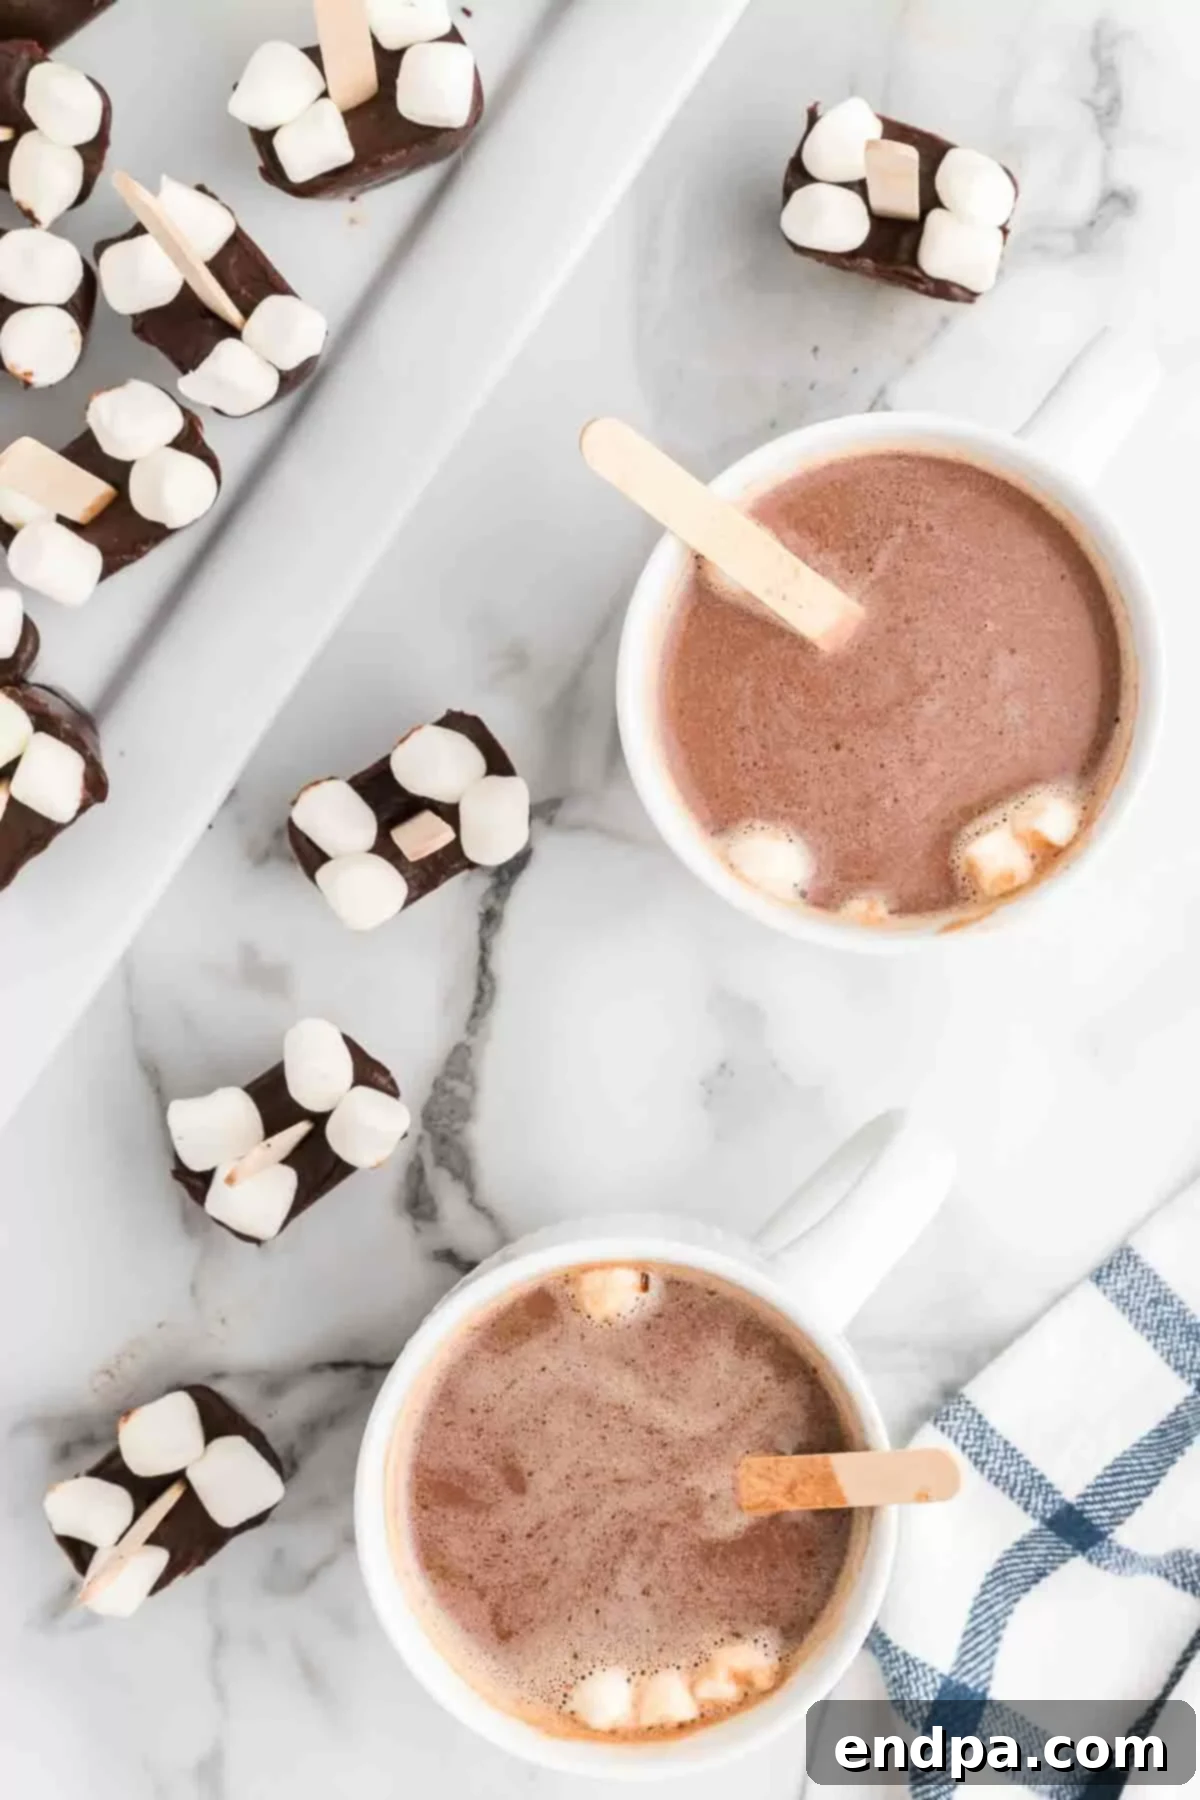
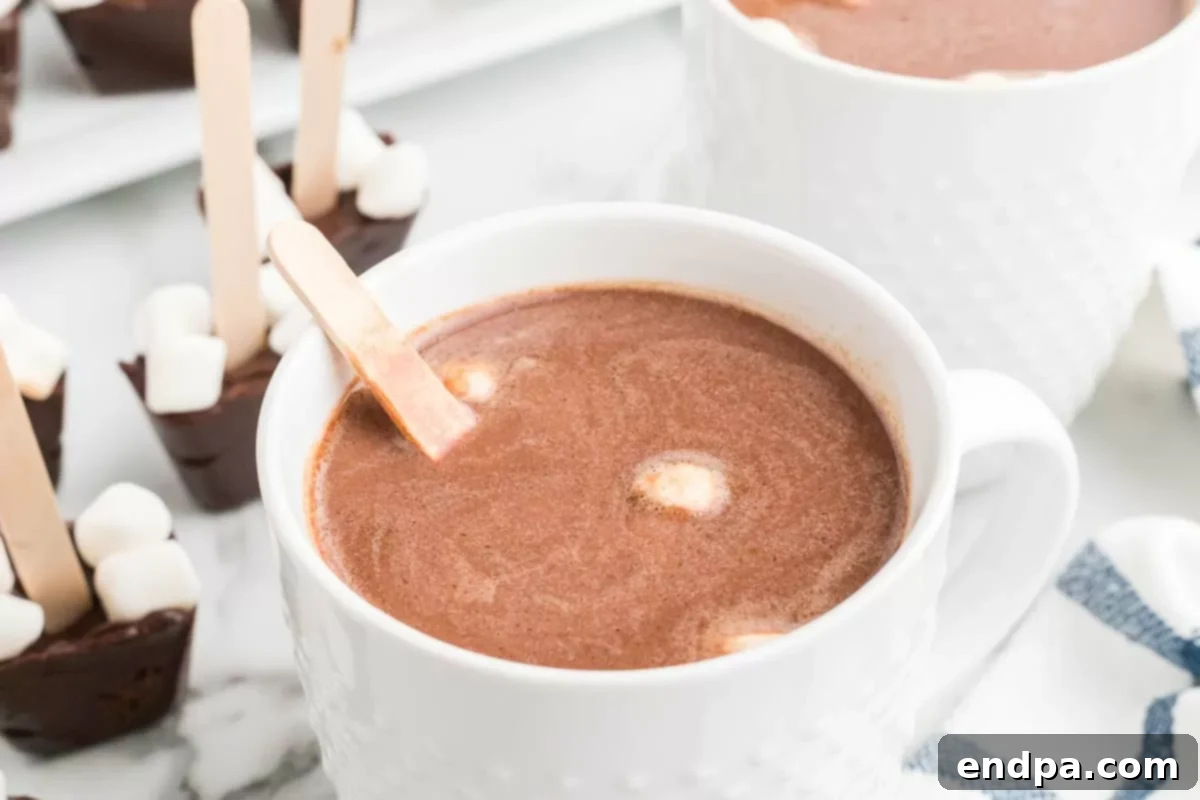
- Combine and Stir: Pour the warm milk into your favorite serving mug. Place one hot chocolate stick into the milk and allow the chocolate to begin melting. Use the stick as your stirrer, gently swirling the chocolate until it has completely dissolved and all the ingredients are thoroughly combined. You’ll notice the milk transforming into a thick, glossy, and intensely chocolatey beverage. Serve immediately and savor every warm, comforting sip!
Optimal Serving Size: How Many Sticks Per Mug?
Generally, one hot chocolate on a stick is sufficient for approximately ½ cup of hot milk, yielding a rich and flavorful single serving. This ratio creates a perfectly balanced and decadent cup. However, if you’re using a larger mug or prefer an extra intense chocolate flavor, you might consider using two sticks for a more robust and indulgent experience. Feel free to adjust based on your personal preference and the size of your mug!
Storage and Freezing Instructions for Freshness
To ensure your homemade hot chocolate sticks remain delicious and fresh, proper storage is key.
How to Store: Once the chocolate blocks are fully set, carefully remove them from the ice cube trays. Place the individual hot chocolate sticks in an airtight freezer bag or a sealed container. It is crucial not to store them at room temperature, as the chocolate contains dairy and will soften or melt, especially in warmer conditions. When stored correctly in the refrigerator, your hot chocolate sticks will stay fresh and ready to use for up to one month.
How to Freeze: For longer-term enjoyment, hot chocolate sticks are excellent for freezing! Transfer the fully set chocolate cubes into a freezer-safe bag or an airtight container. When properly frozen, these delectable treats can be stored for up to six months. This makes them a fantastic make-ahead option, allowing you to enjoy rich, creamy hot chocolate whenever the craving strikes, even months down the line.
Creative Topping Variations to Elevate Your Hot Cocoa
While delicious on their own, hot chocolate sticks are fantastic canvases for creative toppings! Experiment with these ideas to add extra flair and flavor to your homemade cocoa:
- Crushed Candy Canes: A festive and refreshing addition, especially during the holiday season. The minty crunch perfectly complements the rich chocolate.
- Seasonal Sprinkles: Use Christmas-themed sprinkles for a holiday party, or any color to match a special occasion.
- White Chocolate Chips: Sprinkle on top or melt a few into your mug for an extra layer of creamy sweetness.
- Milk Chocolate Chips: For an even more intense milk chocolate experience.
- Various Flavors of Marshmallows: Beyond mini marshmallows, explore gourmet flavors like vanilla bean, strawberry, or even chocolate-filled marshmallows.
- M&M’s Candy: Add a colorful and crunchy element. Red and Green M&M’s would be particularly pretty for seasonal enjoyment.
- Caramel Chips or Drizzle: For a delightful sweet and salty combination, melt in caramel chips or drizzle with a rich caramel sauce.
- Sea Salt Flakes: A tiny pinch of sea salt can remarkably enhance the chocolate flavor, adding sophistication.
- Chocolate Drizzle: A beautiful finish! Drizzle with melted white chocolate, milk chocolate, or even both for a striking visual and flavor contrast.
- Whipped Cream: A classic for a reason. Top your mug with a generous dollop of freshly whipped cream.
- Cinnamon or Nutmeg Dusting: A light dusting of warm spices can add a comforting aroma and subtle flavor.
The possibilities for customizing your hot chocolate on a stick are truly endless. Have fun trying different combinations and creating an assortment of varieties to suit every taste and occasion!
Expert Tips and Tricks for Perfect Hot Chocolate Sticks
Achieve professional-level hot chocolate sticks with these helpful hints and smart shortcuts:
- Don’t Overfill Your Molds: When piping the chocolate mixture into your ice cube trays or silicone molds, resist the urge to fill them to the very brim. You’ll need adequate room to comfortably add the mini marshmallows and securely insert the popsicle sticks without overflowing. Aim for approximately ¾ full.
- Alternative Containers for Shaping: If you don’t have traditional ice cube trays, don’t worry! Mini muffin trays or various silicone molds work just as well. The shape of your hot chocolate blocks might be different, but they will be equally delicious and functional.
- Adjust Popsicle Sticks as They Set: As the chocolate begins to firm up in the refrigerator, occasionally check on the popsicle sticks. If any appear to be leaning or shifting, gently adjust them back into a vertical position before the chocolate fully hardens. This ensures they are perfectly centered and sturdy.
- Popsicle Sticks vs. Lollipop Sticks: Both options are perfectly fine for this recipe. However, it’s crucial to ensure you are using food-grade sticks. Look for them in the baking or party supply section of your grocery store or craft store, not the general craft section, to avoid any non-food-safe materials.
- Prioritize Whole Milk for Serving: For the ultimate rich and creamy hot chocolate experience, always use whole milk or even a dash of heavy cream when serving. Reduced-fat or skim milk options will result in a much thinner and less decadent drink, significantly impacting the texture and flavor.
- Invest in Good Quality Chocolate: The chocolate is undoubtedly the star ingredient of this recipe, so its quality truly makes a difference. Opt for a reputable brand of semi-sweet and unsweetened chocolate. Better chocolate equals better hot chocolate!
- Experiment with Flavor Extracts: To add an extra dimension of flavor, consider stirring in a small amount of food-grade extract to your melted chocolate mixture before pouring it into the molds. Popular ideas include a few drops of peppermint extract for a festive twist, vanilla extract for enhanced sweetness, or even raspberry extract for a fruity note.
- Semi-Sweet Chocolate for Better Setting: While milk chocolate is delicious, semi-sweet chocolate is recommended for the primary base of the sticks. It has a higher cocoa content, which contributes to a firmer set and a better structure for the blocks, making them less prone to breakage.
- Adapt for Other Holidays and Occasions: These hot chocolate sticks aren’t just for winter! Easily customize them for other holidays or themed parties. For example, use pink and red sprinkles for Valentine’s Day, or change toppings and ribbons for birthday party favors or bridal showers.
The Perfect Homemade Gift Idea: Hot Chocolate on a Stick
Looking for a heartfelt and delicious gift? These homemade hot chocolate on a stick treats are absolutely perfect! Everyone, from friends and family to teachers and neighbors, will appreciate receiving such a thoughtful and indulgent present. They’re not only incredibly tasty but also beautifully customizable and surprisingly budget-friendly.
To prepare them for gifting, simply wrap each individual hot chocolate stick in a small cellophane bag. Tie the bag shut with a pretty ribbon that matches the occasion or holiday theme. For an even more charming and complete gift, place one or two wrapped hot chocolate sticks inside an inexpensive, festive mug. This creates an impressive yet economical present that feels luxurious and special. This DIY gift is a joy to create, and it’s simple enough that even children can enthusiastically help with the steps, making it a fun activity for the whole family. Give this recipe a try; it’s truly the best way to spread warmth and joy!
Printable Hot Chocolate on a Stick Recipe Card
Hot Chocolate on a Stick
Rated 5 out of 5 stars from 2 votes
10 mins
4 hrs
4 hrs 10 mins
36
American
Dessert
216
Carrie Barnard
Ingredients
- ½ cup Heavy Whipping Cream
- 1 can Sweetened Condensed Milk (14 oz can)
- 3 cups Semi-Sweet Chocolate Chips
- ¾ cup Unsweetened Chocolate (chopped)
- 1 bag Mini Marshmallows (10 oz bag)
For Serving:
- Milk
Supplies:
- 25 Lollipop Sticks
Instructions
- Place 2 ice cube trays on a baking sheet.
- Place the chopped chocolate and chocolate chips in a heat resistant bowl.
- In a saucepan, heat together the sweetened condensed milk and heavy whipping cream over medium heat. Stir and bring the mixture to a low simmer. Make sure to stir frequently so that the milk does not boil over or burn.
- Once the mixture is simmering, pour it over the chocolate in the bowl. Let it sit for 1-2 minutes to melt the chocolate. Then stir until the chocolate is fully melted and all ingredients are combined.
- Transfer the mixture to a piping bag. Pipe the mixture into each of the ice cube trays, filling them approximately ¾ of the way full. Top each of the cubes with 4-5 mini marshmallows and place 1 stick into each chocolate square.
- Refrigerate the chocolate cubes for at least 4 hours (overnight is preferred). Then carefully remove the hot chocolate on the sticks from the ice cube trays. They are then ready to serve and enjoy!
- When you are ready to serve, warm the milk and pour it into serving mugs. Add the hot chocolate on a stick (½ cup of milk per hot chocolate stick) and allow the chocolate to melt. Use the stick to stir the ingredients so that all ingredients are combined. Serve warm and enjoy!
Nutrition Facts
Calories: 216kcal, Carbohydrates: 21g, Protein: 6g, Fat: 12g, Saturated Fat: 7g, Polyunsaturated Fat: 1g, Monounsaturated Fat: 4g, Trans Fat: 0.02g, Cholesterol: 122mg, Sodium: 67mg, Potassium: 194mg, Fiber: 2g, Sugar: 16g, Vitamin A: 251IU, Vitamin C: 0.3mg, Calcium: 63mg, Iron: 2mg
Explore More Delicious Holiday Desserts:
- Christmas Popcorn Balls
- Copycat Little Debbie Christmas Tree Cakes
- Crock Pot Christmas Candy Recipe
- Christmas Chocolate Covered Pretzel Rods
- Hot Chocolate Bombs
